


Keith Black
-
Posts
6,684 -
Joined
-
Last visited
Content Type
Profiles
Forums
Gallery
Events
Everything posted by Keith Black
-
 Nice work, Ferrus. Great visual interest, now all it needs is a cane pole.
- 56 replies
-
- 3
-

-
- Lindberg
- sternwheeler
- (and 1 more)
-
I think there's a new movie in the works titled....... King Ratline
-
Roel, is there cheese at the end of that maze? That's some mind numbing detail, hats off!
-
She's really taking shape, Glen. I'm glad that you found the MWP plywood beneficial. For small scale structures and bits it's the cat's meow. Too funny.
- 106 replies
-
- 3
-

-
-
- Kentoshi-Sen
- bottle
- (and 1 more)
-
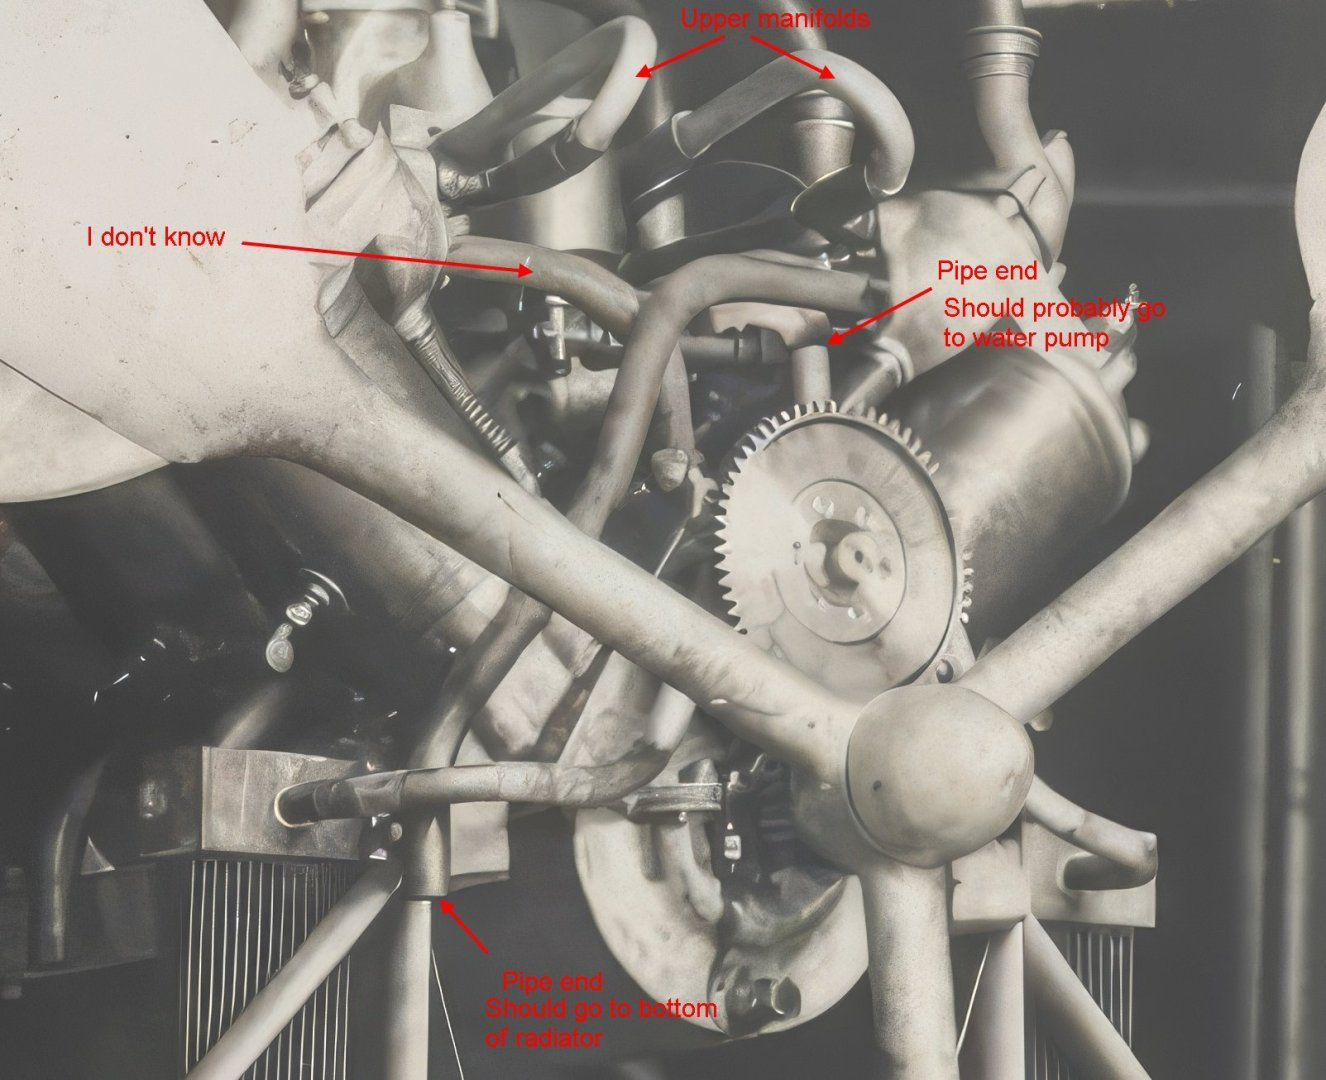
This is why I'm having trouble with a water pump being thrown into the mix, early water pumps were sketchy at best. I know those 16 cylinders are going to produce heat but the designer is adding a sketchy pump for a ten minute ride? As long as there was enough external water and room for expansion ten minutes is nothing. It's a whole other kettle of fish if we're talking hours but ten minutes? I just can't see trying to invent the wheel for ten minutes. I've seen guys run V-8's without any water (testing after a rebuild not wanting to add coolant in case they had to pull the heads etc etc) for almost ten minutes. You guys say water pump, okay, but I gotta tell ya I'm a bit skeptical.
- 288 replies
-
- 2
-
-
- Santos Dumont No. 18
- hydroplane
- (and 1 more)
-
Greg, please correct me if I'm wrong but I think I remember you saying that the engine was run for a very short duration of time when at trials hence the small fuel tank? What would have been the actual run time between start up and shut down after the run?
- 288 replies
-
- 1
-
-
- Santos Dumont No. 18
- hydroplane
- (and 1 more)
-
Craig, without doubt the prop is driven off the crankshaft. If the engine was thermosiphon cooled the need for a water pump is eliminated and the two pumps at the rear can be oil and fuel. When I was restoring cars I restored a 1919 Model T (a for real fairground racer out of Wisconsin) and the engine was thermosiphon cooled. I rebuilt a couple of Chevrolet 216 engines and they didn't even have oil pumps! I think every early designed engine was unique and far far different than today's engines to say the least.
- 288 replies
-
- 5
-
-
- Santos Dumont No. 18
- hydroplane
- (and 1 more)
-
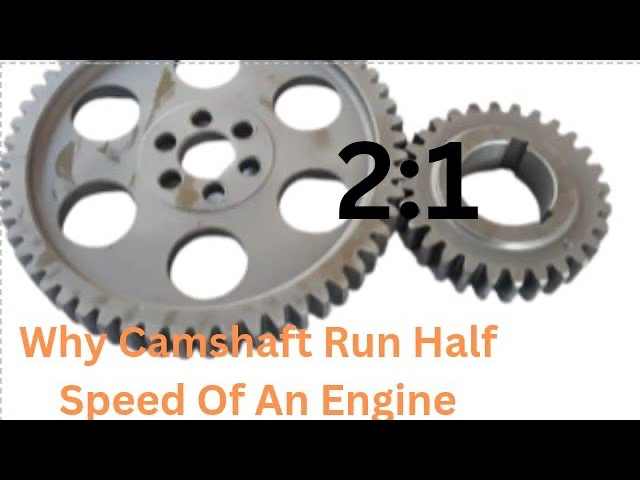
Below is from Google AI... In a 16-cylinder, two-stroke engine, the crankshaft gear will turn four times for every one rotation of the camshaft gear. This is because a two-stroke engine completes its cycle in a single crankshaft rotation, while a four-stroke engine requires two crankshaft rotations. Therefore, the camshaft, which is typically geared to the crankshaft, would rotate at the same speed as the crankshaft in a two-stroke engine, meaning it would turn four times for every four crankshaft rotations, as opposed to the normal 1:2 ratio in a four-stroke engine. Gear size relationship for 2:1 ratio.
- 288 replies
-
- 3
-
-
-
- Santos Dumont No. 18
- hydroplane
- (and 1 more)
-
The historical aspect of this project is fascinating, Eric. Thank you for taking the time to be our guide into the past.
-
I'm amazed they got away with no oil on those gears unless there was runout oil from/off the crankshaft/prop shaft. Or is there a cover I've somehow missed?
- 288 replies
-
- 2
-
-
- Santos Dumont No. 18
- hydroplane
- (and 1 more)
-
I assume this beast had a camshaft, is the large gear driven off the prop shat the timing gear driving the camshaft?
- 288 replies
-
- 2
-
-
- Santos Dumont No. 18
- hydroplane
- (and 1 more)
-
You guys are way ahead of me on the engines technical details but have either of you considered a simple thermosiphon cooling system? The elongated radiators on either side appear to be ideal for such a system.
- 288 replies
-
- 3
-
-
- Santos Dumont No. 18
- hydroplane
- (and 1 more)
-
For being that tiny those are some well executed cap rails, Eberhard. 🙇
-
That derrick tower is detail intense, mcb. 👍 Absolutely amazing. And the cannon.......LOL 🤣
-
You having fun makes the journey fun for those of us following along.
-
John, congratulations!
-
Eric, I thought the same thing. Ferrus started his build log fire not realizing how many ole moths would be drawn to the flame which is a testament to those in the modeling community who's interest run deep in sternwheelers and working boats.
- 56 replies
-
- 5
-
-

-
- Lindberg
- sternwheeler
- (and 1 more)
-
\ Ferrus, the flue gasses travel in a u-shape going from front to back and back to the fore to exit. Theory of design being the longer the flue gasses remained in the boiler the greater the heating capacity. IMHO the Southern Belle kit is a rudimentary example of a 19th century sternwheeler begging no forgiveness for details not accurately betrayed. It is what it is, made for the enjoyment of building the kit.
- 56 replies
-
- 4
-
-
- Lindberg
- sternwheeler
- (and 1 more)
-
Spectacular work on the rigging, Bob. Glad to see your arm hasn't slowed you down too much. Even at a little slower pace you're at least twice as fast as I am.
-
Those davits turned out great, Glen.
- 301 replies
-
- 5
-
-
-
- Constitution
- Bluejacket Shipcrafters
- (and 1 more)