
DONATION DRIVE - SUPPORT MSW - DO YOUR PART TO KEEP THIS GREAT FORUM GOING!
×


rwiederrich
-
Posts
5,519 -
Joined
-
Last visited
Content Type
Profiles
Forums
Gallery
Events
Everything posted by rwiederrich
-
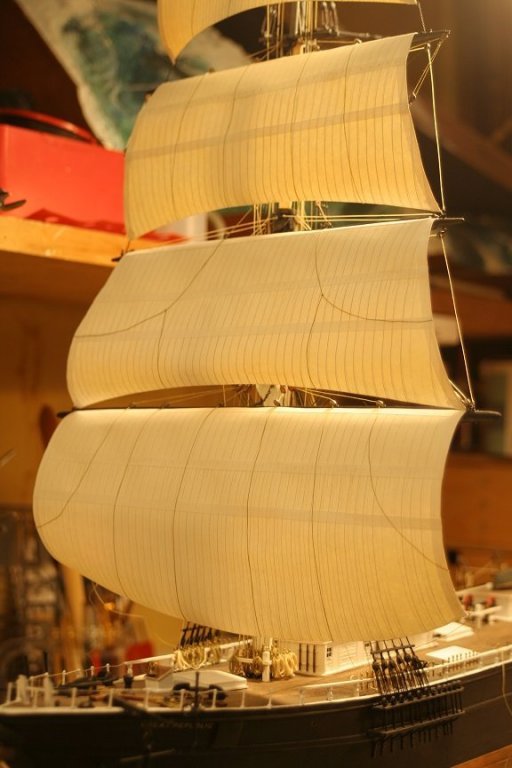
How Realistic Can One Make Sails?
rwiederrich replied to Julie Mo's topic in Masting, rigging and sails
As some know...I use plain copy paper to make sails and they work pretty well, and look very convincing too..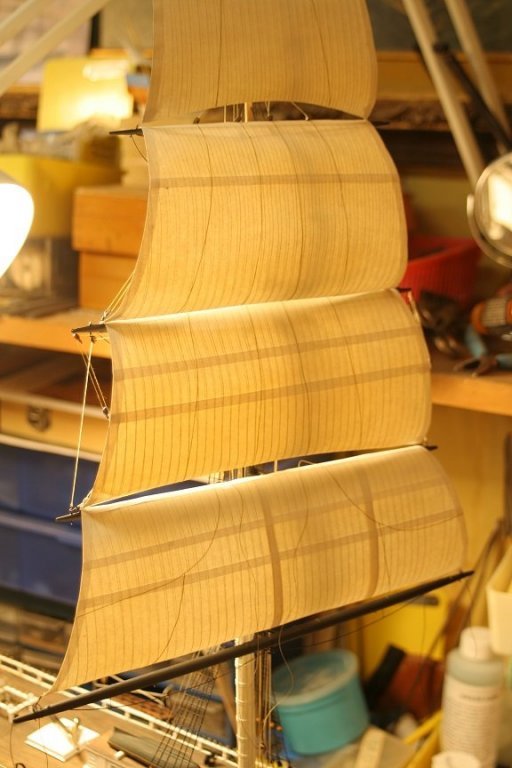
- 100 replies
-
- 10
-

-
MONTAÑES by Amalio
rwiederrich replied to Amalio's topic in - Build logs for subjects built 1751 - 1800
Its just so stunning...almost unbelievable. The effort put into the fit and finish rivals that of extremely fine furniture. How far will your efforts take you? Rob -
I've worked hard to make it so...and a great portion of its design goes to my sweet wife...who has a great understanding of special design and flow. Now to get to filling that case with a finished model...…. Thanks for the fine comments. Rob
- 1,208 replies
-
- 2
-
-
- great republic
- clipper
- (and 1 more)
-
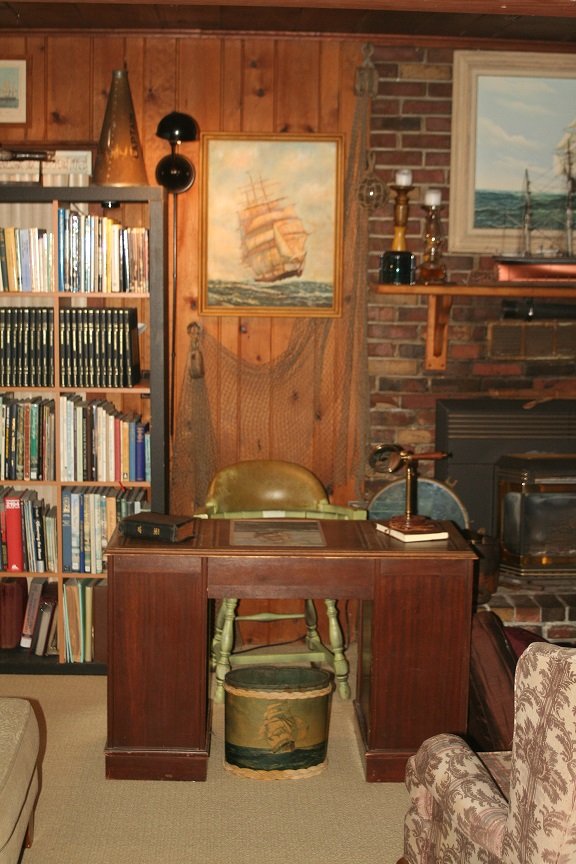
Thanks Pat. It's a big case...for a big model(and at 1/128, that says a lot). When the fire is crackling, it is so comfy nestled up on the couch with a good book and some coffee. When my mother comes to visit..she loves this room to sit and read in. Rob
- 1,208 replies
-
- 3
-
-
- great republic
- clipper
- (and 1 more)
-
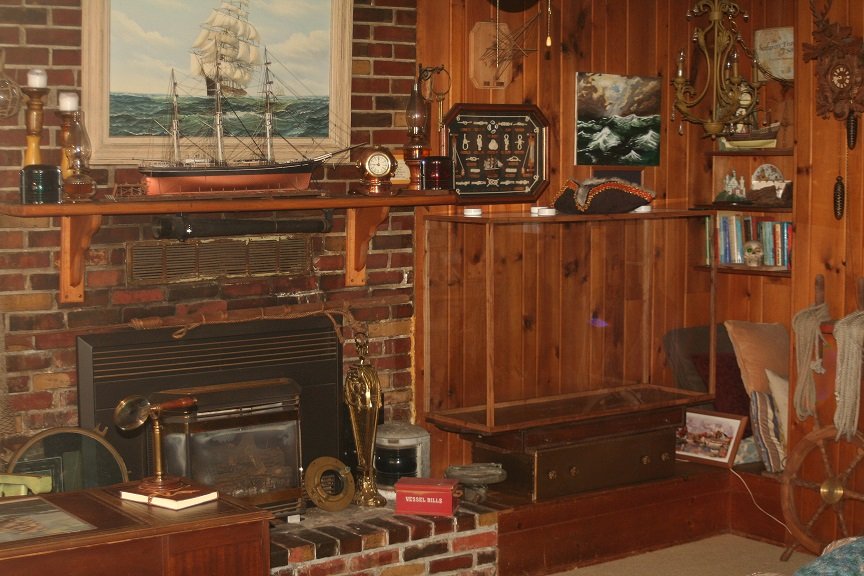
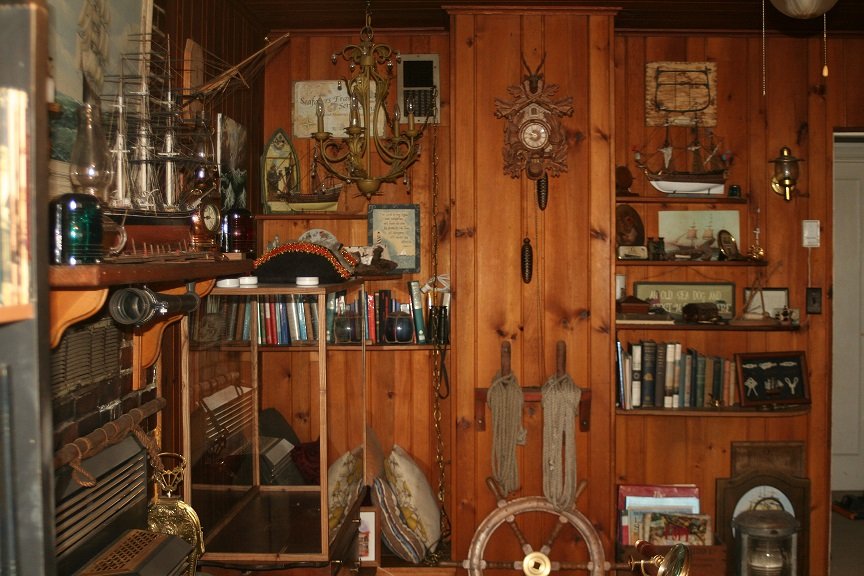
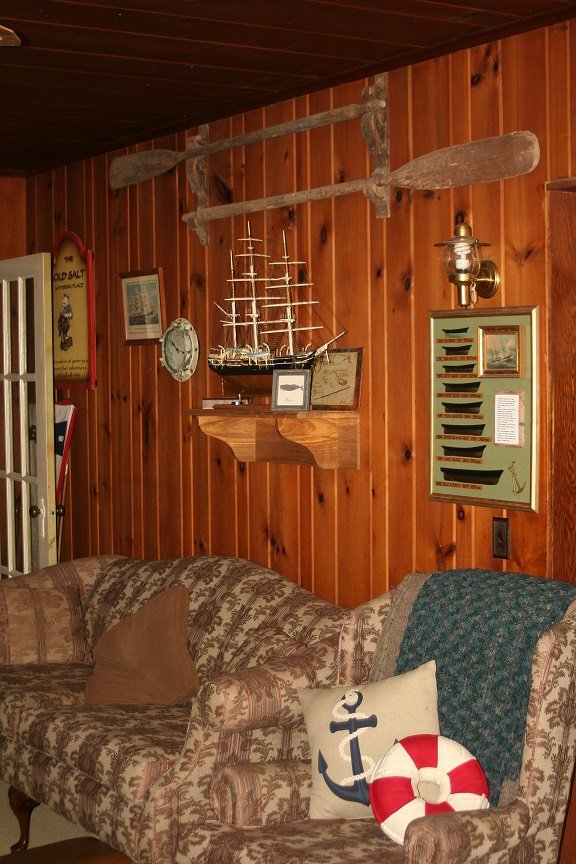
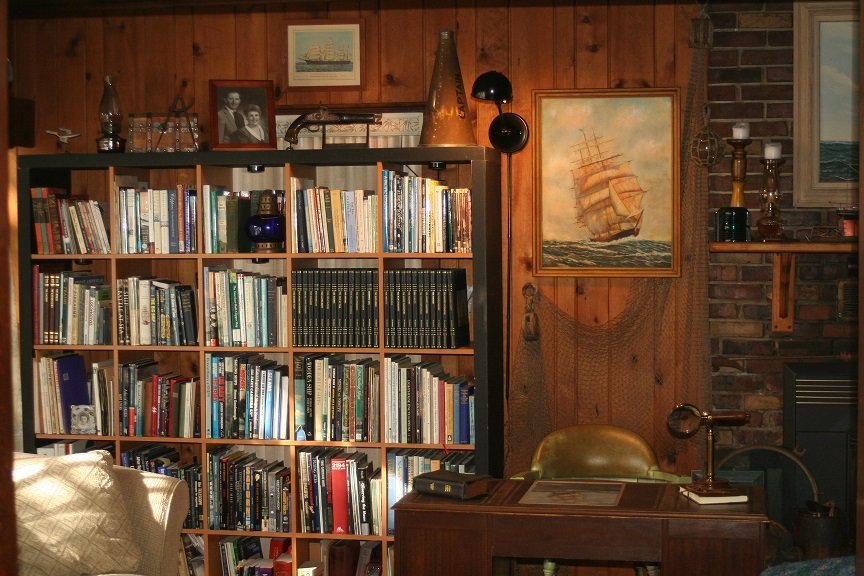
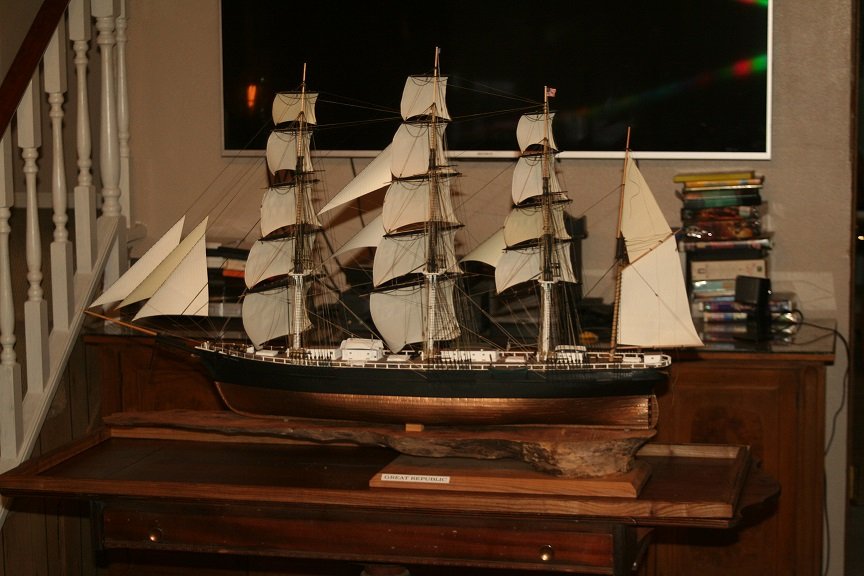
Well I built the riser for the GR case and leveled everything up too. It looks better and much taller. Now on to finishing the Great Republic. Here are some pics of the library after I rearranged a few things. Rob
- 1,208 replies
-
- 7
-
-
- great republic
- clipper
- (and 1 more)
-
Looking forward to your pictures....cuz ya know...if there ain't no pictures....*It didn't happen*. Heeheehee. Clipper fan...even though the Preussen wasn't a clipper...….she's still magnificent. Rob
-
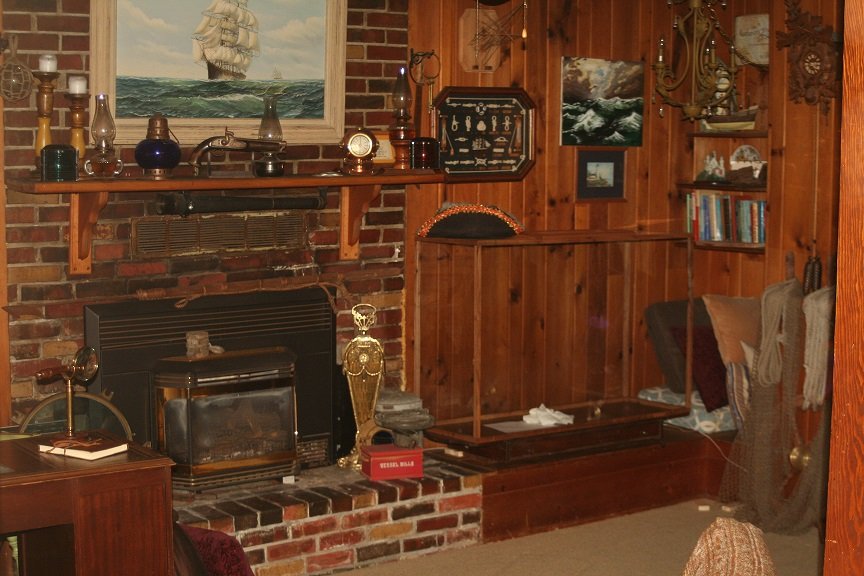
Thanks Pat. I wrestled with the new location...but there just isn't enough room to place her anywhere else...and the room is a library....not a model display room. Starting out, my collection was small and space was more or less available. But now an entire wall is a book case and as you see in the image there are built in shelves along the North wall(both sides of the old incased chimney). (Partly seen). Up until now, I haven't given to much thought about displaying the Great Republic....I just piddled along in the shop building her...always moving forward...without much planning, concerning her display. I did entertain the idea of placing her on the mantle over the stove...but she would completely block the painting...not to mention she would be there NOT in a case. Dust is always a problem and with her, it would be a nightmare to try to keep her clean. We'll get there..... Rob
- 1,208 replies
-
- 3
-
-
- great republic
- clipper
- (and 1 more)
-
NIc... .I found a painting, (Print) of the Red Jacket at a local consignment store. However, its depiction didn't show Chief Red Jacket as the figurehead, and it only flew a royal on all masts with no *Upper topsail*….just the main course, topsail, topgallant, and royal. Only four sails per mast. Question: Did the Red Jacket ever get refitted with Howes rig and fixed with a *Lower topsail* during her history? Was she ever *Originally* fitted out with only 4 sails per mast? Rob(Or is the artist simply in error?)
- 356 replies
-
- 1
-
-
- red jacket
- finished
- (and 1 more)
-
Interesting configuration. Rob
-
Pat...it will be higher. I'm currently building a pedestal that will raise it just over 8". I'm just fenagling with all the level issues that are associated with the built in. Once I correct all that, I will paint it an antique metallic color. I'll then post some pics. I figure, once the case is acceptable, then, I'll return to finishing up the model, with addition of the starboard shrouds. I'll be using those small round LED lights that you press the lens to activate...for the lighting. With them aiming down into the case. They illuminate quite well. Rob
- 1,208 replies
-
- 2
-
-
- great republic
- clipper
- (and 1 more)
-
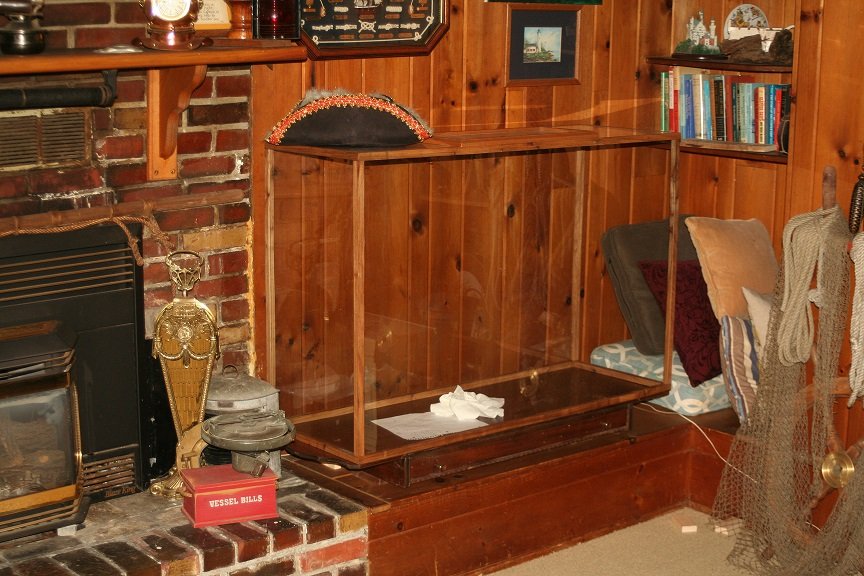
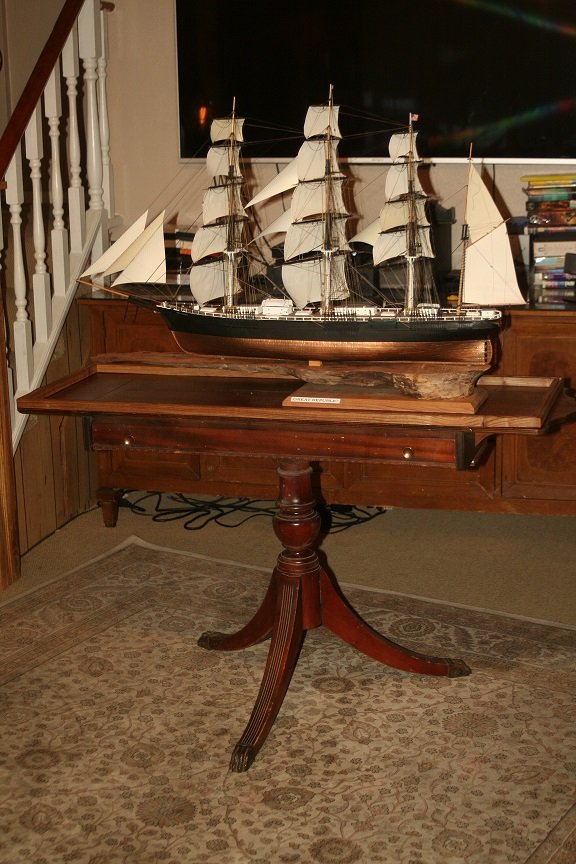
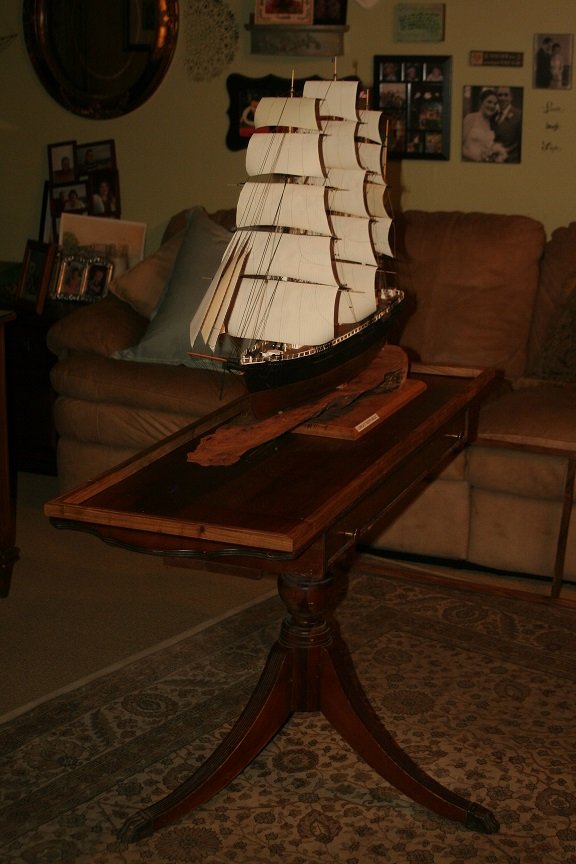
I haven't worked on the case for a while(so much family stuff going on), but I think I will build a short base to elevate it up about 7", just under the bottom edge of the stove mantle. I'll relocate some pics. Here it is simply sitting where it will be...next to the shelves in a seldom used corner of the library. The stove does not blow heat on the case...it's a relatively cool location out of the way. Rob
- 1,208 replies
-
- 5
-
-
- great republic
- clipper
- (and 1 more)
-
Oh....on the Red Jacket the sling went through the tops and over the mast cap, or through the tops and around the main mast doubling instead of bolted to the mast between the mast cheeks? Interesting. I knew many designs were incorporated, but not so sure they were incorporated on clippers. Great job. Rob
-
Super job...love it all coming together. Do you have a chain sling under the *hounds* fixed to the yard? Those little boogers can be quite a handful to get just right so the yard is parallel to the deck and the truss is perpendicular to the mast. Love it.....looks so clean. Rob
-
How we coming along Nic.....haven't seen any new posts? You must have some yards mounted. Rob
-
Yes.....I agree with both of you. I suspected it was going to take up loads of room...but when I placed it in the actual space it would occupy..... It gobbled up the space. and then just cramped the area, resulting in a complete imbalance of the room. It's not just about displaying the model, but creating a well balanced room. the place I ended up compromising.... does place the display off to the side a bit but, it doesn't overpower the space...distracting from all the other viewable items in the library. Rob
- 1,208 replies
-
- 3
-
-
- great republic
- clipper
- (and 1 more)
-
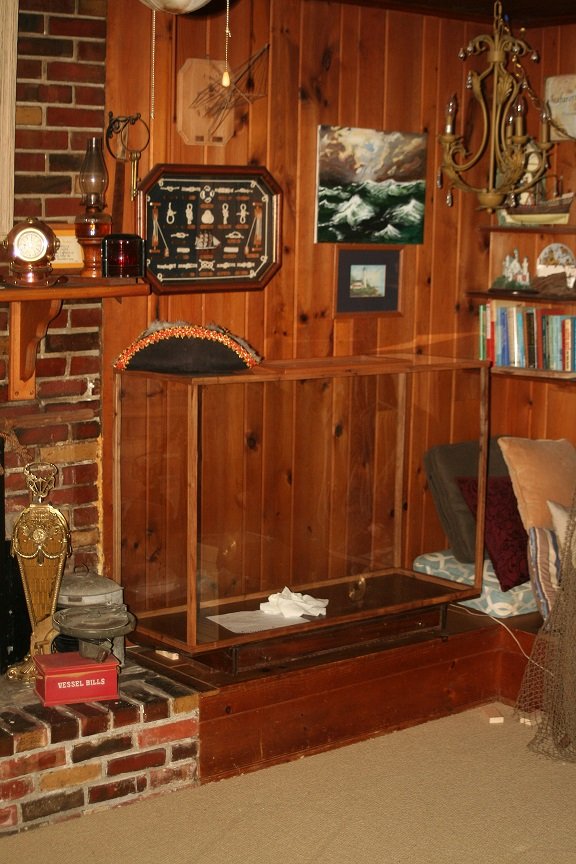
Over the last couple of days...I've had to make some considerable changes to my case plans and its location in the Library. The primary location, was to be in front of the large picture window...this devolved drastically, because the actual size of the case required that I needed to remove an entire couch from the Library(That, in of itself, was not a bad thing...but)….it left a significant unused space that looked awkward and threw off the balance of the room. I also was becoming worried about the UV issues. I then tried to place the case in the middle of the space...permitting room to view from all sides, but this proved just as awkward.... since the case is very tall it blocked clean, clear views across the space, in essence, forming a block to the flow of the room. I opted to remove the case from its 3 legged pedestal and I placed it on a short built-in to the left of the fireplace. There, it is out of the egress path within the library, as well as the room is more open and its layout flows much better. You can access the books on both the North and East walls easily as well. It is a compromise, but the space flows much better and it still serves primarily as a library.....so that is my first goal. The case is a bit lower then I would have liked, but the wall will not be totally blocked, so I can continue to display the items already mounted there. I'll post an image later. Rob
- 1,208 replies
-
- 3
-
-
- great republic
- clipper
- (and 1 more)
-
My case is built almost like the latter one you build...wonderful work. Only real difference, is mine is made from dark maple... Rob
- 1,208 replies
-
- 1
-
-
- great republic
- clipper
- (and 1 more)
-
From what I gather from my own research...is that if the lower main mast was of a composite construction...it would have been treated with varnish or painted white. Painting at the doubling or at the topmast and yards(in some cases) was also varnished. But black paint was cheaper to make and was also a good preservative. Some varnishes didn't hold up as well as black paint. I'm speaking from a non military perspective, Military vessels had historical and traditional guidelines...but I can assume...the same situations applied. As vessels progressed the iron mast and yards were painted white as well. Sometimes certain colors were the privee' of the owner or captain. I'm sure there are a number of other reasons. Rob
-
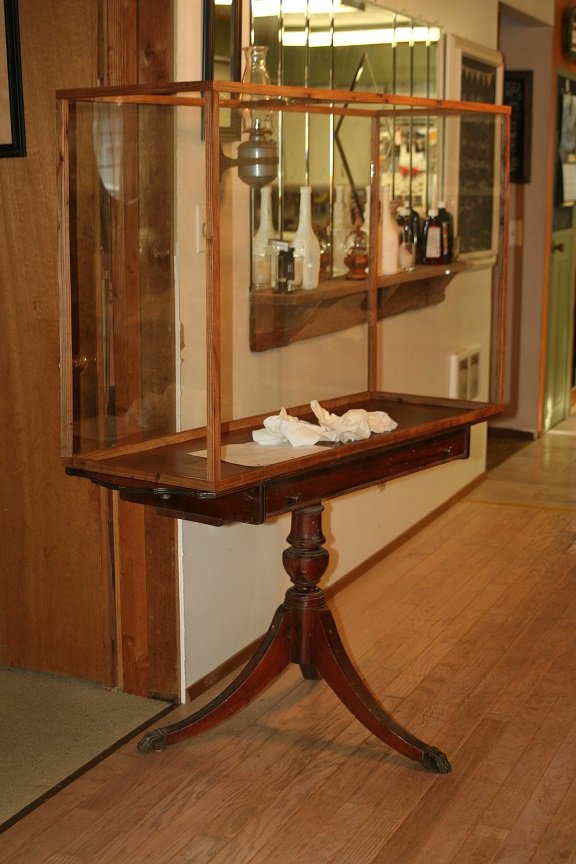
Bob.... can you take an image of that hallway case so I can see your work? Rob
-
Bob...what a wonderful explanation of your experience building your case. Actually I had the glass cut afterwords, but my measurements were accurate....and I had the glassier read back to me the measurements. I insisted on accuracy. I used flexible silicone on all the edge and bottom joints. The top merely sits on the glass with them resting within their grooves. I will(when the silicone is dry), remove the top, place the model and slide in the right side, then replace the top frame and then the glass. Once assembled I will then screw into each corner from atop, small brass wood screws to secure it. Here is a pic of the glass in place. Rob
- 1,208 replies
-
- 9
-
-
- great republic
- clipper
- (and 1 more)
-
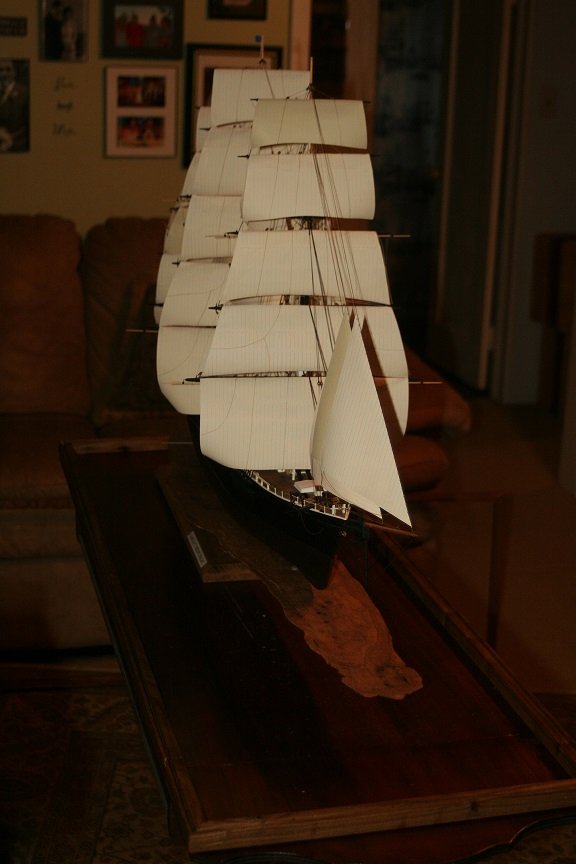
The two front and back pieces of glass will be 31 1/8" X 47 1/2" the sides are 31 1/8" X 16 1/8" and the top is a whopping 15 7/8" X 47 1/2" Bob..the case stand is quite stable. I'll be picking up the glass today and assembling the case. I will silicone the glass in place on 3 sides...allowing for the right side to be simply slid into the recesses. The top fram will sit on top with the glass placed within their recesses and then brass screws will be placed at each corner. The top glass rests in recesses cut along the inner edge of the frame. This way I can remove the top and one side so I can flip the model if need be. I test fit the model on the case bed to see how well it sits and how it is harmonized with the stand. Here are some pics with the model on the stand base. Rob


- 1,208 replies
-
- 9
-
-
- great republic
- clipper
- (and 1 more)
-
Coffee stir sticks
rwiederrich replied to Daliab's topic in Building, Framing, Planking and plating a ships hull and deck
I built a scale model of the Cutty Sark back in 1976 using those sticks....I collected from my dads work. I'll look for the pics. Rob -
Respect time and detail
rwiederrich replied to TheAuthorsDaughter's topic in New member Introductions
Hi Arina...I called Michael earlier this week to set up a time to meet...but I haven't heard from him....he's a busy researcher.... Can't wait for our meeting. Rob -
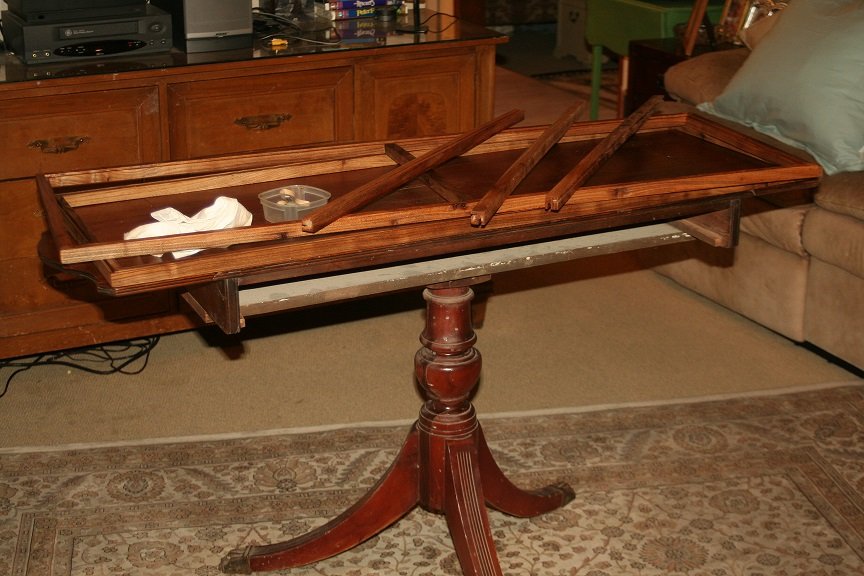
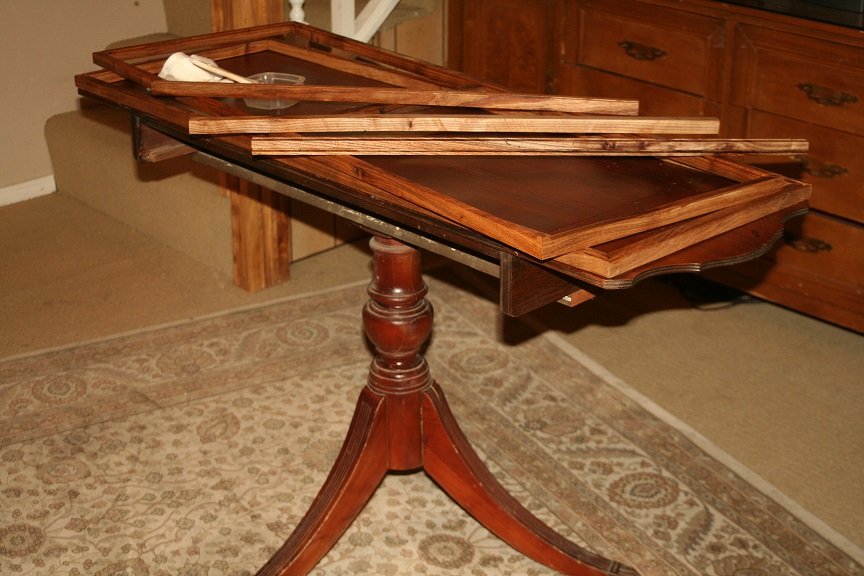
Spent some time today finishing up the woodwork for the case. Just finished laying on a coat of tung oil..... Glass shops were not open today so probably monday I will order. The drawer will be installed after the case is complete. The forth corner post is in the other room...it has decided to develop a slight bow. All this maple came from an 90 year old tree that died in my yard....it lay dry and dormant for about 5 years before I had it cut down and sectioned into 10 and 8ft legths that I had milled into 1 and 2 inch thick boards. I milled these pieces from that tree....it almost looks like walnut..so dark and knotty...with no rot. Rob


- 1,208 replies
-
- 11
-
-
- great republic
- clipper
- (and 1 more)