rwiederrich
-
Posts
5,520 -
Joined
-
Last visited
Content Type
Profiles
Forums
Gallery
Events
Everything posted by rwiederrich
-
Riiight...and in the next stage I will be adding the inner, outer and flying jibs...and those will really give the forward section a real POP. I figure I might as well finish up with the forward rigging, so that will be complete(Or near to it)....bringing me that much closer and giving me the boost I need to push on with the mizzen. Rob
- 1,208 replies
-
- 5
-

-
- great republic
- clipper
- (and 1 more)
-
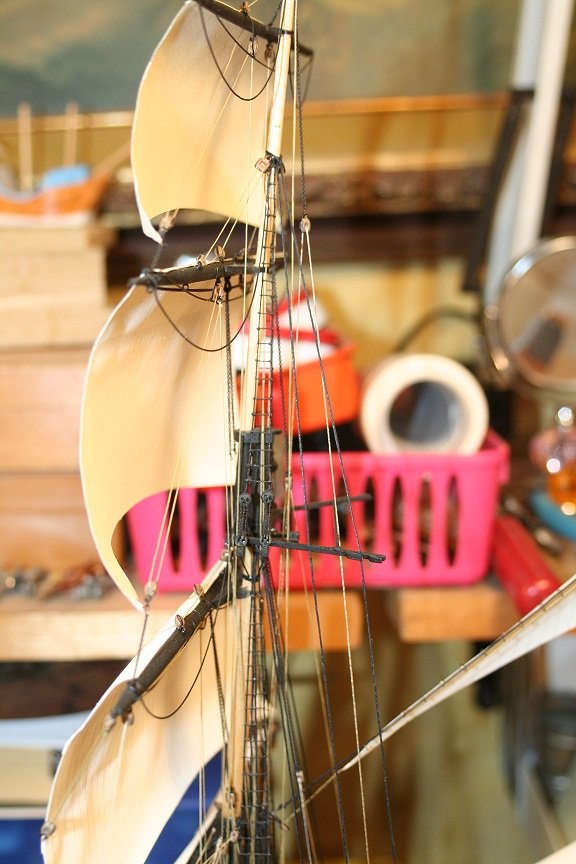
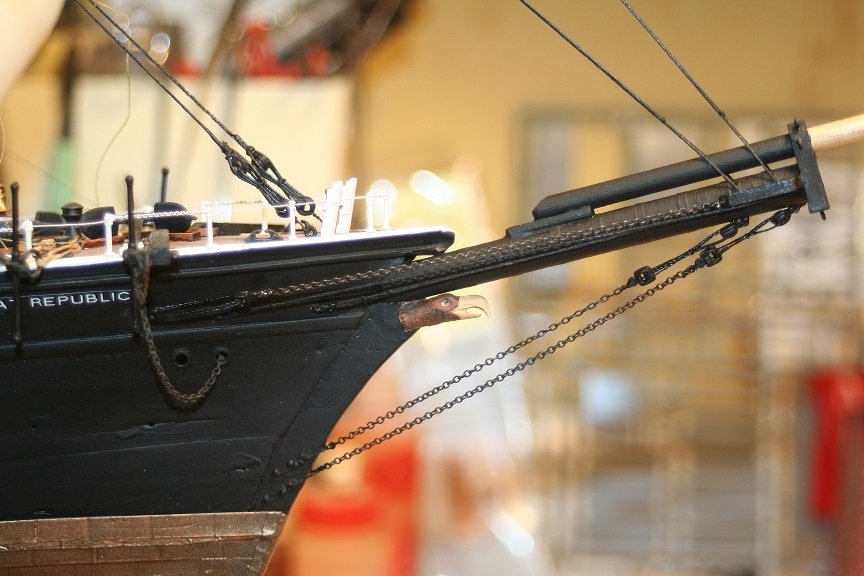
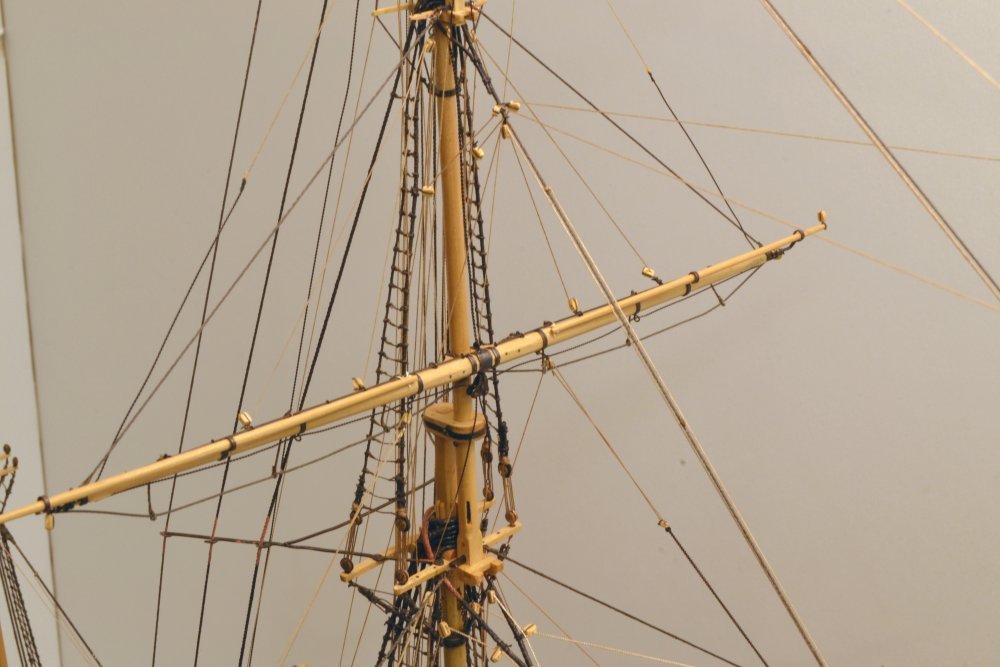
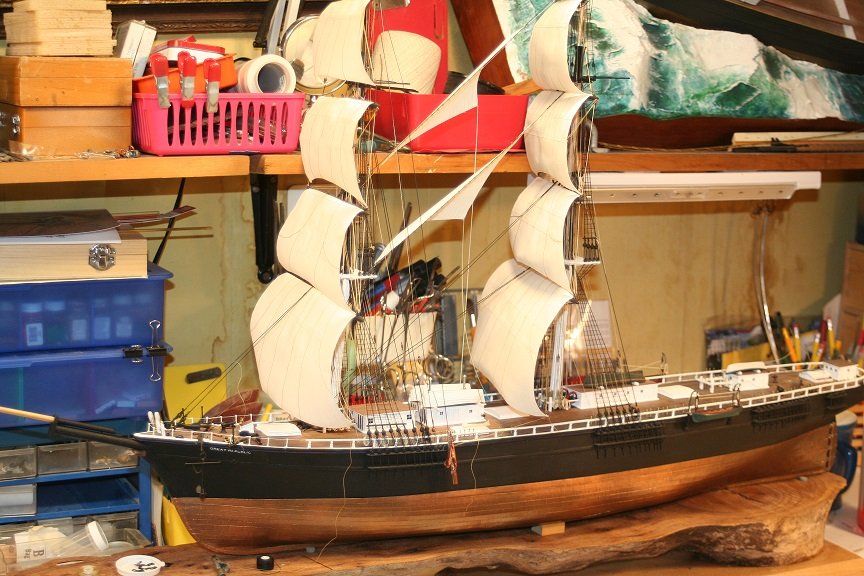
Lastly, and image of the fore mast and bowsprit coming along. Personally, I think the head rigging took the longest compared to the mast rigging..of a comparable section. I think things are looking good. Moving on. Rob (Thanks for all the likes everyone)

- 1,208 replies
-
- 9
-
-
- great republic
- clipper
- (and 1 more)
-
Dowmer...the small chain is from *Cast Your Anchor*..it is 42 LPI. comes in foot long sections. Thanks for the fine comments and likes. Rob
- 1,208 replies
-
- 3
-
-
- great republic
- clipper
- (and 1 more)
-
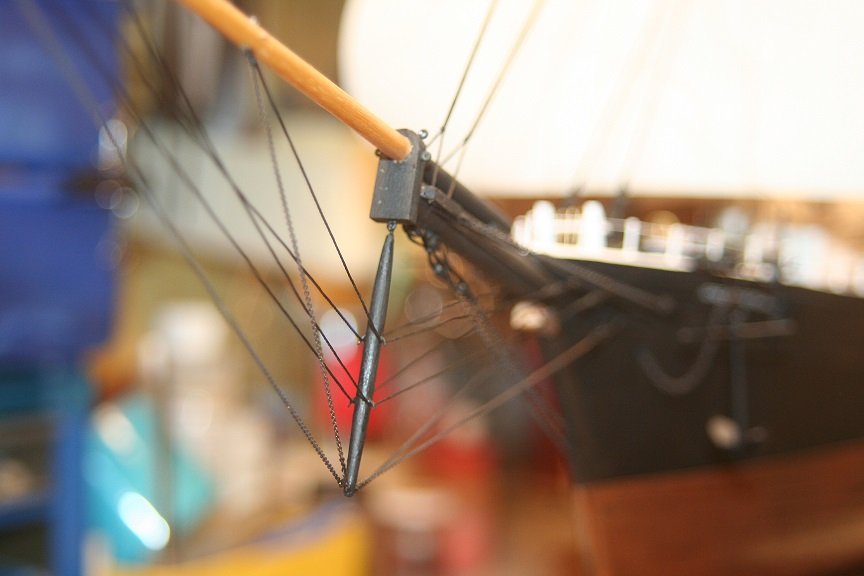
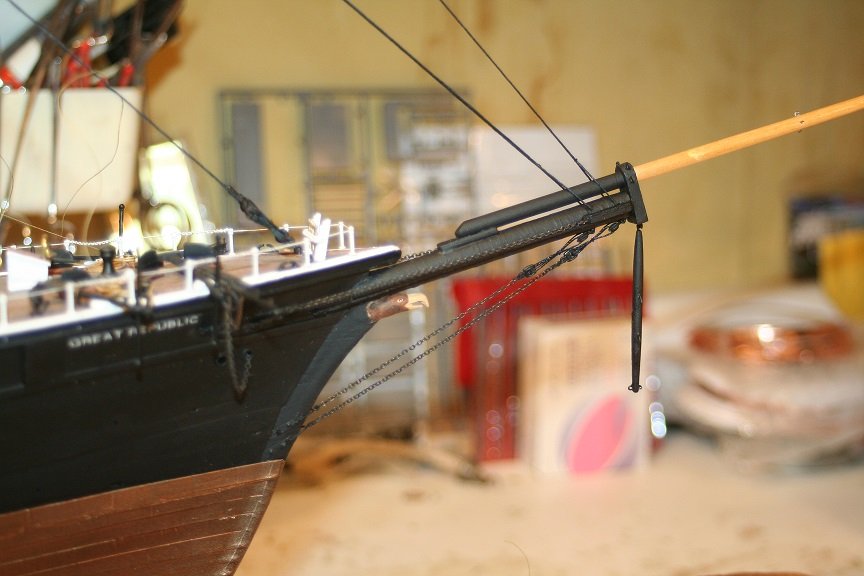
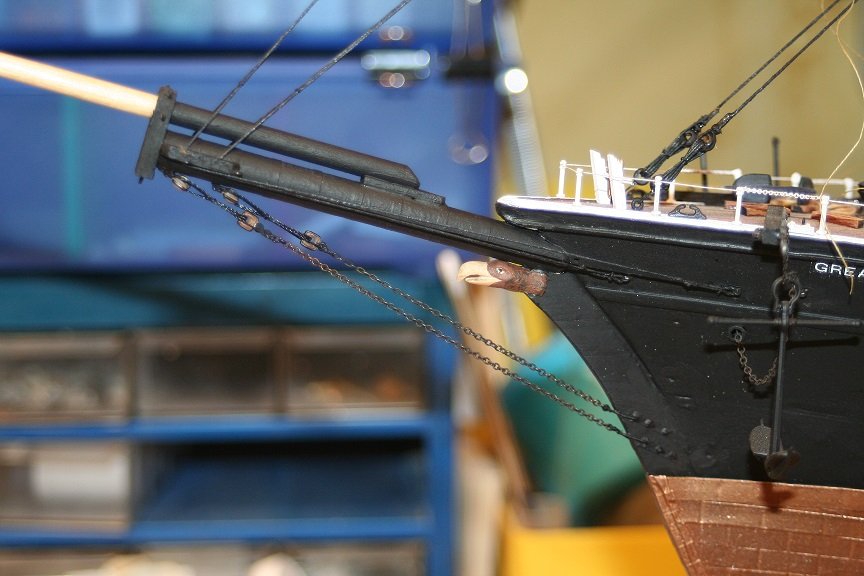
All these stays had to go somewhere...and so they did..here are some nearly finished bowsprit rigging. Still need to rig the outer jib stays that originate from the cathead and go out to the bowsprit and jib boom. Making the chain spreader for the jib boom chain stays was a magnifying project. It is less then 1/8" triangle with 3 holes for the chain. Next is the jib stays and the sails and their rigging.


- 1,208 replies
-
- 9
-
-
- great republic
- clipper
- (and 1 more)
-
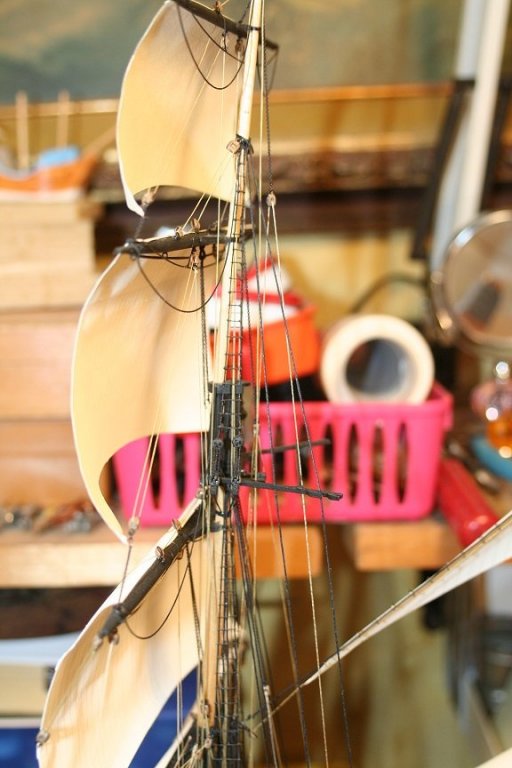
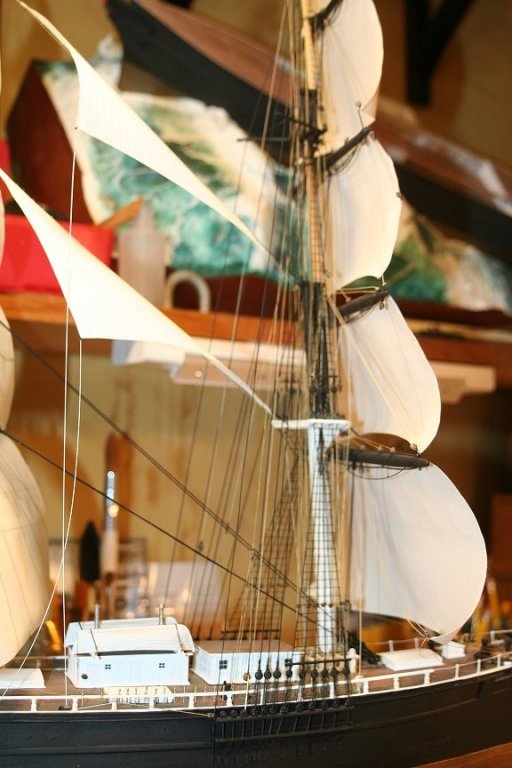
Here are some more images of the stays and heart/lanyard rigging.


- 1,208 replies
-
- 9
-
-
- great republic
- clipper
- (and 1 more)
-
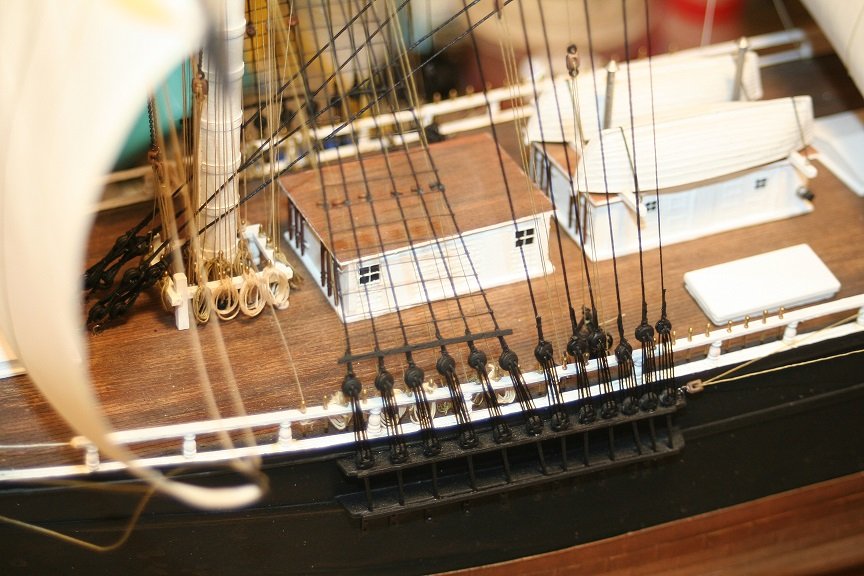
Worked on the GR today and nearly finished up the head gear. First I had to devise a method repeatable to simulate all the small hearts and lanyards for the head stays. I came up with making larger hoops and bending eyelets for the attachment of the chain and rope. These little guys were roughly 1/8". Here is one finished ready for lanyards and a stay. Its opposite had a hook instead of an eye to affix to an eye bolt on the hull.

- 1,208 replies
-
- 7
-
-
- great republic
- clipper
- (and 1 more)
-
Now I'm going to focus on the remaining head gear , spider stays...and the jib stays. I figured since the fore backstays were installed I might as well counter all that action by adding the jib stays and all the jib sails and their halyards and downhauls and associated blocks...finish up the bow...then move aft. Here we goooooooo.......

- 1,208 replies
-
- 9
-
-
- great republic
- clipper
- (and 1 more)
-
Coupled with the head gear stay chains I also added the final backstays to the fore mast


- 1,208 replies
-
- 7
-
-
- great republic
- clipper
- (and 1 more)
-
Worked on the GR for a bit....by adding the chain stays on the head gear.

- 1,208 replies
-
- 7
-
-
- great republic
- clipper
- (and 1 more)
-
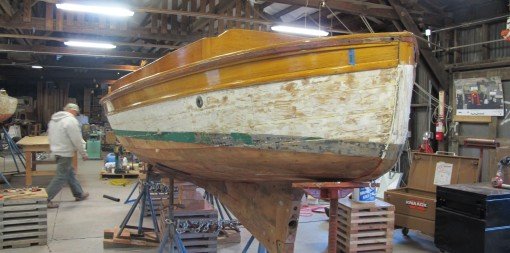
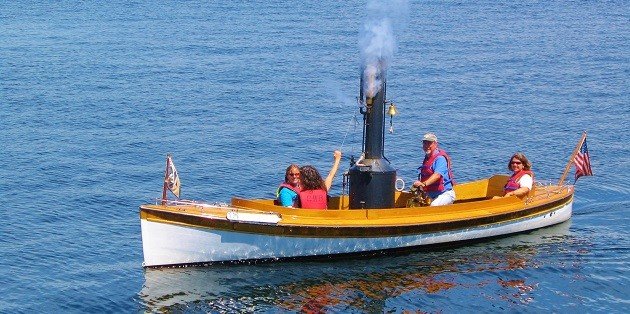
Michael...the Puffin was built in 1906 by the Truscott boat works in St Joseph MI. 21 1/2 ft long 6ft beam. In their catalog she was called a *Compromise stern*. Rob
-
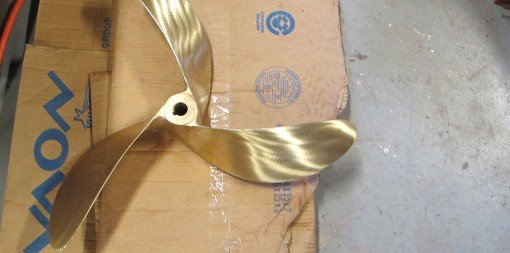
Michael...I emailed the Center to ask about drawings of her hull....waiting. I do have some images of her last refit, and a pic of her prop. Rob


-
Michael...many years ago I was commissioned to build a model of the *Puffin* for my local wooden boat association. Very similar to your Skipjack. Rob
-
HMCSS Victoria 1855 by BANYAN - 1:72
rwiederrich replied to BANYAN's topic in - Build logs for subjects built 1851 - 1900
Beautiful winches Pat. The red brake wheels surely makes them pop. For comparison..my Monkey winches were just under a centimeter....yours look fabulous. Clean and bright. Rob- 1,021 replies
-
- 5
-
-
- gun dispatch vessel
- victoria
- (and 2 more)
-
Right...bad word choice. I have since corrected my word selection. Sorry for any discomfort my ineptness may have caused. Surely one of my favorite ship logs of all time. You've accomplished so much, with such skill. Your YA is a masterful creation...I'm glad I could be part of the spectators who watched her being created from a block of wood and soldered copper fittings and some homemade scale rope. What a joyful journey. Rob
- 3,618 replies
-
- 4
-
-
- young america
- clipper
- (and 1 more)
-
I noticed before you made your THANK YOU,(correction made for accuracy sake) I had hoped you found this error along with the brace blocks, but the stay sail block too, needs to have a second block at the shroud or it needs to be relocated farther up the stay...for its line passes just over the yard (and nearly touches her now) and when the yard is raised, it too will drastically impede its motion as well. I refrained myself from mentioning this, so not to sound overly corrective, but the error is far too glaring not to make the observational suggestion. Sorry for my nitpicking. Rob
- 3,618 replies
-
- 1
-
-
- young america
- clipper
- (and 1 more)
-
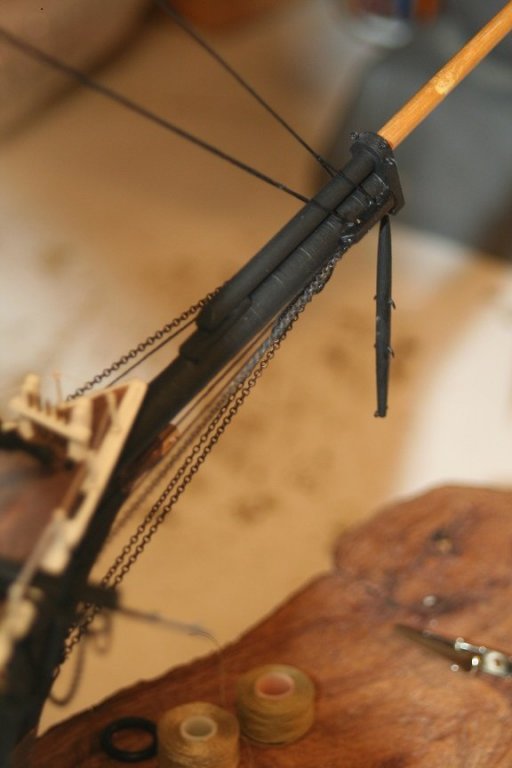
Thanks everyone for the fine condolences Added some bobstays this evening...I'll clean up the joints and add paint next time around. Rob.
- 1,208 replies
-
- 12
-
-
- great republic
- clipper
- (and 1 more)
-
Ed...magnificent work for sure. I did, however notice a discrepancy in the location of some of your brace blocks on the topgallant shrouds. The second blocks location (On the shroud) will surely cause line interference with the topgallant yard as it is hoisted up to its top resting place just beneath the futtock shroud band. I would think they would need to be raised to the uttermost footrope.
- 3,618 replies
-
- 14
-
-
- young america
- clipper
- (and 1 more)
-
Spent a few moments this morning working out the bobstay arrangement, and blackening some chain for the head gear of the bowsprit. Not much time spent today in the yard...I have to attend a dear friends funeral today. Clear skies and thanks everyone for the fine likes and comments. Rob
- 1,208 replies
-
- 2
-
-
- great republic
- clipper
- (and 1 more)
-
Yep....looking fantastic Ed. To think how much block involvement that is necessary for the braces is wild. I've planned it all out for my GR and it is very complex. I do not have the bulwark to sheave through for the main braces...so everything I do is run through blocks at the channel head and then off to the purchase blocks and belay. Great images too.... Thanks for the report. Rob
- 3,618 replies
-
- 7
-
-
- young america
- clipper
- (and 1 more)
-
And it grows...thanks for the fine compliment. Rob
- 1,208 replies
-
- 4
-
-
- great republic
- clipper
- (and 1 more)
-
As mentioned earlier...before I finish the last backstay for the foremast, I believe I will do some counter action work and begin on the jib stays... I concluded that I will probably focus now on the bowsprit/jibboom rigging and stays. It looks like a simple small project in of itself....making the entirety of the build go by much faster. Once the jib stays and head gear are finished....I'll refocus and again begin working on the mizzen mast again. It just seams as the build evolves, to be the most logical direction to go. It's funny, with this particular build, the off model techniques I have adopted have actually reestablished the approach I have taken to what was once a routine process of progression....and made it more flexible, far less typical. One process, leads or distracts from the next needed move. Rob
- 1,208 replies
-
- 4
-
-
- great republic
- clipper
- (and 1 more)
-
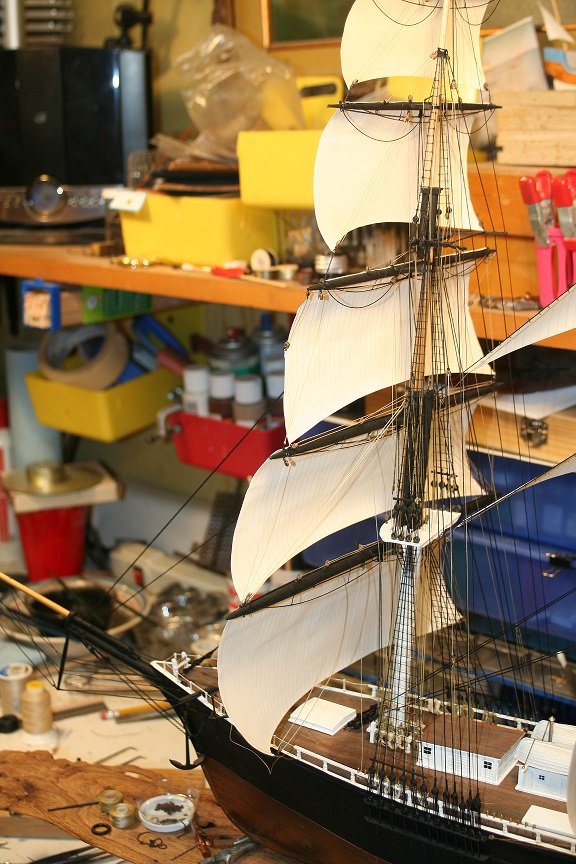
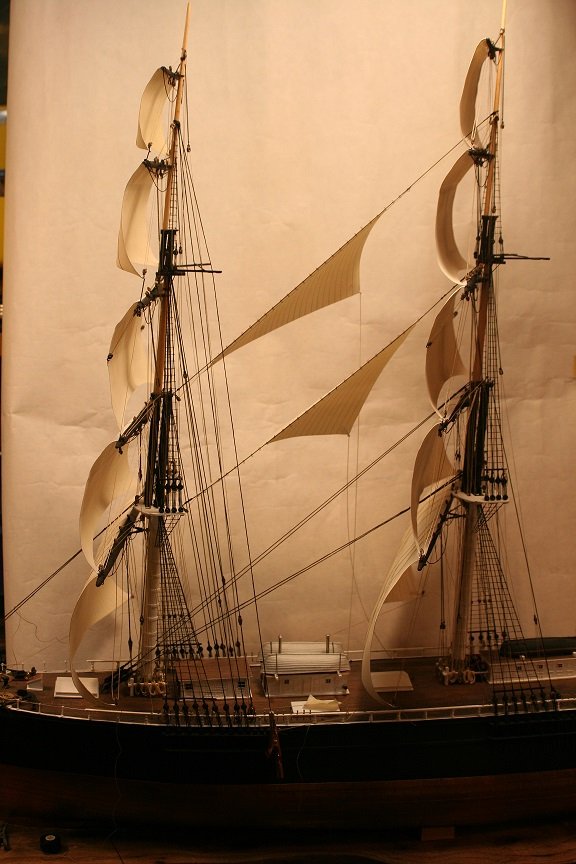
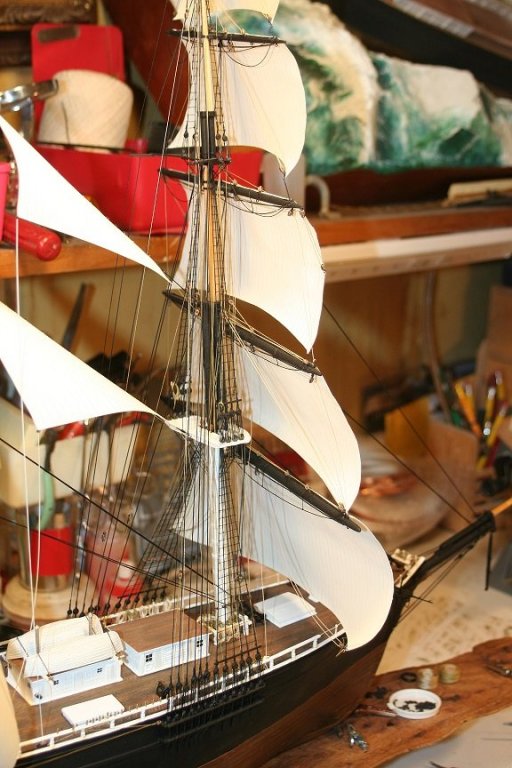
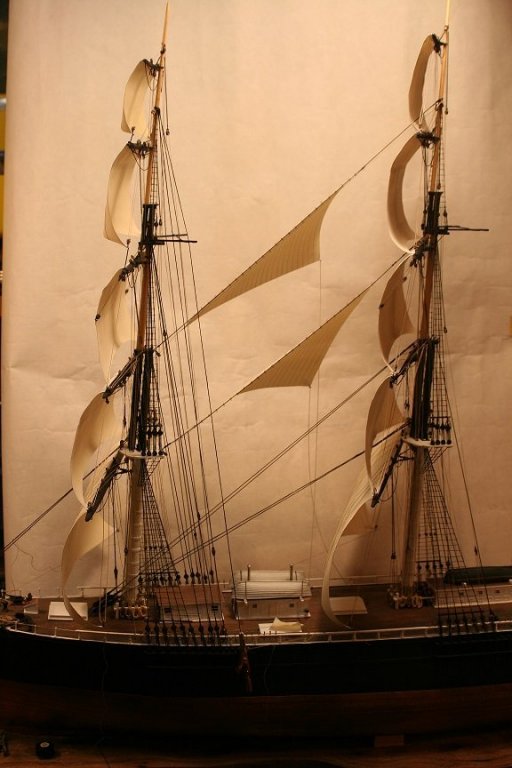
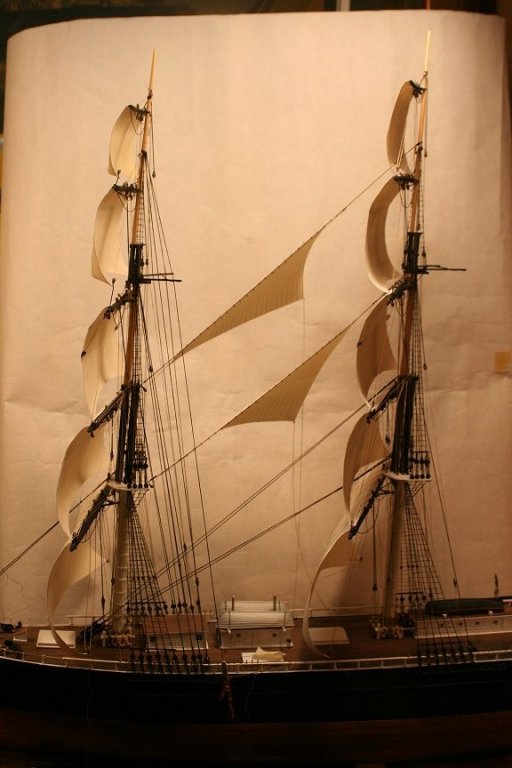
A few more with a white background to help identify the backstays.
- 1,208 replies
-
- 11
-
-
- great republic
- clipper
- (and 1 more)
-
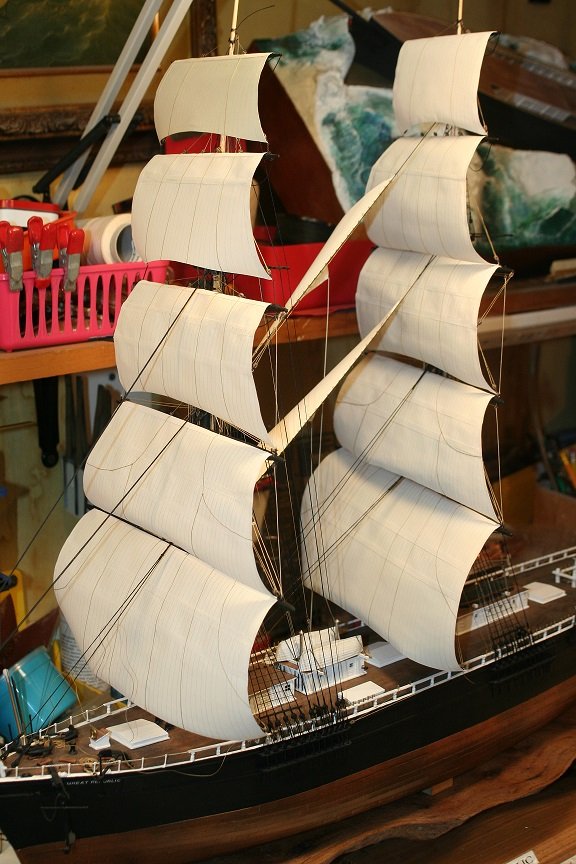
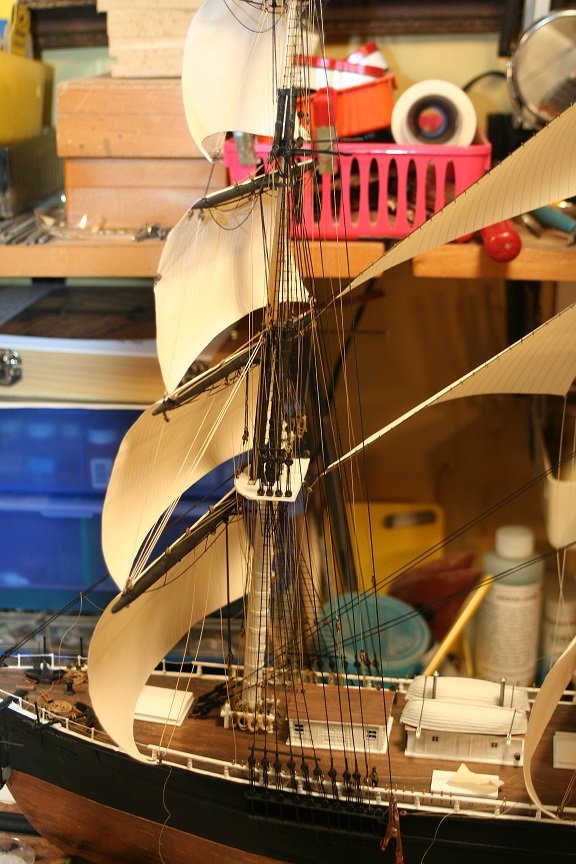
Some pics of the addition of some backstays.......just a few more to go...but before I add the last one I will begin to add the jib stays...since I finished the mods to the bowsprit/jibboom.


- 1,208 replies
-
- 11
-
-
- great republic
- clipper
- (and 1 more)