
Supplies of the Ship Modeler's Handbook are running out. Get your copy NOW before they are gone! Click on photo to order.
×

Jim Rogers
-
Posts
1,381 -
Joined
-
Last visited
Reputation Activity
-
 Jim Rogers reacted to wefalck in Cutting Planks
I also had the issue with disc sanders taking off too much too quickly and made myself a little sander that allows to sand plank ends square and at angles:
I also constructed a miniature disc sander around a surplus watchmakers lathe. It is powered by a relatively slow-speed motor with controller. In this way the grinding process can be controlled better. For grinding I use either cheap diamond grit discs or flat discs with fine sandpaper glued on.
-
Jim Rogers reacted to Chuck in Medway Longboat 1742 by Chuck - FINISHED - 1/2" scale
I did finally finish the nailing of the external planks. That took a long time. My advice would be to really consider how long it takes to drill all of those holes and insert the 10 pound black fishing line. I think its quite worthwhile but once you commit to it you have to follow through and do it to the entire model. So think it over first.
Once that was done, I could work on the inside...finally. The photos below show the floorboards and platforms in position. The floorboards are a bit different than you might be used to. This is the way they are made on the contemporary model and I actually found some original drafts of longboats that show them this way as well. Its very interesting and I think its a nice detail to add to make this longboat model a bit unique and different from other kits of the same subject matter.
It may be hard to tell from my photos but the center plank and two outside planks of the floorboards have a rabbet along their edges. Normally I would scrape these details into the planks but Yellow Cedar doesnt scrape well. So instead I made these three floorboards in two layers. They are all pre-spiled and laser cut. The finished thickness for the floorboards is 1/16". So two 1/32" layers were used. They were glued together to leave the rabbet on both sides although the outside planks of the floorboards only have a rabbet on one side. You guys will see this on the plans. Once completed I marked the locations where the frames would be so I could add the simulated nails before I glued the floorboards on the model. See below.
The thinner floorboards were easy enough to glue into position. Its the wider boards that were a bit tricky. These are 1/16" thick as mentioned and because they are quite wide it was more difficult to pre-bend and glue into position. Should anyone have trouble with this there are other solutions. You could make these out of two layers of 1/32" stock like the other floorboards and glue each layer into position separately. They would bend more easily that way. You could also convert the wider floorboards into two thinner strips too.
The platforms were pretty straight forward. Each of the pieces are laser cut and after gluing them together edgewise they are ready for test fitting. I also ran some 1/16 x 3/16" strips across the bottom of the platforms to give it strength. Probably just like they do in real life. I also added one of these across the flat edge of each platform which will show so take your time with this. The platforms were nailed off the model as well.
A look at the bottom of the aft platform...it aint pretty, but it doesnt have to be. One feature not laser cut into the platforms are the notches for each frame. Everyone's model will be slightly different as they may shift. So you must mark there locations and file the notches before final placement can be finished. Its not hard to do. You may want to trace each platform on some card stock first and locate the notches that way as an alternative. Then transfer them to your cedar versions. The bow platform is a bit trickier because of its location. So I recommend that you do make a card templete first and transfer it to your glued up version. I made the pieces for the bow platform over-sized to compensate for the wide variety of bow shapes everyone will have. But you can see how mine look ad are shaped. Note how the notches are also beveled so they sit nicely against the frames. This is something you will need to do as well. The bow platform is done exactly the same way.
A look at the contemporary model.
-
Jim Rogers reacted to Cathead in USS Constitution by Ozark - Revell - PLASTIC - Scale 1/96
Regarding the warped yards, if you struggle to get them straightened out, you might consider replacing them with wooden dowels that you sand to the proper taper. Could be something to consider for the masts, too. One problem with plastic masts/yards is that they bend pretty easily under tension, meaning it can be hard to get the rigging right without deformation, whereas wood is a lot less flexible. Looking forward to your progress on this.
-
Jim Rogers reacted to lmagna in USS Constitution by Ozark - Revell - PLASTIC - Scale 1/96
Another thing about repairing the quarter window and replacing the yardarms is that you get some experience in scratch building and working in wood. Both of these things will help in your next build if you transition over to the dark side and build your next ship from a box of expensive wood strips or even worse, full scratch!
-
 Jim Rogers got a reaction from lmagna in USS Constitution by Ozark - Revell - PLASTIC - Scale 1/96
Don’t sell yourself short. It is easier than it looks. Just find the correct size replacement, clean up damaged site. Fit replacement and glue it. If you can’t find the exact correct size, remove it all and replace it on both sides.
-
 Jim Rogers got a reaction from BETAQDAVE in Mayflower by captgino - FINISHED - Model Shipways - 5/32 Scale
Think that is pushing it but good luck. The fastest I have ever built one was 6 months and that was 6 hours a day 7 days a week.
-
 Jim Rogers got a reaction from el cid in USS Constitution by Ozark - Revell - PLASTIC - Scale 1/96
Don’t sell yourself short. It is easier than it looks. Just find the correct size replacement, clean up damaged site. Fit replacement and glue it. If you can’t find the exact correct size, remove it all and replace it on both sides.
-
Jim Rogers reacted to albert in HMS ANSON 1781 by albert - 1/48 - 64 guns
Hi, I finished cutting all the square frames pieces.
-
Jim Rogers reacted to Dowmer in Cutting Planks
Shawn, if you are talking about the short pieces between the gun ports, I cut them slightly long, then install them on the ship. The plank will protrude into the gunport slightly. Once all the planks are installed for that side of the port, I then use a small fine file. With careful strokes I file it flush being sure to keep the file 90 degrees to the side. Depending on the size I can also use a very sharp xacto blade or scalpel to trim if needed until the blade is held flush against the side of the gunport frame. I hope that makes sense?
-
 Jim Rogers got a reaction from Fright in USS Constitution by Ozark - Revell - PLASTIC - Scale 1/96
Don’t sell yourself short. It is easier than it looks. Just find the correct size replacement, clean up damaged site. Fit replacement and glue it. If you can’t find the exact correct size, remove it all and replace it on both sides.
-
Jim Rogers reacted to Fright in USS Constitution by Ozark - Revell - PLASTIC - Scale 1/96
Ozark - don't feel too bad about that window, on my ship, a section of plastic was missing by a gun port. Like JimRogers mentioned, it can be fixed by using styrene plastic to mend. I recommend running a good strip of tube glue all along the inside seam of the hull to strengthen it. When it comes time to install your decks, you do not want to take the chance of having the hull open up. Depending on how you approach the three-piece gun deck , you may want to glue some styrene plastic sheeting underneath the seams of the deck to prevent them from opening up as well. Here is my hull and display stand. Note: the deformity on the 6th gun port from the stern. I thought this was the way it looked LOL I had to repair it and it was not easy at this point. Those subtle things that pop up as we go! I wish you smooth sailing on this adventure and I'm following along.
-
Jim Rogers got a reaction from Fright in USS Constitution by Ozark - Revell - PLASTIC - Scale 1/96
You can fix that break. Get some plastic strips that size at your local hobby shop and replace the break.
-
Jim Rogers reacted to captgino in Mayflower by captgino - FINISHED - Model Shipways - 5/32 Scale
First planking starting...
6 on each side. Some cleanup needed but overall ok.
-
Jim Rogers got a reaction from lmagna in USS Constitution by Ozark - Revell - PLASTIC - Scale 1/96
You can fix that break. Get some plastic strips that size at your local hobby shop and replace the break.
-
Jim Rogers got a reaction from Fright in Halifax by Tjalle58 - Constructo - Scale 1:35
A little sanding will get that fit fixed. Many kits have these sort of issues. Look at it as a learning experience and a exercise in problem solving. A problem solving gift that keeps on giving. You’ll get through it just keep a lot of sand paper and #11 blades on hand. Just yesterday I was attaching pre shaped planking to the side of a small boat kit and as I cut a piece loose I launched that sucker into the parts black hole that seems to exist in my shop. Had to make a new piece. Ten years ago I just would have thrown it in the fire but each kit and it’s associated issues and solutions really helps. Have fun with it.
-
Jim Rogers reacted to barkeater in Coiling Lines Option
Another trick you can use is double sided tape. Stick one side to your work surface and the coil your lines using the sticky tape to keep in place. You can the use watered down white glue to fix the coils. Let it dry and remove from tape. I used this method to get the coils next to the canons in this picture.
-
Jim Rogers reacted to bear in Cheerful binnacle
Ahoy Mates
Just less than a week from the Model Show here in Portland,Oregon next Saturday. I will be completing my Cheerful build in the next two days!!! It will be nice to have it completed 5 days from the Show. Here's my last build for the Cheerful. A binnacle out of swiss pear from a photo of one on a boat in the Manatoba Maritime Museum thanks to someone here posting to my question about binnacles for the Cheerful.And to Chuck for his drawing also. Pickels had to help since he wants his 3/4 of the desk space that this model has taken up for months now. He's yelling at me to work faster.
I hate to finish it up now since it's been a great build and having learned a lot building it.
Keith and Pickels
-
 Jim Rogers got a reaction from Elijah in Mayflower by captgino - FINISHED - Model Shipways - 5/32 Scale
Think that is pushing it but good luck. The fastest I have ever built one was 6 months and that was 6 hours a day 7 days a week.
-
Jim Rogers reacted to vossy in Chaperon by vossy - Model Shipways - 1:48
Ok, so I was given this kit as a present last Christmas and have so far resisted the very strong urge to start it whilst I am still completing my current project, which can be found here - https://modelshipworld.com/index.php?/topic/17564-mississippi-1870-riverboat-by-vossy-sergal-150/&
Given the stage I am at with Mississippi, and deciding I needed a really good birthday treat, I thought I may as well make a start. I will be finishing the aforementioned model in conjunction with this build, but as they are so obviously now at very different construction points I thought it might break up the monotony of one build with something fresh.
There are a number of really great build logs of the Chaperon on this site, and trust me I will be getting as much info as I can from all of them as I proceed. The one thing I noticed however was that not one of them did a "what's in the box" type introduction. So by way of a start, here's a look at what you get for your $$$$'s
Minimal box art, but it tells a brief history of the vessel, and more importantly, the model specs.
Parts list and instructions are first rate I reckon. All in English and easy follow. Plan sheets are full size, and thus very large. I haven't photographed every individual sheet, but I hope you get the idea.
The lifeboats are metal; which I don't really like, but I figure with a nice cover they will come up ok on the finished model.
There are many laser cut boards of various sections of the boat. I will get to this later in another post, but one thing I have noticed is an excessive amount of char on the parts once they are removed from the board. The parts themselves seem to be of very good quality otherwise, but it is necessary to remove the char before gluing.
Also on this model you have to hand paint the name. It is slightly etched into the panel, so hopefully it wont be too much drama.
One thing I don't like however is the pre-scribed decks. I love the way random planks show the different grain patterns of timber side by side. unfortunately with these you don't get that contrast. Also I don't like 100% uniformity on wooden vessels of any age. In my opinion there would have been a lot of difference from one plank to the next. Also, these scribed planks have no length. I will deal with that when I get to that stage.
The kit has a very nice sheet of P.E. to do the fancy bits. My particular box was shipped in extremely good condition and the sheet was perfectly flat upon opening. Nothing worse than opening a box to find bent P.E.
I did a fairly detailed inventory of the supplied wood for hull planking etc. Seems to all be in very good condition and of a high standard. Also, I cant see that I have been short changed on the amount of any. Though, this kit is not as generous as the Sergal Riverboat Kit when it comes to materials. Something i'm not overly keen on is the solid dowels for the chimneys, but again, I will deal with this when I get to that point.
And finally you get this long brass, very fine rod in this cylinder. Have no idea what its for yet, but it's packaged well!
So that's the box contents. Hope it was of use to some who maybe might be thinking of building this boat.
Cheers
Chris
-
Jim Rogers got a reaction from lmagna in Halifax by Tjalle58 - Constructo - Scale 1:35
A little sanding will get that fit fixed. Many kits have these sort of issues. Look at it as a learning experience and a exercise in problem solving. A problem solving gift that keeps on giving. You’ll get through it just keep a lot of sand paper and #11 blades on hand. Just yesterday I was attaching pre shaped planking to the side of a small boat kit and as I cut a piece loose I launched that sucker into the parts black hole that seems to exist in my shop. Had to make a new piece. Ten years ago I just would have thrown it in the fire but each kit and it’s associated issues and solutions really helps. Have fun with it.
-
 Jim Rogers got a reaction from Tjalle58 in Halifax by Tjalle58 - Constructo - Scale 1:35
A little sanding will get that fit fixed. Many kits have these sort of issues. Look at it as a learning experience and a exercise in problem solving. A problem solving gift that keeps on giving. You’ll get through it just keep a lot of sand paper and #11 blades on hand. Just yesterday I was attaching pre shaped planking to the side of a small boat kit and as I cut a piece loose I launched that sucker into the parts black hole that seems to exist in my shop. Had to make a new piece. Ten years ago I just would have thrown it in the fire but each kit and it’s associated issues and solutions really helps. Have fun with it.
-
 Jim Rogers got a reaction from Dali in Halifax by Tjalle58 - Constructo - Scale 1:35
A little sanding will get that fit fixed. Many kits have these sort of issues. Look at it as a learning experience and a exercise in problem solving. A problem solving gift that keeps on giving. You’ll get through it just keep a lot of sand paper and #11 blades on hand. Just yesterday I was attaching pre shaped planking to the side of a small boat kit and as I cut a piece loose I launched that sucker into the parts black hole that seems to exist in my shop. Had to make a new piece. Ten years ago I just would have thrown it in the fire but each kit and it’s associated issues and solutions really helps. Have fun with it.
-
Jim Rogers reacted to Vinnie in HMS Bounty by Vinnie - Mamoli - 1:65 scale
Hello mates! Again over due for an update! The last few weeks having hectic and events have run away...in the time since my last post I went down to Sydney and visited the Endeavor replica and the James Craig...thoroughly enjoyed myself. And then went on an ocean cruise to the pacific islands. Again...had another nautically themed great time 😁...the admiral apparently enjoyed the cruise more though.
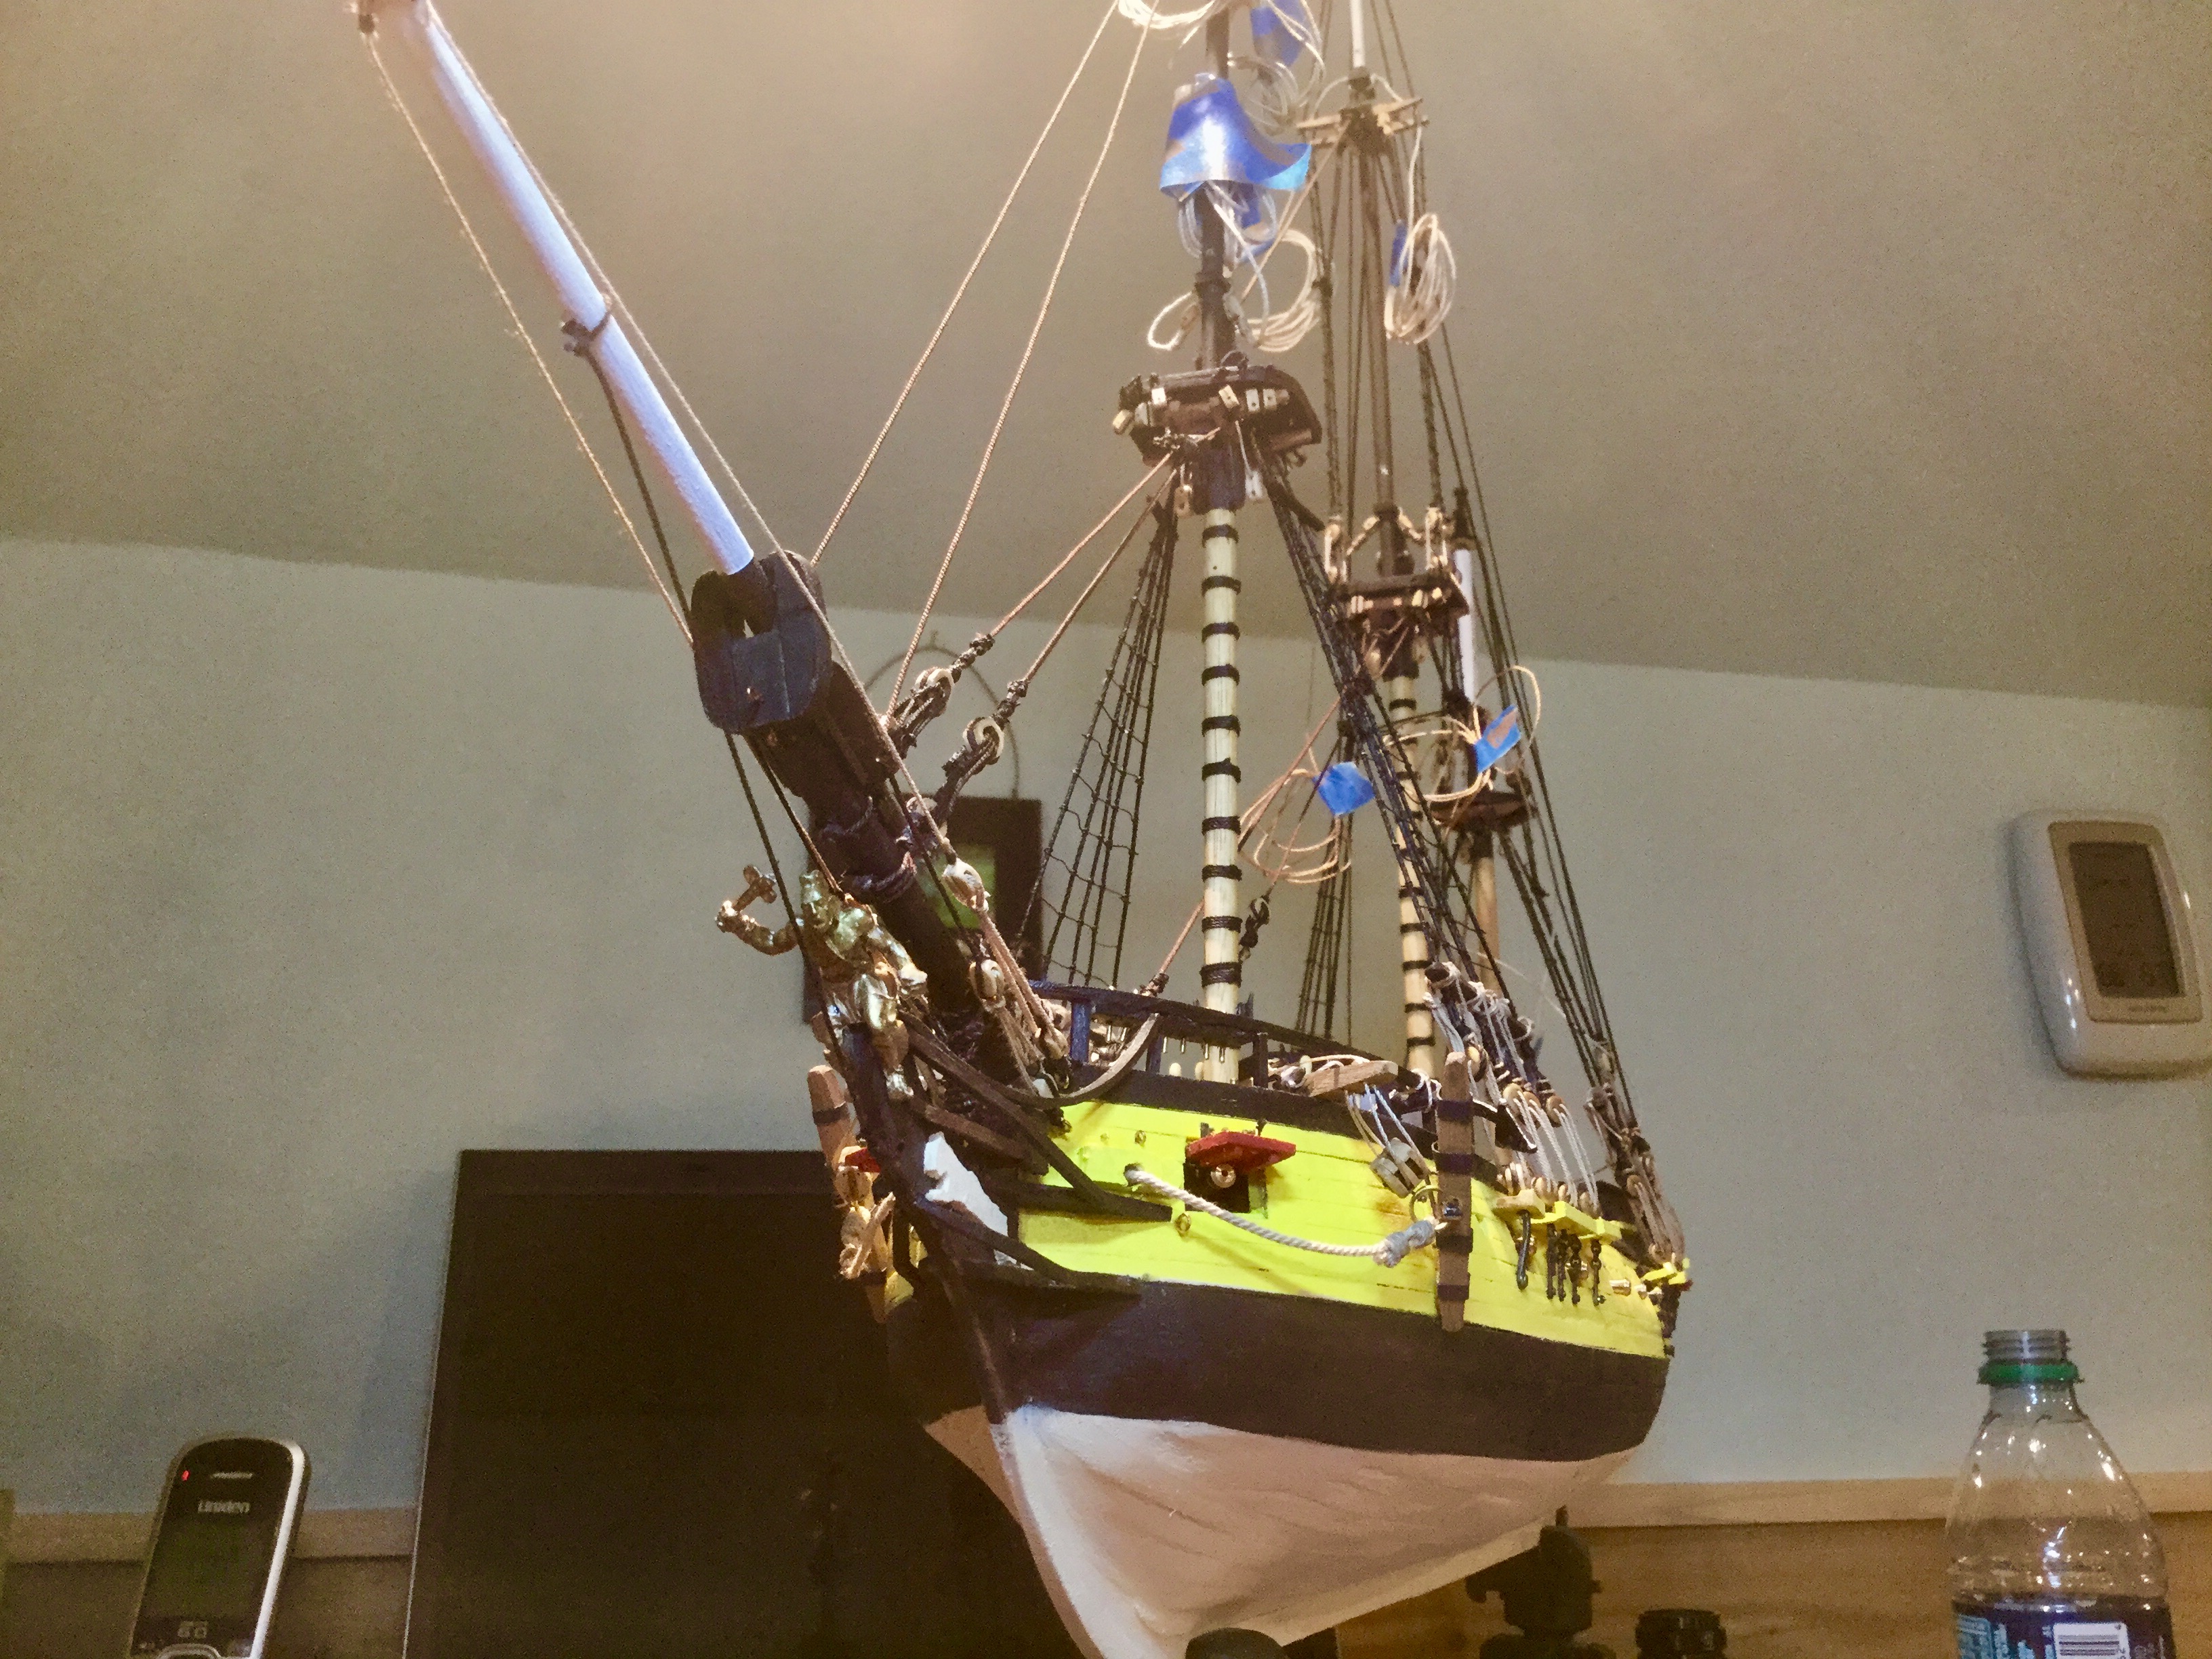
This is how she looks from afar...
So, up has gone the main and mizzenmast. Then attached the shrouds then attached the the catharpins as a bit more detail...a pretty simple story really. But I time consuming one also... other than that all I can say else that I’ve done is blacken some nails on the deadeye chains and attach blocks, blocks...and more, you guessed it...blocks! Can also see in this above photo the results of my serving machine! And if you spot the difference from my last lot of photos...the Bounty launch is gone. I thought it was a tad ugly. Needed some touch up and maybe a second launch also. Anyway...orderd some 🚣 from modelers central...will see how I go!
Next onto onto some various other blocks. And then some futtock shrouds...can’t wait to get stuck into them! Hopefully I’ll post photos of them soon! 😁
Looking forward to any constructive criticism or comments!
-
Jim Rogers reacted to Vinnie in HMS Bounty by Vinnie - Mamoli - 1:65 scale
Well hello all my fellow ship masters 😁! It’s been a few days and I may as well show you all where I’m up to! Working on the furniture on my bounty has been time consuming but very enjoyable. I regret not taking more step by step photos of my progress to talk about challenges I’ve encountered. But i will show you what I have taken First I attached the belay pin rack at the bow bulwark. Then I fitted what my plans refer to as “bitts” which I found amusing because my plans usually use exotic nautical terms to describe every piece of my boat so far. These “bitts” refer to the the 2 support poles right on top of the bow bulwark, that the bowsprit will wit between once installed. Then it came time for the cat davits (the sturdy wooden poles for the anchors) I struggled to find an accurate way to install them to match the exact same angle of the plans. So went out and bought an angle finder and measured the exact angle off the plans and then rubber banded it to the deck. This is one of the methods I wish I’d taken photos of...but was having so much fun that I forgot ☹️. Anyway...I was very happy with the results. And then next the “bitts” that sit further back from the belay pin rack and will sit over the end of the bowsprit once installed. Very fiddly carving it all from scratch, but very enjoyable. Then drilled the anchor holes in the deck. next I installed the belay pin rack around the fore mast. The pin rack around the mast was tricky to get to sit square because of minute differences in the groove cuts for the pin boards. Also my plans call for a small piece of brass to be drilled into bottom of most of the deck furniture so it can be glued into the deck with extra strength. Since I know nothing about rigging I can only assume that there must be considerable strain on some of these parts later on in my build. Either way...this deck furniture isn’t going anywhere. Next I constructed the “windlass” the rolling barrel/log that the anchor ropes attach to. I spent a couple of days sanding and cutting it into shape and am happy with how it came out. Then put in the bell 🛎...the chimney and then constructed the small grating on the port side and installed it.all this process would have been much faster if my first officer wasn’t asleep on her watch all the time 😠 (Btw she’s not dead...she likes small spaces for her naps) next installed the side pin racks next to the windlass. Then started constructing the gratings that the launch boat will rest on. The plans call for these port holes to be installed in the side. However the timber I have to drill into is only 5 mil wide and the port wholes 3.5 at the base and 5 mil on the surface. So when drilling the 3.5 the timber would split every time. Not to mention I was nervous about having to drill underneath so close to the surface of my gratings and ruining it. So I had to do a bit of looking around to find smaller port holes both in depth and surface width. I still had issues with splitting wood...so I put these black paper clips on my timber and so far so good 😊 I believe I succeed and this the end result. Had to slowly widen the drill hole to minimize the chance of splitting...found my first officer sleeping on the job again 😡...good thing she’s too cute for traditional naval discipline!
And that’s where I’m up to folks! If anyone is curious in the future to know how I’ve done anything please ask 😁...and look forward to anyone’s criticism so I can learn
-
 Jim Rogers got a reaction from popeye the sailor in Halifax by Tjalle58 - Constructo - Scale 1:35
A little sanding will get that fit fixed. Many kits have these sort of issues. Look at it as a learning experience and a exercise in problem solving. A problem solving gift that keeps on giving. You’ll get through it just keep a lot of sand paper and #11 blades on hand. Just yesterday I was attaching pre shaped planking to the side of a small boat kit and as I cut a piece loose I launched that sucker into the parts black hole that seems to exist in my shop. Had to make a new piece. Ten years ago I just would have thrown it in the fire but each kit and it’s associated issues and solutions really helps. Have fun with it.