king derelict
Members-
Posts
3,296 -
Joined
-
Last visited
Content Type
Profiles
Forums
Gallery
Events
Everything posted by king derelict
-
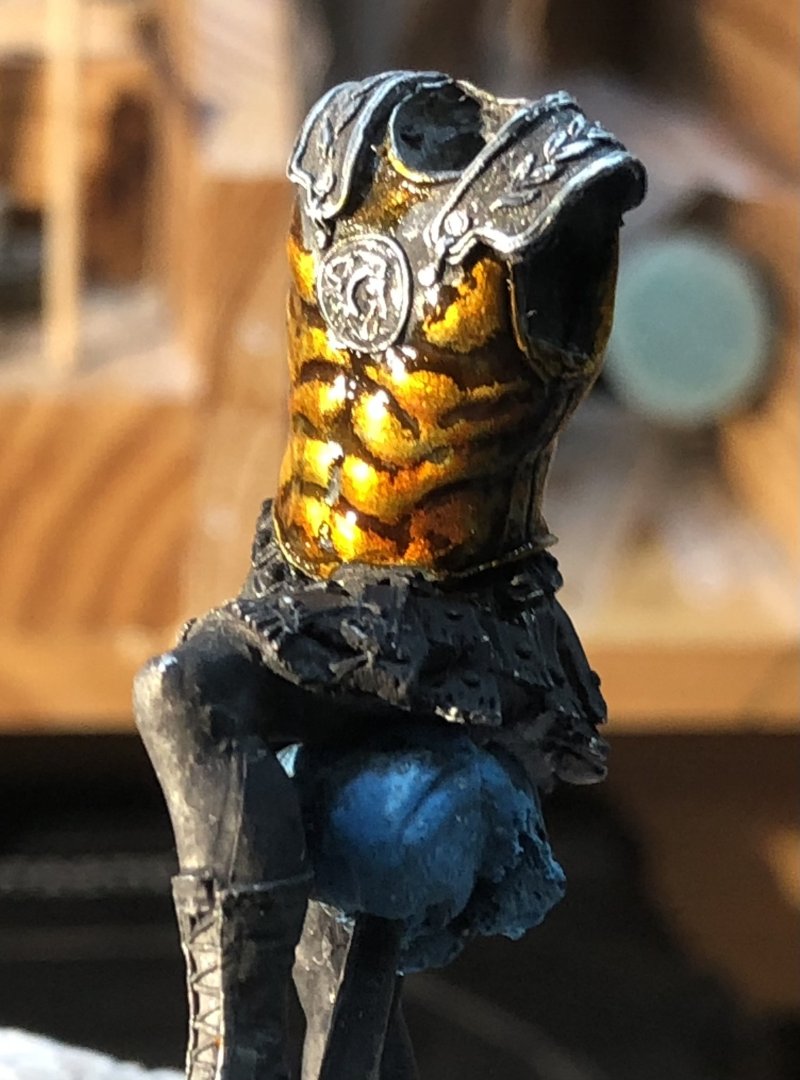
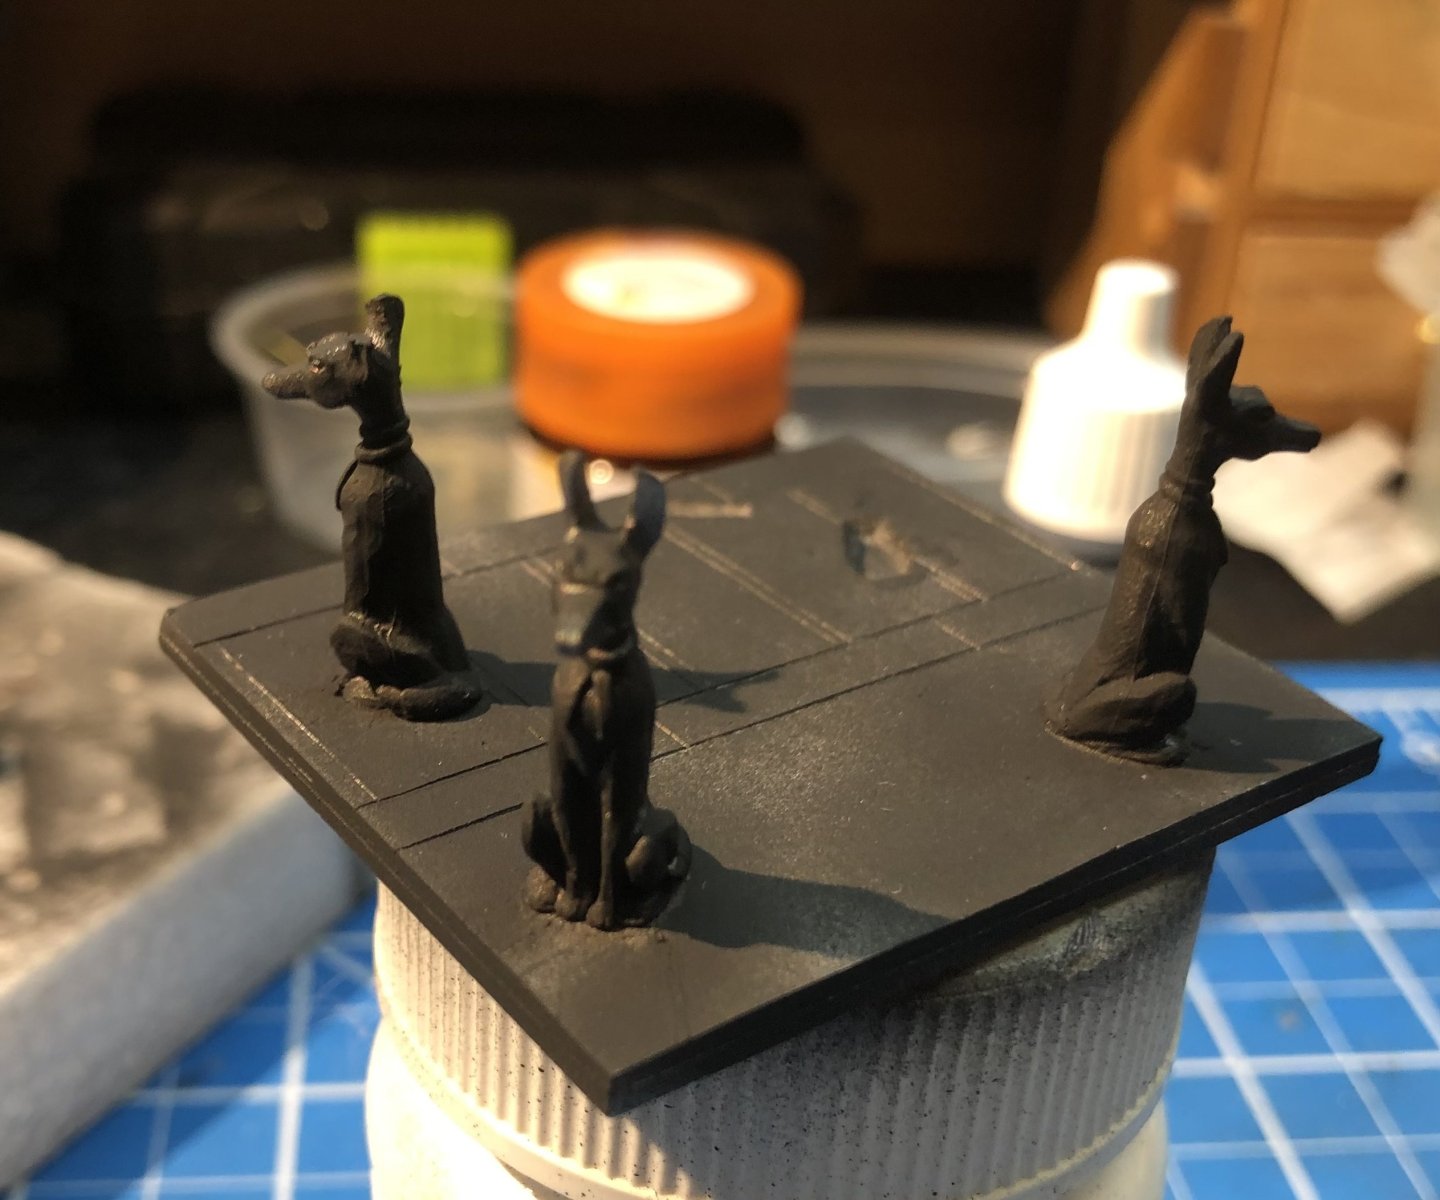
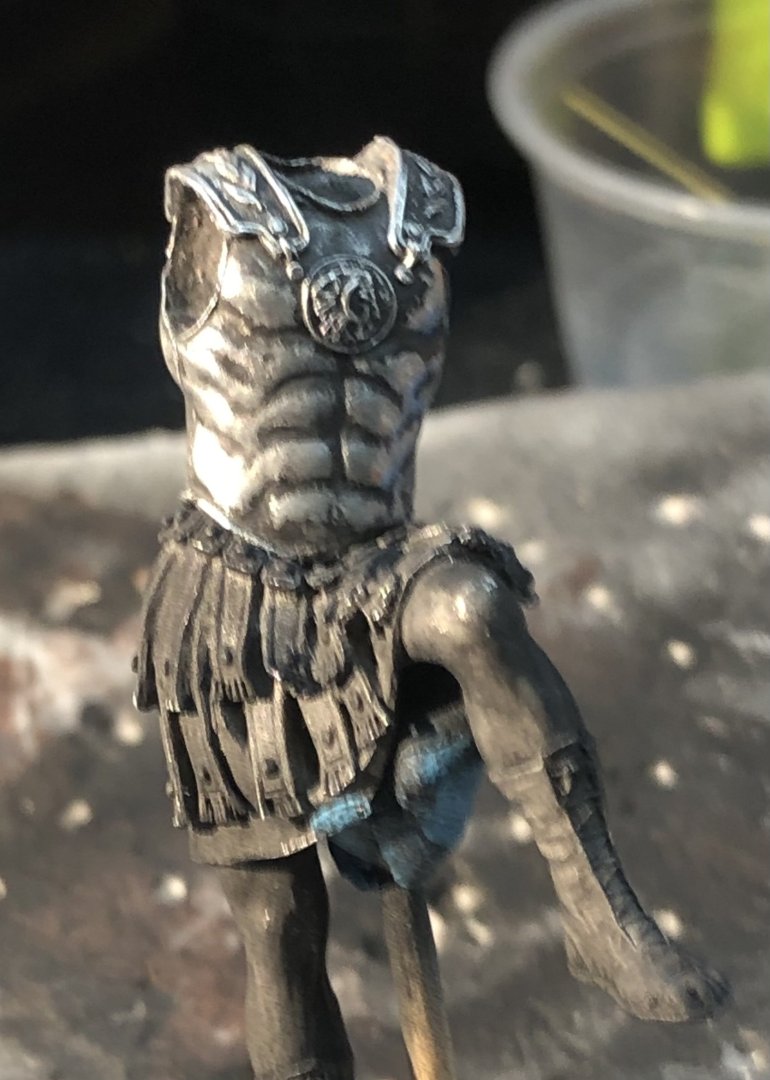
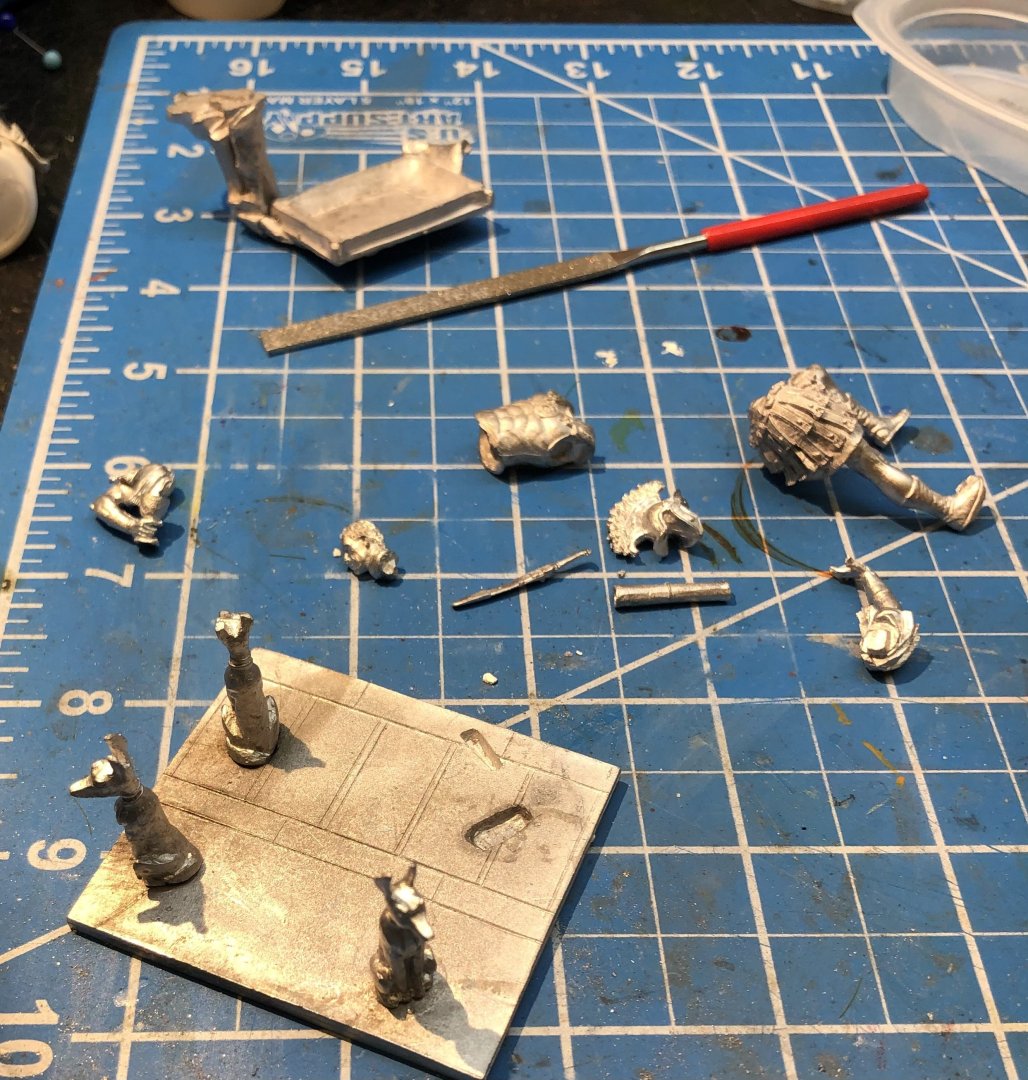
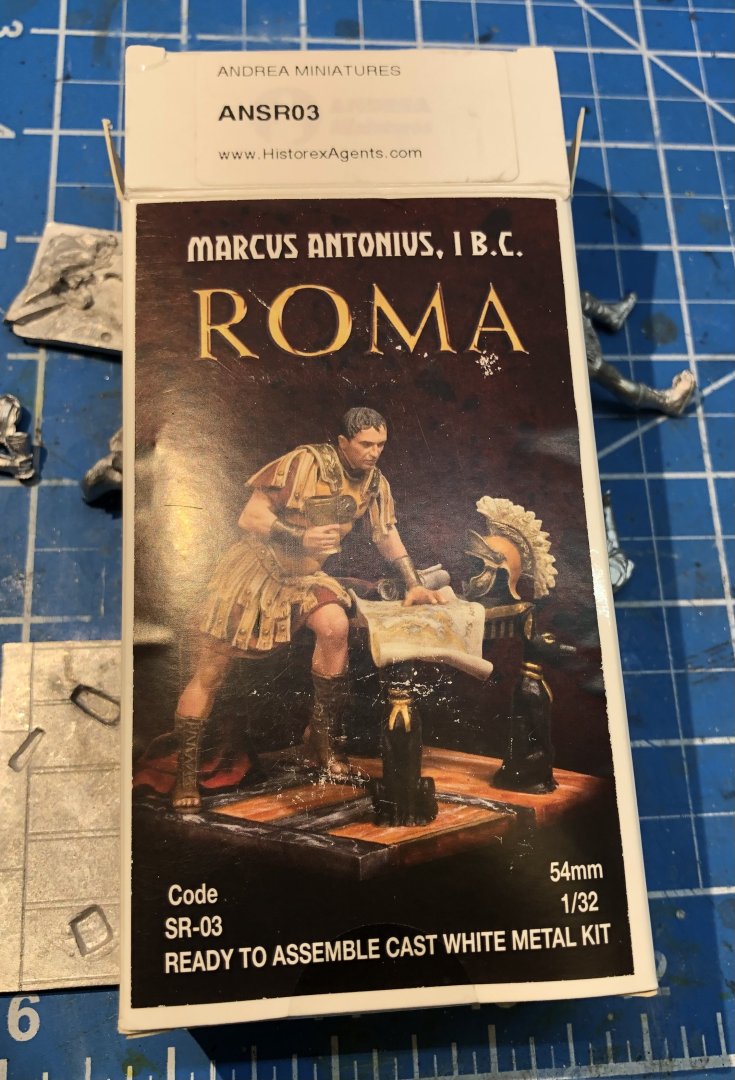
Ive been struggling with motivation lately and I have opened a few boxes and started something only to put it away again. was the last thing I fiddled with and it might make it to completion. It has a few interesting challenges so we shall see. This is my first Andrea Models figure. It is 54 mm but seems rather a smaller 54mm than the Pergaso and Art Girona figures. So off we go with Mark Anthony plotting his campaign. kit has Mark sat on the edge of the table with maps, his sword and helmet. The details look rather nice, the map has features marked on it that might be possible to paint. It’s going to present some painting challenges with a lot of parts needing to be painted separately. So I think the base and table legs, the table top, Mark, and the detail pieces. Everything has had a shot of black primer. The three jackals that make the table legs are glued in. The fourth leg is under the cloak and glued to the table top. Test fitting suggests this is all going to fit together later. I polished Marks breastplate and back piece. This then got painted with Tamiya clear orange to get the gilded effect. The Blutack on a cocktail stick is not a very stable painting fixture but equally, the usual pill container is not going to work either. The arms and head are going to have to be added towards the end to make sure that he sprawls across the table properly. Plenty to play with here. Thanks for looking in alan
-
Thank you very much. I’ve read that captains had men over the side painting when things were quiet. Escort vessels could get pretty rough out at sea but were smartened up again on return. I tend to beat up the Flower corvettes almost as a tribute but i try to keep it restrained in general. I just read that the Royal Navy lost over 150 destroyers alone in WW2, plenty of bad luck to go around. alan
-
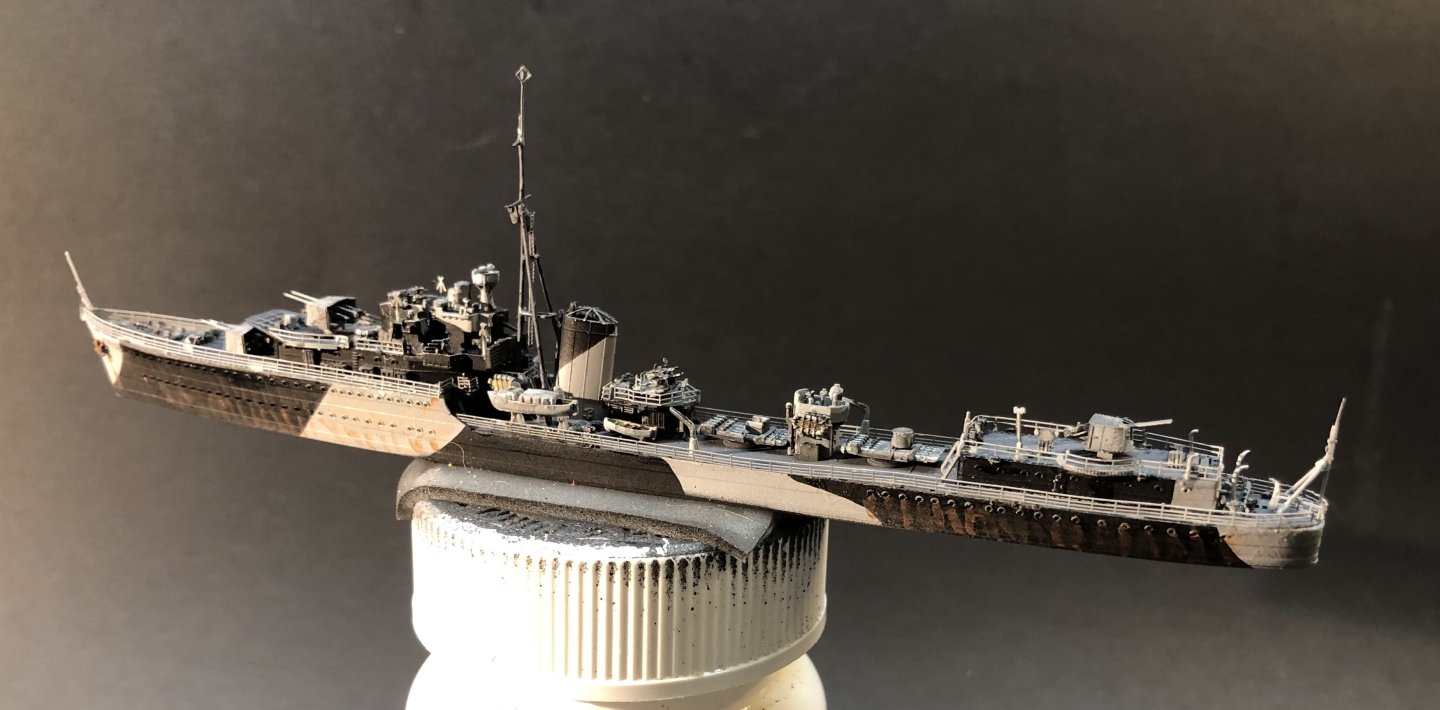
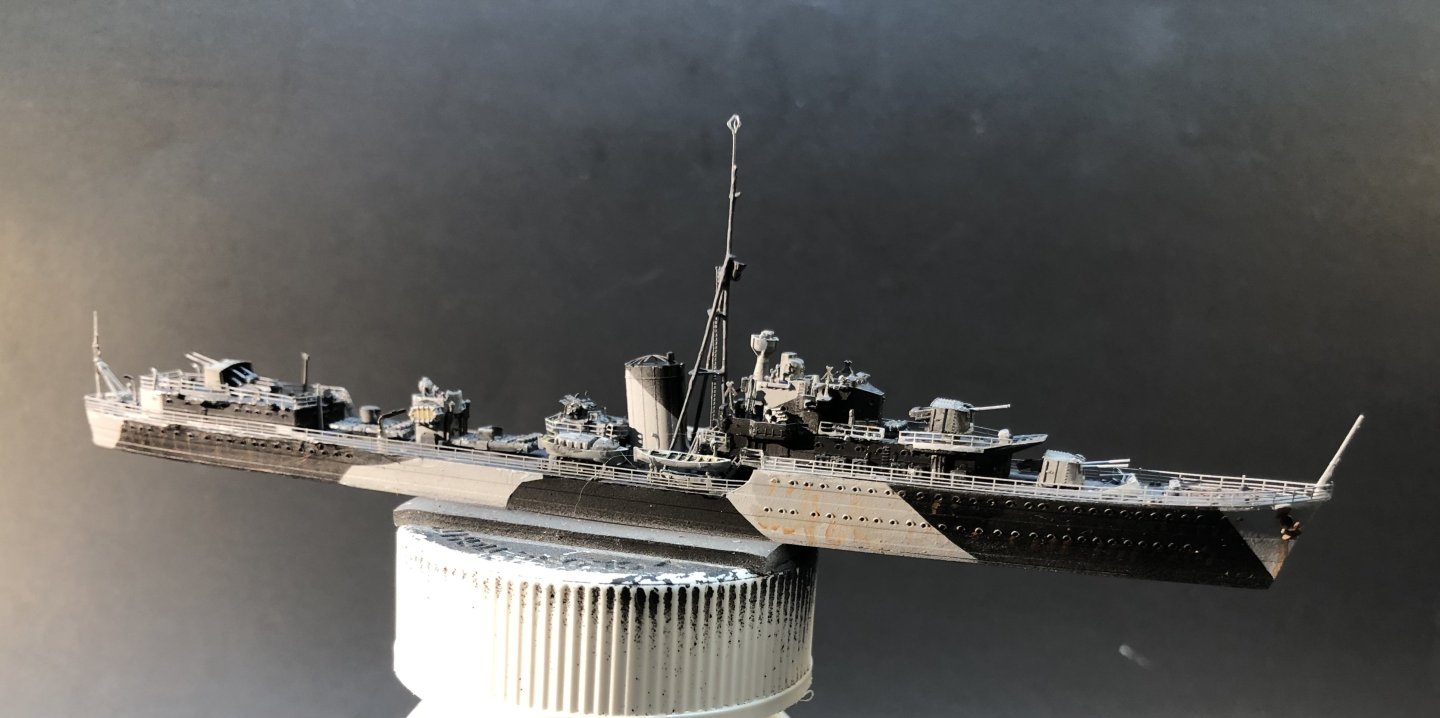
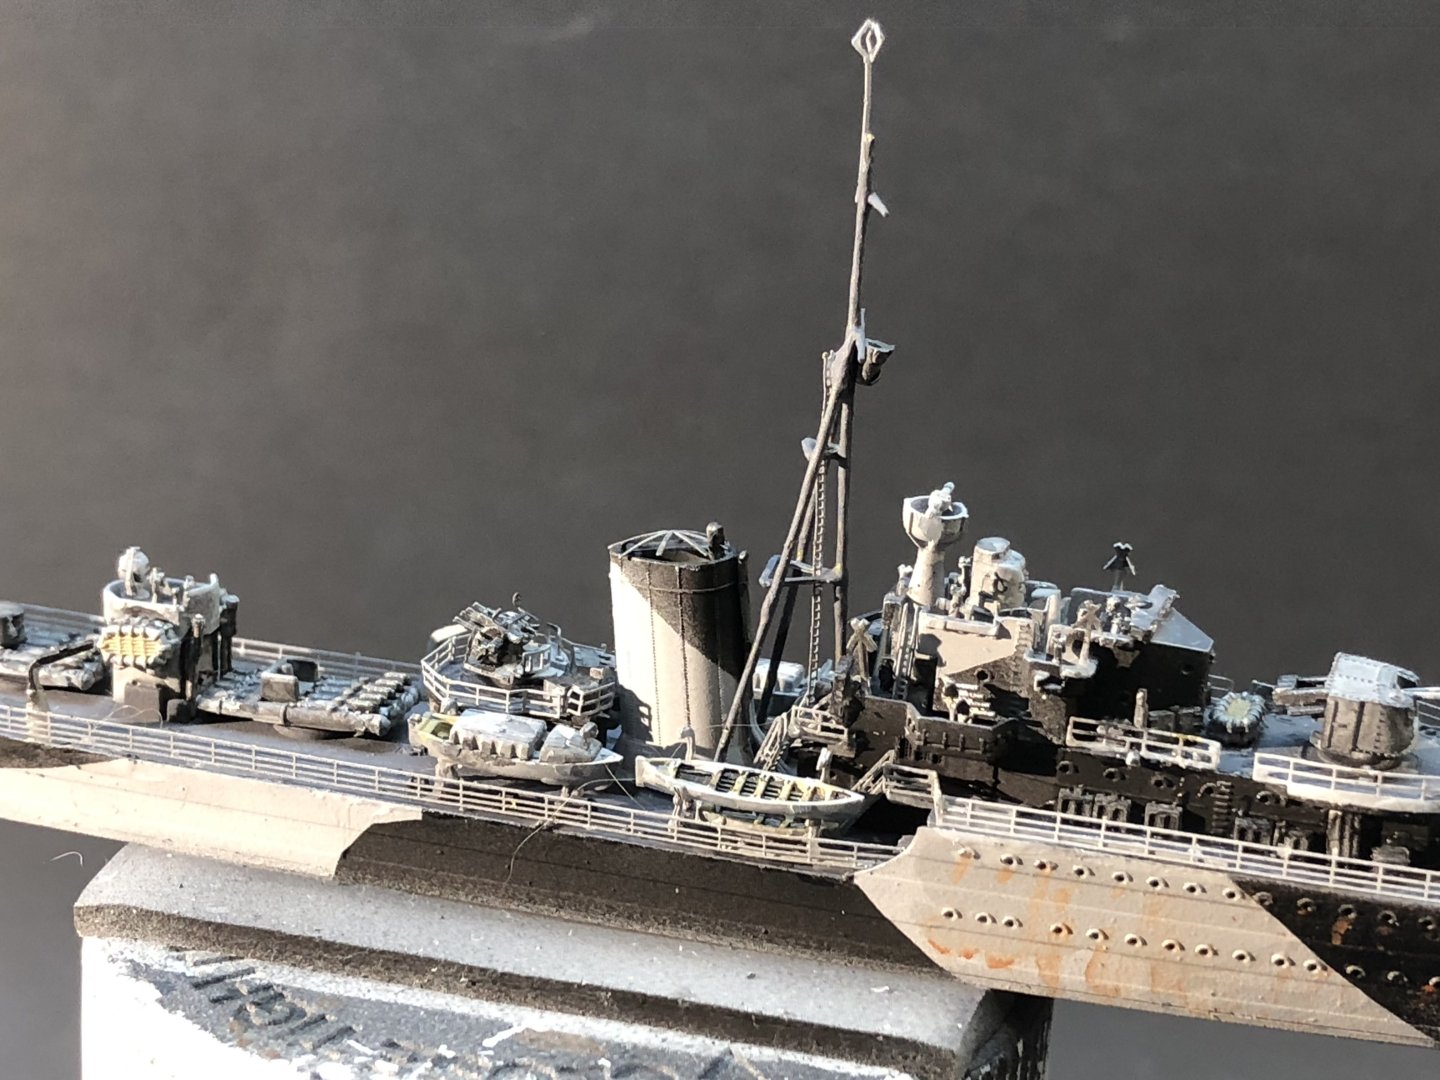
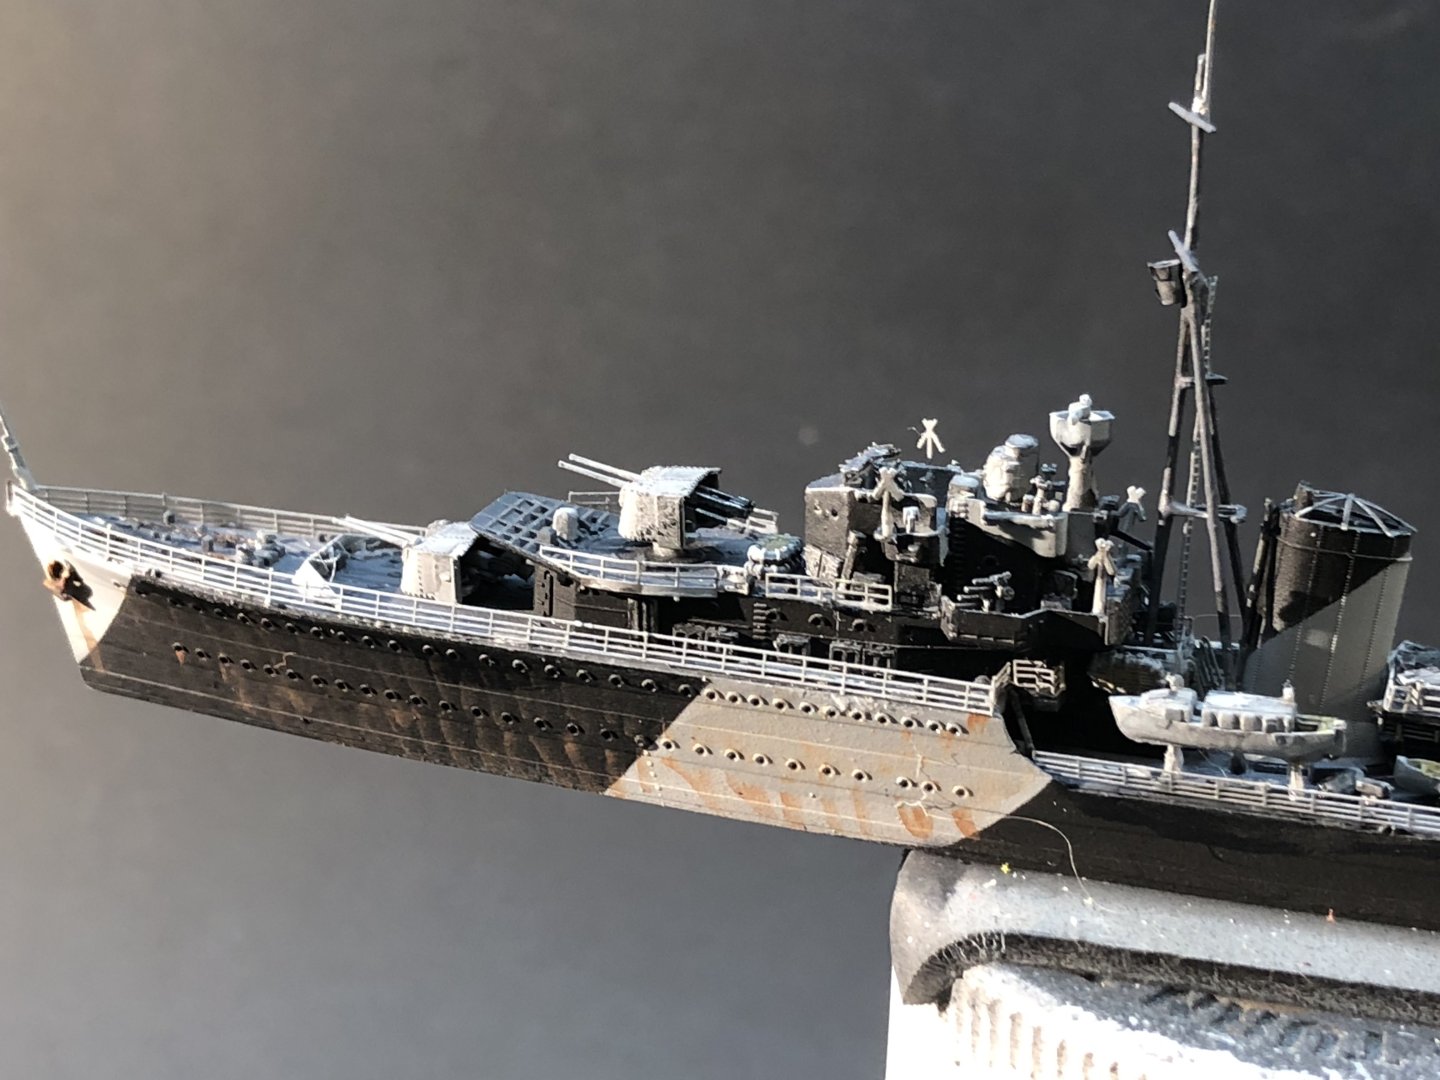
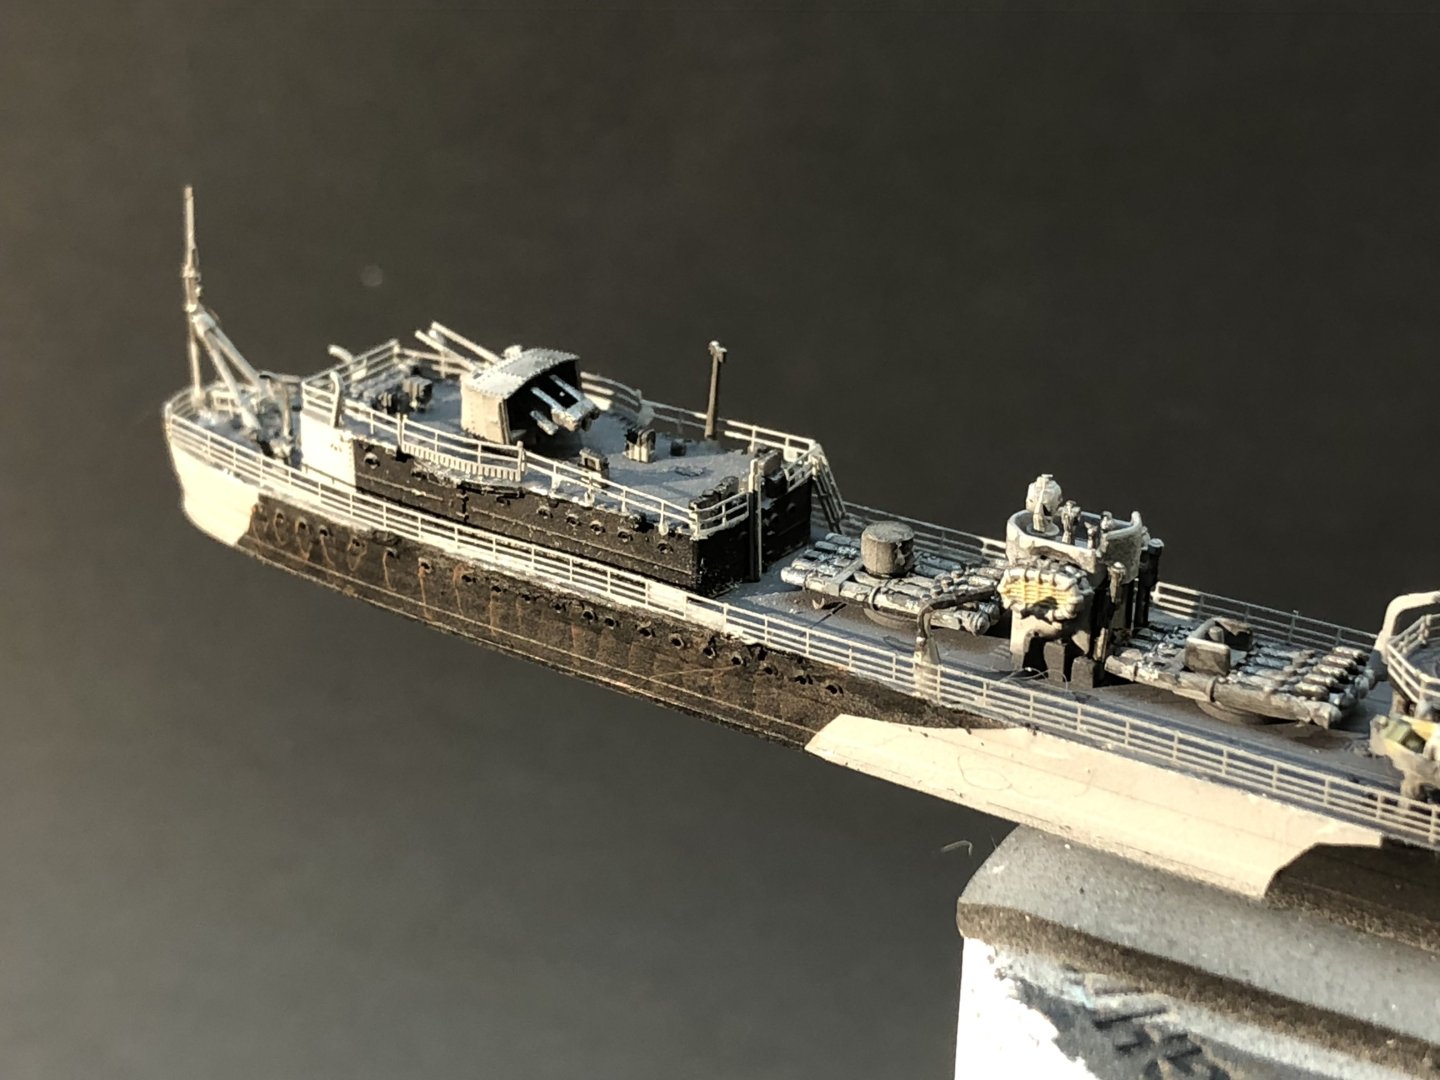
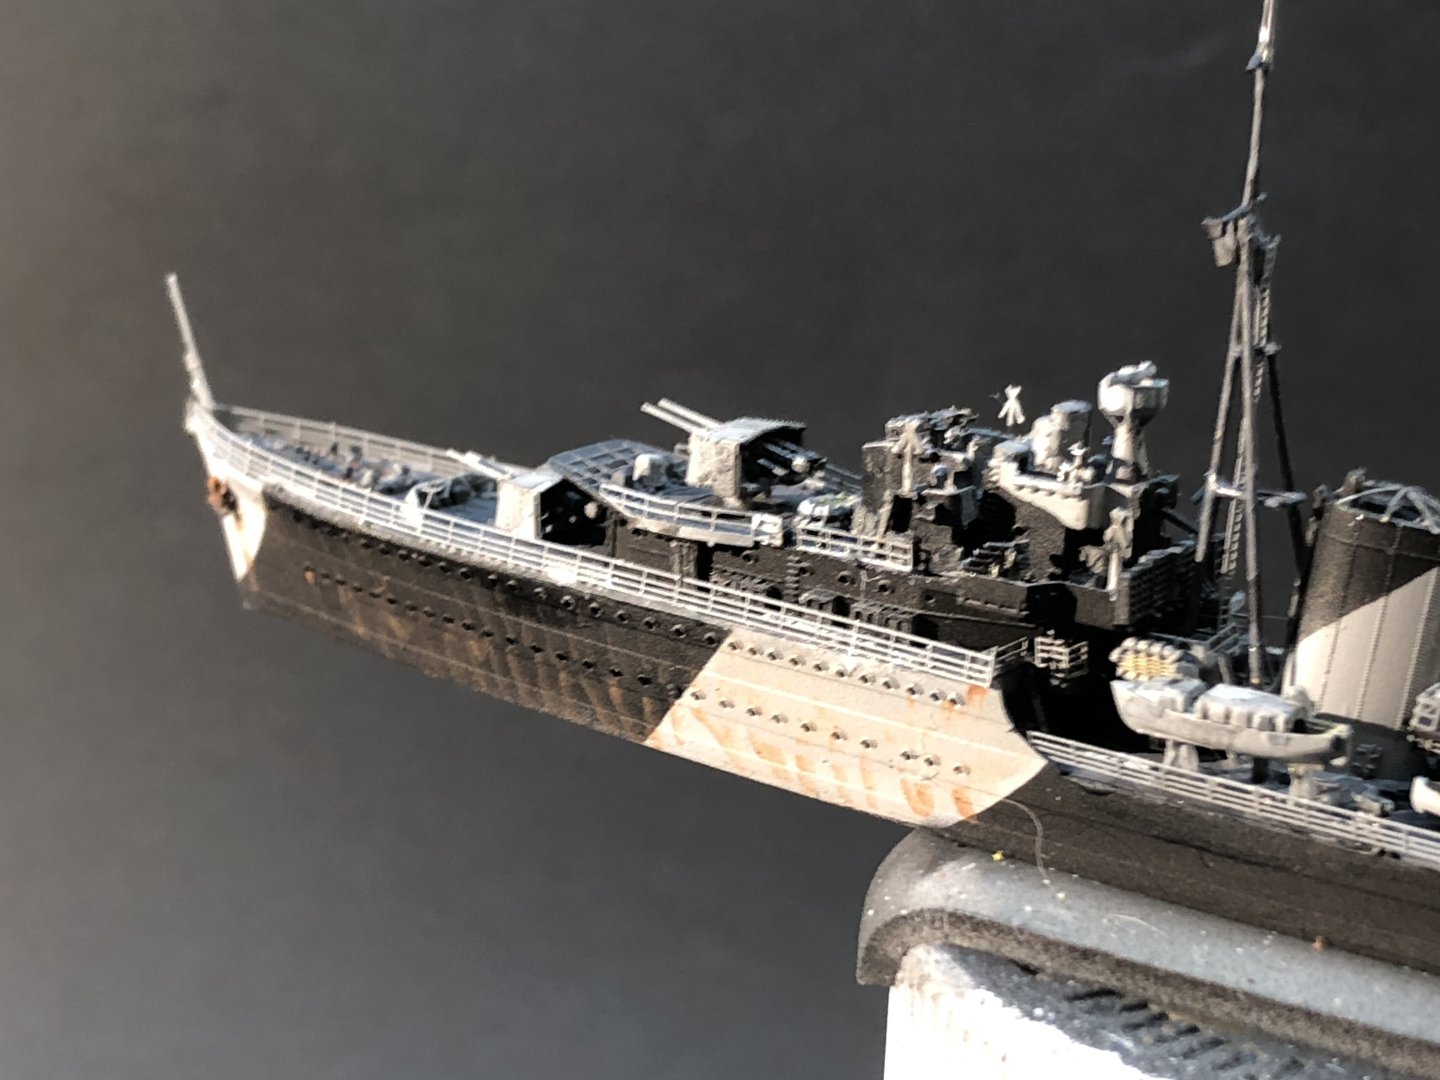
I got a bit more focused today and added the rust streaks to the hull which finishes work on HMS Kelly. I may have undershot it a little but it’s easy to overdo the weathering in 1/700. Thanks for looking in, the likes and support throughout this build. Now , what next? alan
-
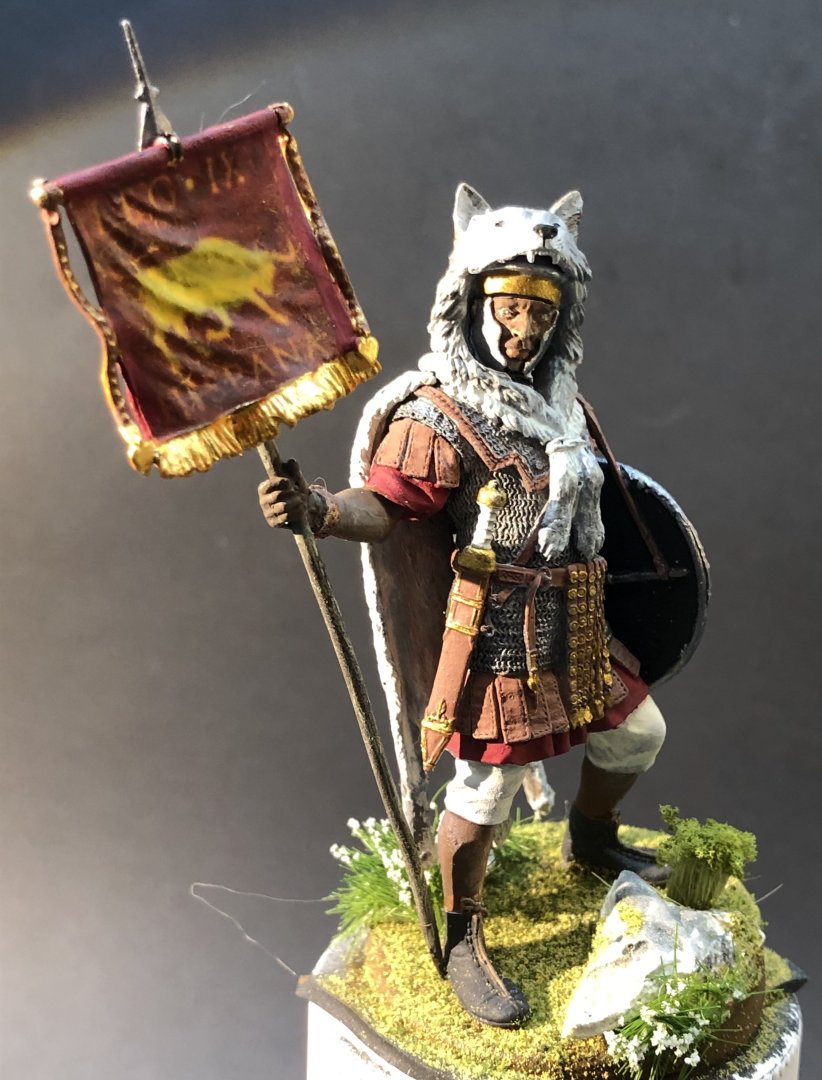
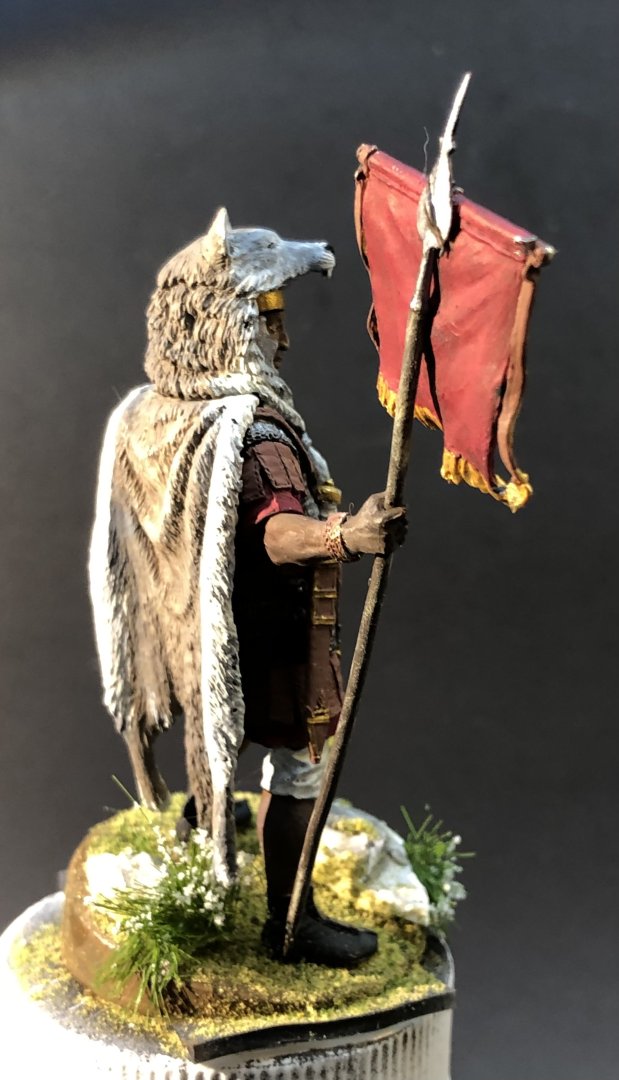
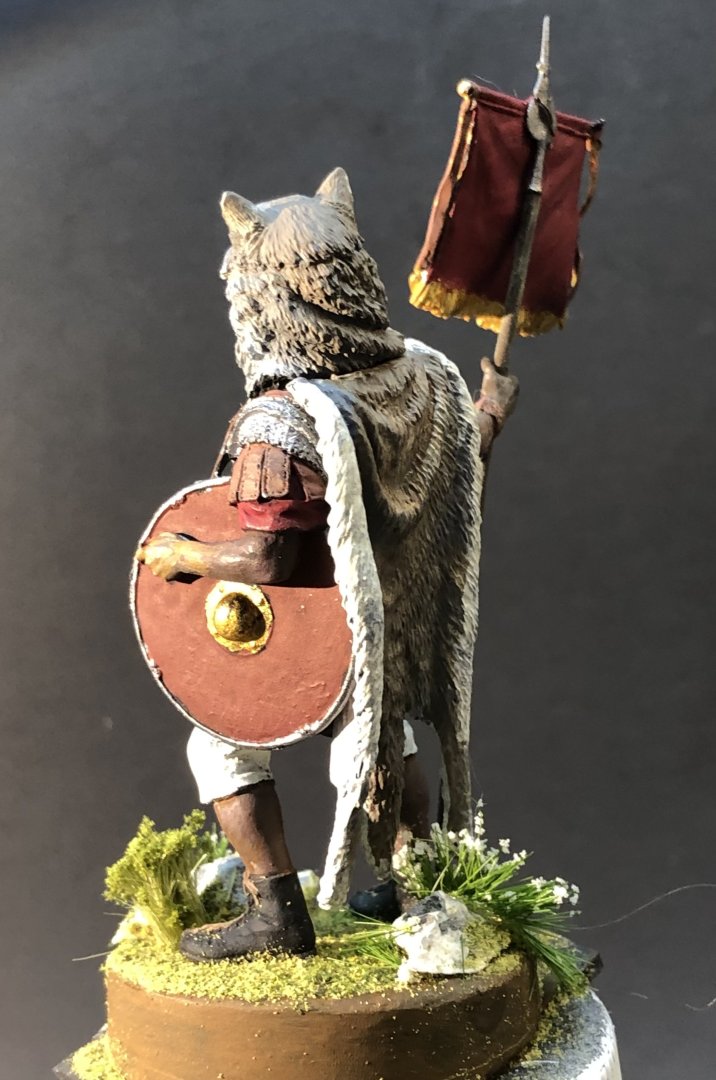
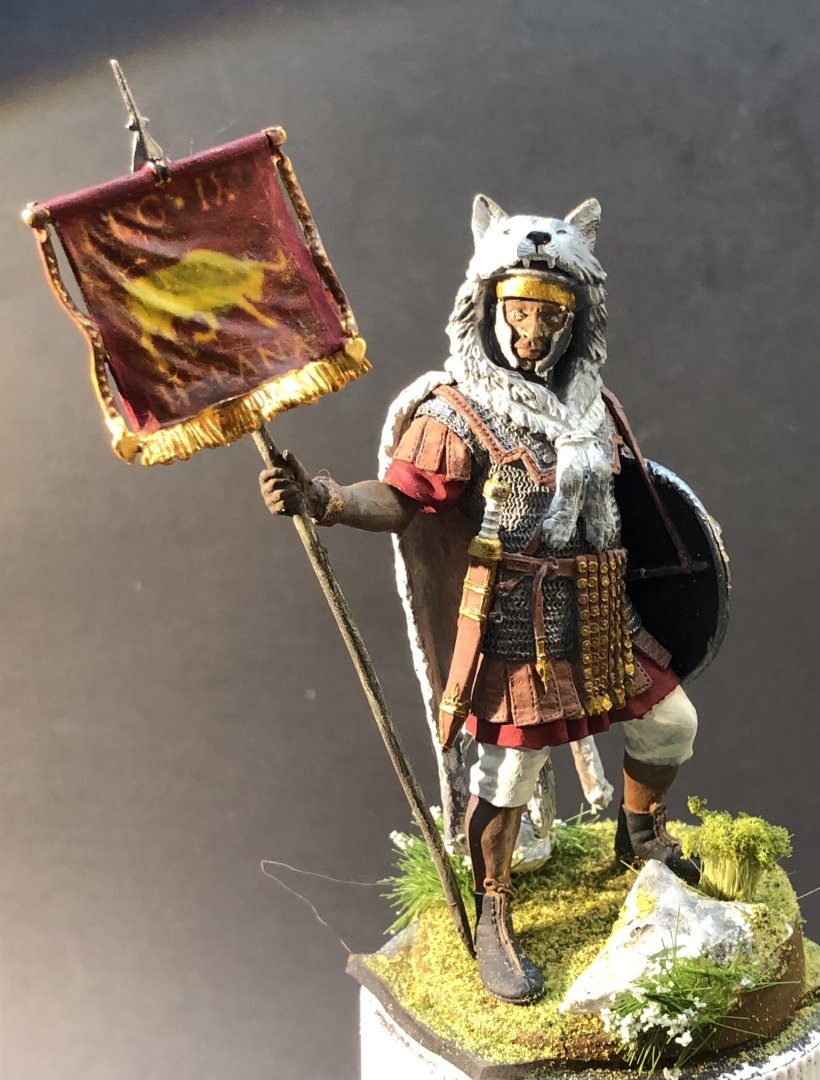
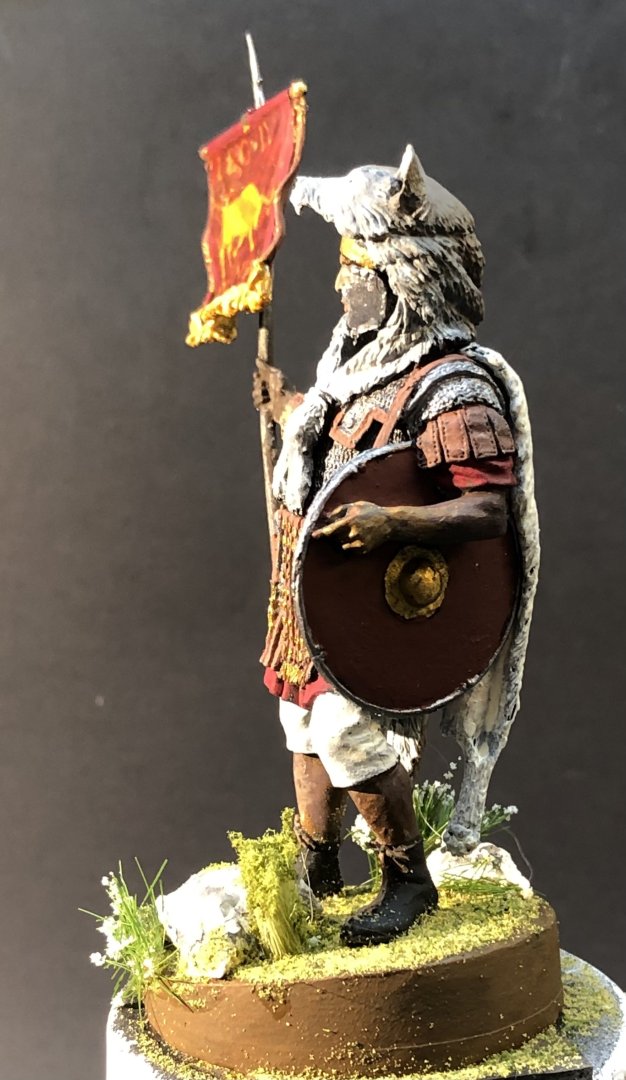
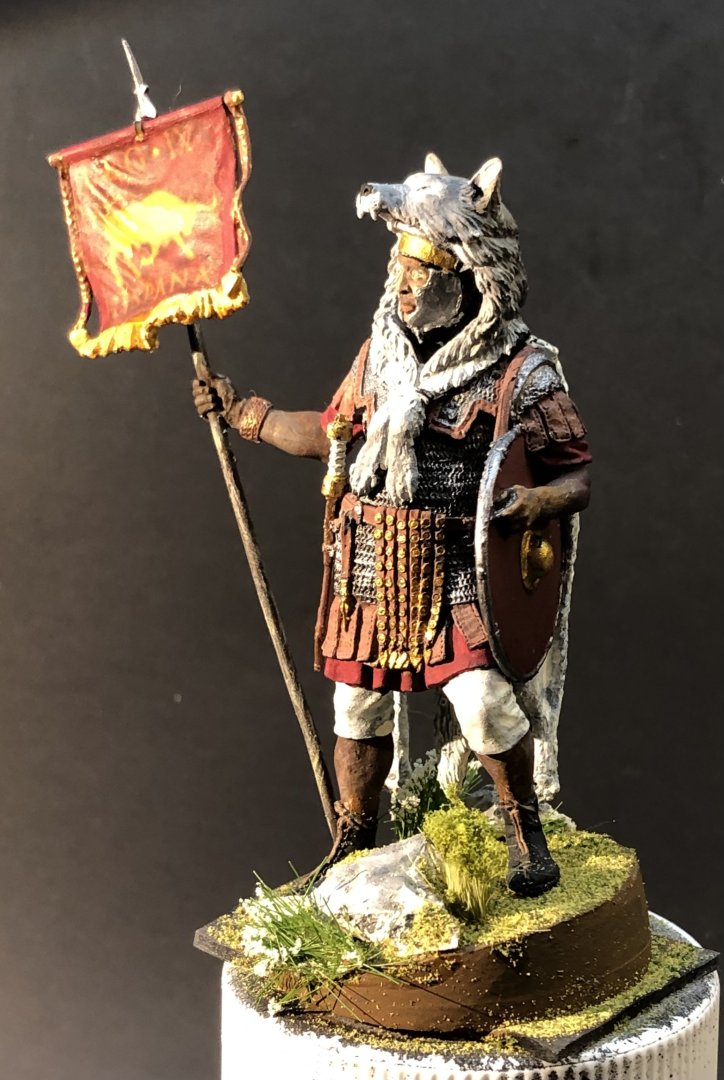
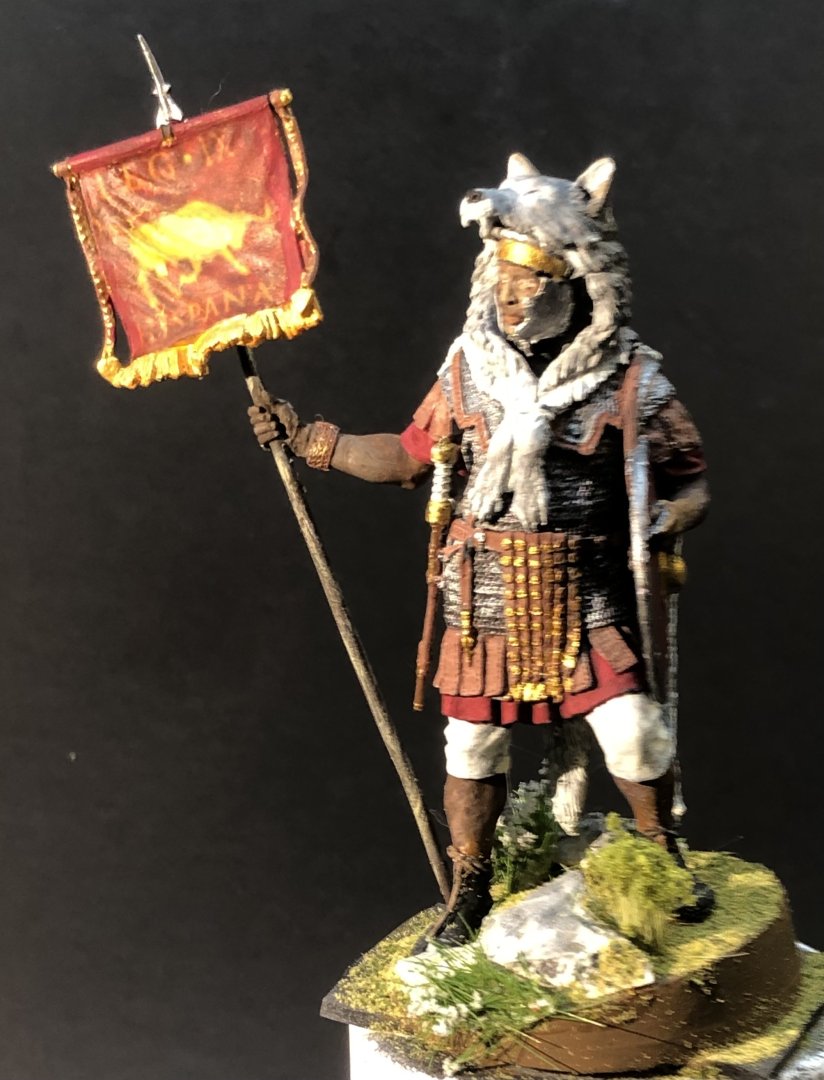
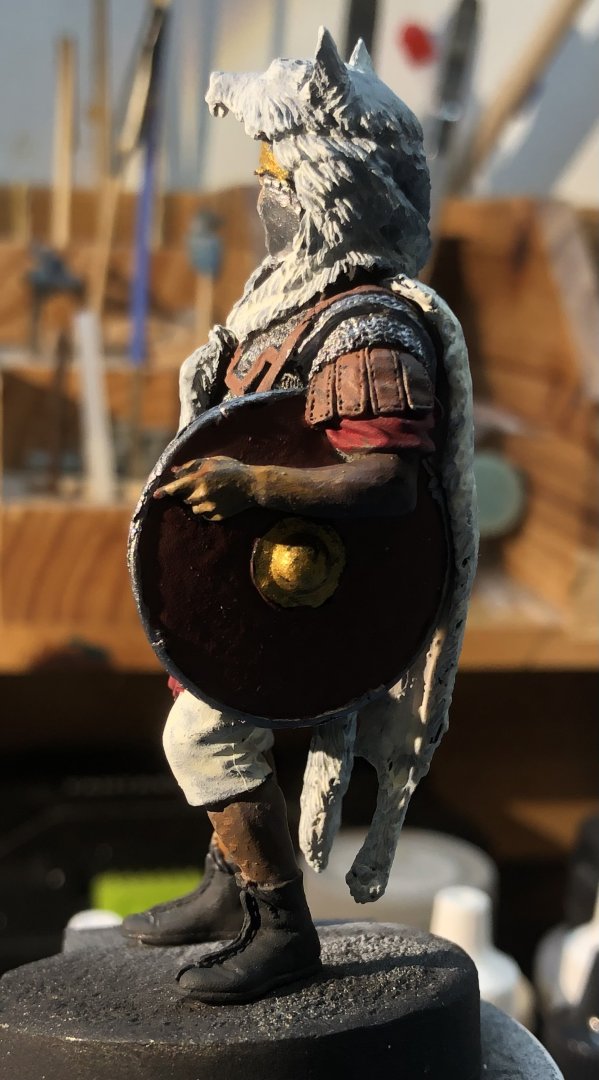
And finished I think. The standard glued onto the spear without a problem and the hand fitted to the arm with only a few bad words. I may have gone overboard with the base but I didn’t like the sloping top and wanted to break it up a bit. All the bits are Woodlands Scenics apart from the rocks which are bits of plaster of Paris. This was a very nice figure to work with and I think I would choose some more Alexandros figures. I would like to try a few more Roman figures if I can find some less belligerent ones. I had been a bit concerned with the Nubian skin tones but I think it came out pretty well. I just noticed that I had forgotten to paint the strap holding the front legs of the pelt together. That’s now been rectified with a touch of leather brown. Thanks for looking in, the likes and kind comments. alan
-
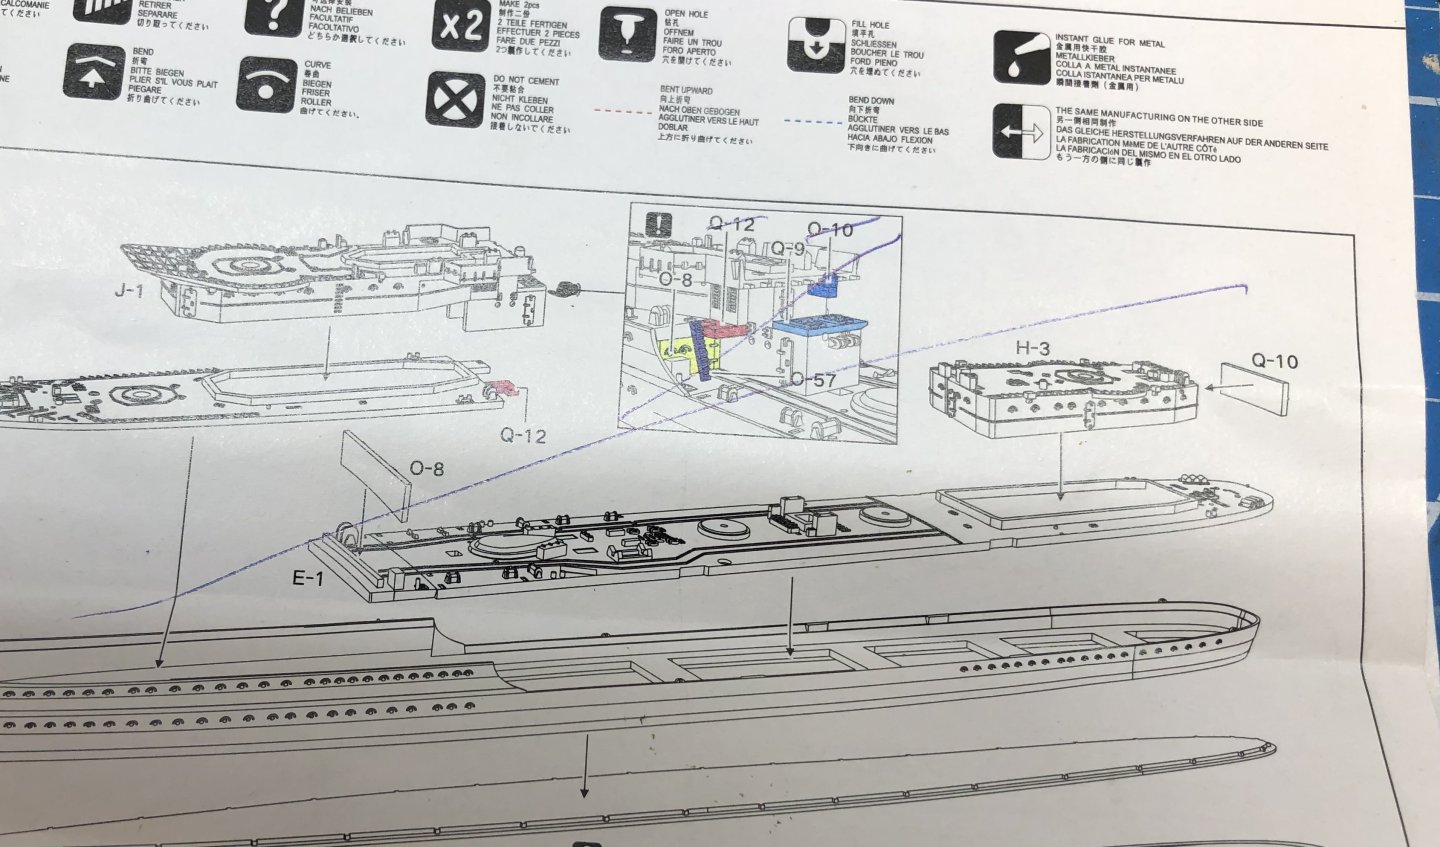
The Flyhawk instructions are a bit wired at times although I think they are trying to be helpful but it doesn’t seem to match the way my brain works. As an example from HMS Kelly, the above inset shows certain parts to be added in color and again partly on a second inset. It took me quite a while to make sense of it. Alan
-
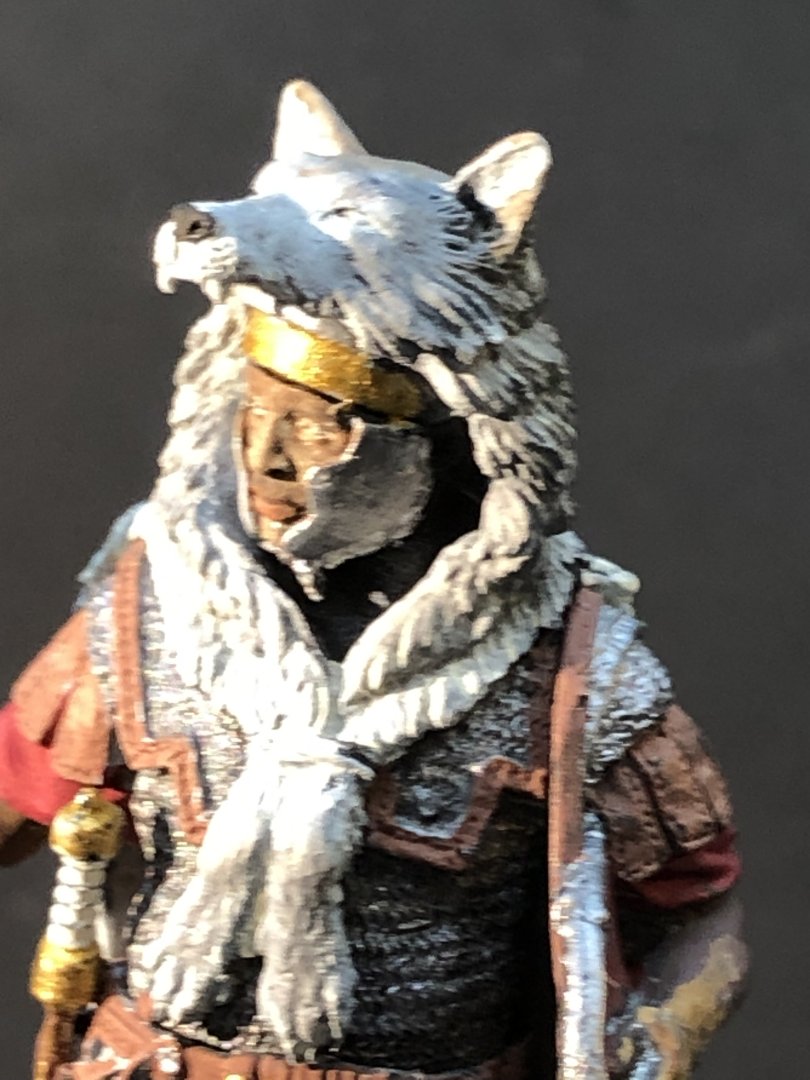
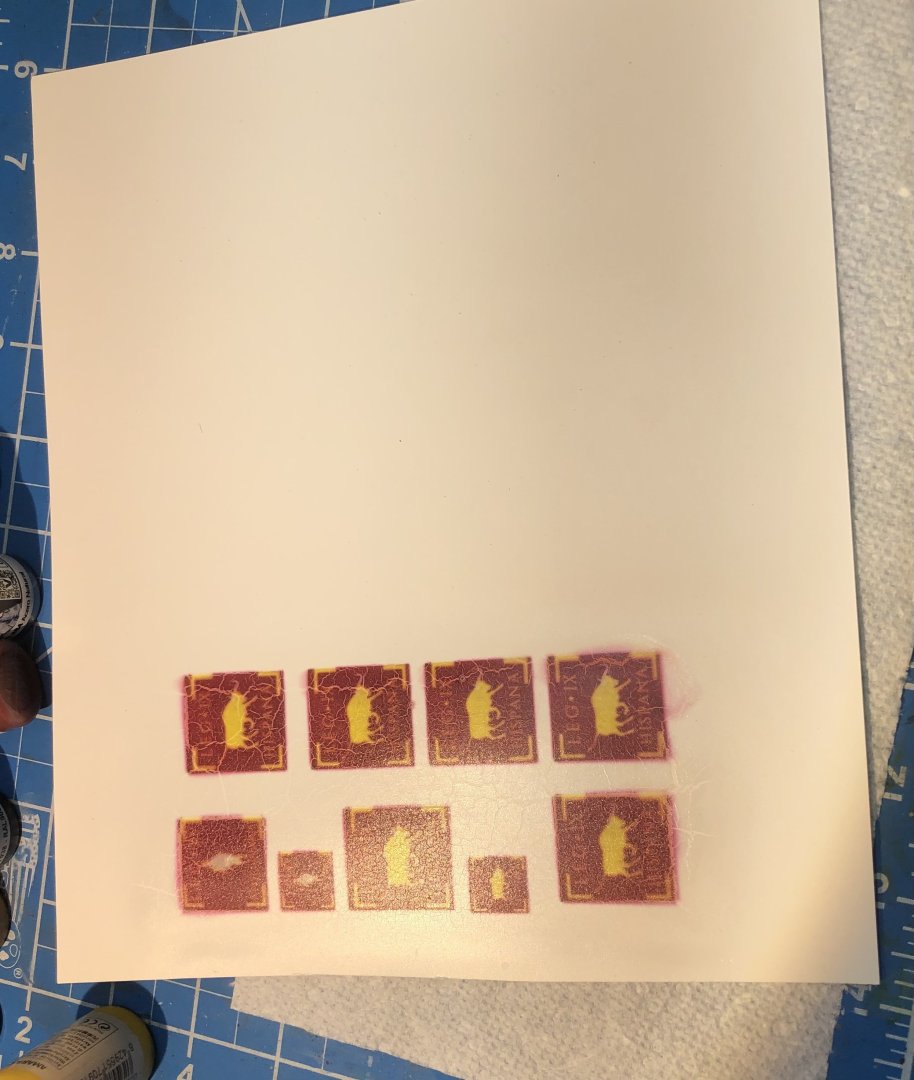
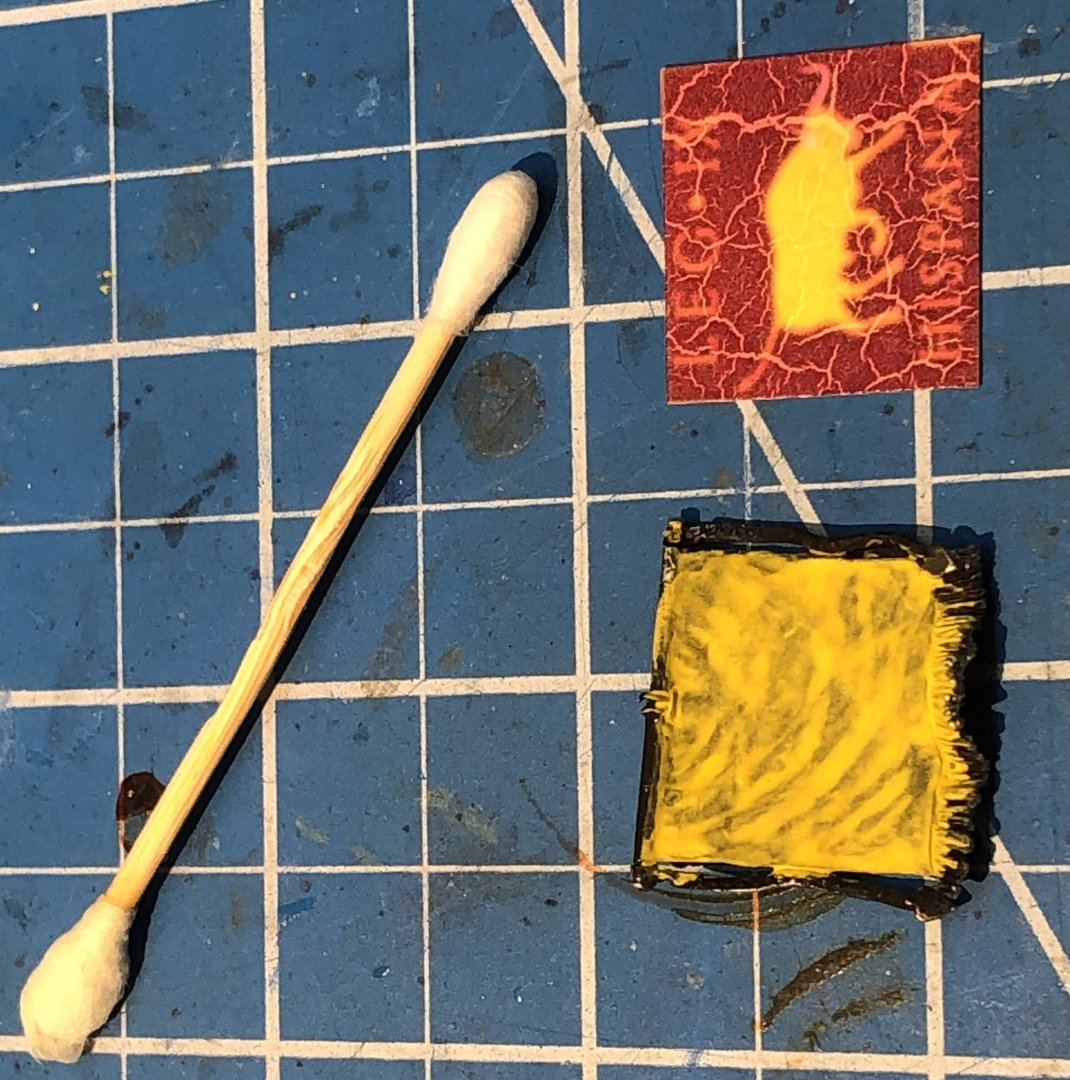
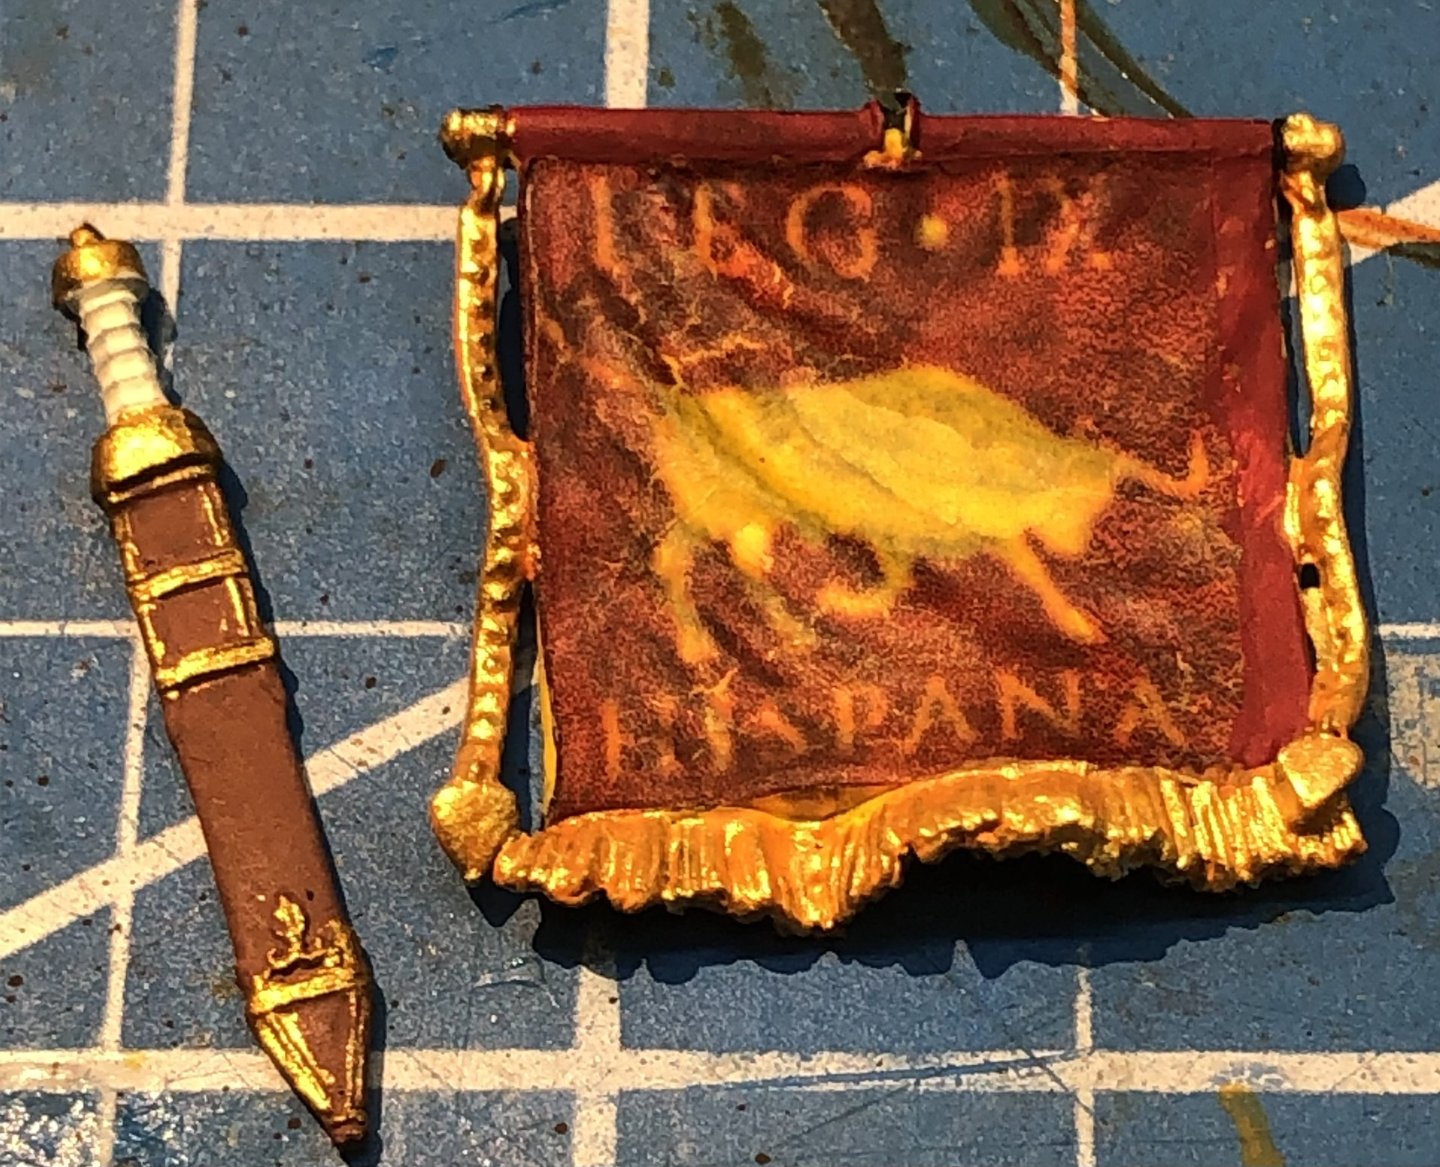
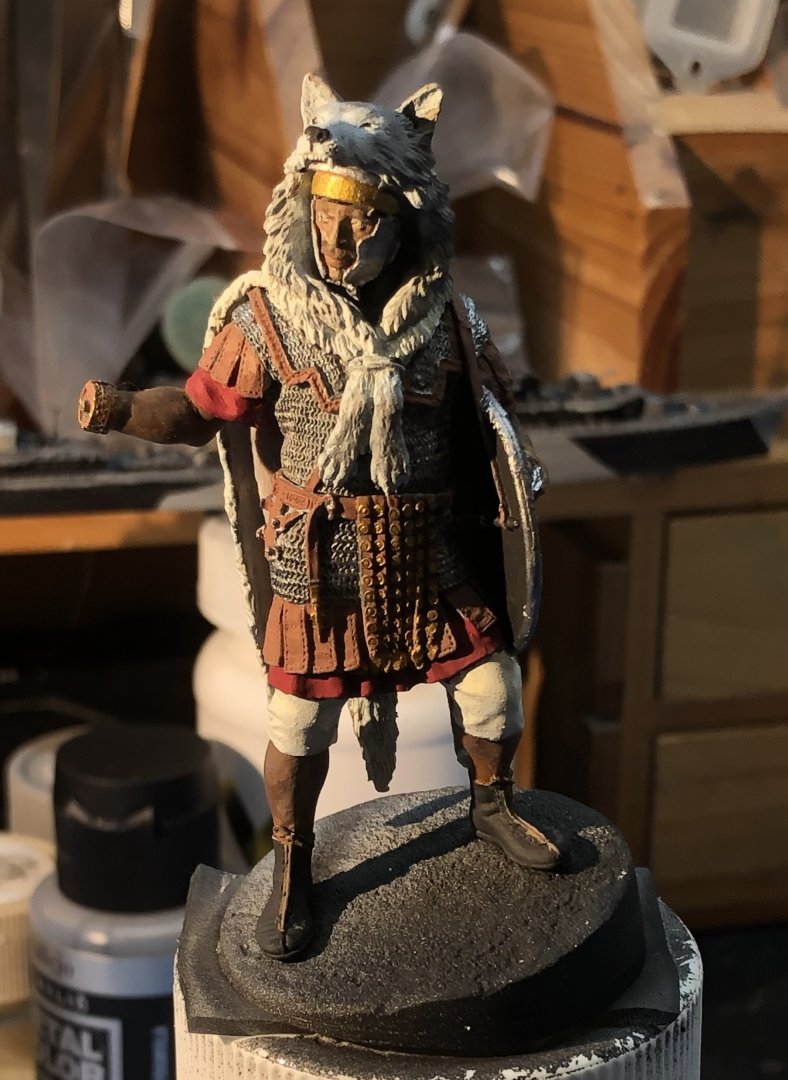
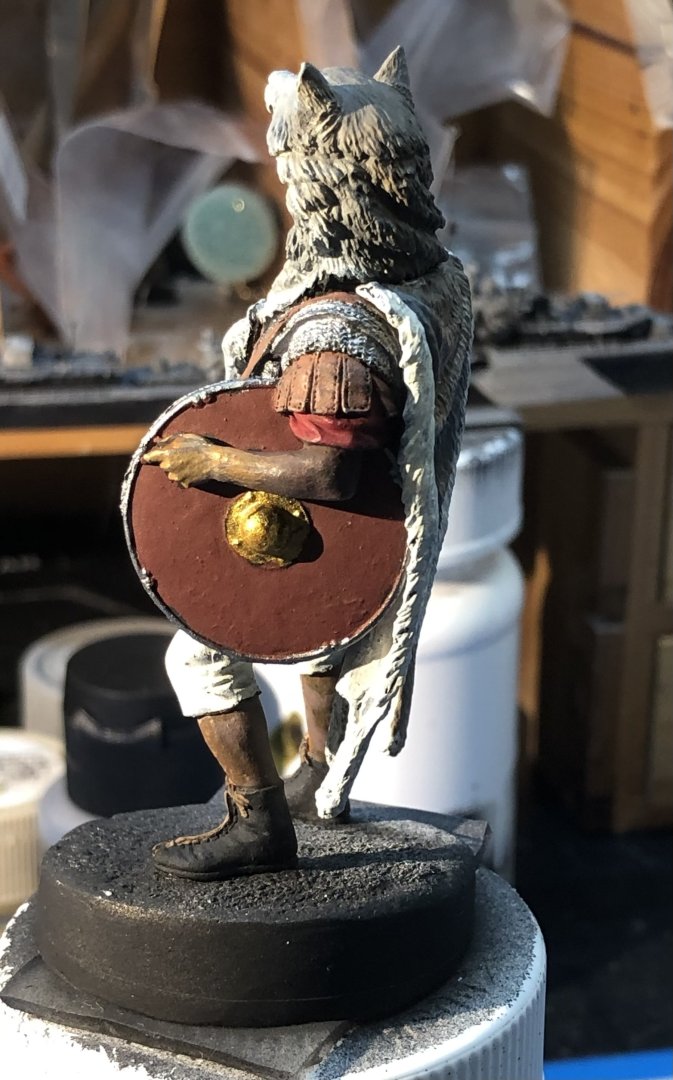
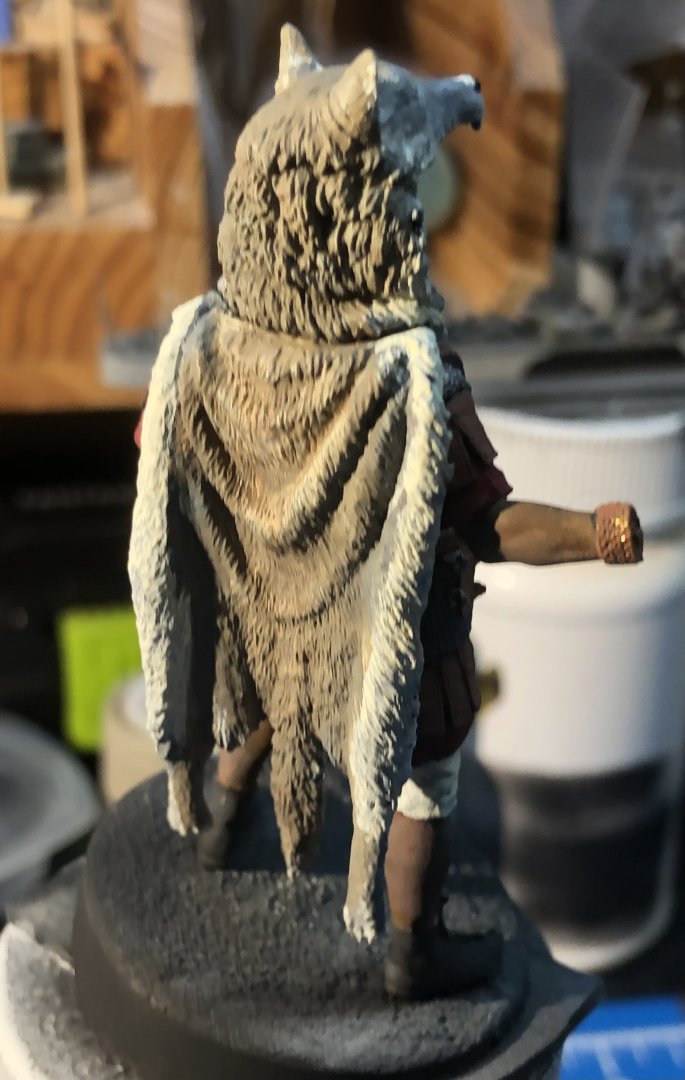
Please excuse my absence. I’ve been learning the art of using inkjet decal paper which wasn’t as easy as I expected along with a sizable detour into printer troubleshooting. I had found a suitable Roman legion standard and embedded several copies of the image in a PowerPoint file and the test print on regular paper looked good so I loaded the decal paper which turned out to be A4 size. No problem, I changed the paper size setting and printed. The print came out black, not even grayscale. I worked through all the primer control settings and couldn’t get color printing back. I spent most of Saturday and Sunday working on printer drivers, alternative software and reading inappropriate solutions. I was about to hit checkout on Amazon for a new printer but thought I would try one more time to delete and restore the printer - and it worked. So now I have the required images sized and printed on decal paper but the inkjet ink is water soluble so needs protection. I have a few clear coats but they are too thick to airbrush. I ended up using AK matte acrylic varnish diluted with water which worked although the ink took on a crackle finish after drying. I need to find something better next time. I painted a base coat of yellow onto the blank standard because the decal paper is clear and the yellow part of the image was lost against the primer on the standard. So here we have the standard of Legio IX Hispana. A little sun faded but somehow the crackle finish has disappeared. I think a legion that was stationed in Hispania might have had Nubian legionaries. Legion IX is the “Lost Legion” disappearing from the Roman records in AD 120, possibly being annihilated in combat in northern Britain. I think I will repaint the side pieces of the standard as leather and add the brass studs rather then show them as gold ropes. As an antidote to the decal / printer craziness I worked on the wolf skin. I added neutral grey to the pelt and while it was still wet I blended light brown down the back and up to the ears. I picked out the nose and eye holes in black. I just need to whiten the teeth. Thanks for looking in, the likes and comments. Alan
-
Thank you. HMS Ajax should build into a beautiful ship. As a deluxe kit I assume it has metal barrels as well as plenty of PE. The Flyhawk instructions are definitely idiosyncratic. The long strip of several illustrations is a bit unwieldy and the small size is a challenge. As far as I can tell there is really no logic to the colour coding although on the bigger ships where there are a significant number of small details in a given area they show each part number in a series of boxed illustrations, ventilators, hoists, depth charges, lockers for example and then assign each a color. The main illustration then shows each part in the corresponding color. Otherwise they sometimes use a color just to make it easier to see the placement. One thing to watch out for with the deluxe kits is the separate instructions for the PE. The main instructions don’t reference any of the PE parts so it worth studying both sets of instructions and working out how the PE integrates into the build. If is complex I often mark up the main instructions with highlighter. I hope this helps a bit. Good luck alan
-
The paint looks really nice and the extra details like the chart are great. alan
- 79 replies
-
- Nordkap
- Billing Boats
-
(and 2 more)
Tagged with:
-
For some reason I didn’t feel the enthusiasm to weather HMS Kelly even though that’s usually my favorite part of the build. So, I thought I would add a bit to the Roman. I added the wolfs paws and painted the shield and left arm. The wolf skin got a series of glazes in ivory and the inside had a wash of brown to suggest the skin. The current state of the skin colours are not bad but I think I need to deepen the gray down the back and maybe add a touch of brown. I need to look for some wolf photos. Any wolf related advice is very welcome. The shield has been left plain. My references seem to suggest that is more probable than the designs shown and freehand painting them is well beyond my abilities. The left arm is attached so is the wolf skin too. Both went into place with ease and stayed put. I may add a little filler at the neck though. Then I need to fiddle with the standard and the decal paper. This is a great figure to paint. I would like to try some more of the Alexandros figures but the shipping from Europe is an issue. I still have a few Art Girona figures to keep me busy. Thanks for looking in, the likes and comments alan
-
Merkava III by mikegr - Revell - 1/72 - PLASTIC
king derelict replied to mikegr's topic in Non-ship/categorised builds
The wheels look very tidy. I have to agree with you about using Tamiya paint with the airbrush. Always seems consistent and easy. alan -
Thank you very much Andrew. I do have a couple of 1/350 Flower class corvettes for the big boy moment alan
-
Thank you very much Mike. I did mask the funnel and bridge and use the airbrush. I did have to go back with the brush and tidy up after I added the detail. This one doesn’t have a lot of PE details in those areas and what there were got added later. Very basic compared to your Akitsushima. alan
About us
Modelshipworld - Advancing Ship Modeling through Research
SSL Secured
Your security is important for us so this Website is SSL-Secured
NRG Mailing Address
Nautical Research Guild
237 South Lincoln Street
Westmont IL, 60559-1917
Model Ship World ® and the MSW logo are Registered Trademarks, and belong to the Nautical Research Guild (United States Patent and Trademark Office: No. 6,929,264 & No. 6,929,274, registered Dec. 20, 2022)
Helpful Links
About the NRG
If you enjoy building ship models that are historically accurate as well as beautiful, then The Nautical Research Guild (NRG) is just right for you.
The Guild is a non-profit educational organization whose mission is to “Advance Ship Modeling Through Research”. We provide support to our members in their efforts to raise the quality of their model ships.
The Nautical Research Guild has published our world-renowned quarterly magazine, The Nautical Research Journal, since 1955. The pages of the Journal are full of articles by accomplished ship modelers who show you how they create those exquisite details on their models, and by maritime historians who show you the correct details to build. The Journal is available in both print and digital editions. Go to the NRG web site (www.thenrg.org) to download a complimentary digital copy of the Journal. The NRG also publishes plan sets, books and compilations of back issues of the Journal and the former Ships in Scale and Model Ship Builder magazines.


