HOLIDAY DONATION DRIVE - SUPPORT MSW - DO YOUR PART TO KEEP THIS GREAT FORUM GOING! (89 donations so far out of 49,000 members - C'mon guys!)
×


Derek C
-
Posts
333 -
Joined
-
Last visited
Content Type
Profiles
Forums
Gallery
Events
Everything posted by Derek C
-
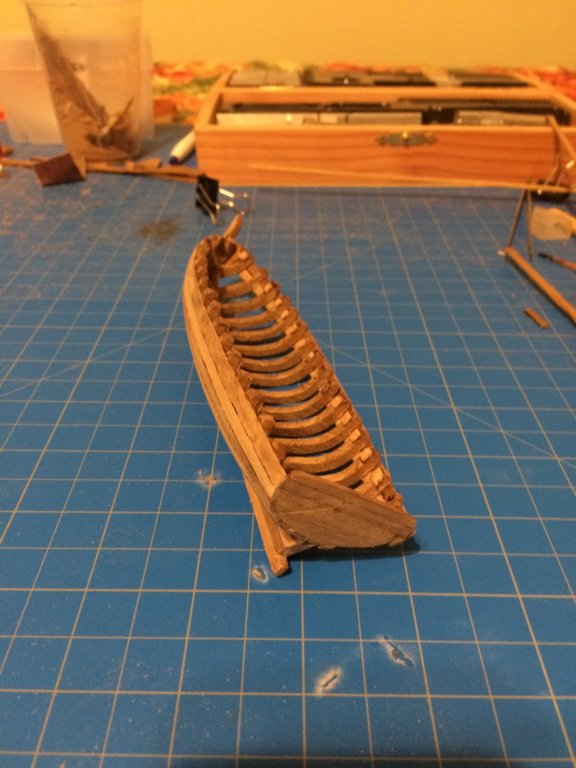
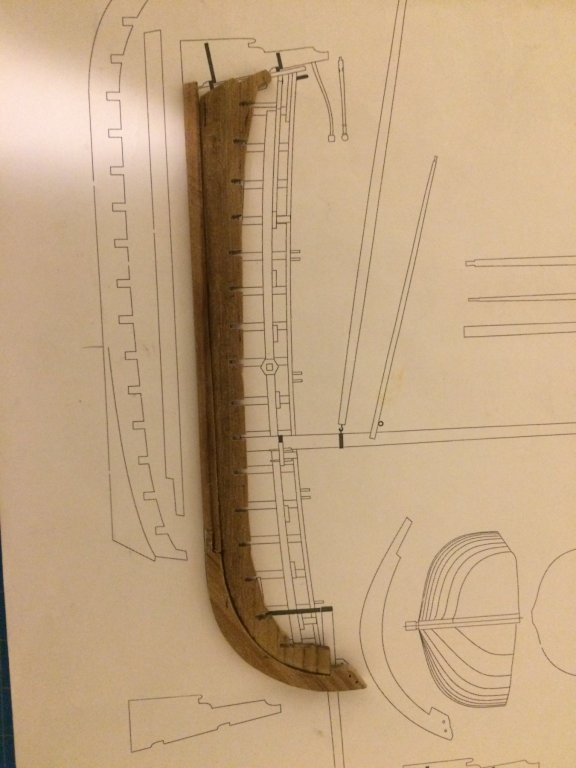
 Here is my progress on the planking ,working with the teakwood is real time consuming and difficult. But I think in the end it will look ok

-
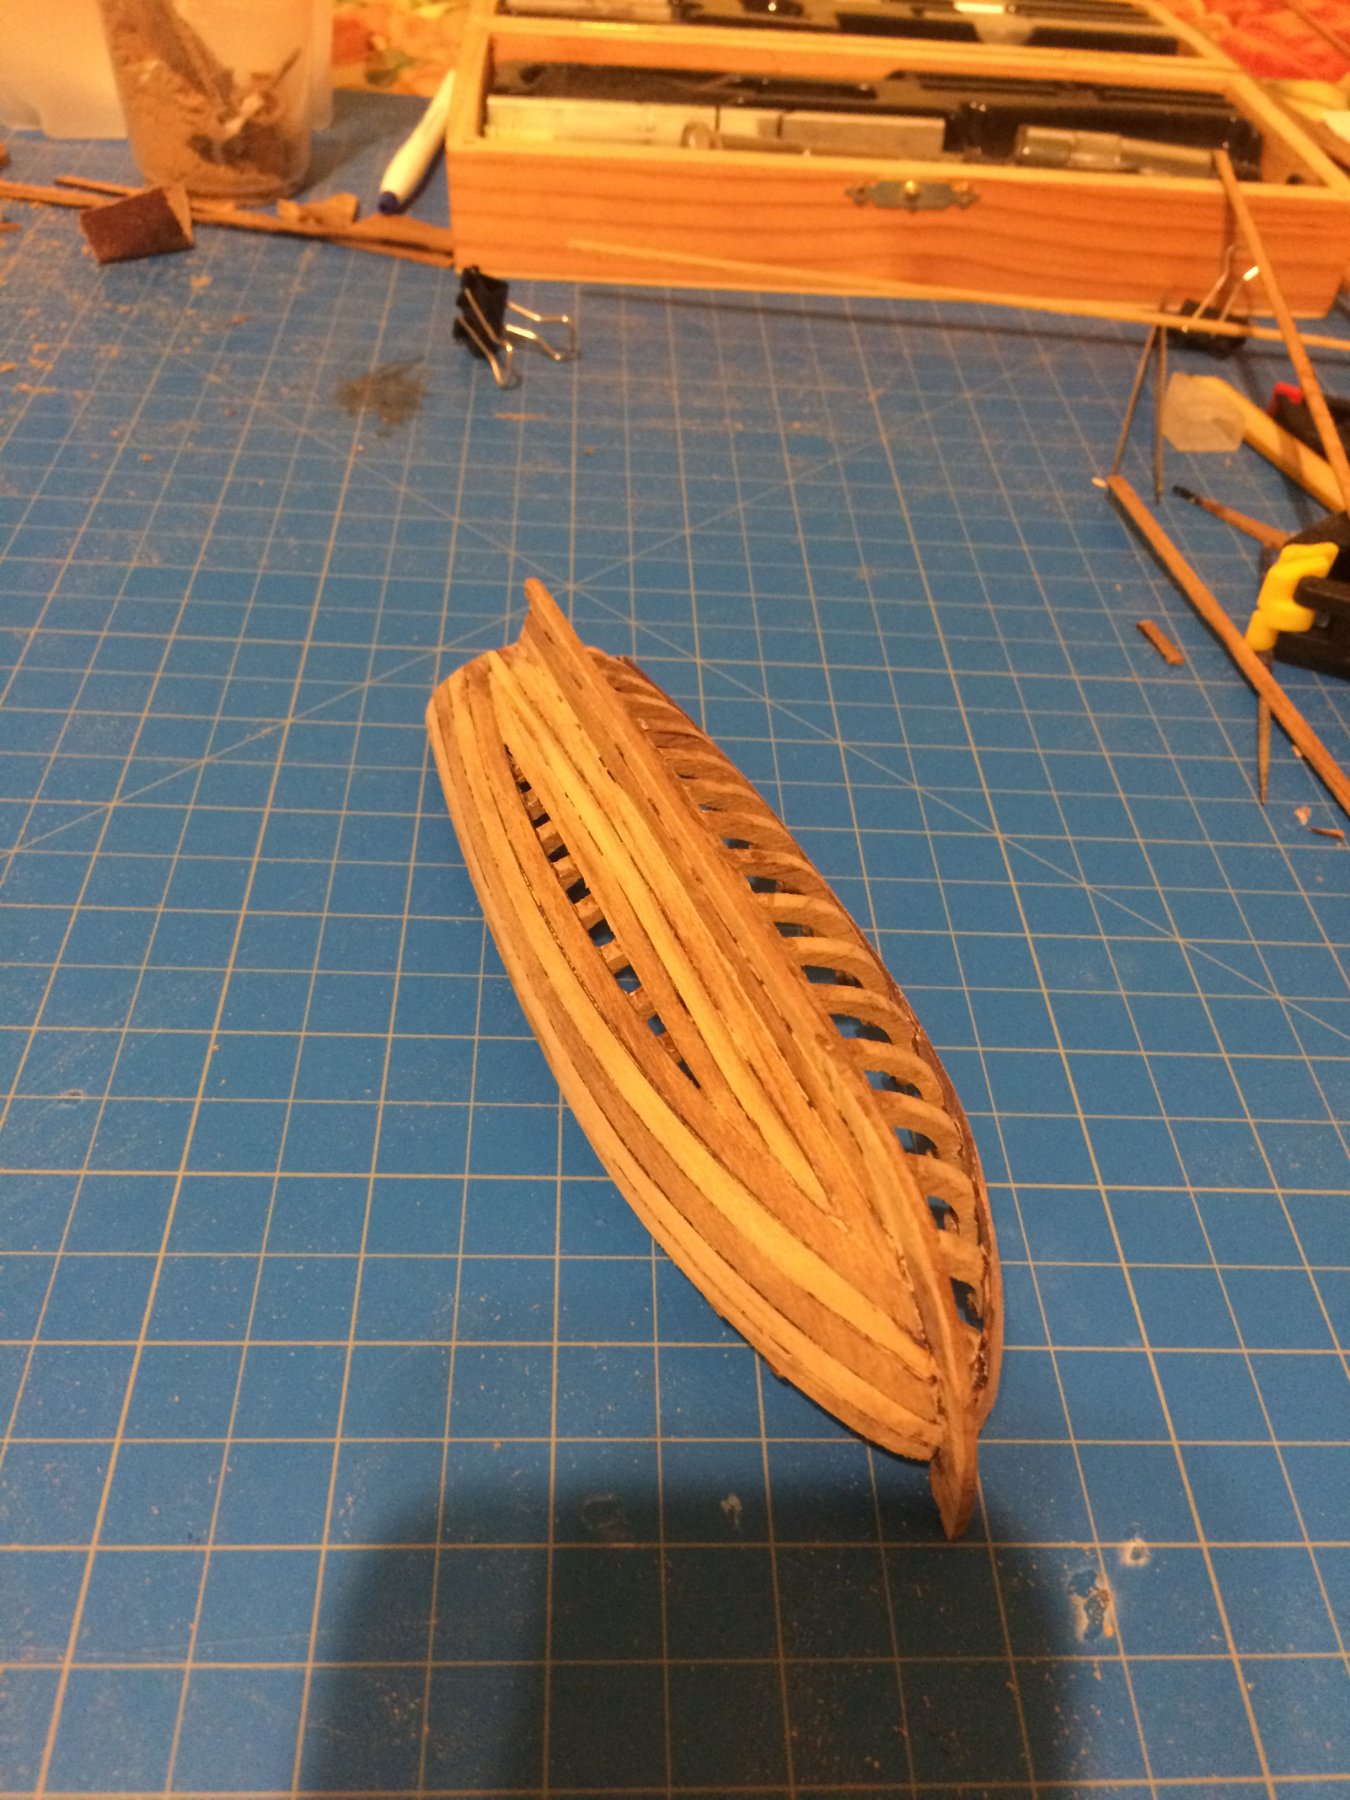
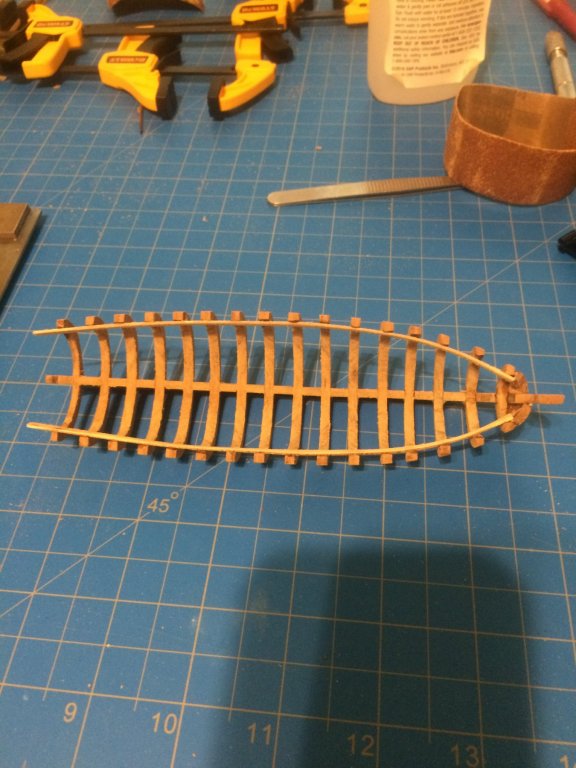
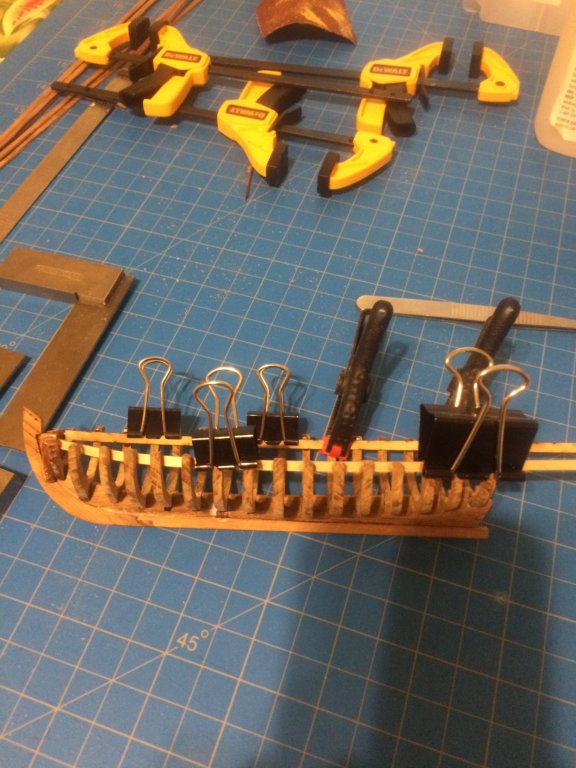
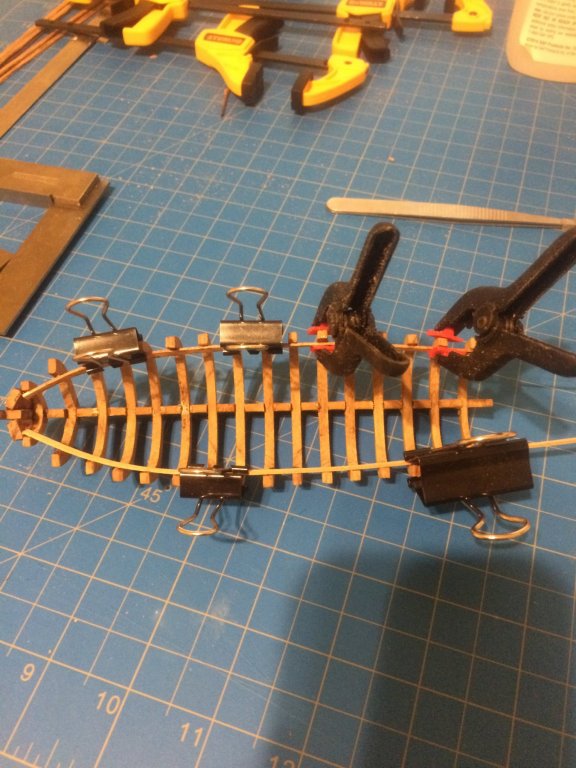
Luckily I got the first few planks on without incident. But the boat was very fragile to handle, I thought for sure I was going to snap a bulkhead or two I would recommend leaving the inside bracing on and just cut enough off to install the transom .I see why Steve asked his question and realize my mistake as soon as I removed them,a noob mistake for sure . And I'm sure more of those to come lol ,
-
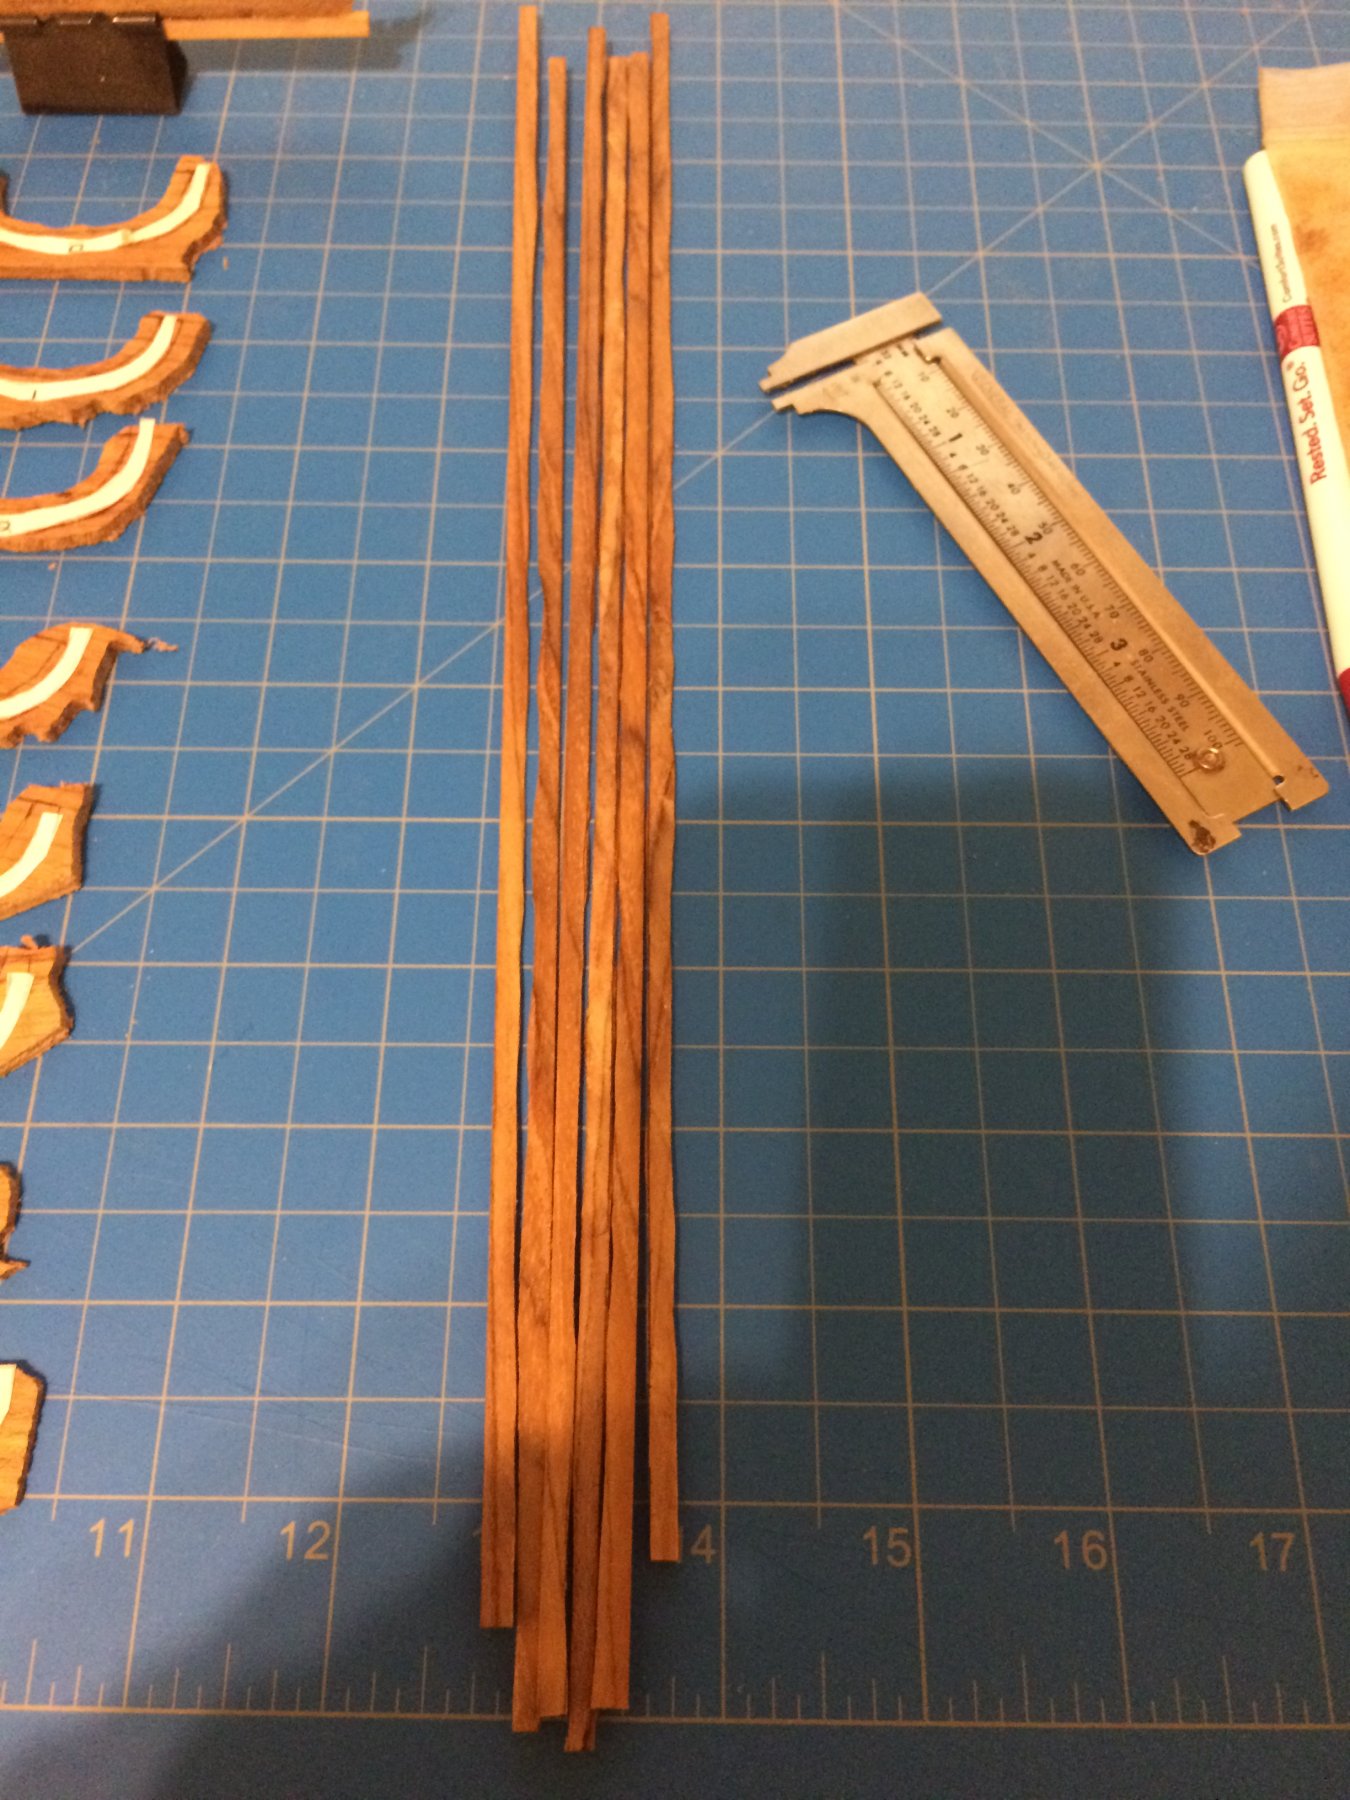
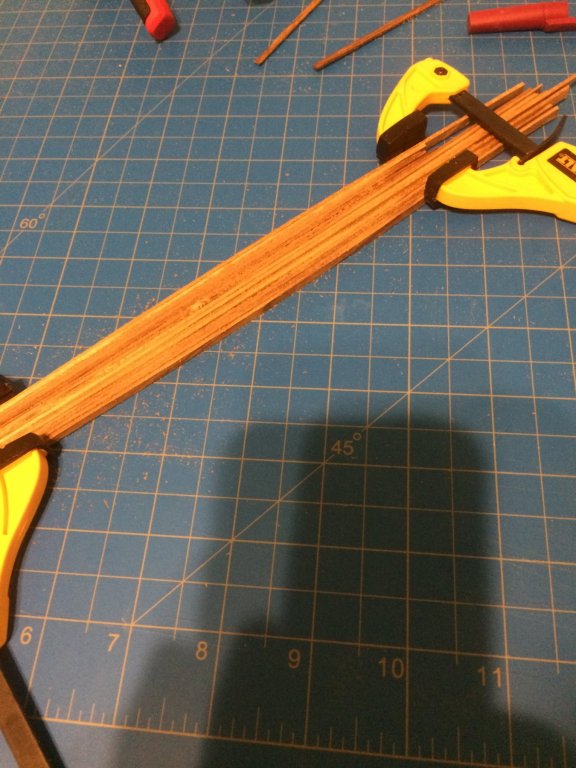
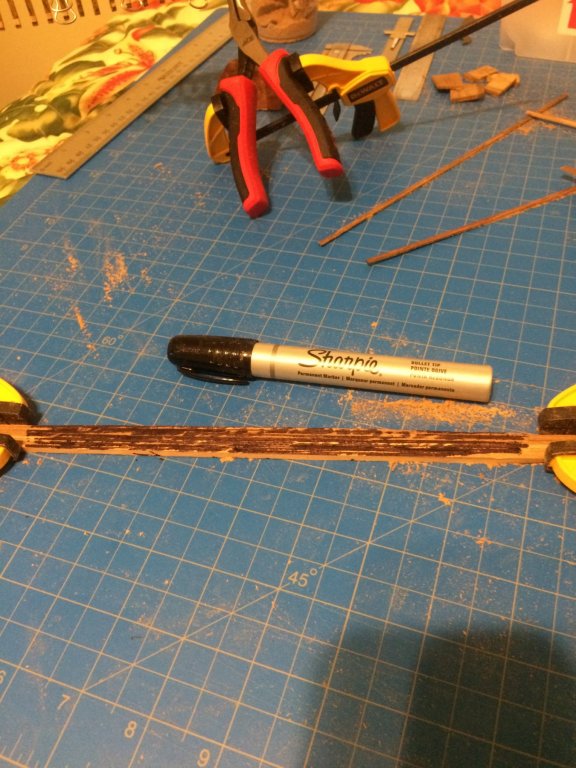
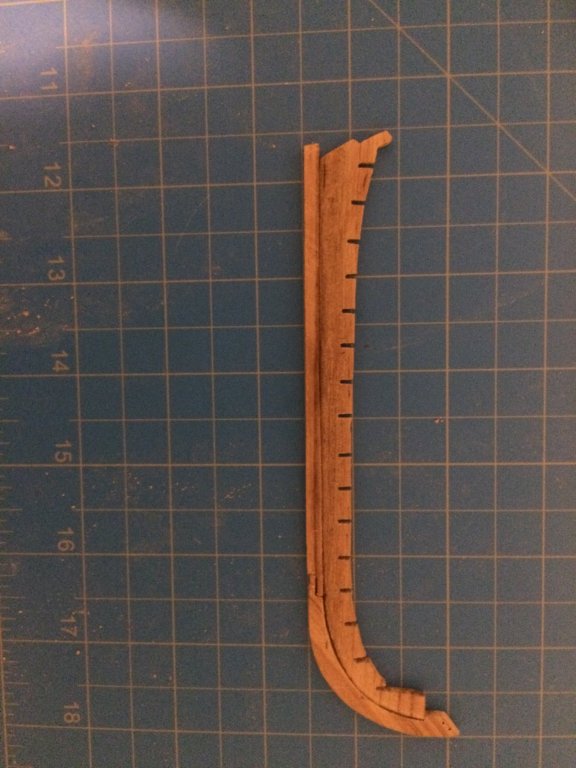
I got the planks pretty straight by clamping a dozen of them together and sanding them on both sides to get my final of 1/8 inch . After I got them to the size I used a black permanent marker on the sides to imitate the sealant.
-
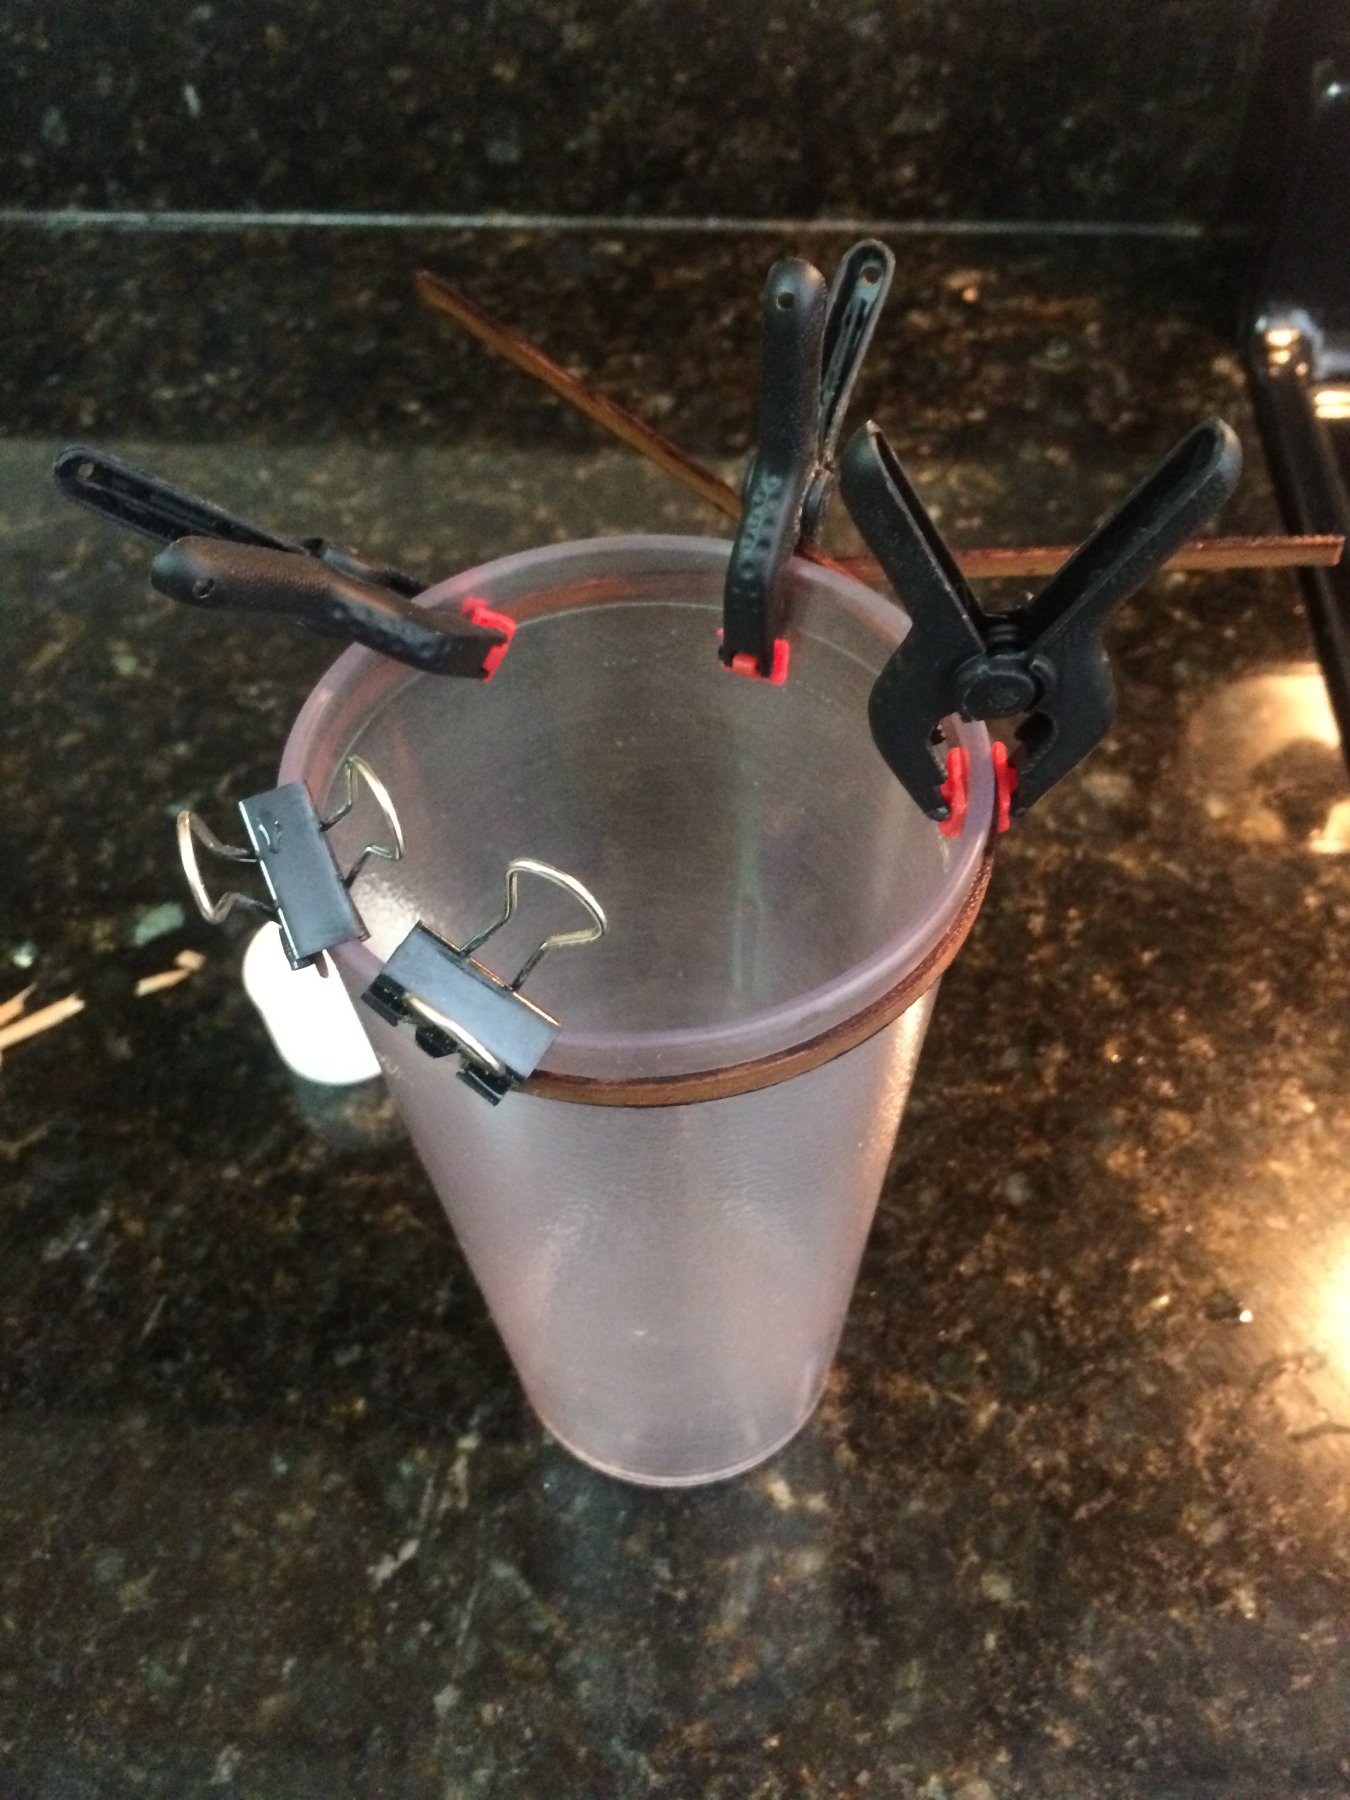
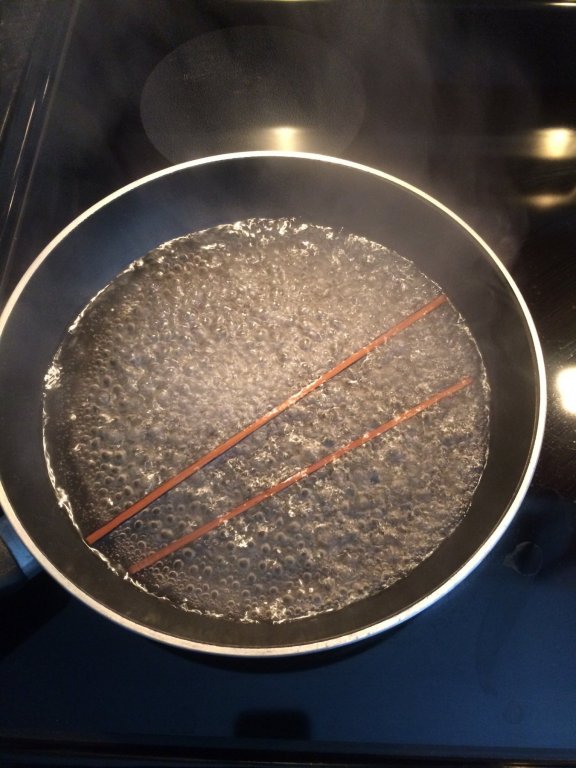
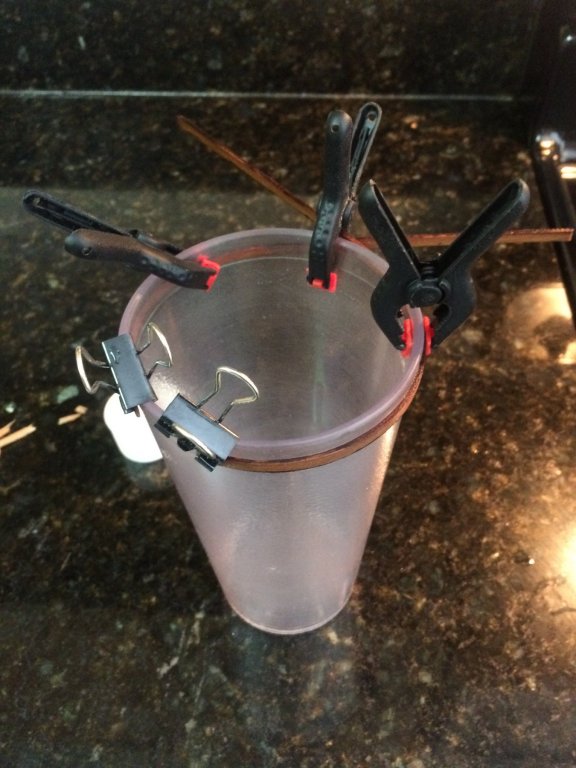
I started planking today and found out teak don't like to bend the way I wanted it to . I Even soaked the pieces over night . But it did not phase the wood planks. So I went to the kitchen and boiled them, I started with six planks but found once they cooled even slightly they were not as playable is I wanted .so I boiled two and formed them let them cool and dry and then set them on the hull . Then repeated process.

-
I needed to remove them at the stern to put in the transom and started pulling off the rest , honestly wish I wouldn't have removed as much as I did because it is very delicate now but once I get the first couple planks on It should gain its rigidly again
-
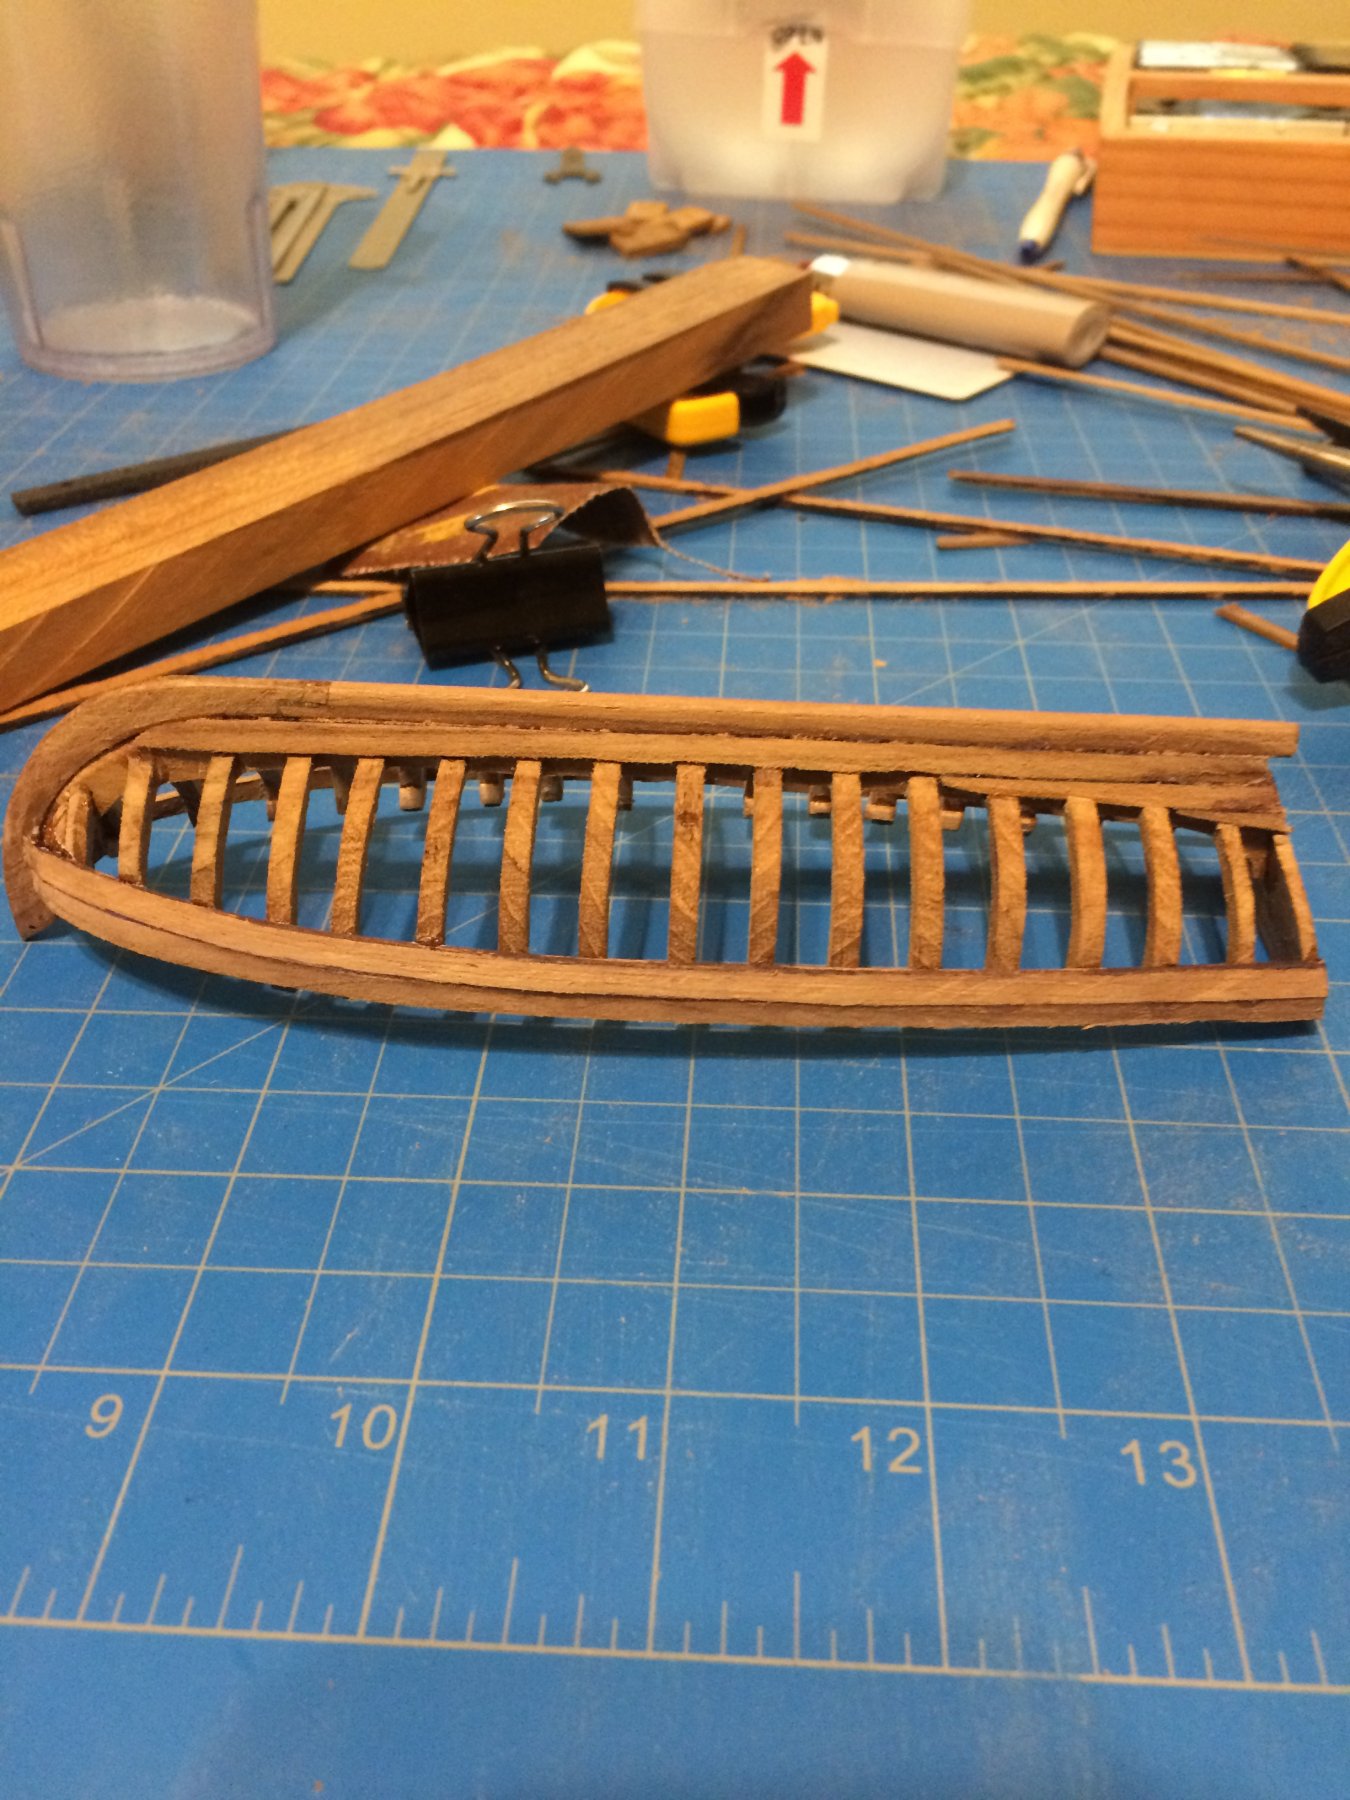
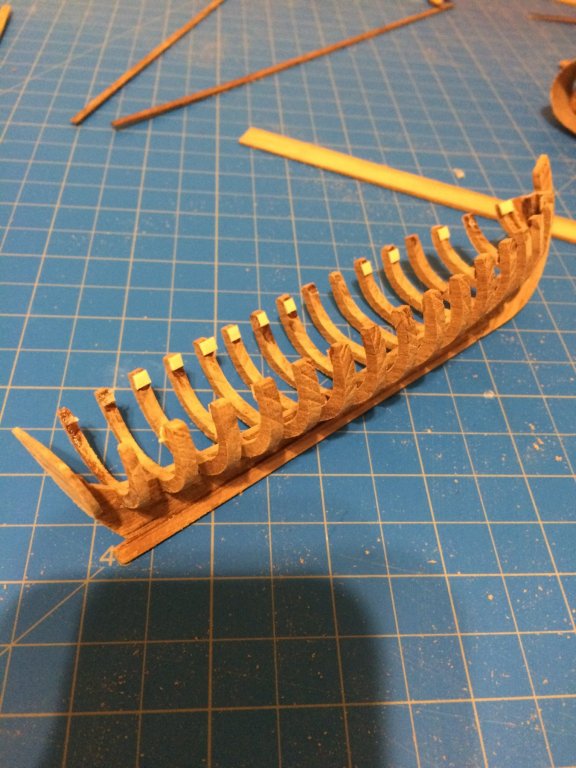
I faired the hull , added the keel ,and started to remove the temporary bracing on the inside of the hull .

-
I have glued in the bulkheads and fillers at the bow ,I also glued a couple pieces of basswood strips on the inside of the hull to help sturdy it up a bit while fairing the outside of the bulkheads. I glued them close to top of the bulkheads to make removing the basswood and cleaning off the glue easier .
-
Thats so cool that you are building this ship for your son- in -law. Looking good I am going to follow along with this build.
-
Hello from Perth, Western Australia
Derek C replied to Peter Bloemendaal's topic in New member Introductions
Welcome to MSW Peter I am new to this forum as well, and have used many parts of it to get help on many different subjects from tools to wood ,and the knowledge you get from the members and there posts are overwhelming I can read them for hours until my brain can't hold any more lol Have fun can't wait to see your Syren get started in a log Derek -
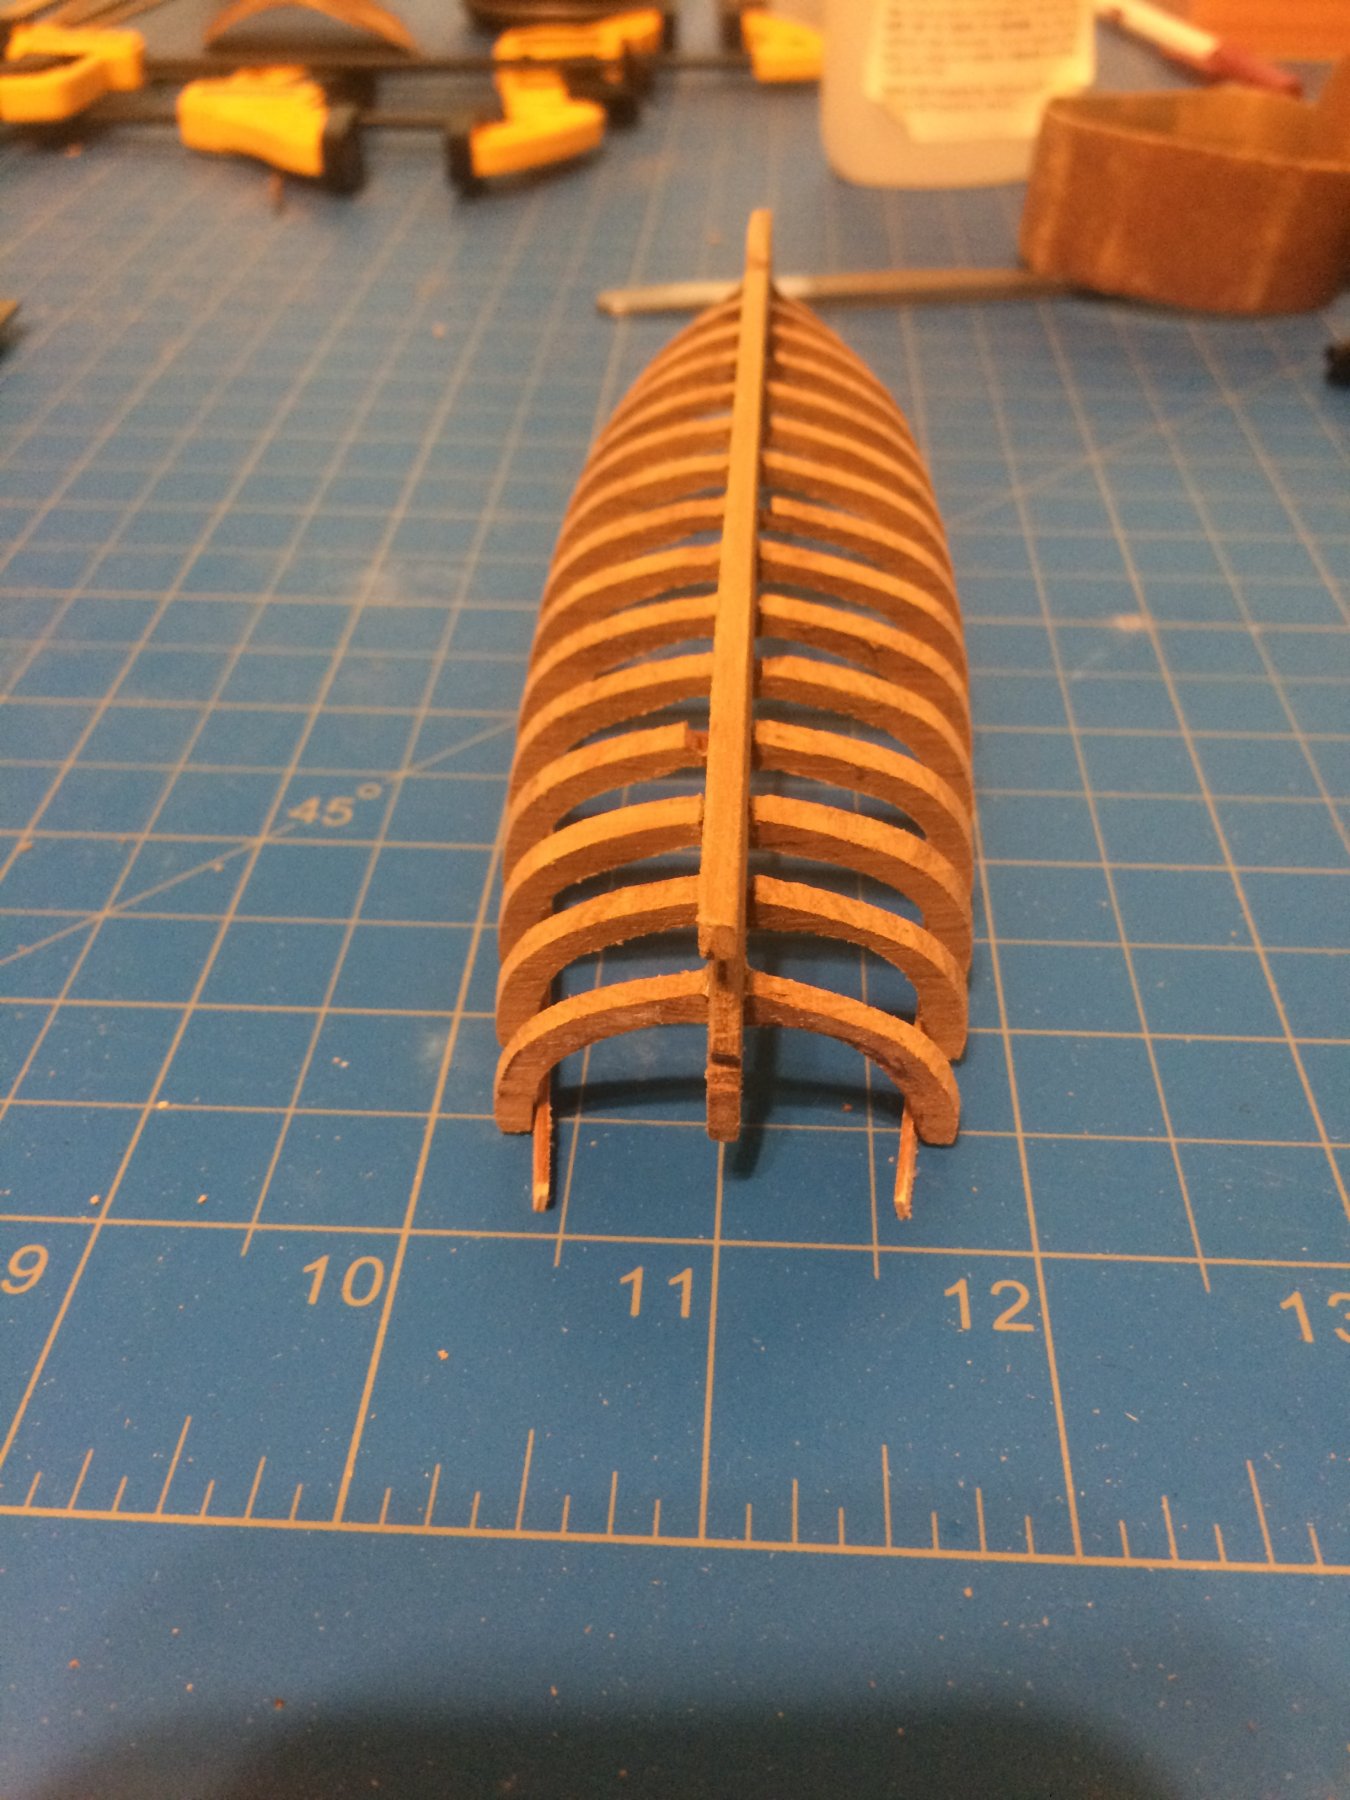
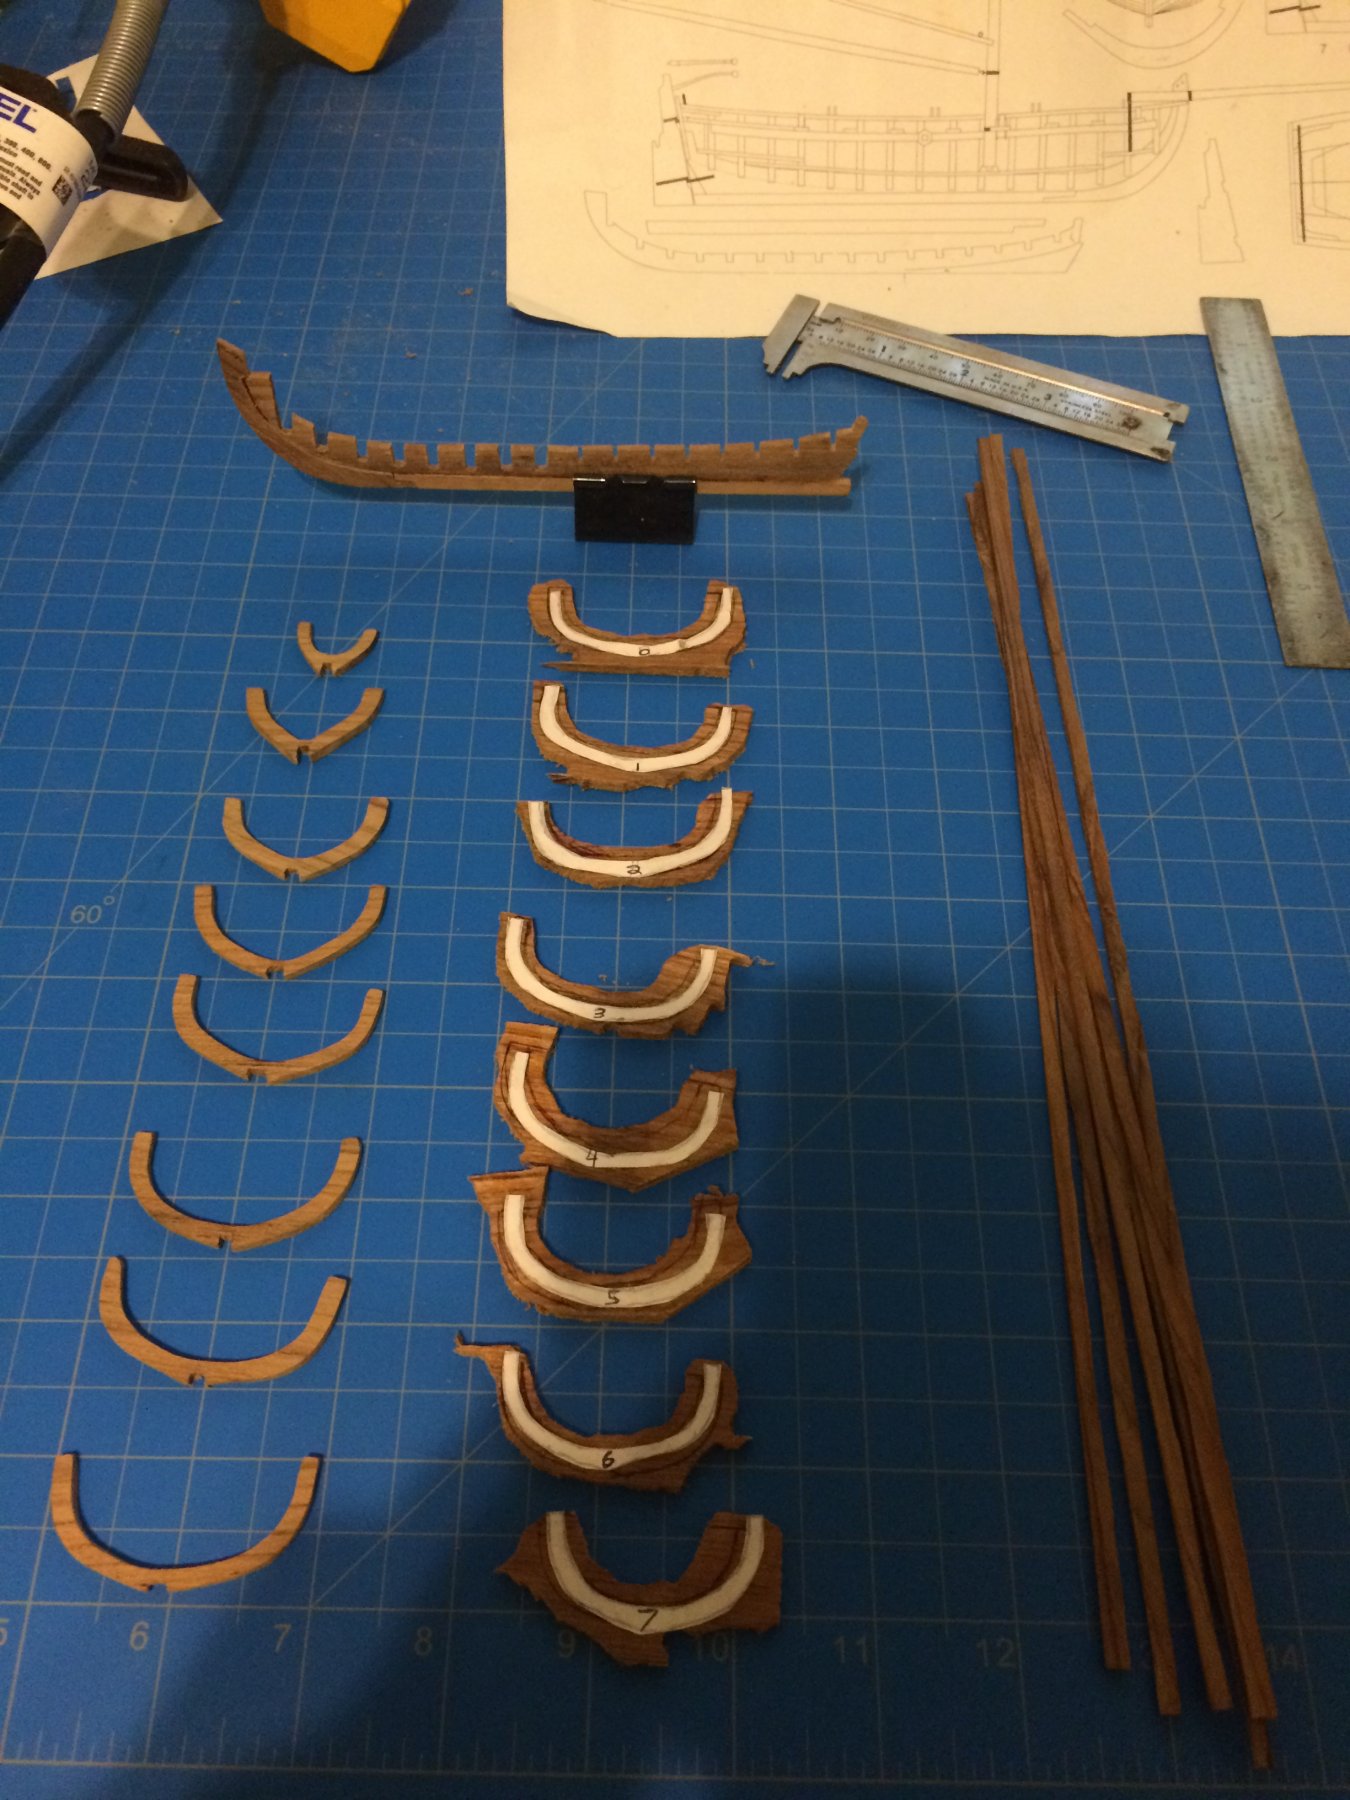
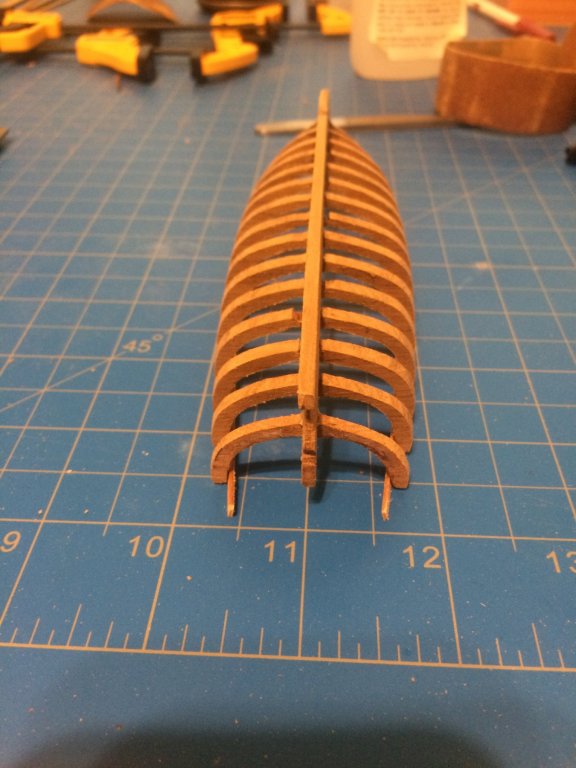
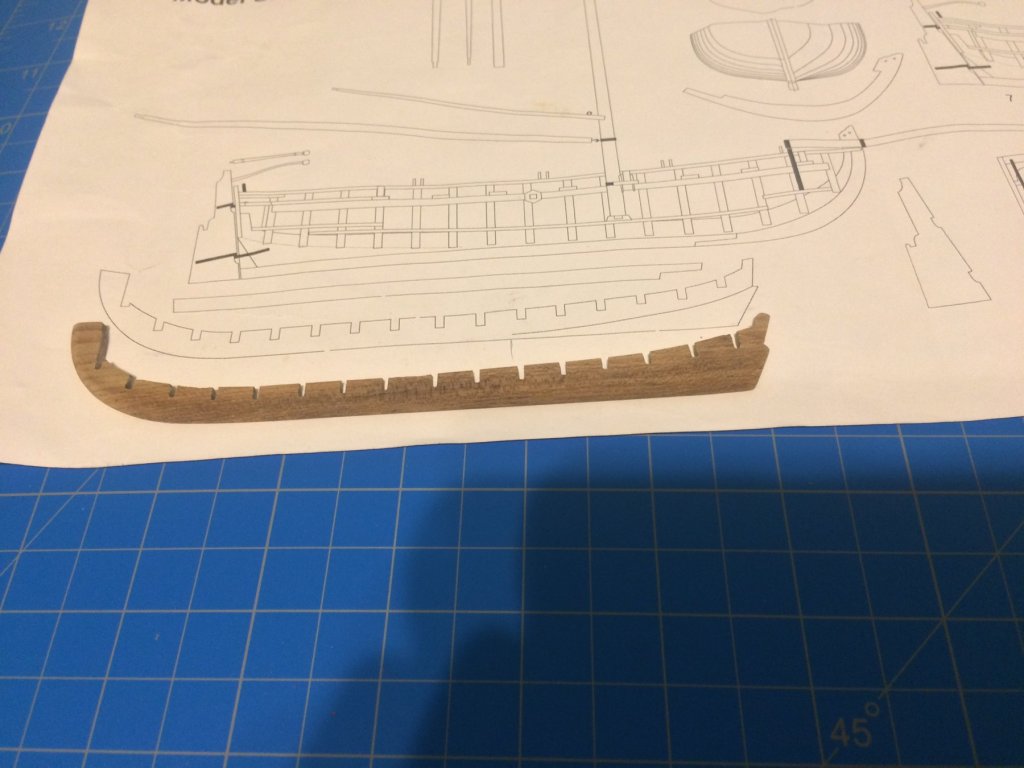
I started on my bulkheads, Using the traced bulkheads from the plans and proceeded to "hack " out a rough shape around the paper templates. I say hacked because as u can see from the photos I wouldn't say I "cut " them out lol . Then I used files and sanding blocks to get the shape to match my template , then I got smart and got rid of the files and sanding blocks and broke out my dremel with the rotary shaft and sanding drum and life was good . I did use the files and sanding blocks to get the final shape of the bulkheads . I really enjoyed building the kit of this longboat , but must say the joy of creating these pieces from scratch is great and very relaxing. this is the first time doing a scratch build and I think I'm doing it ok . I hope to have the bulkheads done, glued and the hull faired so I can start planking this weekend . Also I posted earlier that I was cutting my planks at 1/32x3/32 but that was incorrect . The planks are cut 1/32x 1/8 . I cut them a bit larger so I can sand the edges to get my final measurements and keep them all true .... well that's the plan anyway. I will let y'all know how that works out for me .


-
-
Welcome to MSW , there is so much info and knowledge here at MSW , I'm sure you will find all the help you need here to point you in the right direction. Best of luck Derek
-
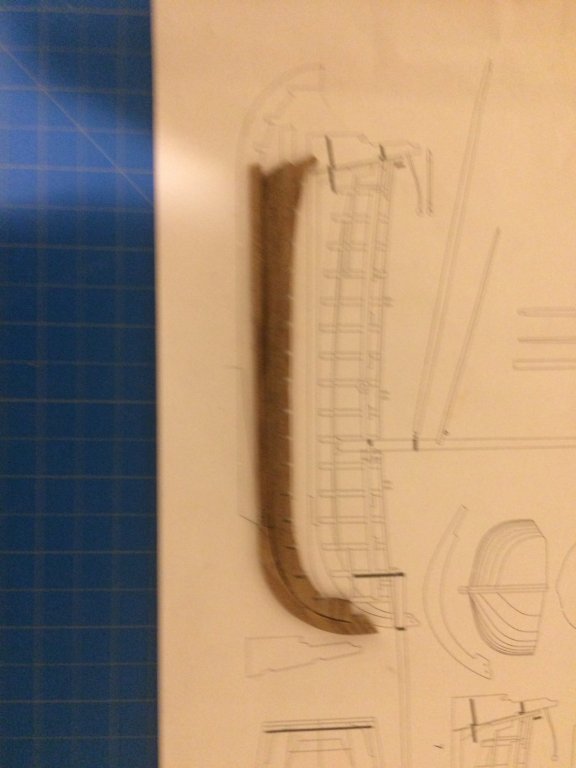
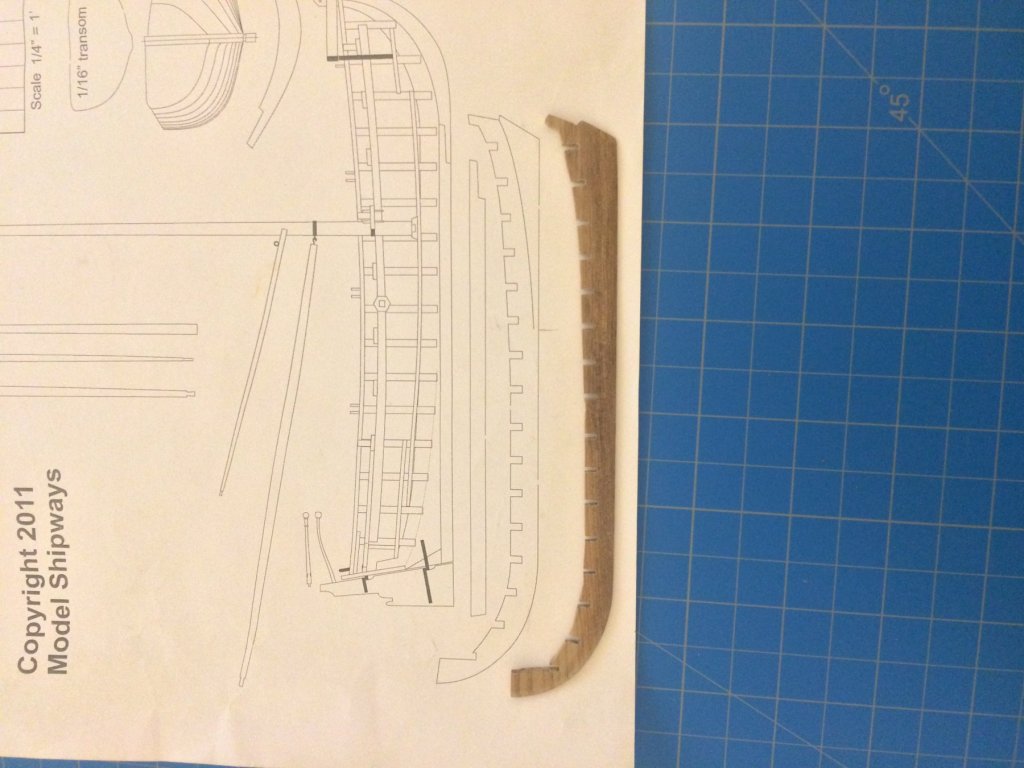
I finished the main keel using the same technique I used to do the false keel then glued them together
-
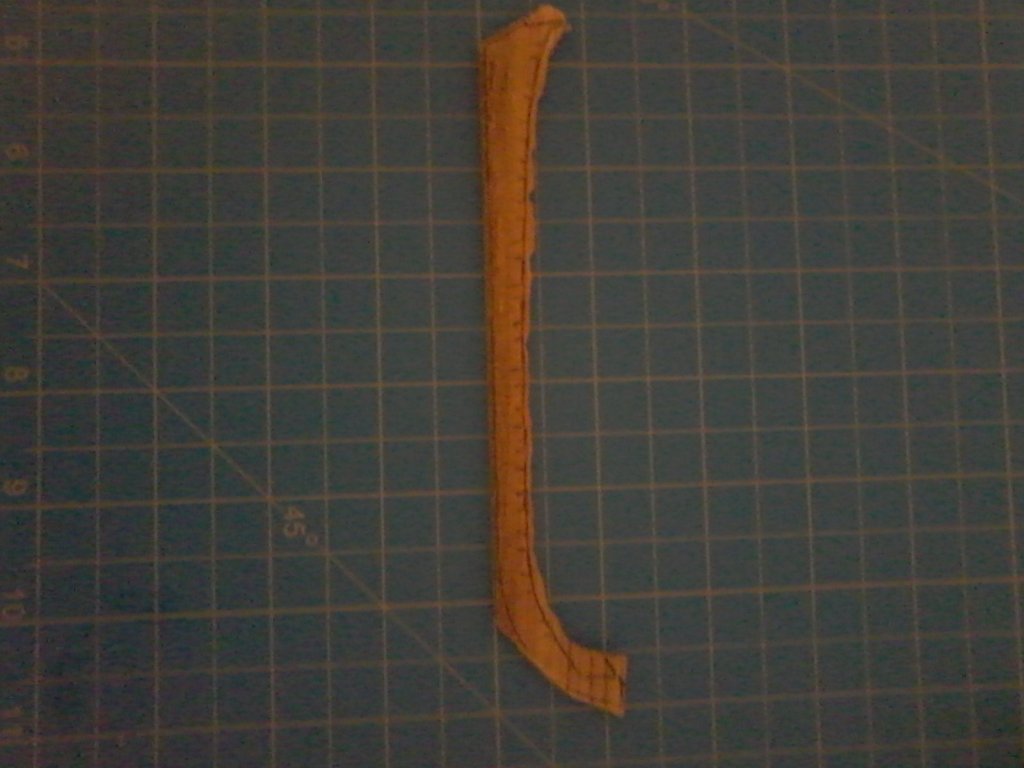
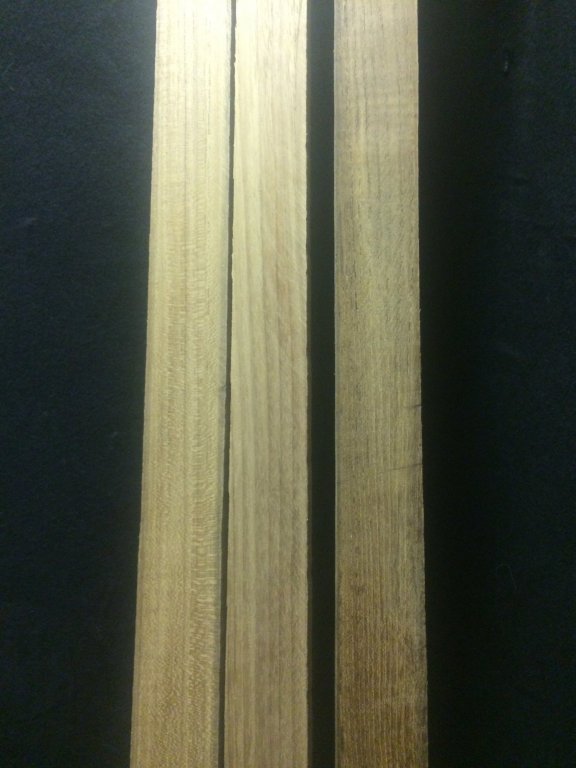
Here are a couple pics of finished false keel
-
After I had the rough cut out , I used a few drops of glue to adhere the paper template I had traced earlier to it. Then I broke ot my files and sand paper and slowly worked the rough cut teak to match my template. I then removed the paper, and sanded of the glue and shaped the aft of the fakse keel. I also shaped the bottom edge of the false keel bringing them down from 3/32 to 1/32 to allow the planking a nice place to sit.
-
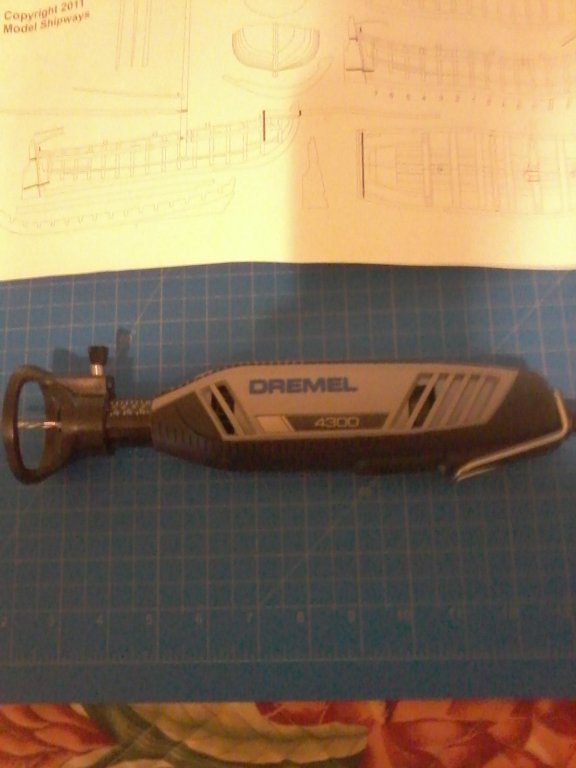
Today I actually got to start fabrication , I wanted to get the false keel done first , as it looked like it was going to be the most complicated peice to make. So I traced the plan for the false keel onto a piecs of paper and then transferred that onto a piece of 3/32 teak that I had ripped earlier in the week . Then I used my Dremel with a multi purpose cutting bit #561 , and the cutting guide attachment. To get a rough cut around my marked pattern.
-
Welcome to MSW , There are many forums and members here with tons of great info and experience. I am new to this hobbie as well , and love being a member of MSW its helped me alot. Derek
-
Looking real good just read through your build log , and like the fact you work through the problems with ease. Shes going to be a good looking ship
- 181 replies
-
- 1
-

-
- santa maria
- mamoli
- (and 1 more)
-
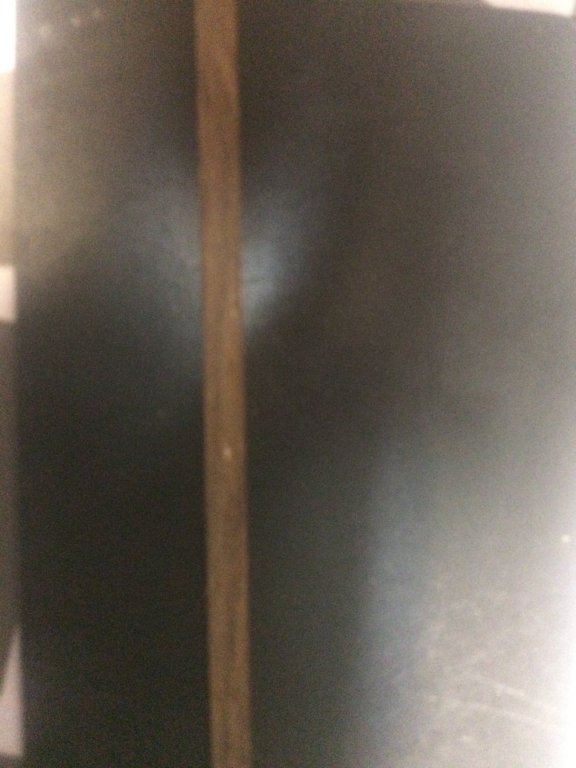
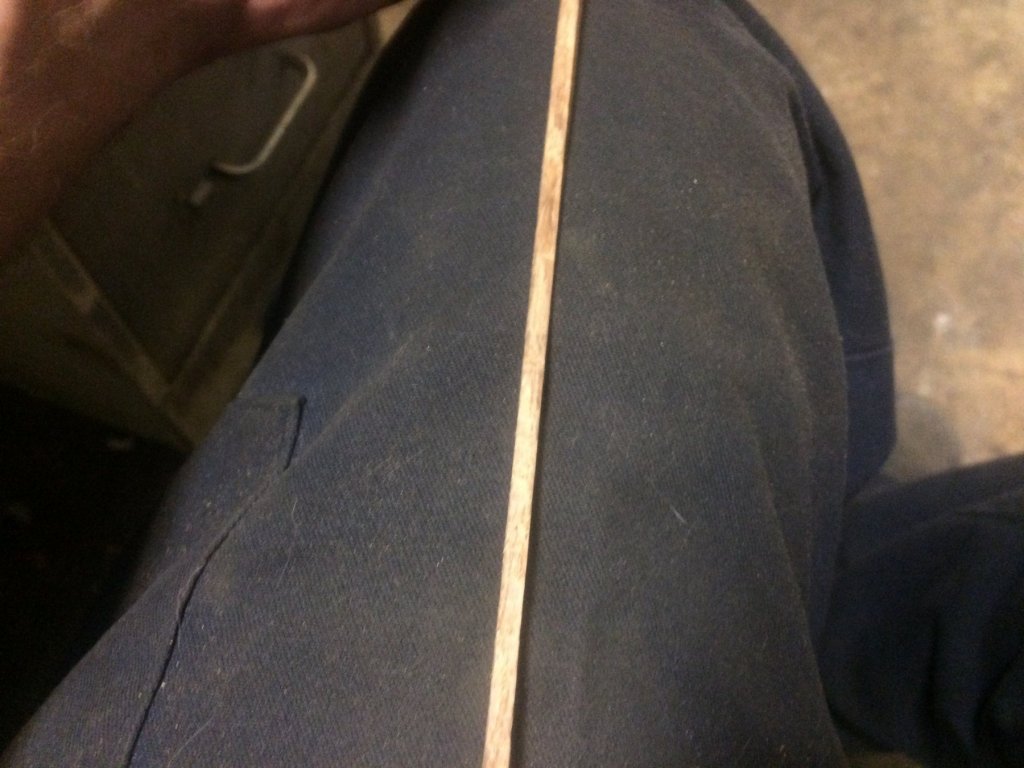
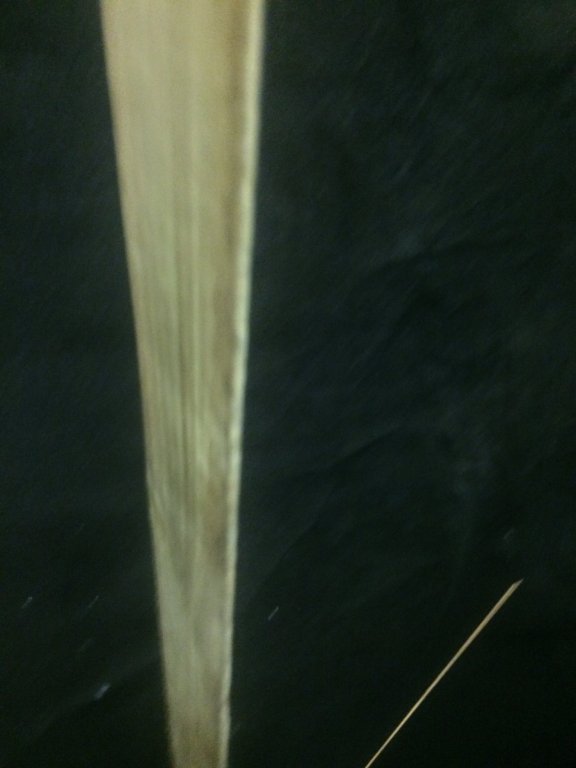
Here is a piece of the planking that was cut to 1/32 x3/32 , I am surprised how bendable this wood is I was worried that it might be brittle when cut this thin but seems pretty tough
-
Then I cut a piece at 3/32 thick and will use this to mark up my 16 bulkheads , false keel, and keel pieces
-
I started to rip a bunch of 1/32 pieces to use as planking for the hull then I will use my exactoknfe to cut them into 3/32 wide strips
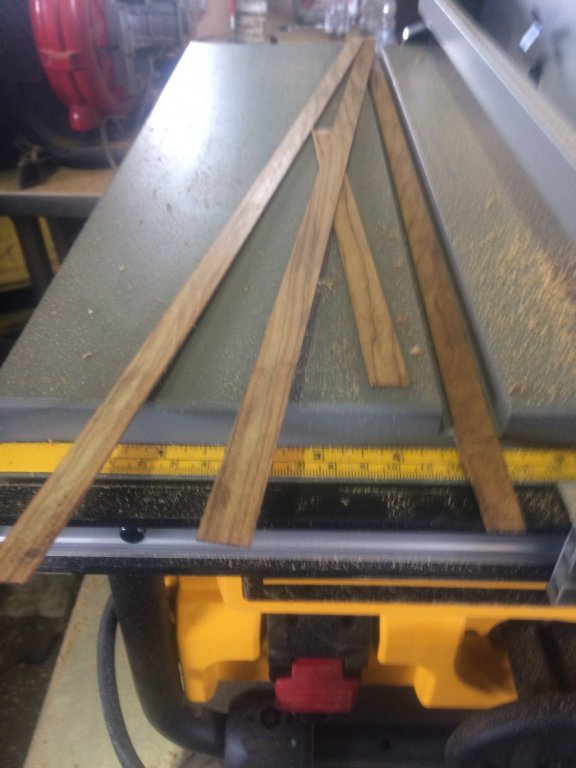
-
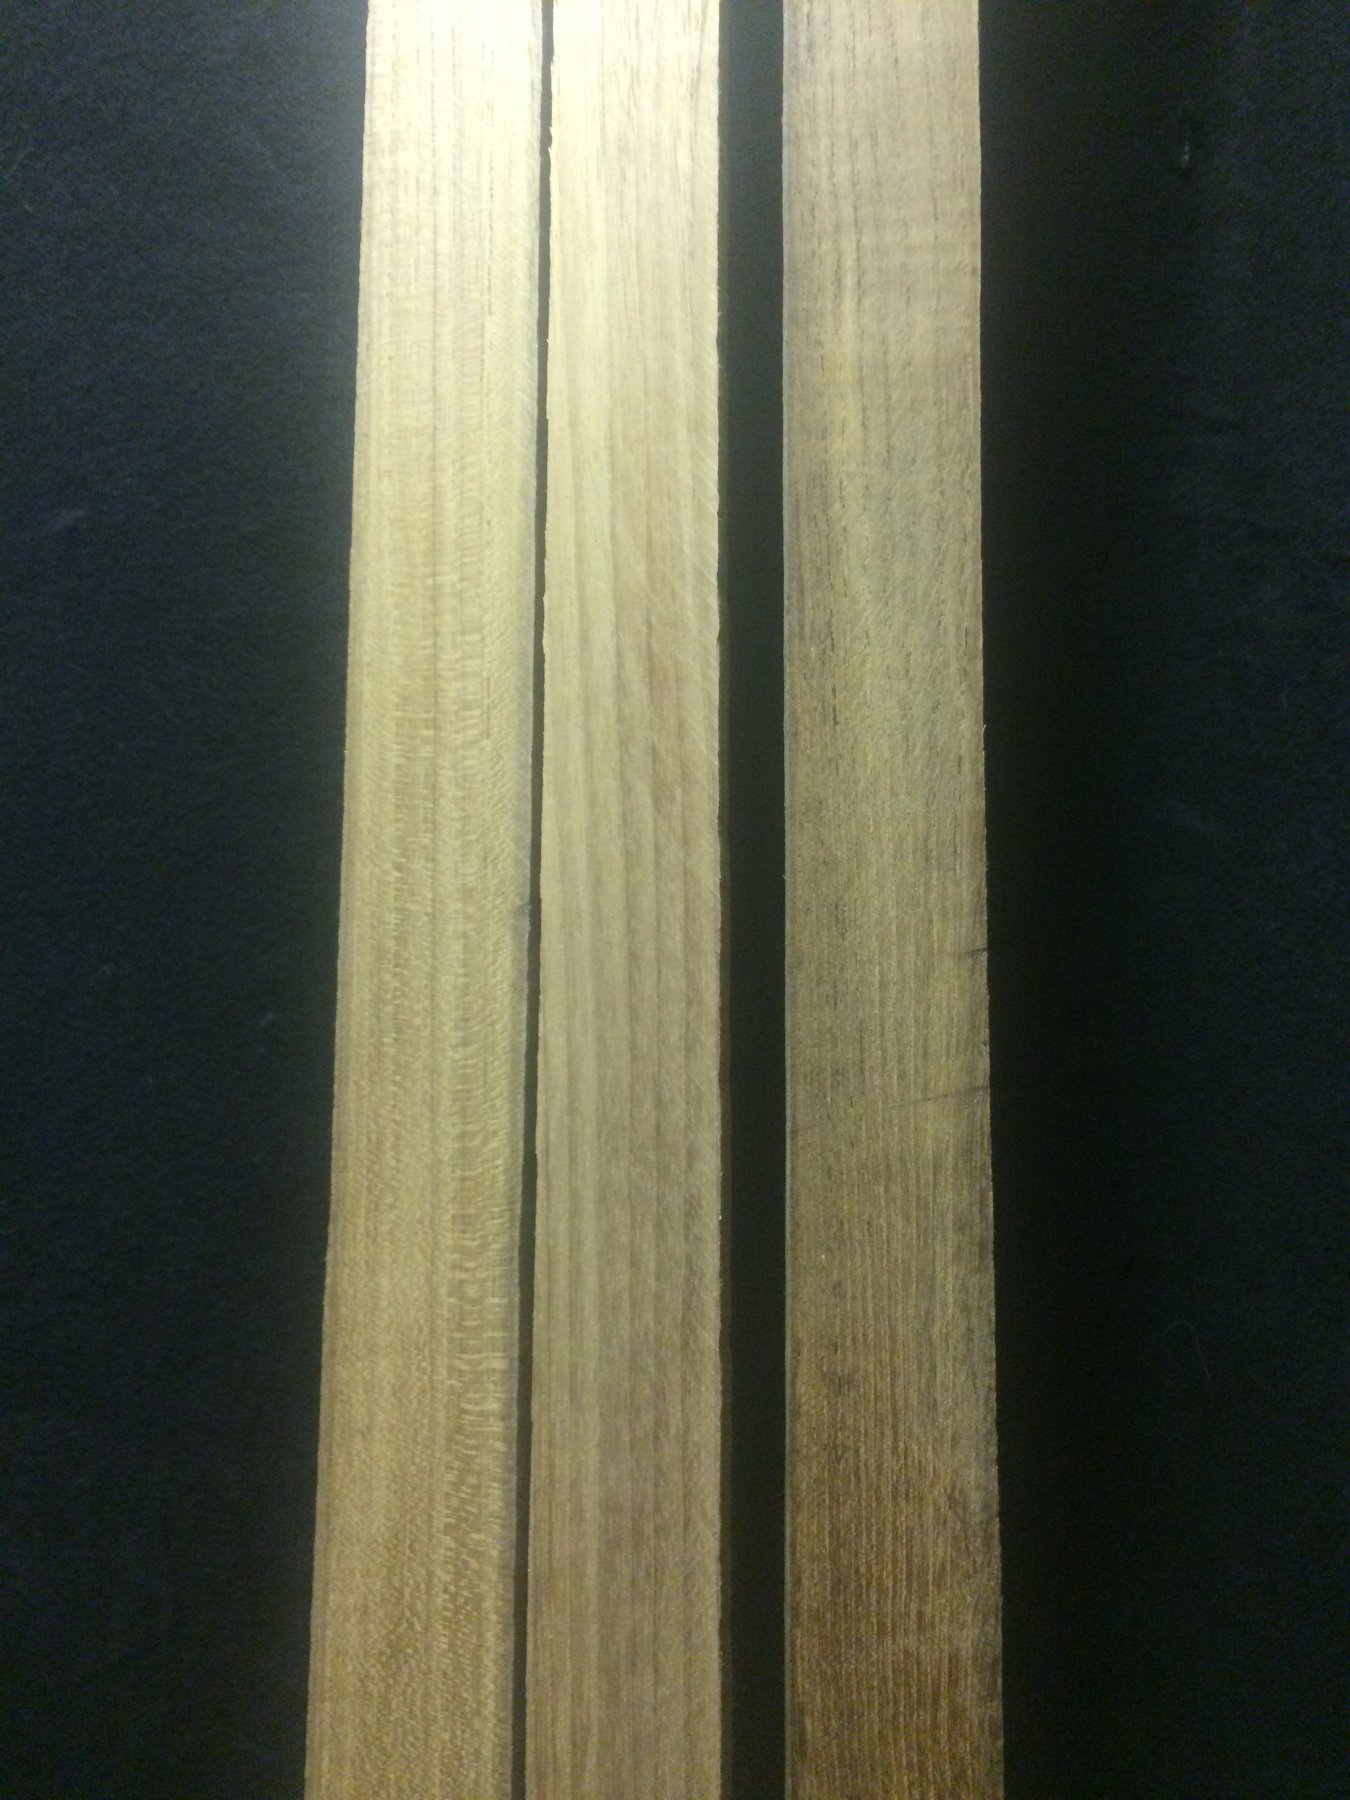
Here is some of the wood I will use
-
Ok so I finished my longboat kit build from model shipways and found it was fun and challenging,so I started looking at other kits to build my second model . Then yesterday by chance I got a bunch of teakwood from a friend and thought to myself what am I going to do with this . Then I figured why not cut it up and build another longboat but this time from scratch using all teakwood. I have never done anything like this before and never worked with teakwood before . But what the heck I figure I'll give it a shot. I will build it using Model Shipway plans and instructions .