

.jpg.c8fa72e875139f3ef801ecc2a3e2102d.jpg)
Matt H
-
Posts
170 -
Joined
-
Last visited
Content Type
Profiles
Forums
Gallery
Events
Posts posted by Matt H
-
-
The replacement bulkhead former showed up today, it too has a bit of a bow, but no twist or kink, once tightened down in my homemade keel clamp it is almost straightened out, once the filler blocks are attached it should be good to go. I have soaked the rabbet strip and it is currently being held in place with a clamp and rubber bands. Once it dries later tonight I will glue it in place and let it set overnight before cutting the rabbet out tomorrow.
-
-
-
-
-
Hello and welcome.
- JeffT, mtaylor and thibaultron
-
 3
3
-
-
-
-
-
-
-
Hello and welcome.
- Old Collingwood and mtaylor
-
2
-
19 hours ago, RickyGene said:
A most excellent choice for your next project. You also have a nice boat slip to bring your build to life. Might I make a suggestion. A slight warp can be dealt with pretty easily. But yours looks really worse for wear. Fire a e-mail off to Model Expo and I bet they will replace with a flat one. I have never had them not respond to a request for replacement. I too had to learn the hard way with a warped FK after thinking I had fixed it, resulting in that build being shelved. Looking forward to your build.
Rick
Thank you for the advice, I was debating on whether to ask for a new one or if this was easily managed with filler blocks. Thanks for the input.
-
The bulkhead former is slightly warped, it has a bow in the middle. I think it will be easily corrected with some filler blocks.

- GrandpaPhil, JpR62 and J11
-
3
-
-
-
So just before wrapping up my first build the 18th Century Longboat, I decided to purchase this kit because of the excellent instructions. I also have a couple others on my shelf waiting to be built, the HMS Endevour's Longboat by Artesania Latina and the HMS Granado by Caldercraft. I intended on building the AL longboat first, but found the instructions very lacking in any sort of detail. So I picked up the 18 Century Longboat and worked on it for a little bit, before planking felt daunting and it sat for about 6 months before I finally decided to give it a go. Finished planking, then found I wasn't ready to try shaping and cutting out the cap rails, floorboards, or decks, so it sat again, and little over a year later, last month, I dug it out and finished it, my build log is below in my signature. I had intended on doing the Granado after that one, it's directions look pretty good, but I think the Syren's directions are a bit better and I was able to get it on a good sale a couple weeks ago.
So here I am starting my second build, I will move on to the Granado after I finish this one and one day I'll get around to AL's HMS Endevour. I won't have nearly as much time as I have had these past 2 weeks, where I've finished the longboat, it's back to work for me. I am a high school CAD drafting and wood shop teacher, so my summer officially ended Sunday. Back to work for me yesterday, students return Monday. I plan to work on it a little each night and will try to remember to take photos and journal what I have done here on a regular basis.
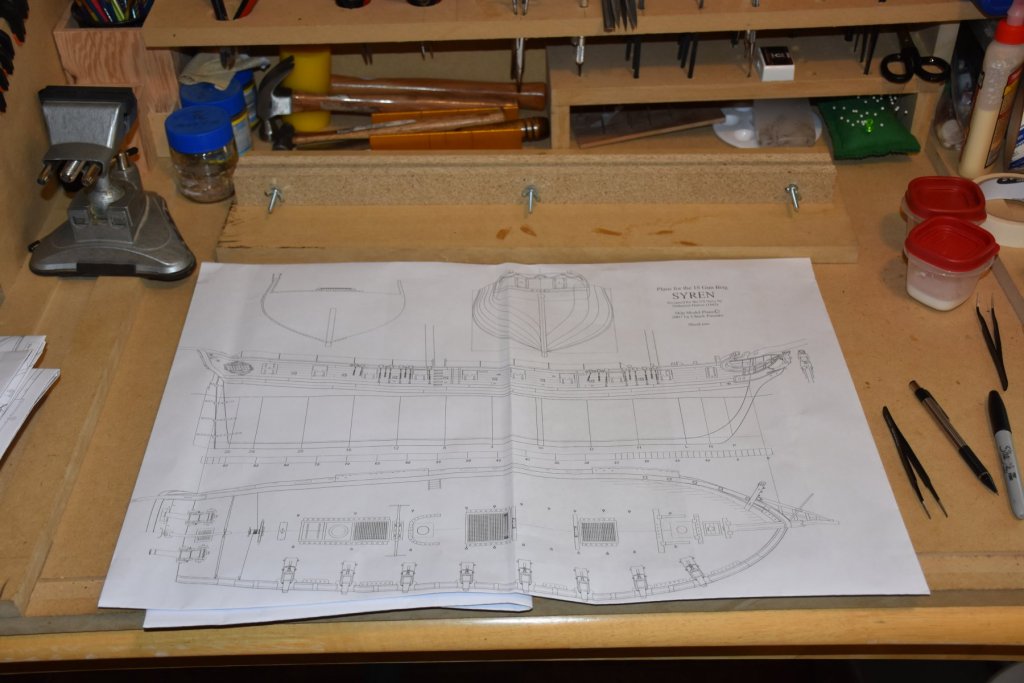
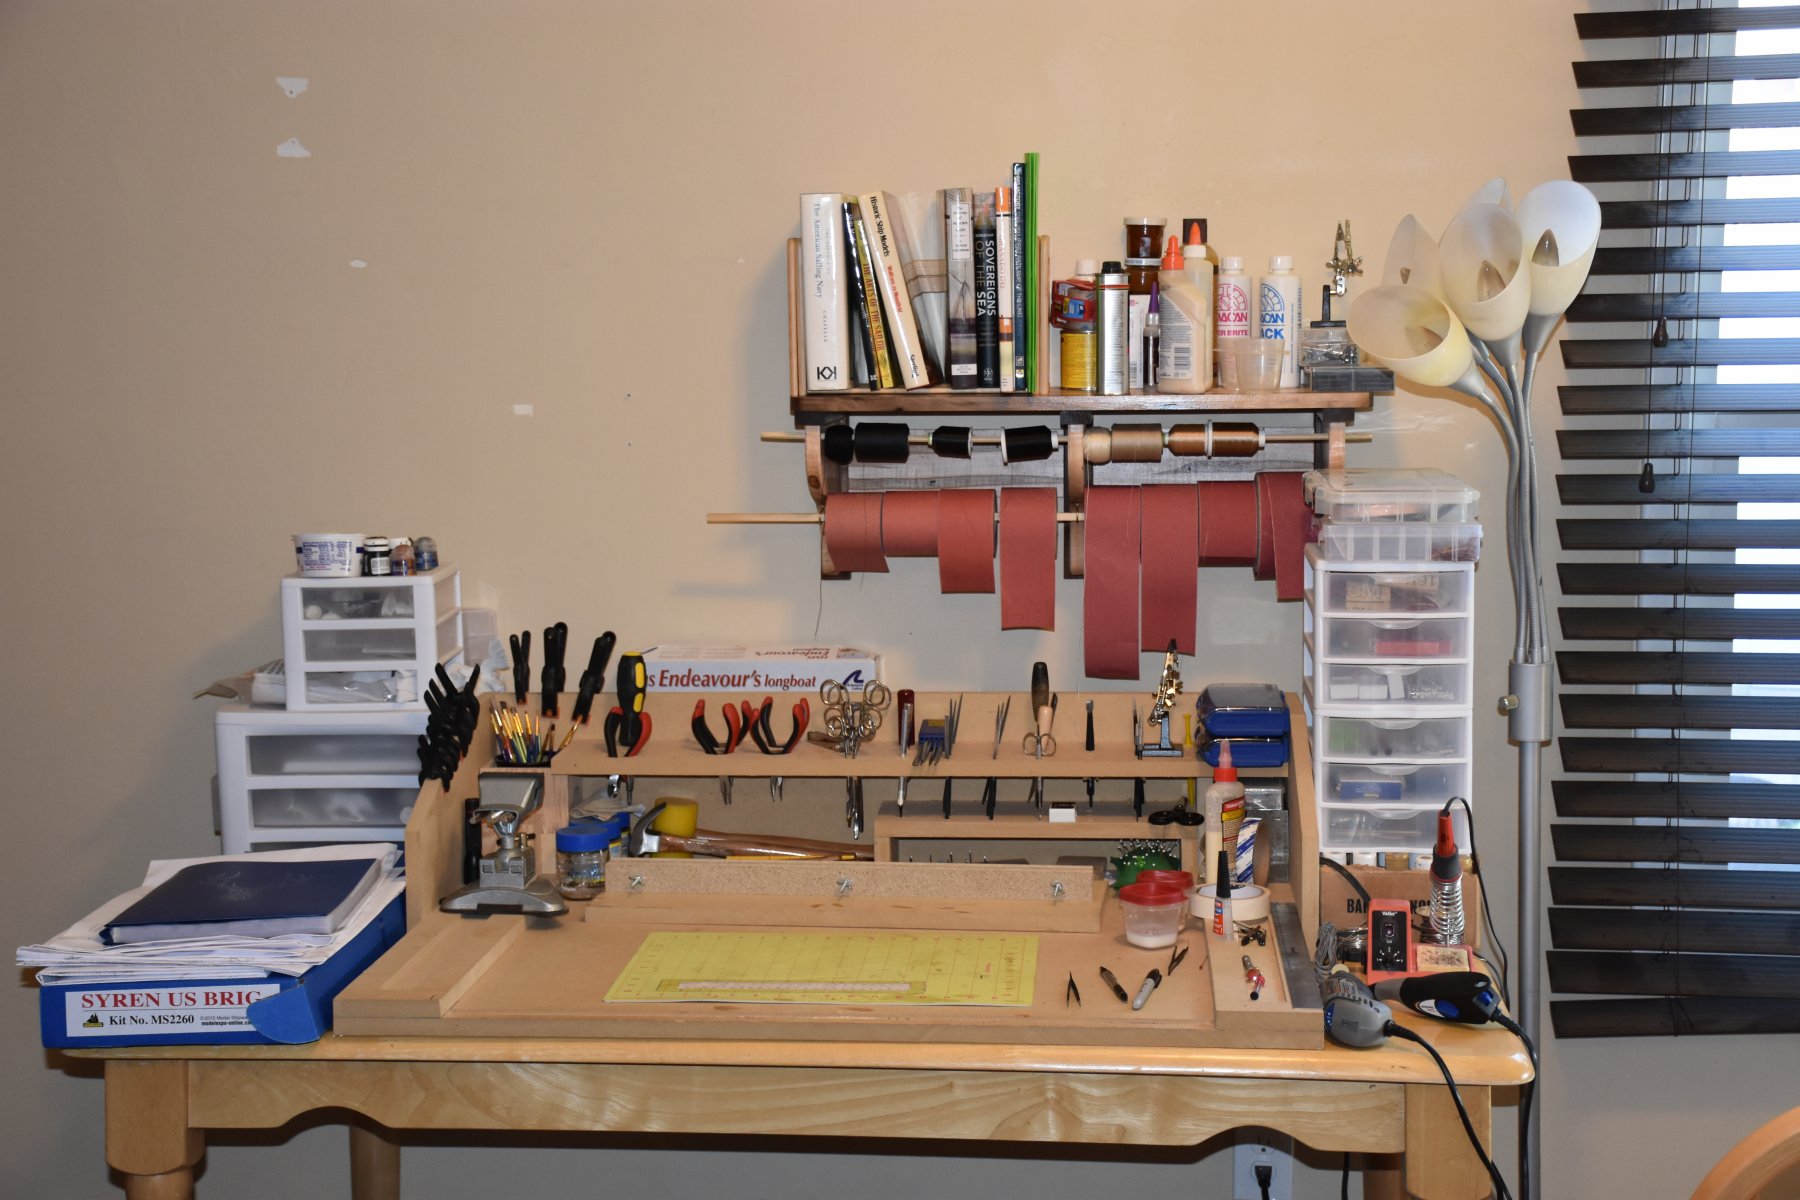
First off here is my complete workstation. I have enough wall space to hang the large plans on the wall to the left of area. The smaller plans for the Syren I folded up the white space around the edges and taped them up on the back side, they are small enough to fit in my work area when I need them.

Next up is the required unboxing.
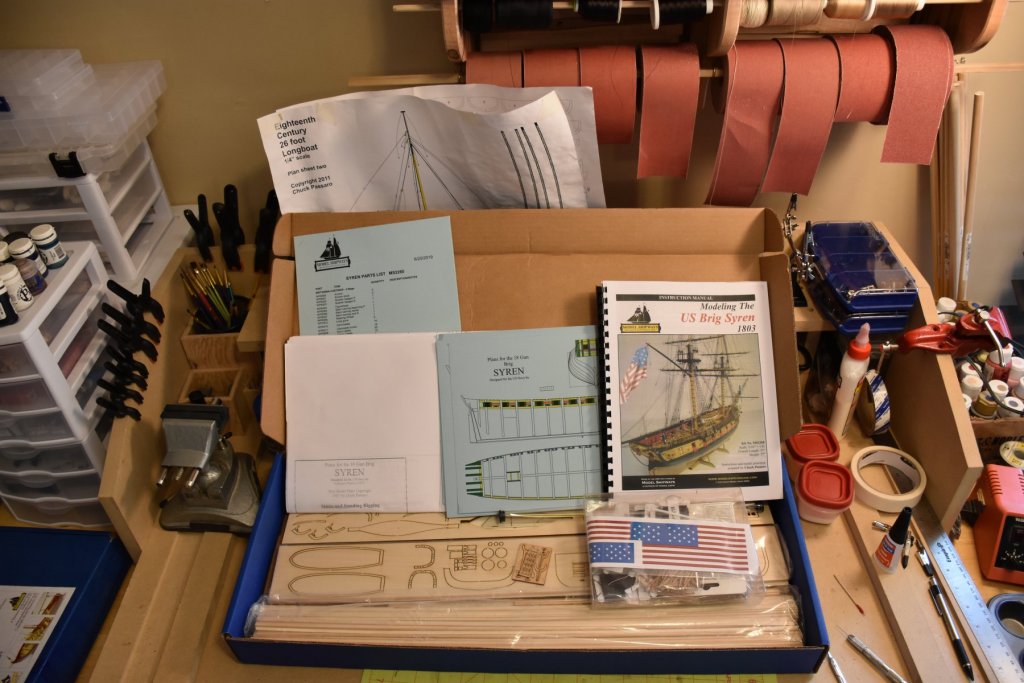
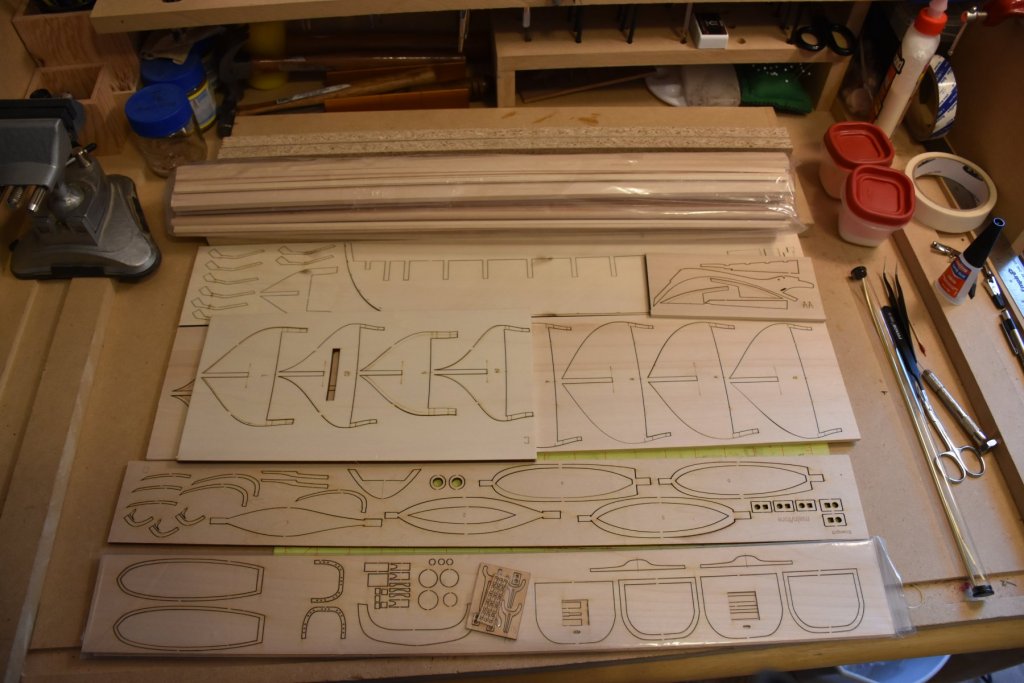
Looks like I got the good sheets of wood and not the pink plywood I've heard about. My plans and templates also came the correct size and scale.
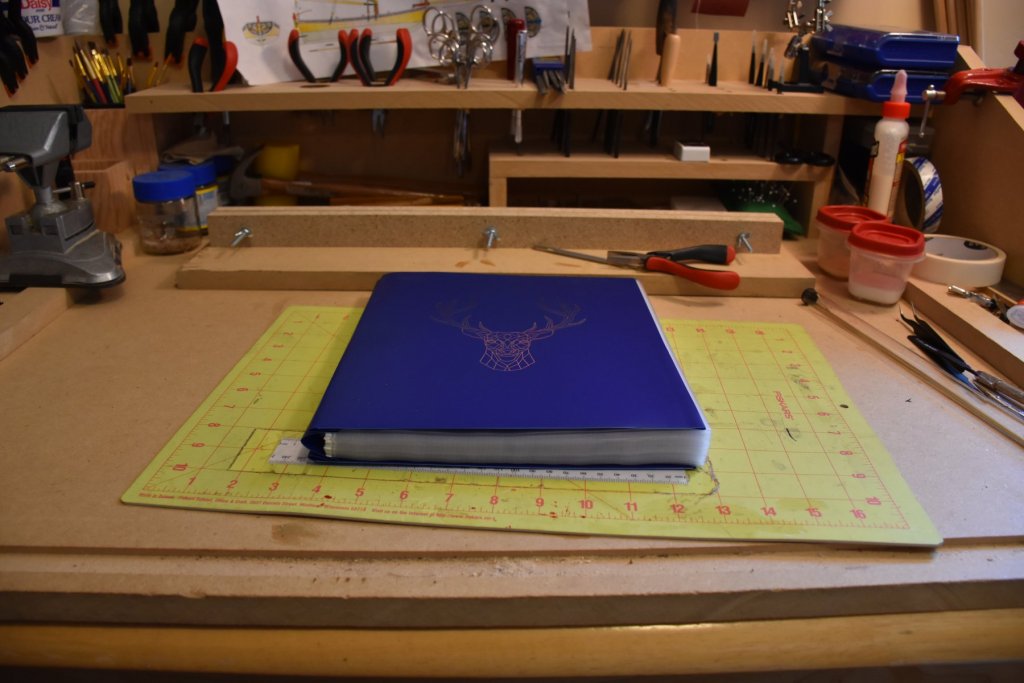
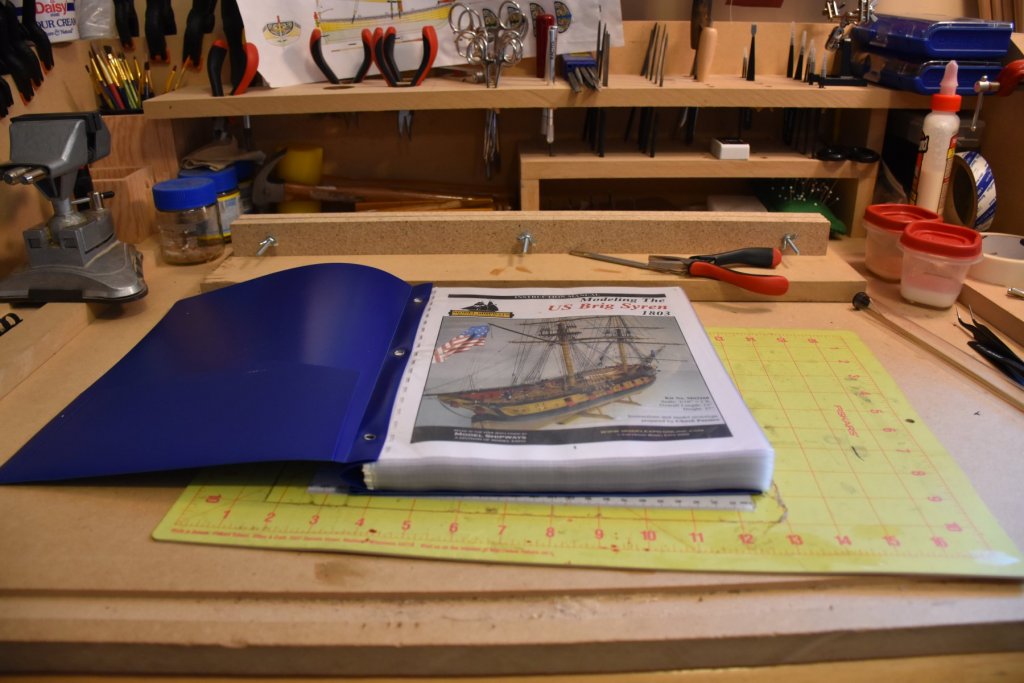
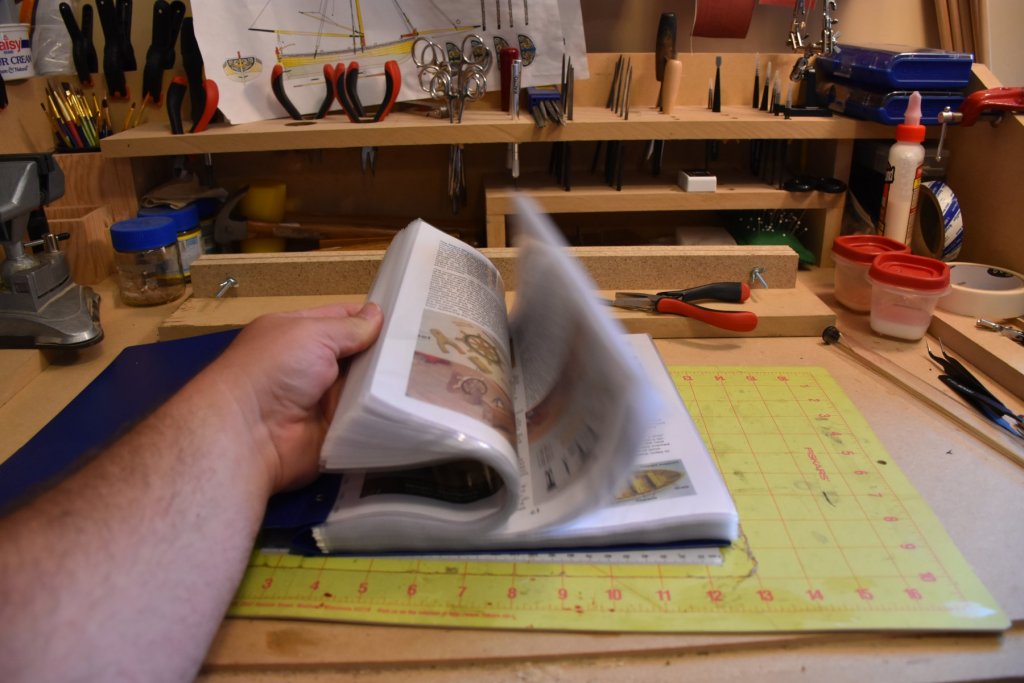
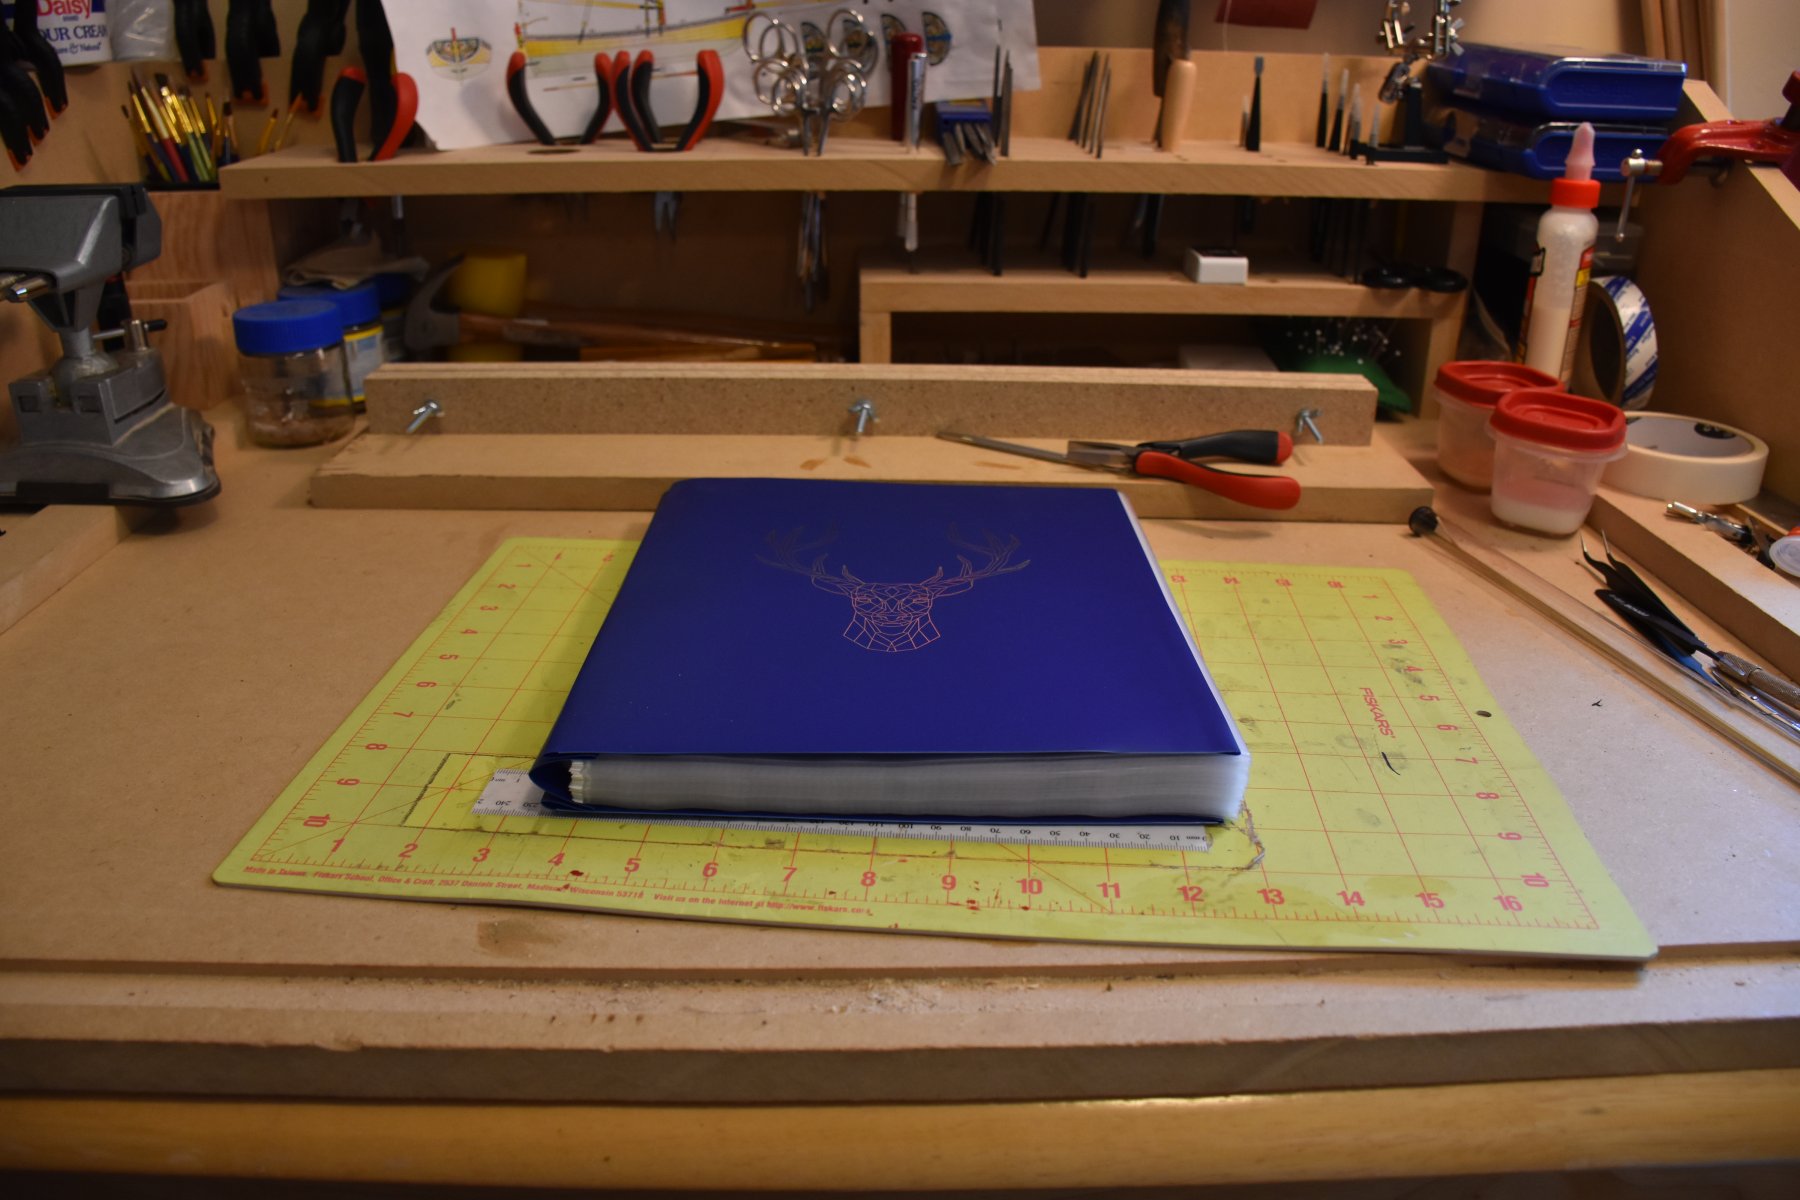
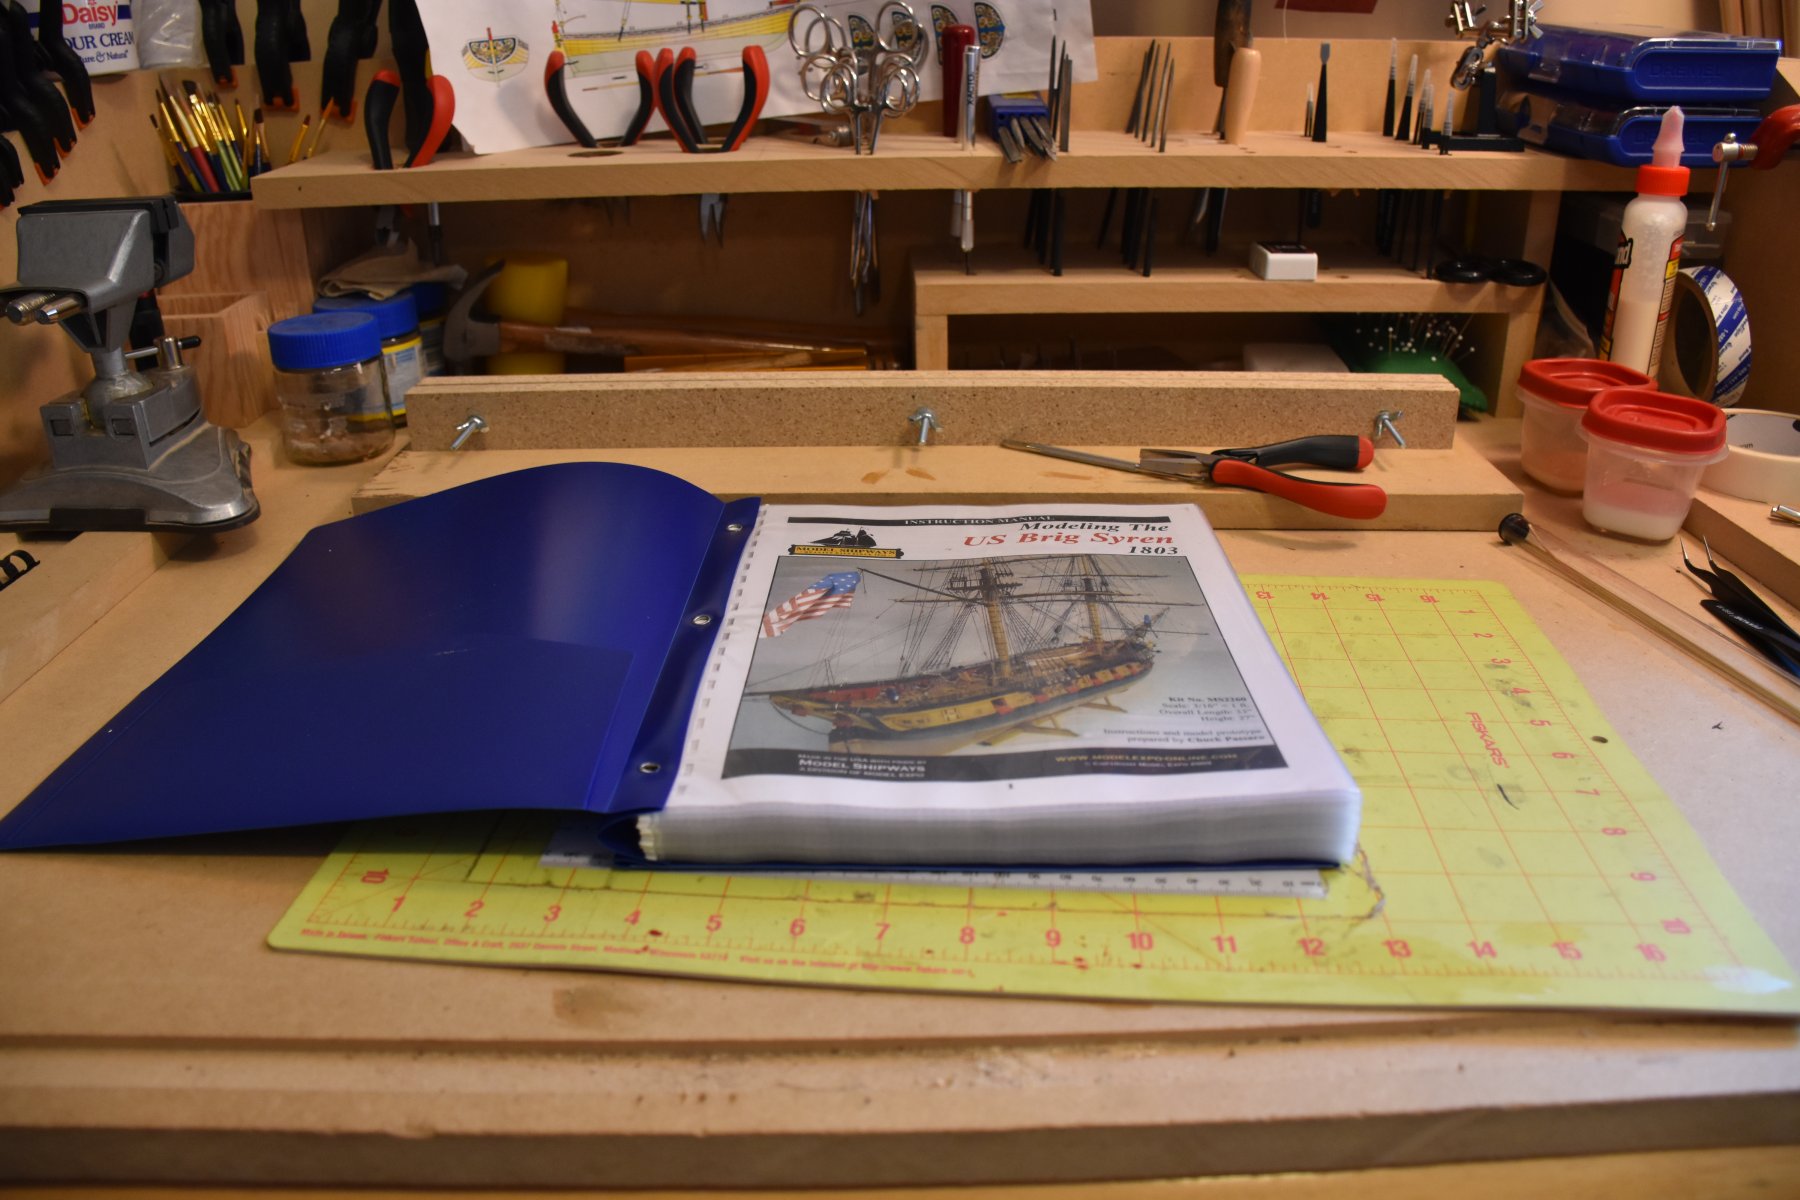
I saw someone here do this to their manual and I thought it was an excellent idea. So when I finished my 18 Century Longboat I put it into a folder and protective sleeves just like this. I was just barely able to fit all the pages in with just enough length on the metal tabs to fold them over and contain all the pages securely.
One of the plans, with the empty white space folded up and taped in the back.
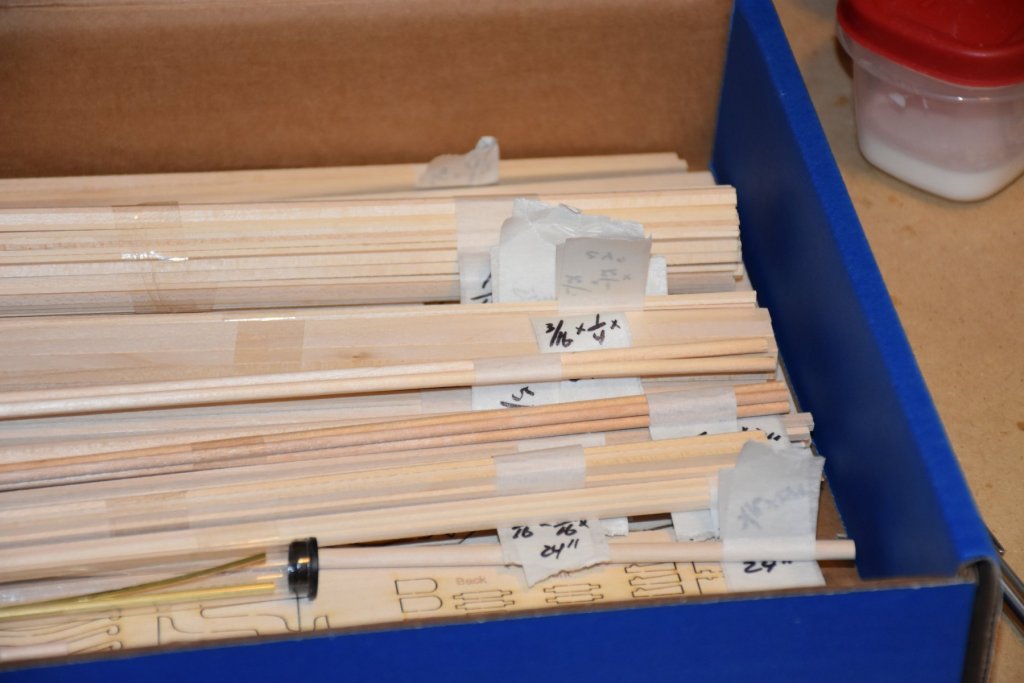
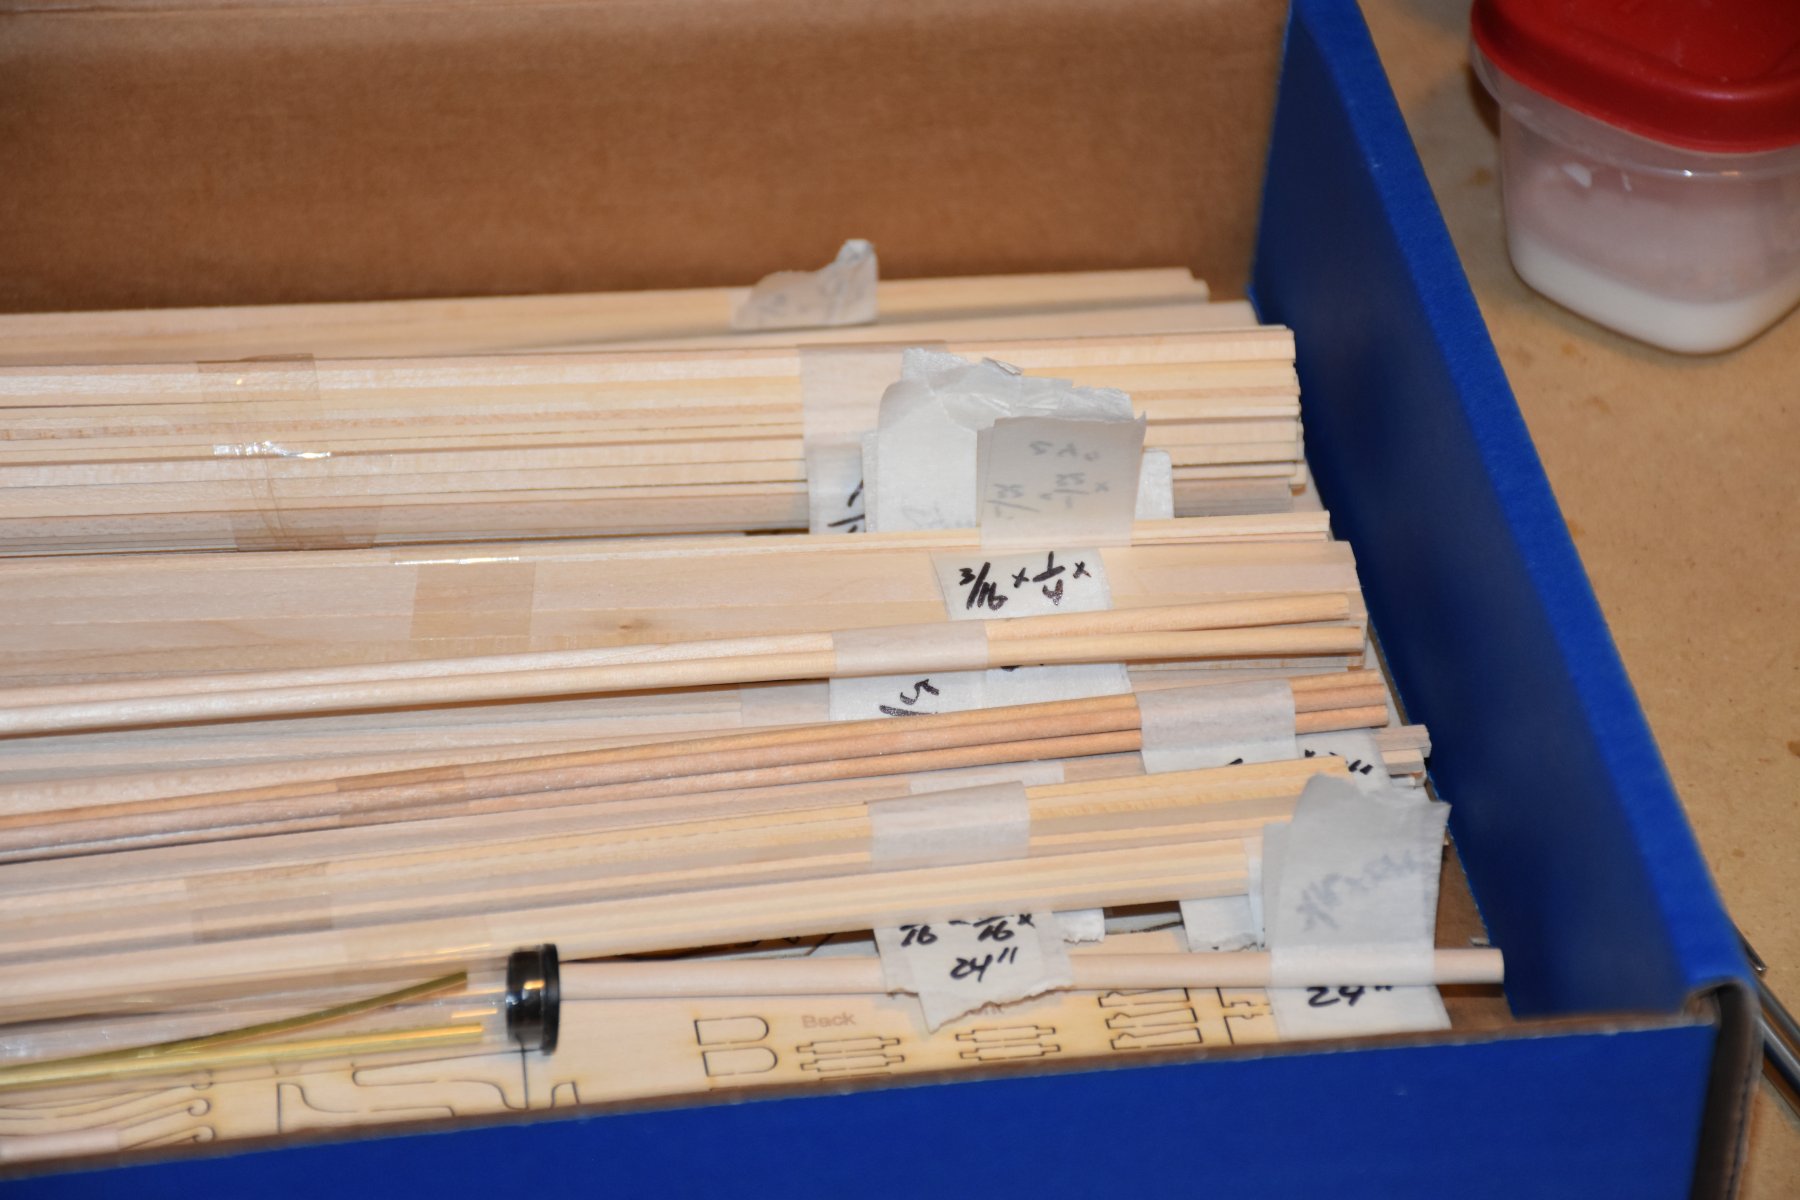
I took a complete inventory of all the parts, although admittedly I didn't count each and every block, deadeye, nail, eyelet, etc. I tapes and labeled the sizes of the various wood stock.
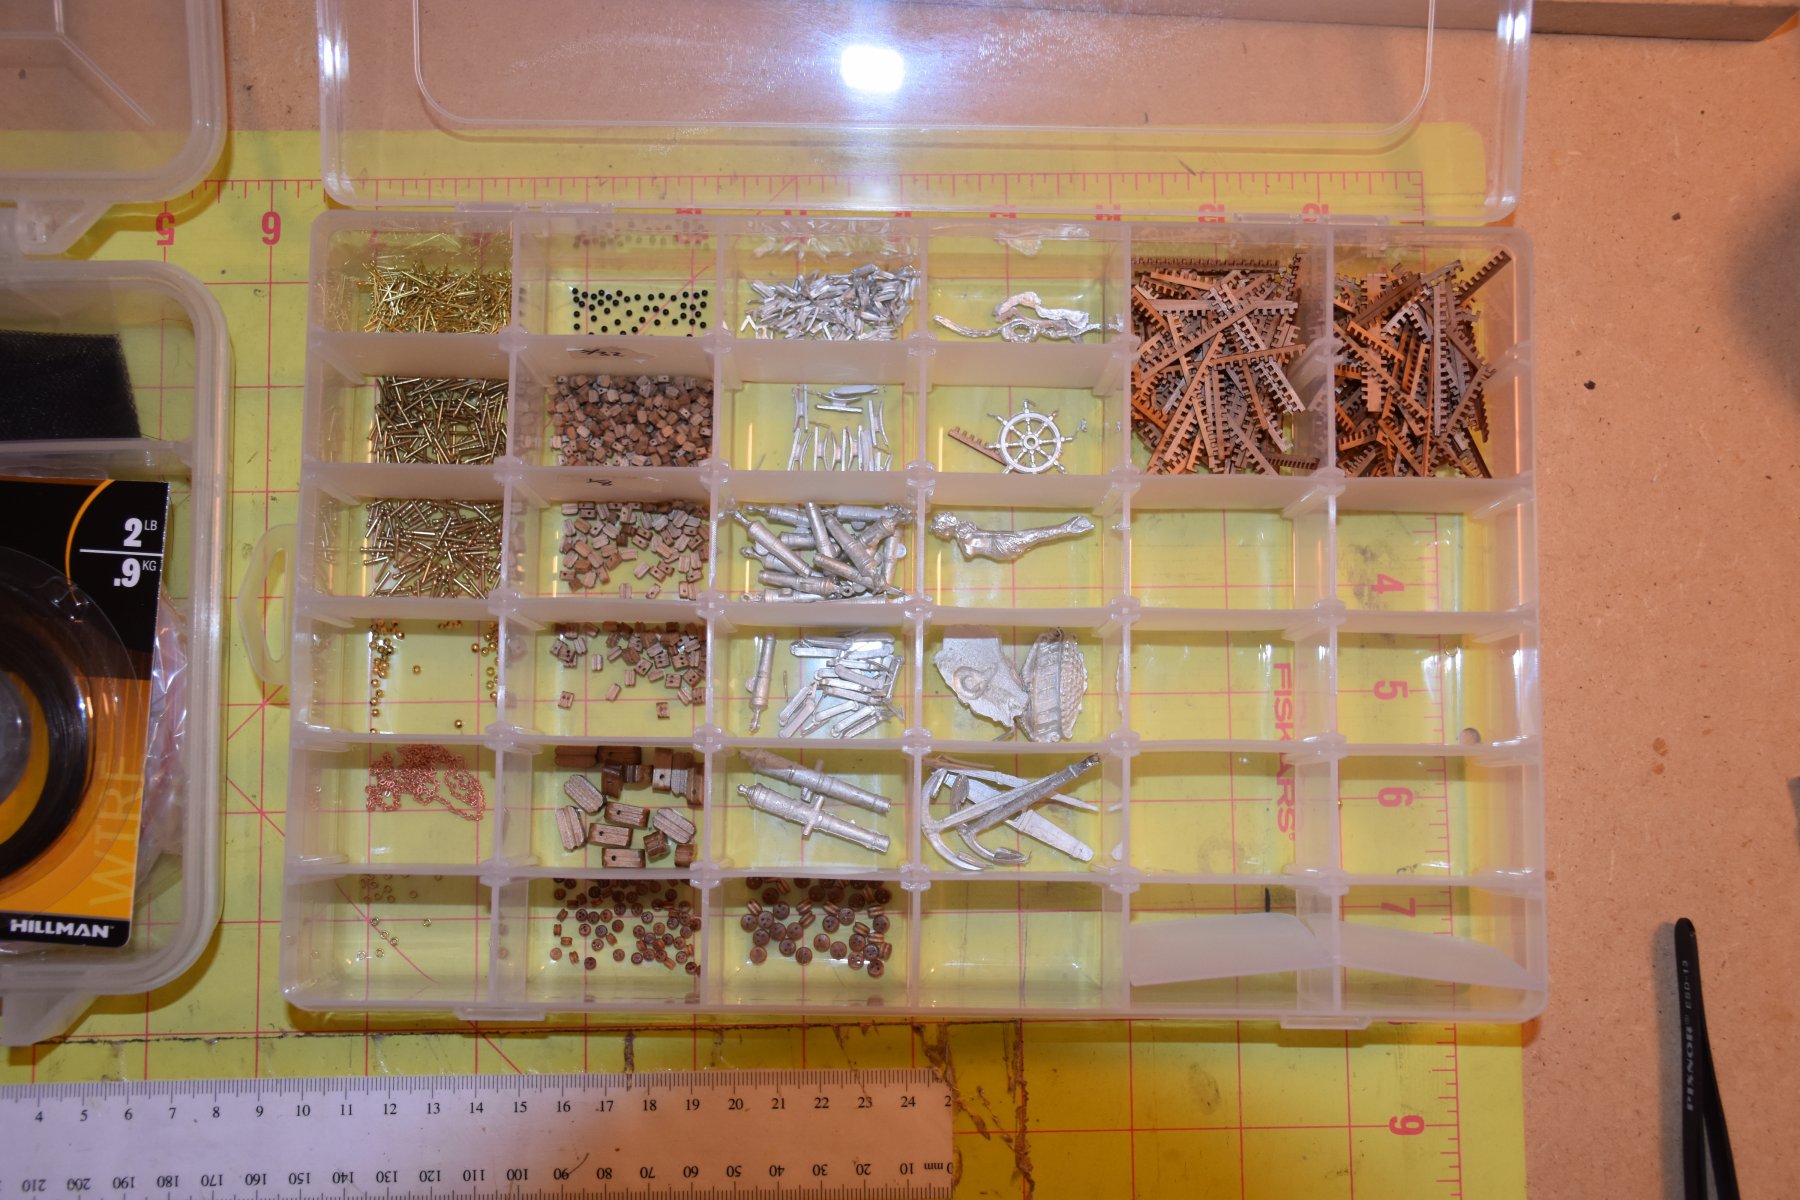
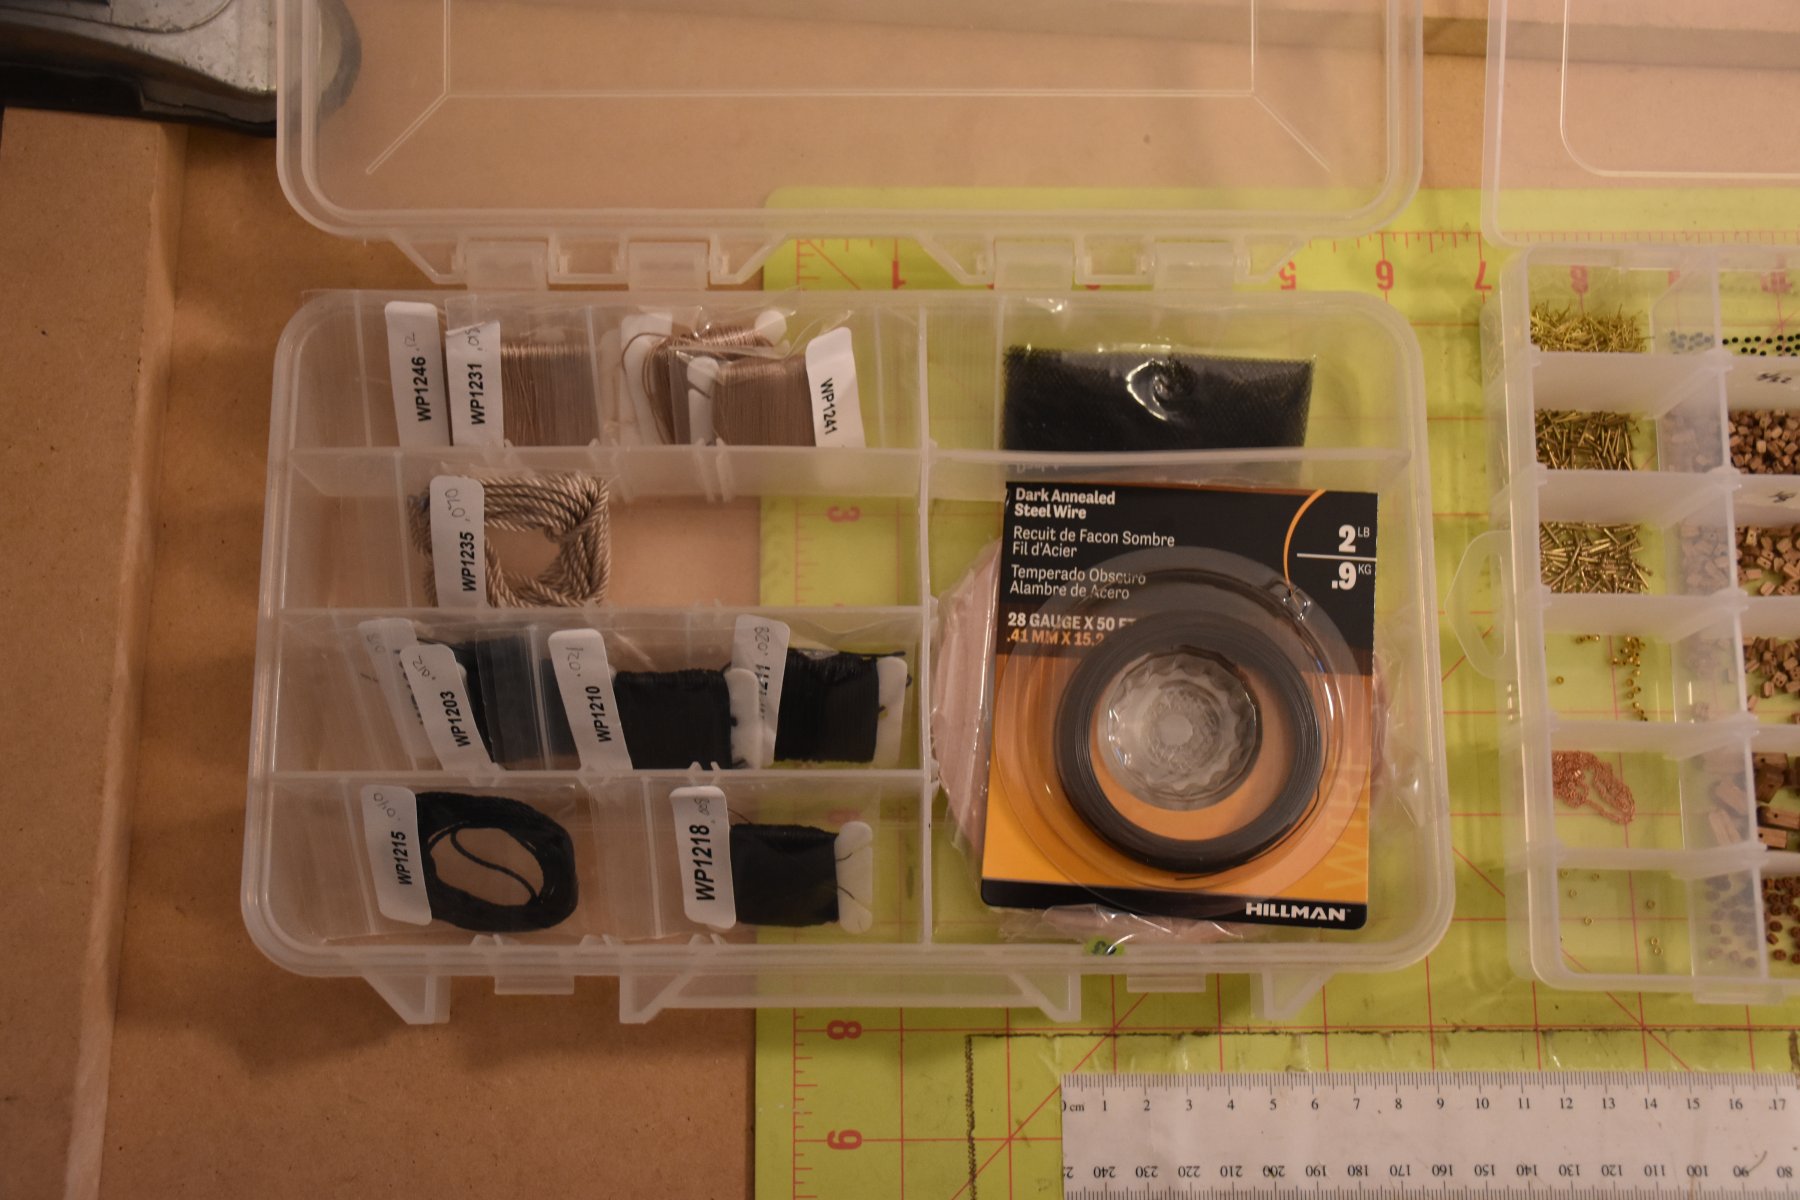
And placed all the small items in a small plastic case with dividers.


- RickyGene, Edwardkenway, J11 and 6 others
-
9
-
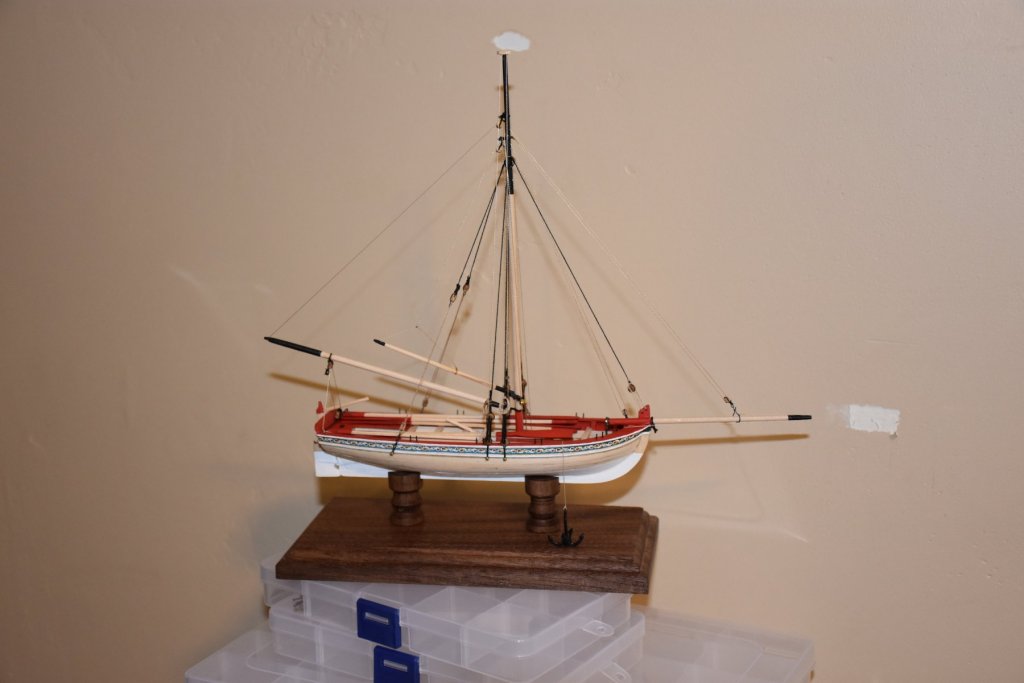
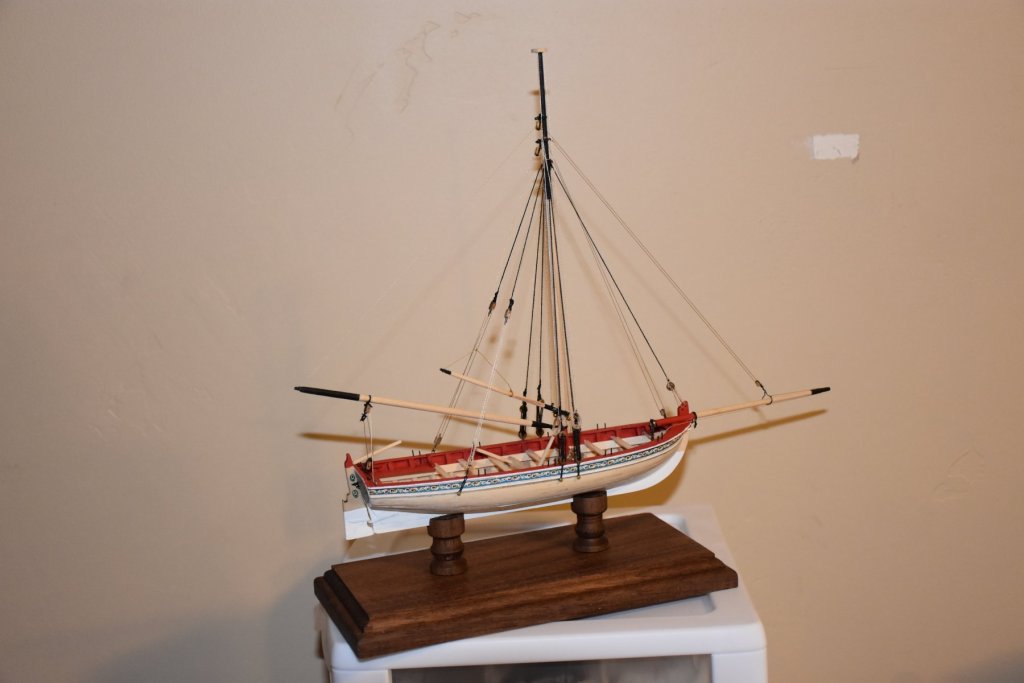
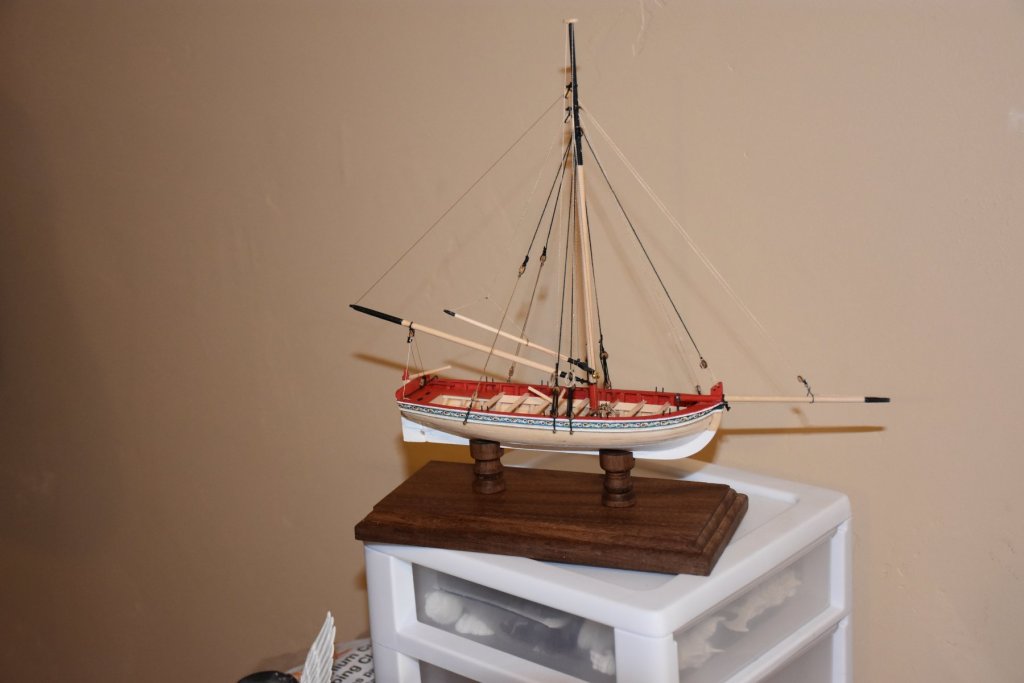
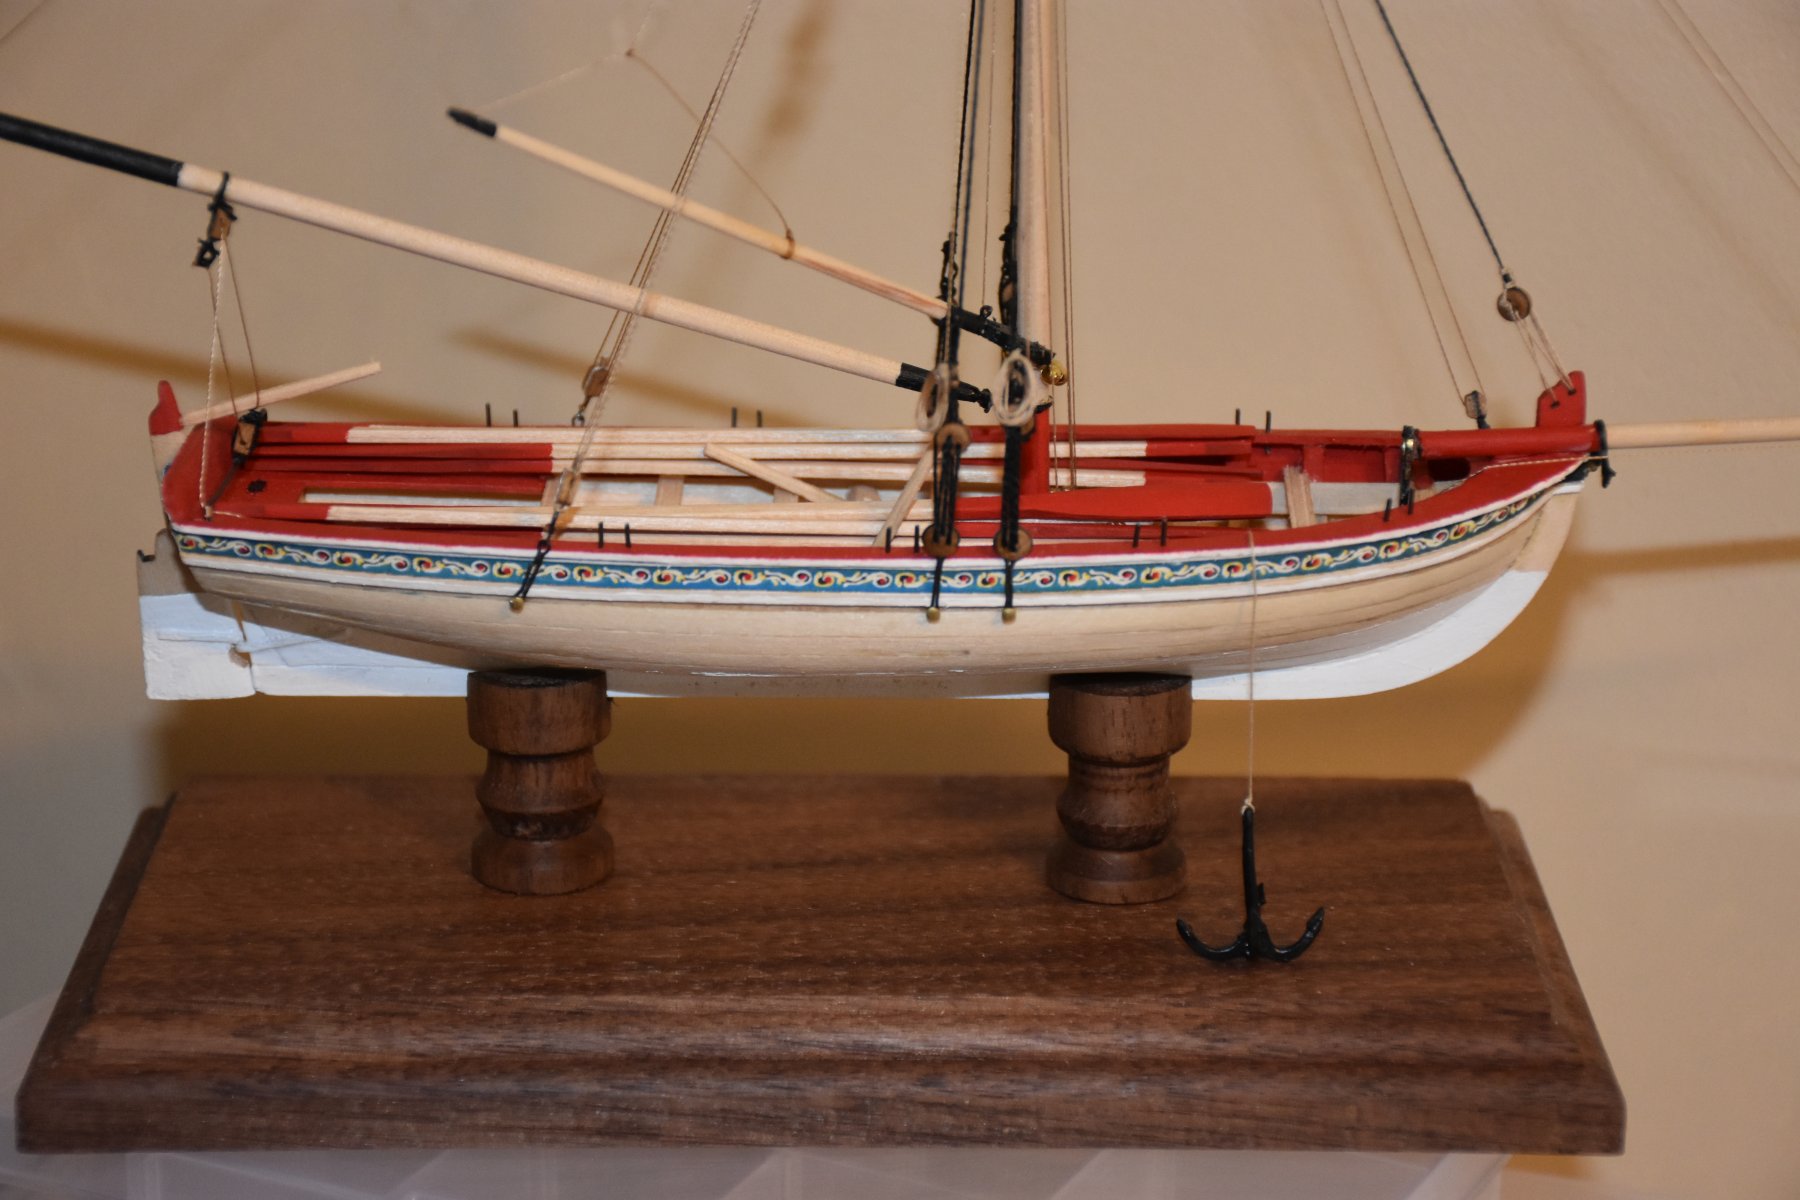
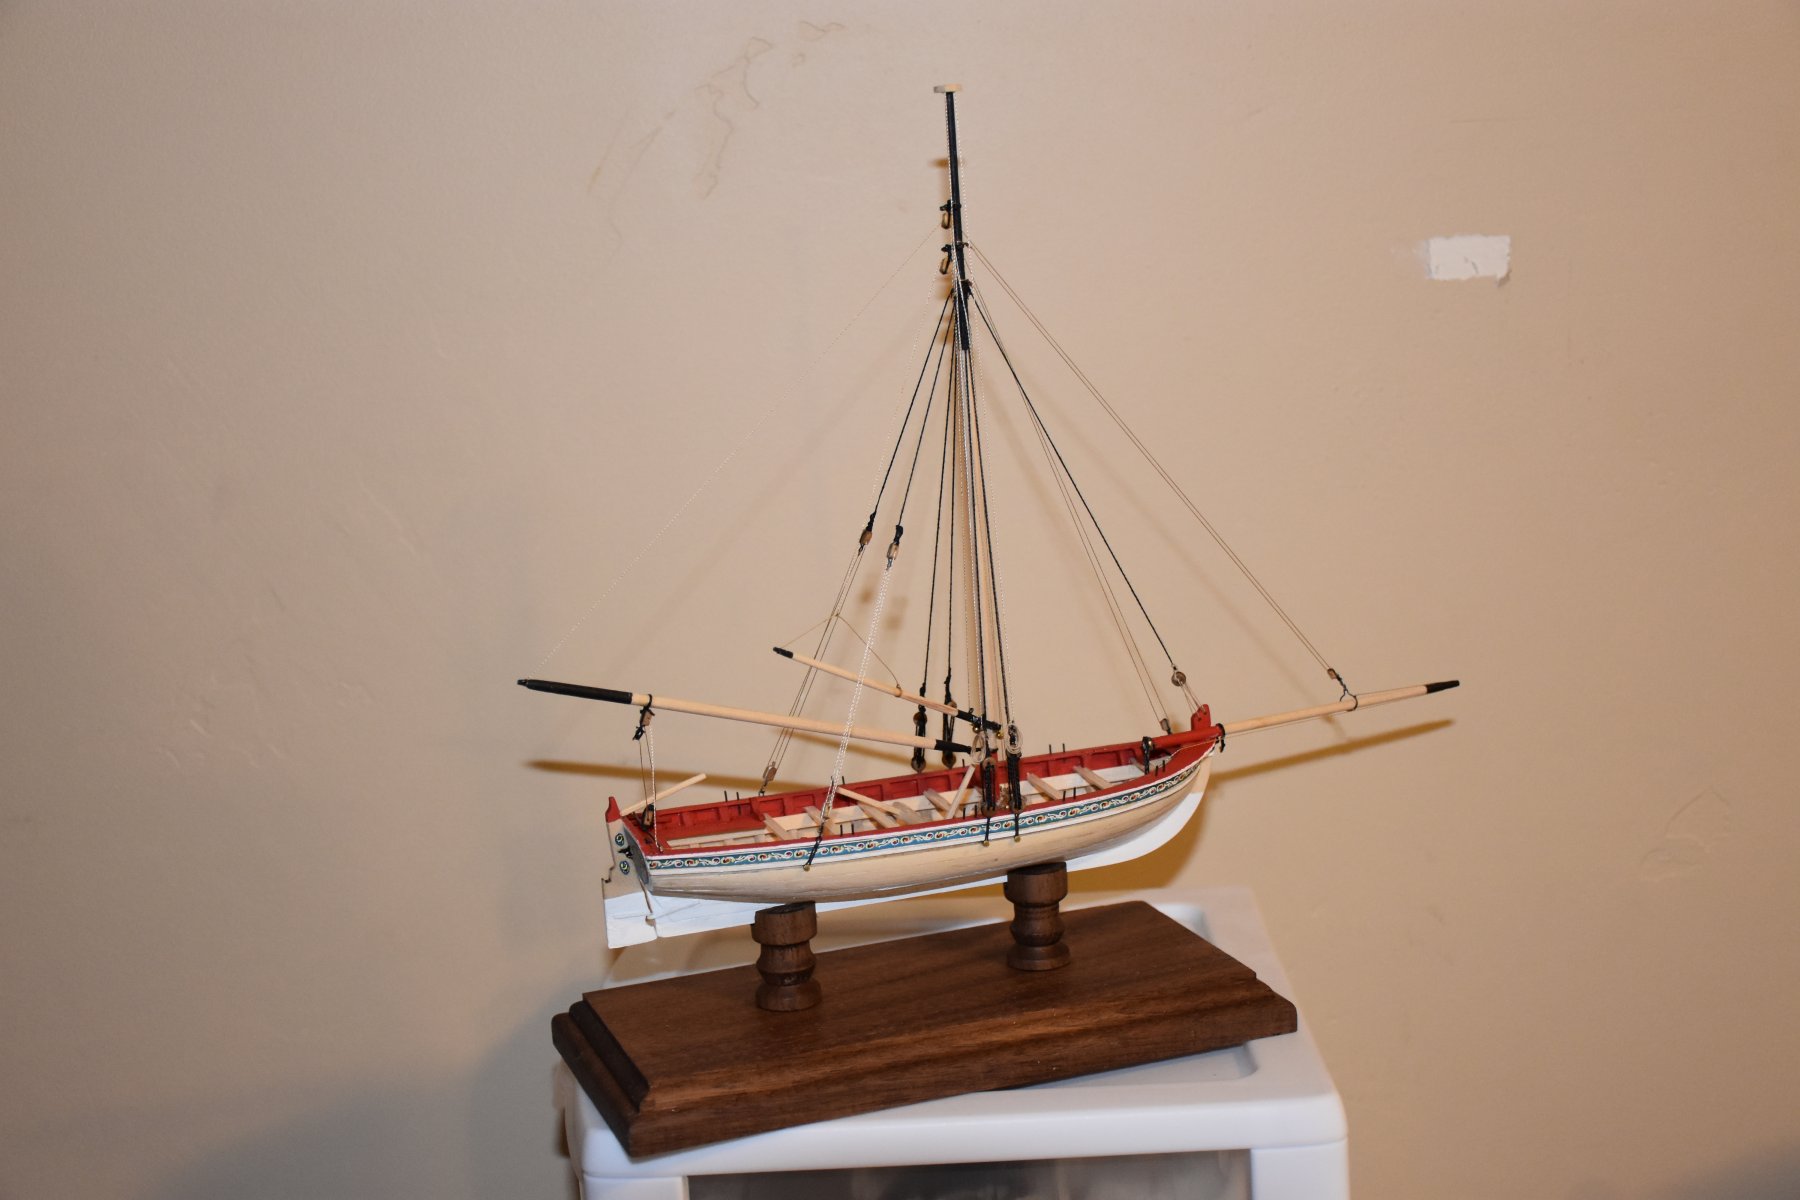
All right here she is all finished up, oars placed, but not tied and the anchor attached.

This just wrapped up in perfect time, my Syren just arrived today. I'll be setting up it's build log later tonight with some unboxing, organizing, labeling, etc photos!
- GrandpaPhil, bruce d, Tigersteve and 3 others
-
6
-
I tried blackening the anchor with Novacan Black Patina, one of the two pieces blackened up really well, the other half not so much. Then when I wasn't able to attach them with CA, I could not get it to stick, maybe something to do with the blackening I don't know. So I ended up soldering them together, however the pieces are very small and fragile, and I ended up melting right through one of the prongs and it fell off. It certainly didn't take much heat or time for it to happen, so after some playing around with it I was finally able to get it reattached, but unfortunately, it ended up with a blob of solder at the joint and I wasn't able to get it off very well. I finally decided to leave it, painted it all up black since the blackening didn't take all the way, and then I tied it to forward split ring attached to the center floorboard. I hung the anchor over the side and let it rest on the base. I then added a rope coil.
After I tie the oars up in two bundles and place them in the boat, I will snap some photos of the anchor, and final finished product.
-
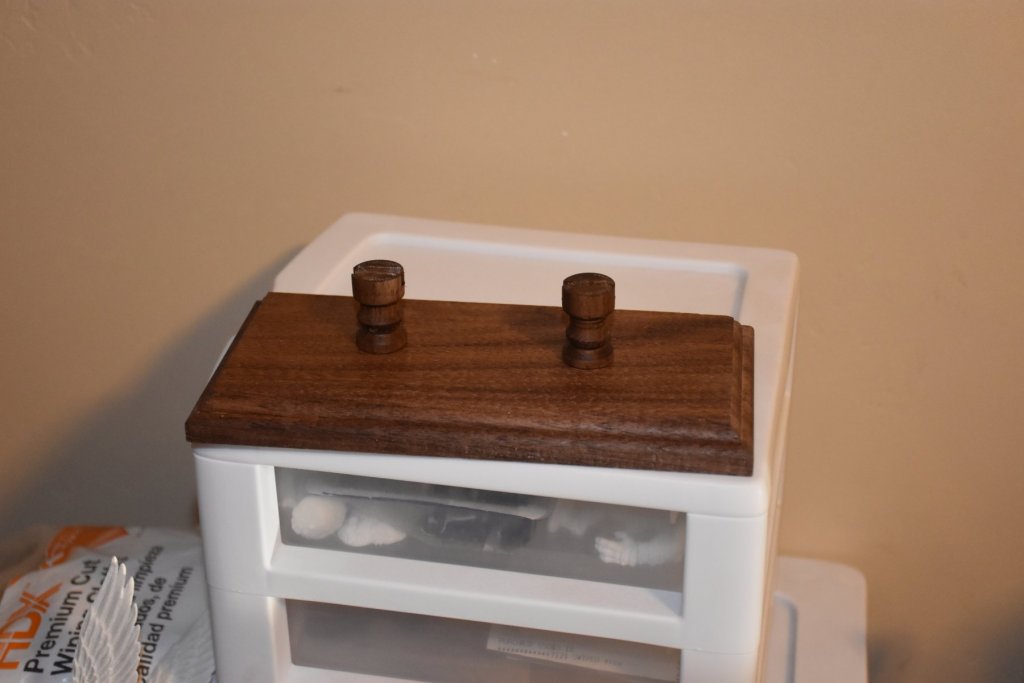
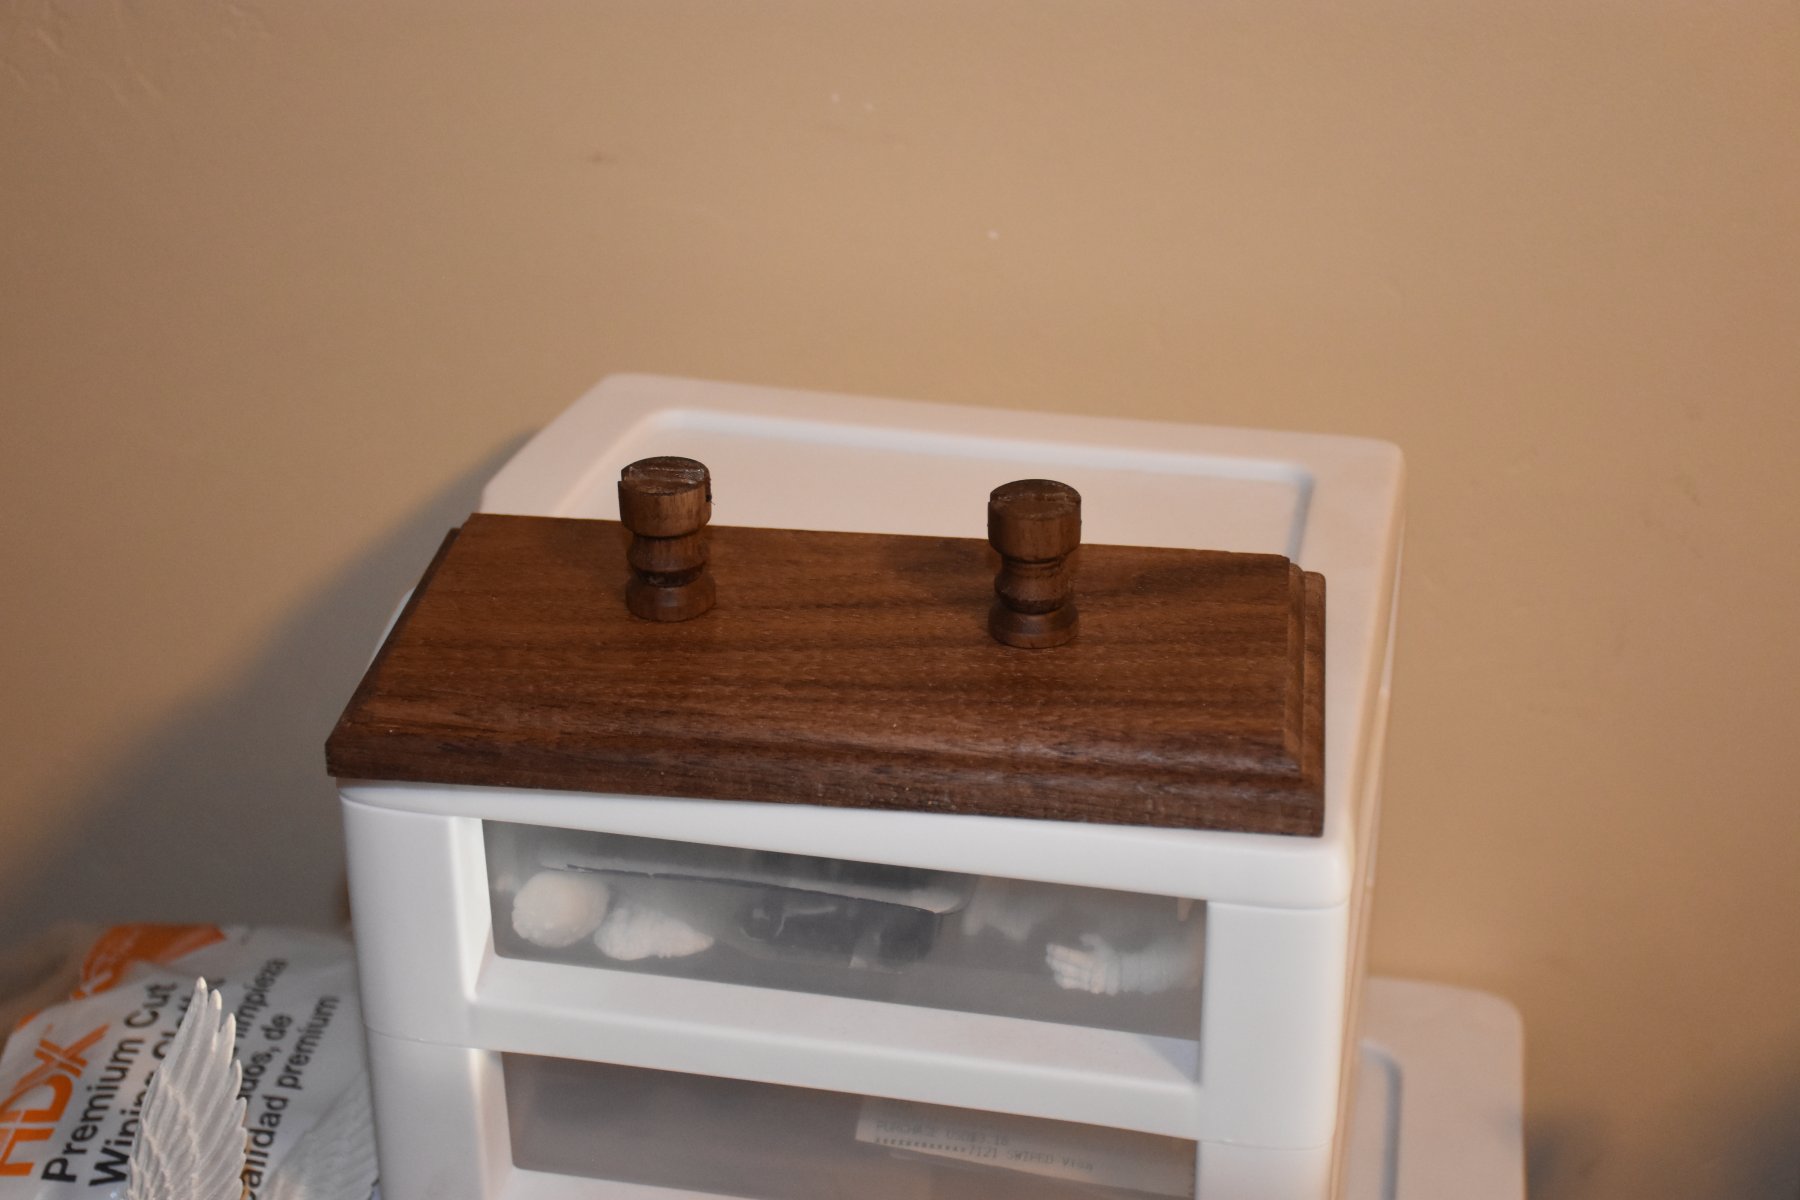
Just about done now, here I have my base I cut out of walnut and routed an edge to it. I also made two pedestals for the keel to sit in, also made out of walnut, and turned on my lathe. Both are coated in danish oil. I made the cut outs for the keel to sit in a little too big, so I placed double sided tape inside them to prevent it from leaning in the pedestals, and easy removal if I ever need it.

Here she sits in on the base, with the rudder installed finally.
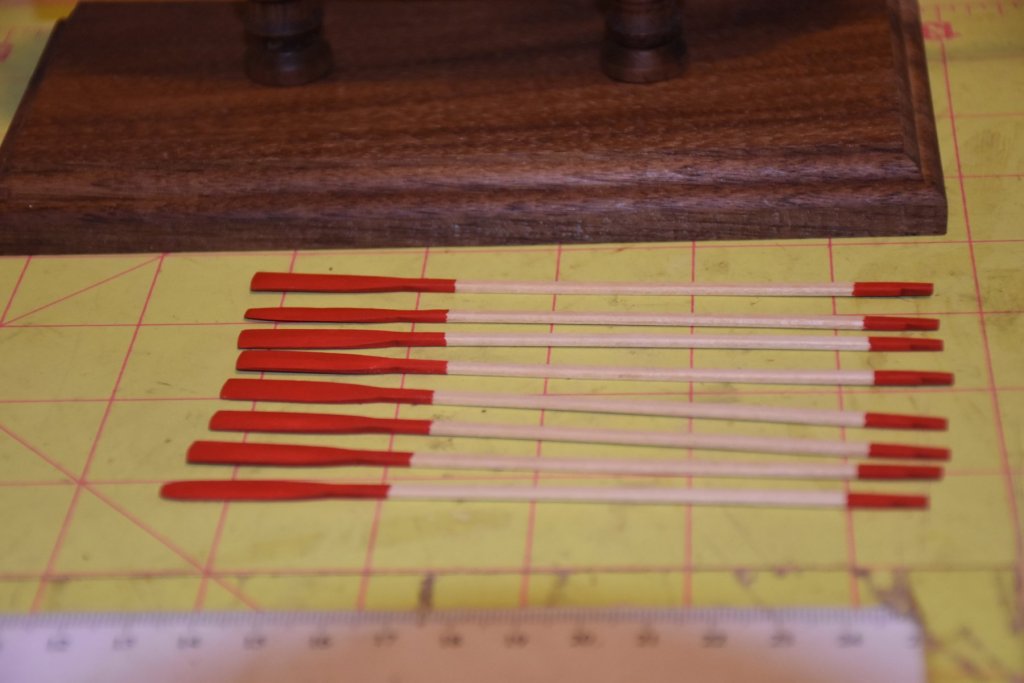
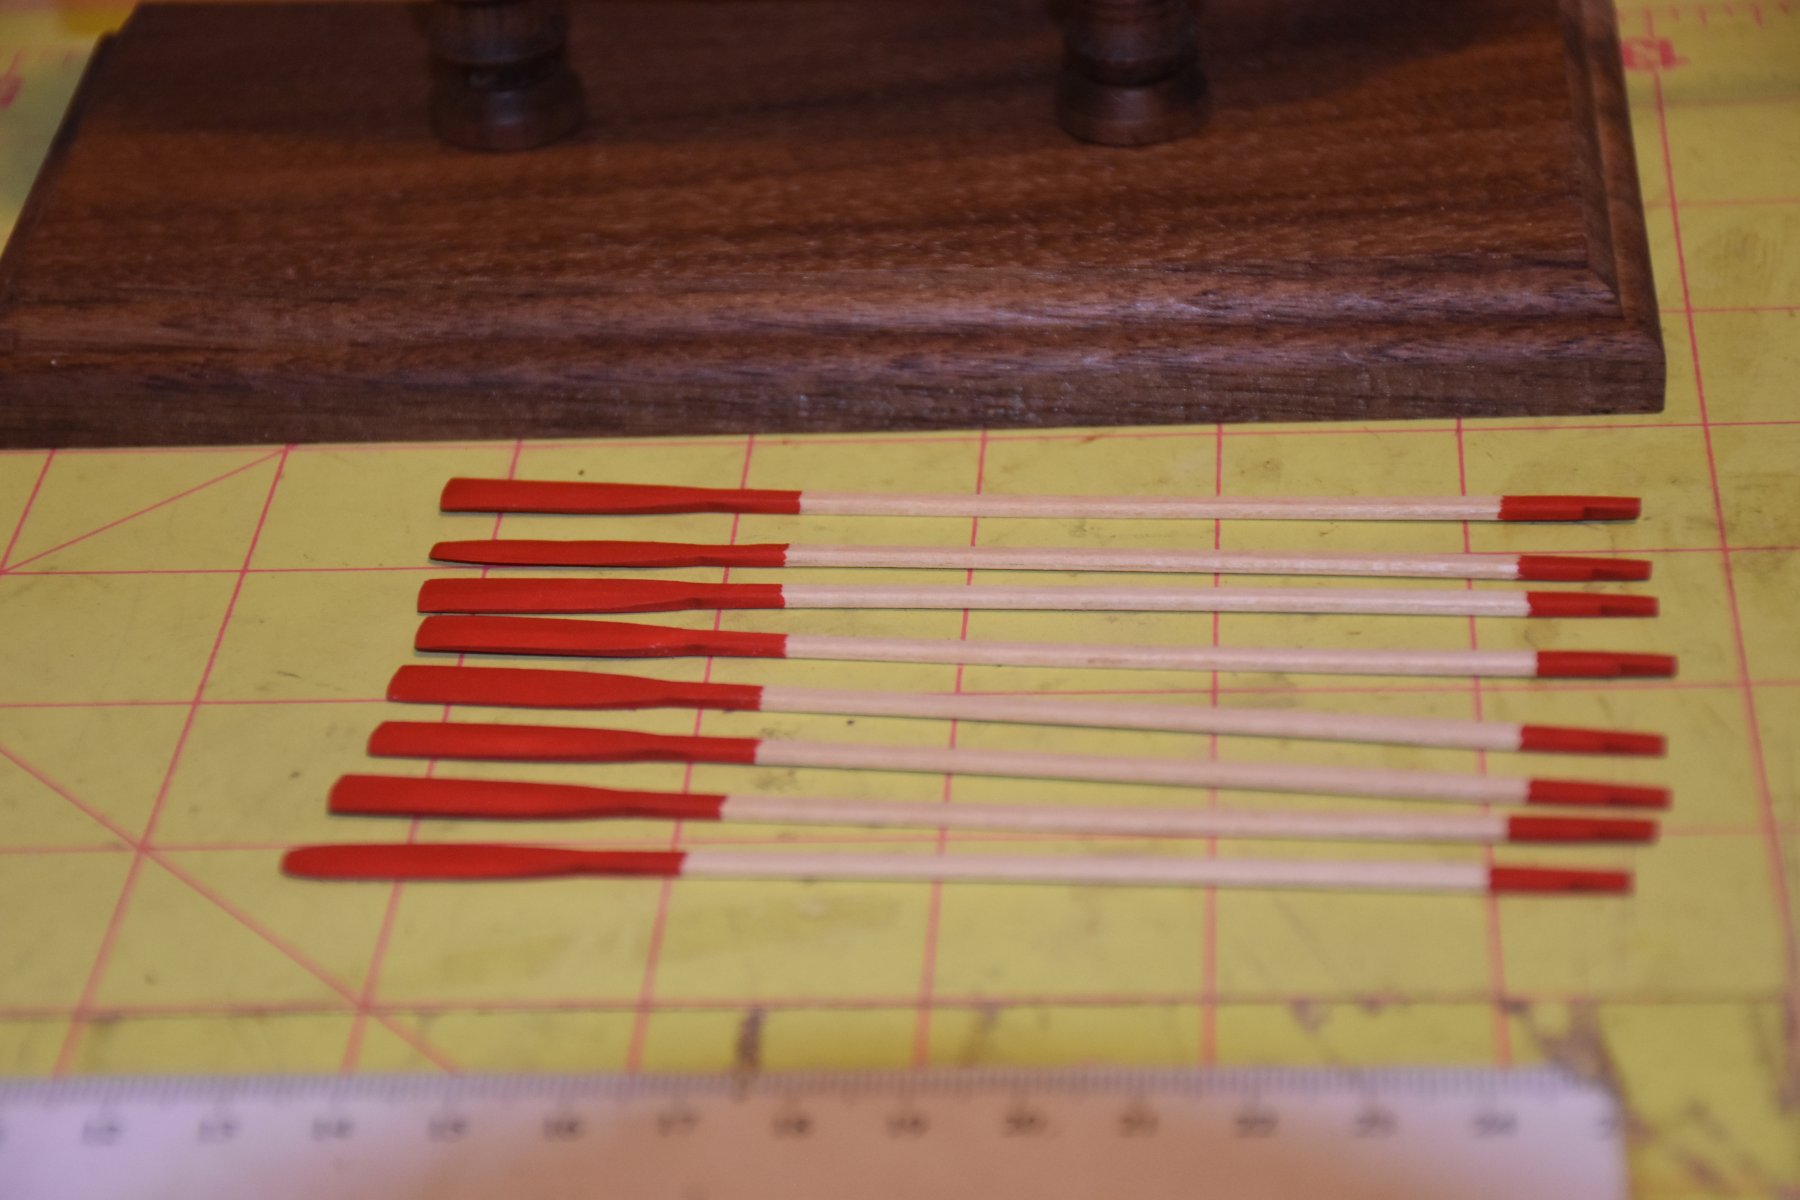
Lastly here are the oars all painted up.
-
10 minutes ago, ASAT said:
I have the plans, instructions and fittings to do a scratchbuild from Amati, and I have seen the plans and instruction book from Caldercraft- imho the fittings,castings and weaponry from Caldercraft are superior as well as the design of the fo’c’sle, bulwarks and mortar housings. Everything else is pretty much the same - can’t speak to the wood quality as I use my own..... hope that helps
Good info, makes me glad I purchased the Caldercraft.
-
Hello and welcome, your build looks really good so far, enjoy the rest of it and hopefully many more to come.
- thibaultron, JeffT, mtaylor and 1 other
-
4
-


US Brig Syren by Matt H - Model Shipways - Scale 1:64
in - Kit build logs for subjects built from 1801 - 1850
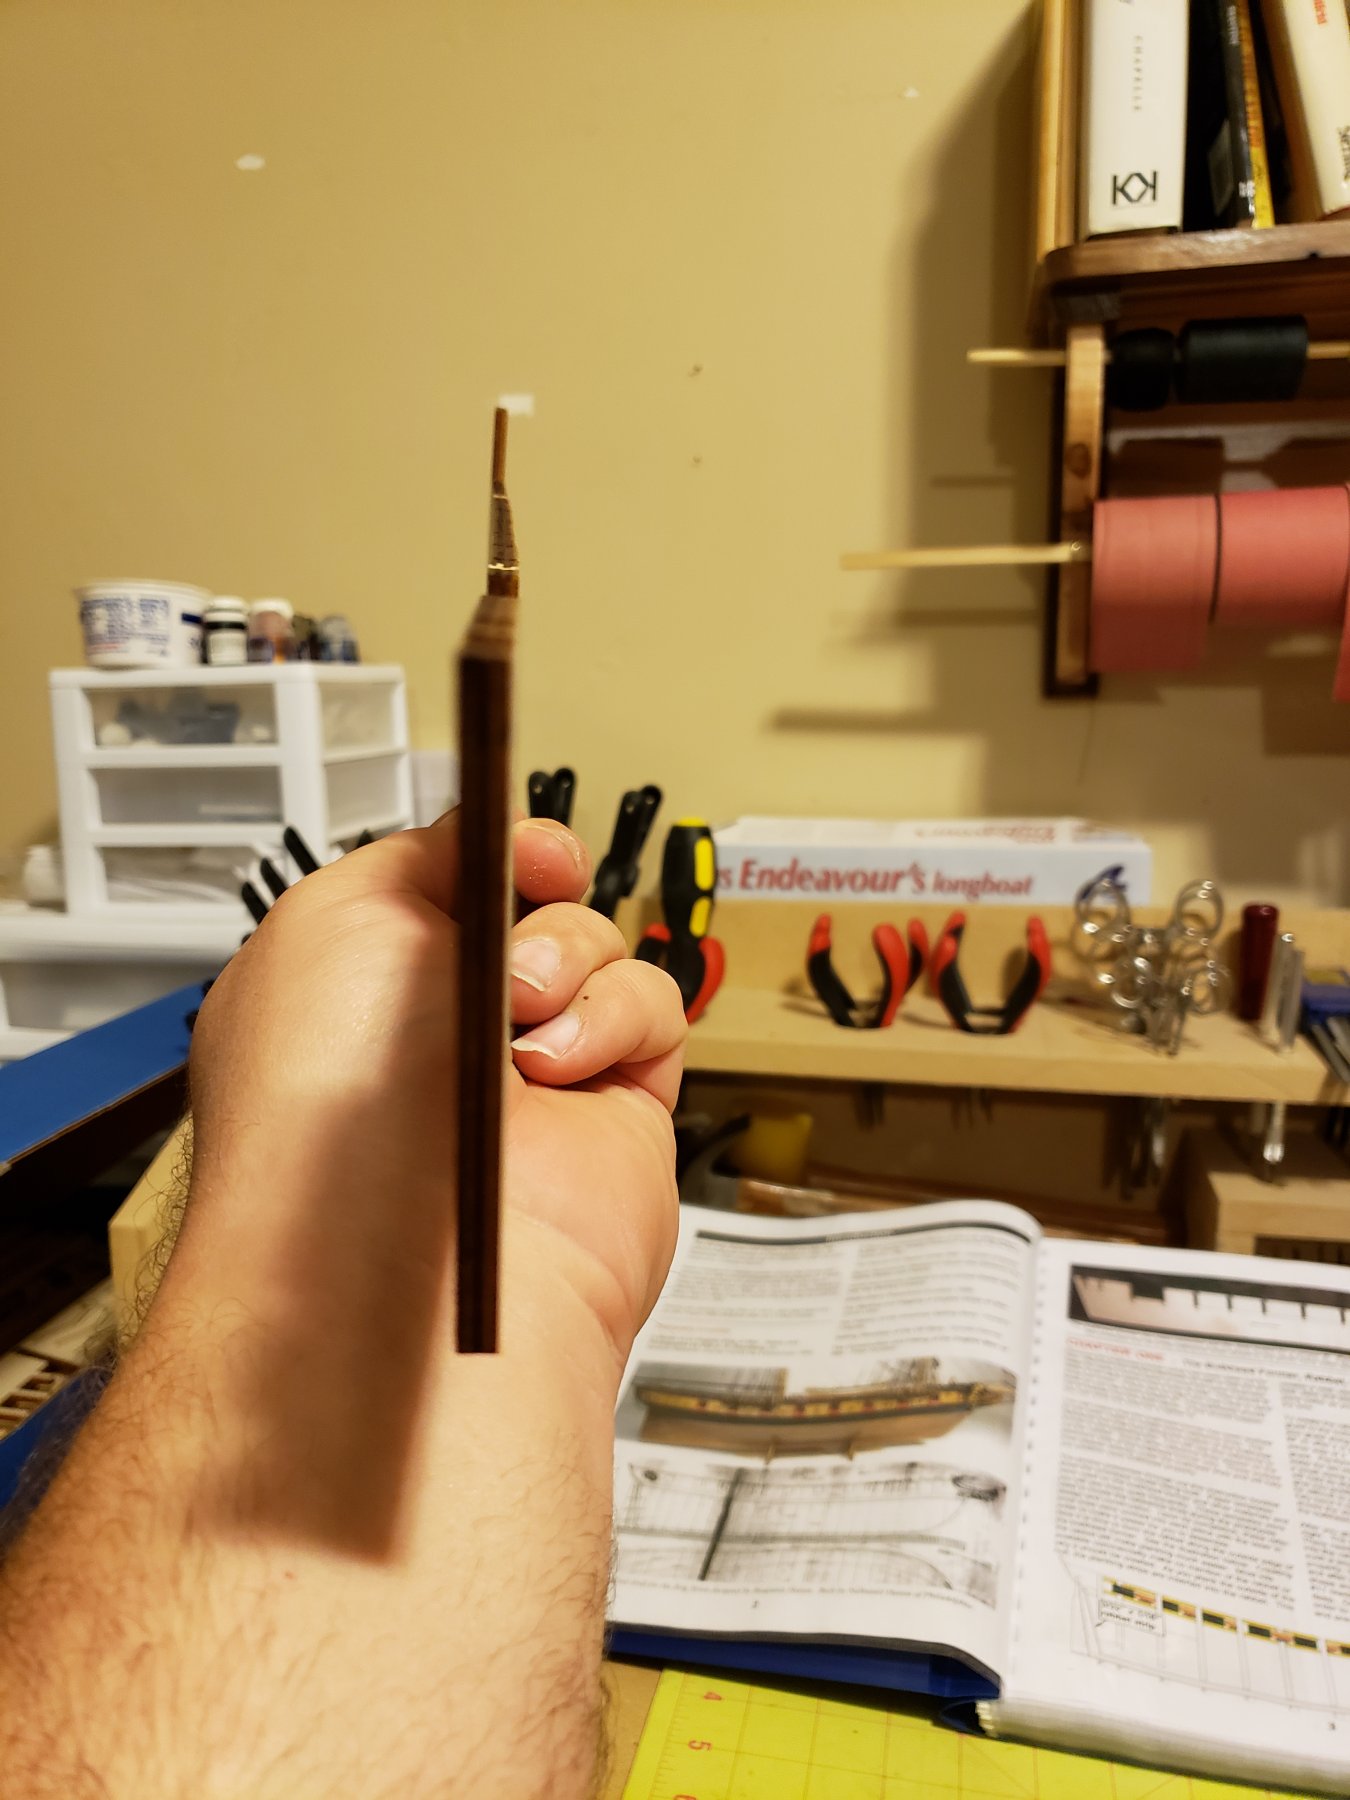
Posted
Here's a couple of photos of the strip for the rabbet formed and attached to the bottom and stern of the bulkhead former. I left just a little bit hanging over the top of the stem and the bottom of the stern, they will be sanded flush with the adjacent edges, the top of the stern will be cut and sanded off as well.