Check out our new MSW Sponsor Innocraftsman
×


Heinrich der Seefahrer
-
Posts
533 -
Joined
-
Last visited
Content Type
Profiles
Forums
Gallery
Events
Everything posted by Heinrich der Seefahrer
-
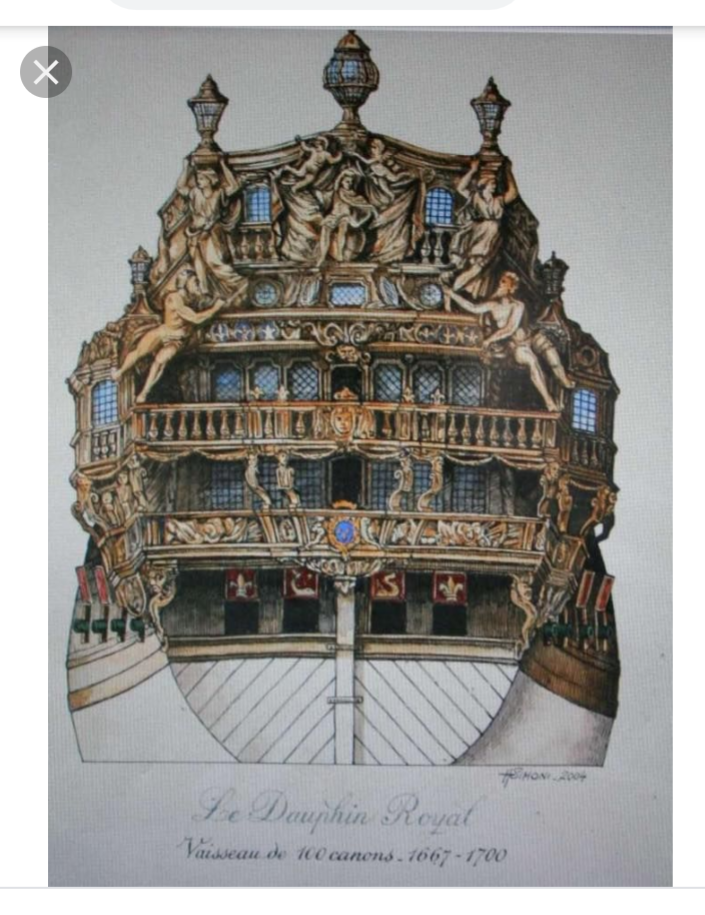
 The DAUPHIN ROYAL makes an interesting prototype for the transom:
-
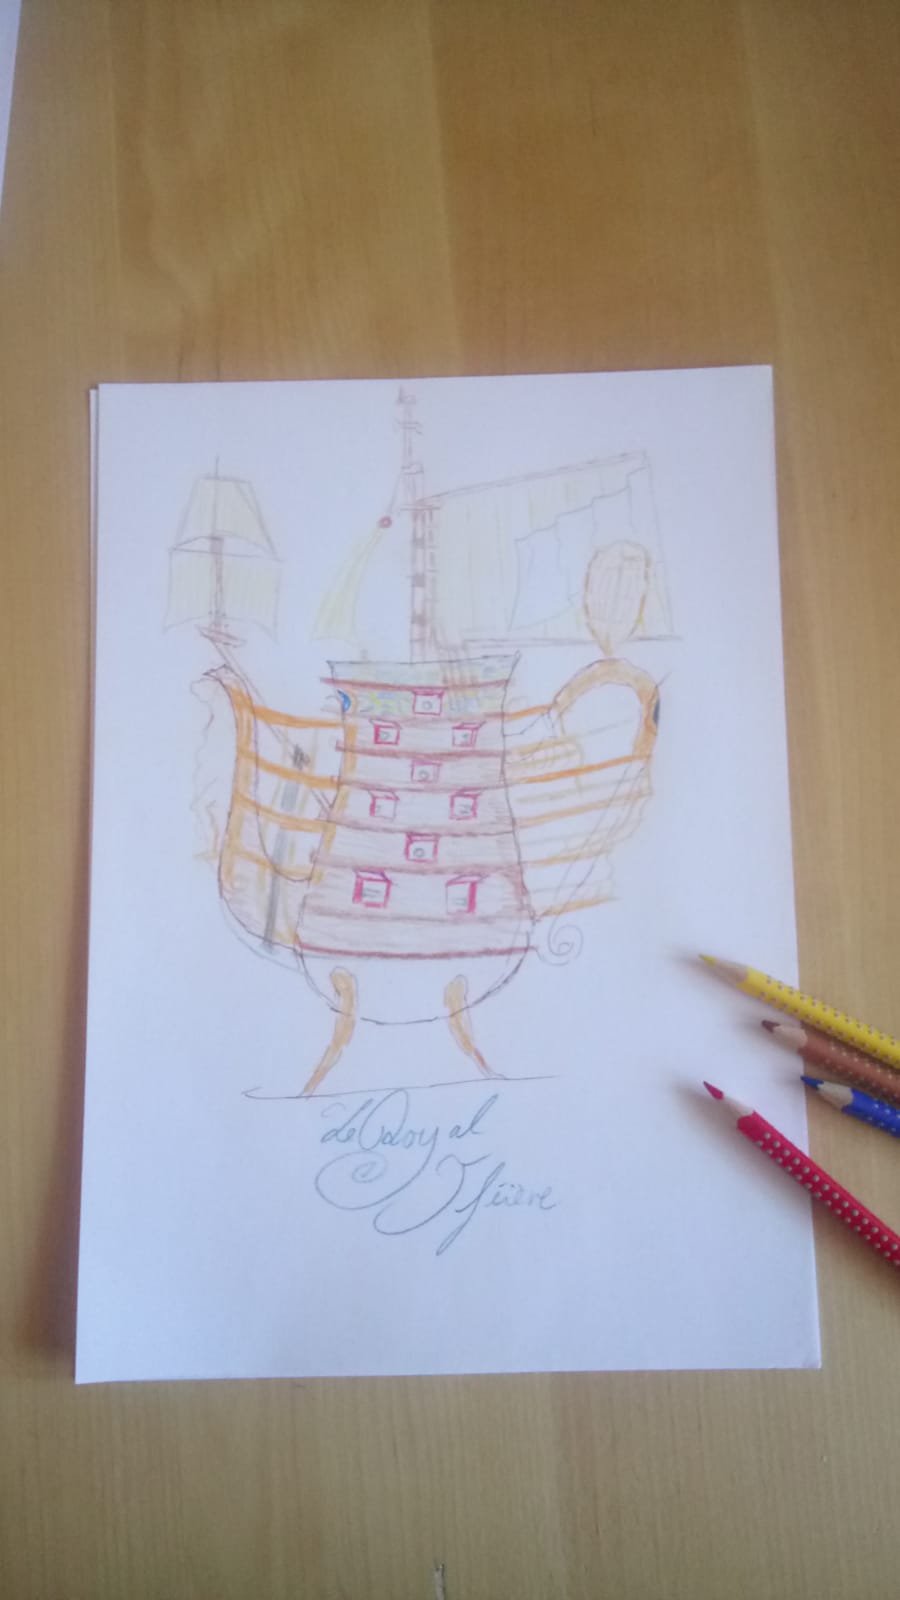
Six gundecks are possible here a first scetch for tje decoration and stucking of the gun decks... My main design problem is to keep thegripp and the spout alive on the one hand and integrate them into the ships shape on the other. The sails will geather on only one mast and the bowsprit with hishis mast and three or four yards on it. Only the feed will survive unpainted in their original blank brass appearence. The wood, brass and plastic will be added on the hull. So I cannot solder due to other parts falling of by the heat on the other end on the pot. I got some idea about soldering a silver XVIIIth century teapot when it has to be repaired by a silversmith. So I now have got a plenty of stupid ideas I have to take away from these ideas that may work. The luxery of the baroque decoration is as helpful as she is an obstacle to me. So please don't hasitate with ideas, criticicm, cynism (classic british humor) and scoff- as such a prokect had nothing to do with modelship building... Lets have some stupid kind of fun!

-
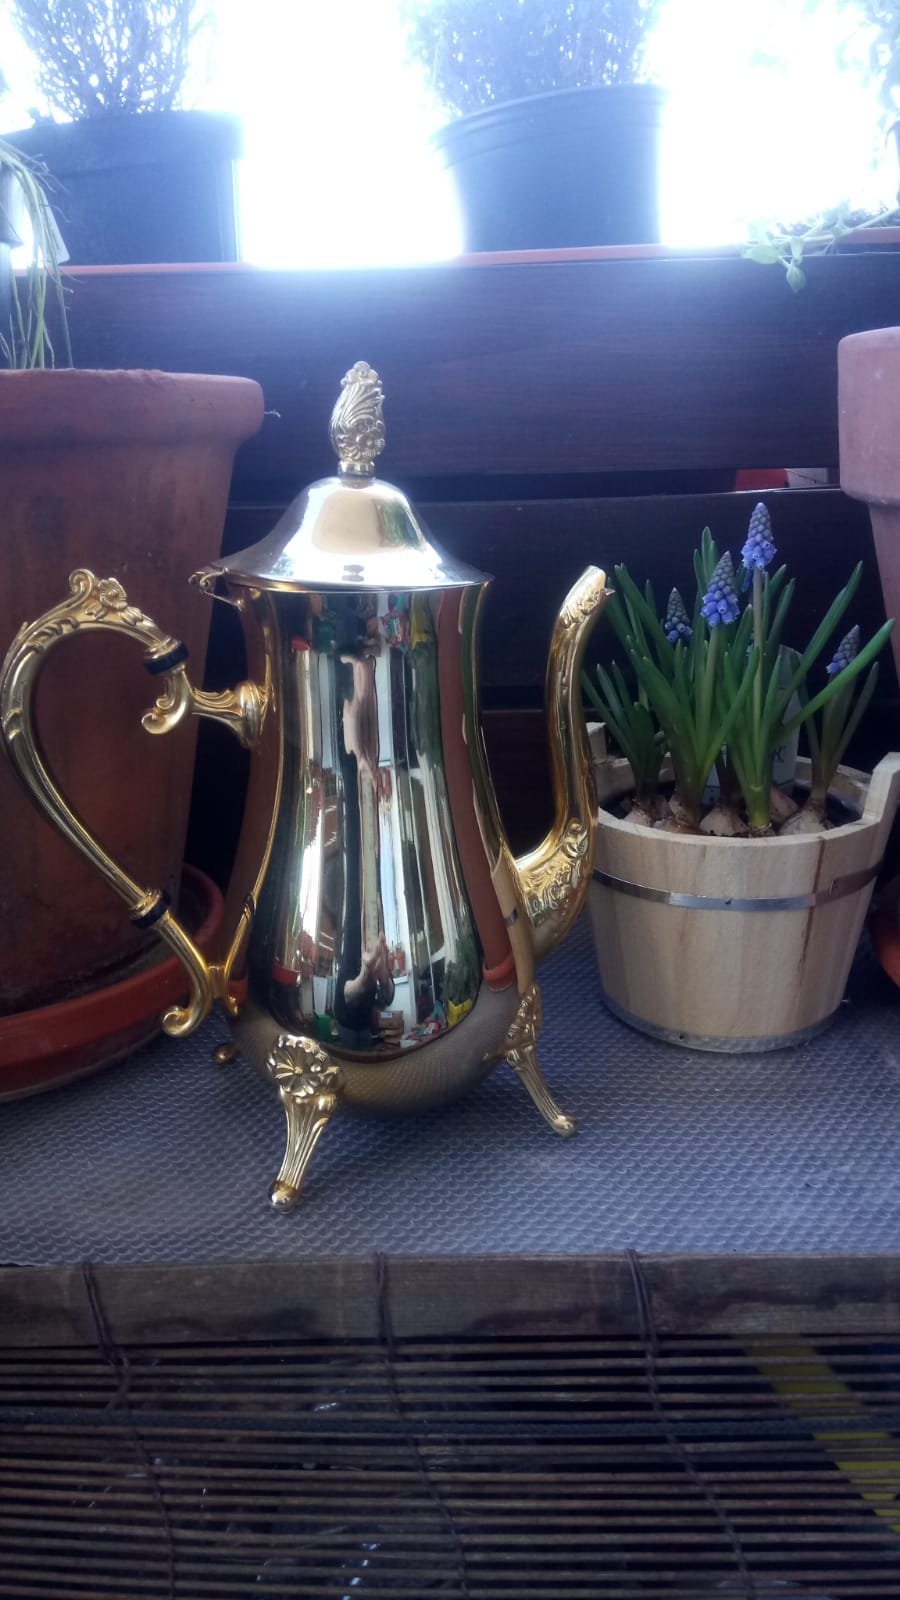
Dear friends, sometimes antiques* are ugly old thinks until you see something in them nobody else can see... So this teapot crossed my way snd I saw the tumblehome of a French warship in it. So I'll use her as a trail&error project for technical solutions and to bring some more fun in here. Scetches by hand will follow in some time. Here the brass teepot and the picture I assosiated instandly with her. The the spout as a galion with a figurehead and the hull inderwaterpart resting on the feet given to me - mo stand is to be build. By the way her name ist just the French word for teapot. So lets turn teapots into mighty baroque ships! _____ *antiques: Bought by your grandpa, thrown away from your dad, rebought by your sons father.


-
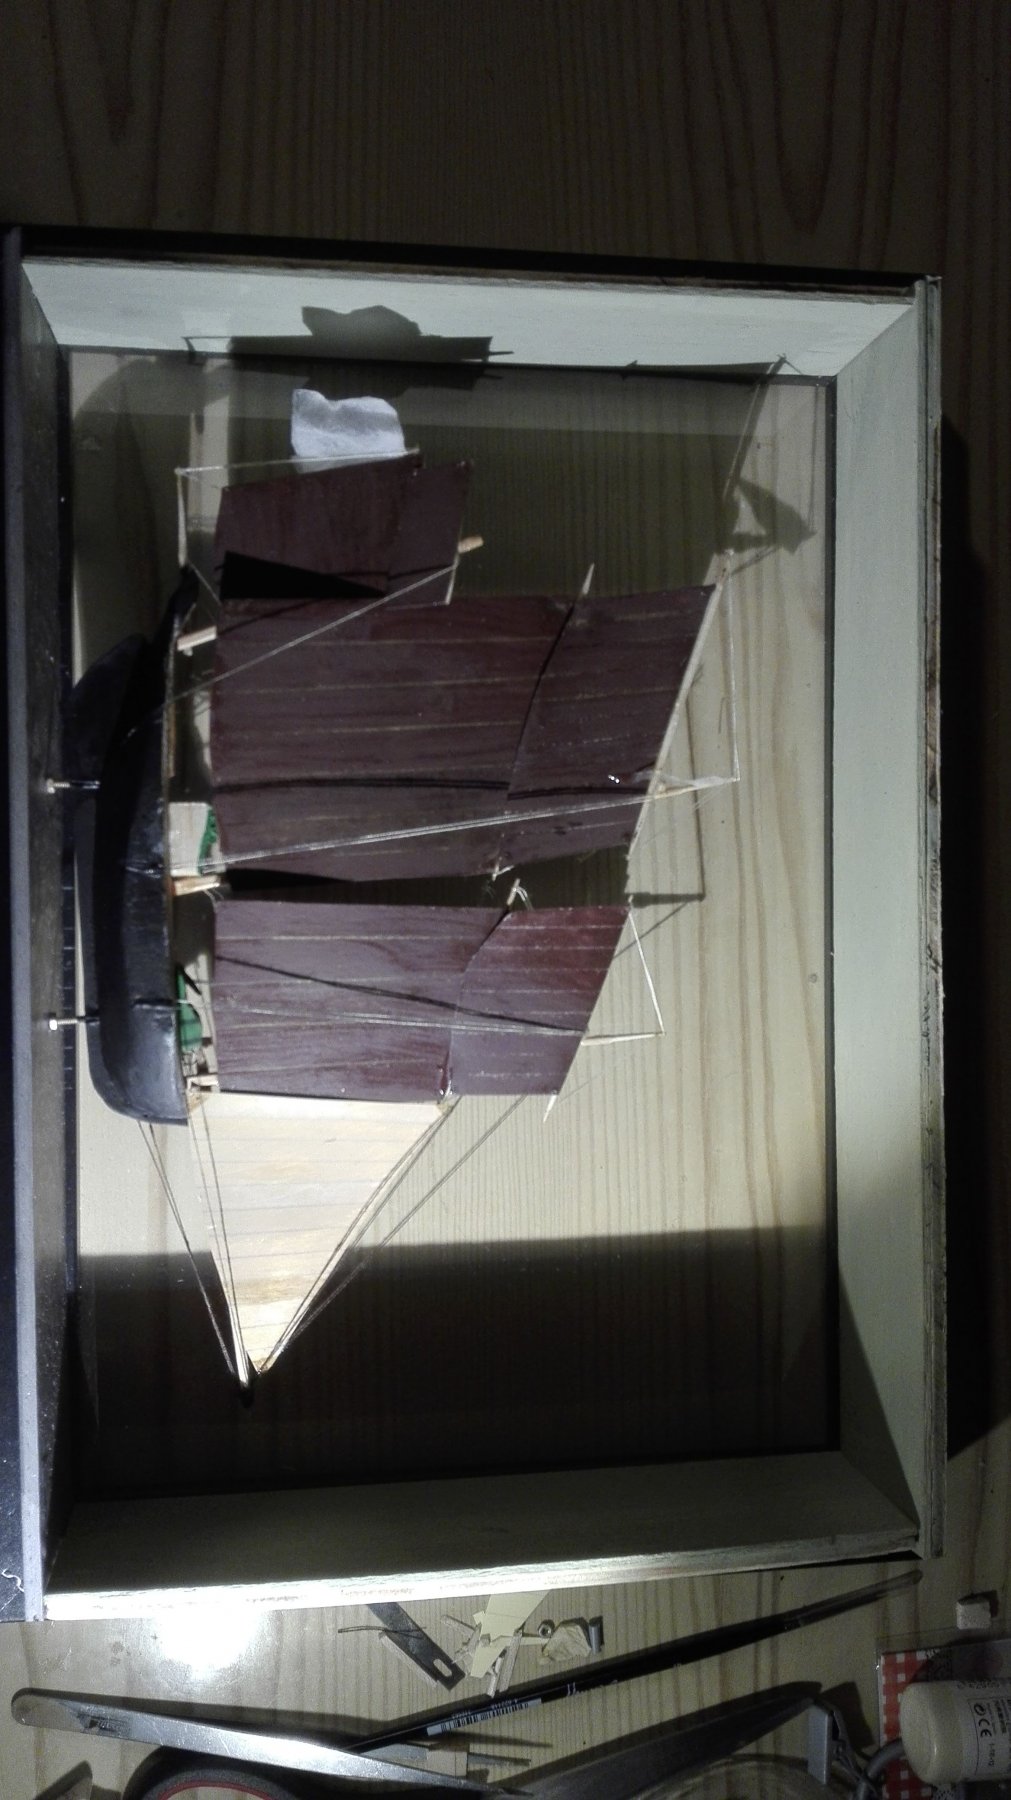
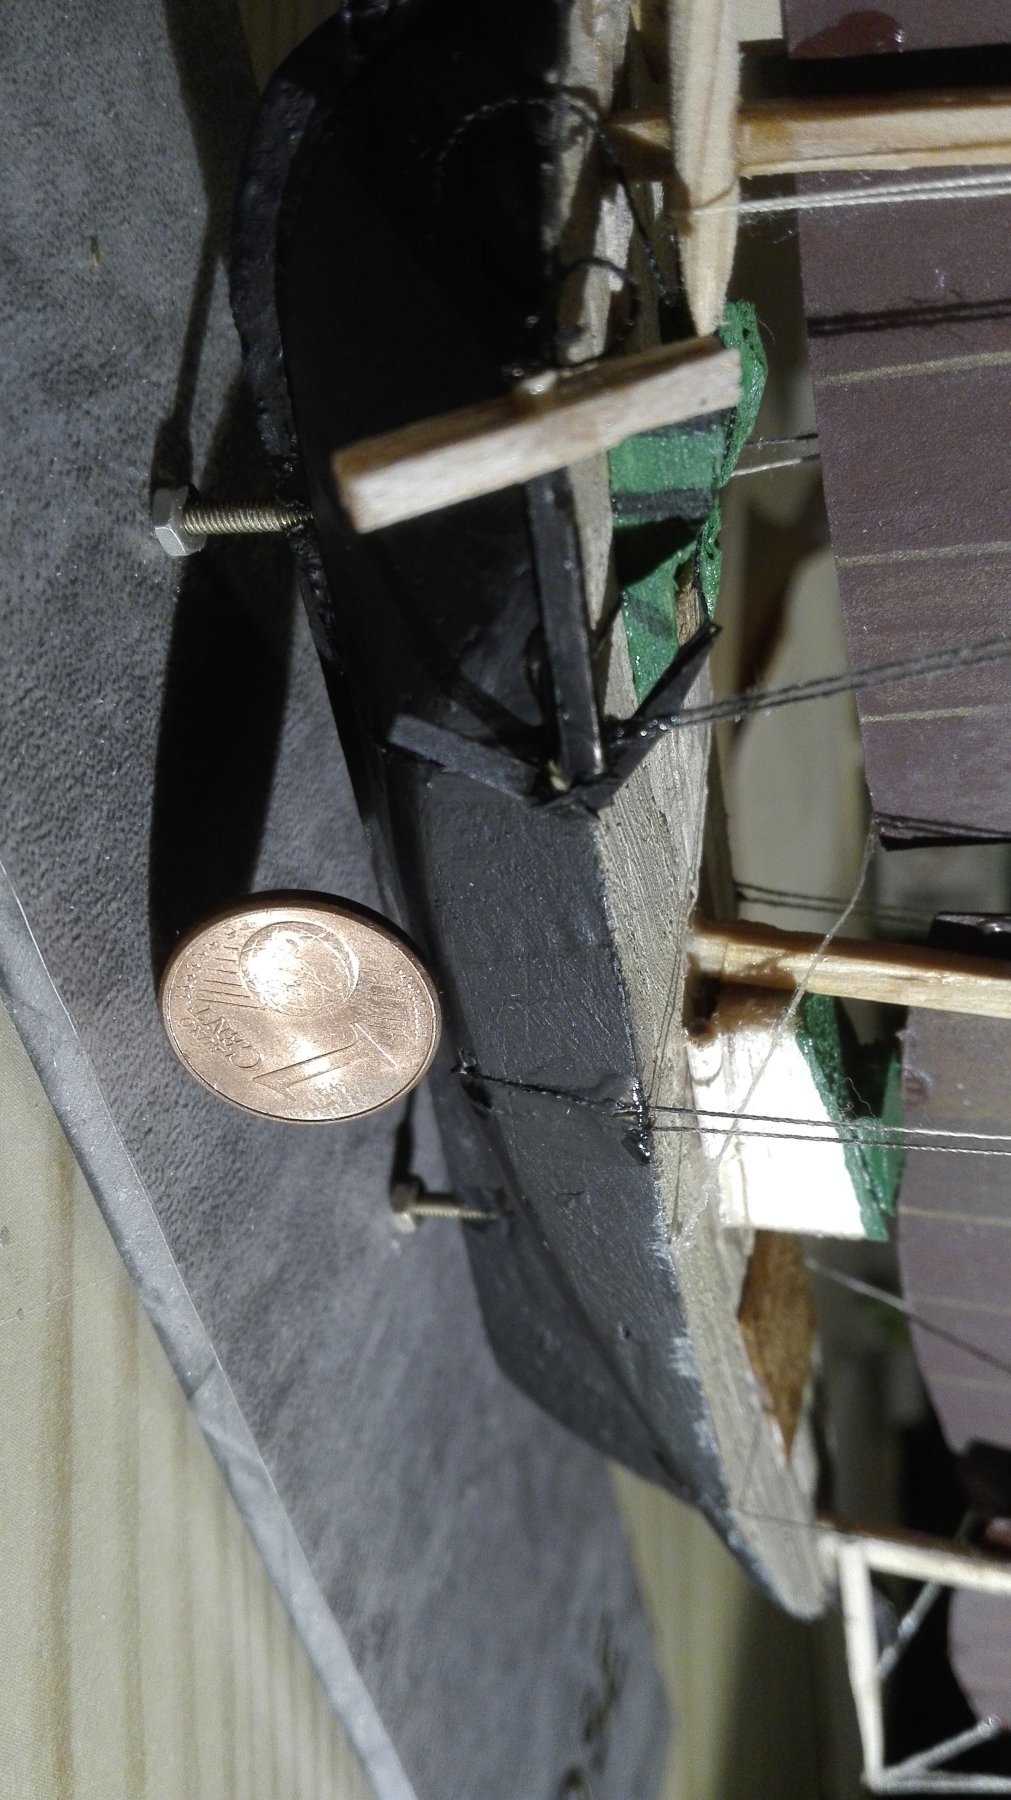
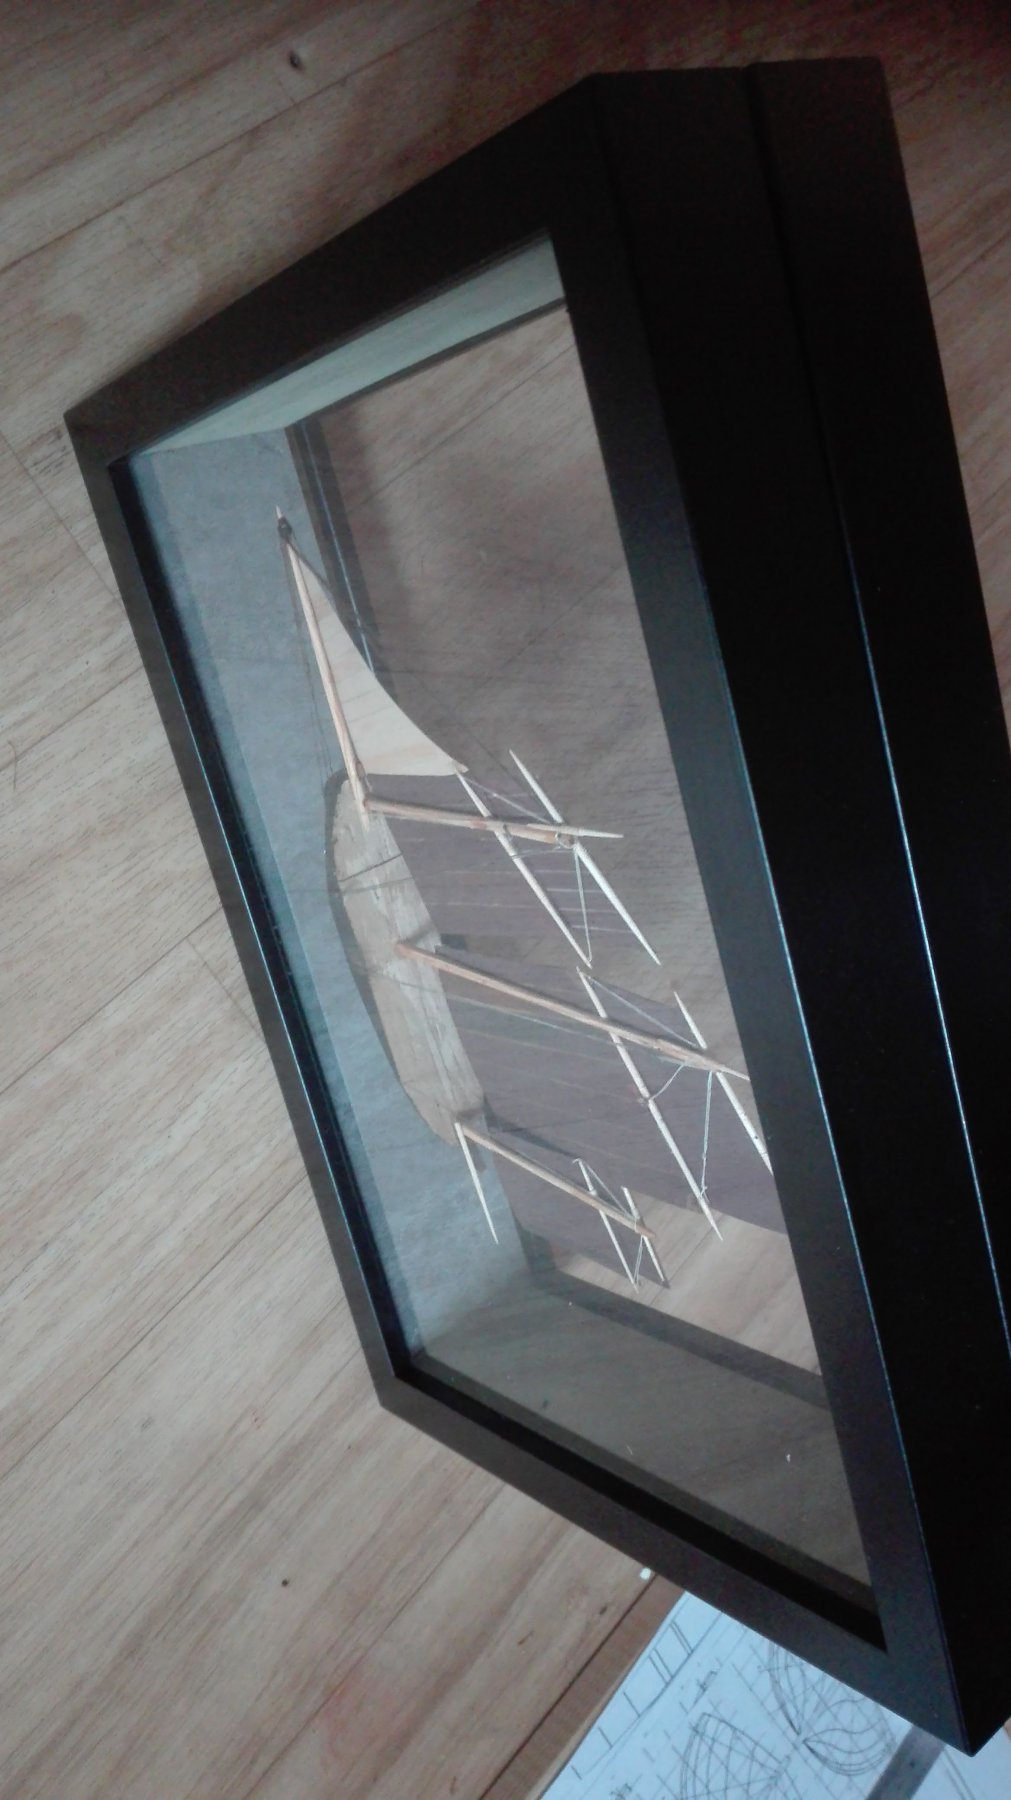
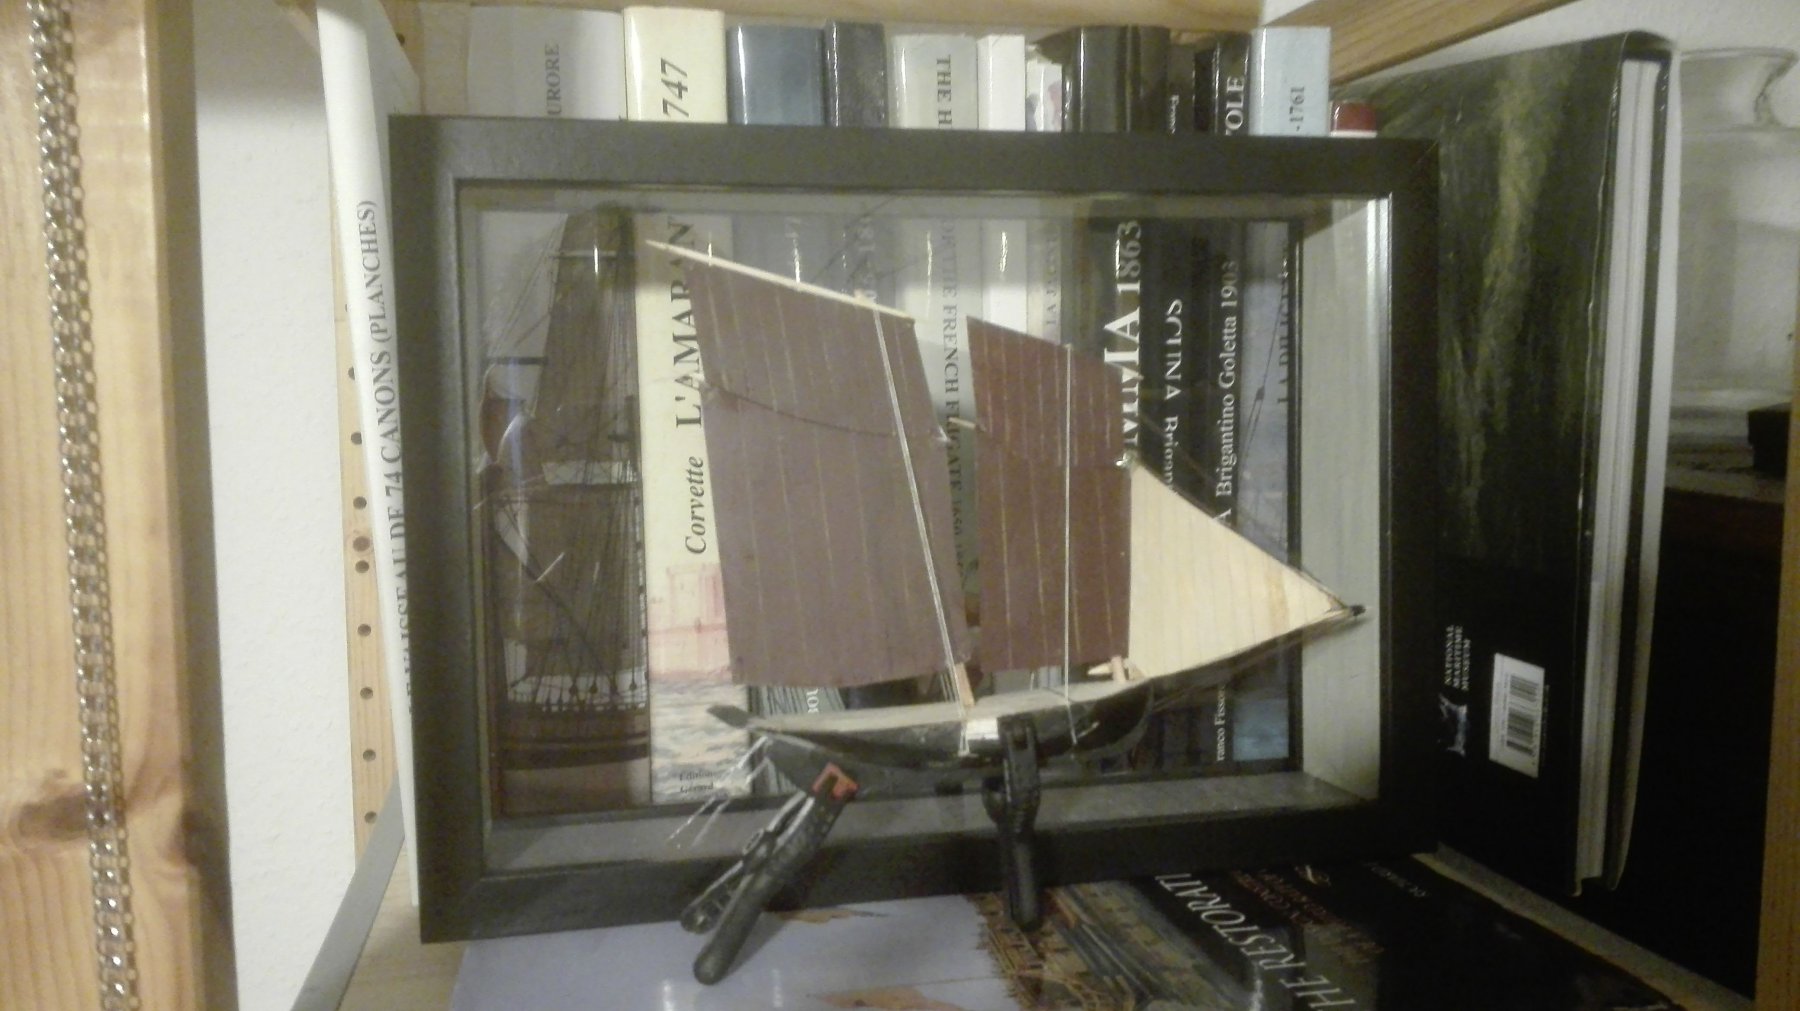
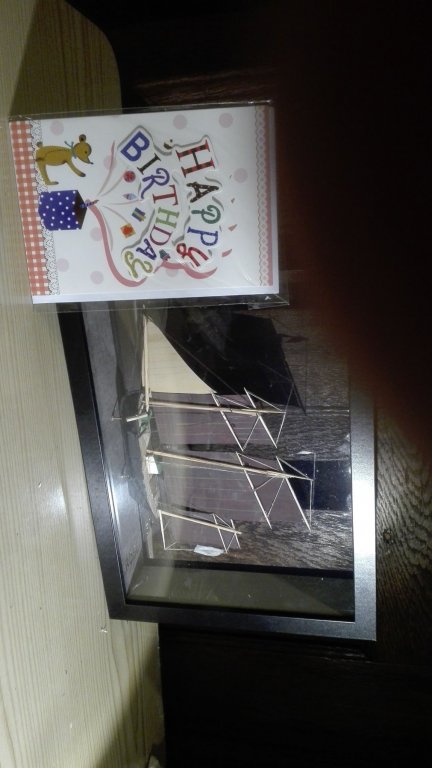
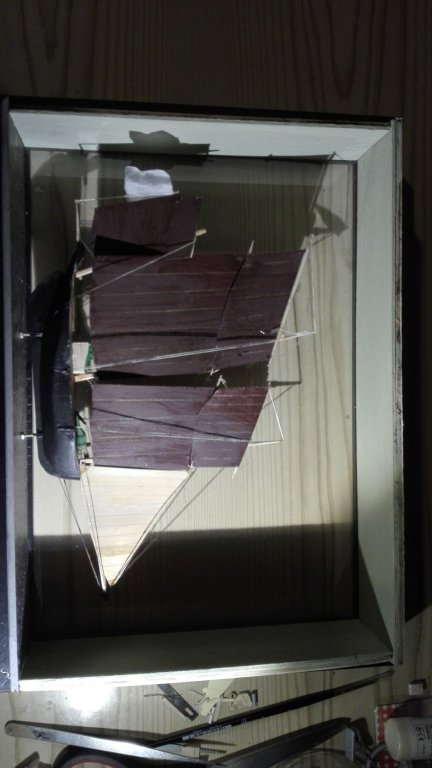
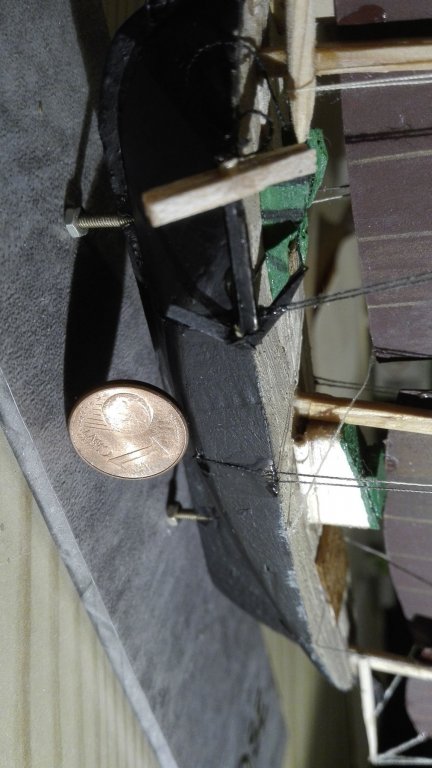
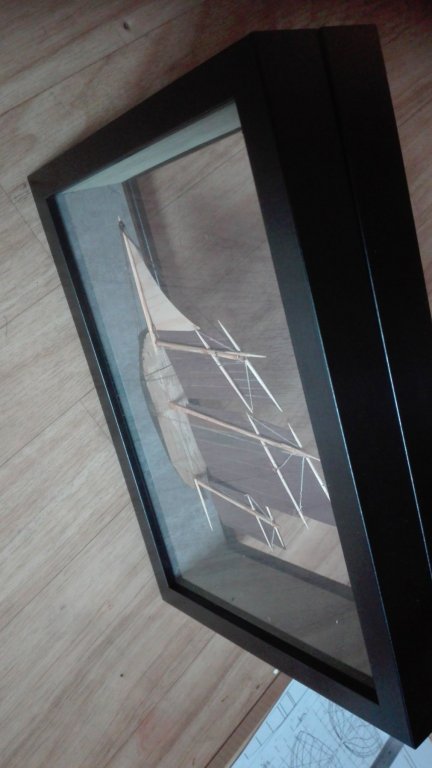
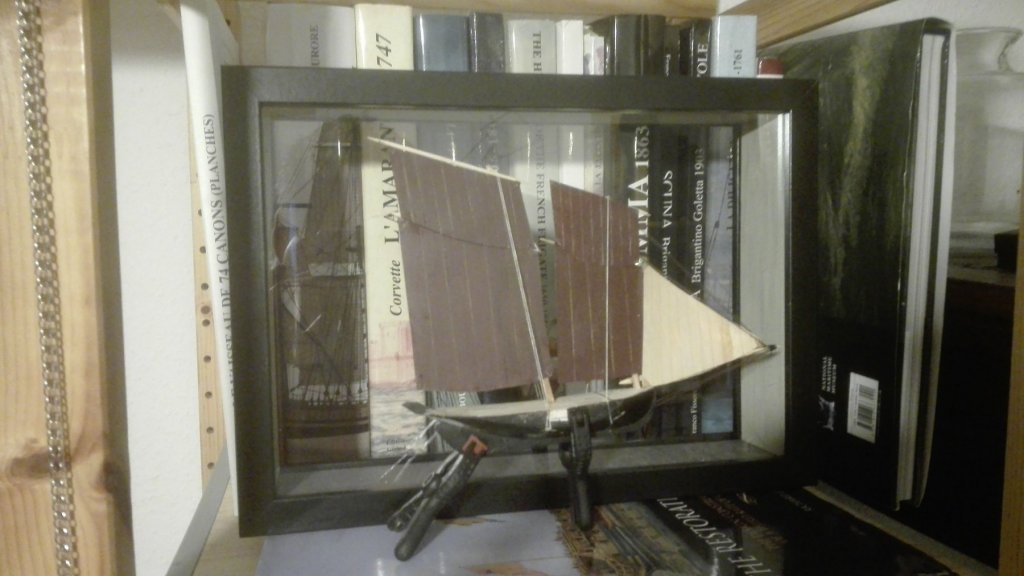
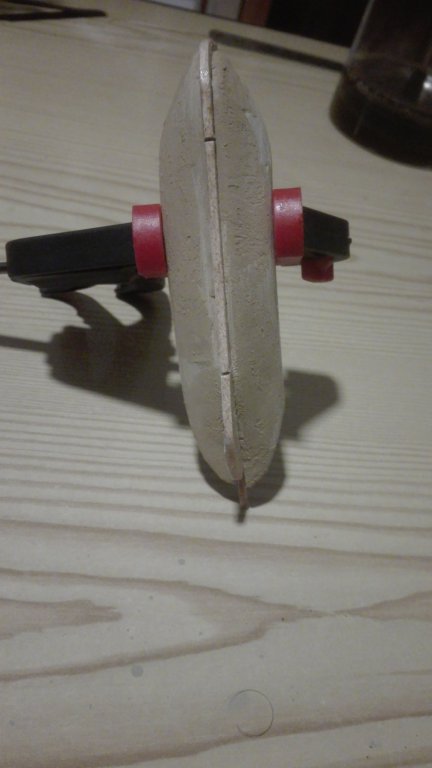
I decided to glue the sails together to give for the transport more stability. The decks superstructure is very simple and was only a bit detailed. The Ancre is stiffed cardboard soaken with CAglue. My testing in the showcases after glued in the M2 screws in the hull shows the model hangs also upside down in a safe way and noe parts fall off. So I bought a birthday cards reused Marcs pacelbox with the edge saving parts from Ancre and send it overseas to my brother yesterday. So this micro project was startet on the mid of December and reached its goal mid of February by enclosing the showcase with superglue the night before yesterday. Hope you like it. Yours HdS


- 3 replies
-
- 3
-

-
- finished
- pilot boat
- (and 1 more)
-
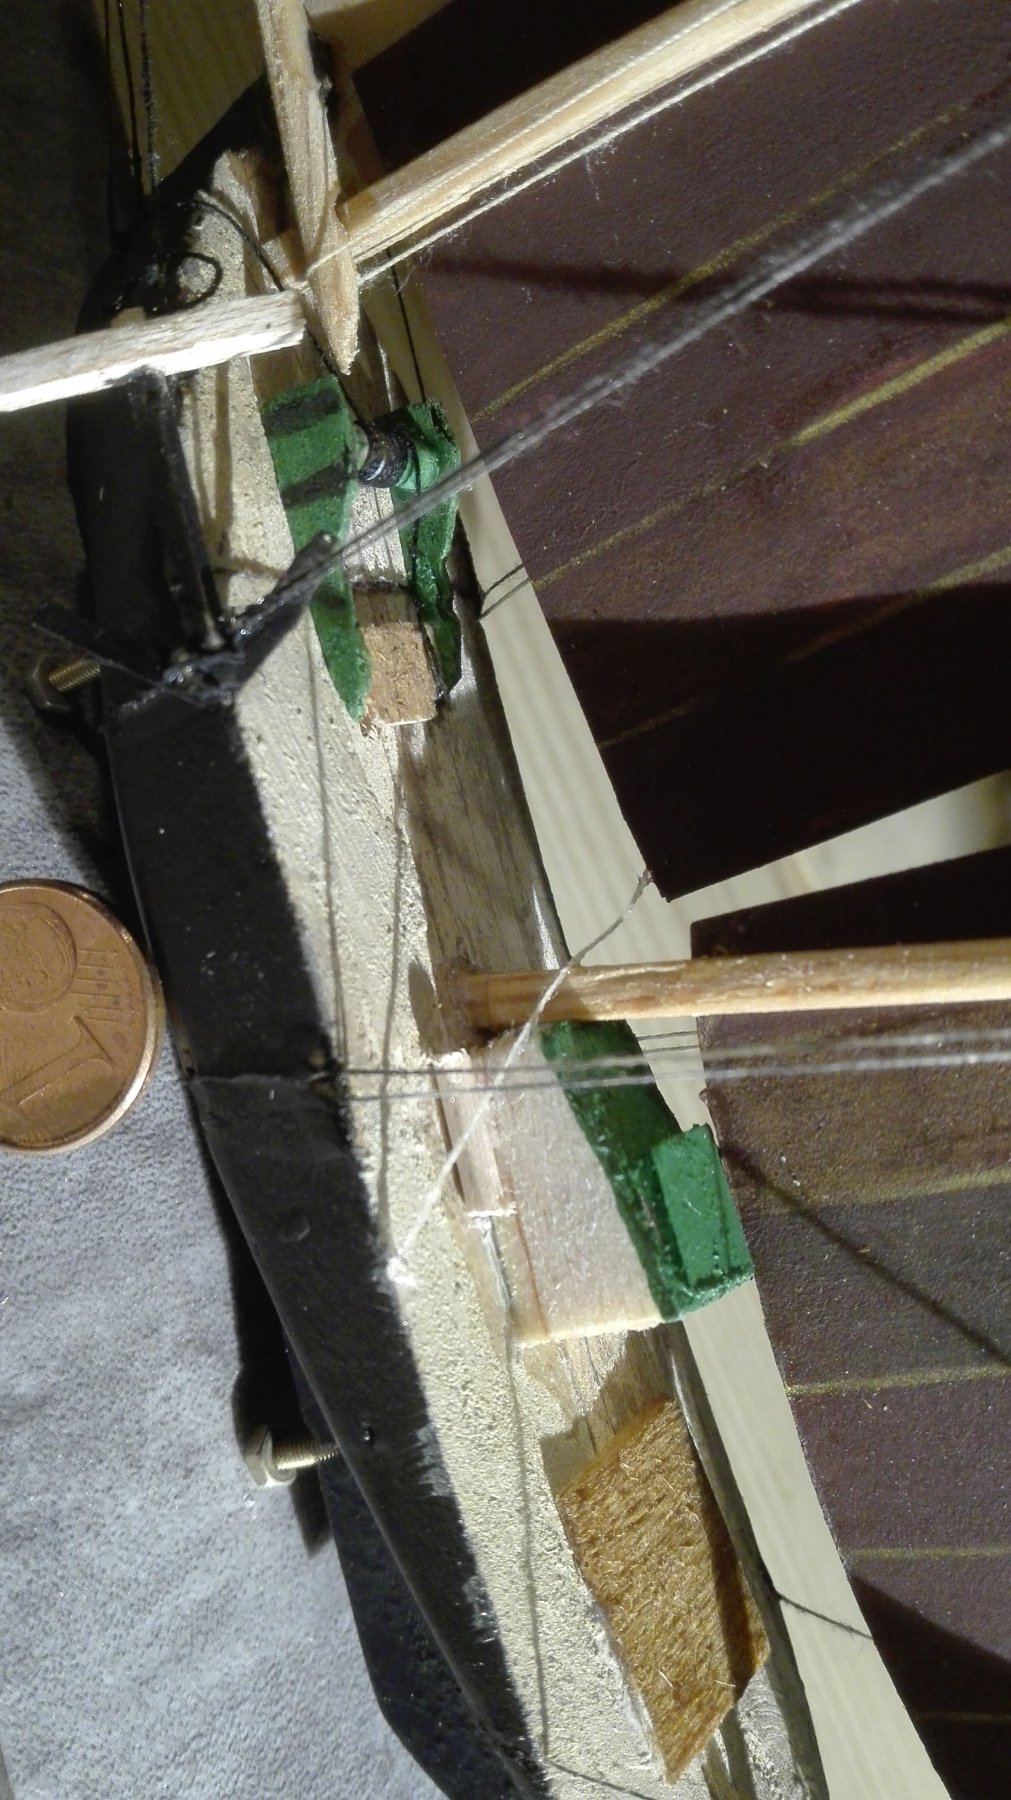
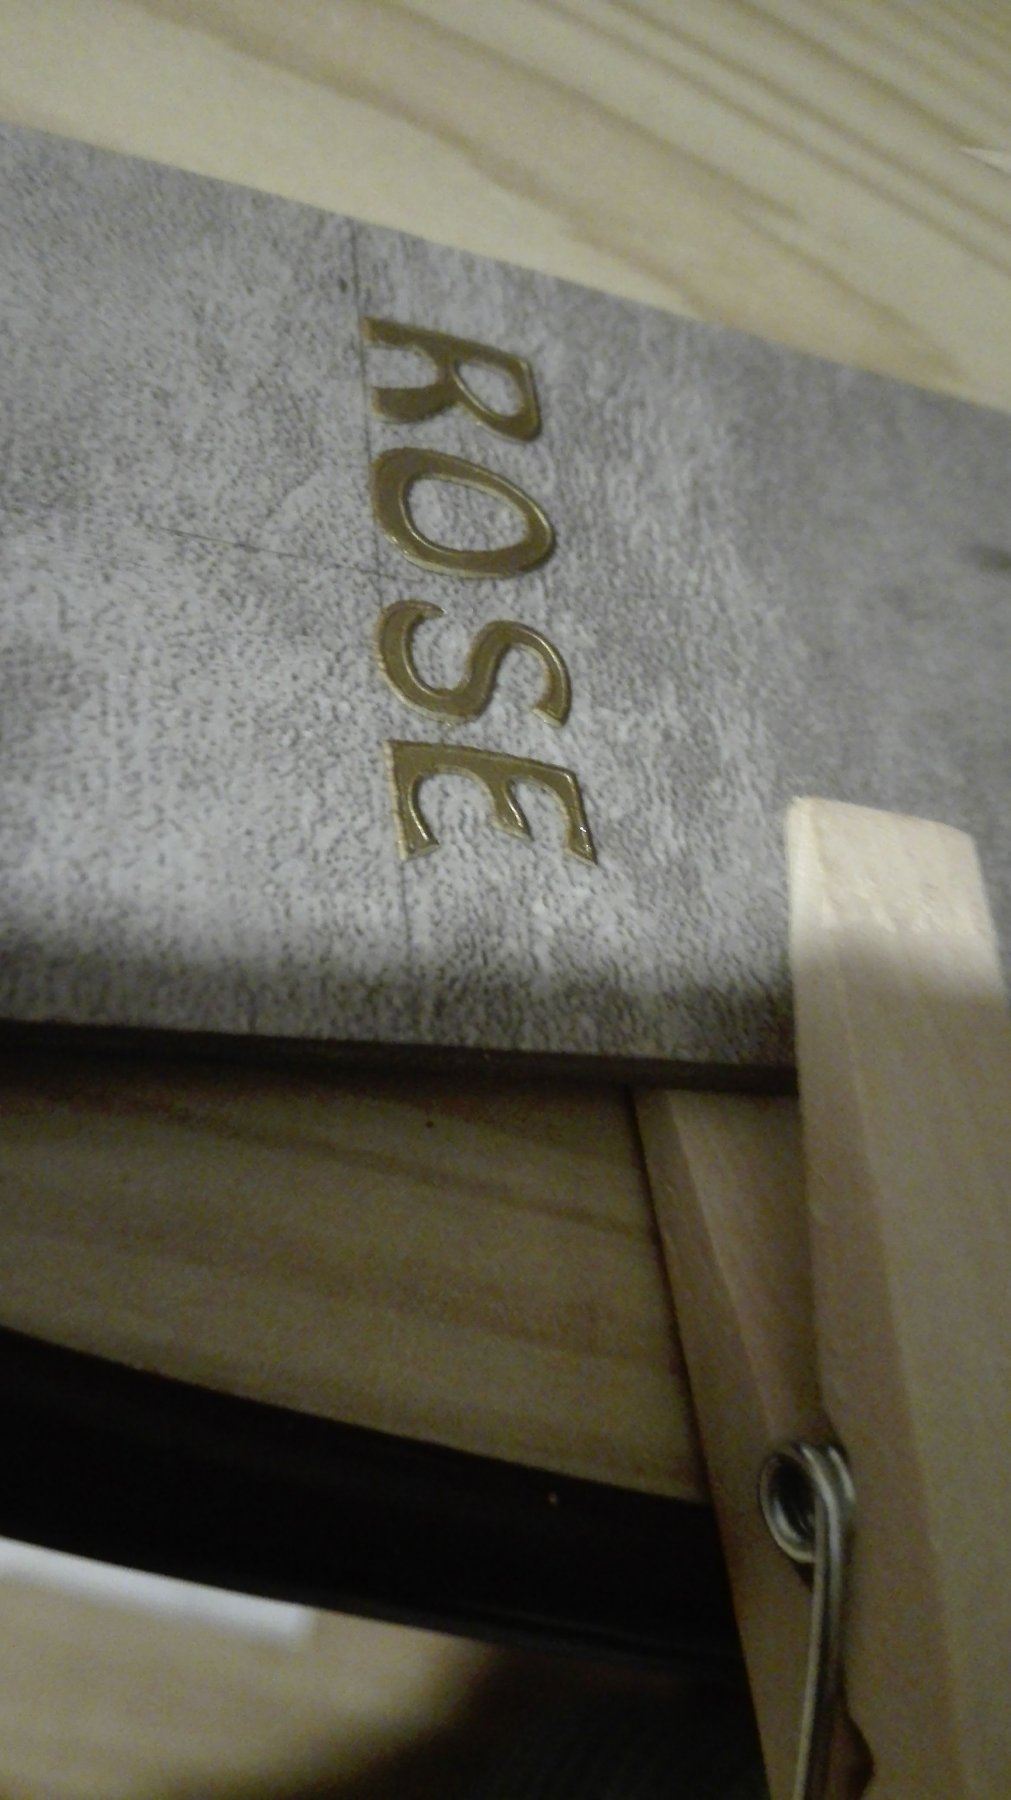
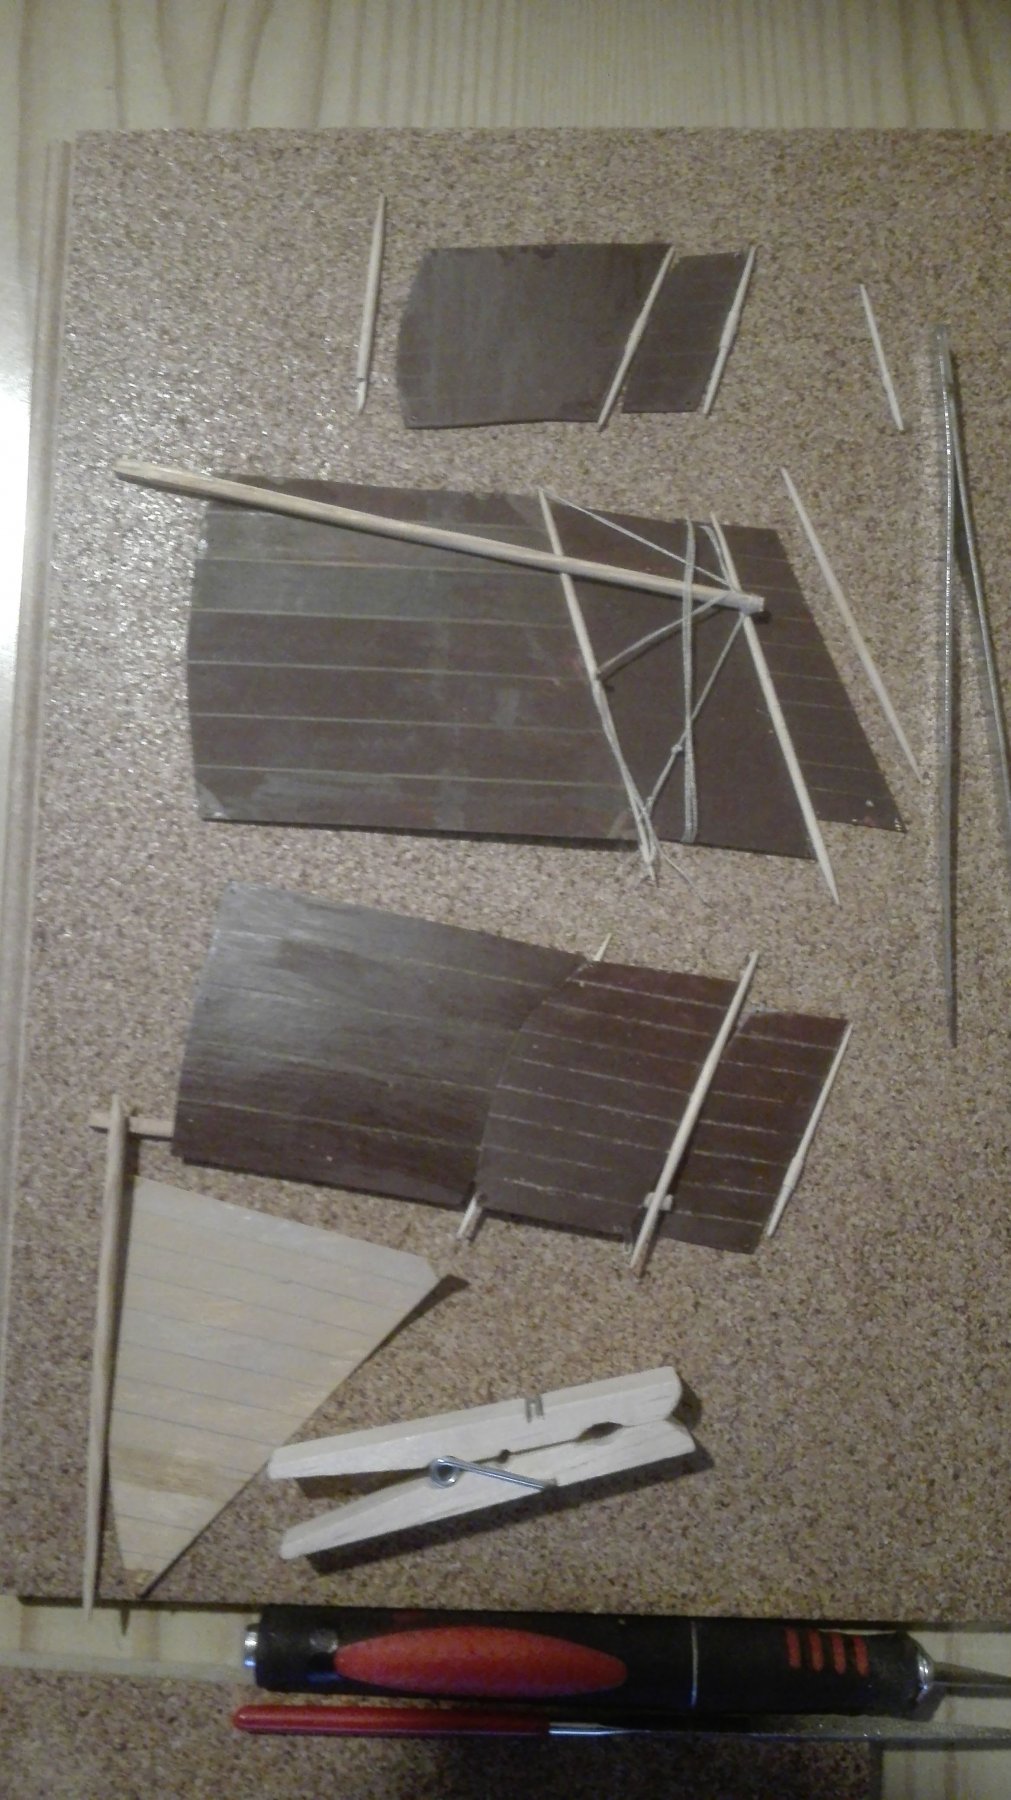
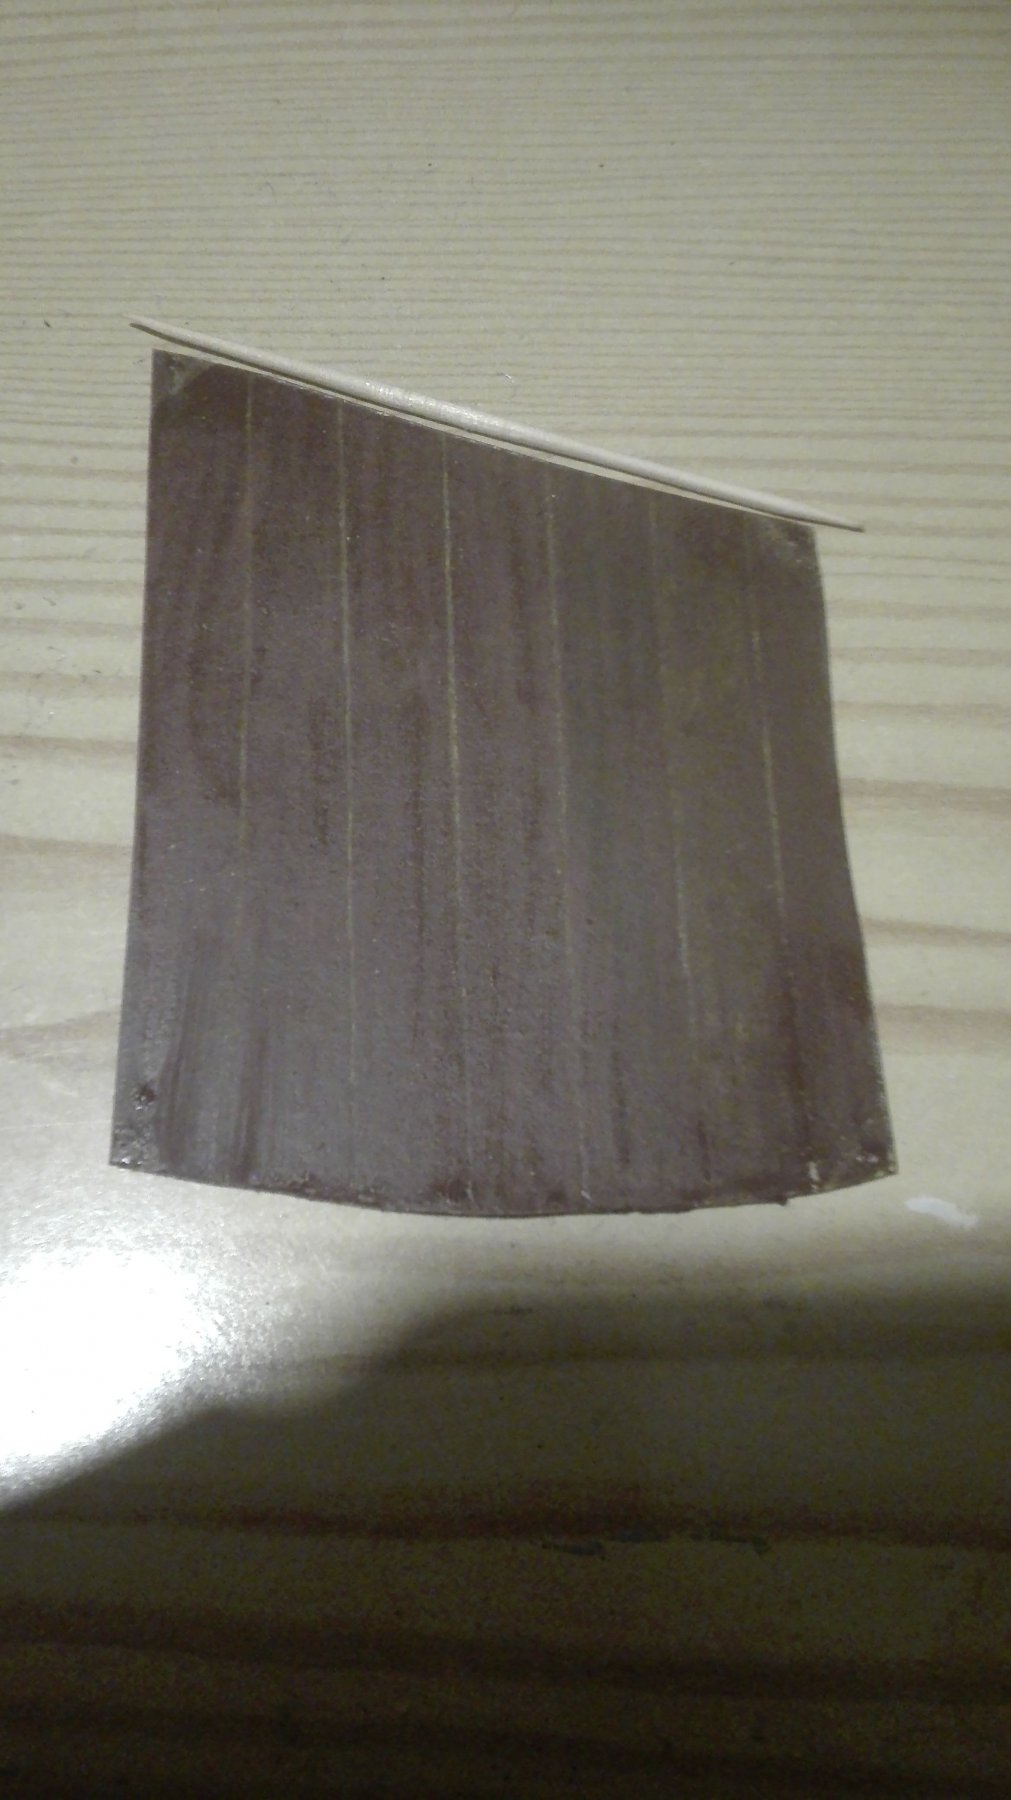
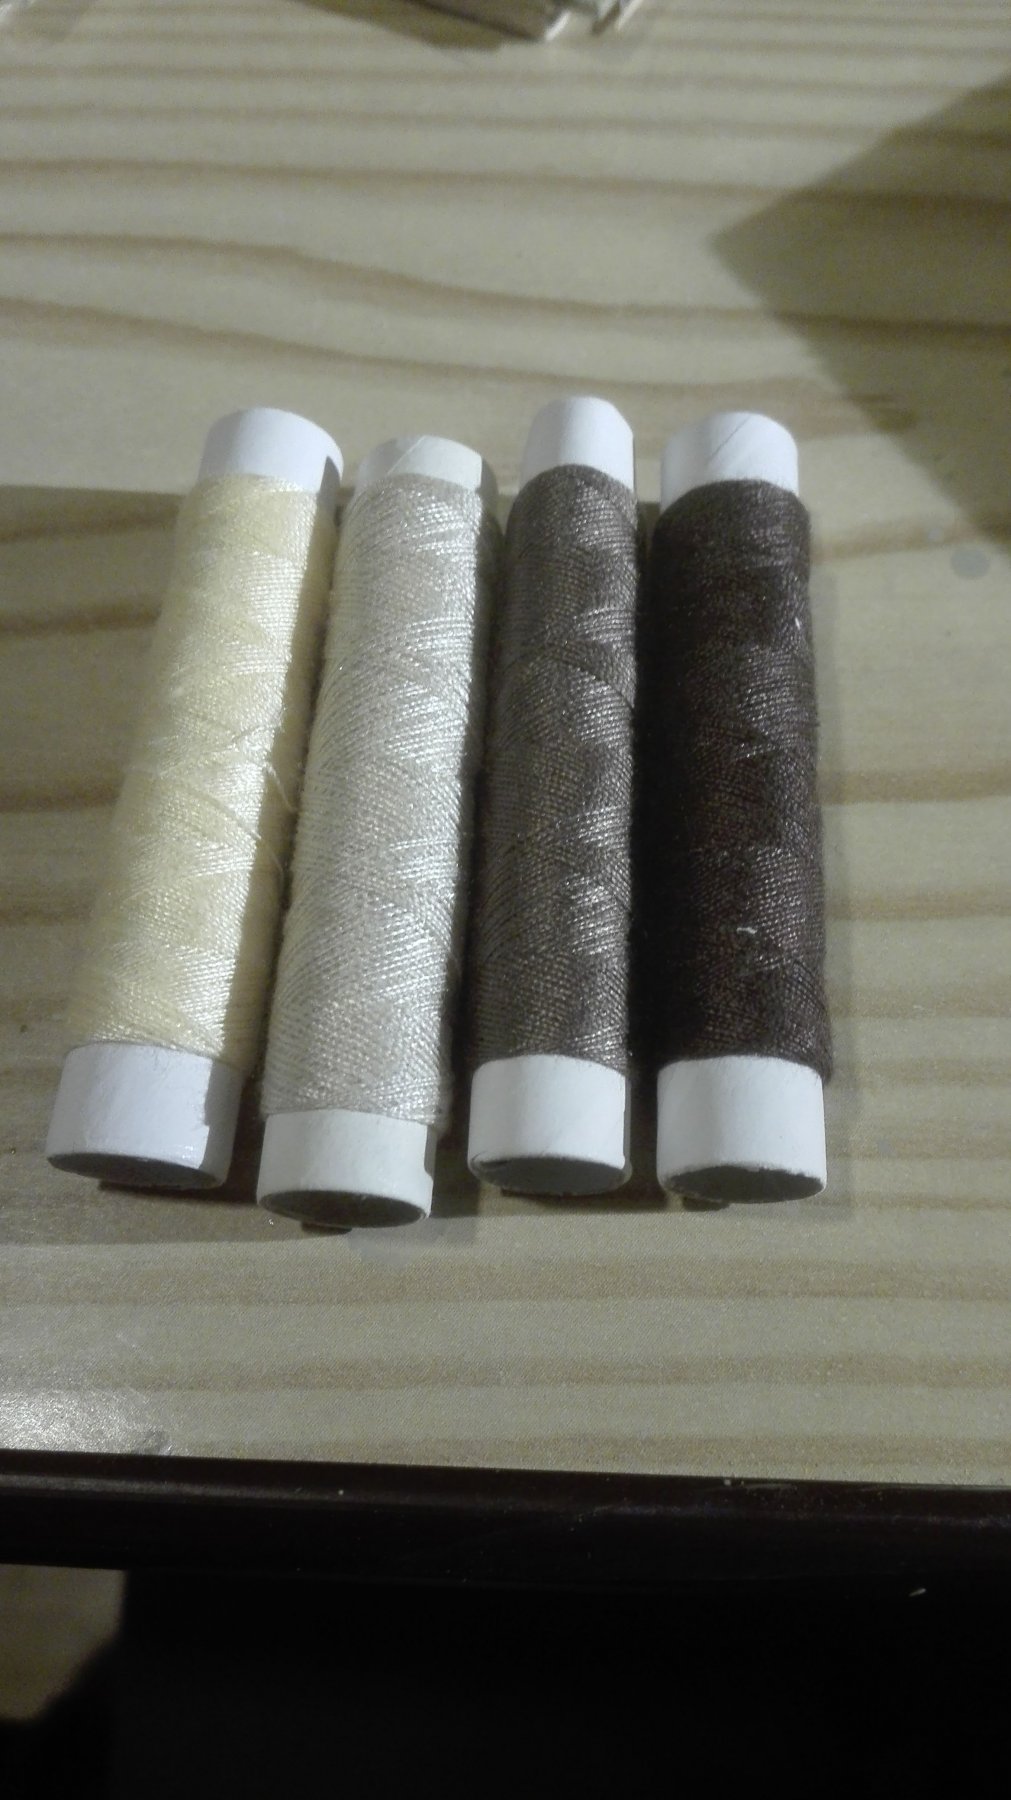
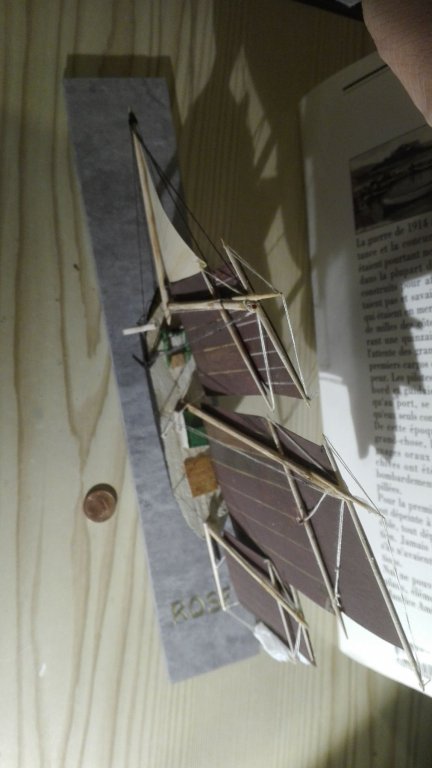
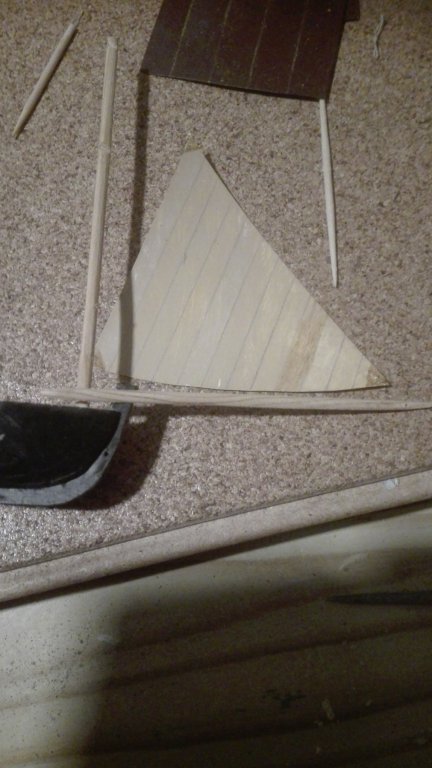
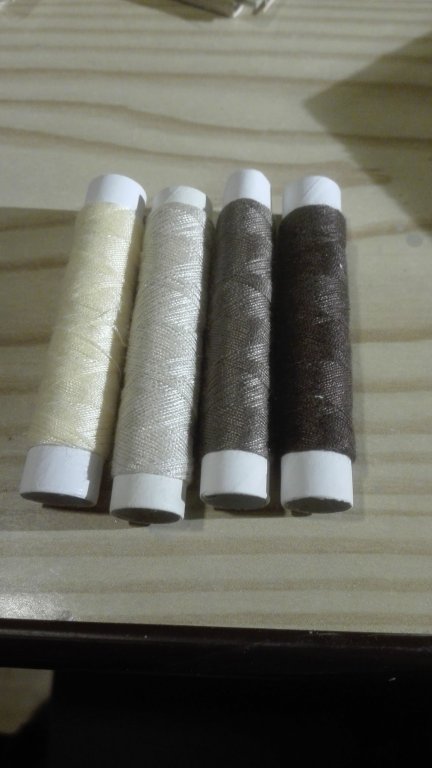
Here the further steps on my brothers birthday... I wasn't still not ready to launch the model - but it fits into the showcase very well. The sails are simply from memo training cards and painted in Tamiya Hull red. The lining is aquarell pencils . Also the hole rigging is a choice of four differend colours as I got more and more in a hurry. On this moment I decided to avoid the breaking off of the royal sails by avoiding the royals. The niddlreborad has two simple slots for two M2 srews.


- 3 replies
-
- 2
-
-
- finished
- pilot boat
- (and 1 more)
-
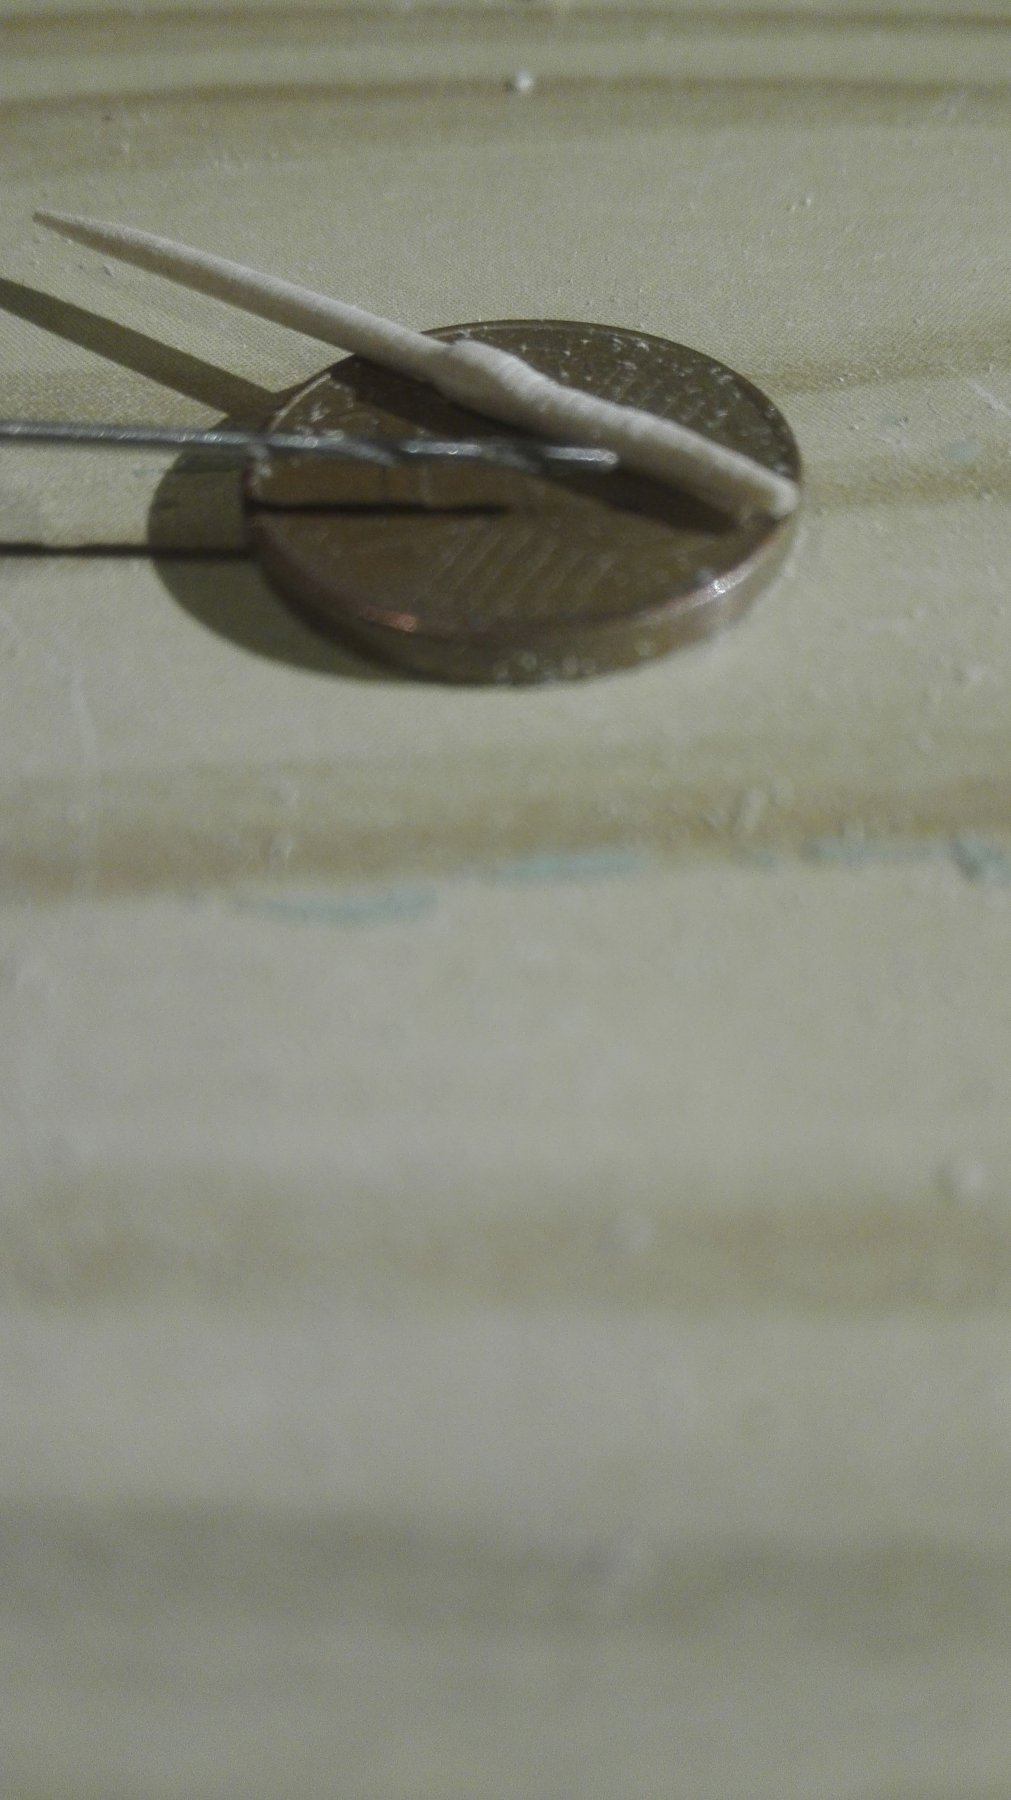
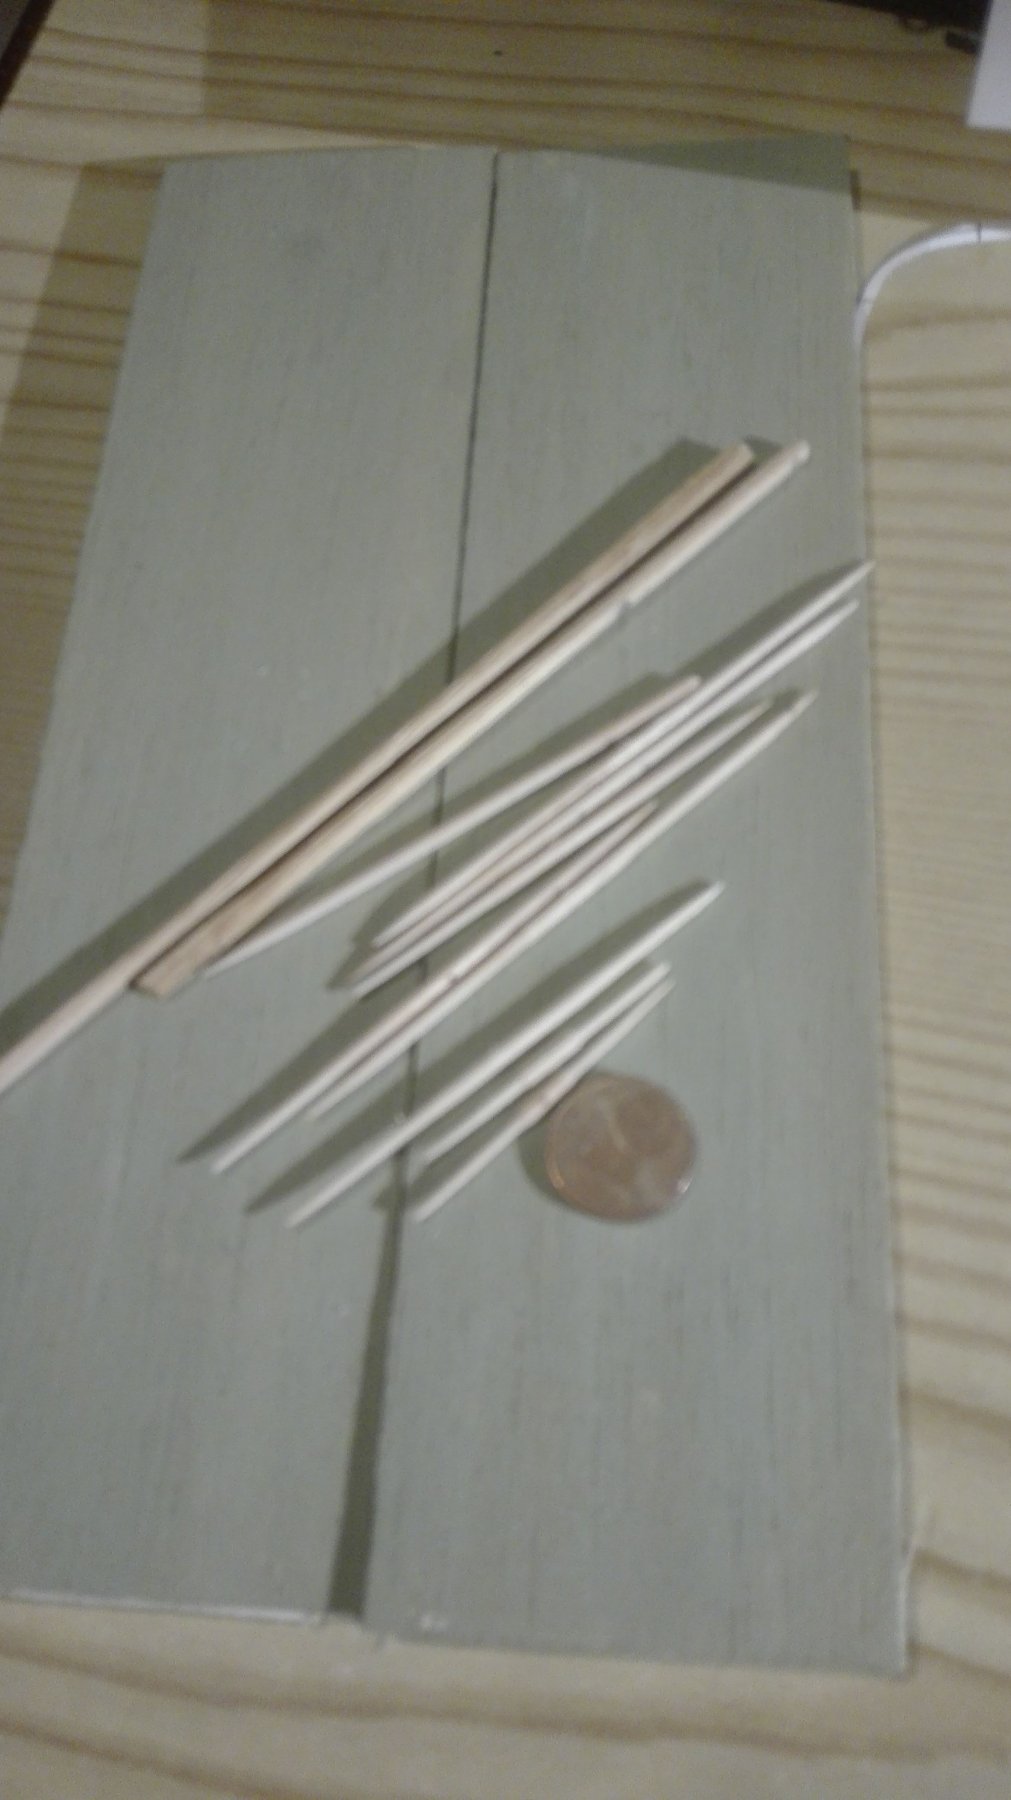
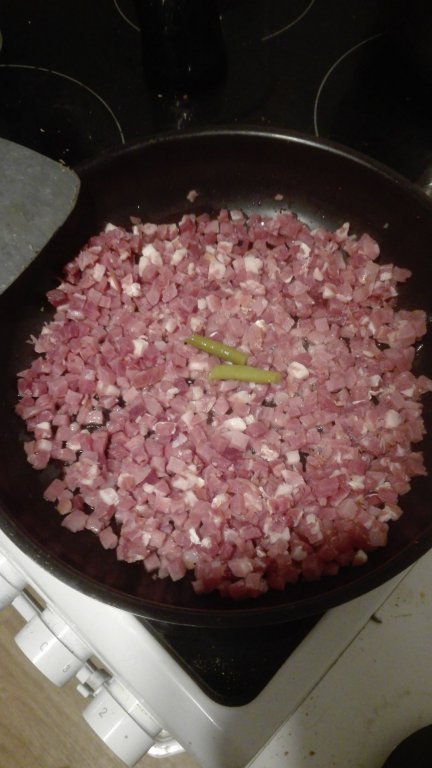
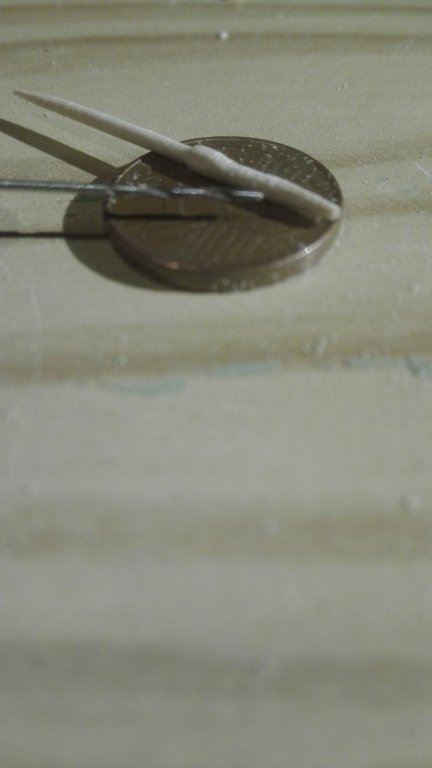
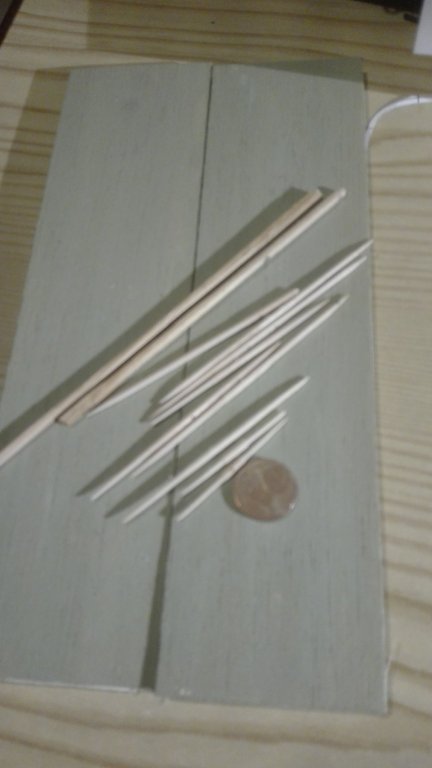
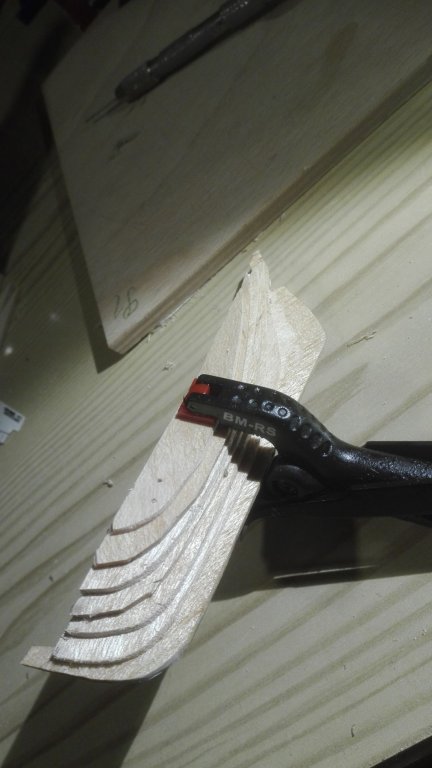
Here the hulls construction and some news from the kitchen: beans (PLURAL!) with bacon. The masts are made from.pine and the yards from toothpics (they tend to break by rotation in the Dremel).
- 3 replies
-
- 2
-
-
- finished
- pilot boat
- (and 1 more)
-
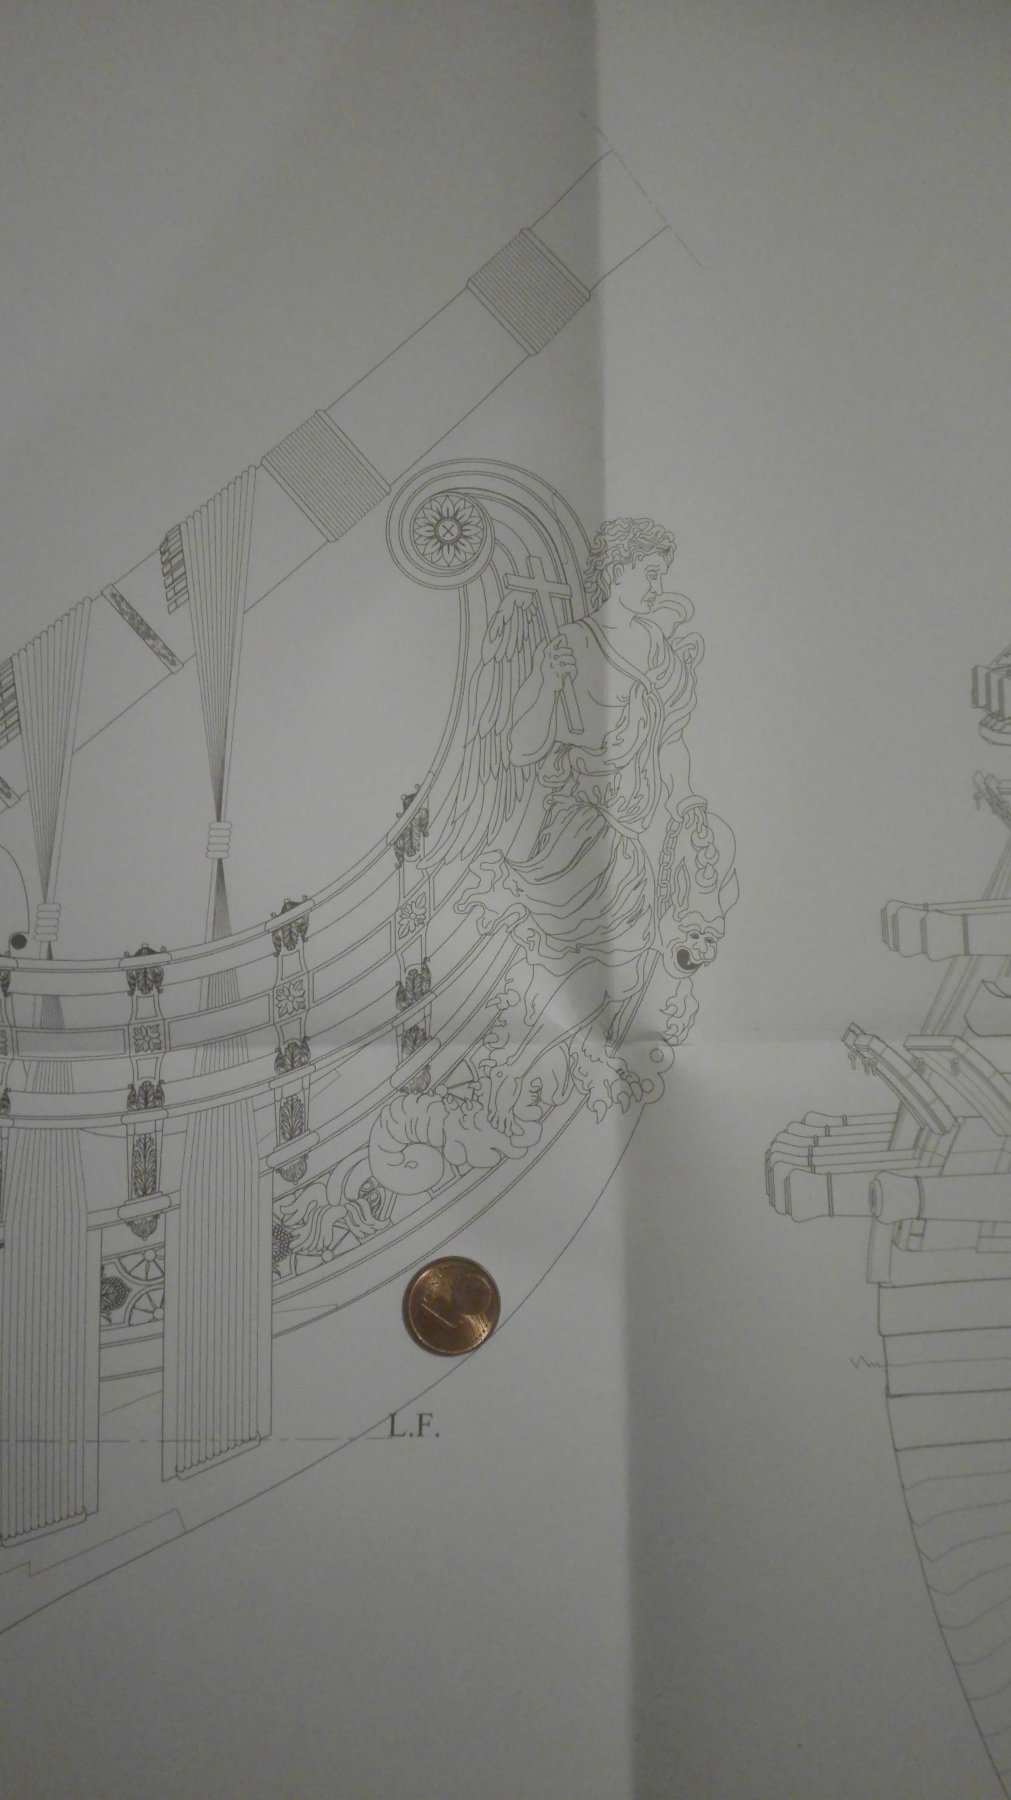
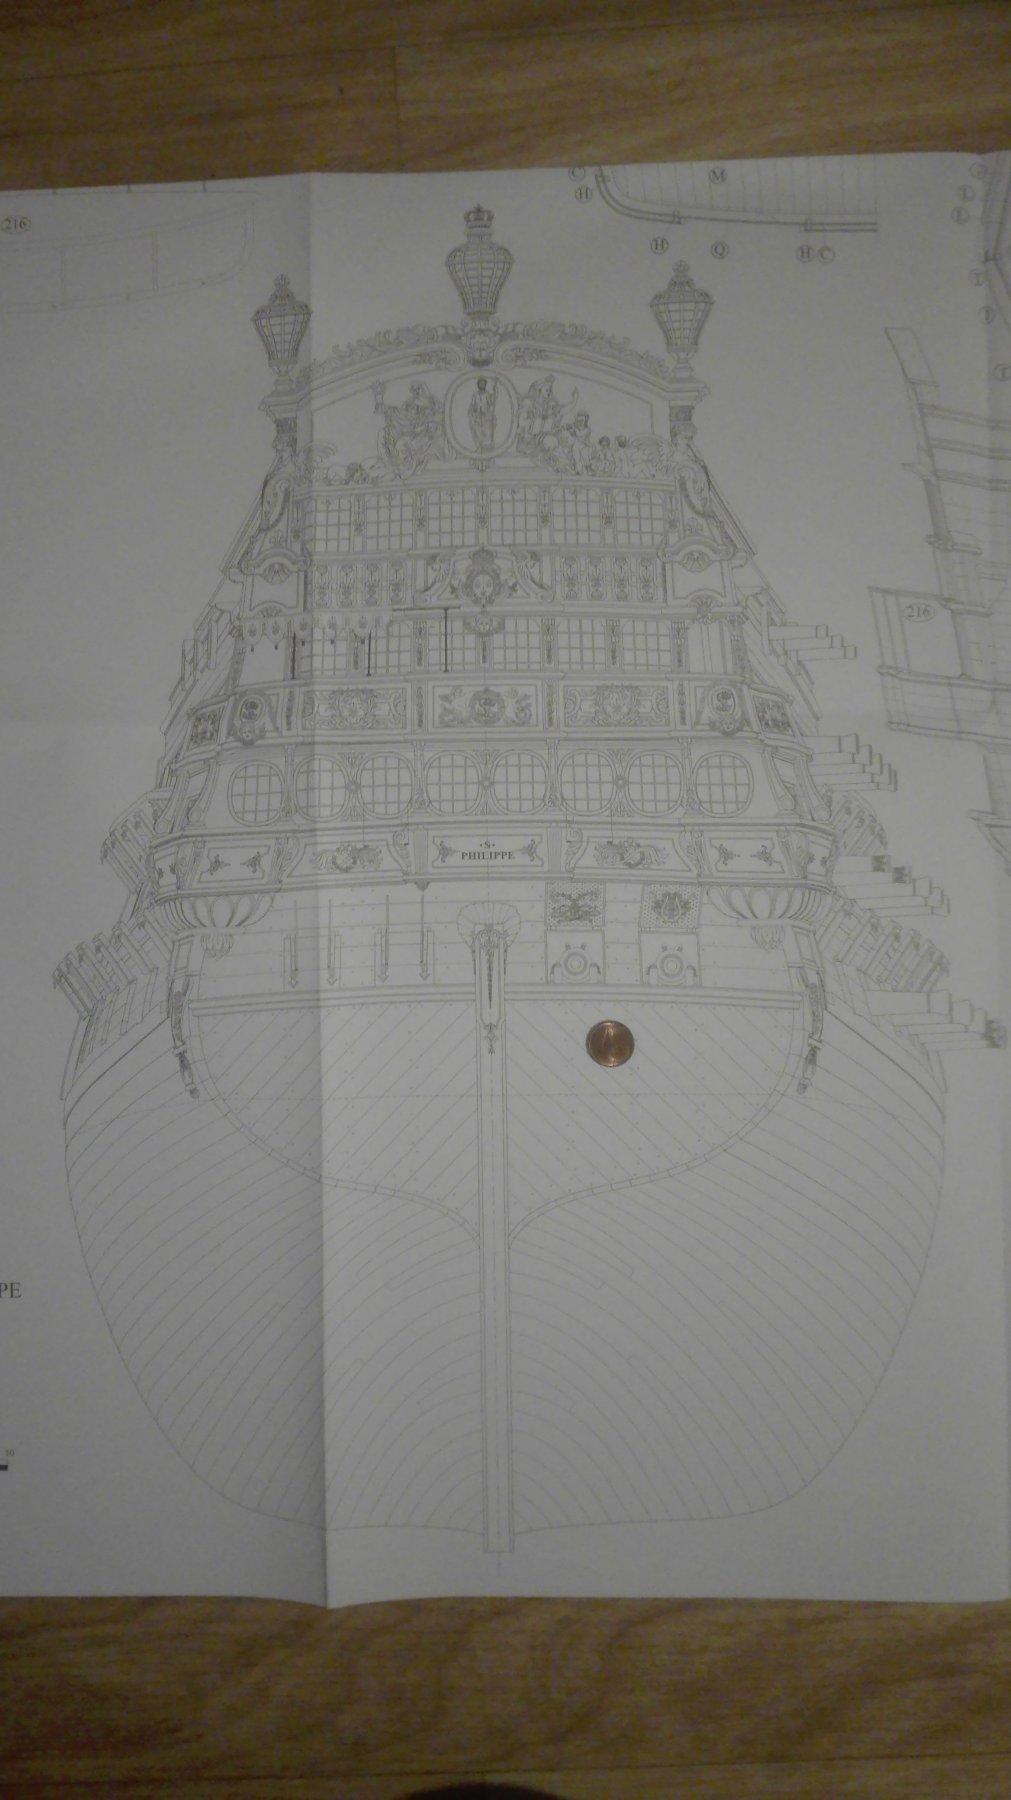
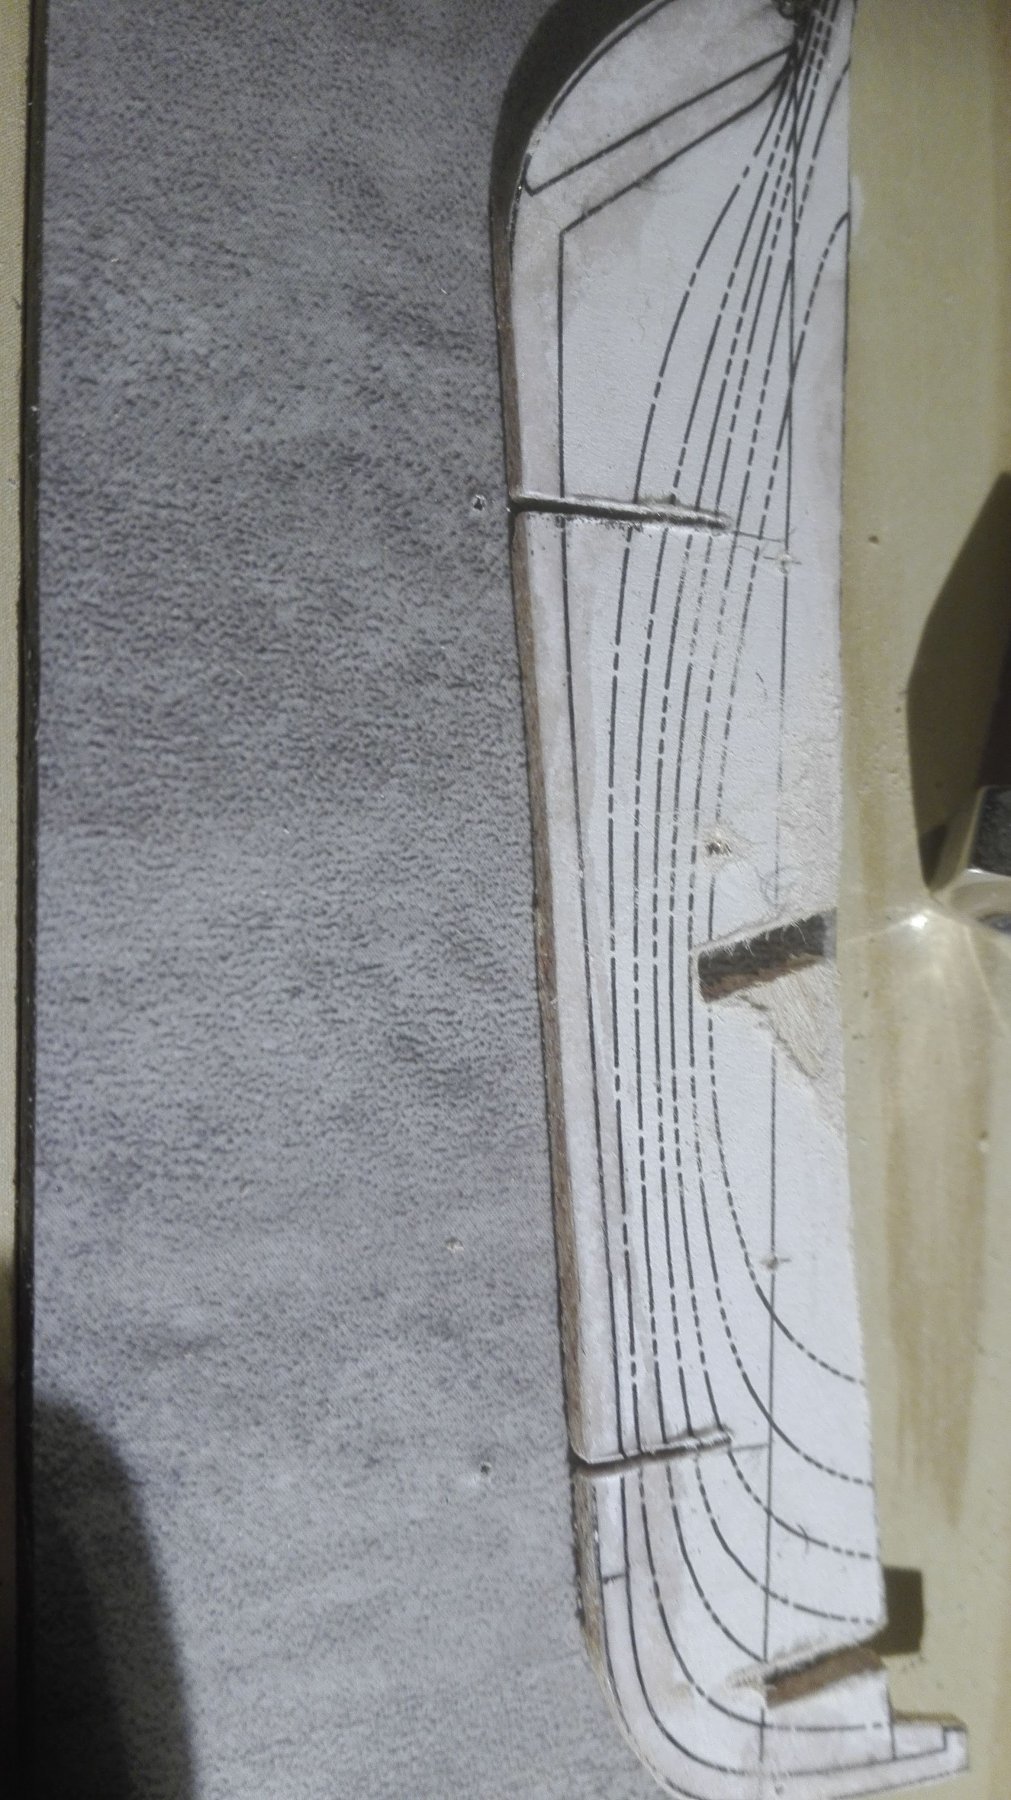
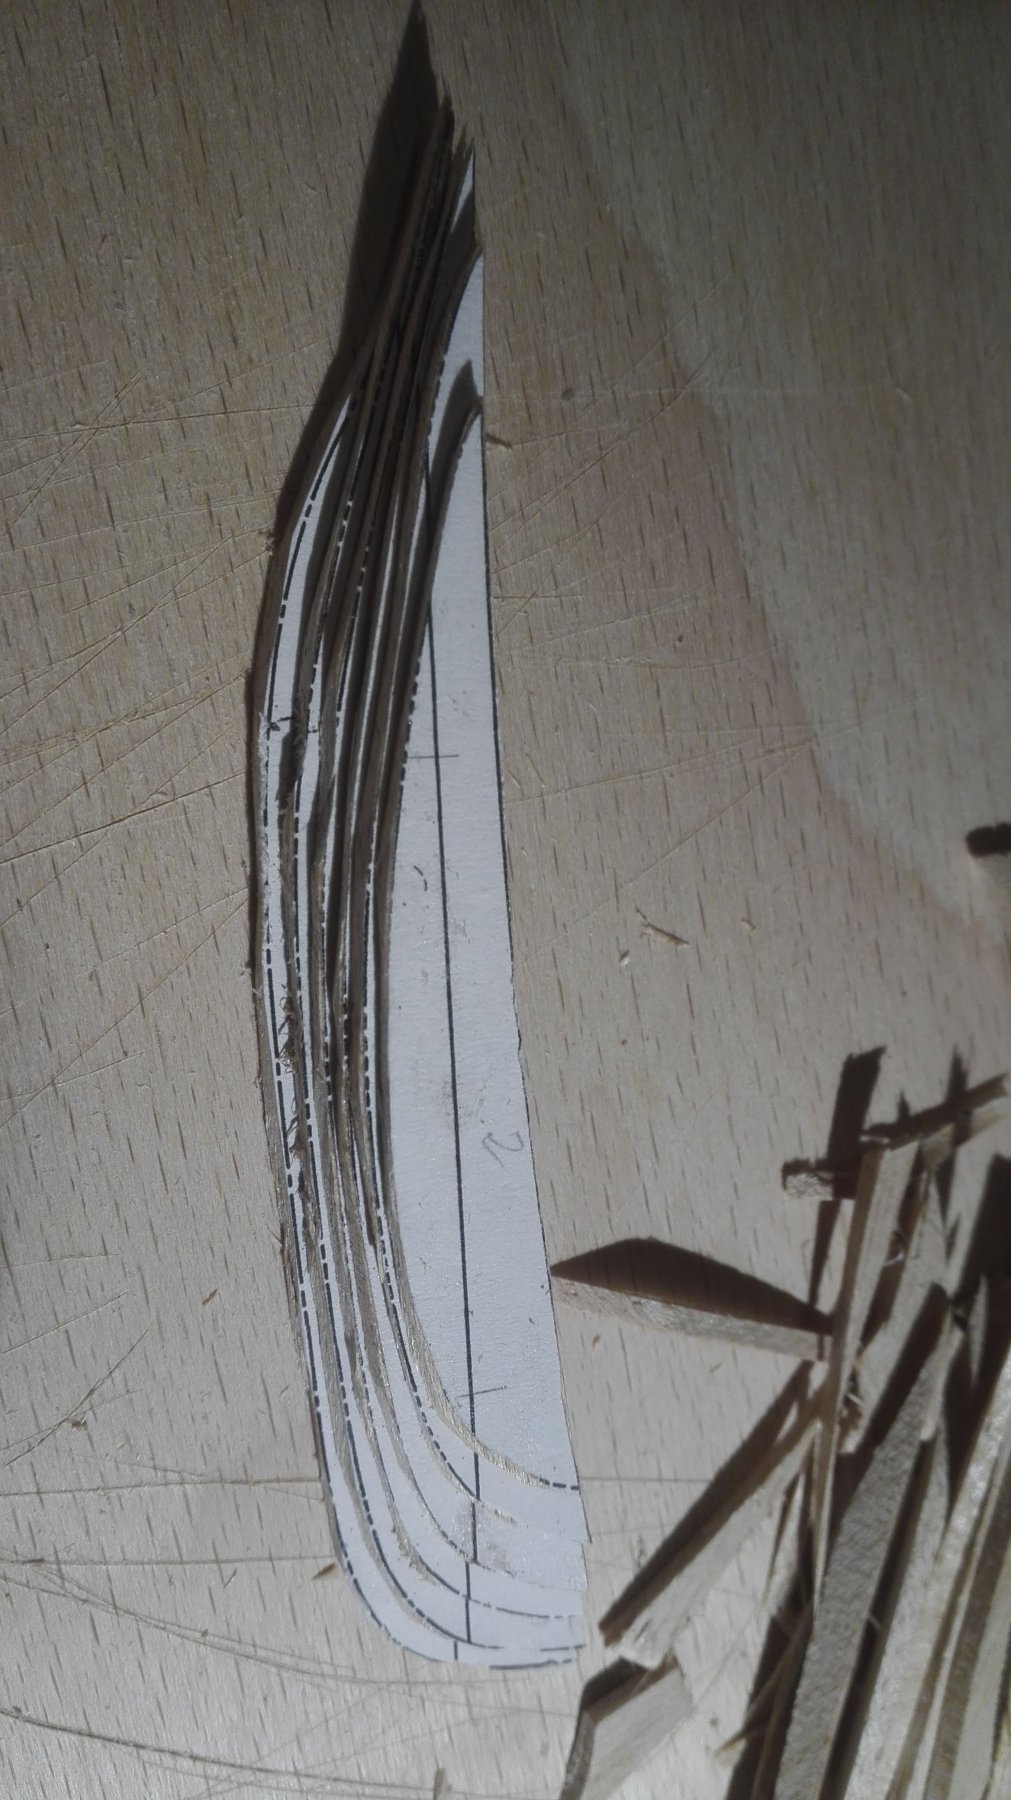
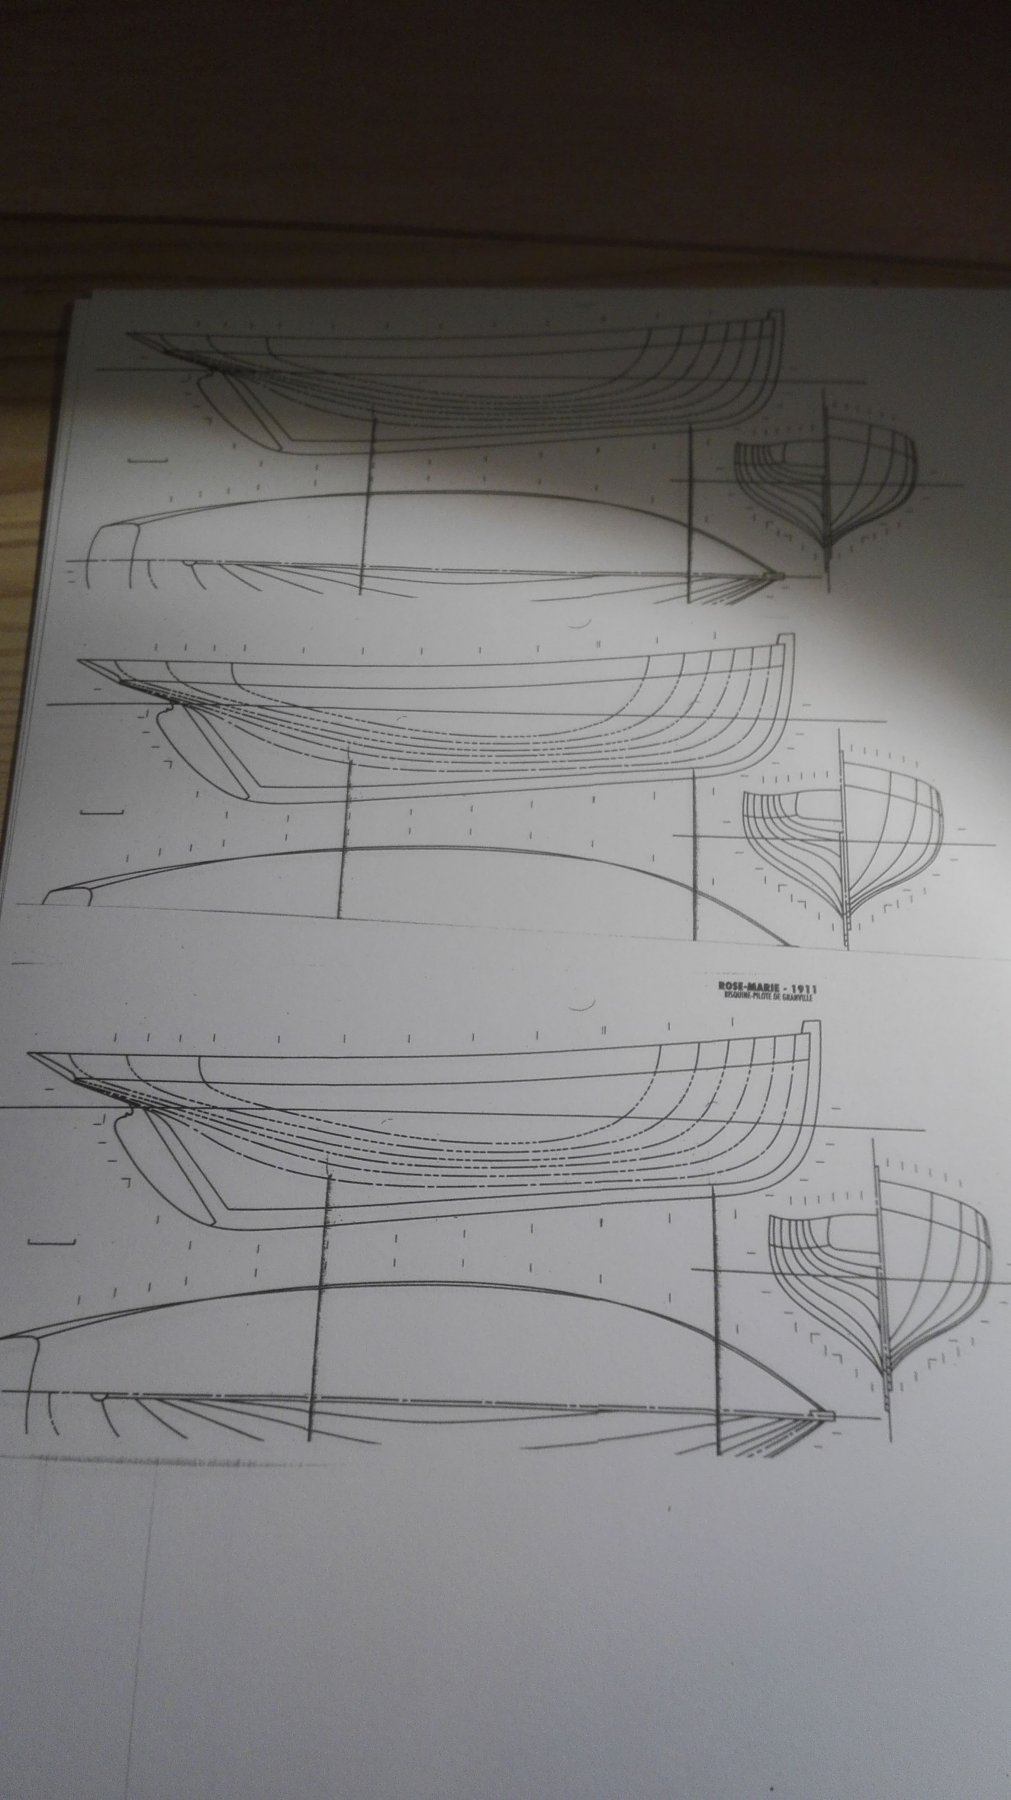
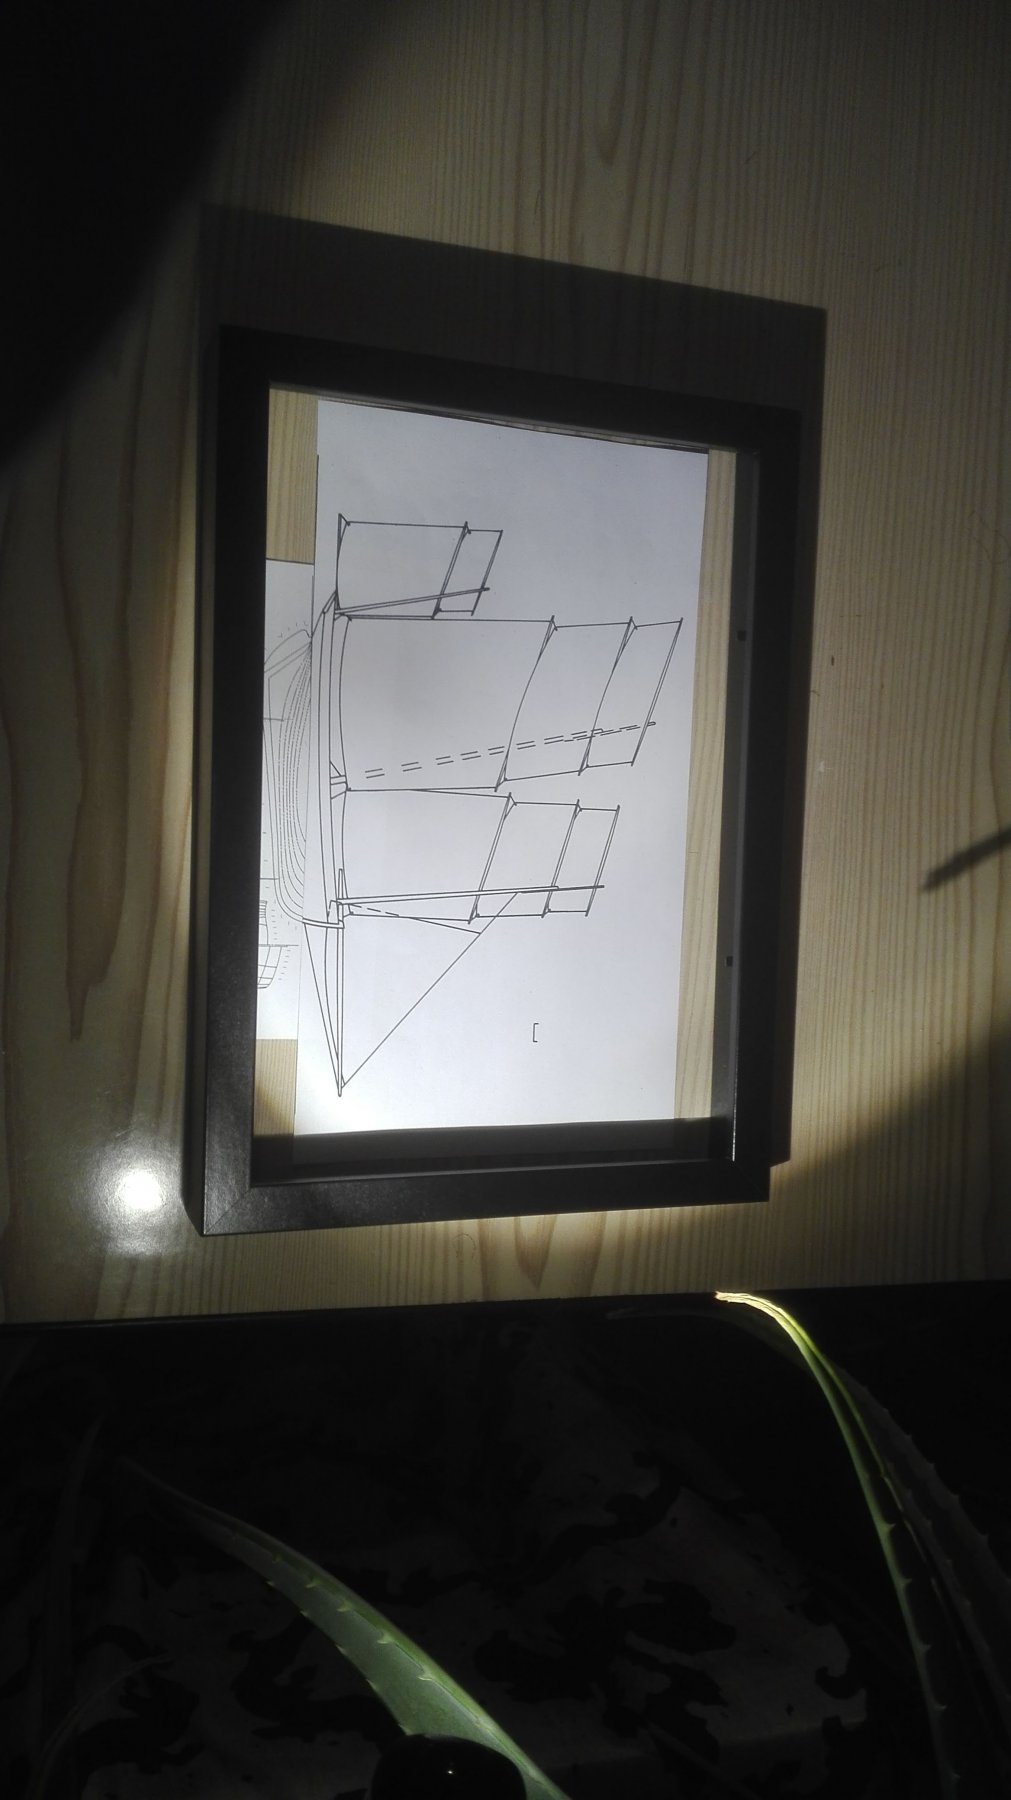
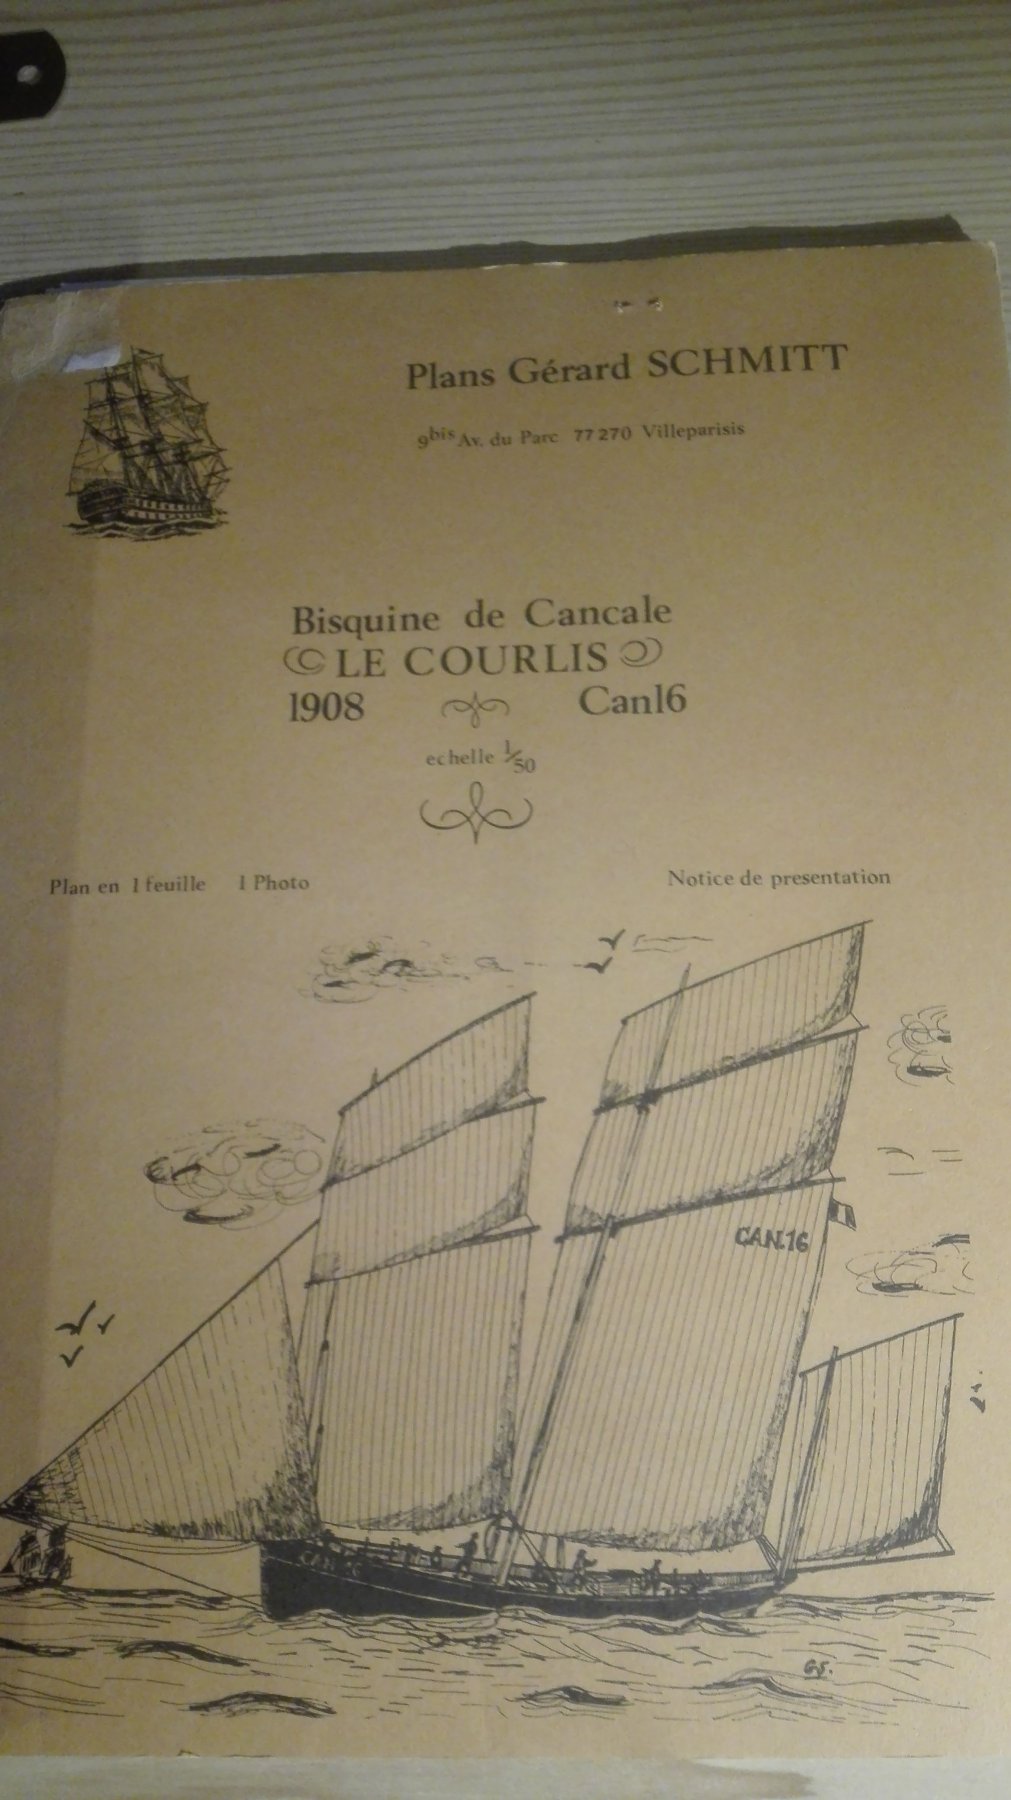
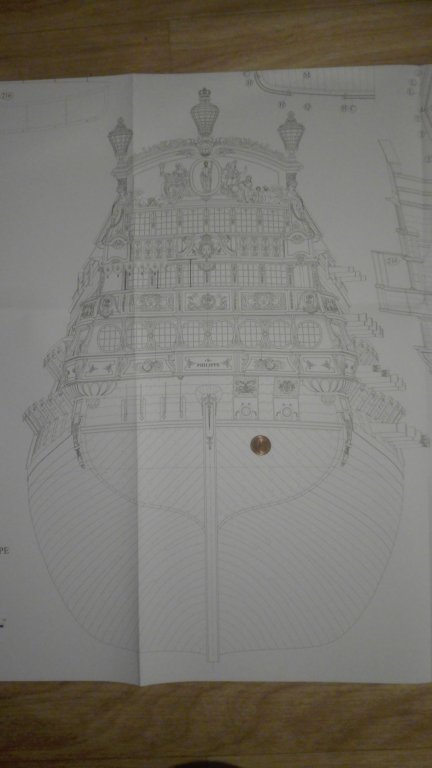
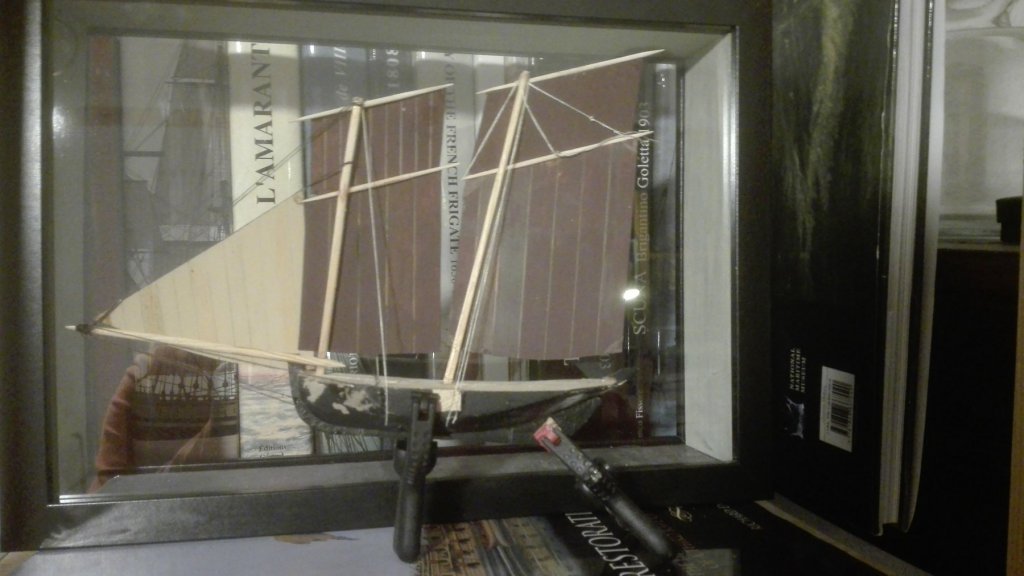
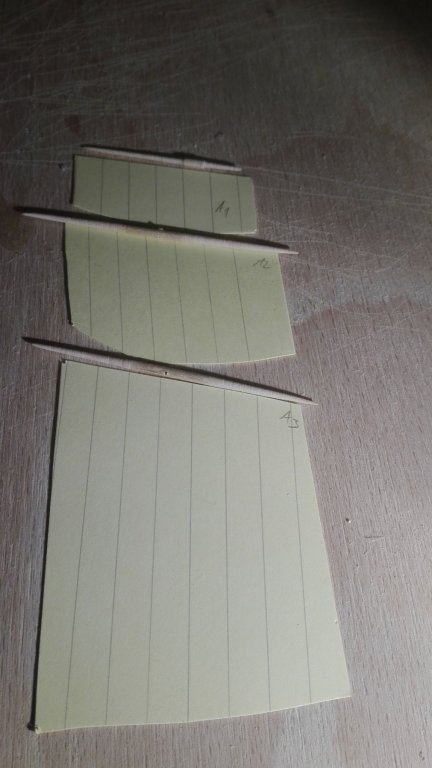
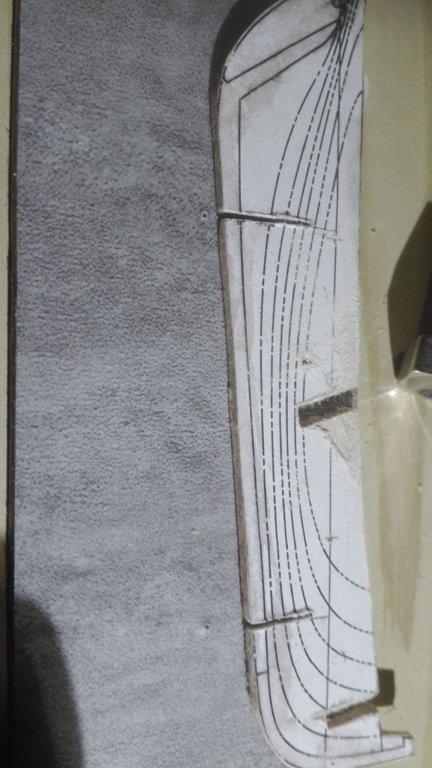
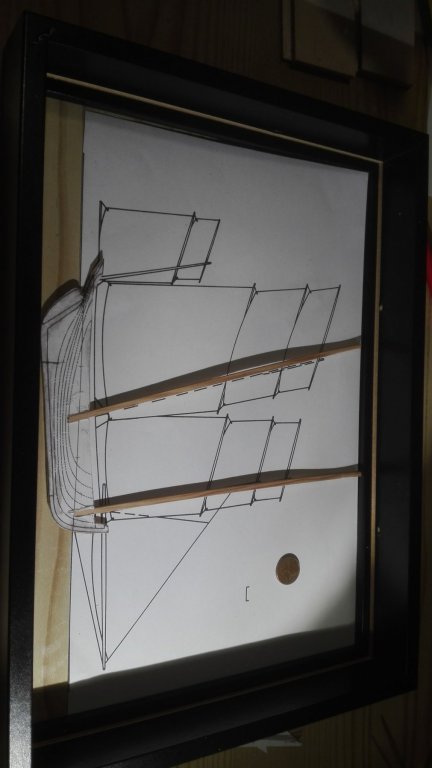
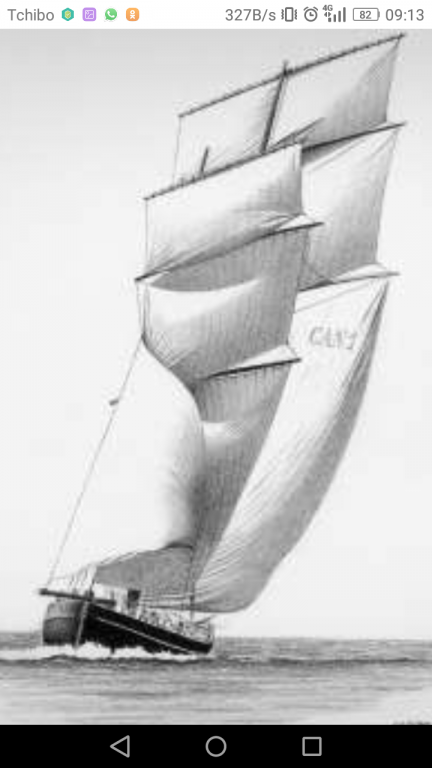
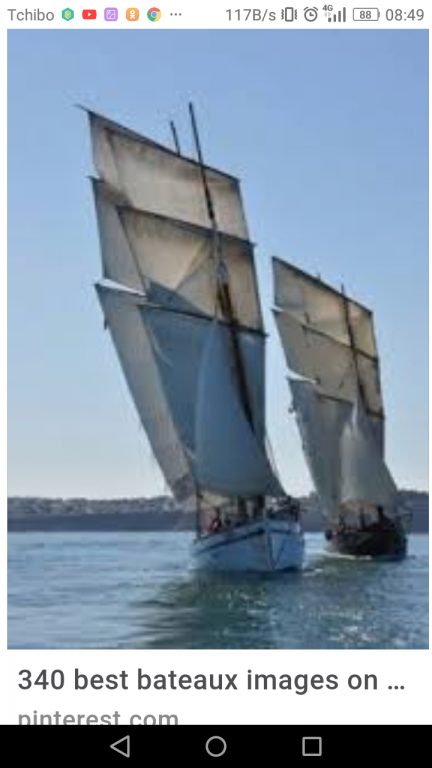
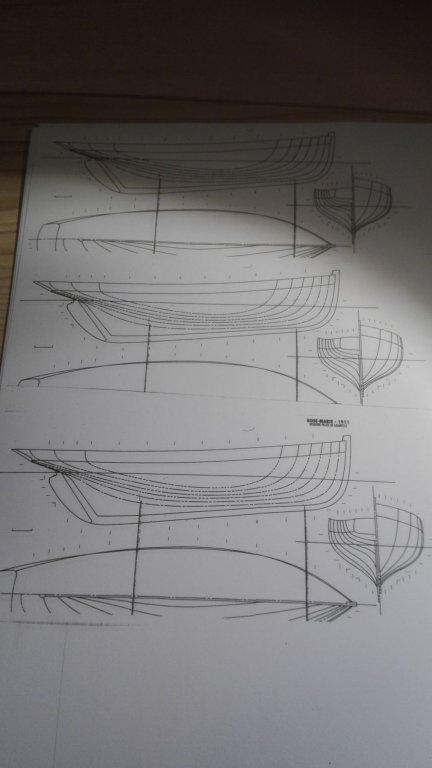
Hello friends at the very end I start my building log now as the project is ready and shipped towards my brother as his birthday present. And as he is not a member in here I can write without killing the surprise for him. I startet the project also as a testingsuite for a using of the vertical lines for the first time. These ships have a beautyfull appearance under full sail. As I firstly planned to build three level of sails I had to realize that this isn't possible as the boat was planed to be shiped. The plan is from the pilotsbook in French and a set of plans by Gehard Schmitt for some further detailling. I resized to match into a pair of Ikea frames called Ribba. So the scale is something about 1/72 and the model had to fit to the Showcase build from to frames and an inner frame from heavy rubber floor imitating some stone and balsa wood layout painted in Tamiya Sky Blue. As the model has only four weeks to be build I avoided too much detailing on the other hand. So the Schmitt plans were a temptation to overdo it and a obstacle to get ready in time. So here the first steps and my sources:


- 3 replies
-
- 1
-
-
- finished
- pilot boat
- (and 1 more)
-
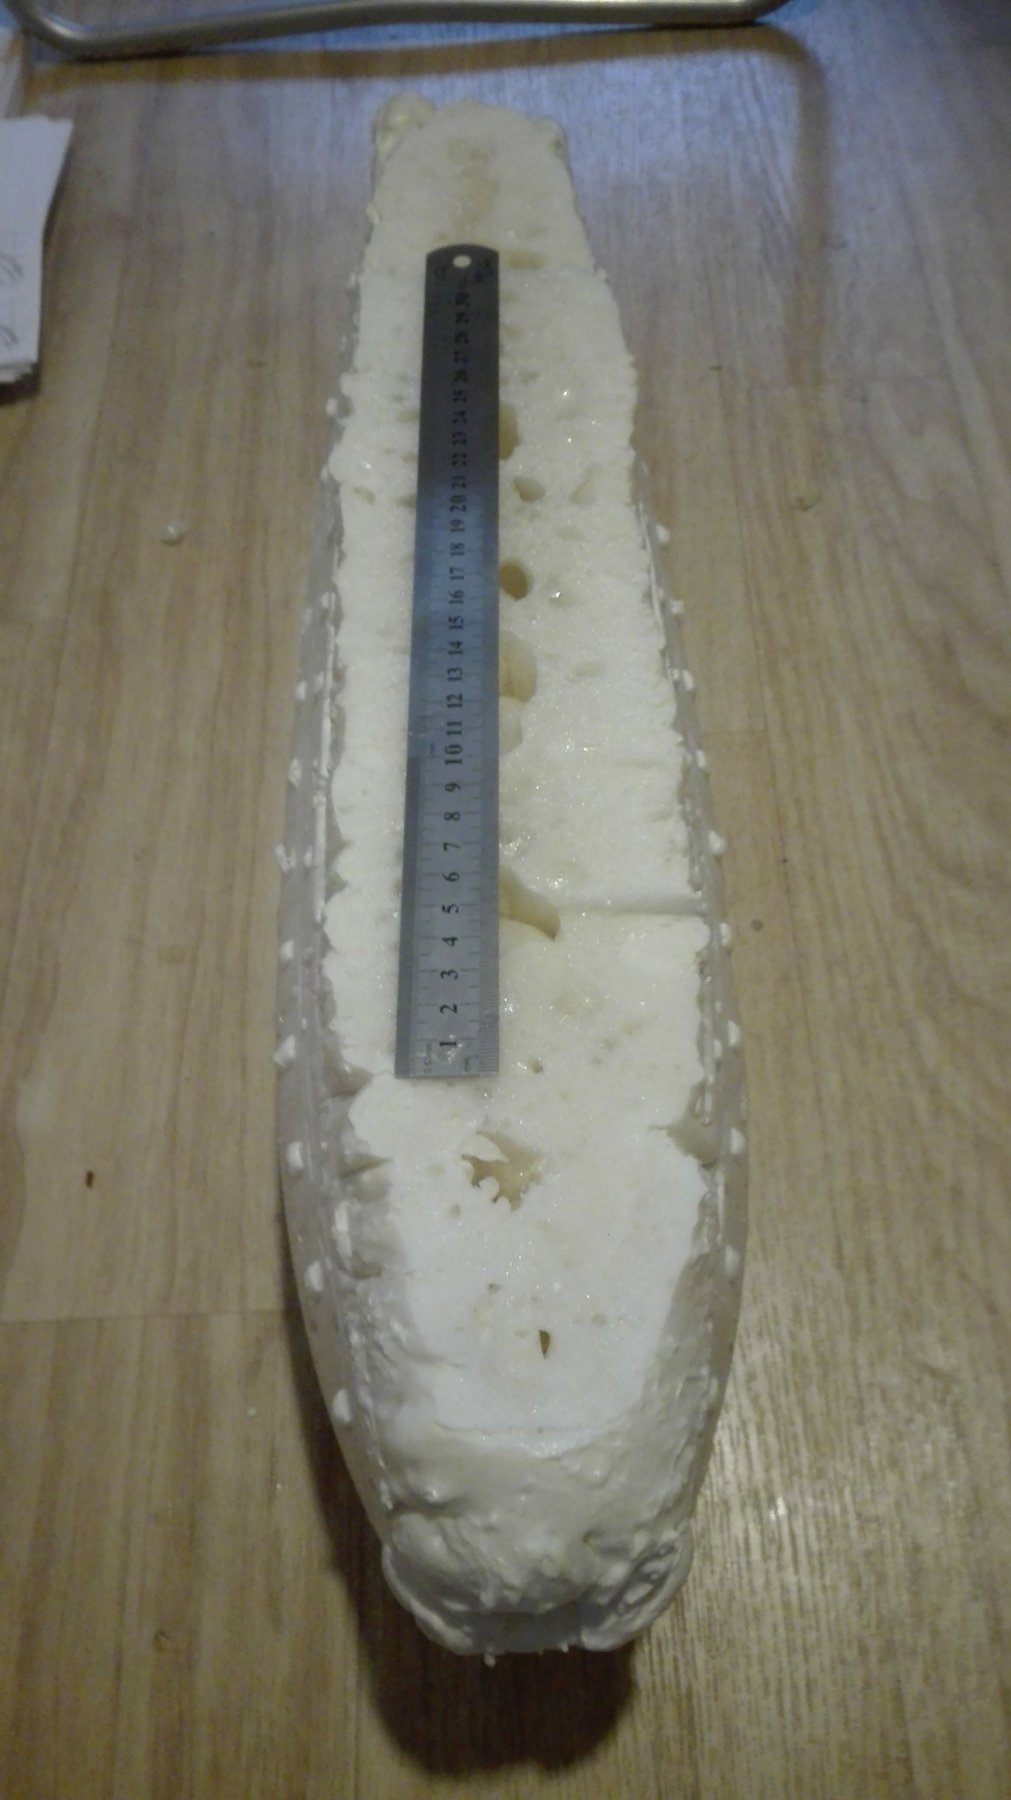
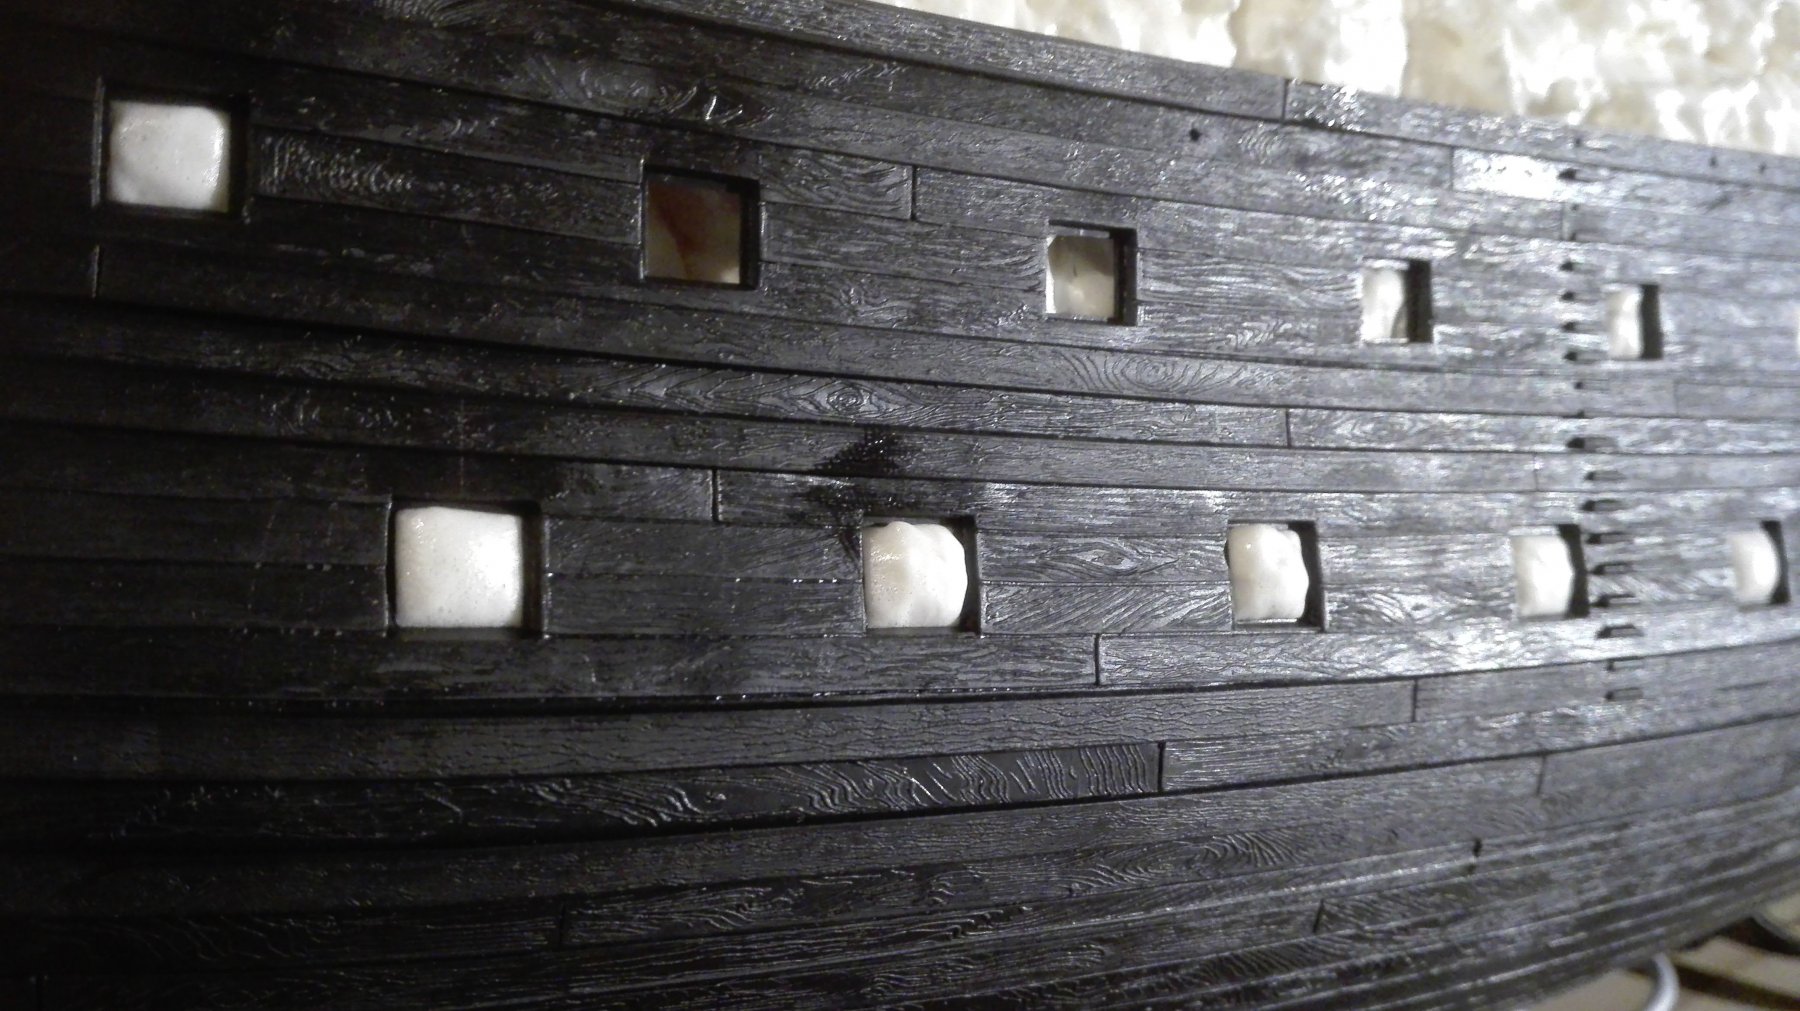
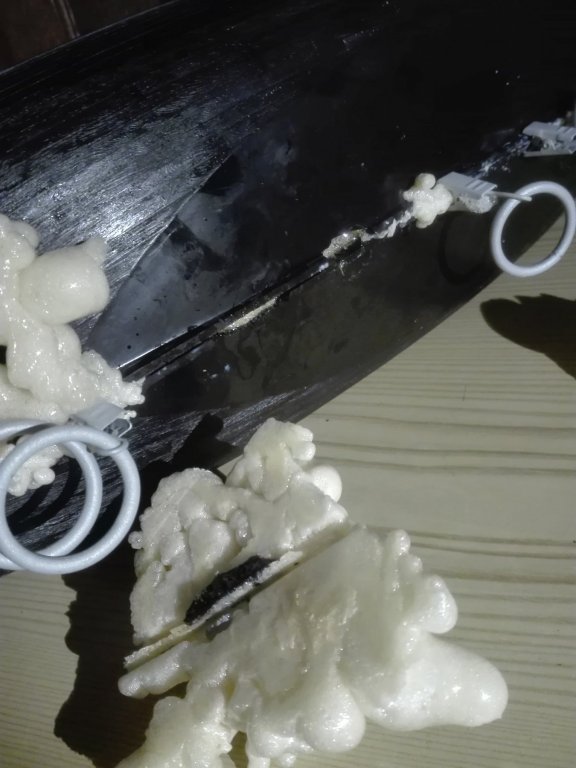
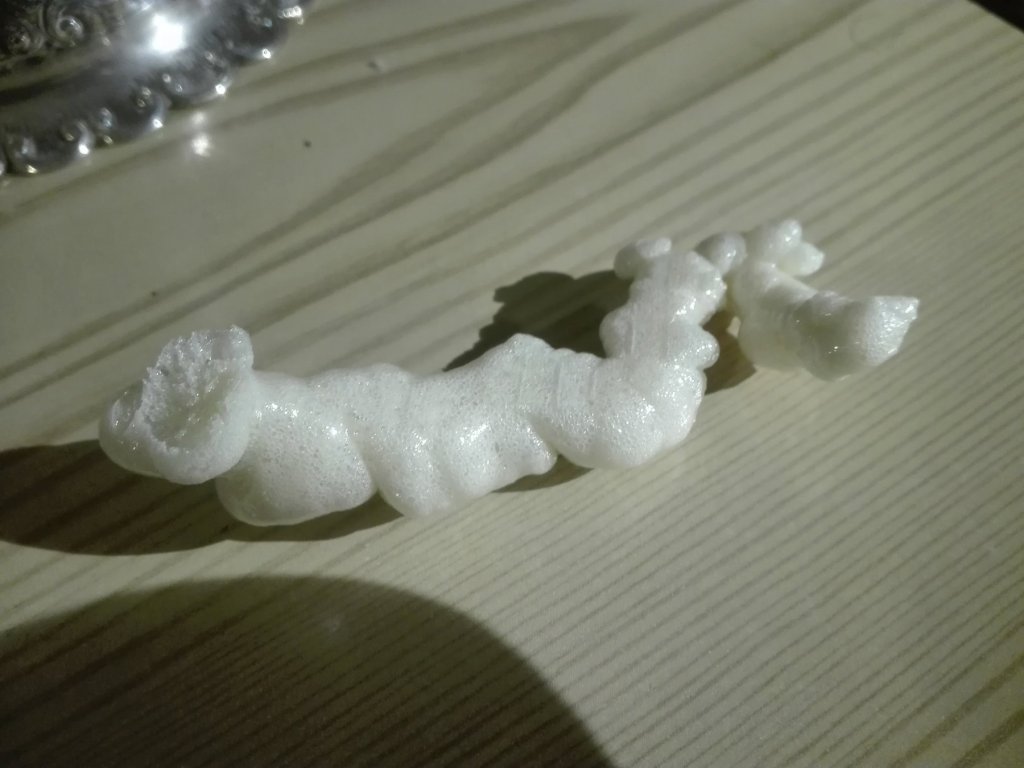
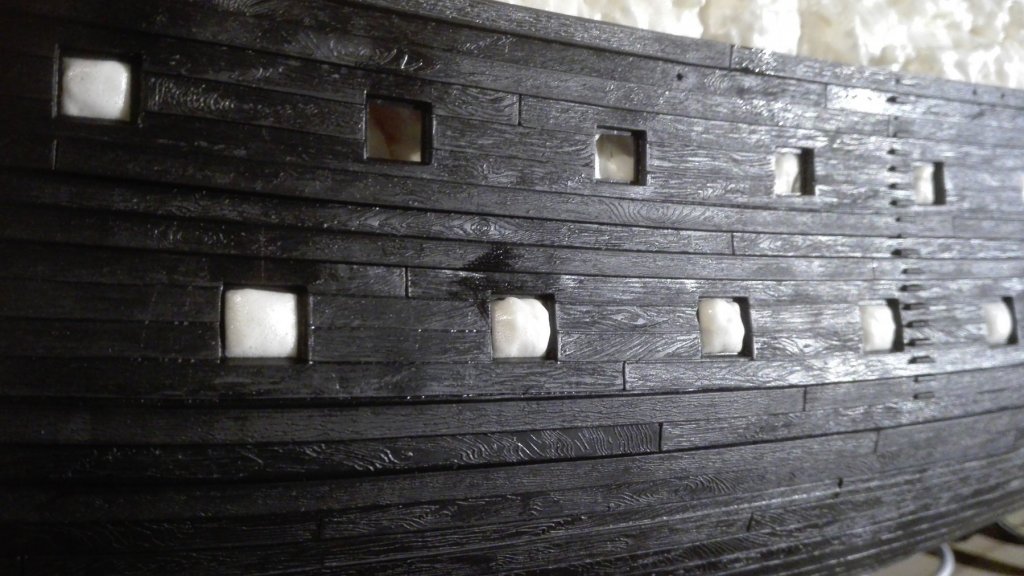
Thy surplus foam peels off like a thin skin, acting with scalpell and a fine needle it is easily to get under it and push it upwards. The problem is the plenty off little spots to be cleaned. Patience is a good thing for a modelbuilding yardowner to learn....
- 244 replies
-
- 3
-
-
- heller
- soleil royal
- (and 1 more)
-
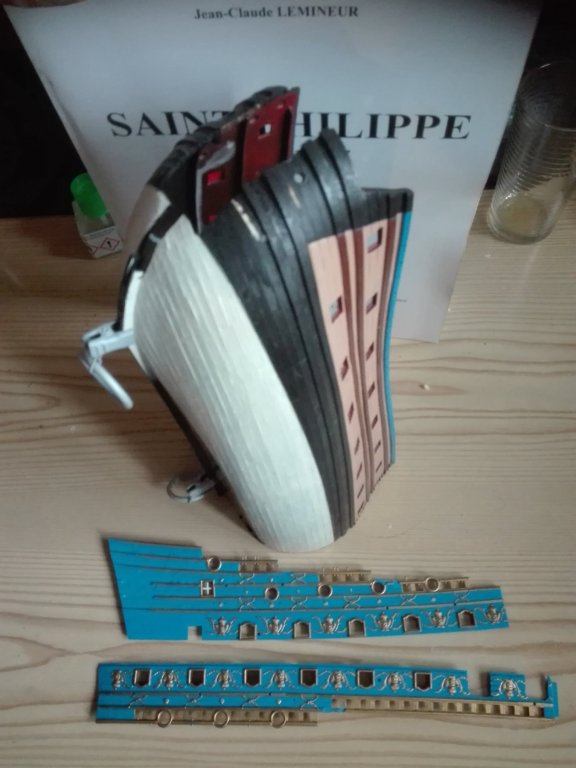
Marc send a testcorpus to me. It will do a great job to exspecialy for the implementation of the bulkheads and the decks. The Upper- and Quaterdeck sideparts will be a great training area for the complex grid decoration.
- 244 replies
-
- 4
-
-
- heller
- soleil royal
- (and 1 more)
-
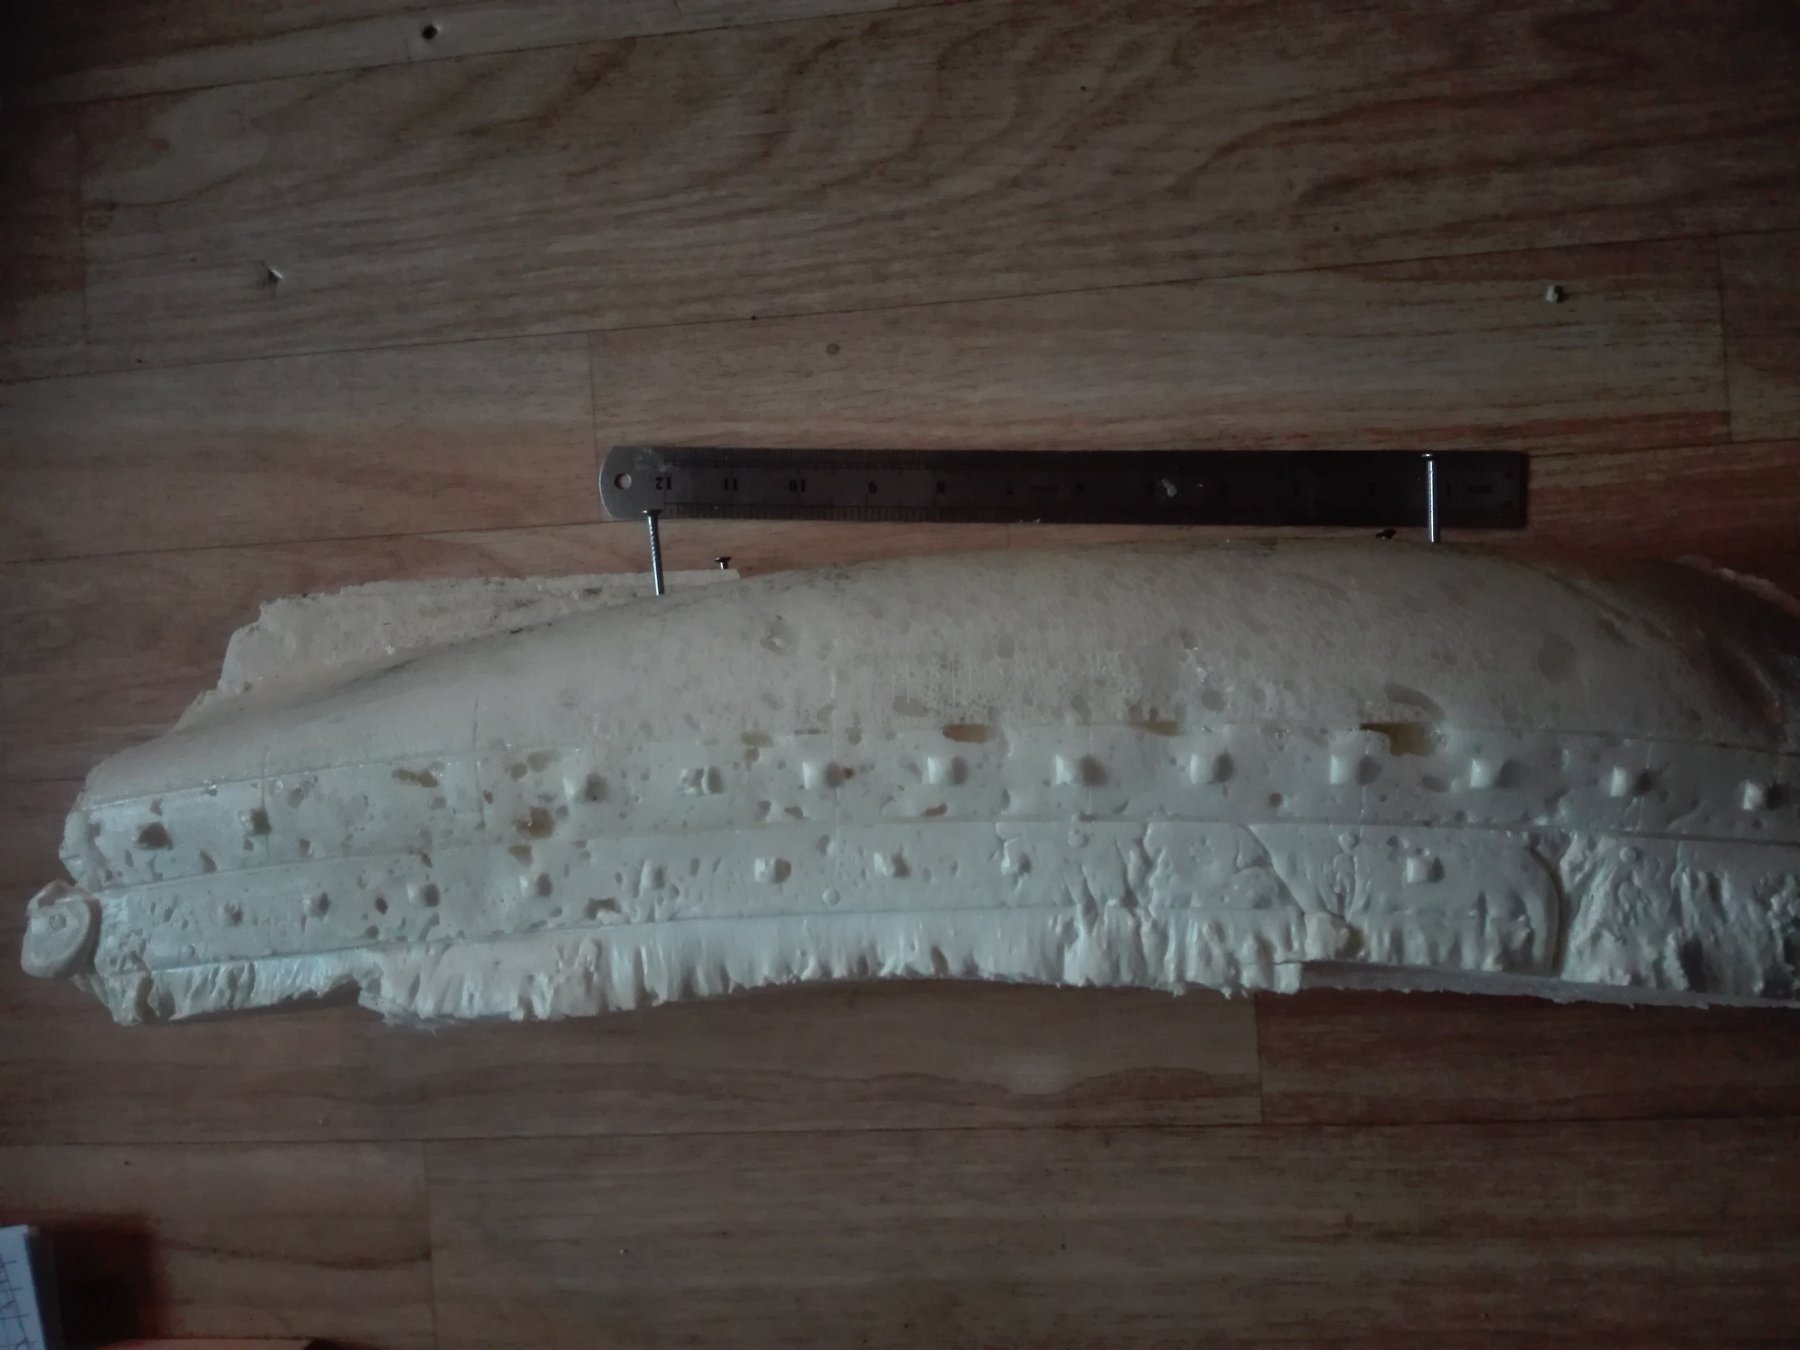
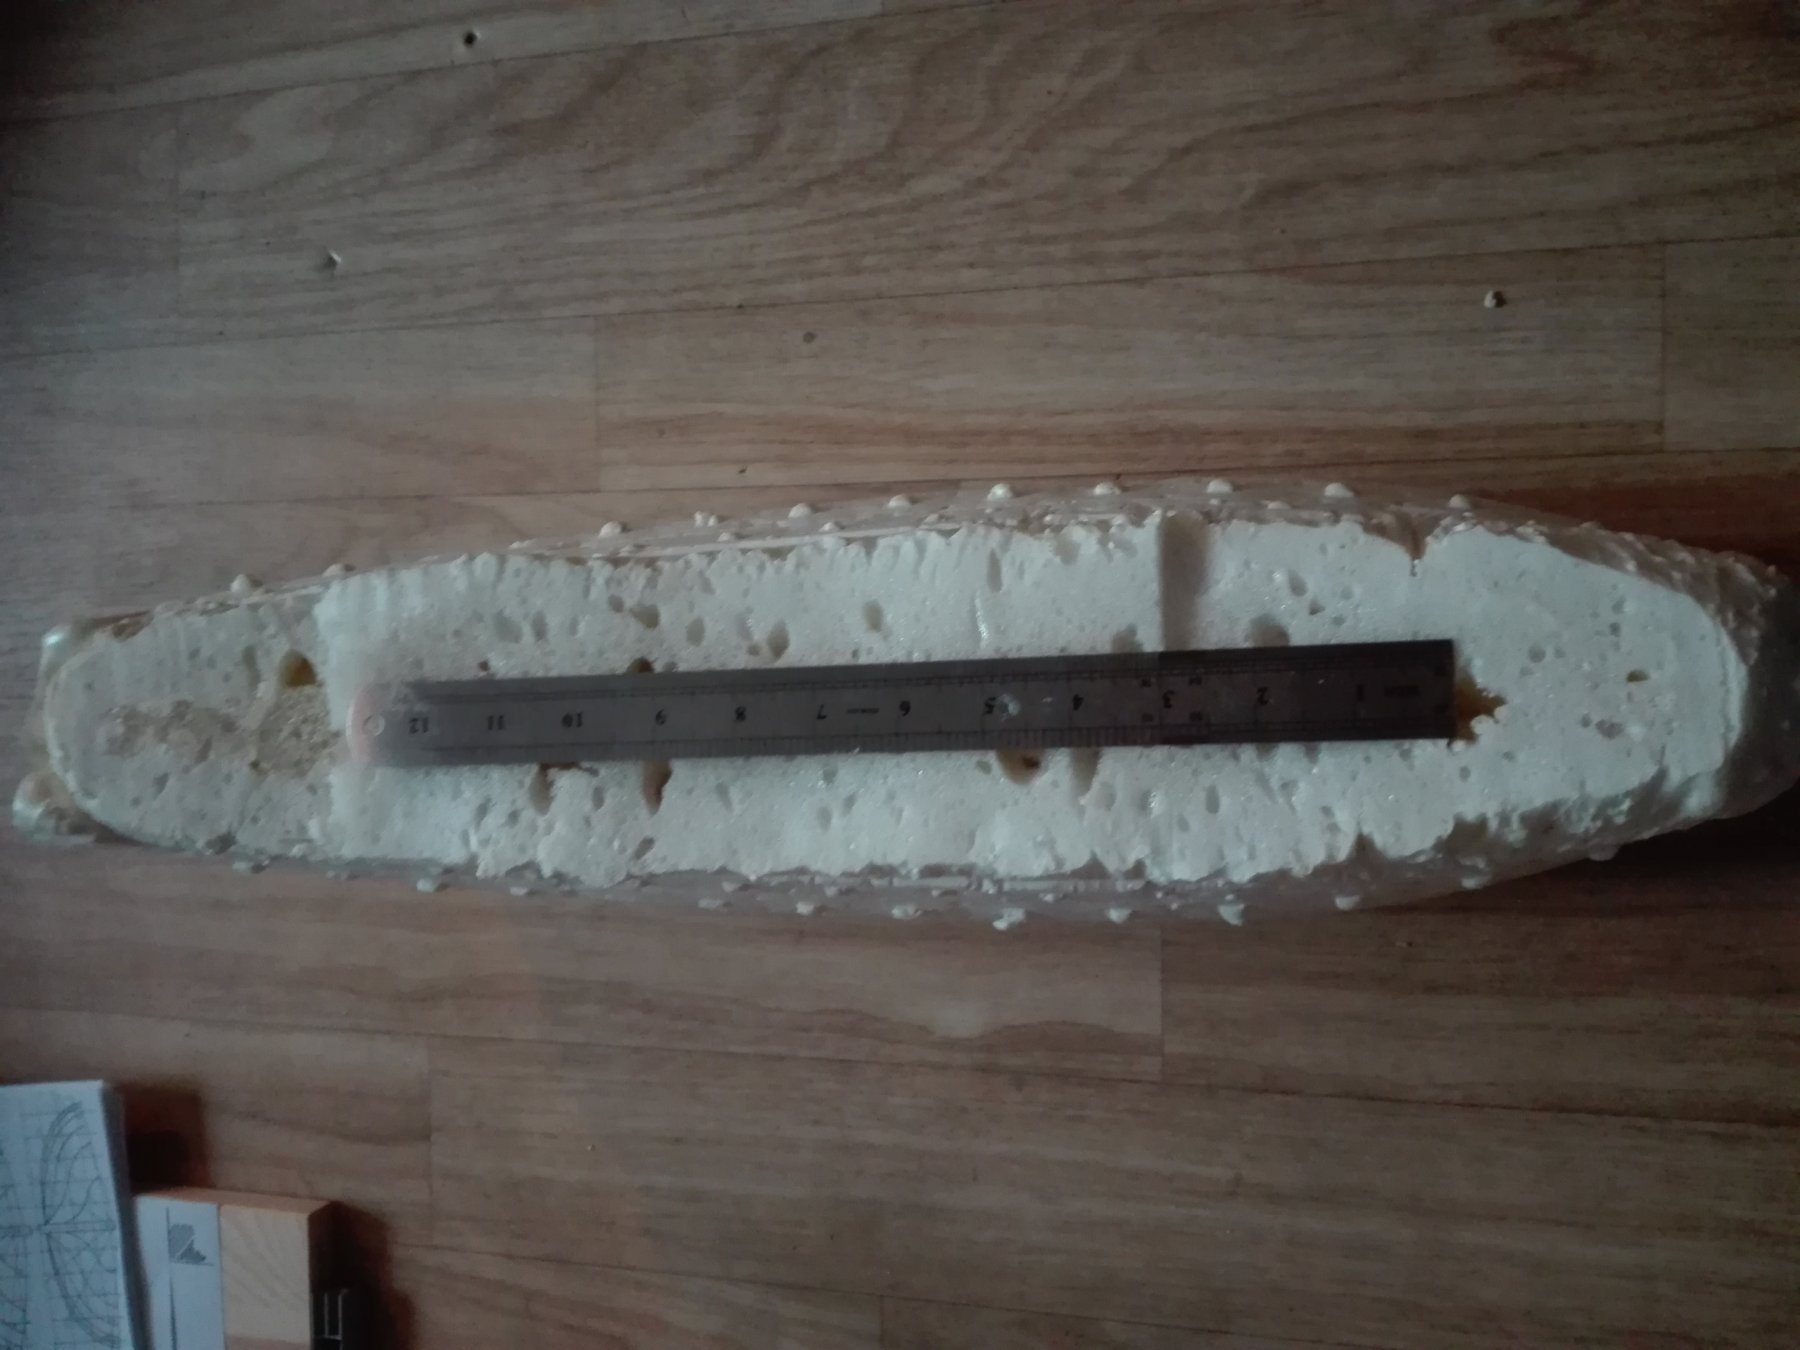
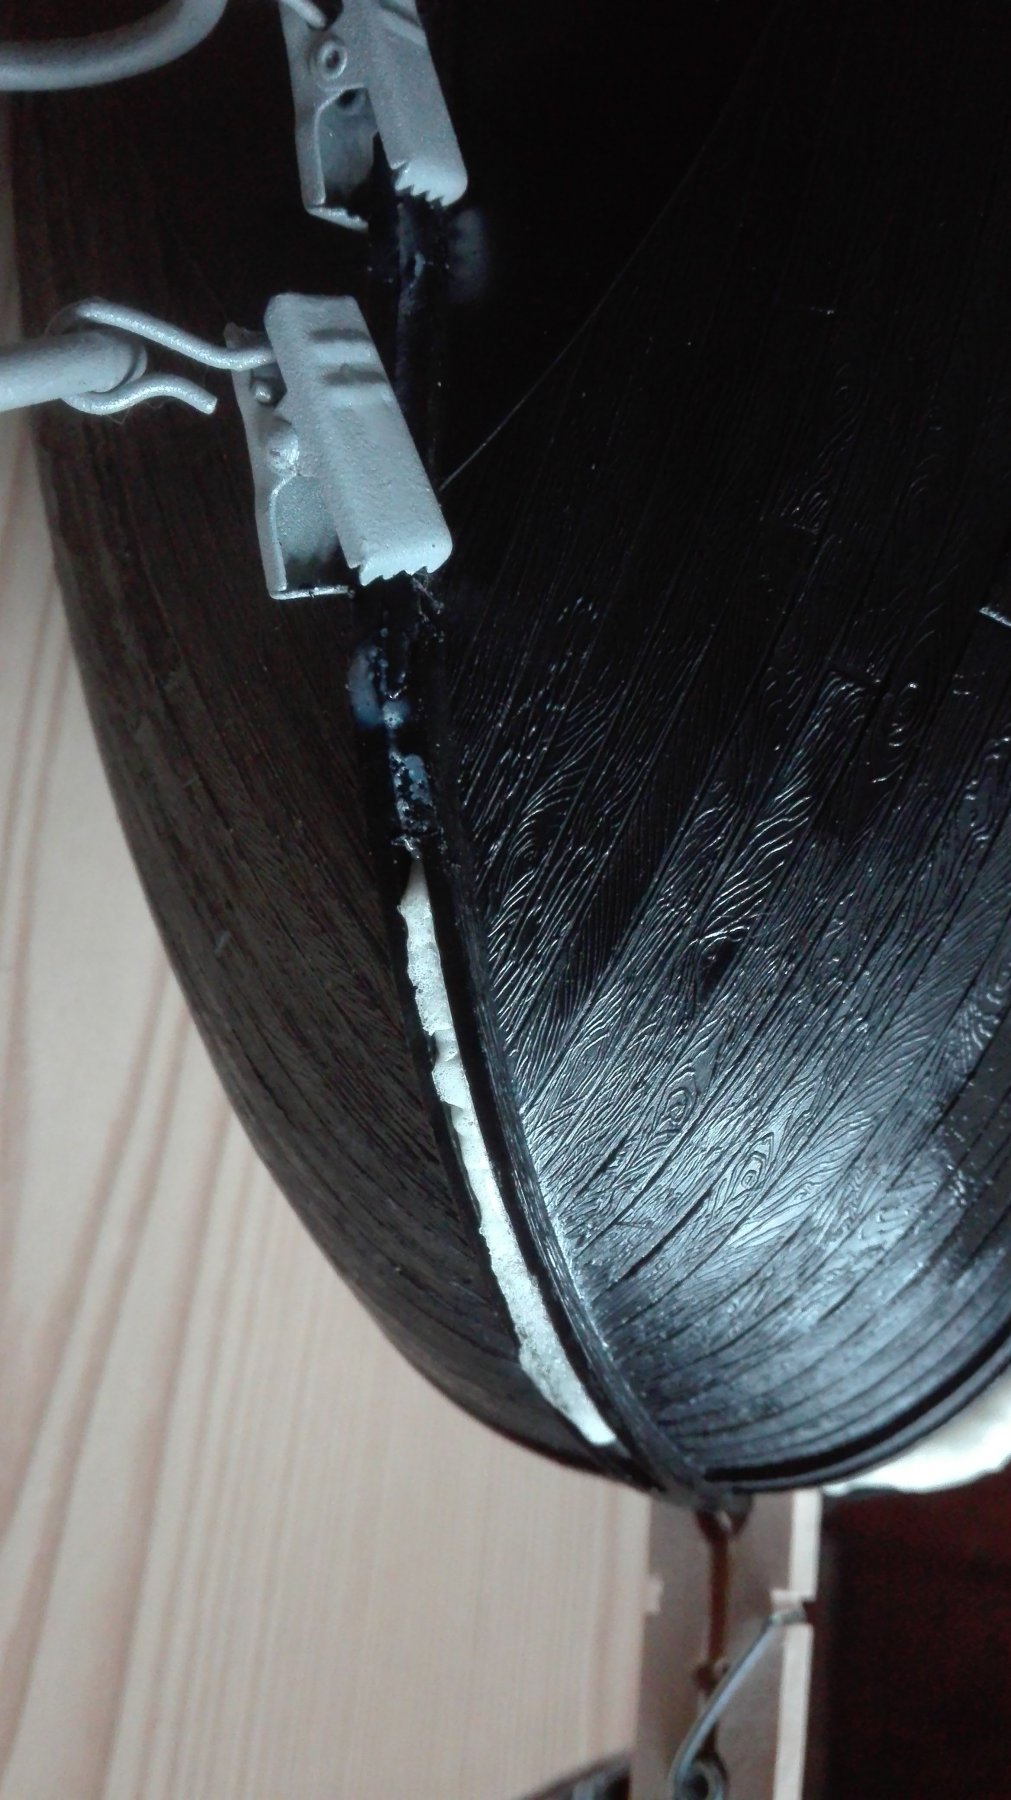
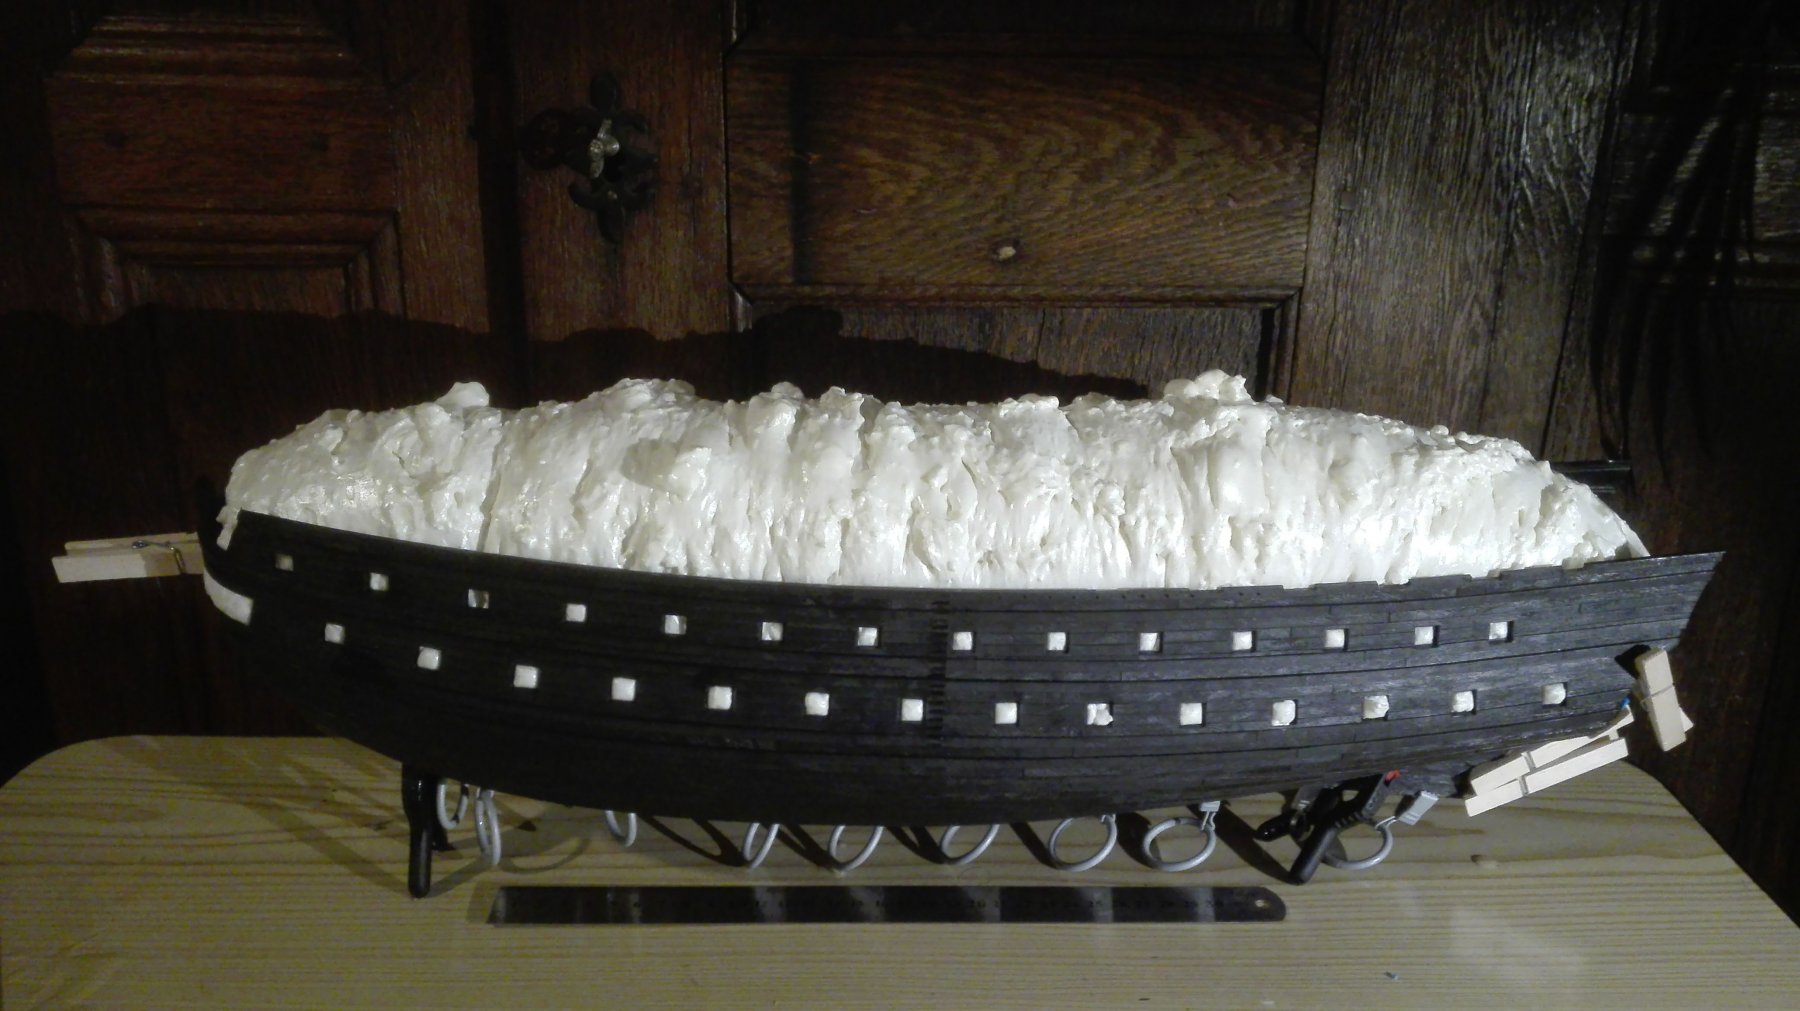
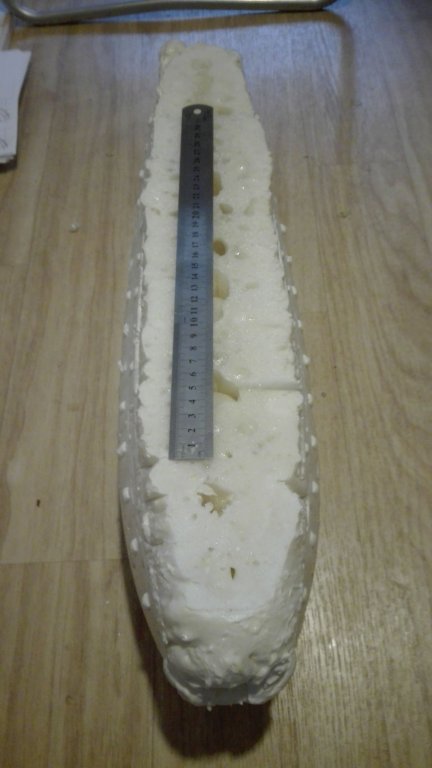
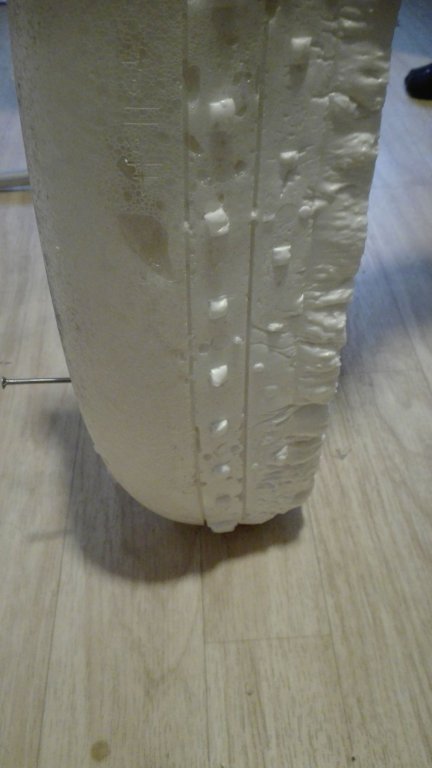
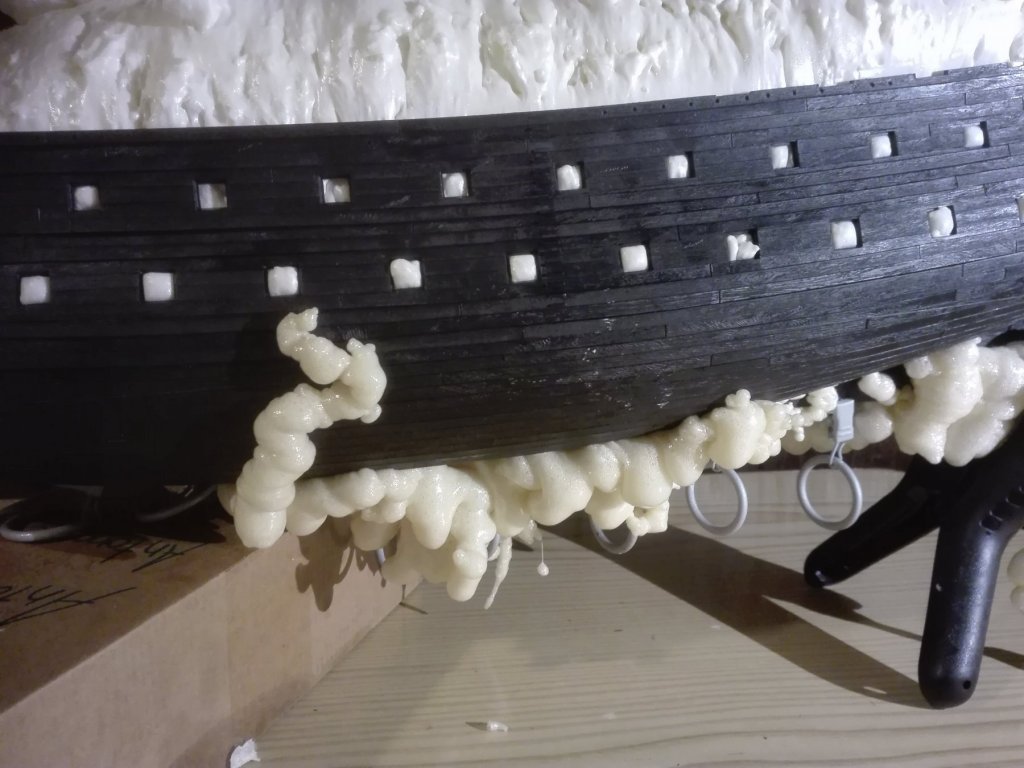
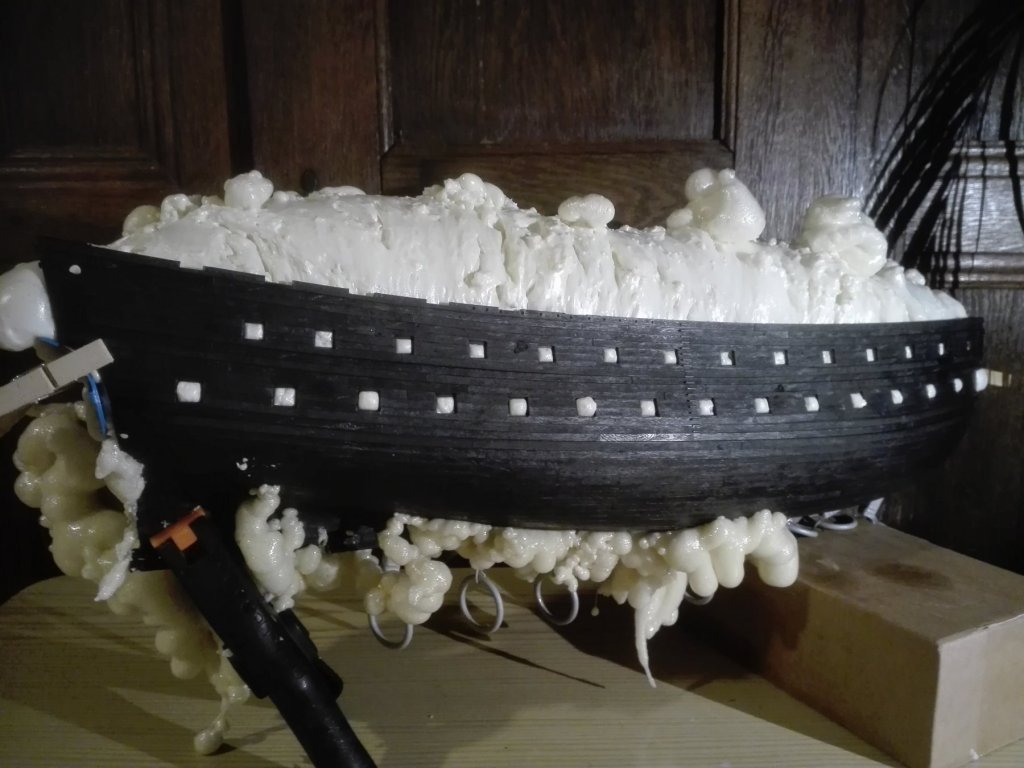
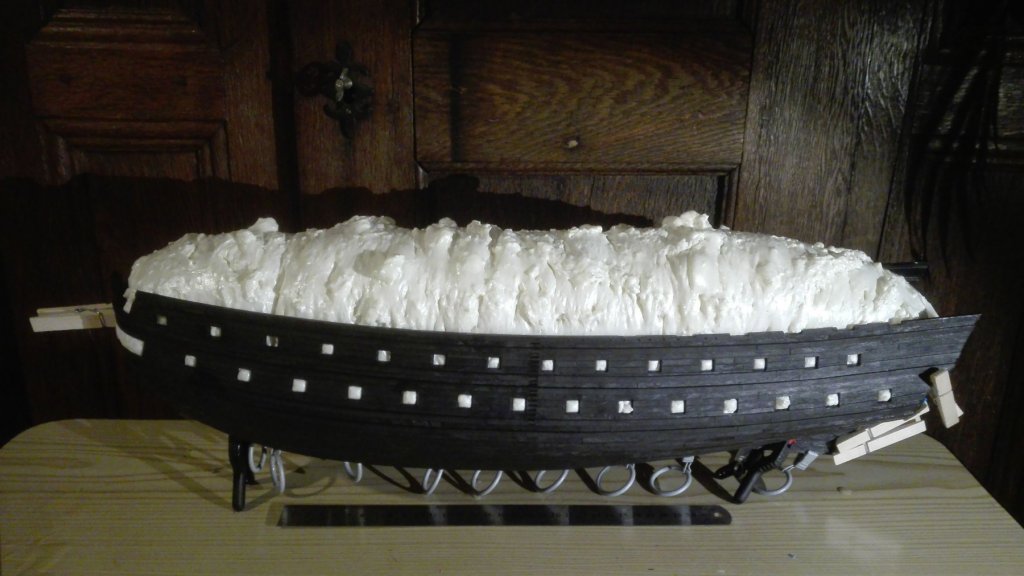
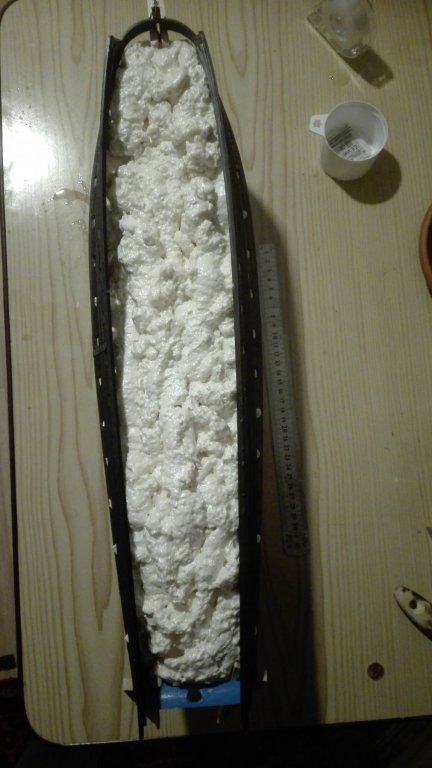
Hello There are some bad and some good news: the hull is a bit bent by the force of the foam but the inner block came out. The gunports a good advisers for placing the cuts. The thin layers of foam terrifys me to be unionized with the plastic of the kit. But as the big parts sound and feel like krupuk asia chips the layer got of like a thin film. The could be pulled off when using a needle to come under the film. I have glued the hull's crack and used the Thin Tamiya Concrete. Here the results. For anybody else who wants to get the inner form of the kit for an interior build: Please unse a step by step method - adding layer of foam on layer of foam. Perpare the hull with Tesafilm inside over the join of the half and than add usual fluid oil with a brush. This makes thinks a lot less stressful and the build easier! I had had to wait one month till the foam was completly stiff. I pictured the hull twice for the metric guys...

- 244 replies
-
- 4
-
-
- heller
- soleil royal
- (and 1 more)
-
Within 1 1/2 month you reached a hullmodel!!! Gratulor - that is great progress.
- 355 replies
-
- 4
-
-
- prince de neufchatel
- schooner
- (and 3 more)
-
Nothing new... the foaw was still wet inside - I drilled Long holes inside to let the oxygen come in before starting my journey to the Netherlands so let us see wat will happen on friday.
- 244 replies
-
- 2
-
-
- heller
- soleil royal
- (and 1 more)
-
Hy Marc, I. I do think the scuppers should be positionated as logical as possible... Any deck needs them - as any deck suffers minimally rain - , and also the pumps water has to be brought out of the deck. So your view on the avoiding of a reflooding a deck from the deck above through a gunport is a wounderfull idea of a great historical and navalarchitectural mindset. My question is always binary: "Is this construction an arrangement of selected elements that will work together in a way to make their job in a proper way (functionality proofed)? ...and: Were all the elements to hand/invented when it was built (historical correctness)? By this pair of questions positively answered a good looking reconstruction is always possible I guess. II. The recycling theory looked proofed, the seperated two ship theory, too. So you can step foreward with a good feeling. That is great. III. It is always a great pitty to leave a beloved object - but it isn't smashed (like my kits were) there is just place for the new edition of the SR. Drzy your tears and set sauils towards the most anybody can get out of this old-aged Heller kit.
- 2,685 replies
-
- 3
-
-
- heller
- soleil royal
- (and 9 more)
-
Dear EJ_L! That sounds well. Also it might be a helpful idea to you to prebuildt the scratch model by using the Heller SR in particular to proof the transoms figurefull decoration. Tamiya plastic soldiers are much cheaper than boxwood... I am dealing with this invention for my figurehead. Hth,
- 2,685 replies
-
- 3
-
-
- heller
- soleil royal
- (and 9 more)
-
Hello Marc, sorry for my late answer but I'm thrown in to completly new part of my job I have never done before. Reading you lines there are some questions I get from several sides of my mind: Grumpy old mind? Where/How do you note the scubber one way part - not forgetting to add it to the SR later on? (I'm entering the last 1/3 of my lifetime knowing to use the map of remembering more as a scetch). I get realy grumpy forgetting some part to install I allready decided to bring it in - finding it on my brench after closing the hull. (Okay it is better than me 18 years ago , awaking after midnight and suddenly remembering that the missing half of the supper's strawberry jam bread is resting in the enclosed hull!) The one and the same? The knowledge about the snobism and consite of this epoche makes it realy hard to belife in a 3D copy&pace of the ornamentation on a 1ene rang ship. Taking the figures to store them untill the rebuilt and relocate them in the same arrangement. This seems to be a very cheese-paring idea for such a lavish and wastfull time - in particular when dealing with the crowns very naval icon. I can not proof it - it is just a feeling: What about the solution, that the ROYAL LOUIS and MONARQUE was one and the same ship - renamed after some refitting? Several ships were renamed in the French navy - there must not have been a cutting down rebuilt to the false keel. (btw. This seems to be an error in designation in the SPplans.) Antedated feature? As we were with the SPplans (mine have arrived last week)... 😵What about the real false keel in this drawing you have shown? I was not able to identify it UNDER the keel as a seperated board protecting the keel from Australian damage* .Was there no false keel on French baroque ships? When the false keels was introduced to the Marine Royal? And so let me ask the question: Do we antedate a used-to-see feature on a baroque ship that would not be there untill later years? Do we implemantate a very usefull later invention on an earlyer ship not having it?Do we do so due to our viewing habits trained to us by the Georgian RN? I know, Marc, I may now not be any longer everybody's darling by asking this questions. But I think we both want to get the most out of our expensive plastic kits. So please don't take these qualms/doubts as any inpoliteness or rudeness. (In particular as my building foam is still wet and I didn't stepped foreward a single toe till christmas.) It is a great benefit to read in here and taking part on your mindfull and skilled thoughts. Thanks a lot!!! _______ * Damage from down under.

- 2,685 replies
-
- 3
-
-
- heller
- soleil royal
- (and 9 more)
-
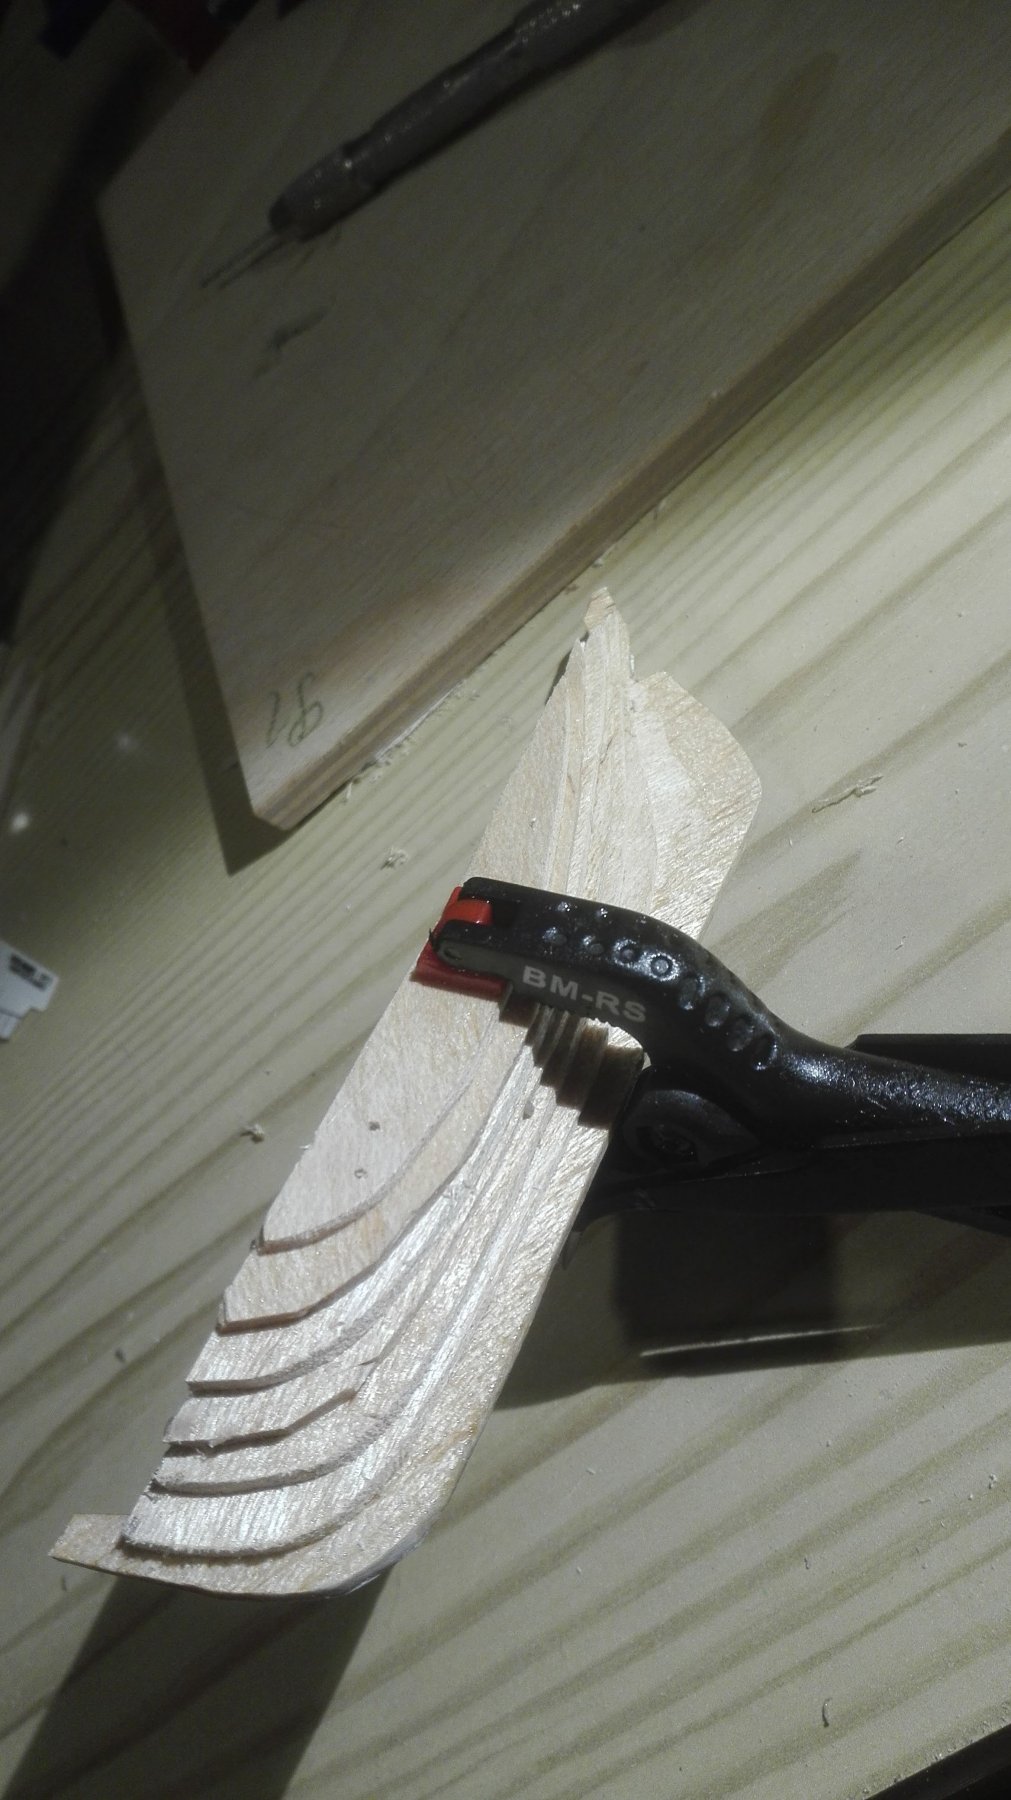
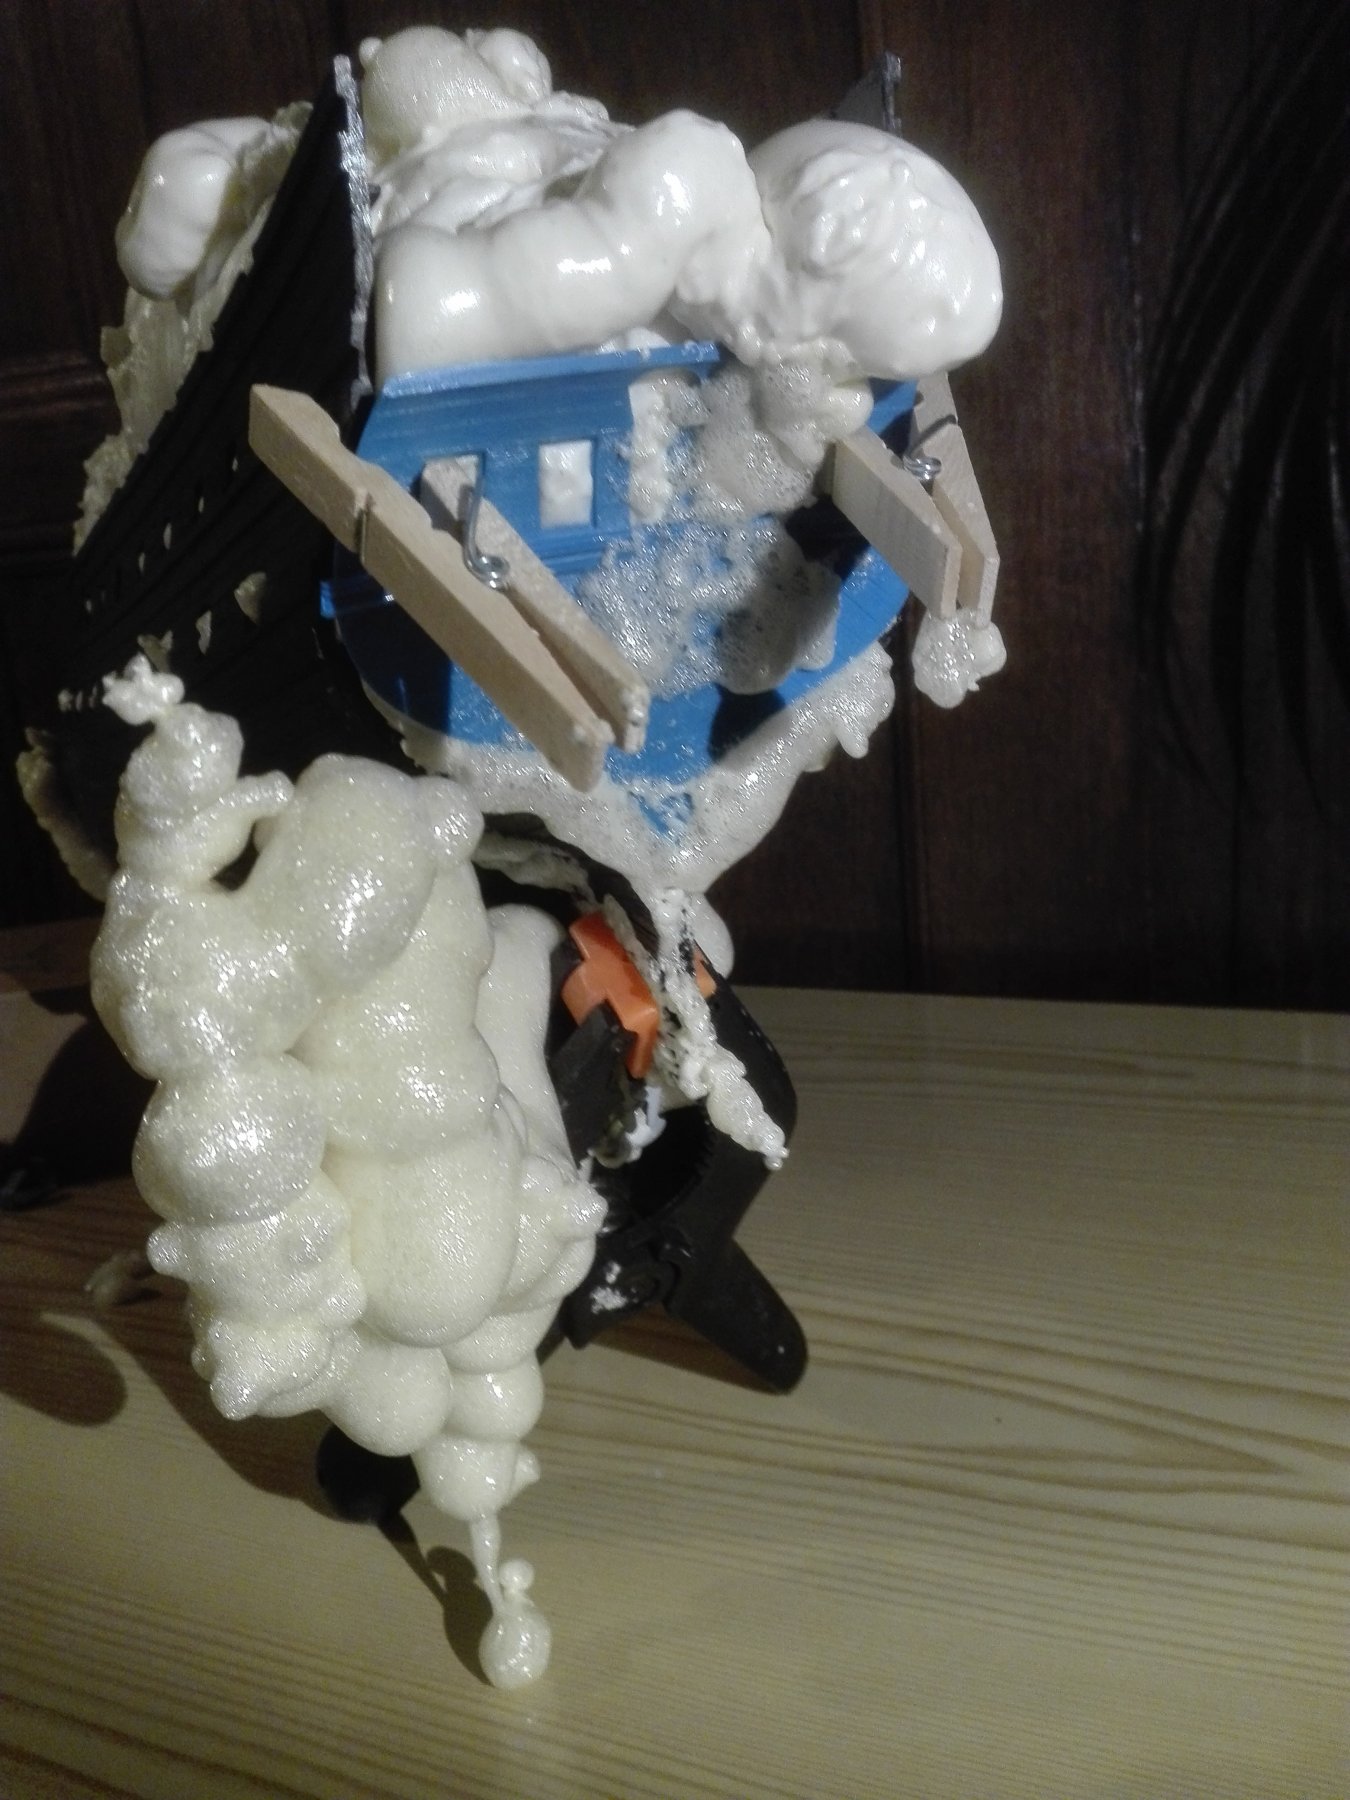
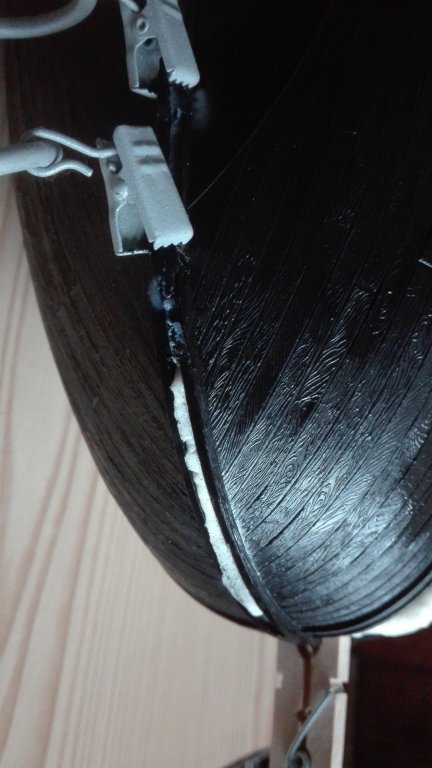
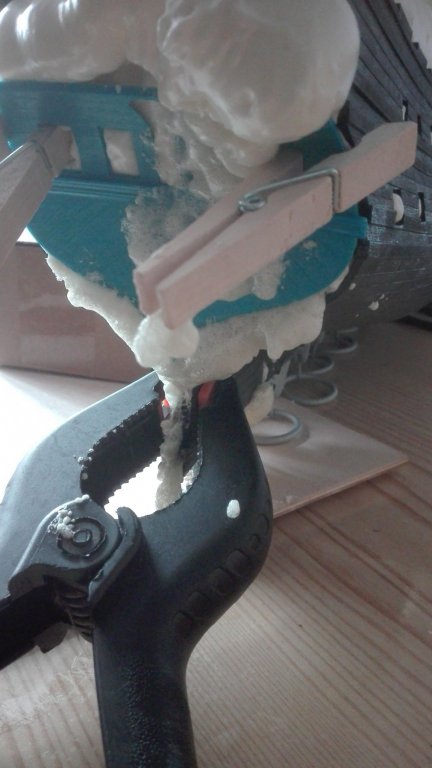
Don't passed the exam... the building foam is still wet and I easily broke out a part of the keel... ...after waiting three times longer as been told in the spray cans manual!!! Waiting some more days. The positive thing is, that the foam gives a very percise repeat of the surface. And that these clamps for IKEA curtains realy catch the parts very hard and press them together very tight. Okay so this trial ended in a draw.

- 244 replies
-
- 4
-
-
- heller
- soleil royal
- (and 1 more)
-
Hy folks, just one little point to the layers of paints in the RN: Ships were so often painted, that they added remarkably displacement over the years by the ammount of paint. (Steam, Steel and Shellfire - Gardiner/Lambert)
-
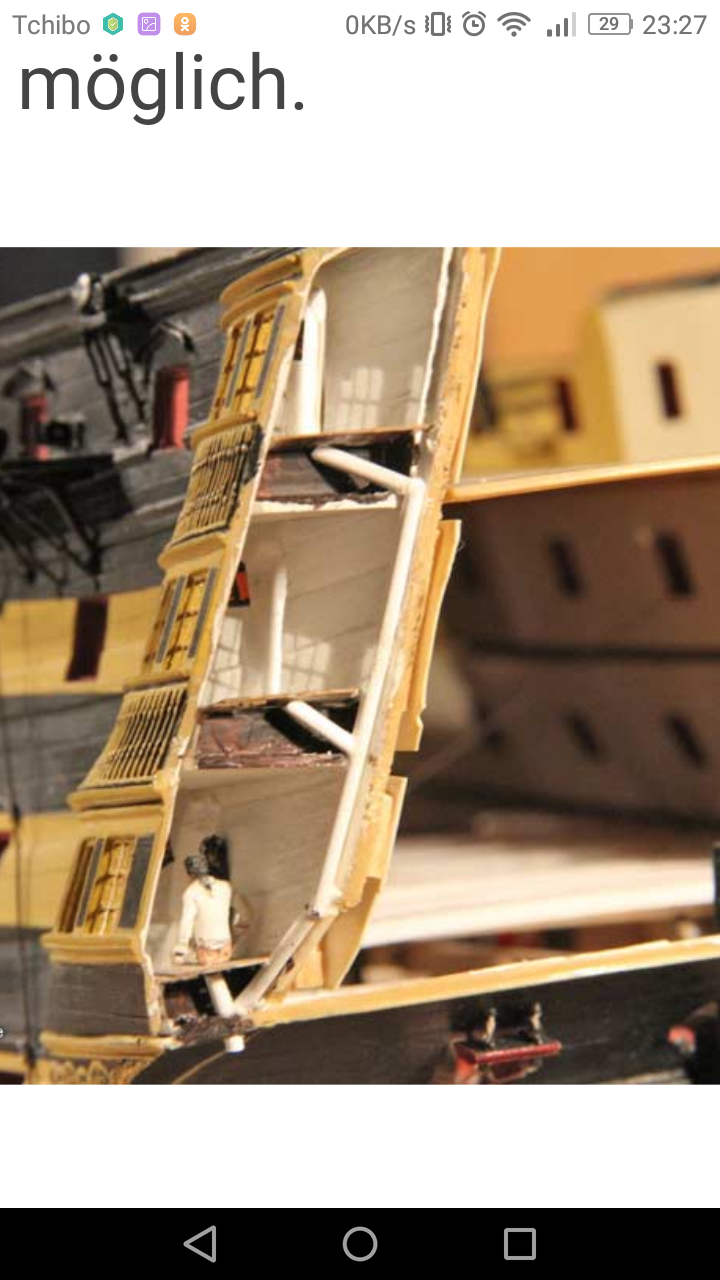
Dear Marc, With all the faults of the baroque epoche (kitchen two miles away from the dining room at Versailles) the shipbuilders and „shipdrivers“ stayed very conservative and with an eye to the practical usage (hitting away the overwelhming decoraton). So the question I ask myself is always zhe same: What is it used for and can it fullfill its job? Can it do it as it is shown in the drawings or may we have to alter something in a historical possible way so it will work. By this there may be a quite simple answer to this absolutly confusing complex question: „The honorable admirals, captains and officiers seat of ease“ is behind the enclosed side galerys (as here on dafis Victory refinal):

- 2,685 replies
-
- 3
-
-
- heller
- soleil royal
- (and 9 more)
-
Thanks a lot for the CA-lession... there was my idea that wood wouldn't hold due to the structured surface. But with a filler in the grain it certainly will work. 💡 I'm very interested in your project as I like the WANDERER and read abaout her sad end, her rudder found miles away from the wreckside. She is the proud end of the rigg shiped whaling history and you do a great job on to her memory. Thanks for your work, impact into this awful kit and showing all these interesting solutions to us. 🏇 ...I think I just sayed what many of us think and don't write down, because it should be written down in any thread inhere but sometimes it is important to let A SINGLE ONE know what is right for anybody.
-
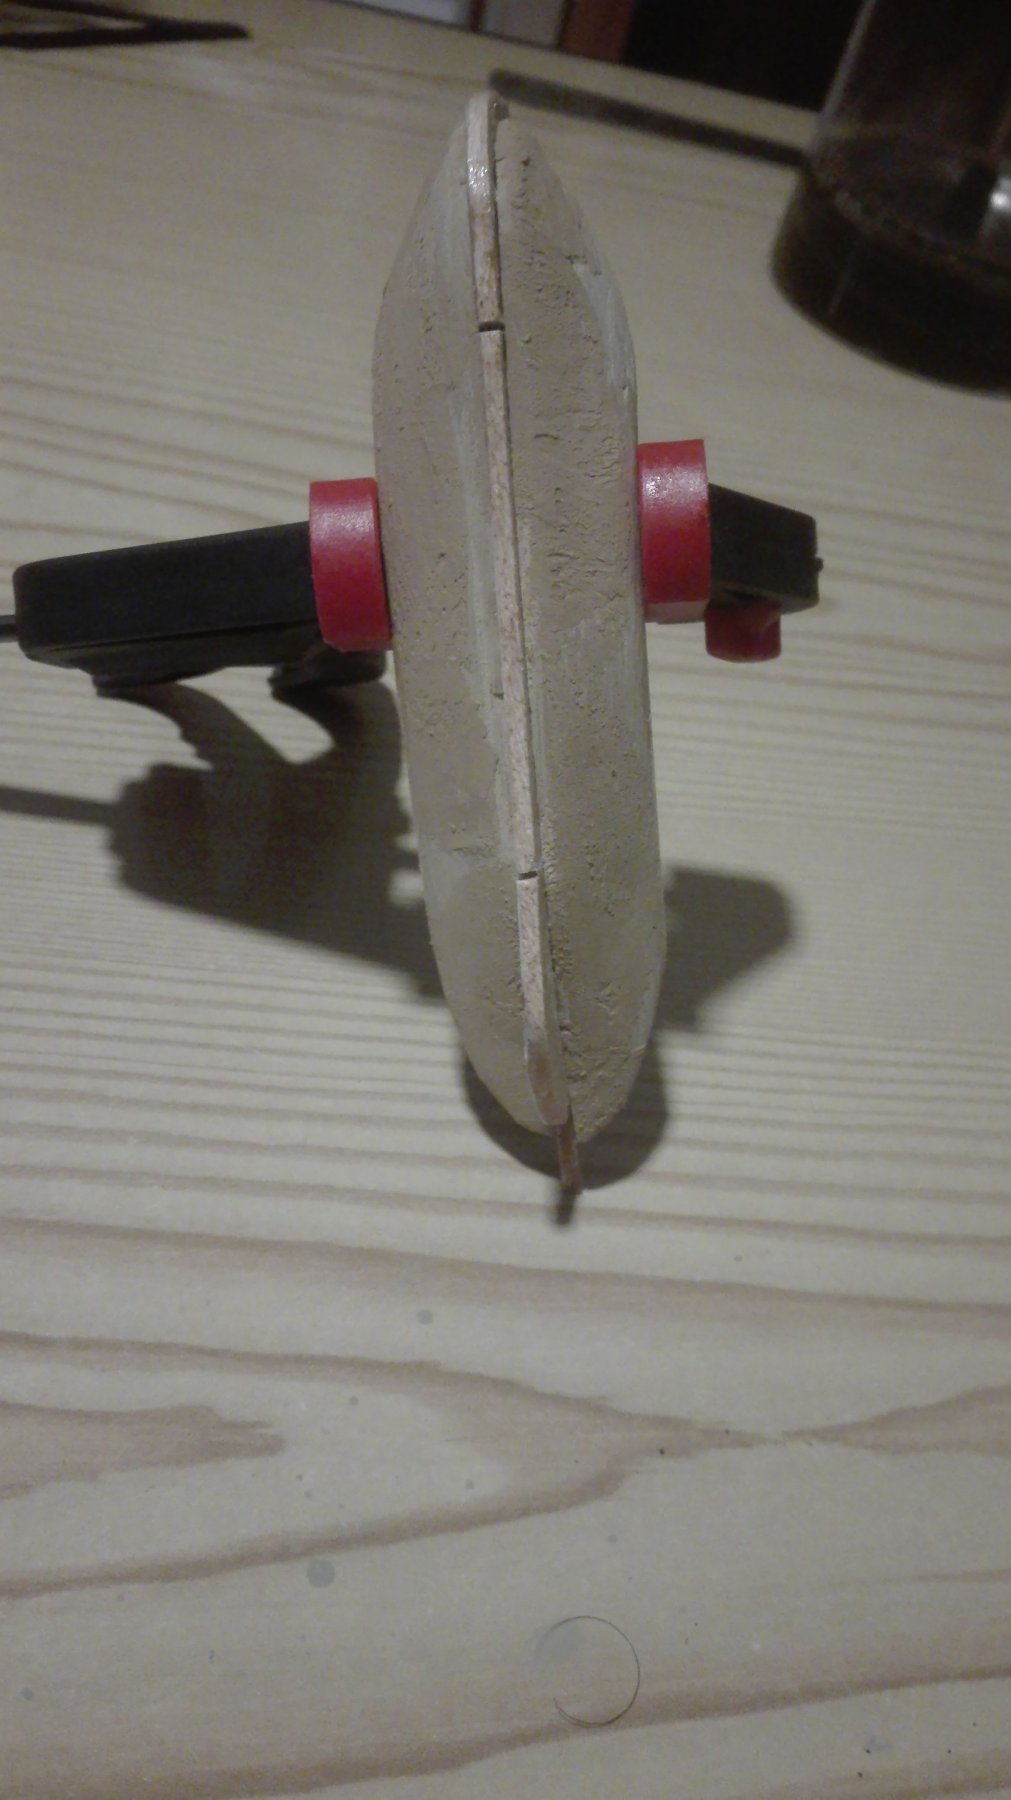
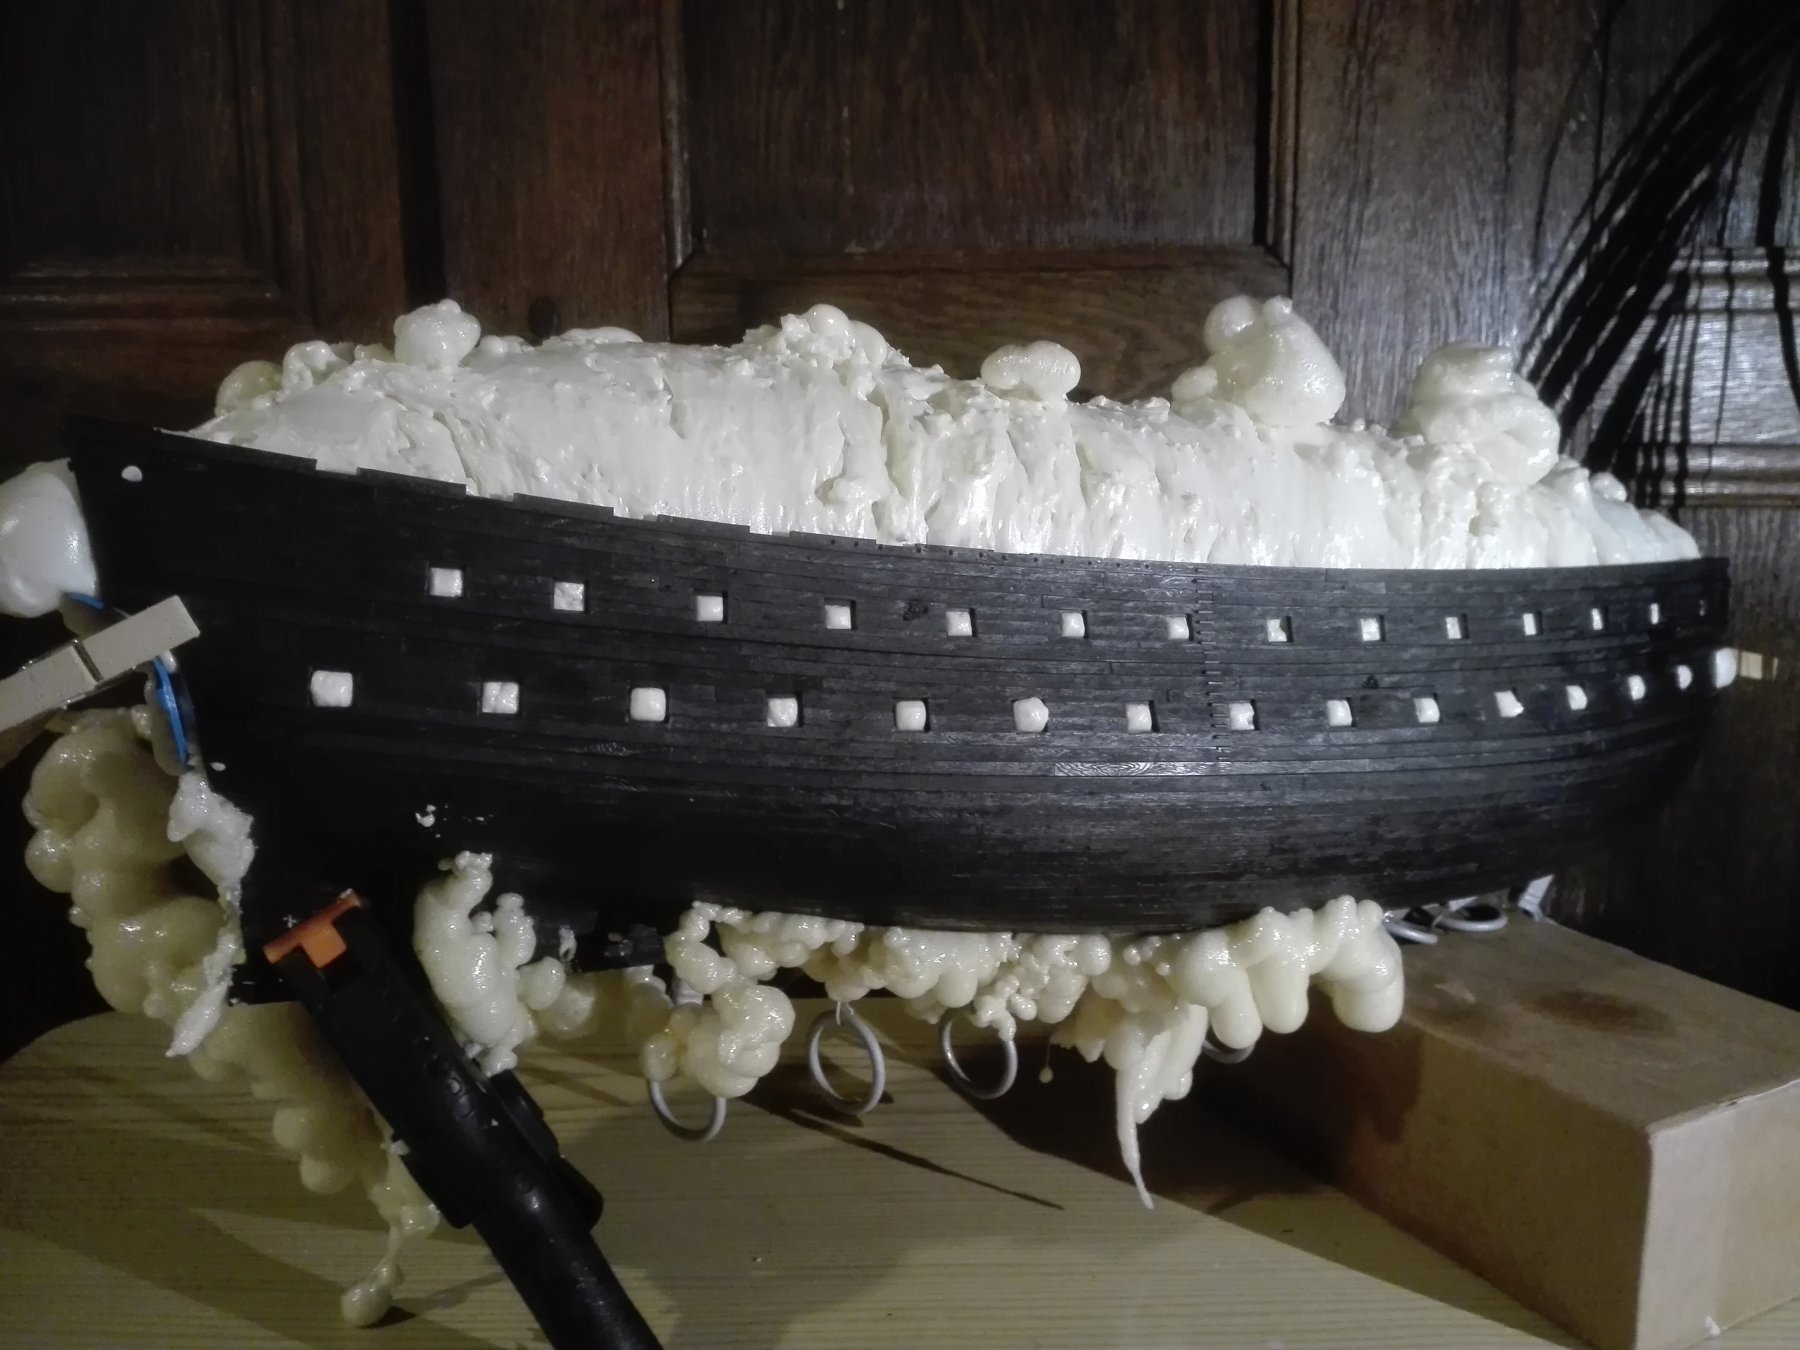
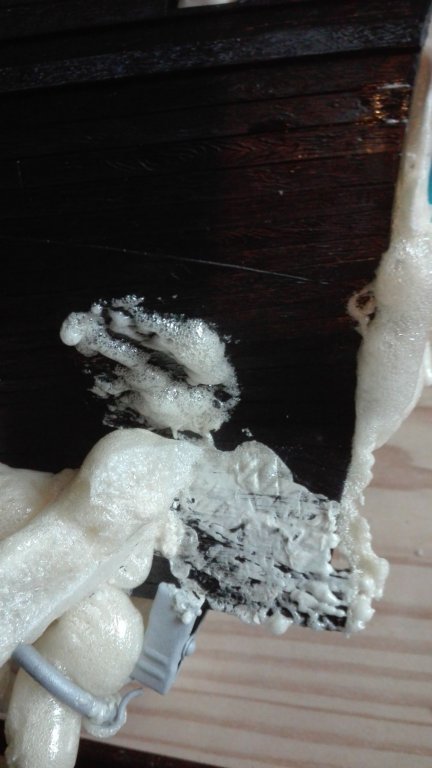
Hello yesterday I decided to try to act as a scientist... I thought, if I get the inner form or the hull I could easily construct bulkheads to build an inner structure. But how to come to such an inner form? By using building foam! So I painted the hull with oil closed the lower transom by the kitpart with tape and filled in foam...and I stoped at the line of the gundeck... I promice I did! My idea is to cut the foamblock into slites to get my bulkheads, so I can copy them onto birchplywood and saw them out. This inner structure will hold the hole wight of the kit on its four point stand. So I bought threaded rod and drive-in-nuts (not: werft-mother, stupid Google 😉 ). So the Under-gundeck area is well connected to the hull, because this gluing-area takes all the comming wight of the hole SAINT PHILIPPE - from the masts to the gun barrels to the rigging and bolts and gratings been pulled and pushed into the kit. And until I can open it I have to wait 24h ... Under the transom on the edge of the lower transom part there the tape opend and foam got out and got aou and more... so I dont knor how the wood struchture under the foam on the outside of the kit looks like. May be the solvend ruined the kit... but there will be a fat layer of antifouling paint - there is some hope left. So I may have god good luck in the middle of bad luck. We'll see in some days!
- 244 replies
-
- 5
-
-
- heller
- soleil royal
- (and 1 more)
-
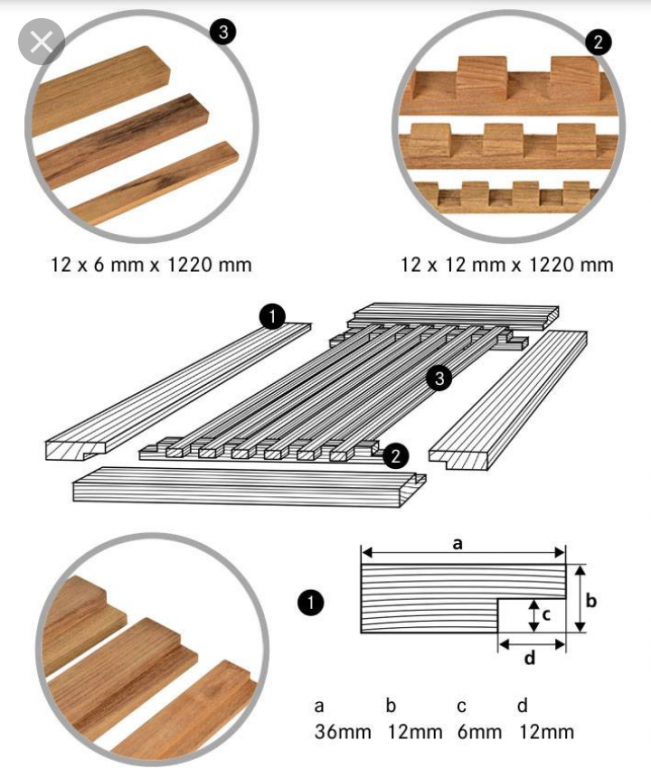
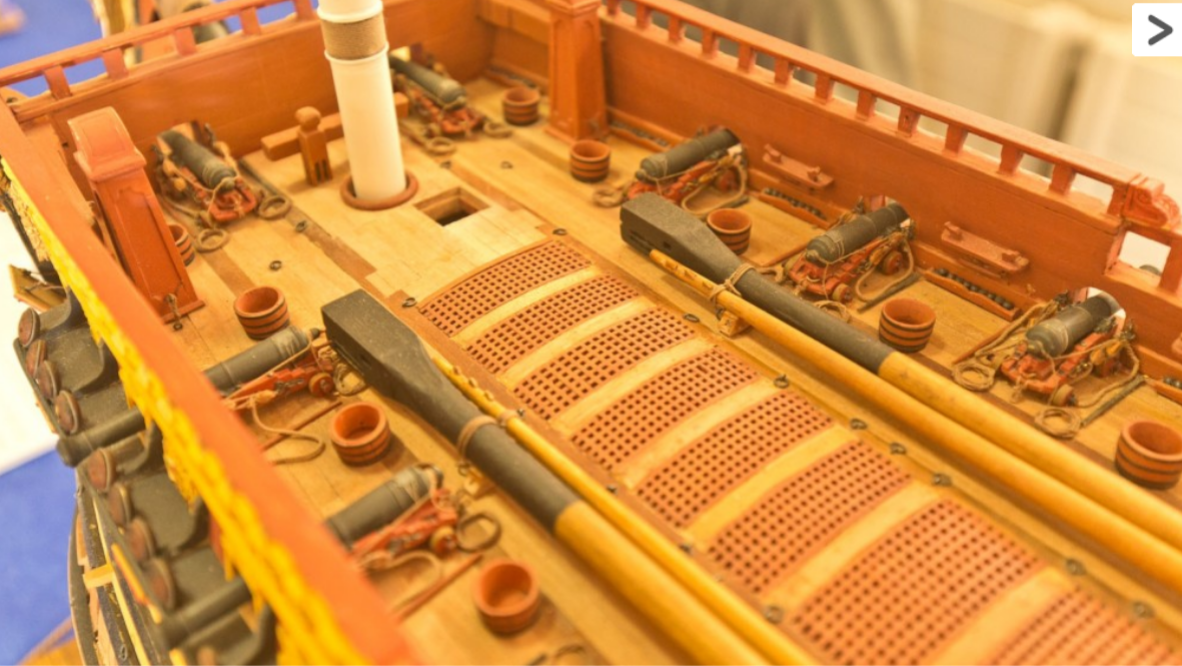
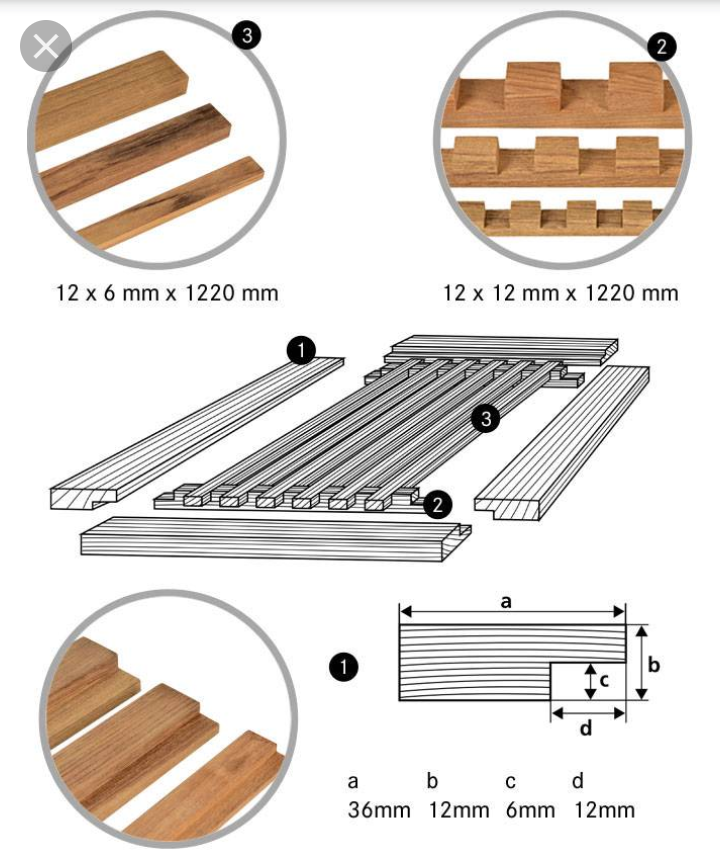
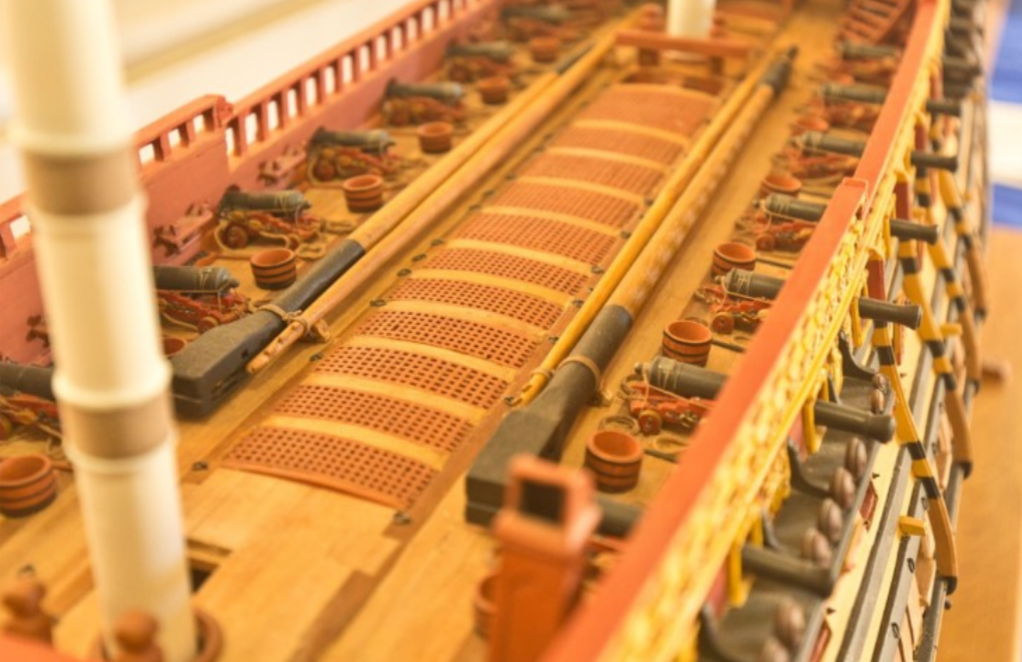
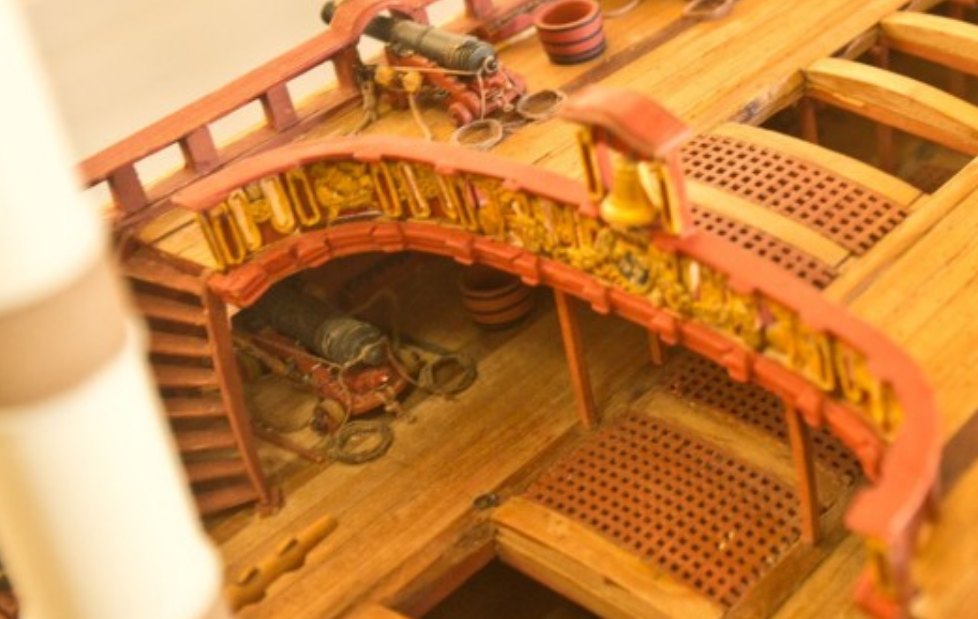
Here these three examples from SAINT PHILIPPE at Rochefort, to show the difference to you o.o.b. parts.

-
Thanks EJ, you are welcome. You did such a big invest in detailing,are you going to change the gratings? Gratings are not what the kit supplier try to learn us: a pair of similar nut cutted planks sticked into eachother... Here the grating ecxample by www.svb.de - you can order these there. Remember the early French gratings aren't rectangular at the end they were cut at 45°. Very intersting andiffrend from the RNstyle is that the deck's beam isn't incorporated in the gartings. They are compared to the British silytyle „hills“ or “overcurved“.