hamilton
-
Posts
1,933 -
Joined
-
Last visited
Content Type
Profiles
Forums
Gallery
Events
Everything posted by hamilton
-
 I'll be able to get there next weekend - do you know what the general location of the opening would be? The ship is dry docked in the museum and it's possible to go down into the well, so to say, and examine the lower hull - I'll take a look through the photos I already have and see if there's a likely candidate....I can PM you a couple of images to see if they're what you're looking for and if not, I can swing by next weekend hamilton
 -
Your work is excellent! I live about a 15 minute drive from the St Roch so if you ever need specific photos let me know! hamilton
-
The kit might be challenging, but the work looks great! hamilton
-
You address the challenges of this build well, Yves! This is a great tutorial for anyone building this model in the future! hamilton
-
Nice going with the planking! The holly looks great - those little planes are nice too - are they from Lee Valley? Also - that marking tool in your first photo - what is it? And where did you come by it? In any case - planking the cabin will be a nice relief after this exacting job. hamilton
-
Beautiful work! I really need to get back to Bellona...... hamilton
-
Feel like I just took a short nap since last I checked in on your log, Yves - and now look! This is another huge one from CAF....looking really great so far! hamilton
-
You work with incredible speed, Yves! She's coming along nicely! hamilton
-
A very cool looking model! And nice work, Yves! hamilton
-
I learned that phrase as - "order in the environment, order in the mind!" This was supposed to be incentive for us kids to clean our rooms....let me tell you it didn't work! Your Glad Tidings looks really great, though, Al - nice finish and beautiful workmanship! hamilton
-
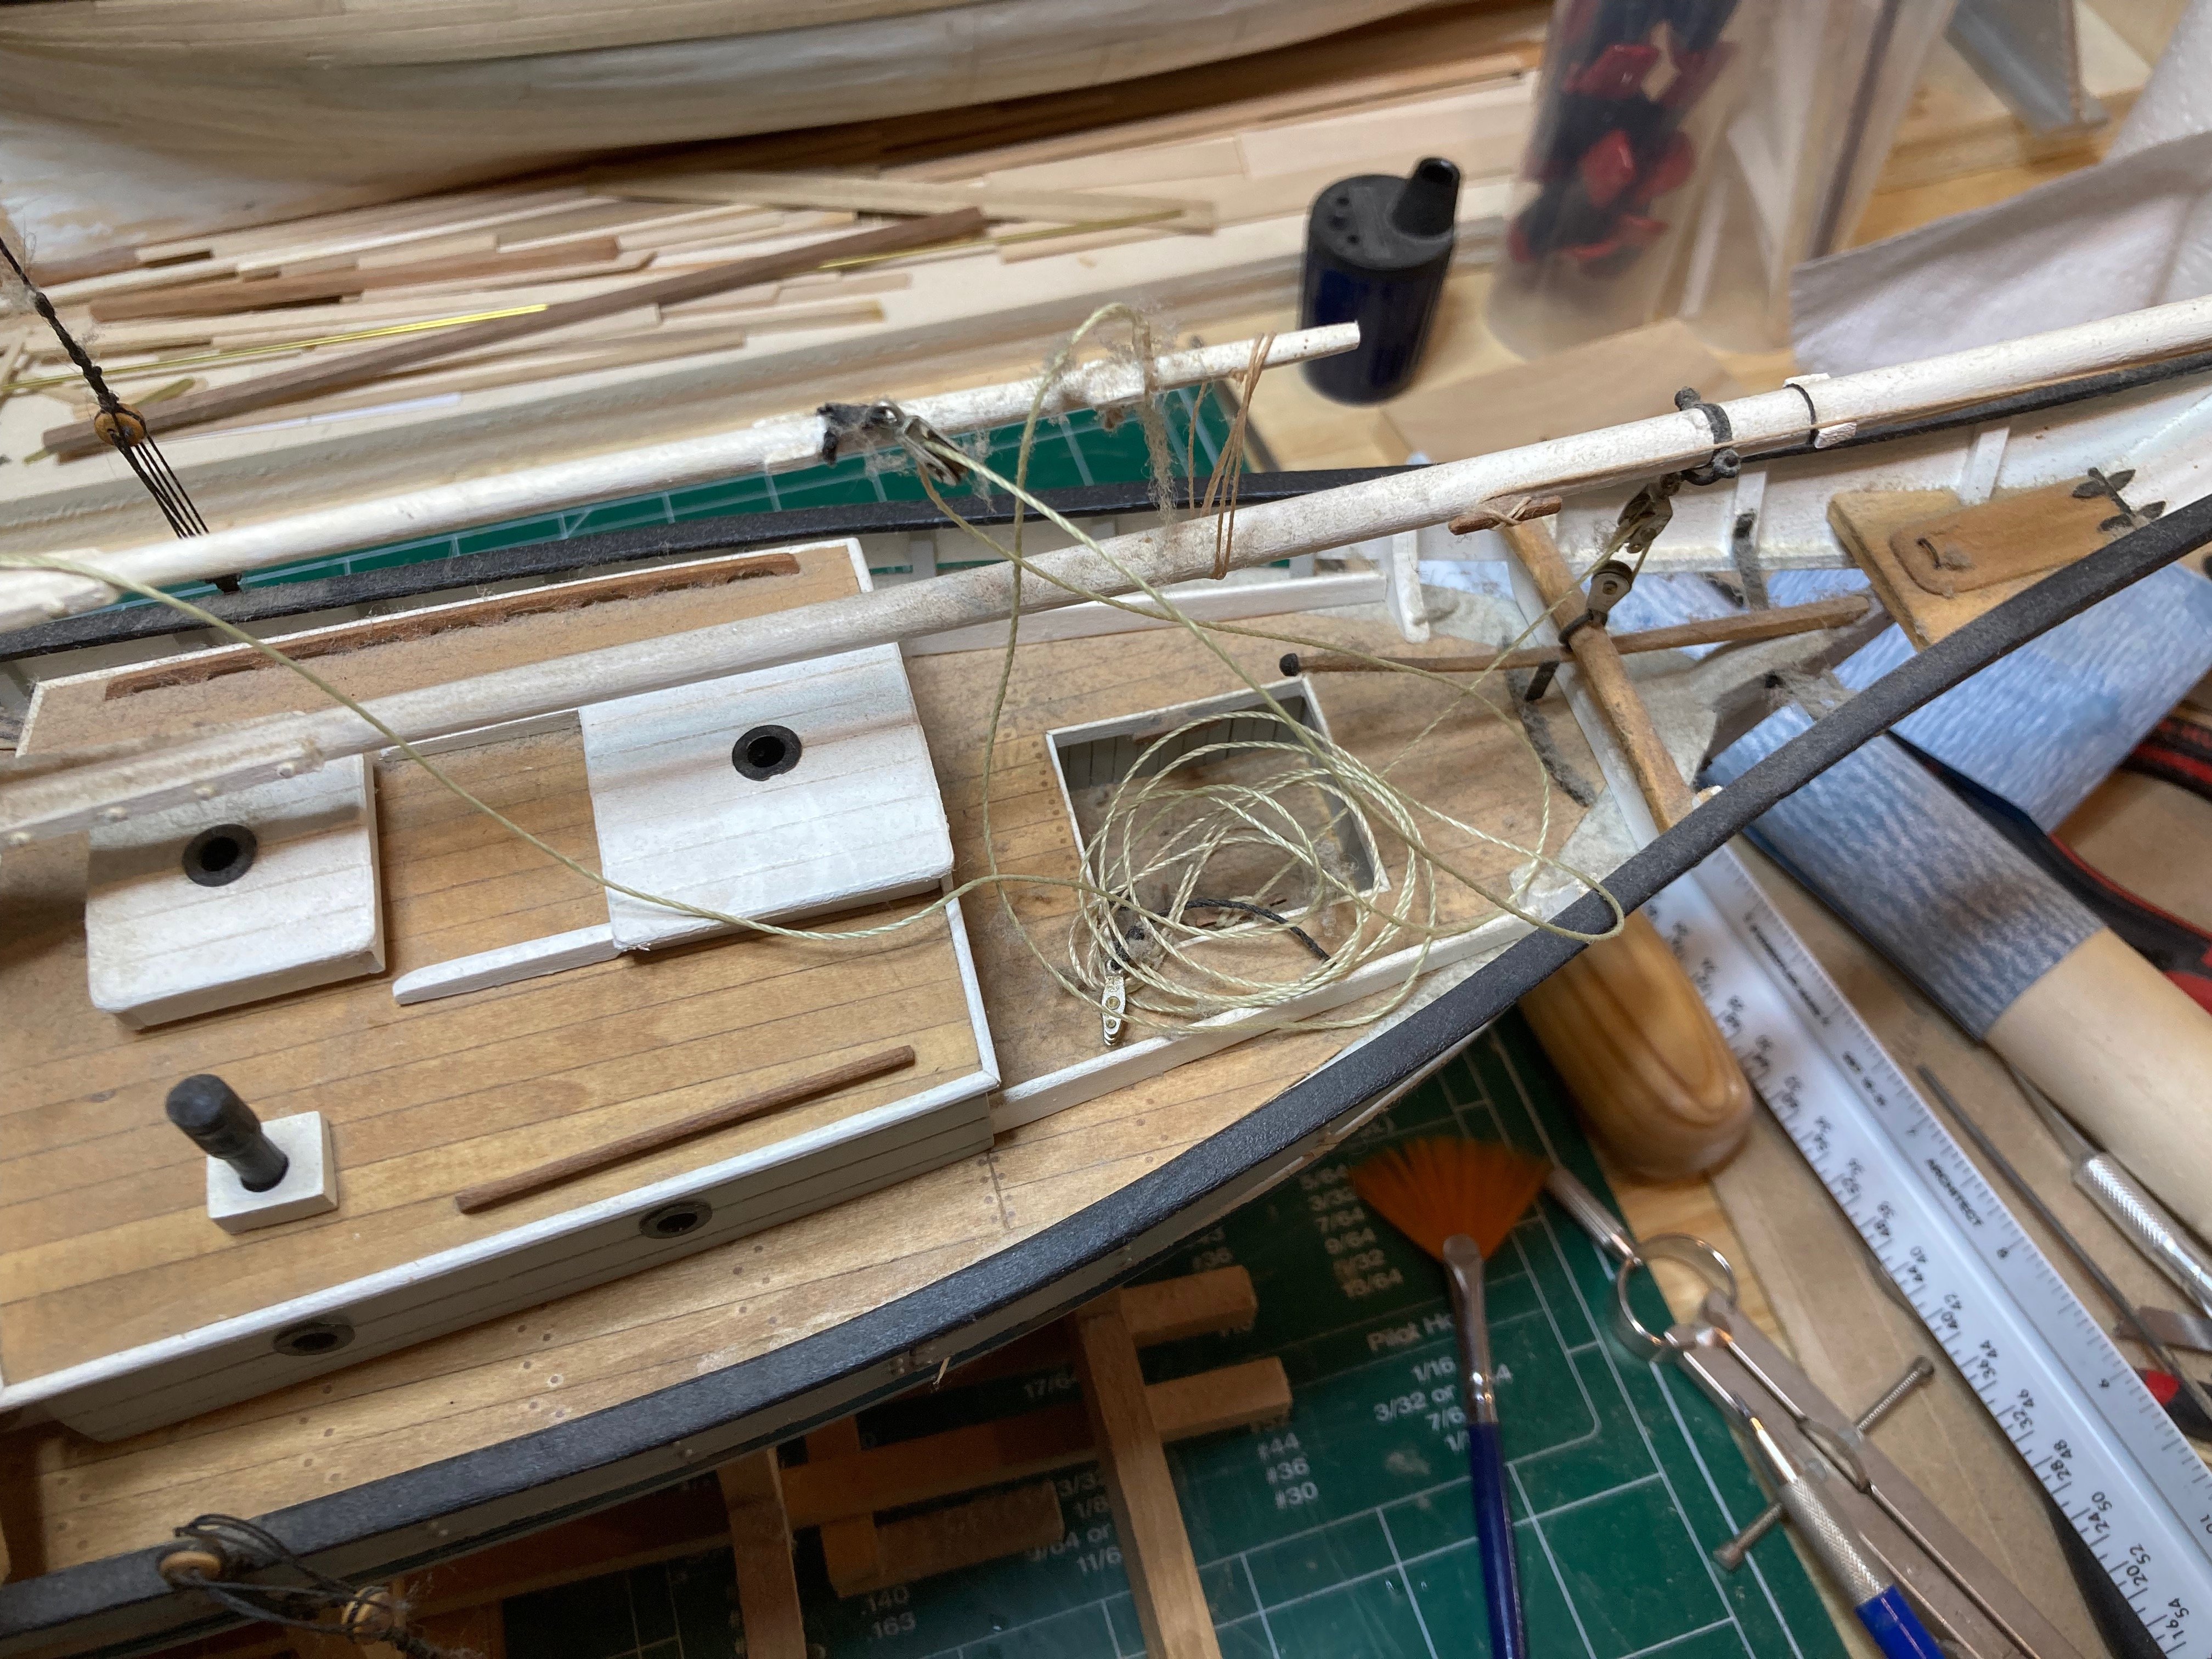
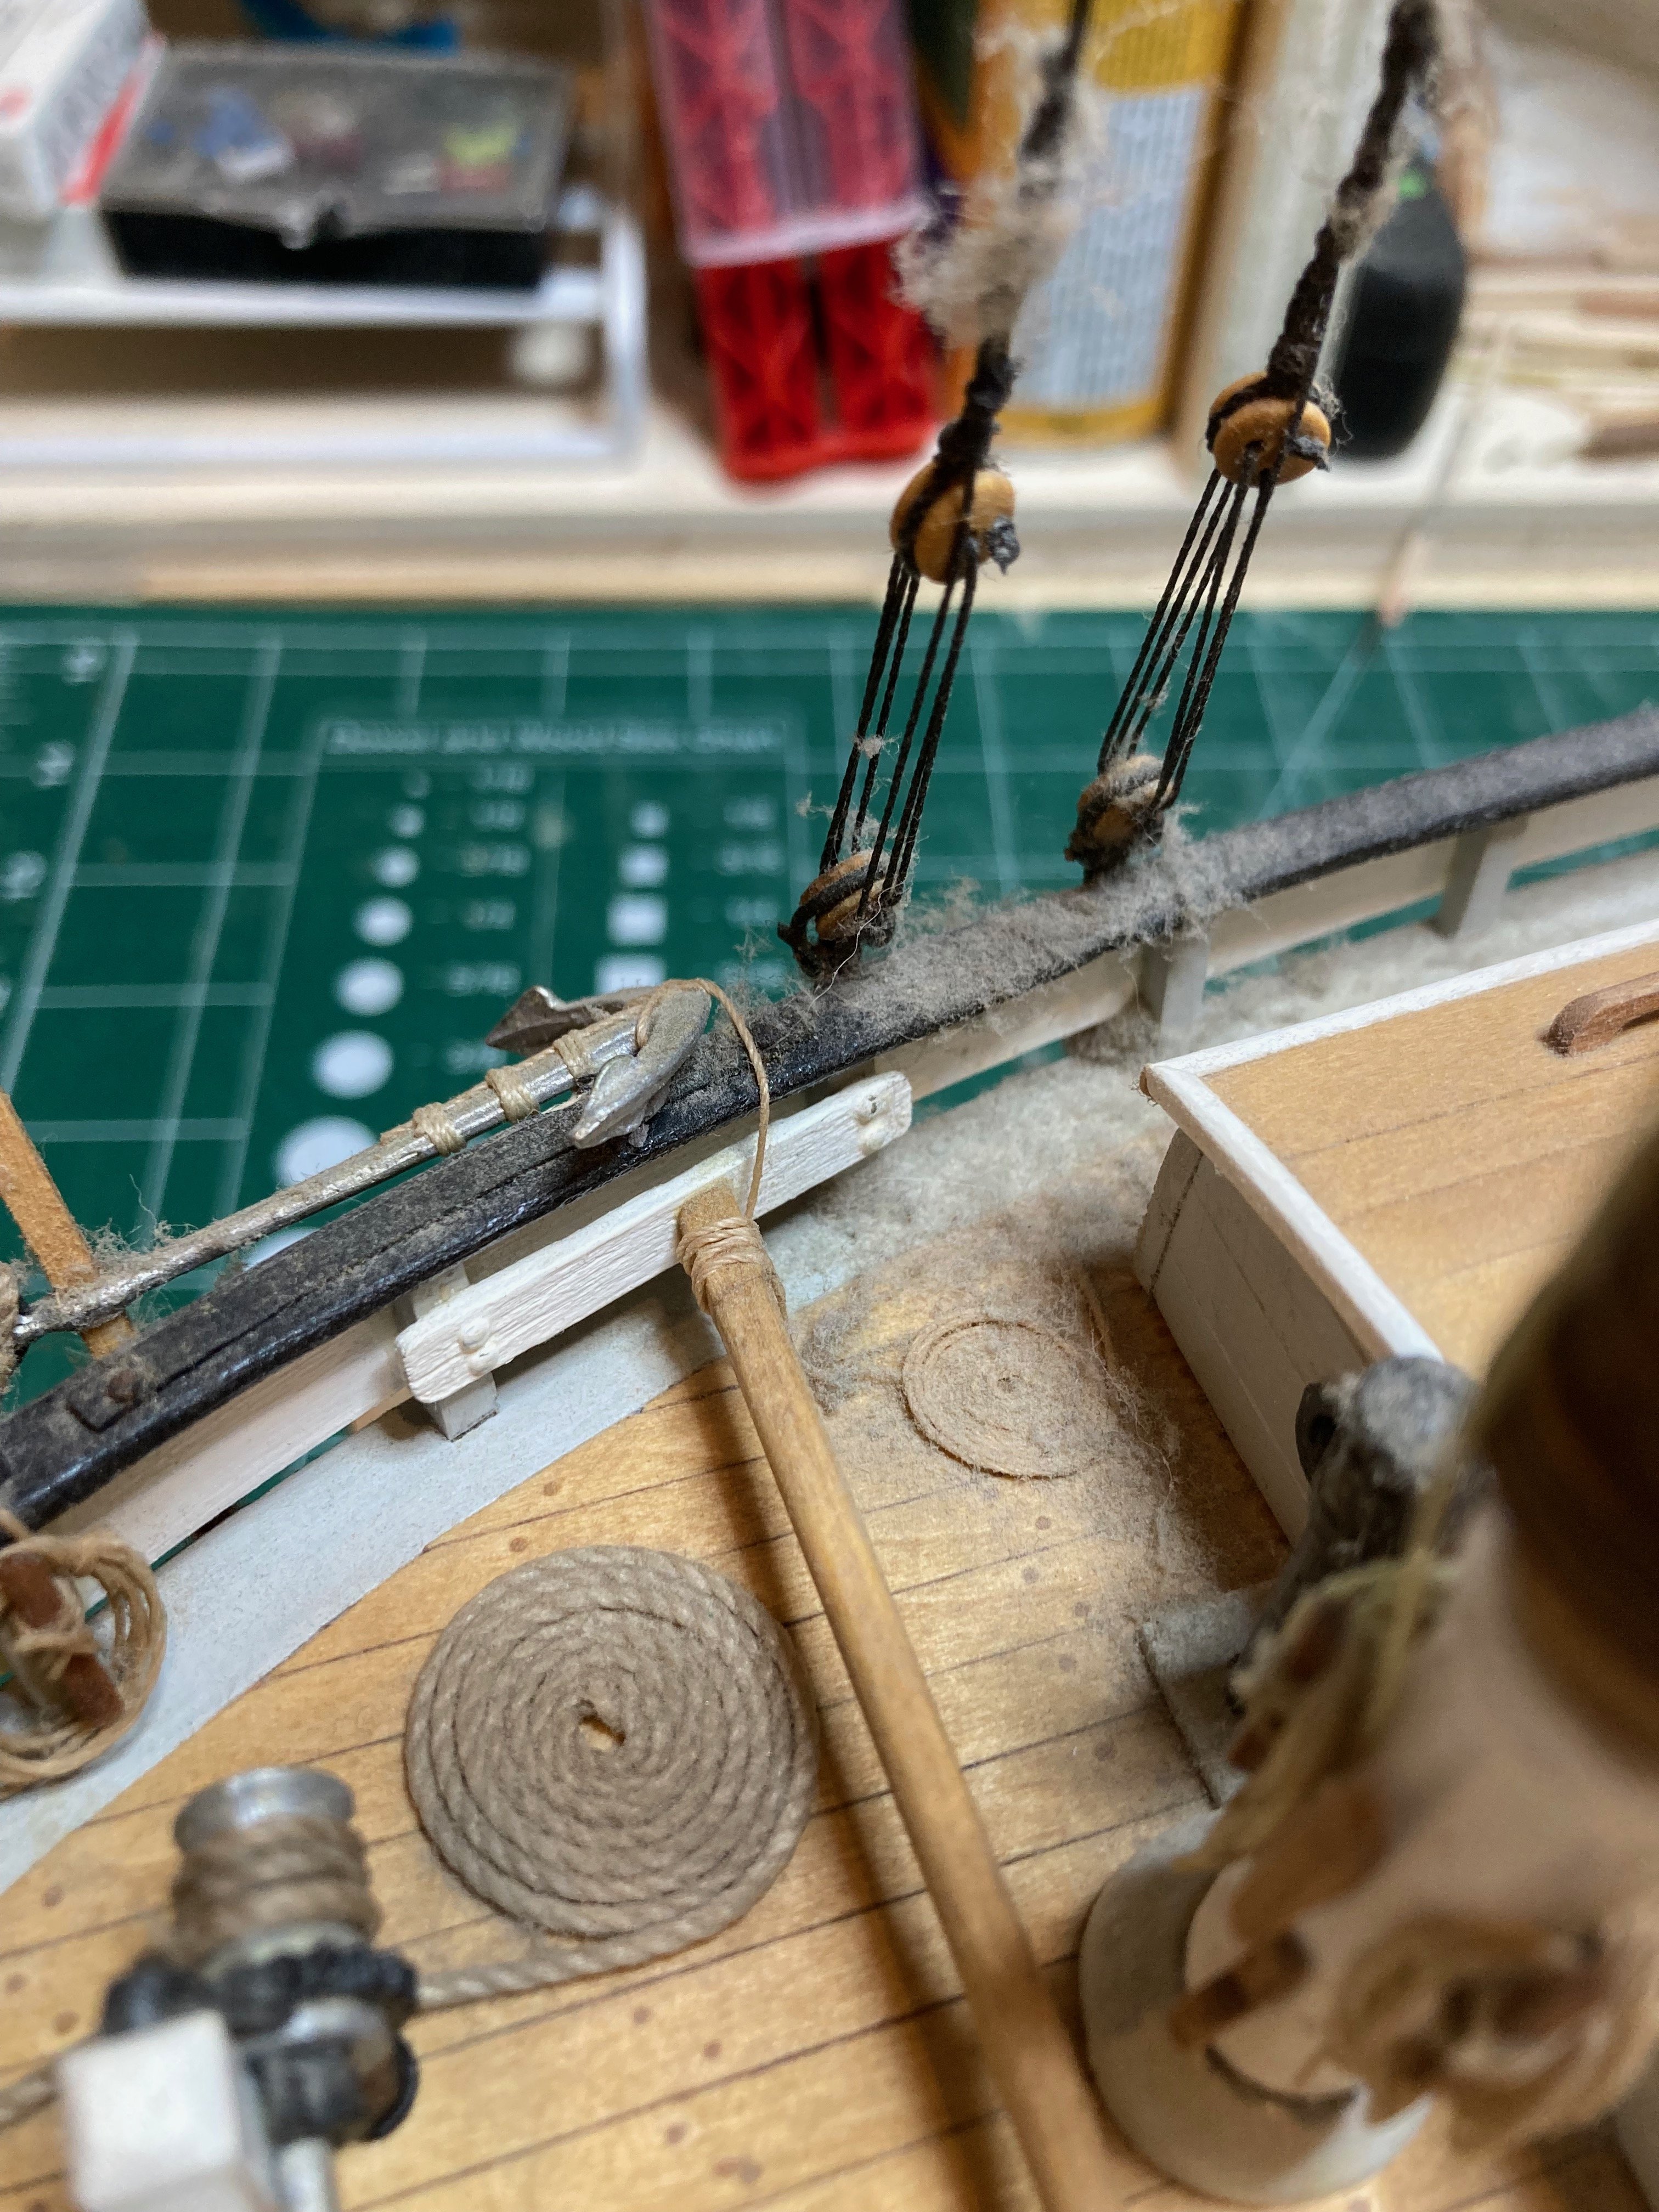
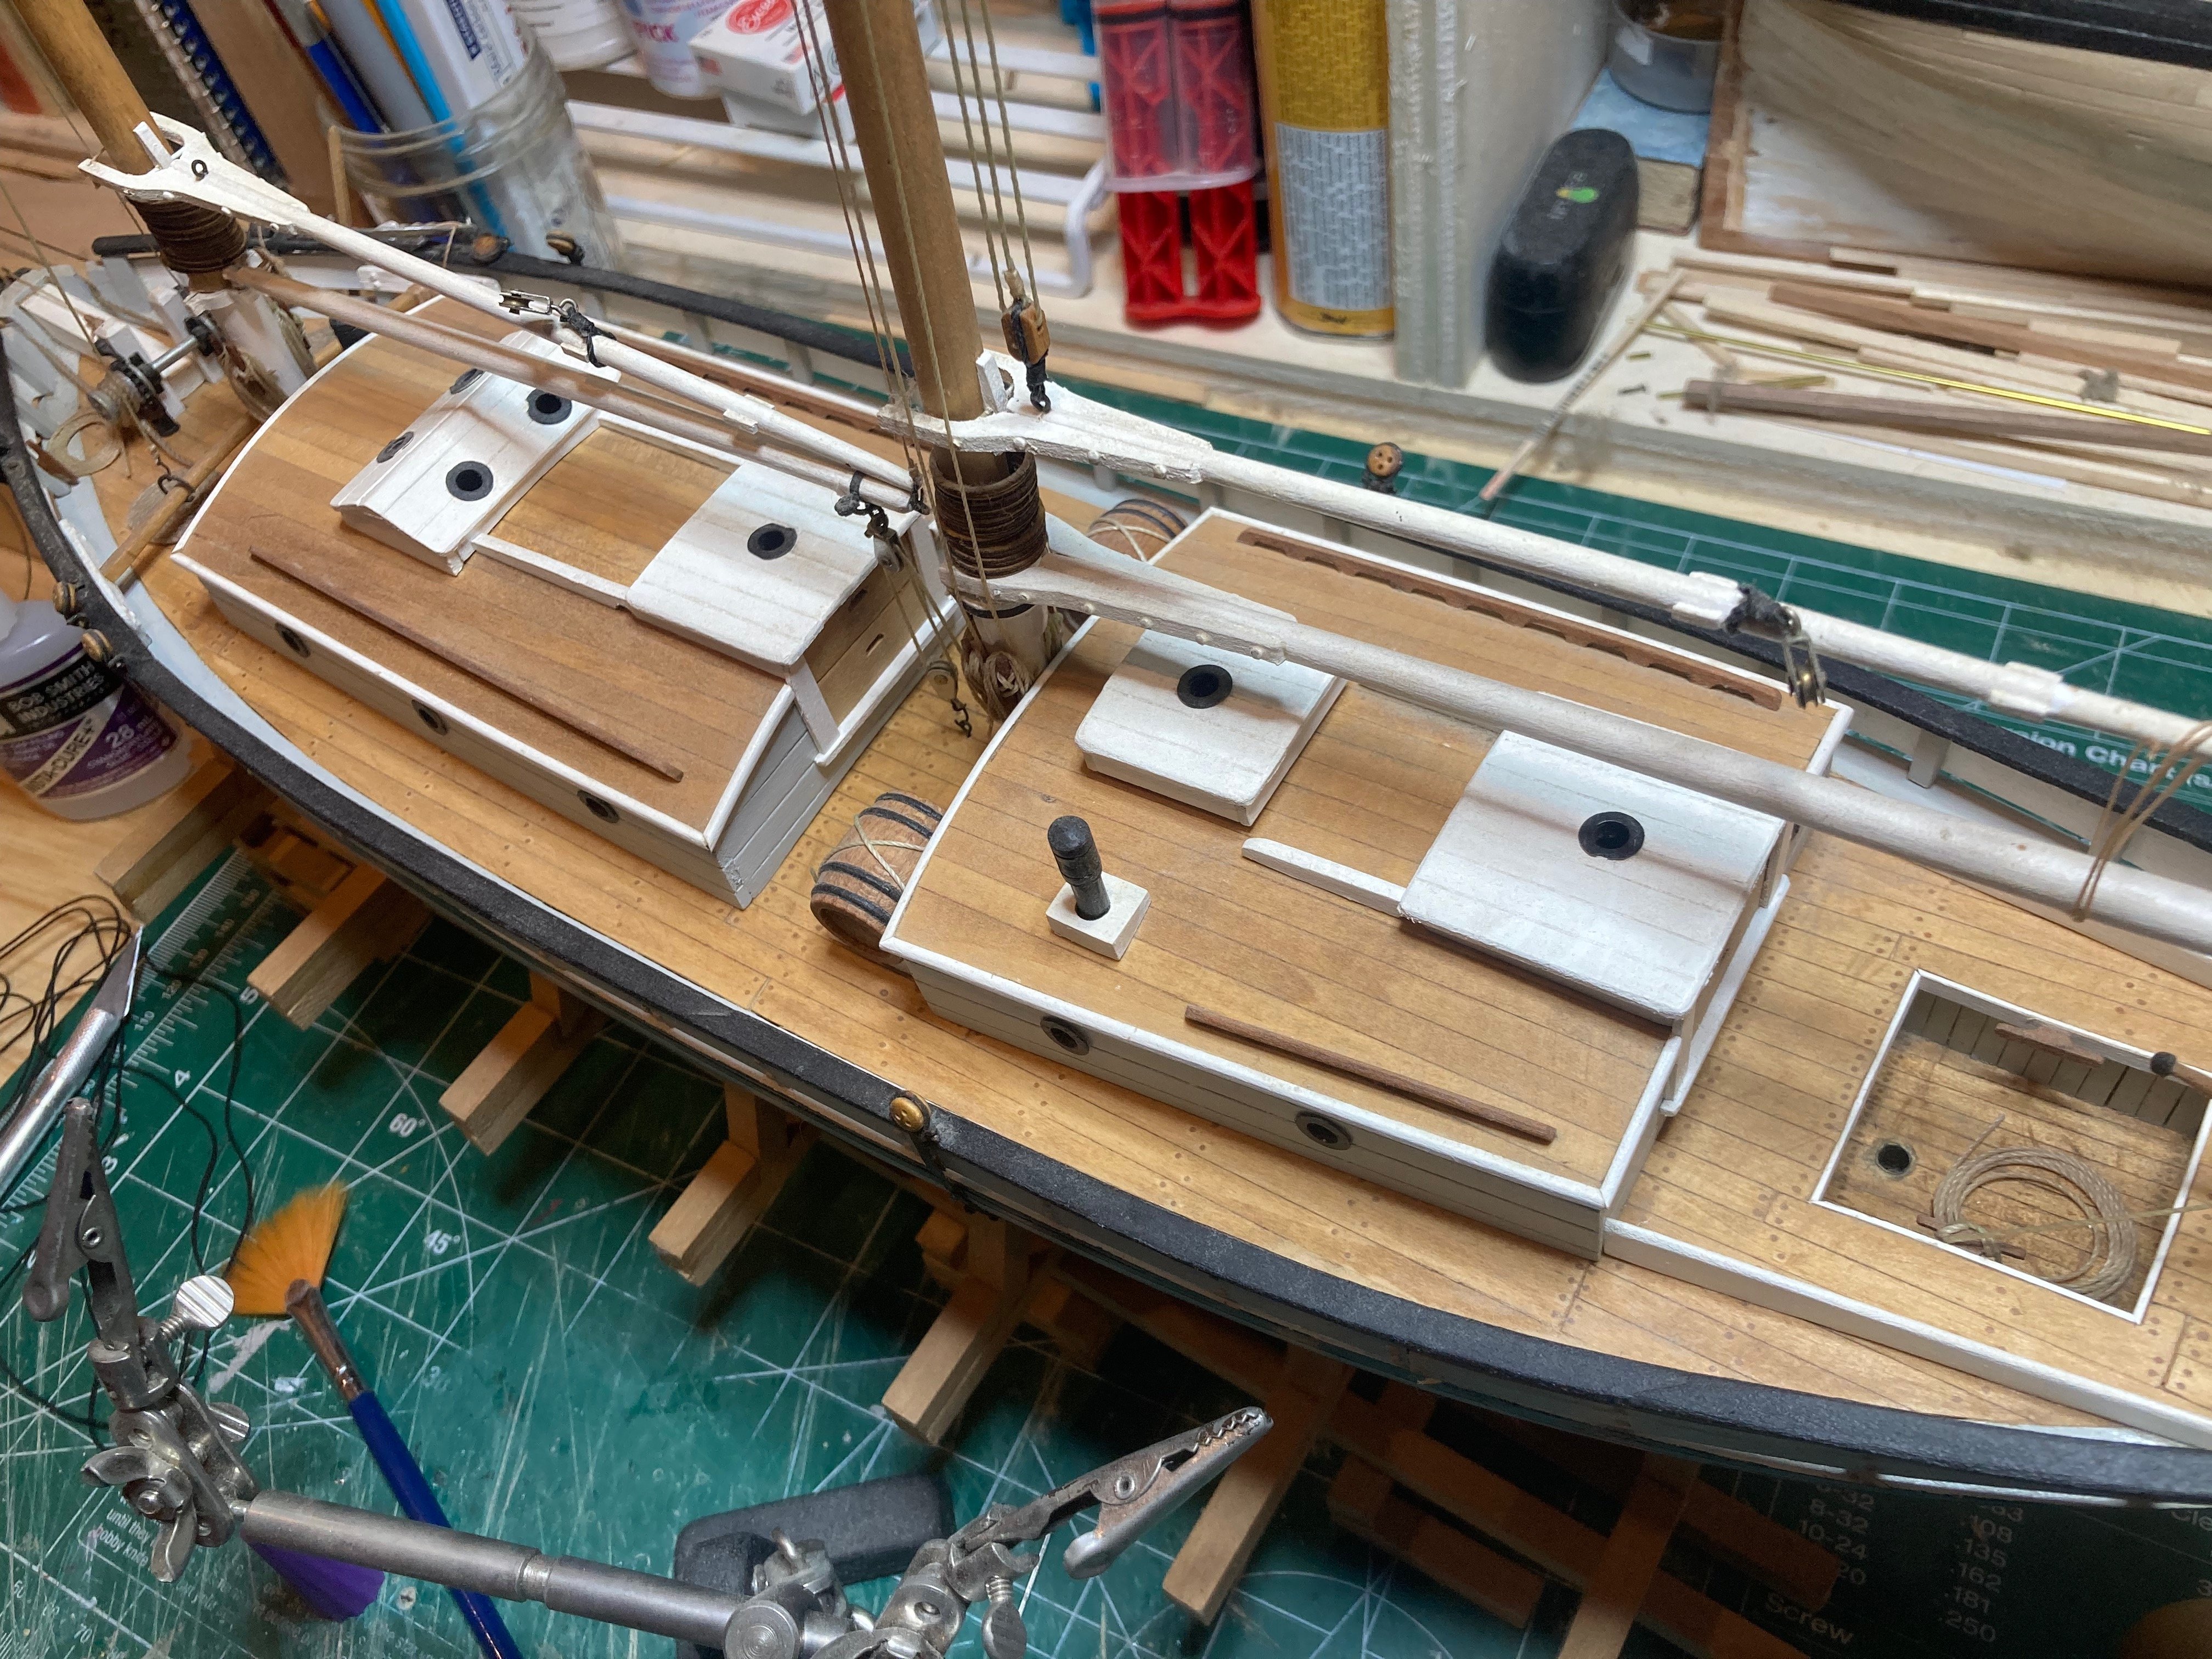
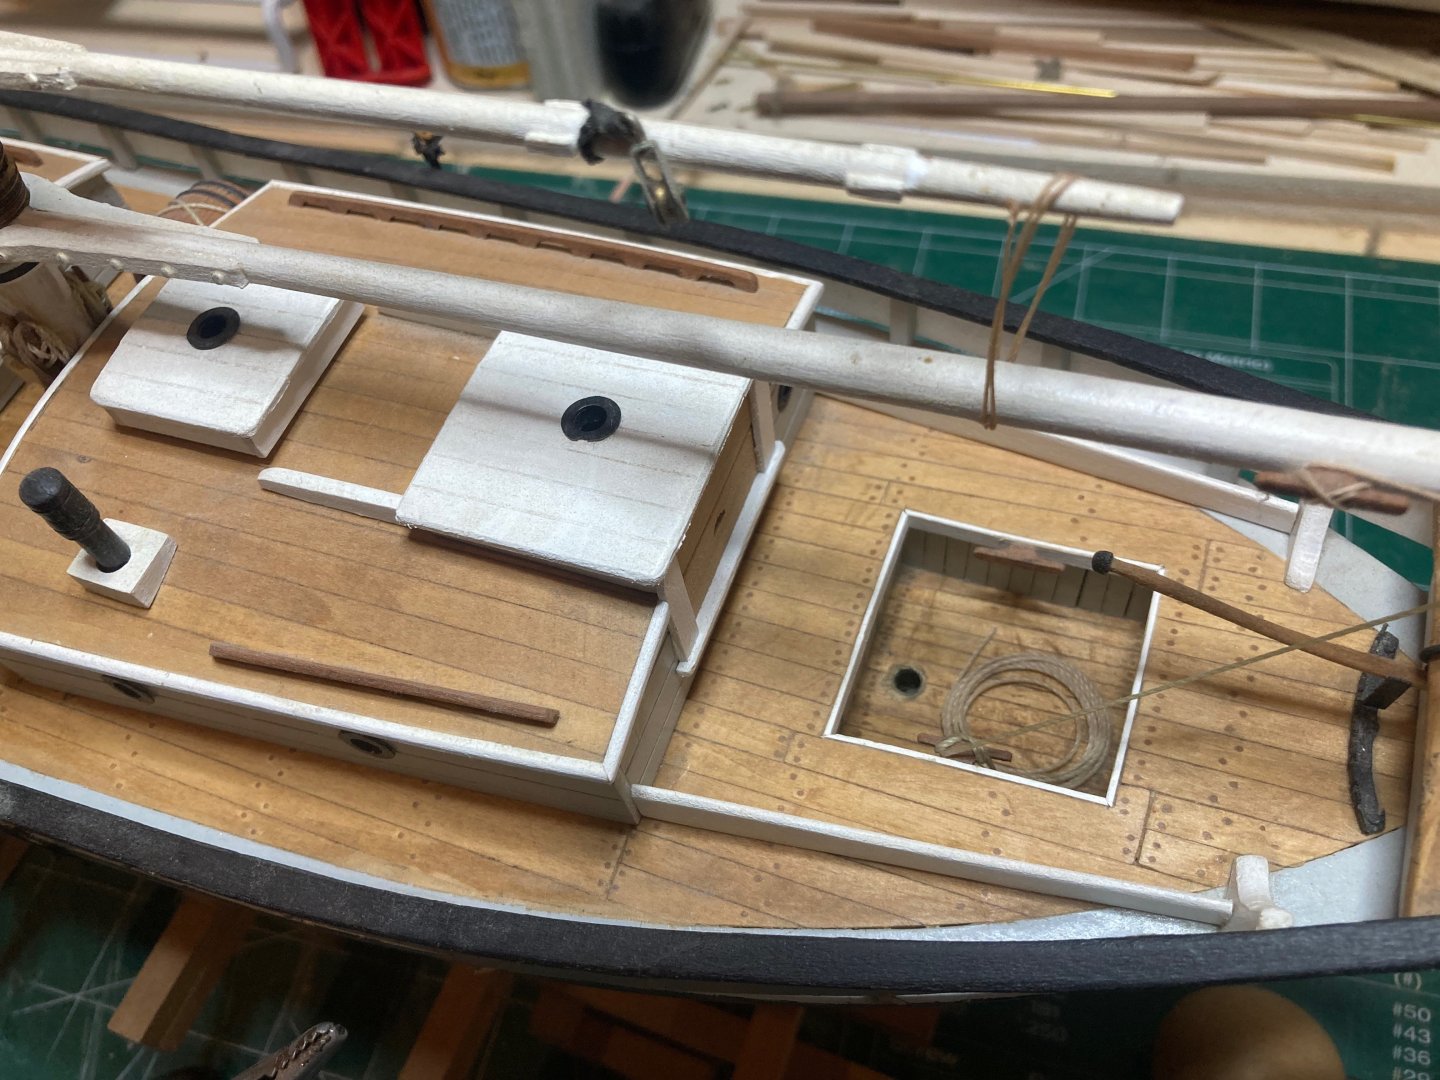
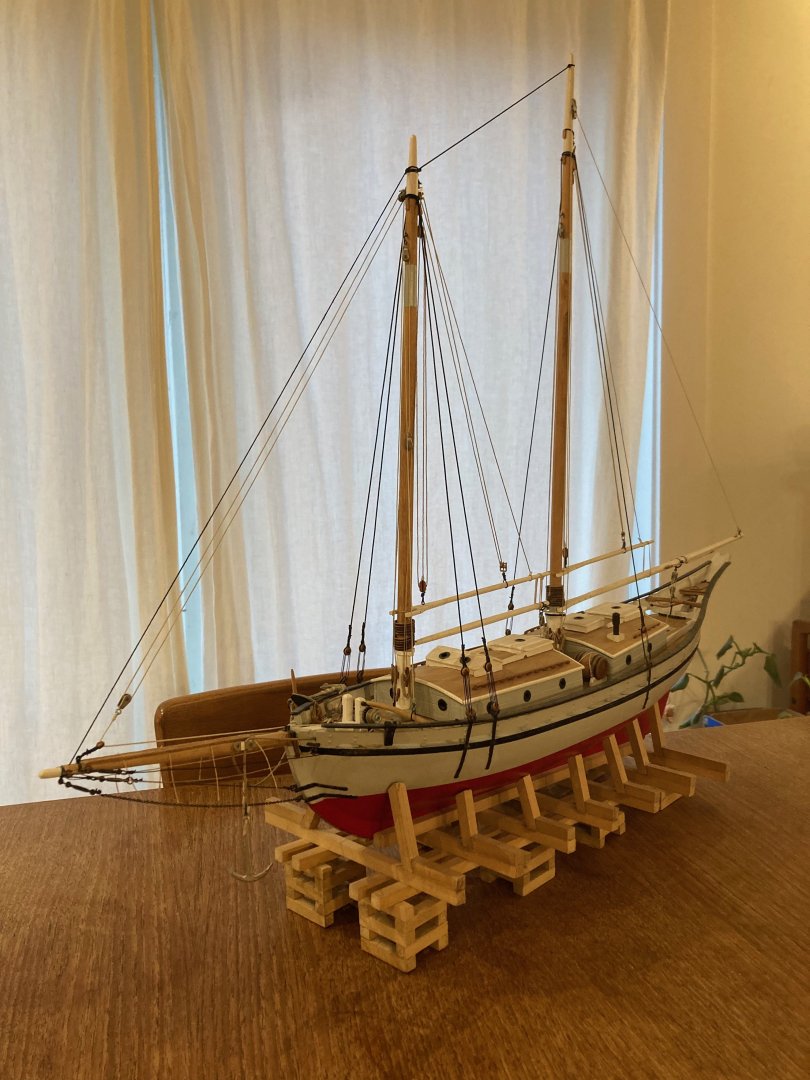
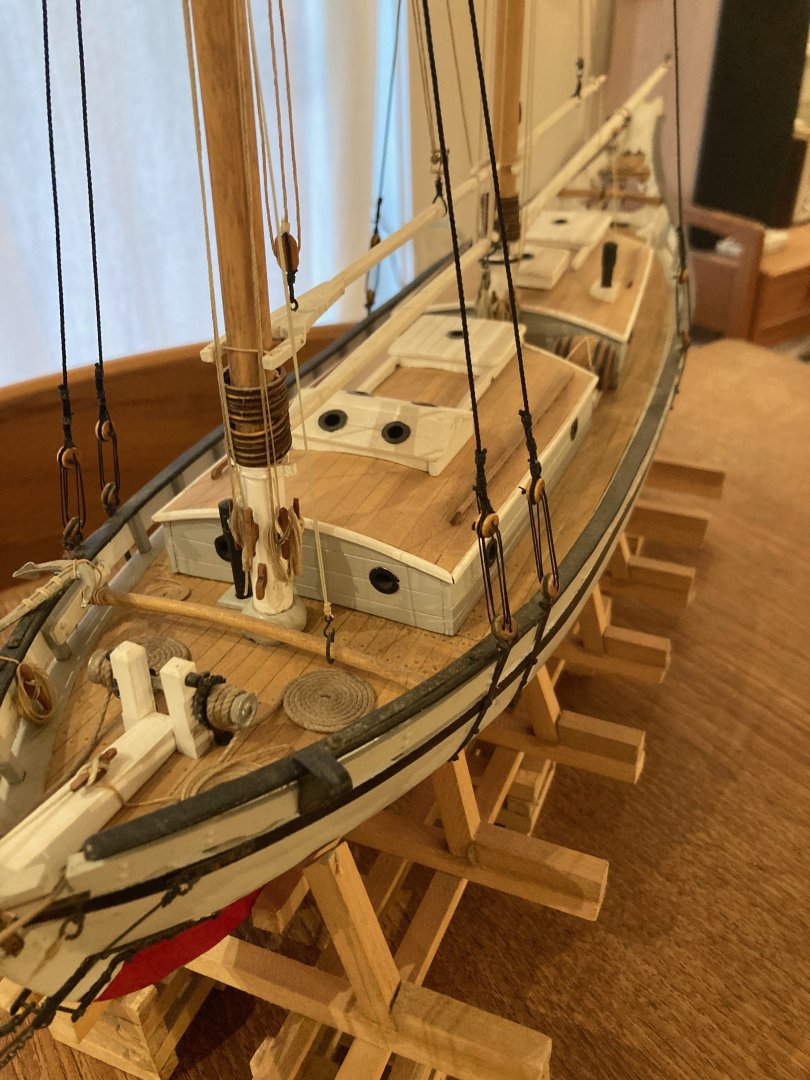
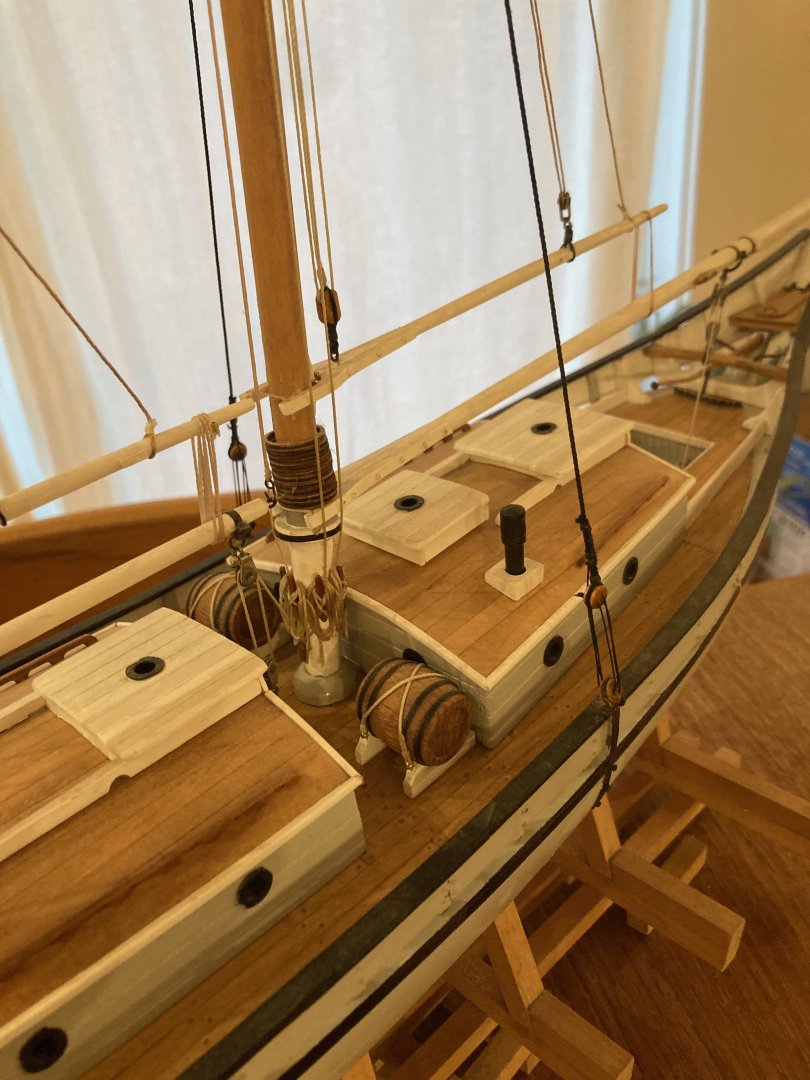
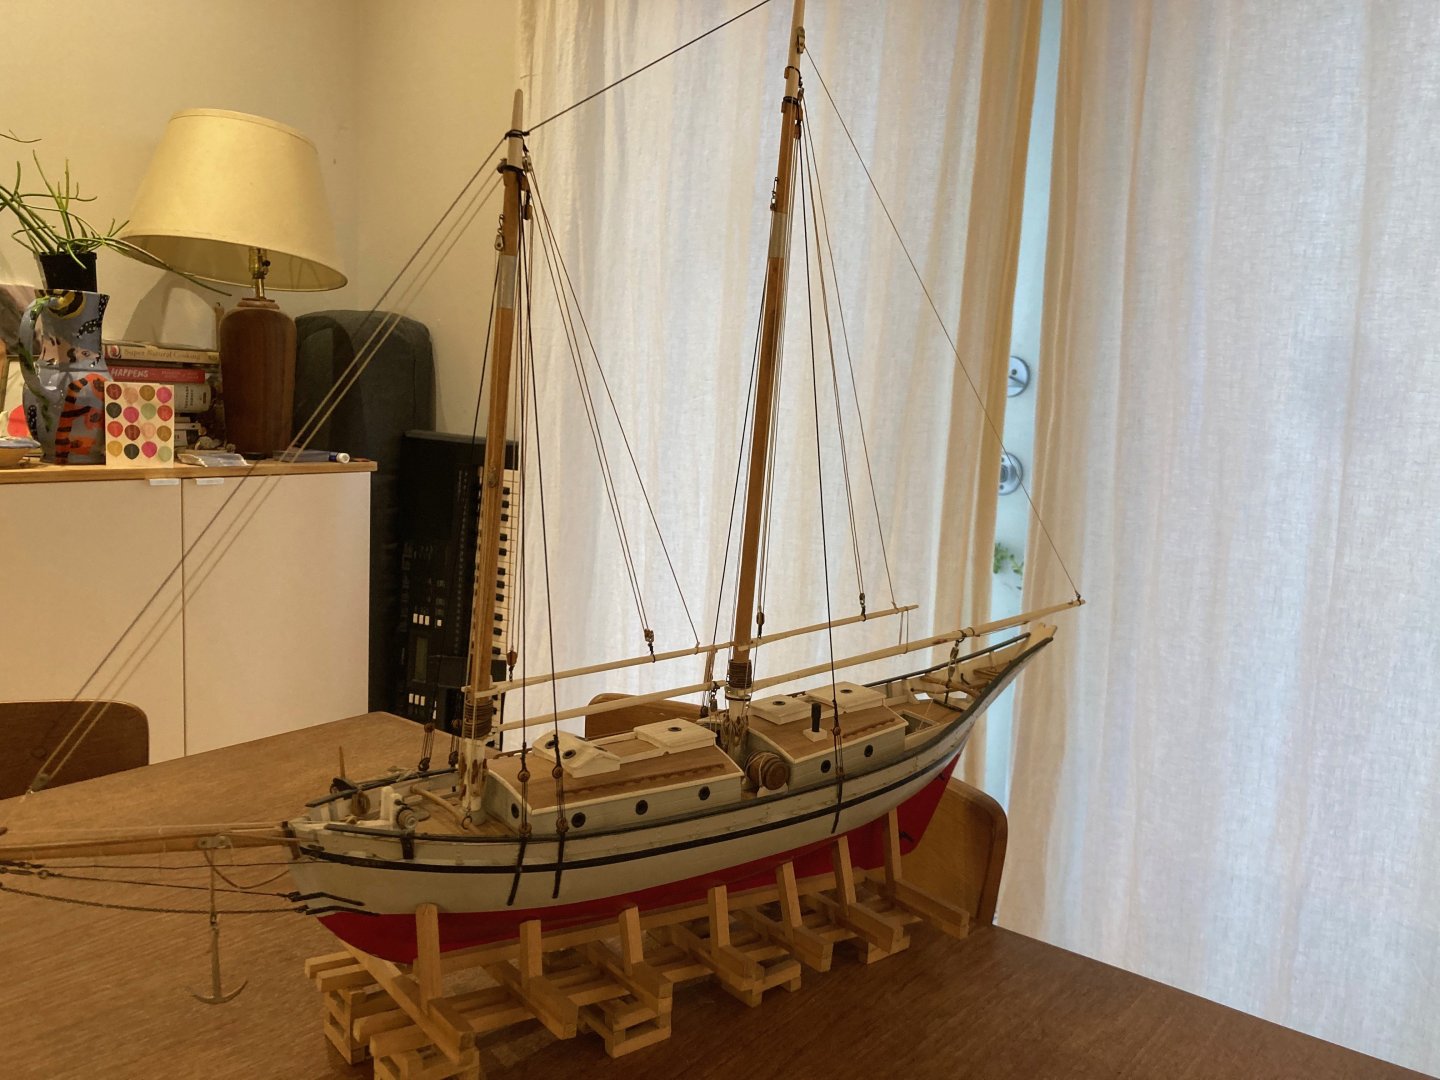
It's been nearly 12 years since I finished the Glad Tidings, but as it says in my signature, it's been in need of a refit for quite a while. I gifted it to two close friends of ours on the occasion of the birth of their first child, and since we visit with them quite often, I've had the opportunity to watch as time, cats, dust and kids' play have taken their collective toll....we went over there for dinner the other night and I sat looking at her throughout the meal and finally resolved to make off with it then and there, and bring it back to the workshop for some much needed cleaning and repair.... After a bit of study, it was clear that the damage was not quite as severe as I had thought - here's an inventory of the parts that needed repair or replacement: -- forestay -- all shrouds & lanyards -- main boom peak halliard -- fore boom peak and throat halliards -- port side bowsprit shroud -- jib downhaul -- the cutwater plate (which had peeled off) I cut away these elements and then spent quite a bit of time with a soft fan brush dusting off the model - this in and of itself was very satisfying and it was nice to see that underneath the dust the wood was still in very good condition. In the end, it was a matter of a couple of afternoons at the bench to fix these, and now it's good as new again! These photos may be a but redundant, but......And now I have to fgind time to get back to Echo and Bellona....! hamilton


- 19 replies
-
- 4
-

-
- glad tidings
- model shipways
- (and 1 more)
-
It's exciting to try something new! I got into this hobby just after we had our first child - 16 years ago now....As a joke, I Googled "what do retired people do?" and this was the first hit that caught my eye. I started with the Model Shipways solid hull Phantom Pilot Schooner (1:96). They had a deal where they sold it with a rudimentary tool set (very basic but more or less what's needed for this kit - pin vise & some small bits, 2 hobby knife holders and various blades, a small saw) so I got that. I also got a dremel rotary tool after reading a bunch online. It took about 3 months of occasional work at my kitchen table to finish it. I did not concern myself too much with the results, but approached it as something to learn through and see if I liked it - turns out I did! Start with something small and easy - get a few necessary tools but no more and then level up as you go. That's my advice - this hobby can be pricey, but it also goes on for years so there's lots of time to acquire things along the way as you find you "need" them. hamilton
-
Just catching up on your build, Greg - was that Corel's La Couronne behind Phantom? She looks nice too!! You are sorely tempting me (and my pocketbook) with this build.... hamilton
-
Looks like an interesting approach - assembling in situ will likely give a more accurate assembly. 88 seems like a big number! hamilton
-
Looking really nice! hamilton
-
This is a great tutorial for what I imagine is a challenging task for many modellers! I have the MS Constitution under the bench, and I've book-marked this for when the time comes! Thanks for your generosity! hamilton
-
Yes - once you've looked in the box it's hard not to just keep on going! Looking forward to seeing another CAF model coming off your bench! hamilton
-
For me it was my mum - she is a kind of artist-scientist - always experimenting with new materials, methodologies, skills and approaches. Her art practice varies, but she done sculpture (large-scale metal), has worked with sausage casings to make garments (a wedding dress, a kimono), and lately she's gotten into taxidermy, mummification, tanning, etc. (She gave my son a taxidermied bat as a birthday present when he was 10). As I've mentioned elsewhere on this forum, she worked as an artistic director for a theatre company and also knows how to make incendiaries and pyrotechnic concoctions (Halloween was always fun, but slightly tense at our house...) - truly she is a Jill of all trades. She also paints, is a photographer, makes ceramics and jewelry - she can pretty much do anything! My dad is more cerebral and nature-loving - I followed him there, including in a passion for sailing. But the modelling comes from my mum, 100% - she seems to have a boundless energy and passion for making and building things and she has never been shy to help us and encourage us (the "kids" - I'm 53, so the term hardly applies anymore except when I'm feeling grumpy) in whatever projects we've had going on (except the pyrotechnics, which, for my brother and I as boys, was probably a good idea). Even now that she's in her 80s, she is still very active - she just received a medal (one of 30,000 handed out around the Commonwealth on the occasion of King Charles' accession) for artistic merit and achievement. She is my inspiration for sure - from her I learned just to go for it regardless of how difficult, complicated or just plain weird it might be. The one thing she can't do, unfortunately, is wood carving - otherwise I'd be commissioning her! Also cooking.....my dad is also the chef in our house and ruled the kitchen like a dictator - while my mum's love of experimentation is great for her creative work, it tends to produce uneven results in the kitchen.....no offence intended, mum! hamilton
- 36 replies
-
- 11
-
-
Great question - my PhD was taken in social studies of science and technology and I have always had an interest in the processes of innovation as social processes - that is, how is it that social, economic, cultural or political priorities guide design and development decisions that result in particular types of technological systems or devices. This was not what primarily led me to model ship building, but it is a very significant aspect of what drives my continued interest in/pursuit of it. Also - I come from a family of visual artists among whom I stand out in having absolutely no artistic talent whatsoever. Model ship building has been the only way I have been able to to connect with this aspect of my family "culture", if you want to call it that, and I take great aesthetic pleasure - mostly in the work of others who are well in advance of me in terms of technical skill! - in the craft. Though I can't achieve the magnificent results seen in much work on this forum, it is fun to challenge myself in this way. Finally - when I started this craft (in 2009) I had just finished my PhD dissertation, bought my first home, had our first child, and was in the midst of building an academic department at a relatively new university here in Canada. All of this prompted me to stop actively pursuing what to that point had been my primary creative work - playing music in working bands. There was no time for this any longer, but I needed some form of creative outlet in my life - I grew up in the maritime provinces of Canada and spent much of my young life on boats - lobster fishing with my granddad in the Northumberland Straights and sailing in the Bay or on the lakes with my dad. I've always though that no product of human ingenuity was more crazy, beautiful, and awe-inspiring than the ocean-going vessels of the age of sail. I can think of only a handful of other technologies - rail, telegraph, printing press, sound recording - that are as significant in shaping and expressing the values and dreams of the modern world. It feels like a privilege to be able to investigate, explore and render that history in some small form. hamilton
- 36 replies
-
- 10
-
-
Thanks for all the likes everyone! Yesterday evening I made a trial of making a template for one of the hanging knees and I can already tell they are going to be a challenge for me - especially in the joint with the inboard hull planking....Their shape is not difficult in and of itself, but fabricating them to fit nicely - notched into the lodging knees at their upper edge and fitted along the uneven thicknesses of the foot waling - is going to be very tough....I'm at the tail end of a very intense period at work (as the flurry of activity over the weekend indicates), but it'll probably be another week before I can turn to this seriously... hamilton
-
Beautiful work! Alert should be a breeze!! hamilton
-
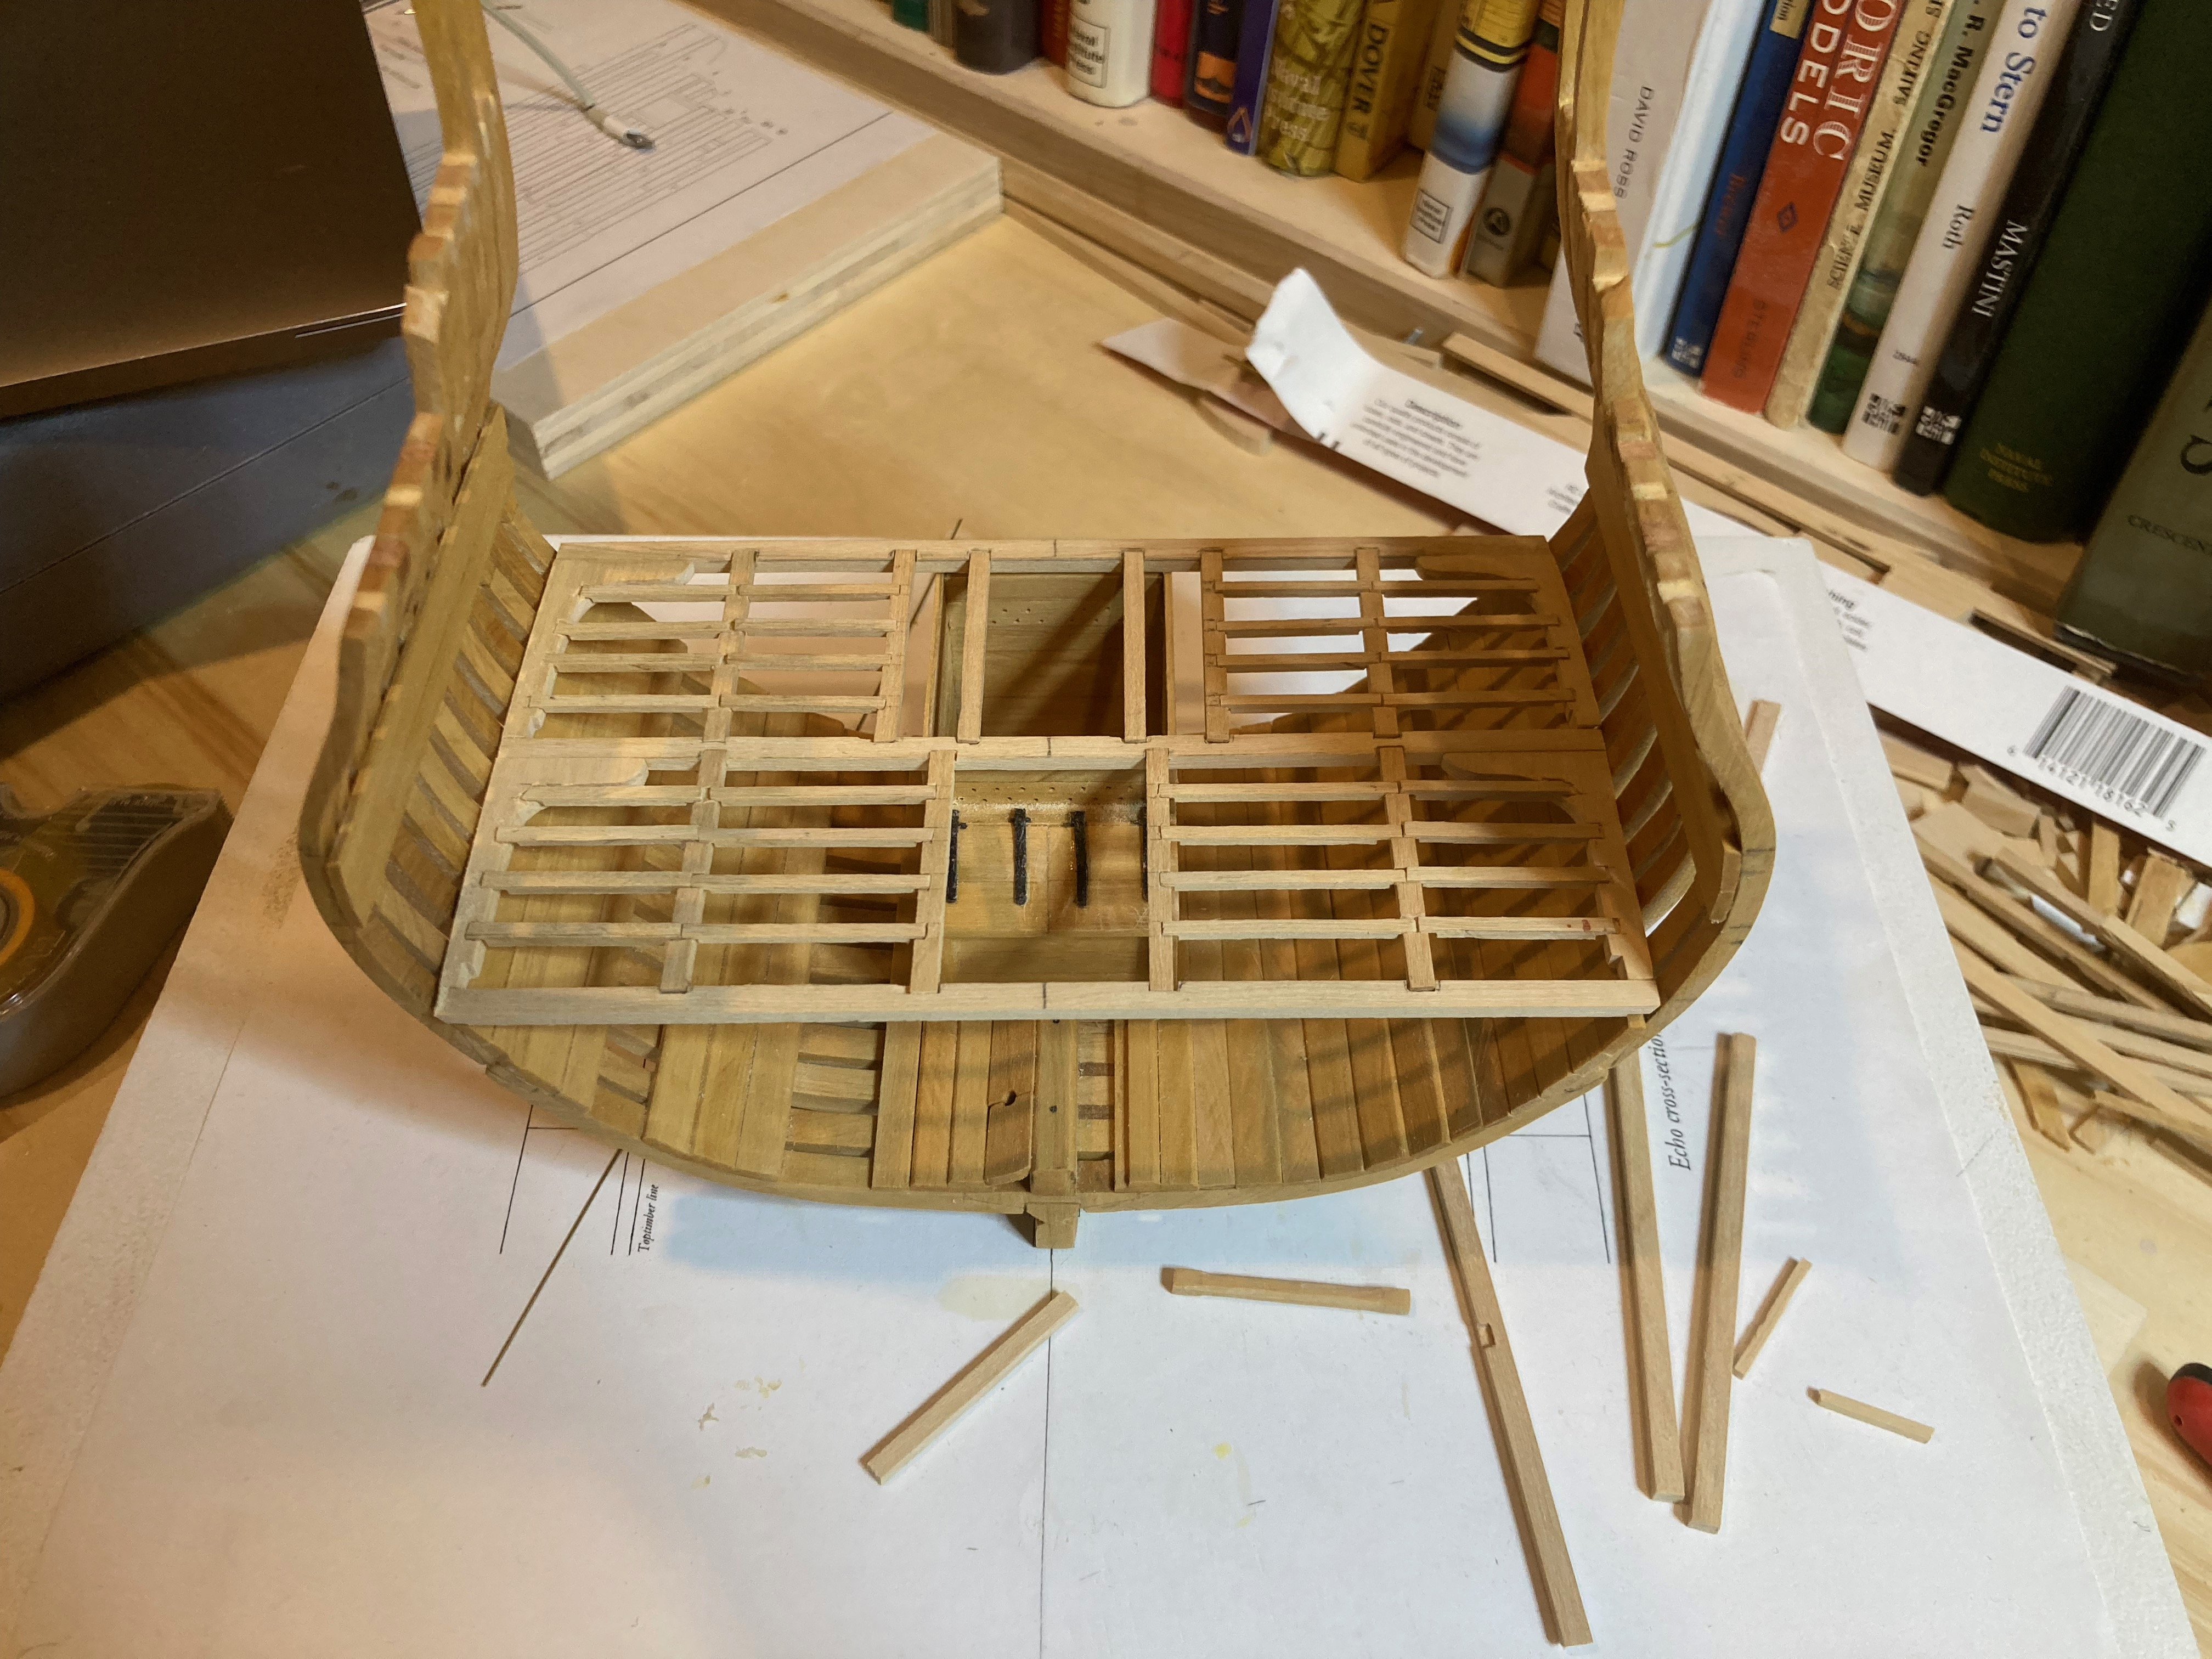
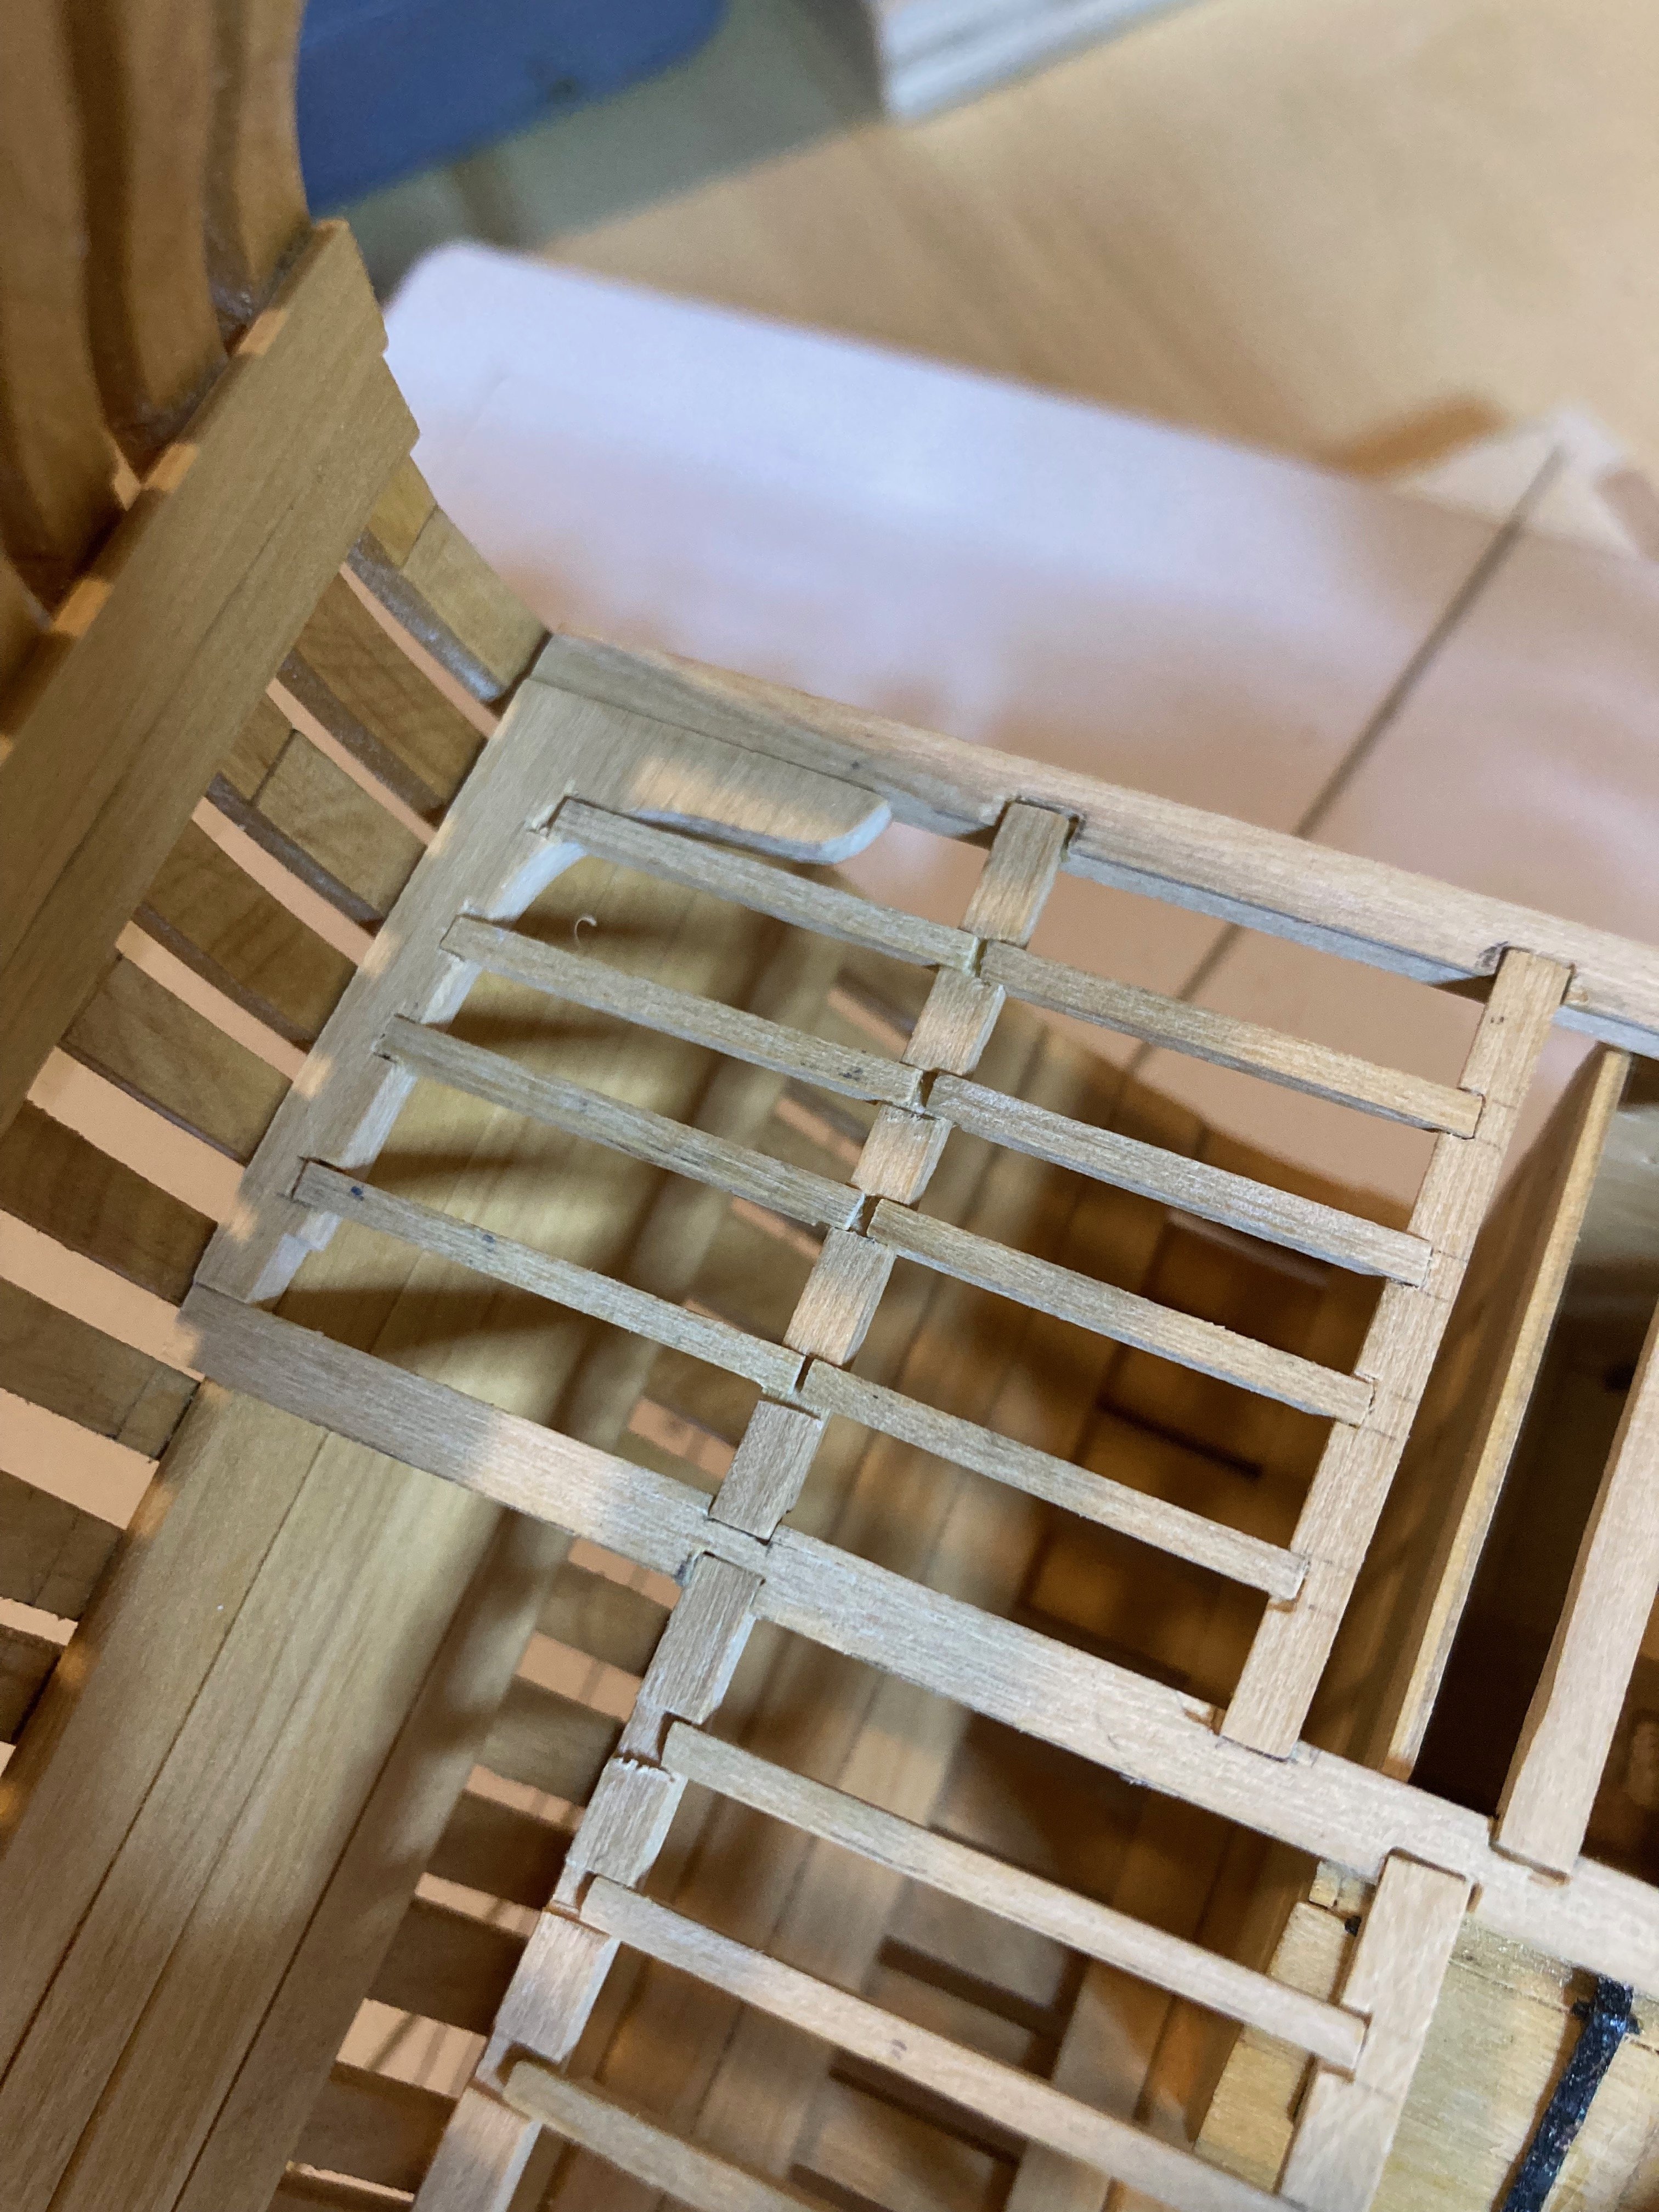
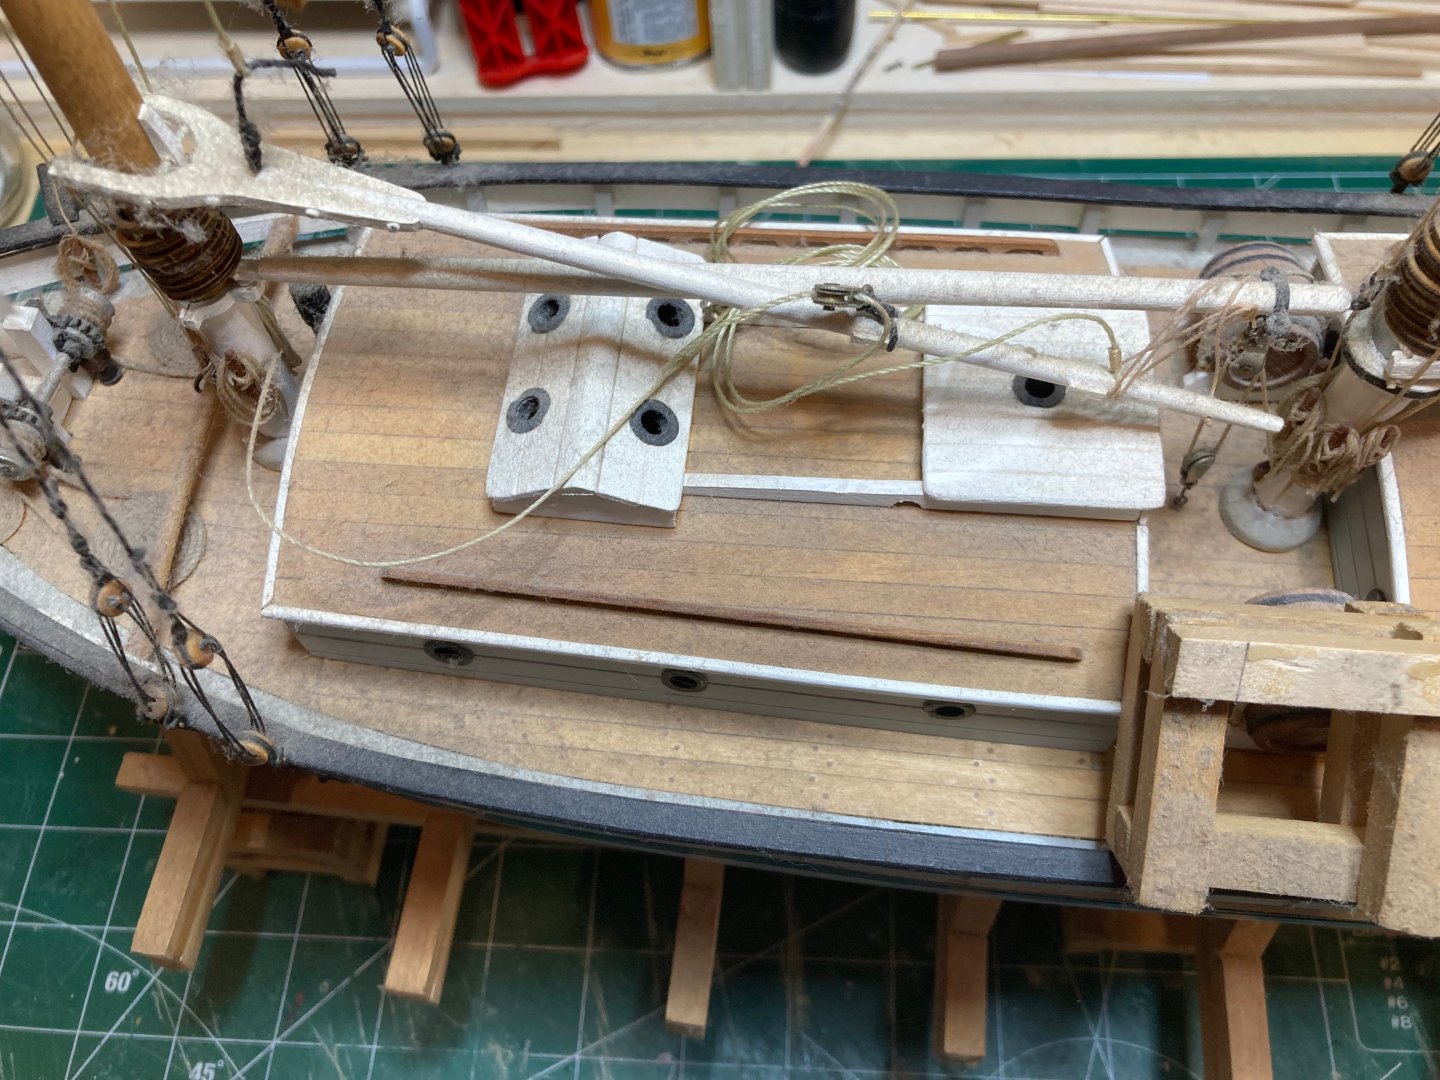
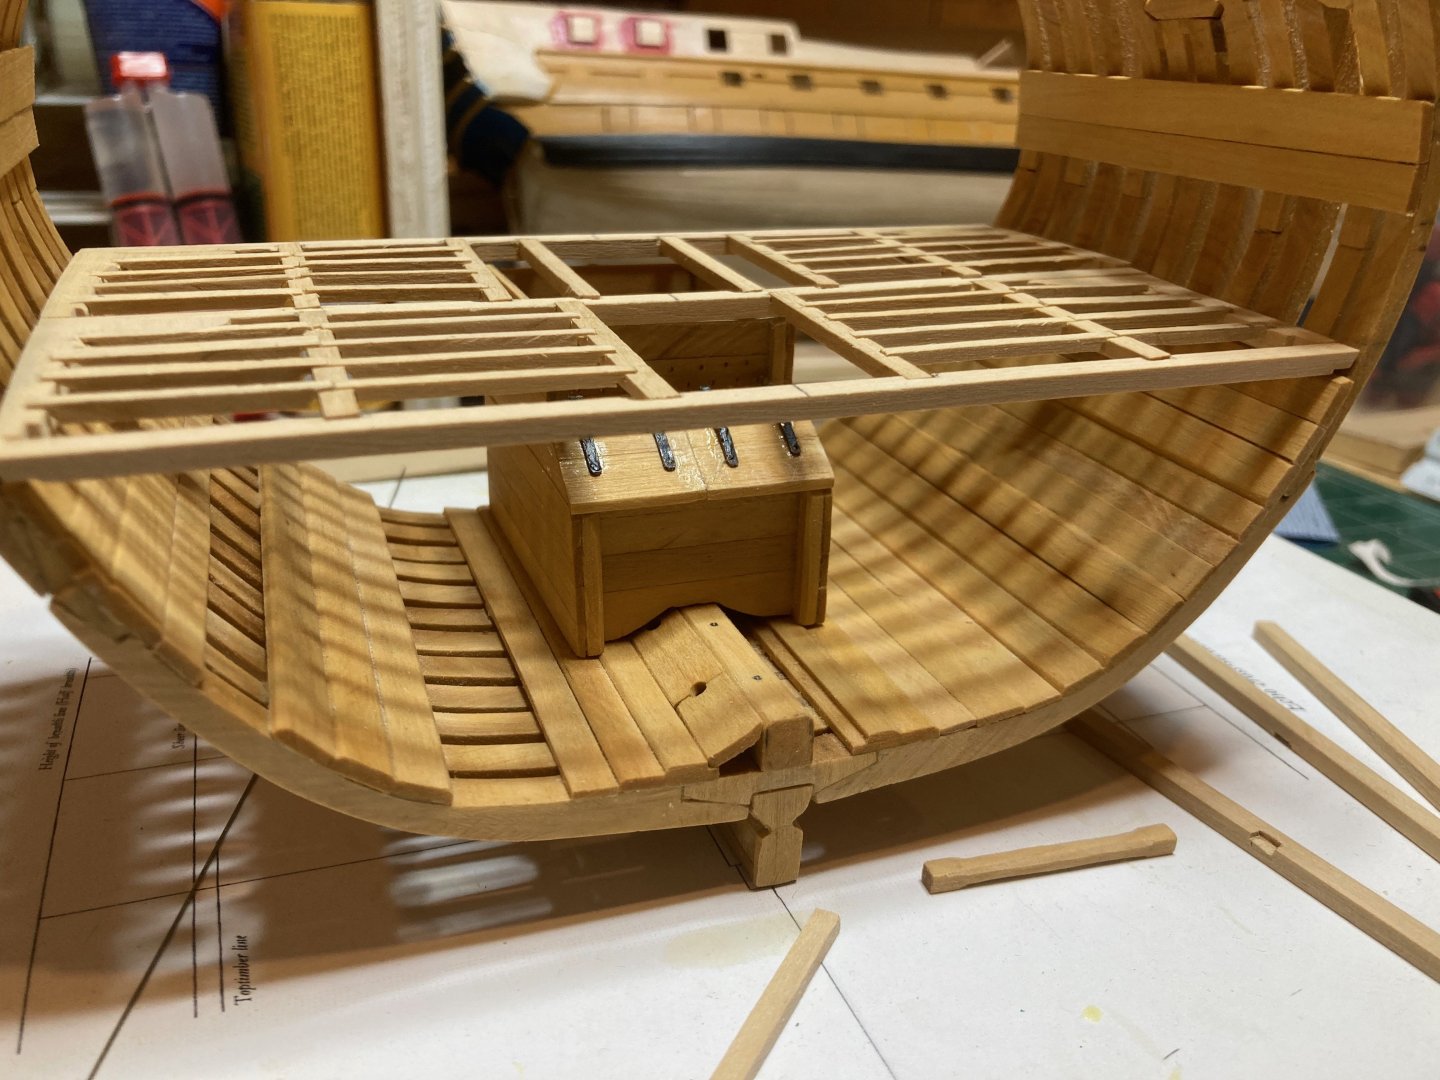
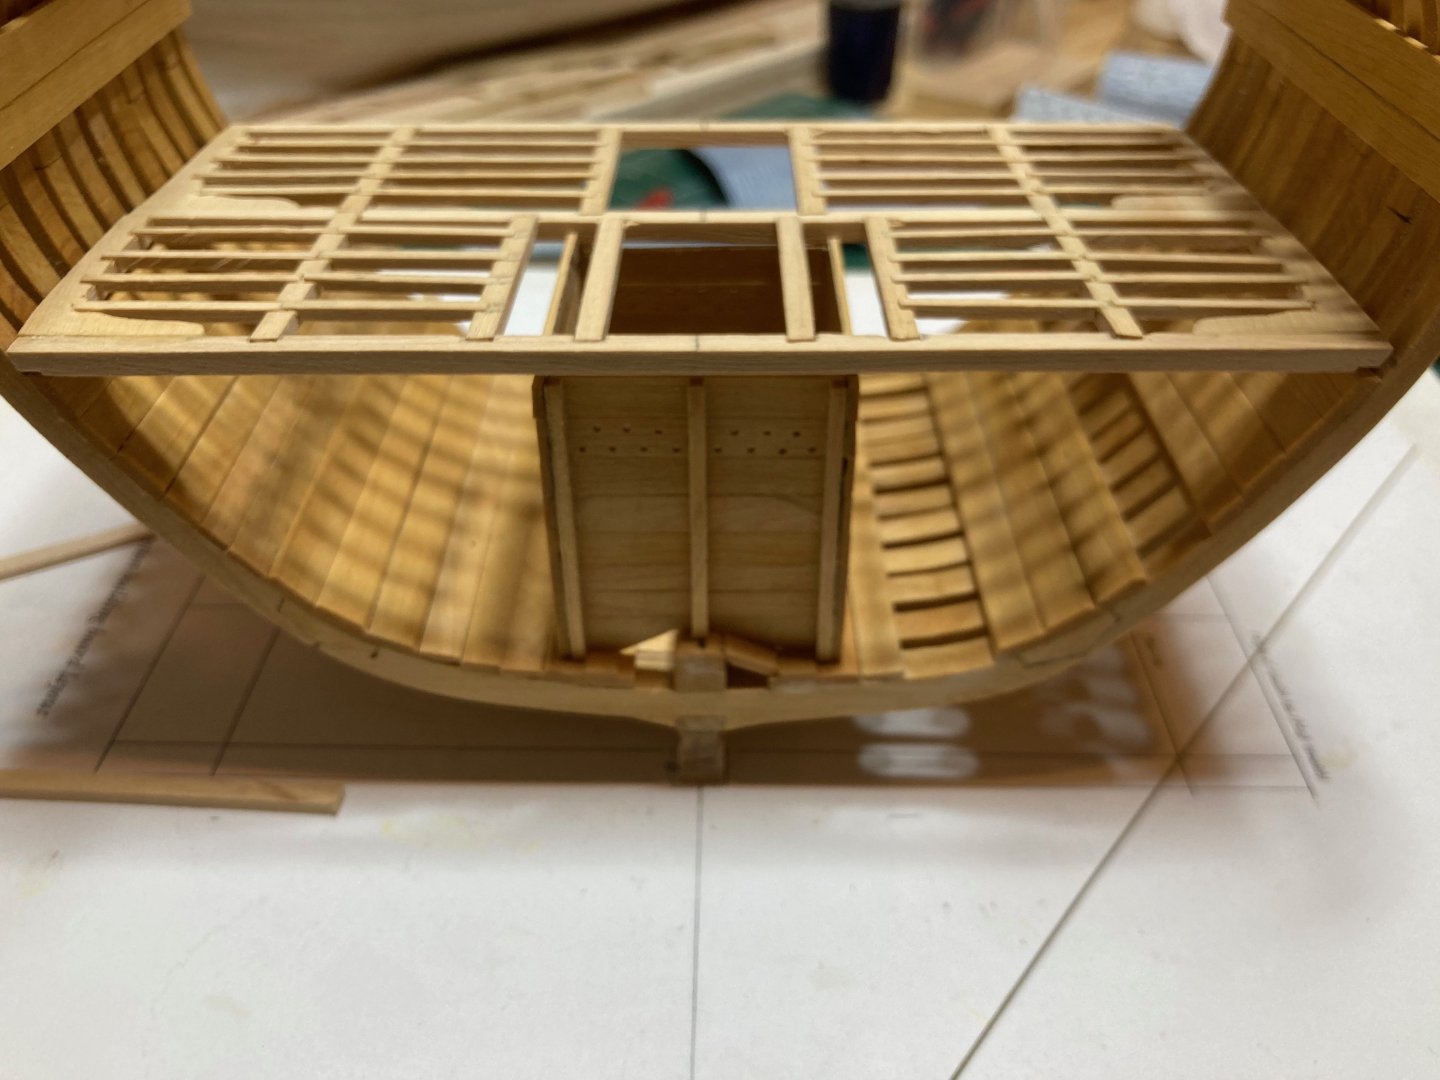
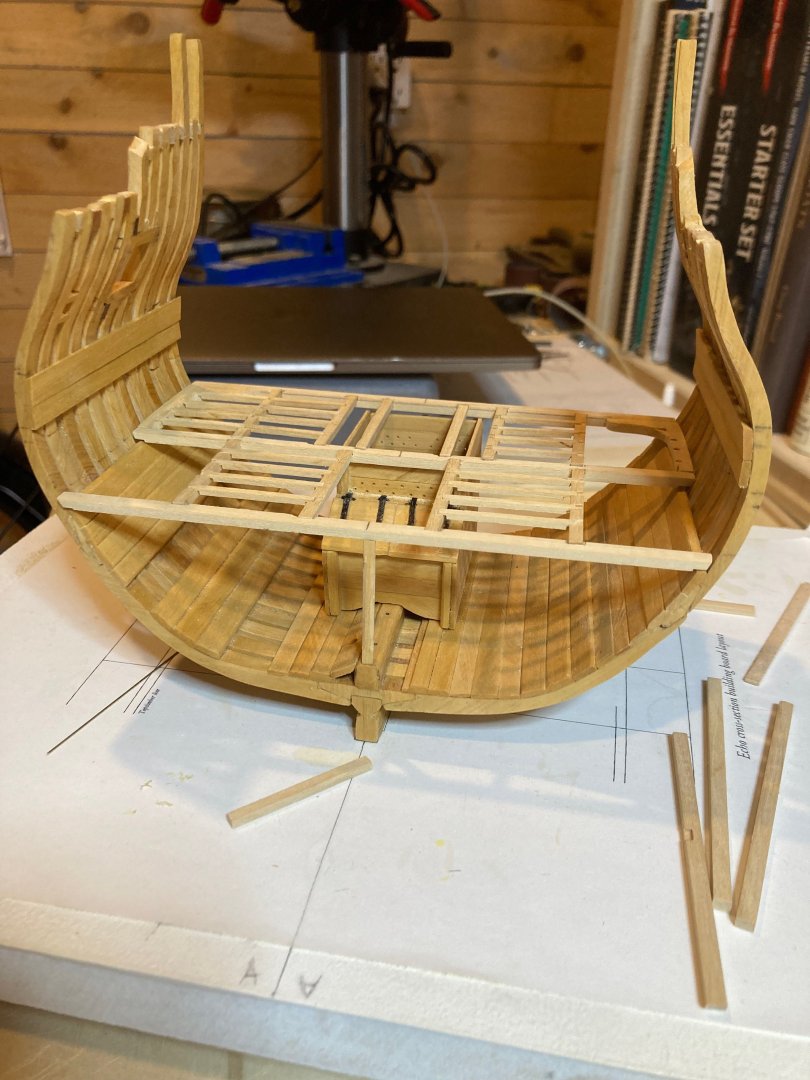
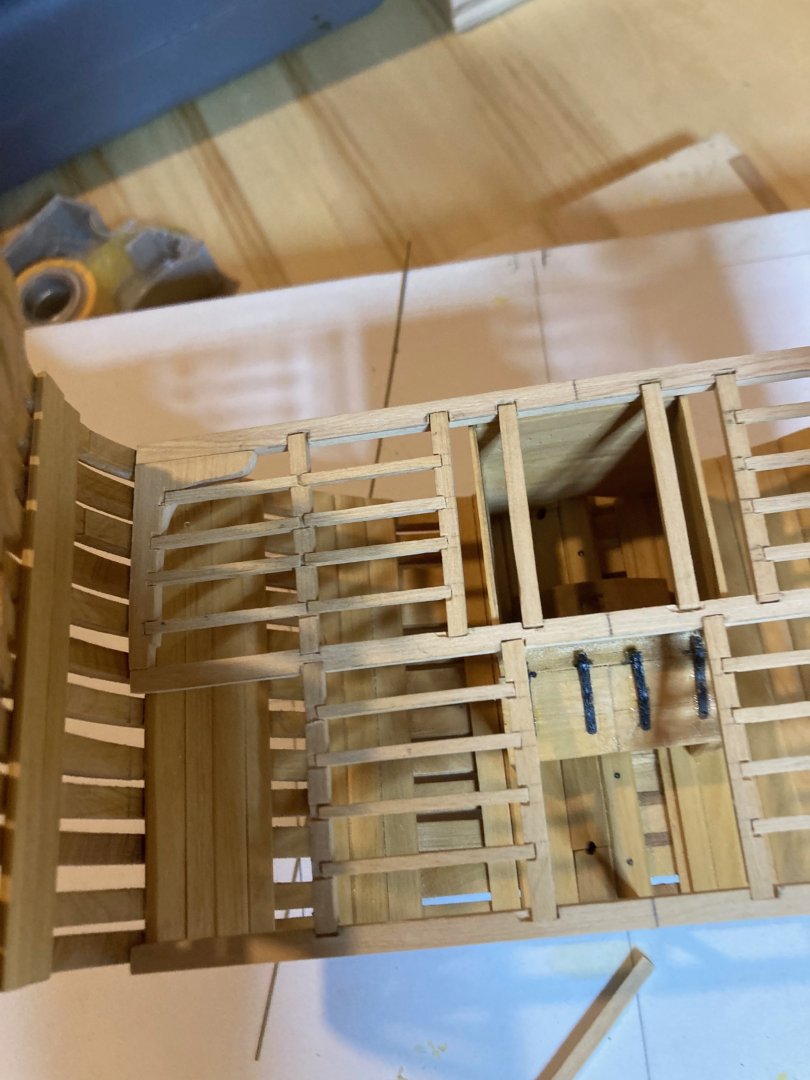
Ok - so the deck framing is now done except for the hanging knees. These will have to be fabricated before the deck assembly is installed, but i won't install them until after that. The current deck frame needs some sanding and I'll put a few coats of wipe-on poly, but you can get an impression of what it will look like. This work has been a good tutorial for the upper deck framing - though that is a bit more complex with the beam arms and accounting for the deck camber - can anyone tell me whether I need to craft the ledges of the upper deck to include the deck camber - I'm assuming yes, and am planning on fabricating the upper deck ledges out of thicker stock so I can sand it fair with the rise of the deck towards the centre lines. The final photo here shows the pillar dry fit between the forward deck beam and the keelson (taken before I finished the deck framing) - I will need to remake this part as the one I initially made is about 1mm too short. Next steps - the hanging knees, blanks for the pump casings, bitt pins and main mast (for alignment of these vertical elements through the decks), the lower deck waterway and spirketing, plus inboard hull planking between upper and lower decks. I think I can also make the forward hatch on the lower deck without building myself into a corner...after that I'll have to turn to the upper deck framing both as a project in itself and to check vertical alignments. Enjoy the photos and happy modelling hamilton


-
Snuck a bit of time to make & install a couple of lodging knees, plus some more ledges. Here are a couple of photos - no further commentary for the moment, as I'm being pulled into a game of Uno with my son..... hamilton


-
Nice work! Really like the blend of woods on deck and superstructures - brings lots of life to the model! hamilton
-
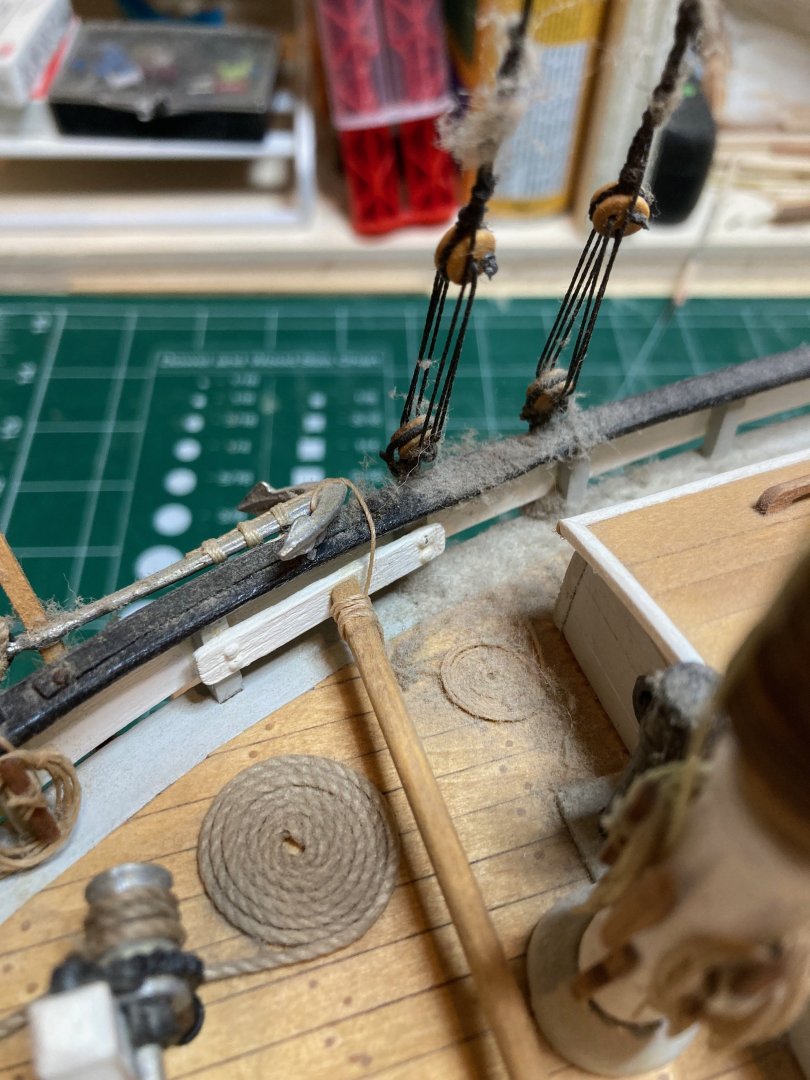
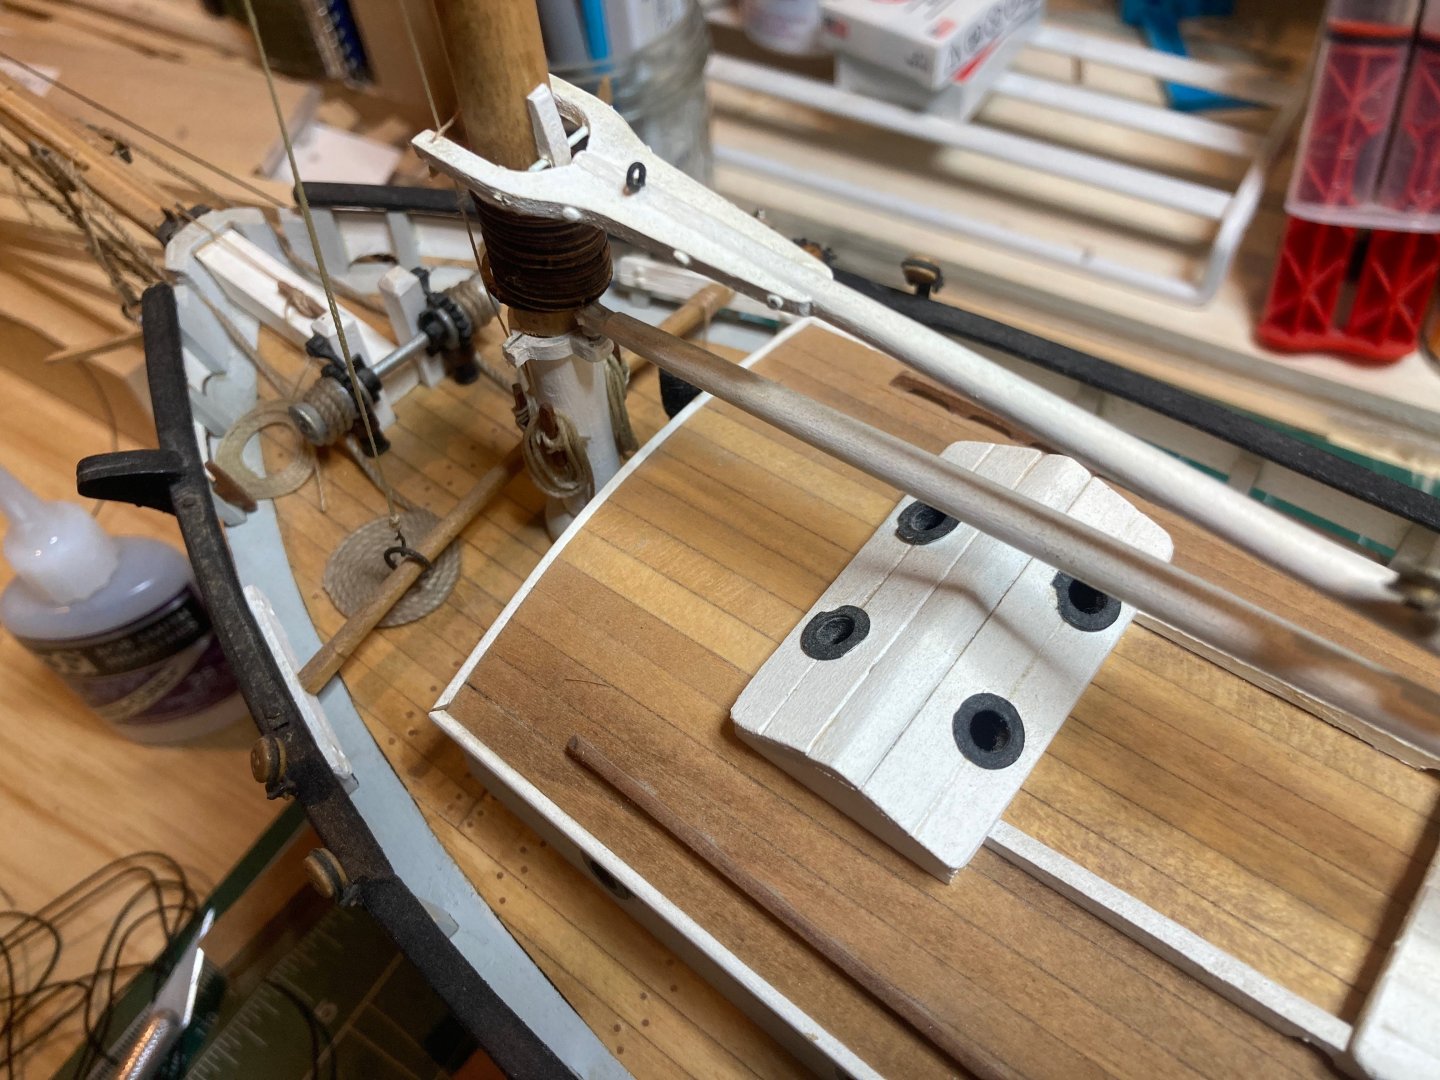
Thanks Dave - I do have the Swan plans from Admiralty models, so will consult those as reference - though a different class of ship I'm assuming that the arrangement for the sheet and jeer bitts would not have differed so significant since the vessel's were of the same rate, I believe....I don't think I would have been able to get so far on this were it not for the practicum (supplemented with the first two volumes of the Fully Framed Model) - there are (as mentioned above) some details that aren't covered there, but the clarity of the explanations of process are extremely helpful to a novice like myself hamilton