-
Posts
1,931 -
Joined
-
Last visited
Content Type
Profiles
Forums
Gallery
Events
Everything posted by hamilton
-
Thanks Davec! Very helpful suggestions all around! I agree that all of a sudden my little hobby shop looks pretty pro with the drill press set-up! In fact, I've already got some ideas about re-organising and renovating the work area to allow for more permanent tool set-up - right now, I store my power tools and bring them out when needed - it's not too bad, but it's getting to the point where the time I spend taking things out, setting them up and putting them back relative to the time I spend at the bench is getting annoyingly skewed....but I have a fence to re-do and a deck to resurface first or it'll be gunplay and gravestones over here..... hamilton
-
Thanks VTHokiEE and Greg - thanks for this - I'm a little worried now that the holes I drilled in the keel assembly are too wide - but I will follow up on these suggestions and see! I see now that I'll have to get myself a tap & die set! The Admiral has started to levy what she calls a "practicality tax" on my tool purchases....meaning that I need to start using the things I buy for more than ship modelling.....starting to realise how much my modelling practice depends on the the policy directions of the Central Bank of Canada.... hamilton
-
Quick question for @dvm27 - or really for anyone who has a knowledge of this....I've now drilled the mounting holes into the keel assembly and I have a supply of 6-32 machine screws at hand for the mounting - but I can't find any info in the instructions about the actual process of mounting the keel assembly on the building board....for some reason, my limited "common sense" is stumbling over this..... I assume I have to set the nuts for the machine screws into the keel assembly after shaping the holes to admit them and then epoxy them in place, then mark out & drill corresponding holes in to the building board and fasten the machine screws in from below? The issue is how to widen the holes without really damaging the part - carefully, yes...but I can't imagine a 1/4" chisel is going to do the job.....any hints would be greatly appreciated! Thanks and bye for now hamilton
-
Thanks Greg! I made a point of downloading those a while back, along with the fitting out instructions - in addition to the boxwood framing package for the cross section, I also bought a supply of un-milled boxwood from Crown Timberyard when were at the end of their operation and a friend generously milled this into three 2" x 3" x 36" lengths - I assume this will be more than enough for the fitting out of the cross-section - I downloaded the wood list and once the framing is done, I'll get to have yet another new experience - putting my bandsaw, Byrnes thickness sander, and mini table saw to work milling boxwood sheets and strips! In any case, I hope I can do justice to this build - and learn from the experience and the many other excellent Echo builds out there. Bye for now hamilton
-
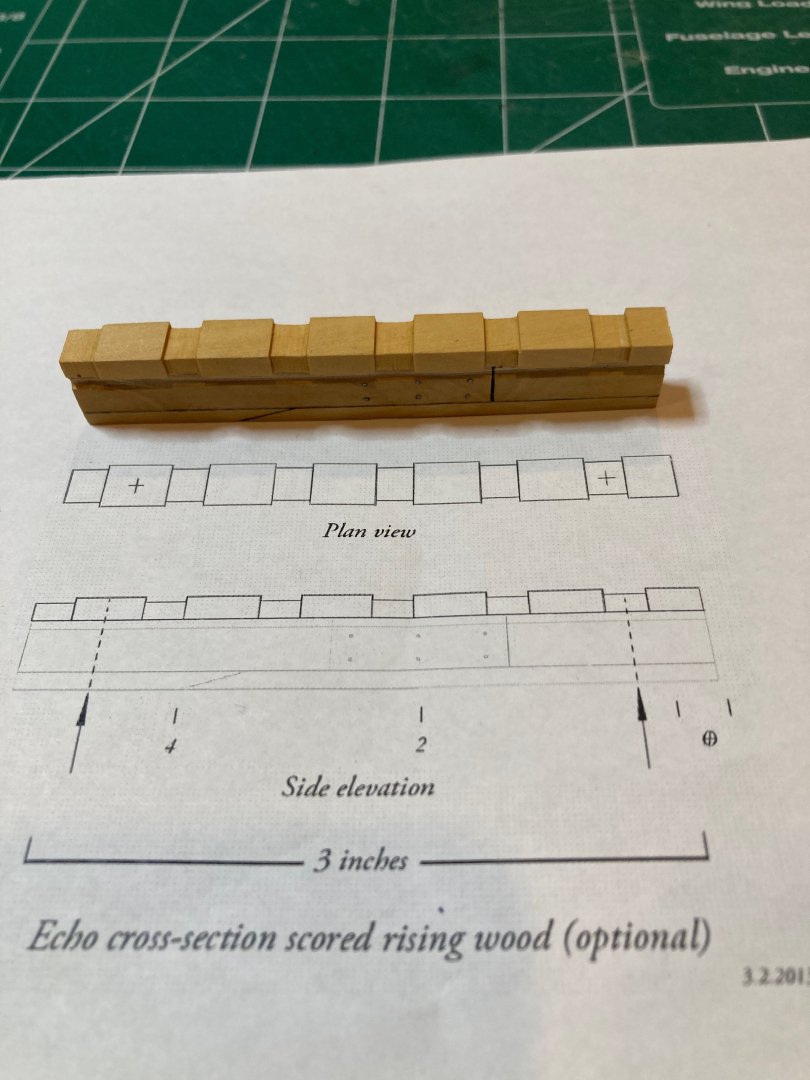
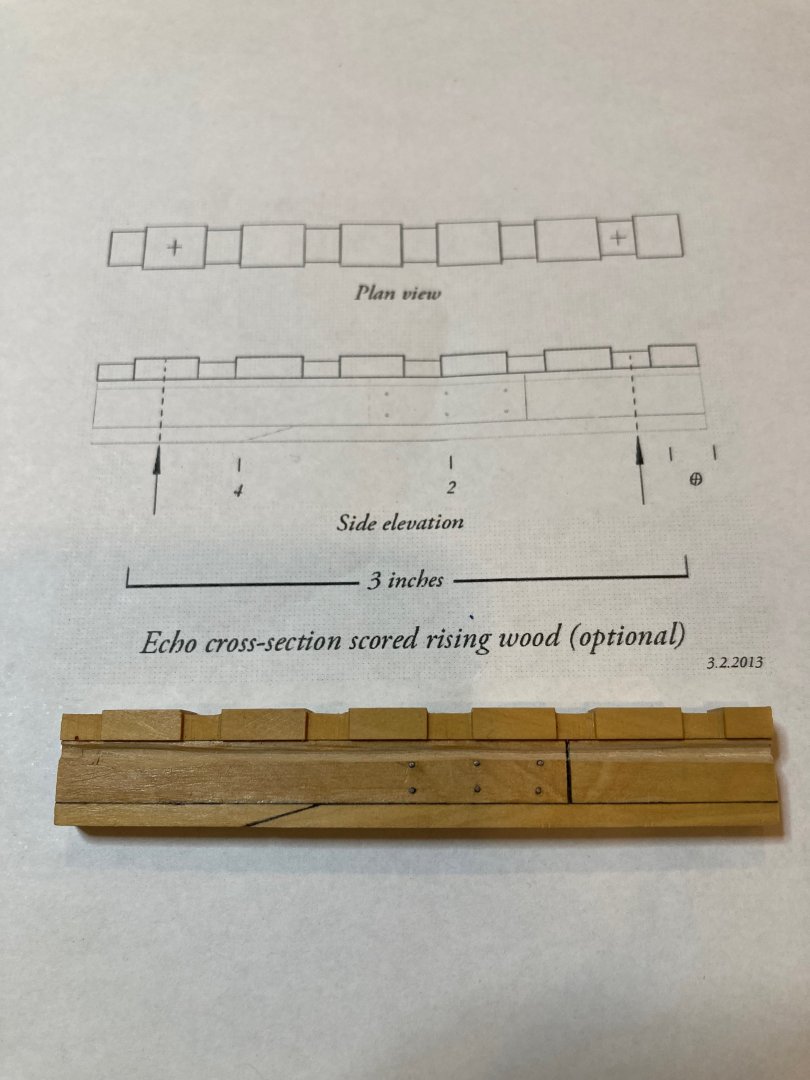
Well this is probably ill-advised, but I've decided to start on the Admiralty Models HMS Echo cross-section (1:48). I actually ordered the framing package for this kit from Crown Timberyard way back in....I can't even remember when....a long enough while ago....and in fact a number of years ago I put together the keel, false keel & rising wood for this build - getting a feel for my then newly purchased mini table saw and disc sander. But since then I haven't done anything, taking some time off modelling and then finishing both the Bluenose and my little Off Center sailing skiff and commencing on Corel's HMS Bellona. Bellona is currently at the stage of the second layer of lower planking - a time when I frequently tire of the slow and repetitive work of planking and try to build momentum by breaking it up not with other work, but by starting a totally different model! This is why I say "ill-advised"....but.... I also sometimes use new model builds as excuses to expand the workshop - this is one of those times. Because I absolutely needed a drill press to drill out the mounting holes in the keel/rising wood assembly, right? Plus the numerous other uses that this tool will see in the shop....right? In any case, I feel that with the drill press my tool complement is complete so at least I can close that chapter....for now. So here are a couple of images of the keel/rising wood assembly - the rabbet still needs a bit of cleaning up on both sides, but otherwise, I'm pretty happy with the results. Next I'll be making a building board, drilling out the mounting holes & then starting on the framing - my first time at this, unless you count a couple of test futtocks I cut out several years ago as a trial....in any case, not sure how quickly this will go, but I'm looking forward to this one as a new type of challenge. Bye for now hamilton
-
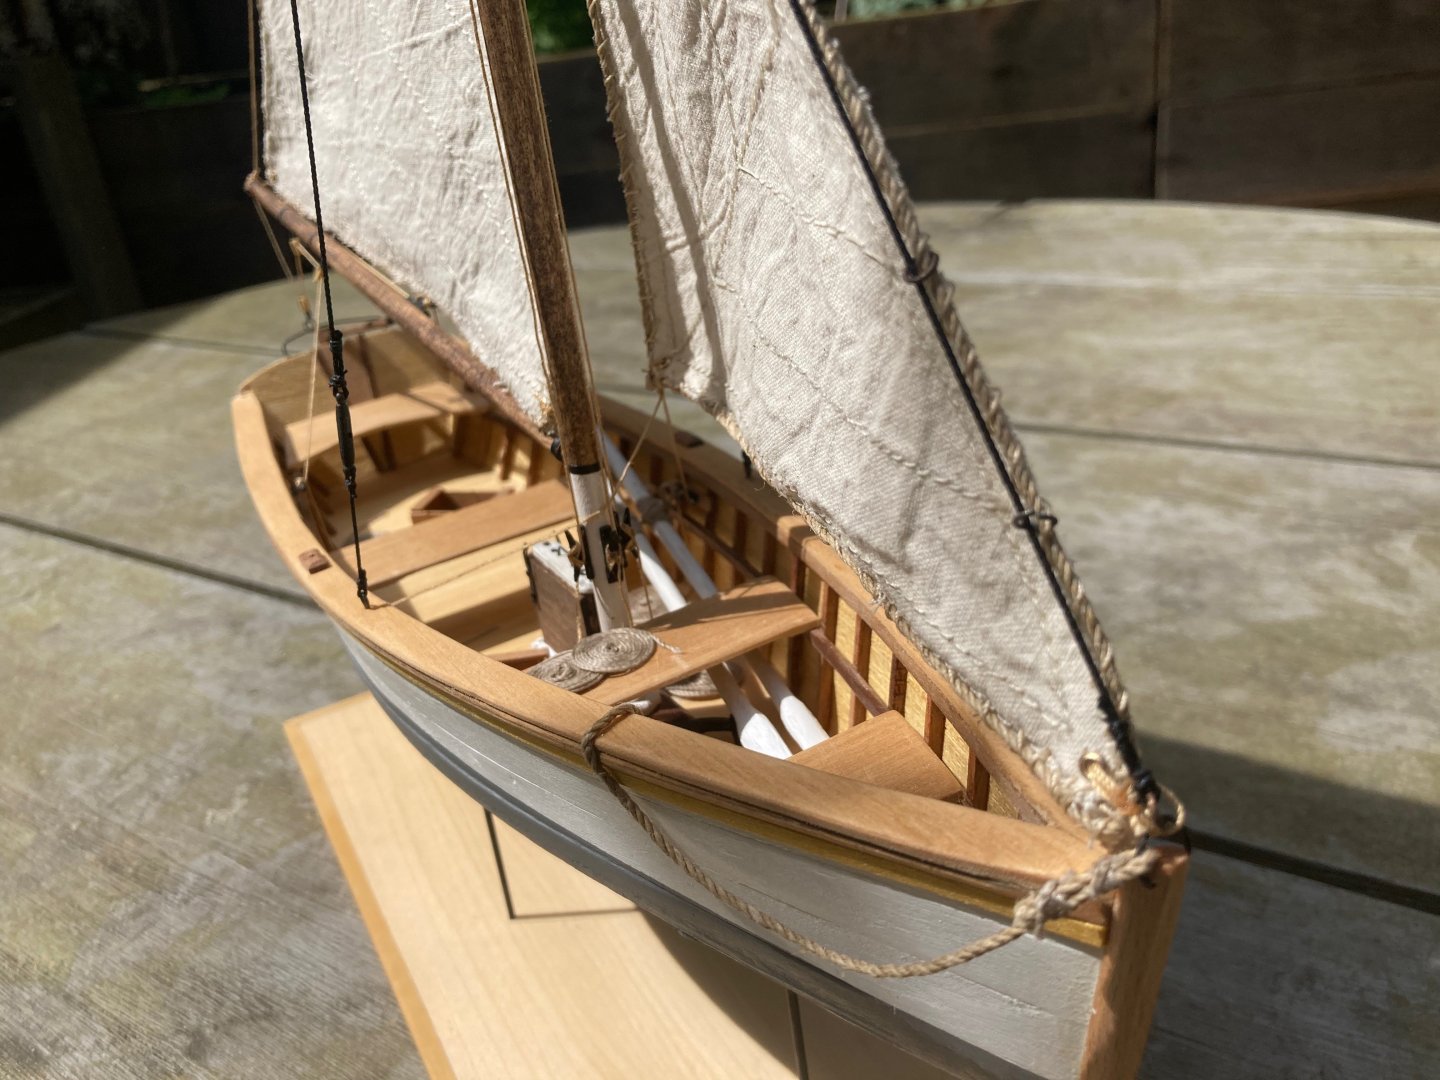
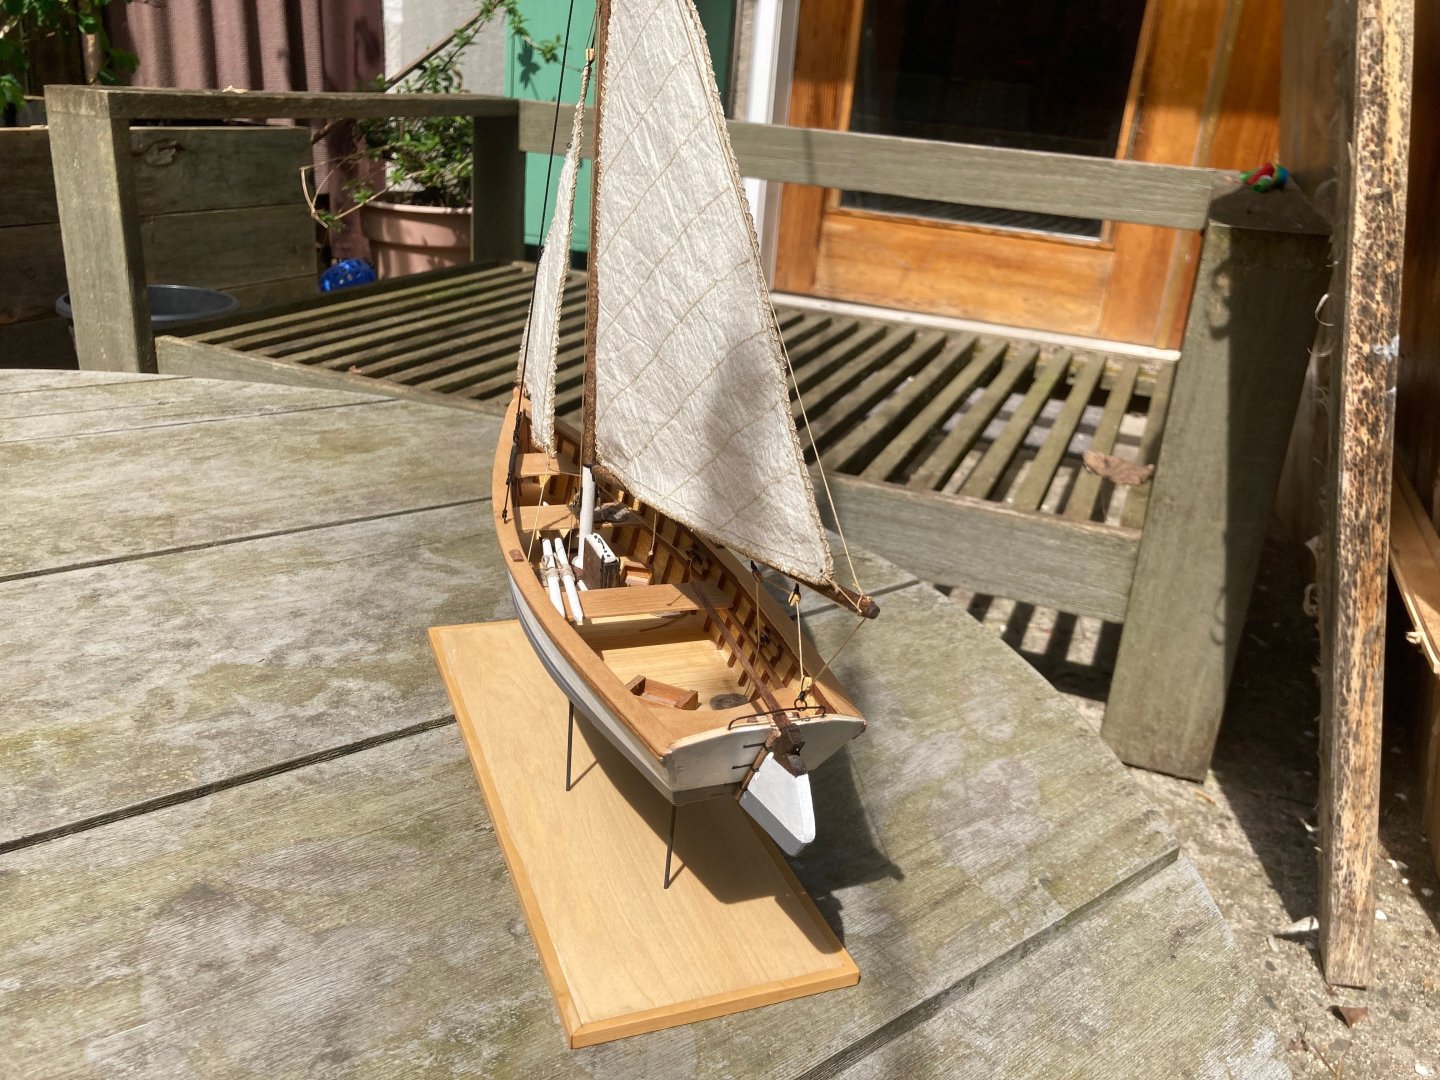
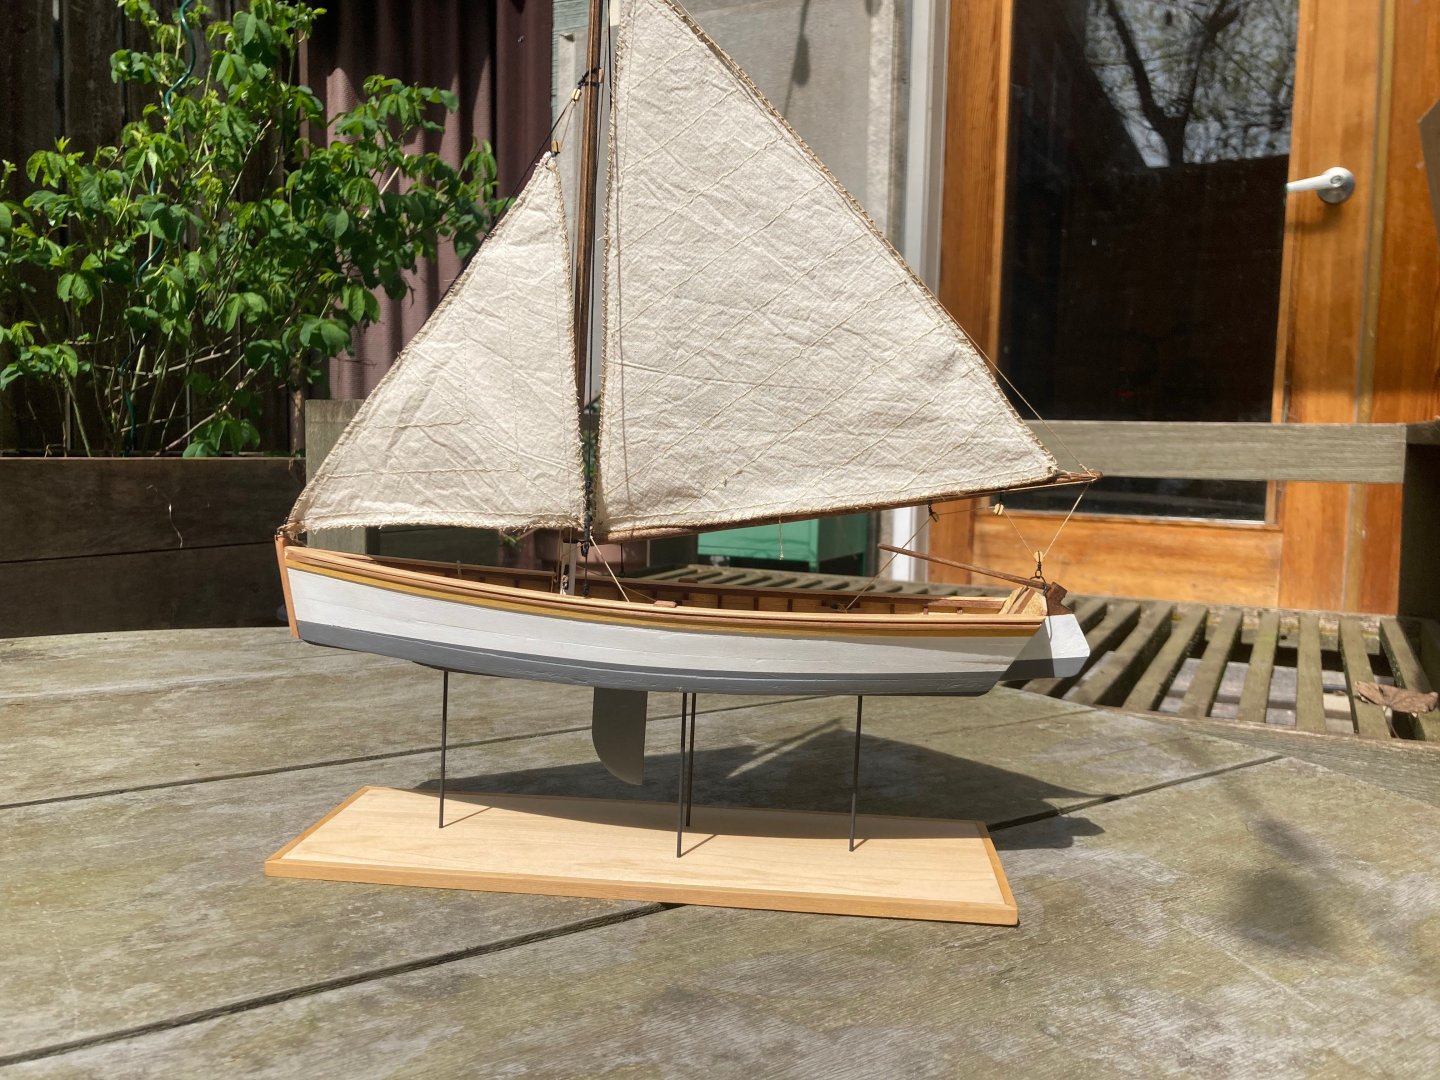
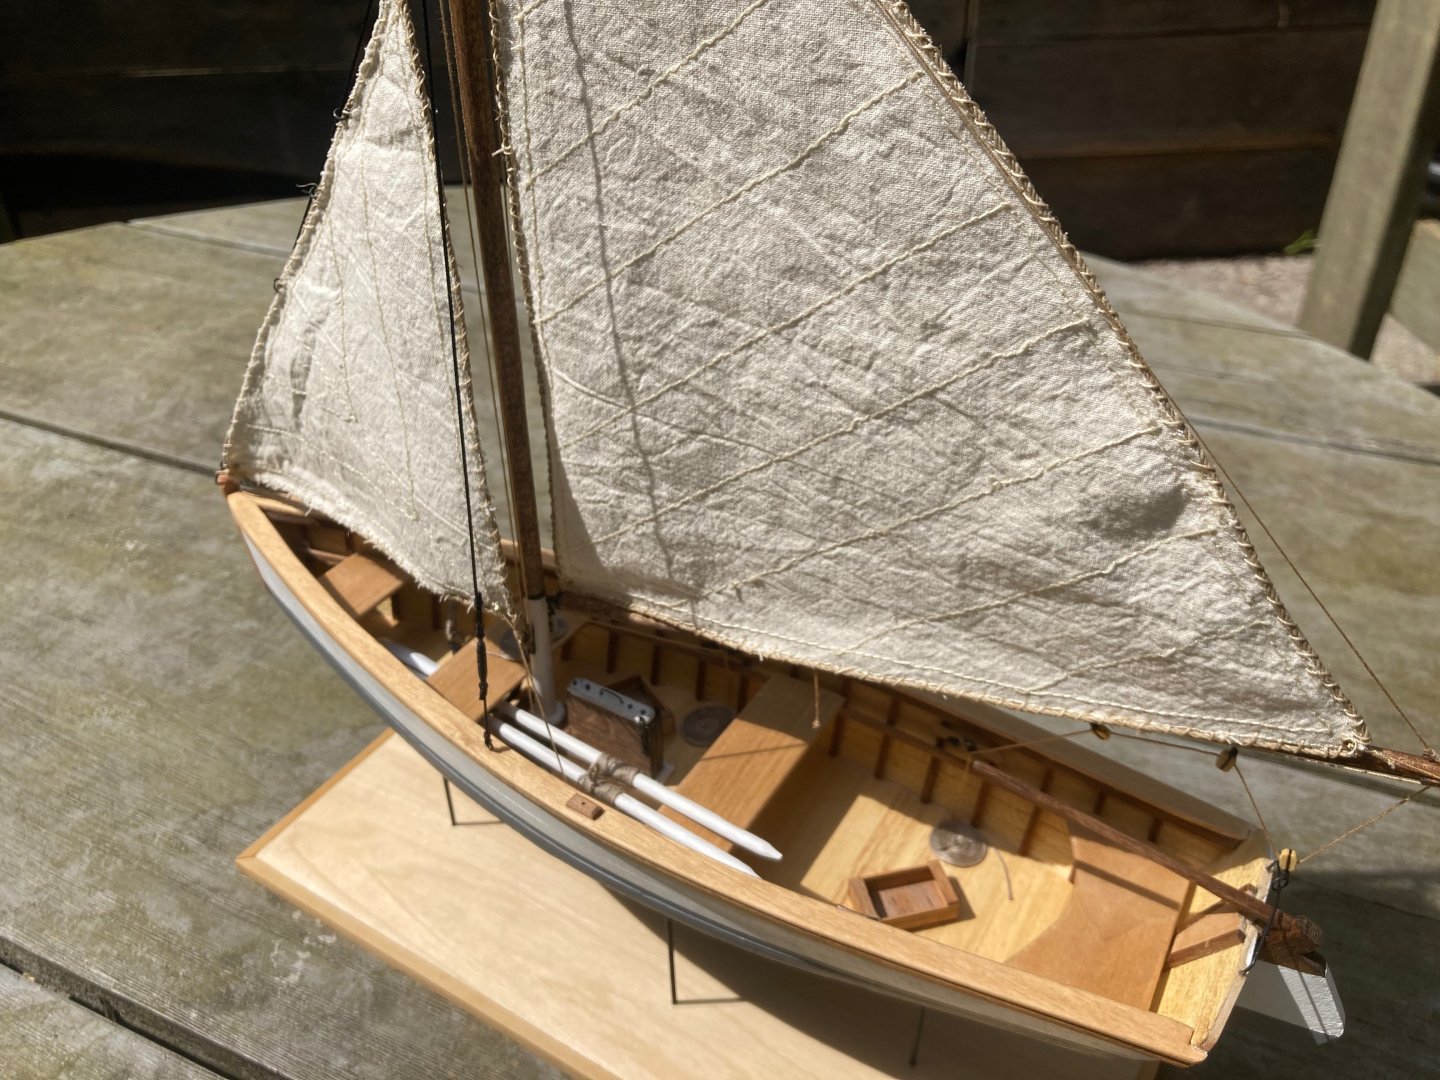
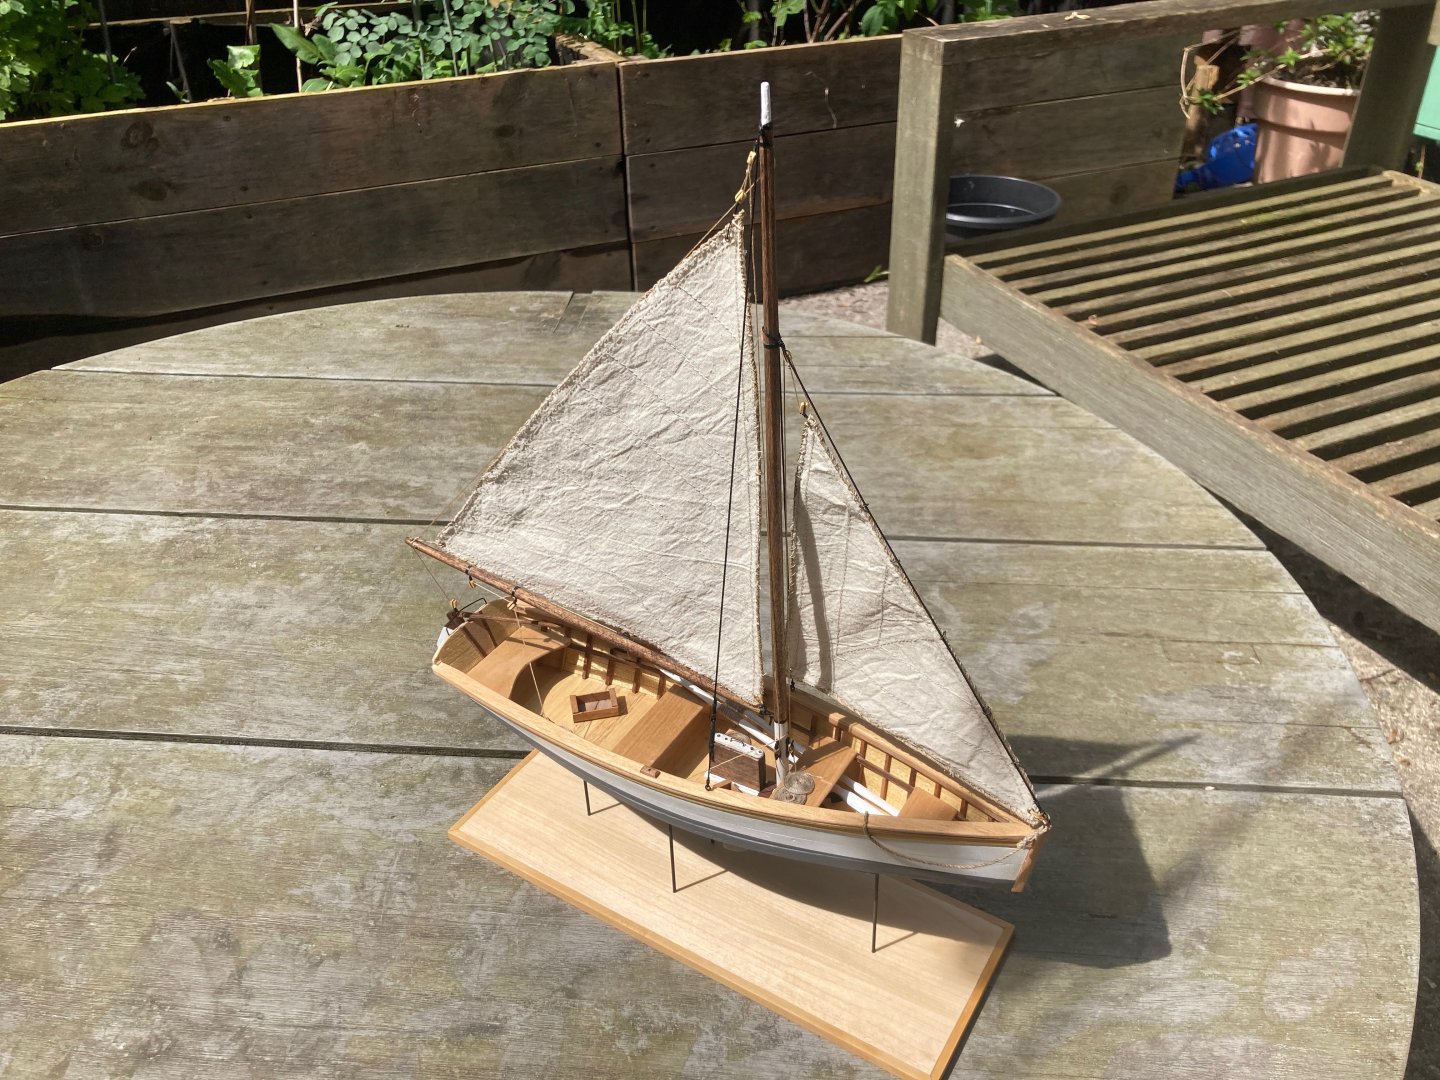
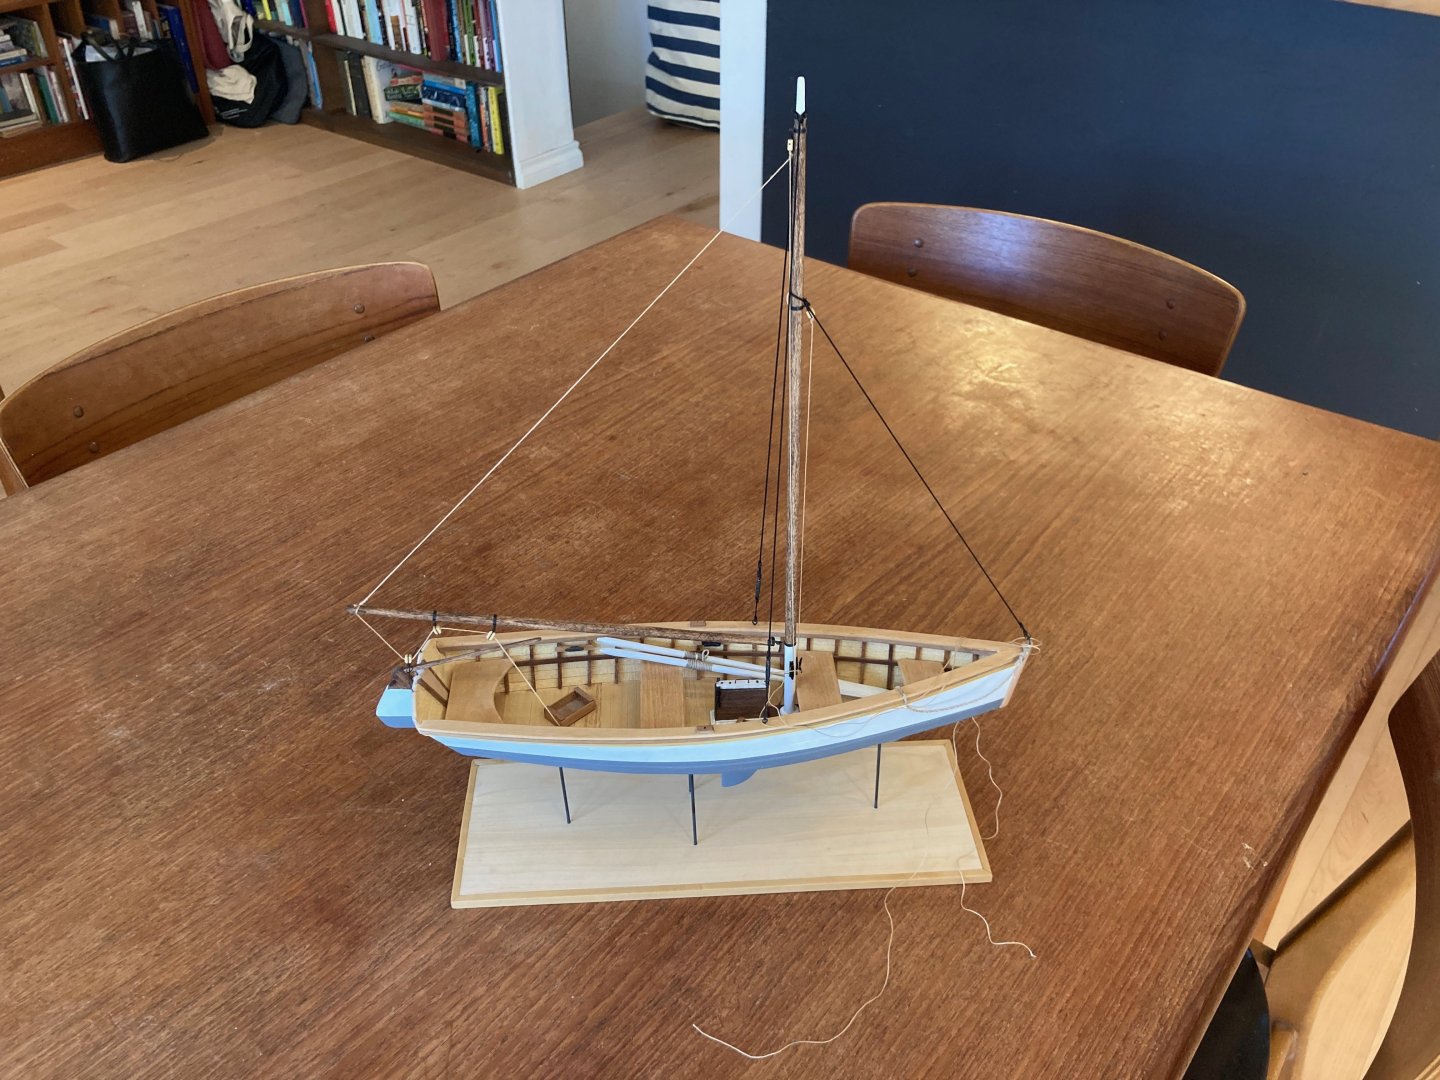
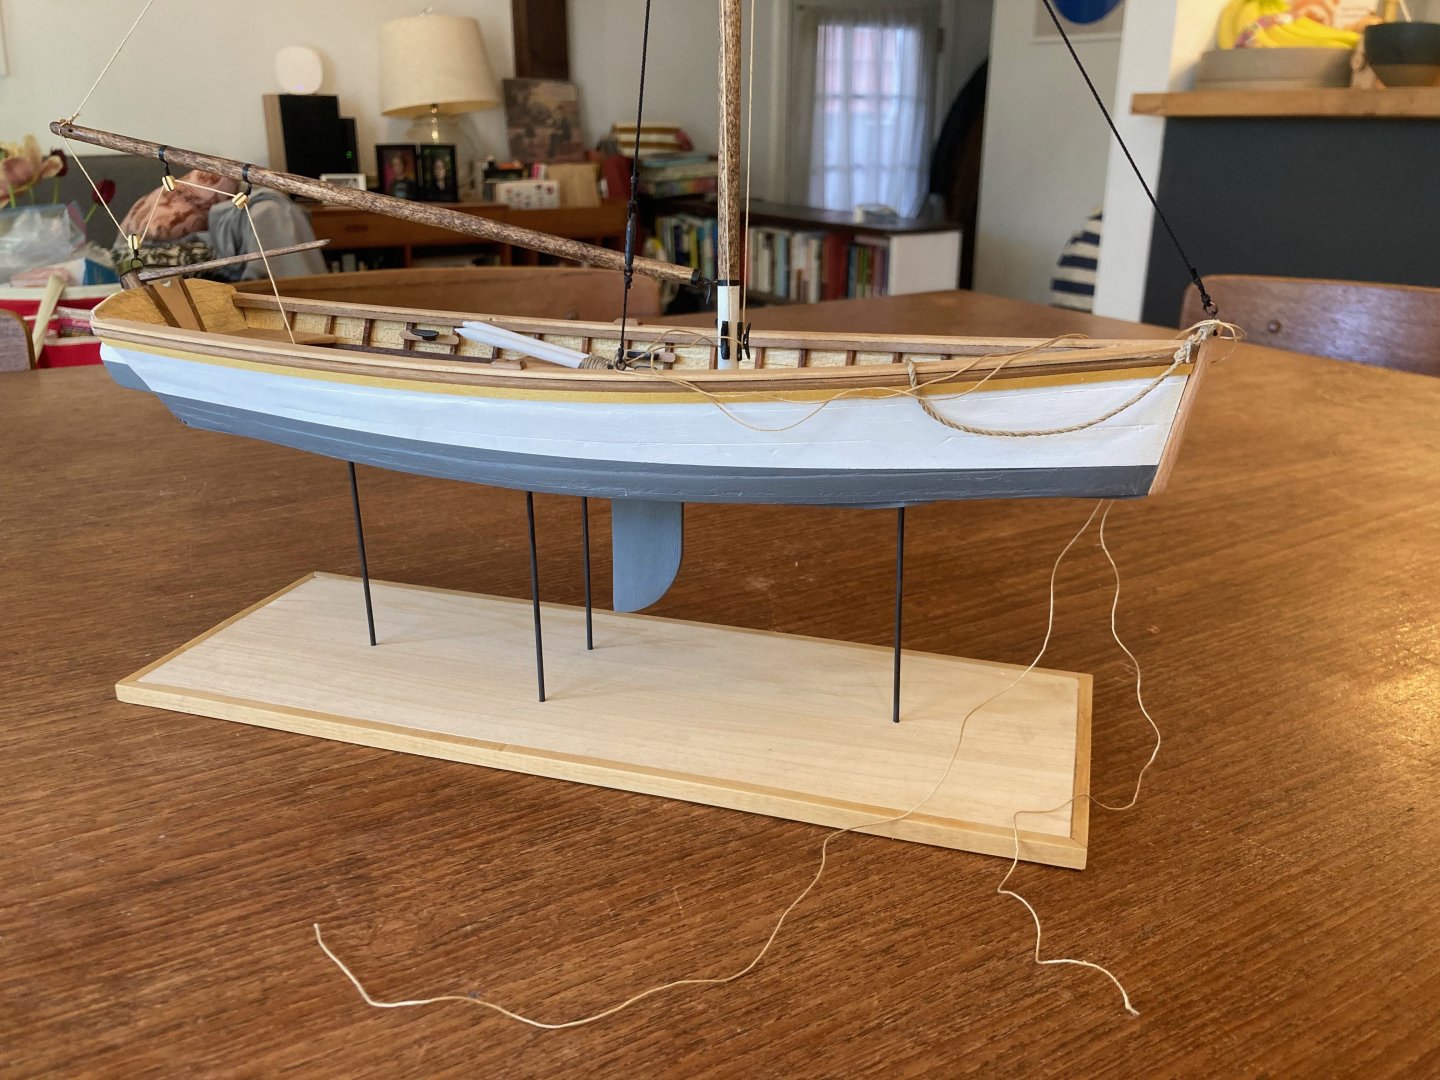
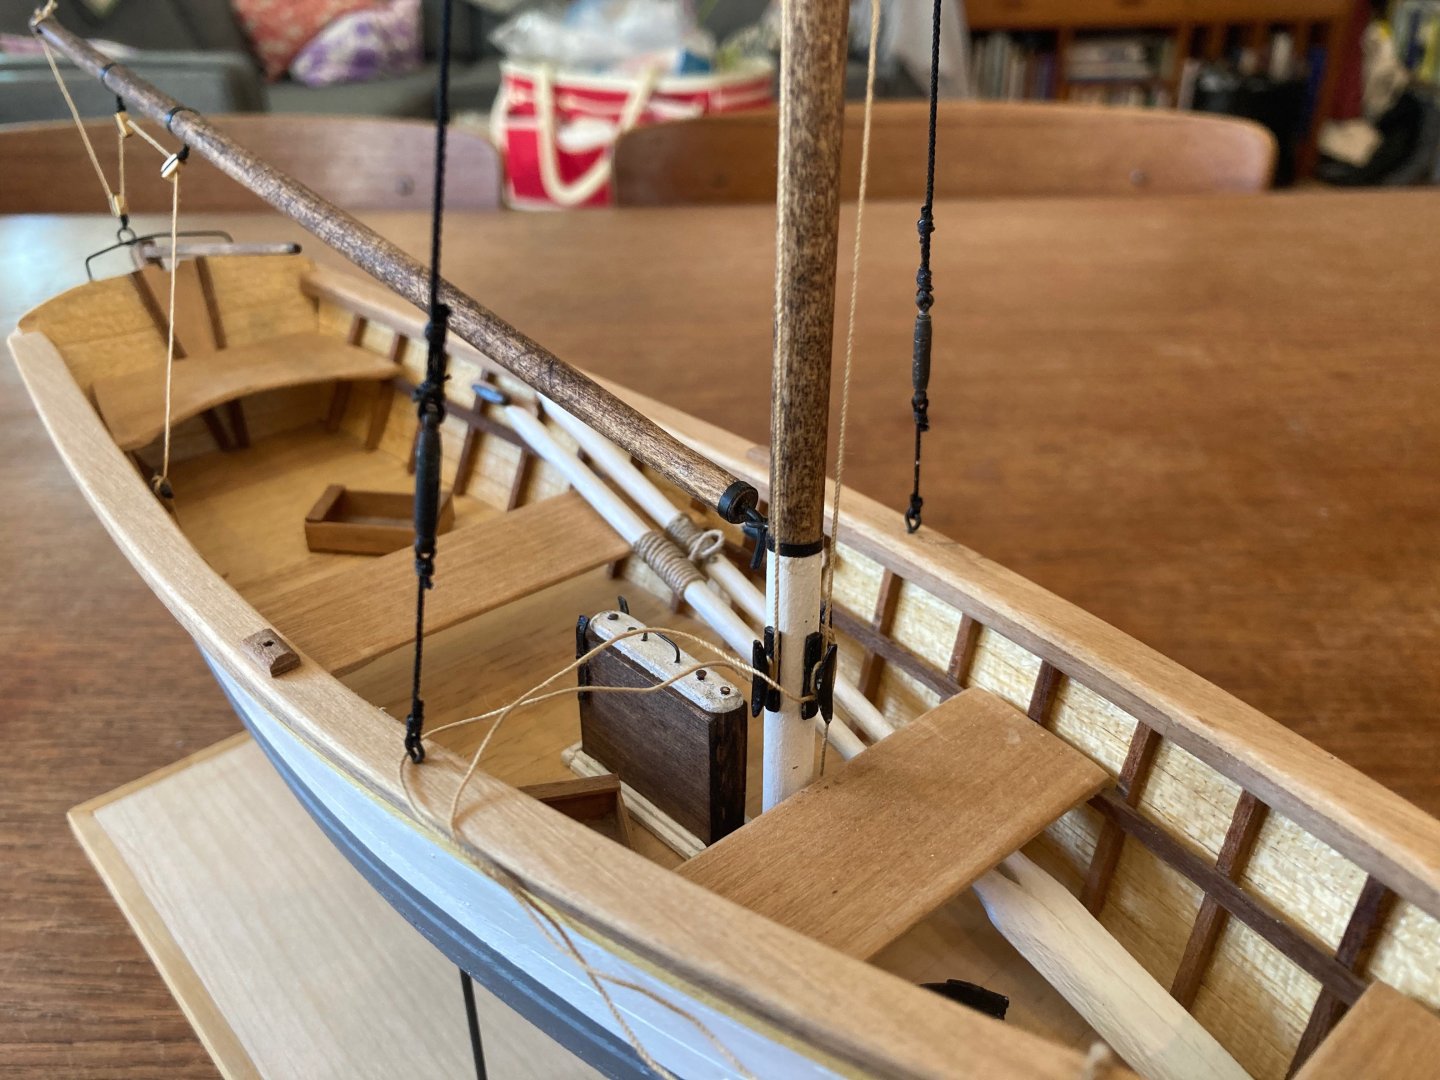
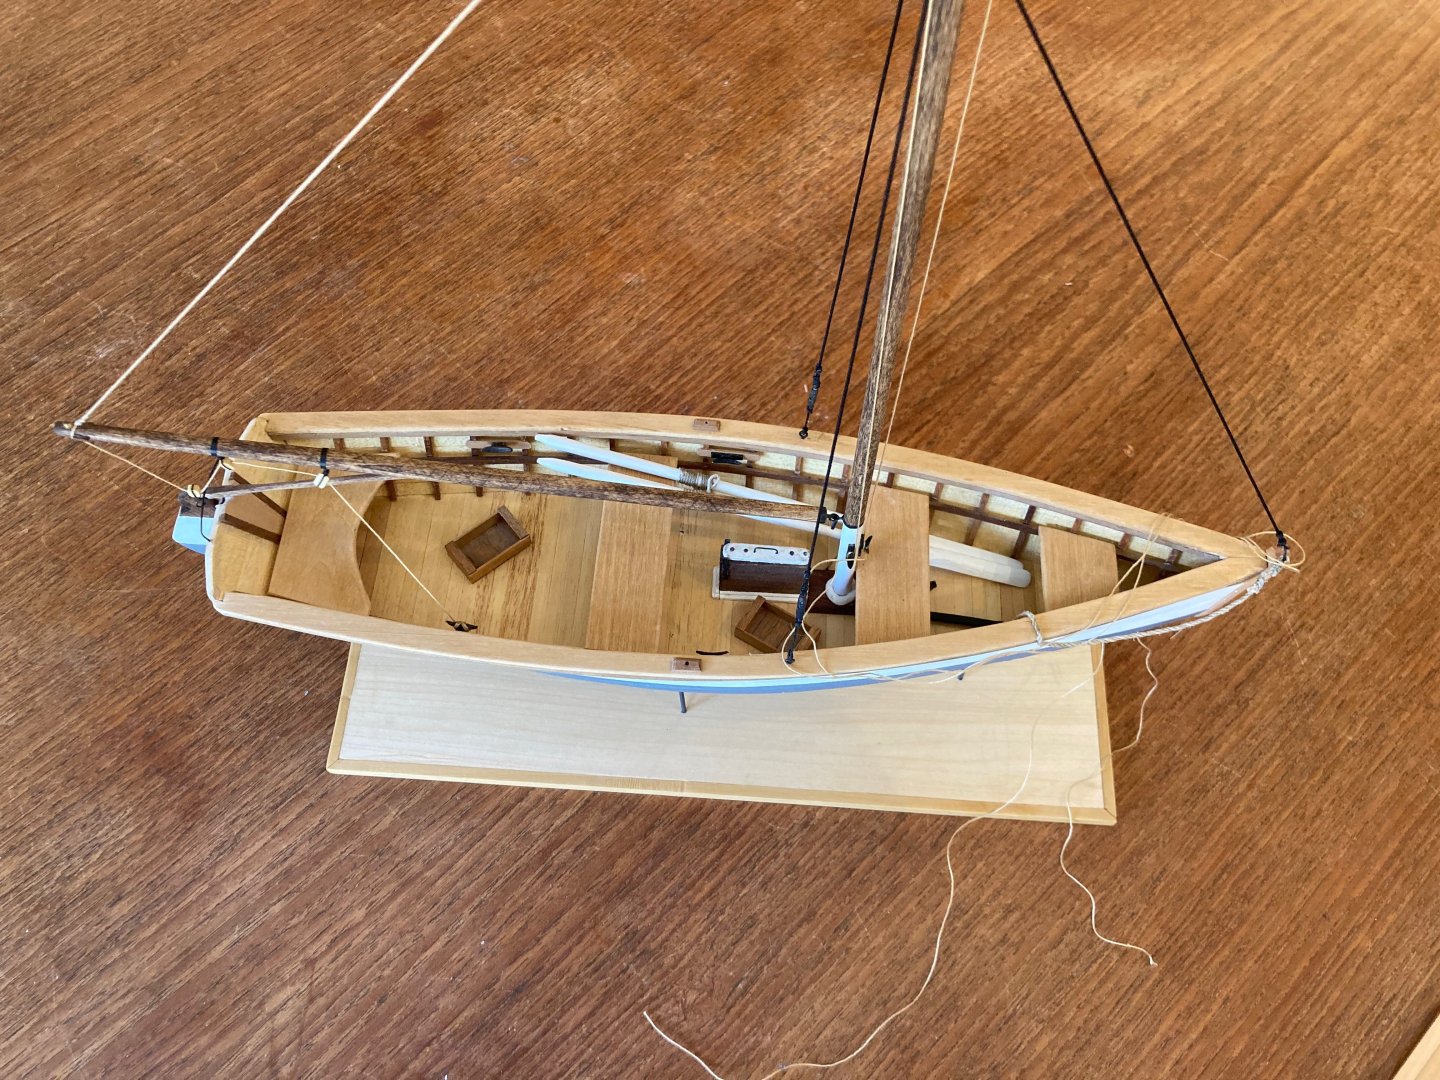
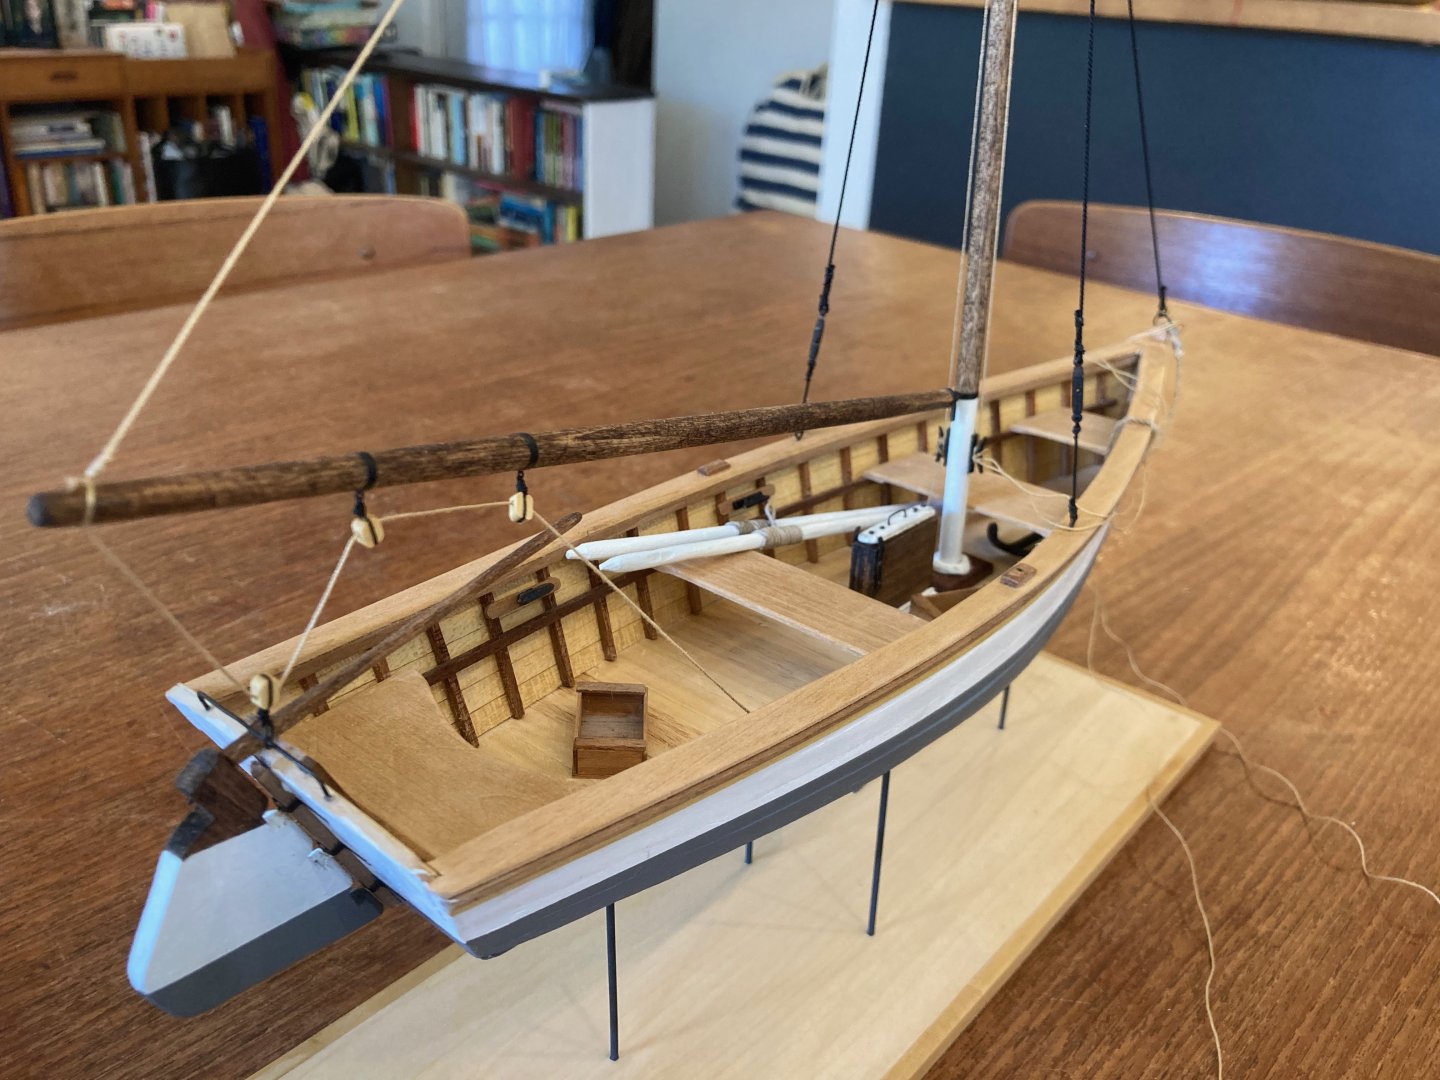
Hello for a final time here - I've now finished the OC "sailing skiff" - which is, of course, a hybrid of the OC rowing skiff and the Monk Truant (for the rig). I'm quite happy with this little one - it's quite cute and I'm very proud of the results. Here are some photos of the finished model - bye for now and enjoy! hamilton
-
Hi there: I just realised that after almost 3 years (has it really been that long!!), I still haven't put an end to this build log and called it done.....this is for a few reasons, most obviously that in getting back into modelling again, I started juggling this build, the Corel Bellona and my scratch-built Bluenose. Now that Bluenose is done, and the Bellona is well underway, I realised that I still have some stuff to do with this little skiff. I needed to re-do the stem piece, which was damaged for some unknown reason, complete the rudder and do some little details. I had considered earlier adapting her by adding a rig, but put that idea on the back burner until a couple of weeks ago, when I was looking through a book of small boat designs by Edwin Monk and came across the "Truant", whose rig I thought could work (at least aesthetically) with this skiff. It did mean that I would have to file a slot through the bottom of the boat/keel for a dagger board, but this was not too difficult to accomplish. The rigging arrangement and dagger board design were all taken from the Monk "Truant" design. At this point, I've also made and added a main sail and jib, but I don't have photos of these. I just need to add a few rope coils at this point and she'll be done. Here are some photos prior to the addition of the sails - I should be done this one by the end of the week and will post some completion photos here and in the gallery when that's done. In the meantime, enjoy! hamilton
-
Beautiful work on the sails John! hamilton
- 282 replies
-
- Bluenose
- Model Shipways
-
(and 1 more)
Tagged with:
-
I didn't use any of the kit-supplied planking except below the wales and I also didn't use those metal gunport frames, but framed out the gunports with scrapwood....sorry, it was so long ago I can't really remember........ Because of the flaws of this kit, I strongly recommend just going with whatever works rather than with the kit's recommendations - that's what I did about 75% of the time on this build. If you already have those gunports installed, then the main thing is that the general arrangement (1 strake above the gunports , 1 below and whatever works to fill the gap between) be maintained, and also that whatever material you use it should be of a consistent width - at 1:100 scale I would go for the 3mm planks myself - 4mm would look a little too wide, I think, for this vessel at this scale - those can be used for the lower hull planking. hamilton
-
Thanks Nearshore! I feel like it's going better than it usually does, which isn't saying much, but still - I'm happy with these results so far. As we know, in ship modelling there's always more time for mistakes! Wish I had more time to work on the model, but such is life. I'm going to be heading into another really busy push at work starting mid-week, but in a couple of weeks I'll get a breather and hopefully find an hour here and there at the bench to make some progress. hamilton
-
Really impressive metal work Gregg! hamilton
- 184 replies
-
- Bluenose
- Model Shipways
-
(and 1 more)
Tagged with:
-
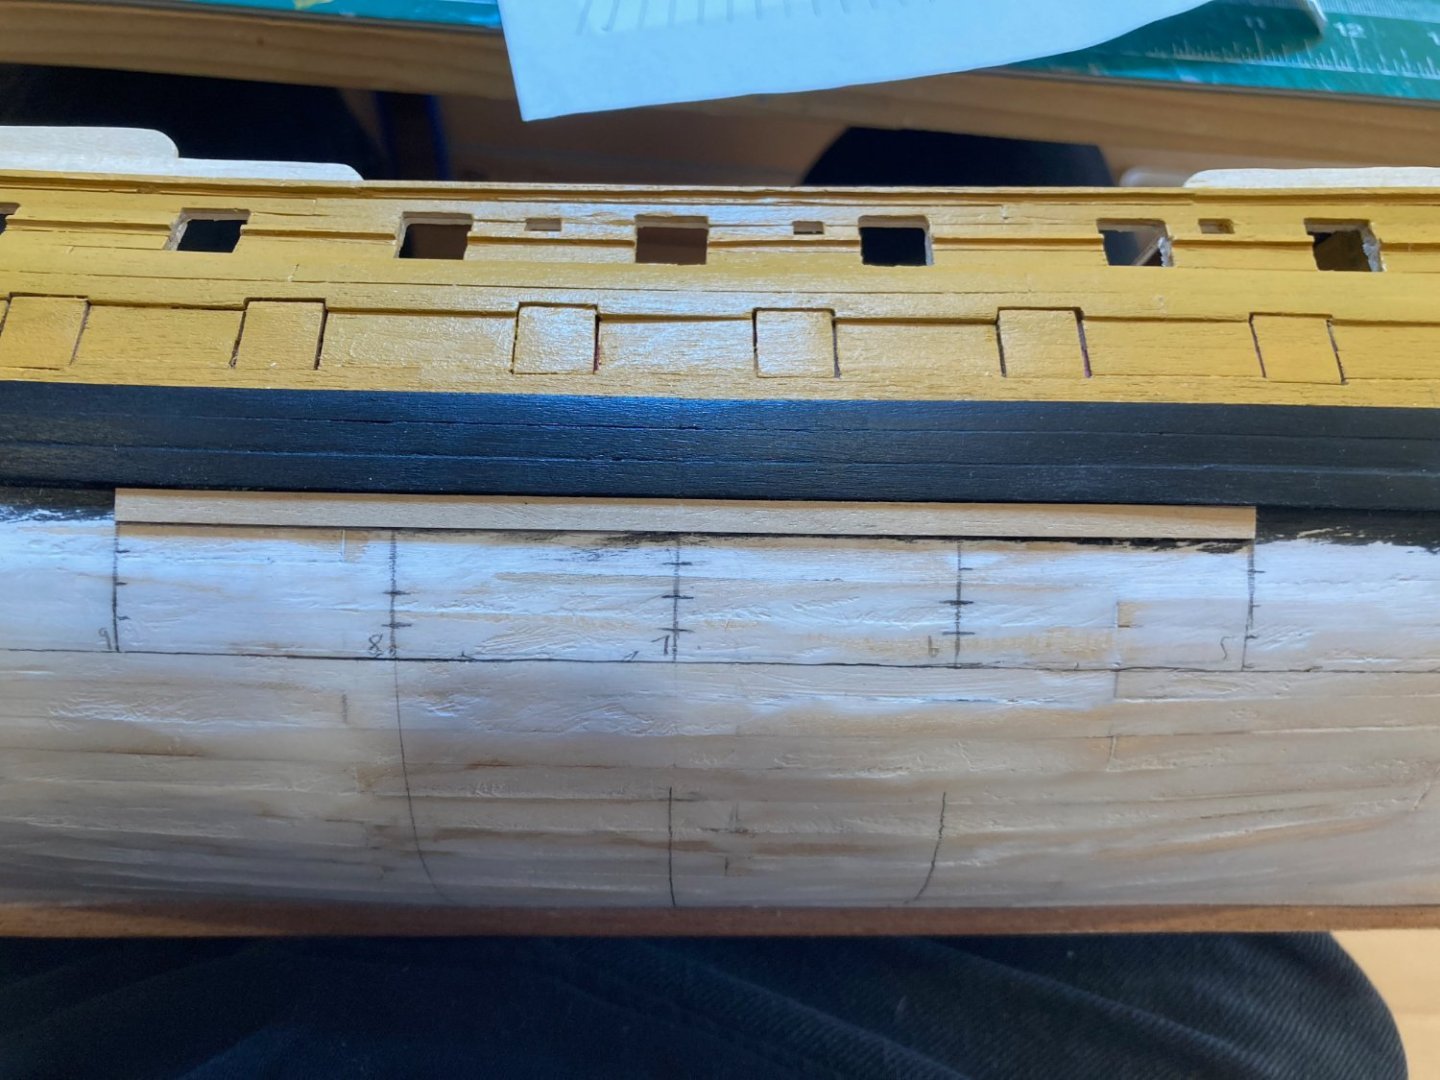
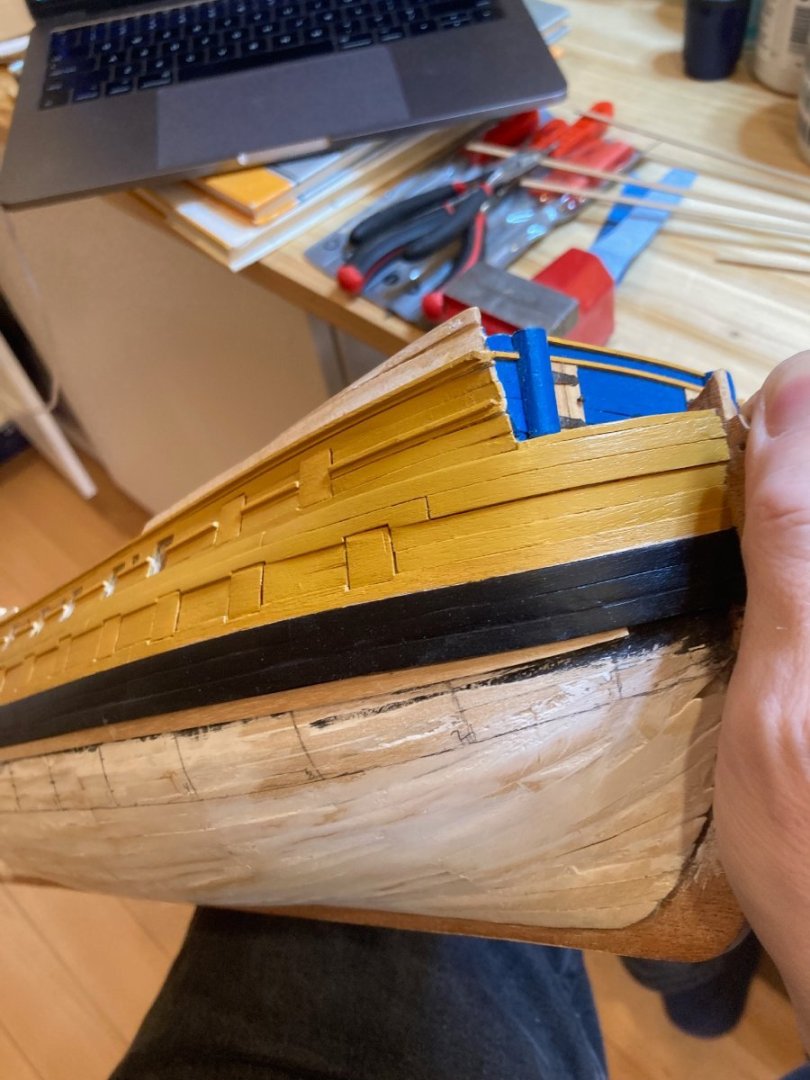
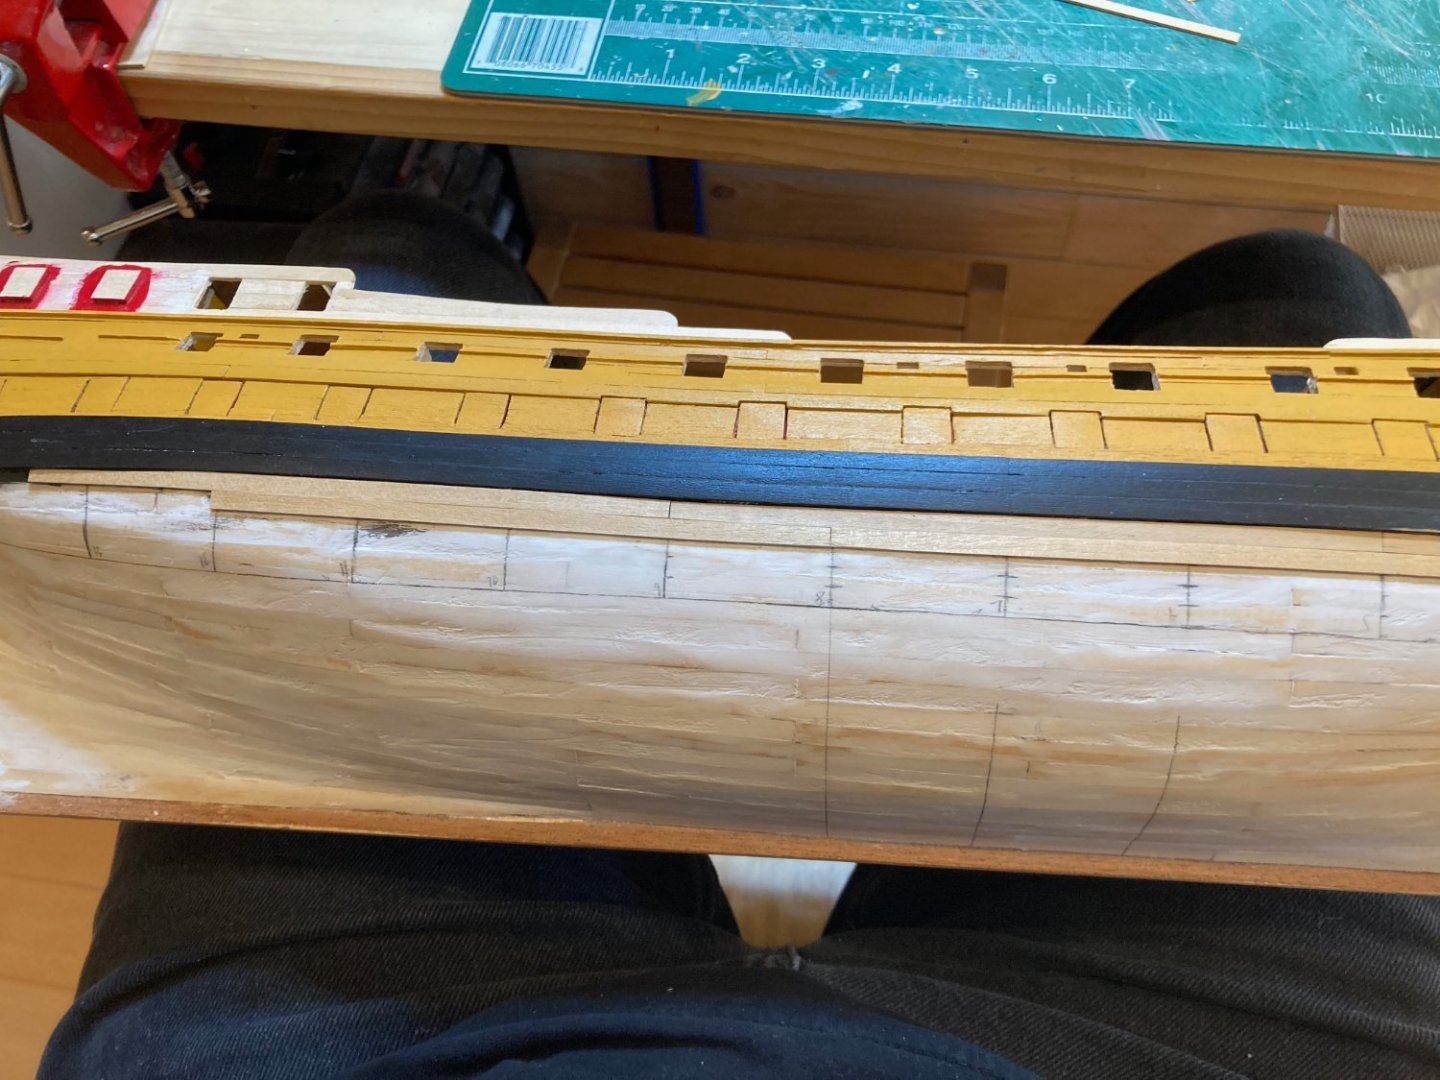
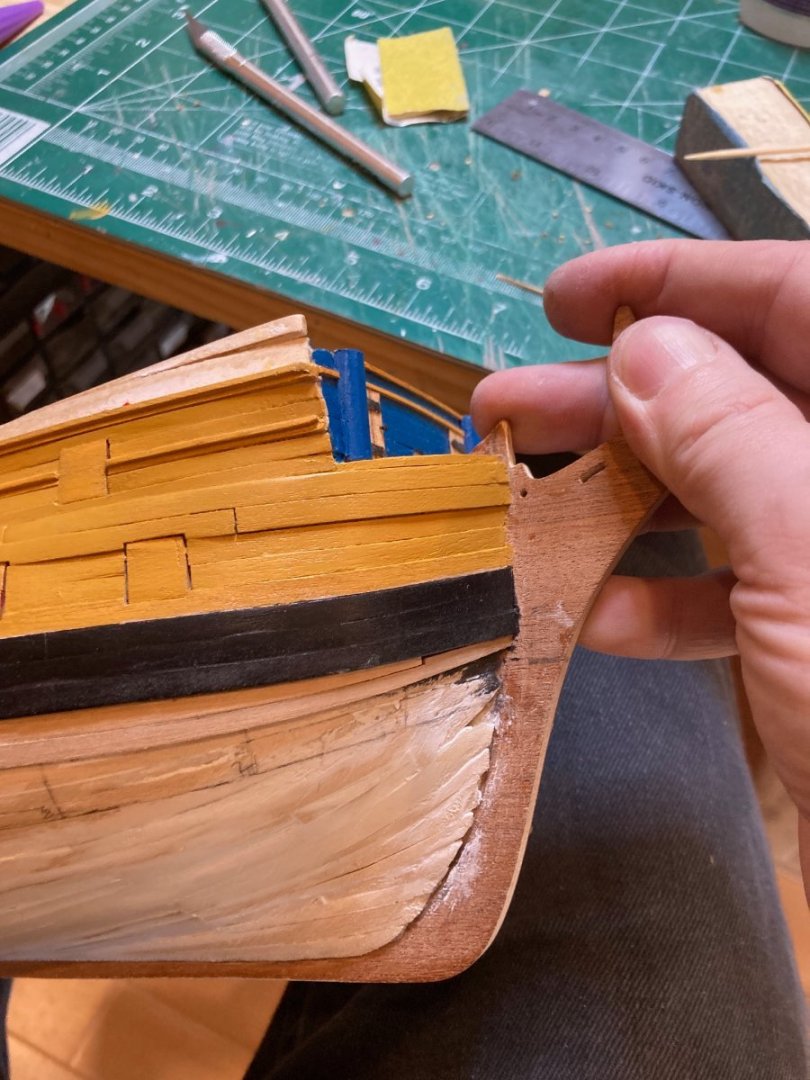
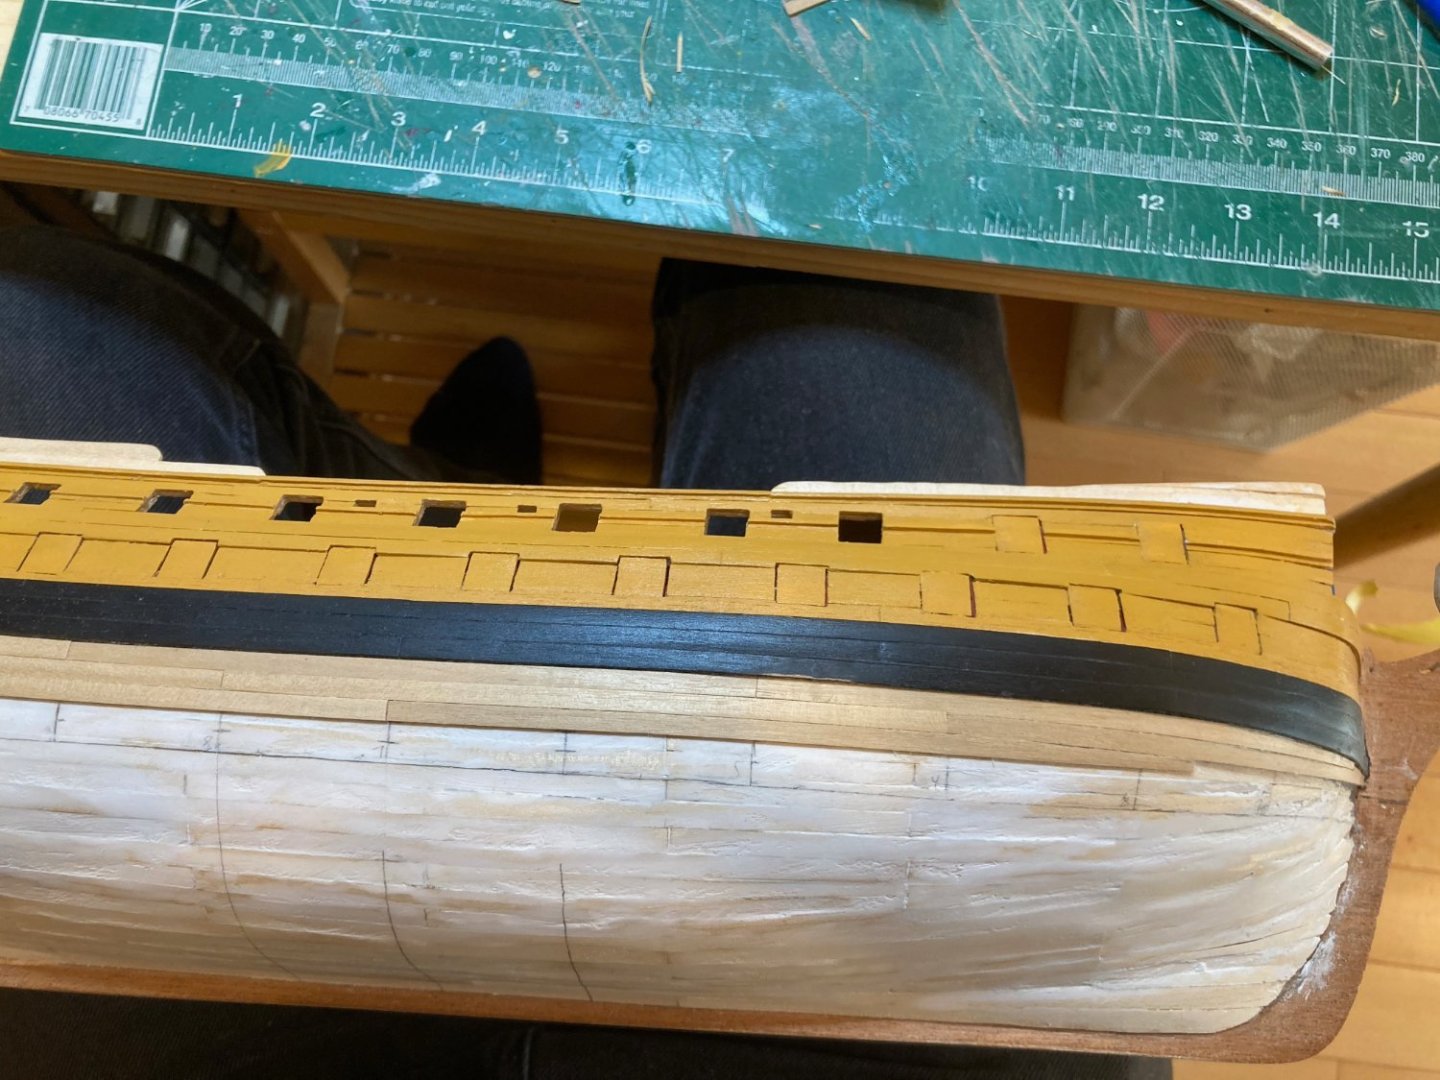
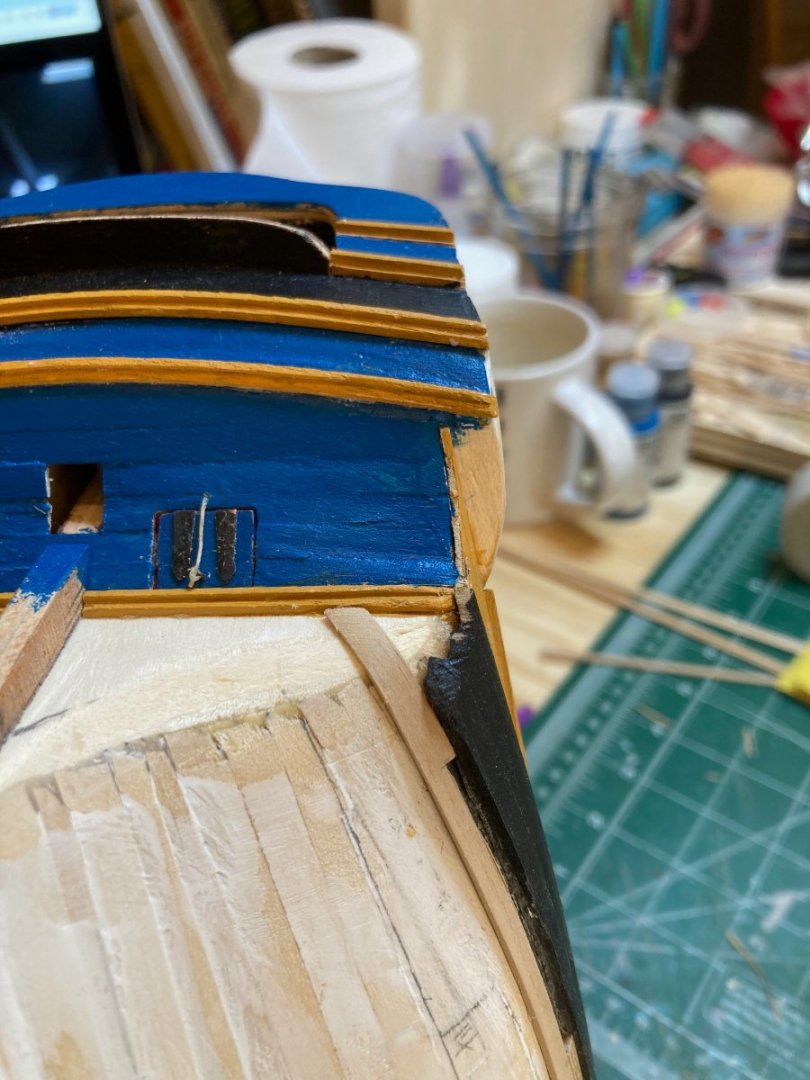
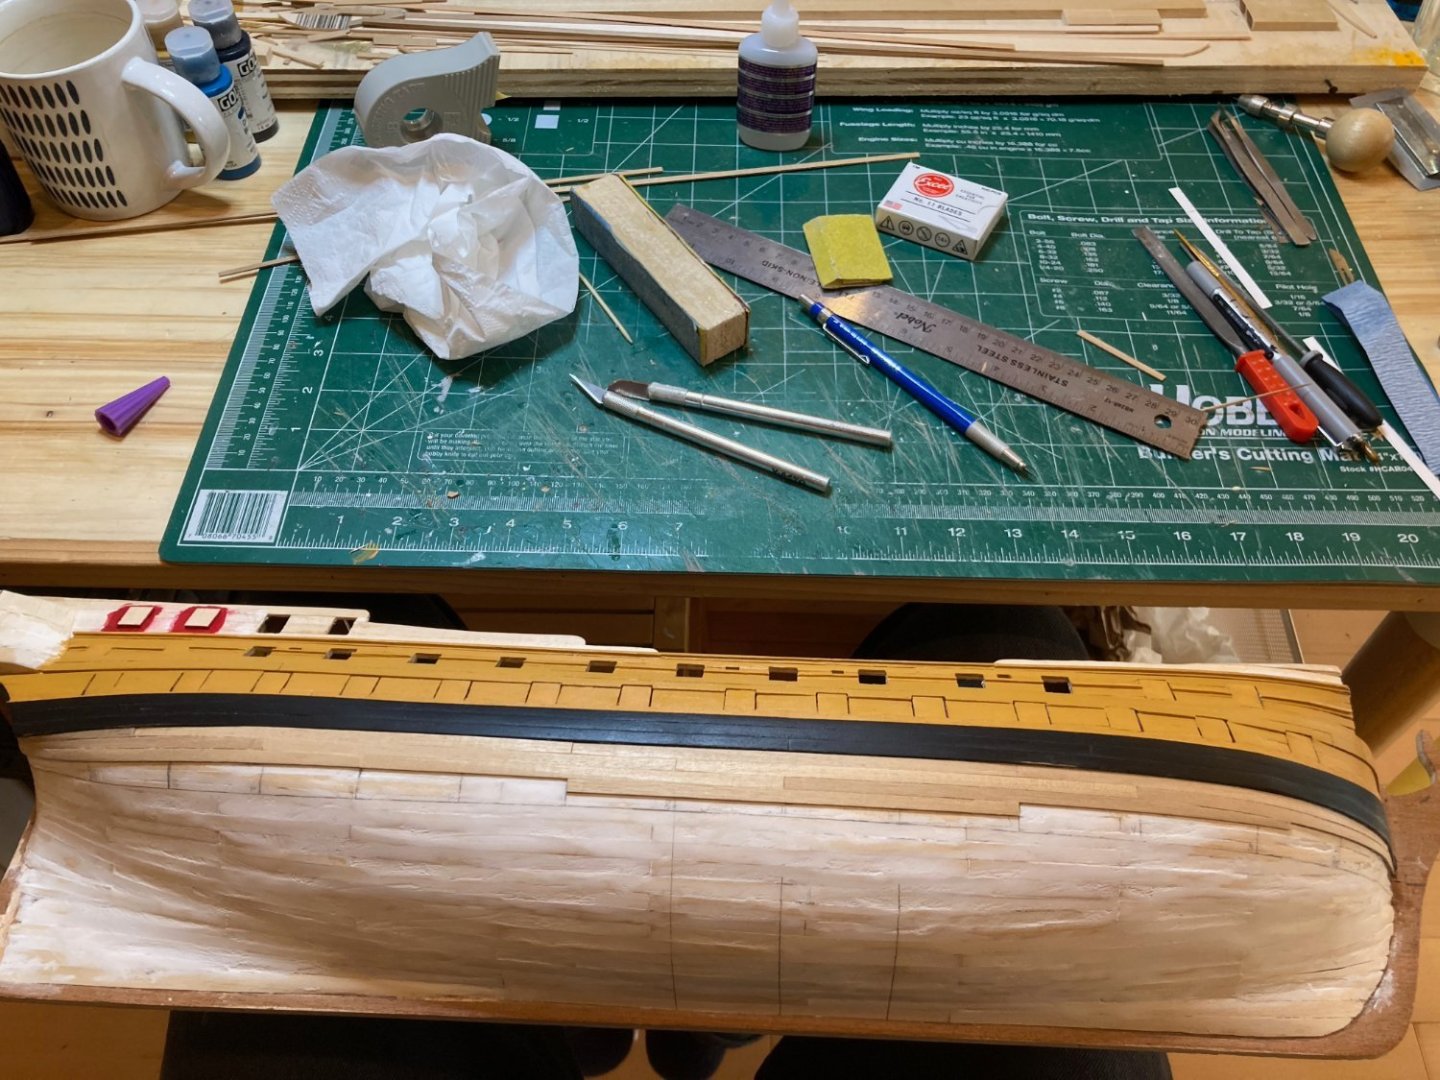
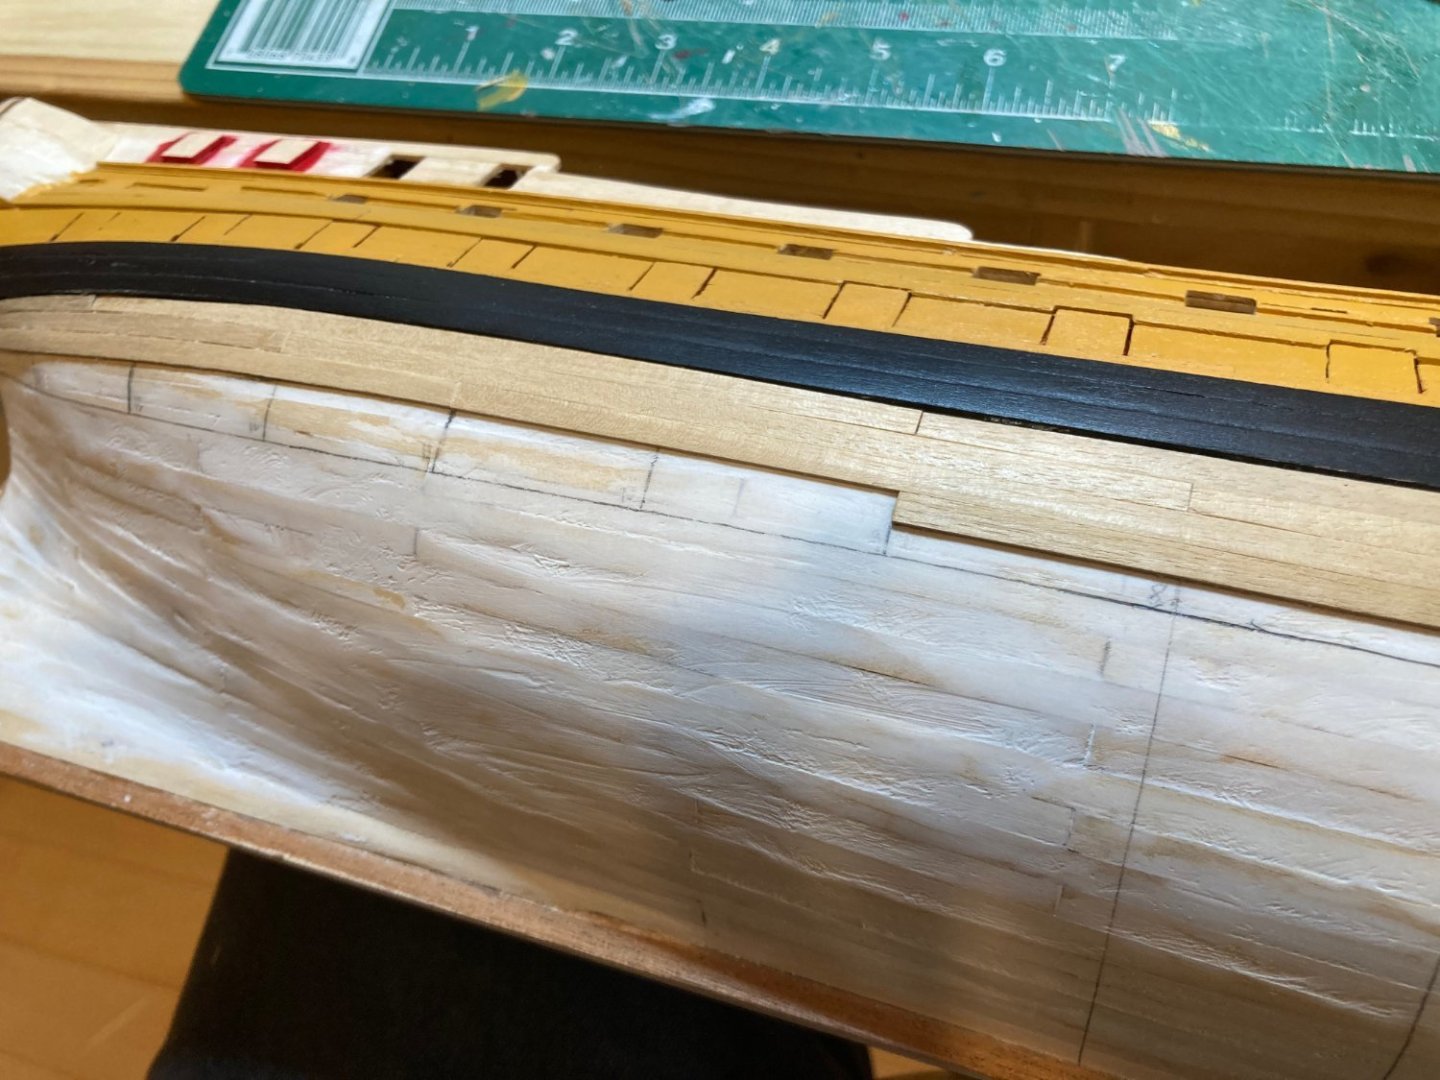
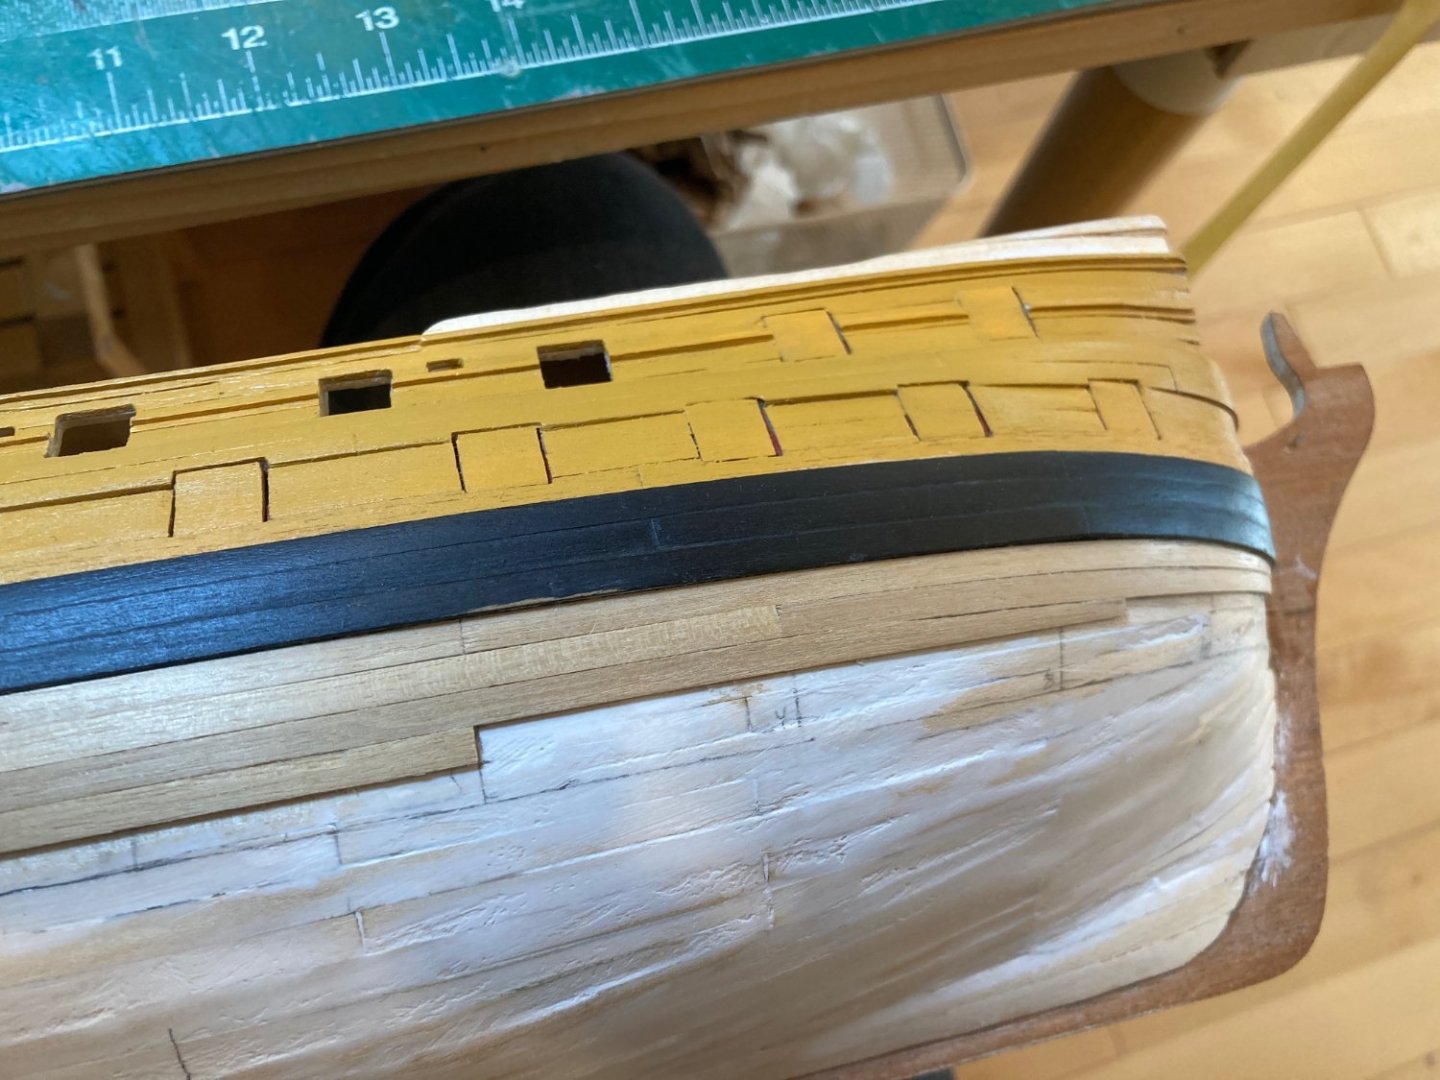
So it's been quite some time since my last contribution here. There has been very little time for modelling in the last few months, but since the last update, I've completed the bulwark planking except for the upper bulwarks in line with the f'csl, quarterdeck & poop deck; installed the false wales and main wales, and finished the outboard bulwarks (yellow ochre & black for the wales). I also did some work to correct the square tuck transom, which now that I've started the lower hull planking seems to have worked out ok - though this was a lot of nerve-wracking work with a rotary tool and a variety of sanding blocks. In any case, the photos below document my start on the lower hull planking. At the deadflat, I measured 102cm. The material supplied in the kit is 4mm wide, which translated into 23 planks of 4mm width and 2 of 5mm (which I'll use for the garboard and the strake above it, which will be coppered over in any case). There will be 5 bands - 3 of 5 strakes, 1 of 6 strakes at the bilges and a garboard band of 4 strakes. I have not lined off the hull completely, but am doing so band-by-band, starting with band "A" of 5 strakes immediately below the wales. So far things have gone quite well. Anyone who has seen my previous builds will know that hull planking is not my forte! But so far I'm pleased with the results aesthetically, though in terms of period practice they do not entirely follow convention (or architectural sense). Since I'm under no pressure to keep anyone on the vessel safe or to protect the Admiralty's investment, I'm cool with that! Here are the photos - enjoy! hamilton
-
I always start hull planking at deck level - the top edge of the first plank you lay should be flush with the upper surface of the deck planking. Then I usually plank the bulwarks, and then line off and plank the lower hull. hamilton
-
I had no trouble completing all deck planking with the material provided - albeit, by the time I built this model I had a significant pile of leftover material (including dimensions needed for this deck planking) so I can't recall if all of the deck planking came out of the Greyhound box. My advice - though maybe it's dumb or at least really cumbersome - is that you take a total measure of all the woodstrips provided by Corel for deck planking and then get rough width and length measurements of the sub-decks. There tends to be less attrition of wood in deck planking compared with hull planking so if the numbers are close (but not over on the sub-deck side) then you should be ok - even a rough go at this will give you a decent impression. I'm envious of your progress - I have not been able to get a day at the bench in over two months due to work and family stuff - and now work is getting to its busiest time for the next few weeks - I have a couple of weeks of quiet at the end of April, so hopefully then I'll finally be able to get some time at the bench! For now, I'll enjoy yours! hamilton
-
Tack some planking strips across the bulkheads to see how they want to run - look to see if the strip is either bowing out or leaving a gap to the bulkhead. I usually run a test strip across 4-5 bulkheads and then move fore and aft and from the rails to the keel in this way to identify where things need to be sanded down or built up. Don't worry about the forward most 3 frames for now - you'll be fairing them for planking later so for now you just want to make sure you have a reasonably fair and smooth framework for the planking. The best way to ensure this is by "rack of eye", and it's hard from a photo or two to get a 100% sure assessment of the situation. However, when I look at how the bottoms of the bulkheads line up in the photo above they look ok to me. The current distance between the bulkhead bottoms and the bearding line is probably ok, because it will get filled up by the roughly 2mm of planking that goes over the bulkheads. Do some testing with a planking strip, take your time and try to get things as fair as possible. This hobby is a matter of fractions of inches and millimetres, so it can be quite exacting - particularly at this stage, where getting all the parts correct relative to one another is of crucial importance. I think your skeleton is shaping up well though, by the looks of it. hamilton
-
Yes - OC has achieved a great result here - if you can get yours looking like this, you'll be ready to move on. You don't have to build them up to the keel. Just to fit along the bearding line - here is an MSW thread that talks about the bearding and rabbet lines - the ships uses as e.g.'s aren't exactly like Greyhound but you will get the principle and general idea from this. hamilton
-
Don't cut the keel!!!! Shim the bulkheads instead - it is easier to take wood off that you've added than to add back wood you've removed, so it is much safer to correct the structural issue you're facing by shimming up the bulkhead edges. When I look at your photos, here's what I see: 1. the mid-ships bulkheads look good - they seem to finish touching the top of the bearding line and they look reasonably even. 2. Bulkheads 9/10, which you've already modified, now also look good to me - they imply a nice gentle curve for the run aft of the planking 3. The last bulkhead forward of the transom looks like it needs trimming up - you'll see that the bottom intersects the bearding line, which it should not do - imagine a curve along the bottom of the bulkheads up to the aft edge of the slot for the transom bulkhead - you need to adjust your bulkheads to fit along that line. 4. The 4th bulkhead from the forwardmost one seems to rise too soon - and the 3rd one back is too high for sure and will need to be shimmed like B/H 9/10. There is also a gentle curving of the bearding line up the stem - b/h 1 & 2 in your photo look good, but 3 is way too high to allow for that nice curve you should see at the bows. Finally - a word of encouragement. This is by far the most difficult and frustrating part of this build. It took me a long time to get through it and this was my 12th wooden ship kit, so I had some experience. Do not give up no matter how frustrating it may get. And do not hold yourself to results that the kit itself may make it really difficult to achieve. hamilton
-
Nice work on the turnbuckles! hamilton
- 282 replies
-
- Bluenose
- Model Shipways
-
(and 1 more)
Tagged with:
-
Sorry if I'm chiming in late - the bottoms of the bulkhead edges should all line up with the rough bearding line I can see running along the length of the centre keel close to the bottom. This line should start gently curving up at around bulkhead 10 and then make a sharper curve upwards towards the back edge of that last slot on the centre keel where the transom bulkhead goes - this is called the "bearding line" - I'm not sure and can't remember if it's shown anywhere on the Corel plans, but take a look at see....identifying and transferring that line to the centre keel on both sides will help with the shimming up of those faulty bulkheads. Nice to see the progress on this build!! hamilton
-
I found a lot of help and support for my Greyhound/Blandford build and I am forever grateful to the MSW pros who lent their time and expertise there - couldn't have done it otherwise - I know you'll find the same as you go through - just don't be shy to ask!! hamilton
-
Happy to act as a support for this build - as we've chatted about already, it's a tricky one, but it can make a very nice model with a bit of extra effort - and lot of extra patience! Post pics of any issues you encounter - my build was greatly assisted by @harlequin who also has a nice build of this kit, and @oldcollingwood, who has built this one as well. Try not to judge Corel too badly based on this kit! I've built a few Corel models and with the exception of this one they have all been of very good quality. And with this one, once you're past the framework things go smoothly - at least til it comes to the masting and rigging, which are woefully undersupported by the plans and instructions provided with the kit..... hamilton
About us
Modelshipworld - Advancing Ship Modeling through Research
SSL Secured
Your security is important for us so this Website is SSL-Secured
NRG Mailing Address
Nautical Research Guild
237 South Lincoln Street
Westmont IL, 60559-1917
Model Ship World ® and the MSW logo are Registered Trademarks, and belong to the Nautical Research Guild (United States Patent and Trademark Office: No. 6,929,264 & No. 6,929,274, registered Dec. 20, 2022)
Helpful Links
About the NRG
If you enjoy building ship models that are historically accurate as well as beautiful, then The Nautical Research Guild (NRG) is just right for you.
The Guild is a non-profit educational organization whose mission is to “Advance Ship Modeling Through Research”. We provide support to our members in their efforts to raise the quality of their model ships.
The Nautical Research Guild has published our world-renowned quarterly magazine, The Nautical Research Journal, since 1955. The pages of the Journal are full of articles by accomplished ship modelers who show you how they create those exquisite details on their models, and by maritime historians who show you the correct details to build. The Journal is available in both print and digital editions. Go to the NRG web site (www.thenrg.org) to download a complimentary digital copy of the Journal. The NRG also publishes plan sets, books and compilations of back issues of the Journal and the former Ships in Scale and Model Ship Builder magazines.


