GrandpaPhil
-
Posts
5,716 -
Joined
-
Last visited
Content Type
Profiles
Forums
Gallery
Events
Everything posted by GrandpaPhil
-
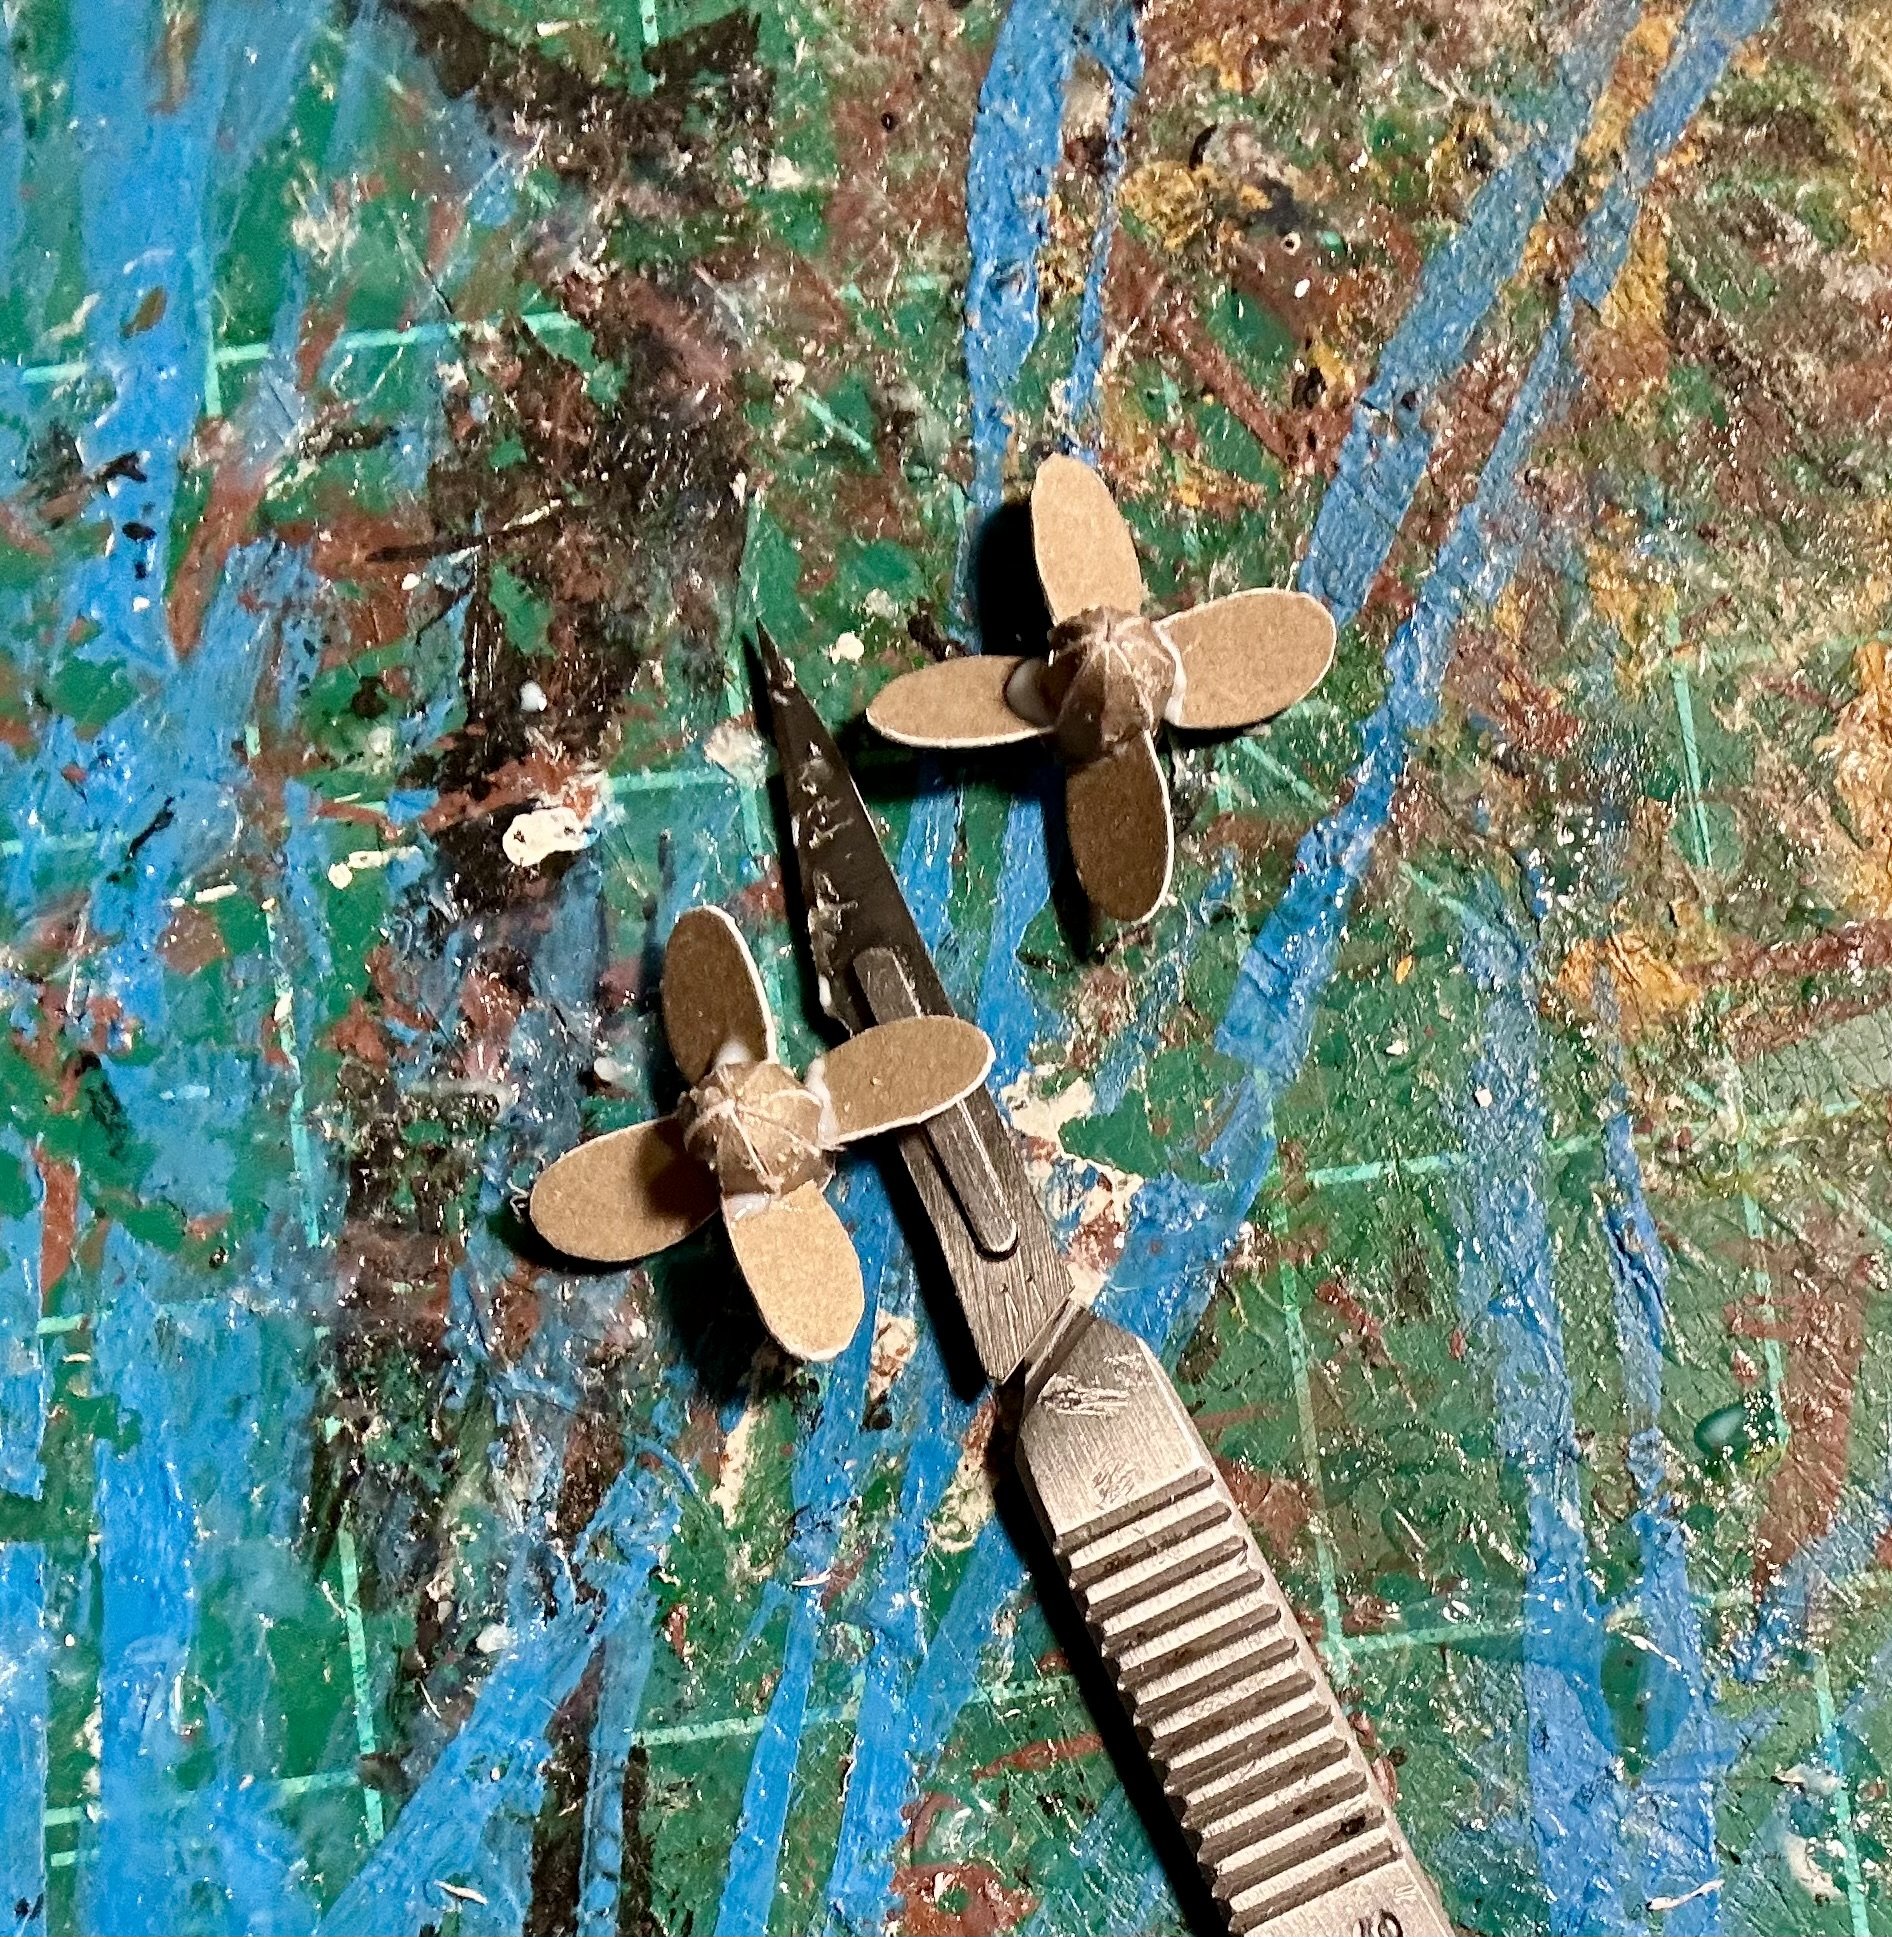
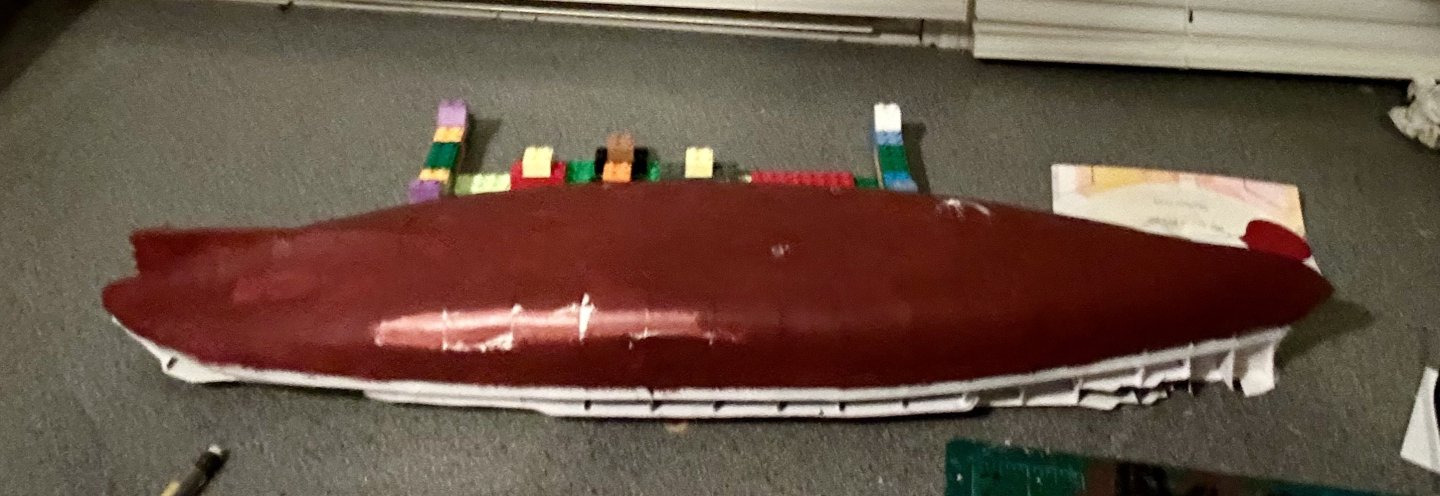
The lower hull is now assembled and ready to paint: The props are assembled too: I’m going to paint them also.


- 180 replies
-
- 12
-

-
- Card
- Pre-Dreadnought
- (and 2 more)
-
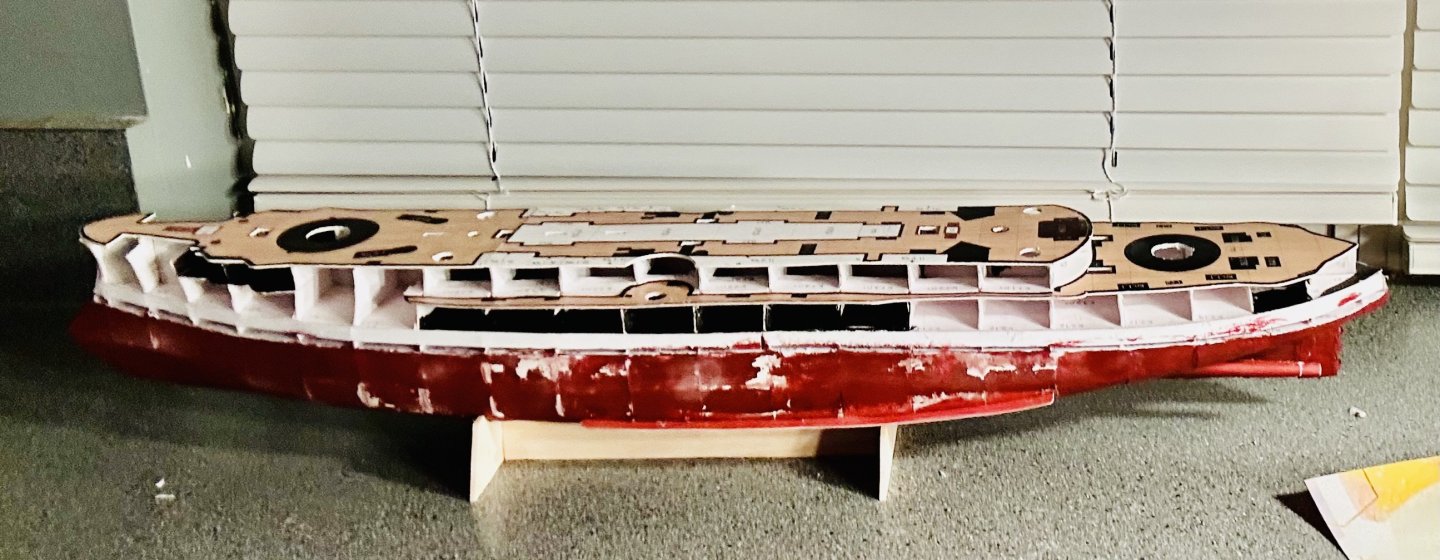
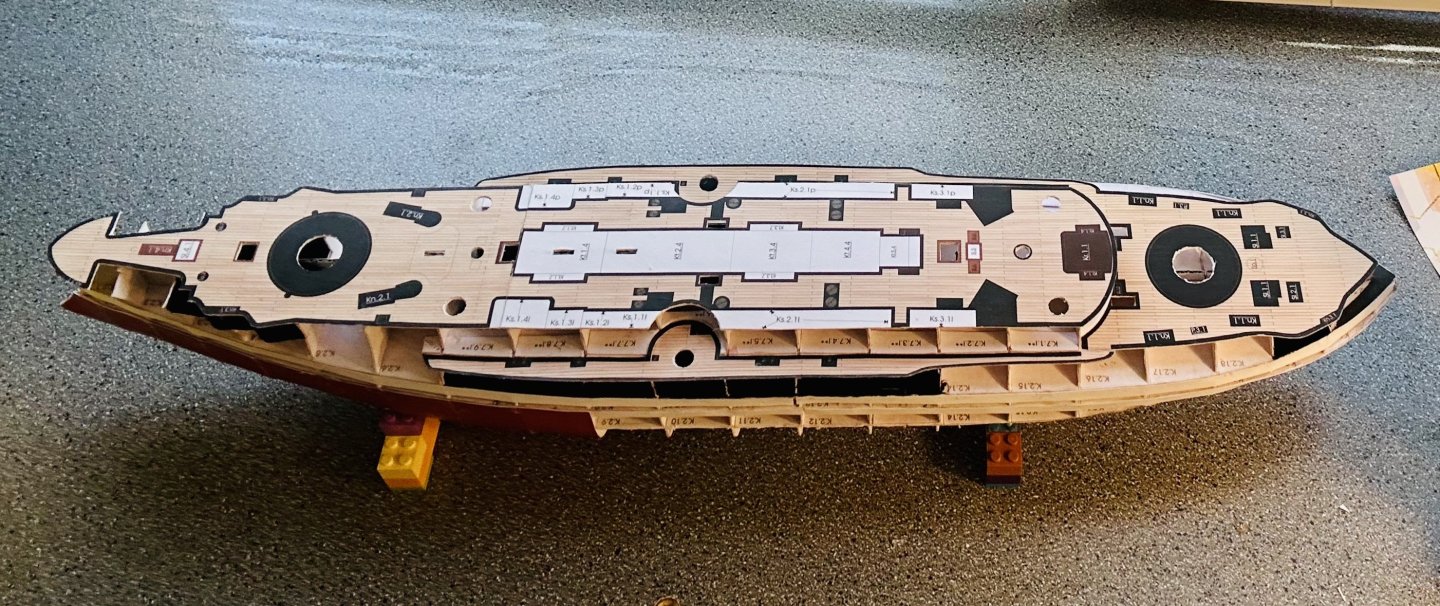
The Oryol is sitting in its cradle now: Working on the fittings for the lower hull before I seal and paint everything below the waterline. I’ll paint the cradle at the same time and then glue the ship to it.
- 180 replies
-
- 10
-
-
- Card
- Pre-Dreadnought
- (and 2 more)
-
The last time I planked a wood hull (a long time ago) I used a knife and it worked well for me. Some of the ship modeling books recommend using a modeler’s plane. It’s up to you. You could always try both and see what works for you.
-
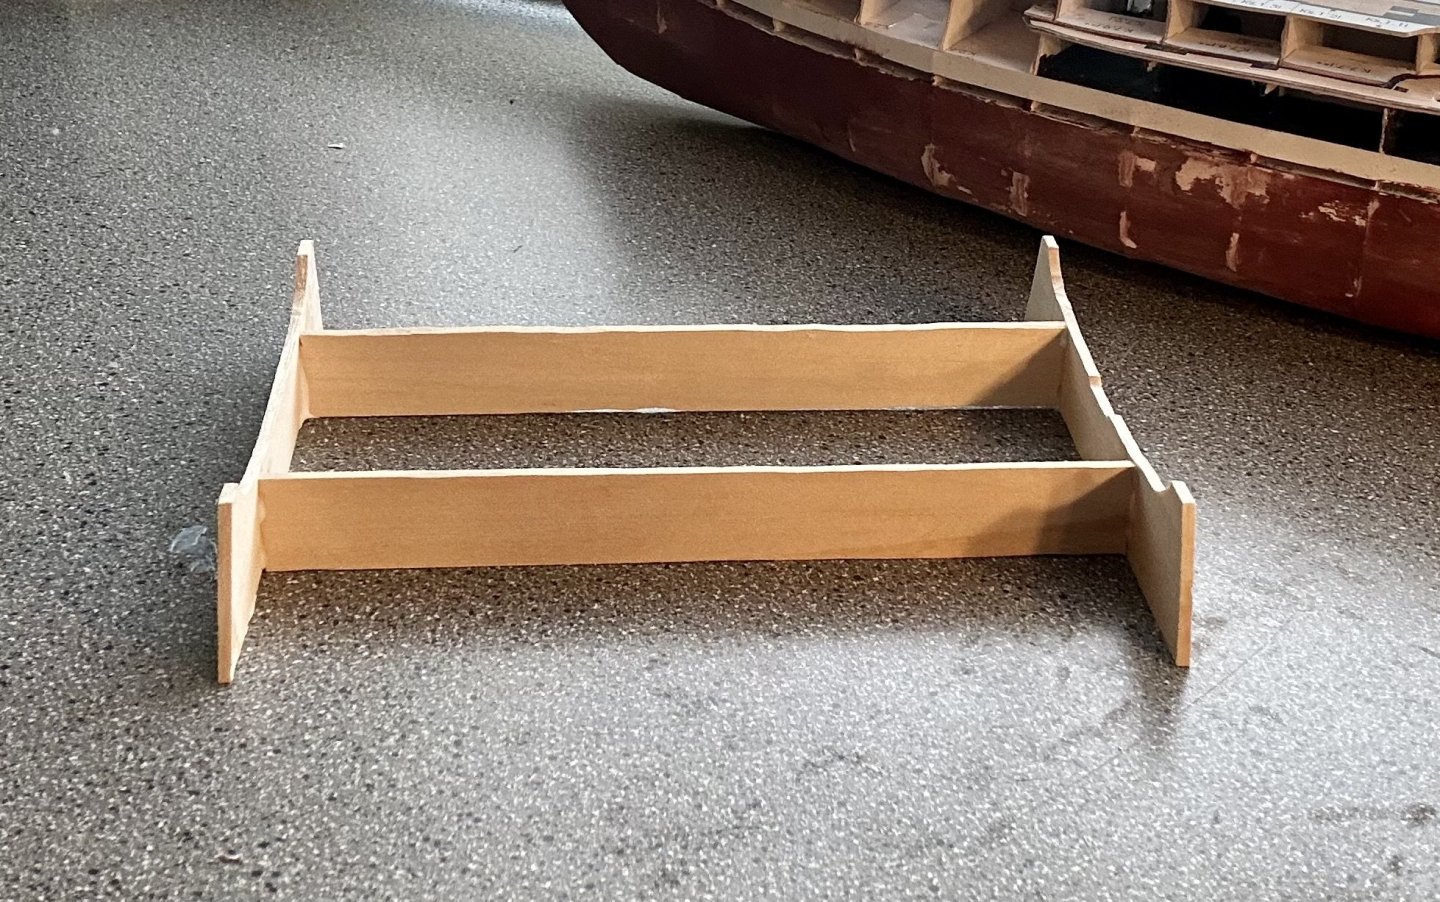
Here’s the cradle: I modified the end pieces to fit the Oryol. It still needs painted, and will be painted a dark brown before being glued. I’m going to go with gloss black, like I did Solferino for the actual base. I like gluing my models to their bases for structural integrity reasons.
- 180 replies
-
- 10
-
-
- Card
- Pre-Dreadnought
- (and 2 more)
-
Glen, The Constitution is looking good! A set of ratlines usually takes me a week or two on a warship. I may or may not have been known to take a week of vacation specifically for tying ratlines, lol.
- 301 replies
-
- 4
-

-
- Constitution
- Bluejacket Shipcrafters
- (and 1 more)
-
Welcome!
-
Donald McKays GGGGreat Grandson
GrandpaPhil replied to Clan McKay's topic in New member Introductions
Welcome! -
Very nicely done!
-
It is a single volume.
-
Very nicely done!
-
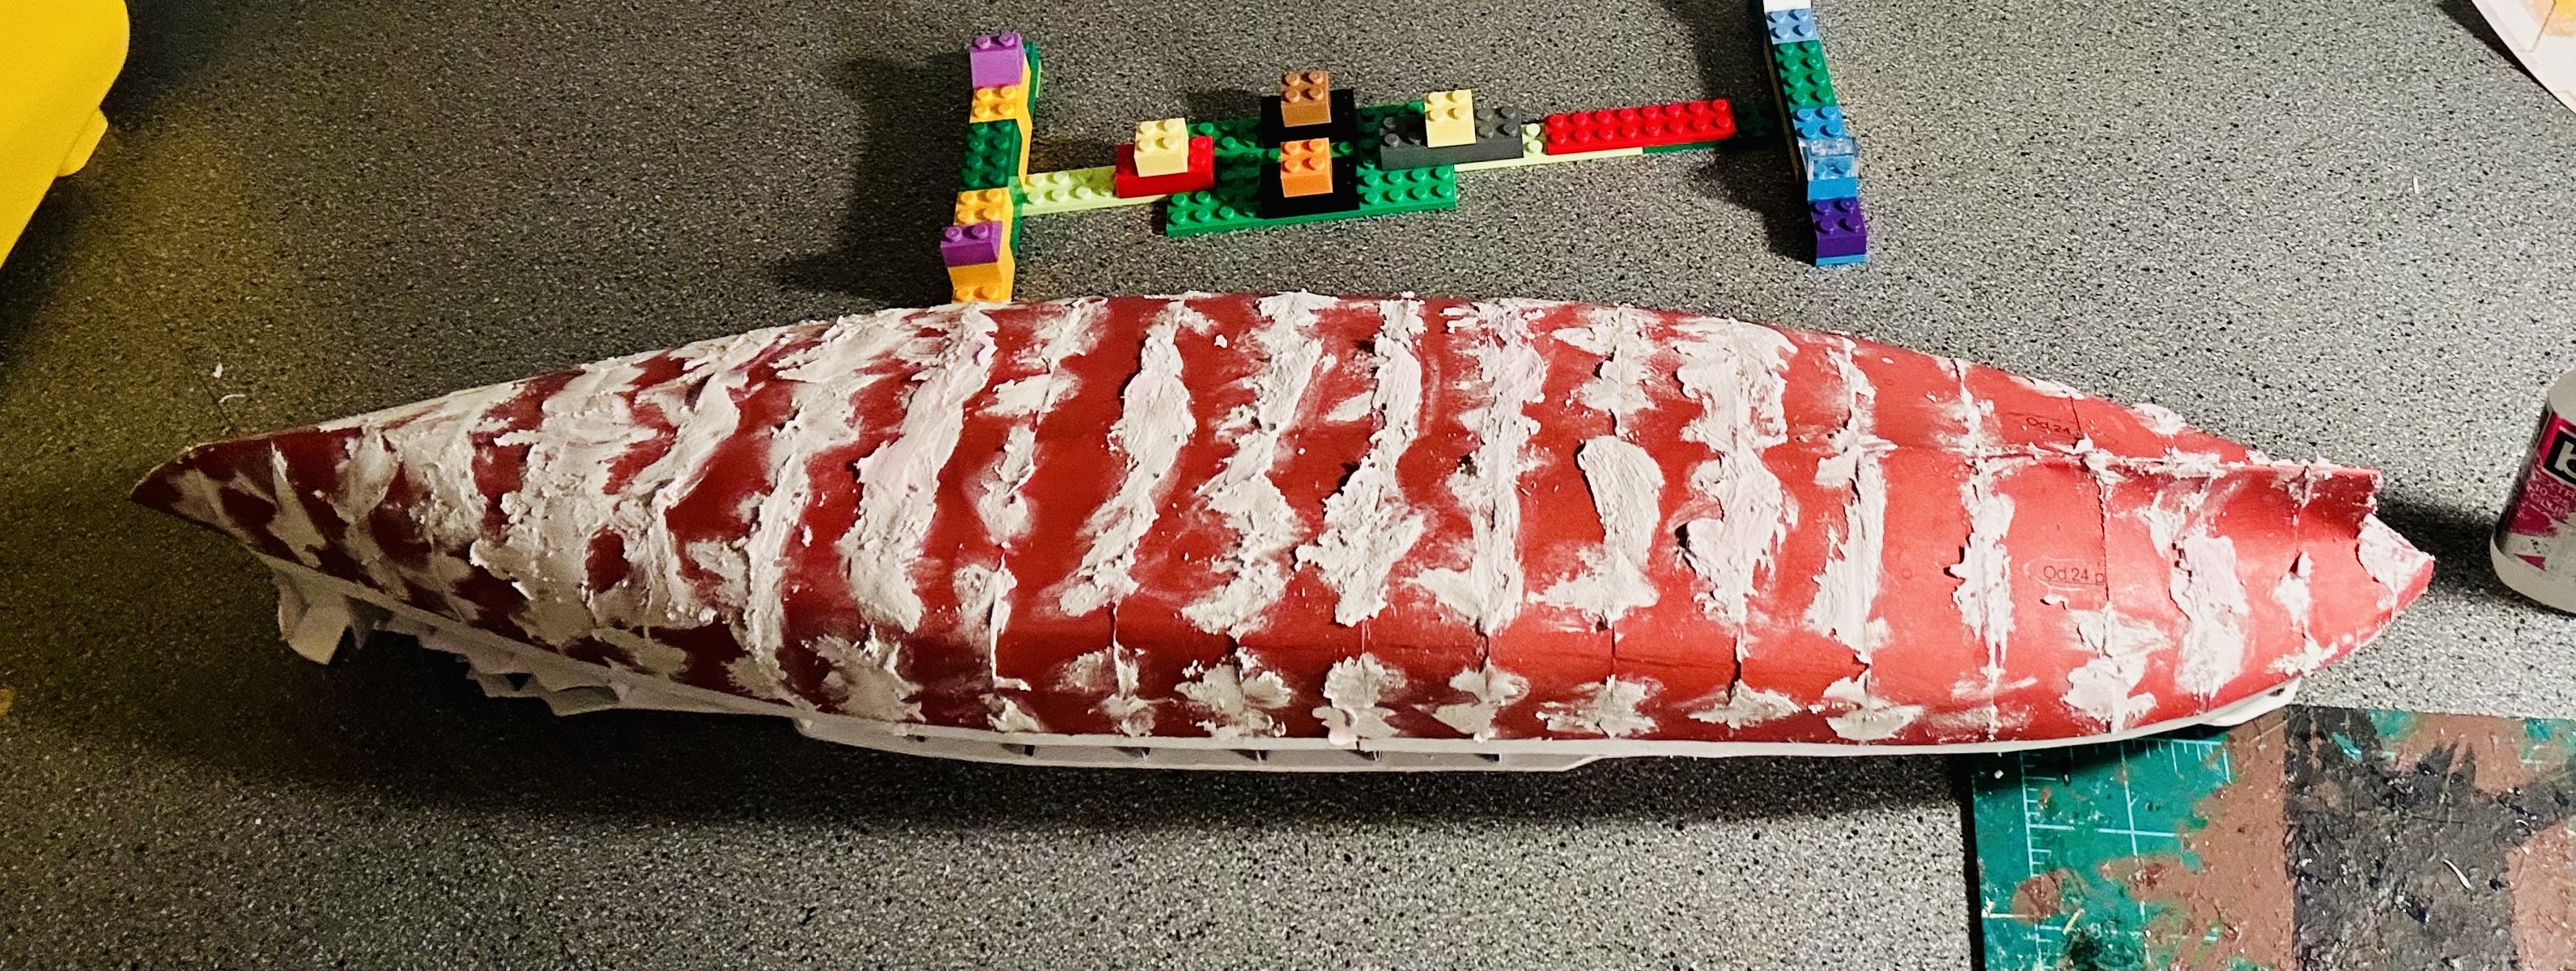
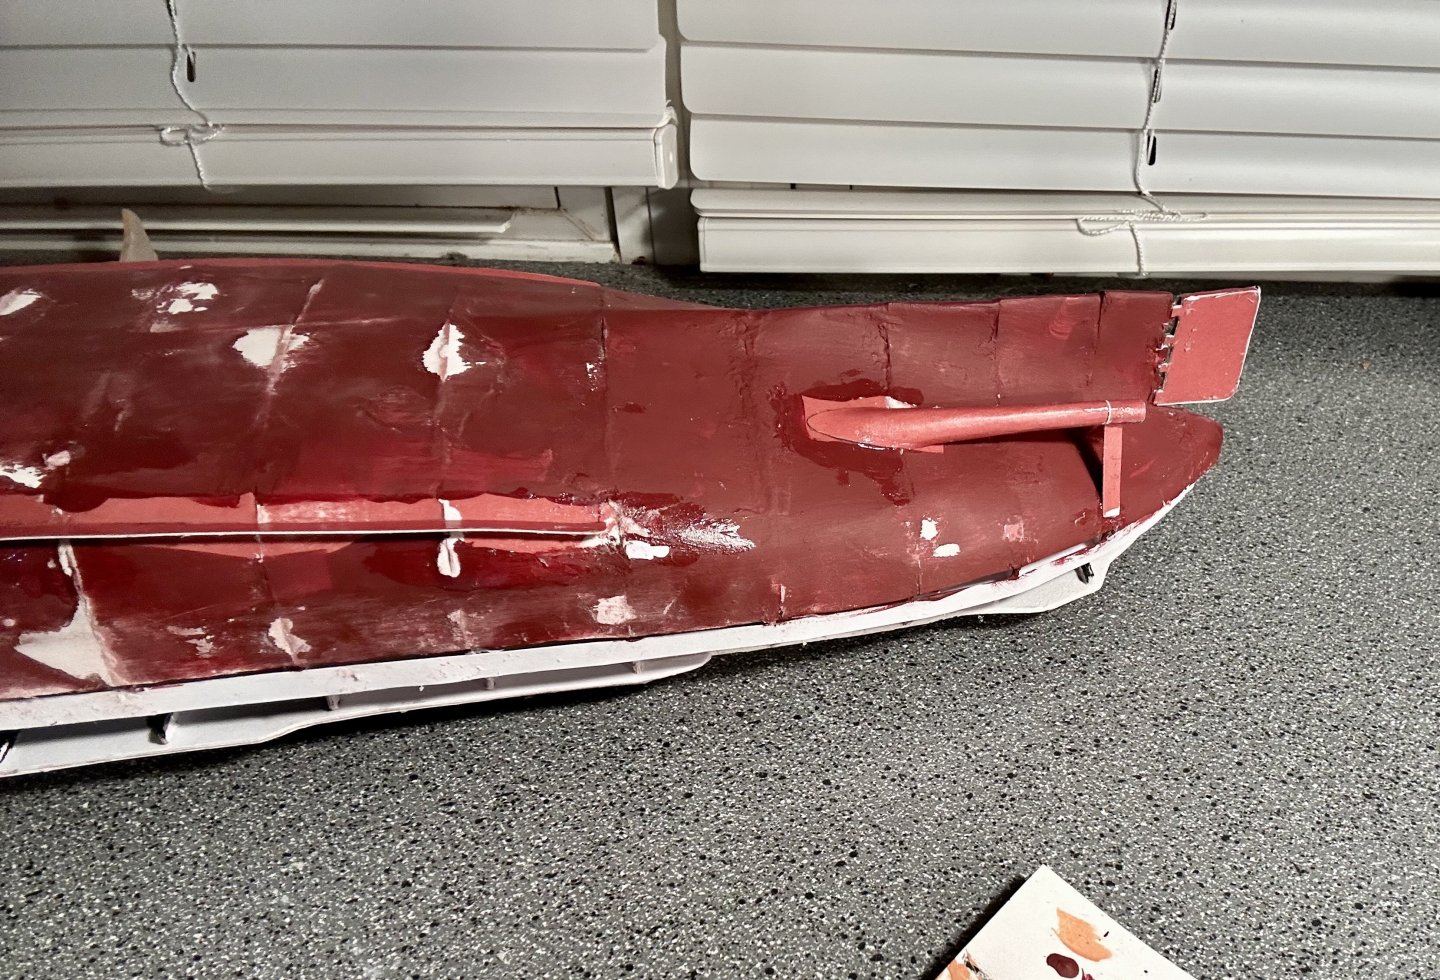
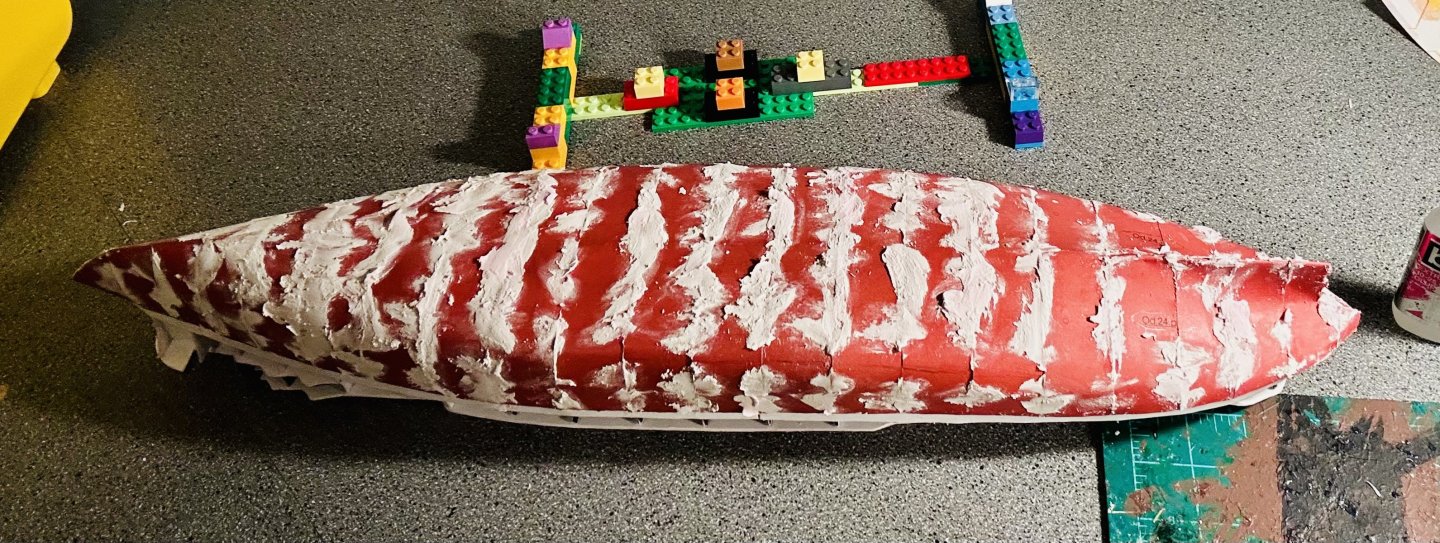
Also, I feathered out the remaining lumps in the hull. There’s glue drying on the bottom where I made those repairs, so I’ll seal again tomorrow.

- 180 replies
-
- 11
-
-
- Card
- Pre-Dreadnought
- (and 2 more)
-
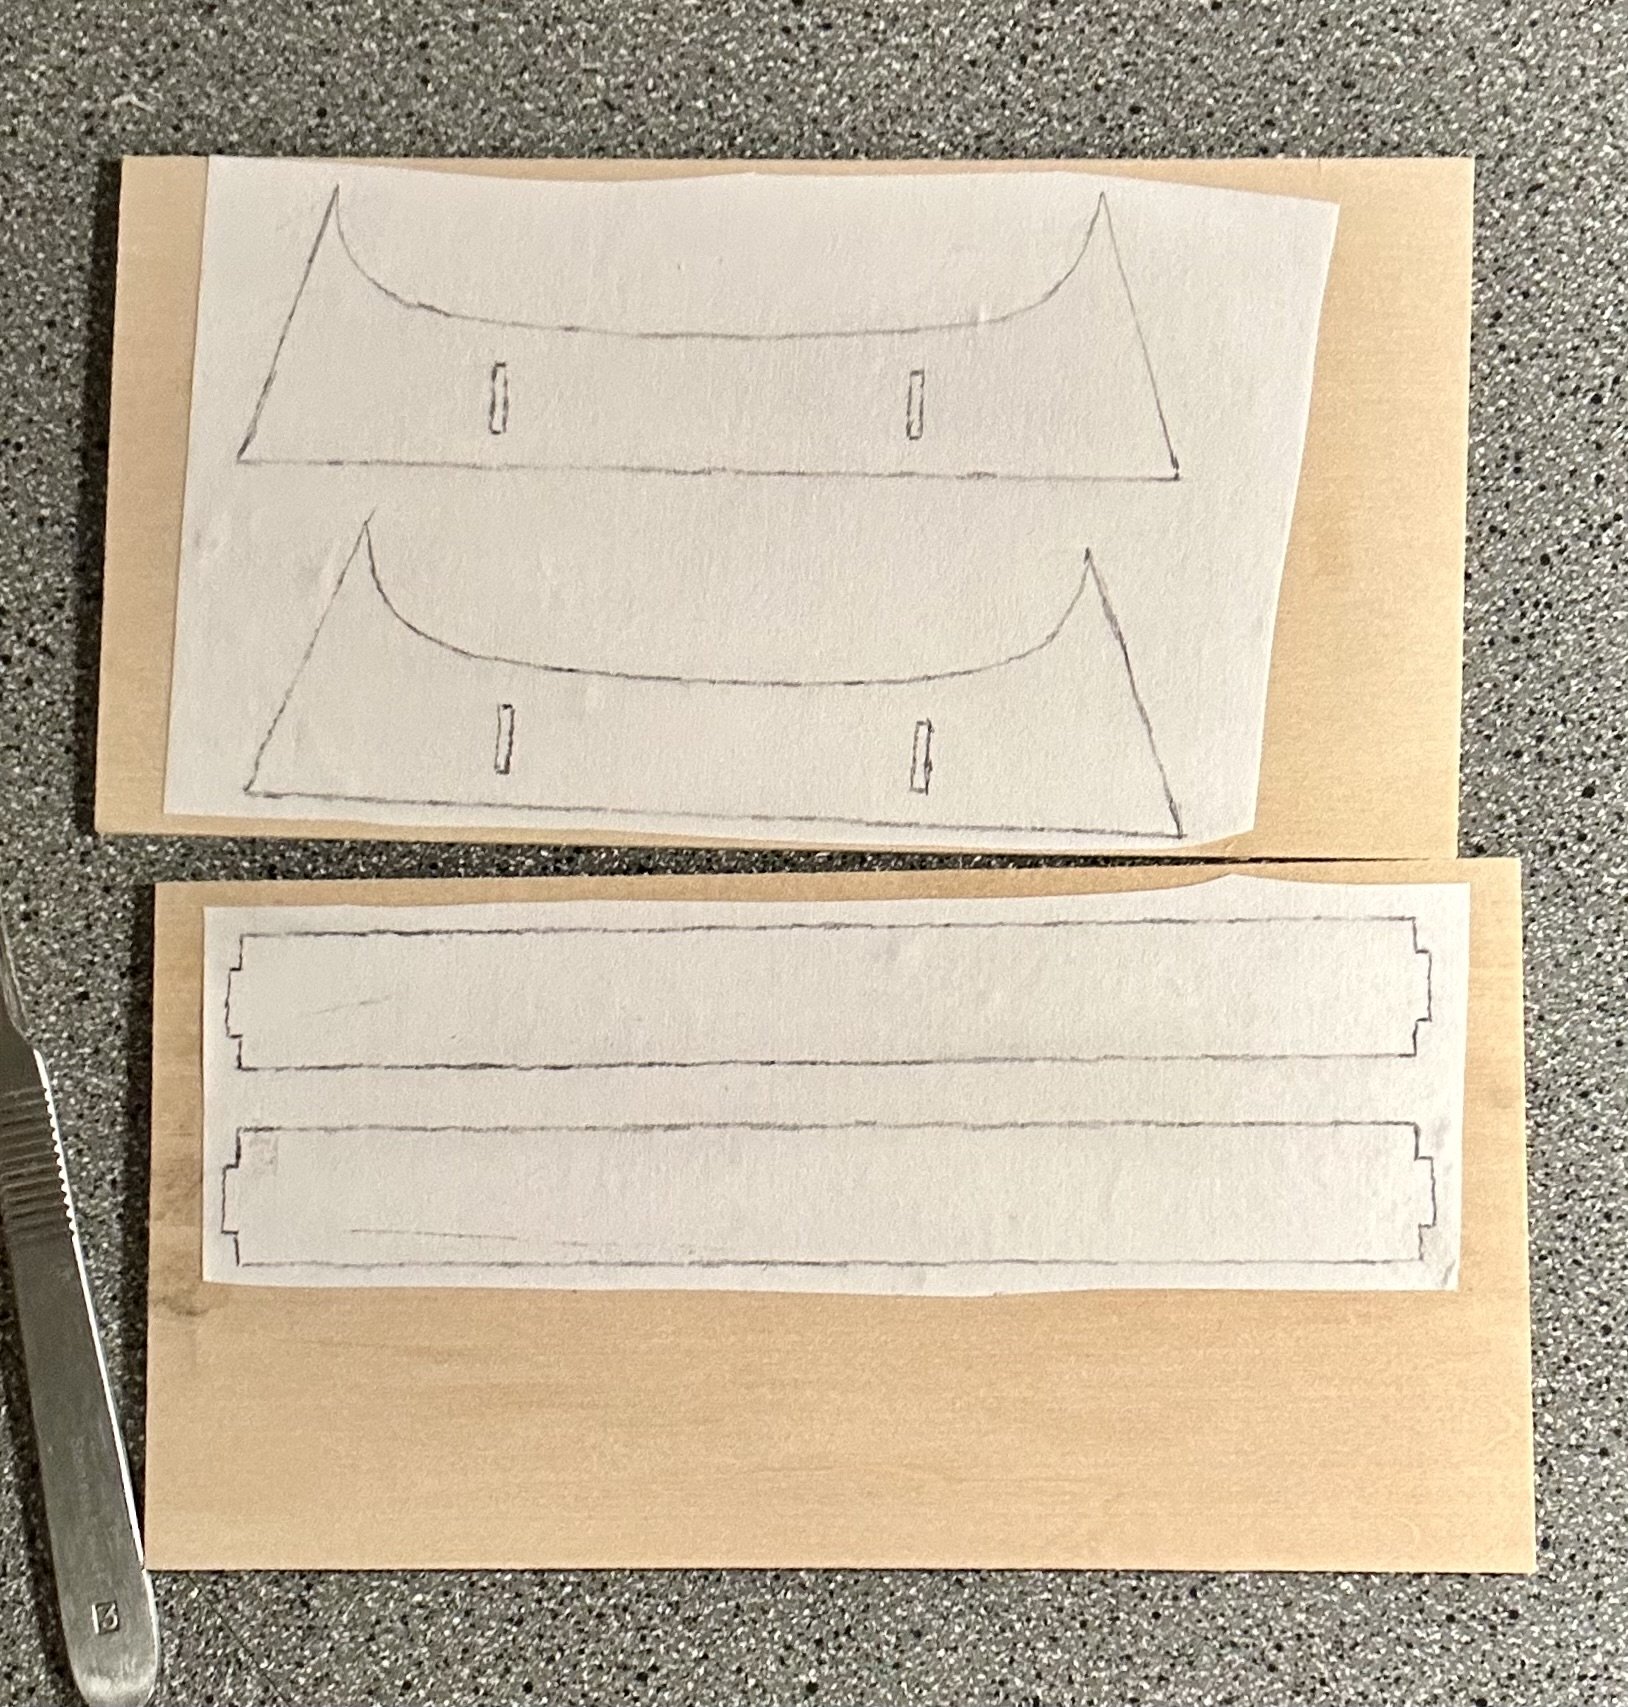
I used my light table for the first time tonight: I traced the cradle from my Orel Tsarevich. The Borodino-class battleships were direct derivatives of the Tsarevich so it stands to reason that they probably shared a similar hull shape. If not, I have a scalpel to reshape the cradles, lol. They are laid out on basswood from a basswood value pack that I got a while back.

- 180 replies
-
- 7
-
-
- Card
- Pre-Dreadnought
- (and 2 more)
-
Volume 2 is really good and really useful.
-
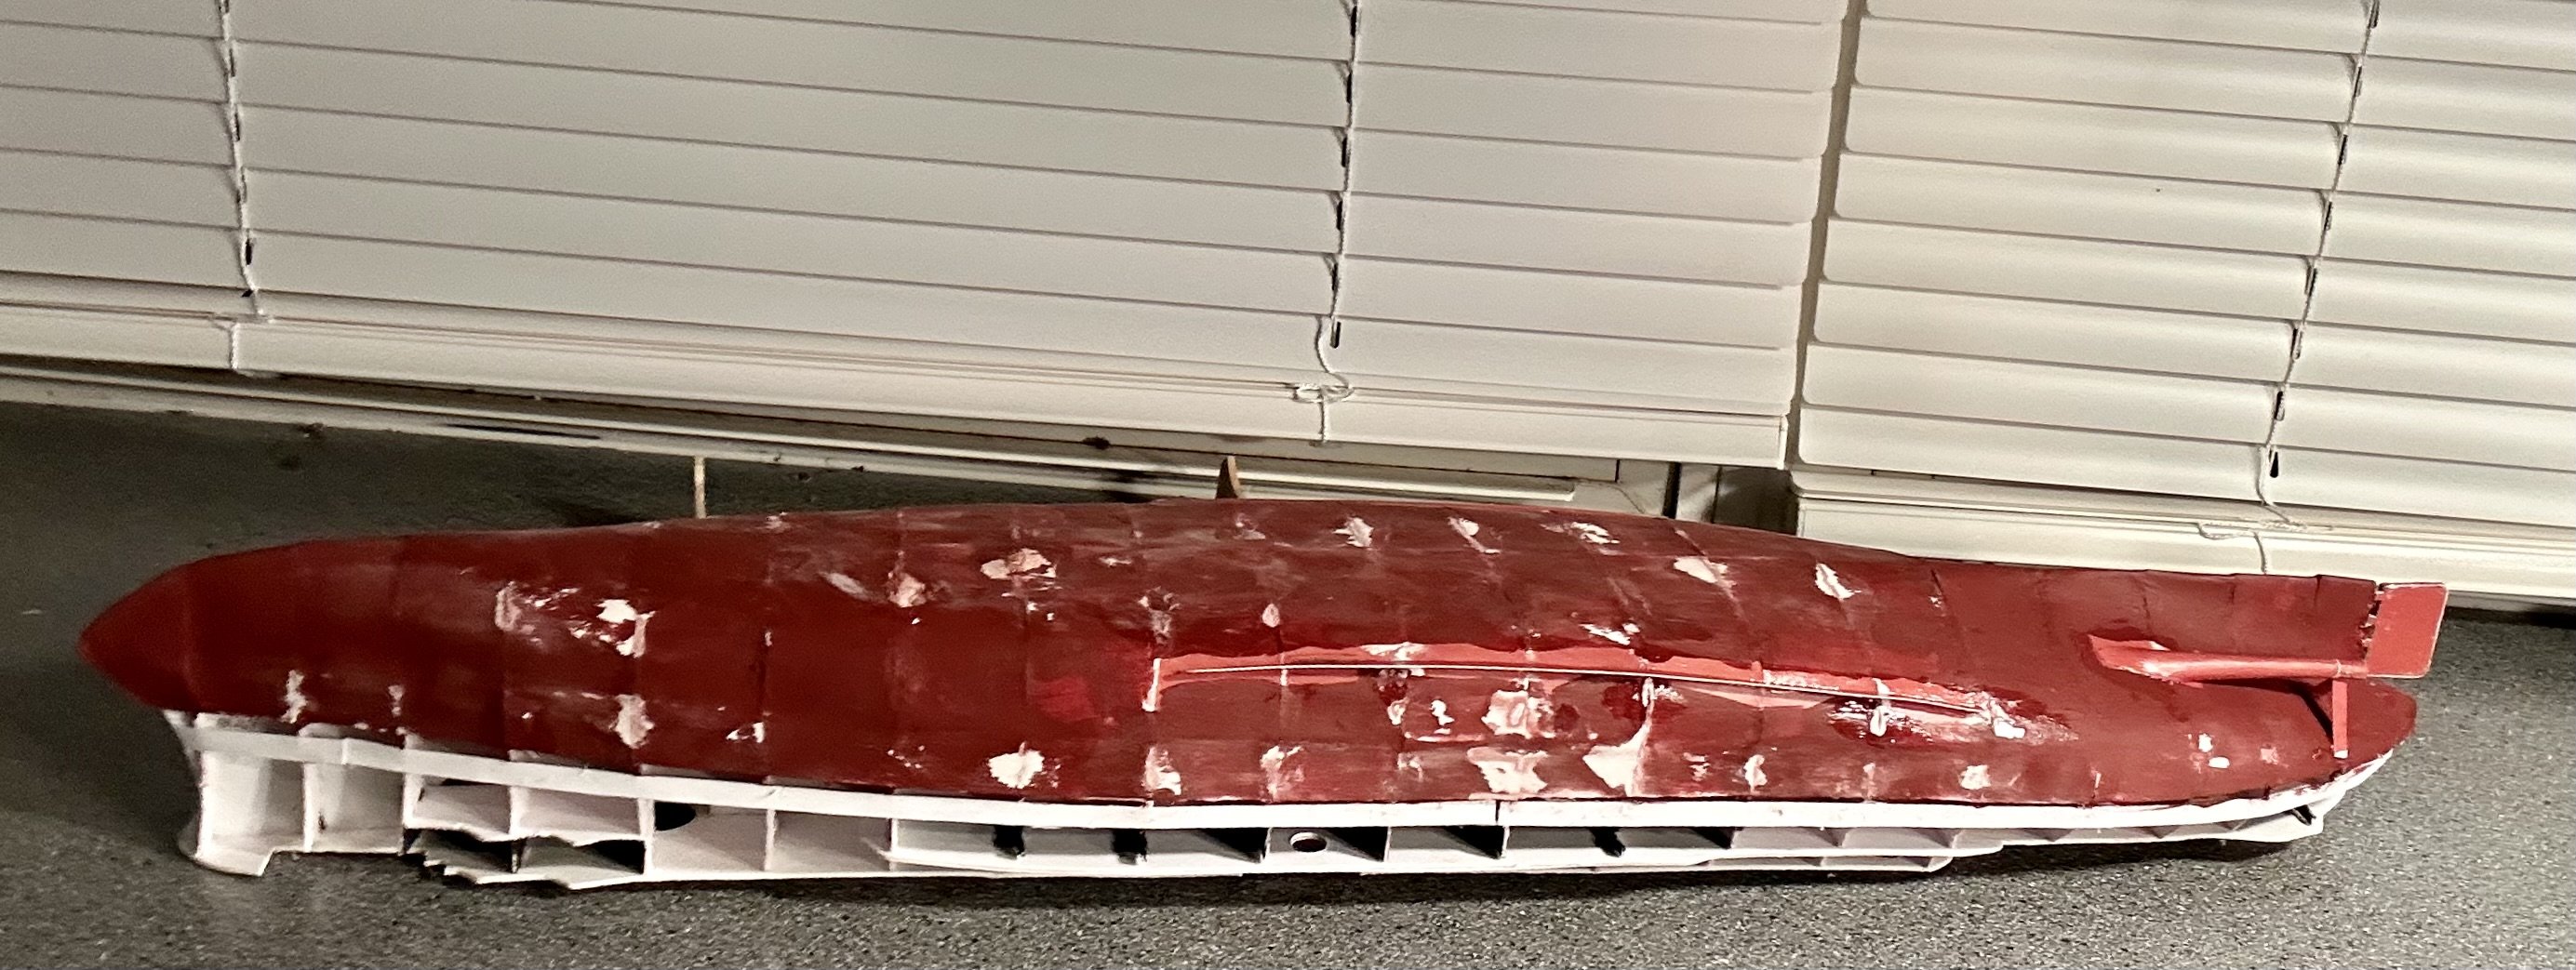
Making progress on the lower hull: I still need to make a couple minor repairs then I’ll add the rest of the lower hull fittings and paint everything below the waterline. I really regret not doing this on Solferino so I’m not making that mistake again.
- 180 replies
-
- 8
-
-
- Card
- Pre-Dreadnought
- (and 2 more)
-
New Member - Some modeling experience
GrandpaPhil replied to Dave Wells's topic in New member Introductions
Welcome! -
Recommend Model Shipways kit to buy (with my new credit)
GrandpaPhil replied to palmerit's topic in Wood ship model kits
I really liked their kit of the Sultana. It’s a great intro to a lot of skill sets that you will use a lot of later on, and a good step up from the smaller boats. -
Thank you very much, OC! The lower hull is on: I filled the gaps so I can sand with some 220 grit sandpaper, seal and paint. The instructions are pretty vague and assume that you’ve done this before. They recommend not adding the bilges at this point, but don’t say when to, so I’m going to fully assemble the hull below the waterline and paint everything. I am also going to make a permanent cradle prior to adding the props and disassemble the temporary cradle. The cradle will be glued to the hull like I have done before to assist in handling the model. At that point I’ll also start prepping the actual base and move back above the waterline.
- 180 replies
-
- 14
-
-
- Card
- Pre-Dreadnought
- (and 2 more)
-
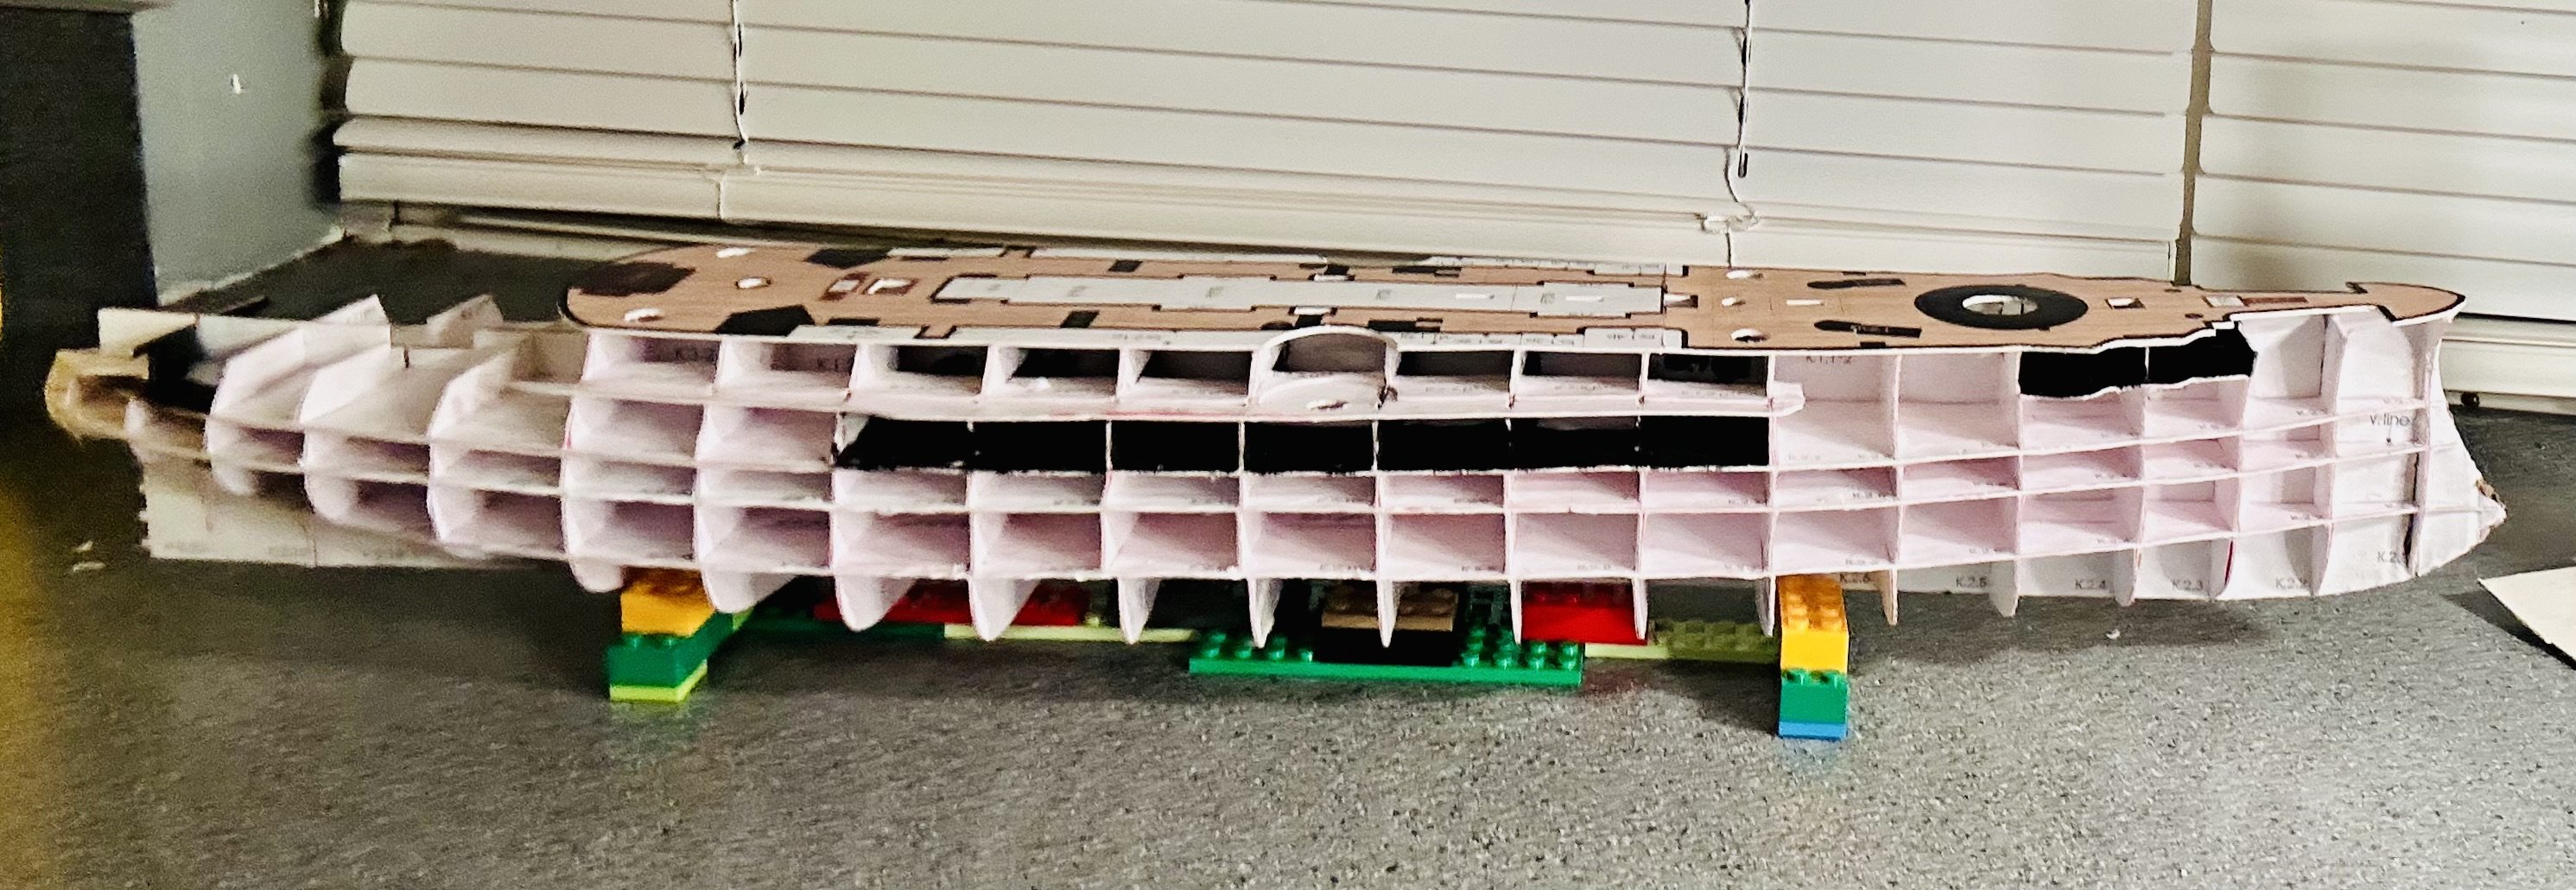
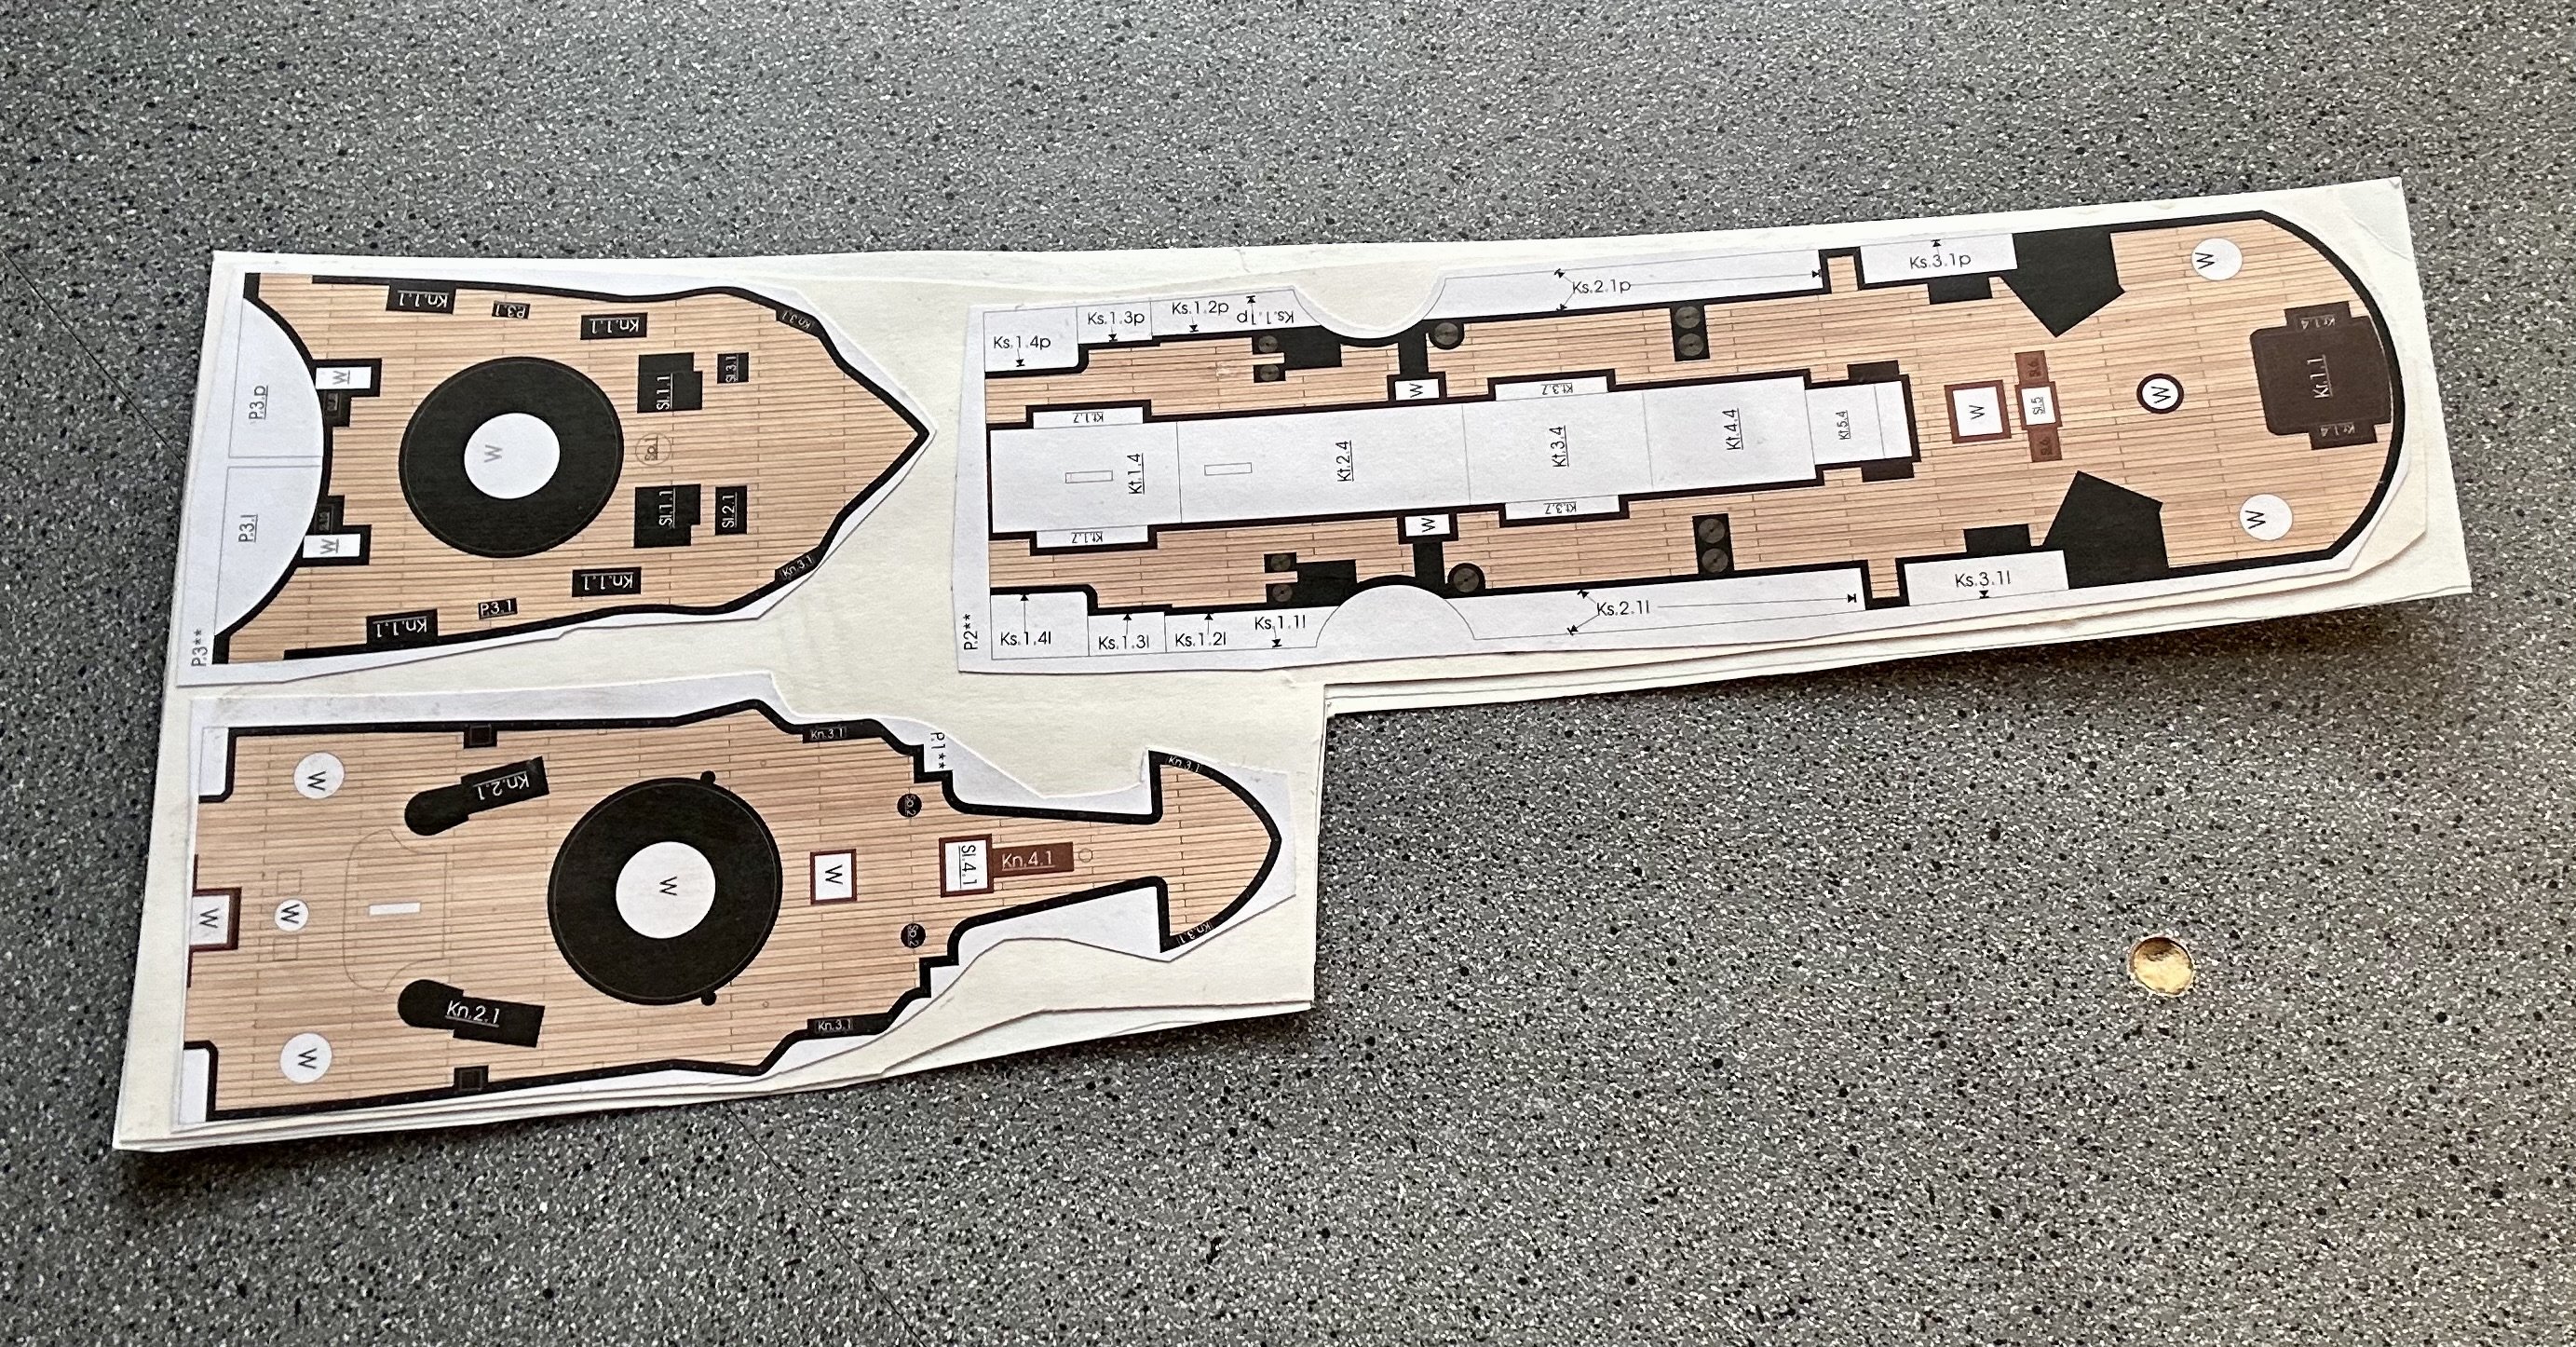
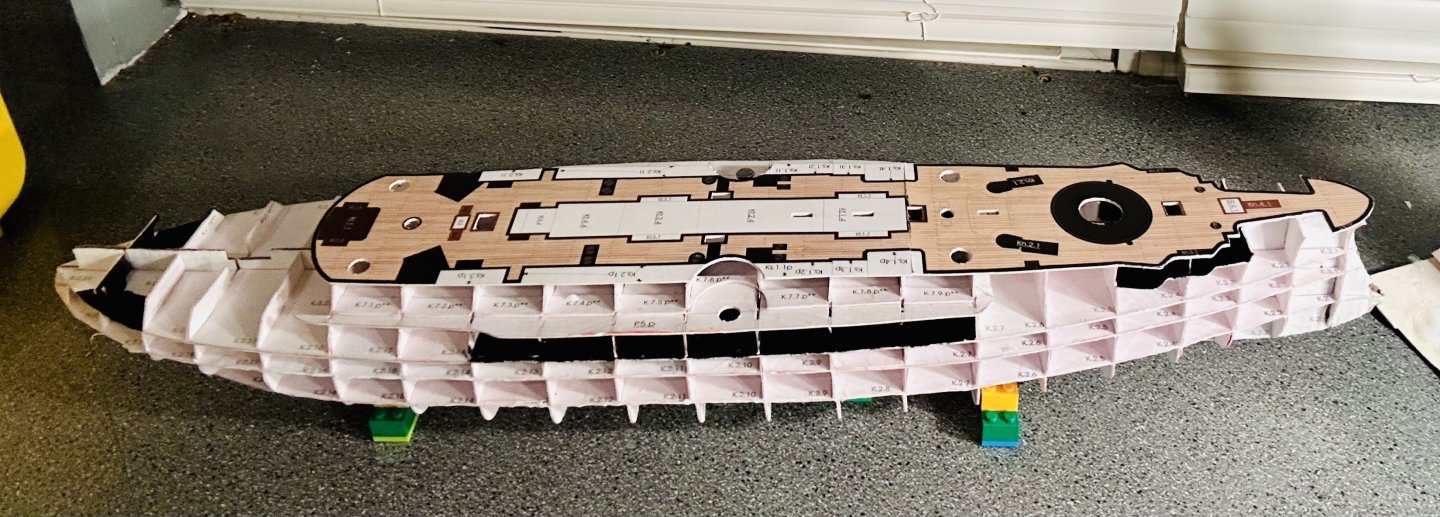
The decks are on: The lower hull covering is progressing: Those strips that Orel recommends putting on the two upper faux decks are working wonders for ensuring that there is plenty to glue to. They will also help with the appearance of armor bands later on. I adjusted my temporary stand to allow for the skin of the hull. I’ll make an actual cradle and permanently mount it to the base after I finish the lower hull fittings, which will be after I finish completely covering the hull, including the upper hull.
- 180 replies
-
- 13
-
-
- Card
- Pre-Dreadnought
- (and 2 more)
-
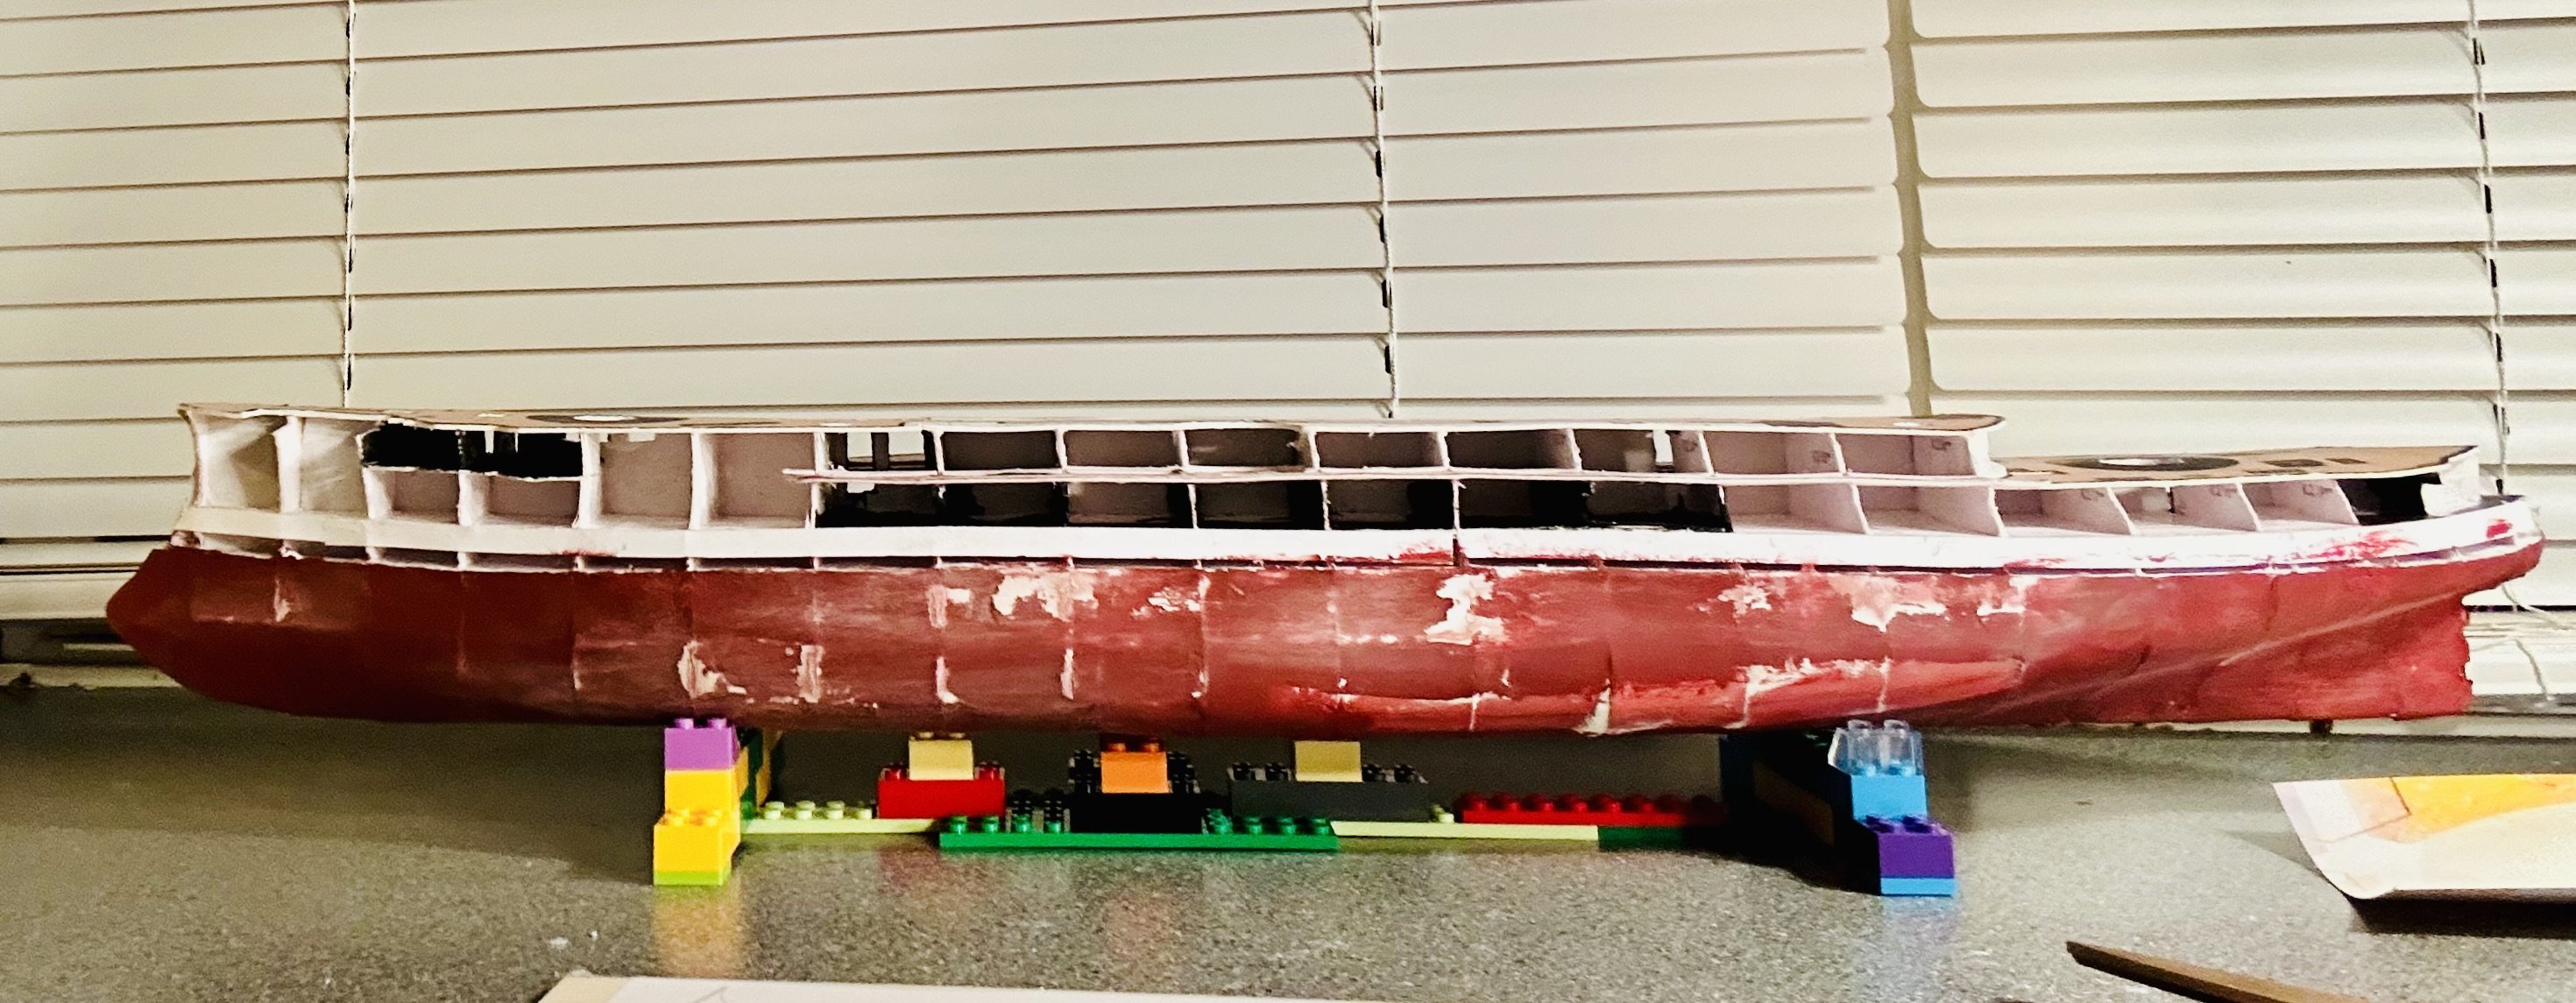
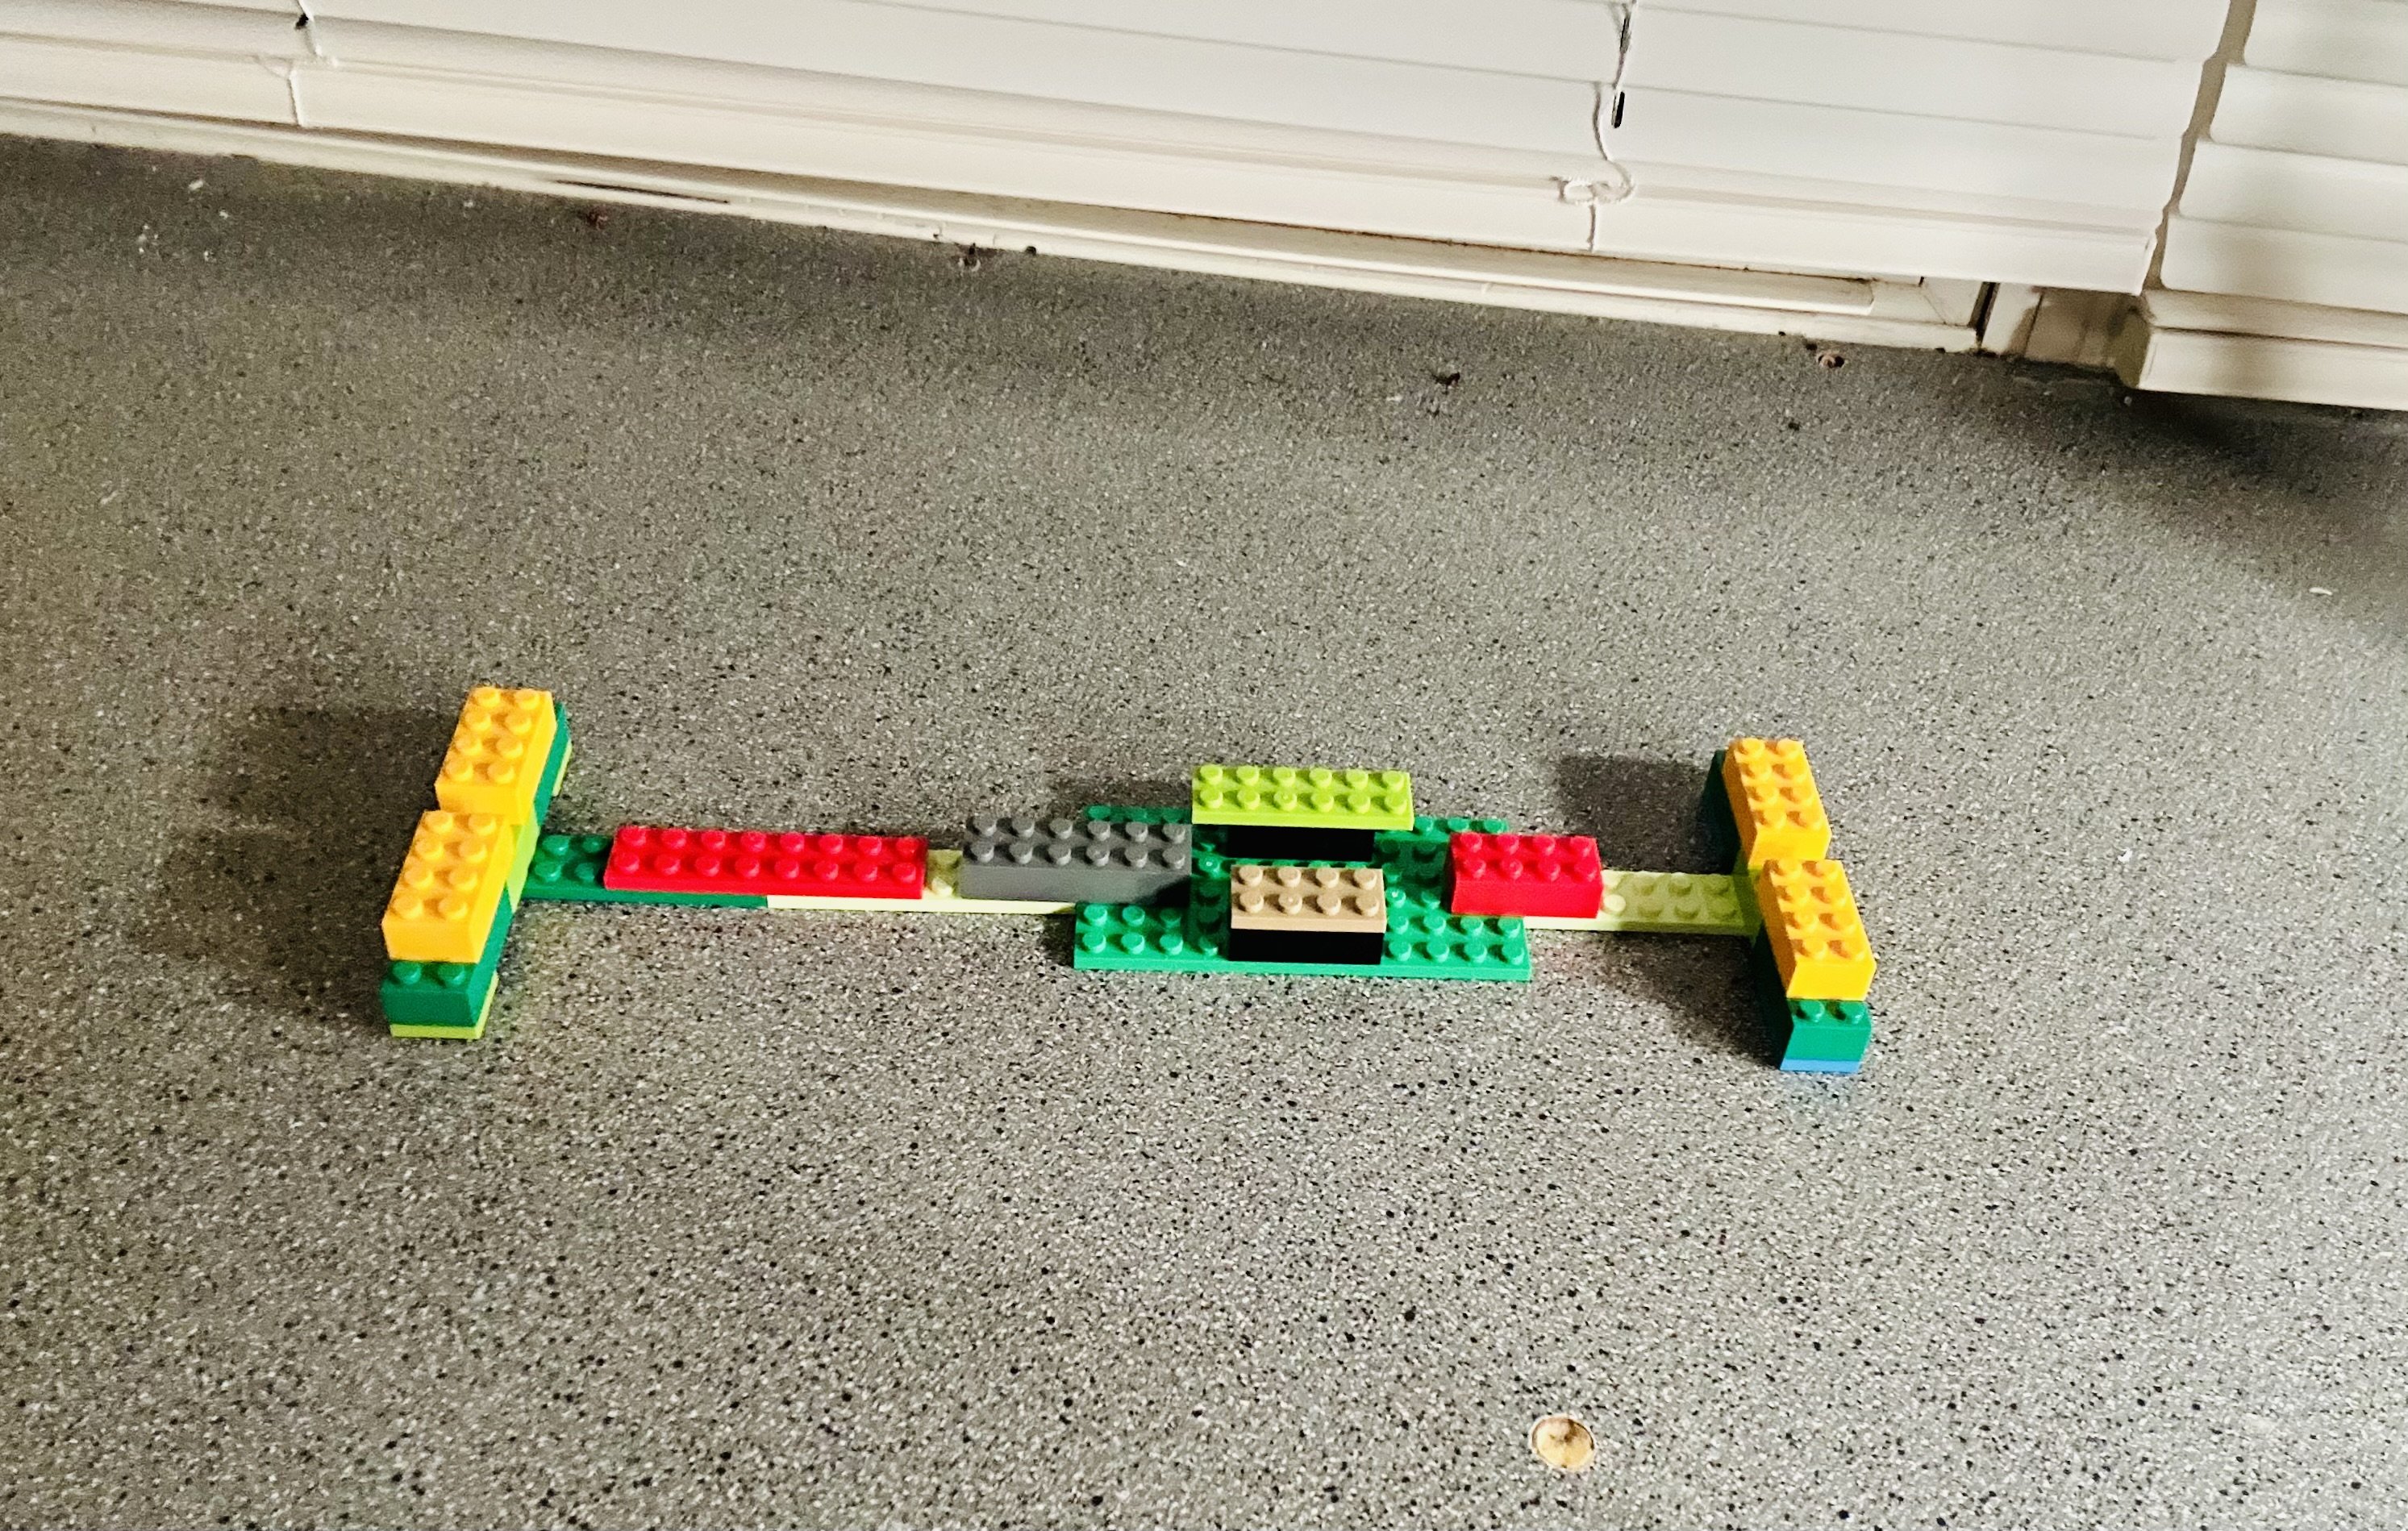
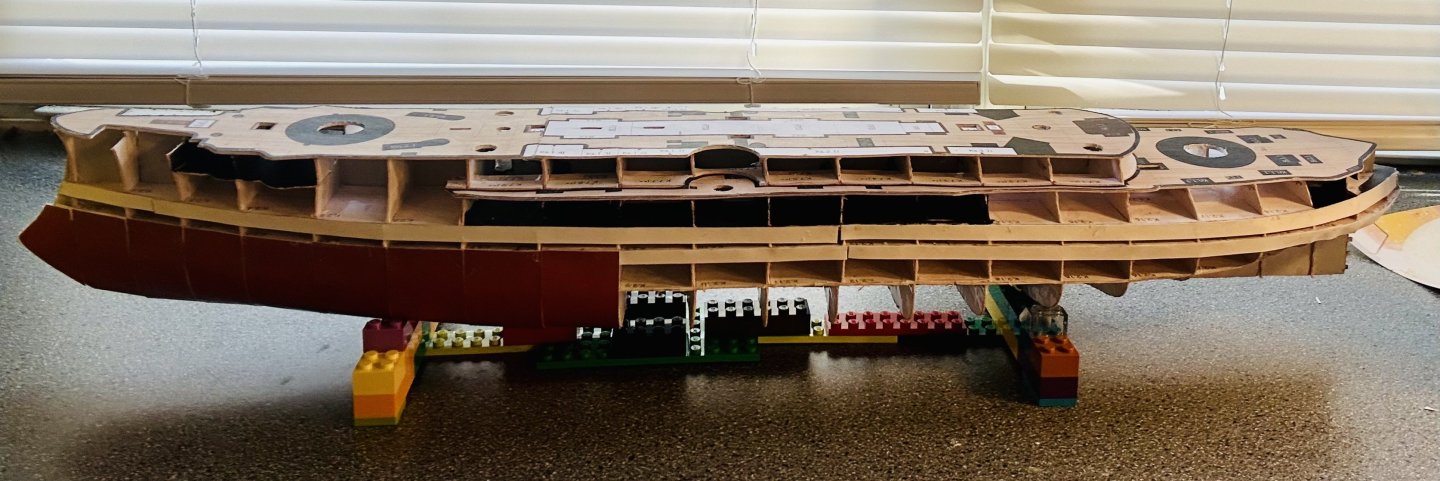
I made a temporary cradle: Using Legos for jigs and cradles is one of the things I learned about, on this forum. The Oryol sits relatively flat and level on the cradle. After skinning, I will probably modify the cradle and use it until I make an actual base for the Oryol. The forward most decks are on now:


- 180 replies
-
- 7
-
-

-
- Card
- Pre-Dreadnought
- (and 2 more)
-
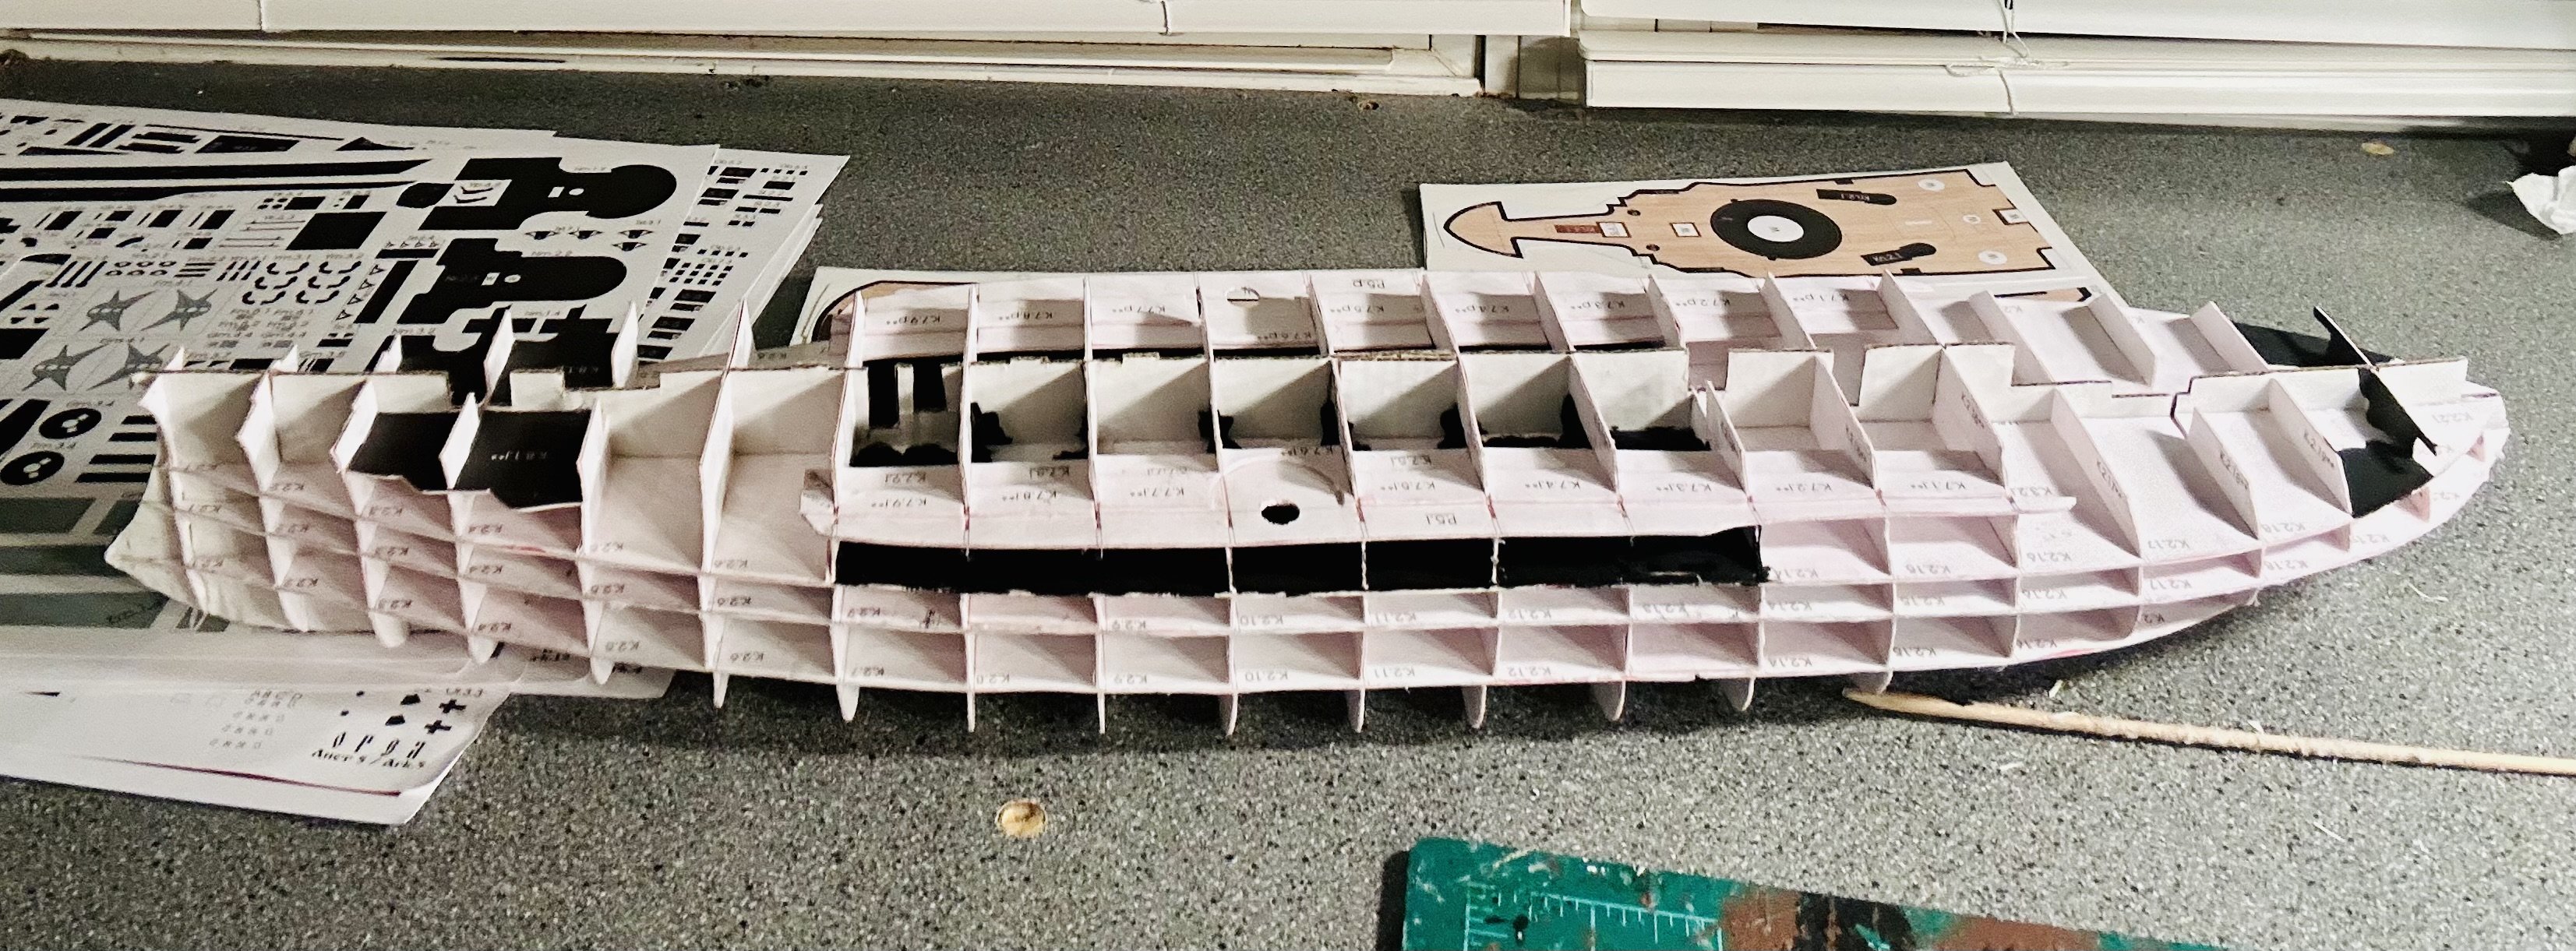
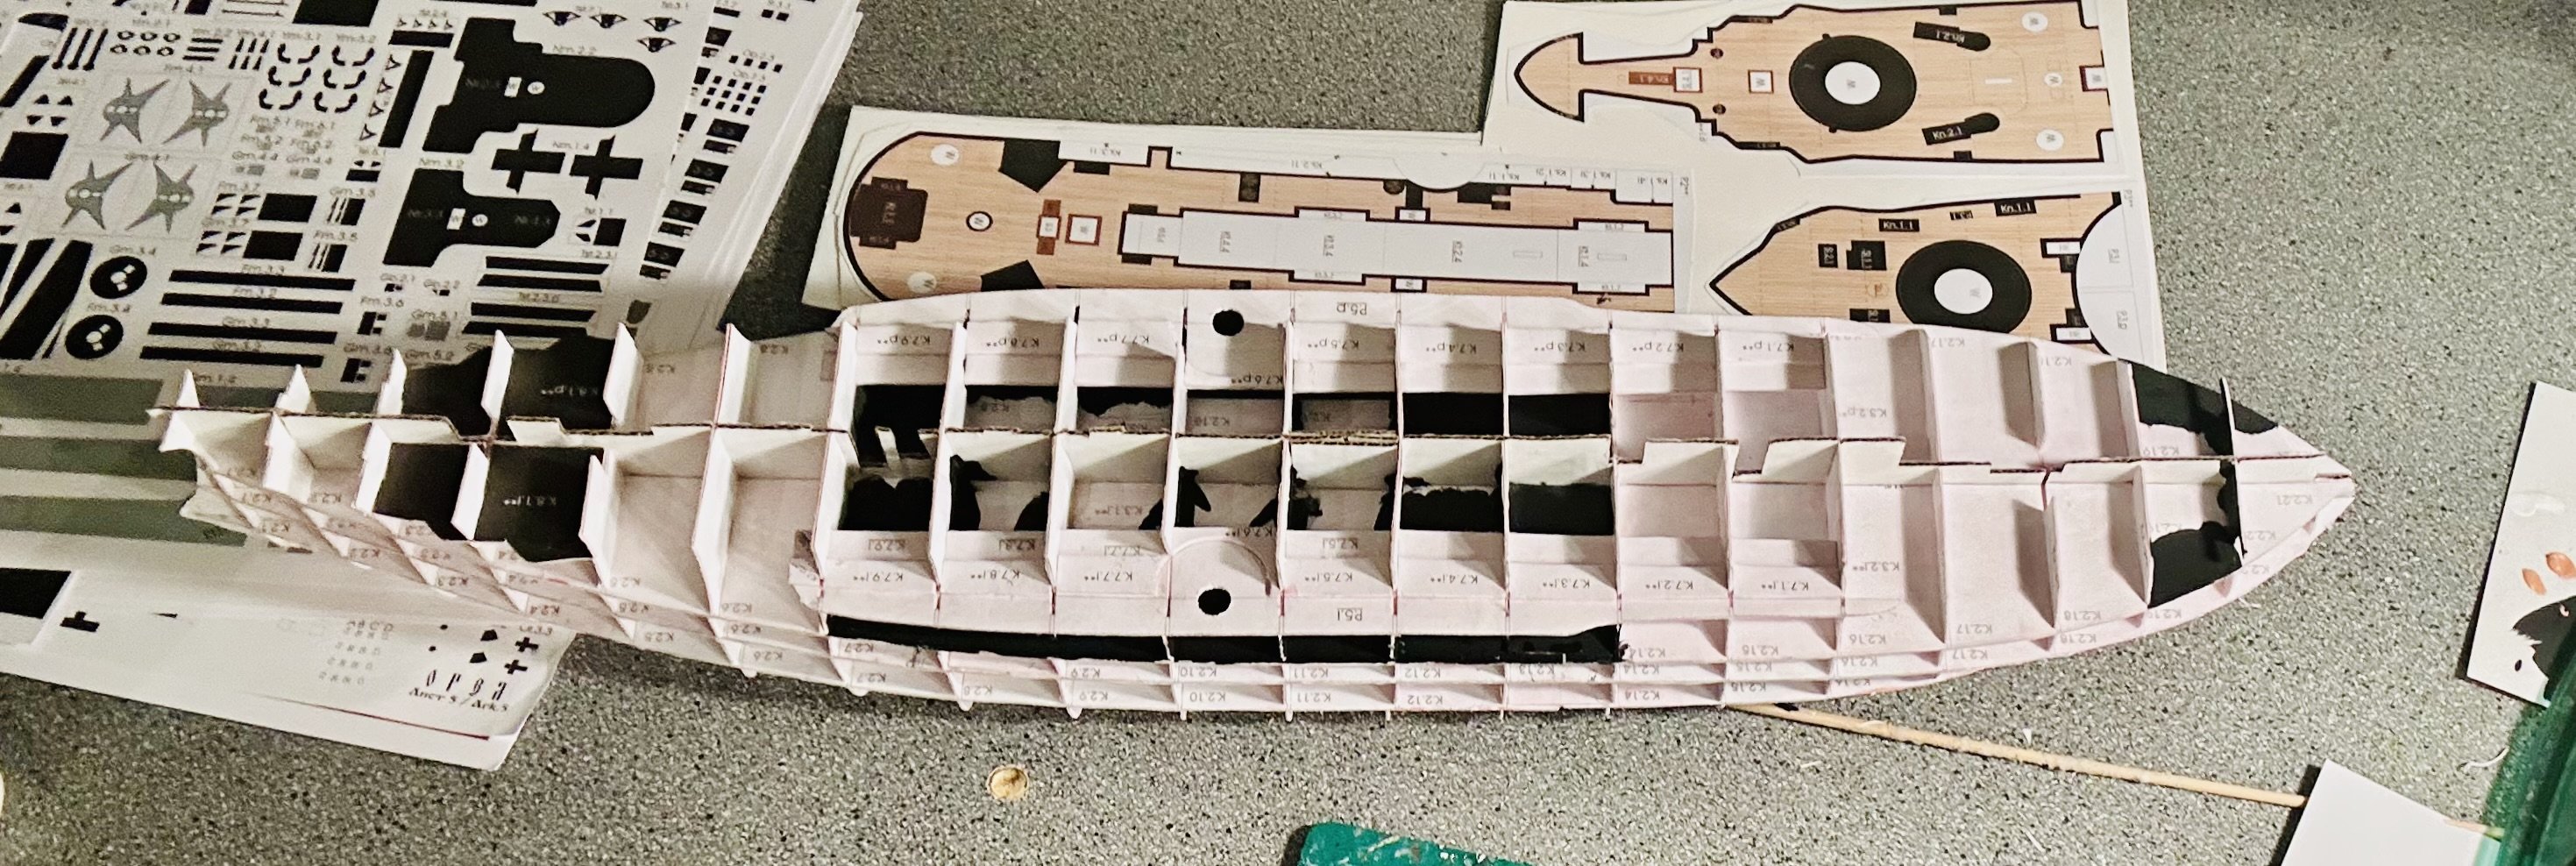
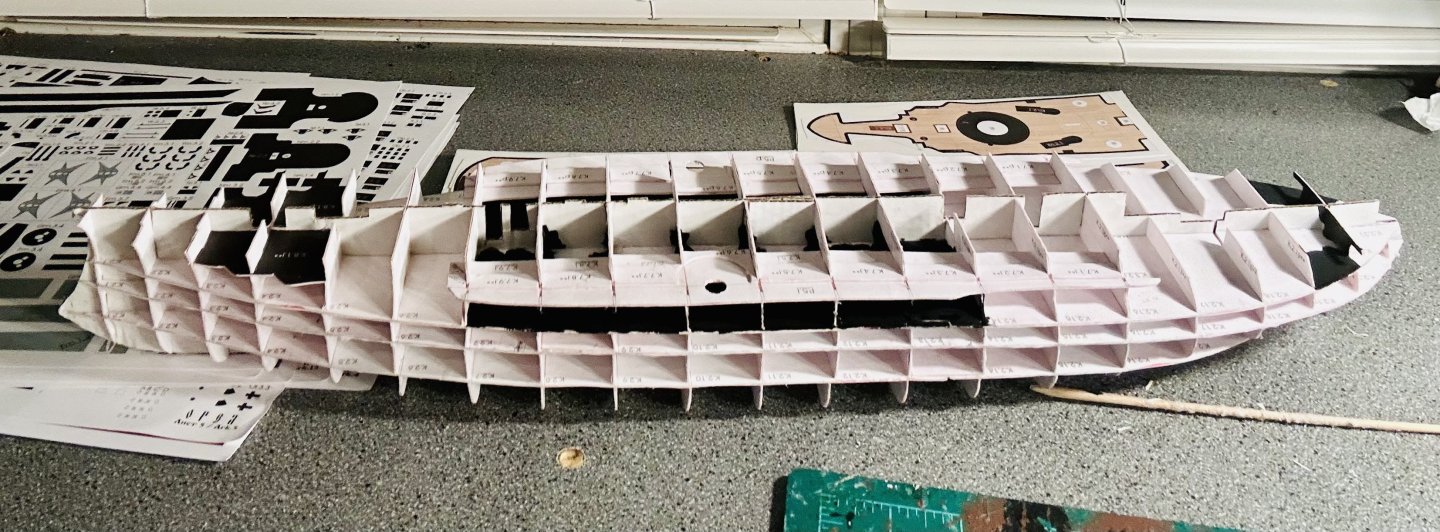
All parts are sealed now. Found a few parts that I missed on the first round of laminating, so they’ll need to be laminated up and sealed on the back. Getting the first round of decks prepared: And fairing the hull for covering (as with all POB models). I am also going to add thin card strips to the bulkheads and faux decks to have more to glue the hull covering to.

- 180 replies
-
- 7
-
-
- Card
- Pre-Dreadnought
- (and 2 more)
-
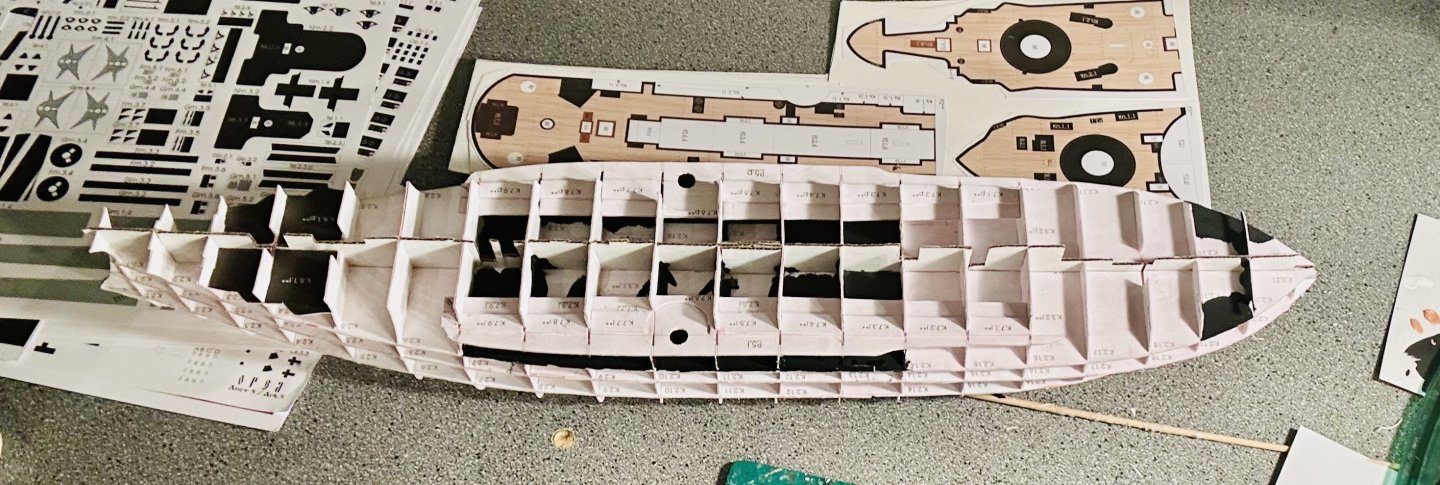
The framework is pretty much done now: I believe that everything that needs laminated is now laminated. It is about time to seal all the parts in advance.
- 180 replies
-
- 10
-
-
- Card
- Pre-Dreadnought
- (and 2 more)
-
Thank you very much, Alan!