HOLIDAY DONATION DRIVE - SUPPORT MSW - DO YOUR PART TO KEEP THIS GREAT FORUM GOING! (83 donations so far out of 49,000 members - C'mon guys!)
×


GrandpaPhil
-
Posts
6,128 -
Joined
-
Last visited
Content Type
Profiles
Forums
Gallery
Events
Everything posted by GrandpaPhil
-
Schneider CA - Armoured by RGL - HobbyBoss - 1/35 - PLASTIC
GrandpaPhil replied to RGL's topic in Non-ship/categorised builds
Greg, That looks amazing! -
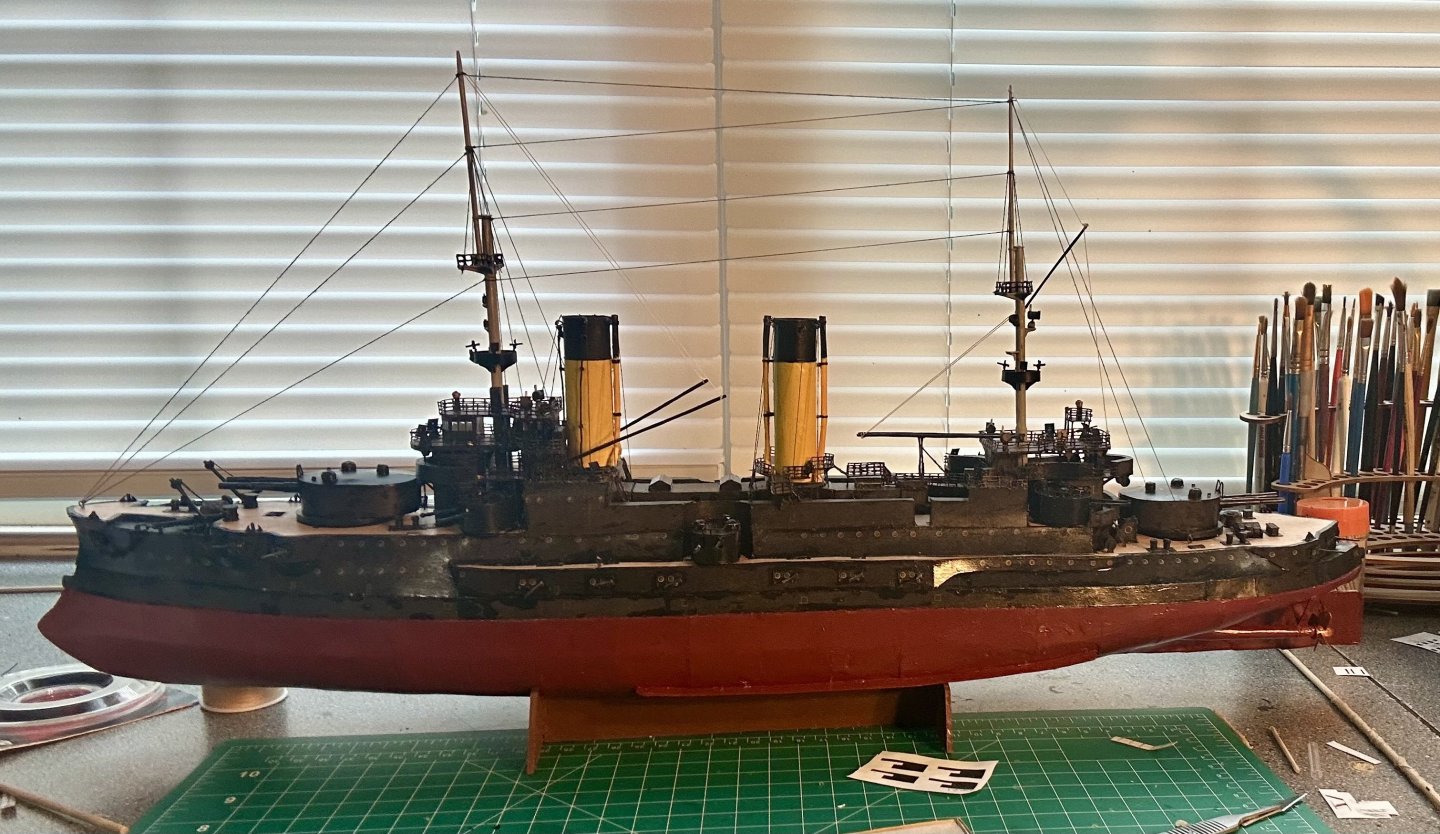
Mark, Thank you very much for the compliment! I am learning and continually getting better! The torpedo boats are painted, sealed (drying) and awaiting installation after I install the full running rigging: Next up are the 40’ mine launches!

- 288 replies
-
- 9
-

-
- Card
- Pre-Dreadnought
- (and 3 more)
-
The V-108 is looking good! The vents look like ventilation to me.
- 106 replies
-
- 4
-
-
- digital navy
- v108
- (and 3 more)
-
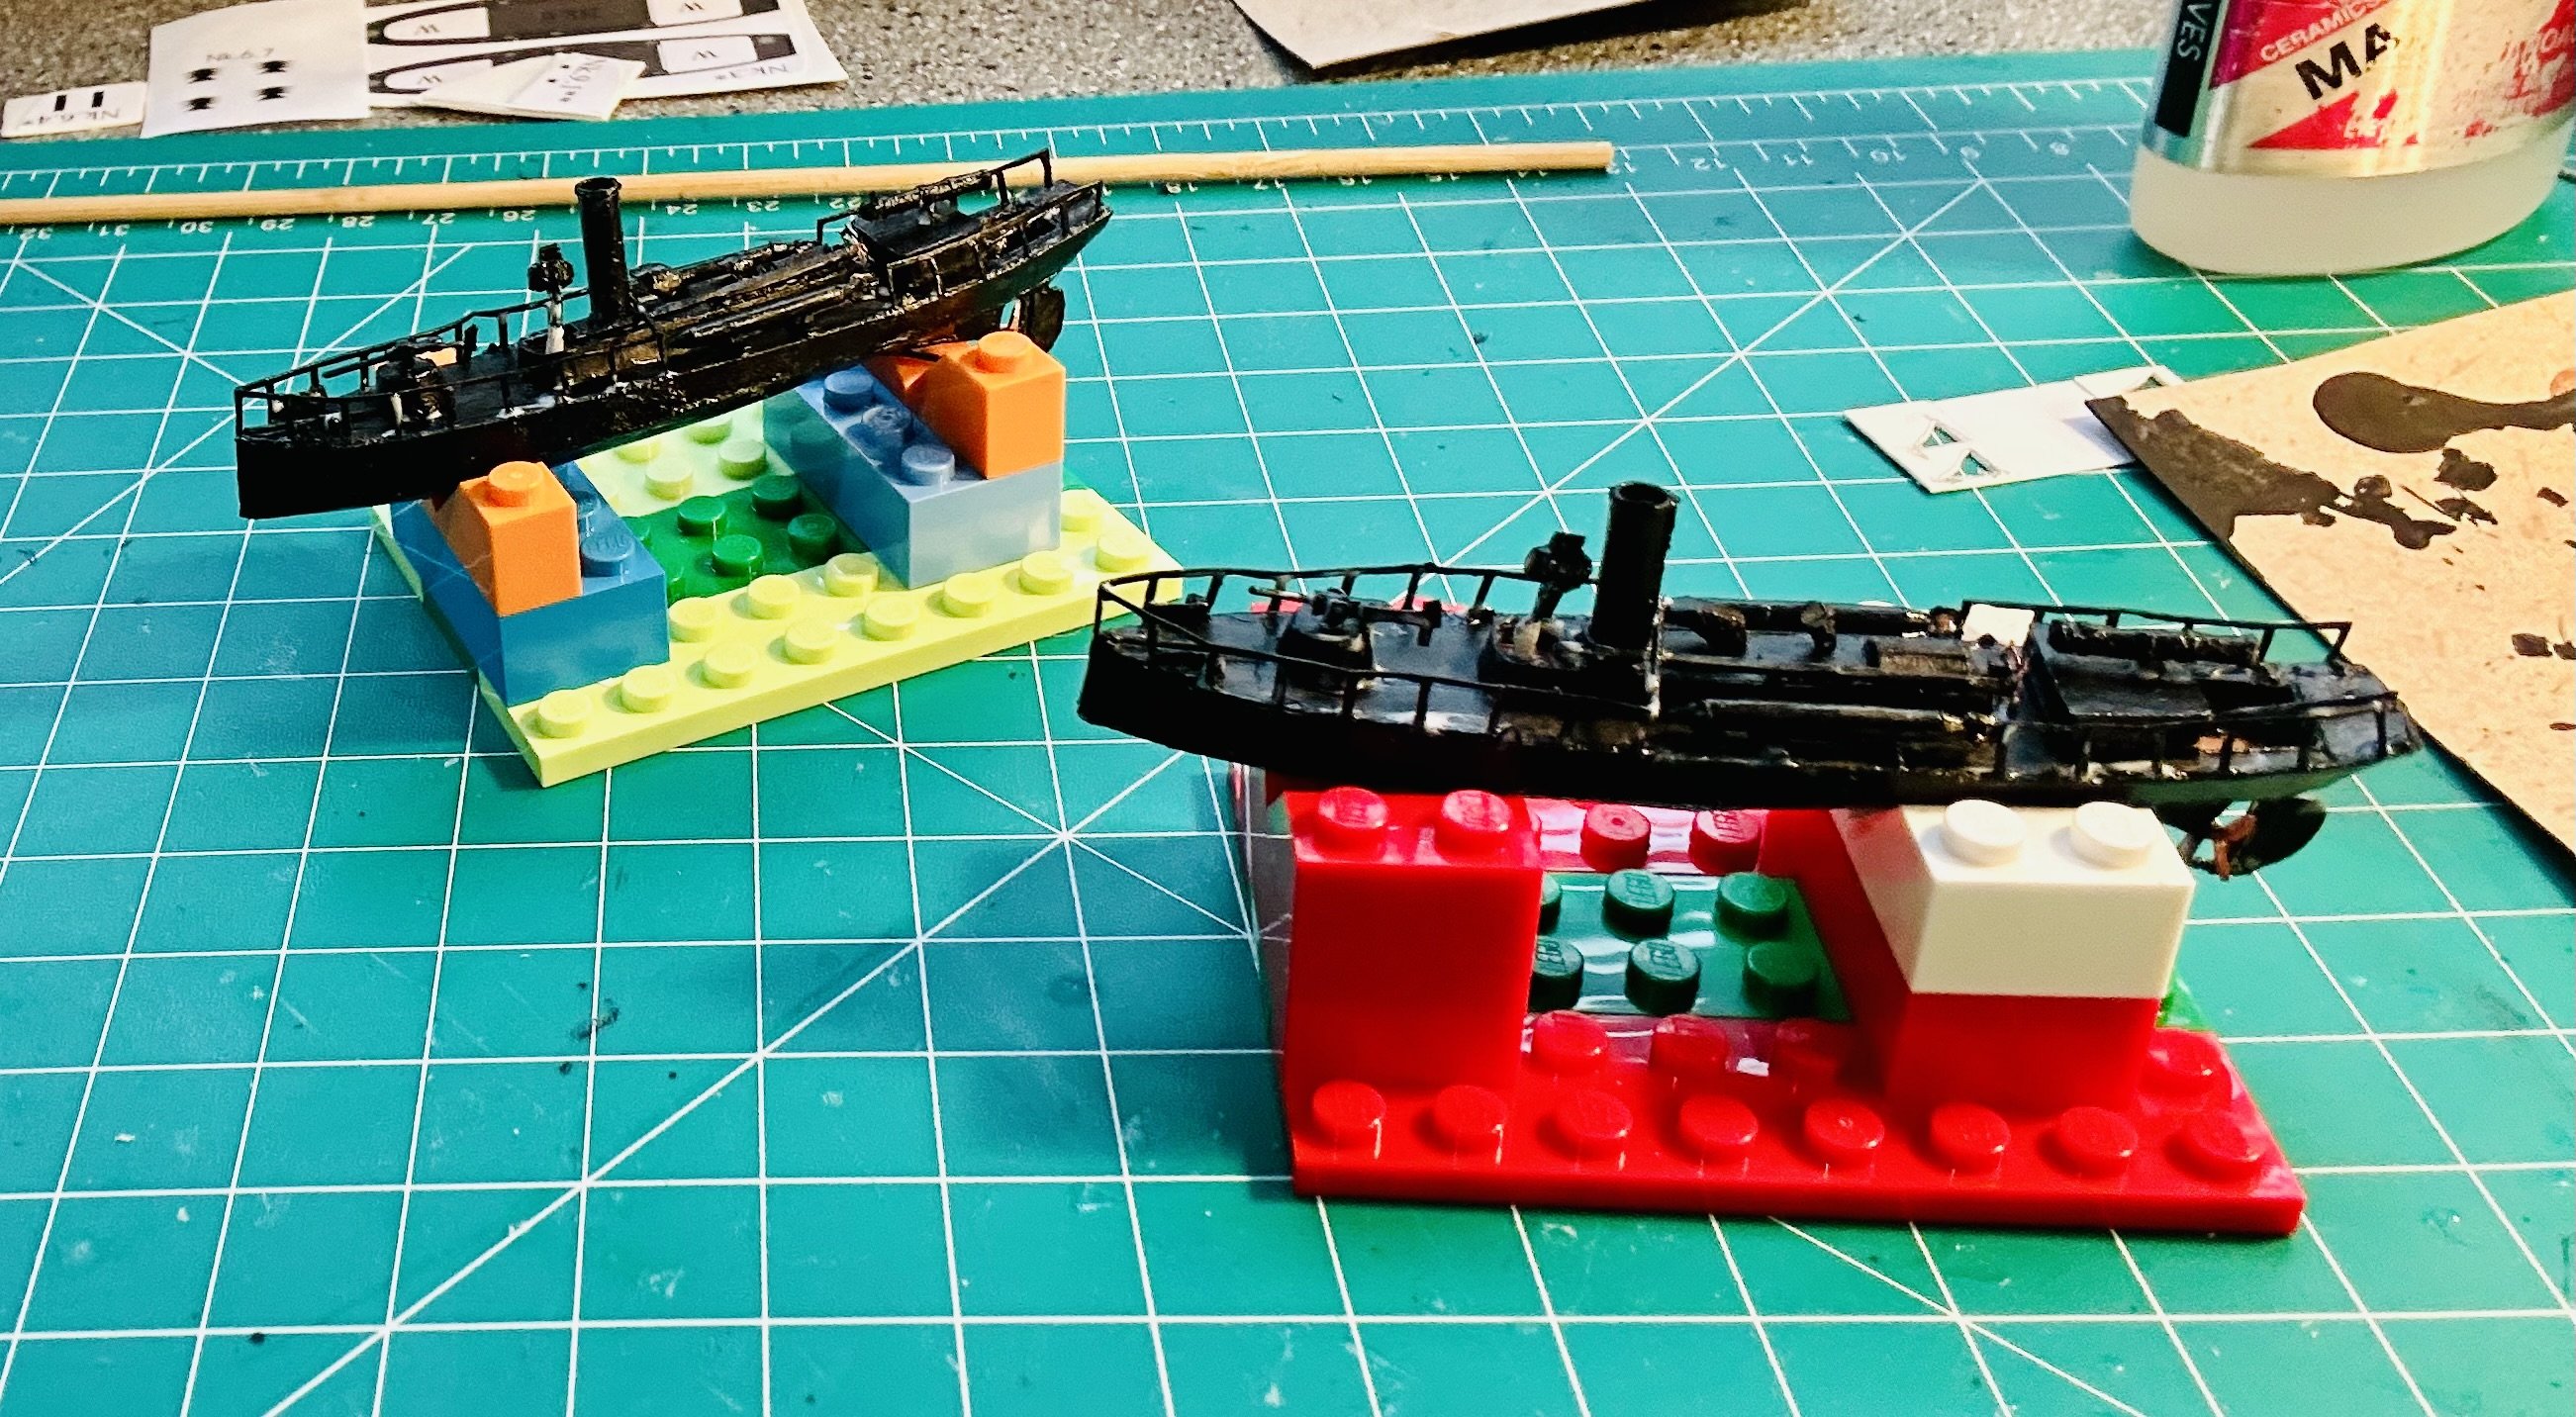
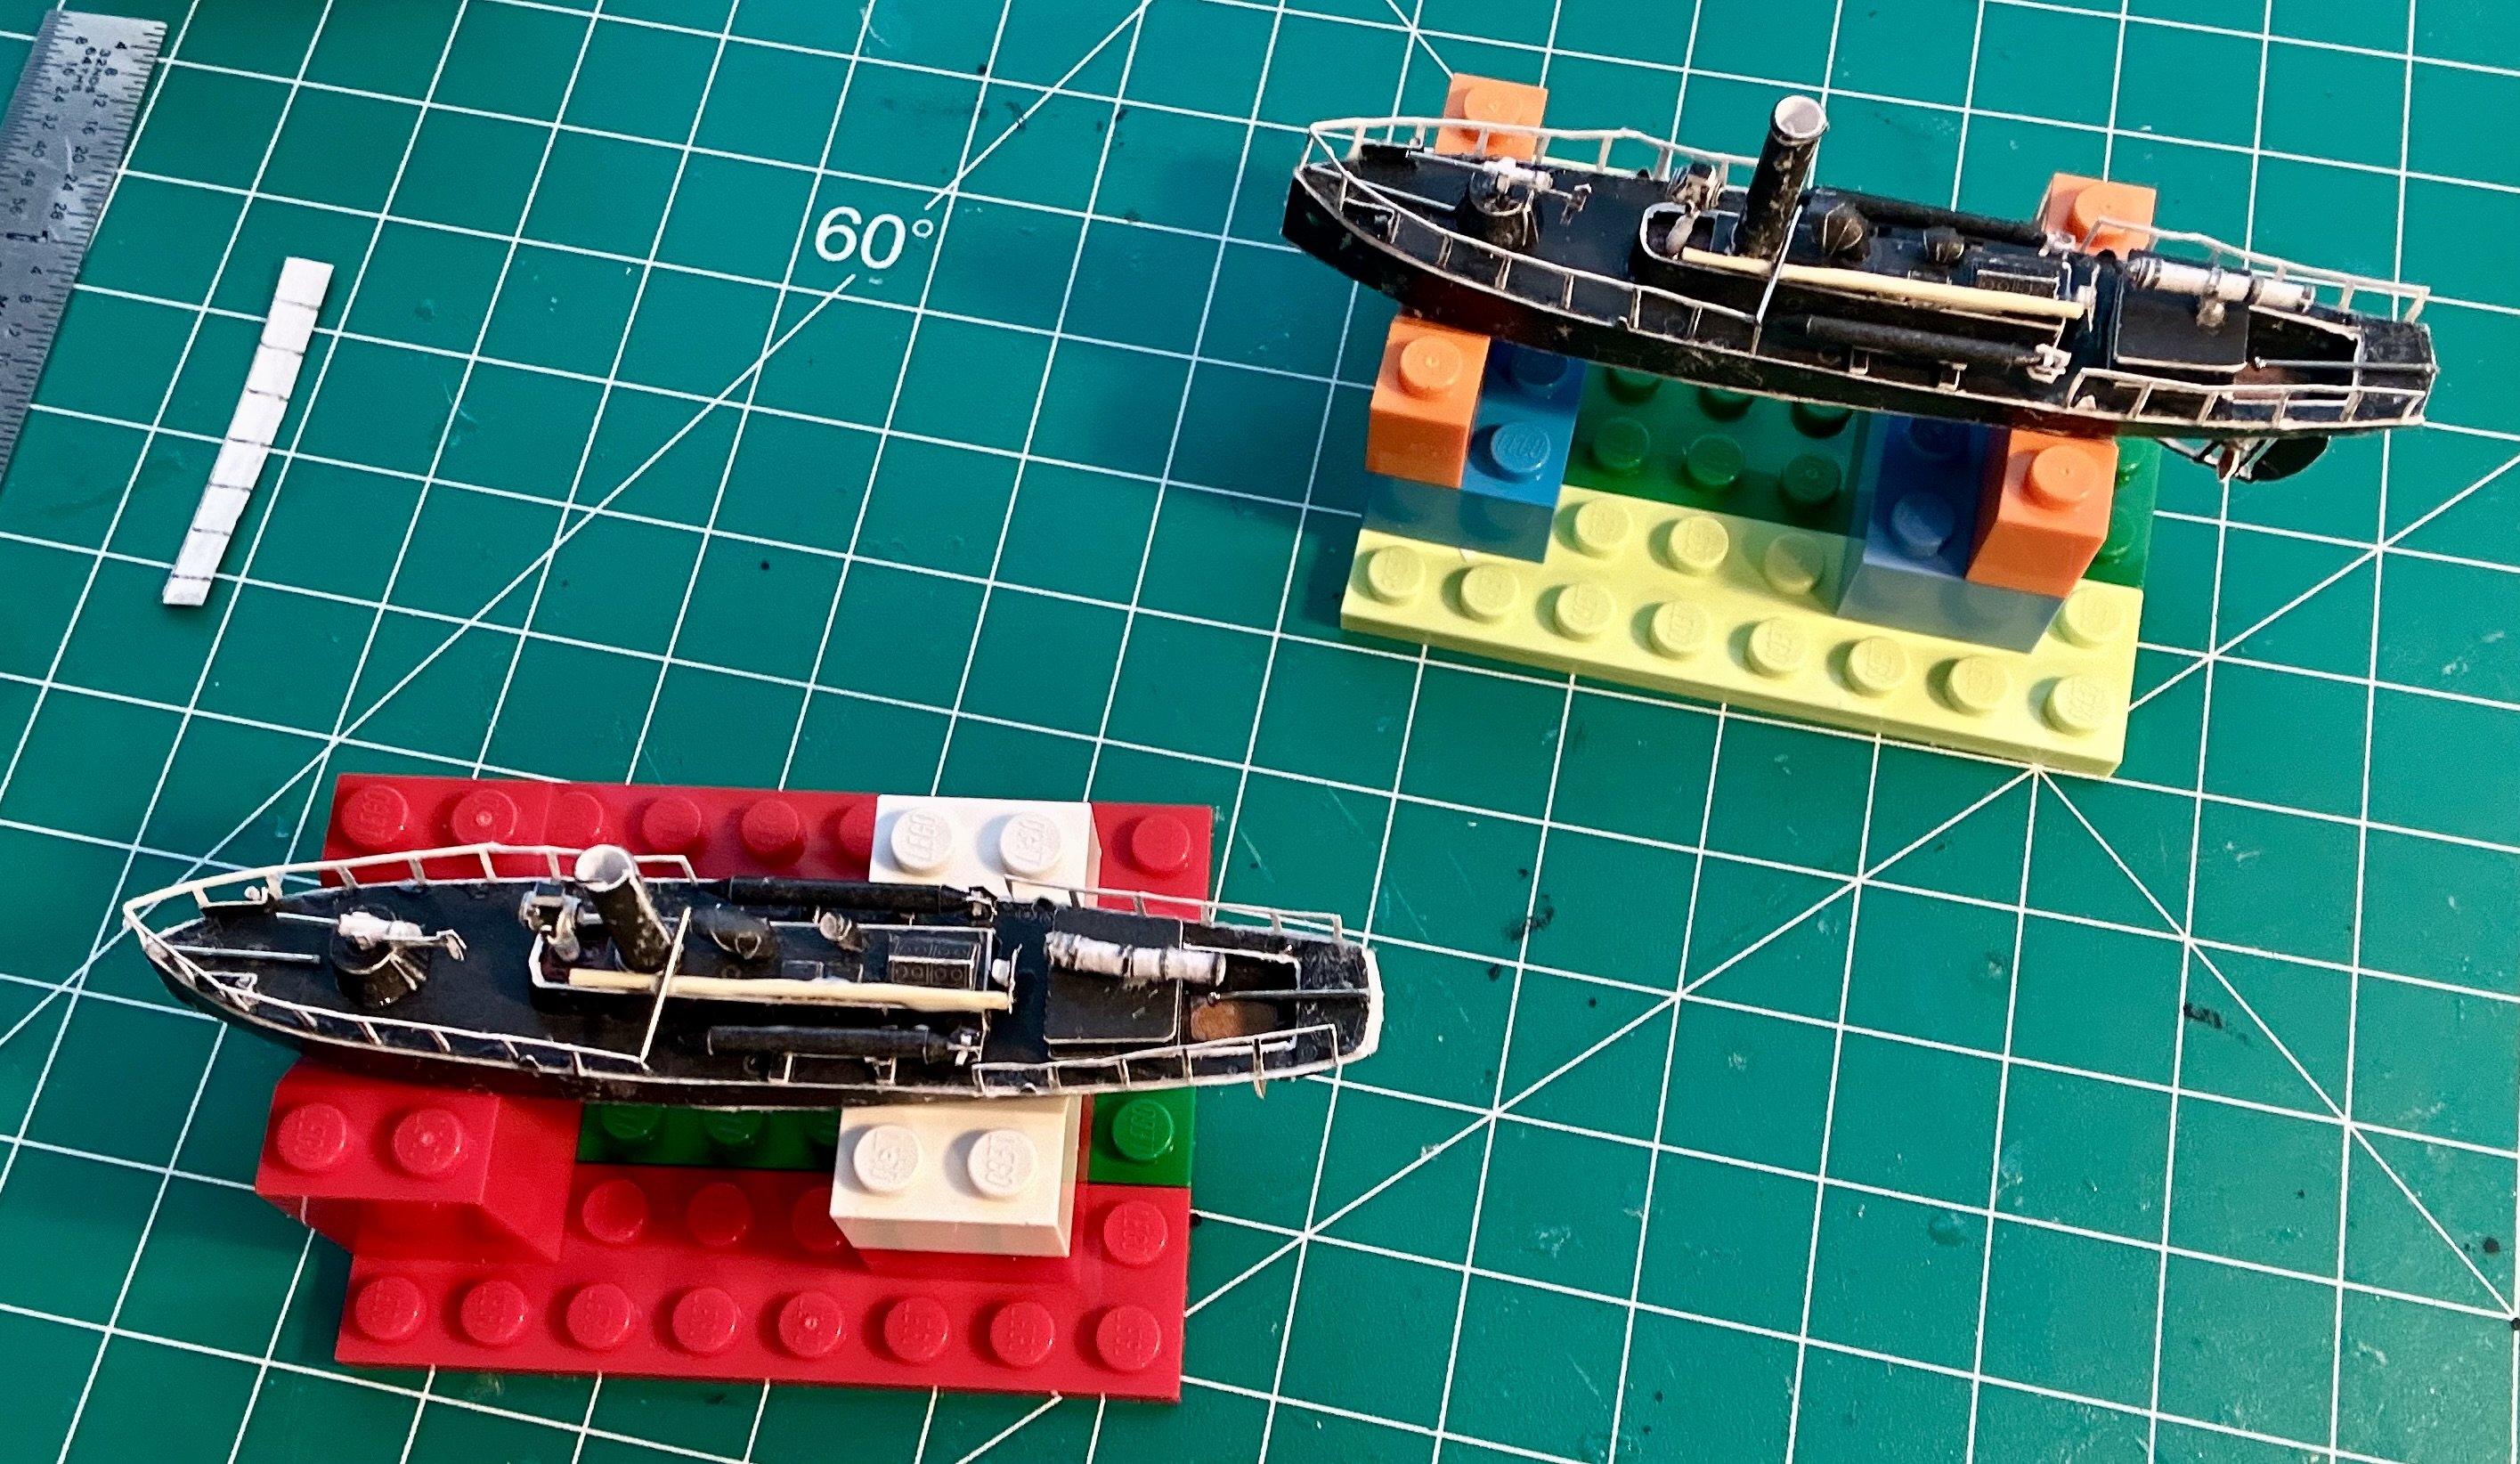
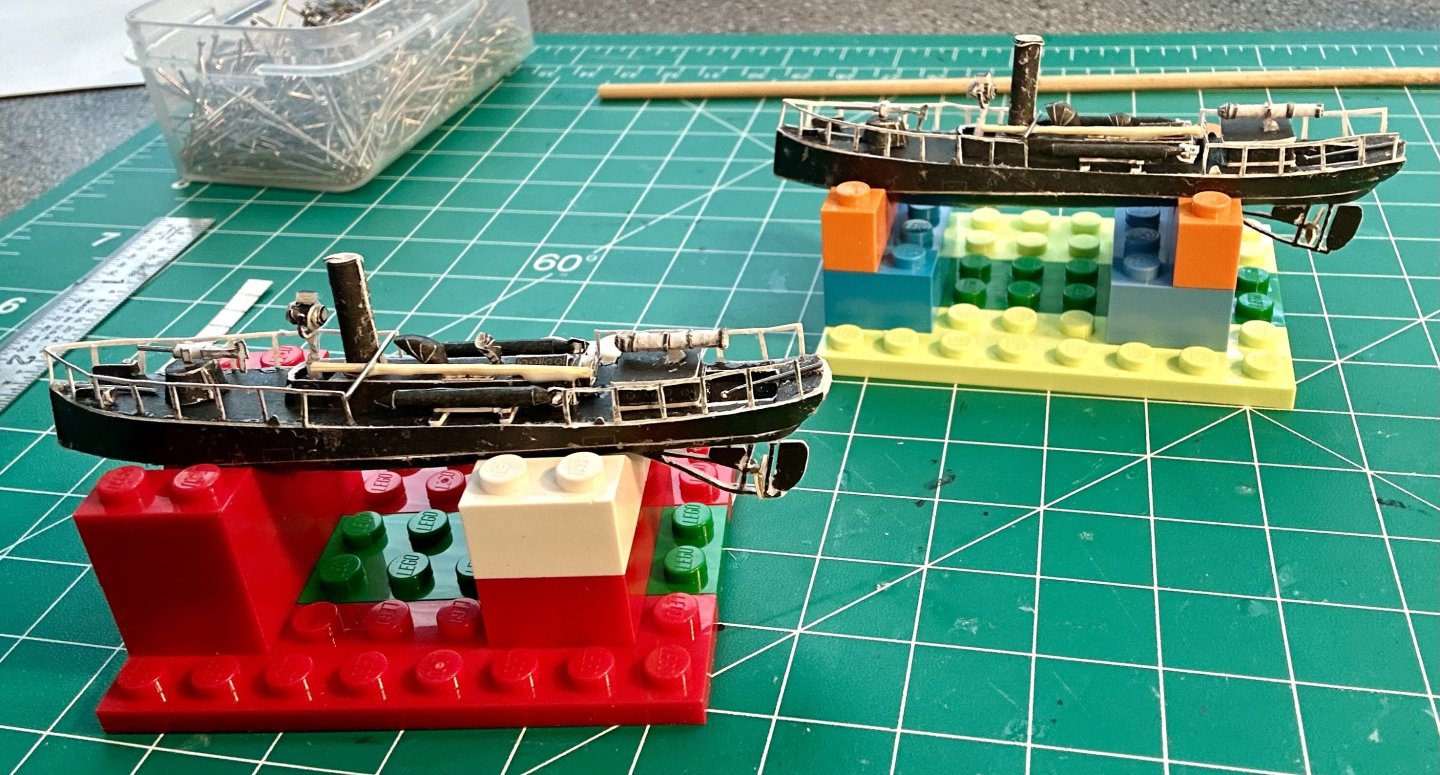
Alan and Mark, Thank you very much! Paper/card has become my favorite base medium to work in for ships! I have assembled the two torpedo/attack boats: They were pretty involved and still need painted/sealed. I am displaying them with the masts and flagpoles laid down as I imagine they would have been stored since they will sit in cradles. I have two mine boats to make and that’s it for the motor launches. Then I have eight rowed boats to make.

- 288 replies
-
- 11
-
-

-
- Card
- Pre-Dreadnought
- (and 3 more)
-
Very nicely done!
-
Welcome!
-
Propellors and fairings are always difficult on these! The V-108 is looking good!
- 106 replies
-
- 2
-
-
- digital navy
- v108
- (and 3 more)
-
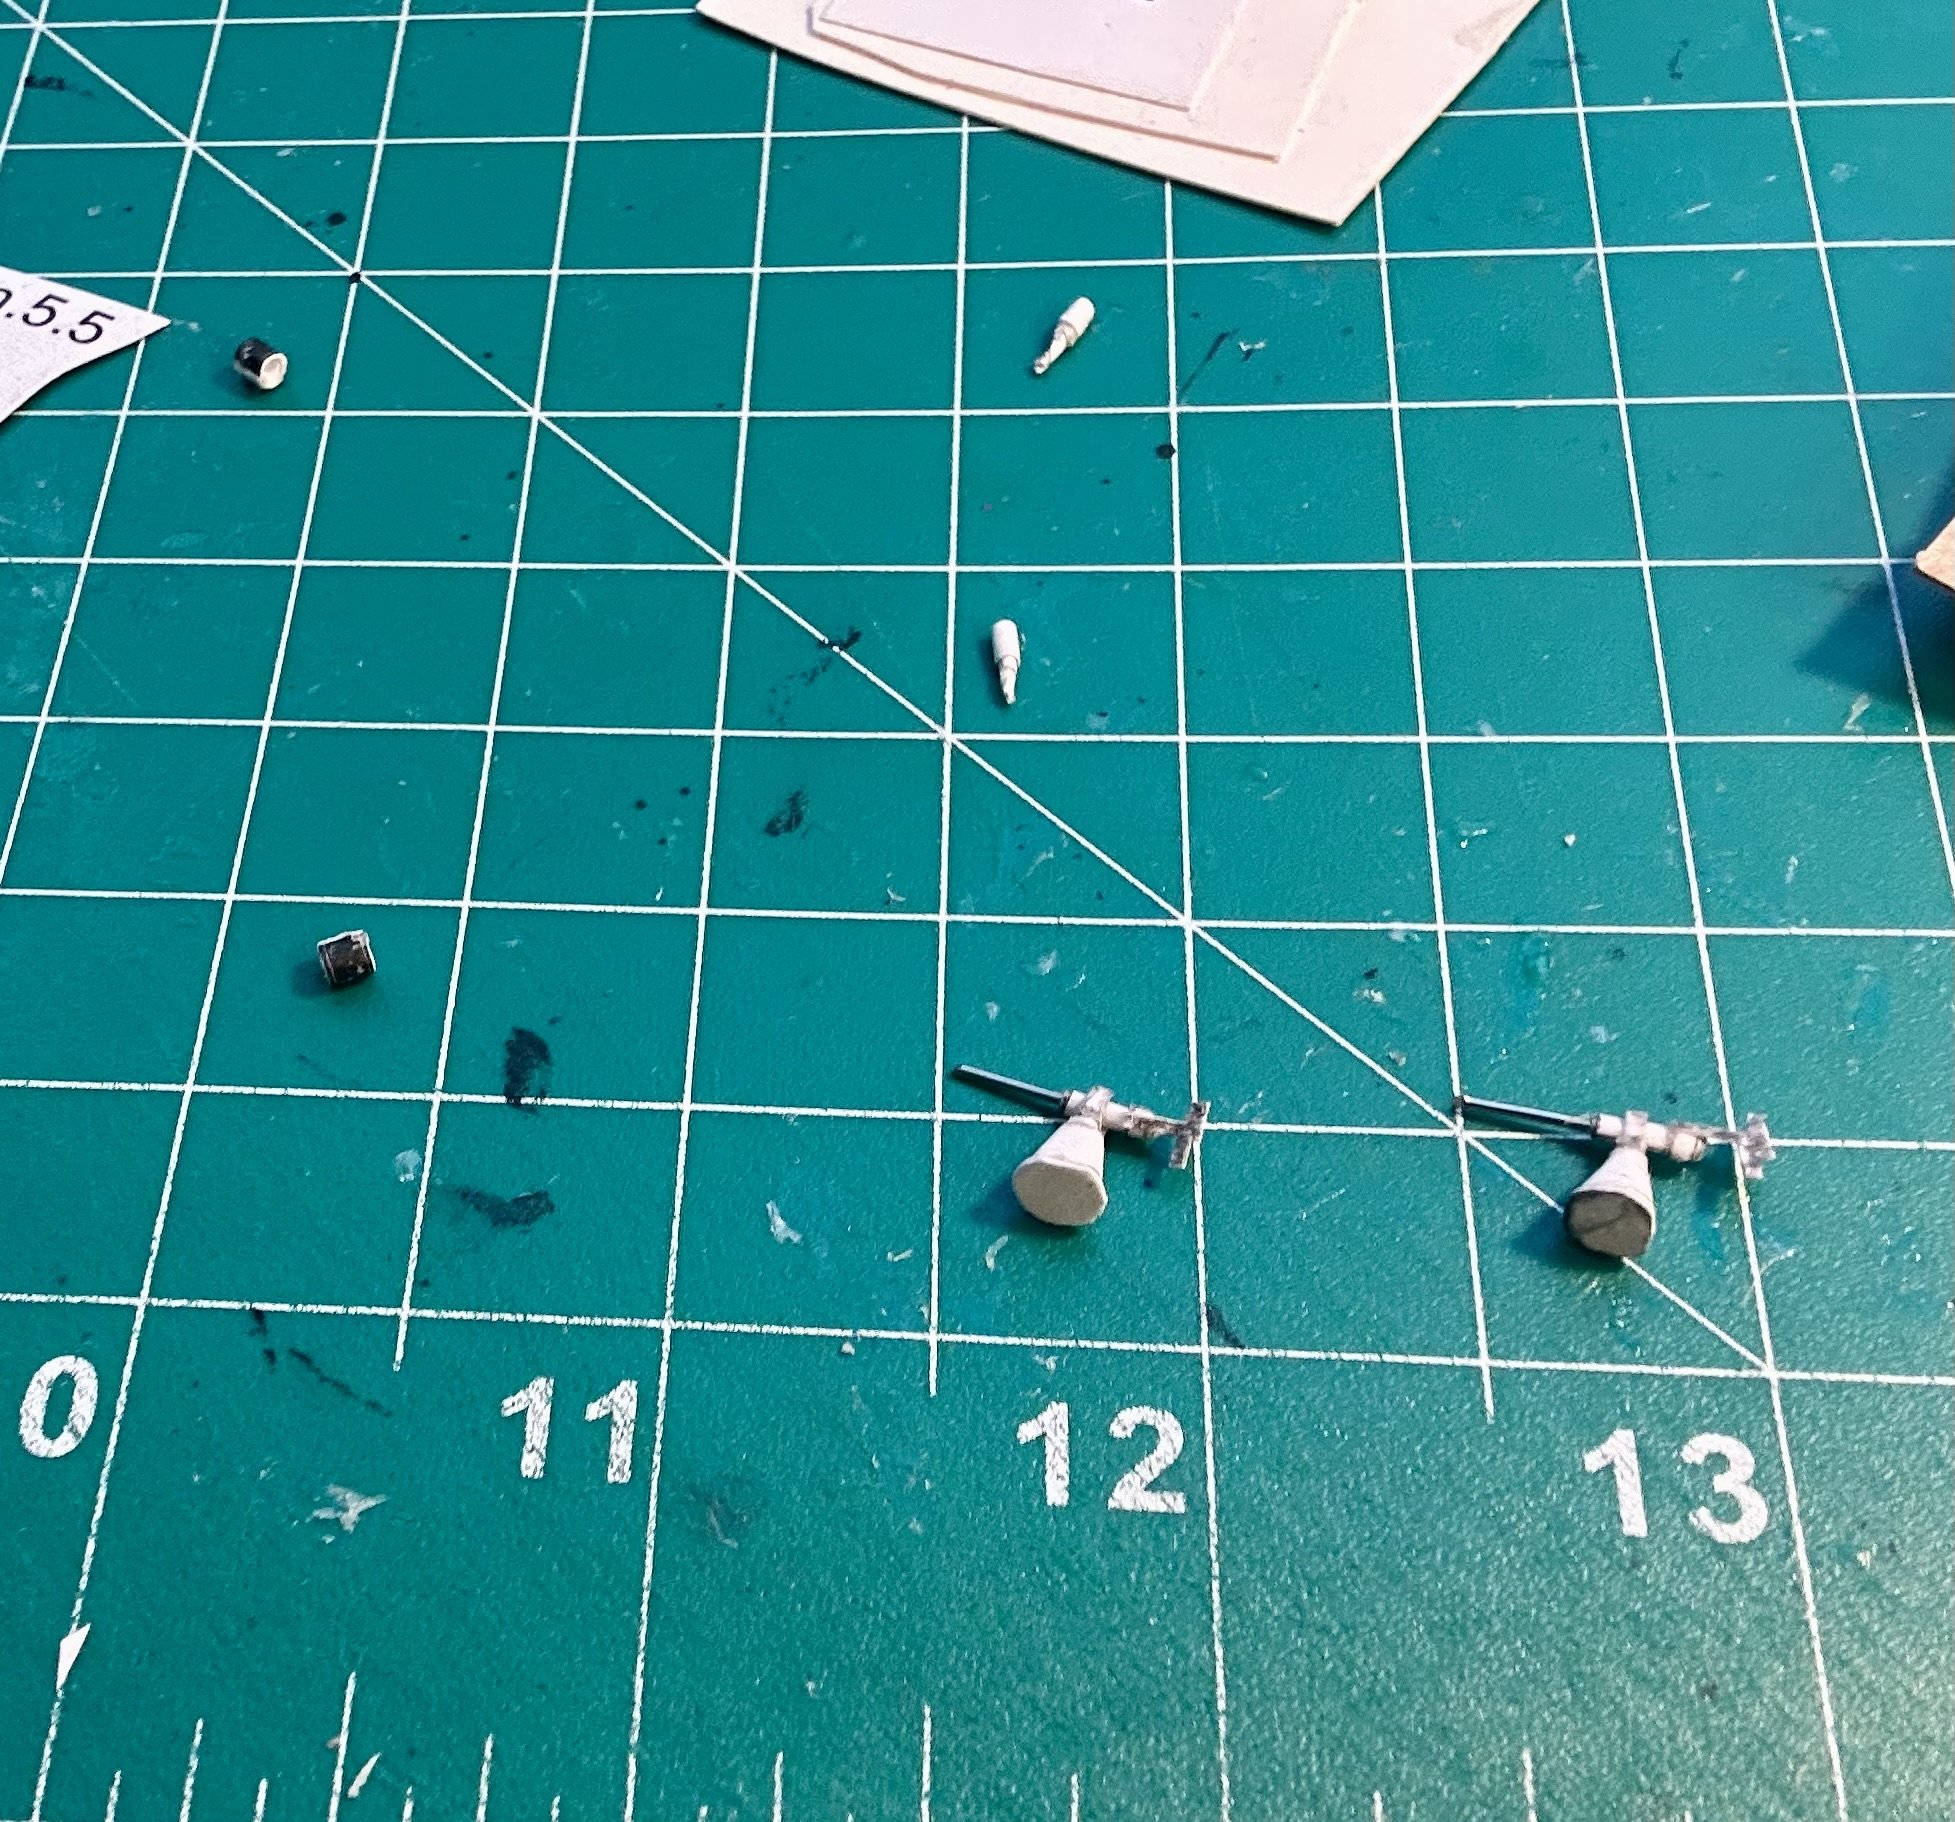
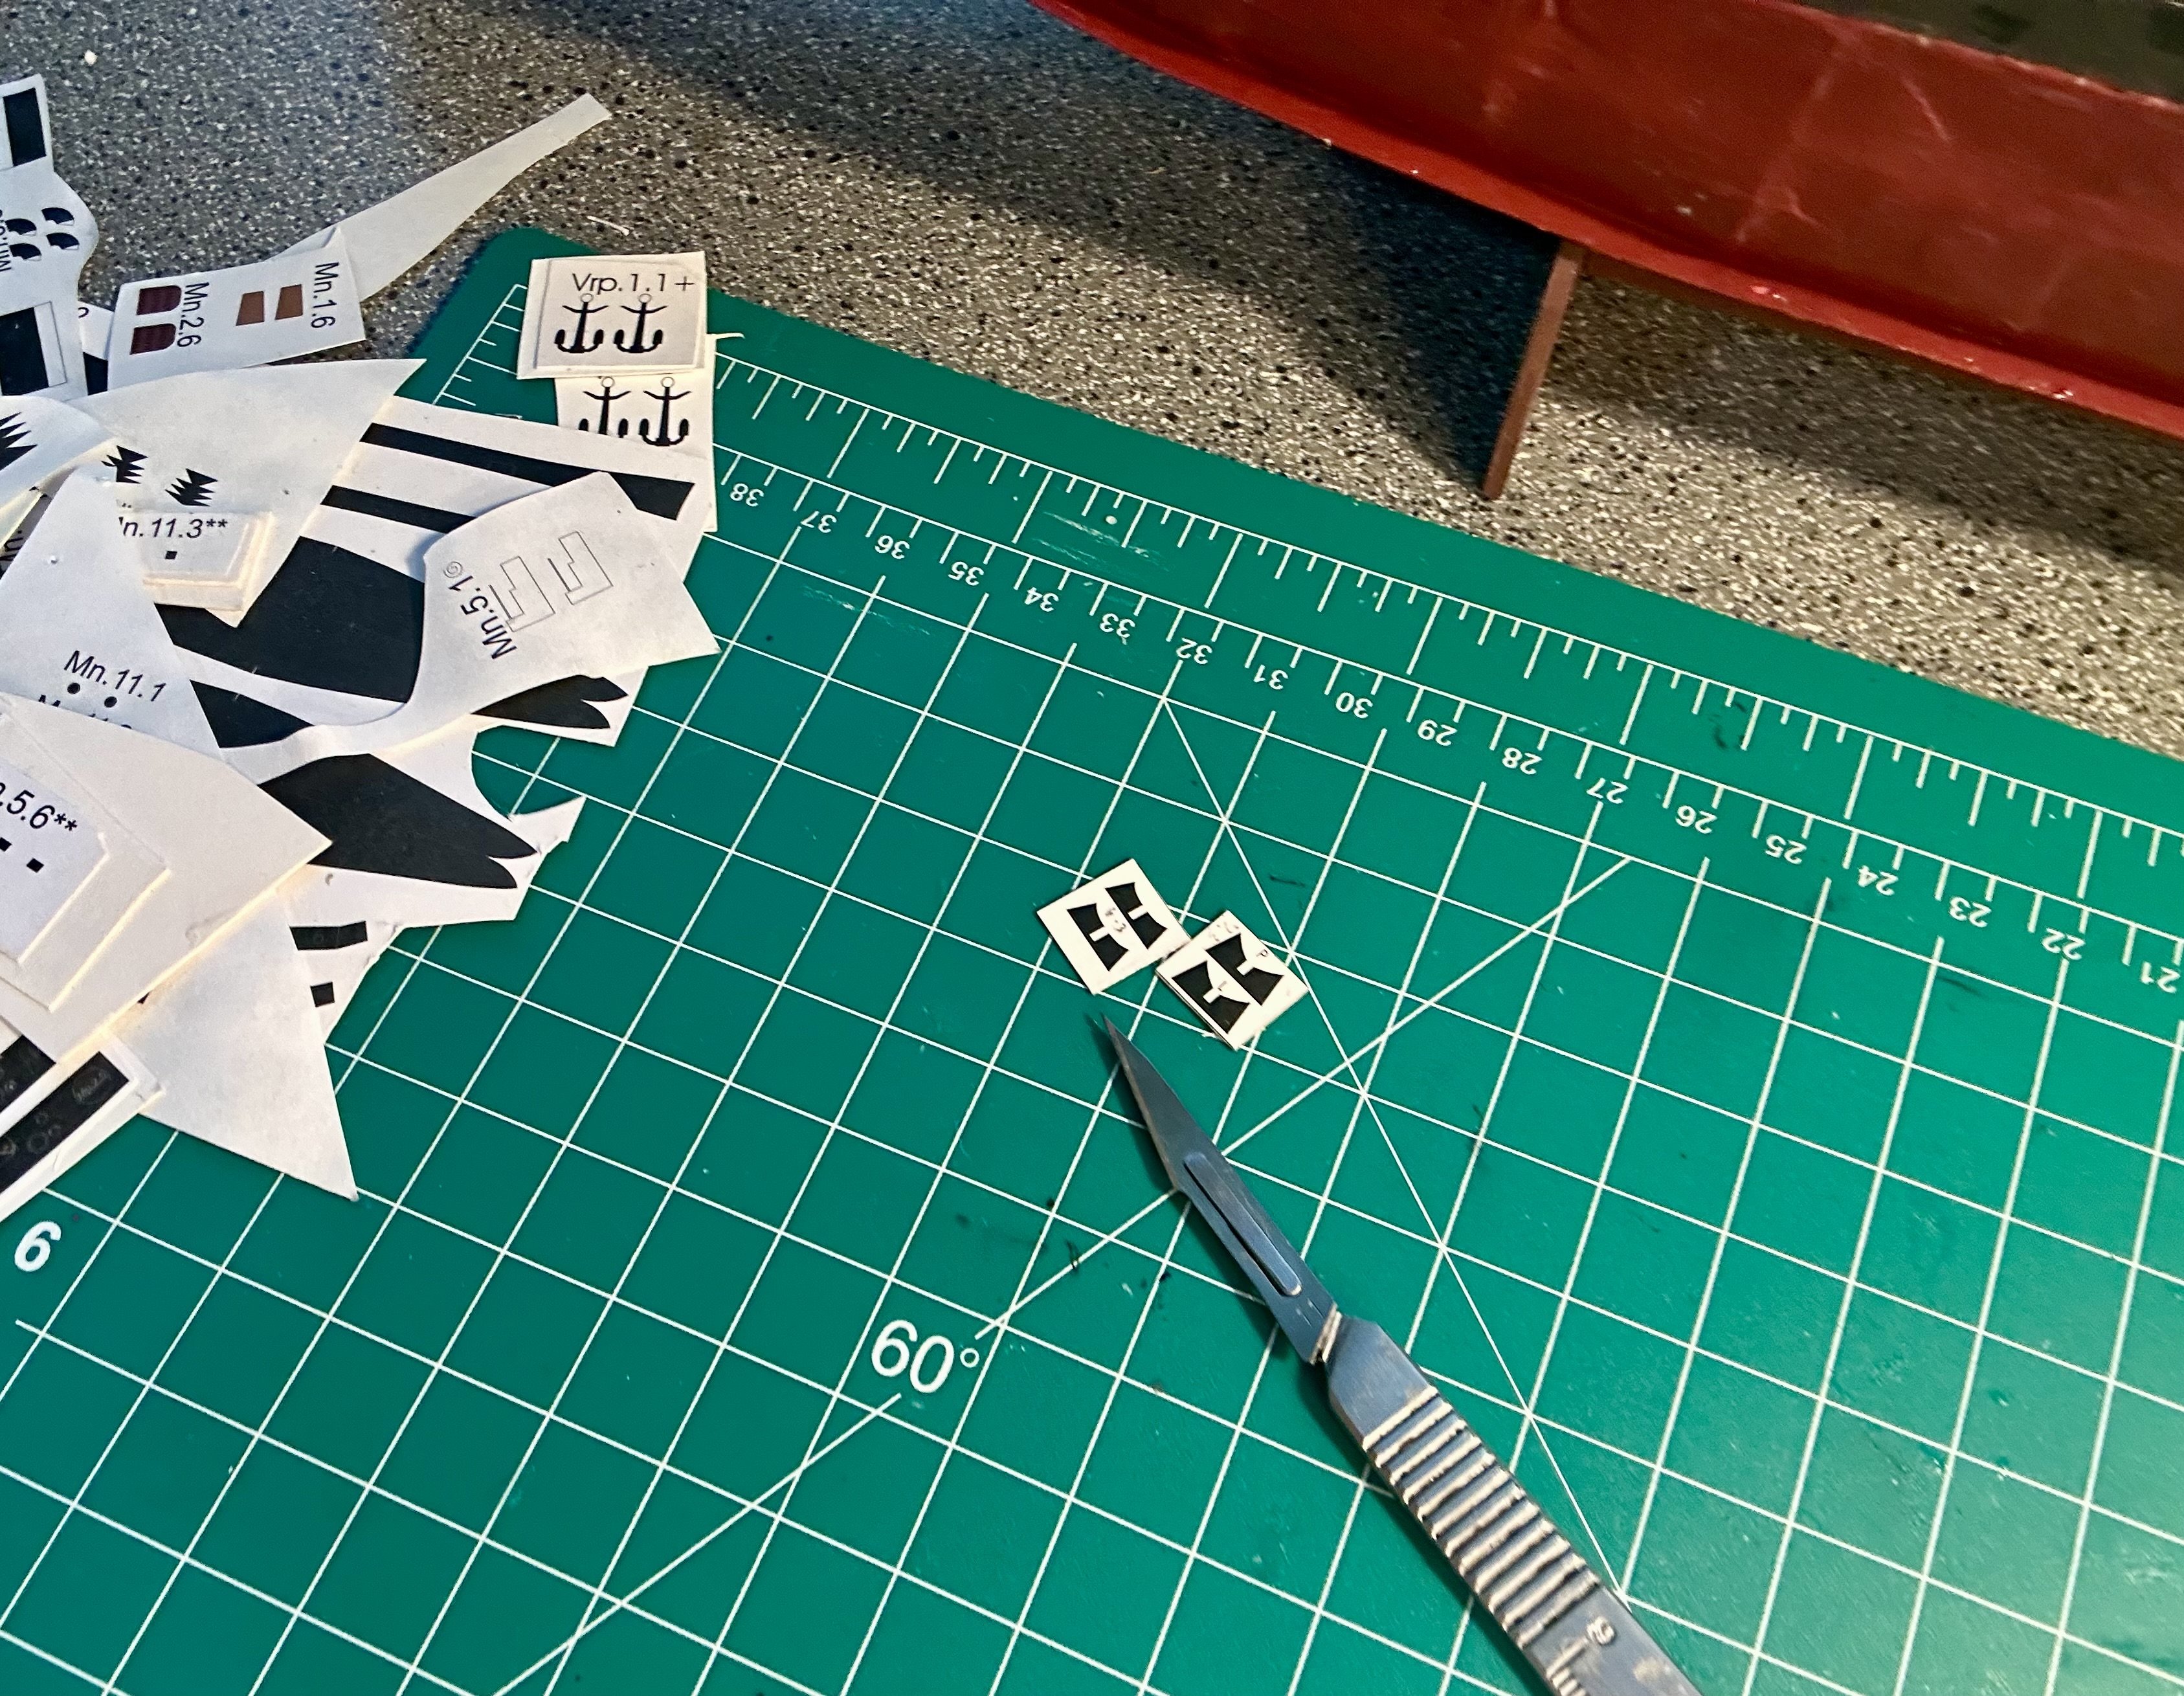
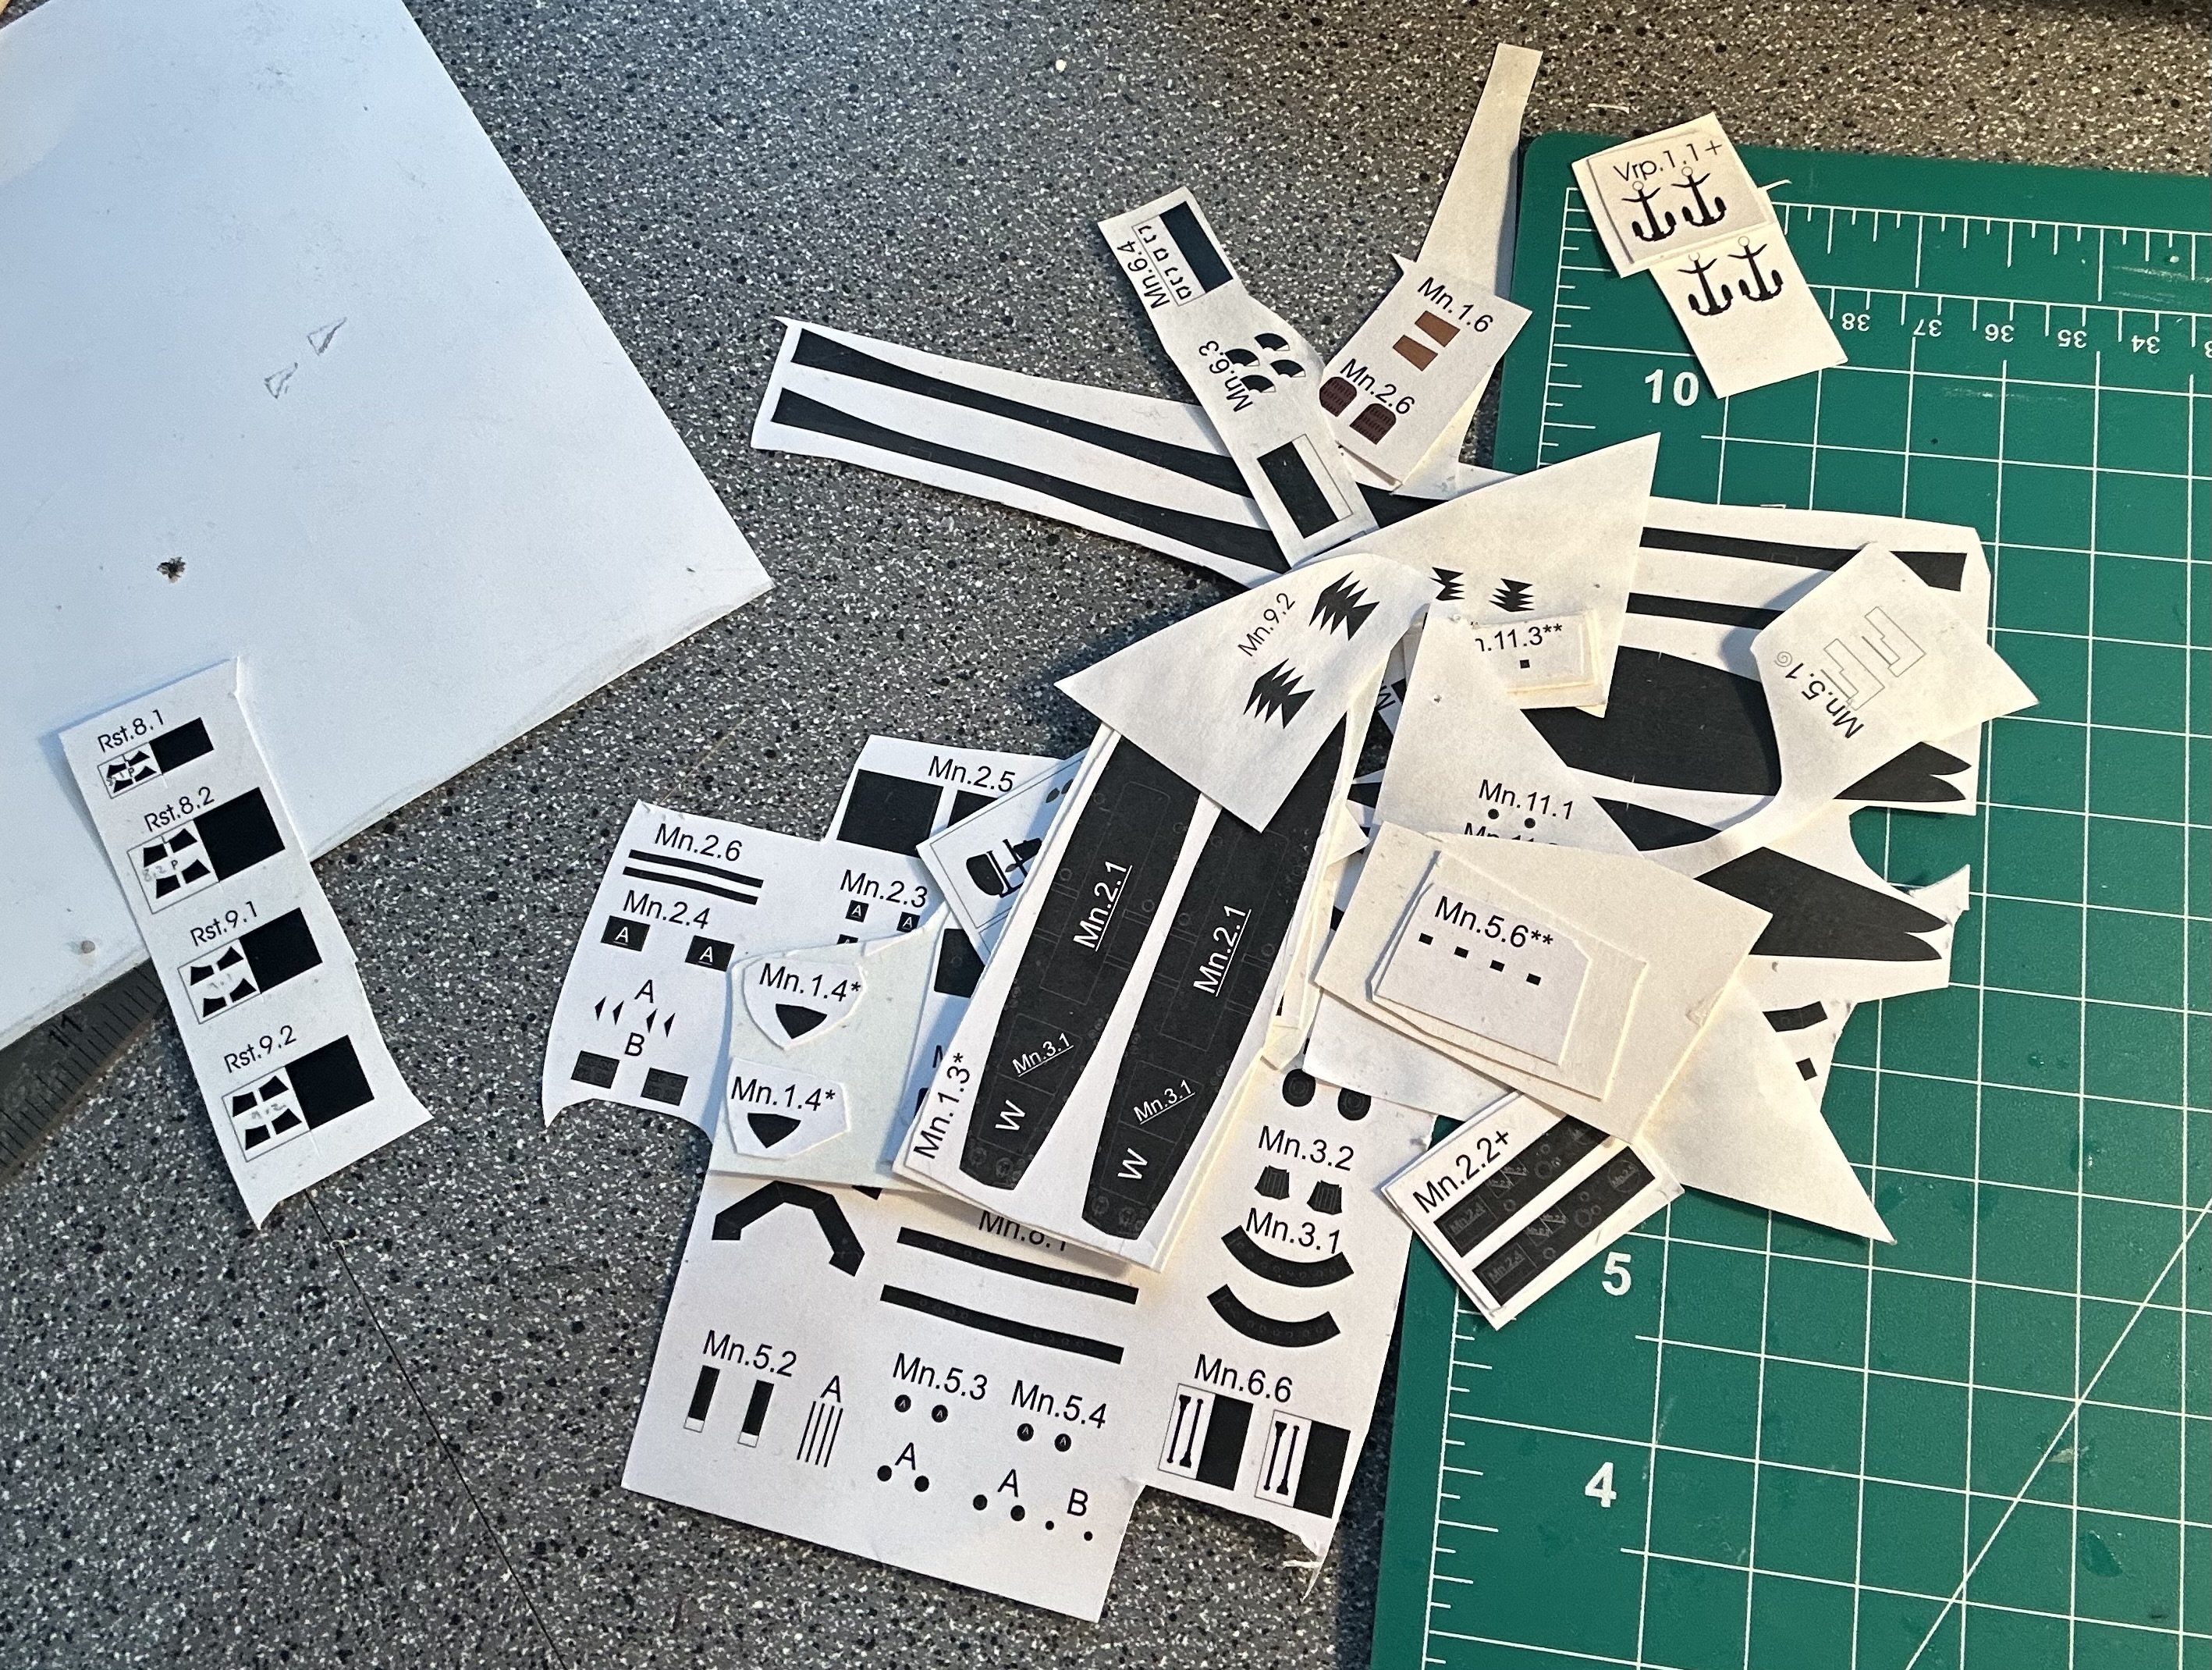
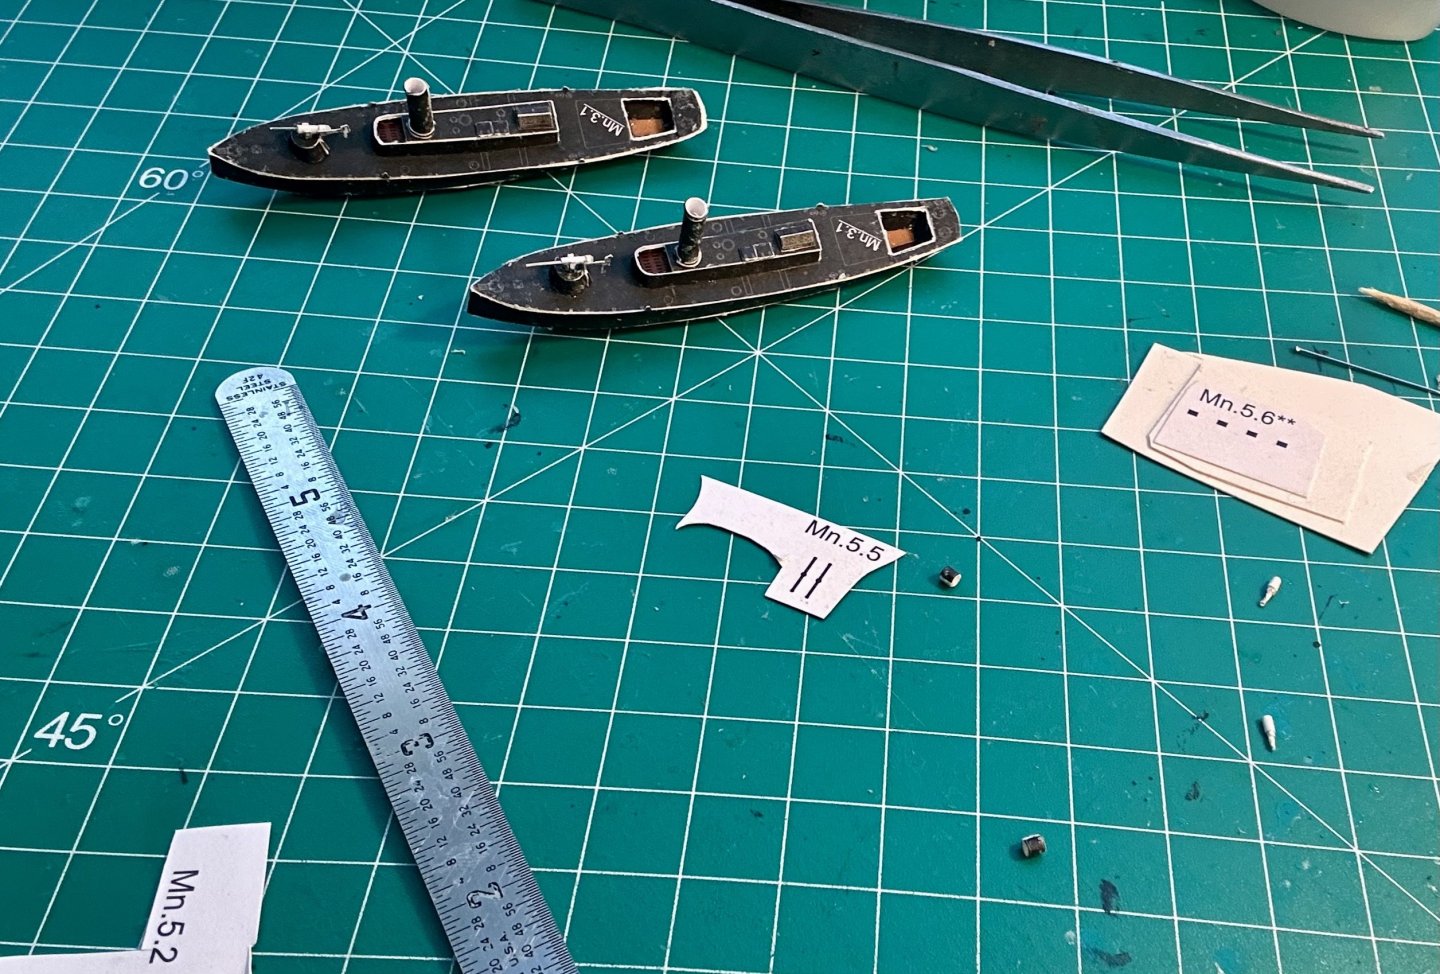
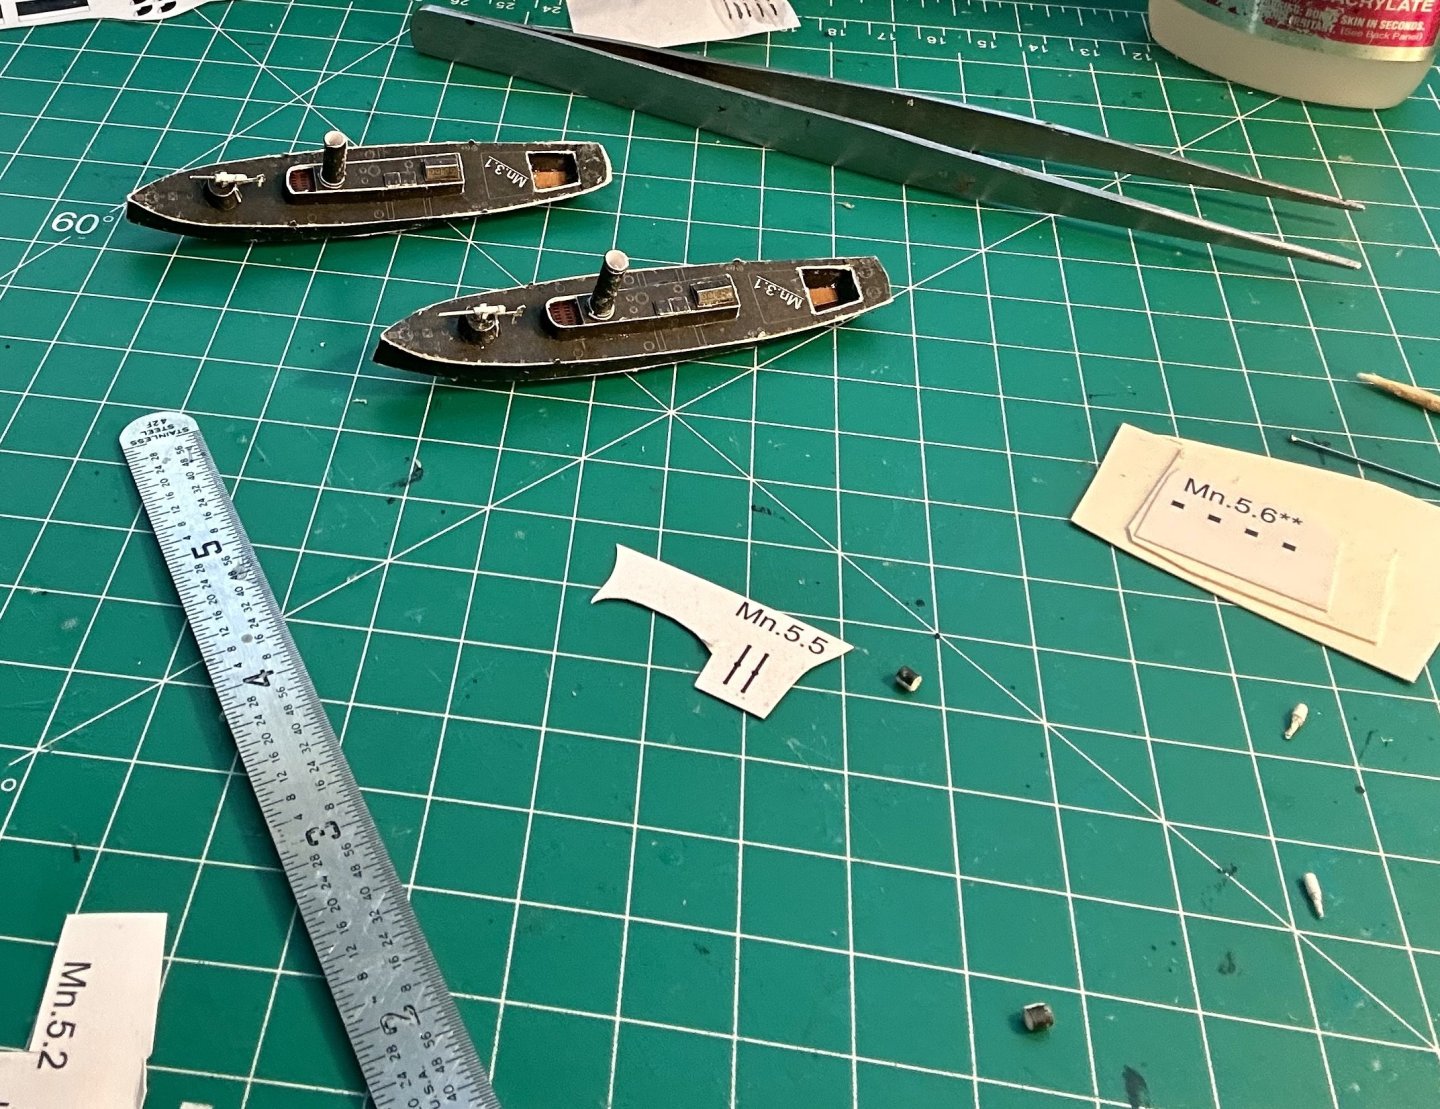
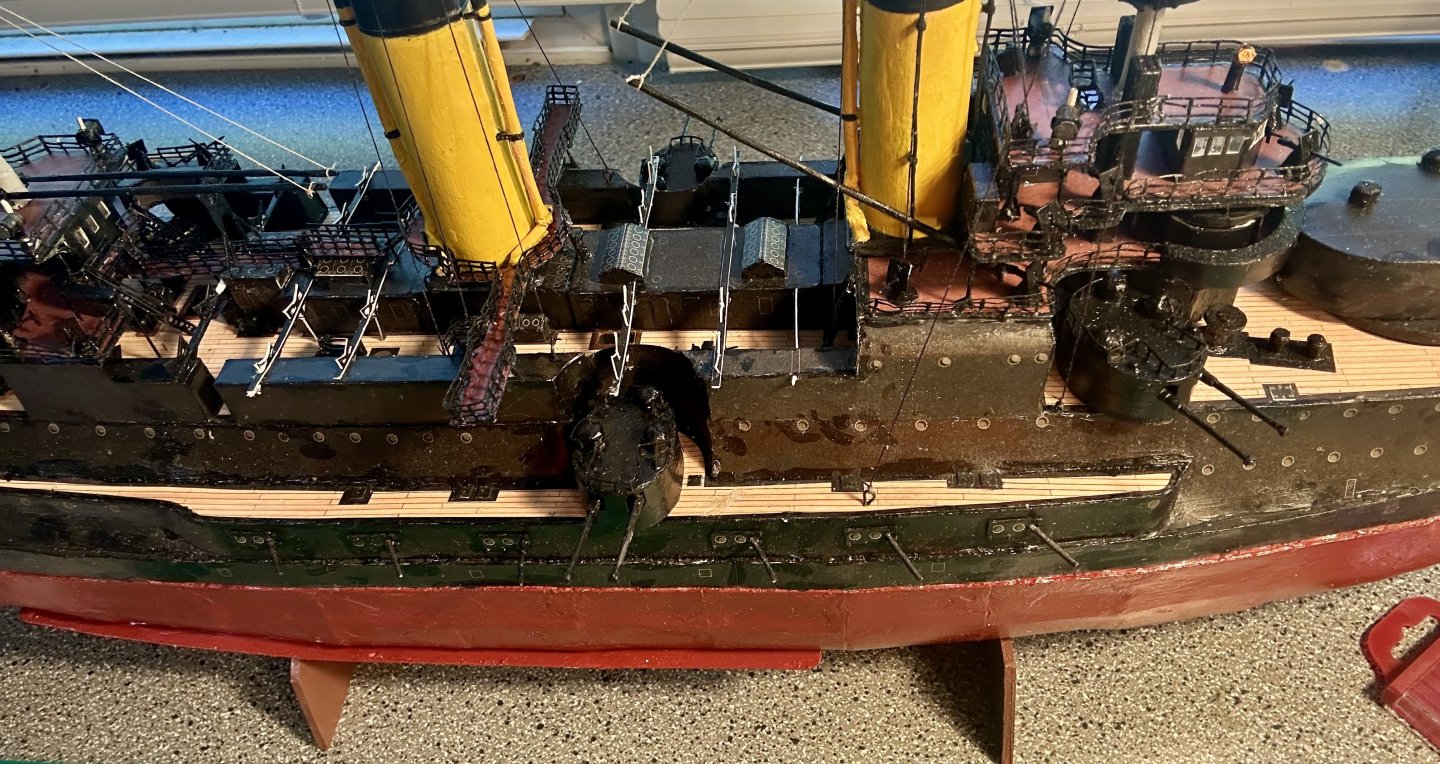
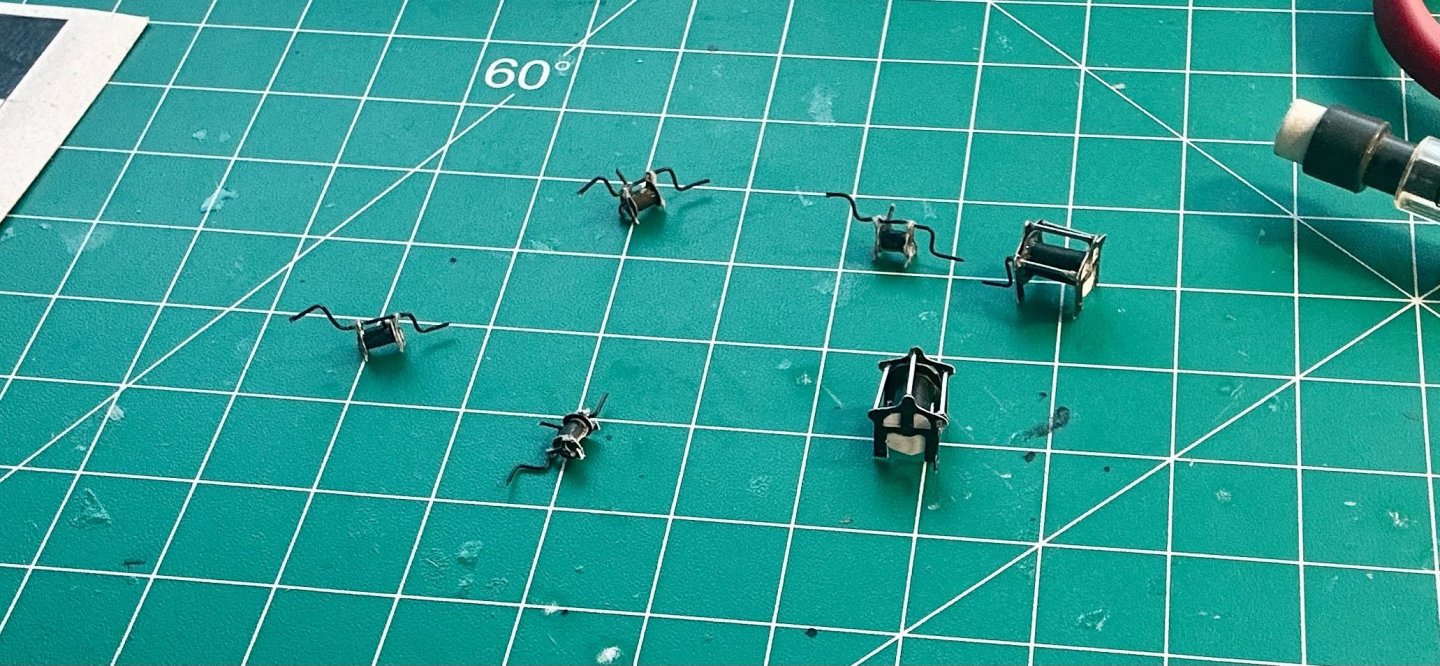
OC, Thank you very much! Working on the two little torpedo boats: I made four 47mm guns because the smaller attack boats have them too. Here are those: The small random rolled pieces are searchlights. I ended up using my light pad to trace the 47mm gun and mine launcher pieces out of my kits of the Tsarevich and the Mikasa to get the extra parts. The Tsarevich (in it’s 1917 USSR configuration as the Citizen) has the same designer. The Mikasa looks like a nicer model with MUCH better documentation. They are both Orel kits. Whenever I get around to building the Tsarevich, it will be in it’s Imperial Russian configuration.

- 288 replies
-
- 13
-
-
-
- Card
- Pre-Dreadnought
- (and 3 more)
-
Welcome!
-
Introduction of Russ MIlland
GrandpaPhil replied to Russ MIlland's topic in New member Introductions
Welcome! -
LOL! I have a lot of fun painting my way through my monster and miniature collection periodically.
-
Alan, Looking forward to this one! Sometimes I like to print standards and shield decorations on a printer and fit them carefully. That has given me good results before!
-
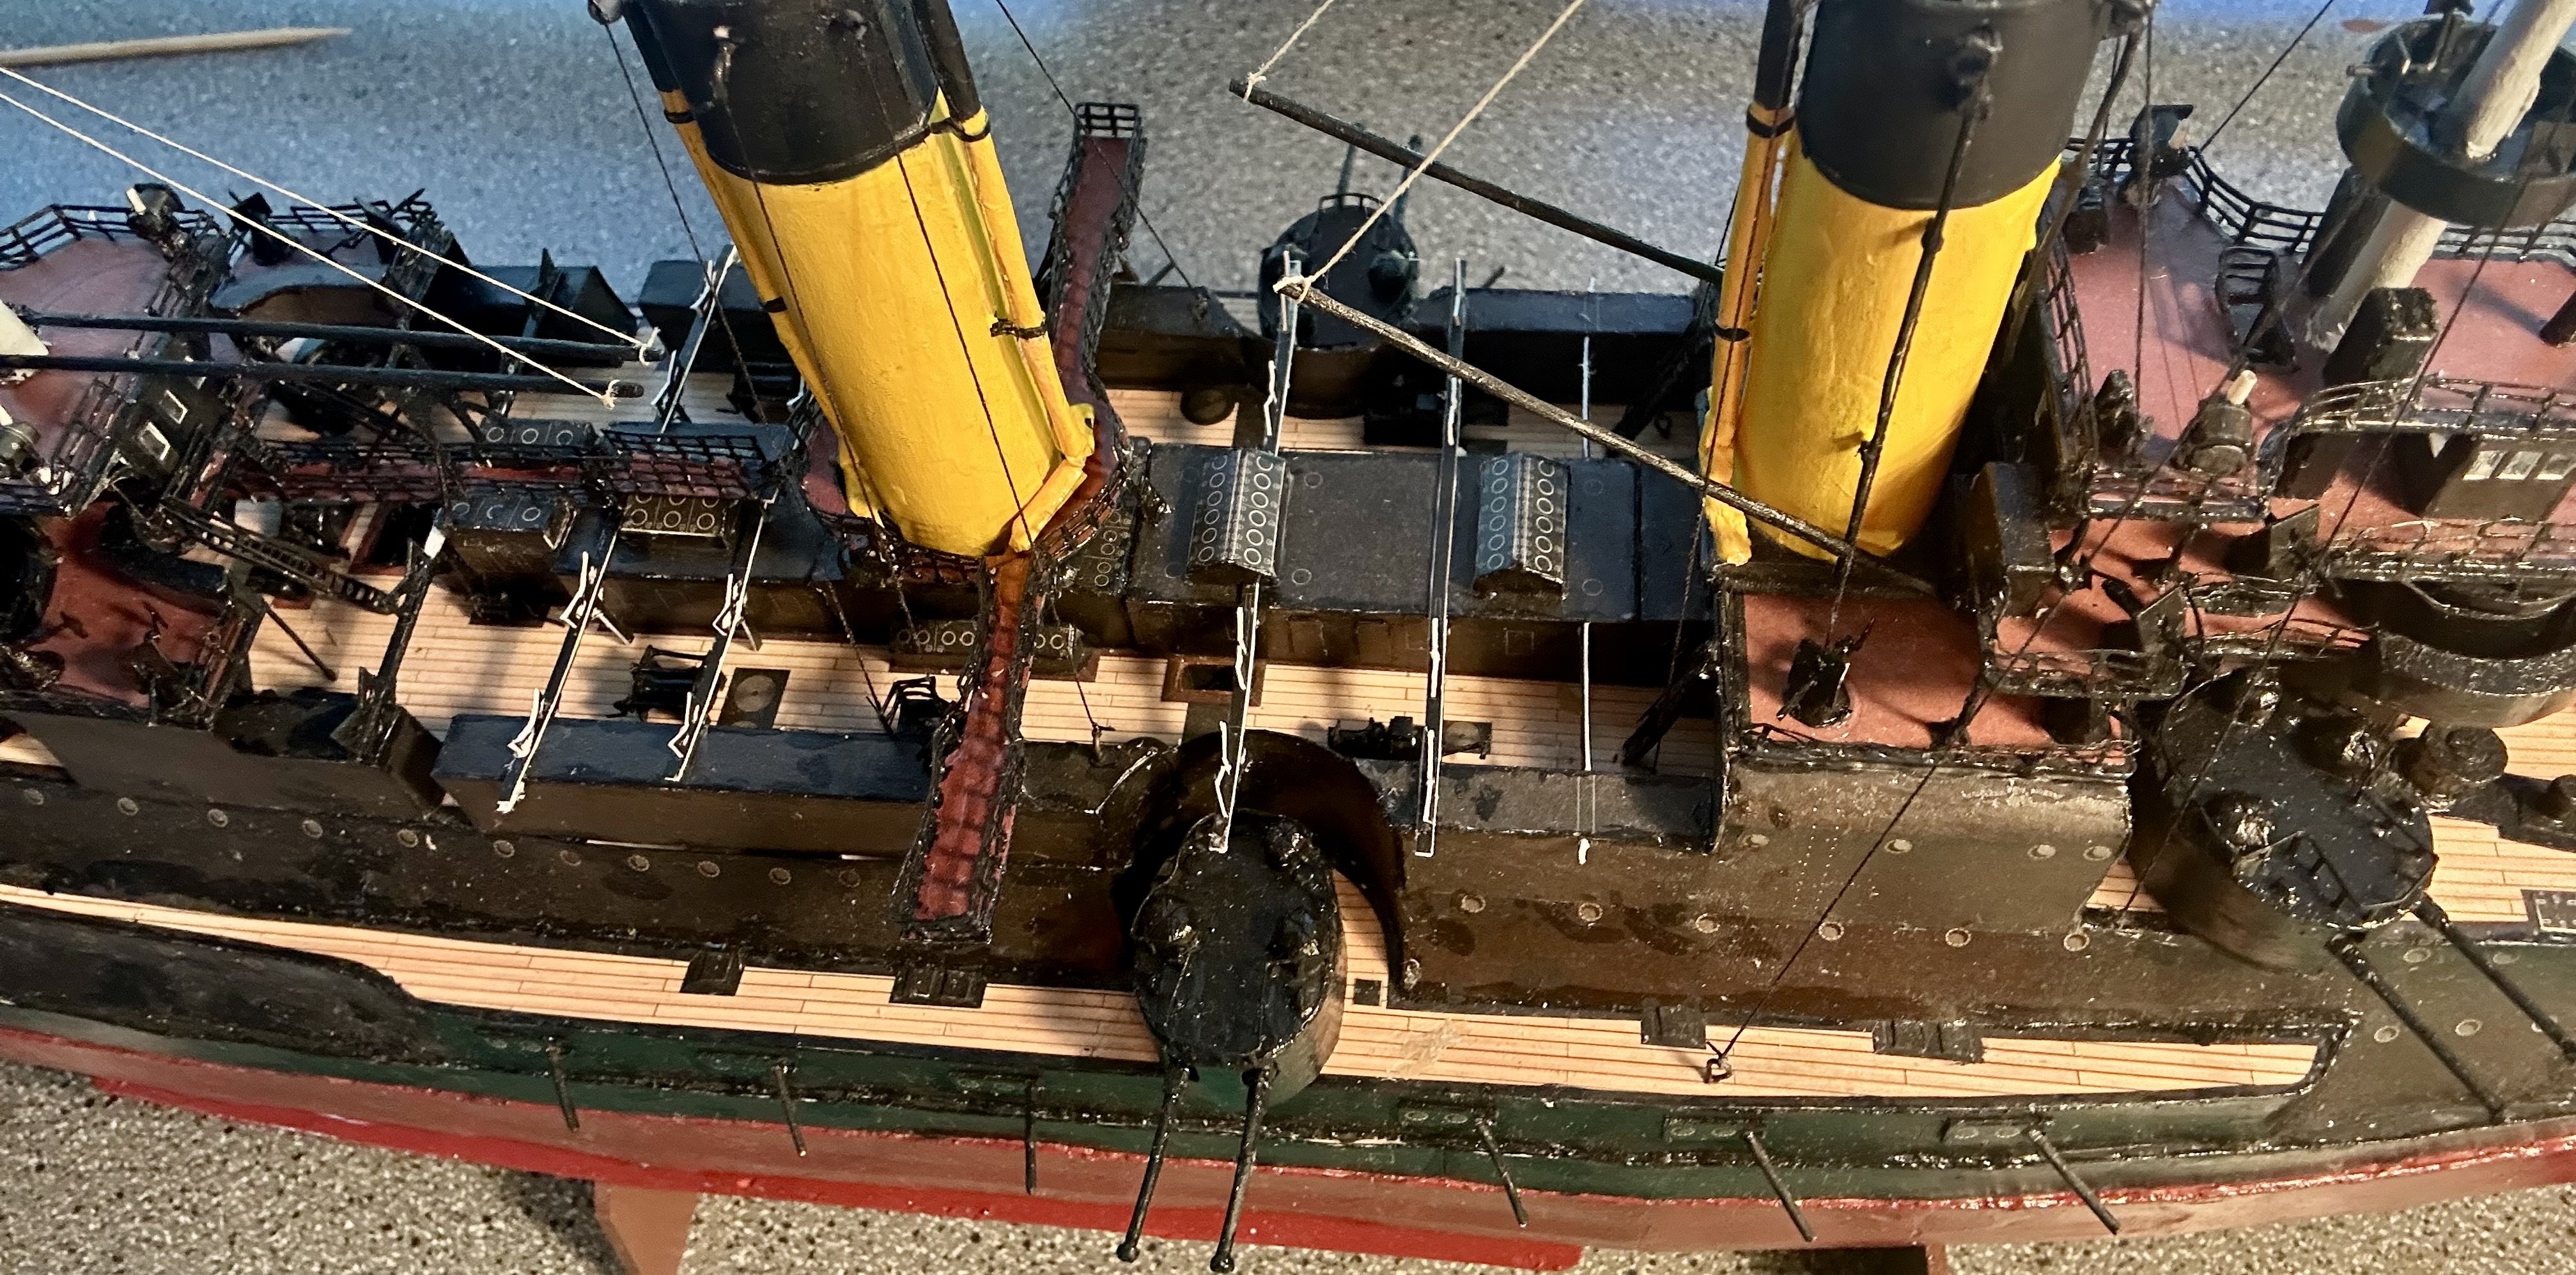
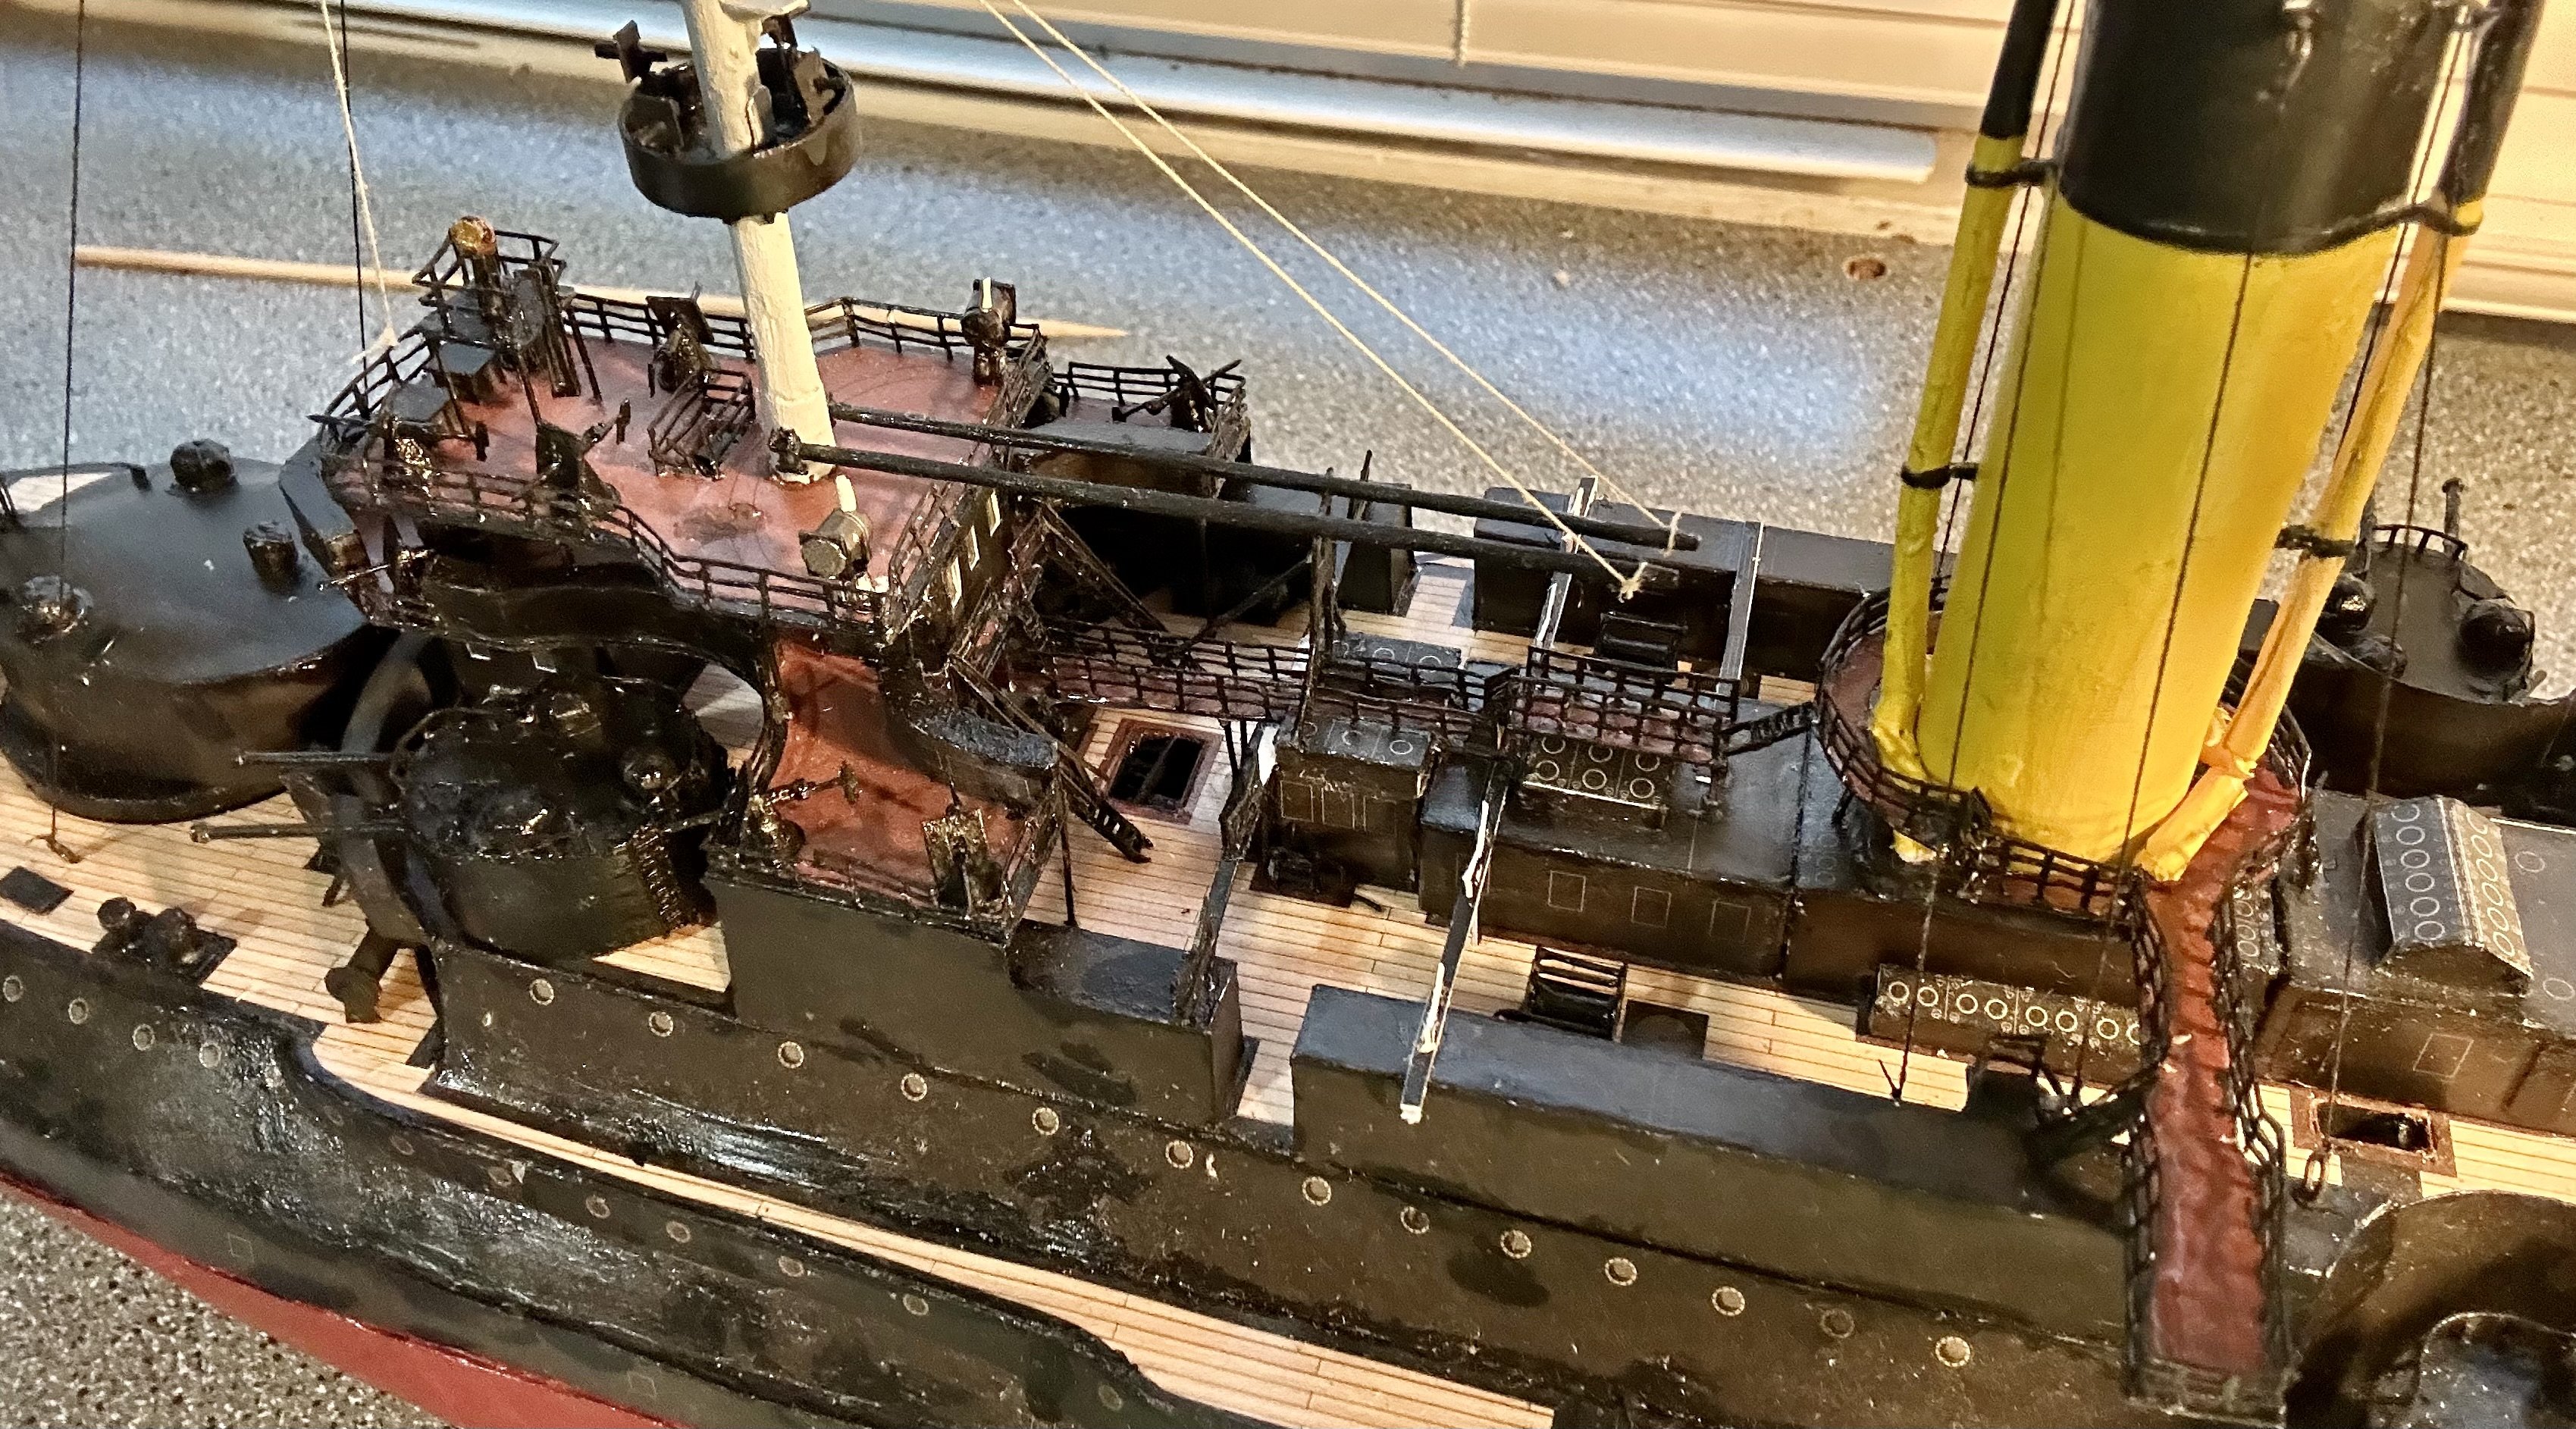
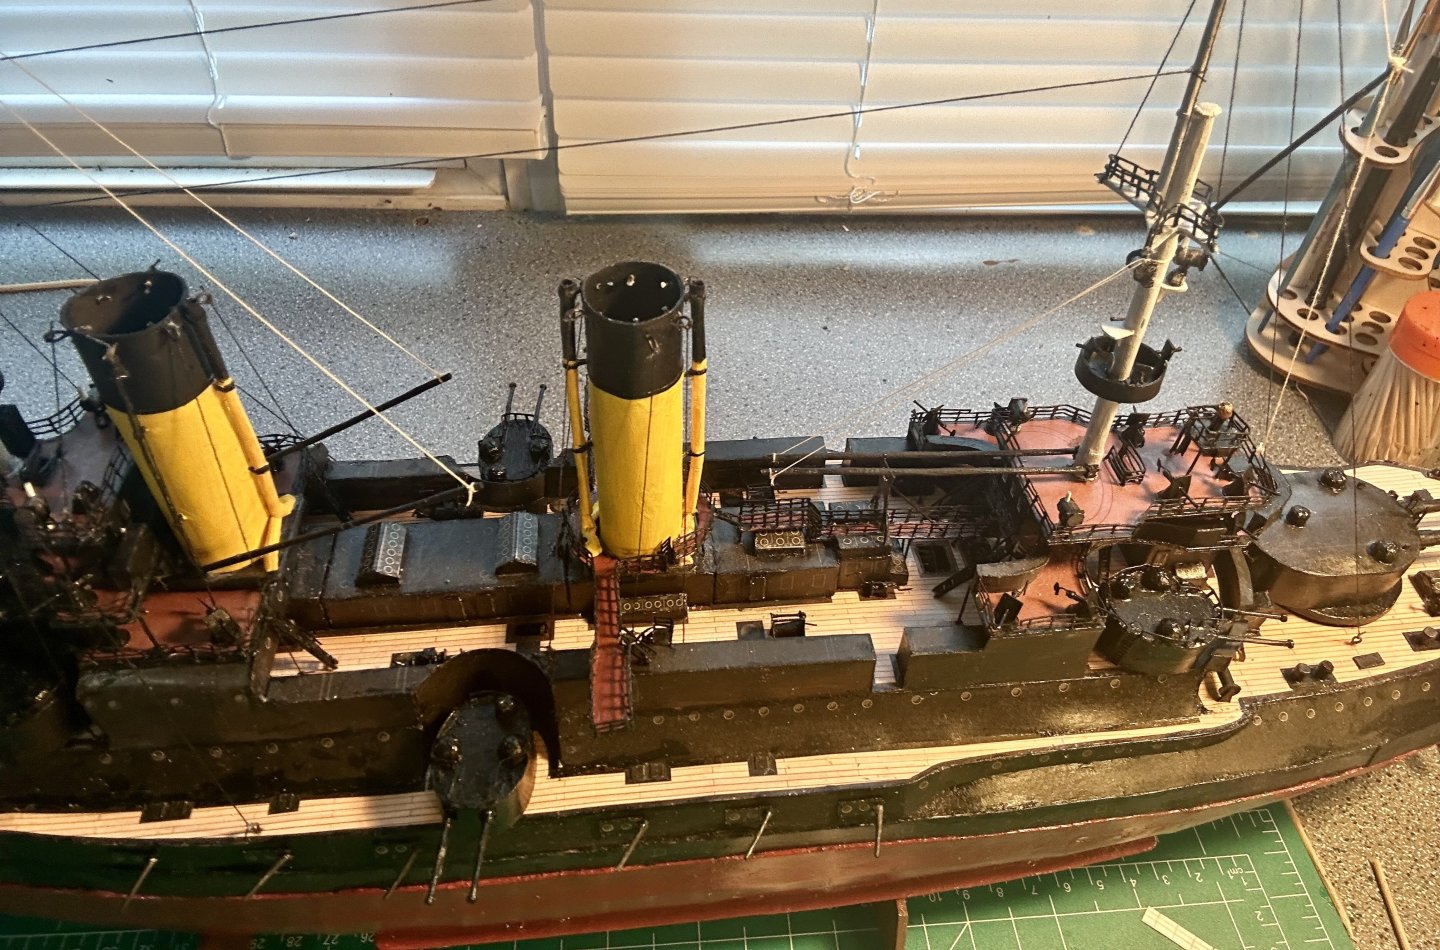
Work progresses: All six sets of structural supports are in now. I still need to add the top piece that makes the I-beam and the cradles: I also discovered that I missed a bunch of window coverings on the inside superstructure. I’m going to add them shortly while I can still get to them. I completely missed similar pieces on the towers, but can no longer access the pieces they go on. It’s a lesson for next time. They qualify in the category of details that won’t be missed by not being there, but are sure noticeable if they are there. This model has been a learning curve, but I will be much better prepared for the next one of these (and I have several in my stash). Here are the pieces to the 40 foot motor launch: They will be interesting to build. I am only using them to check the alignment of the boat cradles and then will set them aside until after the yards and running rigging are completed/installed.


- 288 replies
-
- 14
-
-
- Card
- Pre-Dreadnought
- (and 3 more)
-
Very nicely done!
-
Welcome!
-
Hello! New to the forum, happy to be here :)
GrandpaPhil replied to BuckyBoo's topic in New member Introductions
Welcome! -
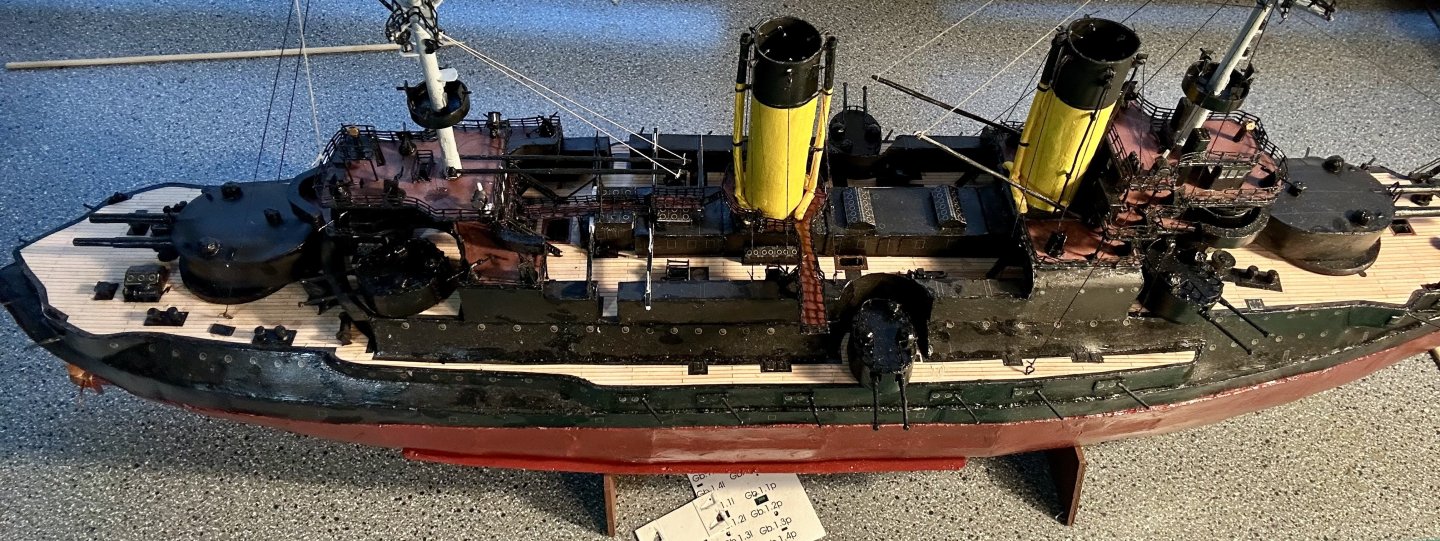
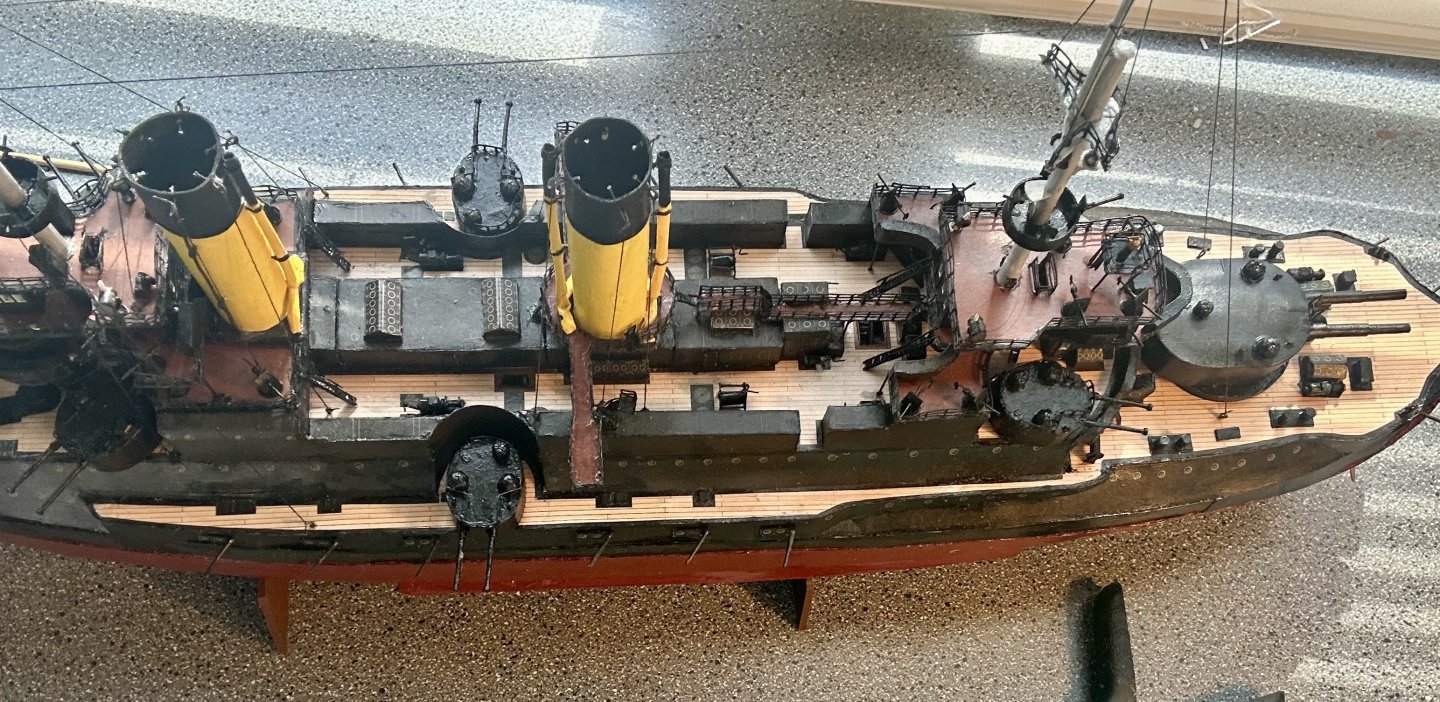
Alan, OC, Mark and Ken, Thank you very much! I greatly appreciate it! I really like these kits and this era of warships! They build up beautifully! Thank you very much to everyone who has hit the “like” button or just stopped by! One of the issues with these kits is the lack of thorough documentation for assembly. The designers assume an advanced level of knowledge by the builders. It is very important before construction, and during construction, to thoroughly examine all drawings and thus build the model in your head prior to each phase of the project, lest you find out that you were supposed to put in pieces that you need, after something that went on top of those pieces was already installed. I am currently working on the structural supports for the ship’s boats: I made the discovery that the middle platforms are supposed to sit atop of them. I am working around it by cutting the support beams in half and carefully feeding them underneath the platforms where I can, and just reshaping to fit around them where I cannot feed them beneath the platforms. There are six rows of beams, I have 2 1/2 installed. This round of pieces will get painted in place. I am putting the supports in place to be able to fit the running rigging around them, so I know where everything runs. Plus, I don’t really feel like installing internal details in the nest inherently formed in the middle of braces. That is no fun and adds a LOT of unnecessary complexity to a project. I will probably make all of the ship’s boats to double check cradle placement and alignment prior to painting.

- 288 replies
-
- 15
-
-
-
- Card
- Pre-Dreadnought
- (and 3 more)
-
Very cool! Looking forward to this one!
-
Welcome!
-
Very nicely done!
-
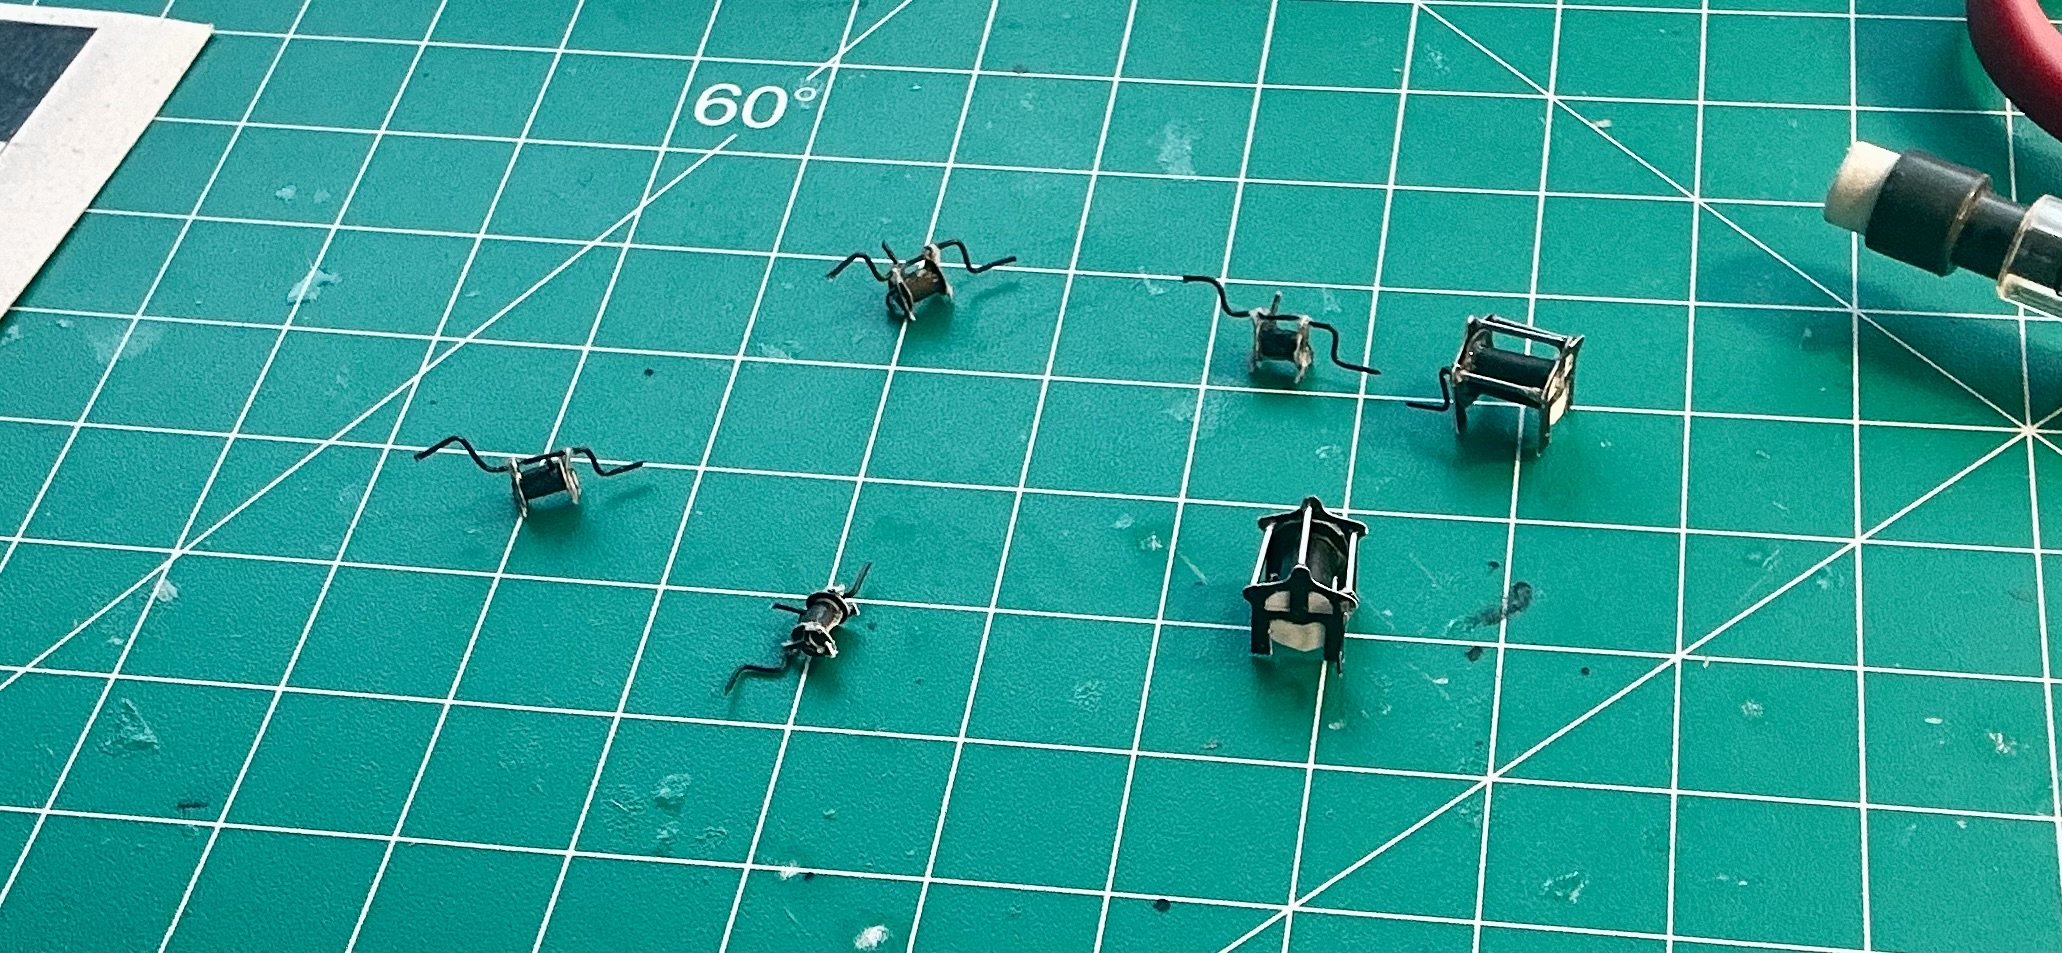
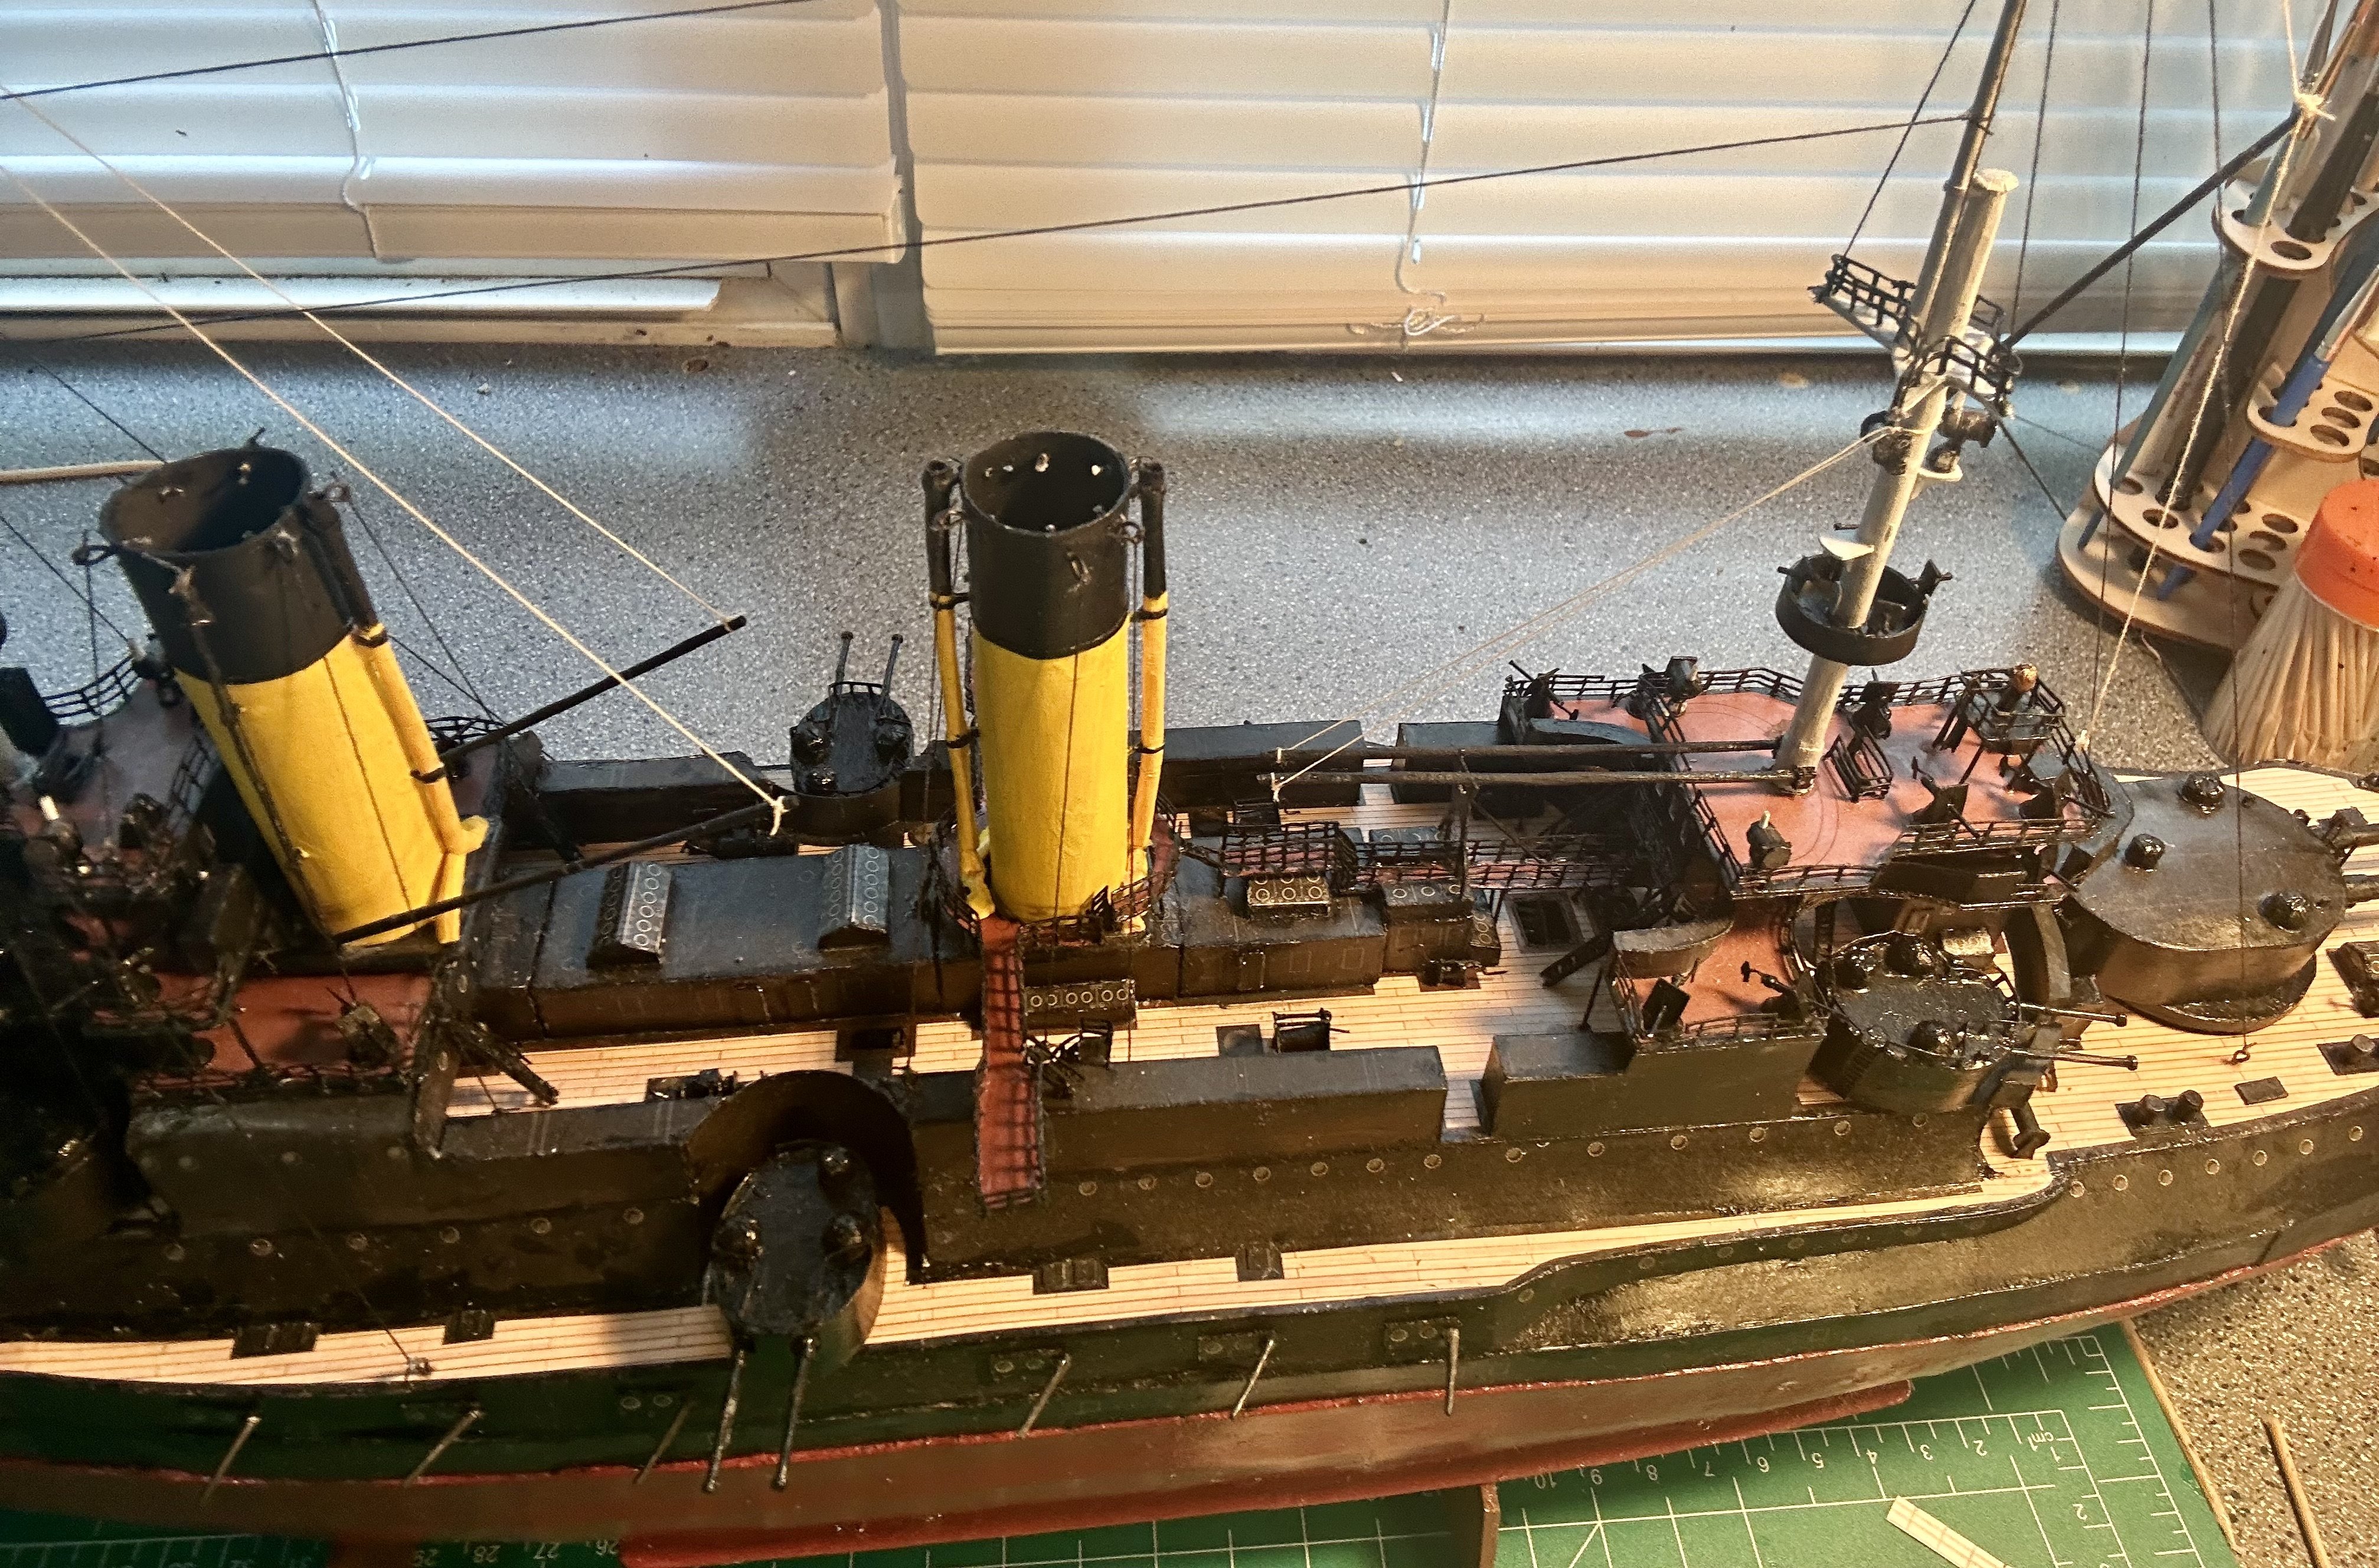
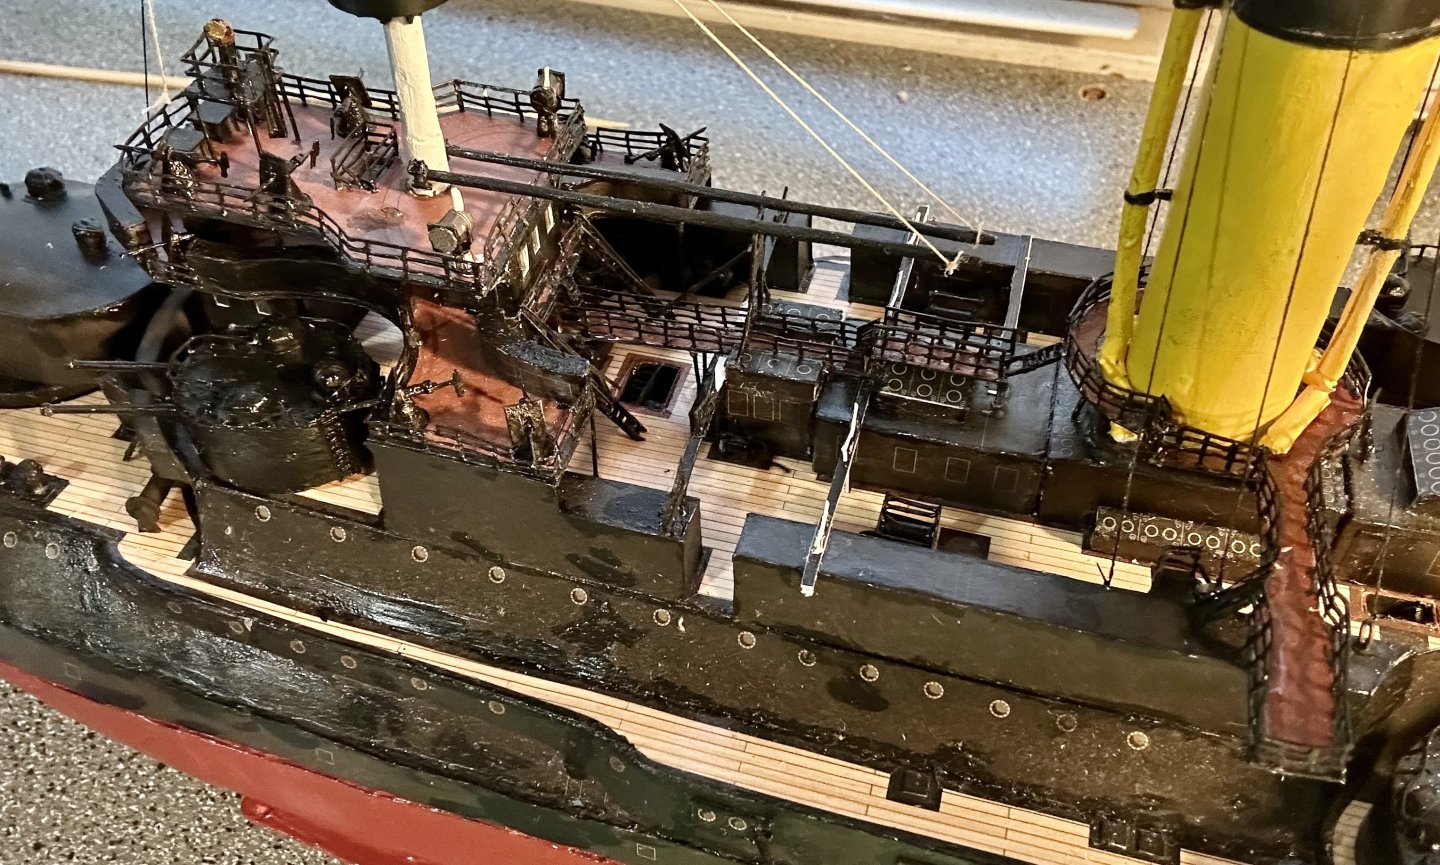
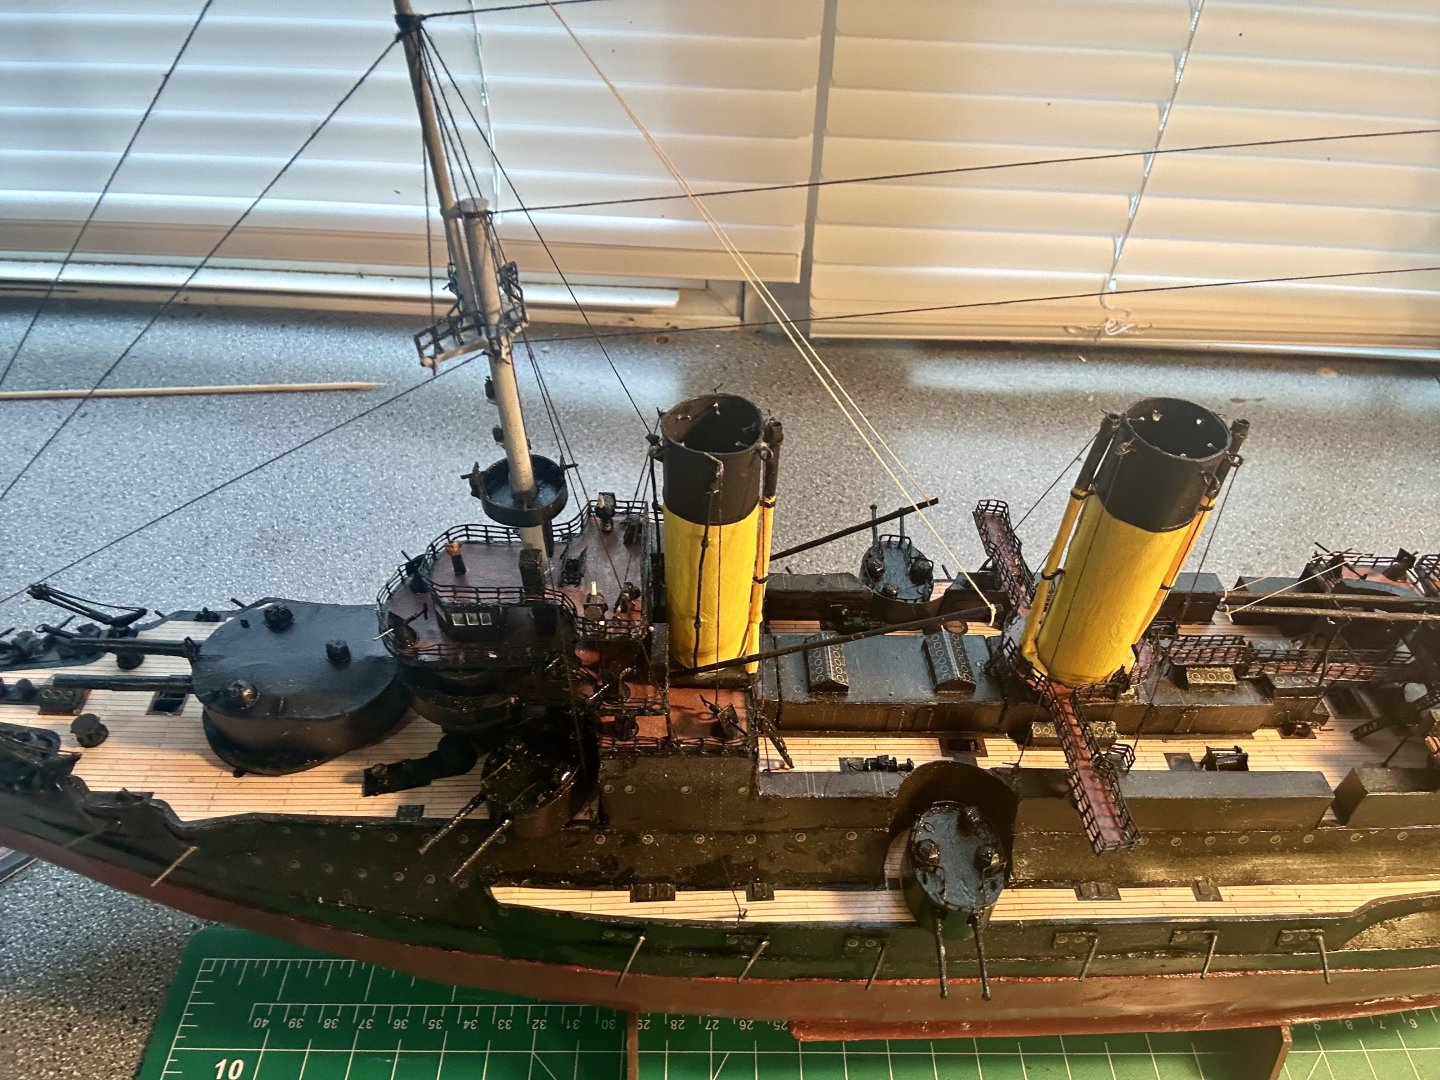
I’ve been busy on this today! The winches are finished: And installed: The gaff and cranes are made and installed: Here is a side on shot: I’m going to install the ship’s boats cradles and make the yards next. After that it will be time for the running rigging while I can still reach everything. Then I’ll make the ship’s boats. Lastly, I’ll make all of the outer deck and hull fittings before adding the flags.
- 288 replies
-
- 16
-
-
-
- Card
- Pre-Dreadnought
- (and 3 more)