HOLIDAY DONATION DRIVE - SUPPORT MSW - DO YOUR PART TO KEEP THIS GREAT FORUM GOING! (83 donations so far out of 49,000 members - C'mon guys!)
×


GrandpaPhil
-
Posts
6,128 -
Joined
-
Last visited
Content Type
Profiles
Forums
Gallery
Events
Everything posted by GrandpaPhil
-
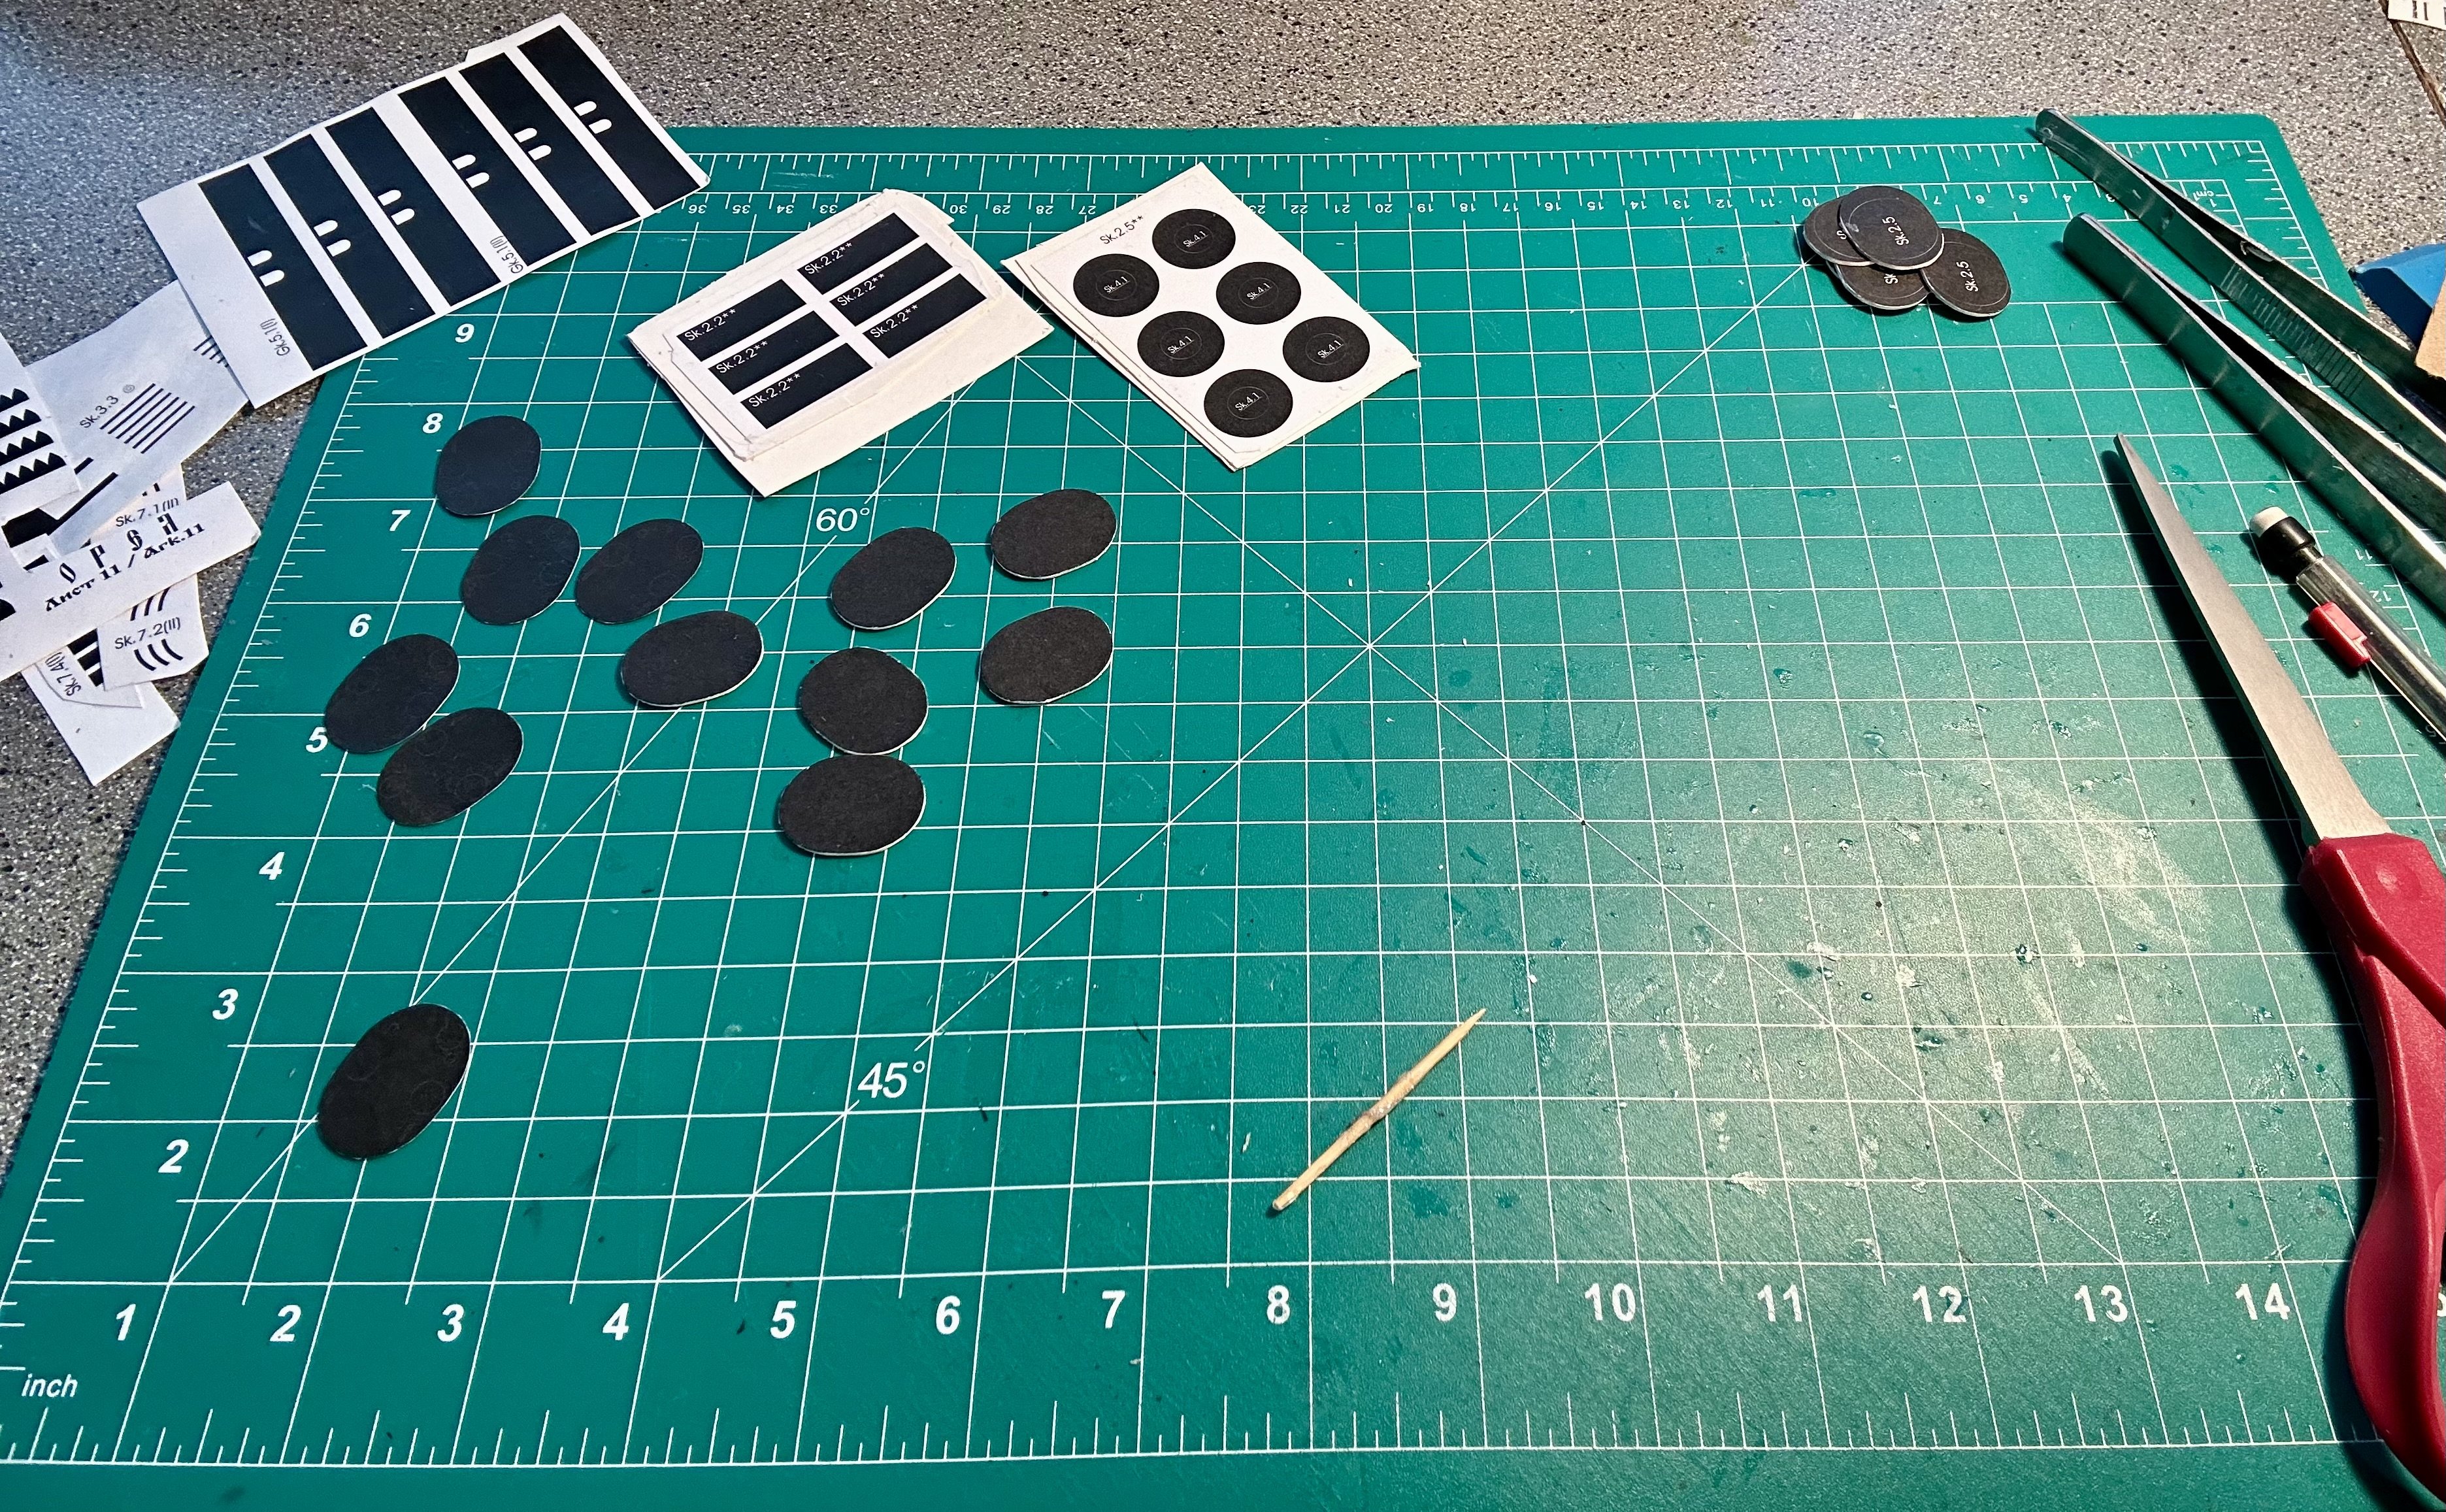
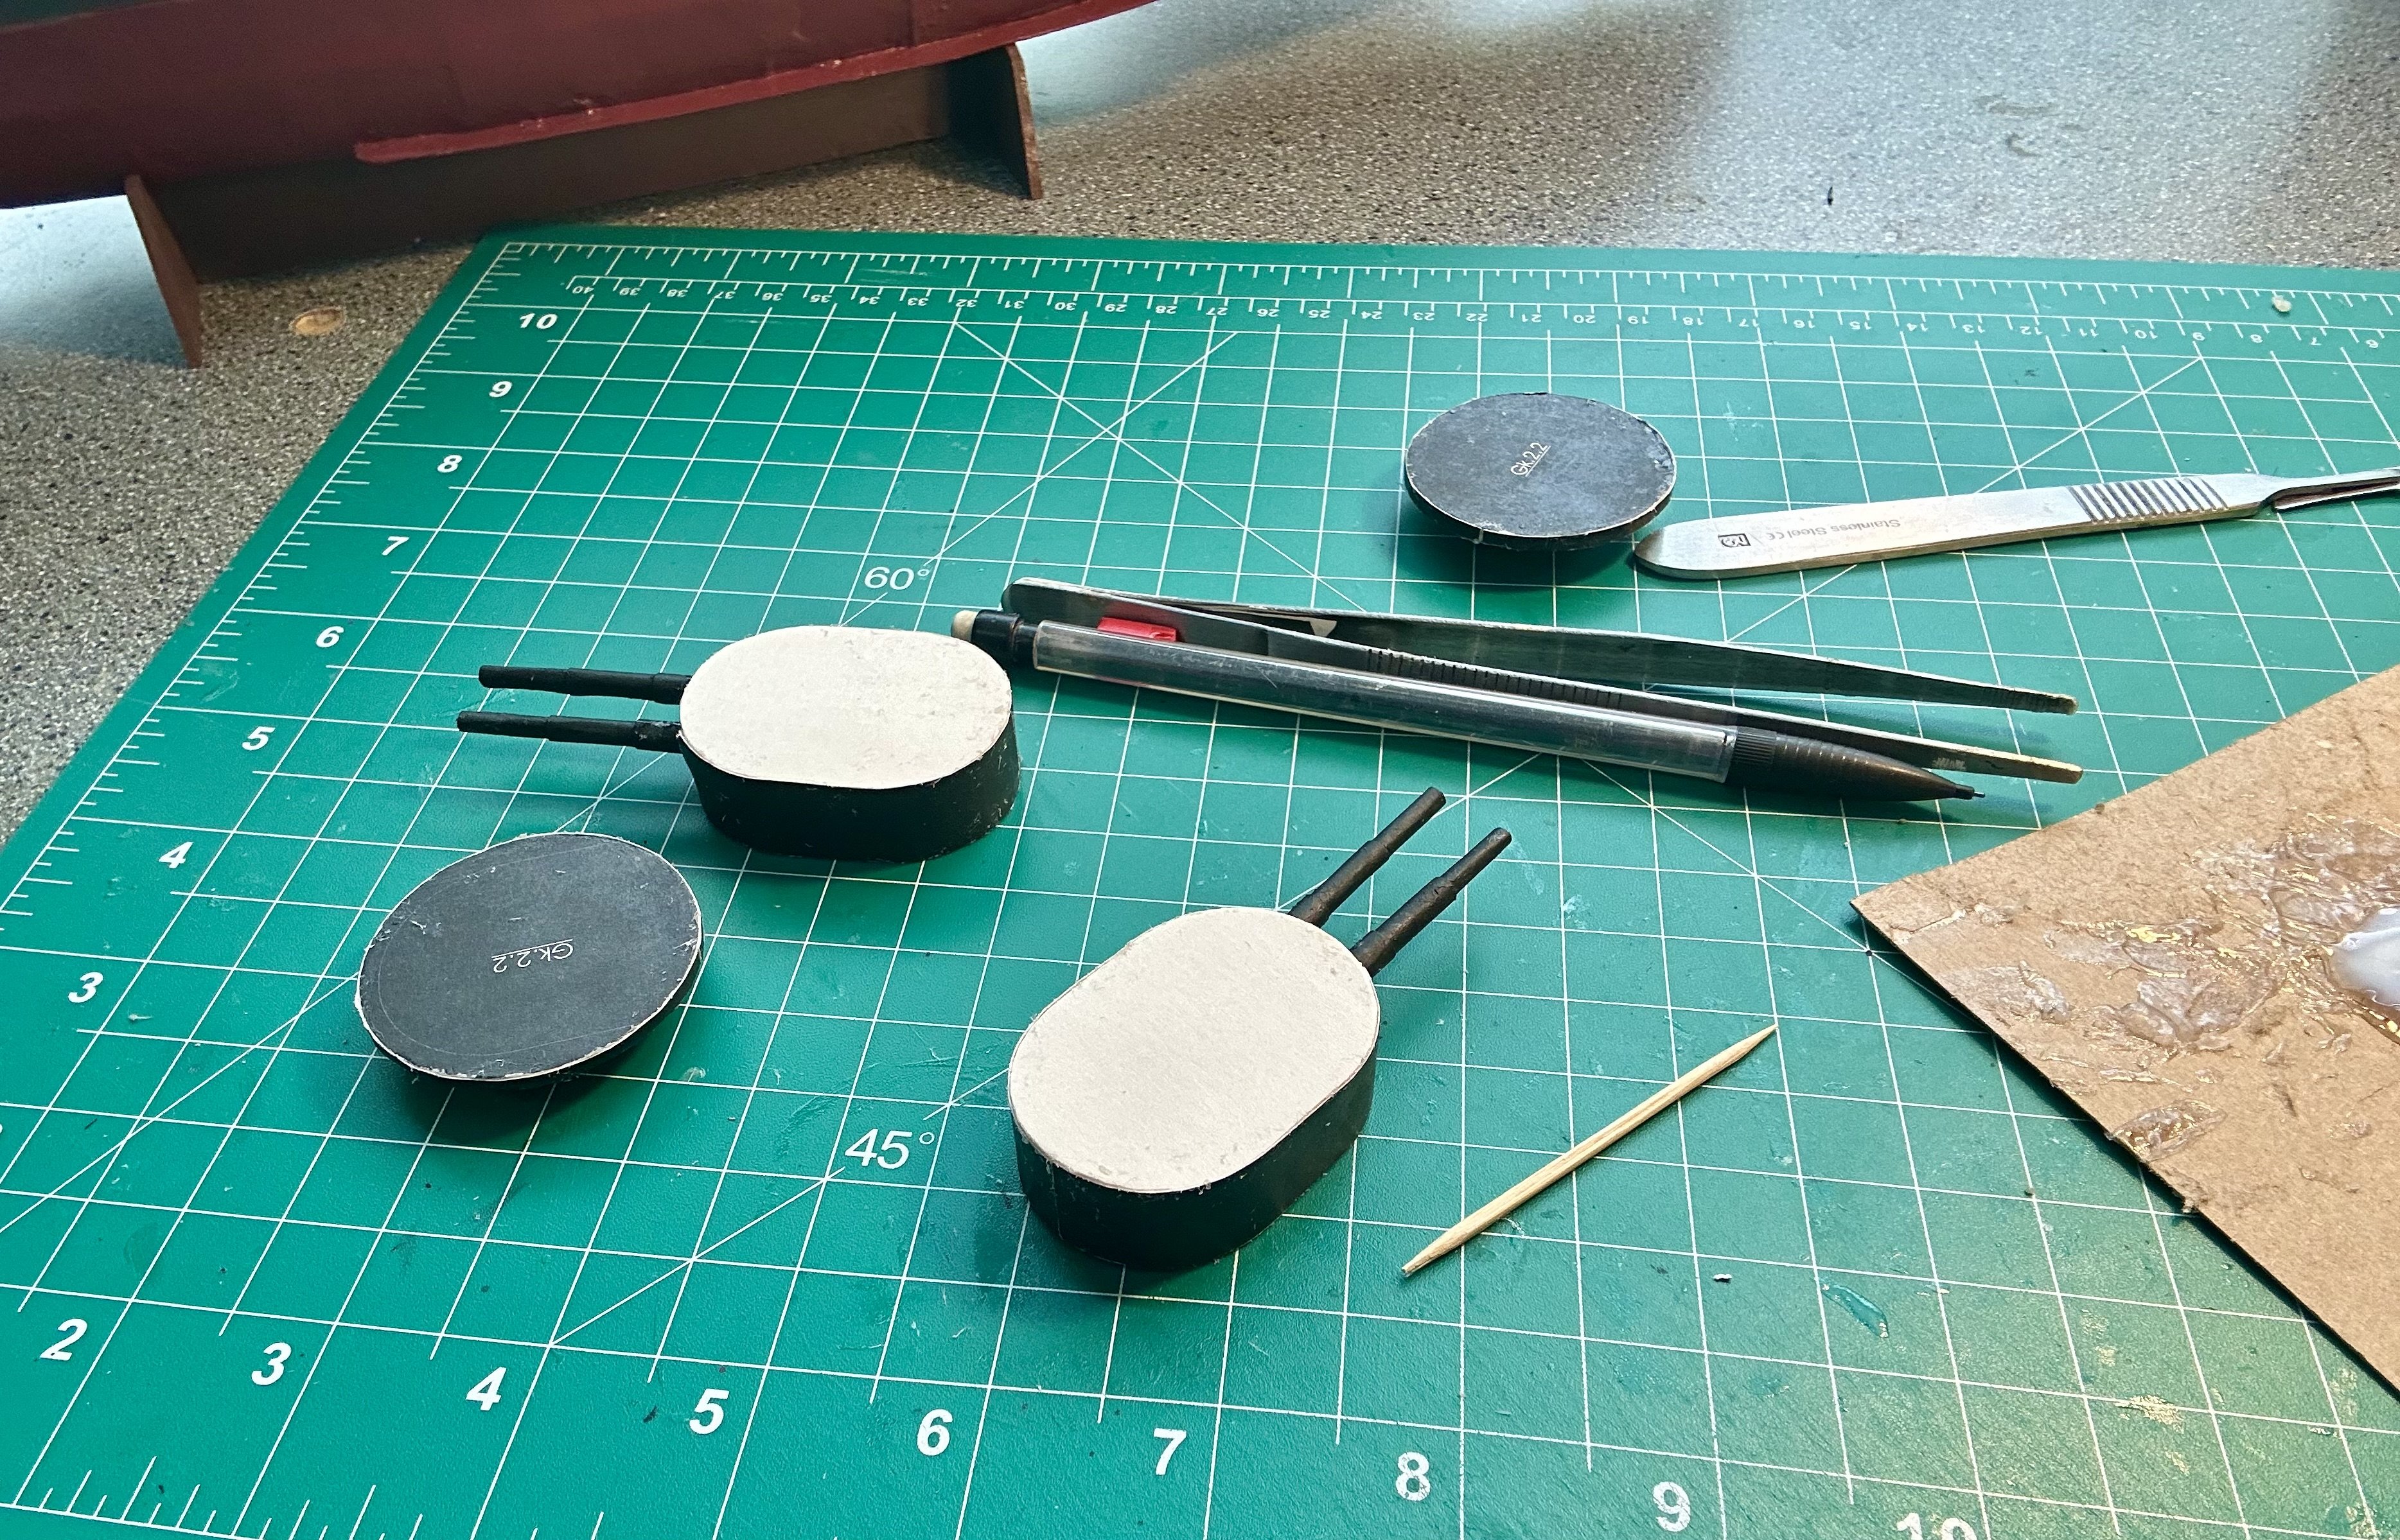
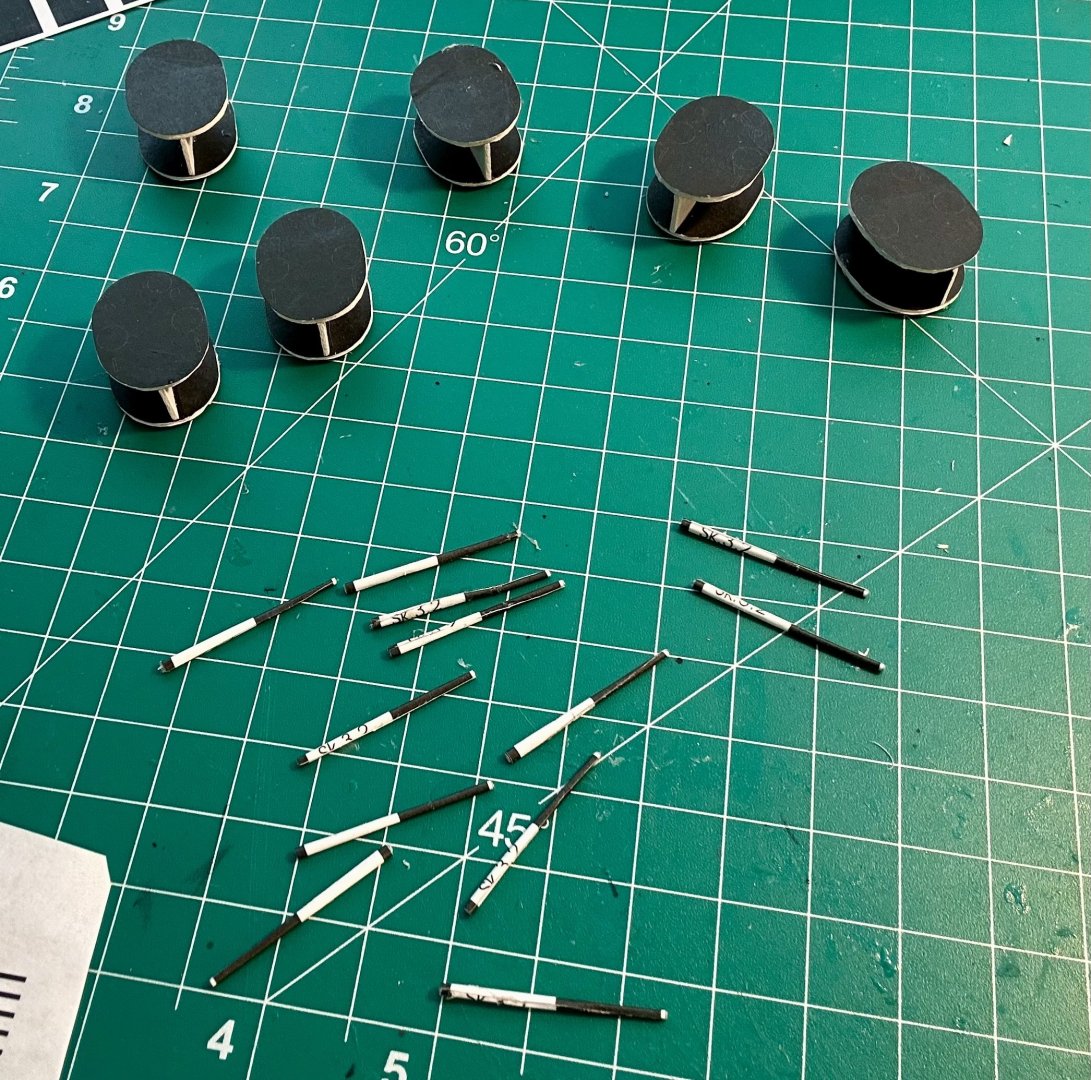
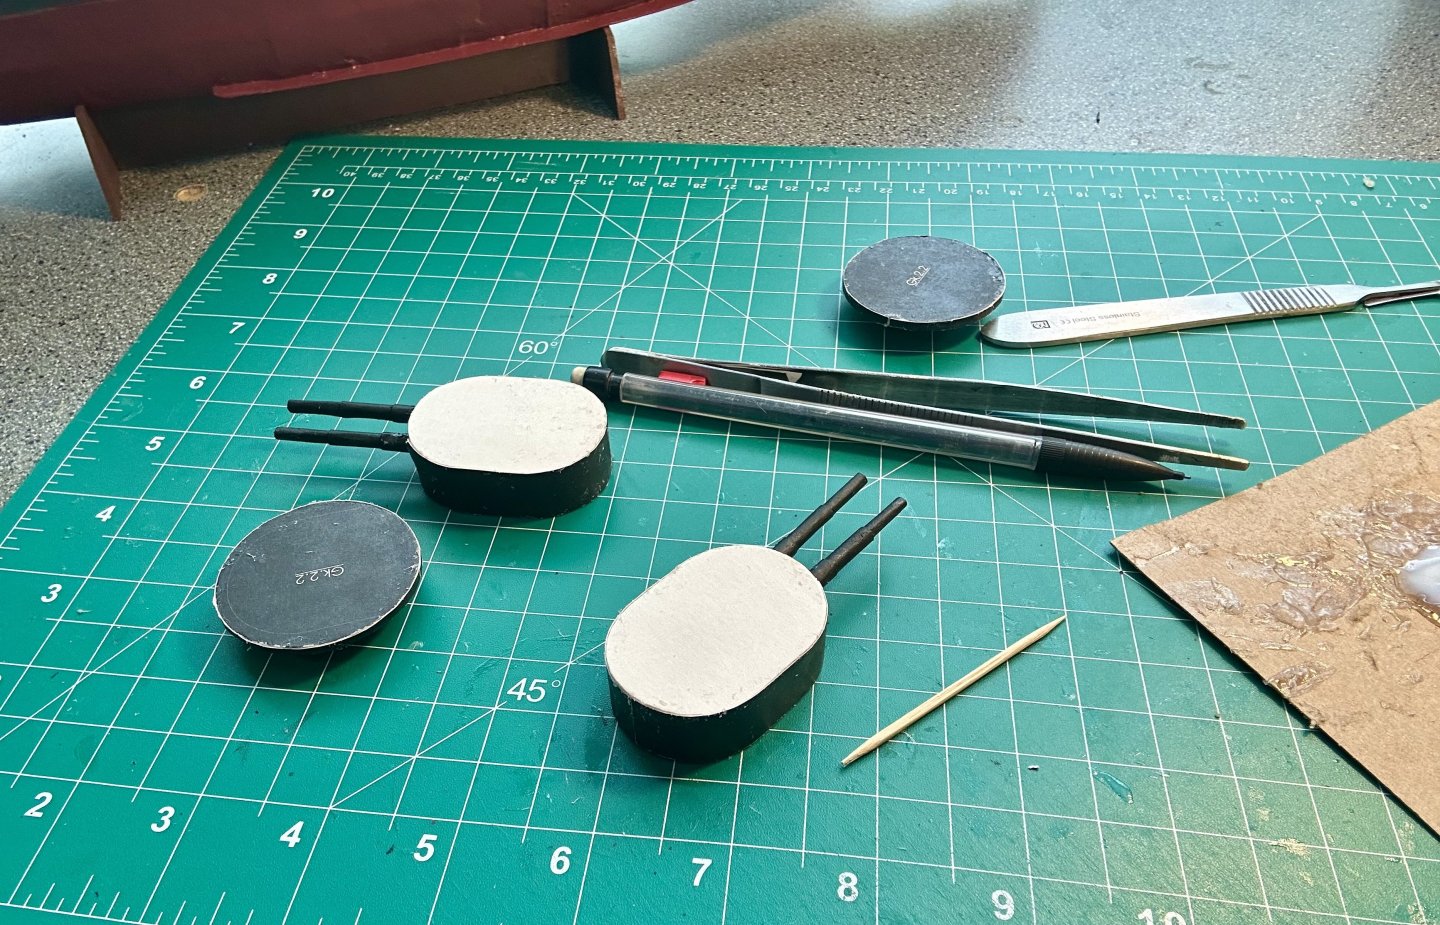
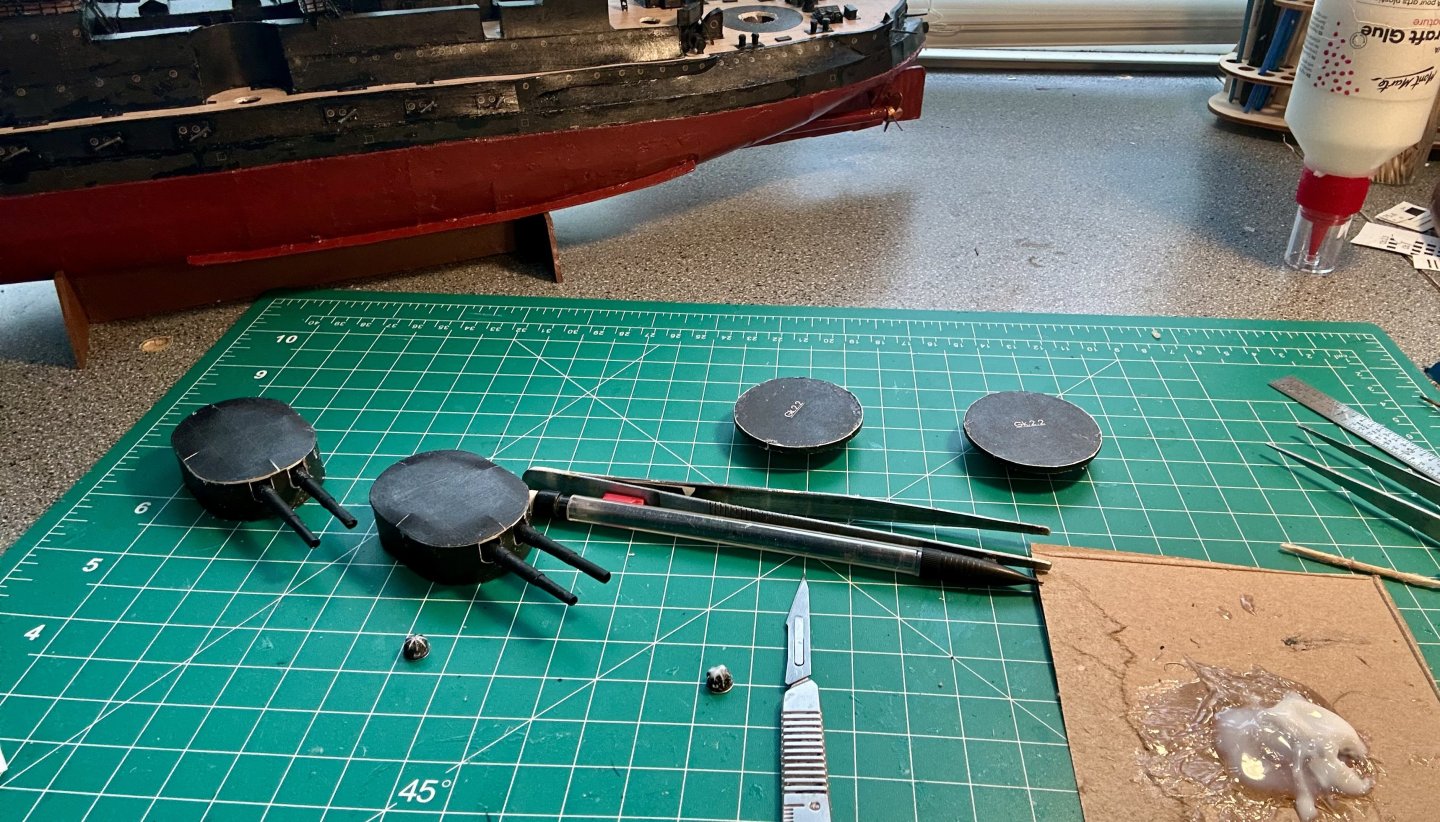
Alan, Thank you very much! I am very happy with how they turned out! Mark, Thank you very much! The Oryol is going to make an impressive addition to my display case! The secondary battery is going together quite nicely: Using a mousepad for rolling gun barrels is definitely paying off.
- 288 replies
-
- 13
-

-

-
- Card
- Pre-Dreadnought
- (and 3 more)
-
I decided to build the Mercury as the HMS Nemesis, built a year later in the same series of ships. The Nemesis served in the Royal Navy up until 1814. I am using the rest of the kit, but altering the carvings and decorations to match a hypothetical Nemesis (of which there are very few records, leaving a lot of room for interpretation based on British shipbuilding practices).
-
Very nicely done!
-
Spindle chair by kgstakes - FINISHED - 1/12th scale
GrandpaPhil replied to kgstakes's topic in Non-ship/categorised builds
Very nicely done! -
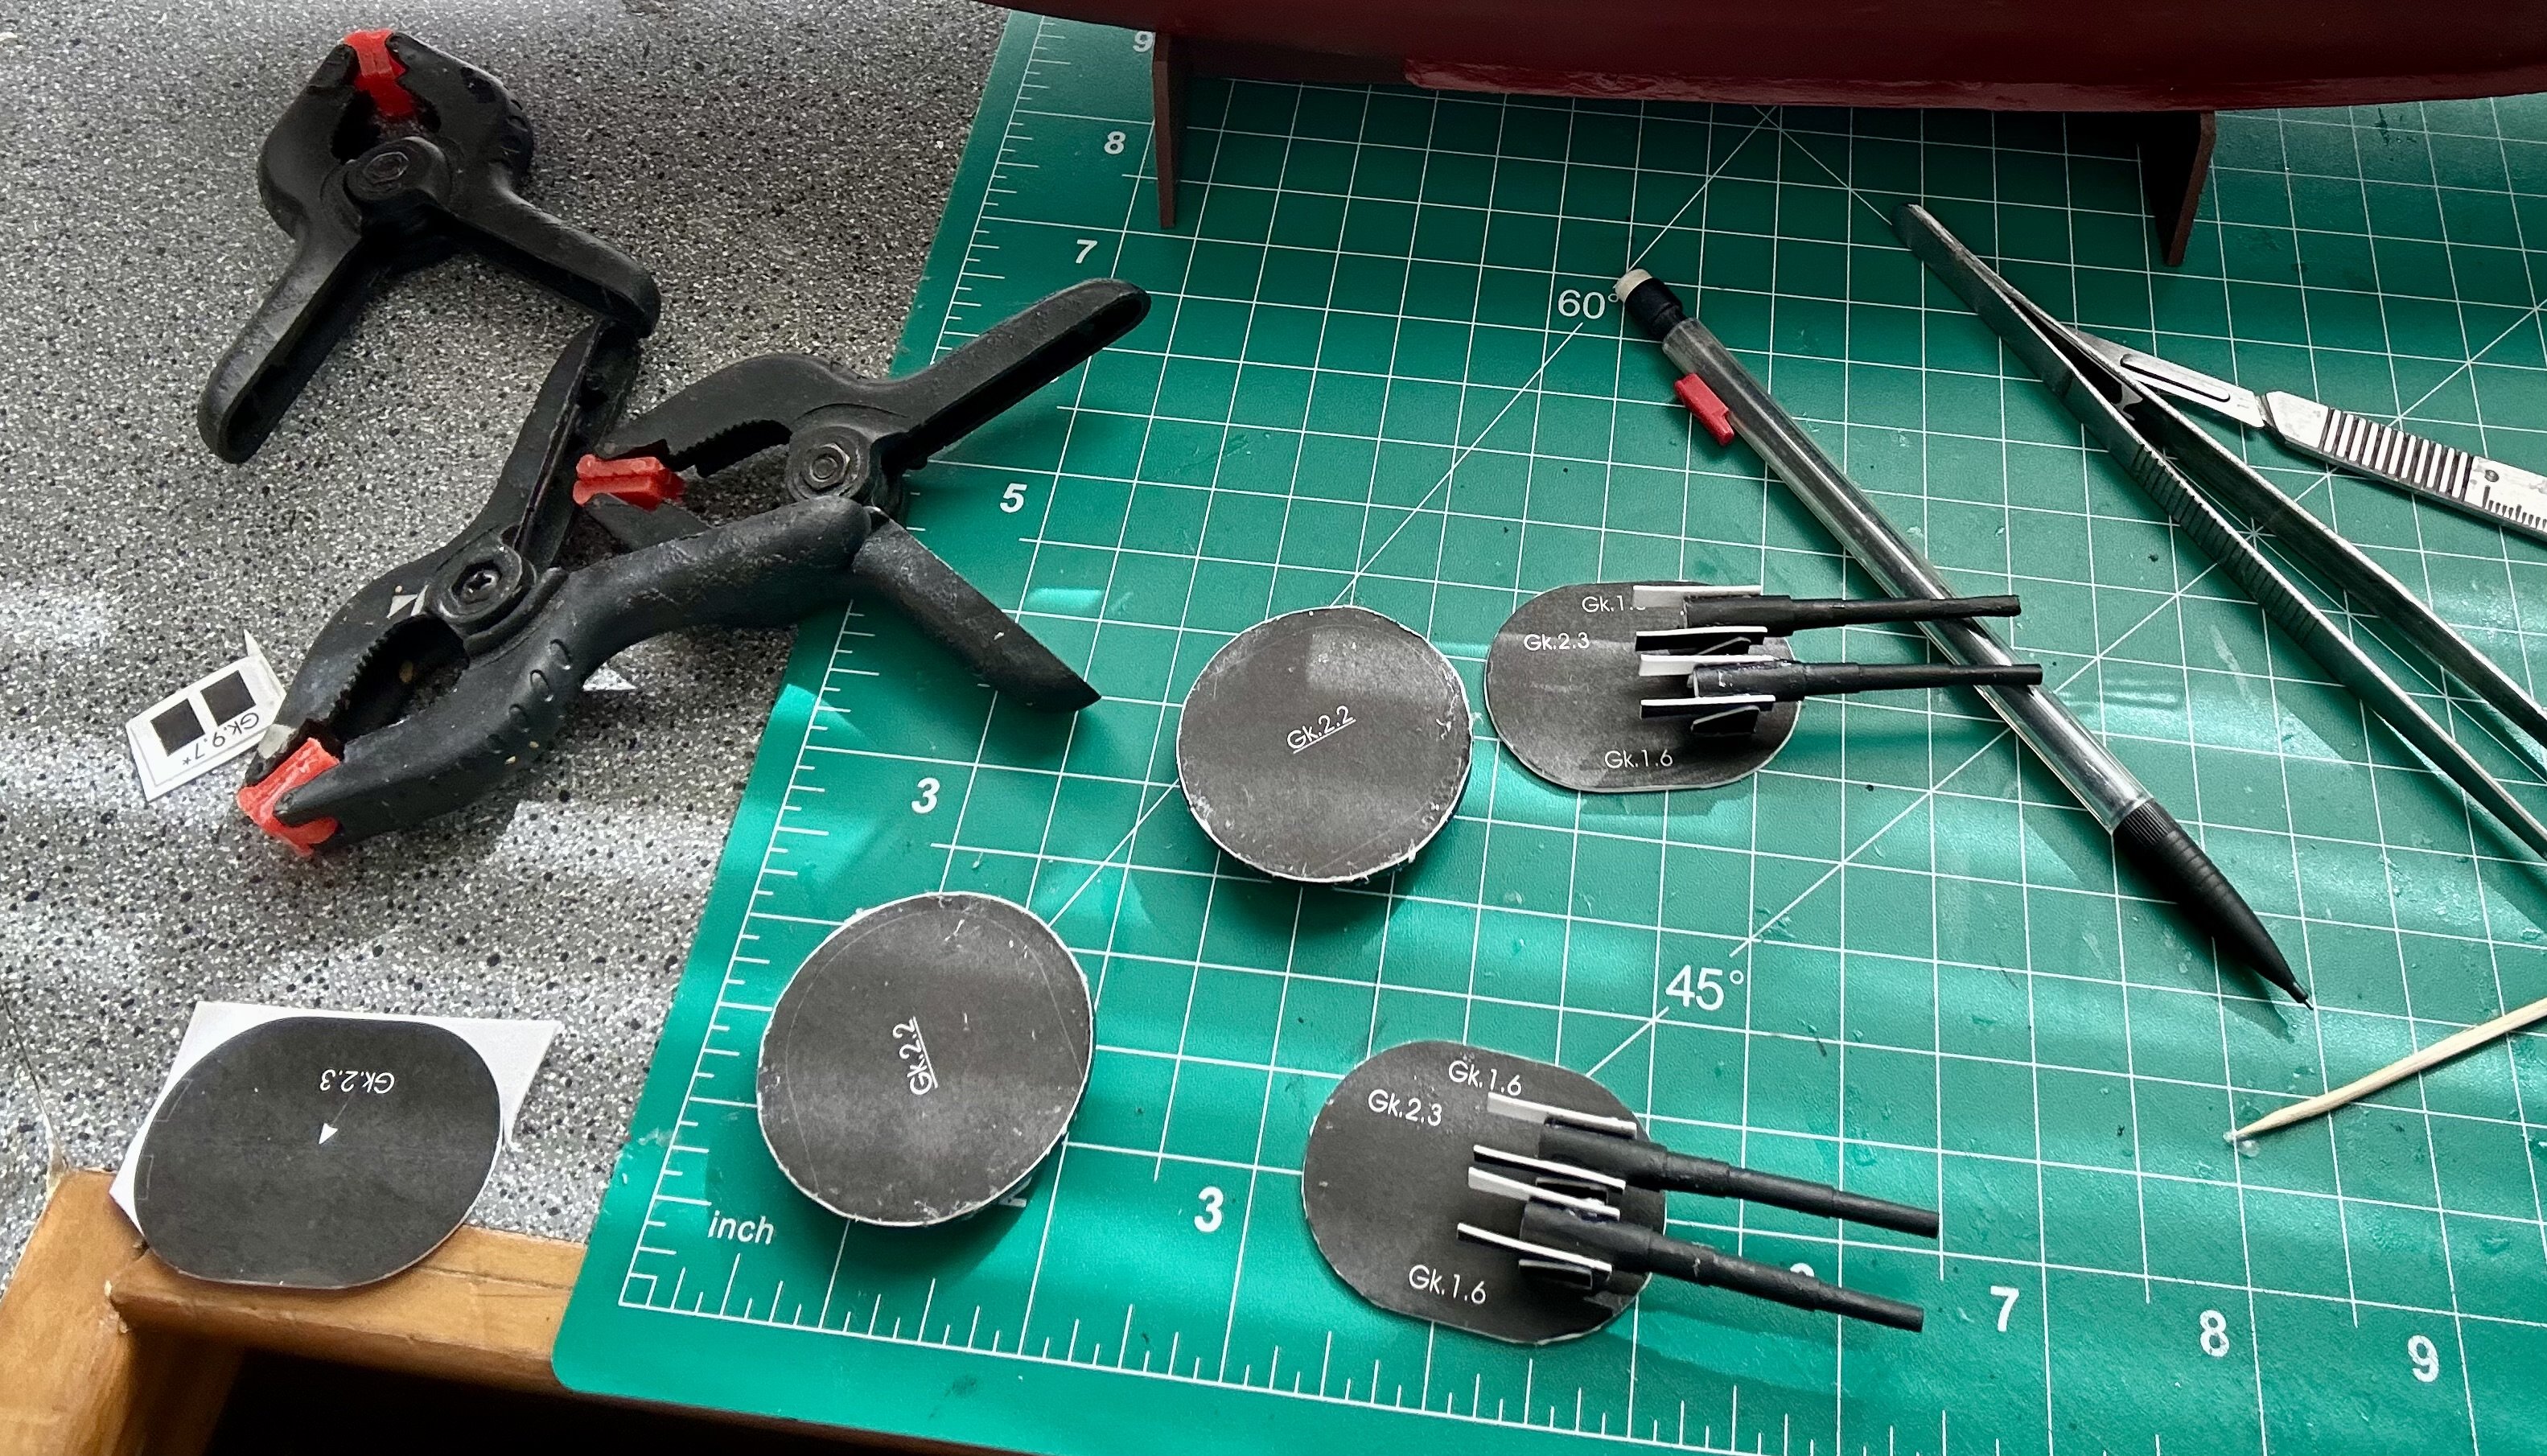
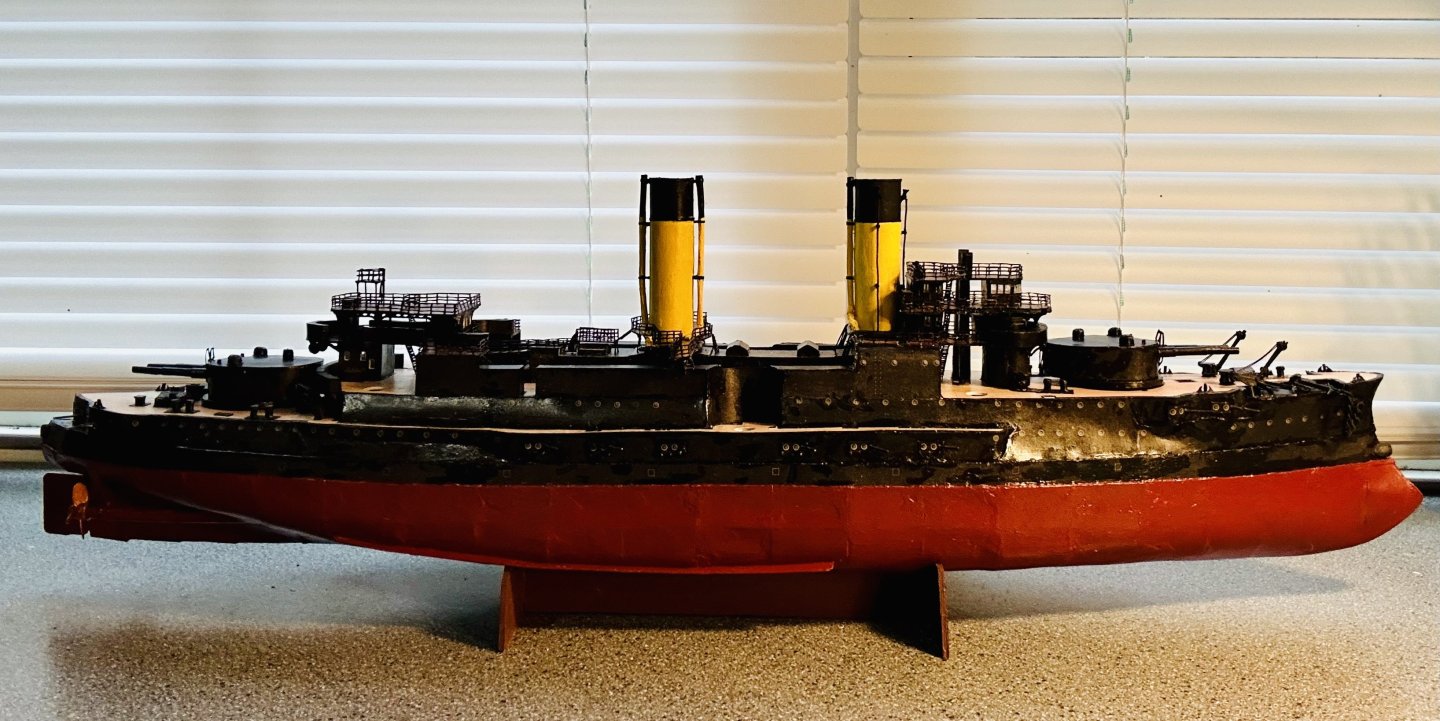
Steve, Thank you very much! She looks really good with her primary turrets installed! Keith, Thank you very much! Card has become my favorite medium to build in. Don’t sell yourself short, your steamers and work boats are incredible! The primary battery turrets are installed: She looks like a battleship now! I’m working on the six turrets of the secondary battery now: Once those are done and installed, it will be time for masts and rigging!

- 288 replies
-
- 11
-
-
-
- Card
- Pre-Dreadnought
- (and 3 more)
-
Very nicely done!
-
Mark, I used the Folk Art clear coat. It works quite well. Lol! I’m glad you like the stands! I learned about using Legos here. They’re like a model making cheat code. They have made my life much easier when it comes to setting stuff up to dry, or making a quick ship cradle for before a model is fully planked!
- 288 replies
-
- 6
-
-
- Card
- Pre-Dreadnought
- (and 3 more)
-
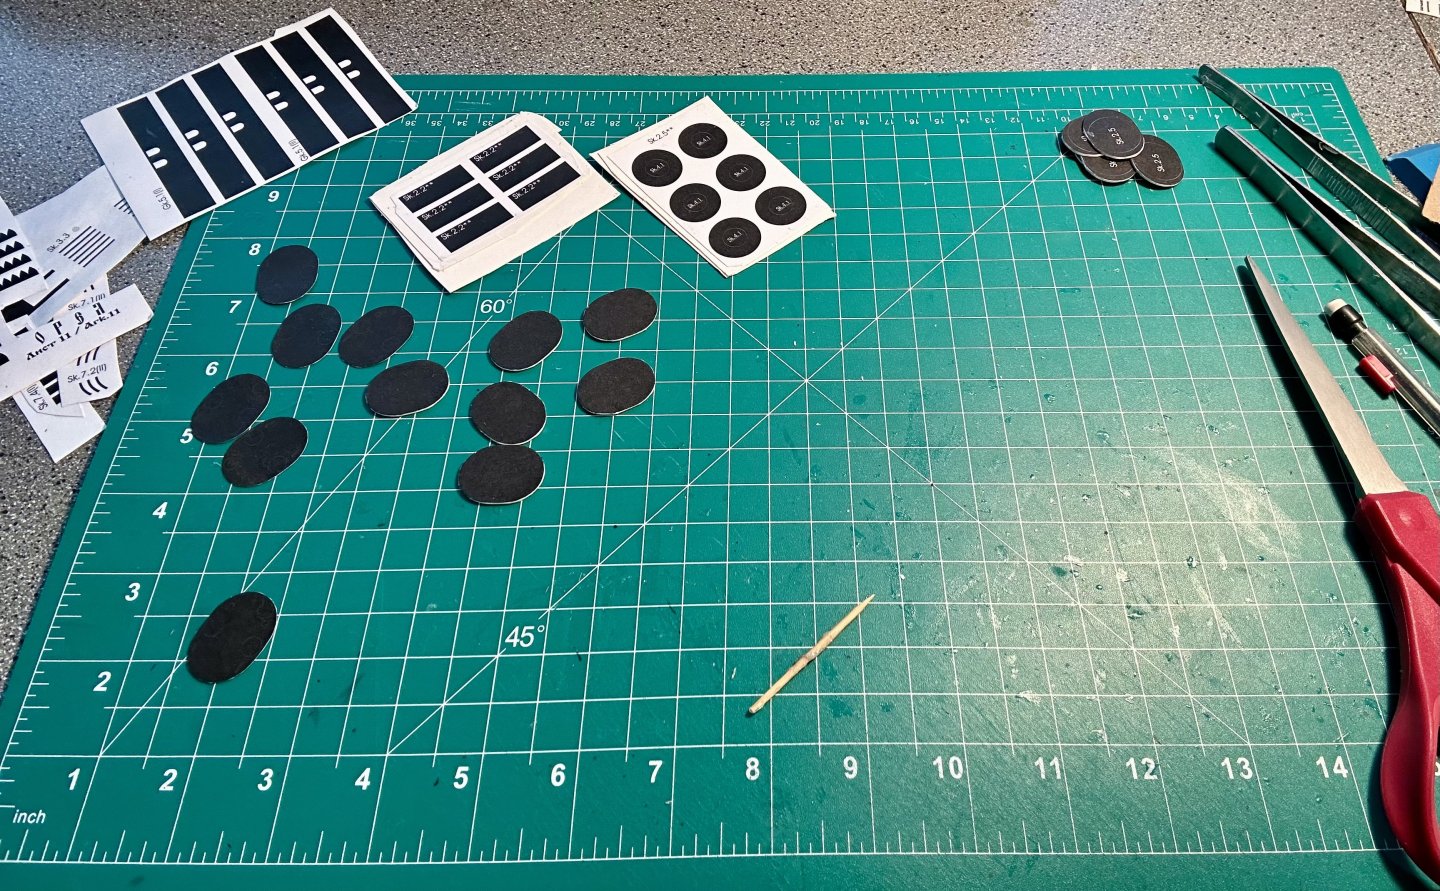
Thank you all very much for the likes and for stopping by! The bases of the turrets are finished and in place: The turrets themselves are detailed out and awaiting painting/sealing: I made some jigs/work stands from Legos.


- 288 replies
-
- 13
-
-
- Card
- Pre-Dreadnought
- (and 3 more)
-
Congratulations! Very nicely done!
-
Welcome!
-
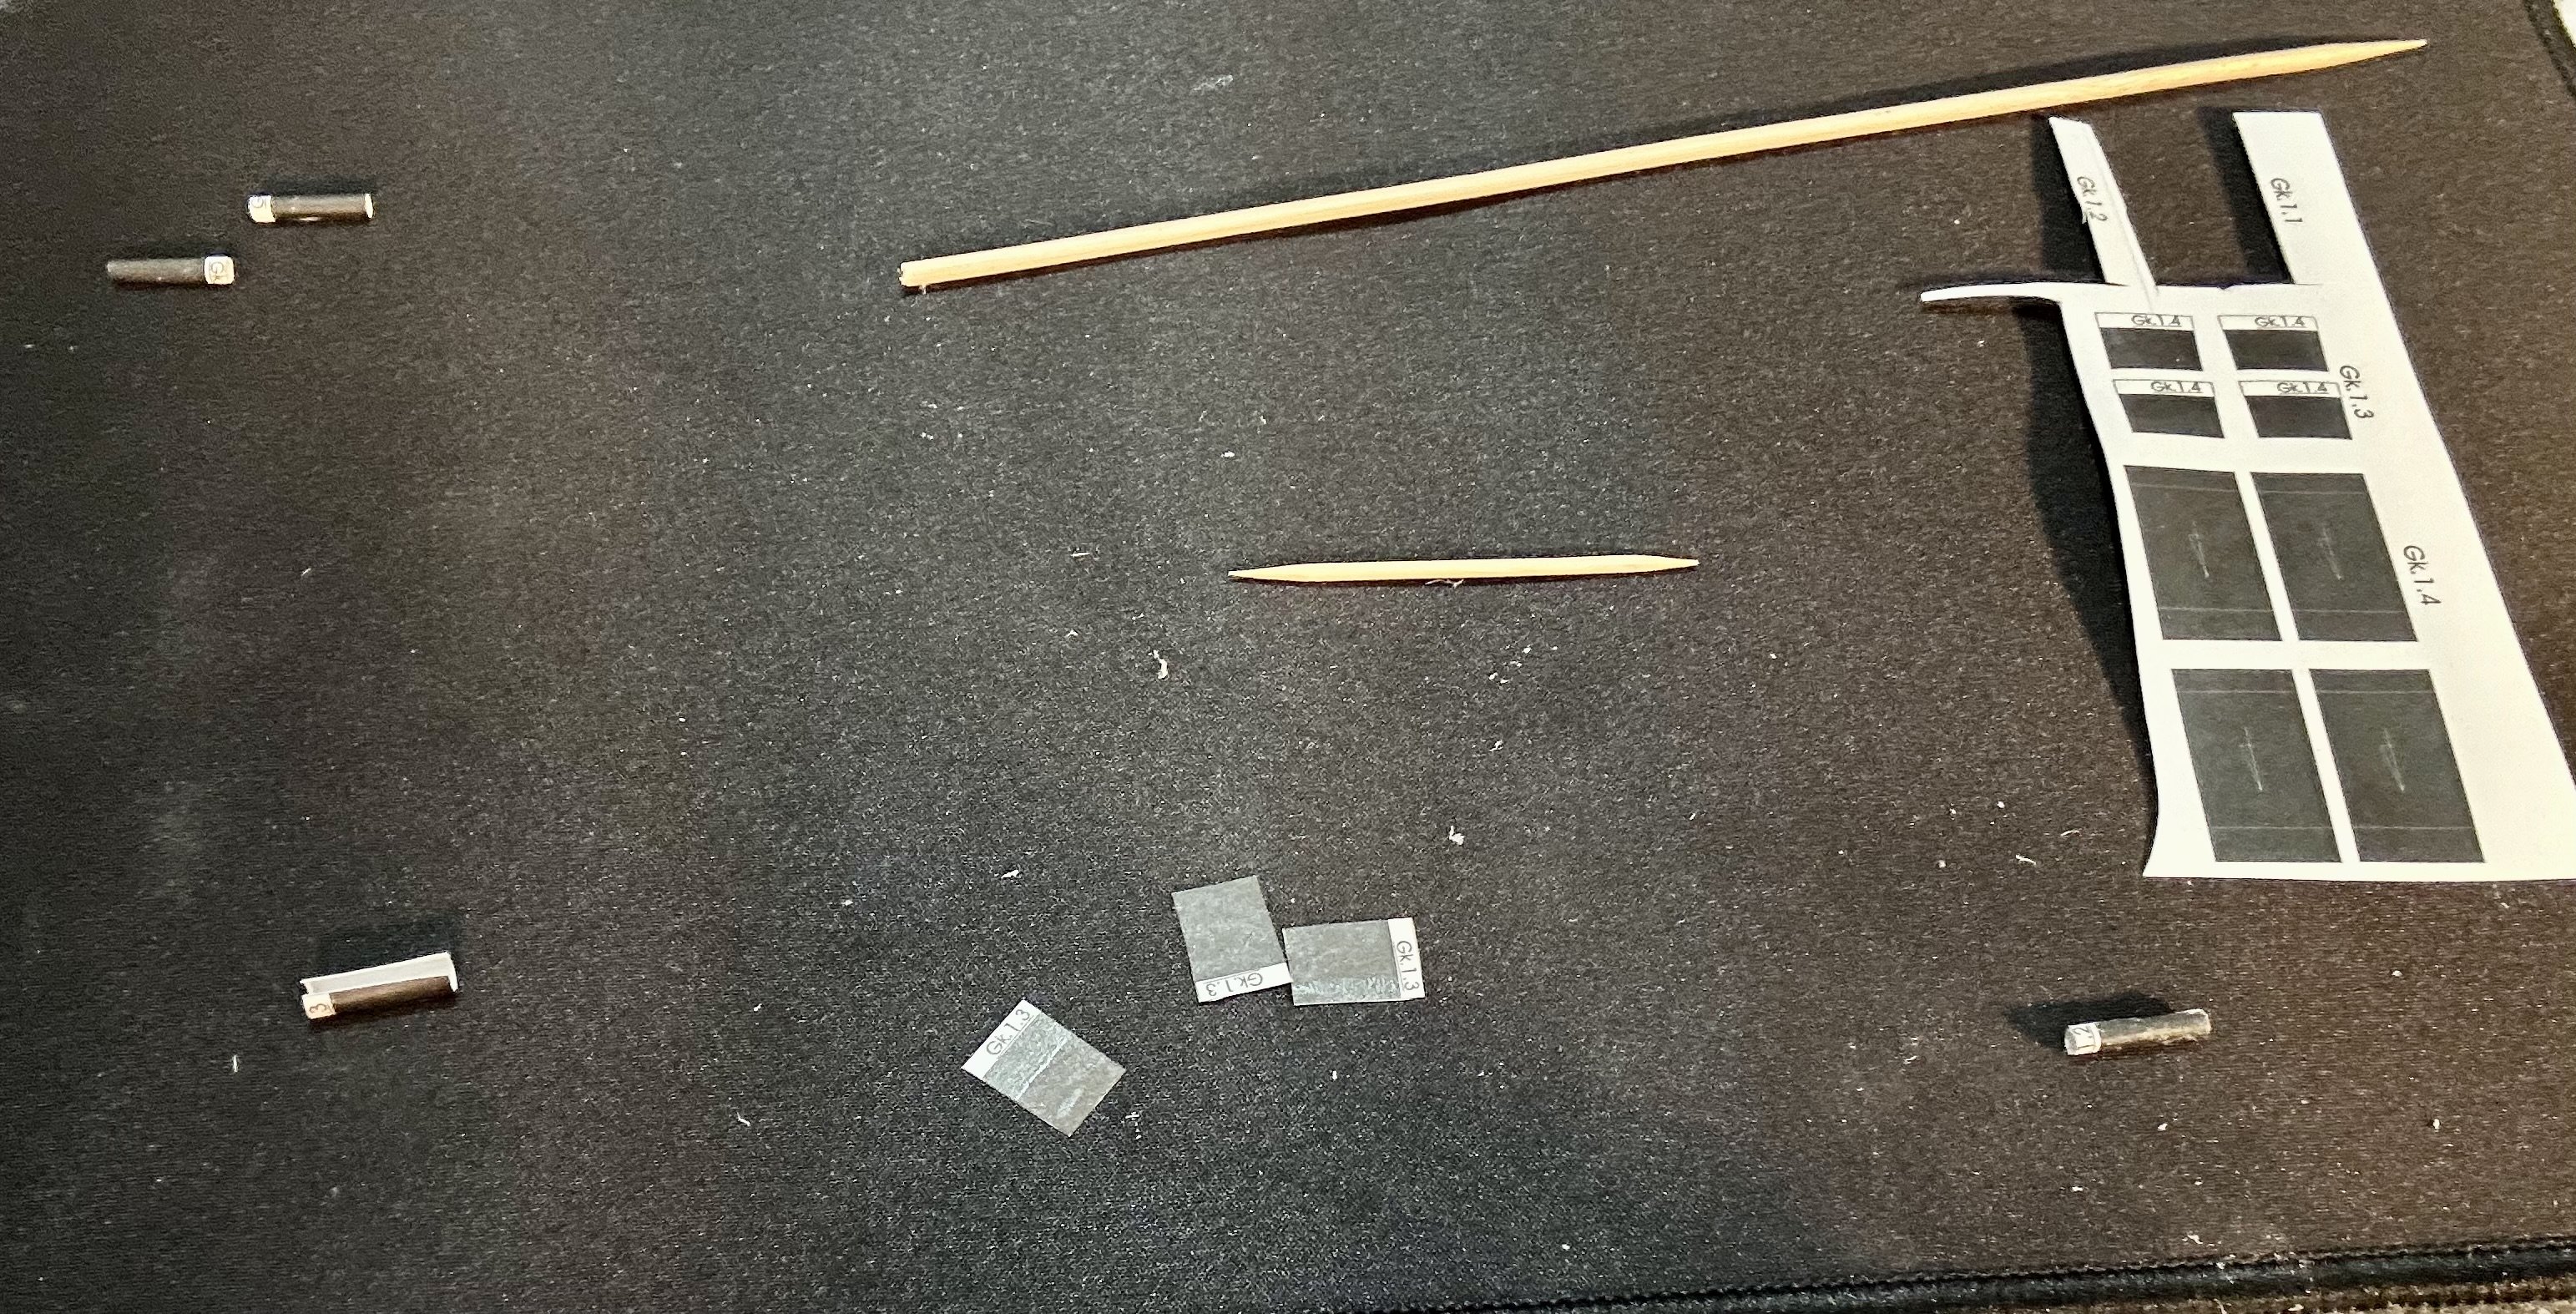
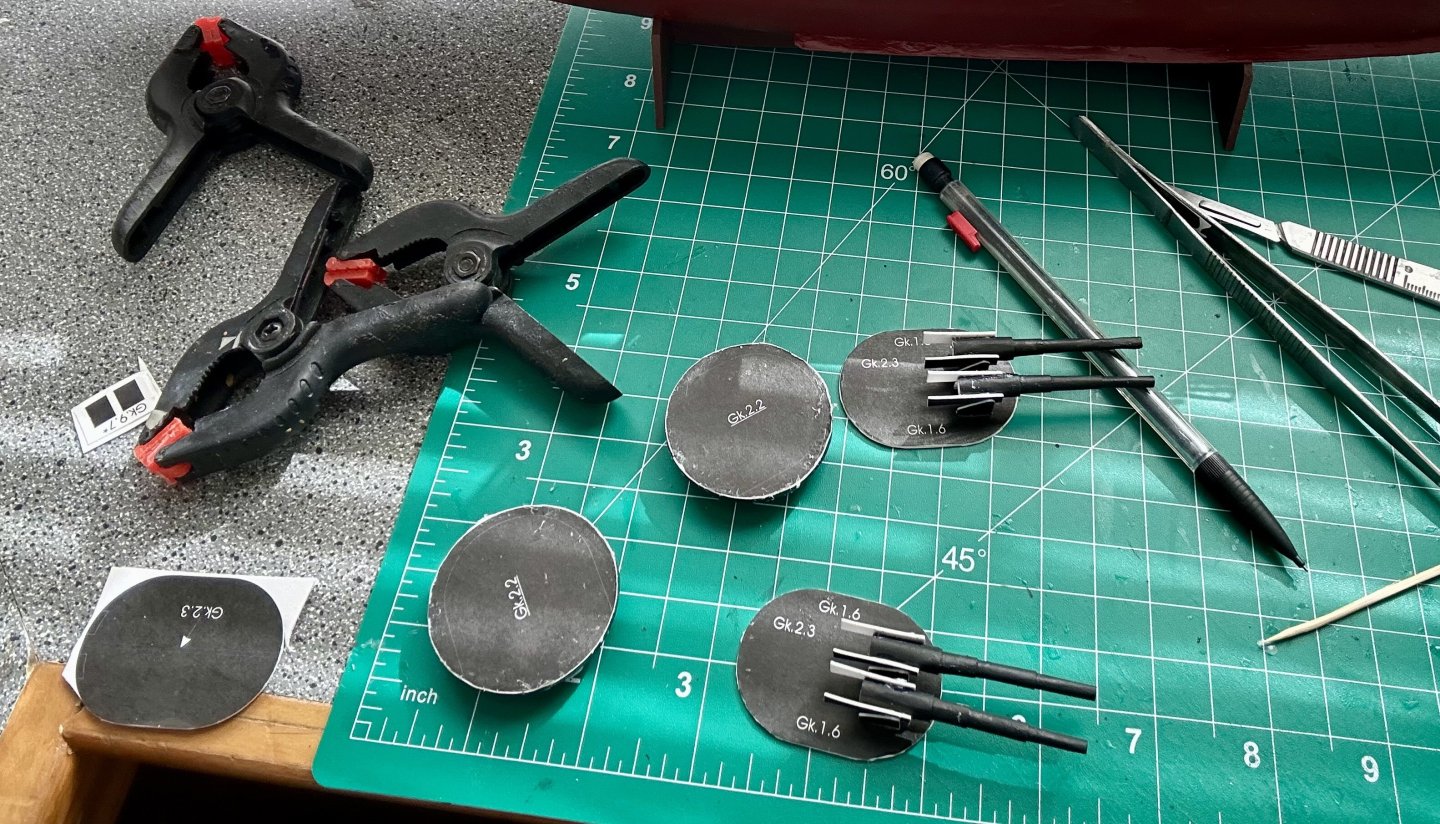
Thank you all very much for the “likes” and for stopping by! I’m currently working on the primary battery (4 x 12 in. guns according to the reprint of the 1905-1906 edition of Jane’s Fighting Ships): The construction is relatively simple for these. They are just time consuming and precise, as with anything on a model ship. I’m learning as I go for future projects. I have a set of plans for the French battleship Le Hoche, which has a similar turret design (although much earlier).
- 288 replies
-
- 14
-
-
- Card
- Pre-Dreadnought
- (and 3 more)
-
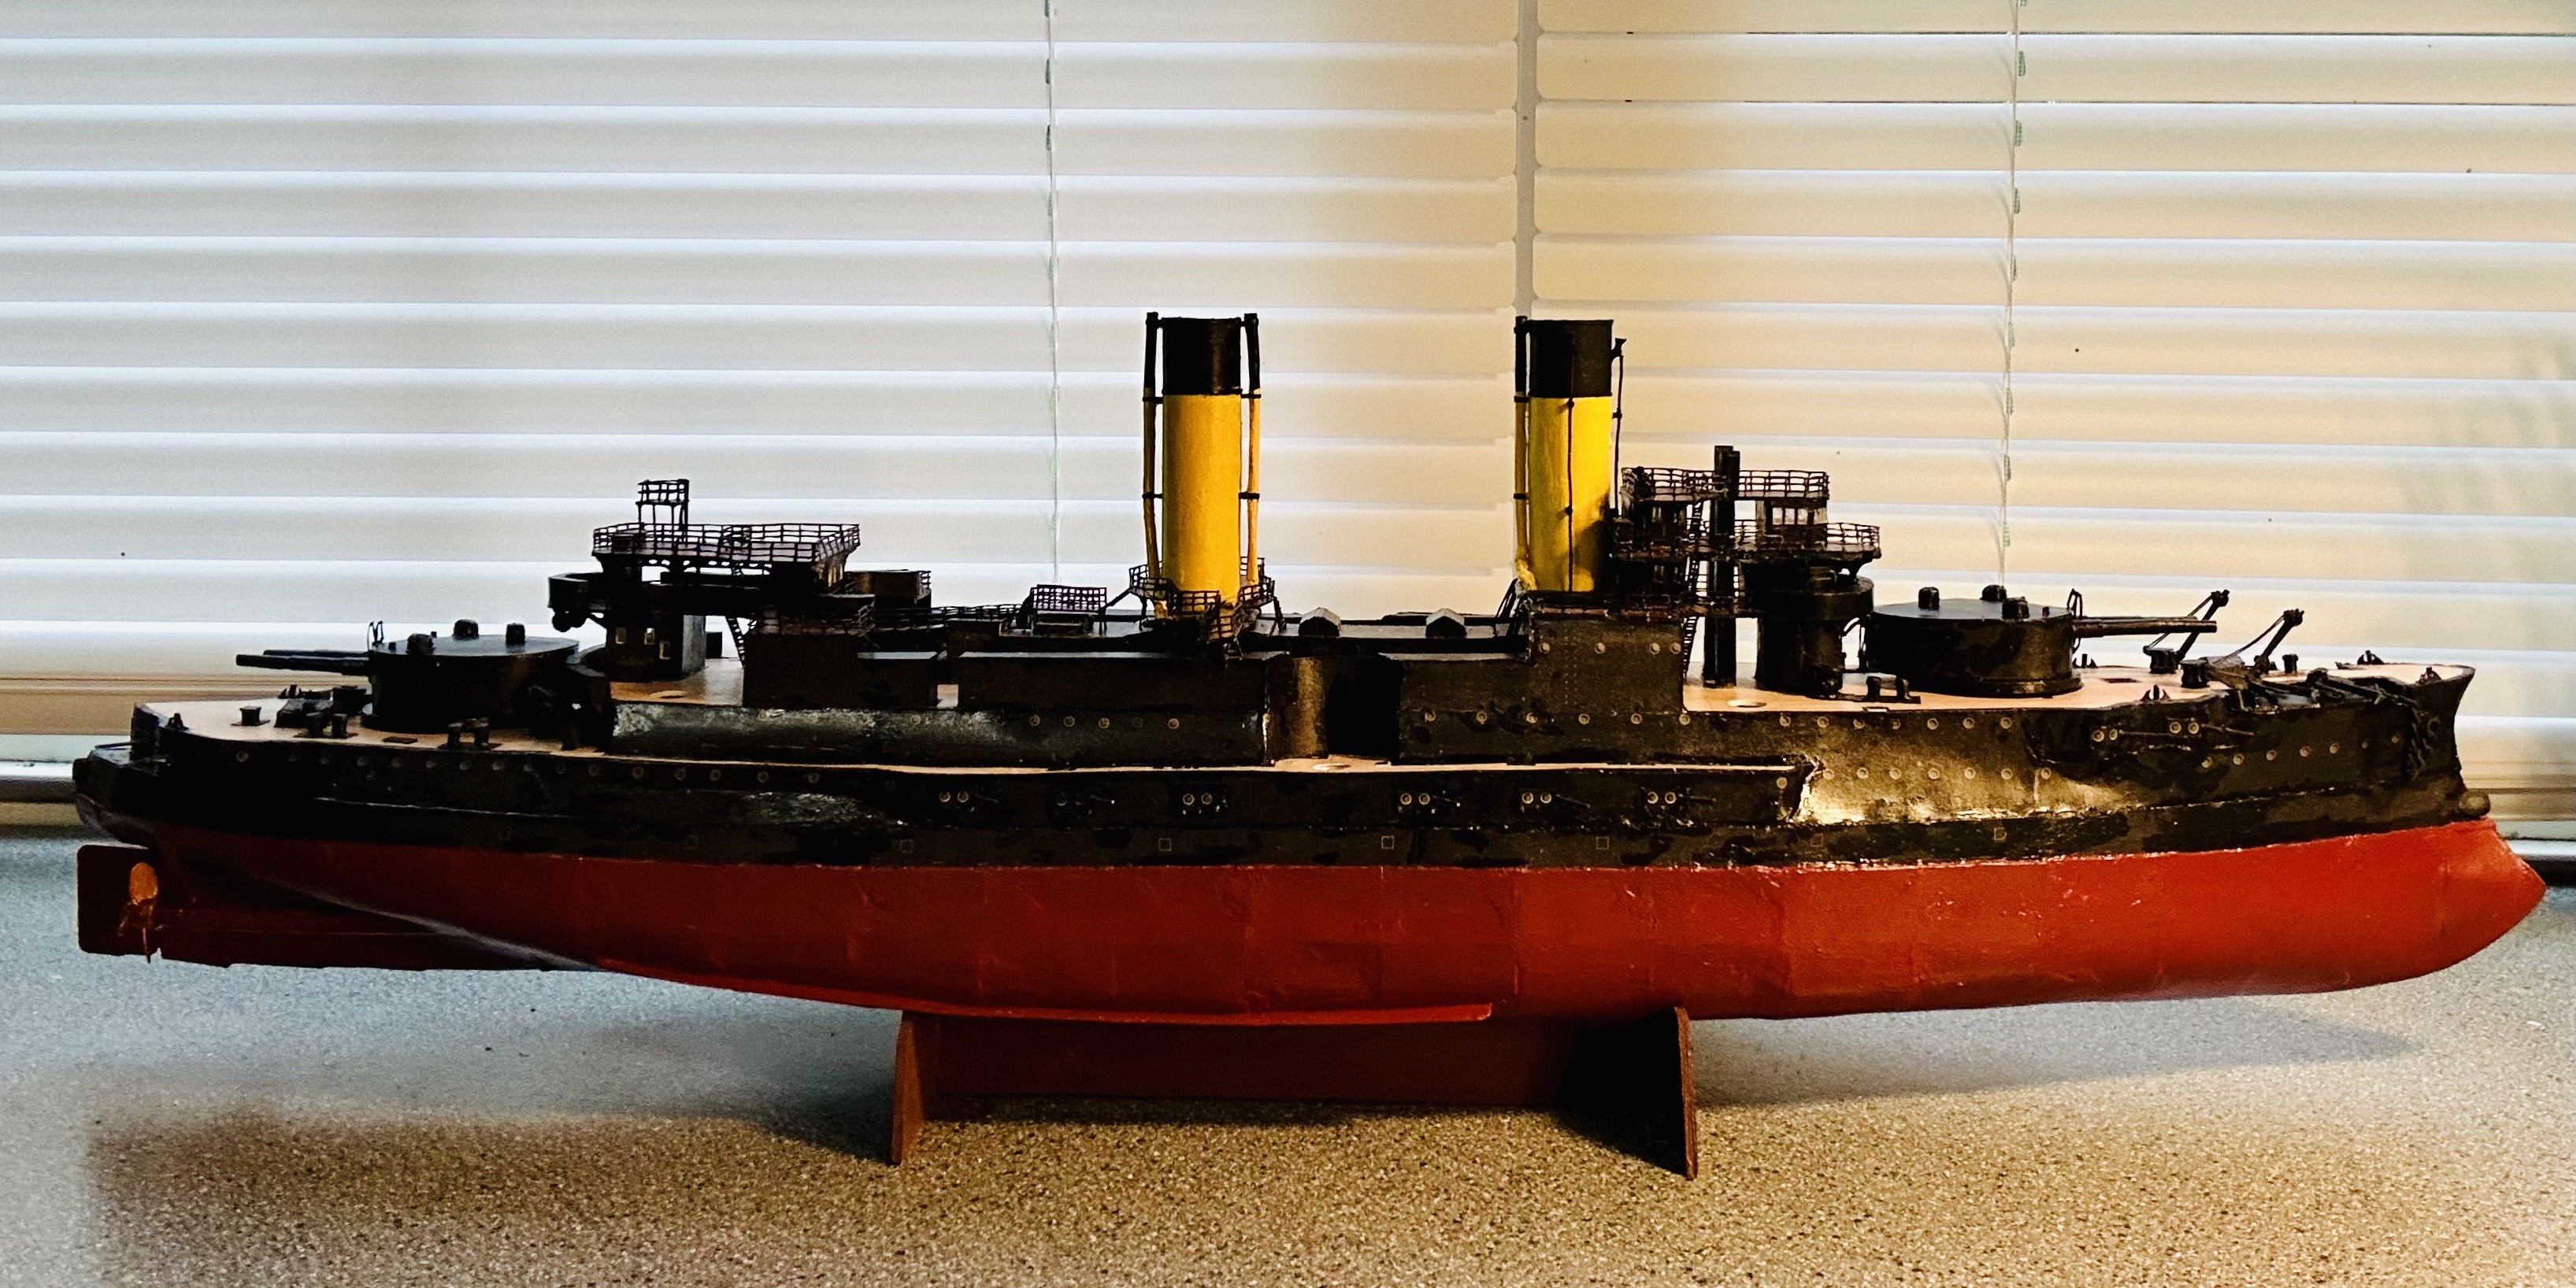
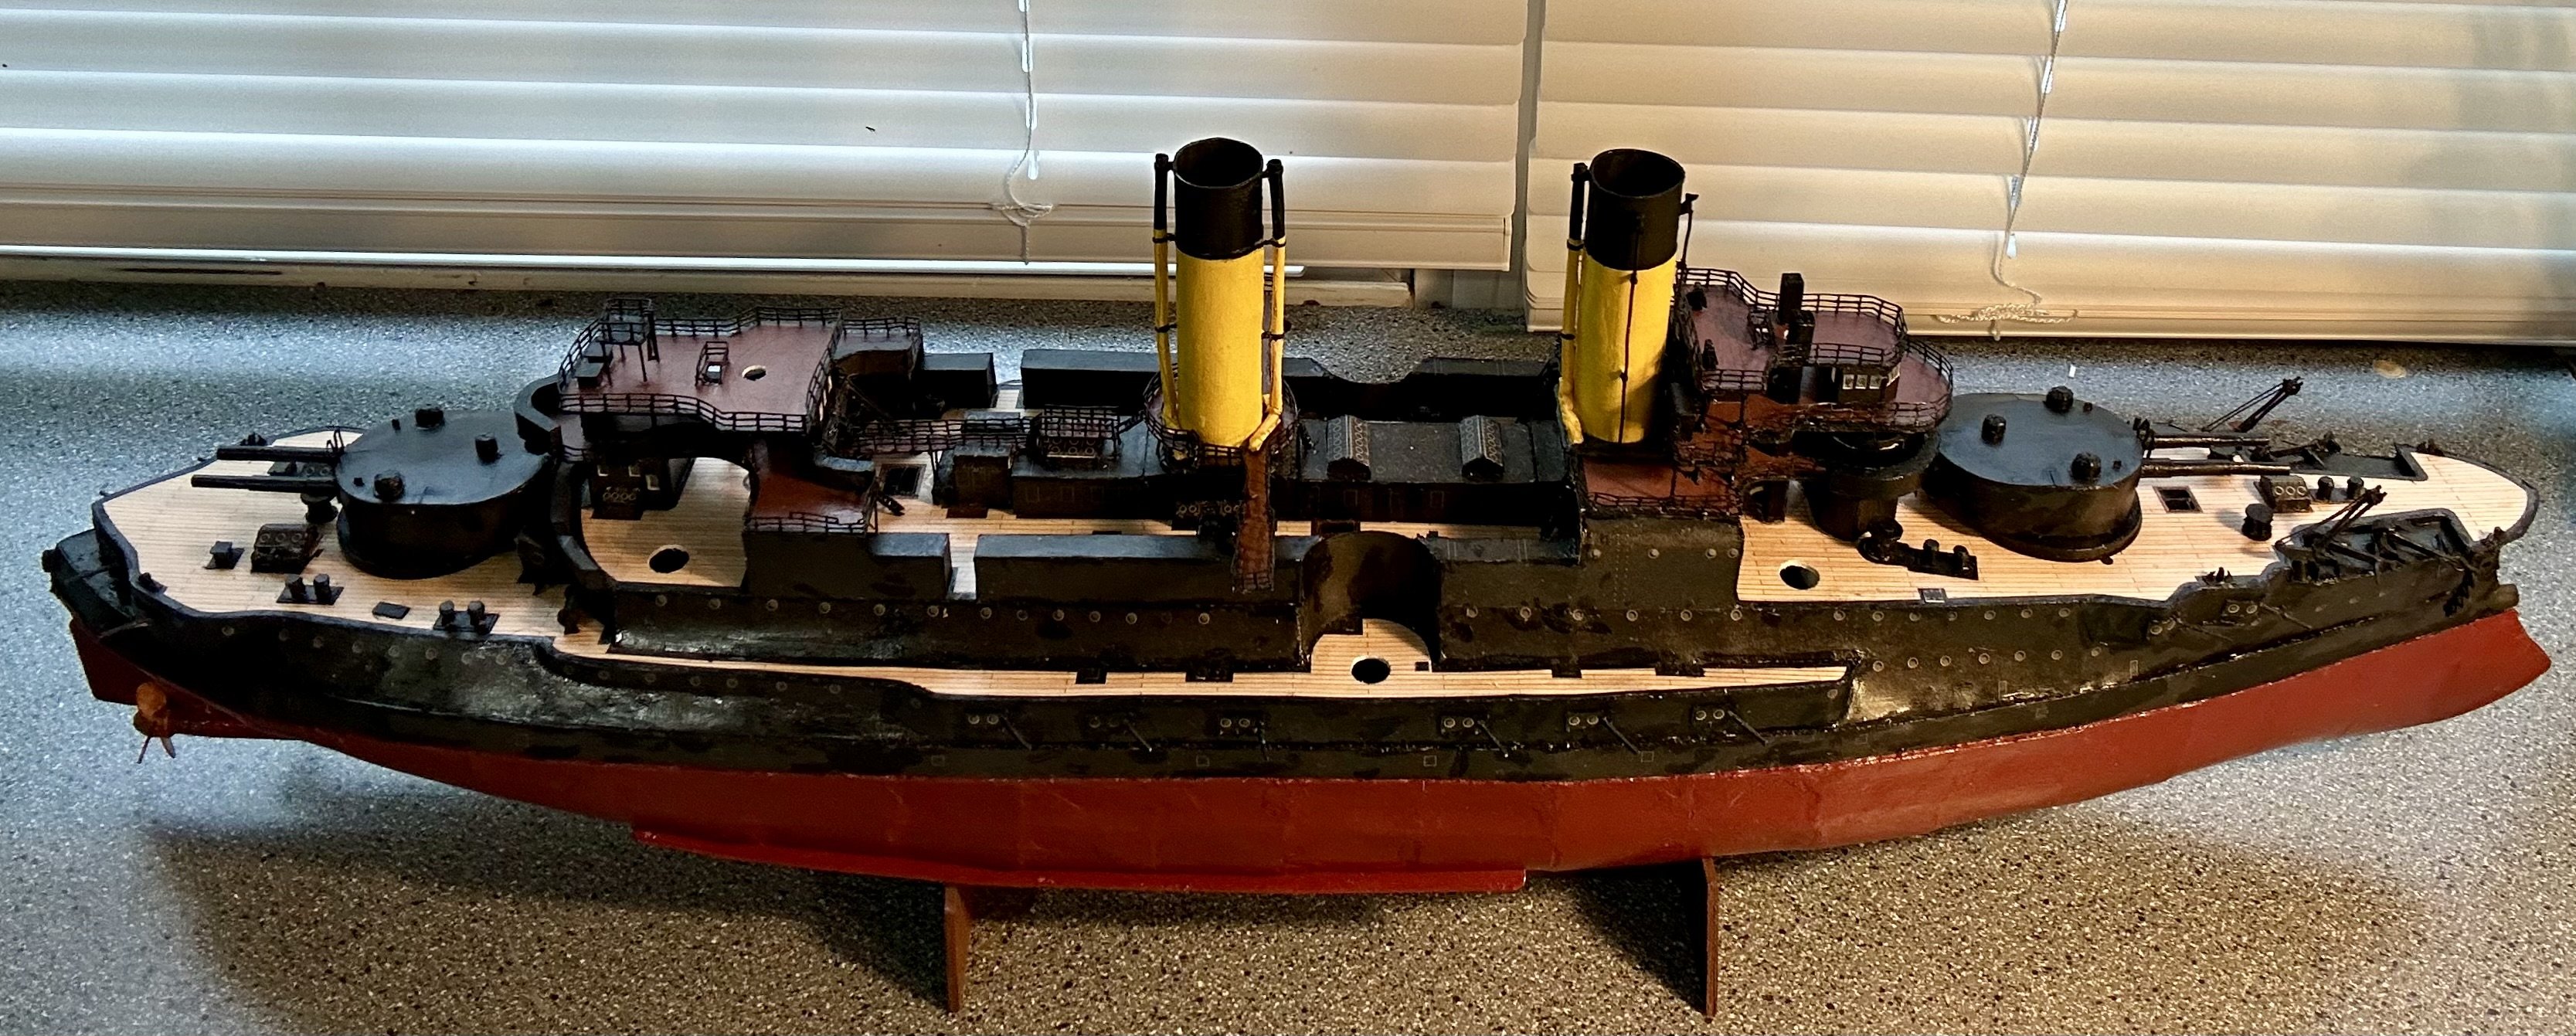
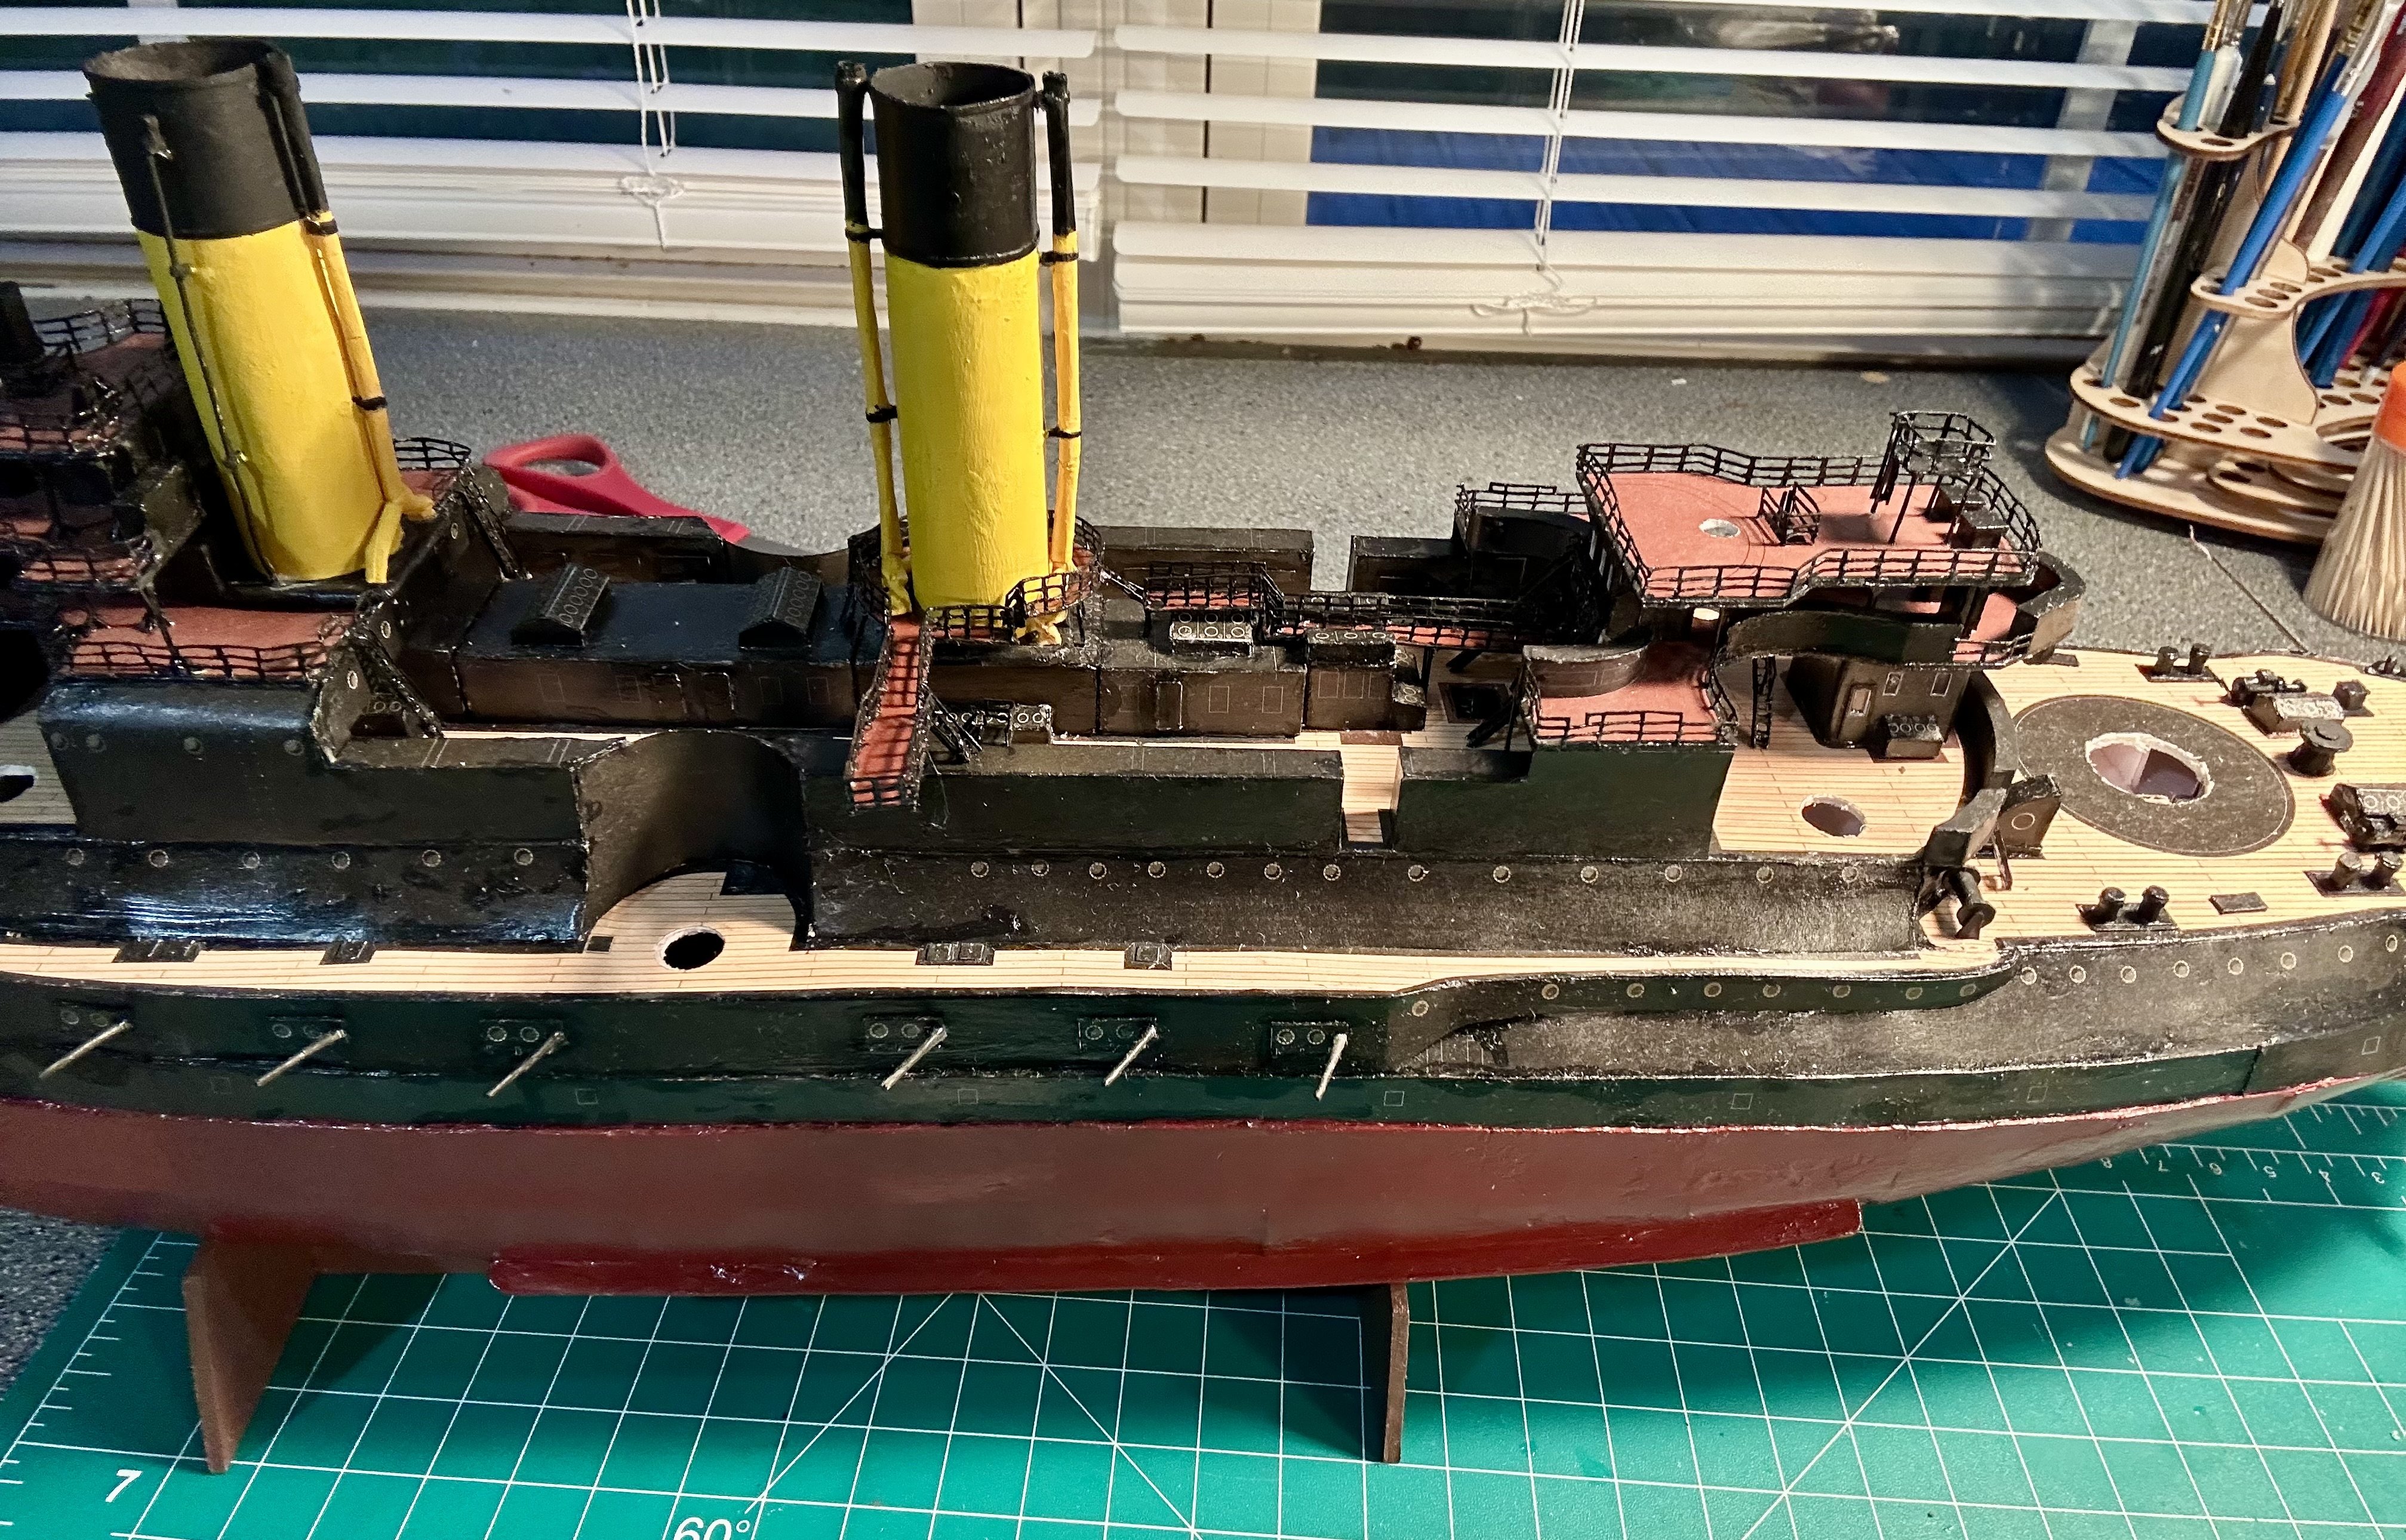
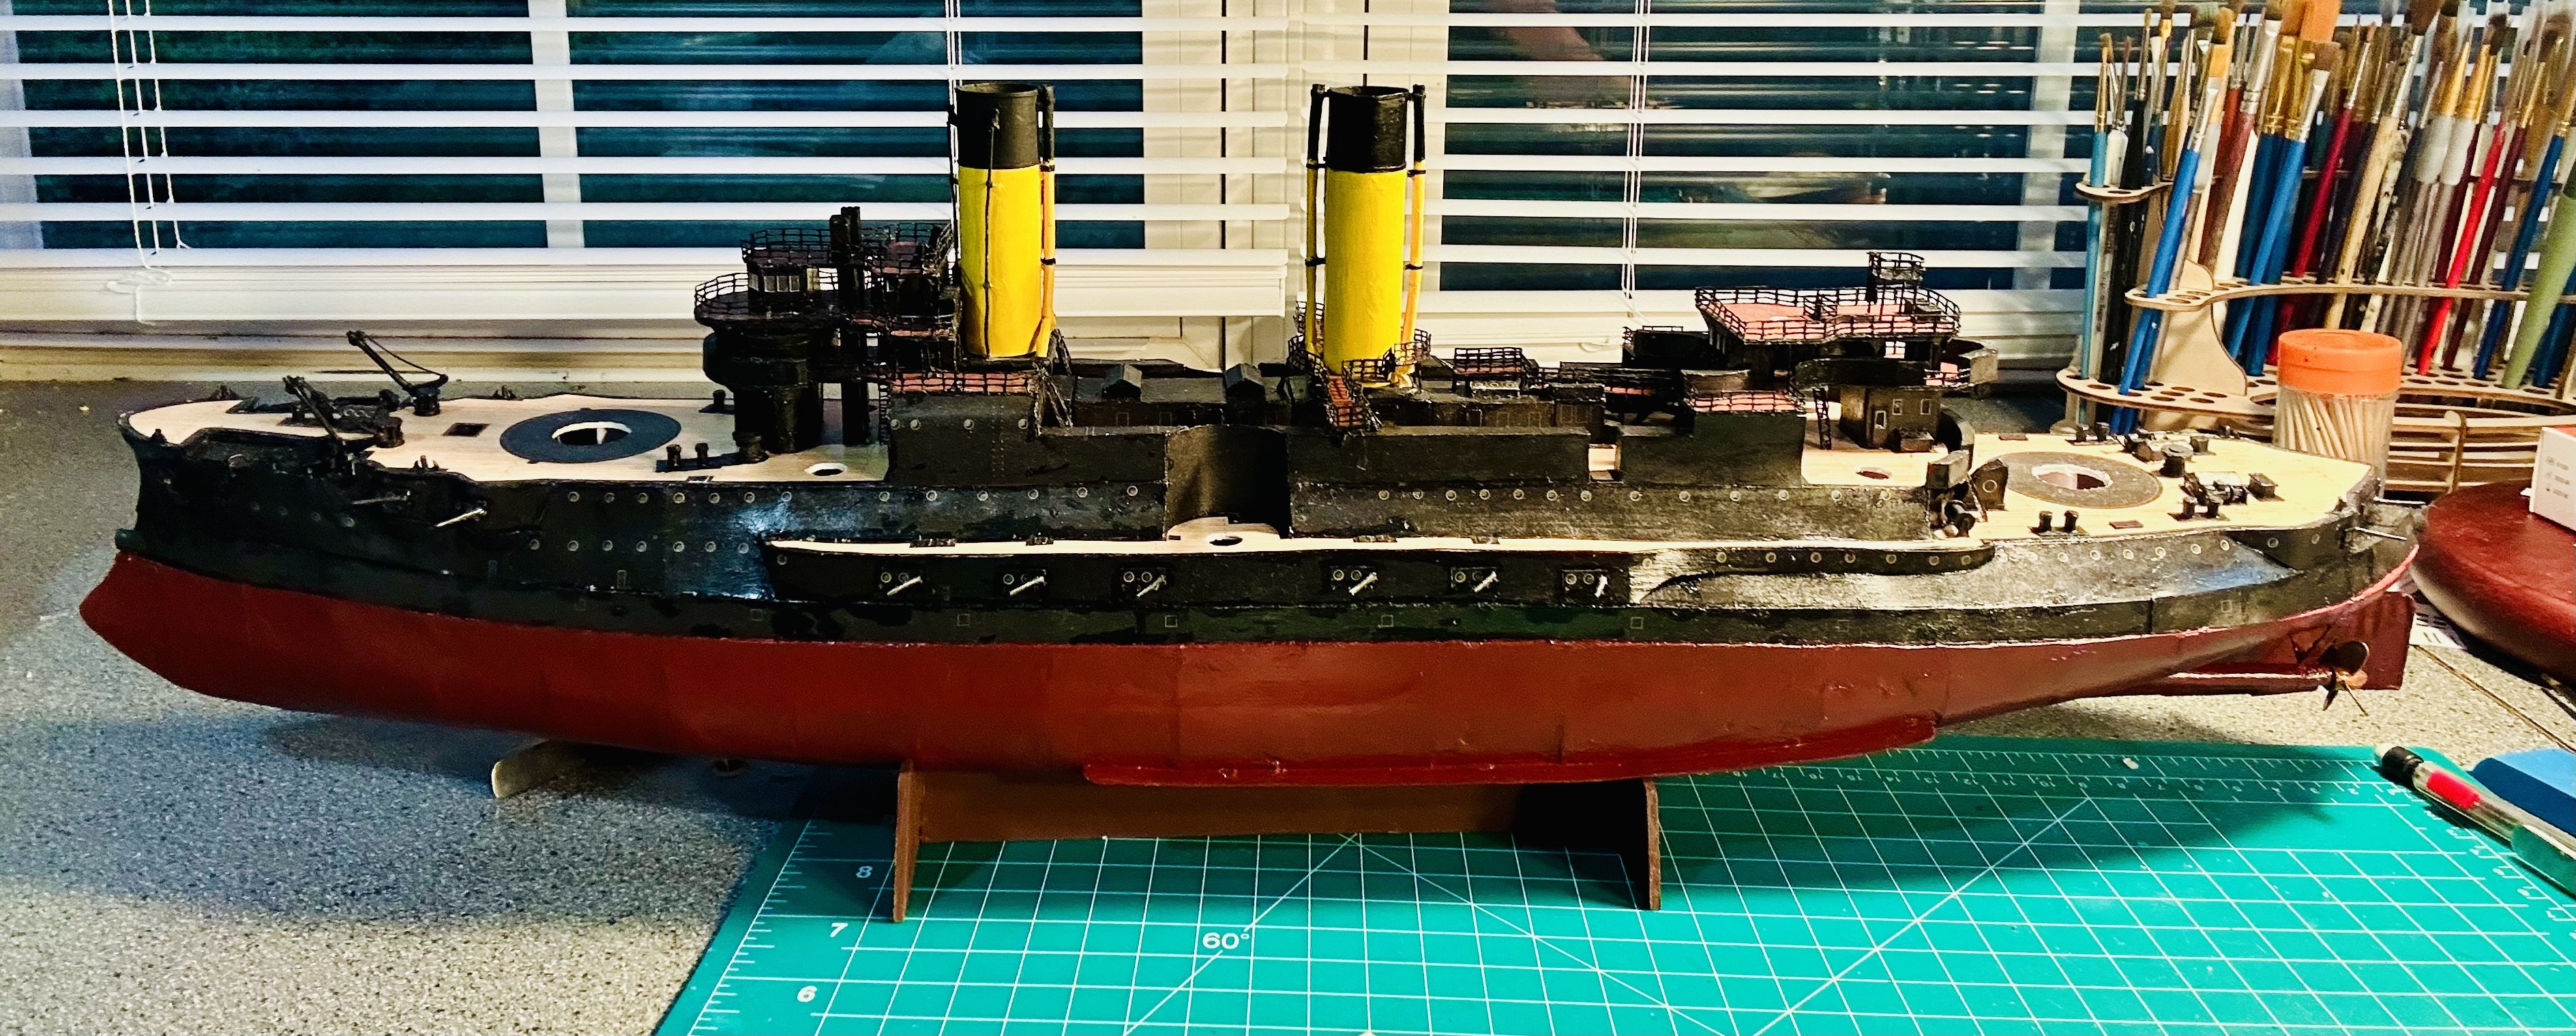
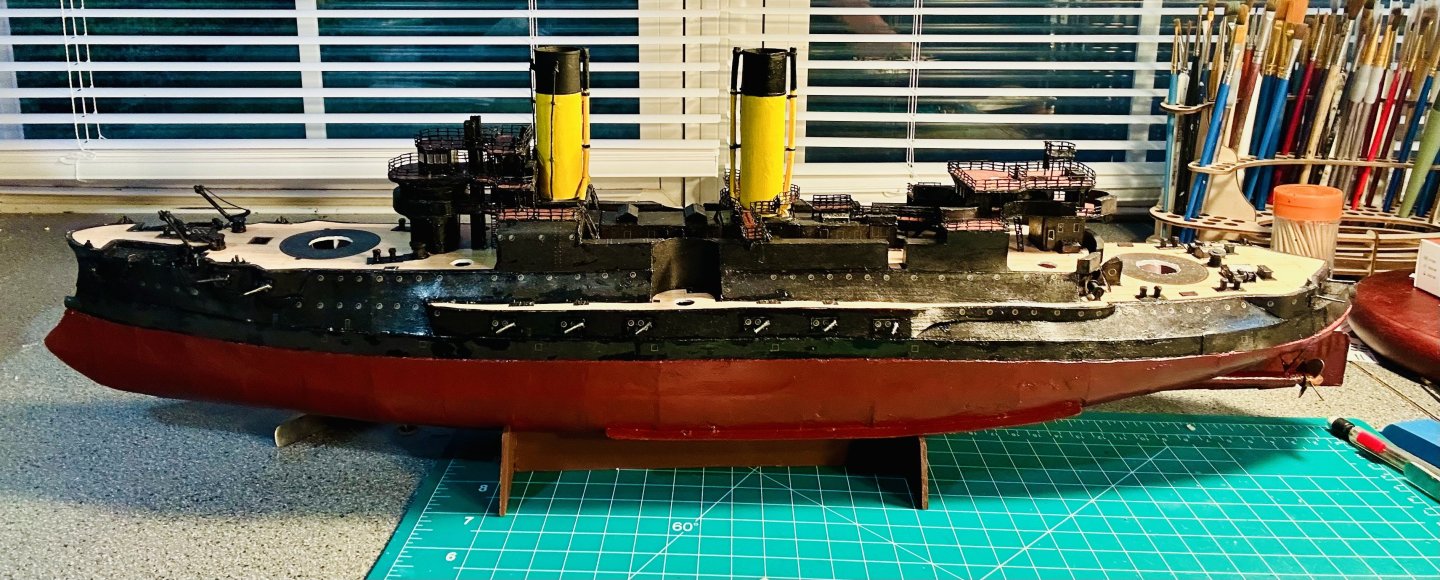
Mark, That will definitely bring everything to life! The superstructure is pretty much done now: I still have the 47mm guns, the search lights and some other miscellaneous fittings that I am not yet sure where they go, but those will be filled in as one of the last steps. Here is a side on shot: I am working the main guns now: I read through the Principles of Paper Modeling by Dave Lukens, @Thales42 and am trying the mousepad for rolling pieces. Rolling pieces is one of the major challenges with card modeling, especially when working from a kit. When I scratch build them, I usually just make round parts from wood, since everything gets painted anyway. But with a preprinted kit, paint matching becomes an issue, in addition to a lack of the drawings in many kits (except for Seahorse and Shipyard, which come with EXCELLENT drawings for things like masts and cannon).


- 288 replies
-
- 14
-
-
- Card
- Pre-Dreadnought
- (and 3 more)
-
Welcome!
-
Have you checked out Seahorse Models there in Poland? They make some very nice card ships.
-
Welcome!
-
John McKay’s 100-Gun Ship Victory, of the Anatomy of the Ship series is the reference that I have been using for my own Victory build, which was a 1:98 scale Mantua kit. It has complete plans for the Victory. John McKay’s book is excellent and I strongly recommend it!