HOLIDAY DONATION DRIVE - SUPPORT MSW - DO YOUR PART TO KEEP THIS GREAT FORUM GOING! (89 donations so far out of 49,000 members - C'mon guys!)
×


GrandpaPhil
-
Posts
6,141 -
Joined
-
Last visited
Content Type
Profiles
Forums
Gallery
Events
Everything posted by GrandpaPhil
-
Bob, I haven’t looked in for a while, Astrolabe is looking amazing! My sincere condolences for your friend! Those plans of the Astrolabe look like AAMM plans, and their plans are amazing!
-
Alan, Very nicely done!
-
Welcome!
-
Welcome!
-
Newcomer's question to dealing with decals on plastic models
GrandpaPhil replied to 15decade's topic in Plastic model kits
I have no idea how Academy handles replacement parts but the alternatives are to make your own decals on a computer and print them, paint them and cut them out, paint them directly on the model or buy aftermarket decals/stencils. -
Welcome! Caravels make excellent beginner models! Dusek ship kits makes an excellent set of kits of Columbus’s kits. The owner, @Daniel Dusek is on this forum as well. The combo set is here: https://www.dusekshipkits.com/columbus-ships-combo They are also sold individually.
-
Received partially-built Corel Victory -- worth salvaging?
GrandpaPhil replied to SaltyScot's topic in Wood ship model kits
Excellent! -
Received partially-built Corel Victory -- worth salvaging?
GrandpaPhil replied to SaltyScot's topic in Wood ship model kits
Mark, Always remember two things: 1) putty and paint (and copper tape) hide many sins in building. 2) you don’t have to use what came with the kit to finish it. My Victory doesn’t look much better beneath the exterior (and maybe one day I’ll finish it, it looks decent now, but I just need to get the motivation to finish it). I wasn’t ready for that level of build when I started it. The hardest part (at least for me) is already done, the hull is closed and looks relatively straight from the pictures. I would probably resheath the hull in really thin veneer, or wood grain contact paper, once I got a solid base to work from, so all the planks ran in the right direction, but if the subject interested me, and I wanted one, I’d take it and make it my own. McKay’s book is invaluable for this particular project and has been of great use to me with mine. The Victory makes a great starter ship of the line. Your only limit is your imagination and what you are interested in making. -
Welcome!
-
Welcome!
-
The Search for Speed Under Sail has been invaluable for me.
-
Welcome!
-
New here, checking the place out
GrandpaPhil replied to jbassett's topic in New member Introductions
Welcome! -
Welcome!
-
Congratulations! Absolutely incredible work!
-
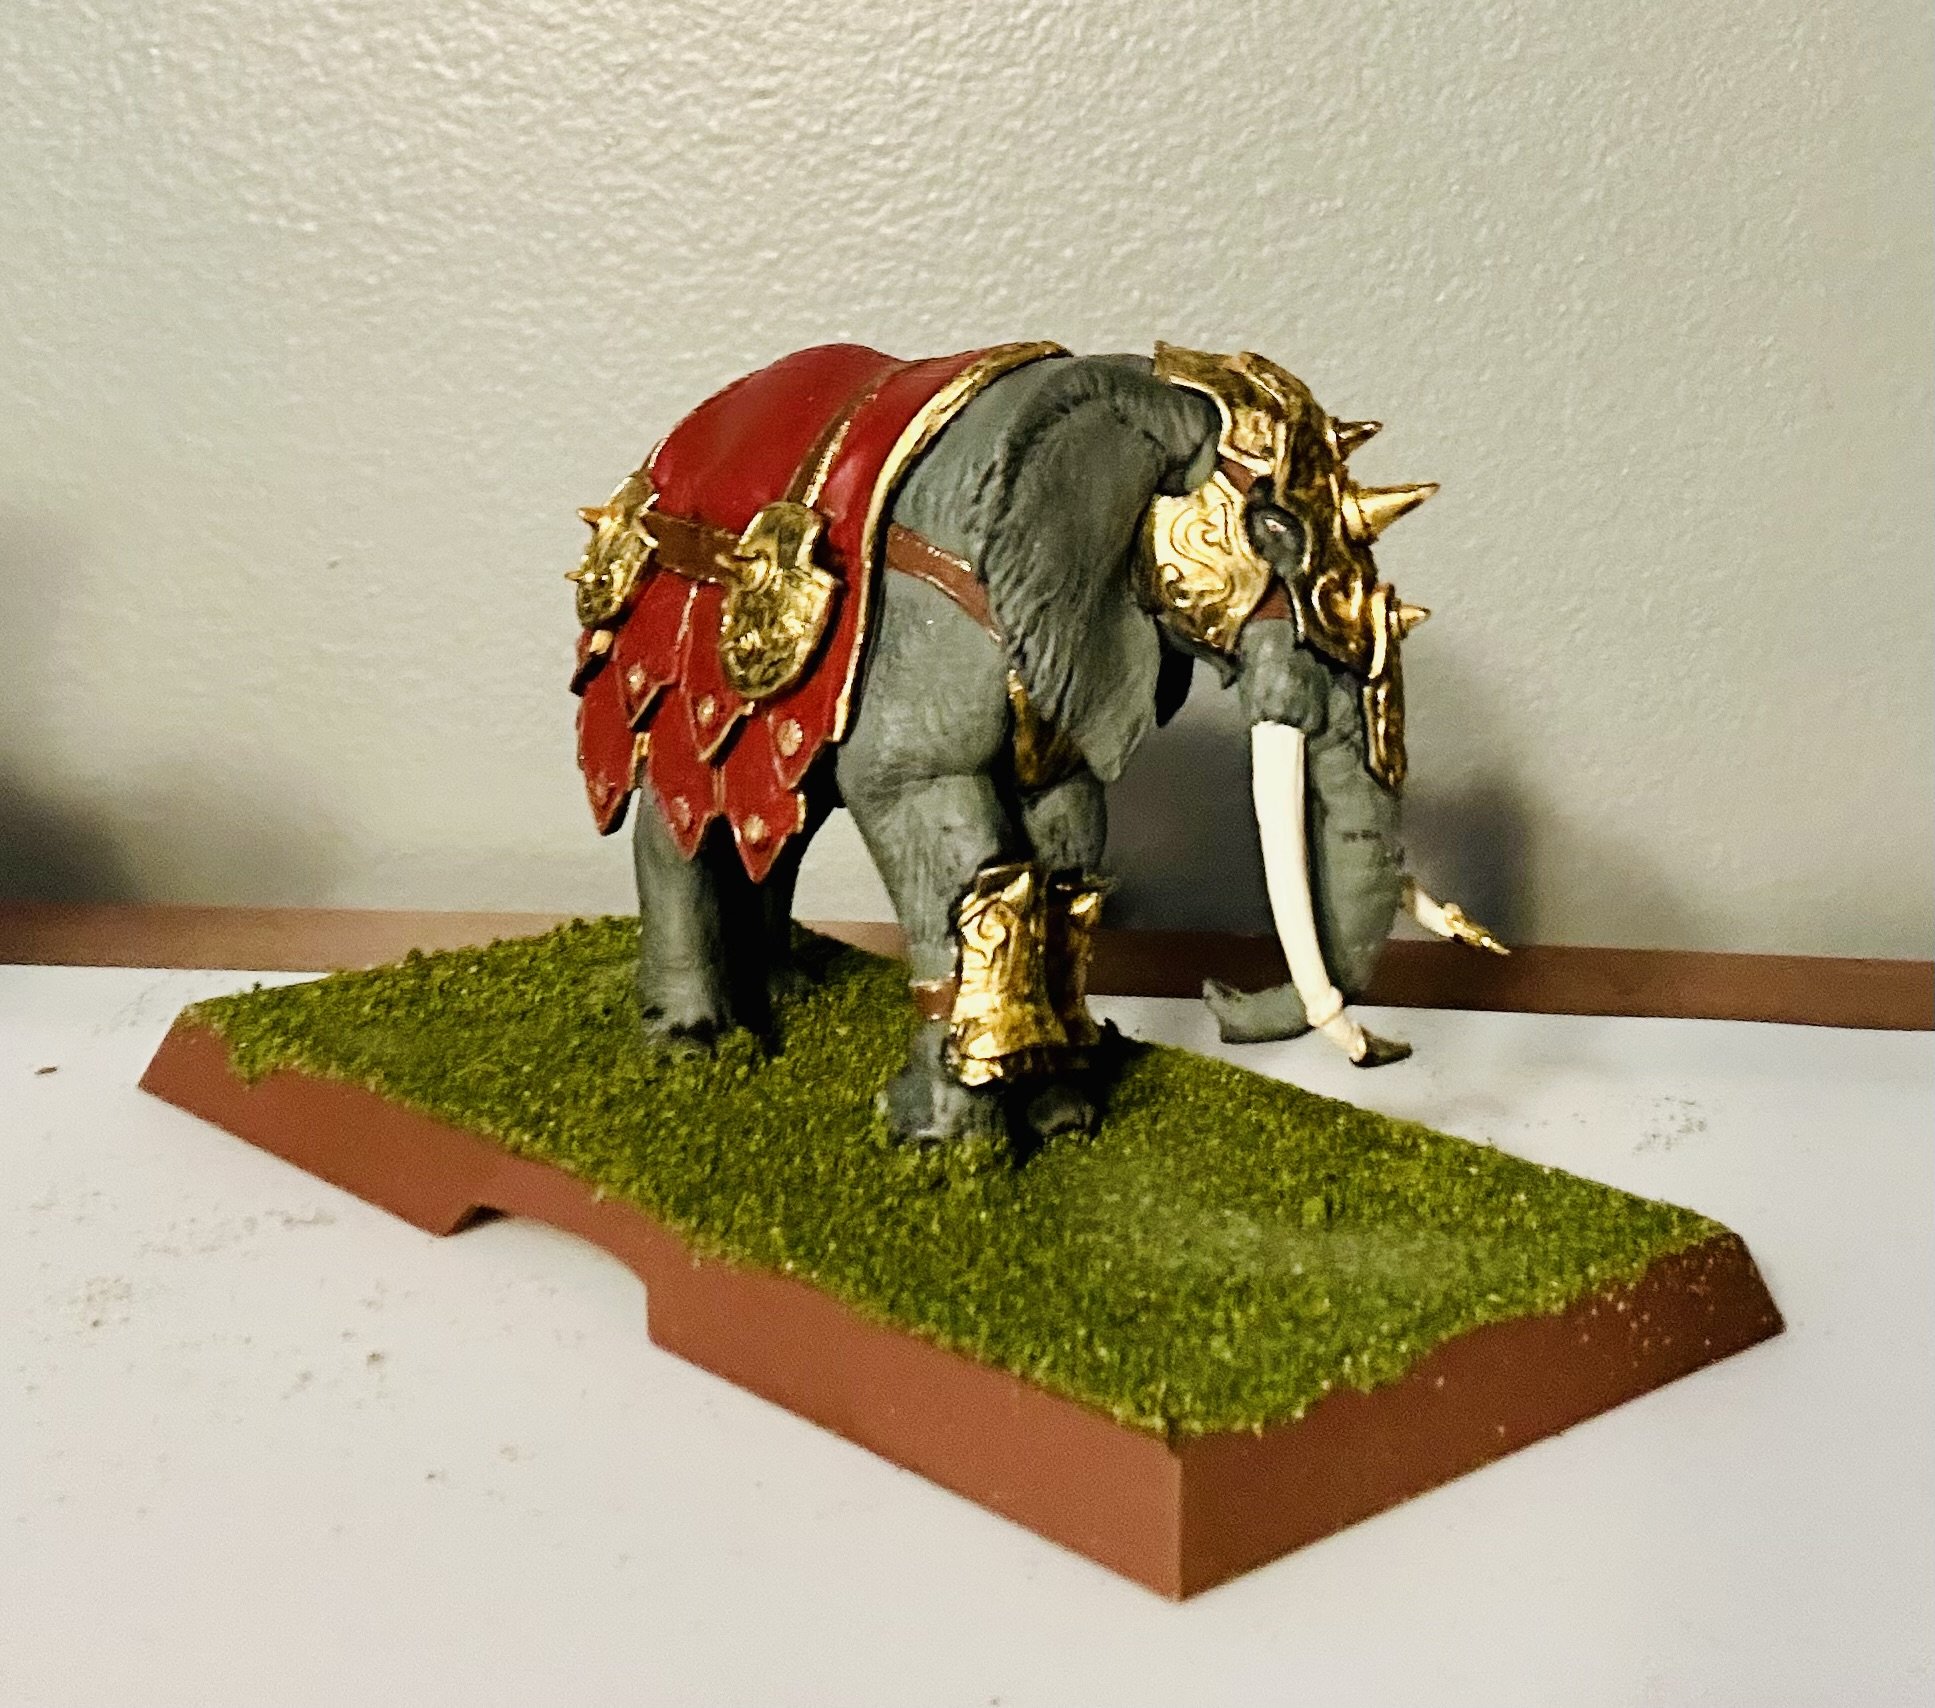
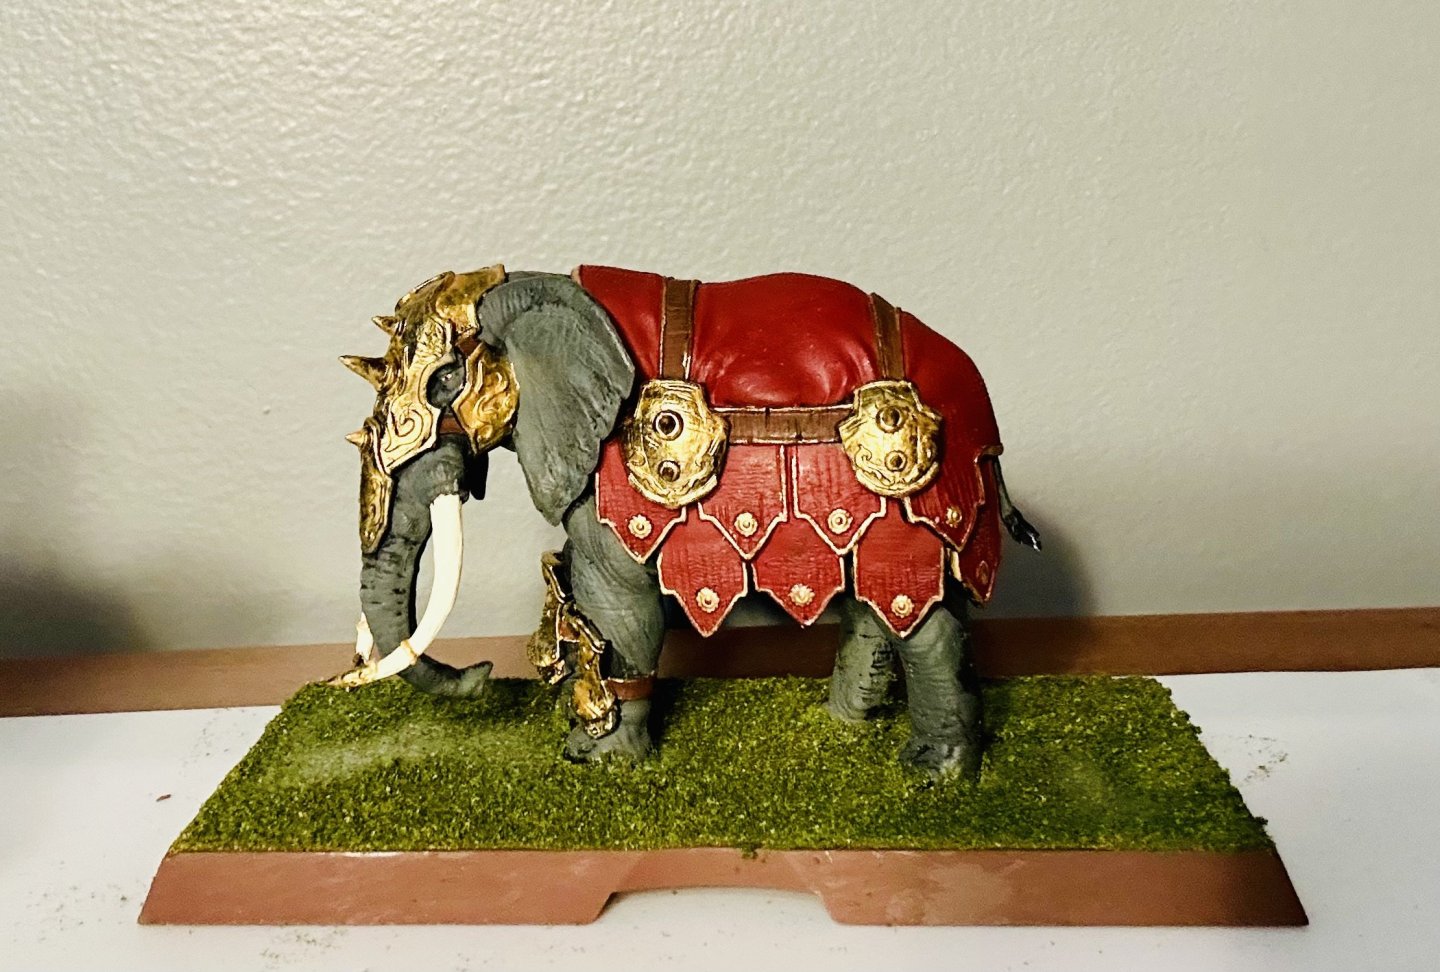
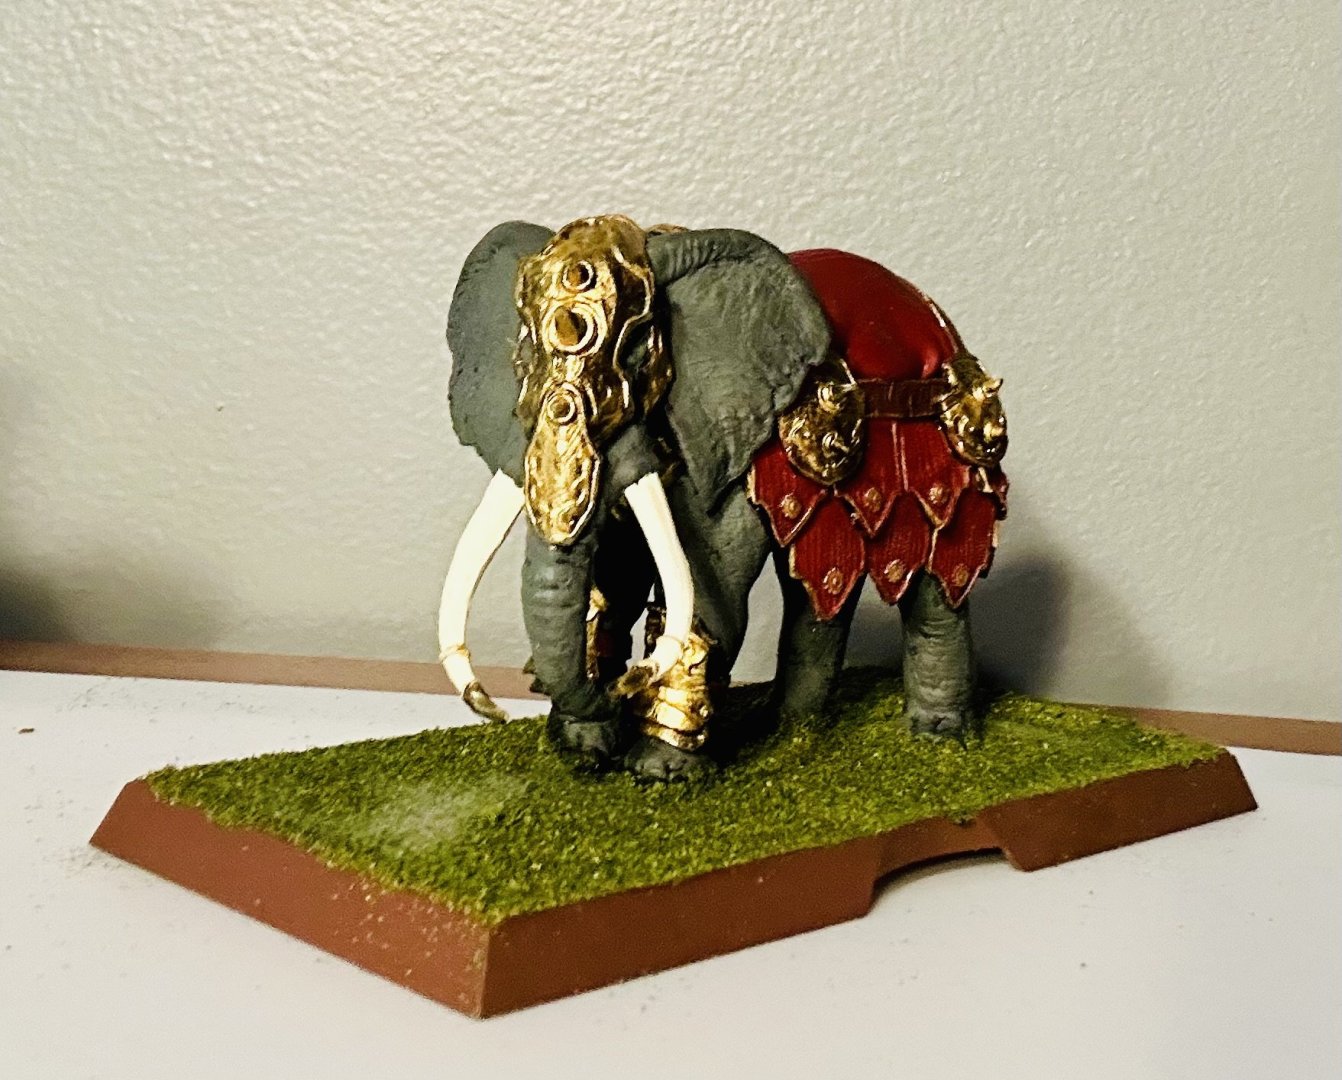
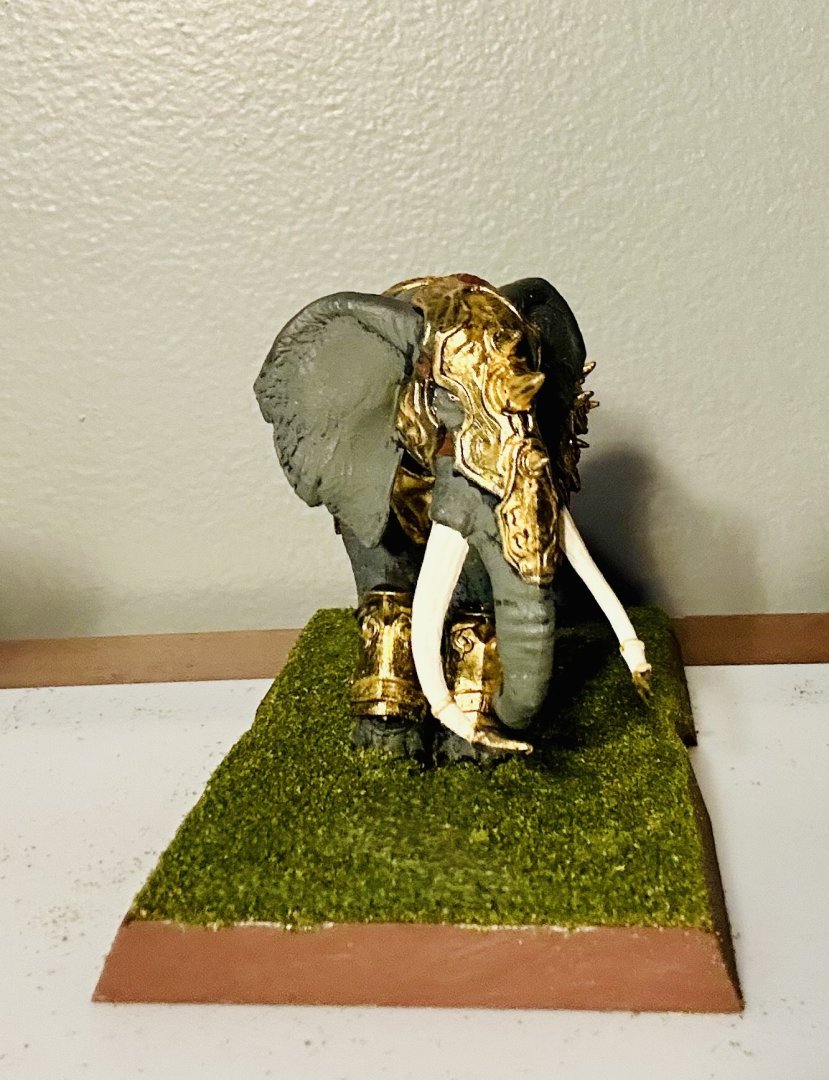
This is a Golden Company War Elephant from the game a Song of Fire and Ice based on the Game of Thrones series. I loosely did the same as with the mammoths. I partially painted from the box pictures with some ideas adapted from the Carthaginian elephants. I have never been able to get into the Game of Thrones series, either on TV or the books, but CMON’s miniatures are top notch. The Song of Fire and Ice miniatures are no different. They are resin, with the foibles of resin, but the level of detail present in the ones I have purchased, and the level of quality of sculpting, have all been phenomenal for the most part.


- 1 reply
-
- 8
-

-

-
Alan and Javlin, Thank you both very much!
-
Welcome and nicely done!