HOLIDAY DONATION DRIVE - SUPPORT MSW - DO YOUR PART TO KEEP THIS GREAT FORUM GOING! (83 donations so far out of 49,000 members - C'mon guys!)
×


GrandpaPhil
-
Posts
6,128 -
Joined
-
Last visited
Content Type
Profiles
Forums
Gallery
Events
Everything posted by GrandpaPhil
-
Alan, Very nicely done!
-
Very nicely done!
-
https://www.cornwallmodelboats.co.uk/acatalog/HMS-Victory-Construction-Plans-Set-911.html#SID=135 This is a link to the plan set from Cornwall Model Boats.
-
Bob, That looks like the figurehead on the Golden Hinde replica in London. Your Golden Hinde is looking great! Also, I’m glad to hear that your arm is feeling better!
- 46 replies
-
- 2
-

-

-
- Golden Hind
- airfix
- (and 2 more)
-
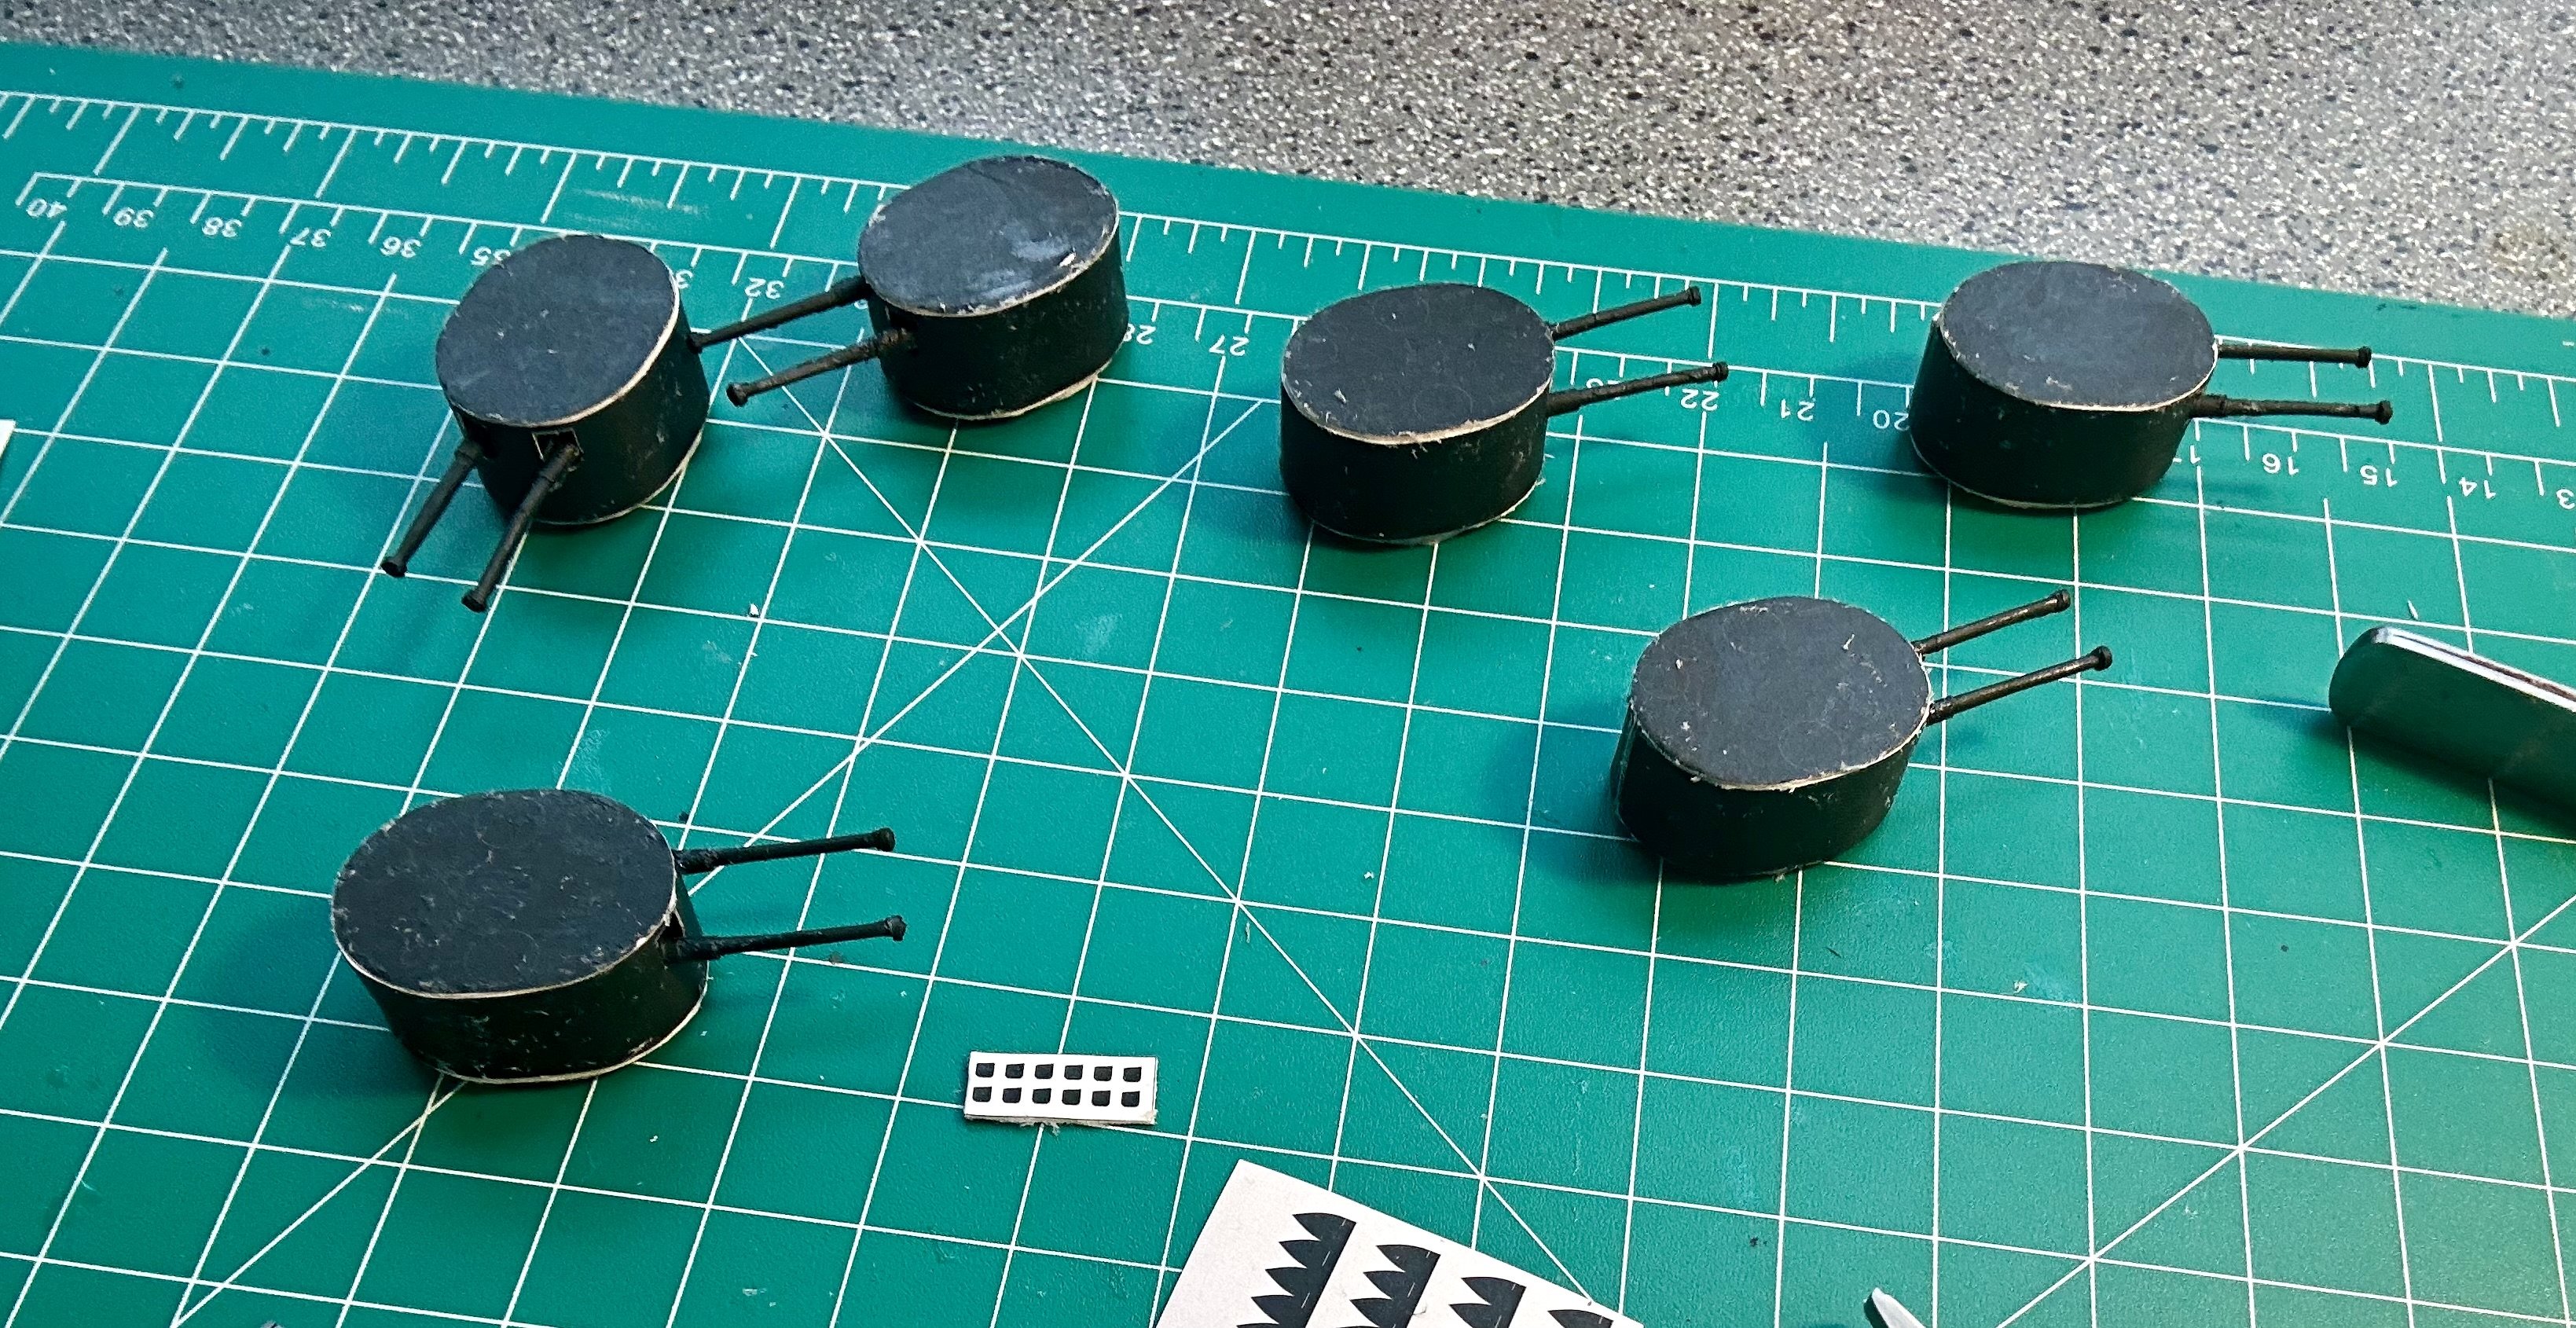
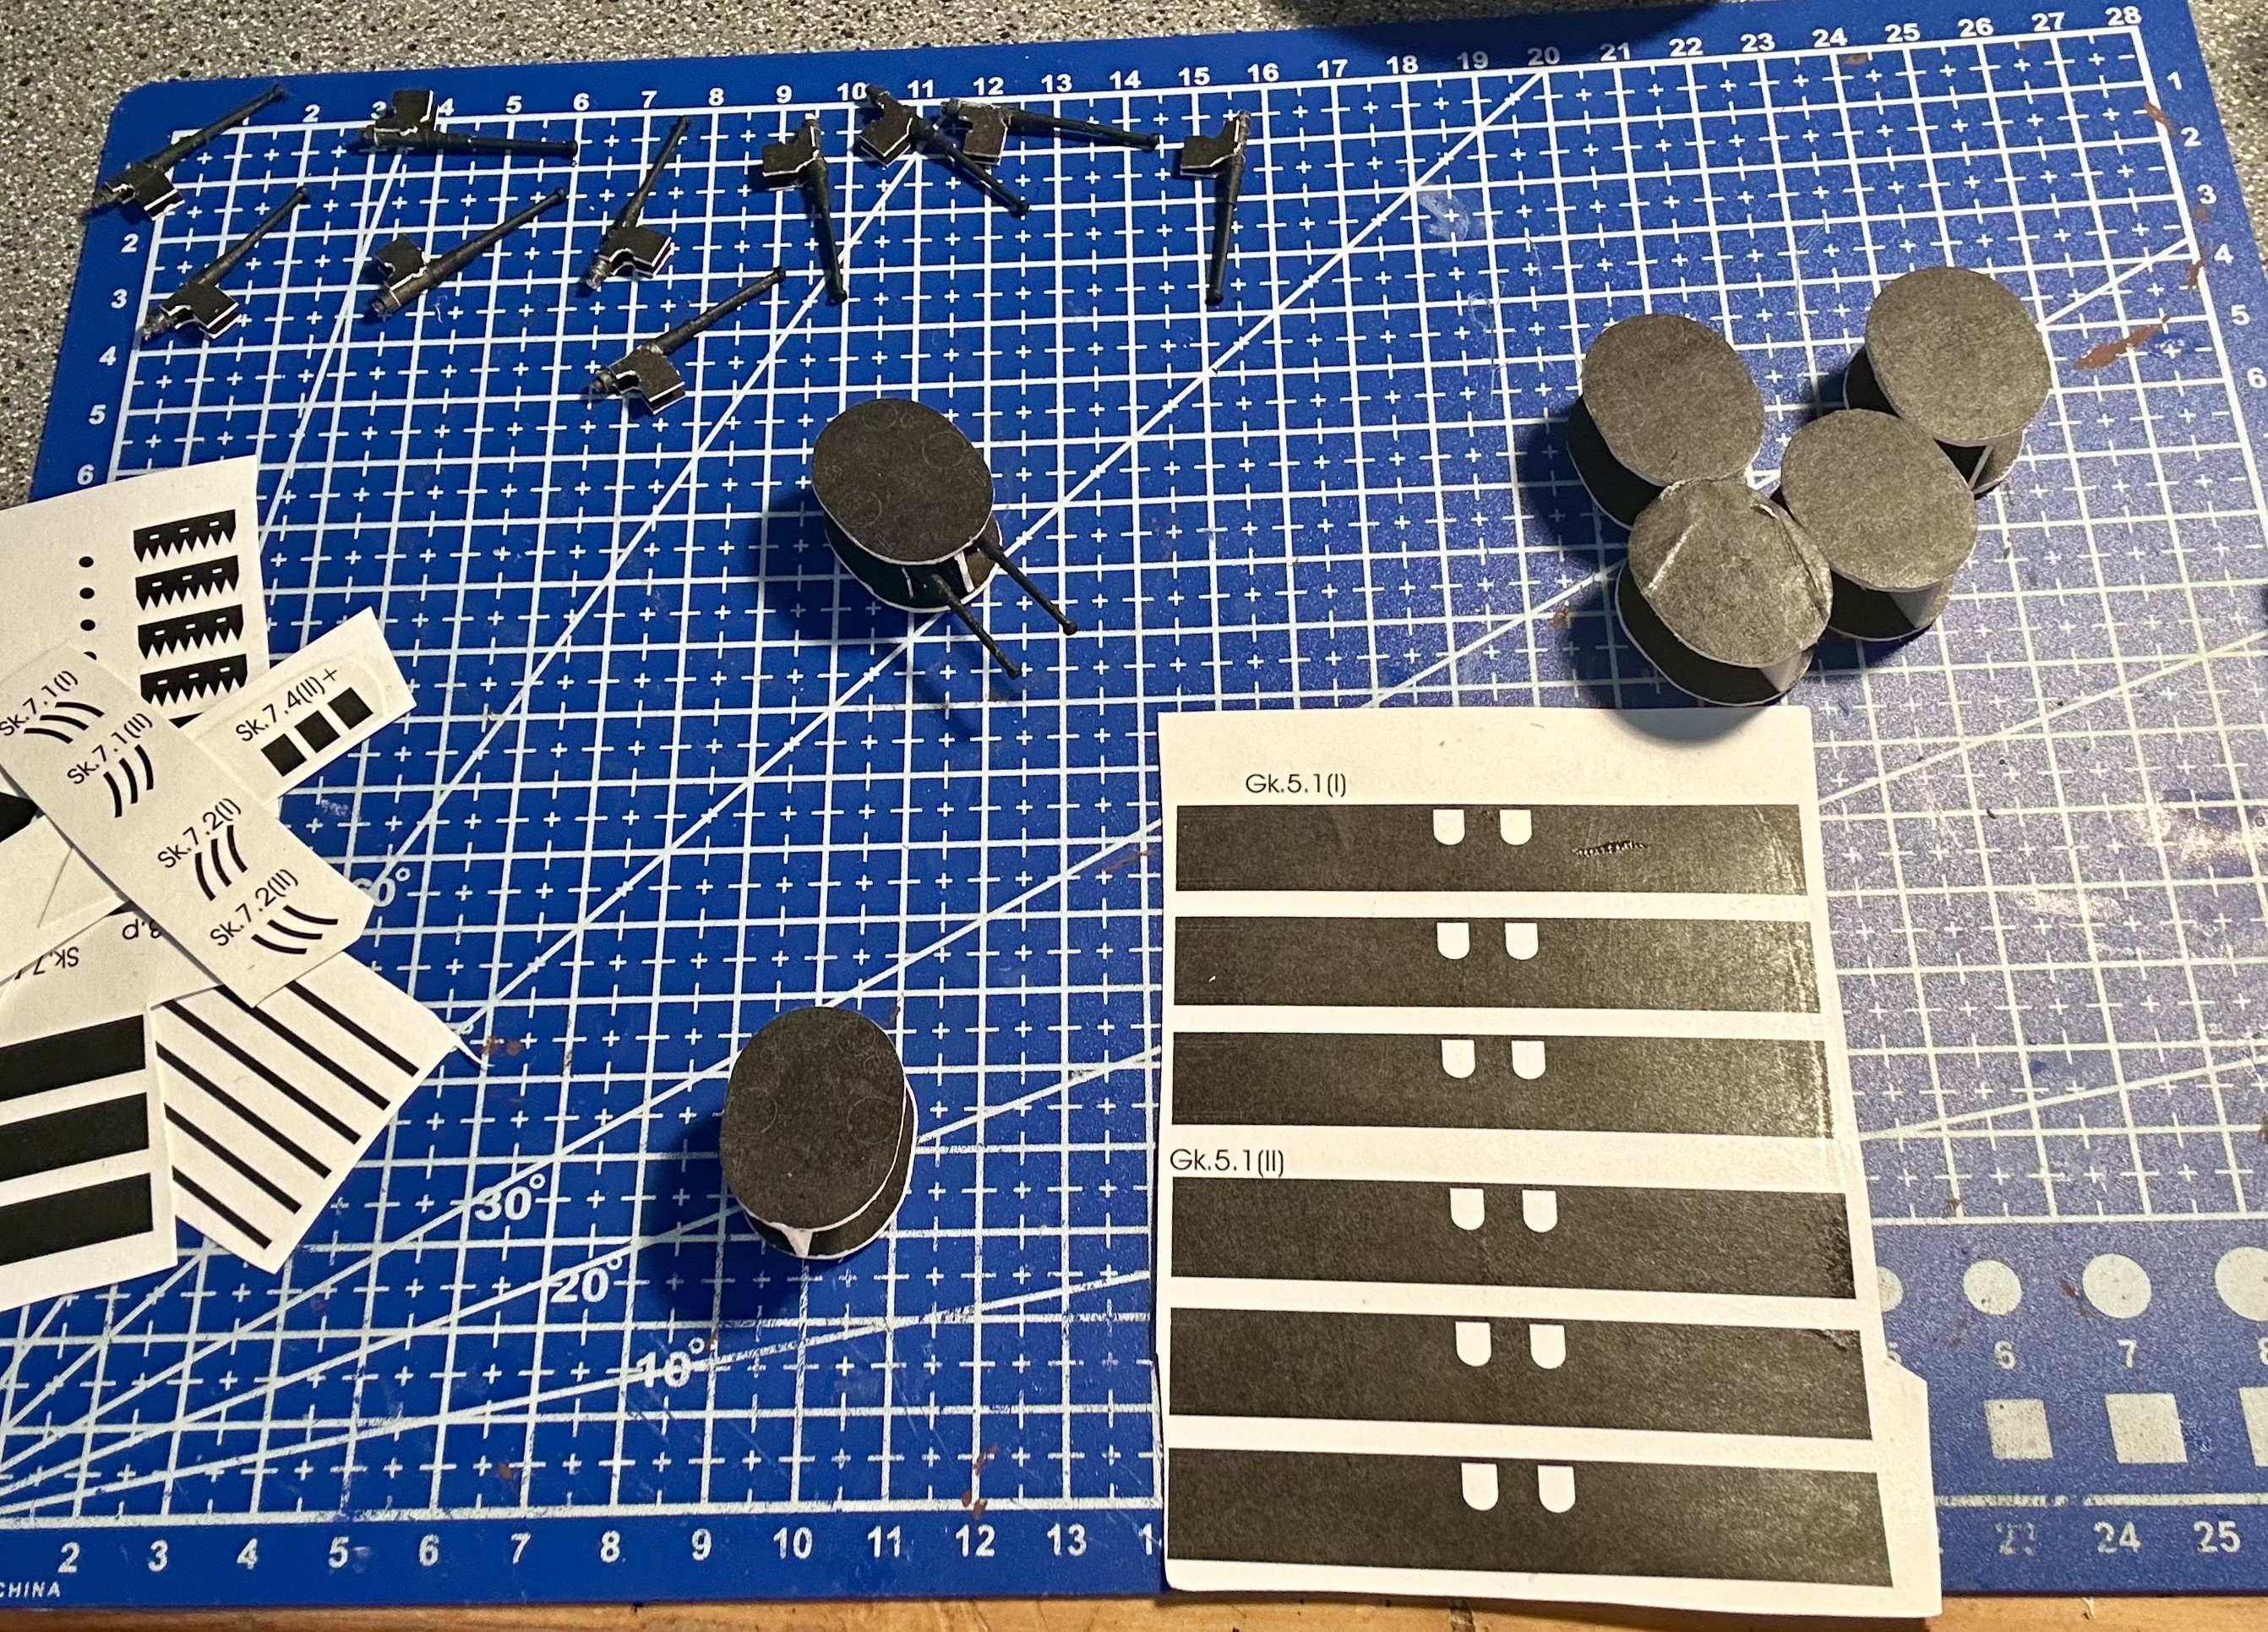
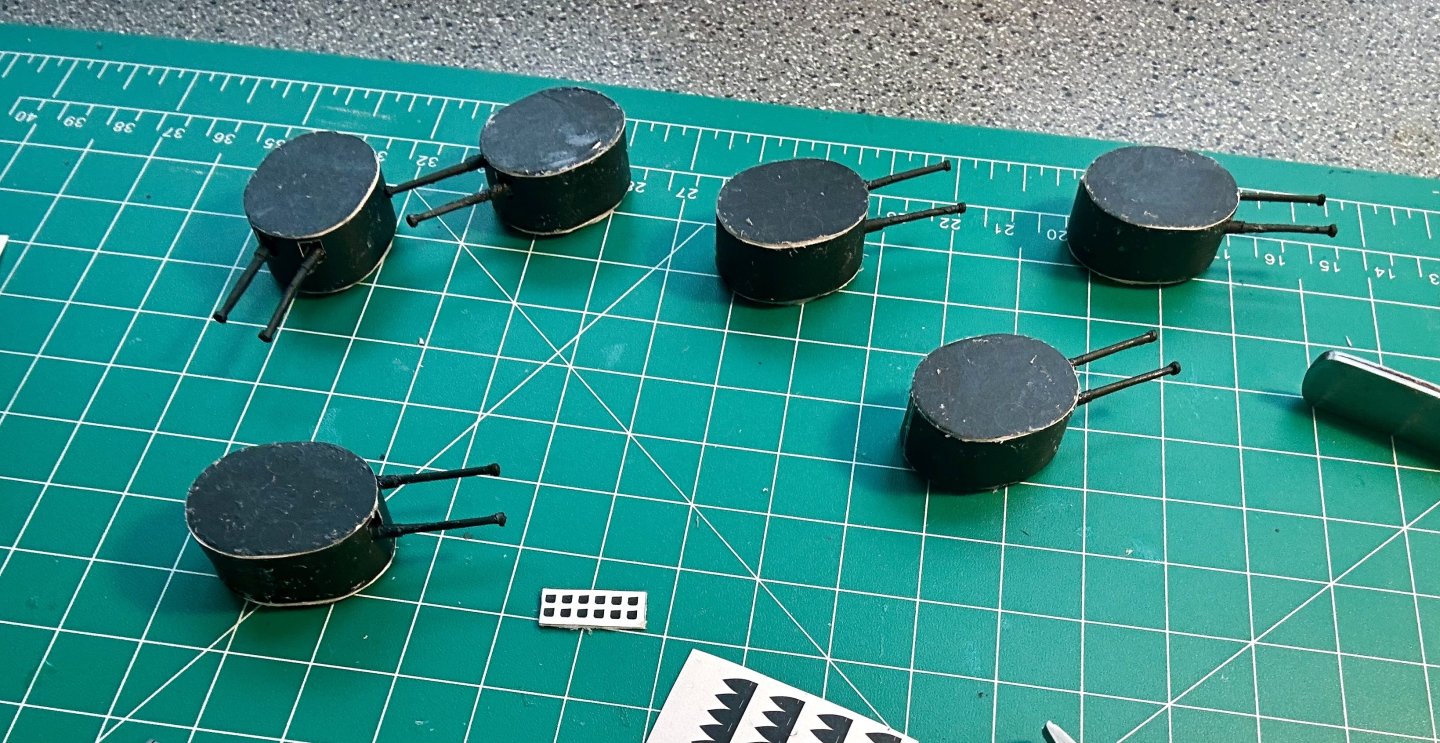
I have made more progress on the secondary battery: And here they are now: I discovered a series of games called “Bioshock” and played them all the way through. I greatly enjoy the steampunk and diesel punk genres of science fiction. I think that is closely related to why I like ironclads, transition era warships and predreadnoughts so much.

- 288 replies
-
- 14
-
-
- Card
- Pre-Dreadnought
- (and 3 more)
-
Welcome!
-
Very nicely done!
-
Welcome!
-
Very cool project! Nicely done!
-
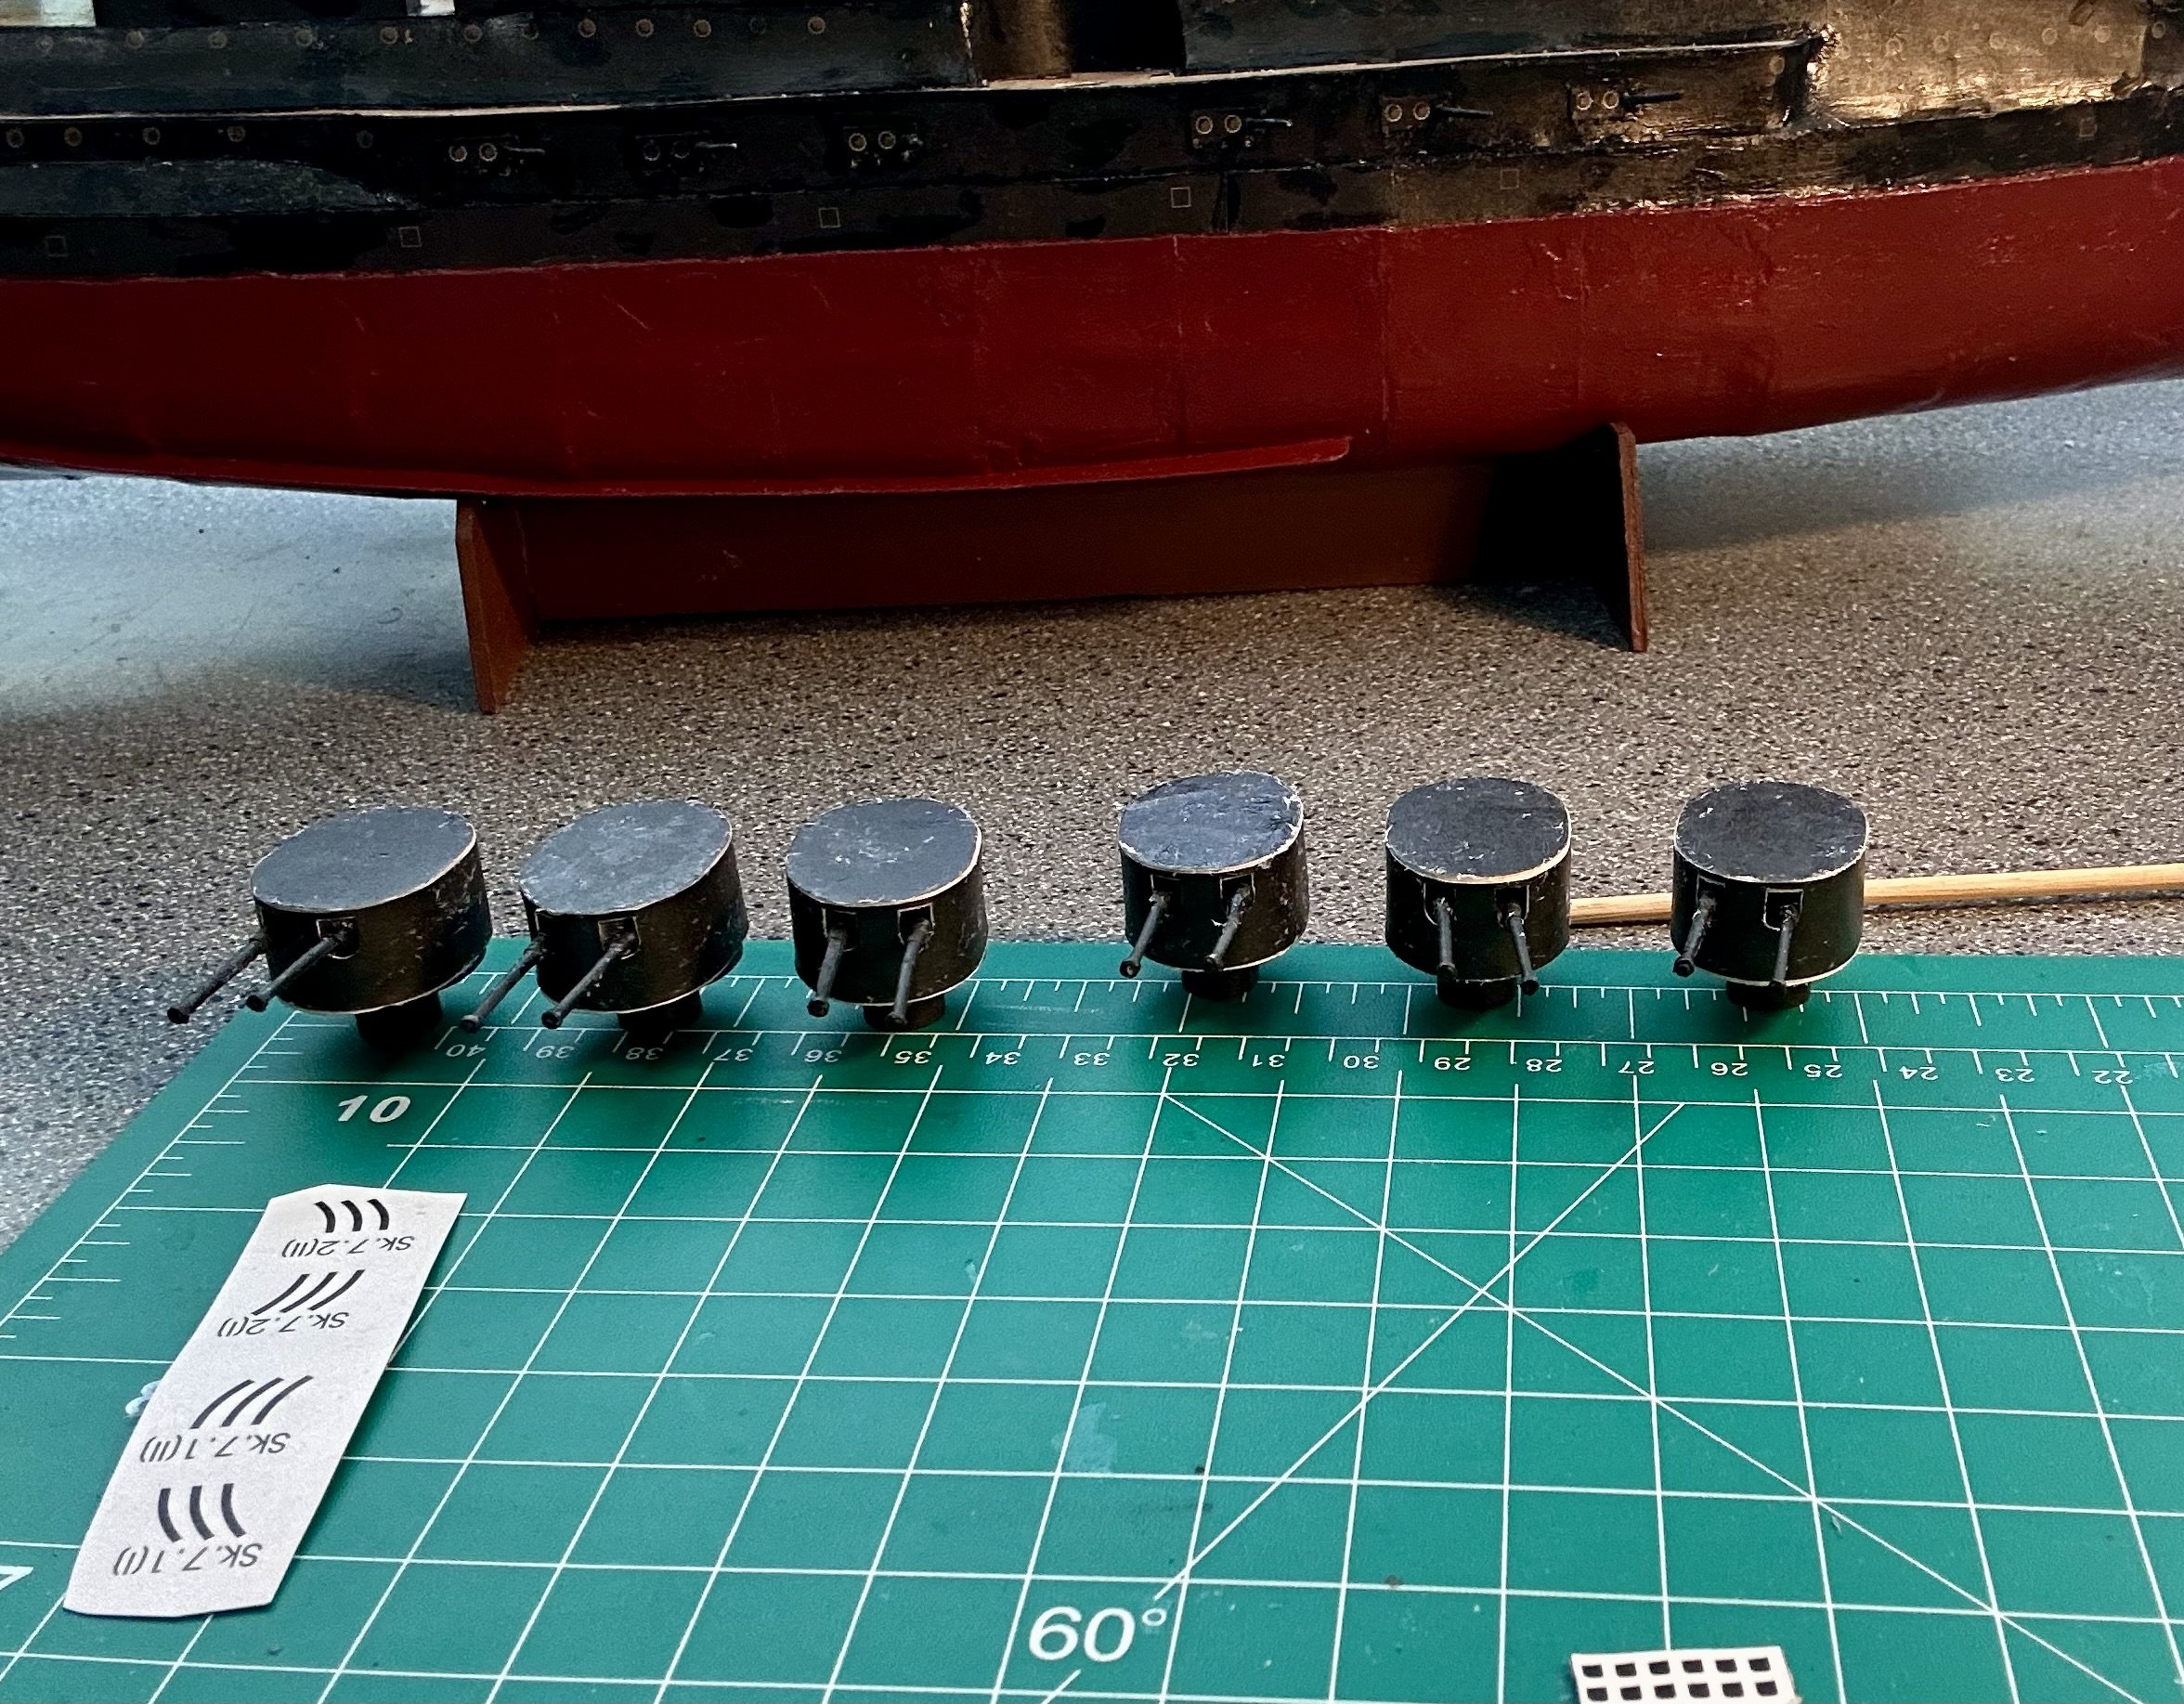
Still working on the secondary battery: Making progress!

- 288 replies
-
- 15
-
-

-
- Card
- Pre-Dreadnought
- (and 3 more)
-
Very nicely done!
-
Glen, I personally like the stone base. I believe it offsets the bonsai base.
- 106 replies
-
- 3
-
-
-
- Kentoshi-Sen
- bottle
- (and 1 more)
-
Welcome!
-
Kurt, What is the deadline for entries?
-
Welcome!
-
Welcome!