GrandpaPhil
-
Posts
4,907 -
Joined
-
Last visited
Content Type
Profiles
Forums
Gallery
Events
Everything posted by GrandpaPhil
-
Copper plating will patina on its own, even under sealant. I sealed my last coppering with Delta Ceramcoat sealer. It worked really well for me. The copper got a really nice patina within a couple of years by just aging naturally.
-
Lettering
GrandpaPhil replied to bobc622's topic in Painting, finishing and weathering products and techniques
I like to generate lettering using word art in Microsoft Word. I make up what I want in Word, then I print, cut out the lettering and glue it down with PVA. I finish up by sealing the lettering. -
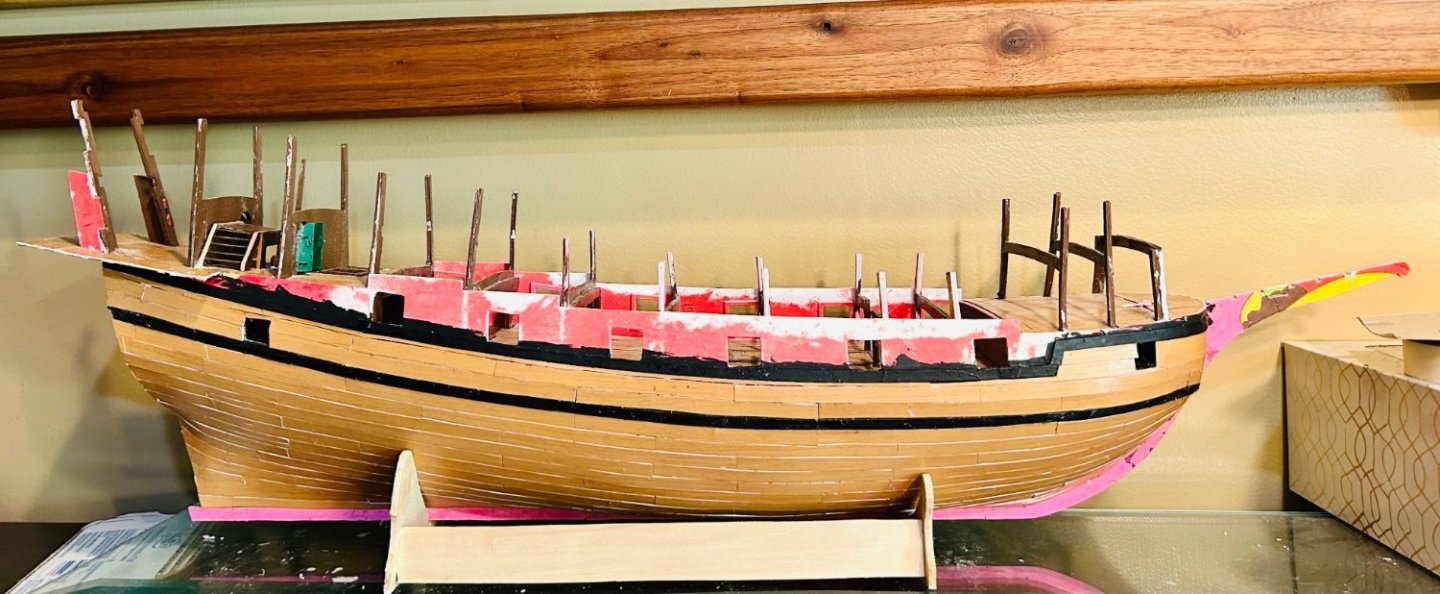
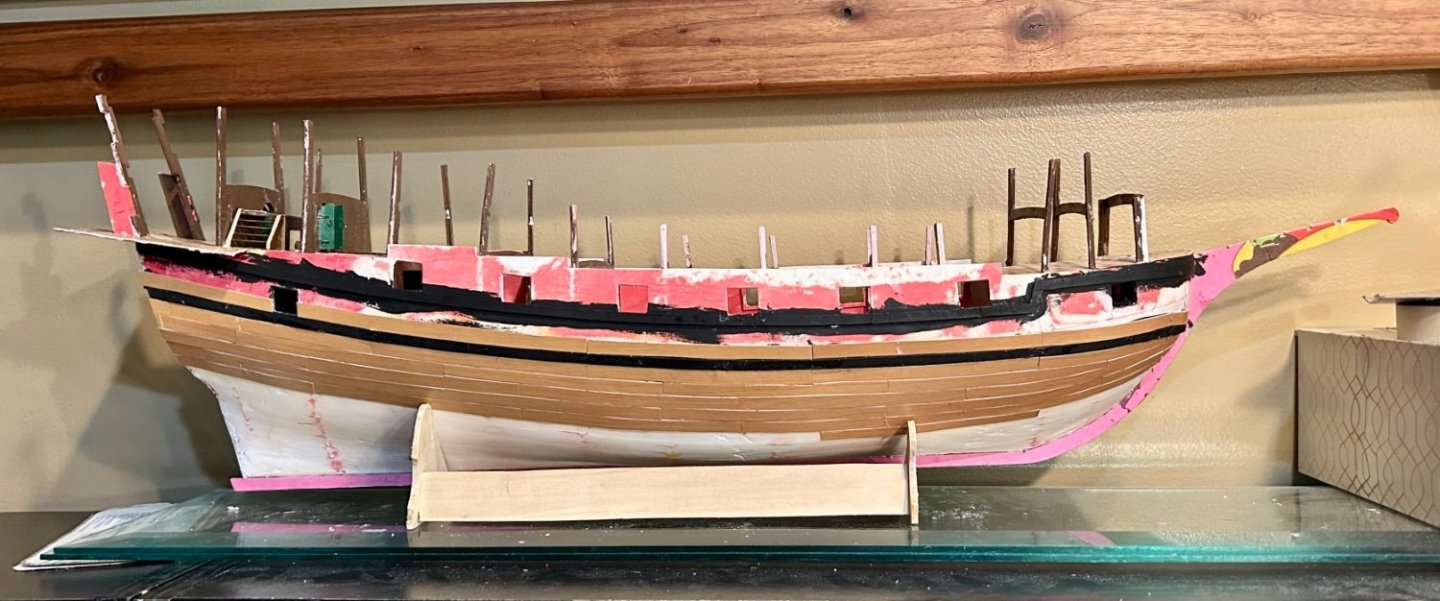
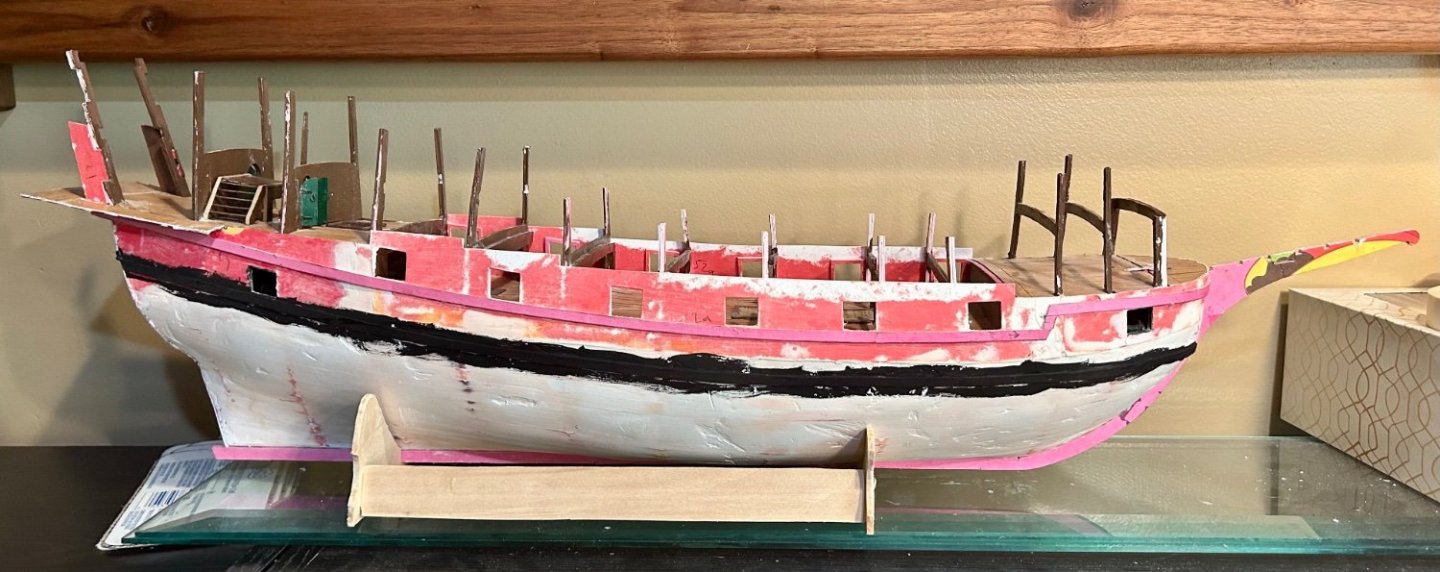
The starboard side is second planked up to the middle wales: There are still issues, but everything is going to be painted, so I will fill the gaps prior to sealing and painting.
-
Welcome!
-
Contact paper for cabinets works well for me.
-
Working on the second planking: I am using actual drop planks and stealer planks for the first time ever.
-
HMS SUSSEX by KarenM - FINISHED - 1:48
GrandpaPhil replied to KarenM's topic in - Build logs for subjects built 1501 - 1750
Incredible work! -
Thank you very much! It is wood grain contact paper that is intended for cabinets. It works quite well.
-
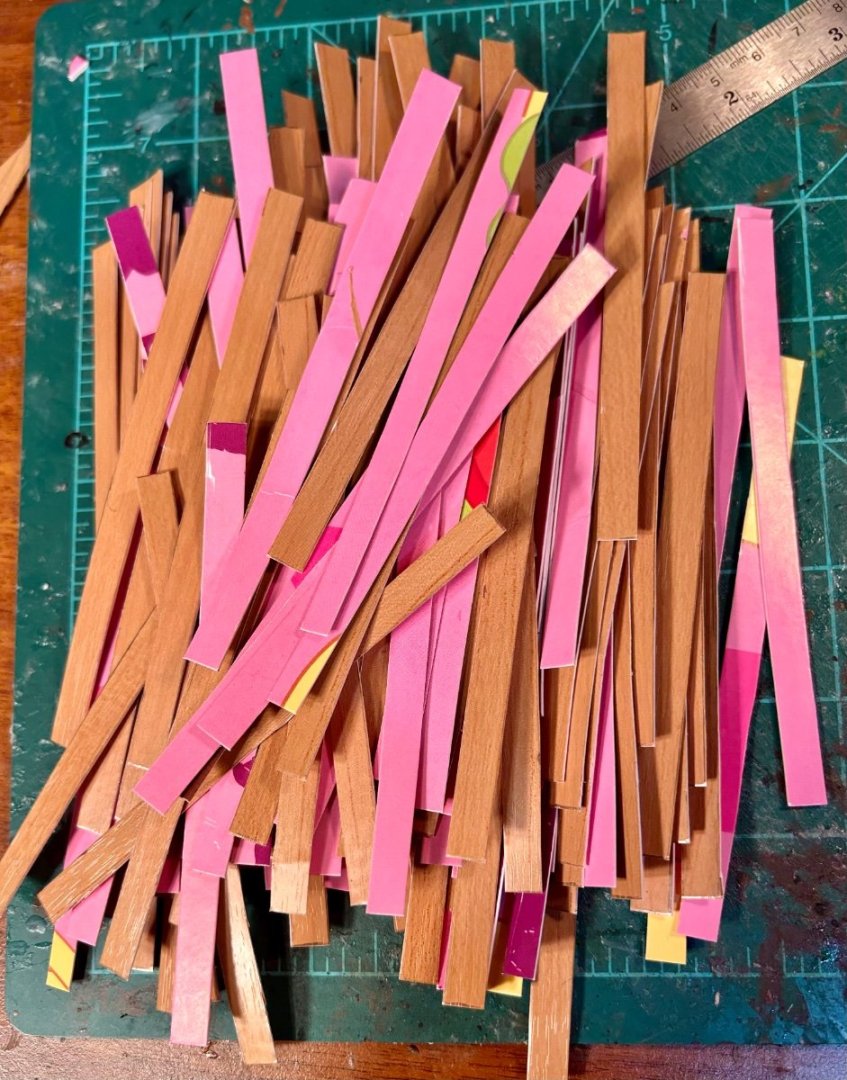
One pile O’ planking: That should almost be enough planking to second plank up to the second wales.
-
The second set of wales are on and the first ones are painted: I suppose I should start laying down some second planking. This planking won’t need “tar” between the planks, because the entire hull will be painted IAW the Matthew Baker drawing. The only bare “wood” will be the deck planking. That will look better in my personal opinion and provide some contrast. The planks will be approximately 9/32” wide by 4 1/2” long to simulate 18” wide by 24’ long planks.

-
I ordered another model off my bucket list. I have been wanting a Wasa for a while. I thought about using the Sergal plans or the Corel plans. However, the Wasa museum says that their hull shapes are wrong. Orel’s research has been pretty good so far, plus the kit is published in the red color scheme. So, I ordered the Orel card kit. I will use it as a guide and basically rescale everything to 1/64 like my Revenge (I’m enjoying this model). Then I’ll use the parts as patterns to make my own pieces and build from there.
-
Very cool! Nice job on the cavalry!
-
I bought the E-Book off Amazon and it has been a phenomenal reference for me.
-
For myself, my primary kit consists of a scalpel, a razor saw, a good pin vise with a swivel head, various tweezers, various sandpapers, a couple machinist scales (metric and imperial), a steel ruler, diagonal cutters, pliers, steel pins, clamps, a self healing mat, a good pair of scissors and a couple of coping saws. I do not typically use power tools with the exception of a regular electric drill that I use for larger holes, like masts. Power tools can save time, but if they slip, they can do a lot of damage very quickly. For glues, I primarily use a max-cure CA and Mont Marte PVA glue that I bought off Amazon.
-
Steven, Your Cerberus came out quite nicely. I’m not at all surprised that it sold very quickly. You did a nice job of it.
-
Very cool! Thank you very much for the information!
-
Very nicely done! What is this?
-
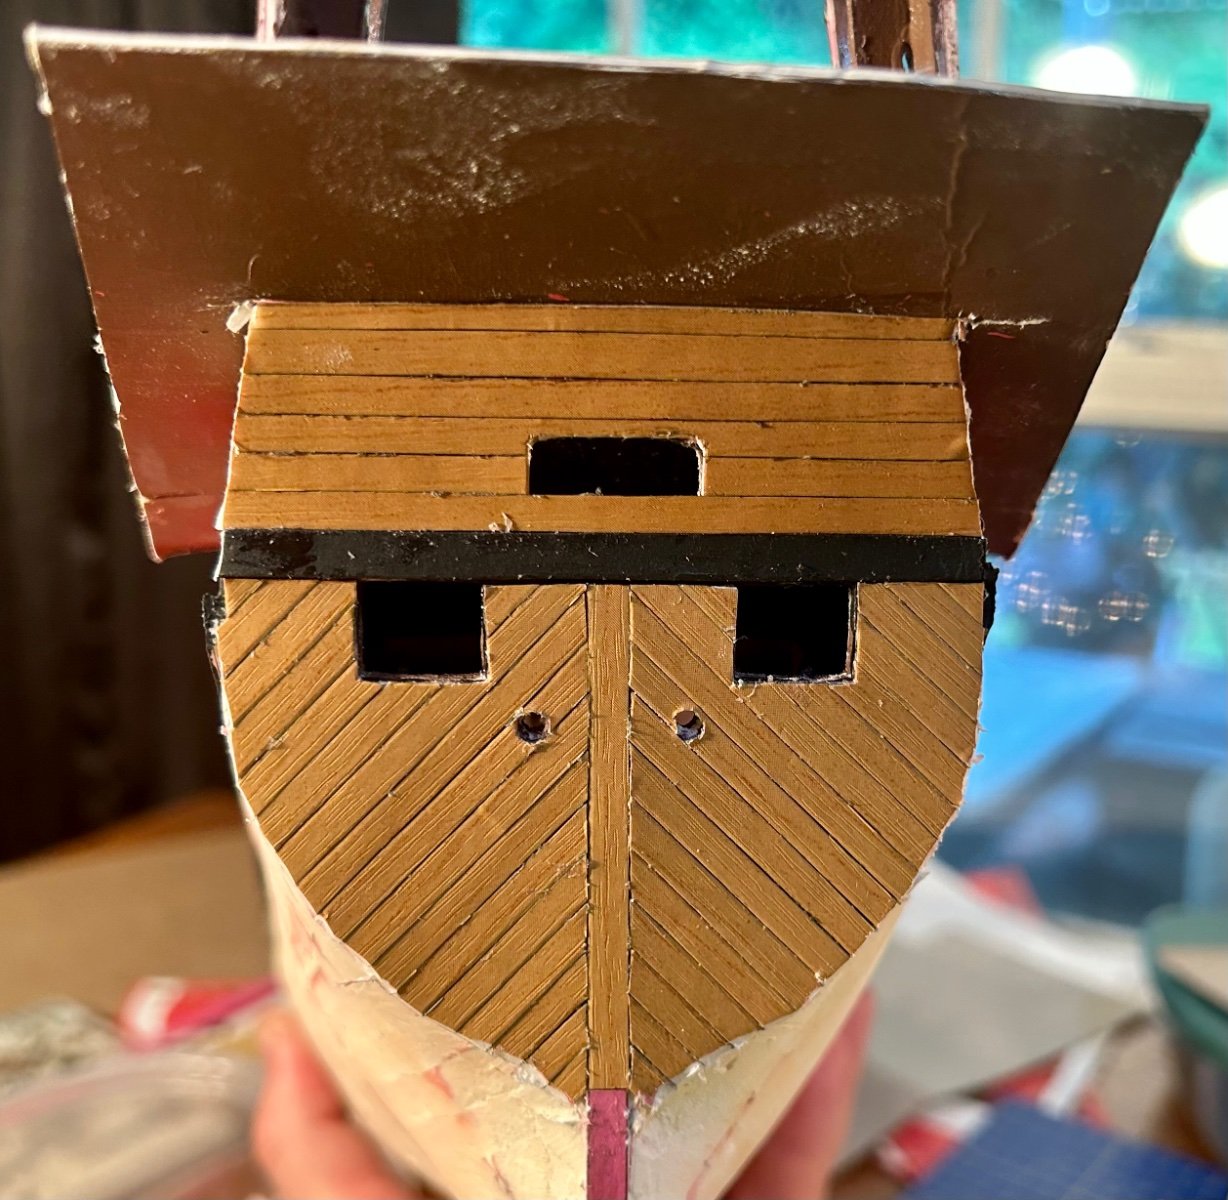
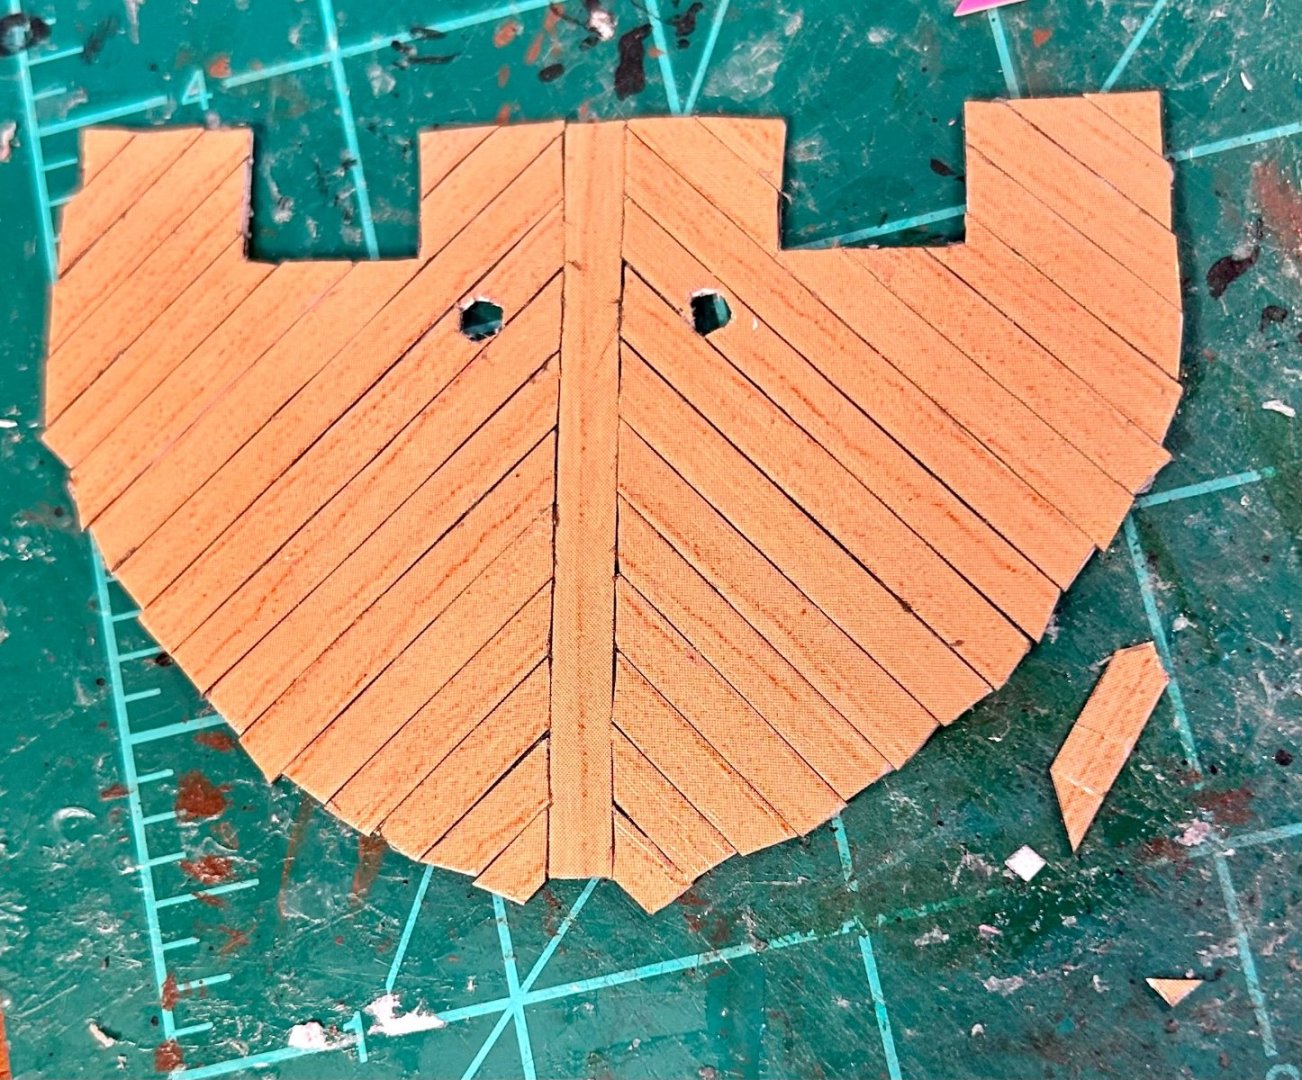
Here is the planked transom:

-
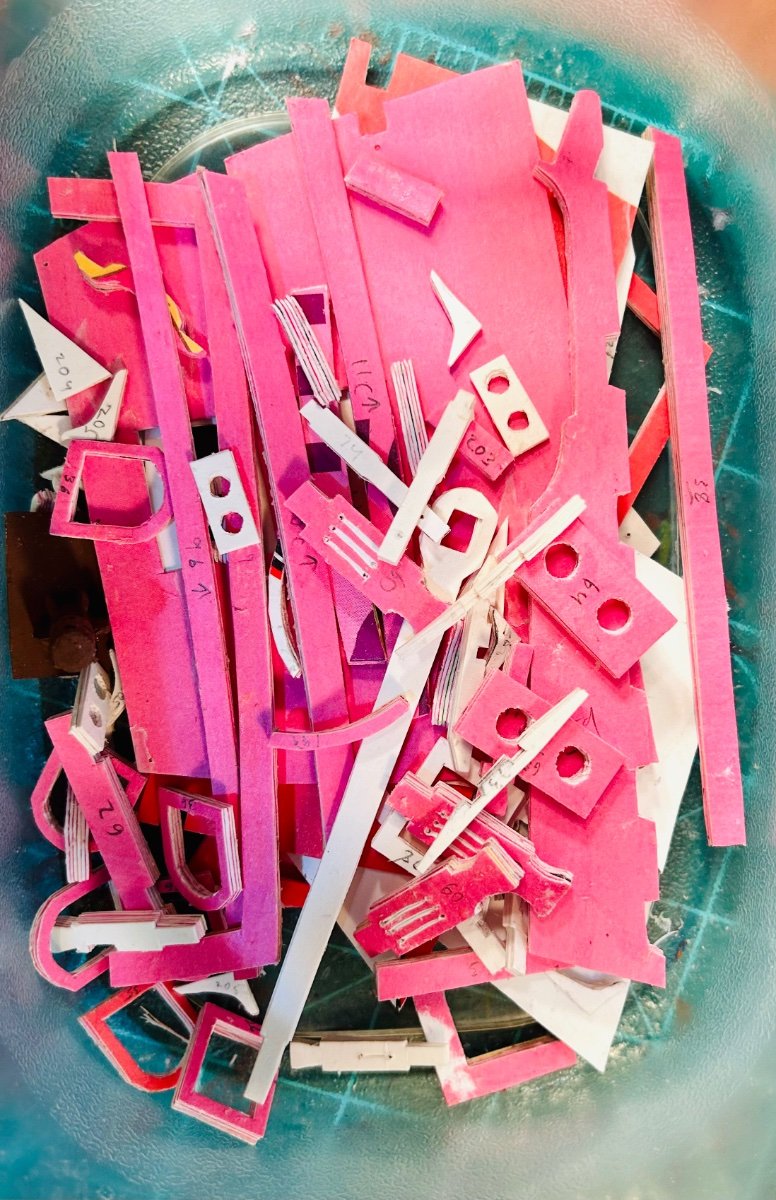
LOL! Indeed my friend! Here’s that pile of parts: That was a lot. Here is the transom piece: It is nearly ready to install on the Revenge. I copied the pattern that came with the plan set. The lower wales are painted now and the hull is ready to take the transom once it dries for a bit and I trim the upper edges and the gunport. I am going to step out of sequence again and install the middle wales prior to planking above the lower wales. I like having my actual wales in place before second planking because it serves as a nice guide. I have already made the middle wales themselves and just need to install them. This model is supremely well designed. I am glad that I bought this plan set.

-
Yes. Adding flags is typically my last step in a model.
-
Hahn’s book “The Colonial Schooner” has a complete discussion about how he built his model of the Hannah.
-
Based off what I’ve seen of your work, I second the opinion that you would not have any difficulty with making shrouds or ratlines. Your galleon is looking great!
- 279 replies
-
- 2
-

-

-
- Spanish Galleon
- Imai
- (and 1 more)
-
Welcome!
-
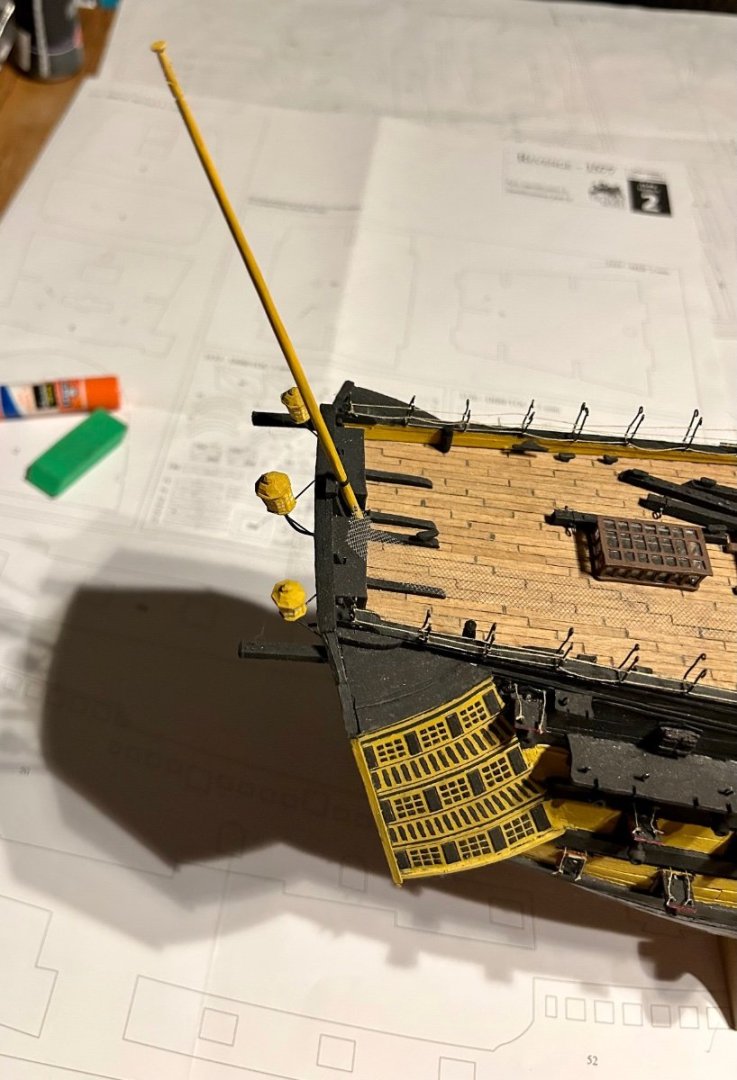
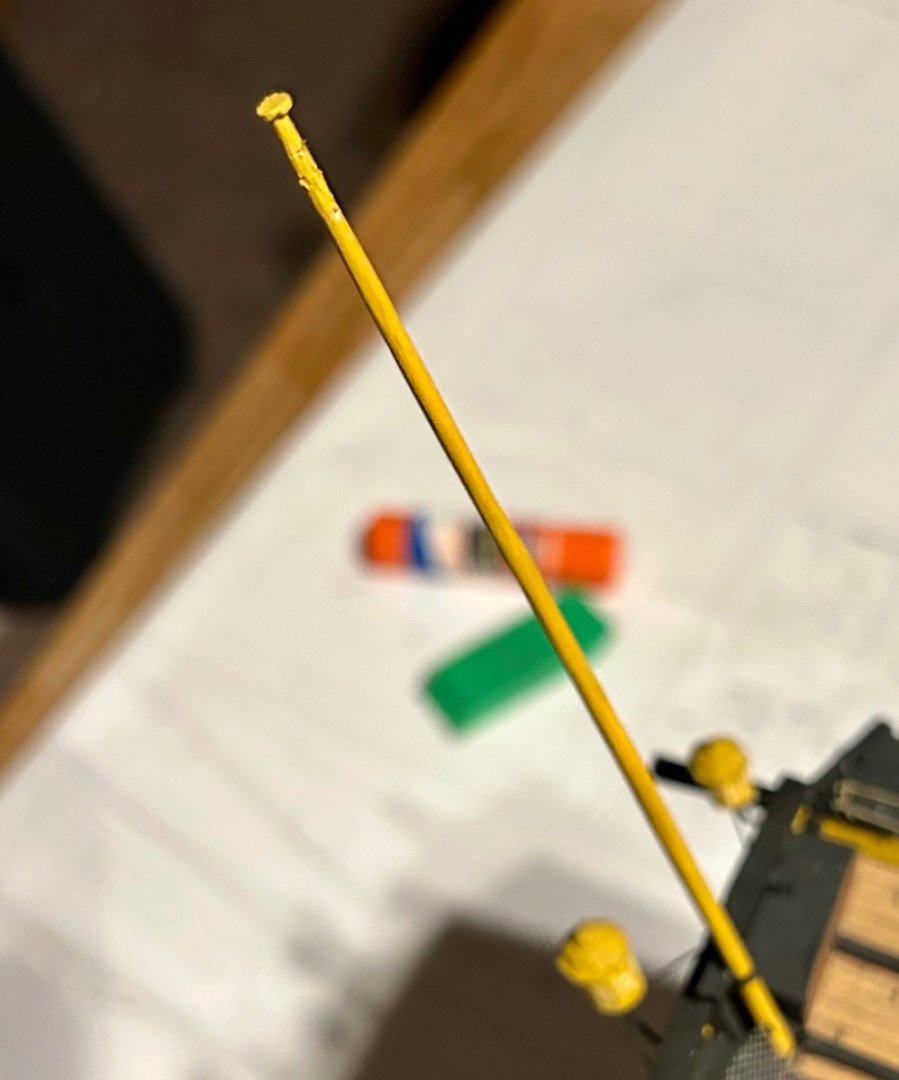
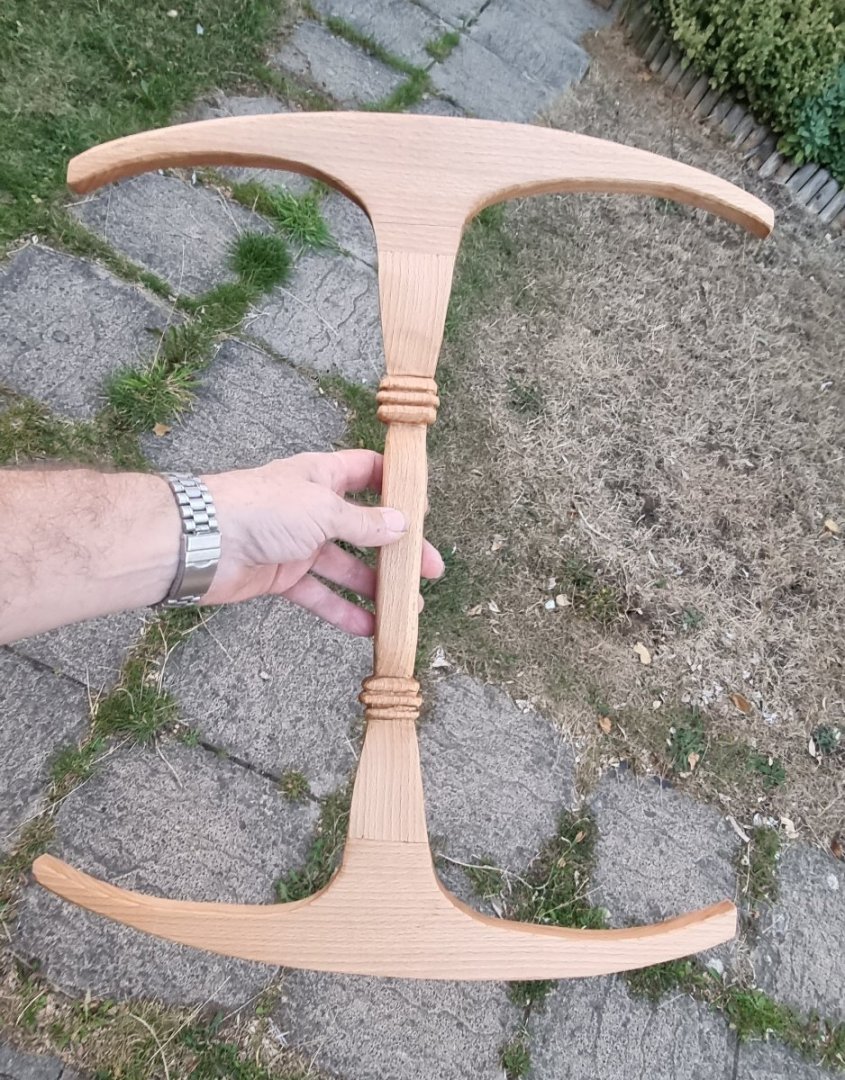
Here is the ensign staff on my Victory: Here is the sheave: