GrandpaPhil
-
Posts
6,158 -
Joined
-
Last visited
Content Type
Profiles
Forums
Gallery
Events
Everything posted by GrandpaPhil
-
For small lines like that, I have used sewing thread treated with beeswax, or with thinned down PVA glue added after installation. For small lines that don’t have attachment points and you don’t want tension on, I have prestretched sewing thread on a building board and treated it with thinned down PVA glue, before cutting to length and installing. Both methods have worked well for me in the past.
-
HMS SUSSEX by KarenM - FINISHED - 1:48
GrandpaPhil replied to KarenM's topic in - Build logs for subjects built 1501 - 1750
Congratulations! Very well done! -
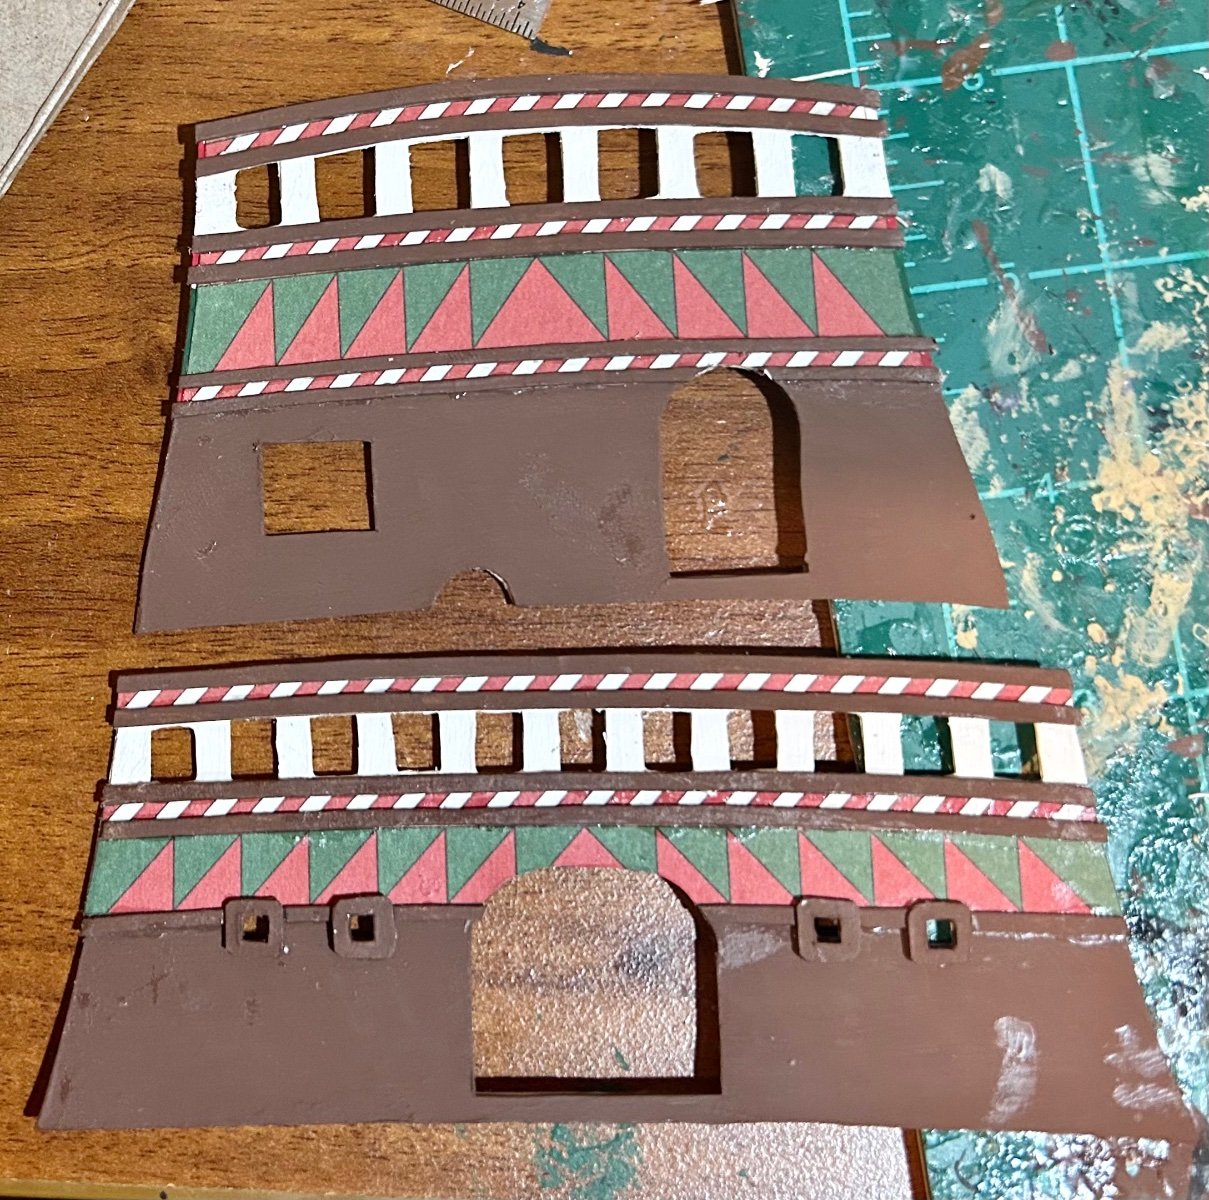
It should be noted that there will be much drybrushing involved in the final detailing of these pieces to create texture.
-
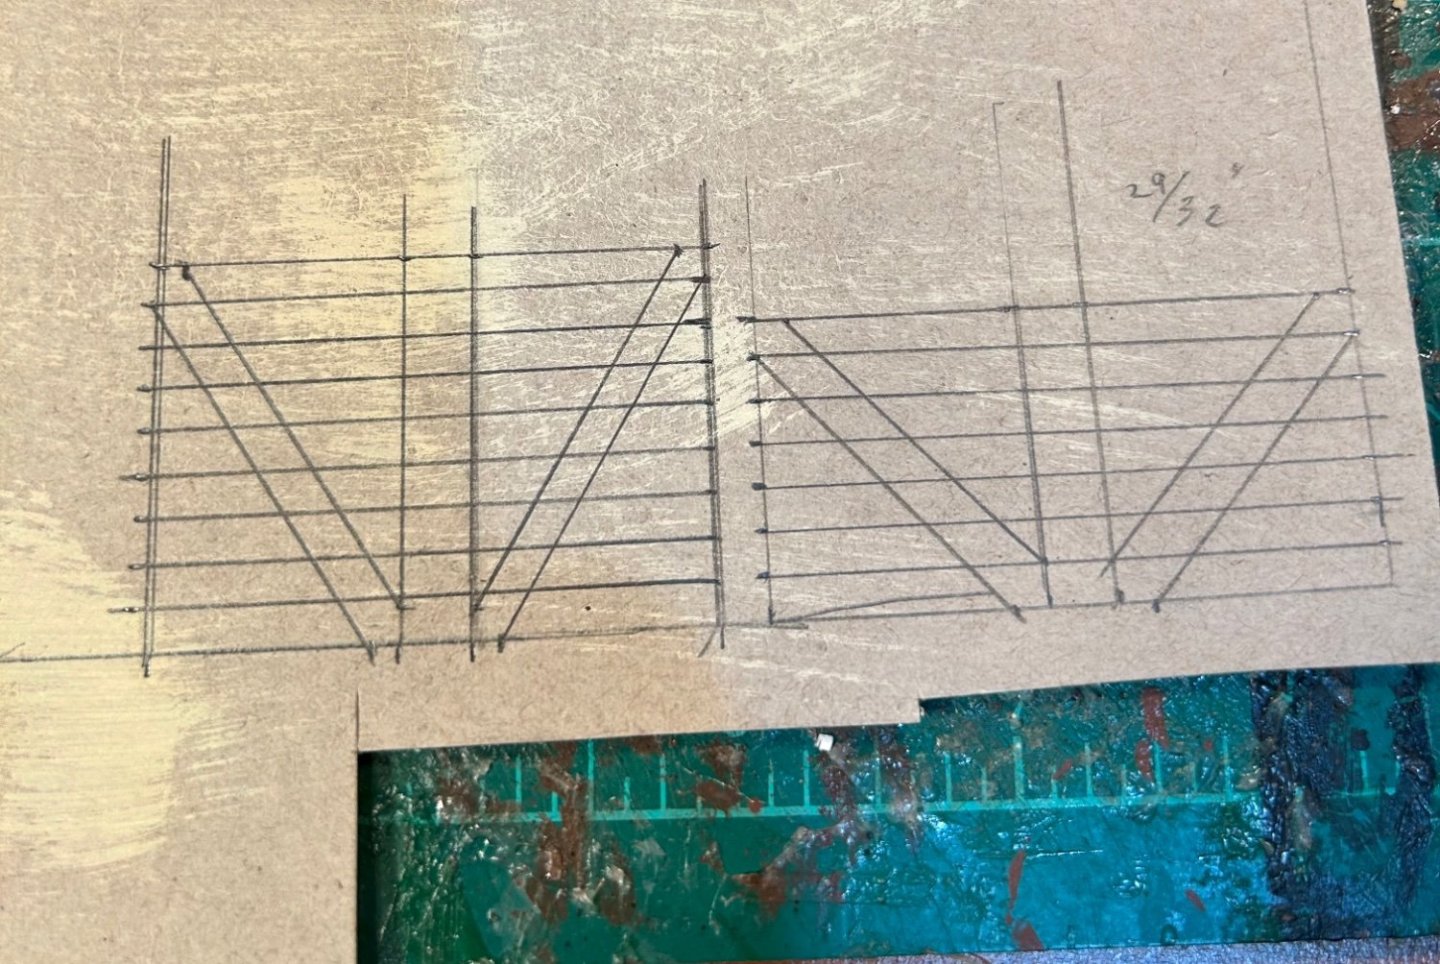
Making progress: The issues with the glue spots will be solved when I seal the parts after making the door frames.

-
Well done!
-
Looking good!
-
How to measure masts for Sovereign of the Seas
GrandpaPhil replied to Andy Whincup's topic in Masting, rigging and sails
Which plans of the Sovereign of the Seas? -
The initial decorations have been added: I copied these pieces and glued them down to 1mm card to have a perfect fit for the 2mm trim pieces.
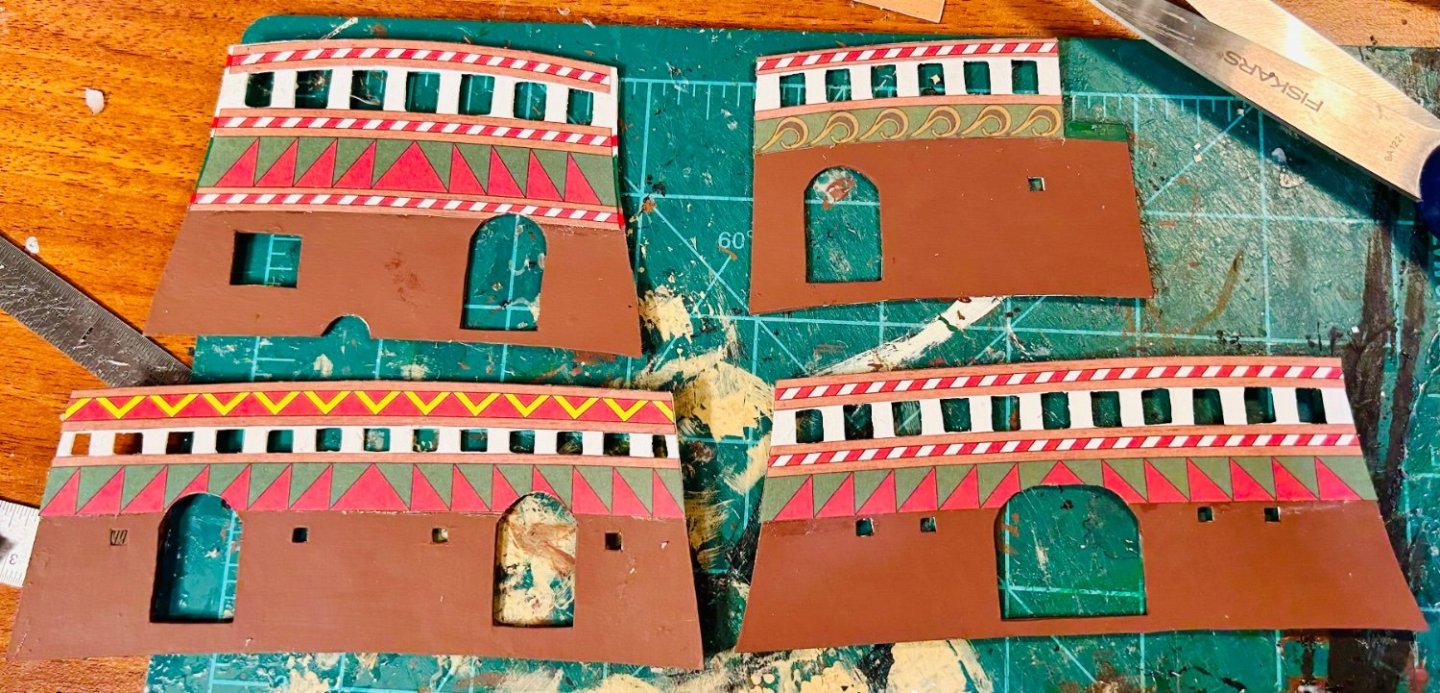
-
Here are the interior bulkheads: They need lots of paintwork before they get any decorations.

-
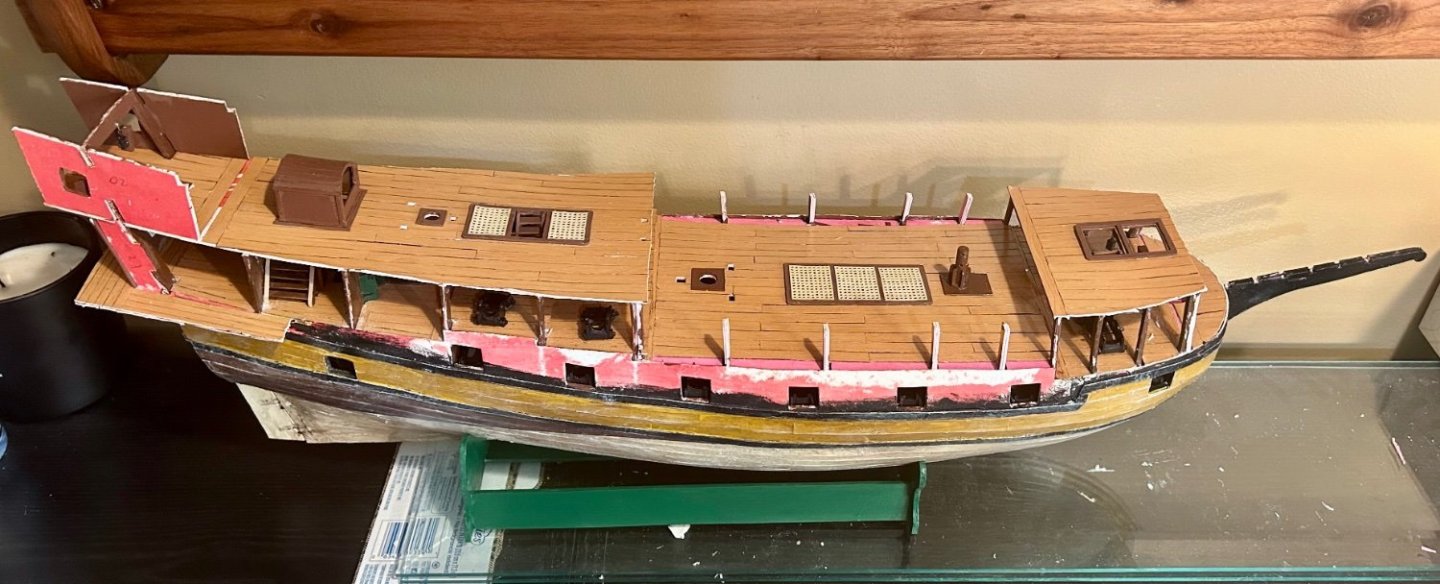
Thank you all for the likes and for stopping by! This round of deck fittings is complete and it is time to start making the bulkheads for the ends of the decks. I have all the pieces for them printed out and glued to card, so I just need to print them out and paint them. The plan set came with the decorative friezes already printed out that would have come with the kit. I do not have the painting ability that some of you do, so I believe that I will use them because I believe that it will look better.

-
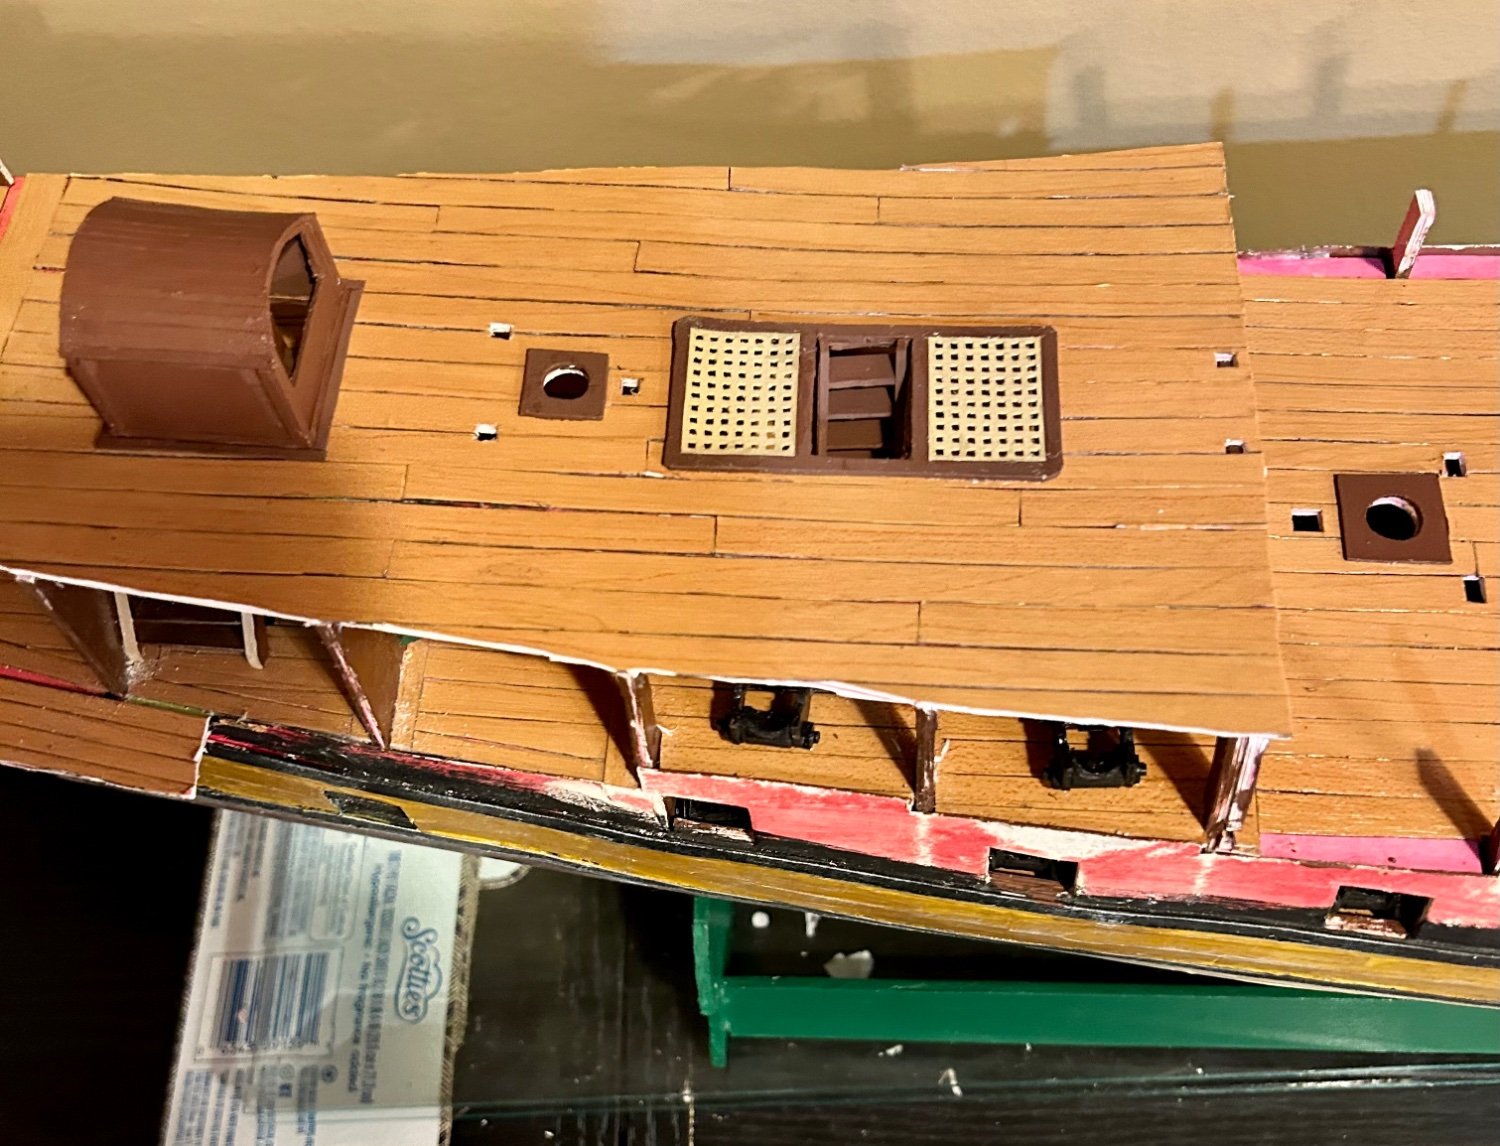
The remaining ladders are now in place: Next up, the final mast supports and then on to the bulkheads.


-
Soleil Royale is looking good!
-
French Pre-Dreadnought Battleship Carnot
GrandpaPhil replied to dgbot's topic in Nautical/Naval History
I have been on a late 19th century binge lately. The binge started with the Solferino (1860), one of two modernish battleships that were designed for a full broadside, and has expanded from there. The Solferino’s hull was pierced for 96 gunports. Only 55 were used as gunports, the rest were windows. It is possible that the things that look like gunports on the Carnot were intended to look like gunports, but were actually windows, like the Solferino. I have no idea why the French Admiralty would want a ship to look like it could deliver a full broadside after turret ships had obsoleted them, but it is a possibility that that may have been the intent. -
If you are looking at taking a Kindle, then the Delphi Complete Works Collections are great. The one for Melville is $1.99 on Amazon.
-
Anything by Herman Melville
-
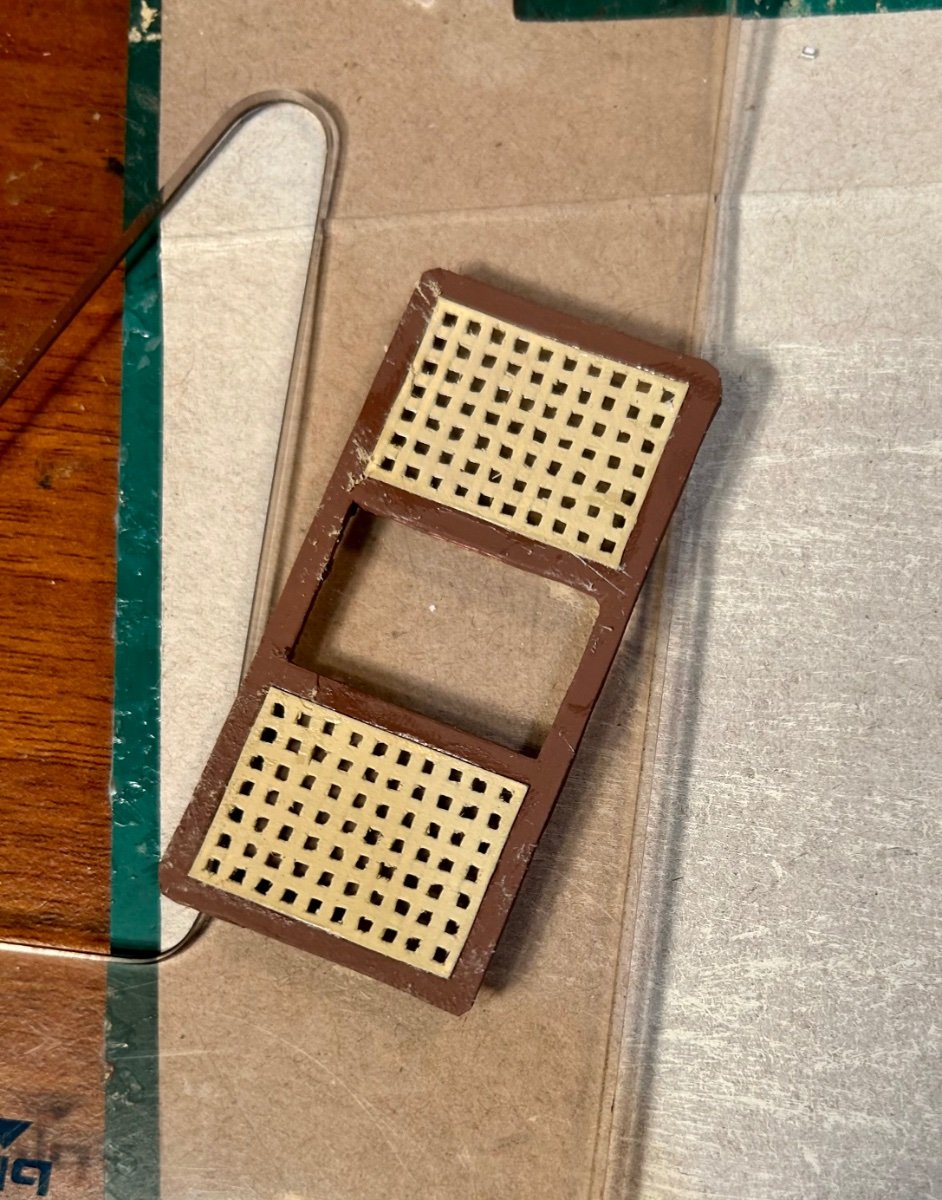
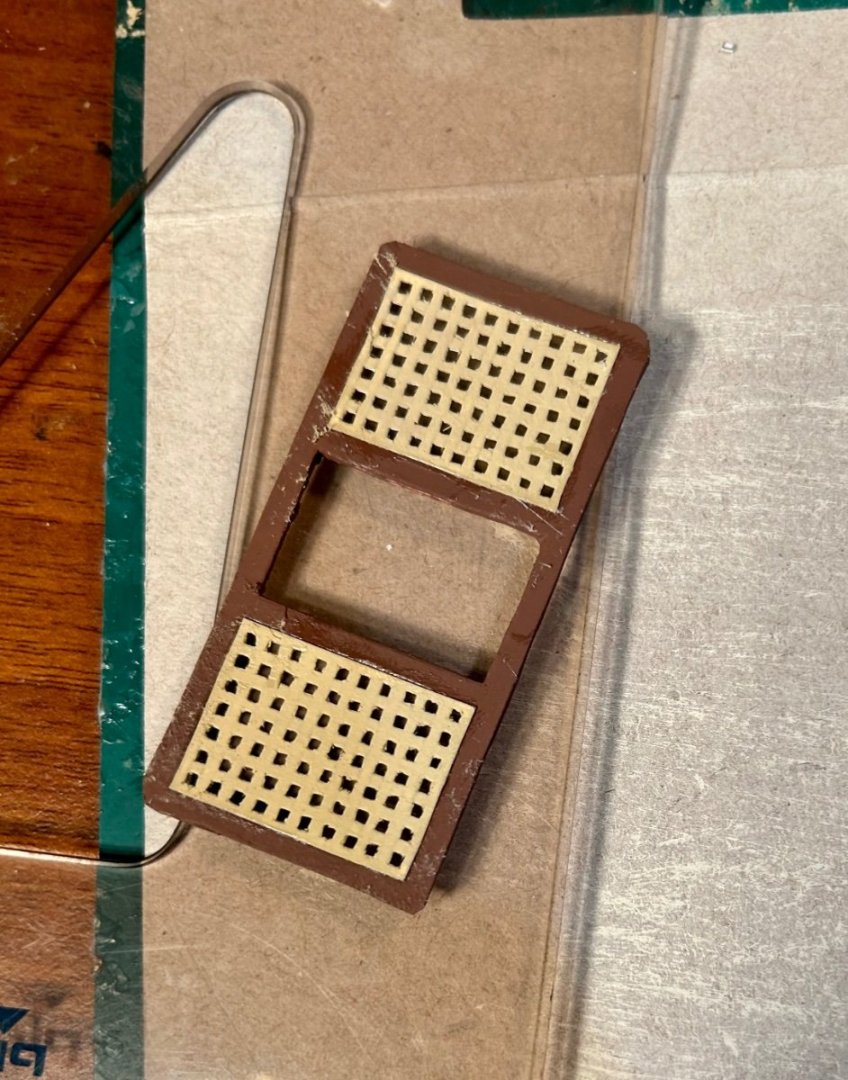
There are the gratings and ladders that I mentioned earlier: The ladders need some assembly, lol. Once these are all in place, I’ll start making the exterior bulkheads. That’s when the real paintwork and decorating will begin.
-
Very nice!
-
That’s one way. Or you assemble subassemblies and then paint. I’ve utilized both methods with great success.