


Warnerade
-
Posts
175 -
Joined
-
Last visited
Content Type
Profiles
Forums
Gallery
Events
Posts posted by Warnerade
-
-
I appreciate the input, since you guys seem to know your stuff...I was considering putting blocked rigging on the cannons for a little added detail. Studying this picture, I am assuming that the blocked rigging on cannons was also not around for the galeon ships?
-
So if I have this understood correctly, the helmsman would stand inside the little cabin, and thus the whip staff would be in there as well? It would not be visible on the actual deck?
Man, should have did my research before I ordered a few things...there goes 5 bucks wasted on a ship wheel haha
Thanks for the feedback gentlemen
-
Thank you
when you say the actual San Francisco, was this an actual ship? I have tried searching and didn’t come across anything. I got the impression it was just a ship made for a model and has no historic significance
-
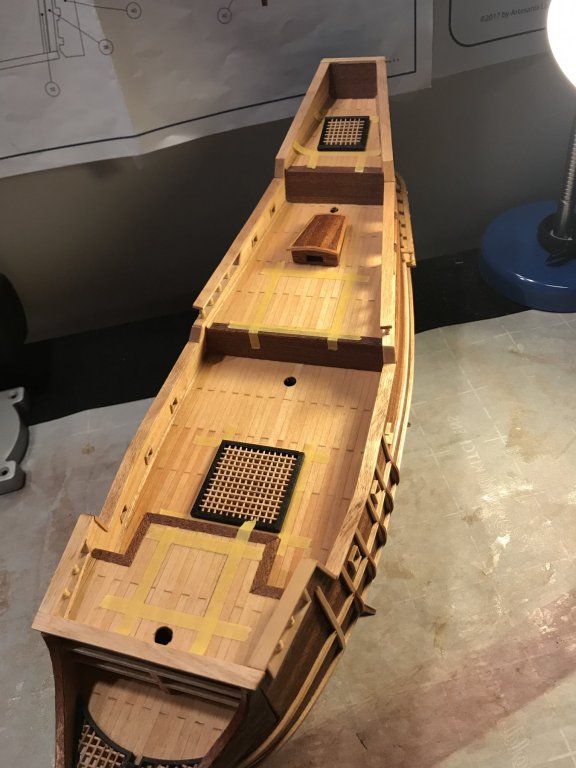
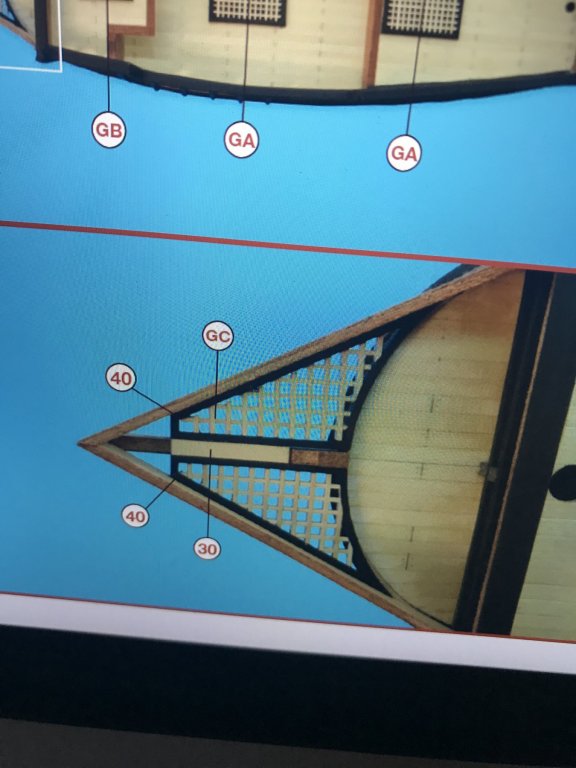
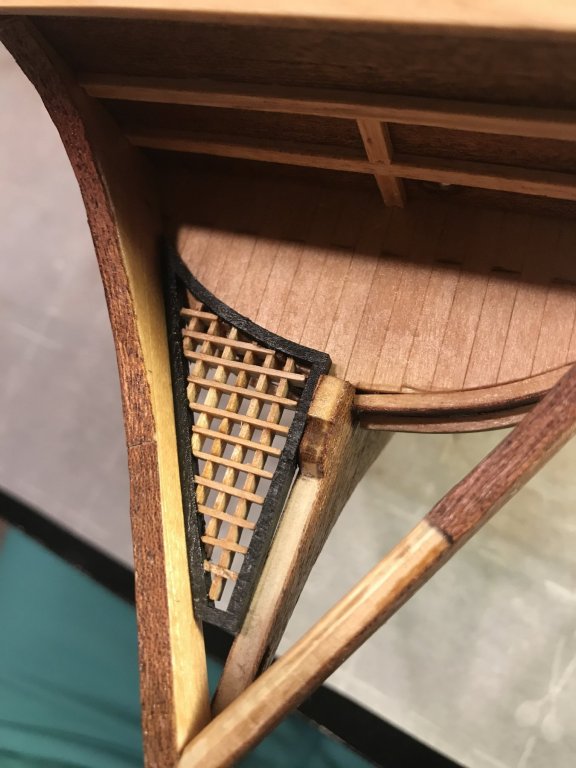
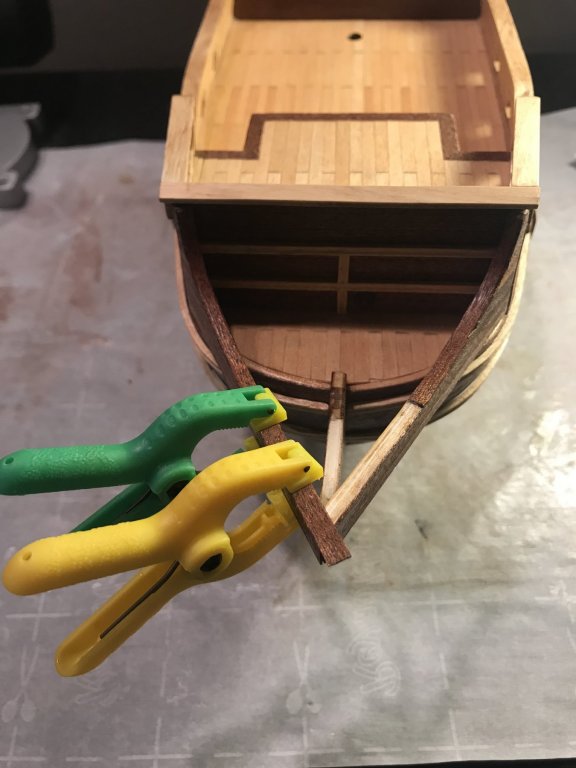
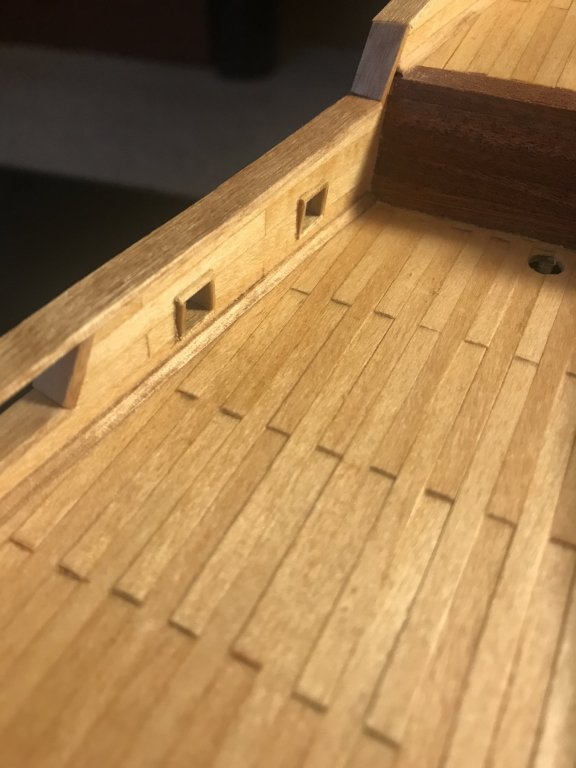
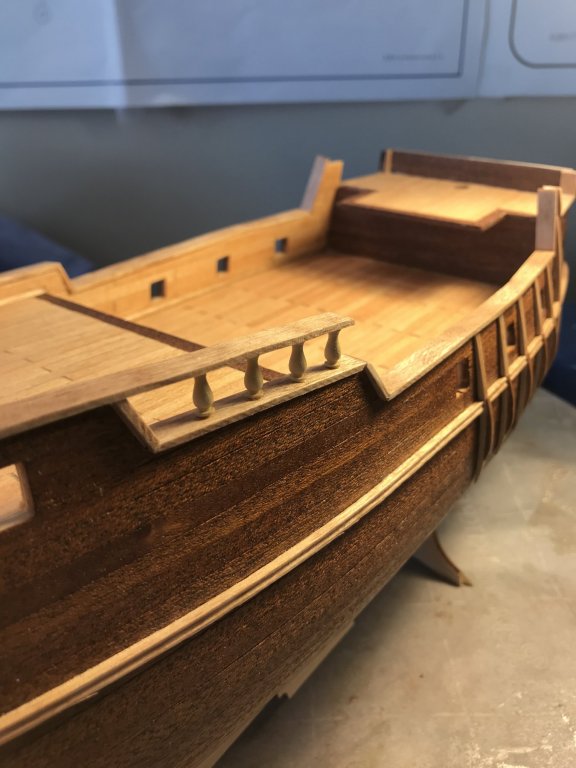
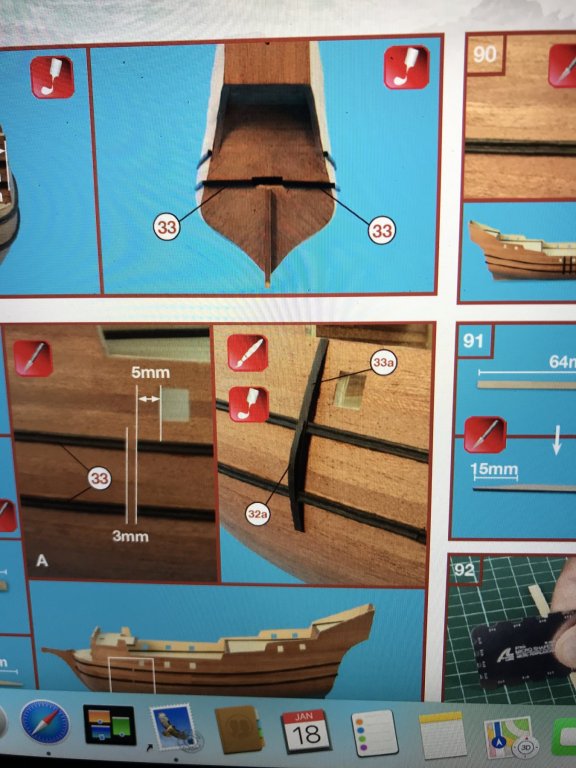
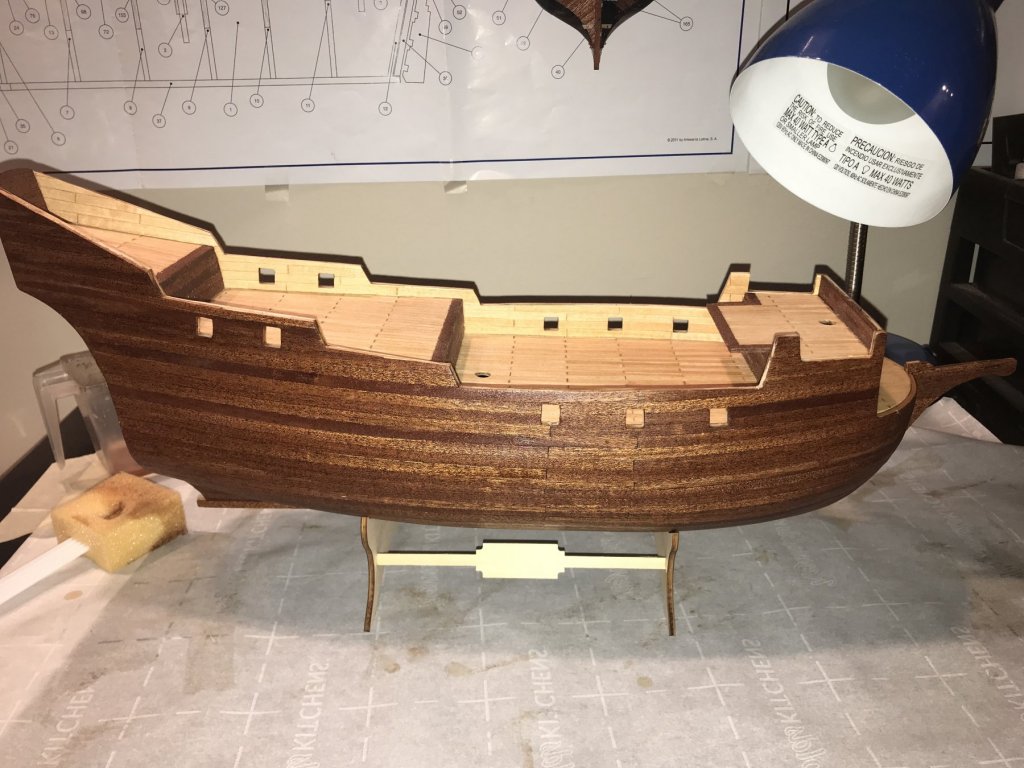
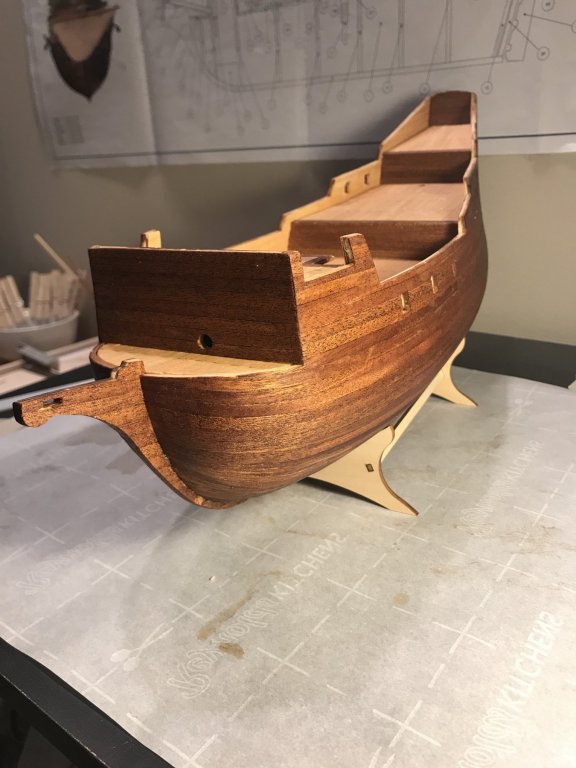
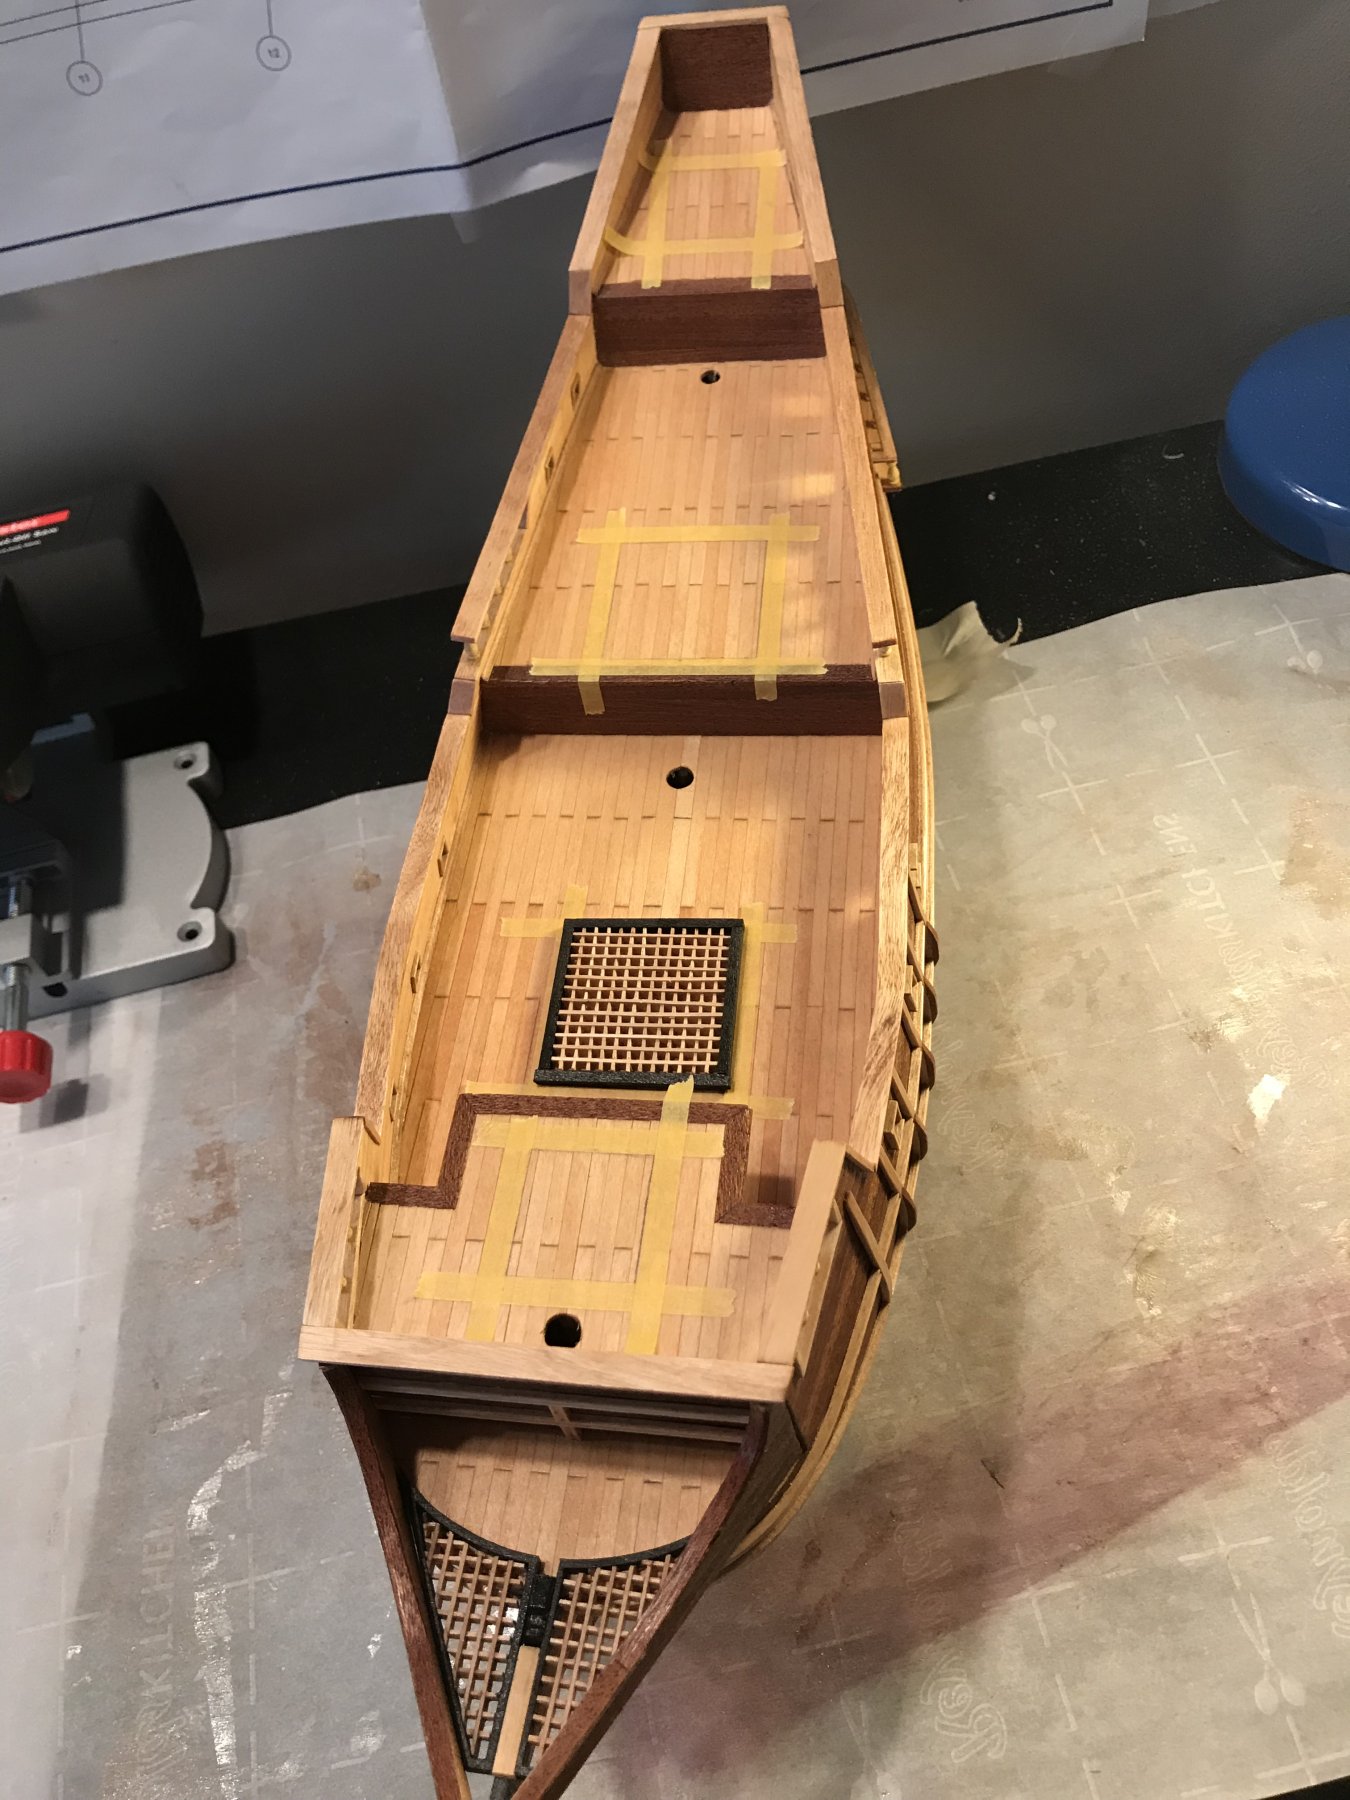
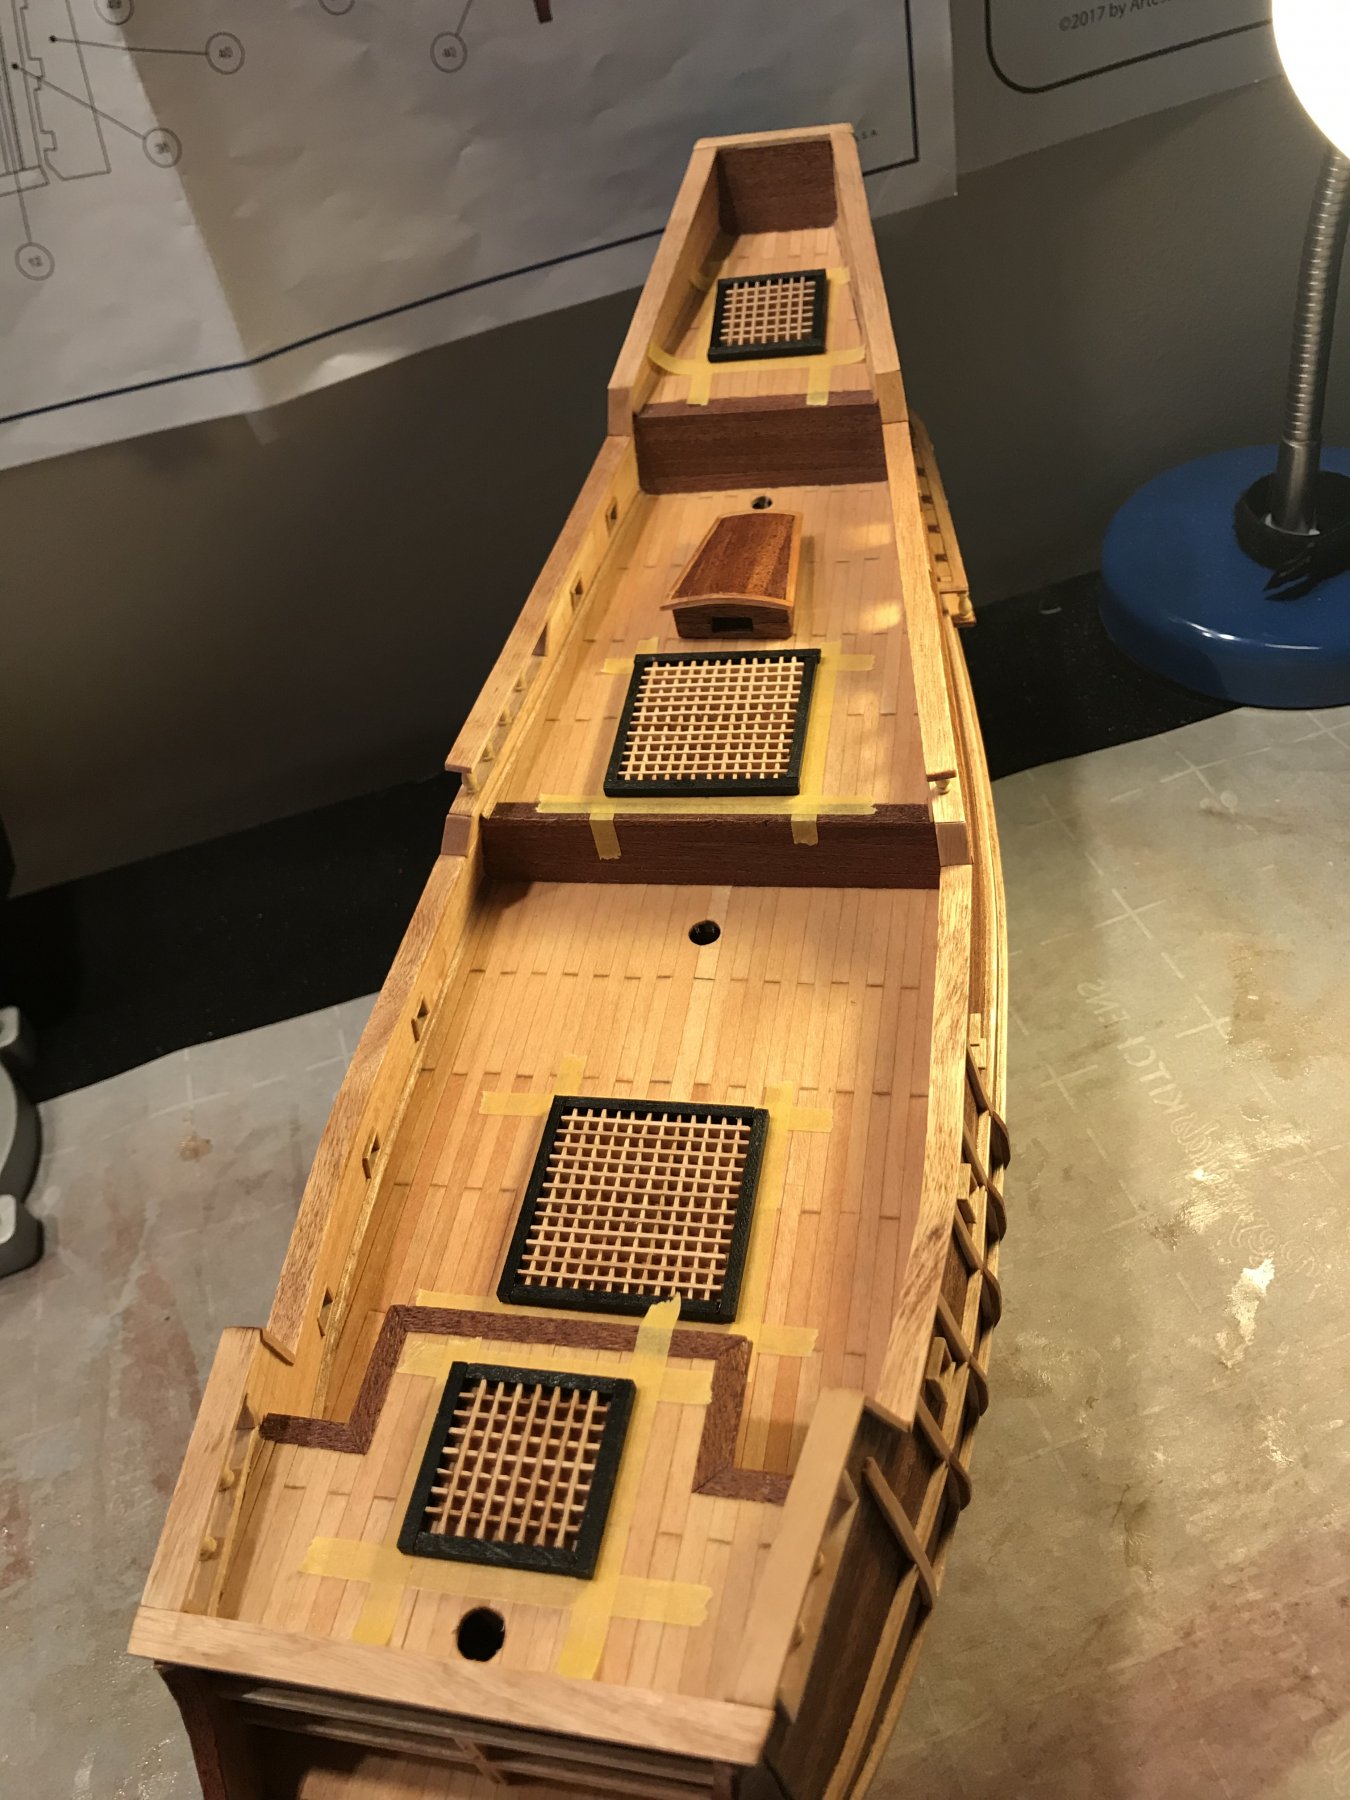
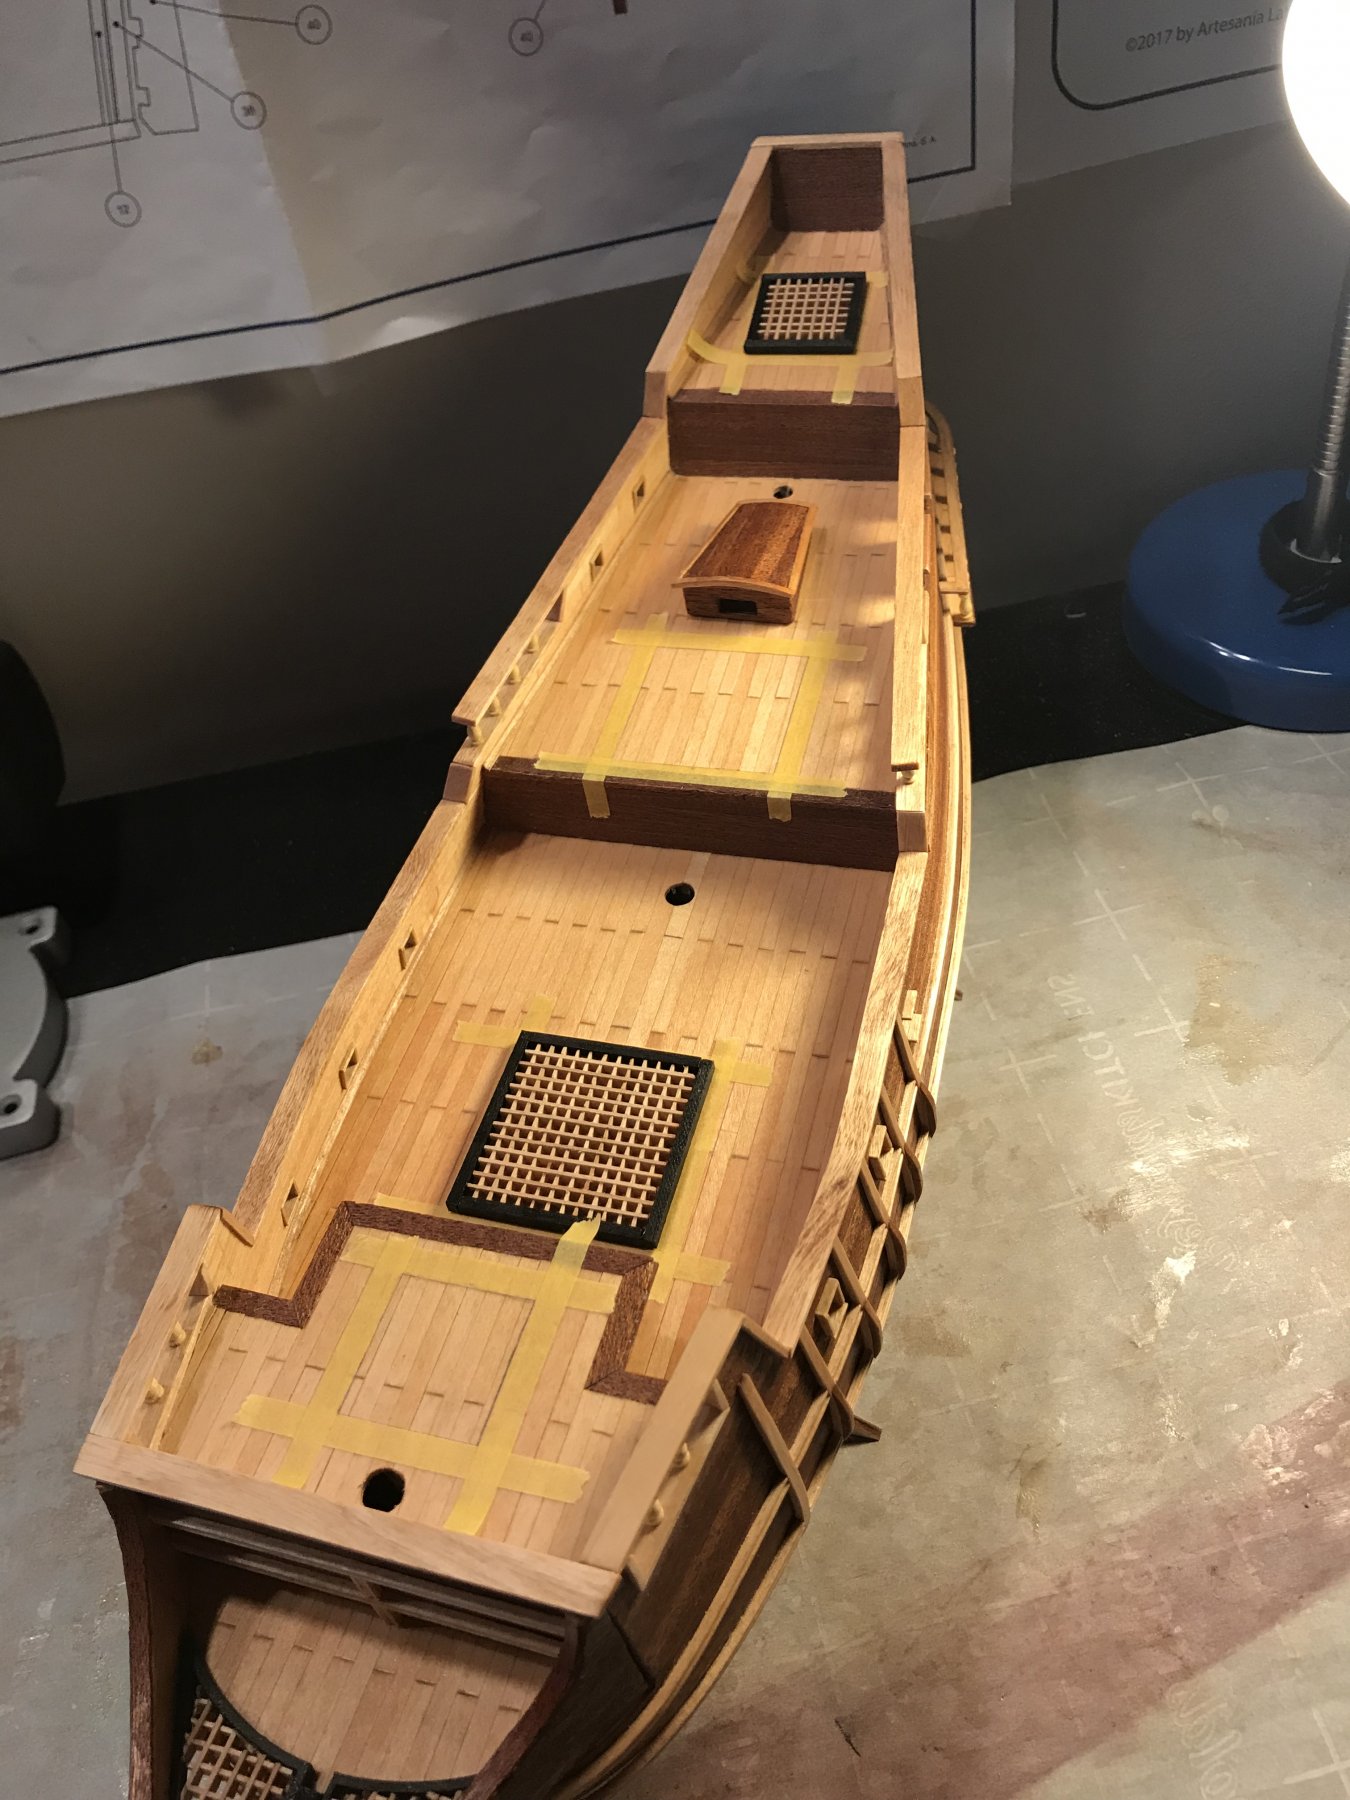
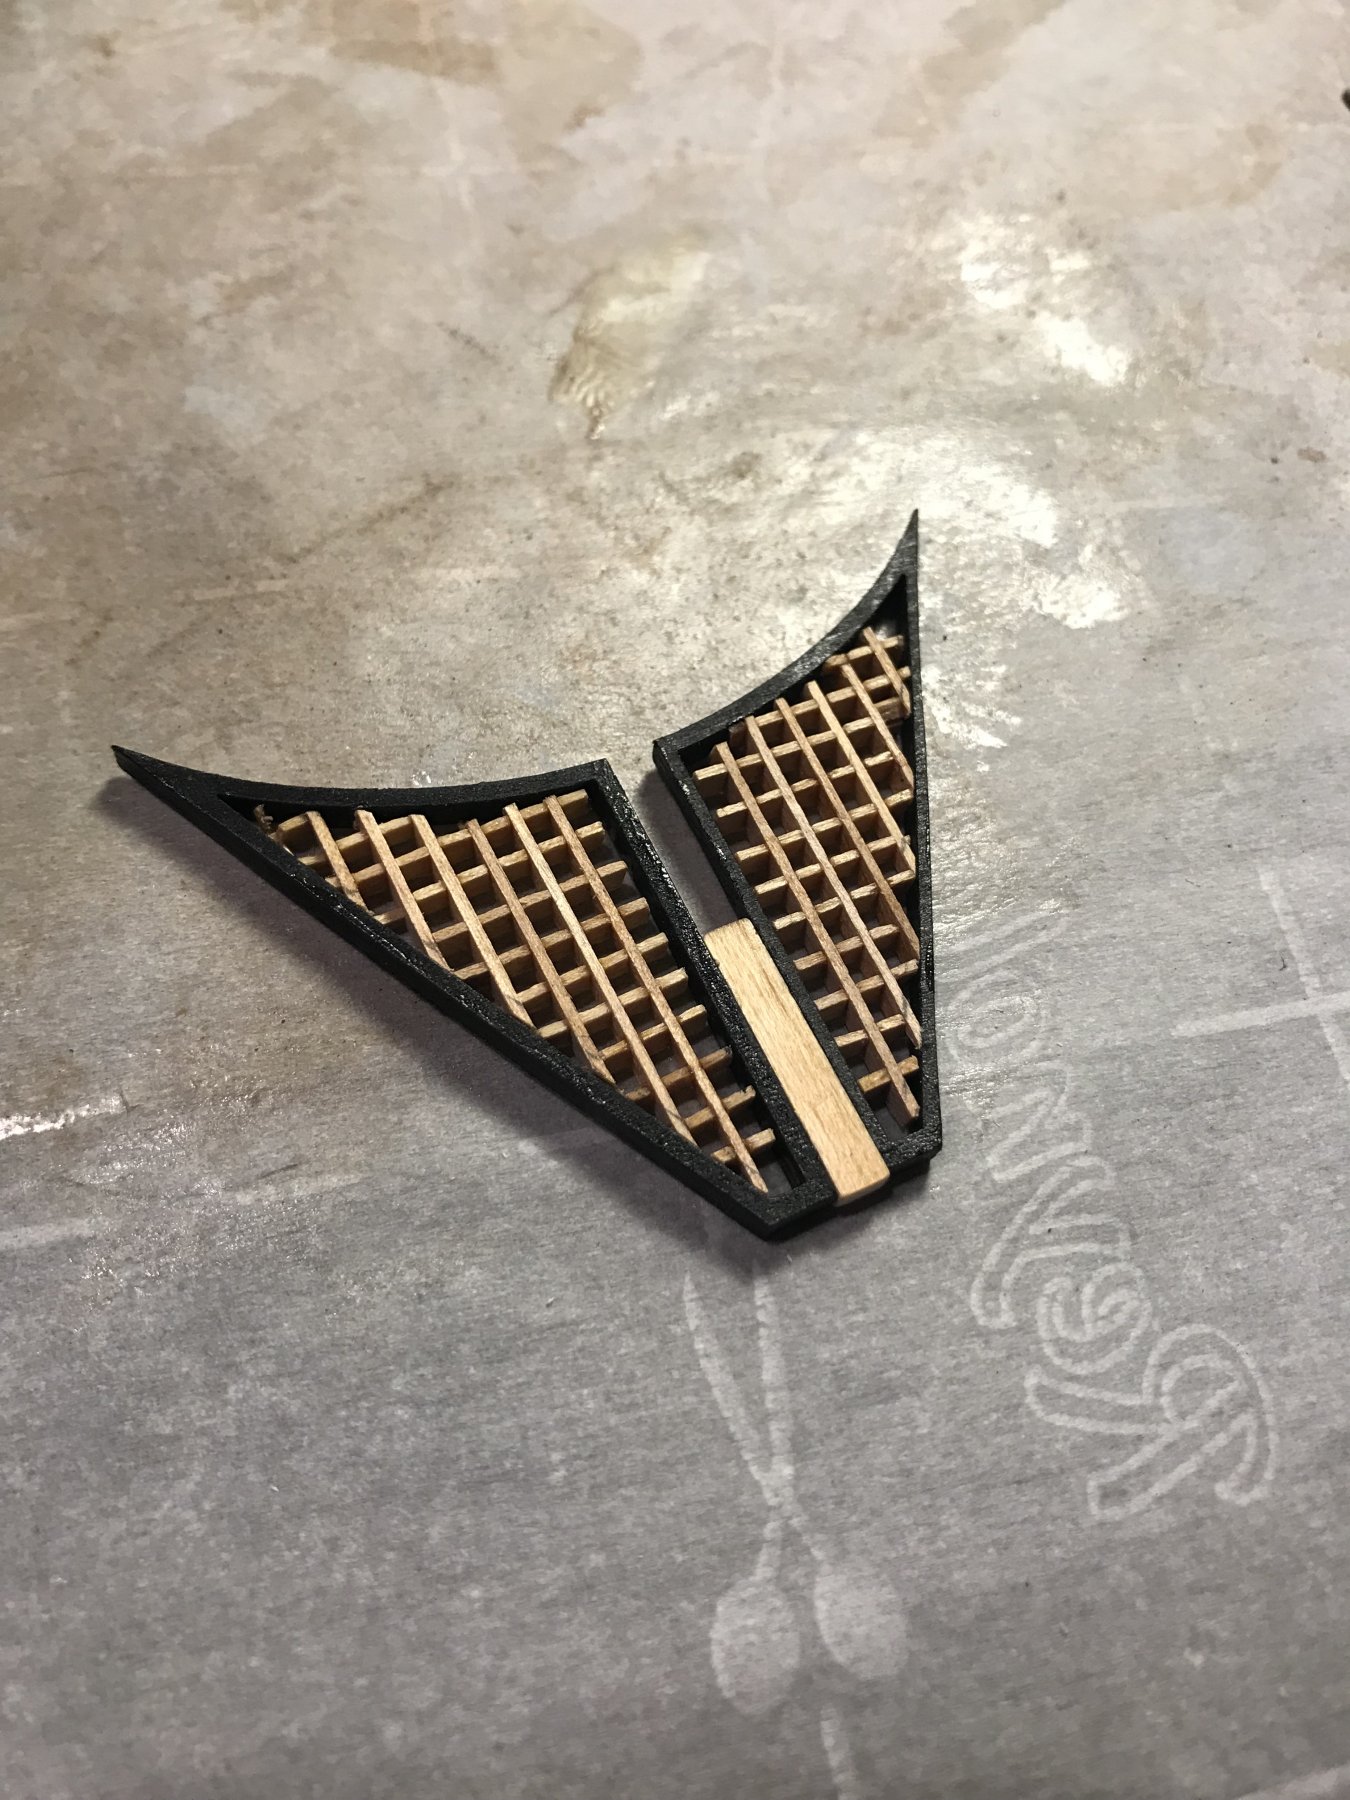
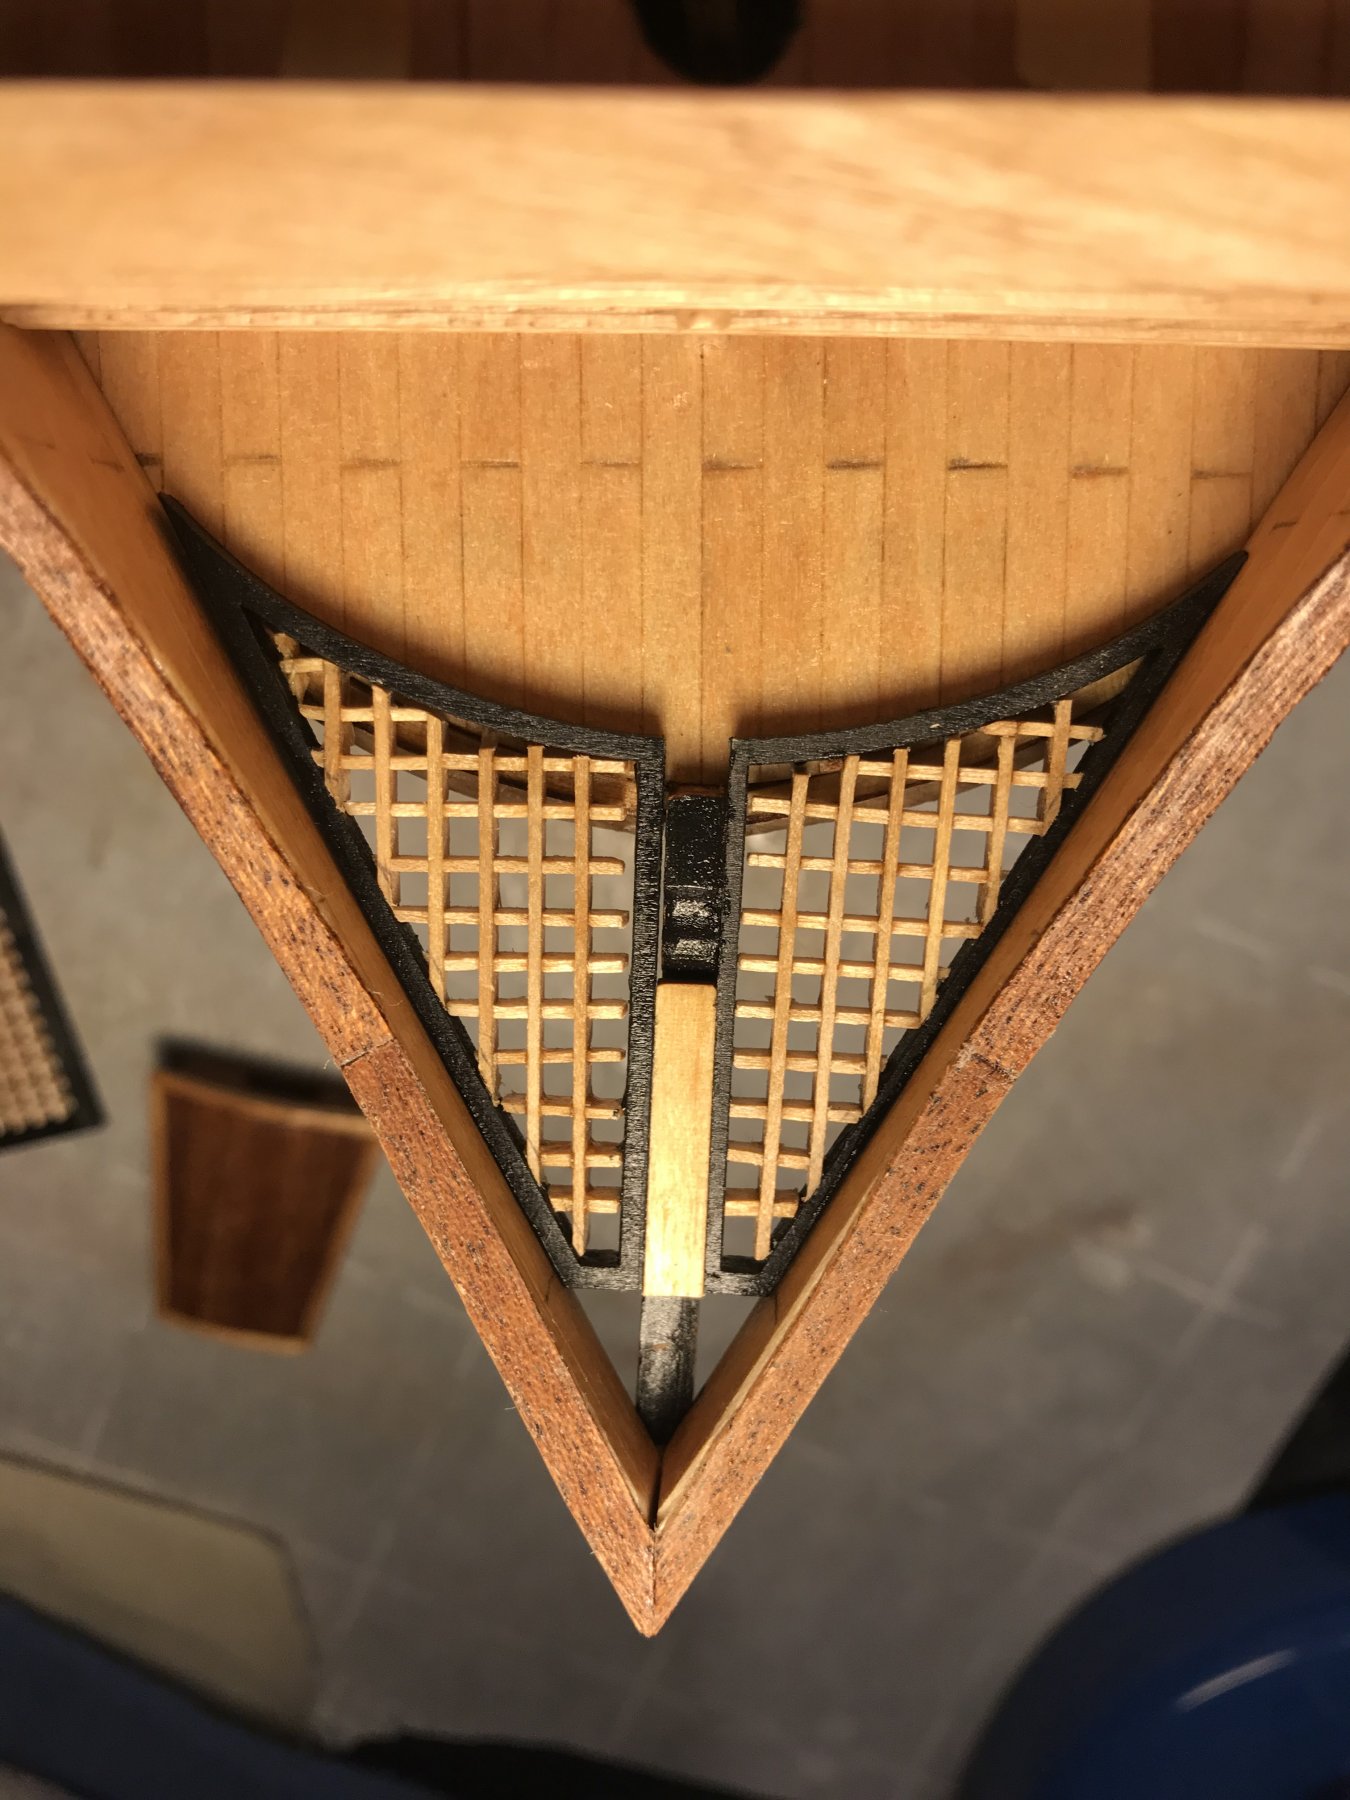
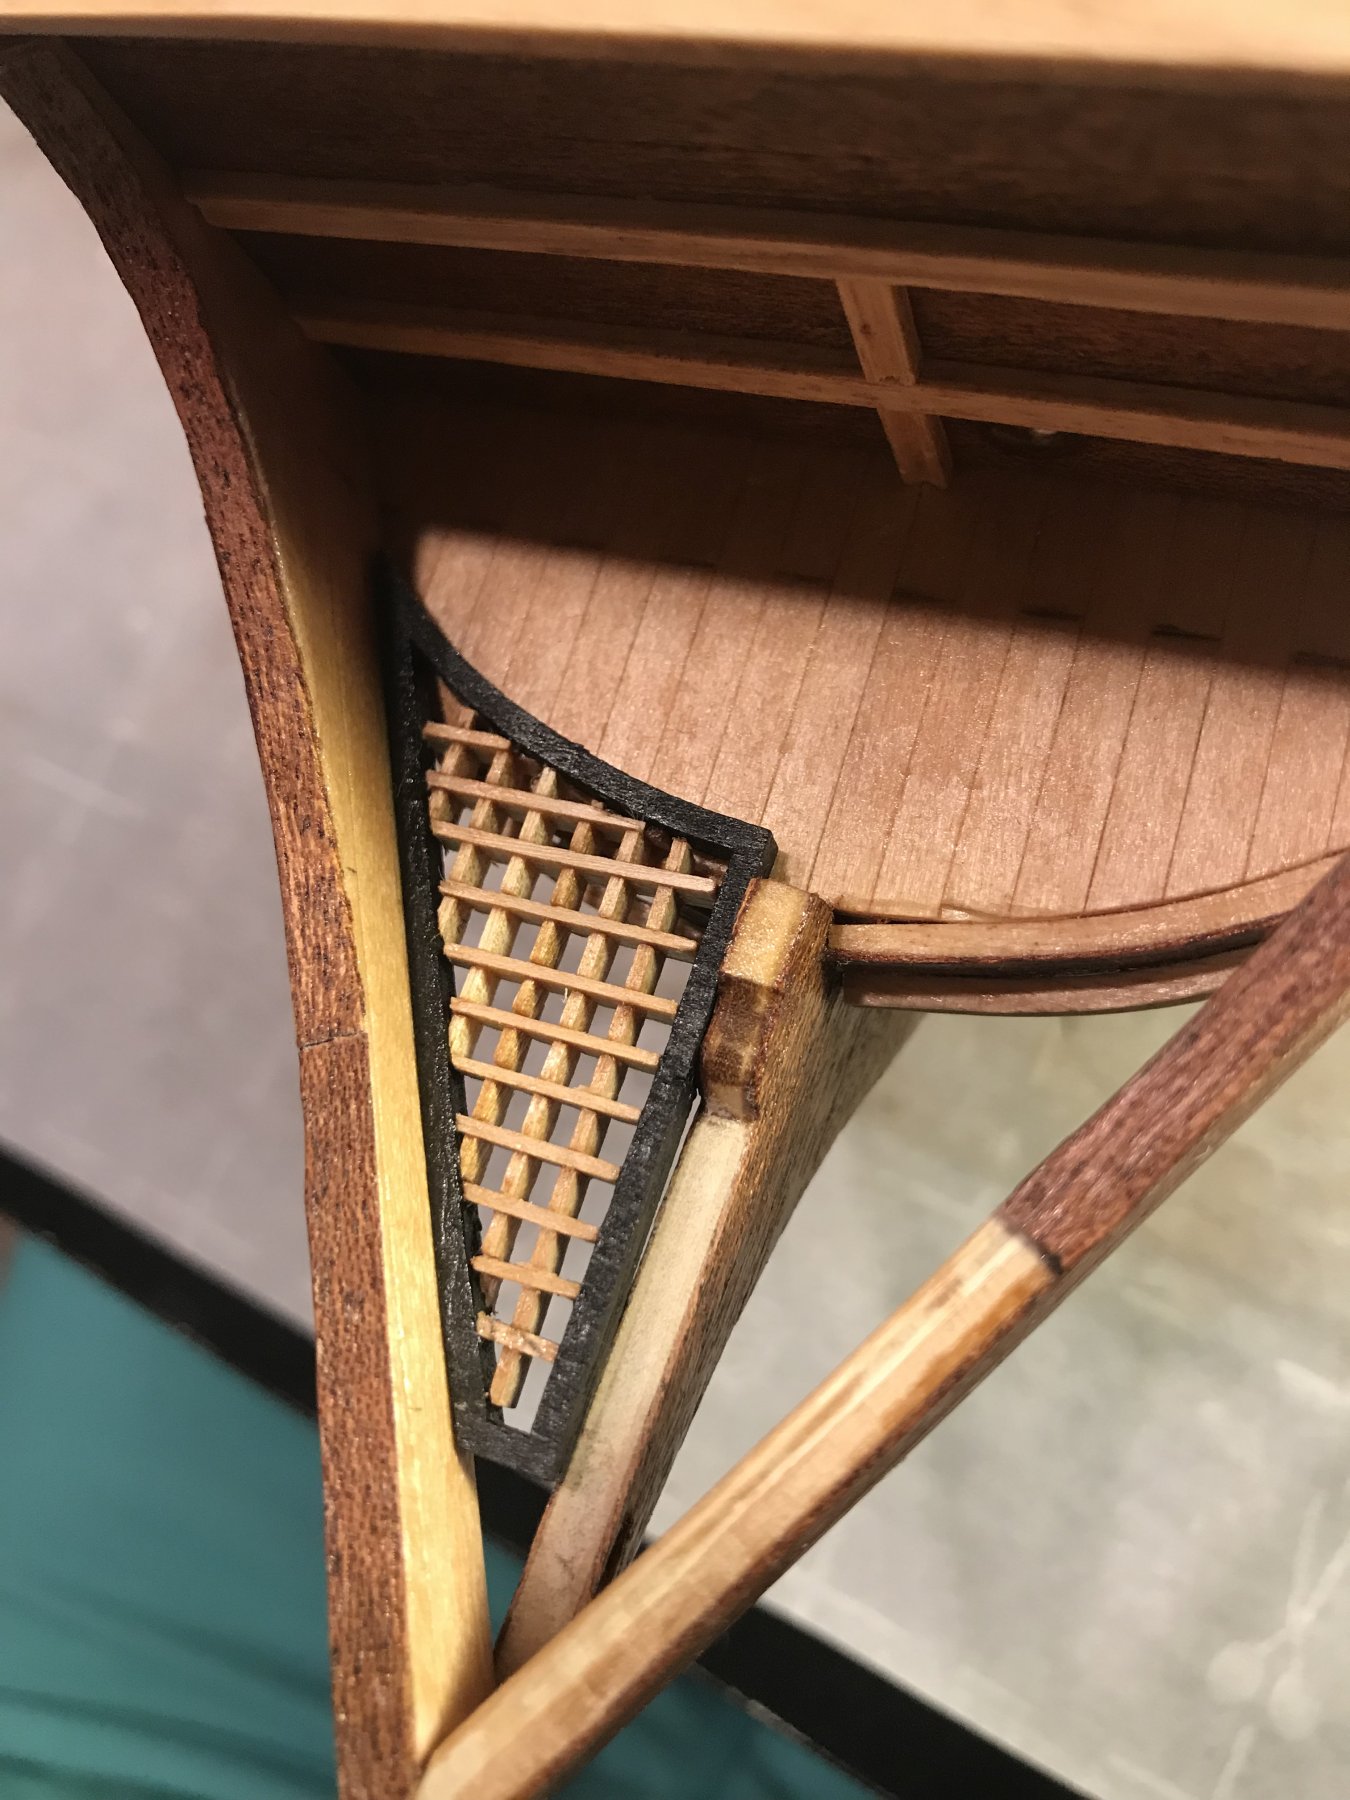
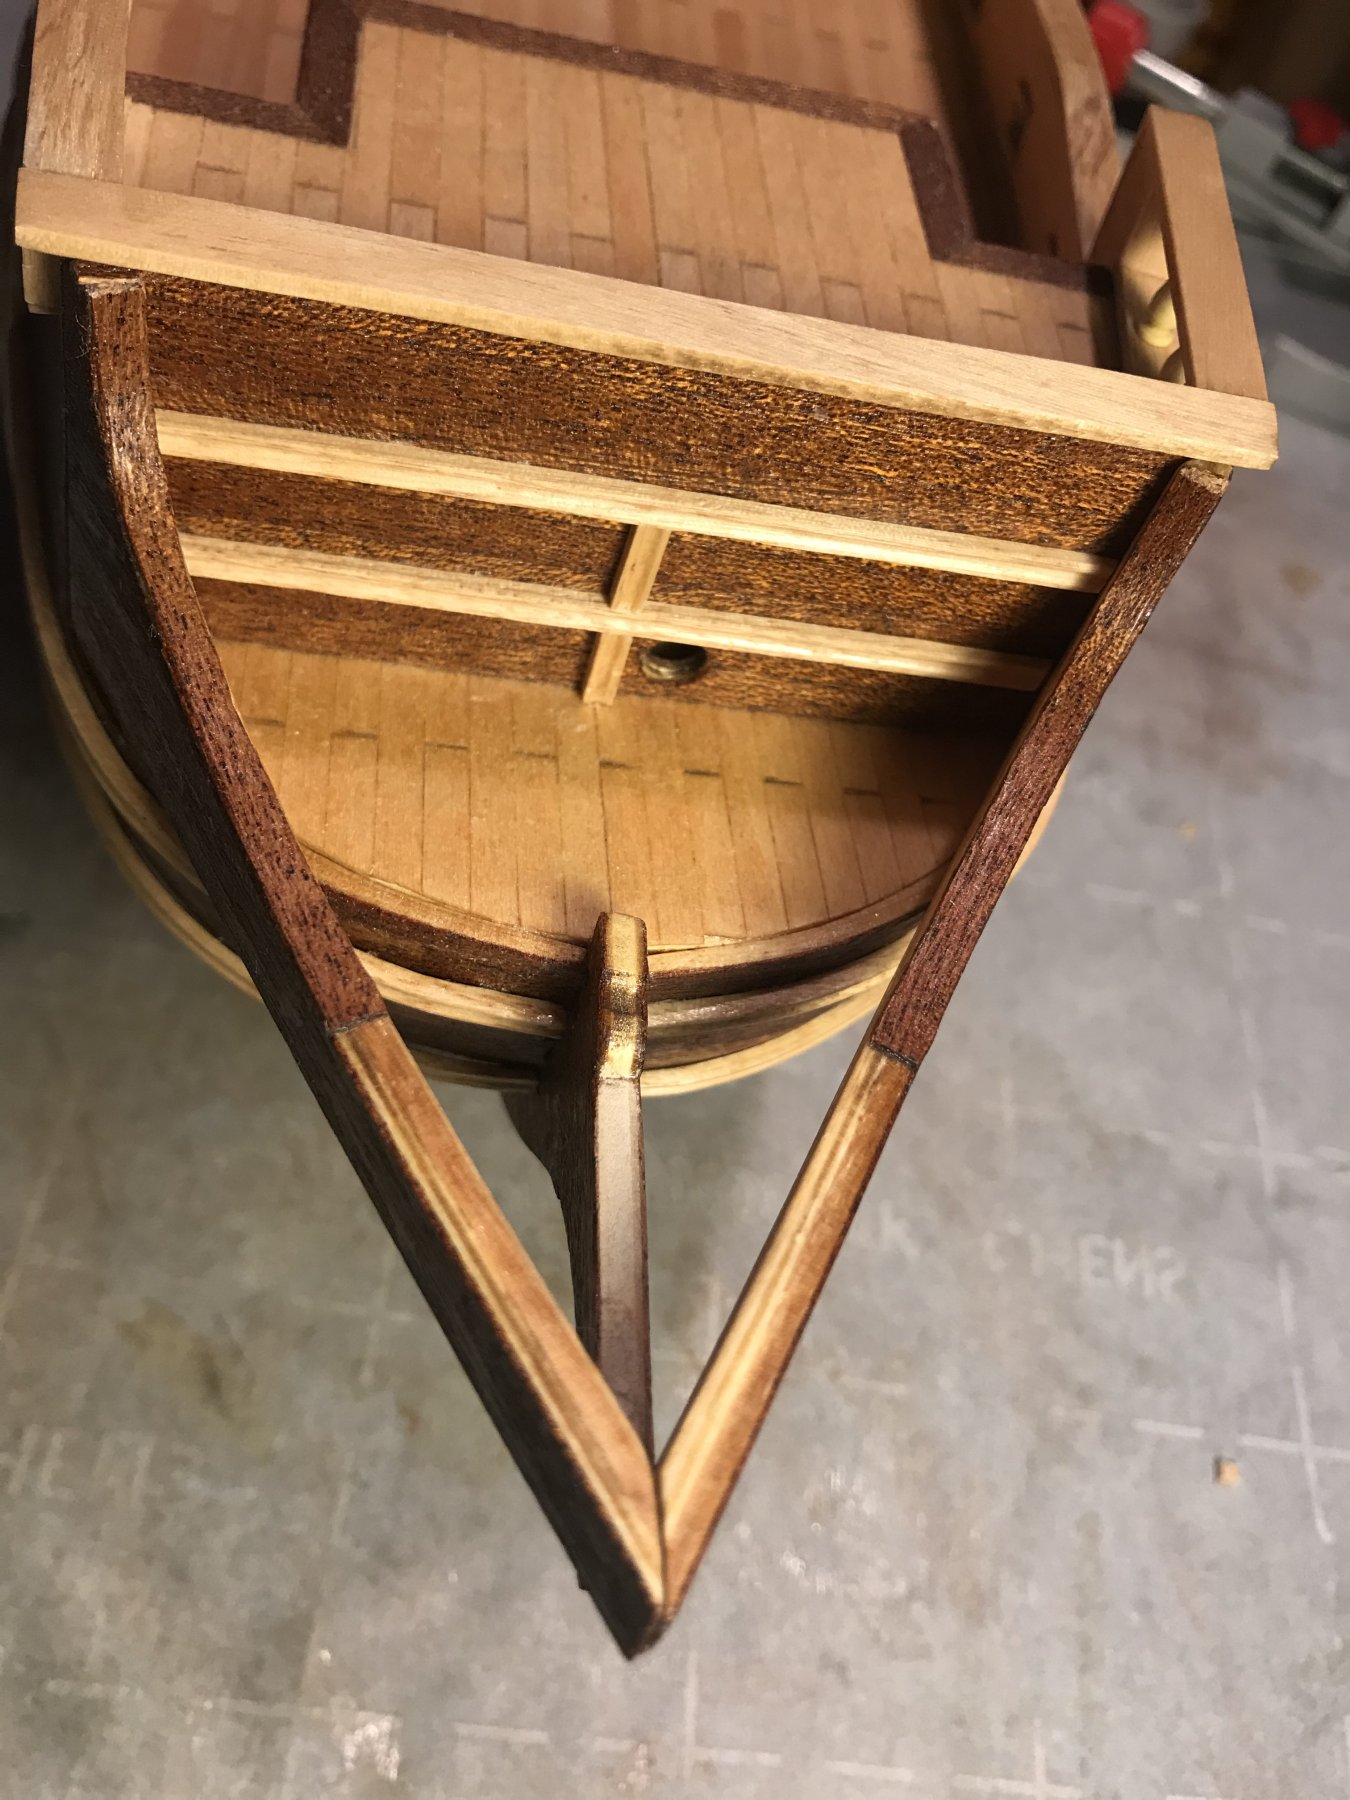
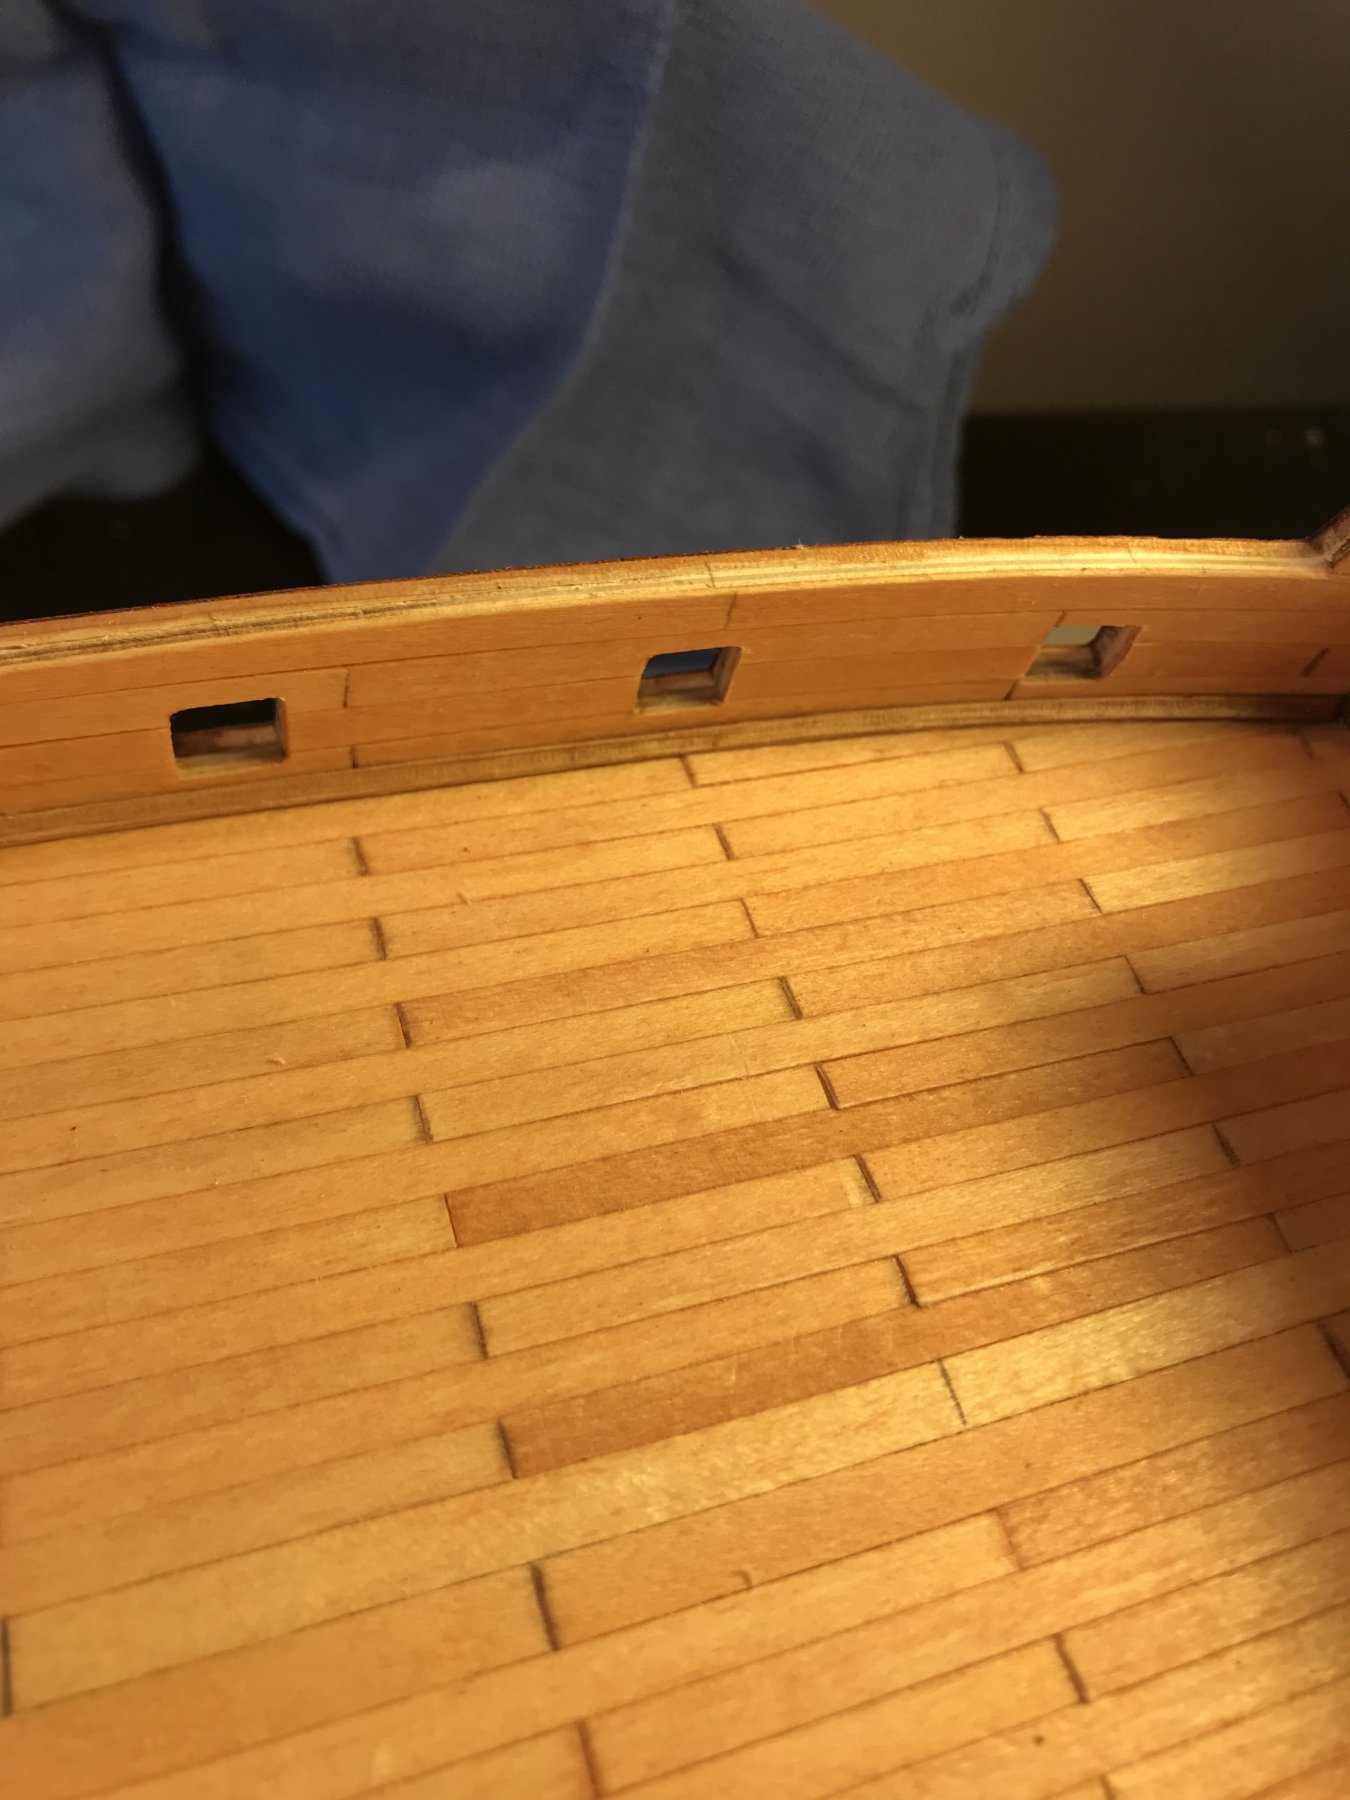
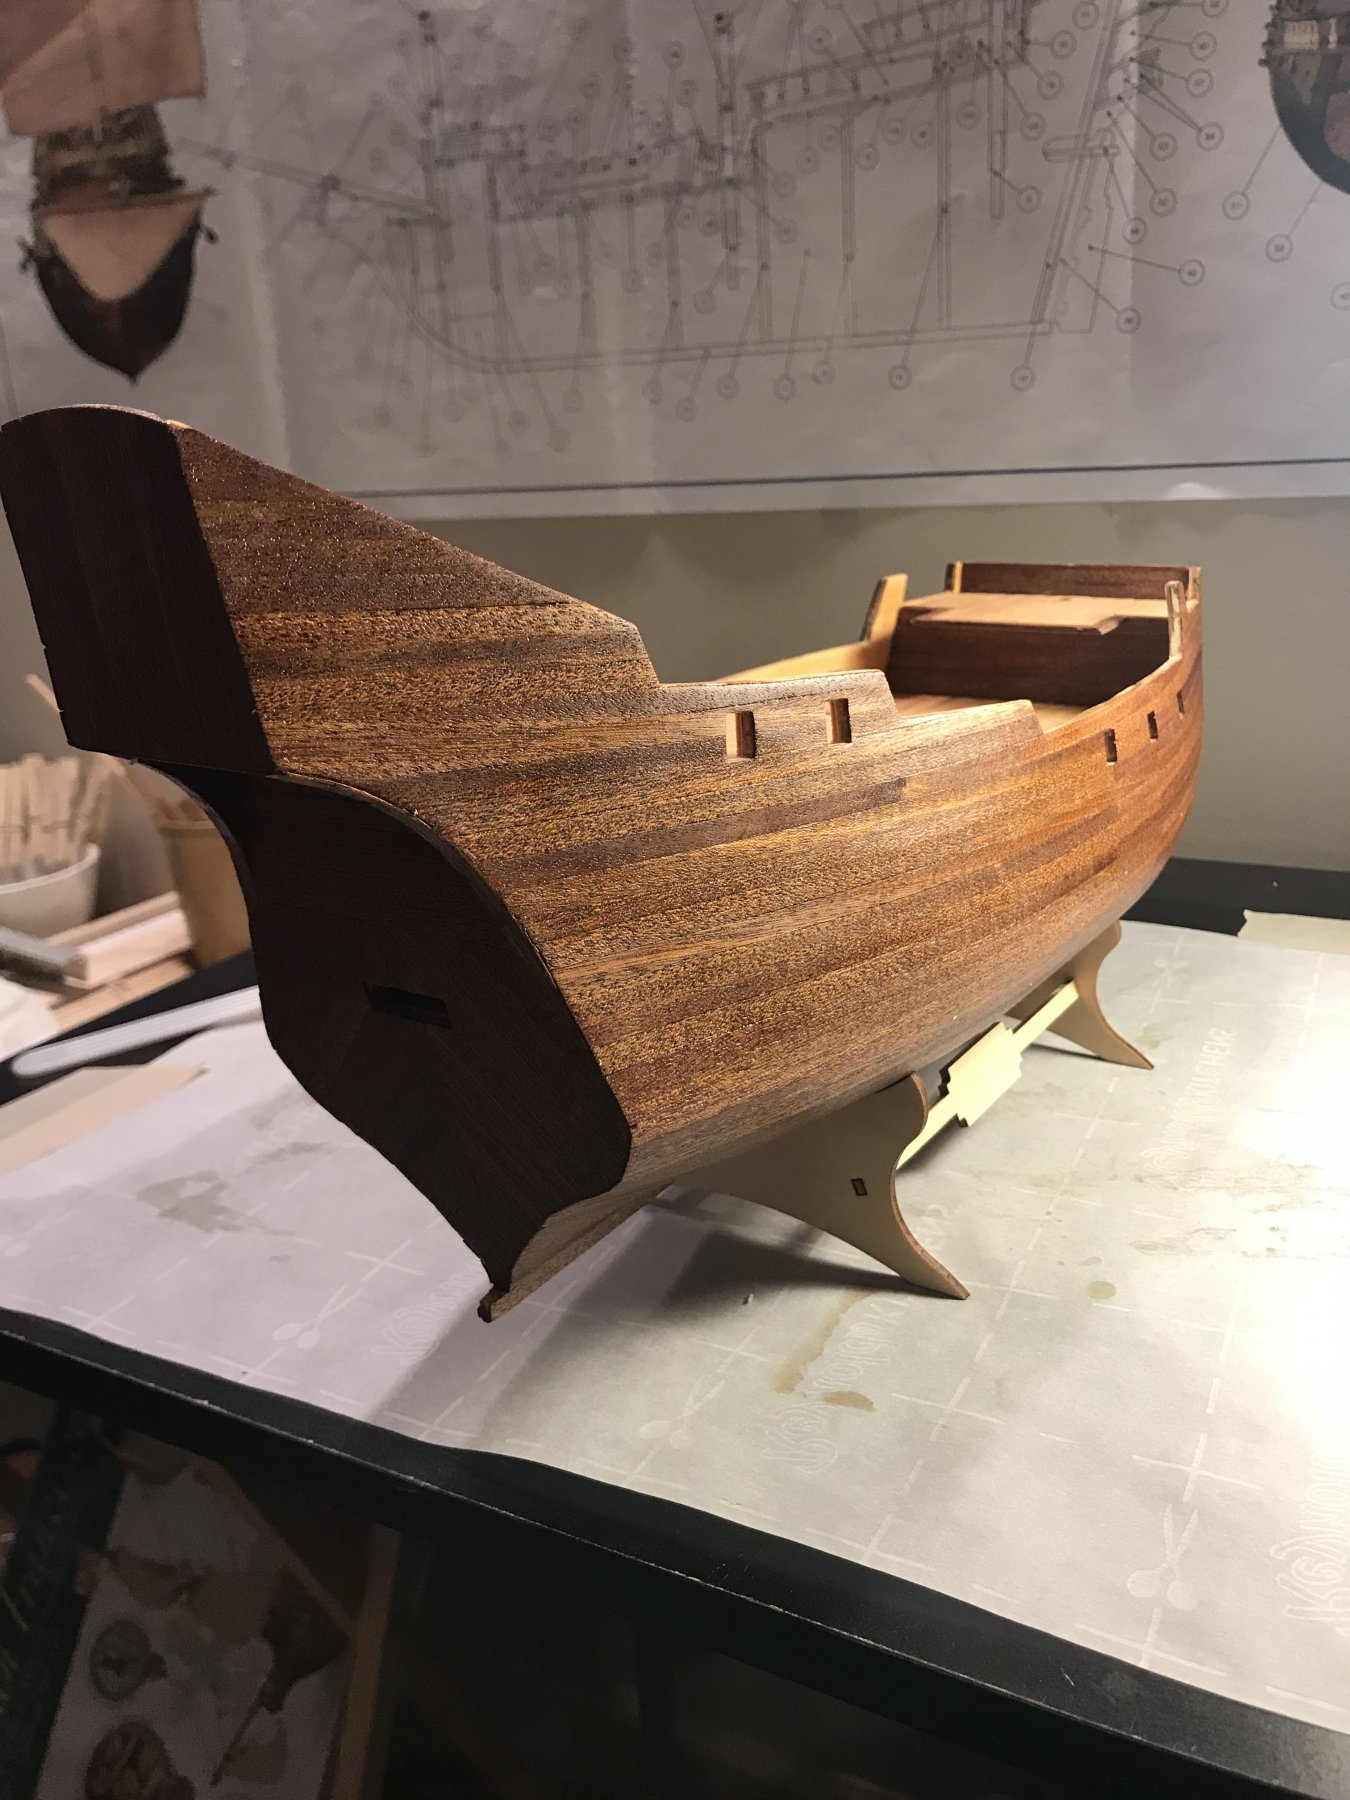
I am getting to the point in my build where I am starting to plan the deck. Looking at the plans, there is no capstan and no captain’s wheel, but there are four grates along the deck. This seems a little excessive to me, and I’m considering leaving 2 of them off and putting other things on deck (like a capstan and wheel)...below are a few pics of which grates I am thinking of leaving off. I was considering putting the captain wheel on the stern most upper deck and leaving that grate off. Putting the capstan on the middle deck in front of the cabin, and then leaving off the grating on the bow deck just because it seems like once the railing is installed all of the rigging, it would “crowd” and be a tripping hazard. Lol
are the chosen locations for the 2 accessories correct? I assumed the captain wheel directly over the rudder for “less moving parts” in real life and the capstan just seemed to fit the best there. Or would it look best in the bow deck closer to the anchors?


- tasmanian and Keith Black
-
 2
2
-
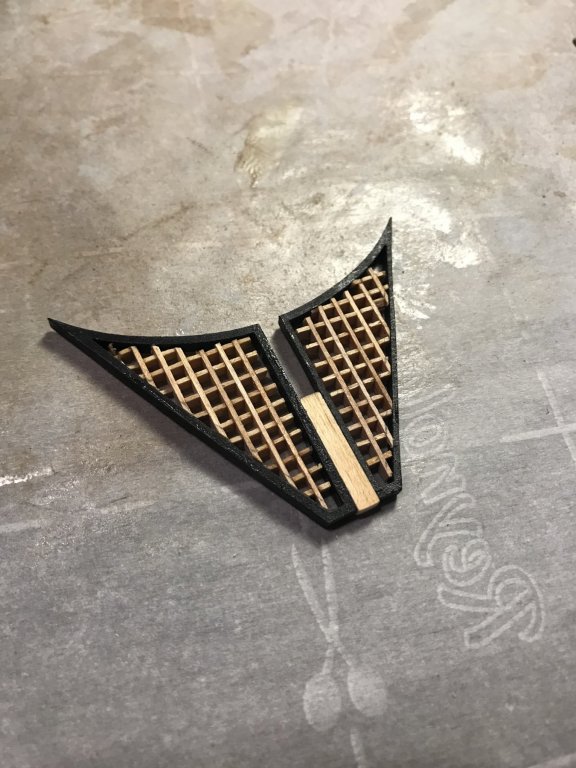
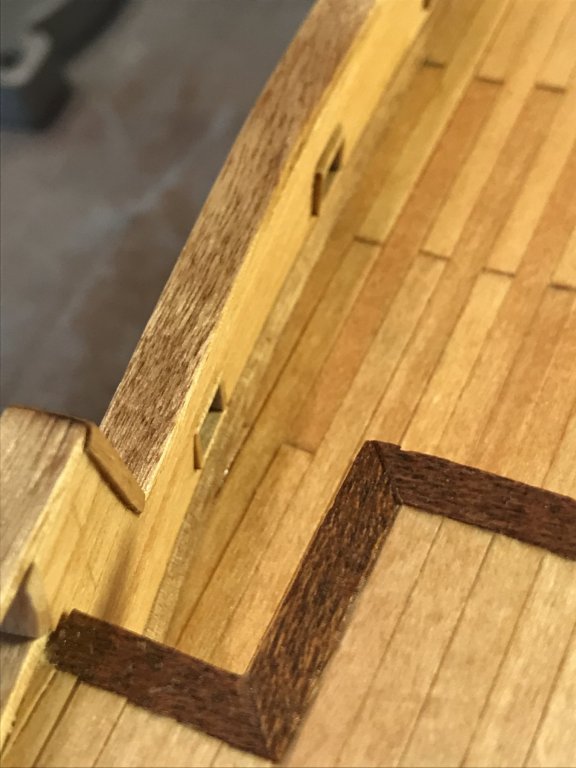
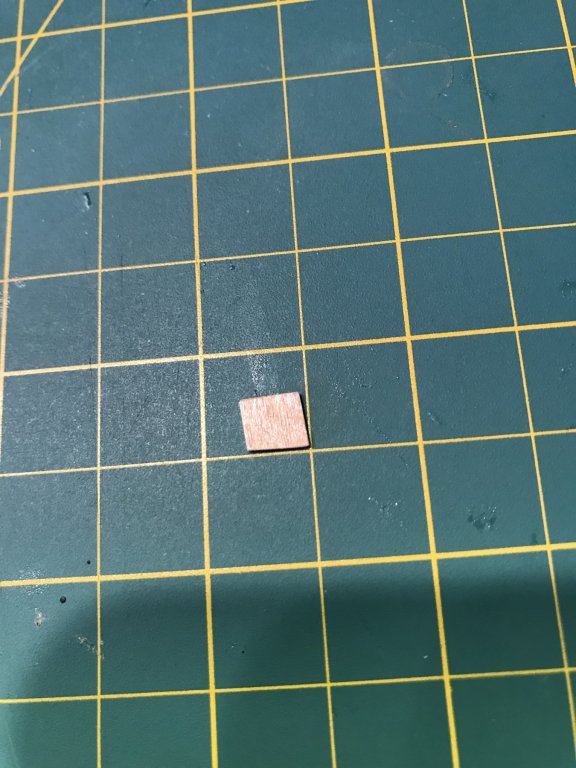
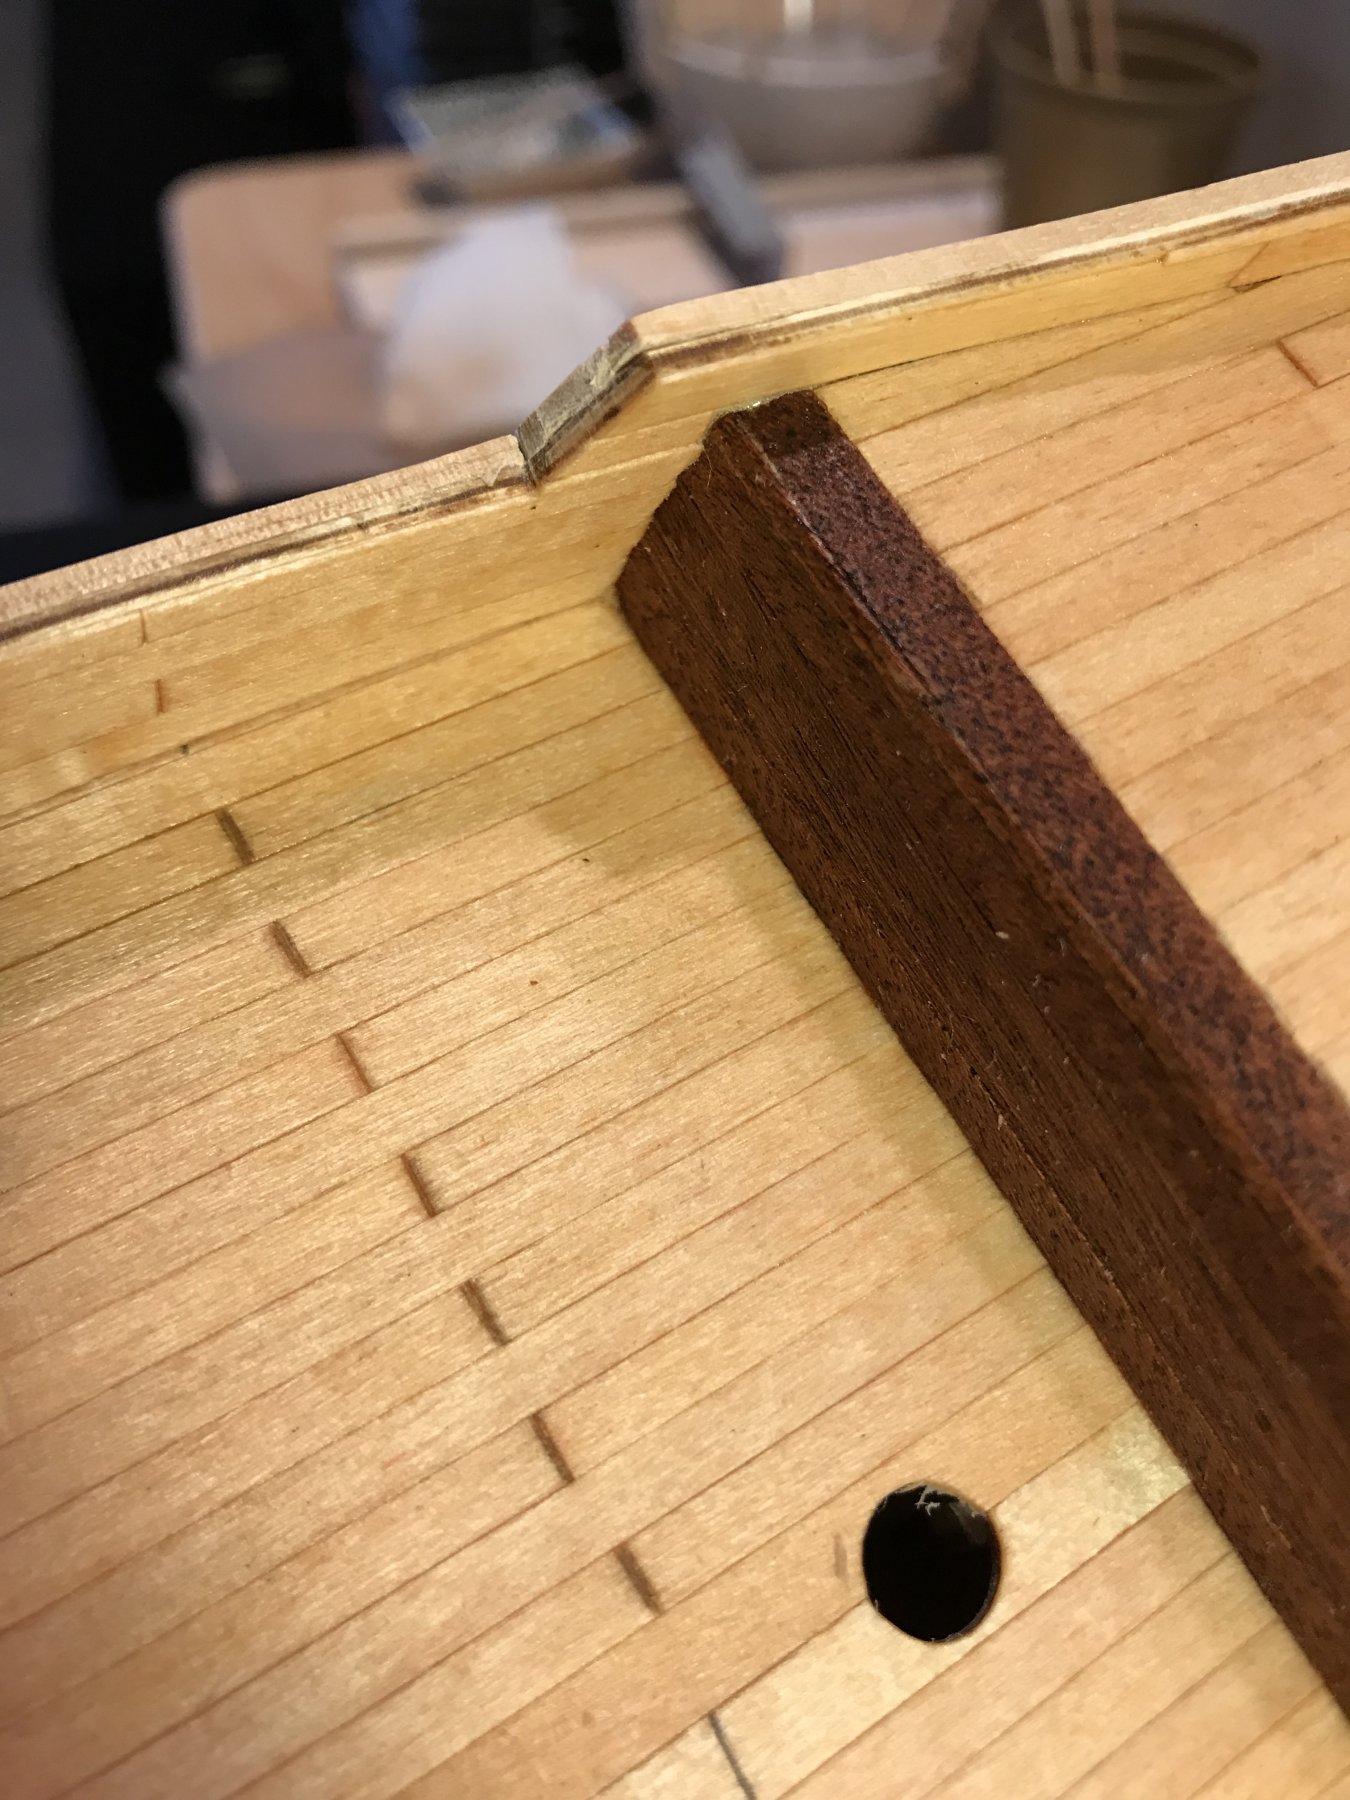
Well I was able to file down the two sides of the grating, the angled side and the side facing the middle. I didn’t think I’d be able to shave enough off to get them to fit and line up adequately but it ended up working out. And once it goes in the display case no one will be able to get close enough to see the different width borders of the grates.

- mtbediz, Duanelaker and Osmosis
-
3
-
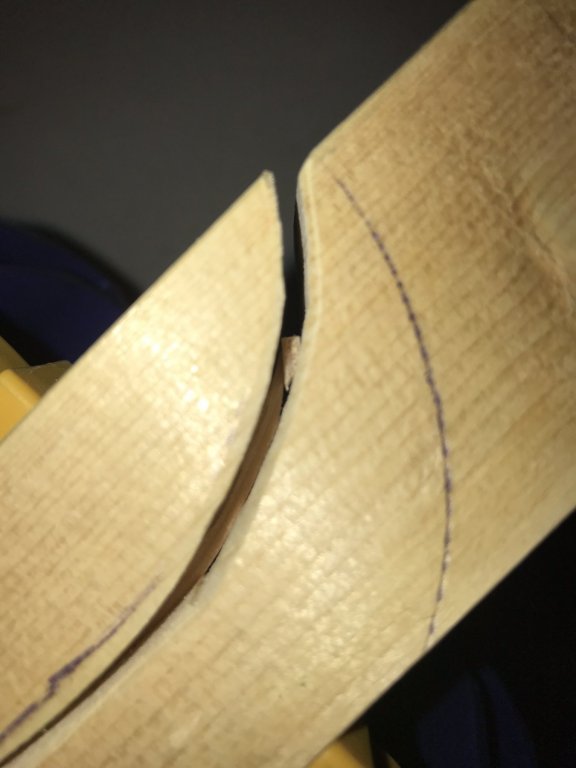
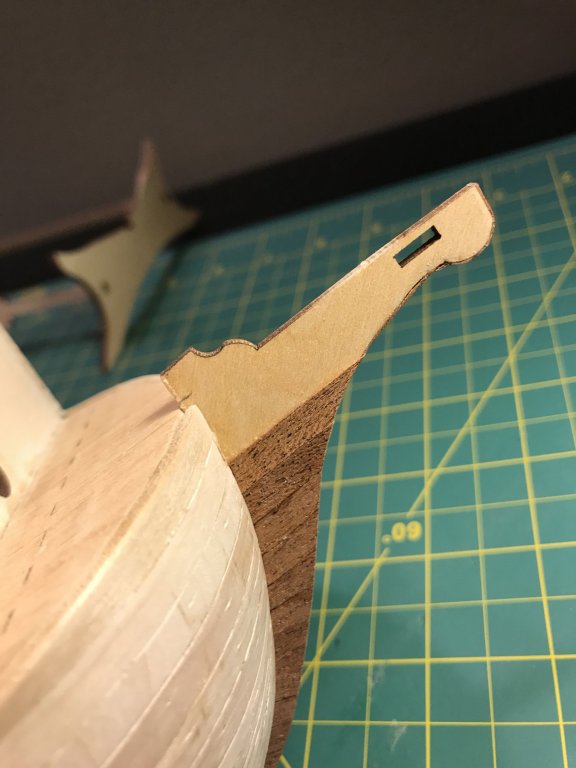
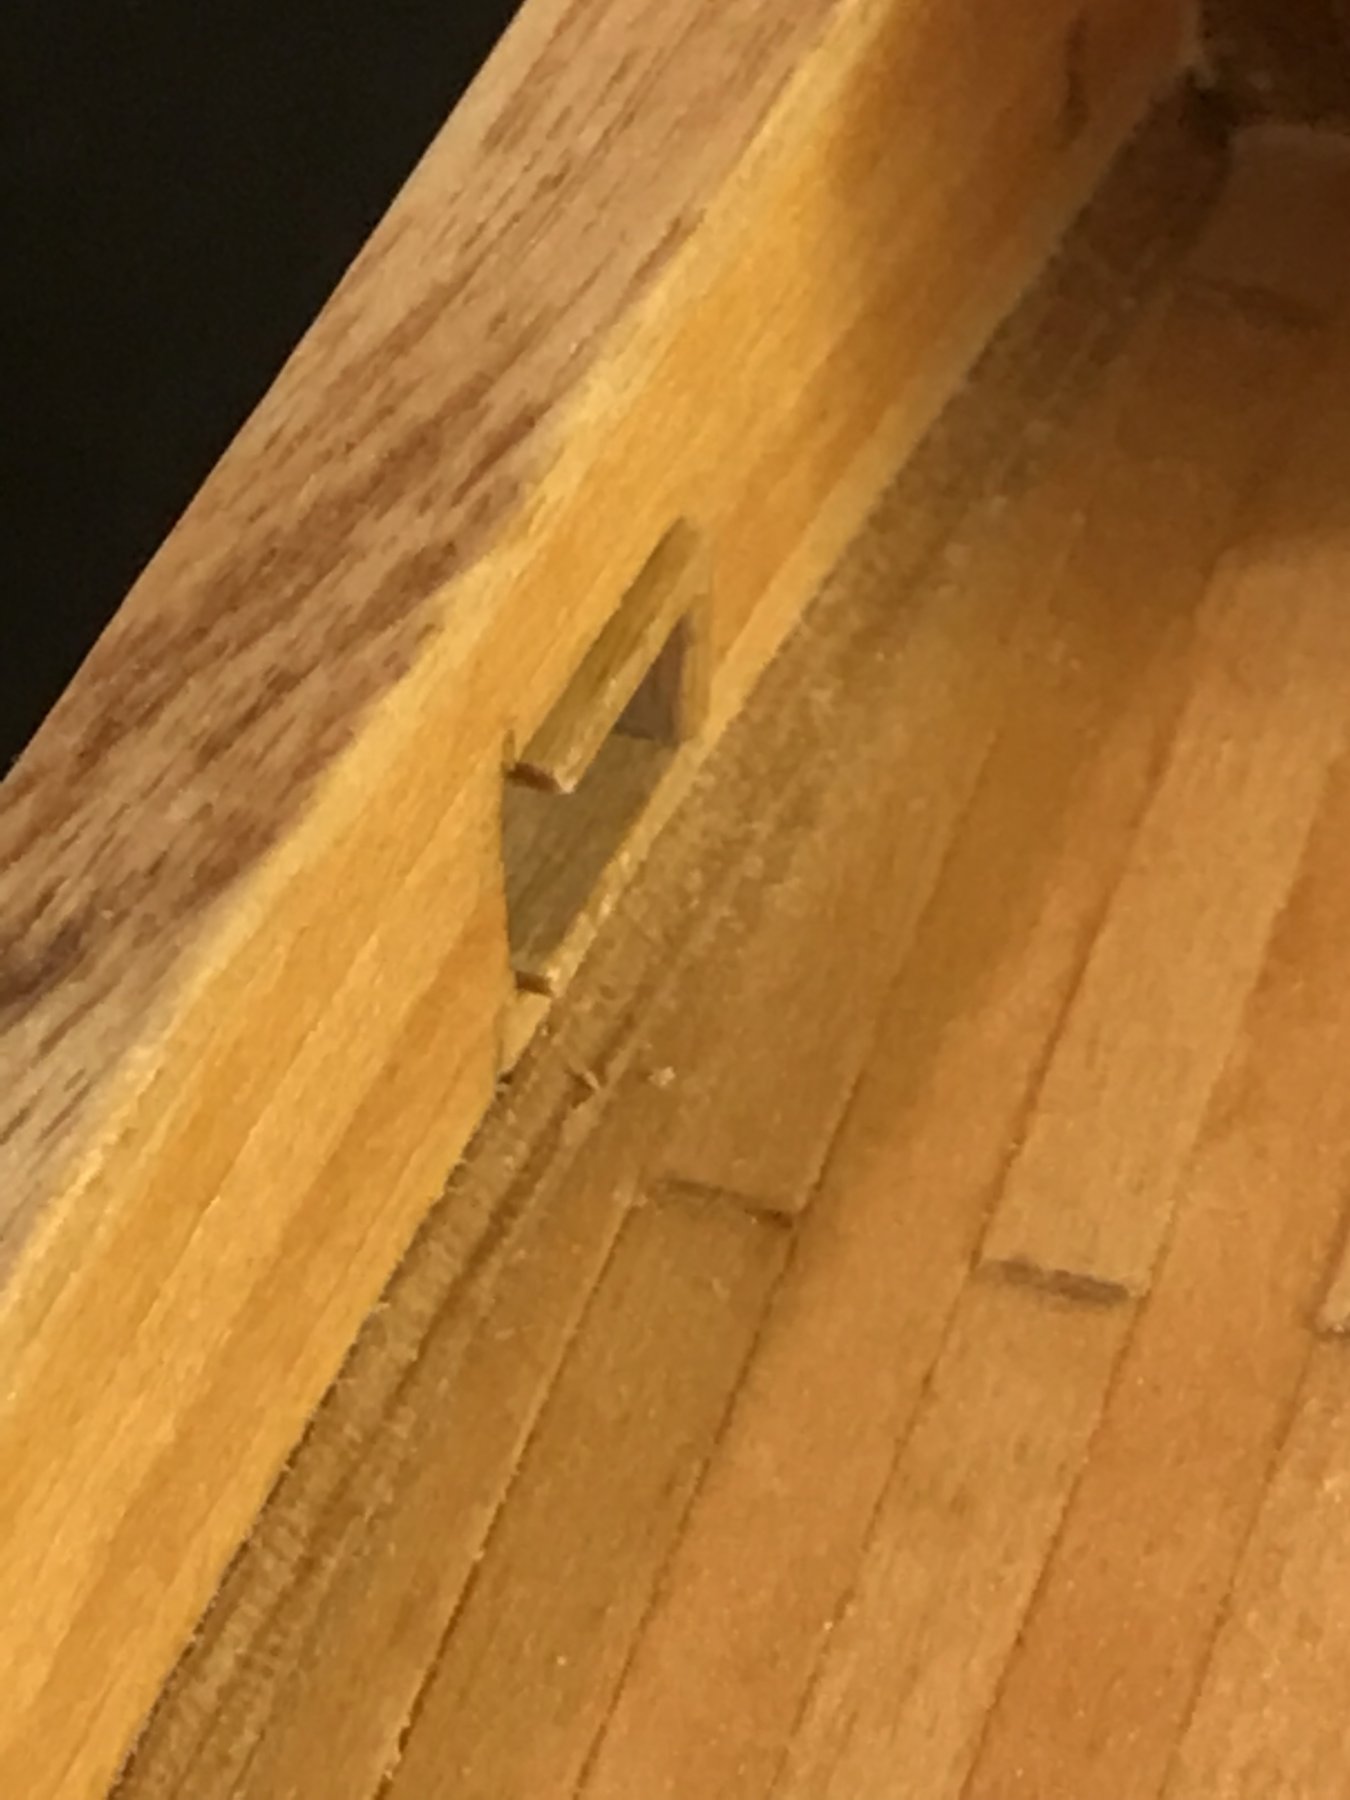
Well it looks like I discovered my first mistake. Putting the bow extensions of the bulwarks on, I noticed that the grating was not going to fit. I doublenplanked them to match the rest of the bulwark but I didn’t even look at the directions, it looks like it is only planked with .5mm...so now their is too much material internally and the laser cut grating borders will not fit. Any suggestions? Not exactly sure how to correct this one.
Considering just filing the border of the grating so it will move will move forward a little more. This is probably the route I’ll take, short of undercutting the bottom of the bulwark extension (is there a correct terminology?) I don’t see any other solution.

-
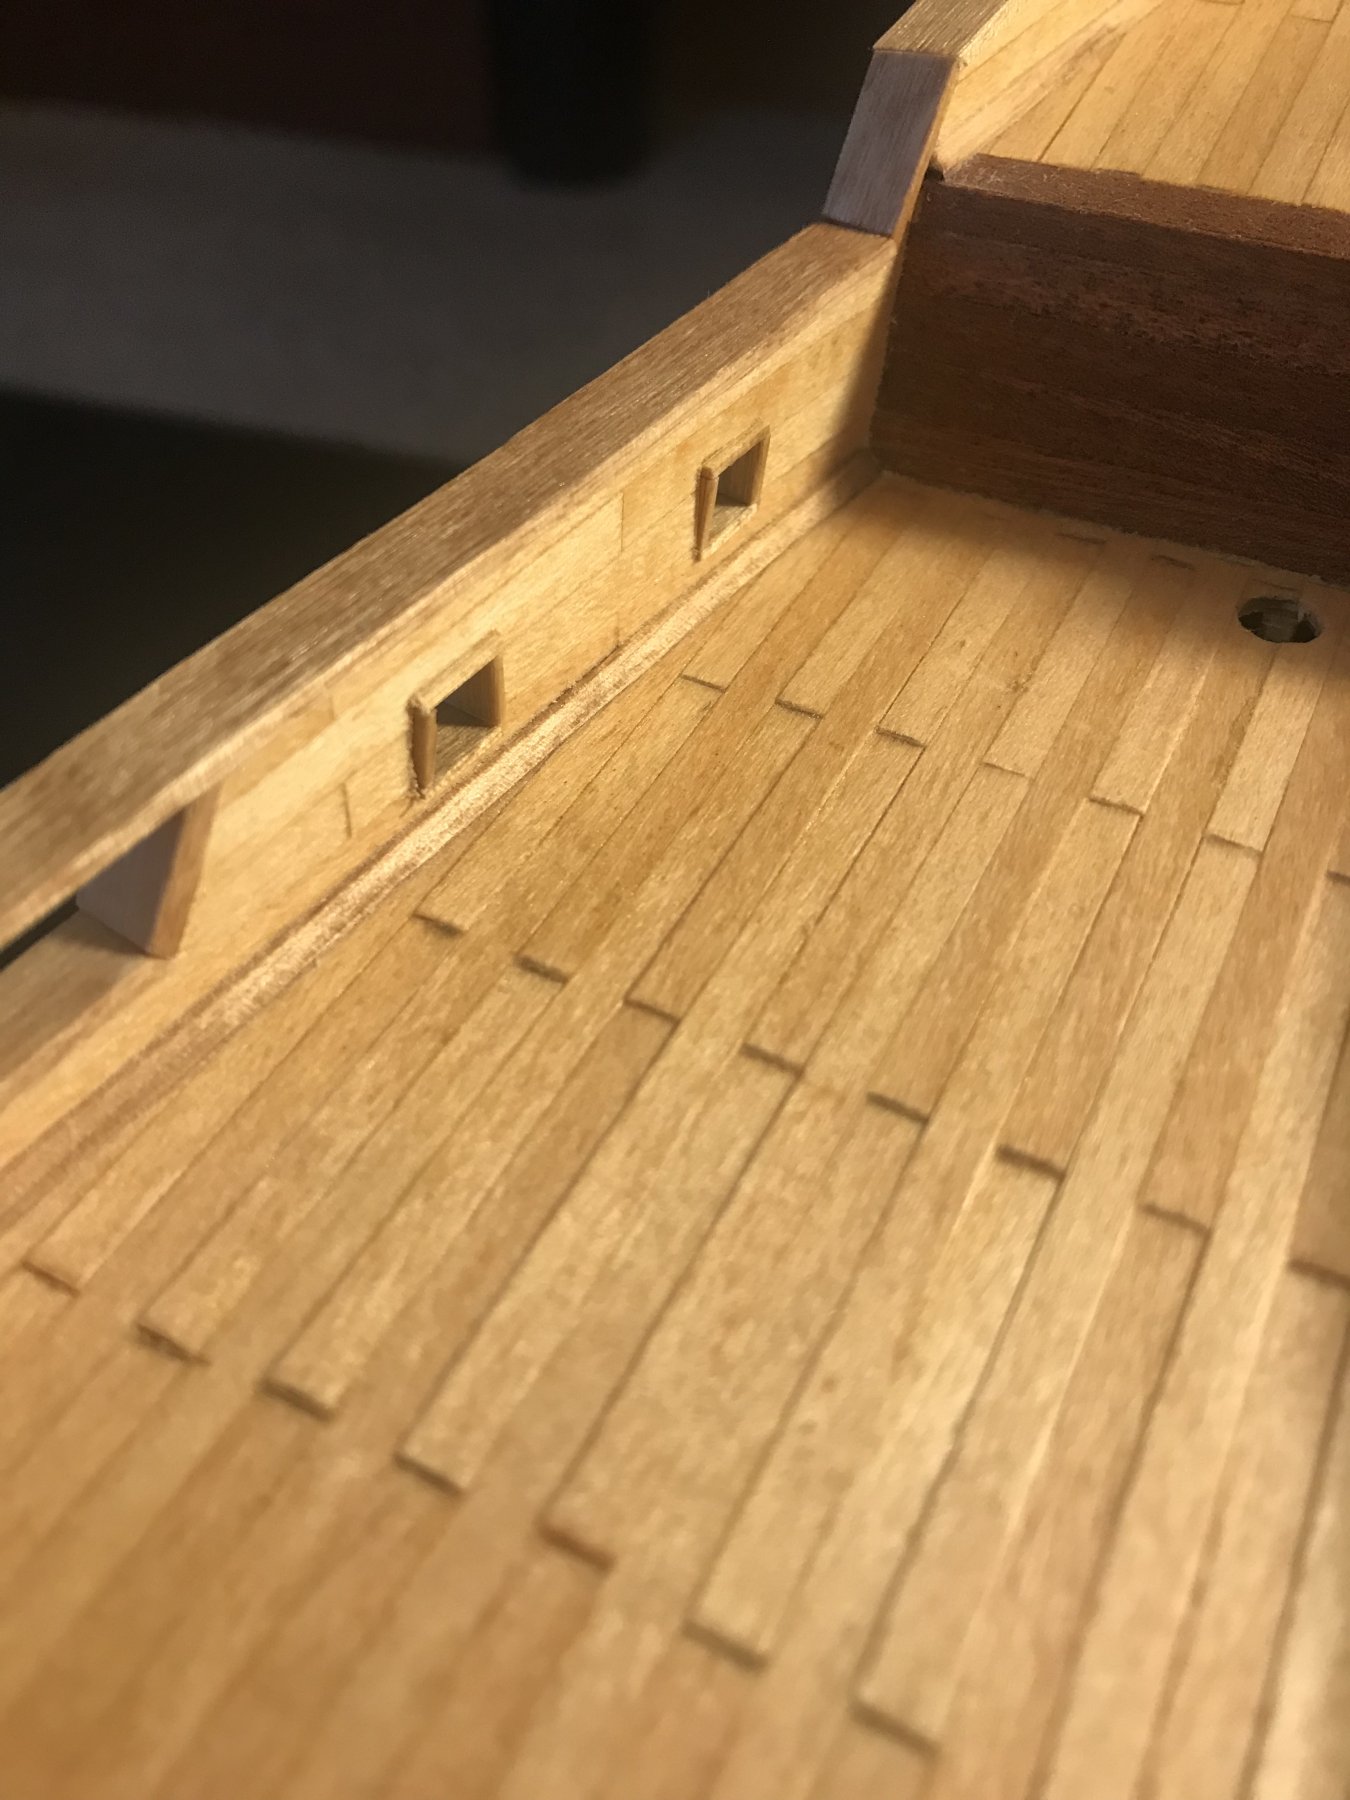
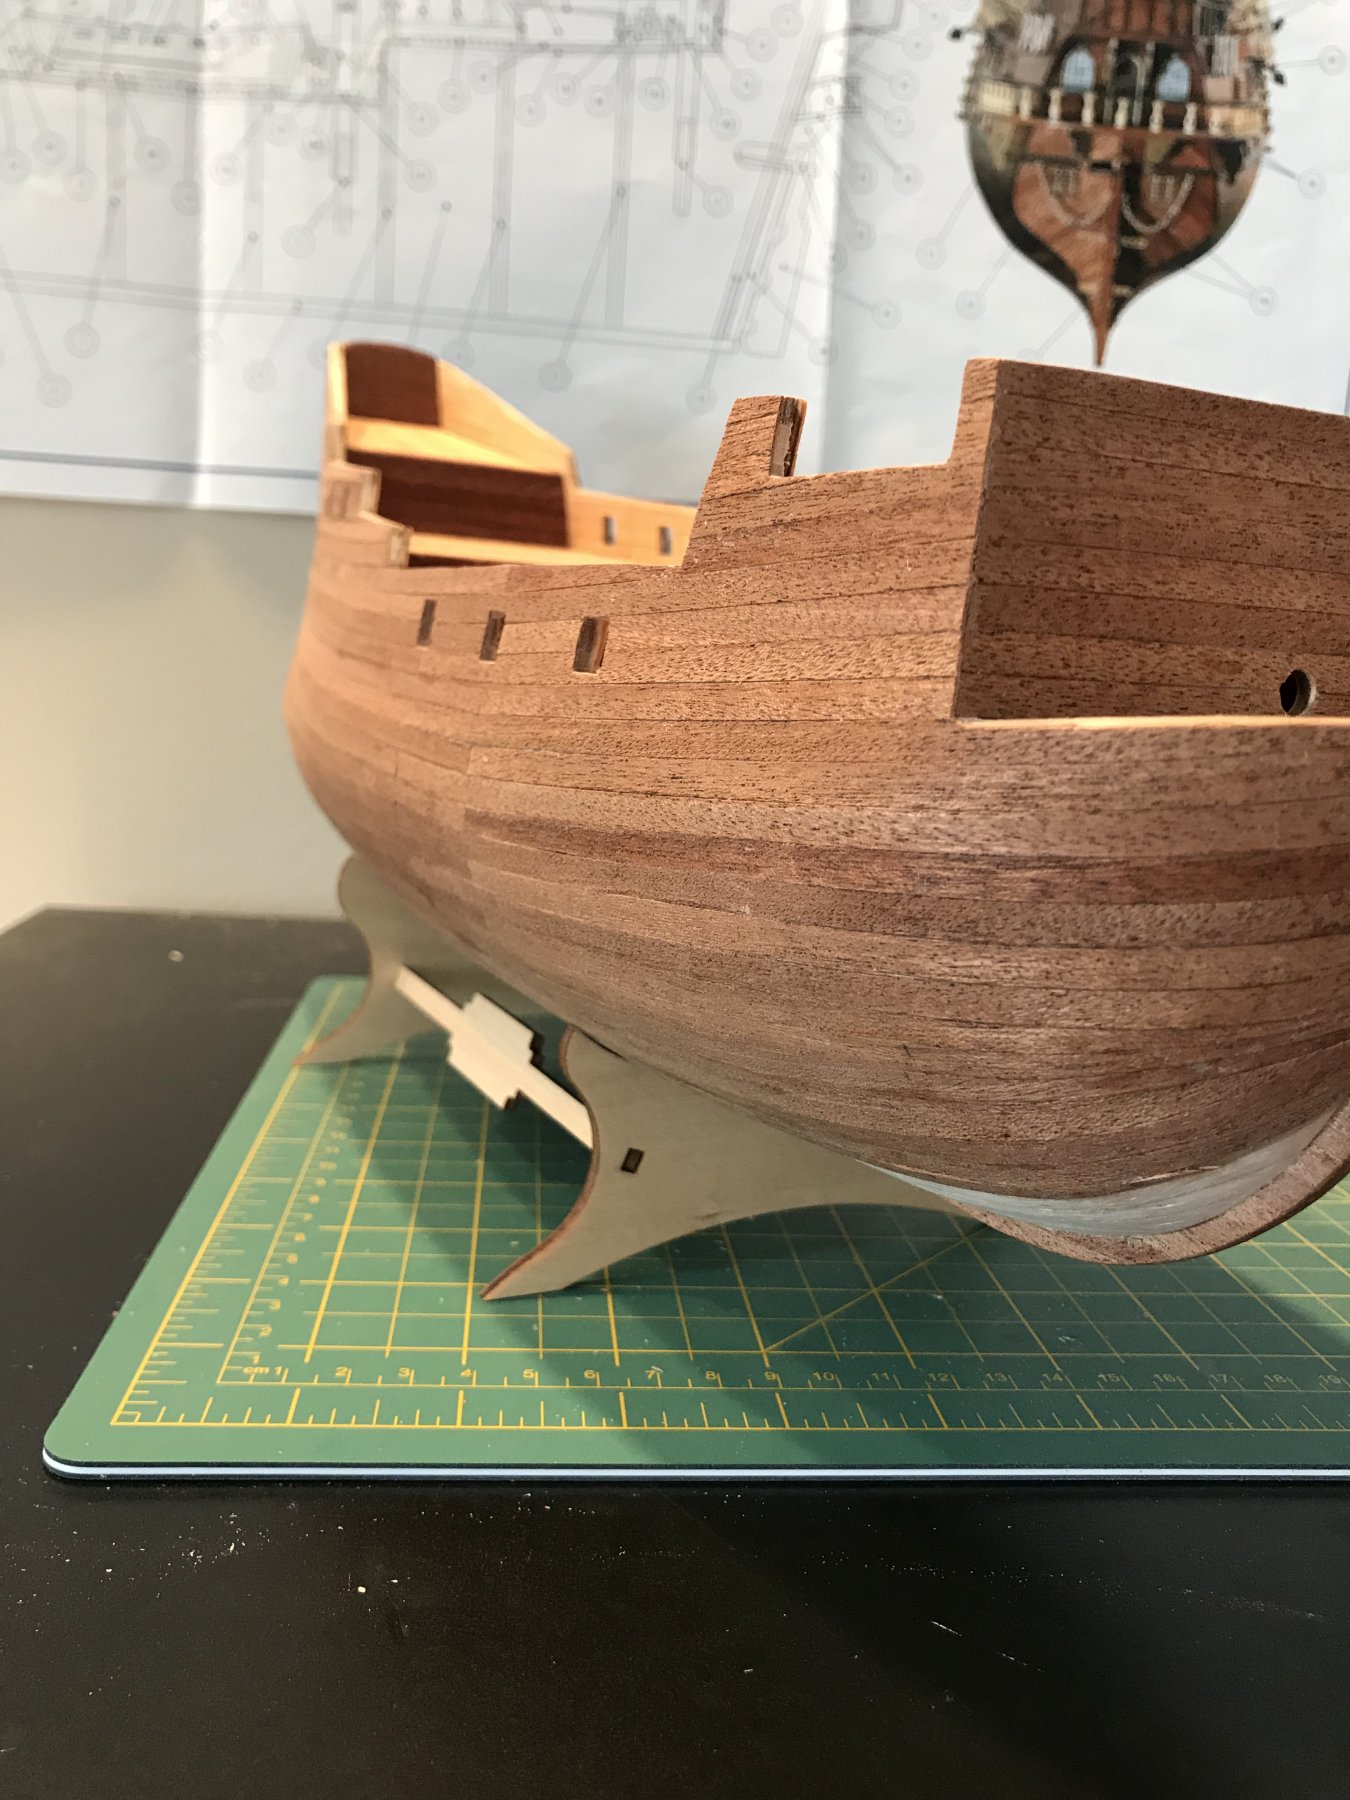
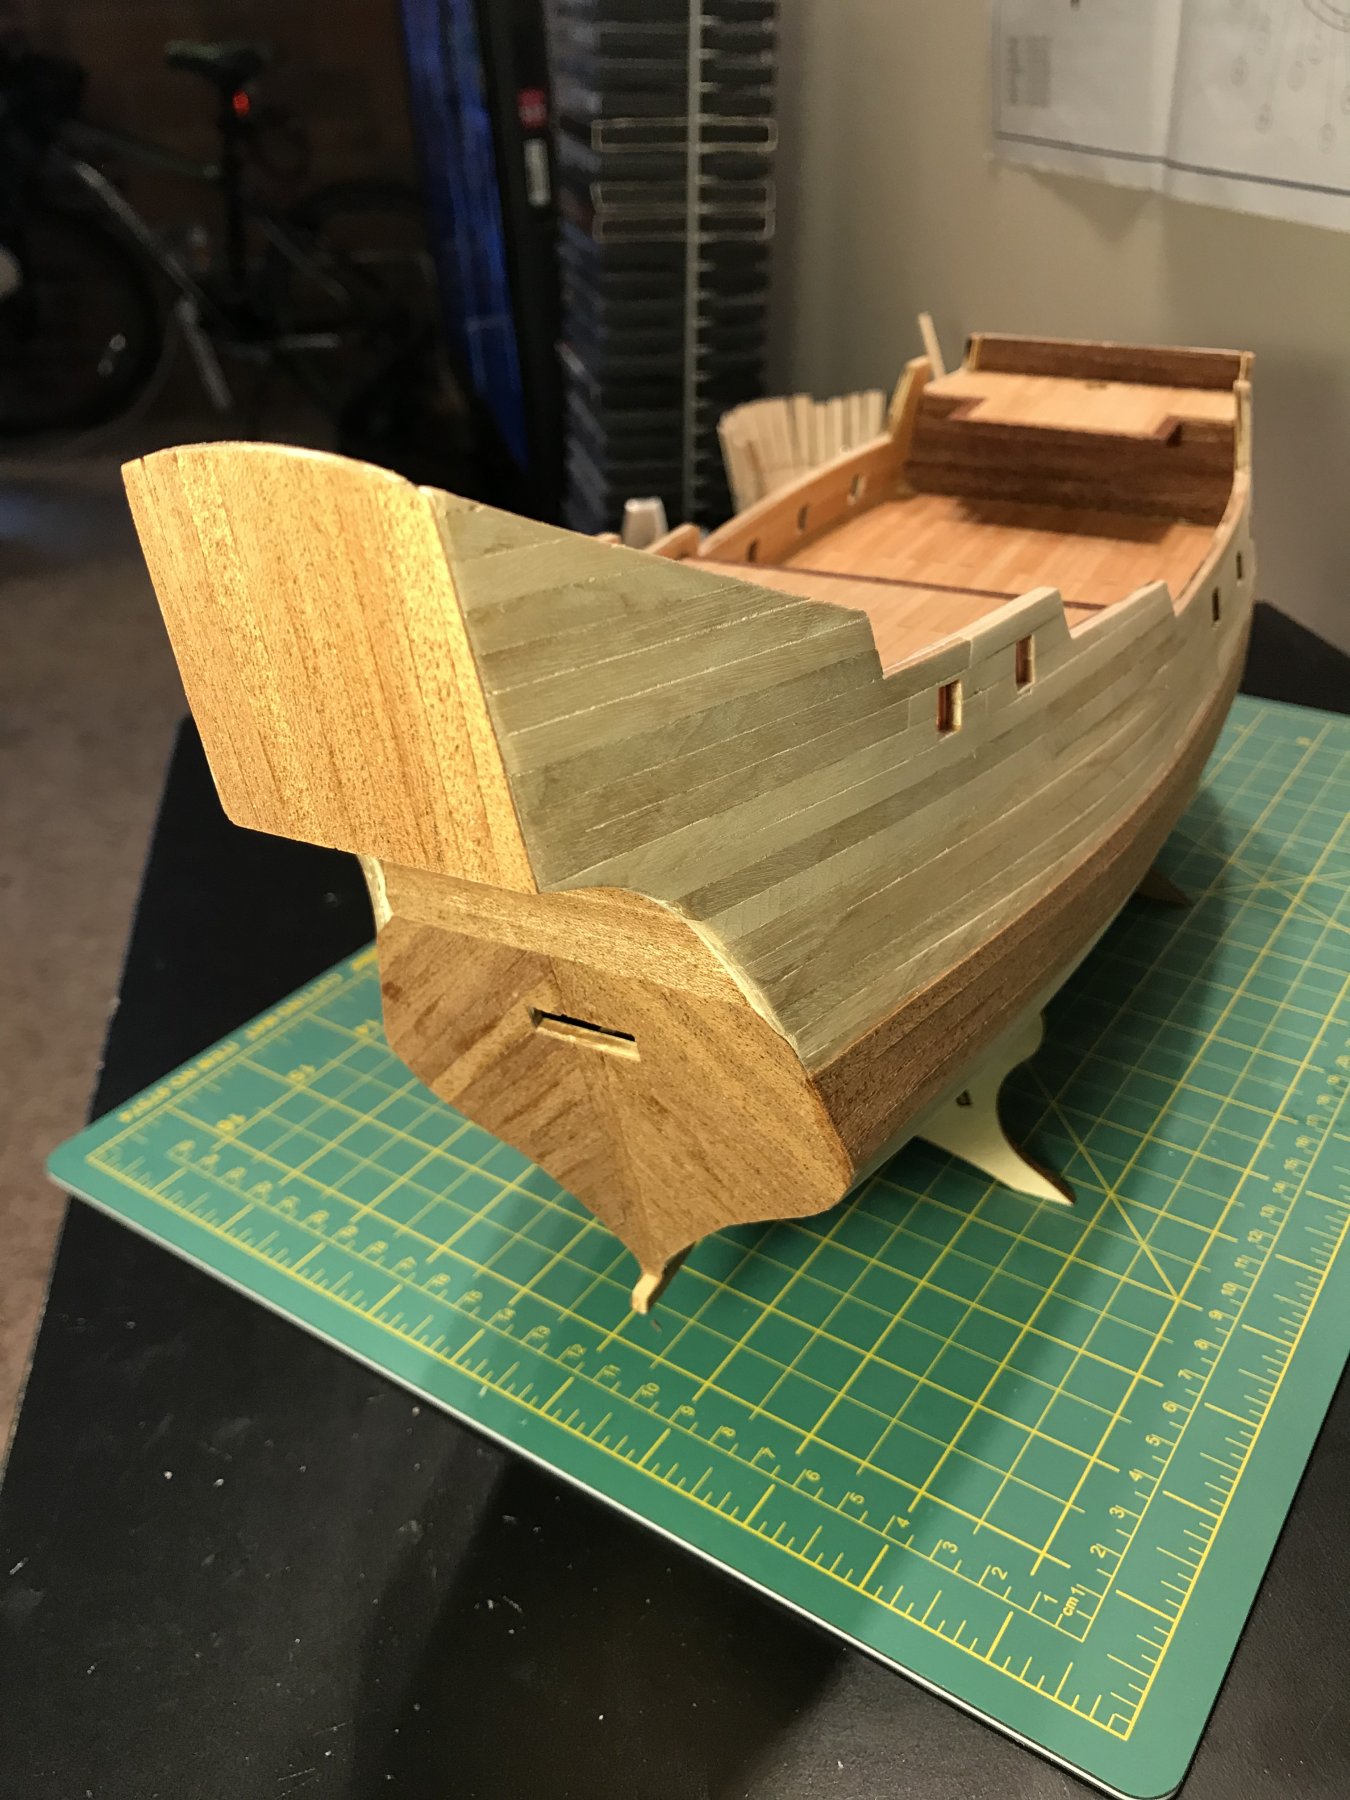
Working on the gun ports now...silly me forgot to account for the angle of the bulwark and the inside of the gun ports don’t line up. So for the rest of them I made the side pieces more of a rhombus instead of the square and they lined up perfectly. Probably going to pop that first one off and redo it.


-
Progress has slowed down immensely this month but I’m still trucking away slowly. I had to take my medical board licensing exam, small vacation to dallas, and I just found out I’ll be starting residency in Detroit next year. I’ve also started some small side projects including a live edge table for the new home.
Not much thought has gone into any customization of these steps lately, other than not painting everything black I’ve been following the directions pretty close.


-
Nice choice to use the natural wood for the gun ports rather than paint. I have looked at many logs so far and it seems the older AL models were natural wood and they recently moved to painting...I am a fan of the wood myself. I was wondering where you've been, glad to see things are still moving forward
-
-
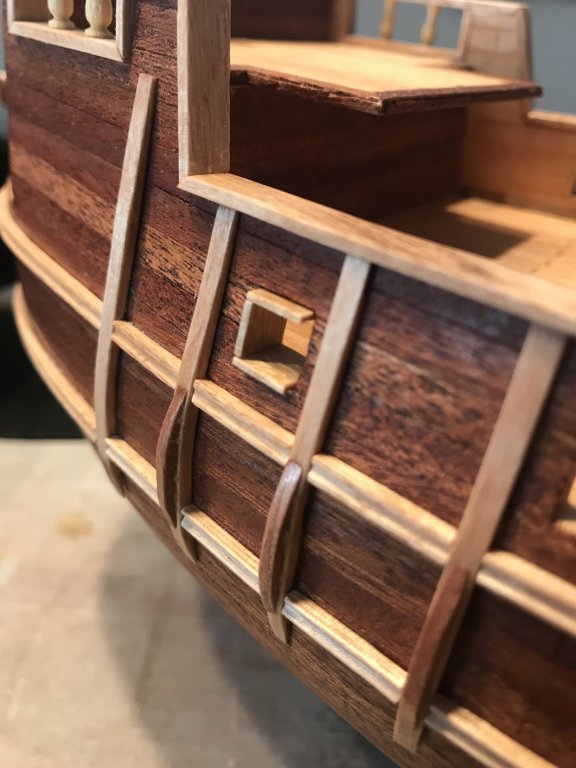
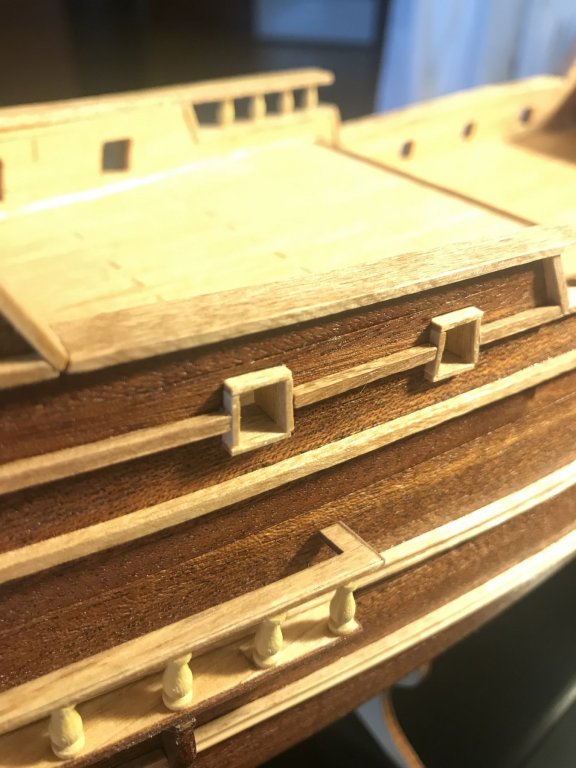
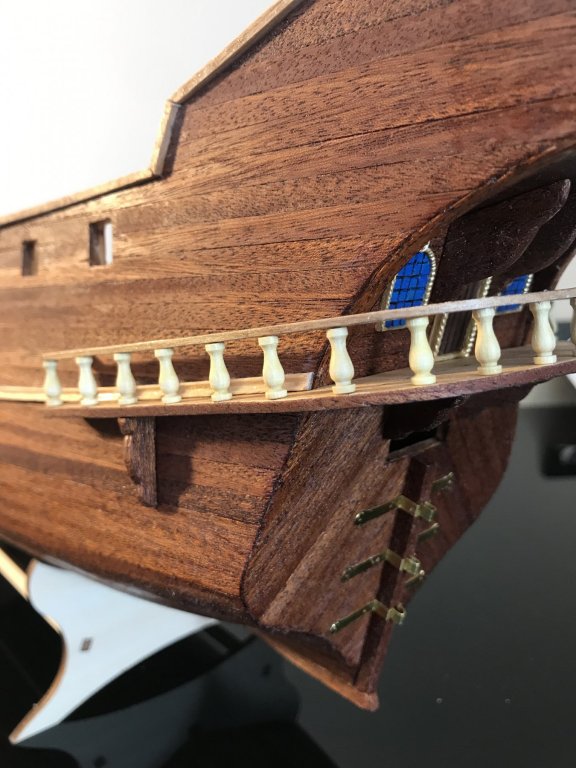
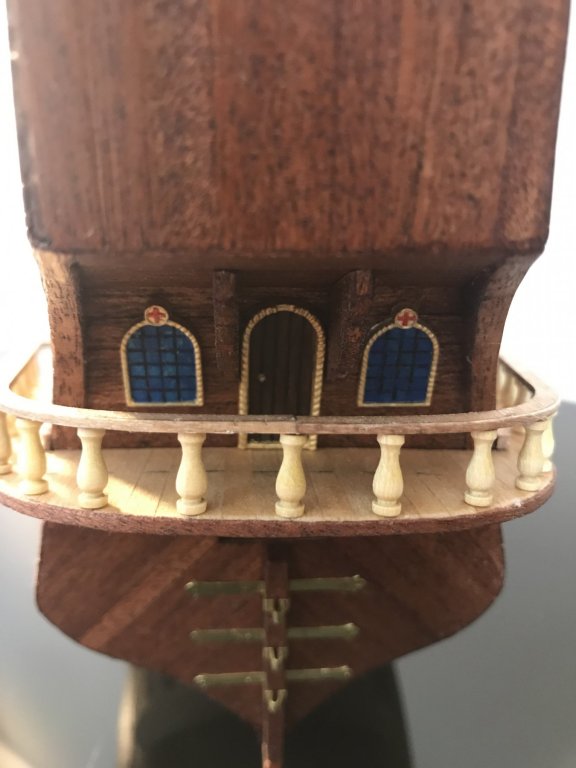
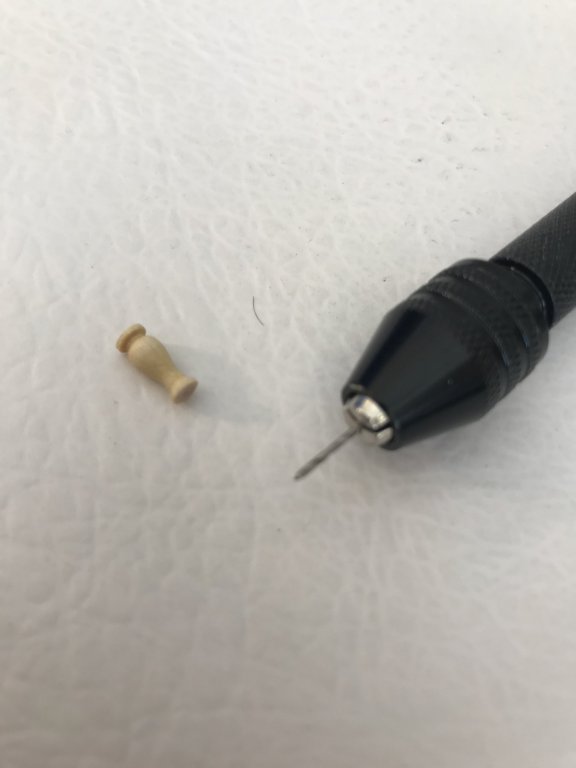
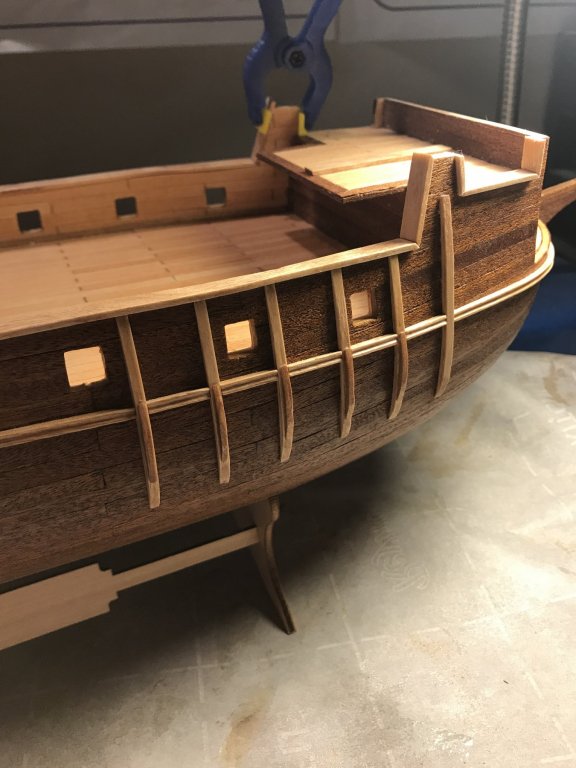
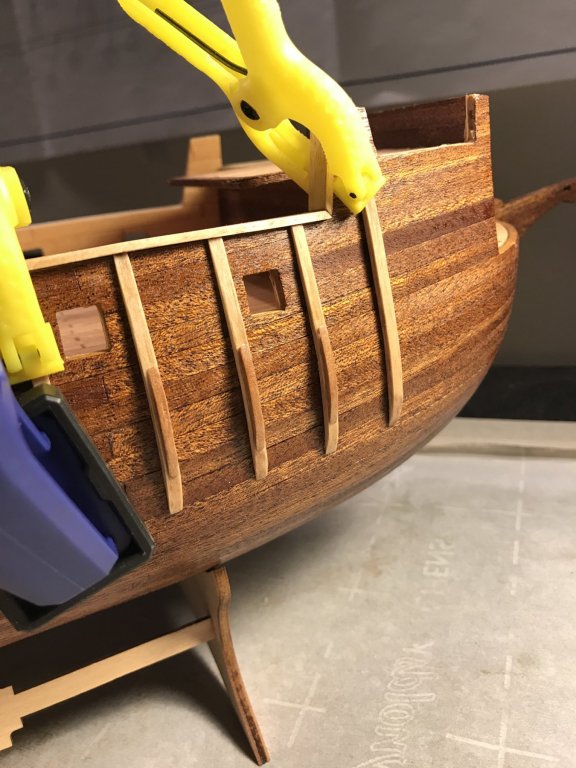
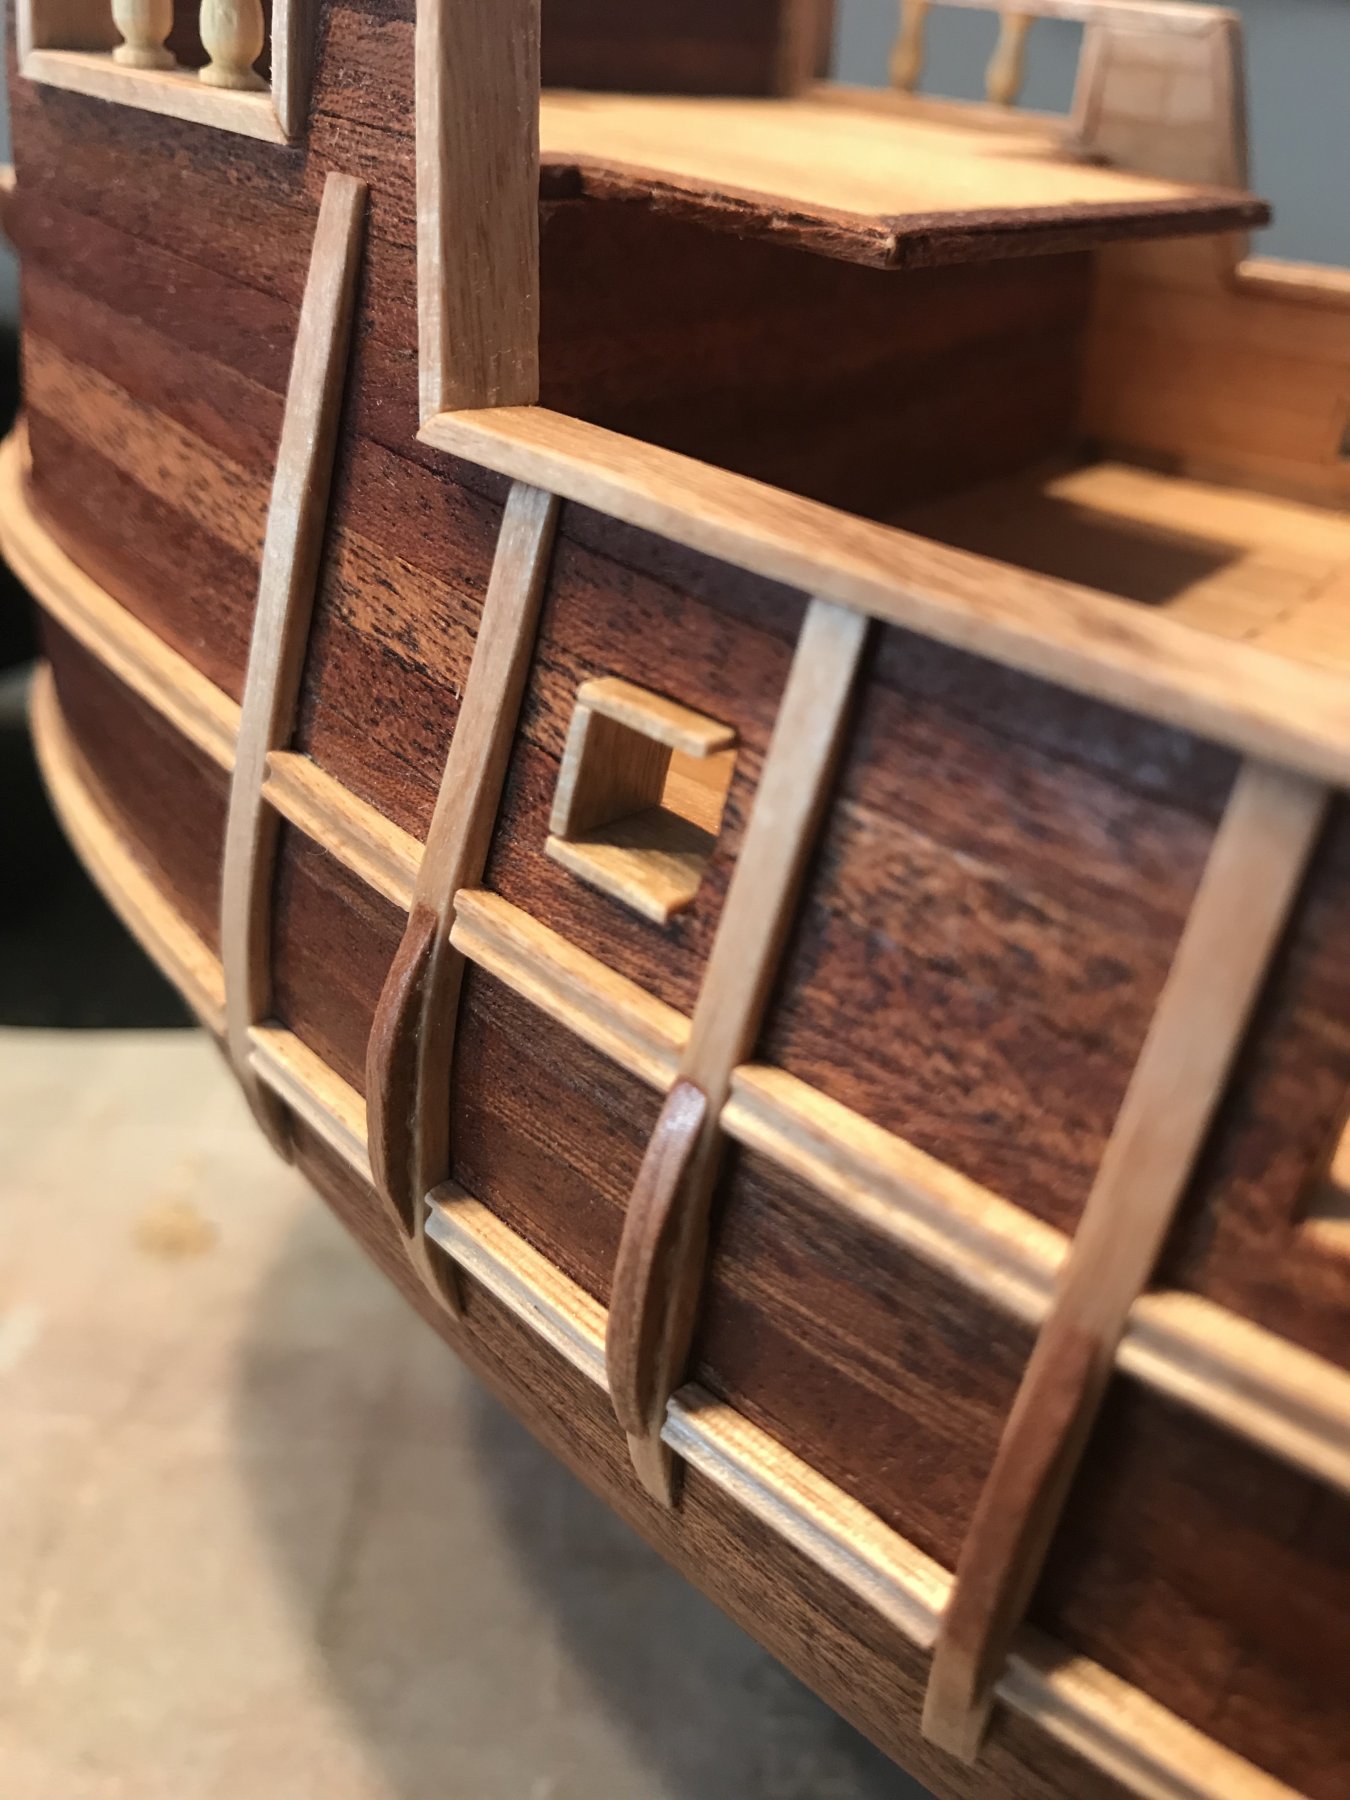
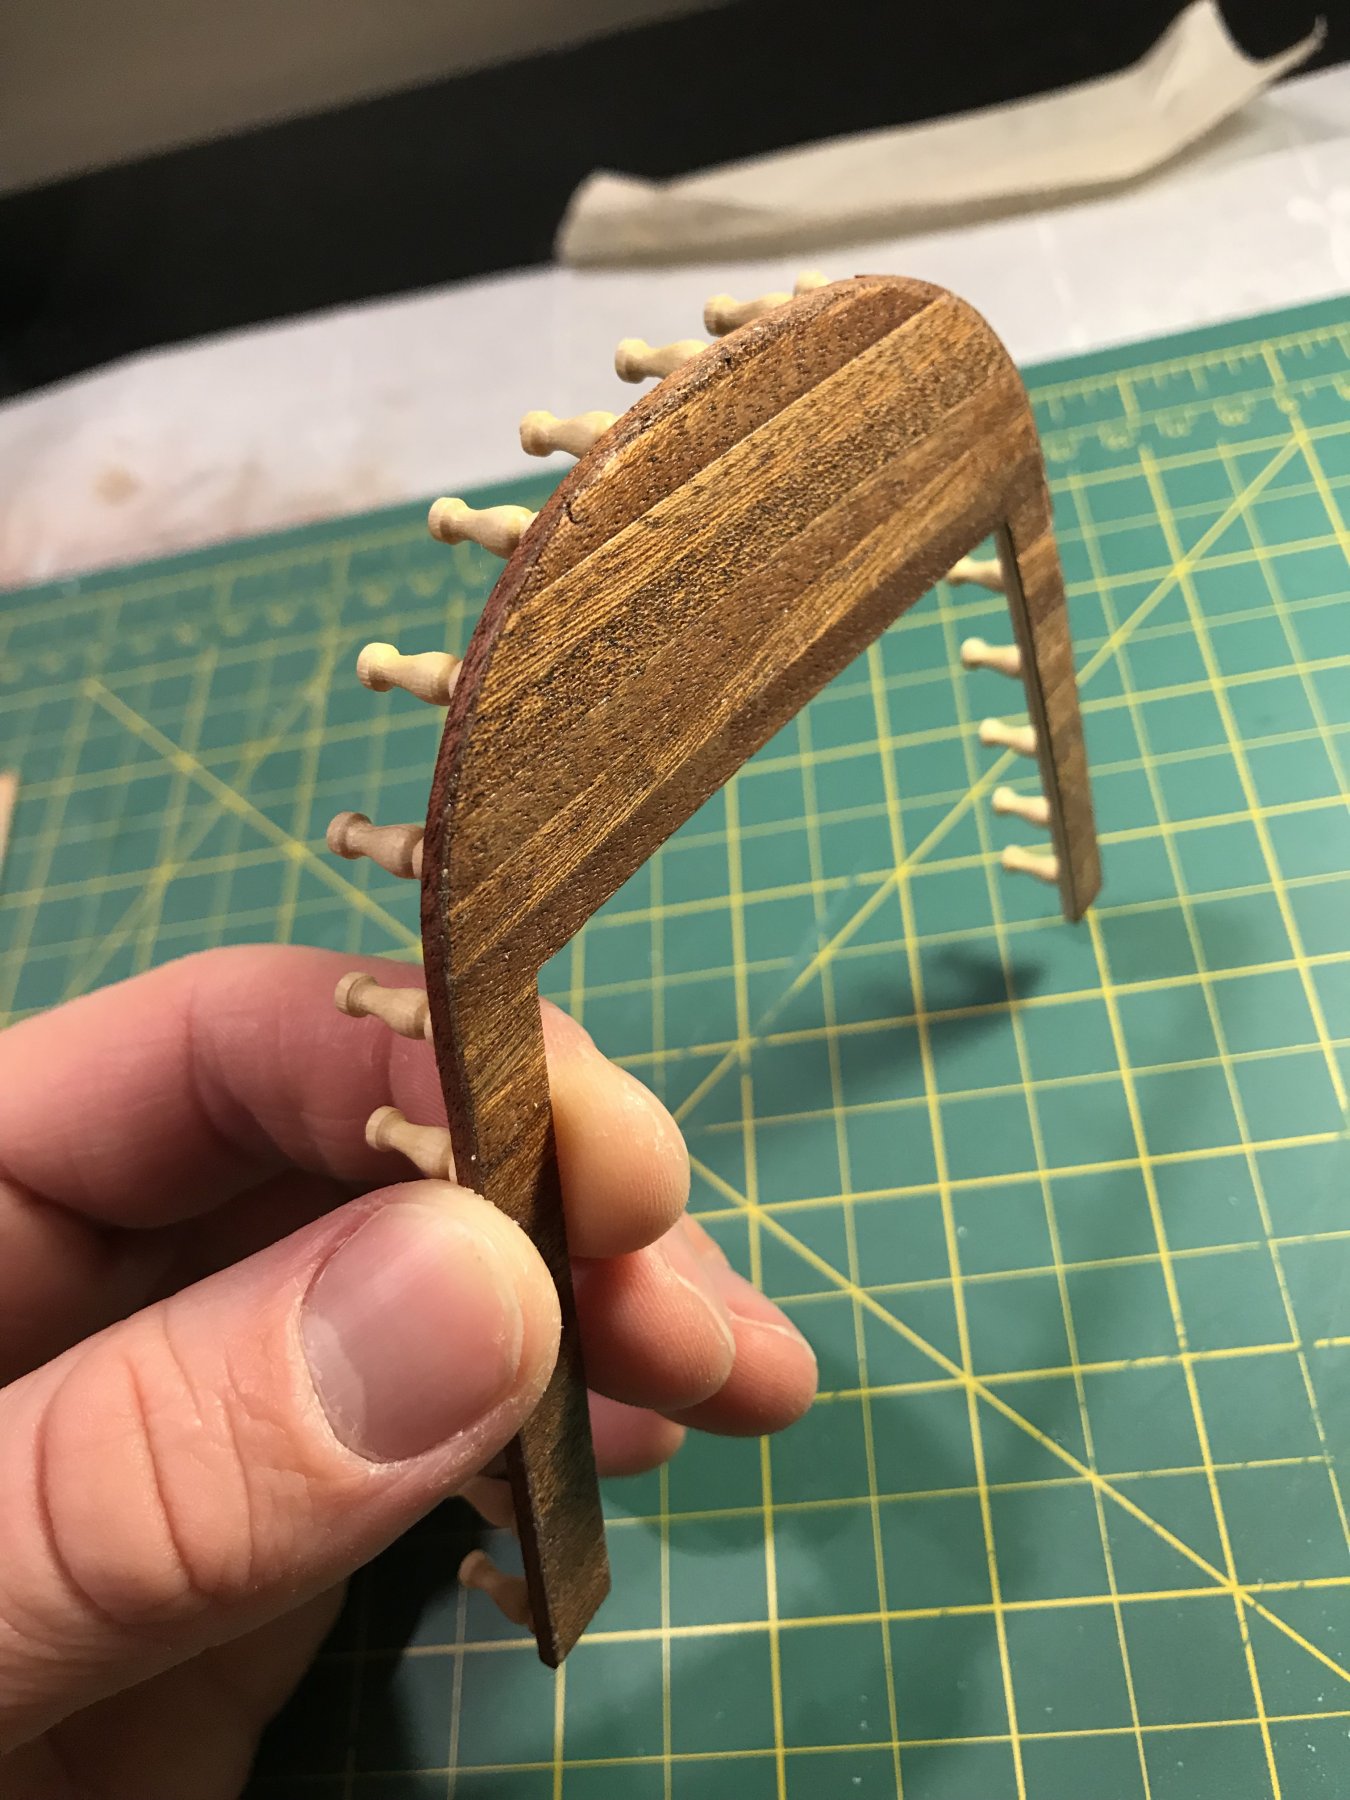
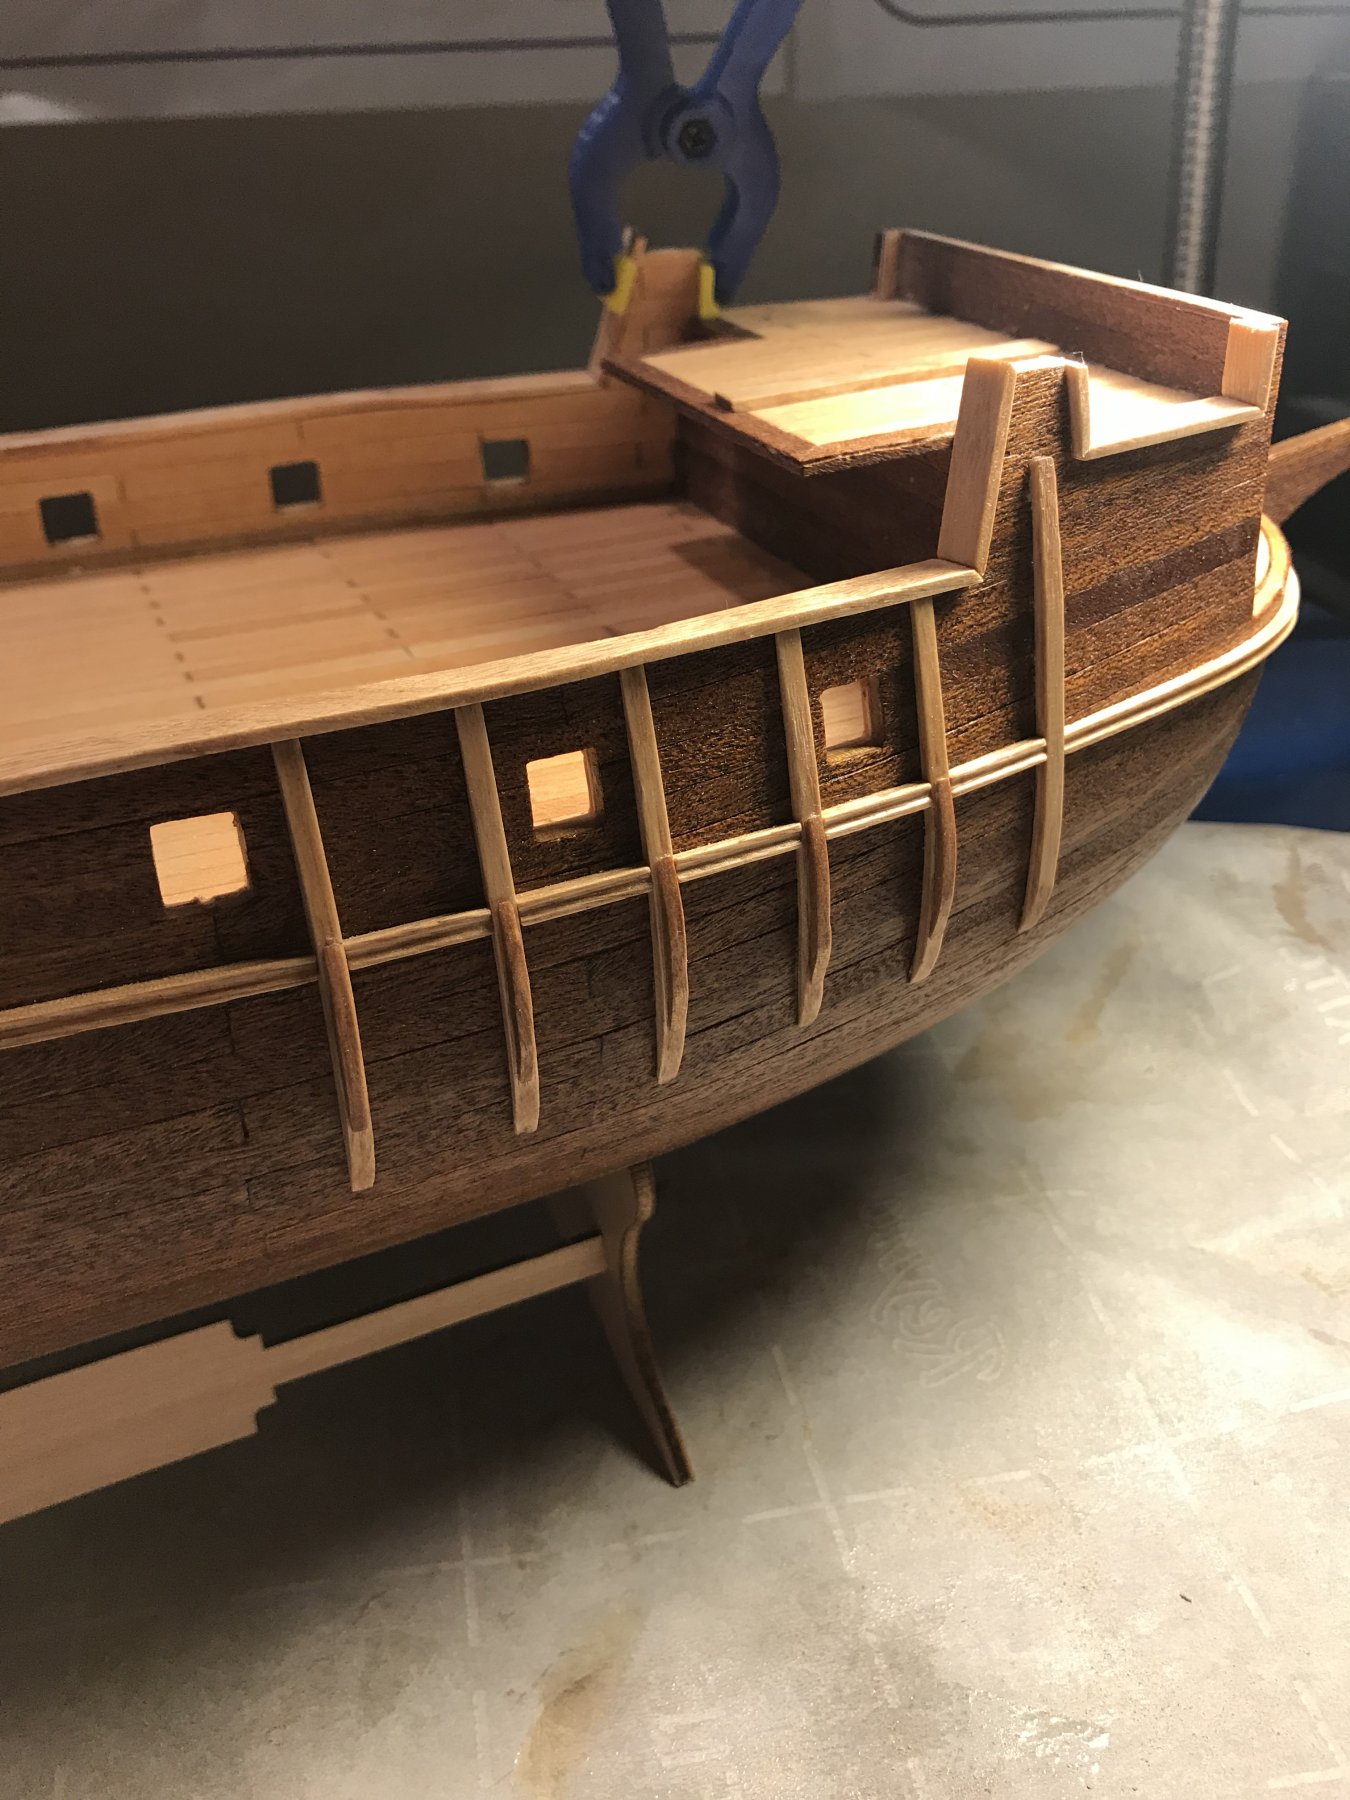
Starting to put the finishing touches on the outer railing. The running rigging gets tied around a few places, so I decided to reinforce the stanchions with small brass pins. Made the alignment easier to measure and plan a well. Increased the time significantly but I think it’ll pay off in the long run.
-
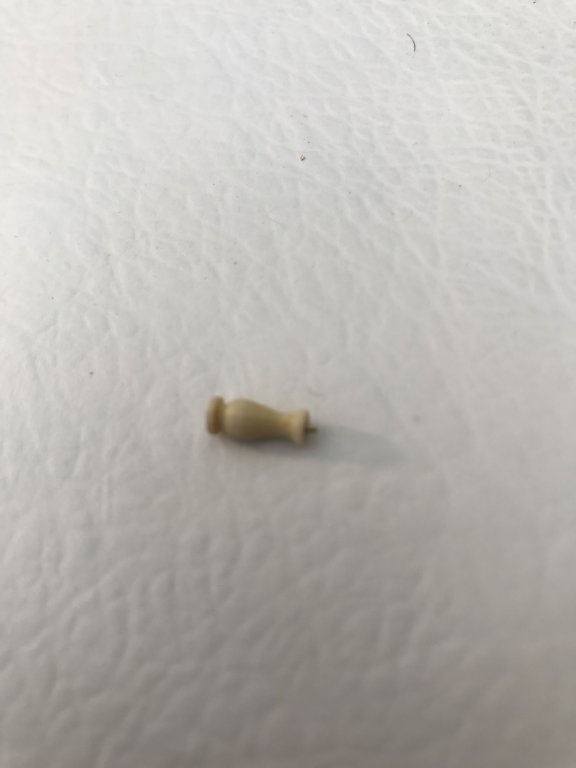
amazon has them, they really do add a nice touch. Although slightly tedious at times.
Here is the link for one of the kits, the other one is "model kit A" and a link should be somewhere on the page
https://www.amazon.com/dp/B003T37B66?ref_=pe_1196280_123950170
-
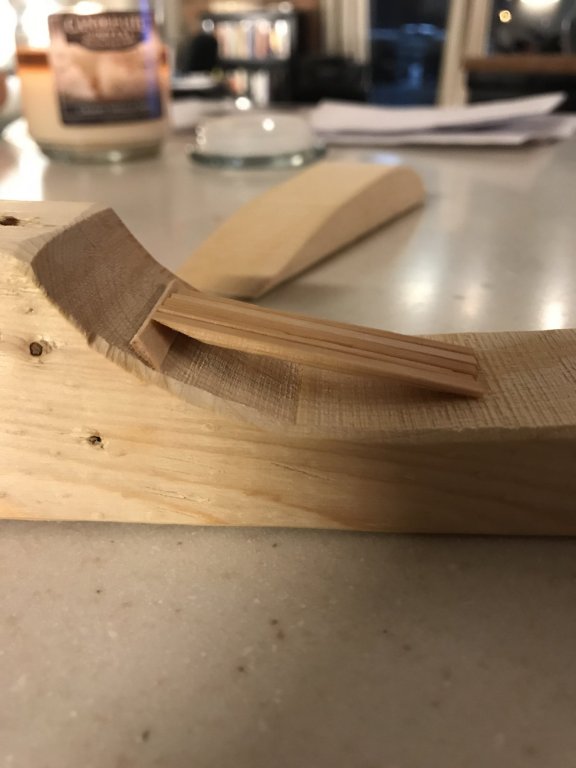
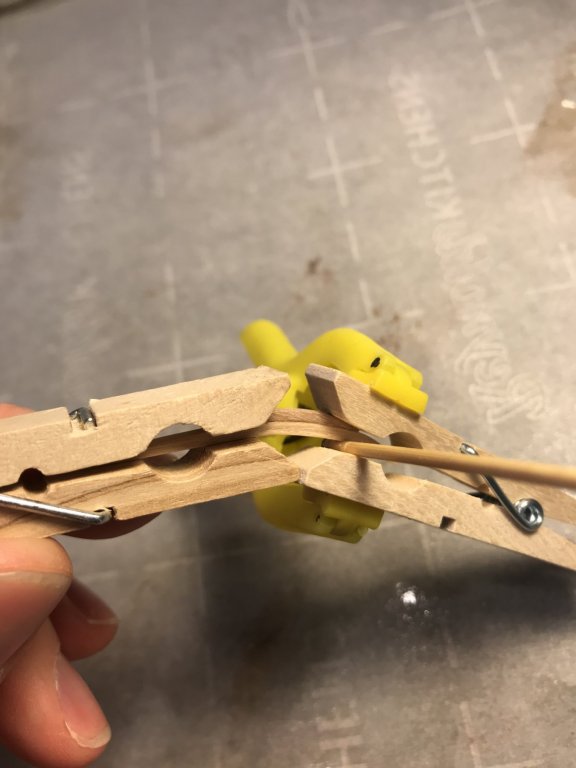
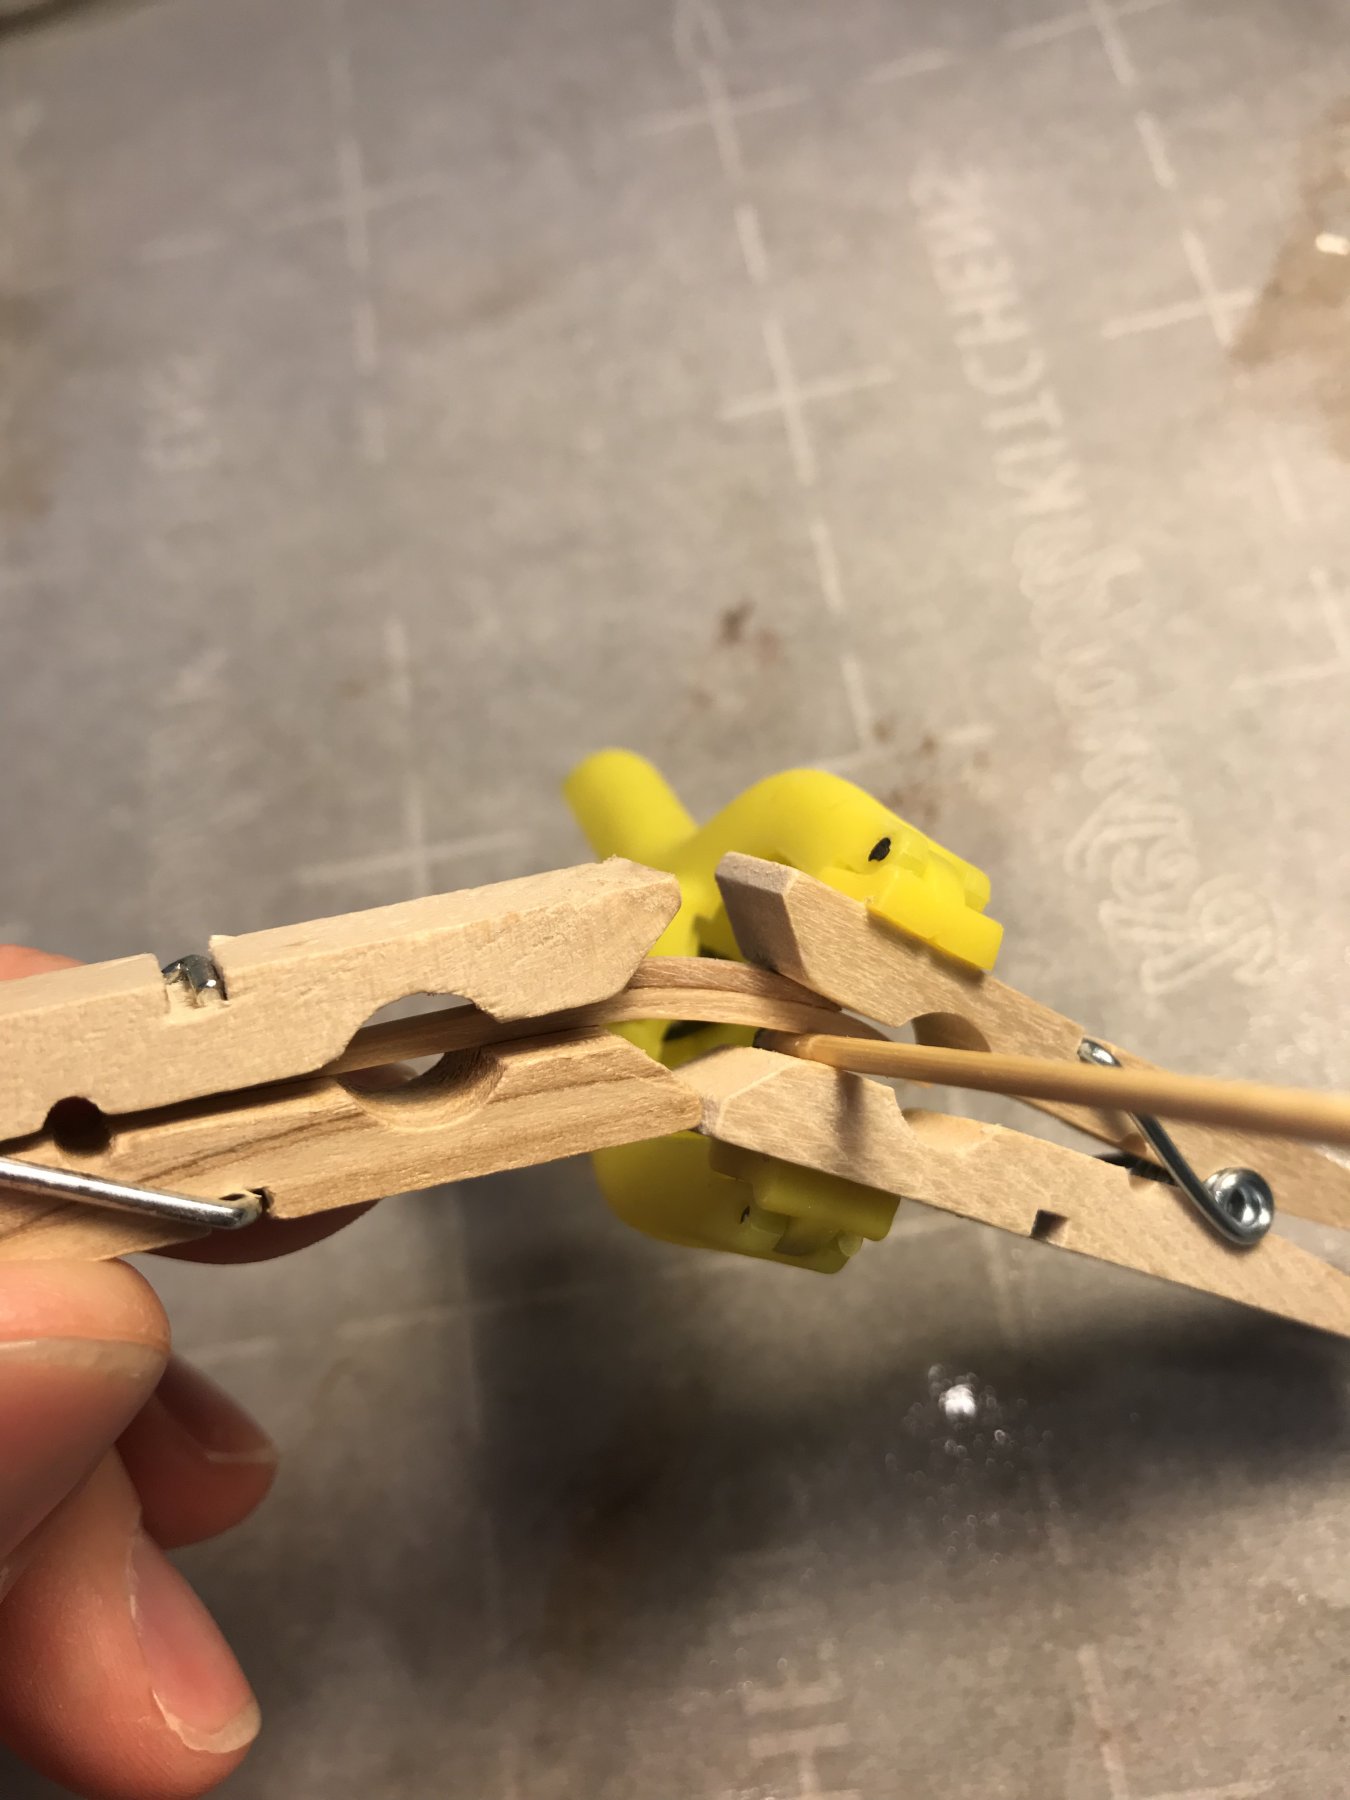
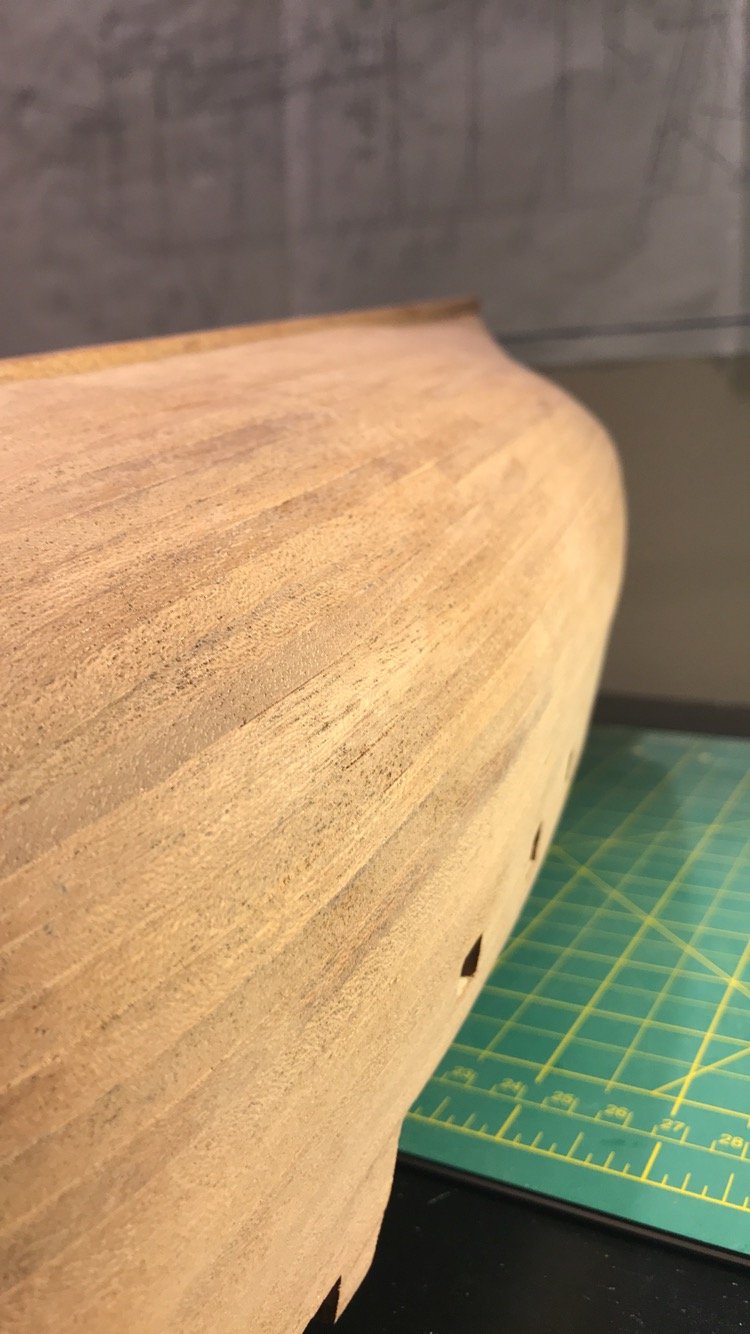
Just a small update. Bending the side bumpers with the taper was a challenge to figure out, I cut a piece of 2x4 with the vertical curve of the hull and then placed the pieces in there. I filed a small leftover plank at an angle to fill the space while bending. Some complicated/creative clamping.
im really liking my decision to not paint the wood.

-
-
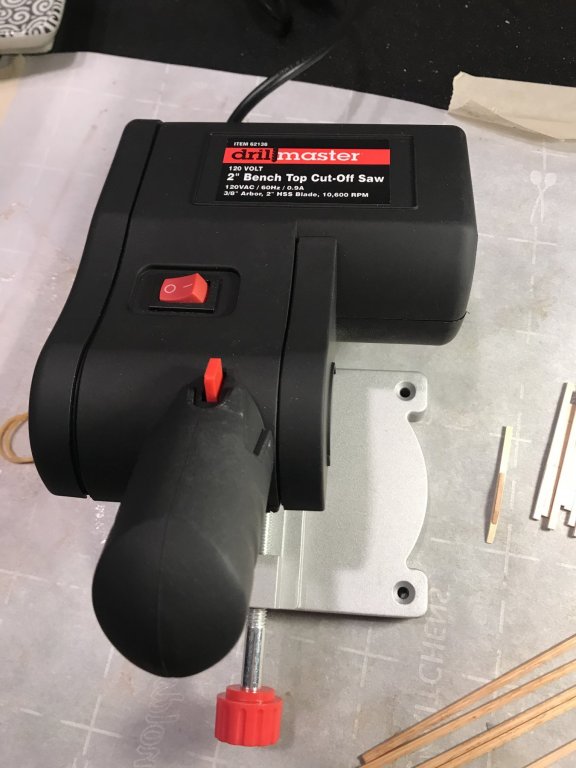
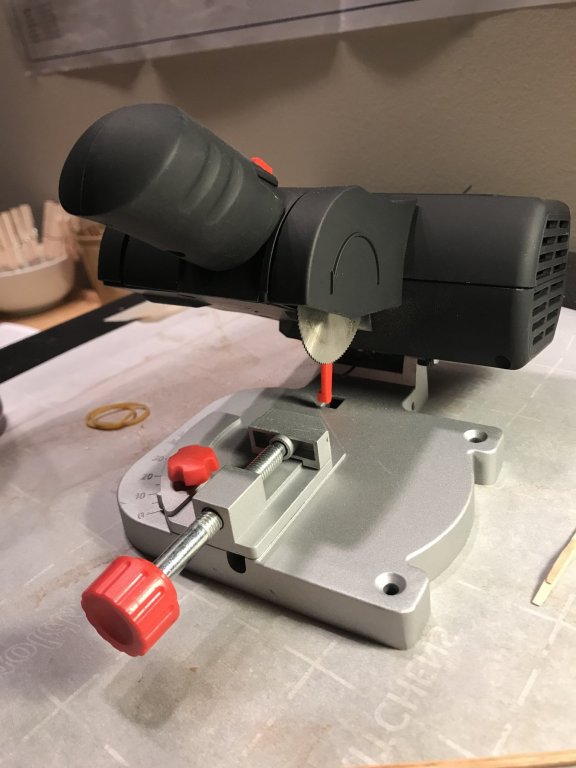
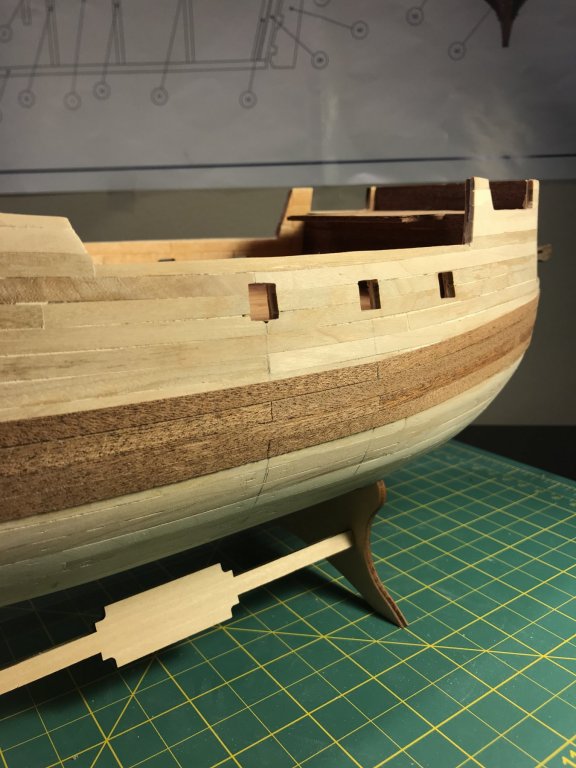
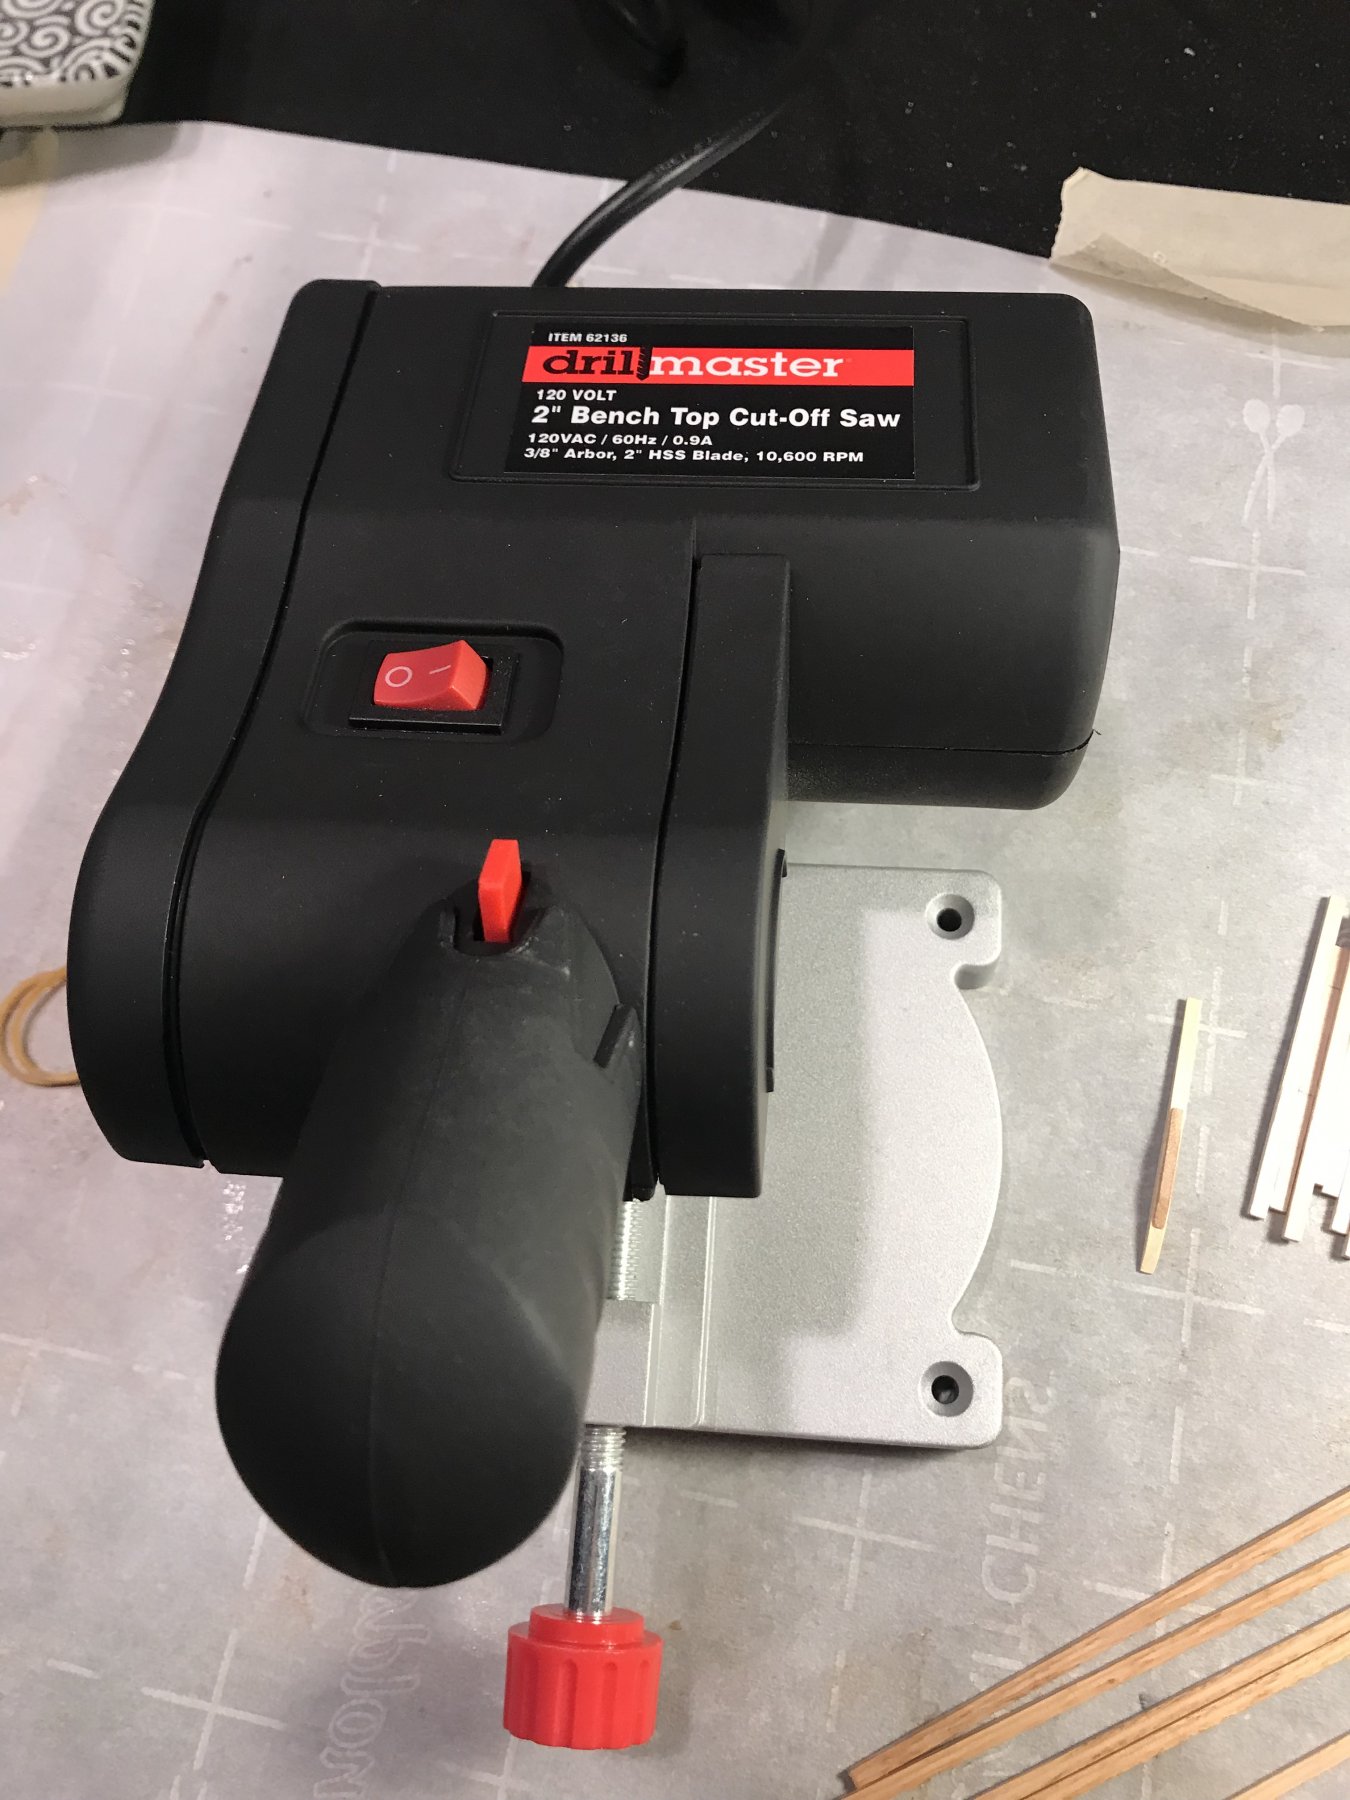
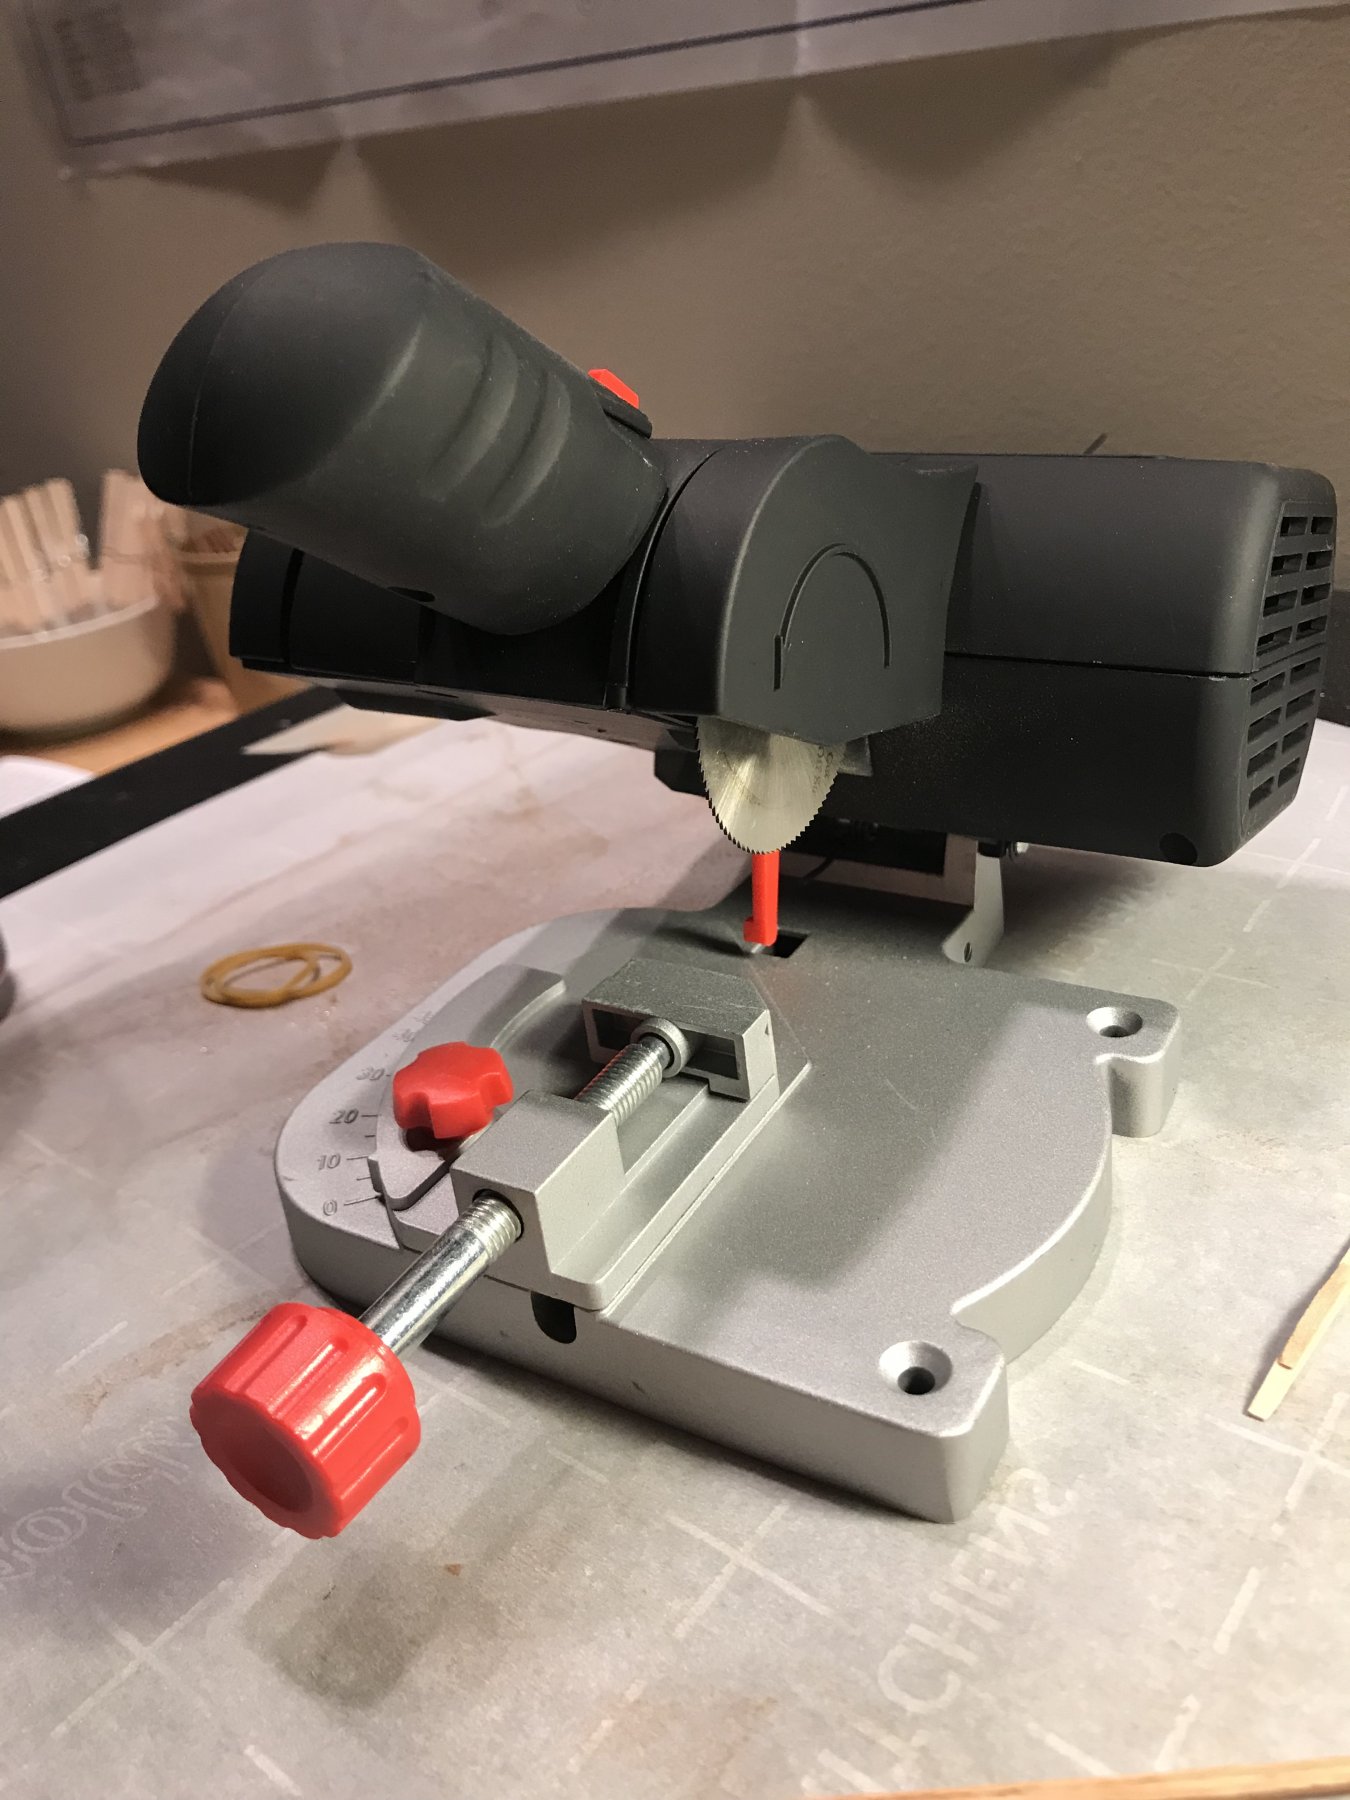
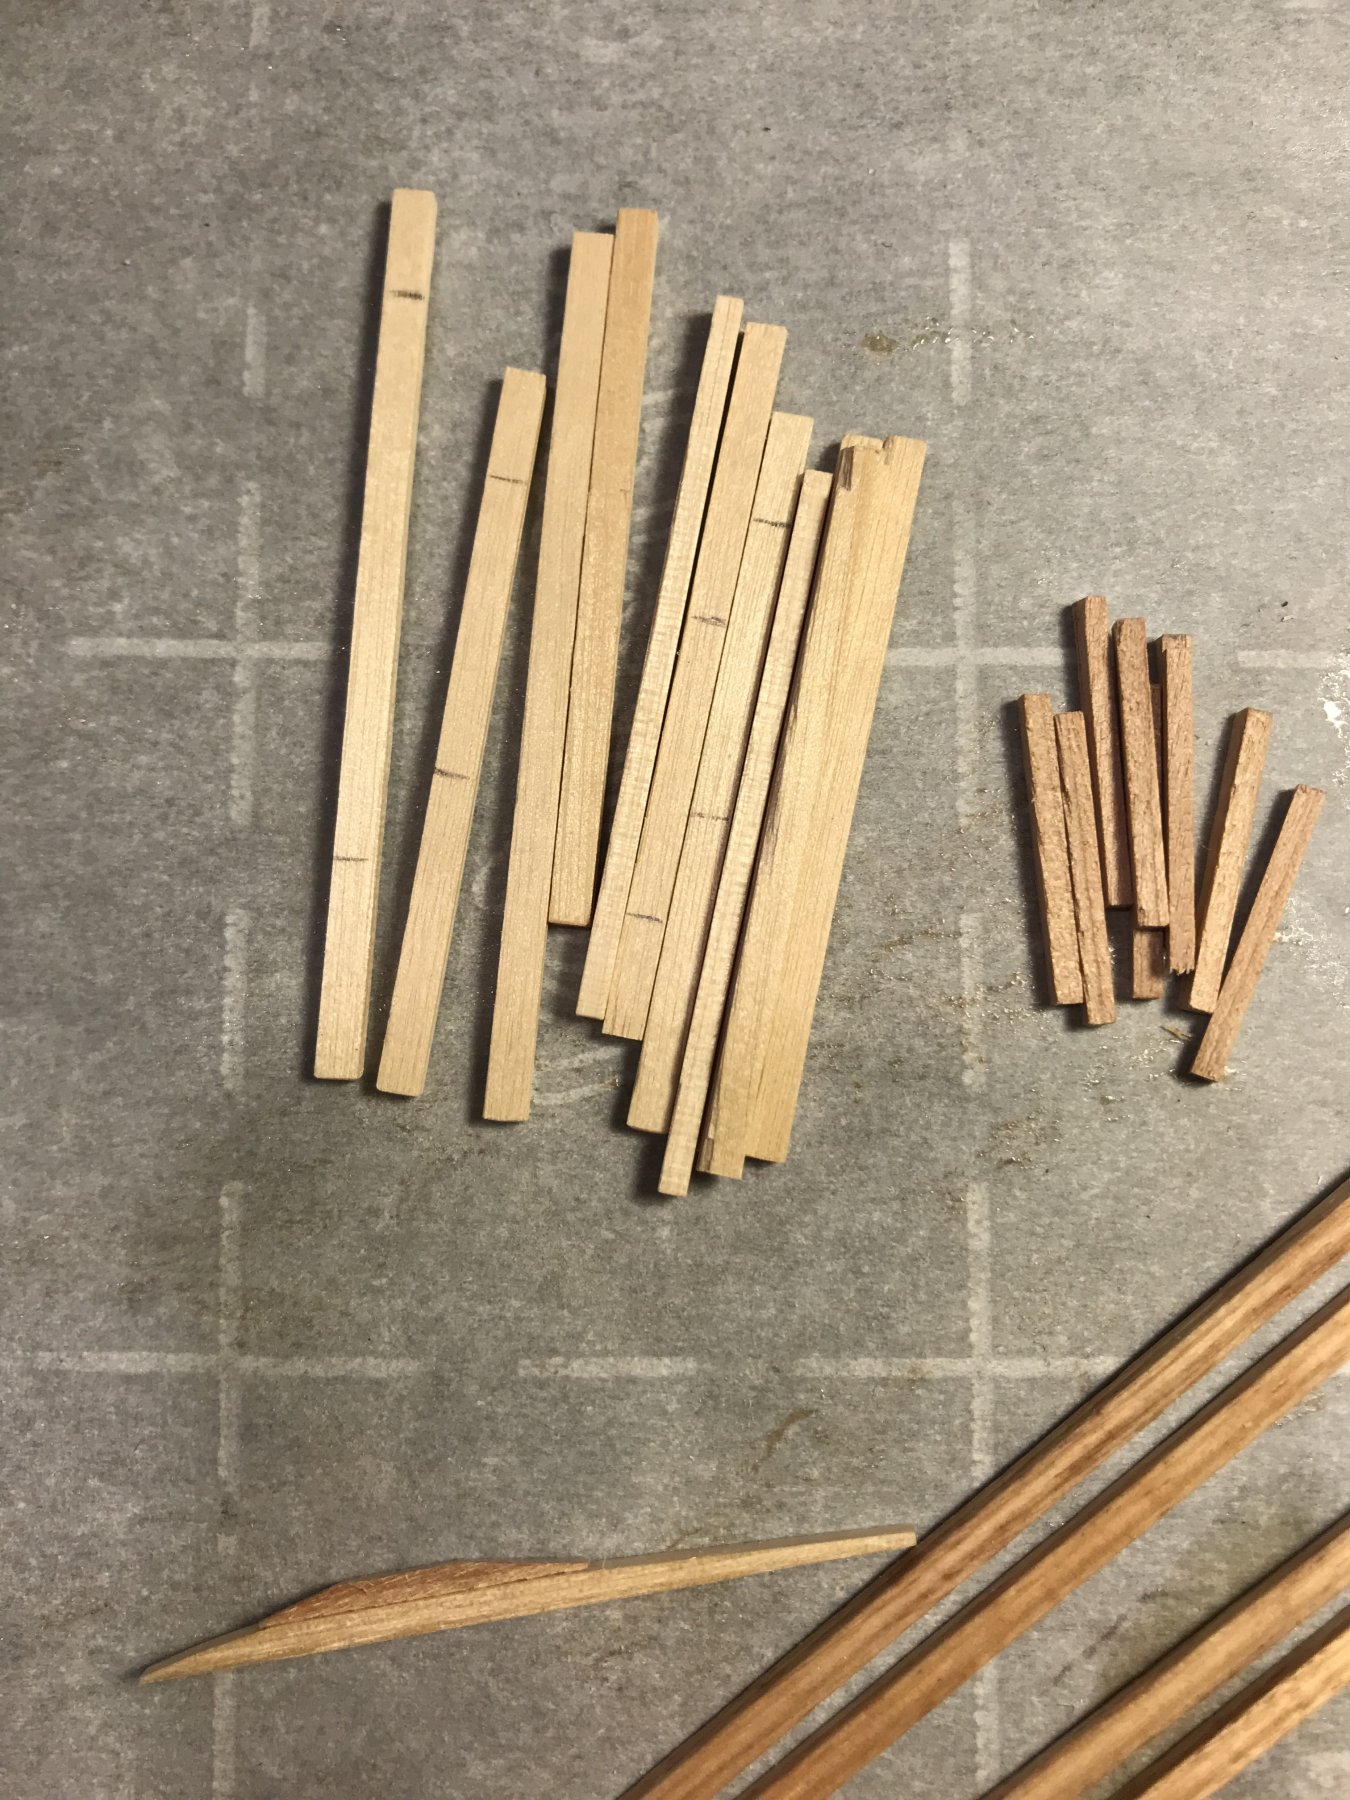
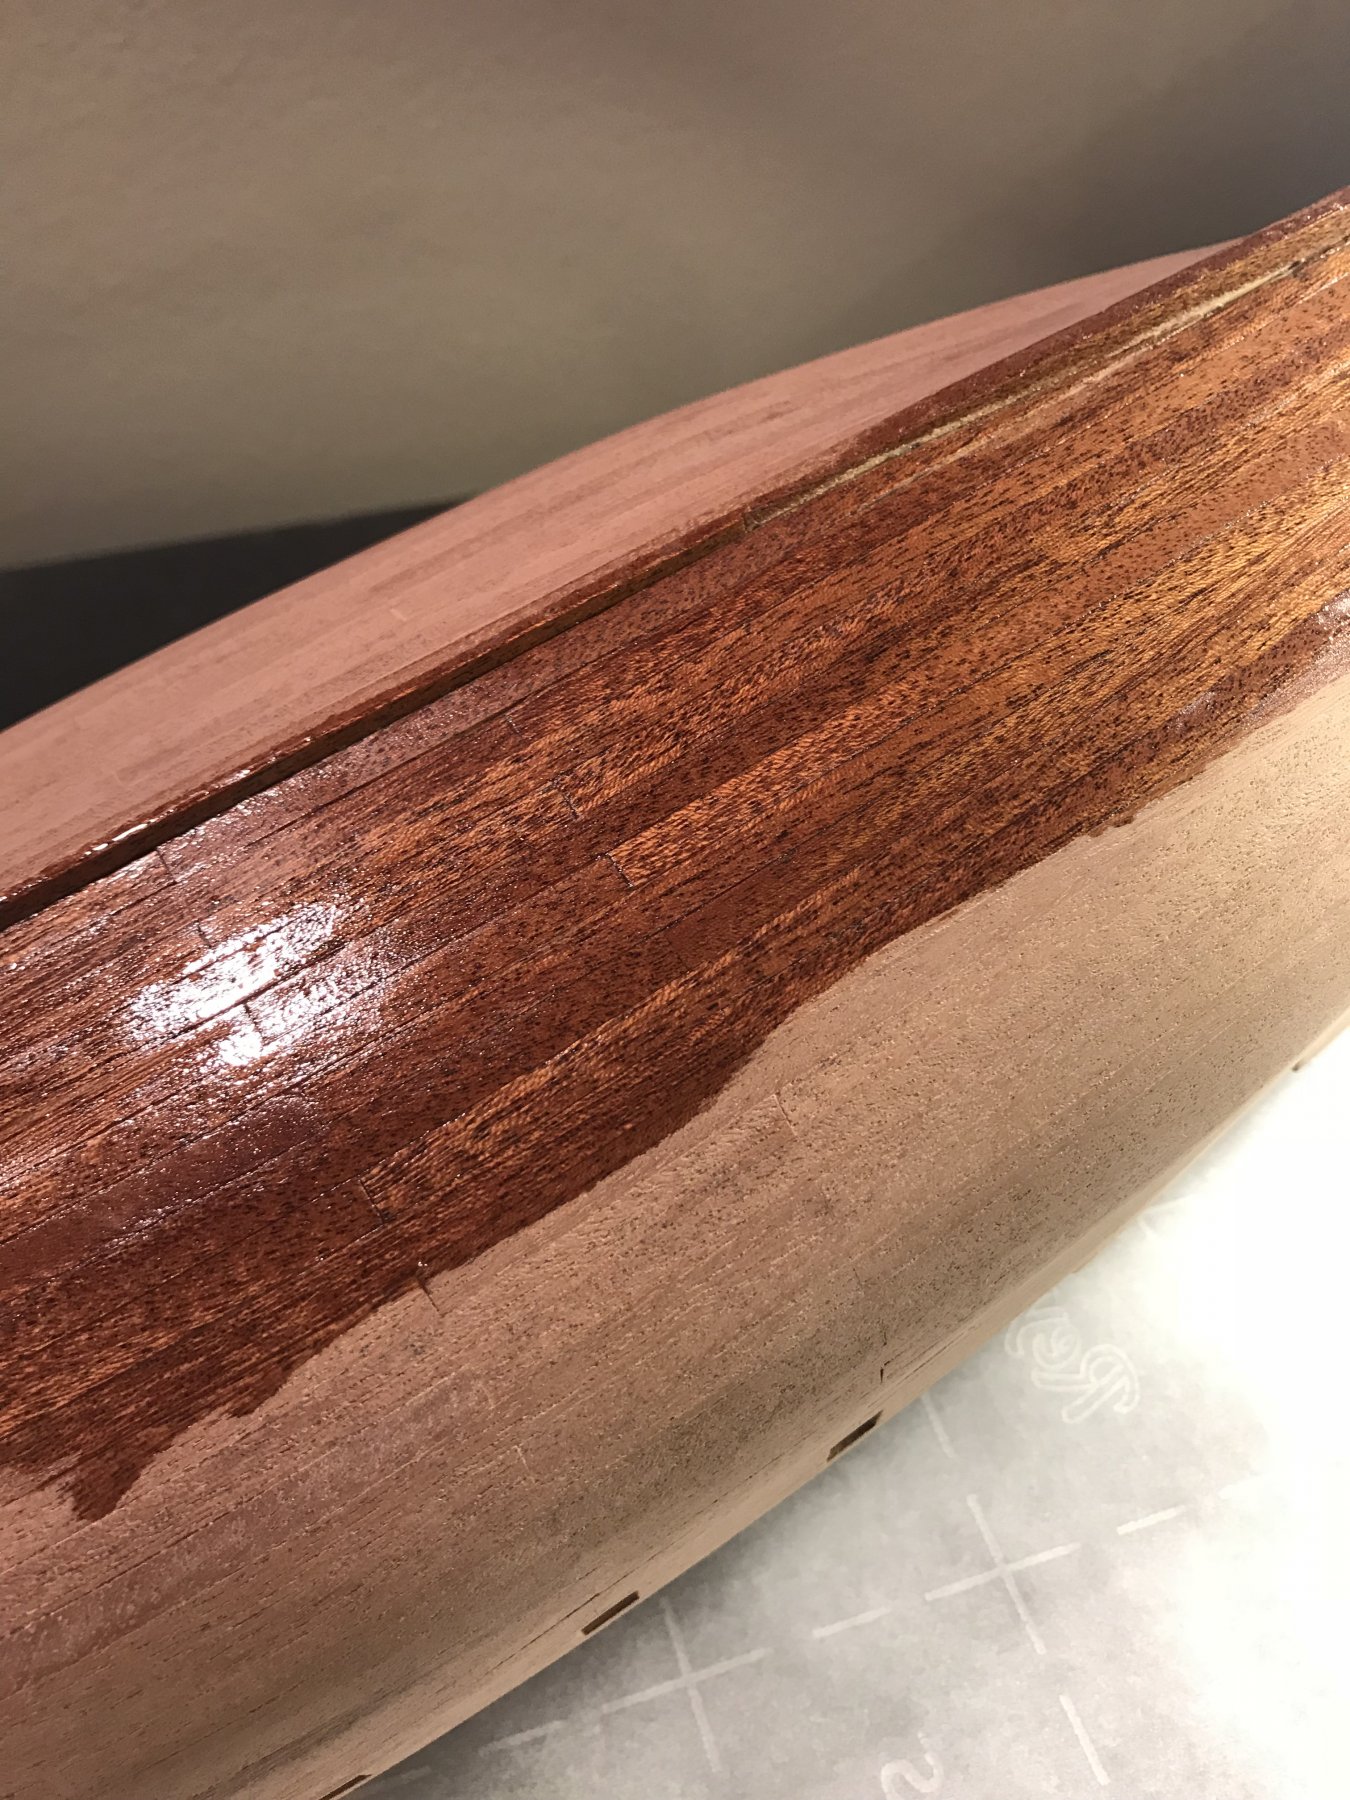
Slow progress these days, but in order to speed things up I purchased a small 2” table saw to start cutting pieces to length. Best 30 bucks I have spent in a long time. The directions in the new and updated kit has the Wales and trim painted black. After reviewing many logs of the previous model where they were not painted I decided to keep to this style. The Wales are stained with a cherry varnish, and the rest of the trim around the boat will be as well.

-
Osmosis,
How long did it take for you to receive a reply/the parts requested from AL when you emailed about the missing parts from the kit? I e-mailed them about two months ago and have yet to receive a reply. I am missing about 30 of the columns that go around the railings. They are extremely cheap to purchase and I am considering just going that route but shipping from AL is 60+ dollars so I will not be going that route.
-
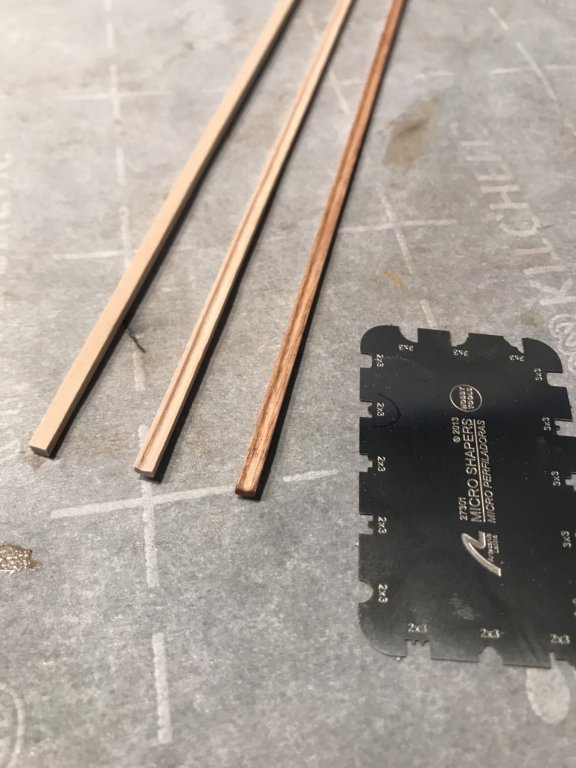
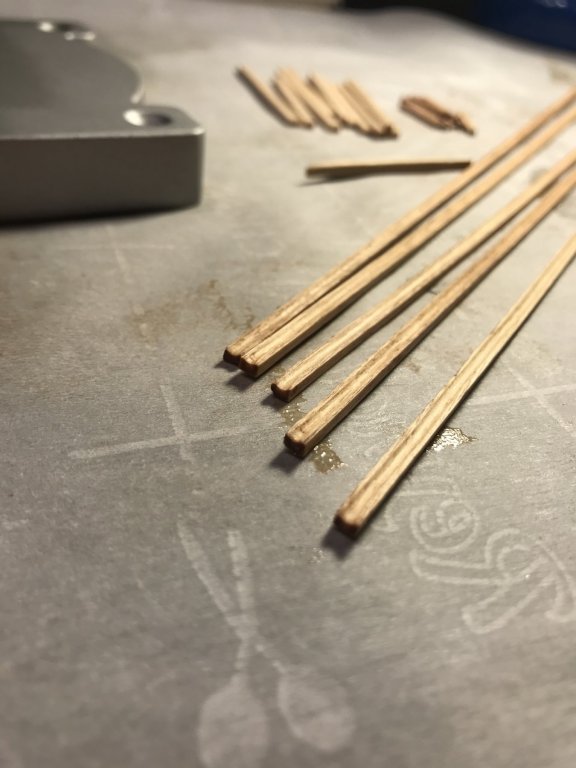
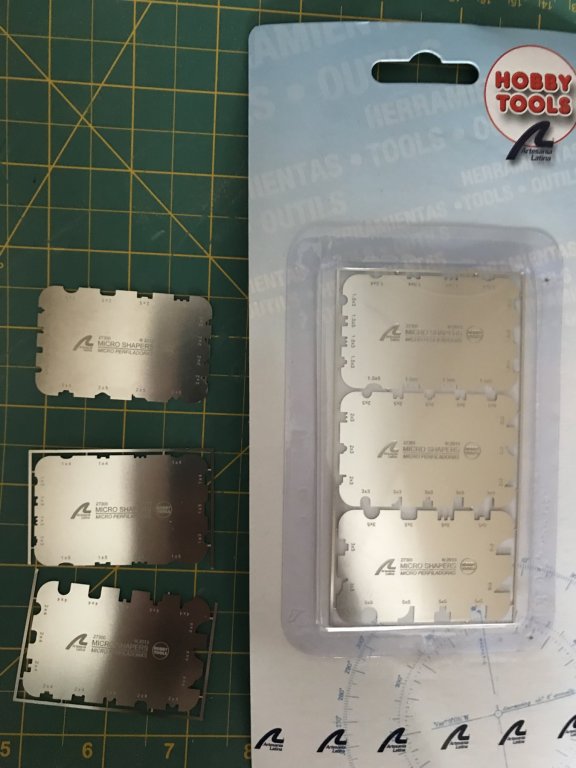
For some of the details of the ship Artesania Latina sells microshapers to actually scrape away some of the wood for the desired shape. I was pretty skeptical at first as I saw it as just another way for them to make money but I caved and bought them. After working on some of the trim work I’m happy with the decision to buy them. I think it adds a little extra that will never be noticed by anyone but me. Lol
this step definitely required some fitness as putting too much pressure would just cause the wood to splinter instead of shave.


-
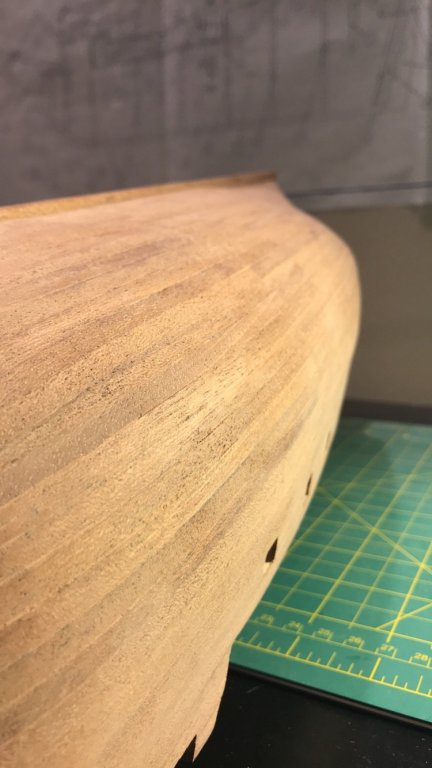
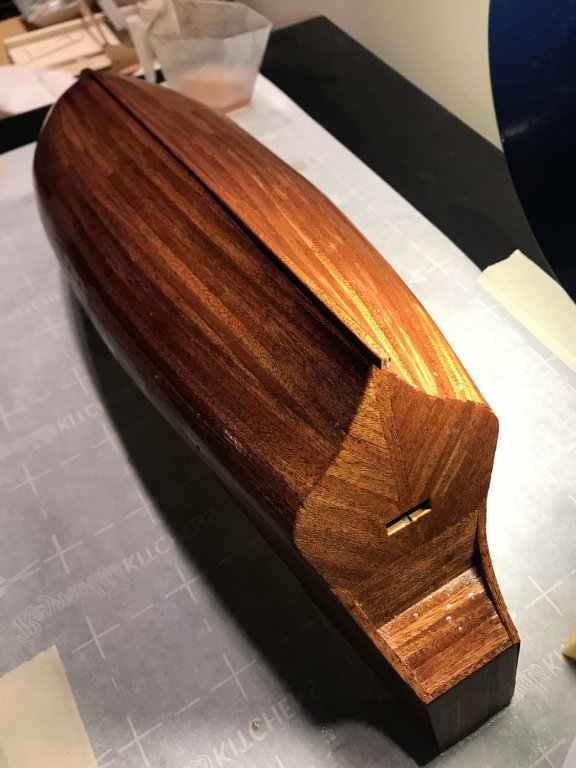
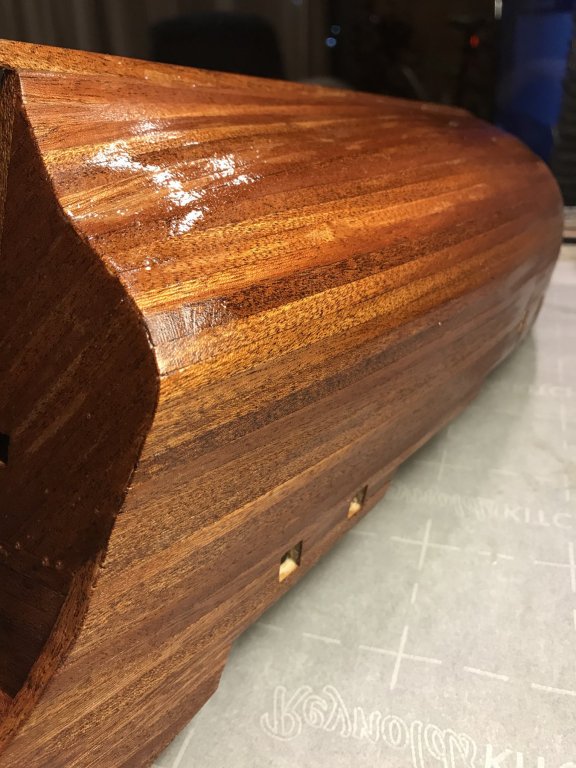
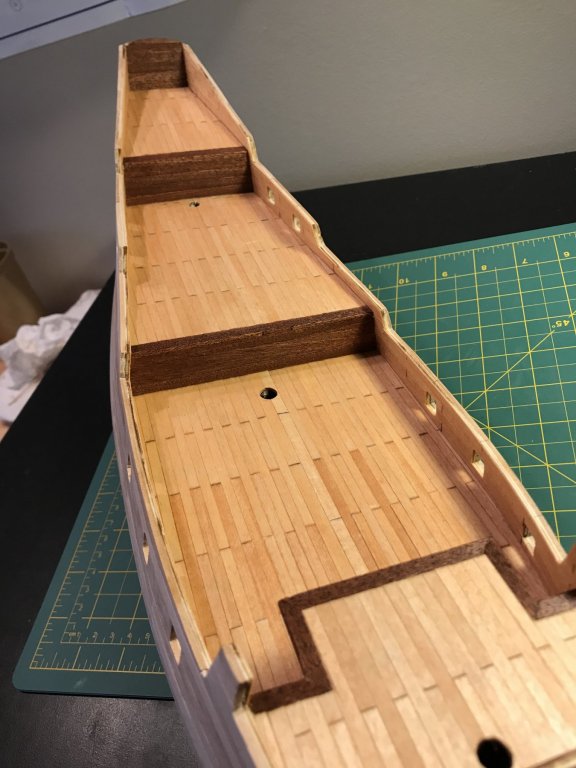
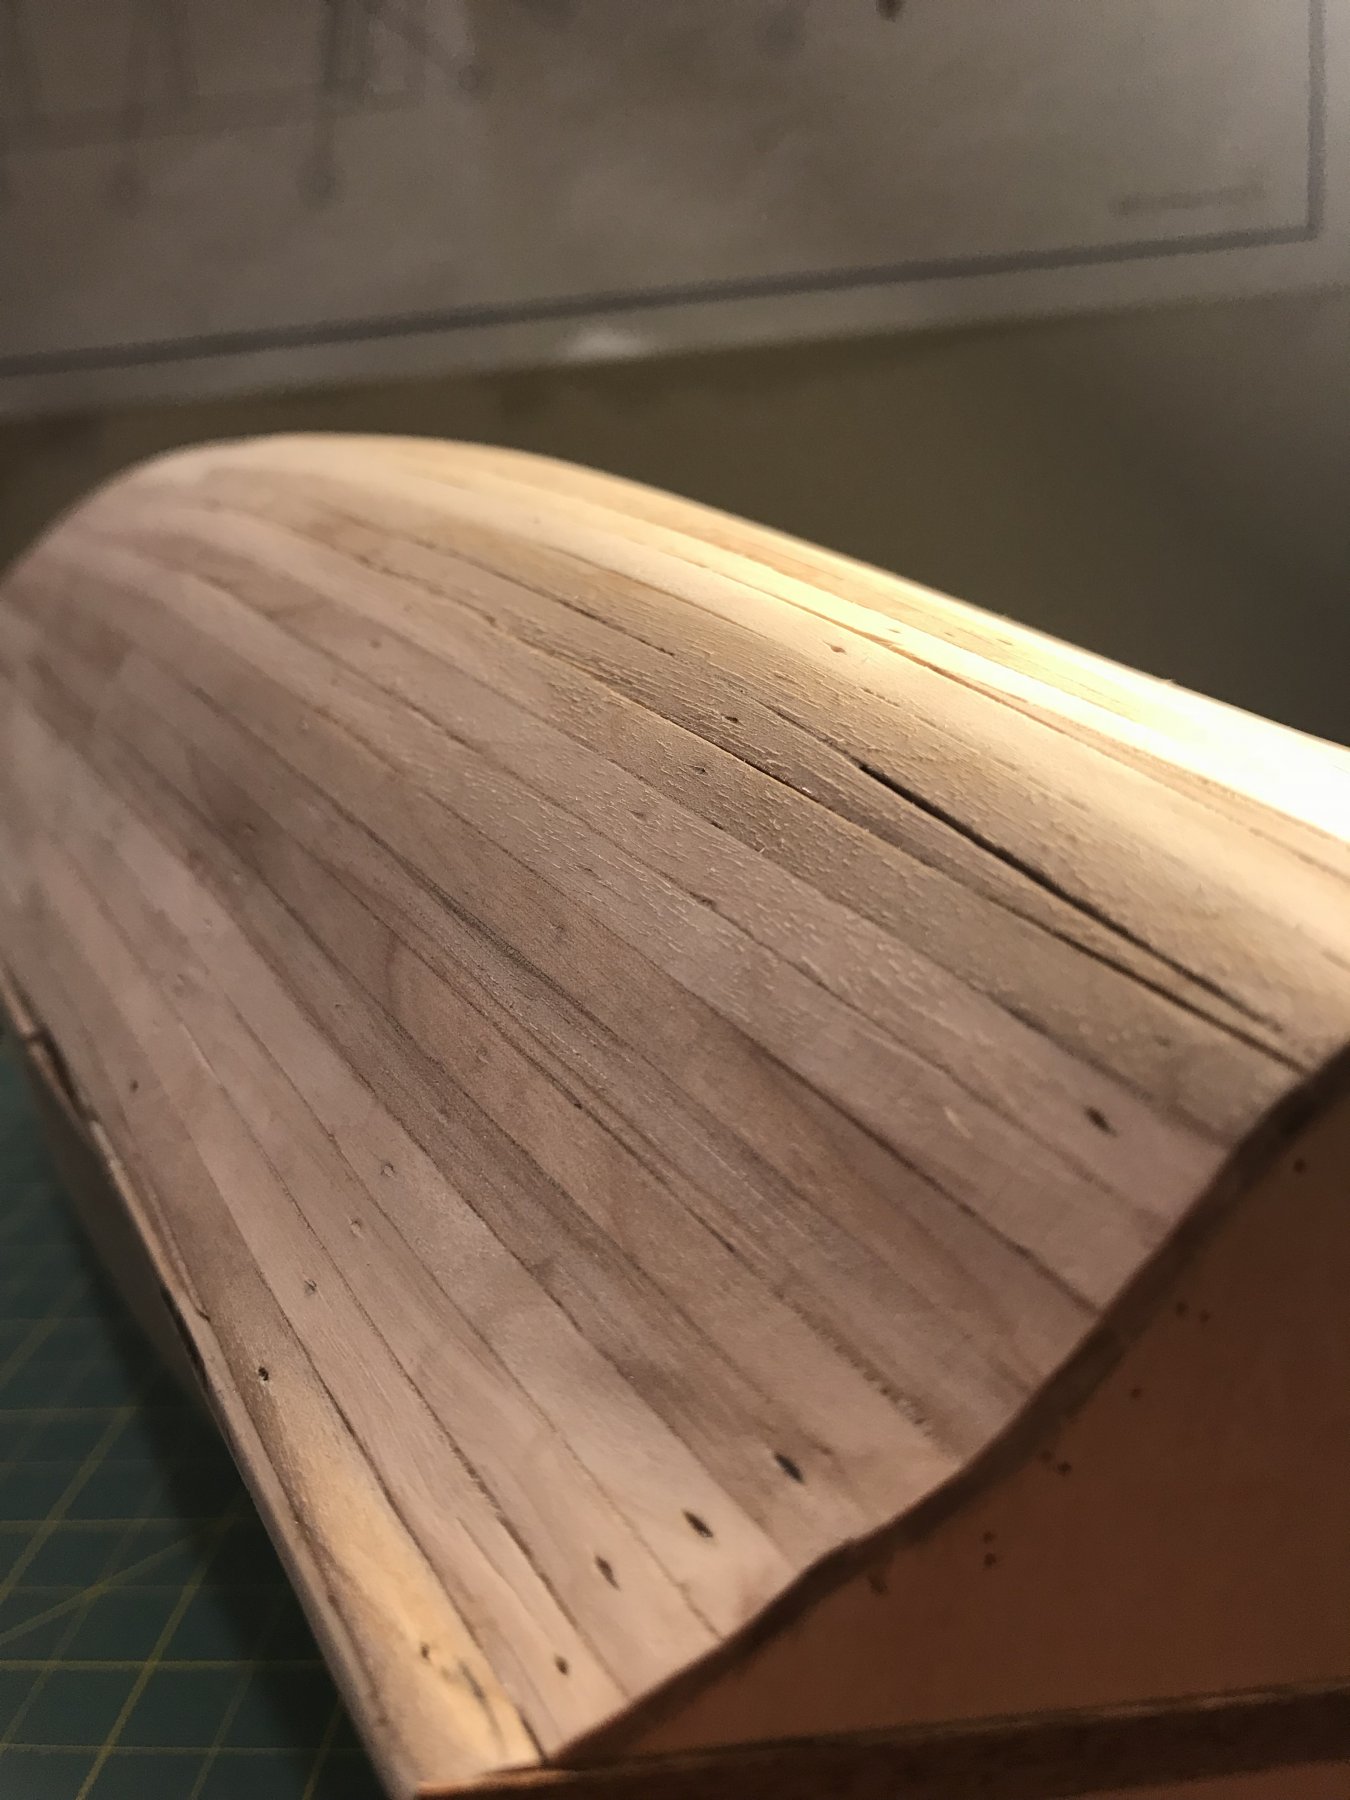
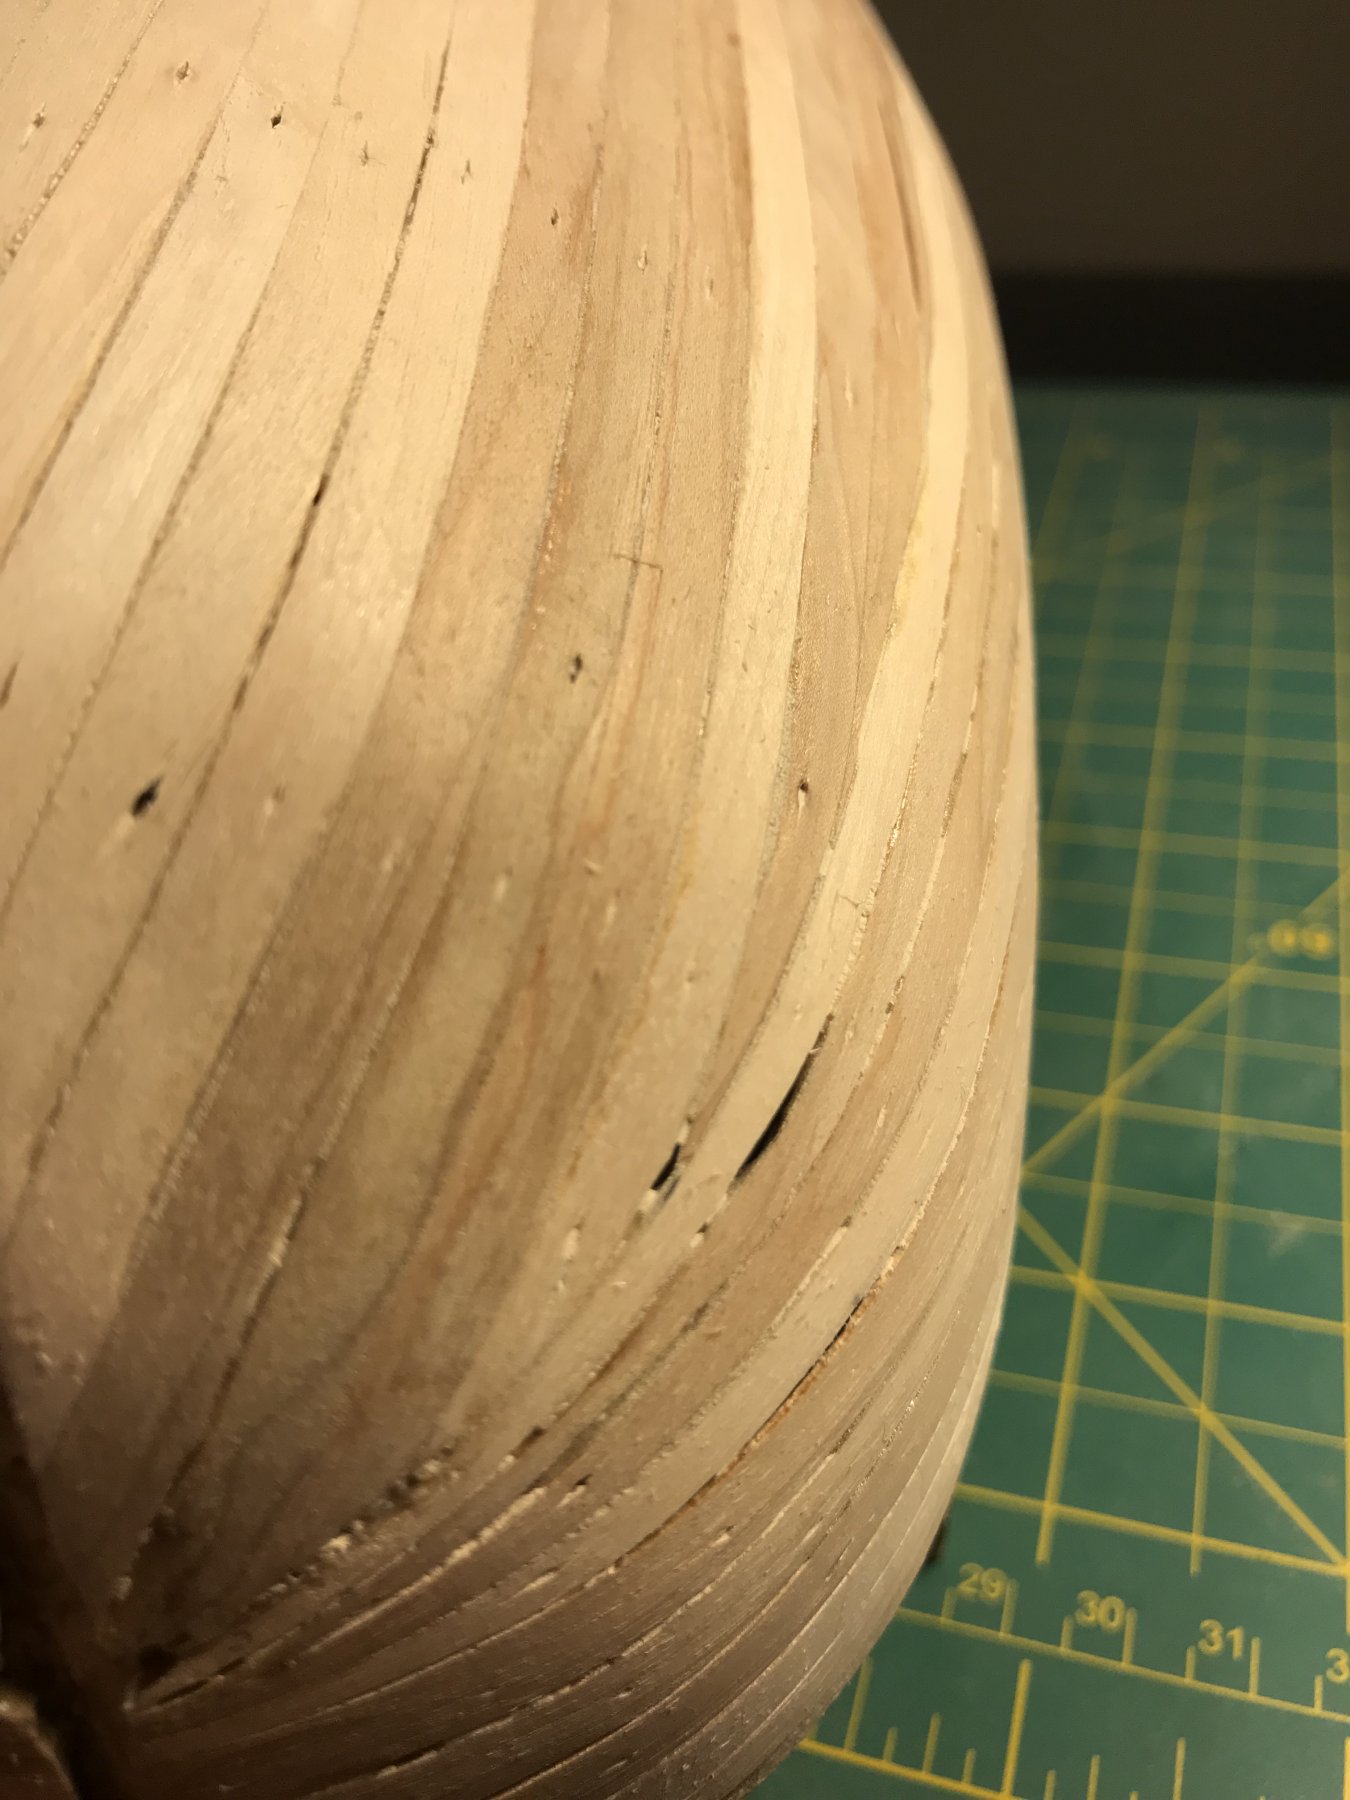
After all of the holidays and a crazy work schedule I was finally able to get the second layer of planking completed and a nice thick layer of tung oil has been applied.
For future builds I think I will seek out kits with only 1 layer of planking. The thicker planks made bending more difficult, sure...but overall I’d say they were easier to work with. The .5mm thick planks seemed to crack and flake off when filing the edges fairly simple. But I’m very happy with the results nonetheless.
For application the tung oil I spread on a very hefty coat and let it sit for 15 minutes, making sure the entire surface was moist and didn’t soak it all in/start to dry. At the 15 minute mark I wiped it down. The plan for now is to let it dry for 3 or so days and then apply another layer.
Can anyone guess where the sponge applicatoractor that I used came from? 😂


-
What do you need pictures of exactly? I am currently building this same model but it has been upgraded recently and now comes with a PDF of detailed pictures for each step, I'd be happy to post some screen shots for ya.
-
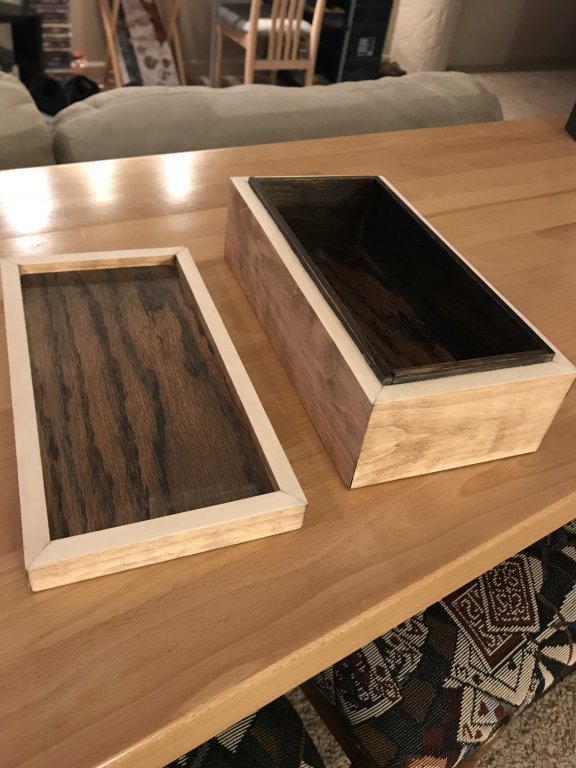
Spent most of my free time lately workin on a jewelry box for the girlfriend, but today I was finally able to make some headway on the planking and the deck/inner bulwark coated in the first layer of tung. It’s starting to really come along.


- Osmosis, Katsumoto, BLACK VIKING and 1 other
-
4
-
-
Thanks, I will admit the 2x5 planks are hard to bend sometimes...they are not very consistent as far as the quality of wood. Some bend incredibly easy and others are very stubborn to the point where even after soaking/heating and drying within the jig I made they would not hold their shape. I only managed to break a few though, although I will admit a few would have been better off breaking and trying again lol.
The same material that is covering the rudder and the small cabin, .5x5 veneer planks, will be used to cover for the second layer of planking so I will be using some wood filler to fill a few gaps and then cover with a much better/easier/better looking layer.
The oil adds a nice touch to it. So far the deck is just varnished, but I am planning on covering a majority of the other surfaces with the tung oil. I have not decided if I want to spray the deck with a poly or not just for an added layer of protection, as the tung oil says not to apply over any previously varnished surfaces.
Thanks for the kind words, I do like the kit so far...everything has fit together nicely. Although for some reason, my kit came with the poster of the current model AND the older model. I must say I do like the color scheme of the older model and wish that I went with that scheme which includes more natural colors...the new model has a lot of things painted black/red. The sails also have a more weathered look to then, mine are almost bleach white with the newer model
-
I agree with your assessment about them not being based on any actual historical accuracy, I’ve done some research similar to you. I was thinking it’d be nice if there was at least some consistency across the models though haha, looking closer and comparing it to mine I can’t even tell which portion of the ship yours is a section of. I have an idea, but the parts definitely don’t line up. I was really considering doing the cross section after this is done but that fact deterred me a little.
Also, I have emailed AL about a few missing parts as well and I have received no response, so you’re not alone there.
-
It is really coming along nicely, I really like your work with the capstan. After looking ahead on my full version of this ship, I don't even see a capstan on my deck. I was considering putting one in but I don't even think there is room for it with how it is all setup.


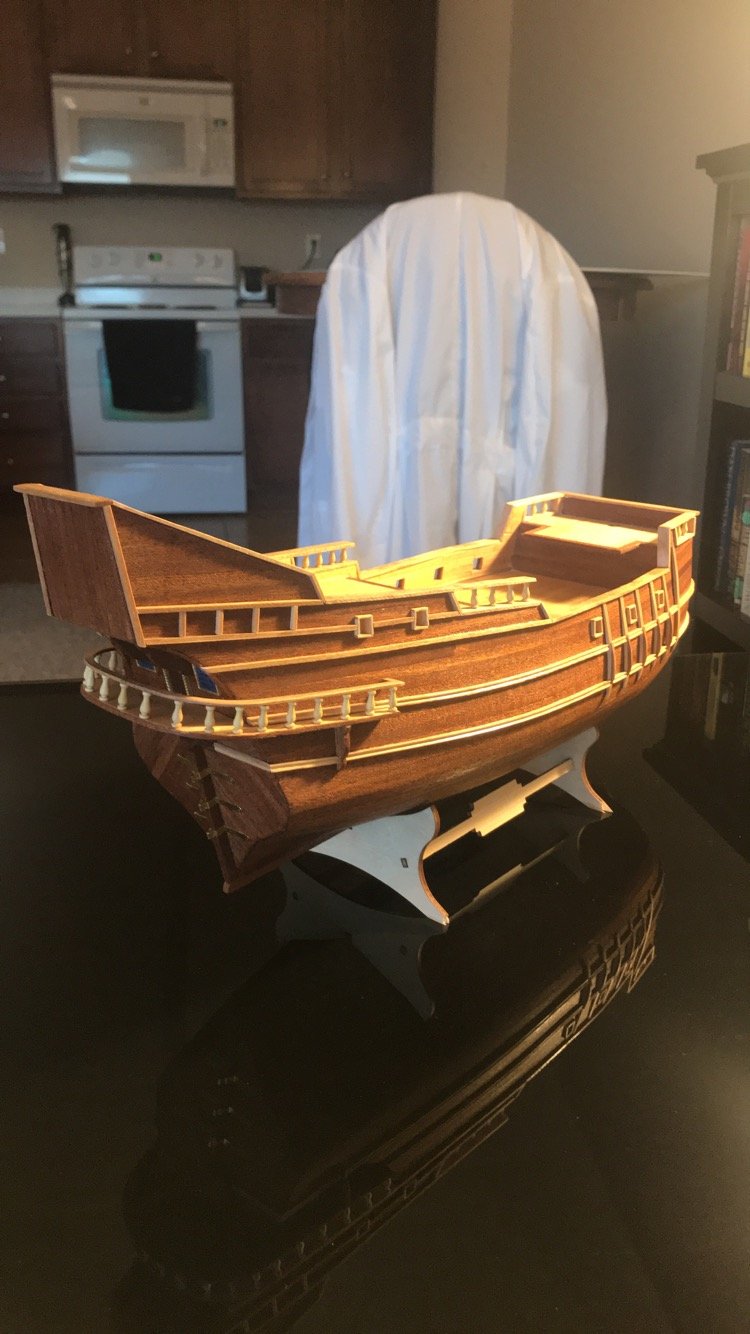


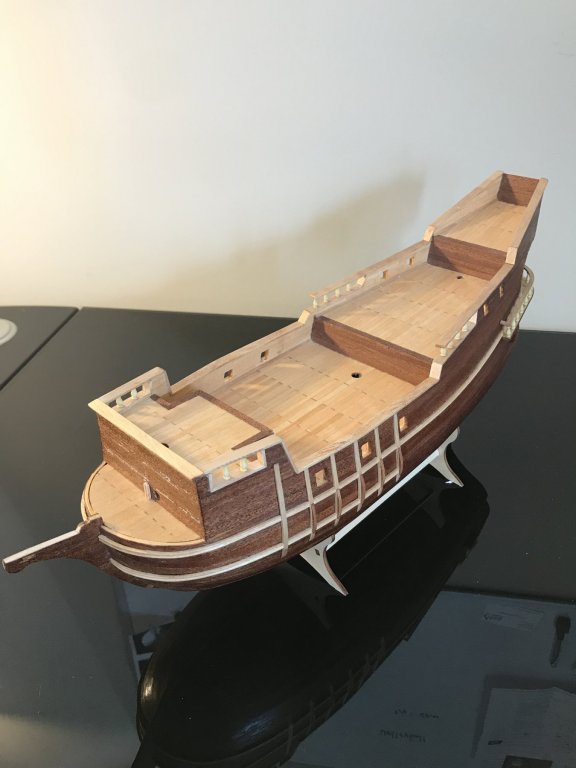
San Francisco II by Warnerade - FINISHED w/ display case - Artesania Latina - scale 1:90
in - Kit build logs for subjects built from 1501 - 1750
Posted