


Warnerade
-
Posts
175 -
Joined
-
Last visited
Content Type
Profiles
Forums
Gallery
Events
Posts posted by Warnerade
-
-
23 hours ago, Osmosis said:
Congrats and all the best on your new journey. Oh yes and your model is coming along nicely also.
thank you, and thank you to everyone else.
Osmosis, did you see that Artesania has closed their doors for good? Website is down and everything
-
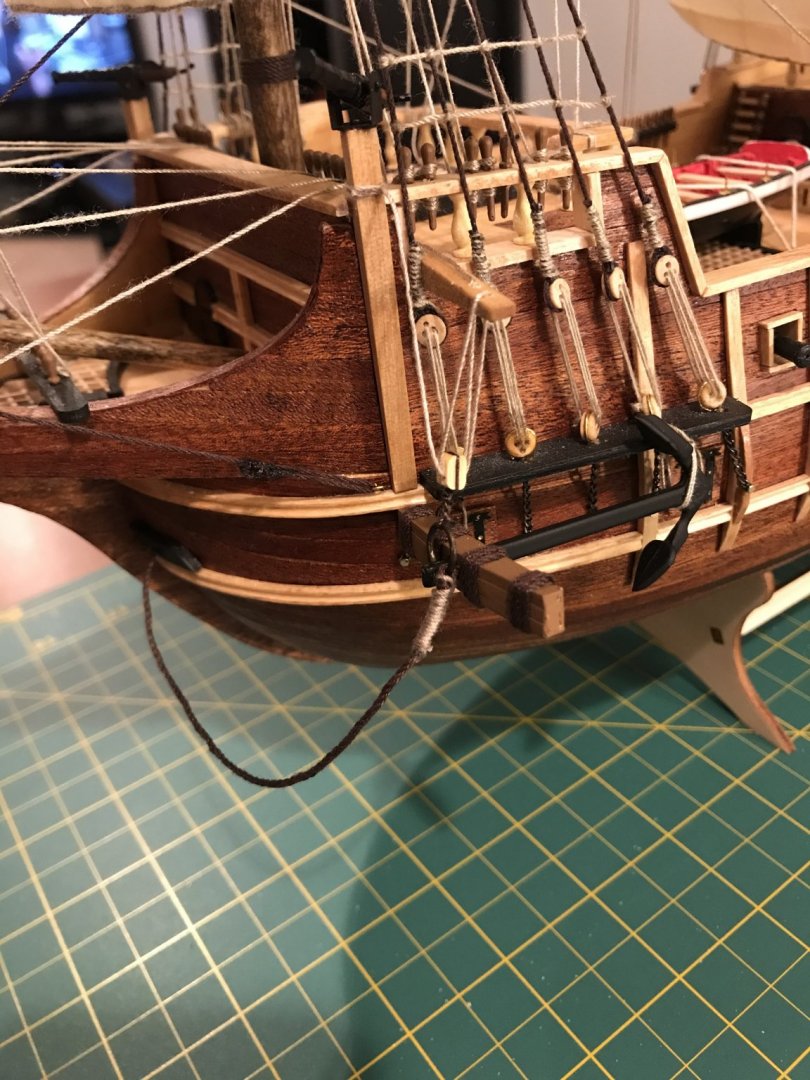
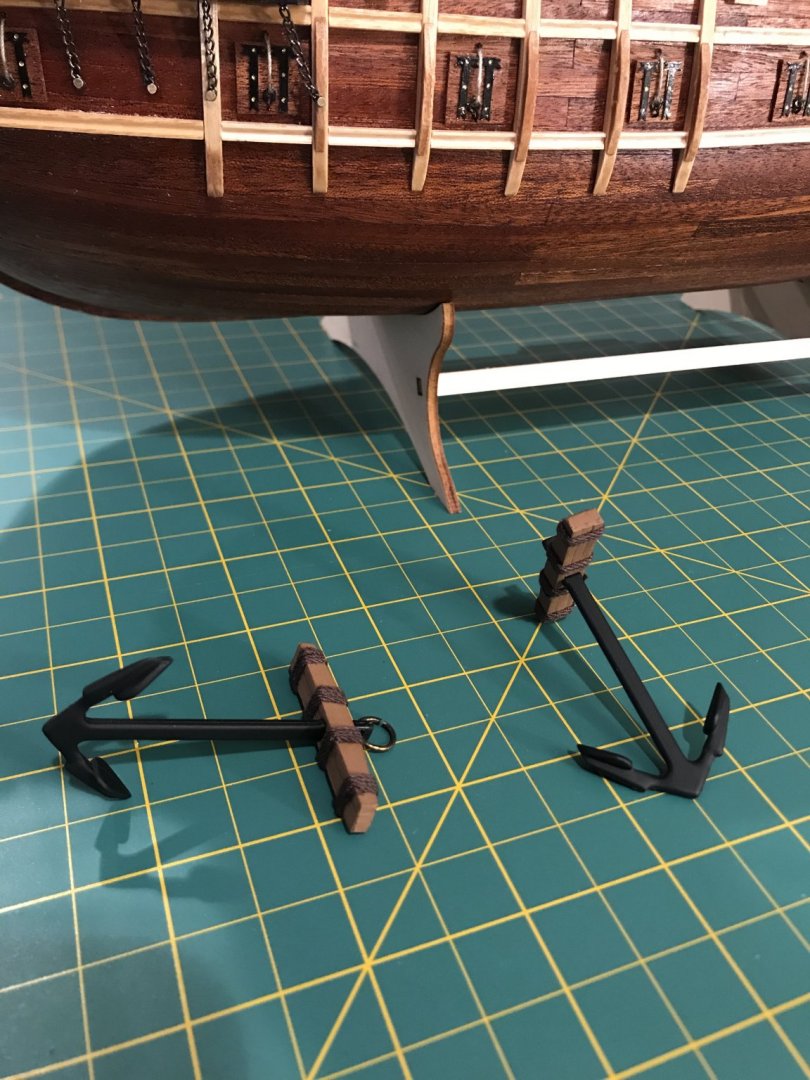
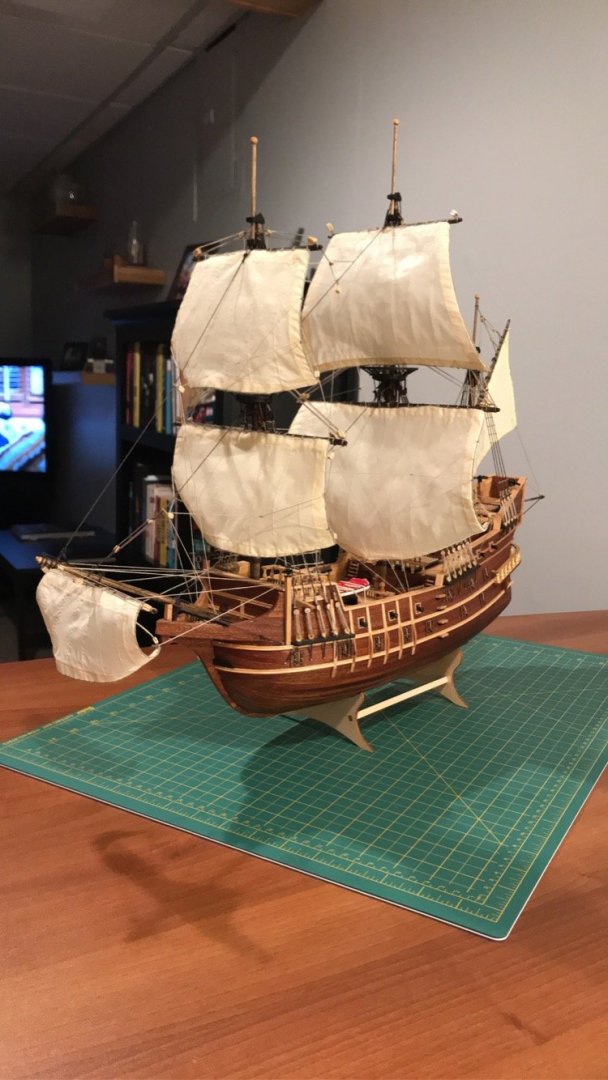
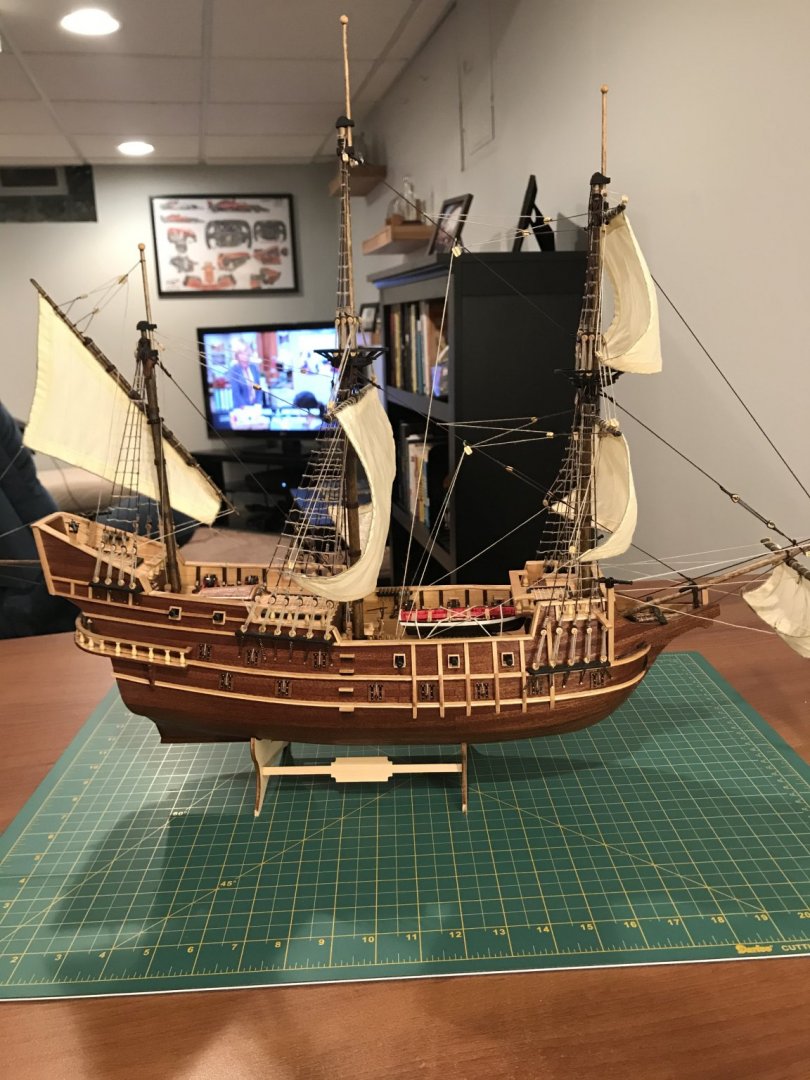
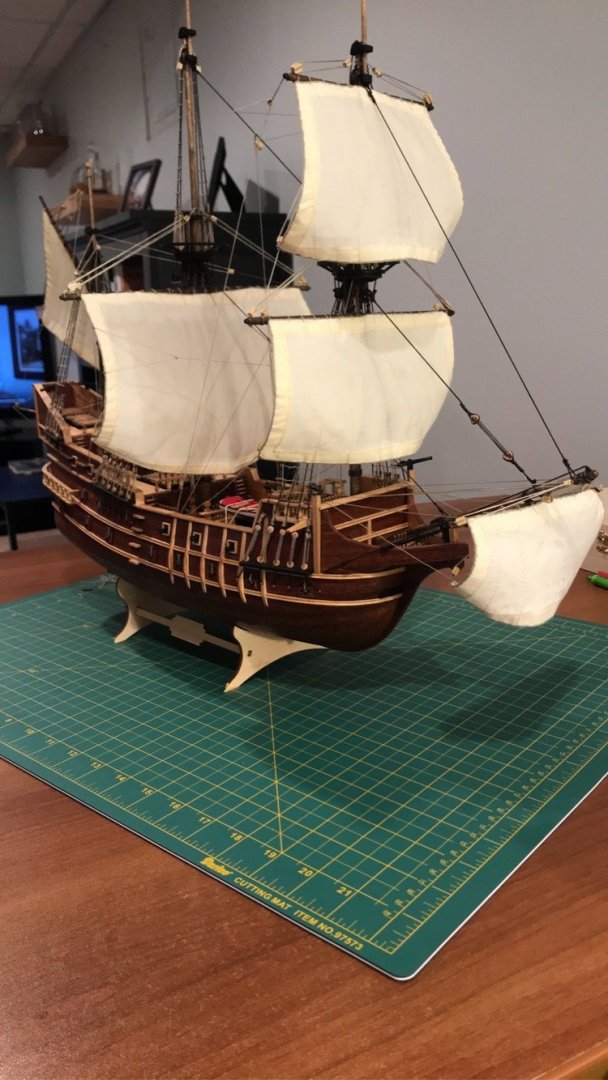
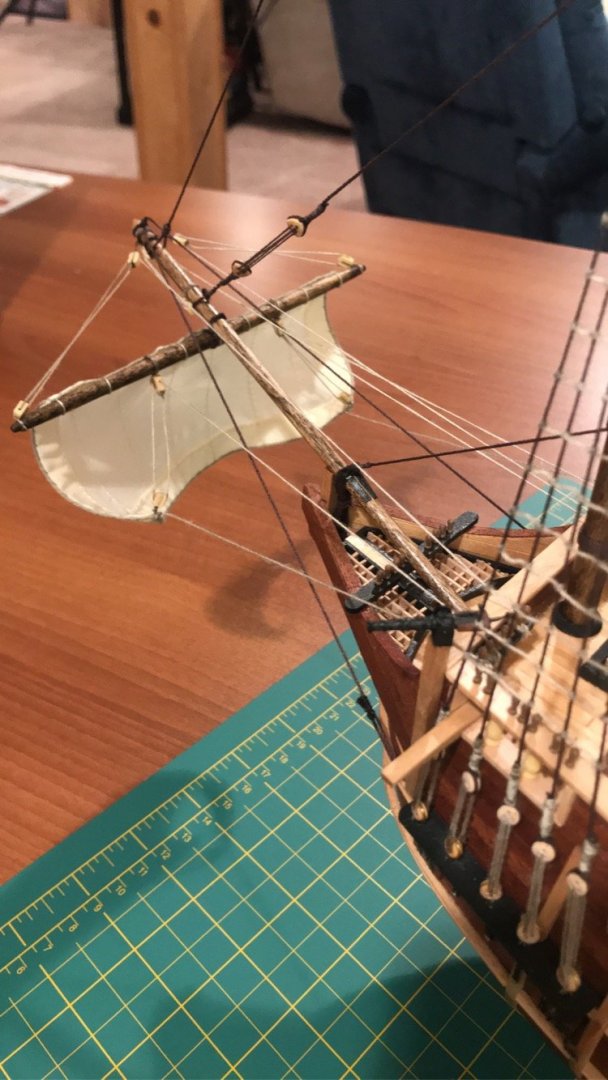
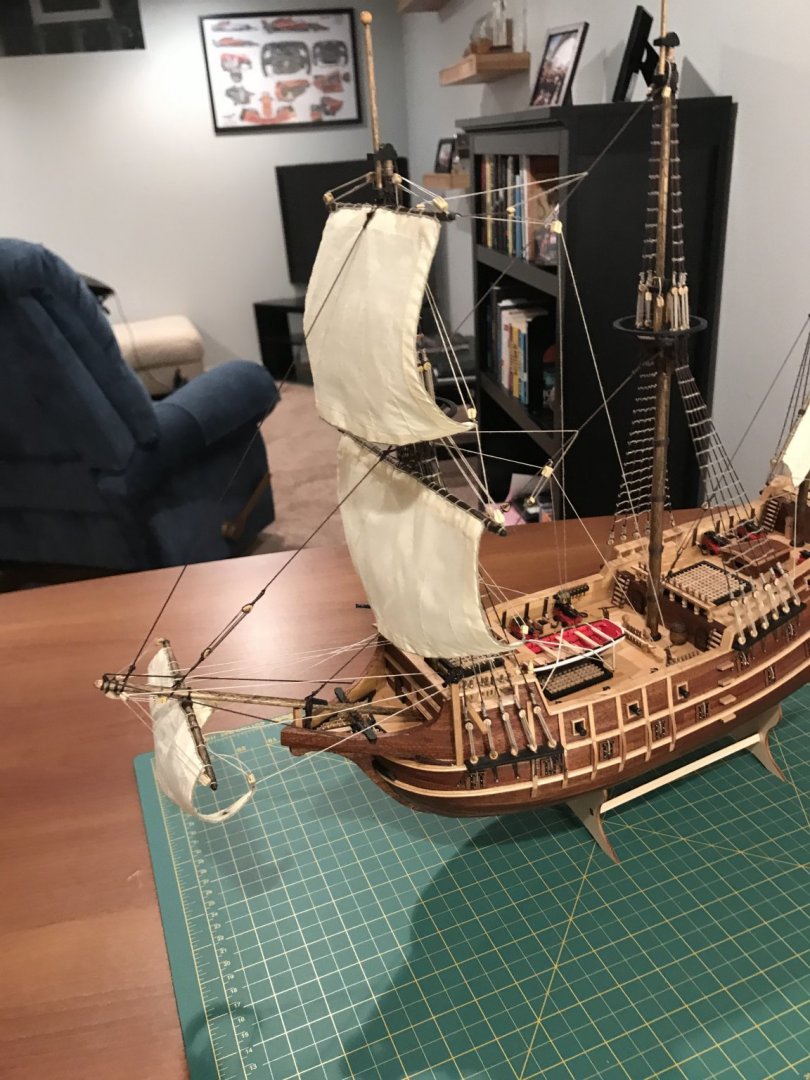
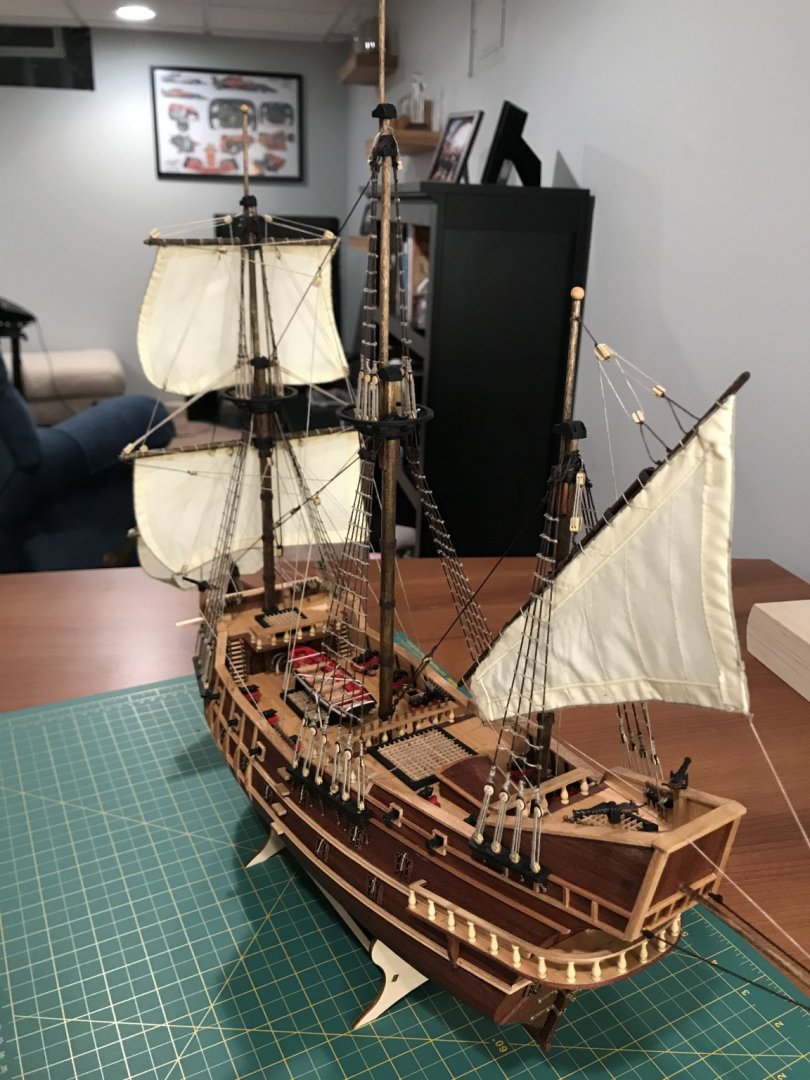
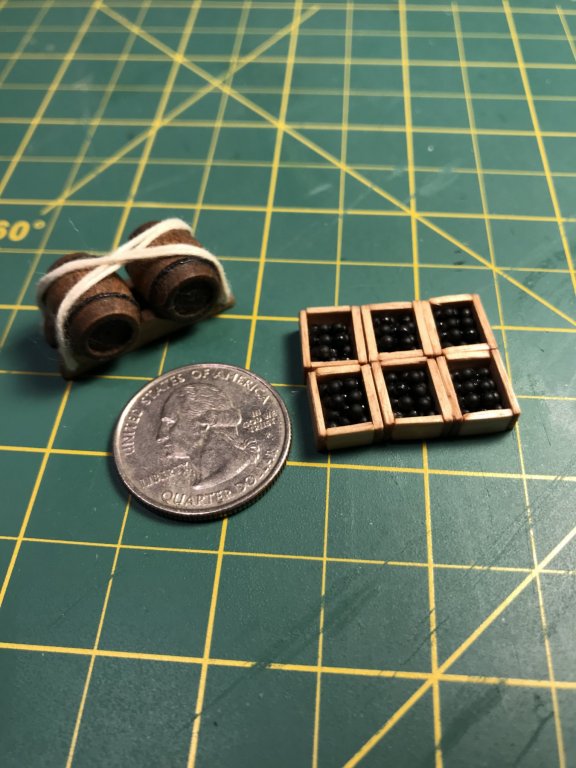
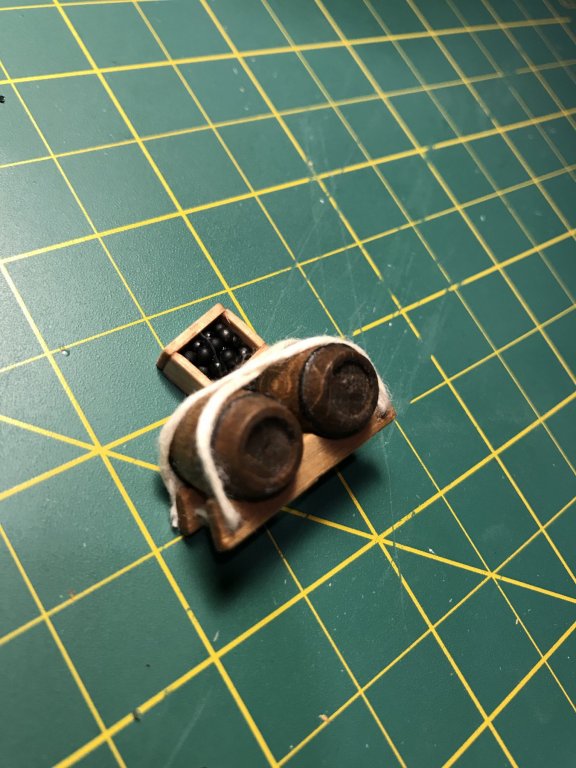
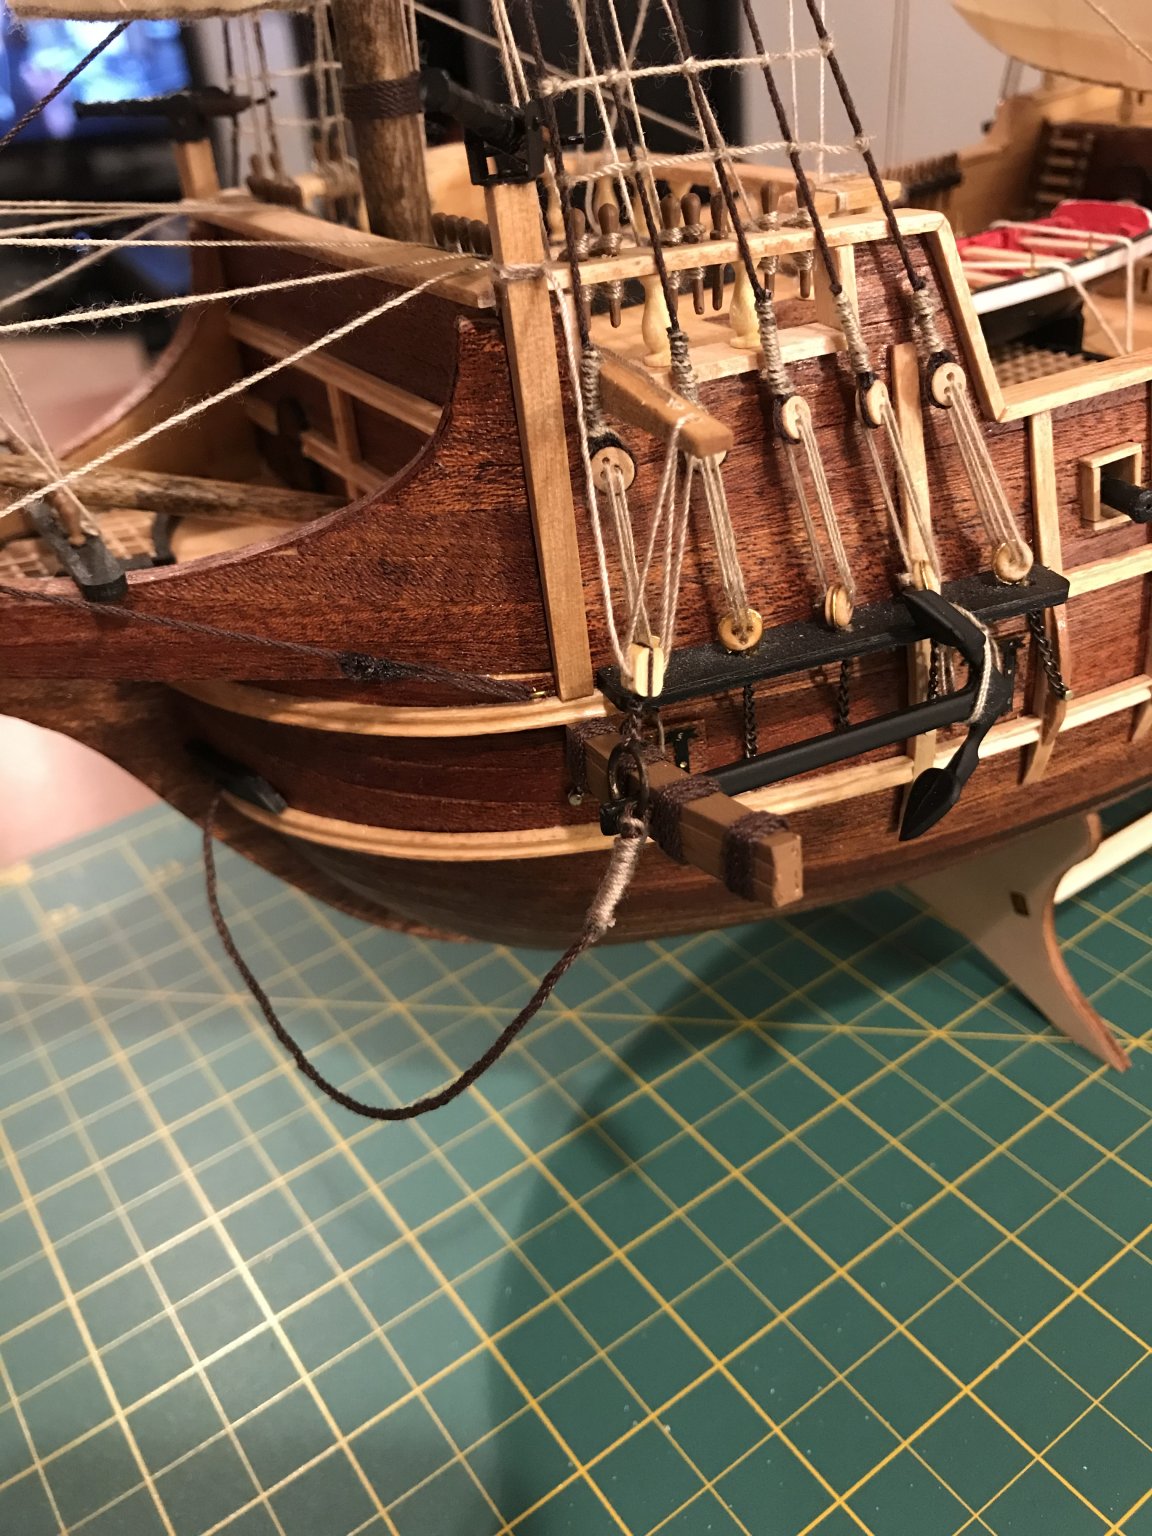
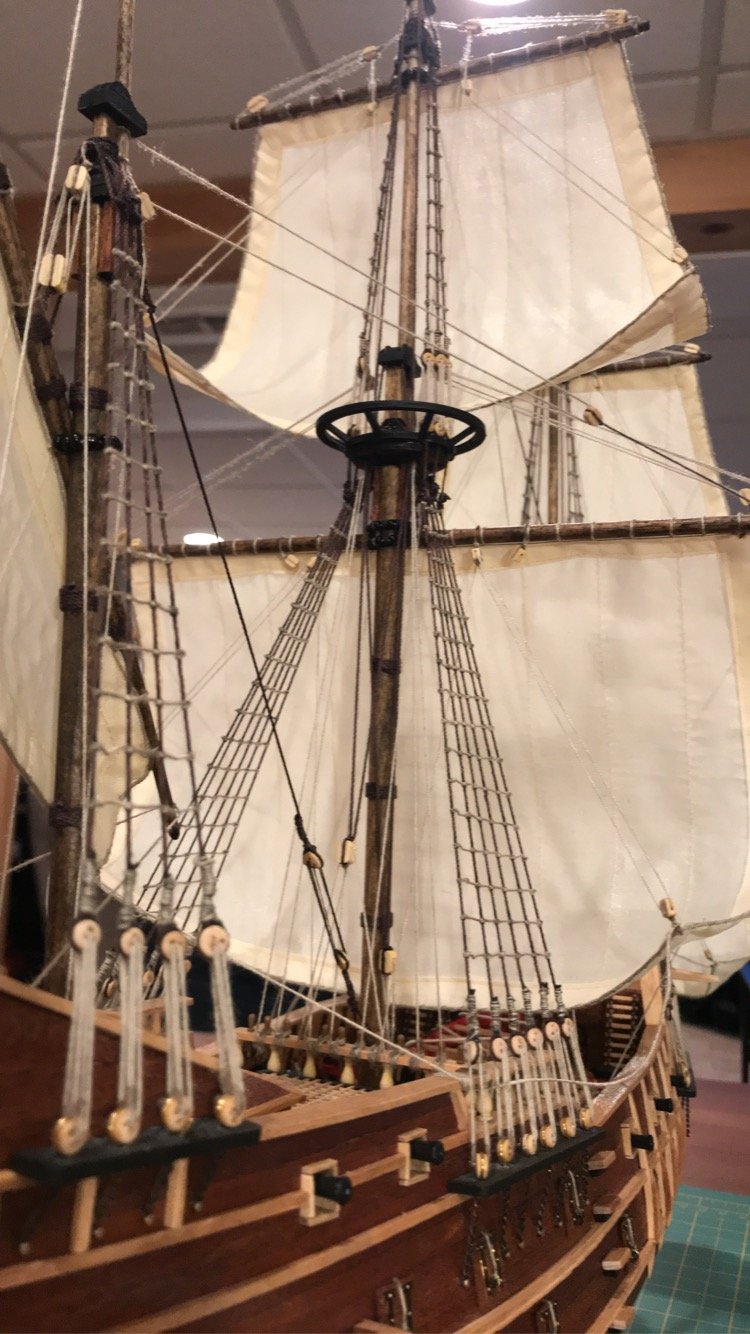
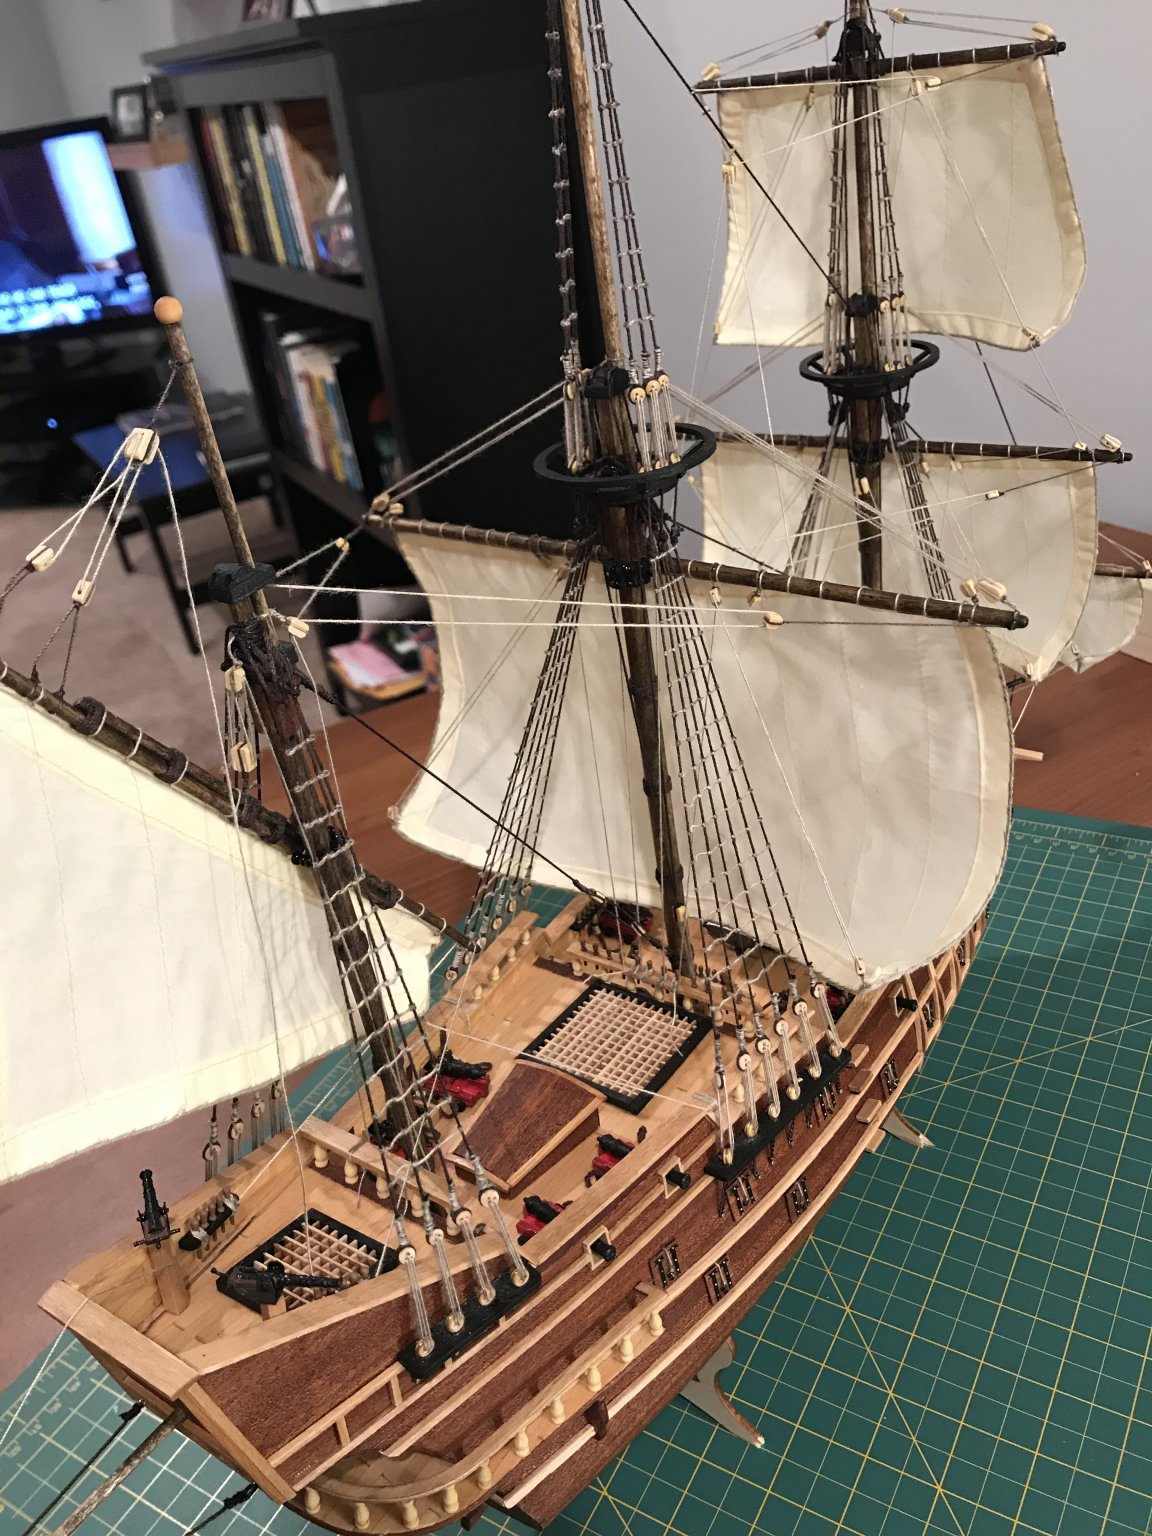
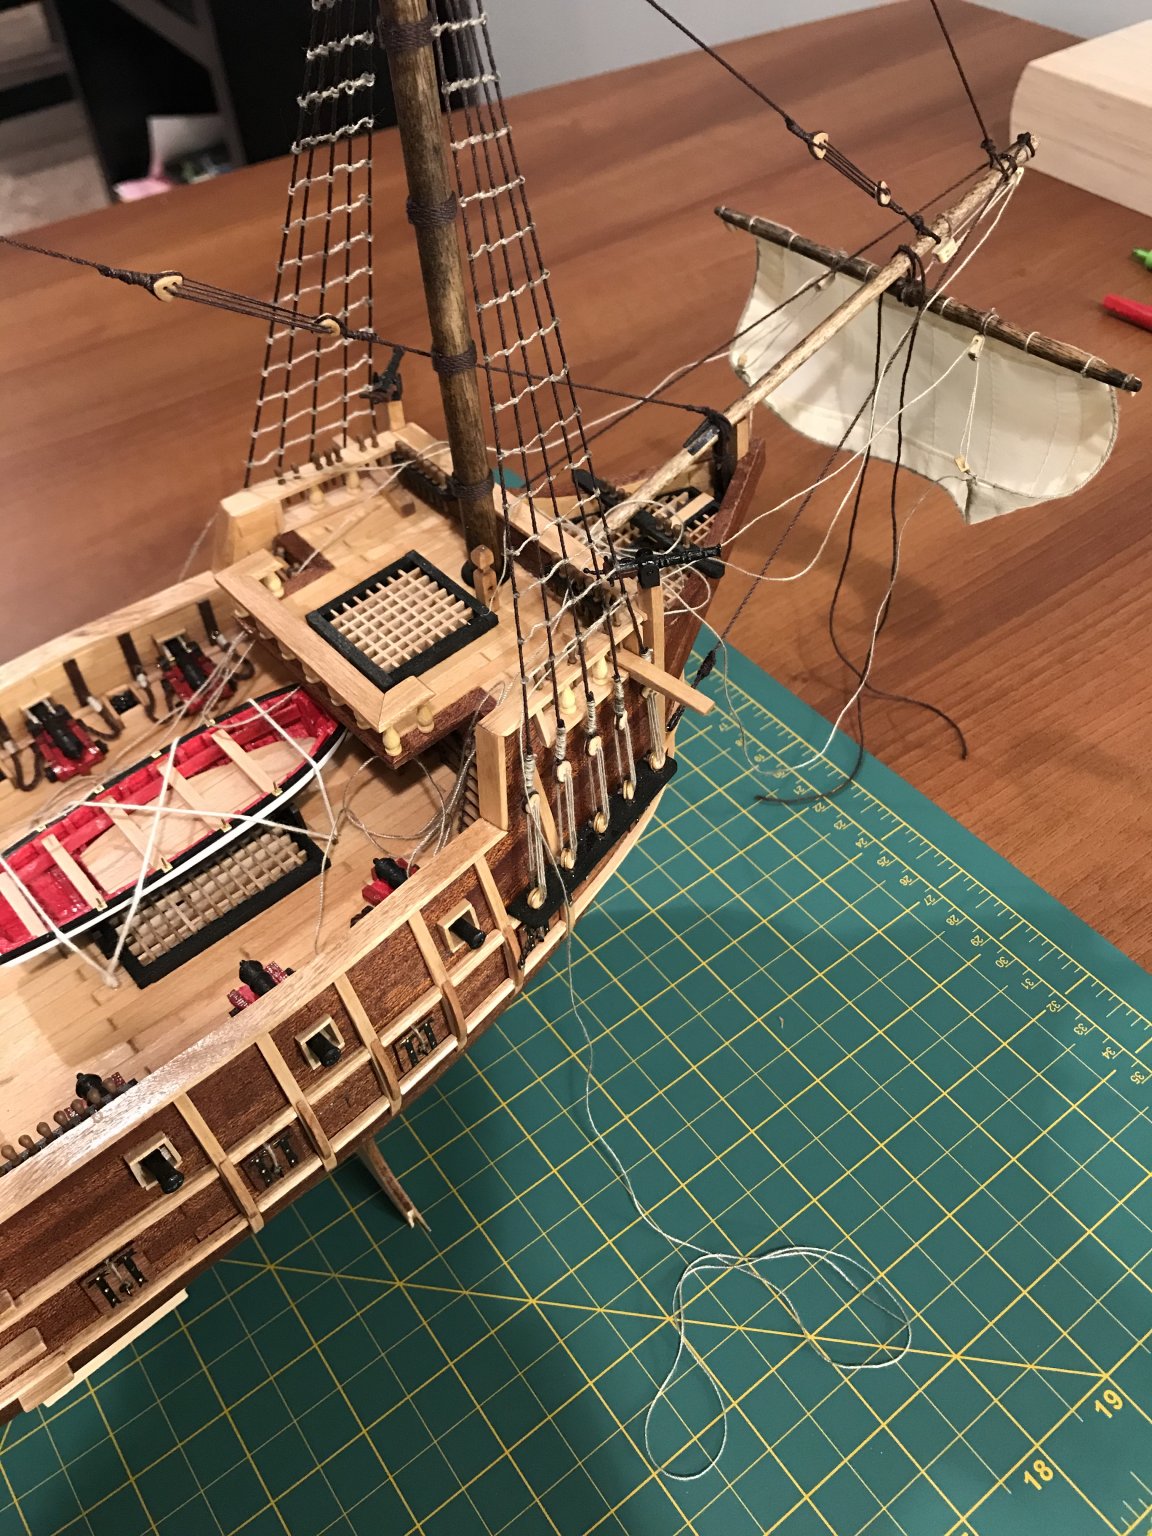
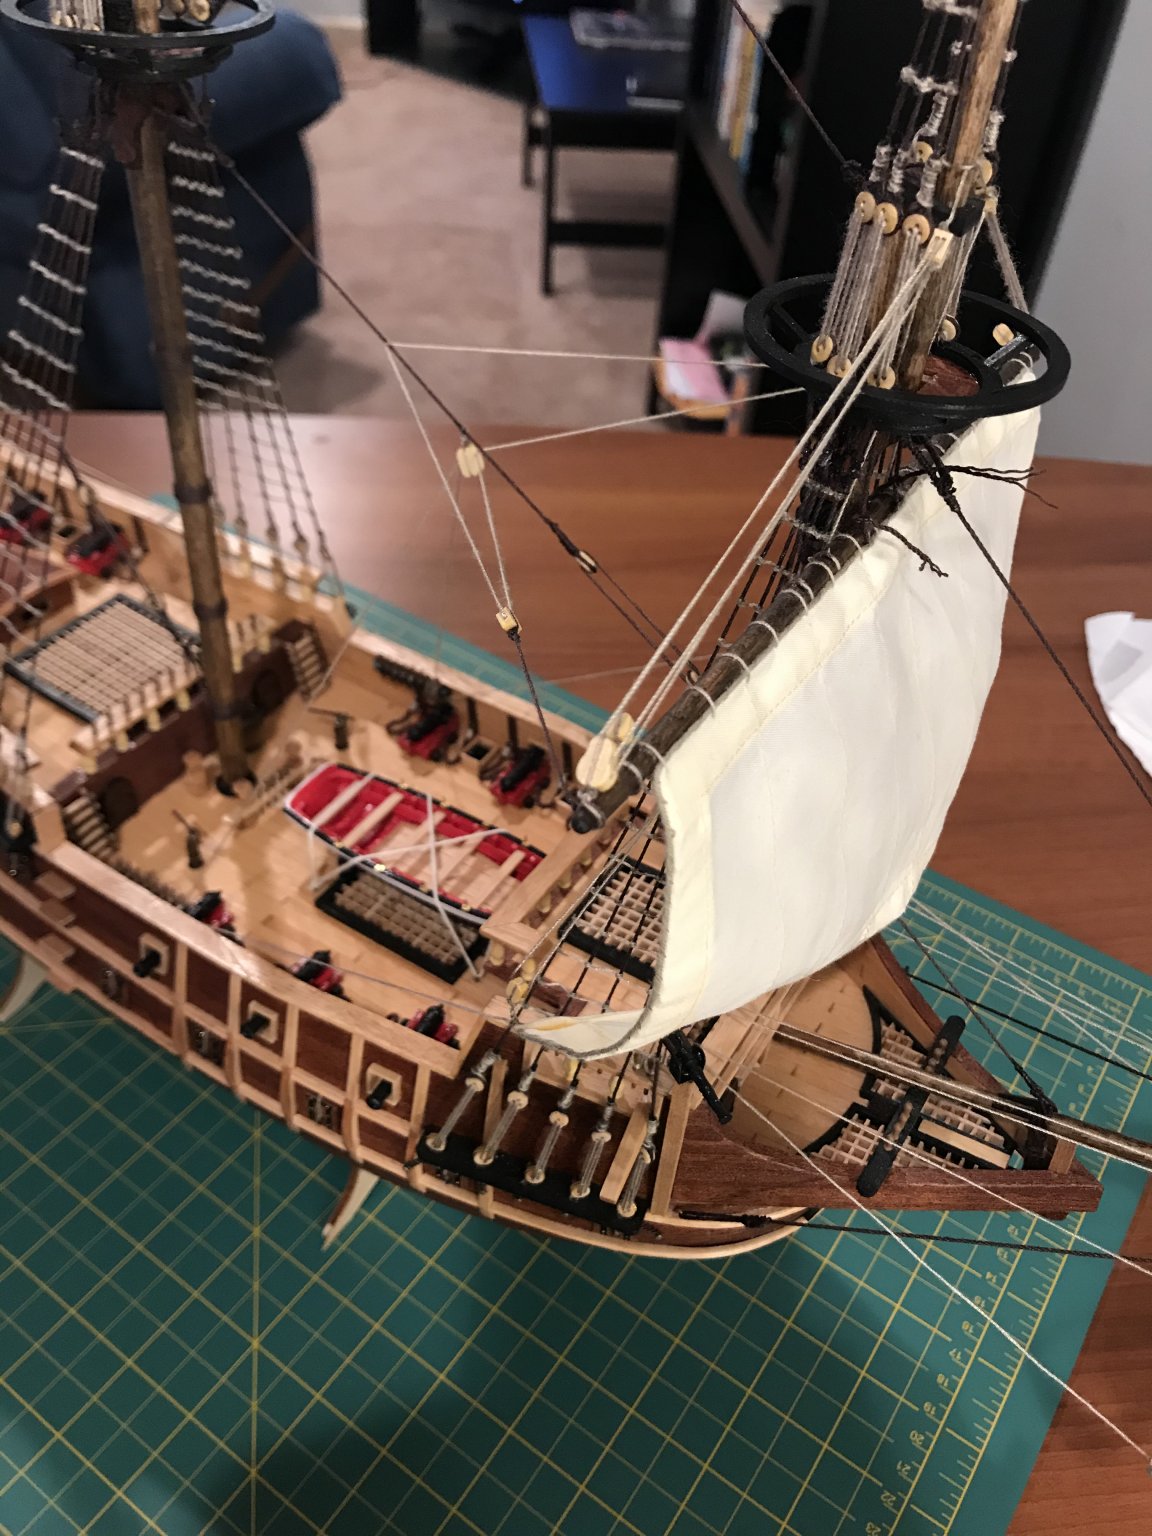
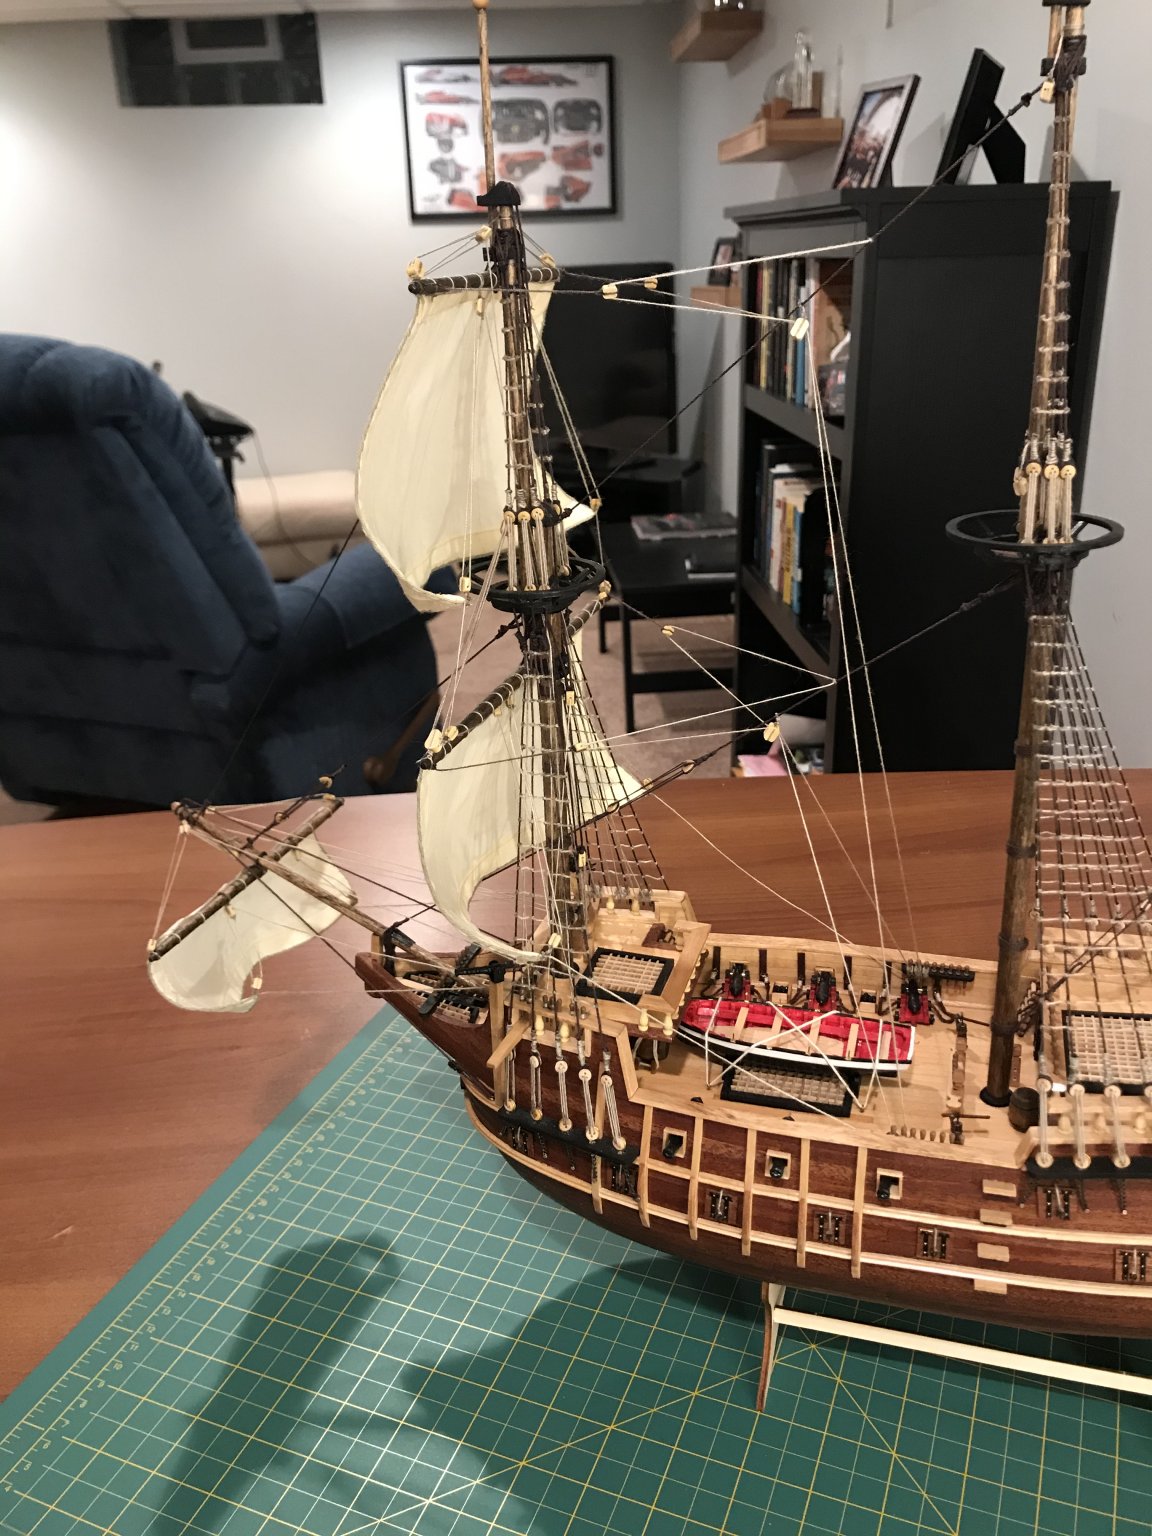
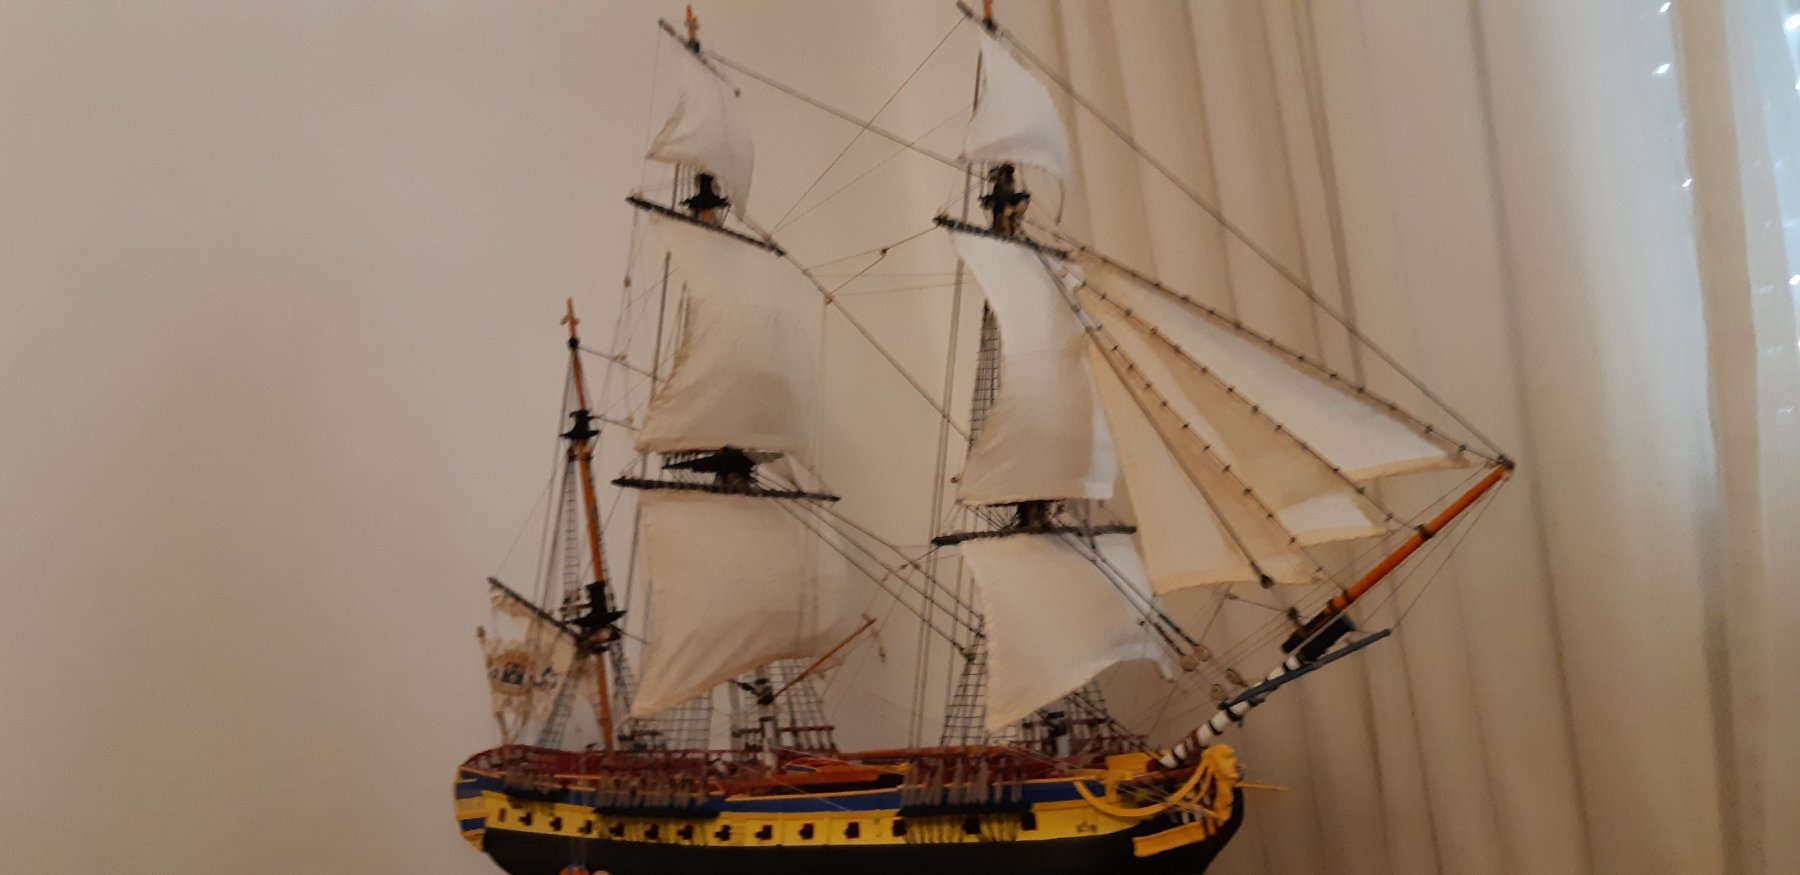
Got the final sail on, the anchors are attached, and now I just have to attach the people and finish a few other small details. I really like the idea of having extra rigging coiled up and placed throughout the ship.
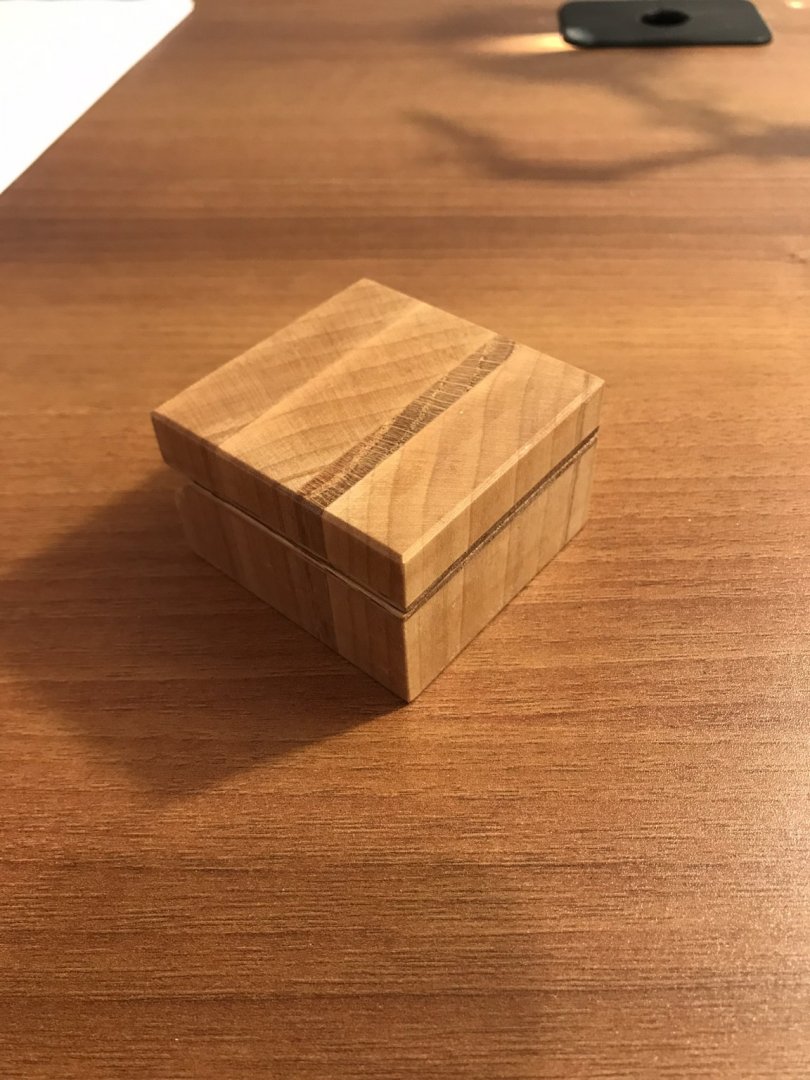
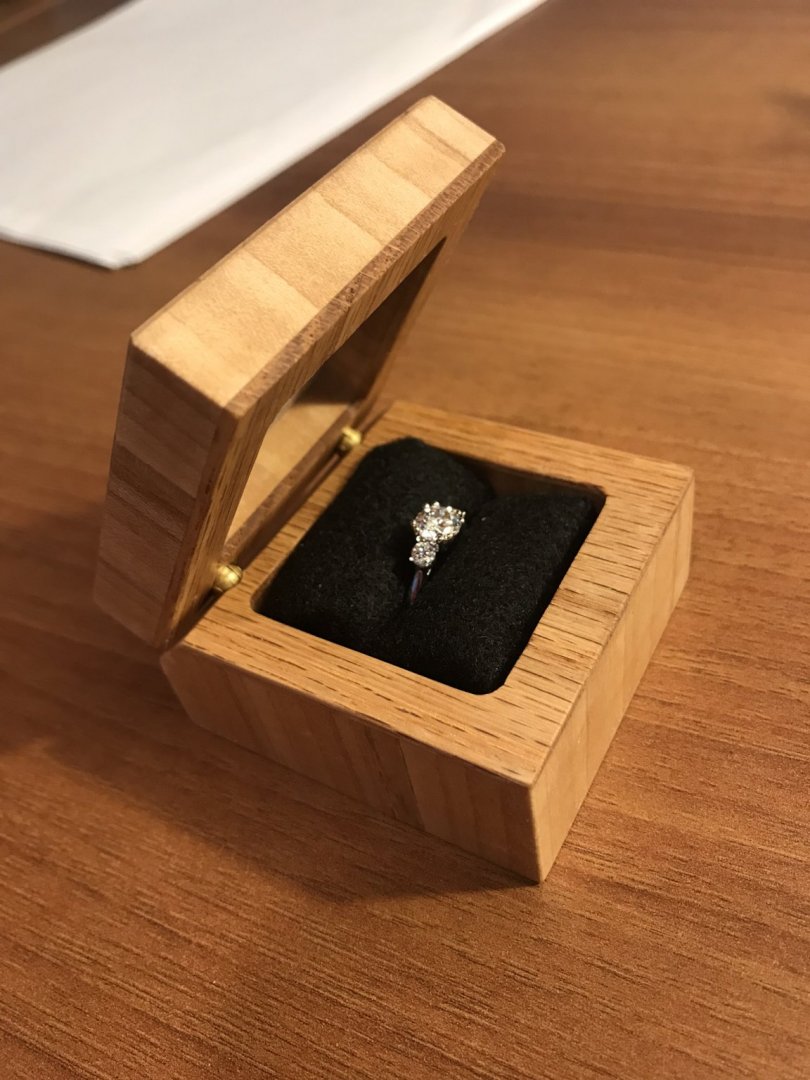
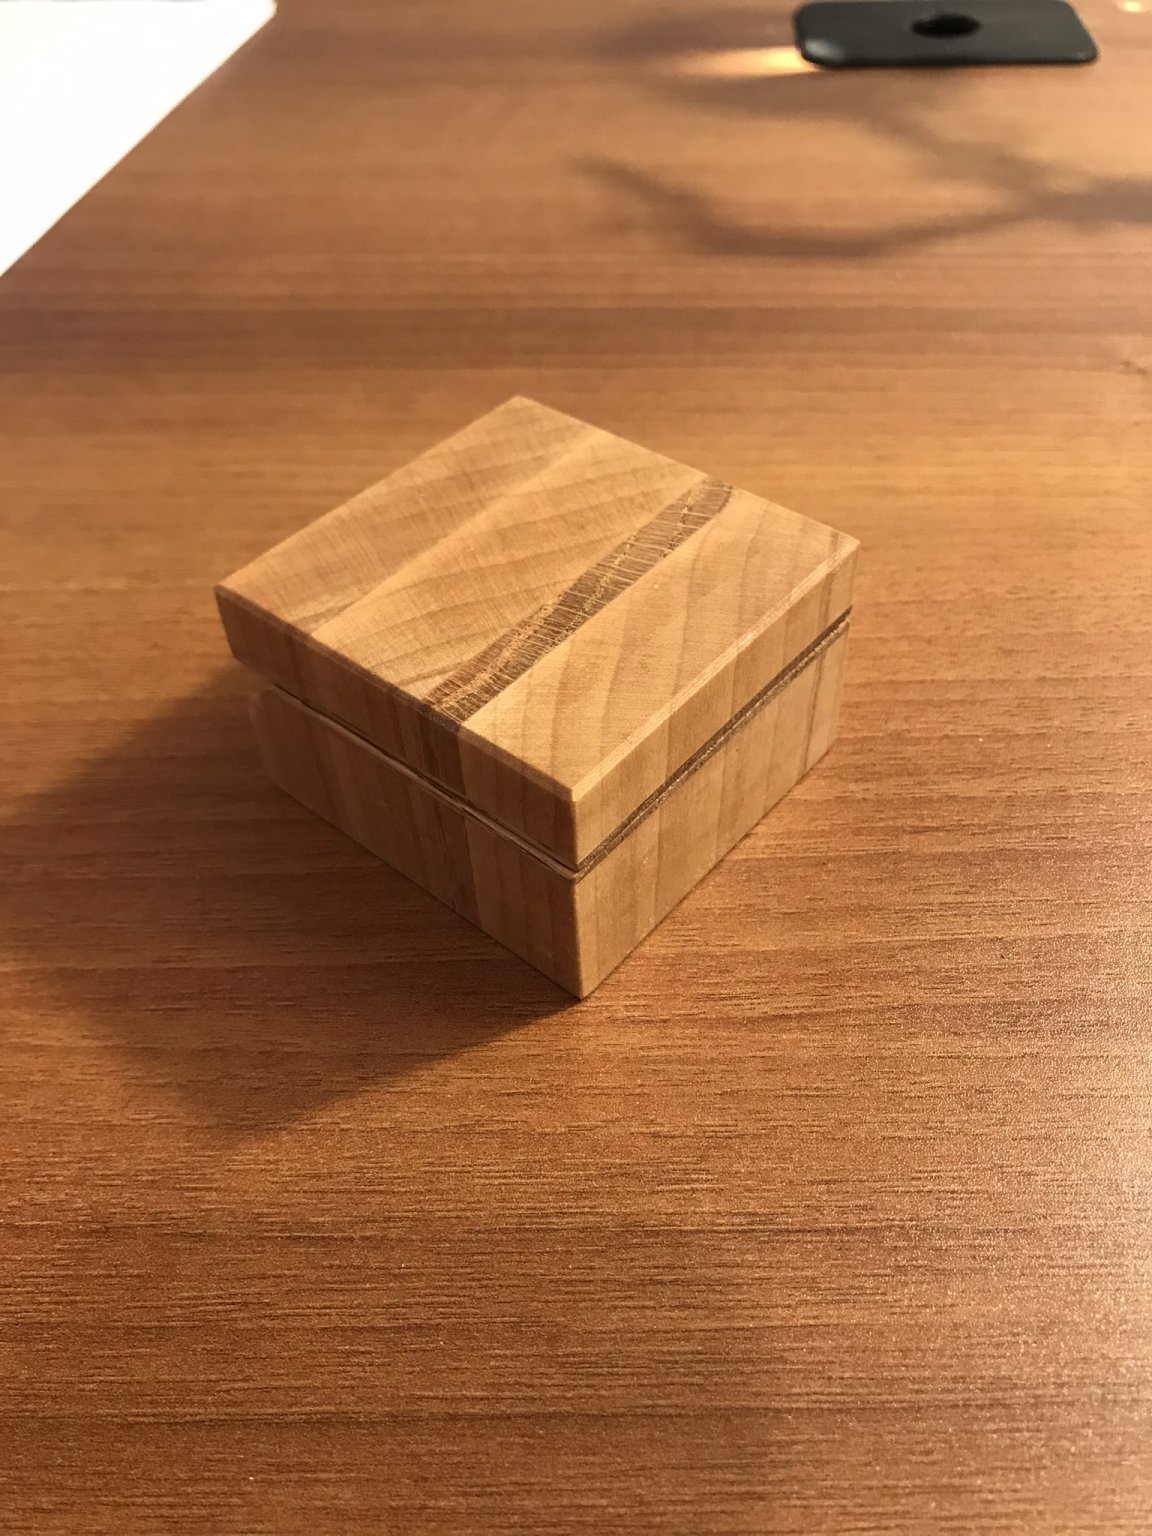
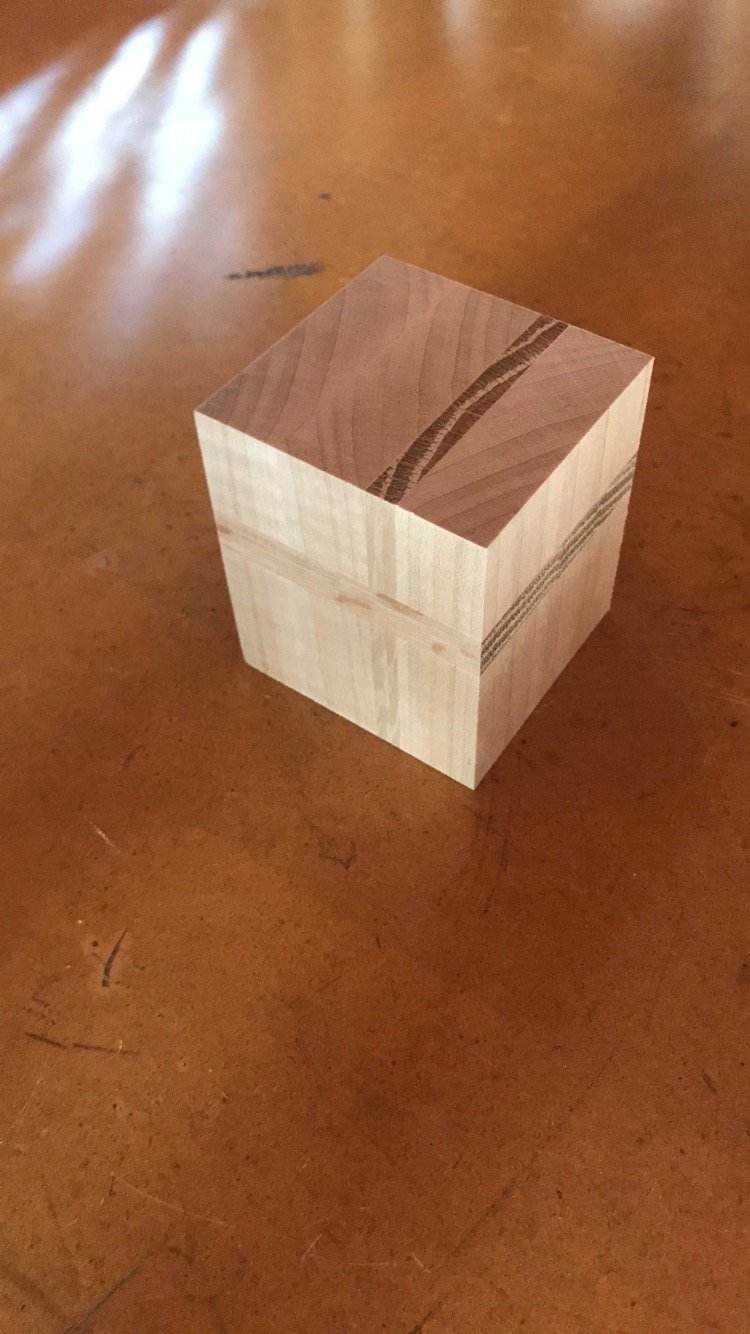
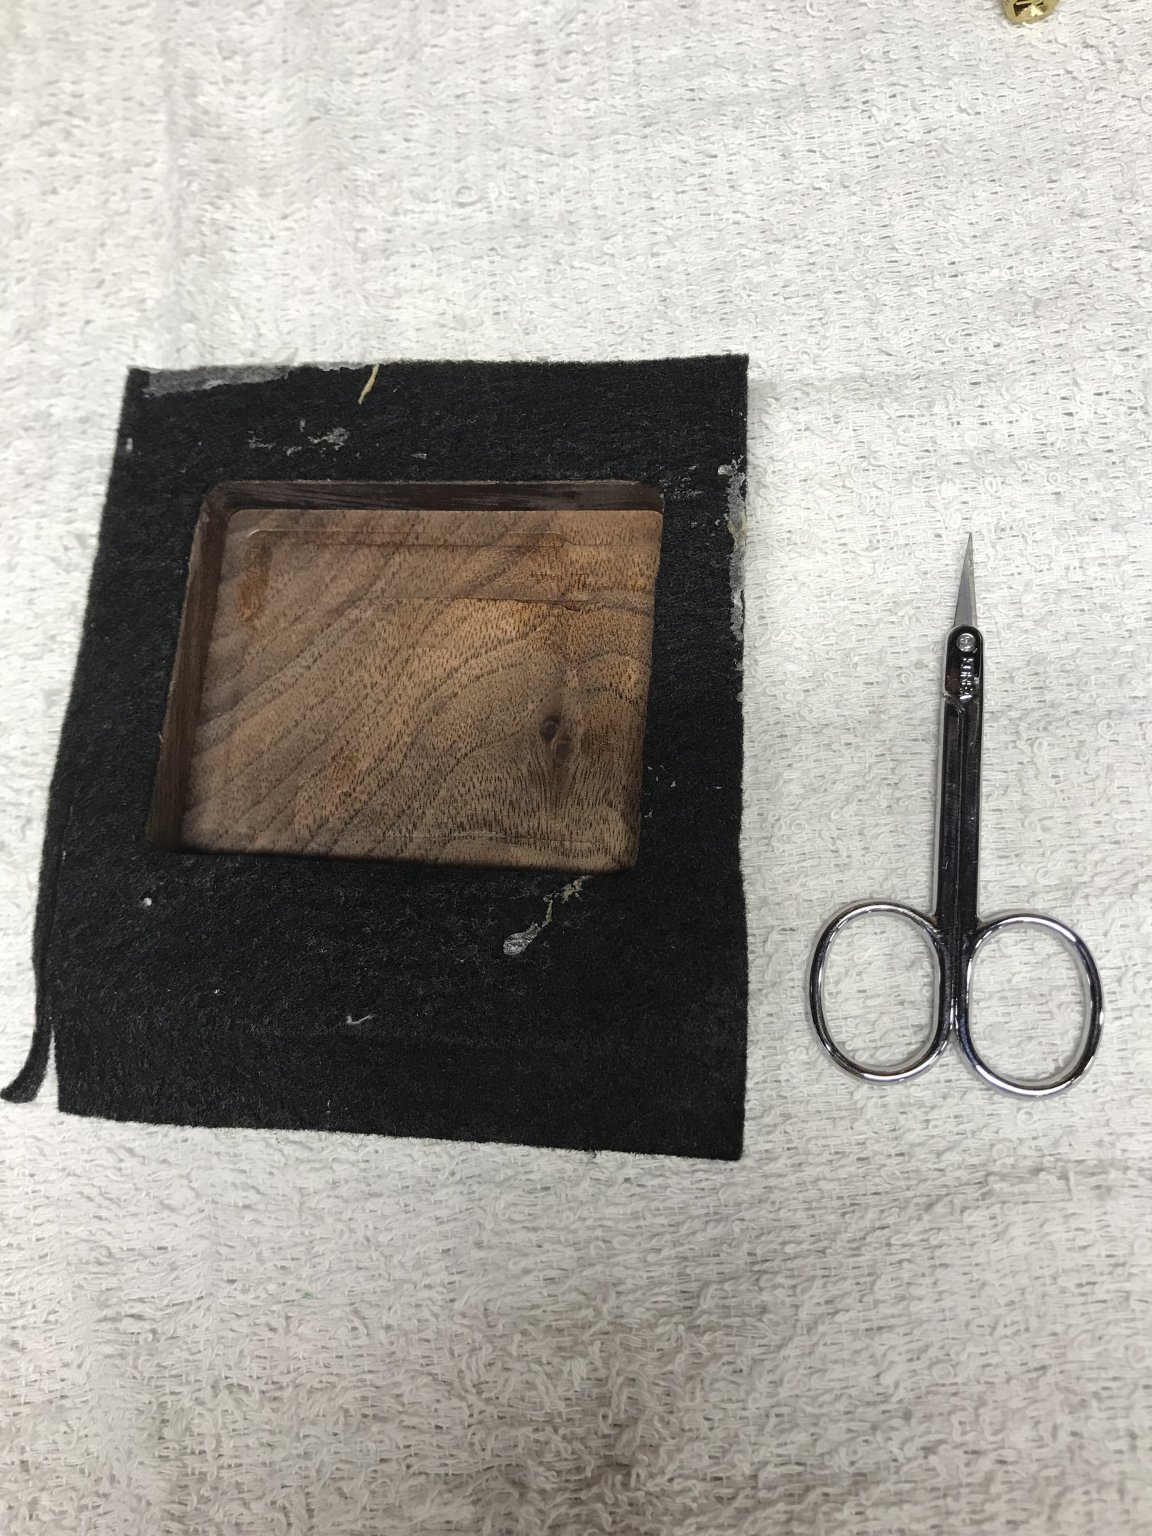
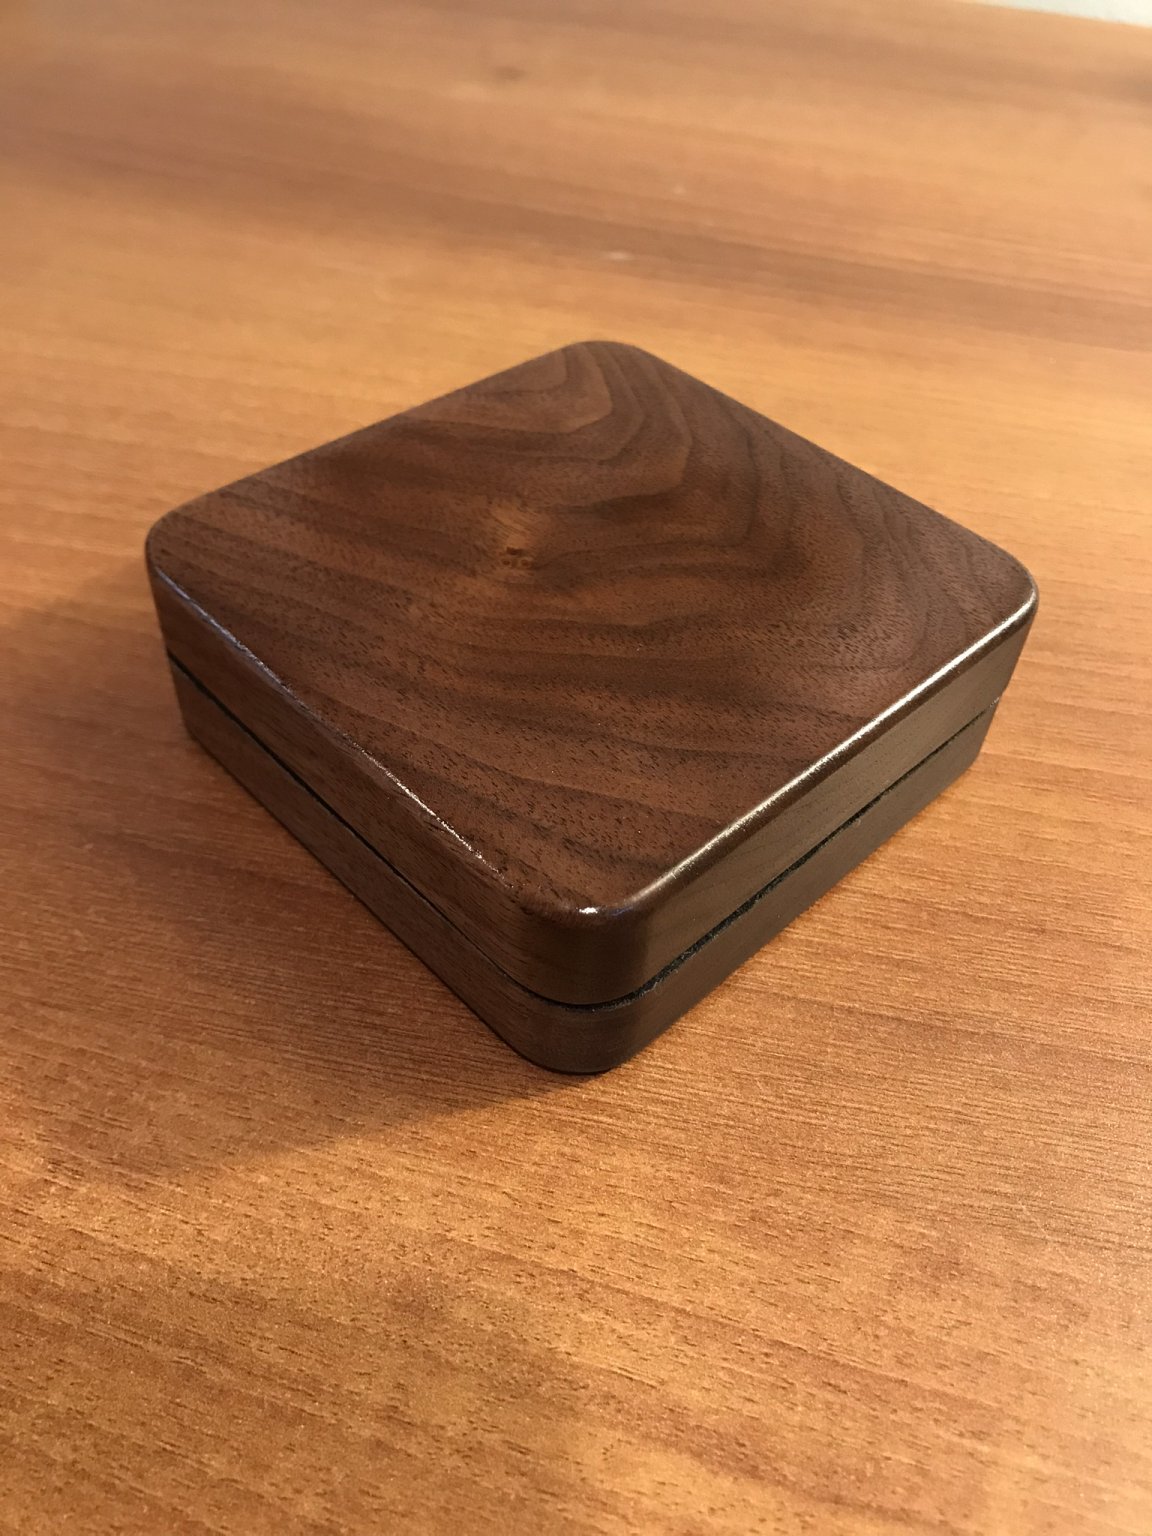
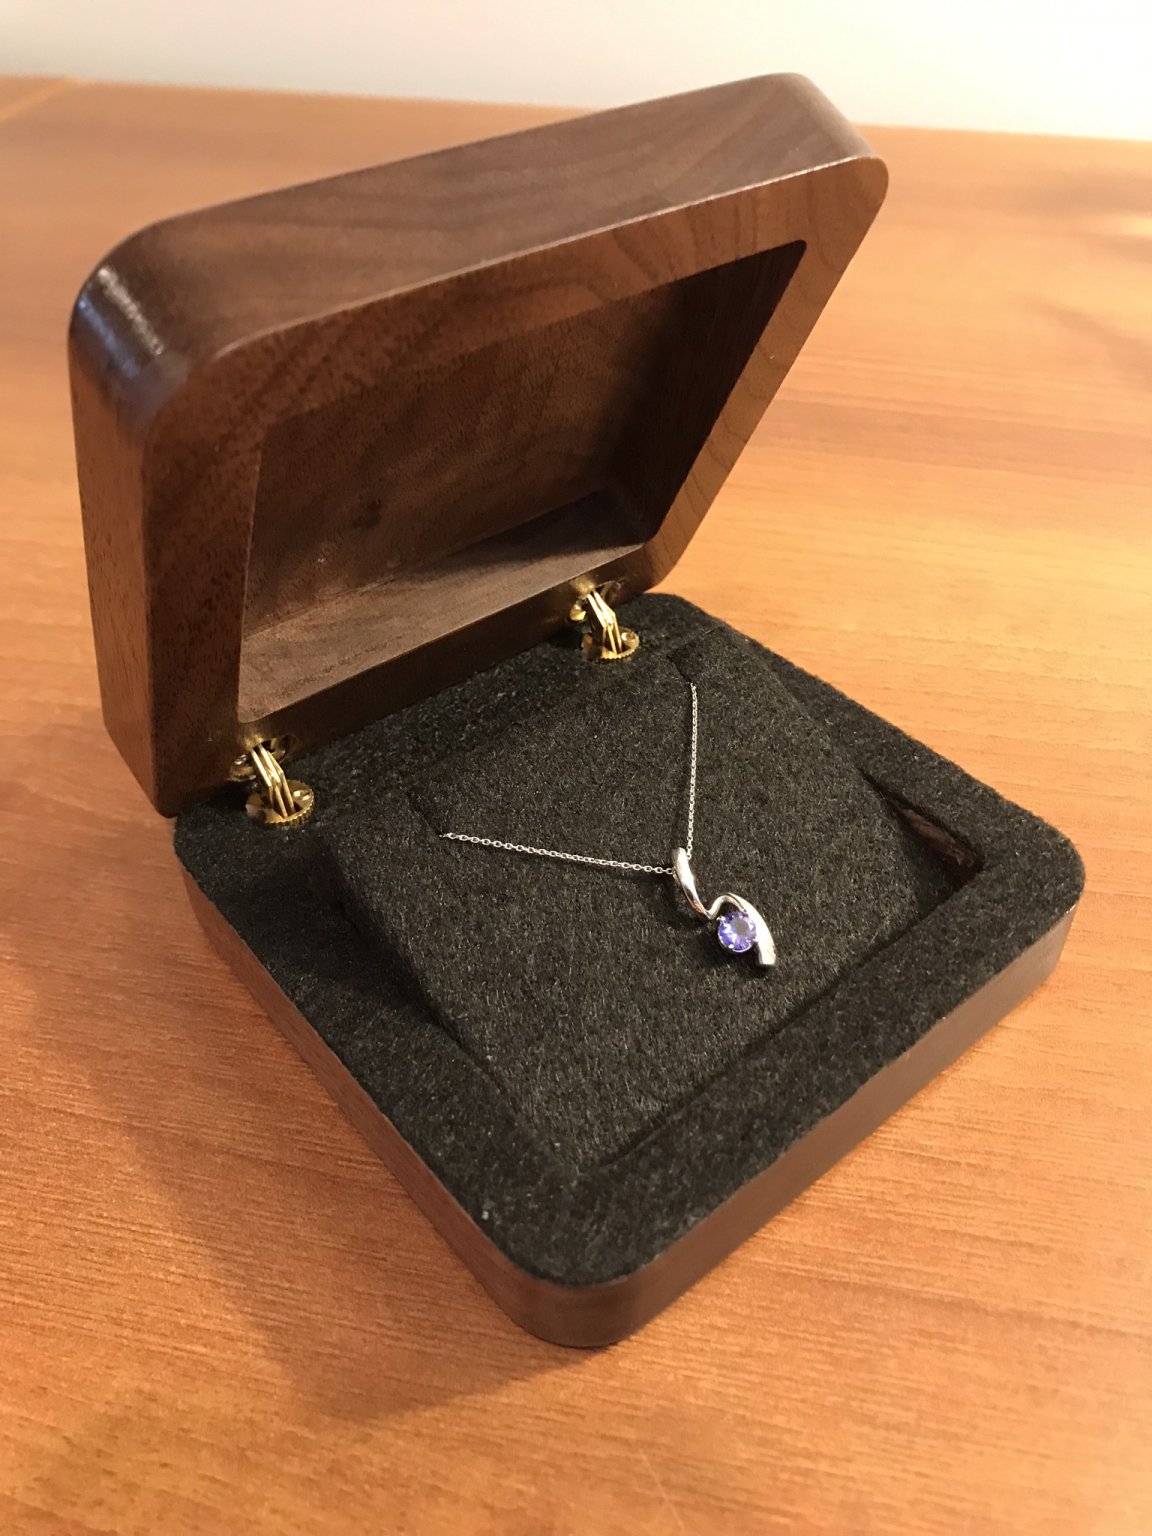
Also, just because I’m still excited about it...I recently got engaged while on a trip in California. I made her a custom ring box and a necklace box so of course there will be pictures attached, (and of course they are out of order that I tried to post in)
happy thanksgiving everyone!


- Osmosis, mtbediz, Blue Pilot and 4 others
-
 7
7
-
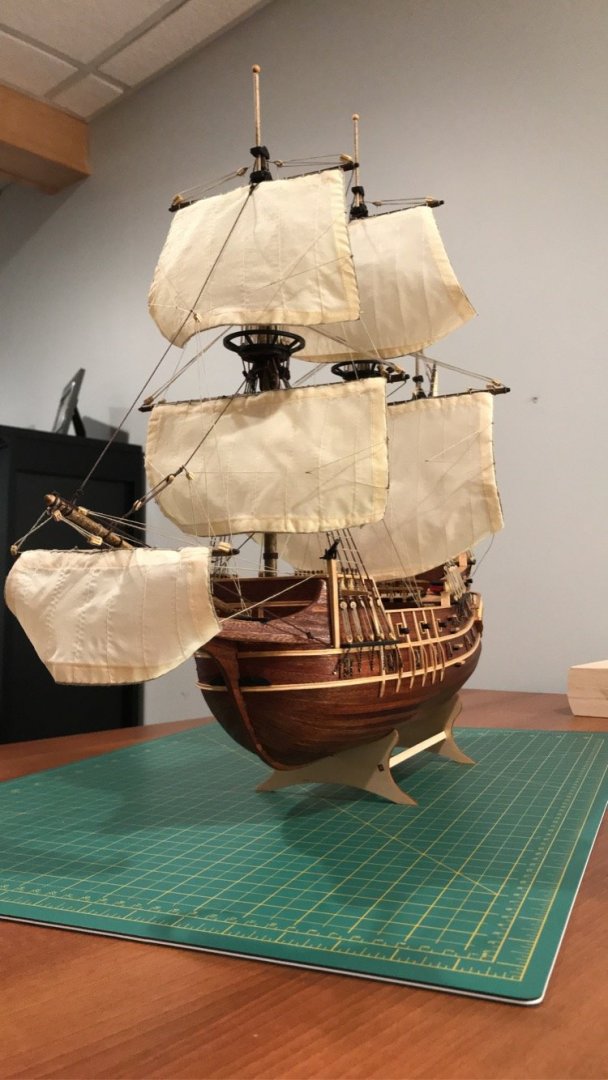
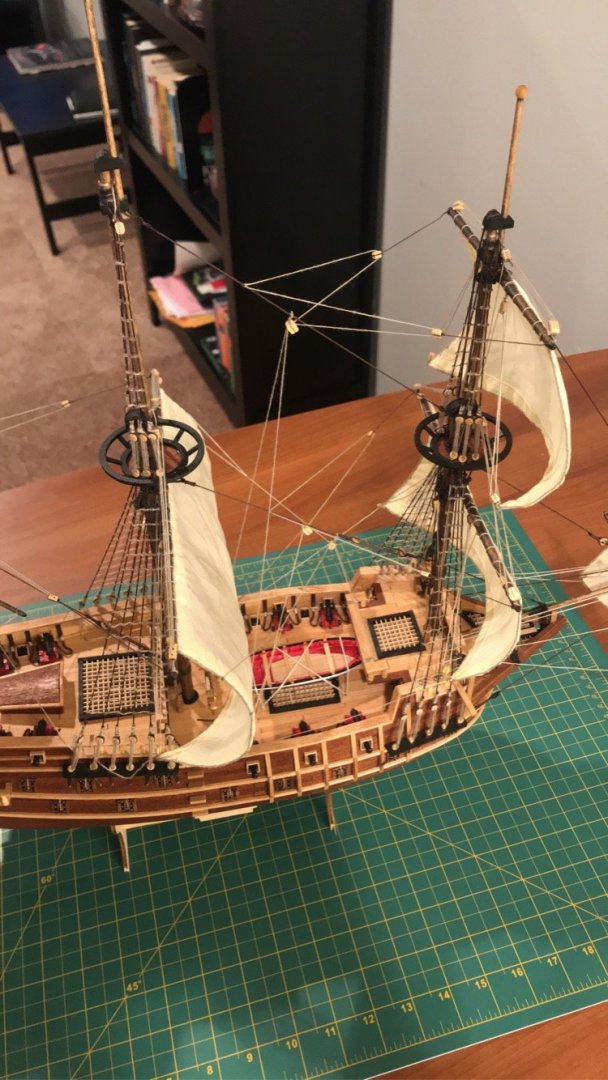
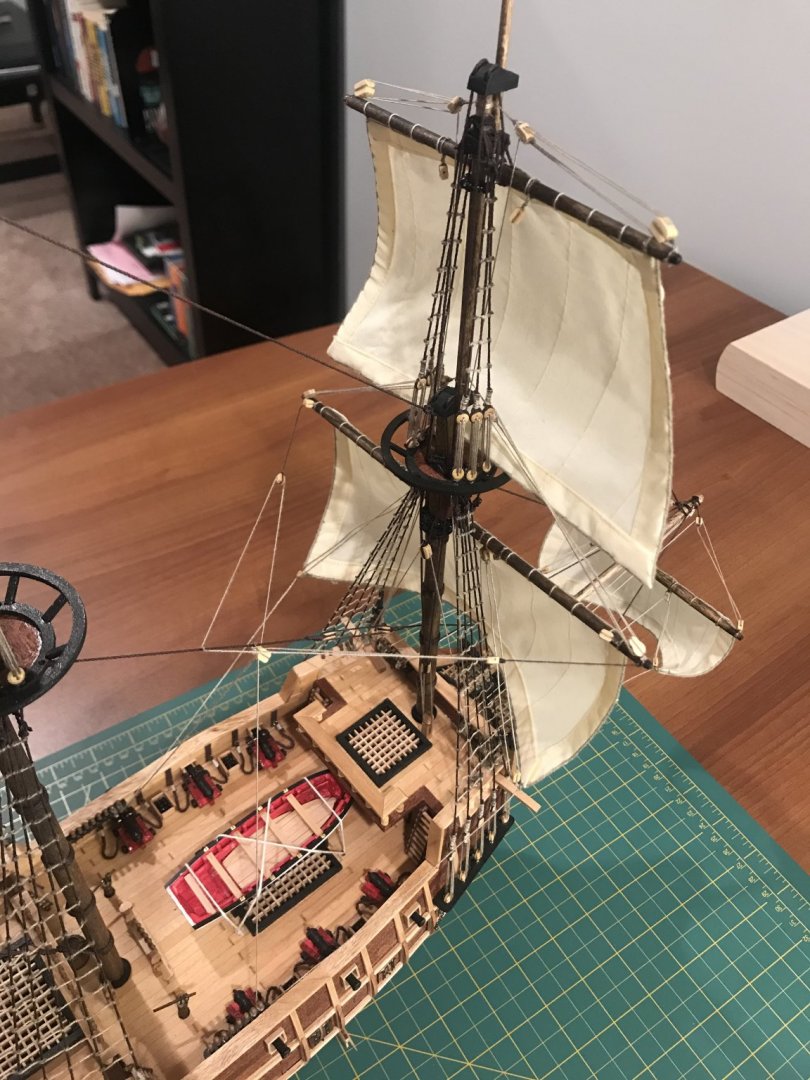
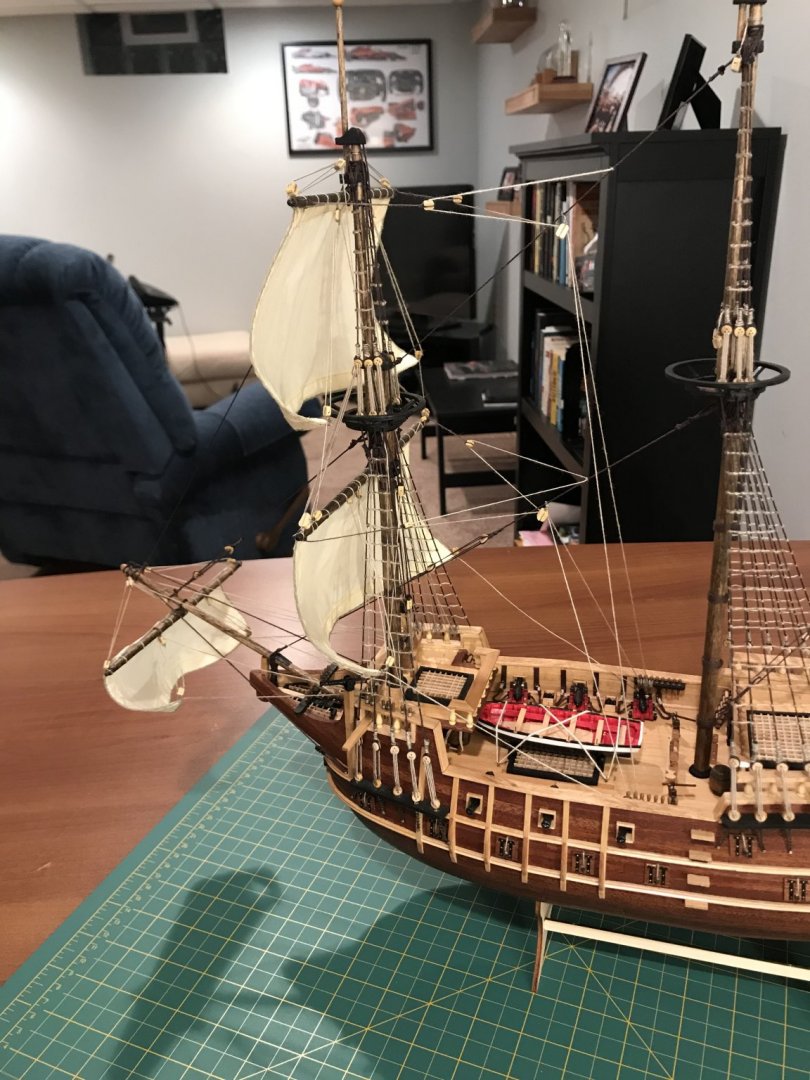
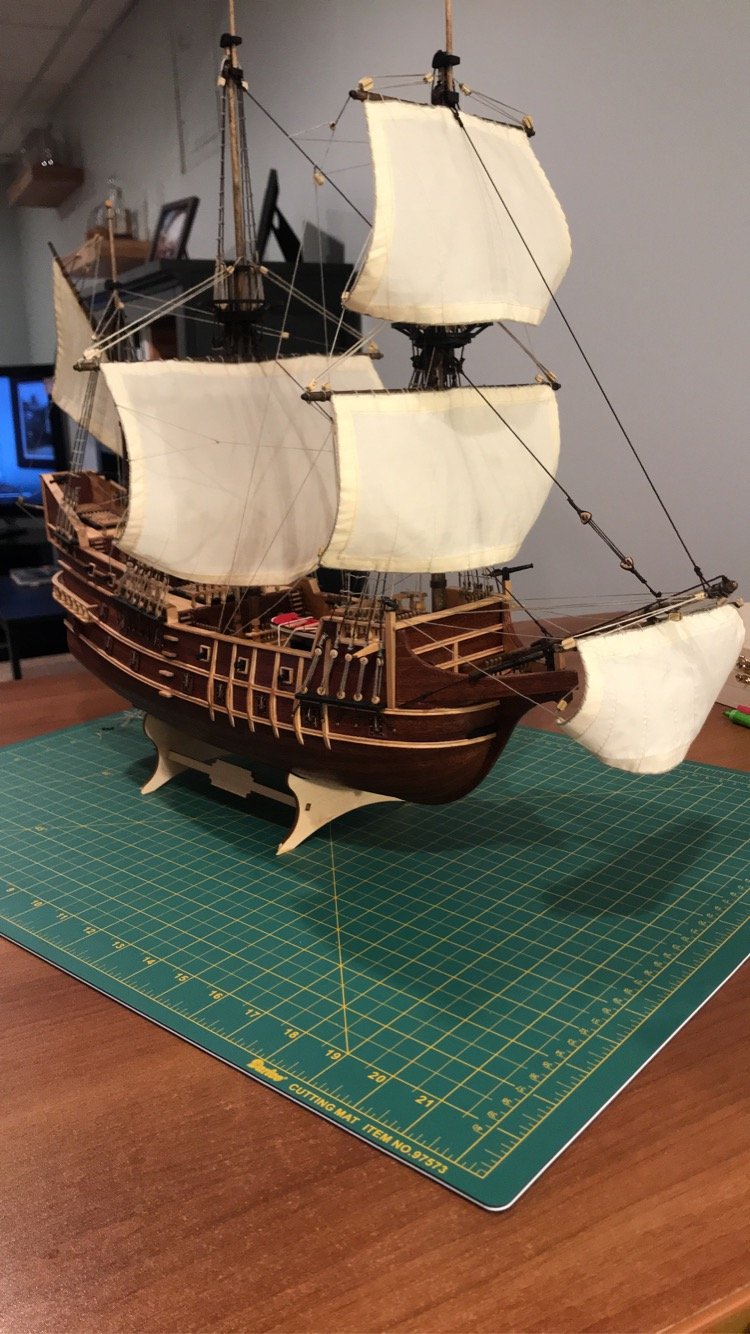
Just a few more lines to rig and some misc stuff (like putting the rudder on...totally forgot) but it’s looking like I’ll have her complete before Christmas, which is sort of surprising to me.
for my next build I am going to utilize the bees wax for the frays On the rigging. I was using a lighter initially on the cotton thread but the nylon is too fragile. I actually burned one completely up so I stopped with that nonsense.
im also going to get a serving machine and serve more of the knots for the rigging.
I was too inpatient with a few things but she still turned out gorgeous.
anyone have any good plans to make a display case with a drawer in the base?


- Duanelaker, Osmosis, vulcanbomber and 1 other
-
4
-
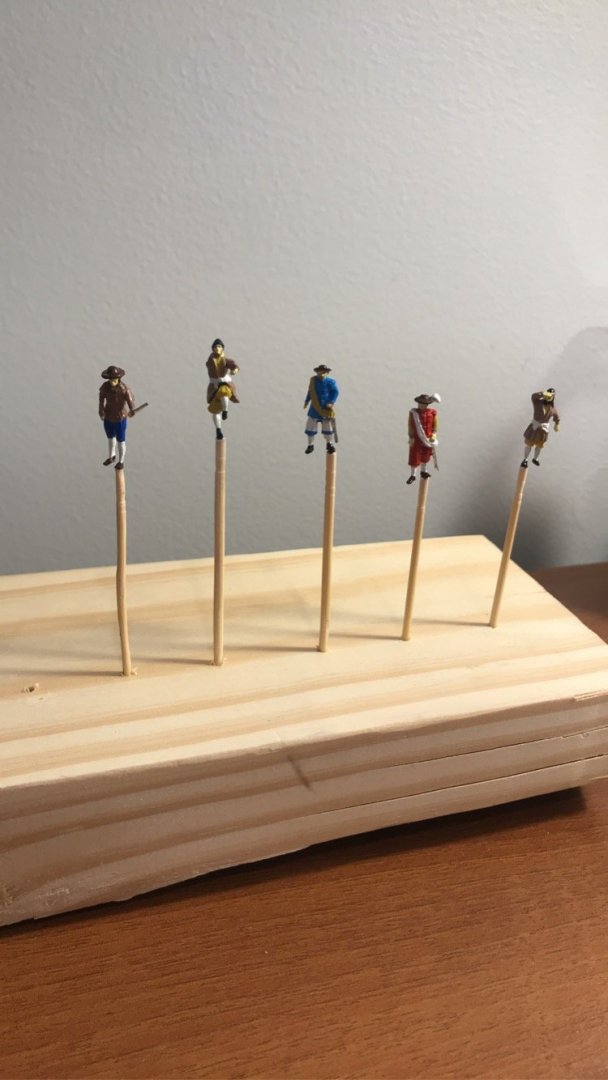
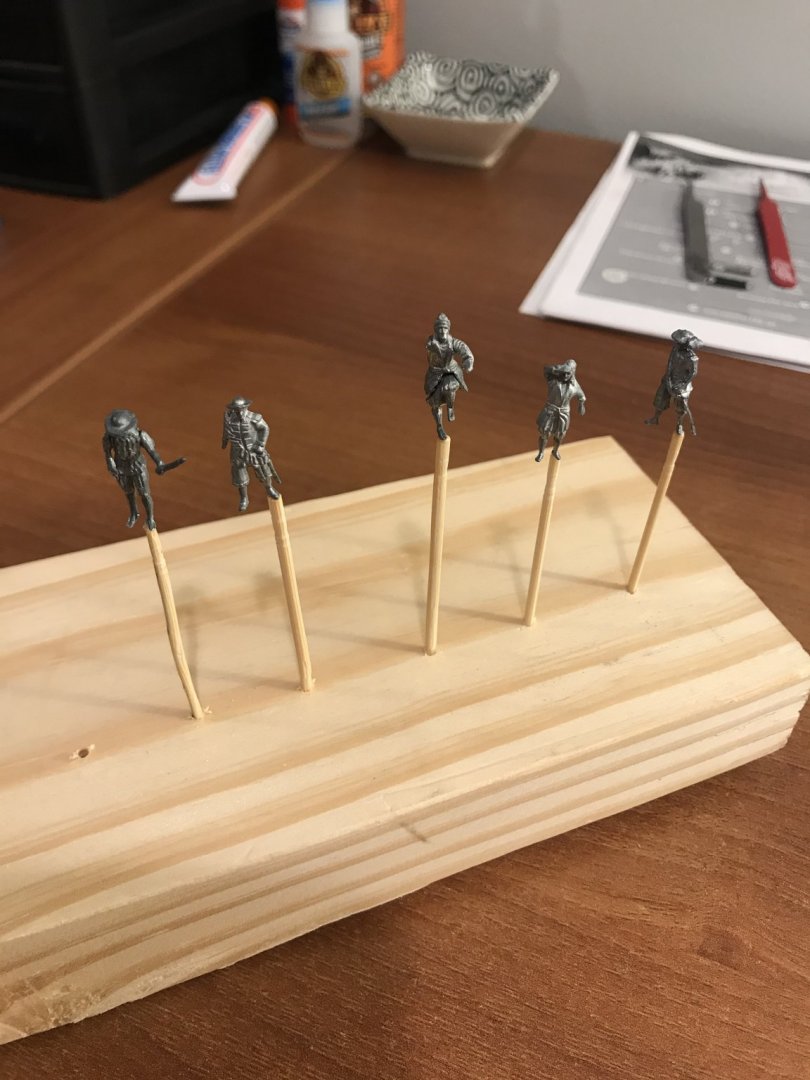
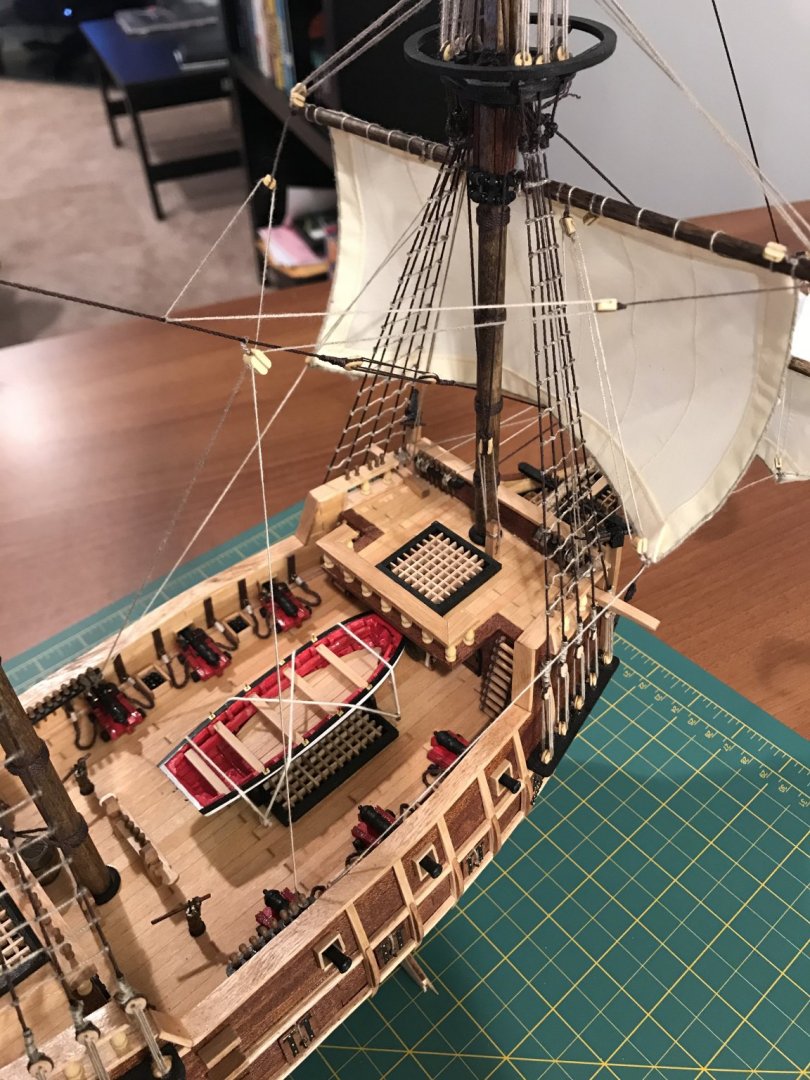
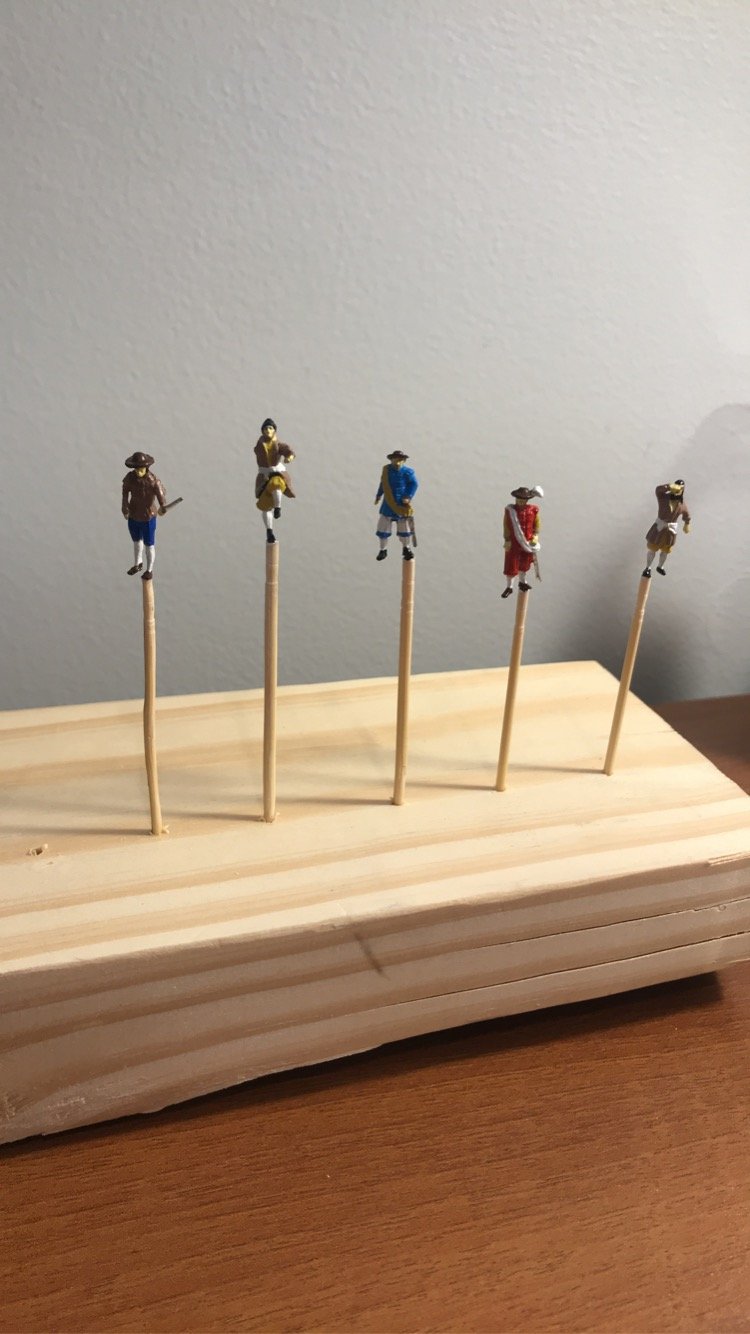
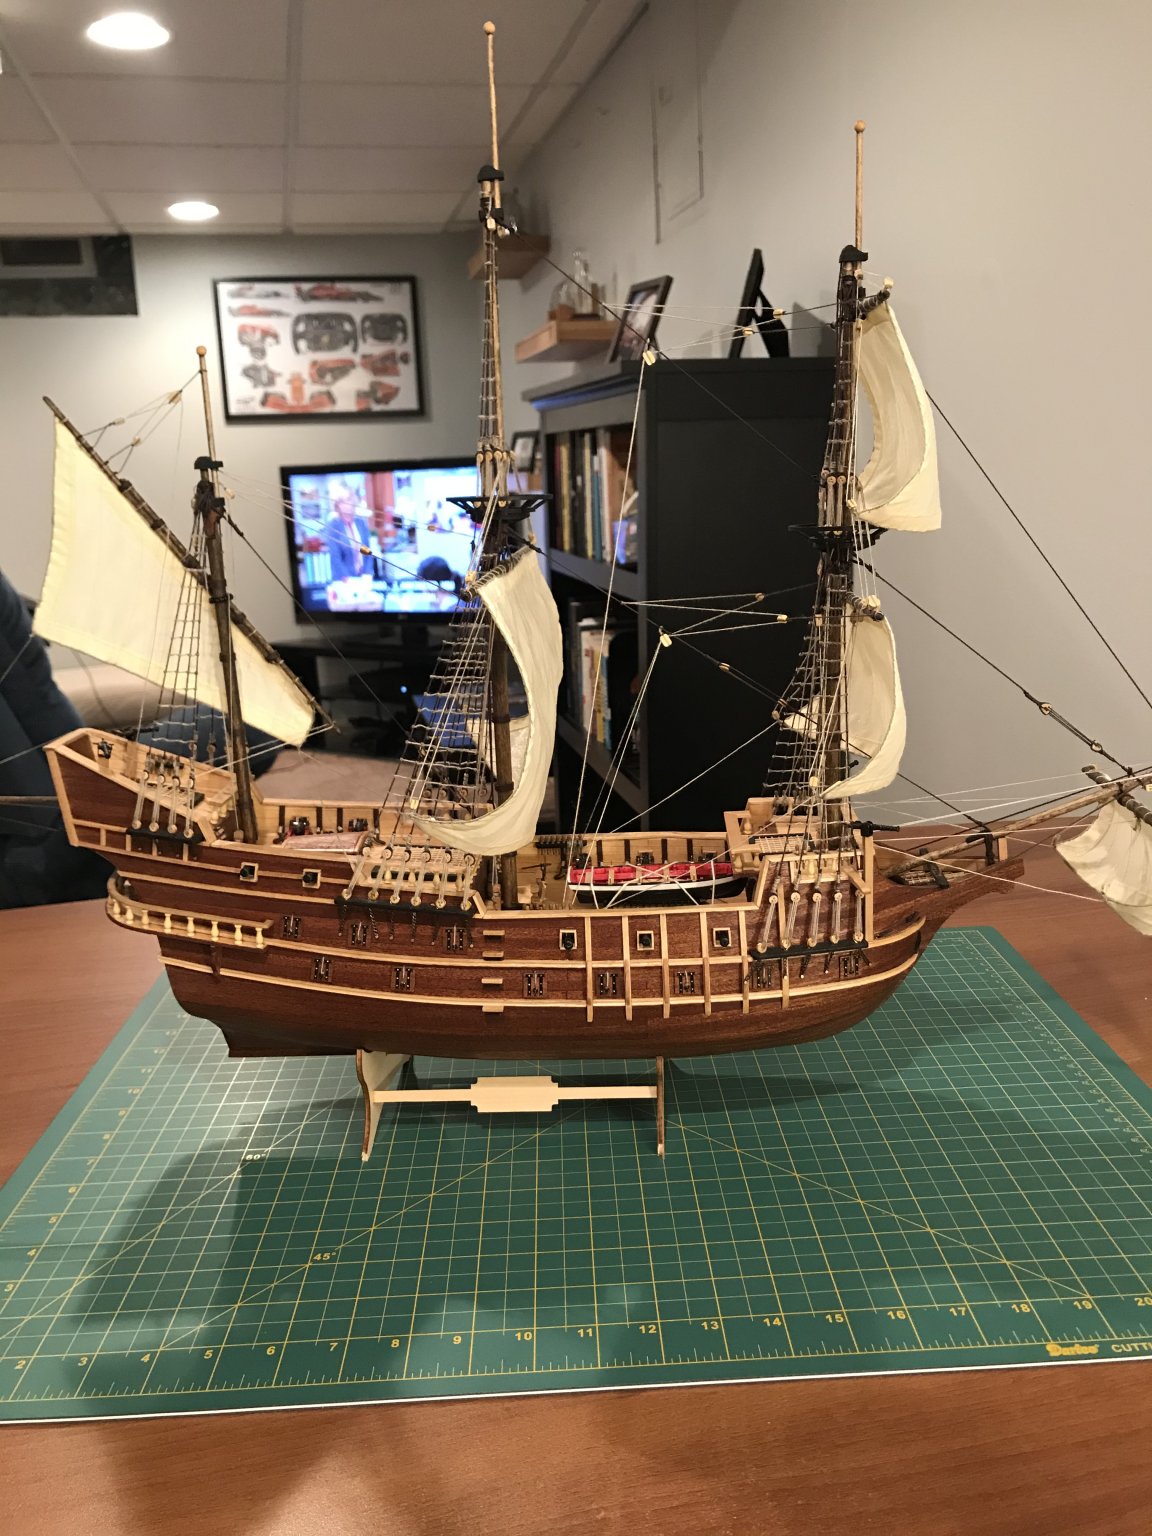
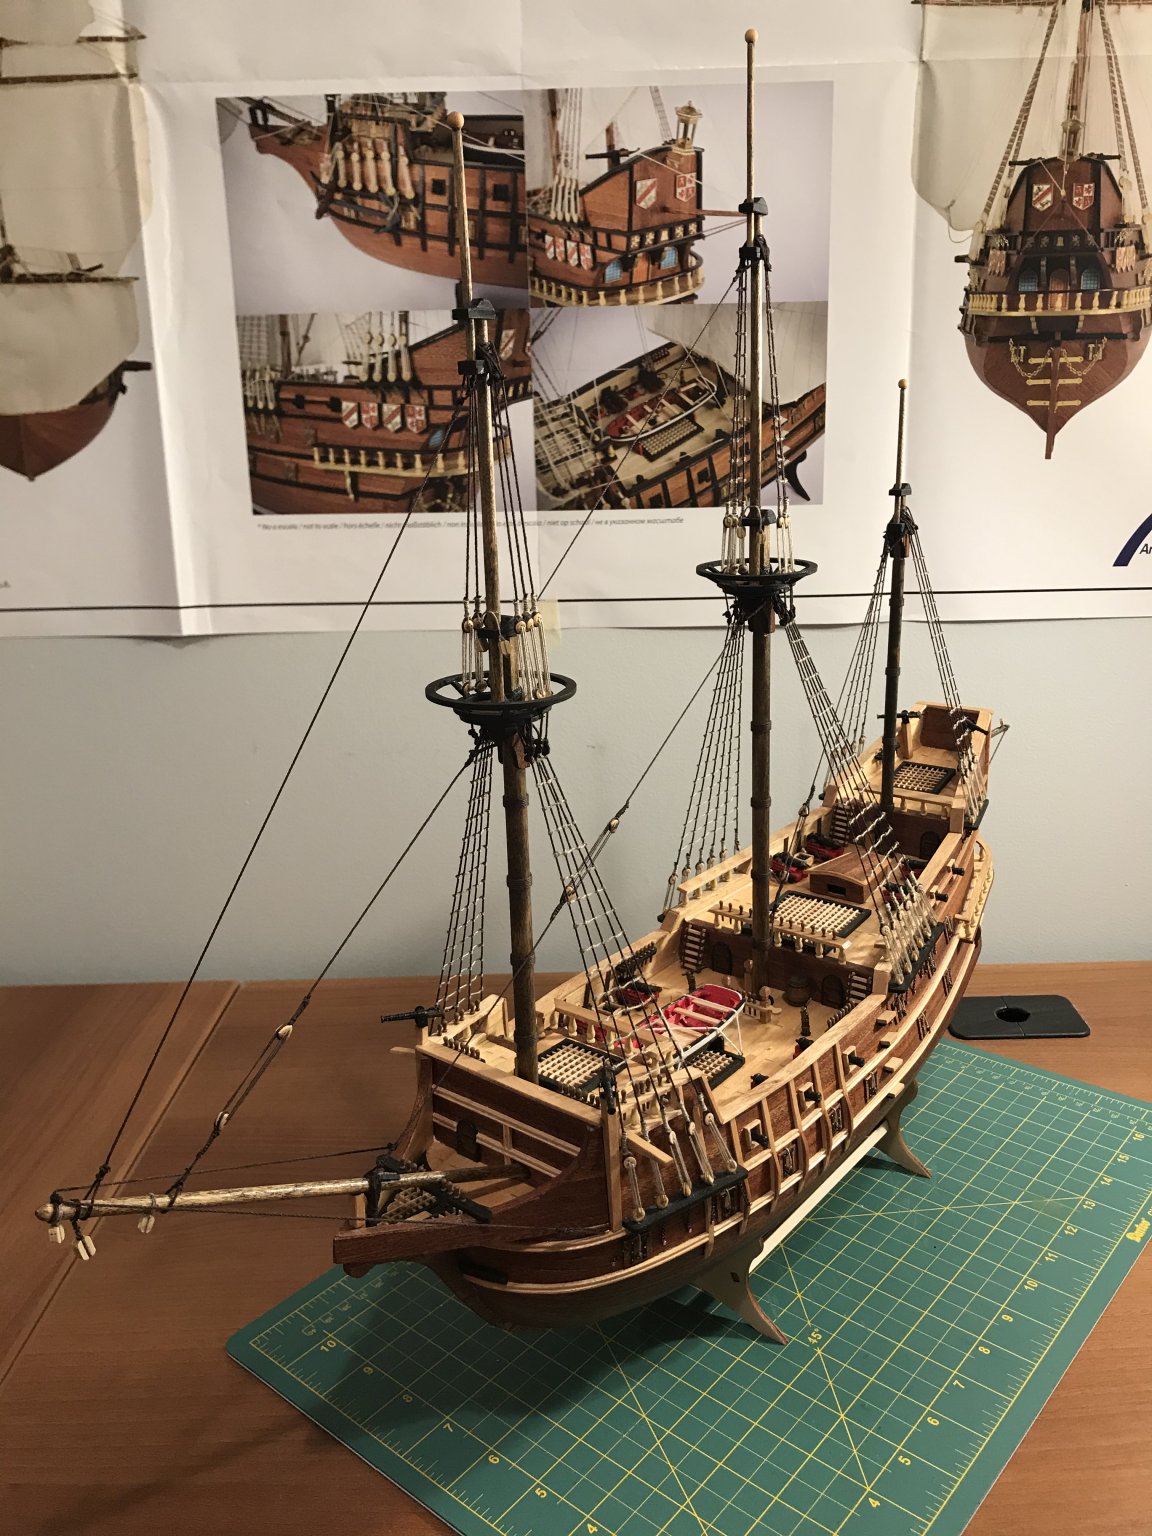
Only have 1 more sail left and then it’s on to the small details and the display case. The kit comes with little die cast people I was on the fence about using but I decided to use them. It’s really starting to come together and I could be more excited.
the figurines needed a little filing to get rid of the casting lines, and the kit itself was missing one of the srms so I have to email Artesania requesting another one. They may take a while to get respond but they will replace parts at no cost.


-
On 11/6/2019 at 1:37 AM, MESSIS said:
Hey hey! Looks great. It seems you got the wind blowing in those sails, bon voyage.
Christos
Yup! The hardest part is cutting the holes in cardboard and pinning the sail to try and get the best shape but its working pretty well. I appreciate your help with the matter
-
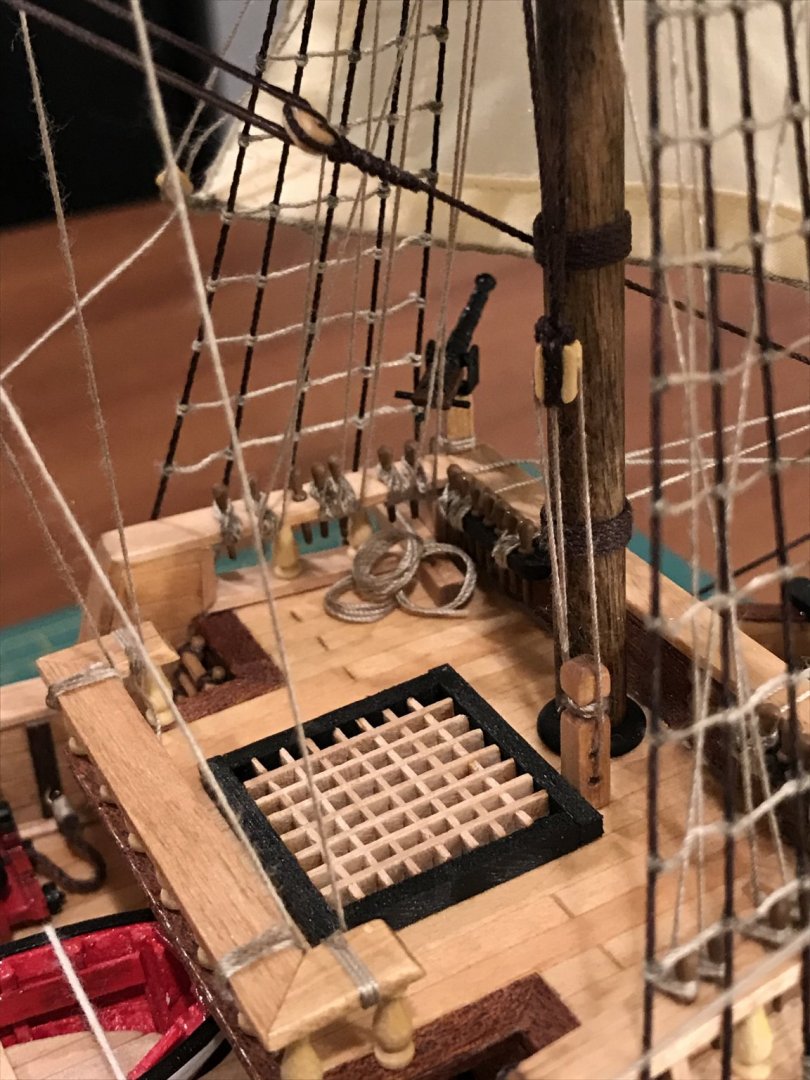
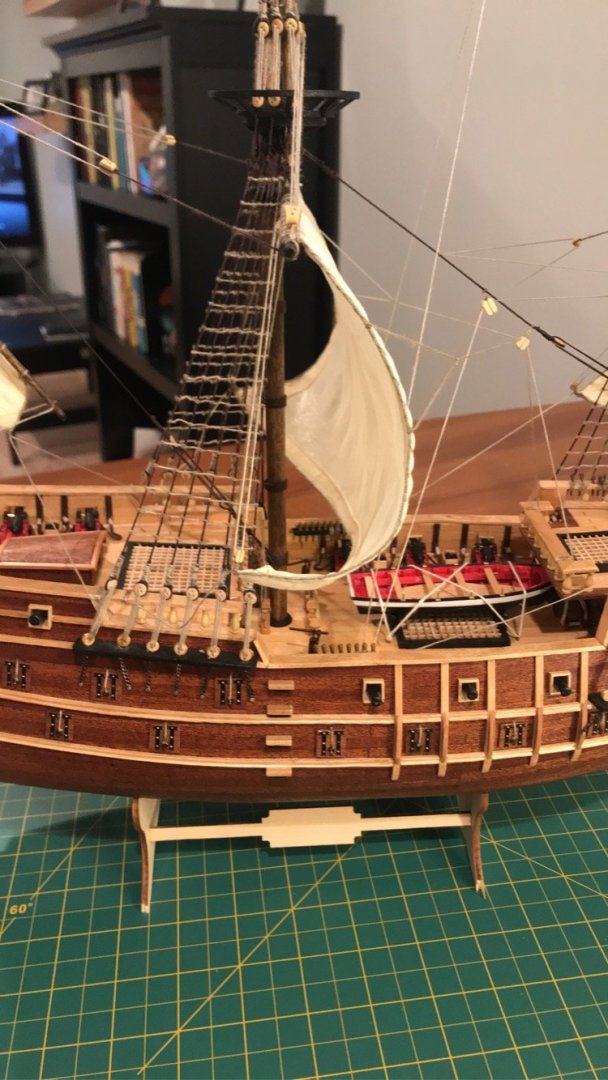
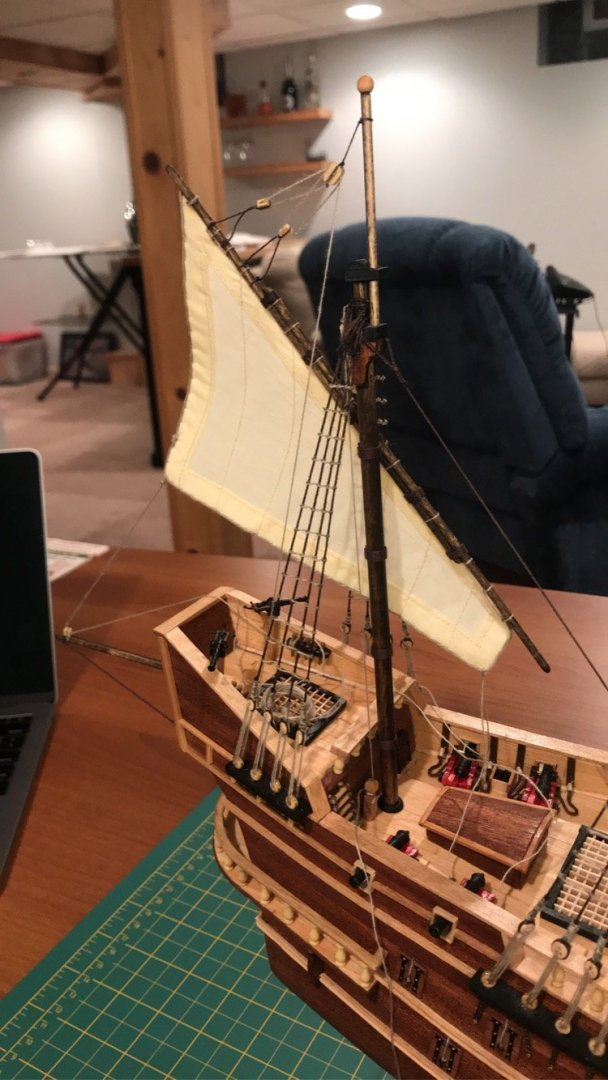
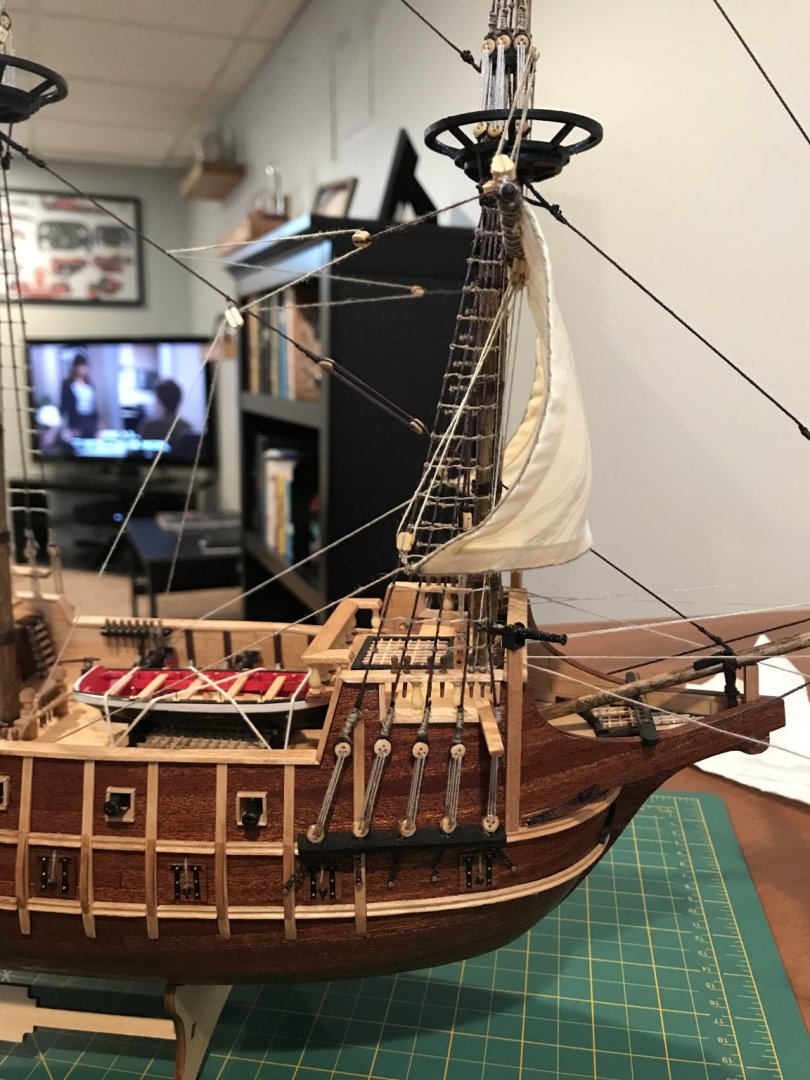
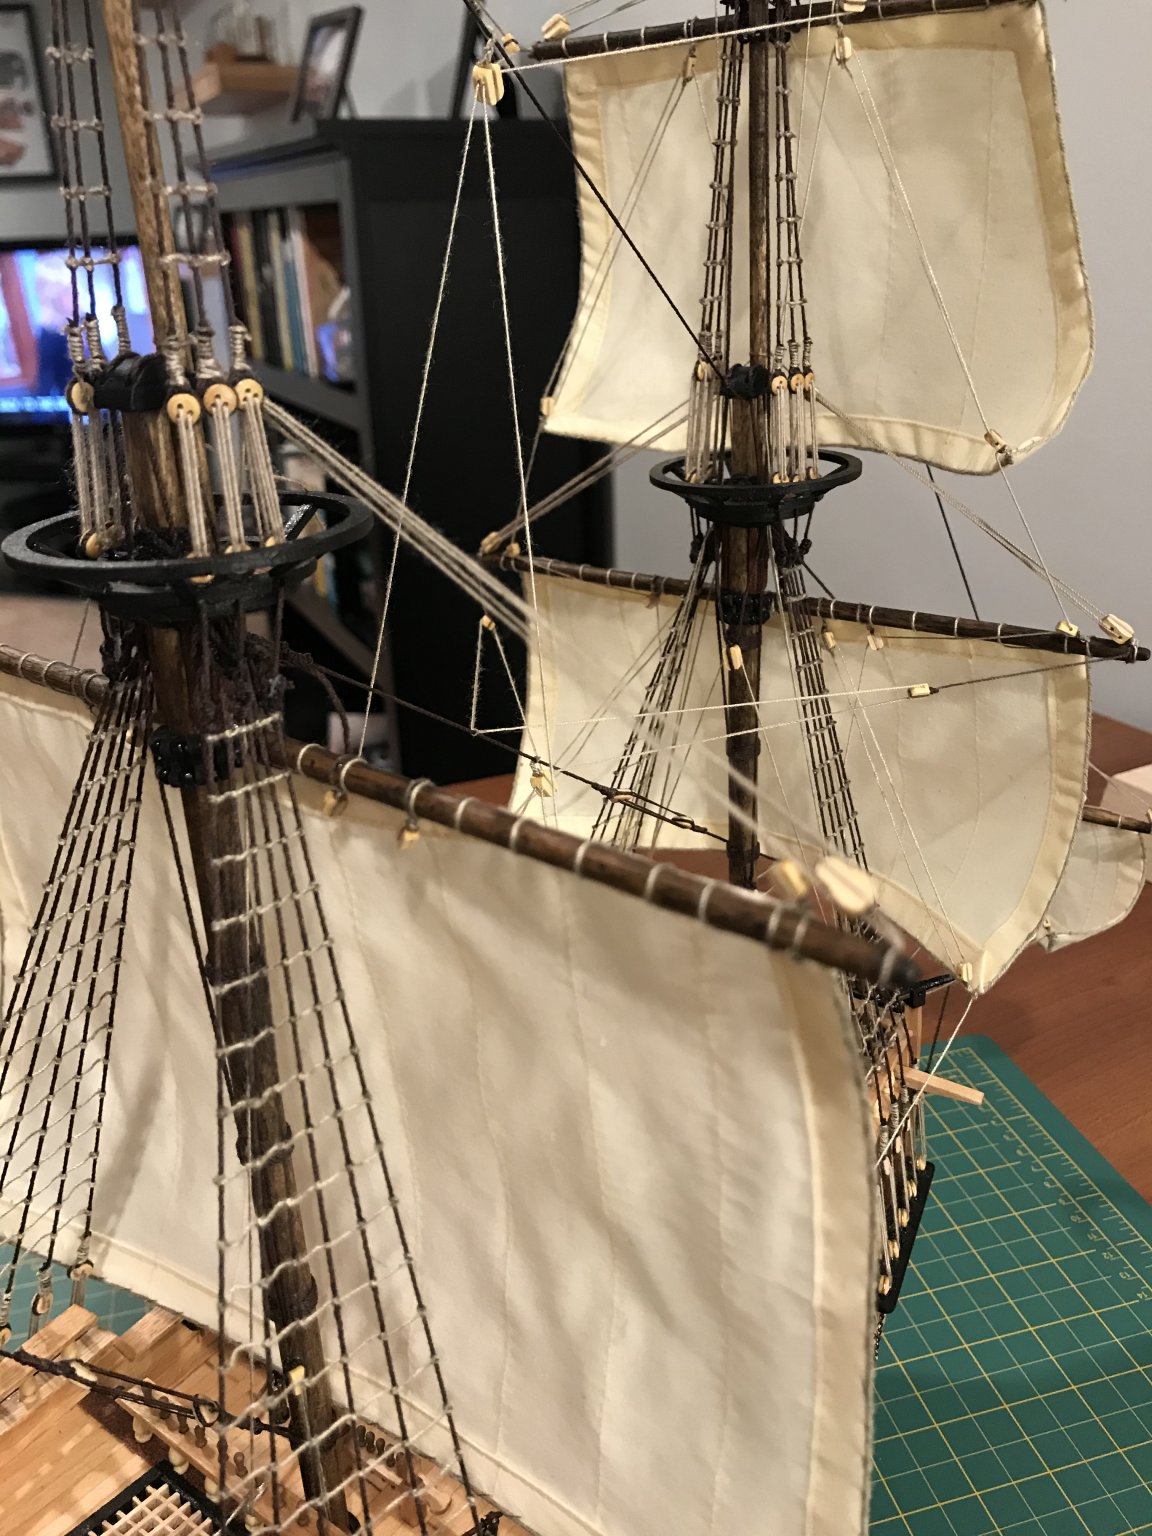
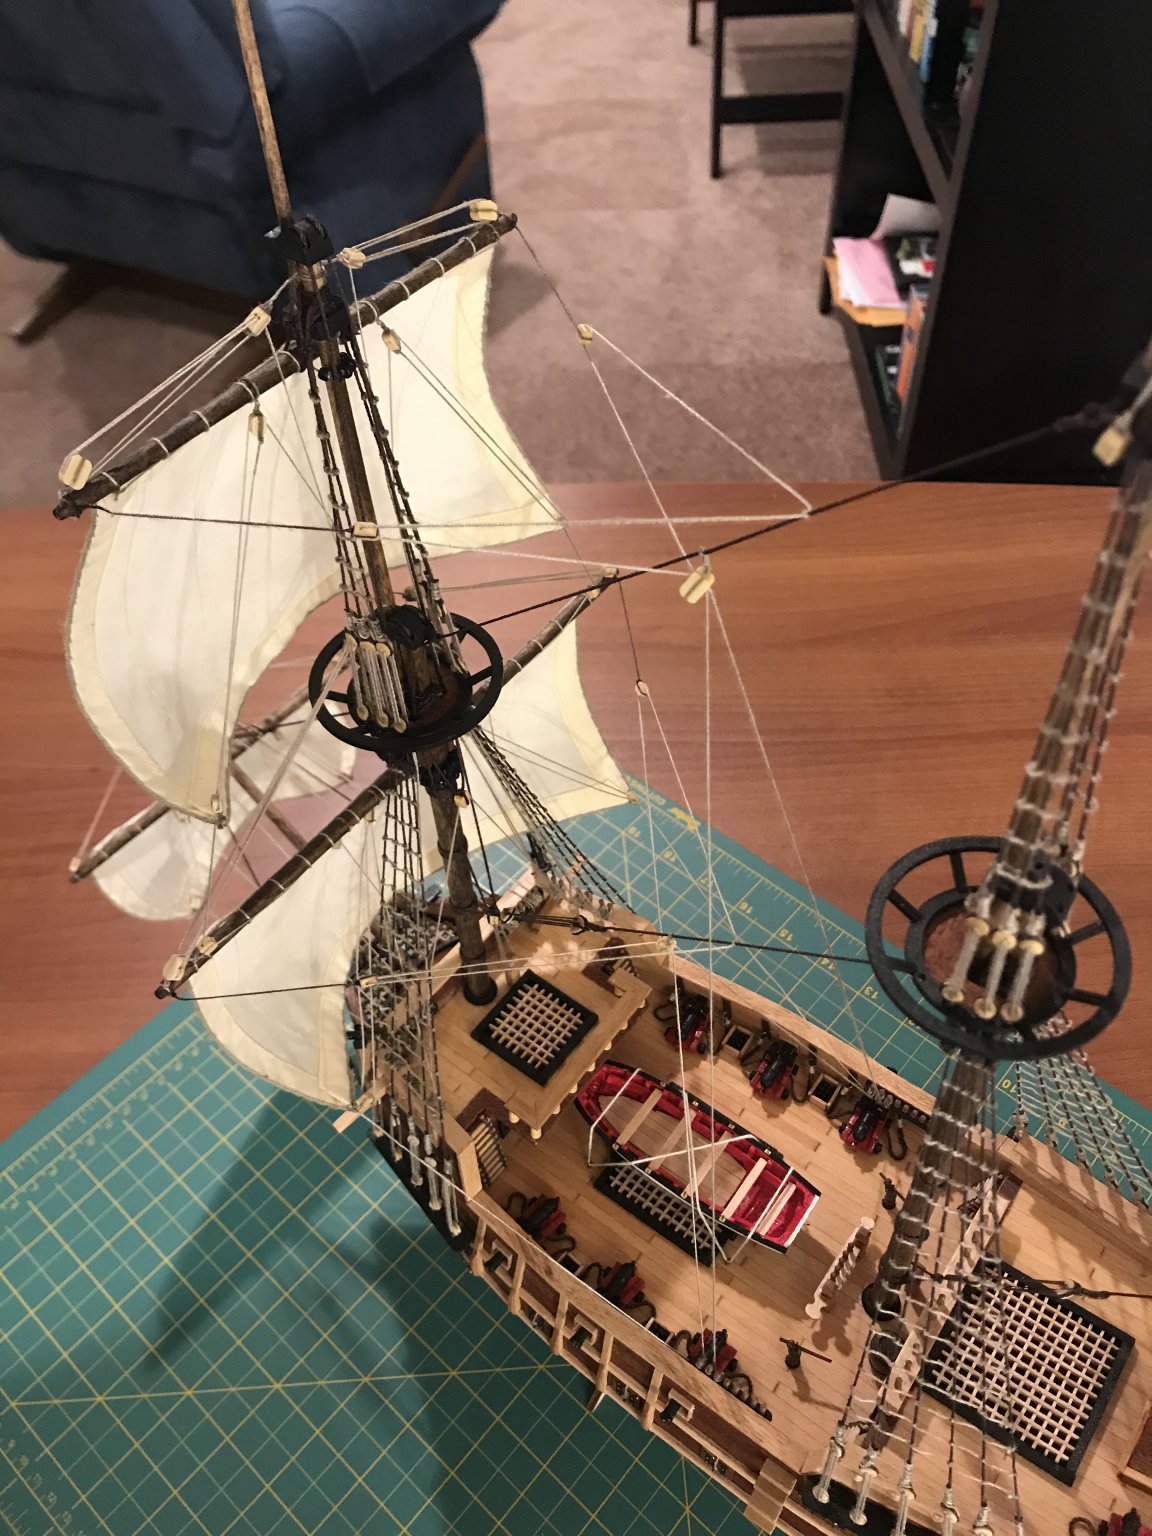
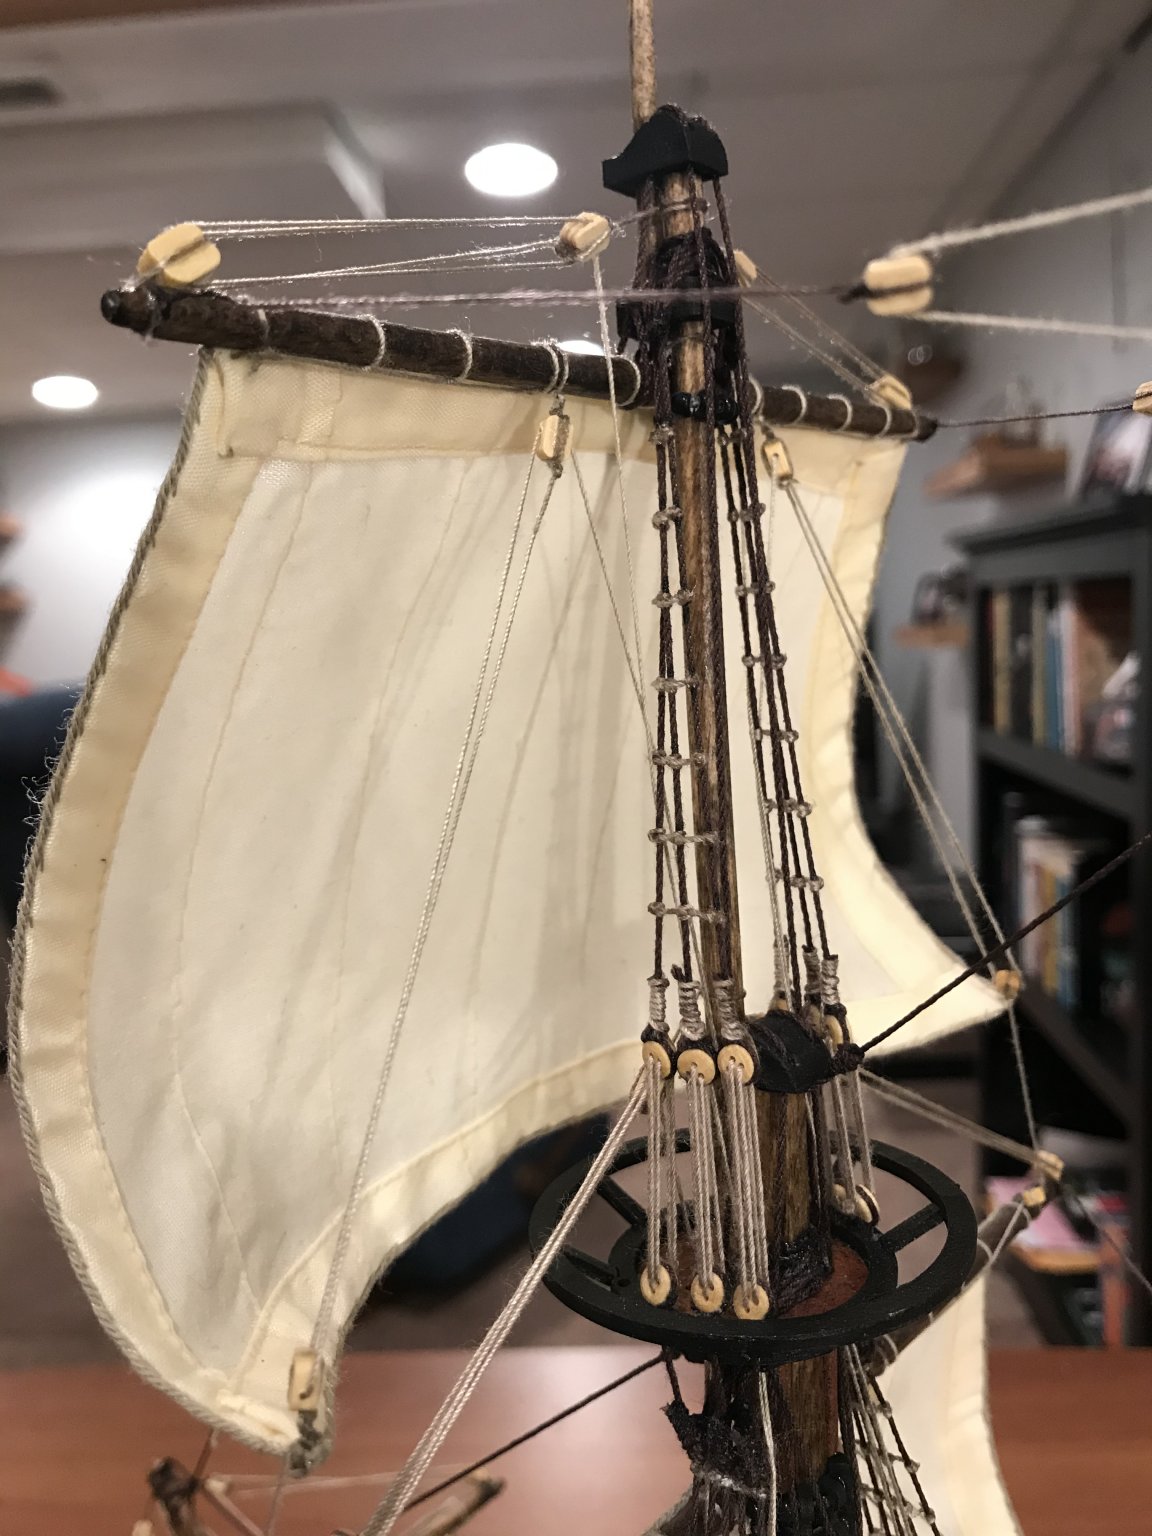
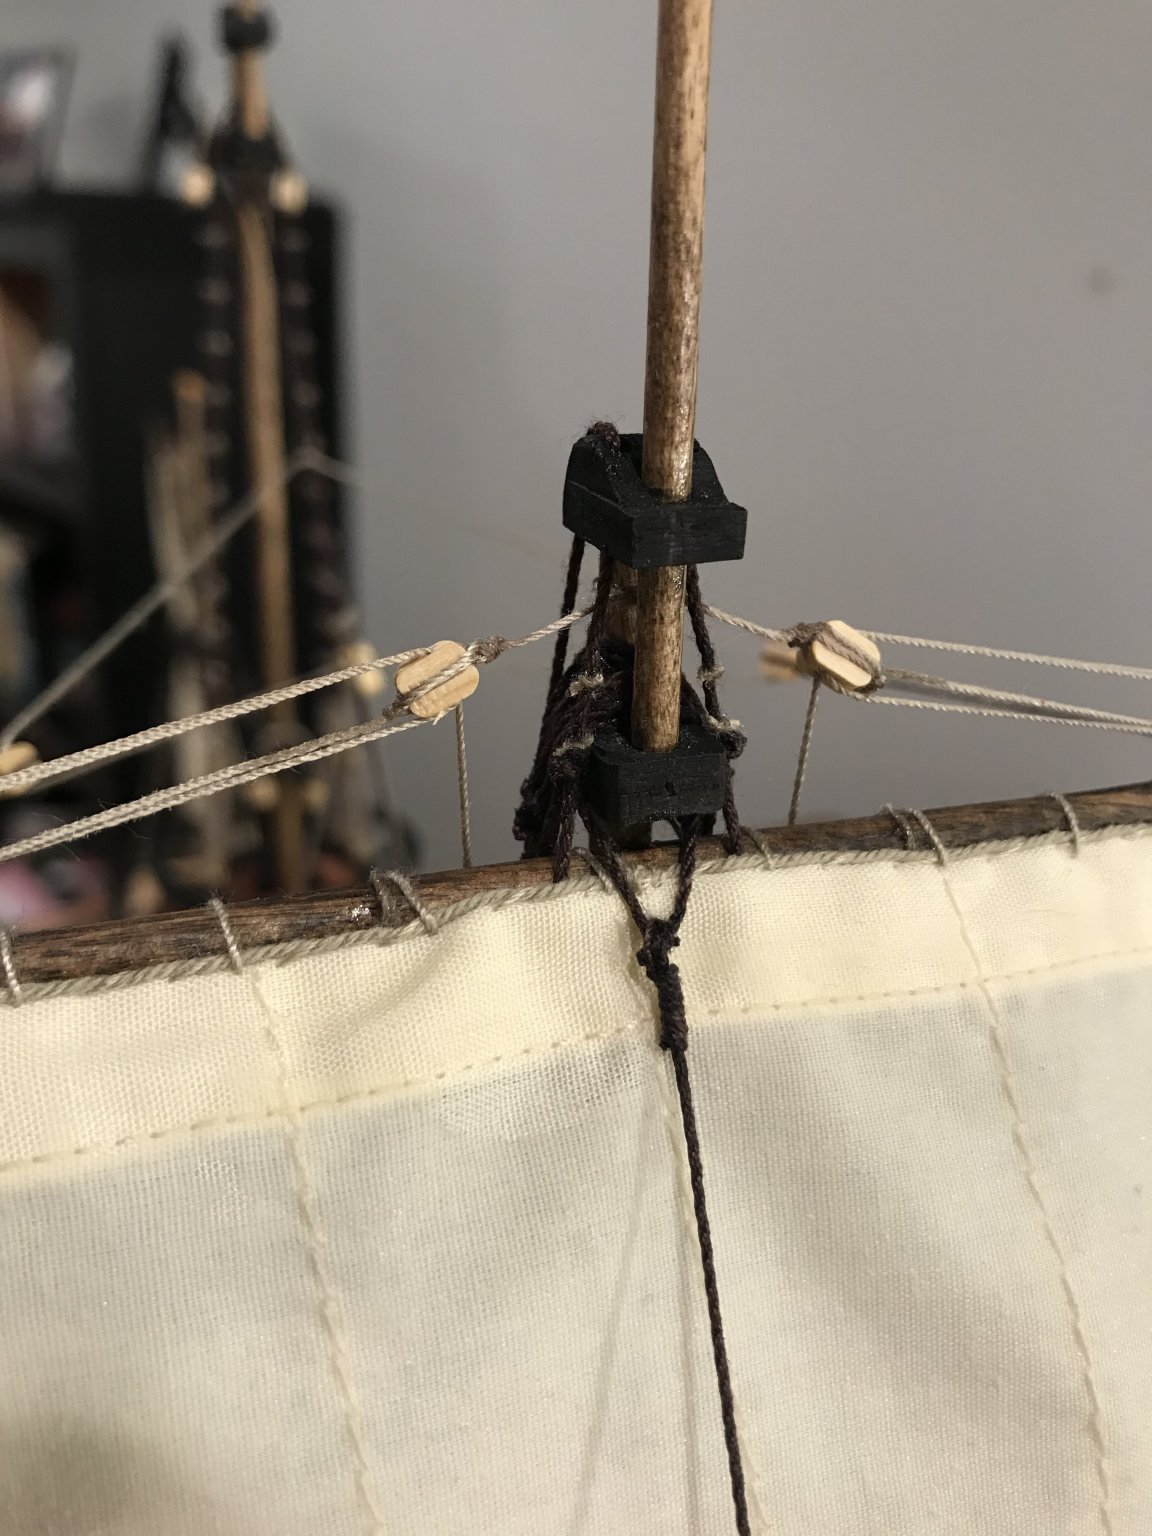
Getting the sails done as we speak. Now that I have more space for things for my next build I decided to start serving the rigging. Originally I decided against it due to time, space, and not knowing how. But last night I was taking a close up picture and realized that square knots just don’t do it justice.
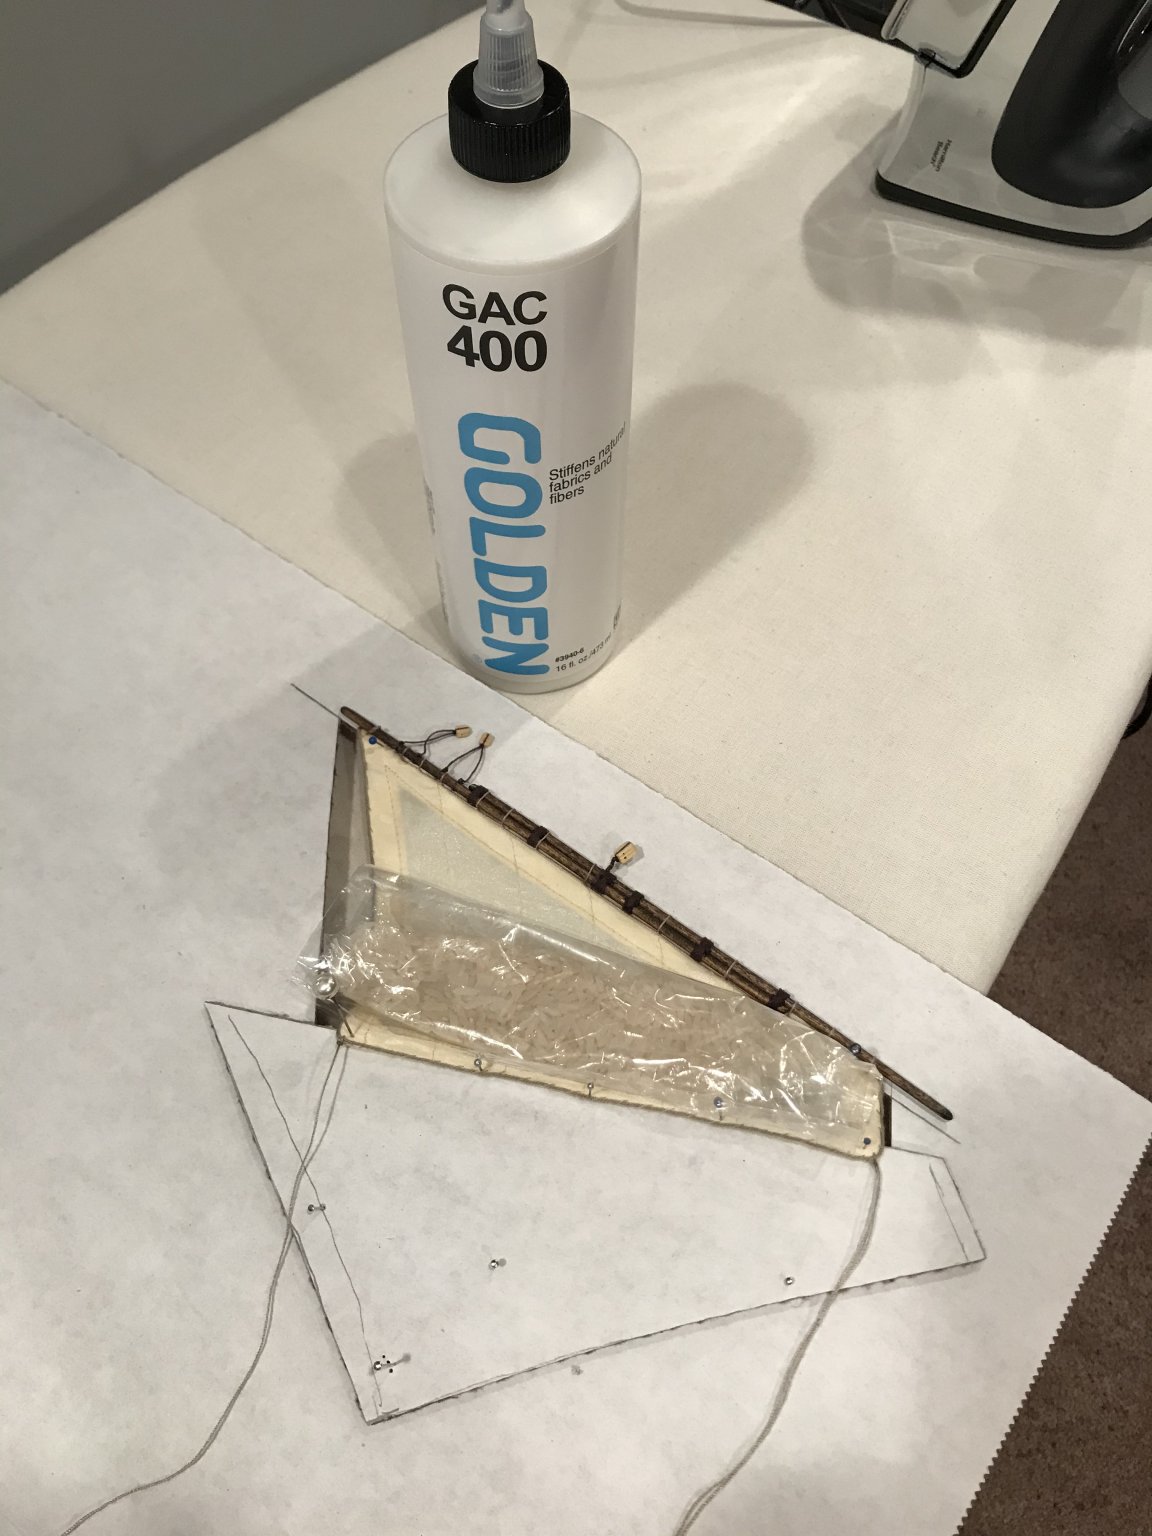
the GAC 400 for the sails has been working like a charm. I just cut a hole roughly the size of the sail, pin it, and apply 3 coats of it on both sides and place a small bag of rice on it (allow it to dry in between each coat) and it’s ready to go.


- Justin P., mugje, GrandpaPhil and 4 others
-
7
-
12 hours ago, vulcanbomber said:
I made my sails from a very old bedsheet. The older and thinner the better!
I show how I furled my sail starting from this post on my log (Click on the small arrow in the grey bar to go to the actual post)
To show the sail furled, I added the martnets (not in my kit plans) which helped to draw the sides of the sail to the yard. I also explain how these were made and attached in a post a bit further down the page.
Hope this helps
Caroline
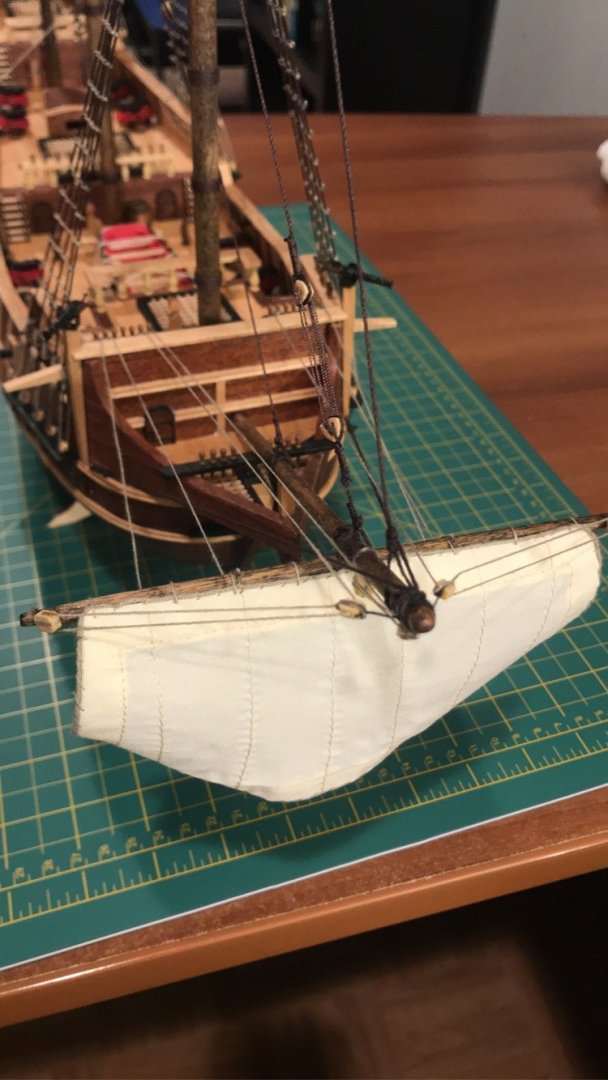
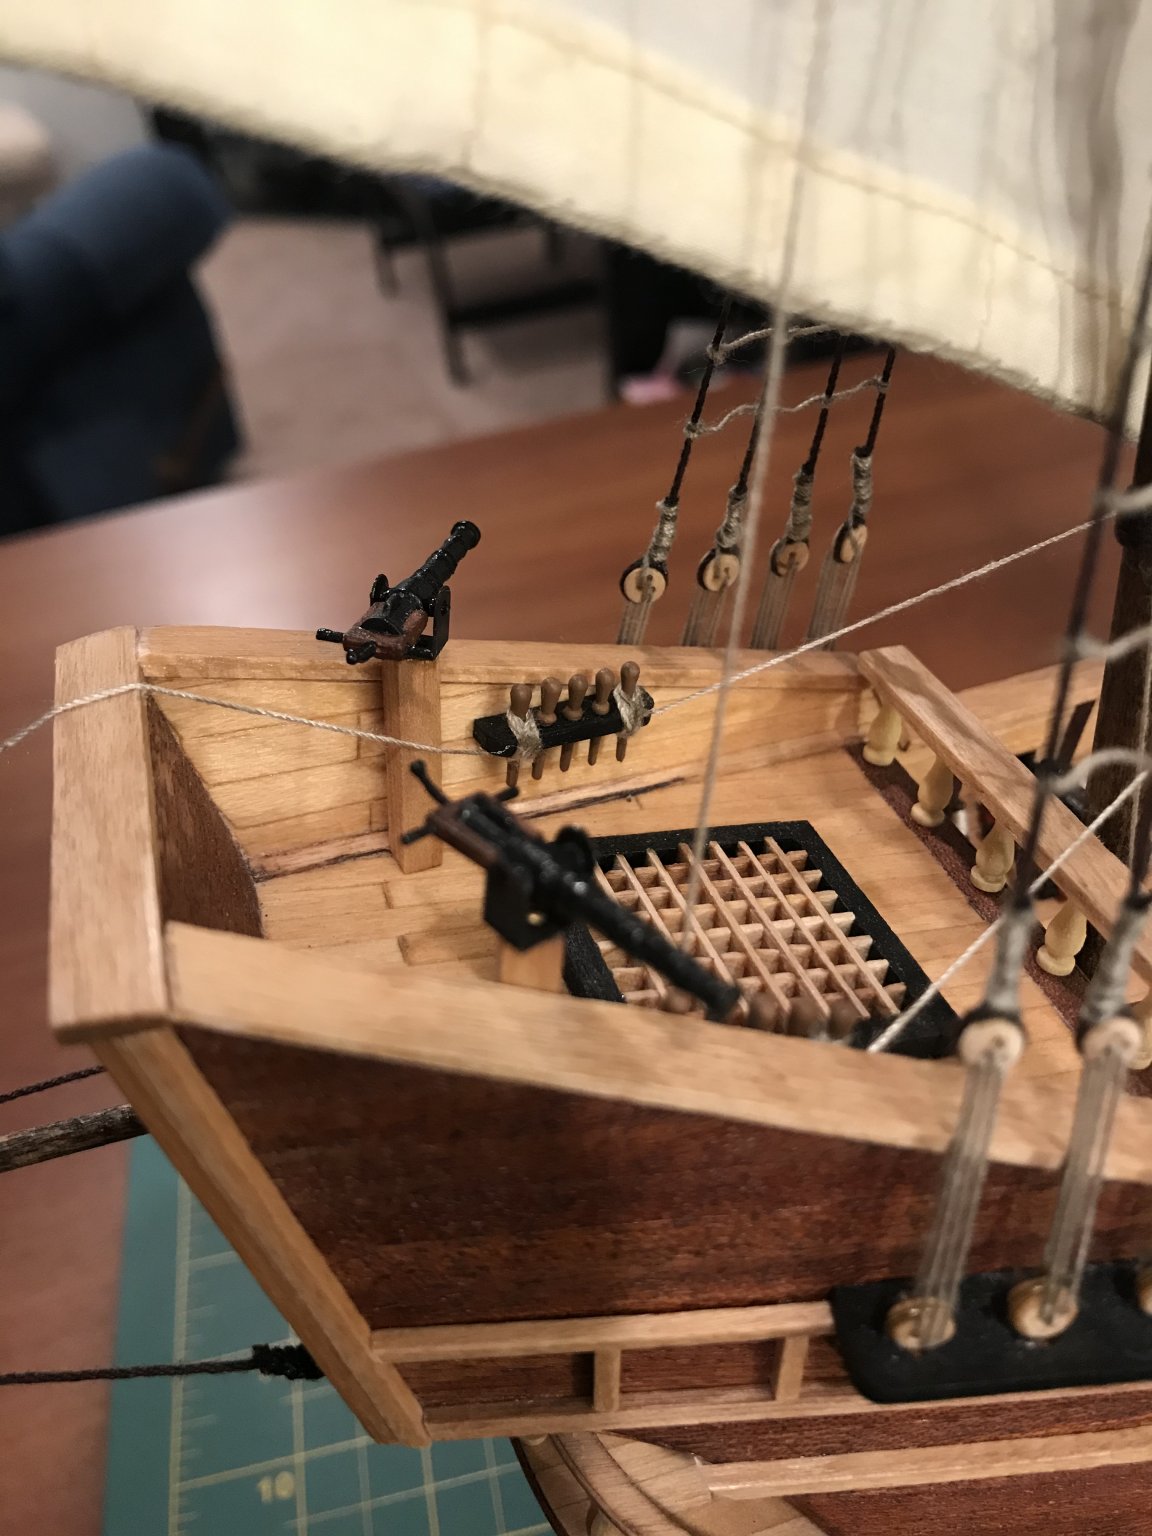
Thanks for your post! I do like the way the furled sails look. Another look I really like is adding a polymer to the sails called GAC400 (available are Michaels crafts) and making them look like the wind is blowing into them rather than just sagging with gravity. I remember seeing this thread a while back and it stuck with me. (Attached below is a picture of the ship from the thread)
https://modelshipworld.com/topic/15657-hermione-by-messis-finished-artesania-latina-189/page/10/
I am not quite sure what approach I am taking yet...I feel like either way I cannot go wrong, which makes the decision even harder haha

-
4 hours ago, vulcanbomber said:
Nice progress.
I really enjoyed the rigging on my San Fran. Are you going to modify any of it like I did, or just keep with the instruction?
Your transportation in the car was a brilliant idea!
I have actually been tossing the idea around about how to do the sails. Would you mind posting a few pictures? I really do like the idea of furled sails as it allows you to see more of the intricate rigging
-
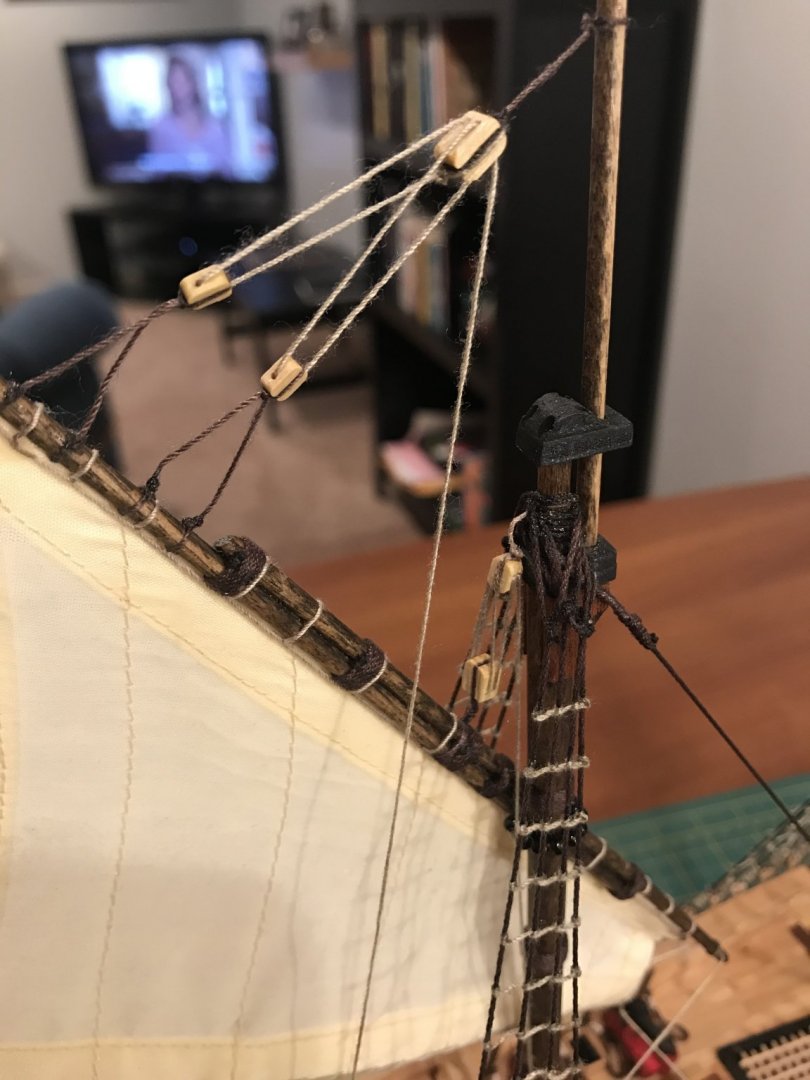
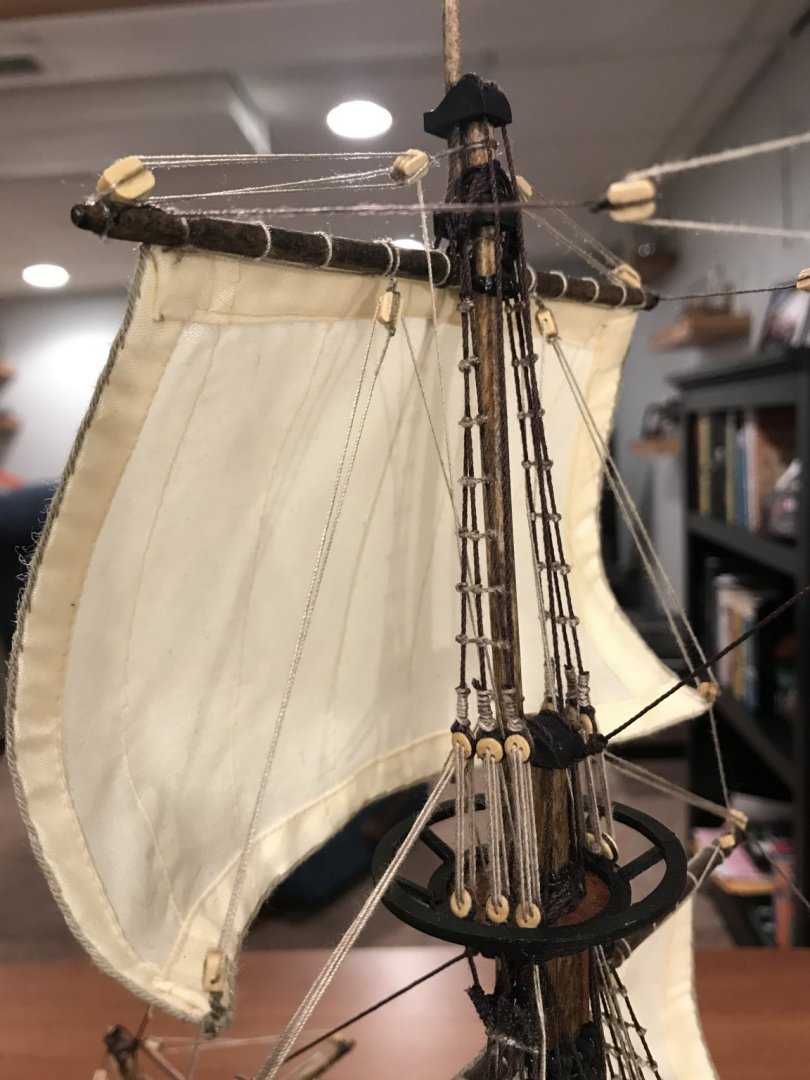
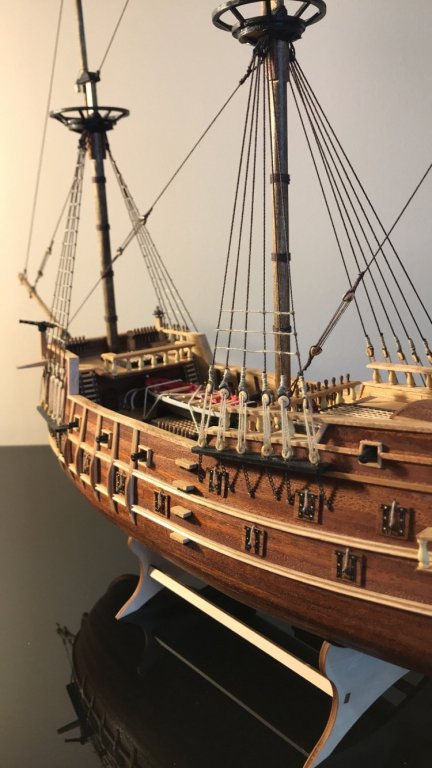
The 11th marked the year anniversary of this project, to celebrate I decided to sit down and finish the remainder of the shrouds and rat lines


-
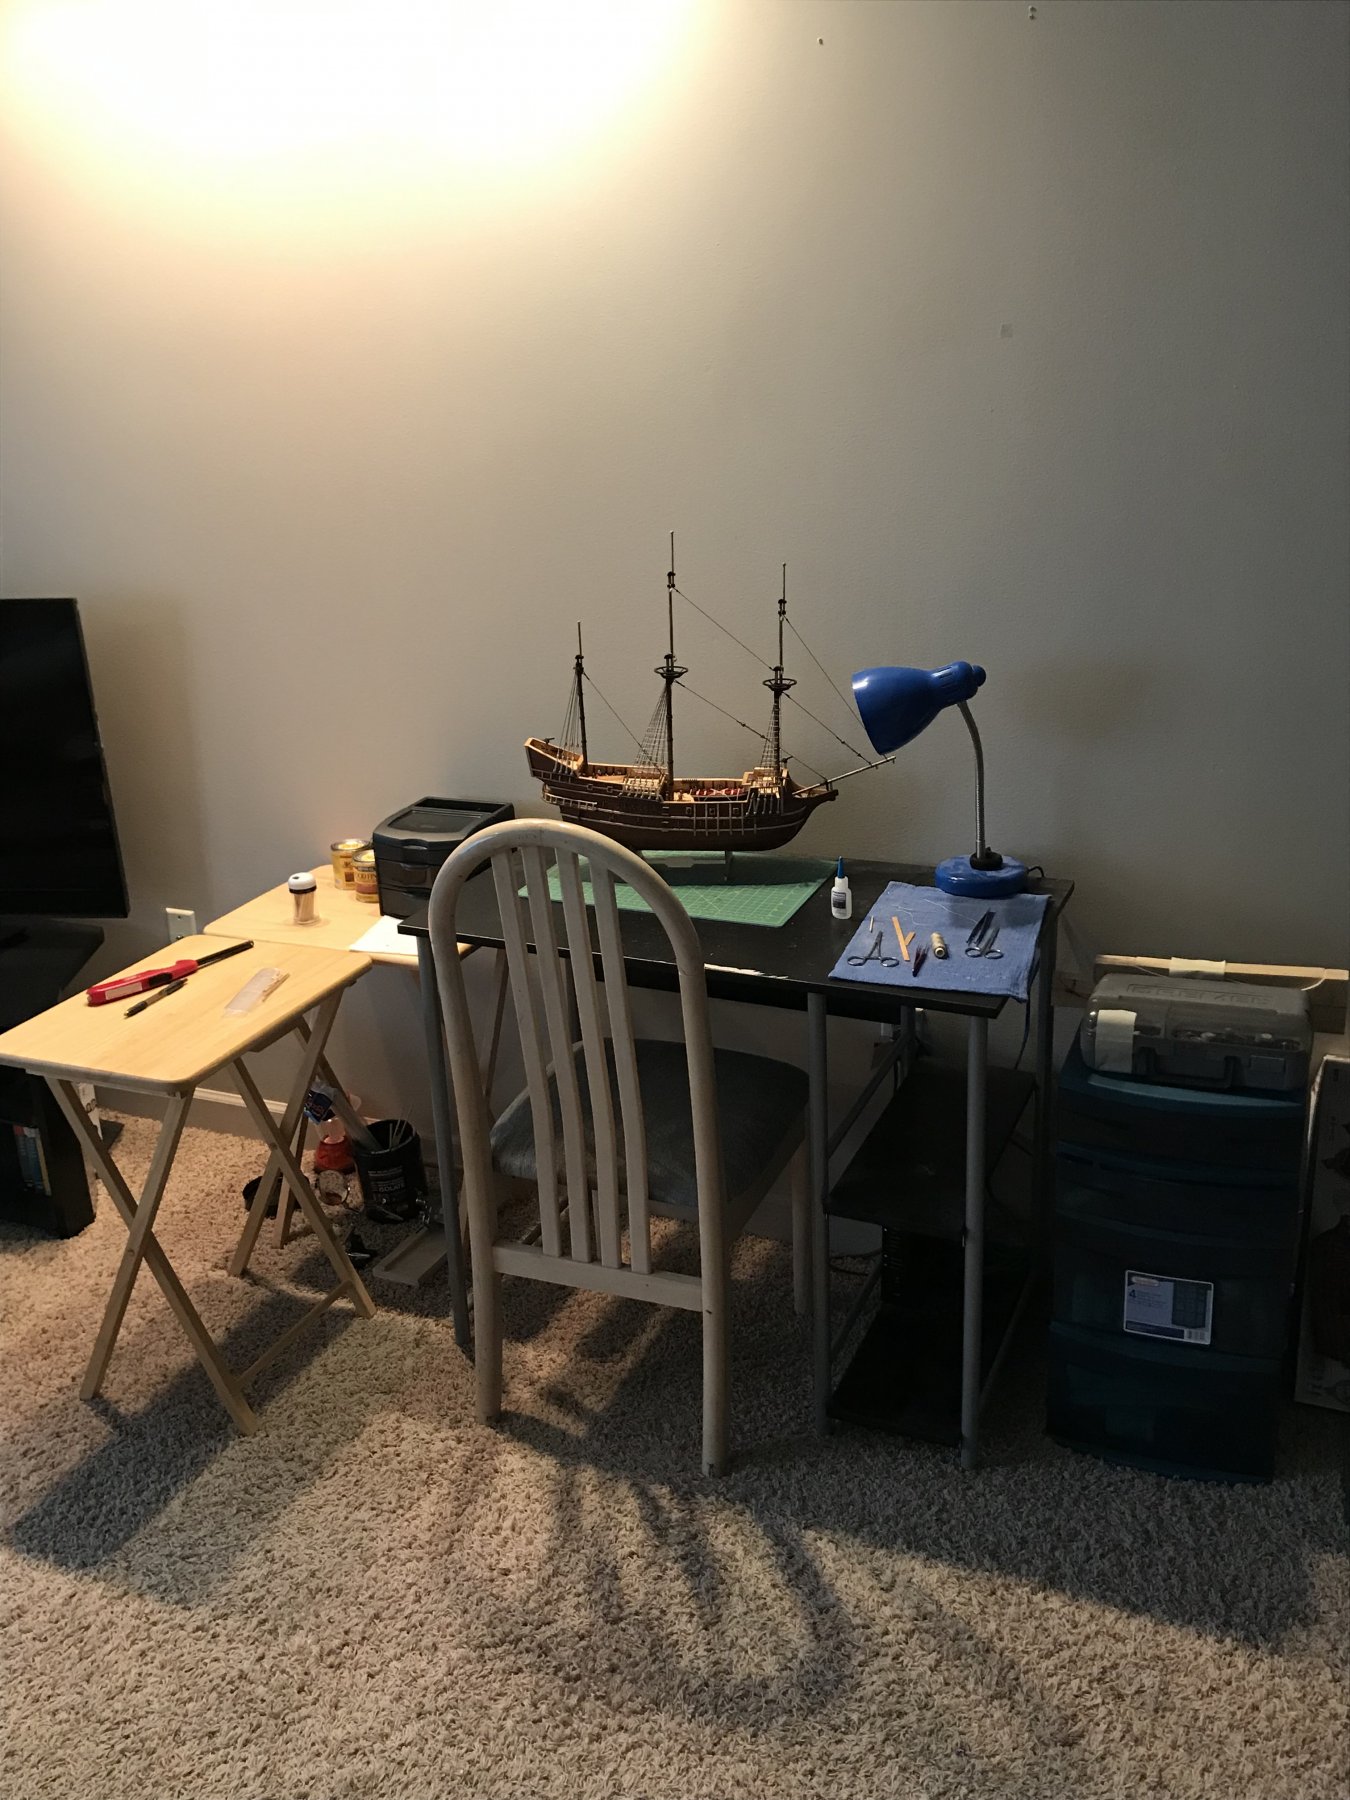
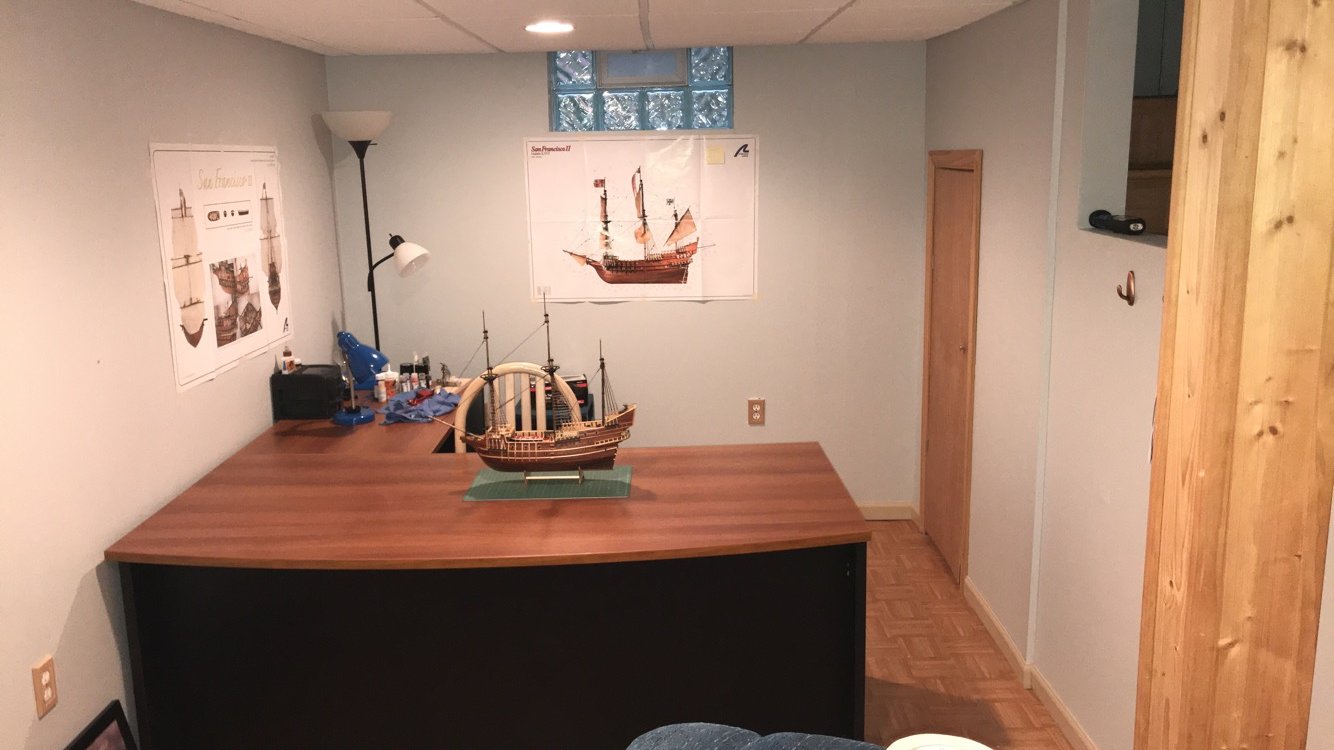
Not much to update on the ship itself, I am however all settled into my new house! Spent the evening (finally) setting up the shipyard. It’s not quite done yet, but it’s quite the upgrade from my apartment setup. I have a few more house items to take care of but I will be getting back to work soon. Cheers
Old

New

-
Your sails (along with the rest of the ship) look phenomenal. I’ll admit, I bought a sewing machine just for the sails and learned to sew as the sails progressed. Not my best work. I’ll definitely look into the information on the Dutch sites if I ever decide to make another one. Thank you
-
22 hours ago, Annmac said:
Hi
did you sell the model kit please
thanks
ann
Are you asking if I sold it or if I am willing to sell when it is done? No I did not sell it, I moved to a new state for work and needed to transport it in the moving process. And I doubt I would be interested in selling when it is complete. This is my first big shop project, I would however be willing to sell future projects.
Or if you were asking where I got the lot from, a local hobby store had it in stock. If you search for “artesania latina” you will be able to purchase from their website.
-
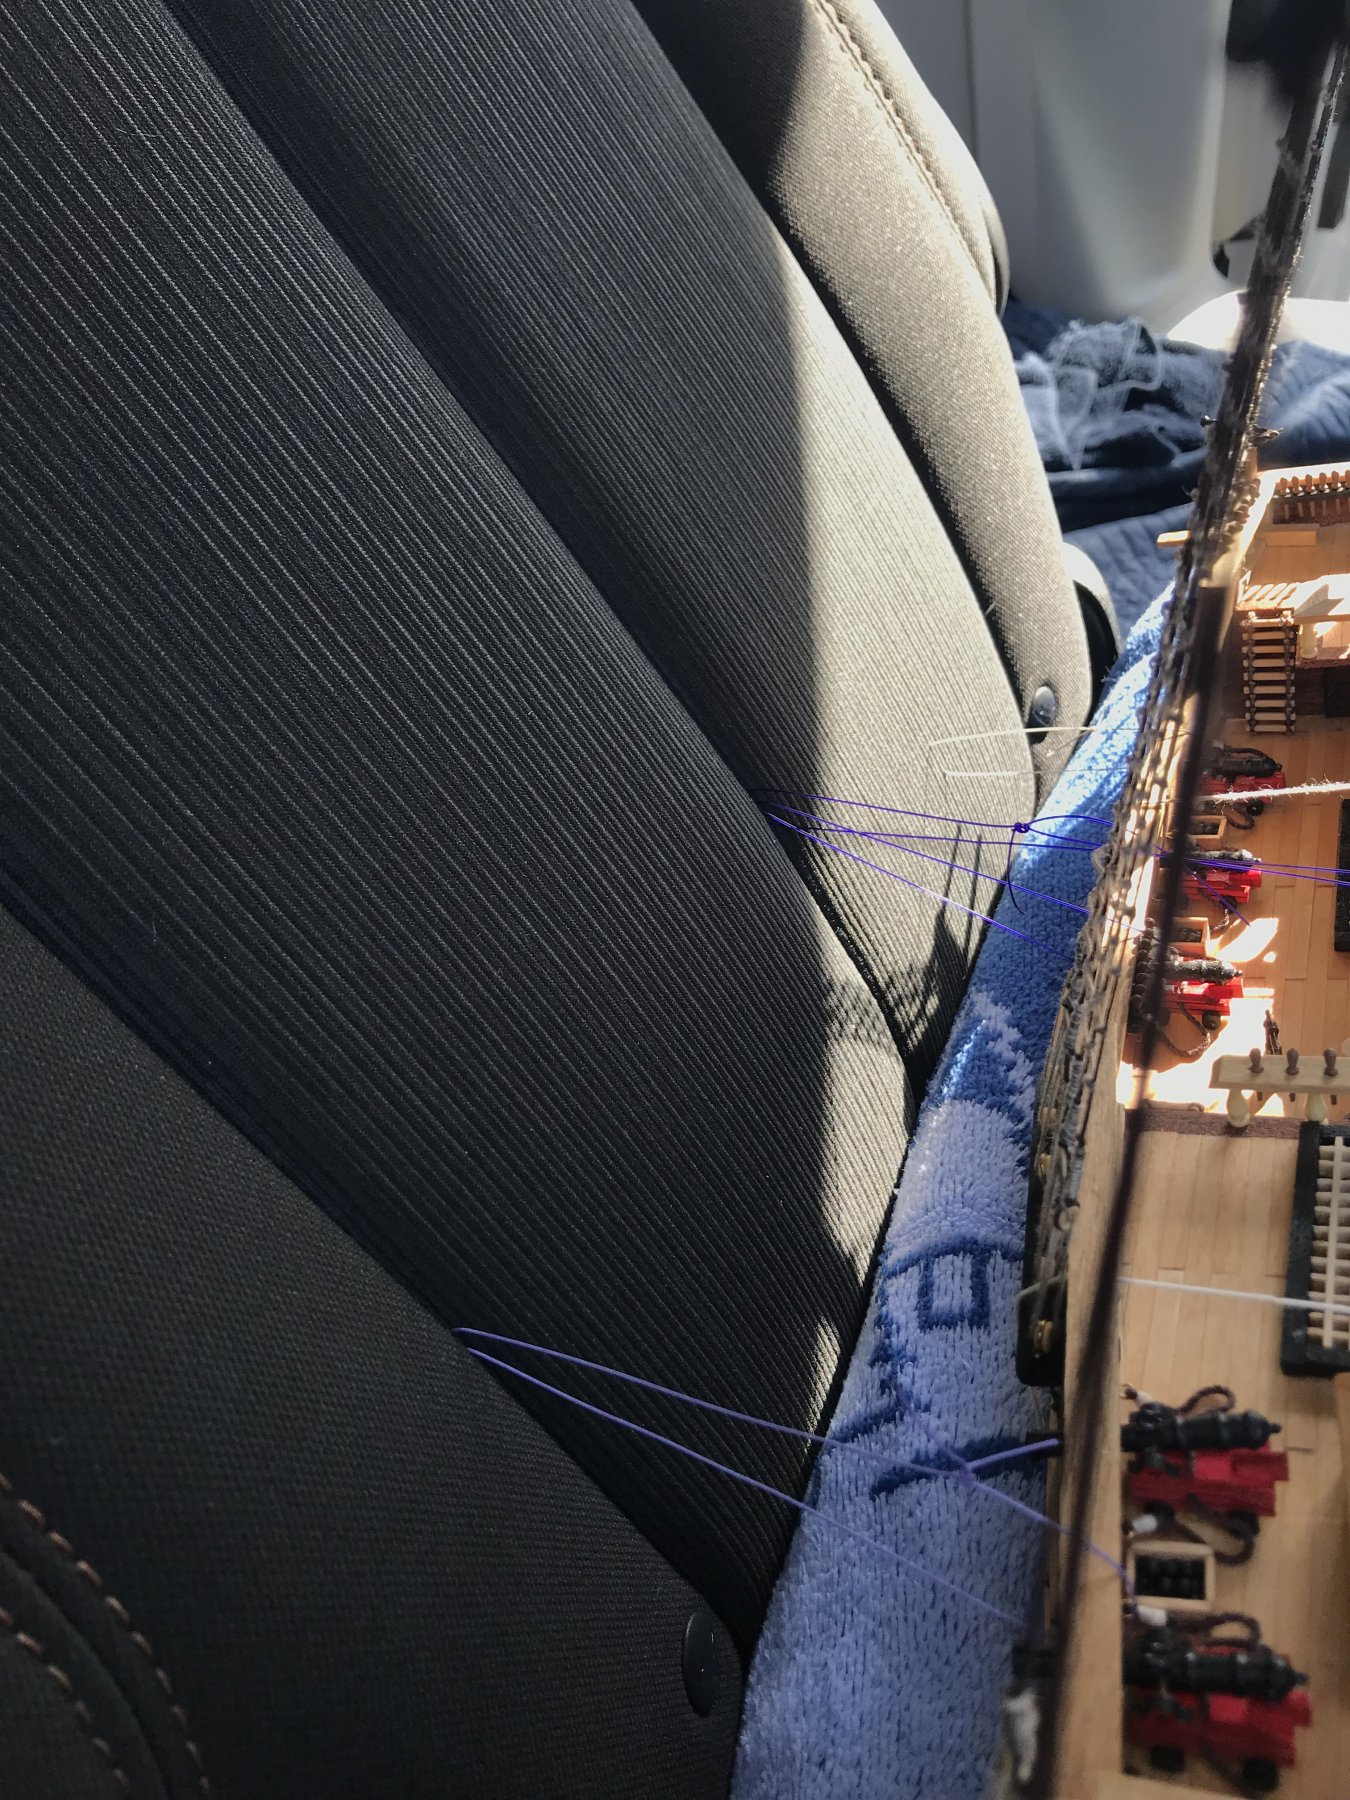
Growing up I raced motocross and there were times when I’d have numerous bikes and four wheelers on one trailer, strapping it all down was a different project each time it seemed like so I just applied those same principles. It came to me out of the blue one day.
Thankfully I only got as far as the shrouds, if I had gotten the yards on the method probably would not have worked as well
-
I was unable to figure out who to contact for more rigging line, I am glad they were okay with sending more though. I always like hearing about companies that stand behind their product. I’m glad you were able to finish your kit. Feel free to post some pictures here if you want. After working on a much more involved model, looking back I enjoy the simplicity of the solid hull/smaller kit and will probably do another one similar to this one day. Cheers.
Also, now that I have seen other kits, I am starting to think the instructions and diagram wasn’t as bad as I originally thought haha
-
Progress has been slow lately, and is currently on hold. I am currently in the process of moving to Michigan. I was hoping to have all of the shrouds and ratlines completed before the move but i didn’t quite make it. A lot of the dead eyes that came in the kit are very poor quality, I used what good ones I could find and am currently waiting for a shipment of more before I get back to work.

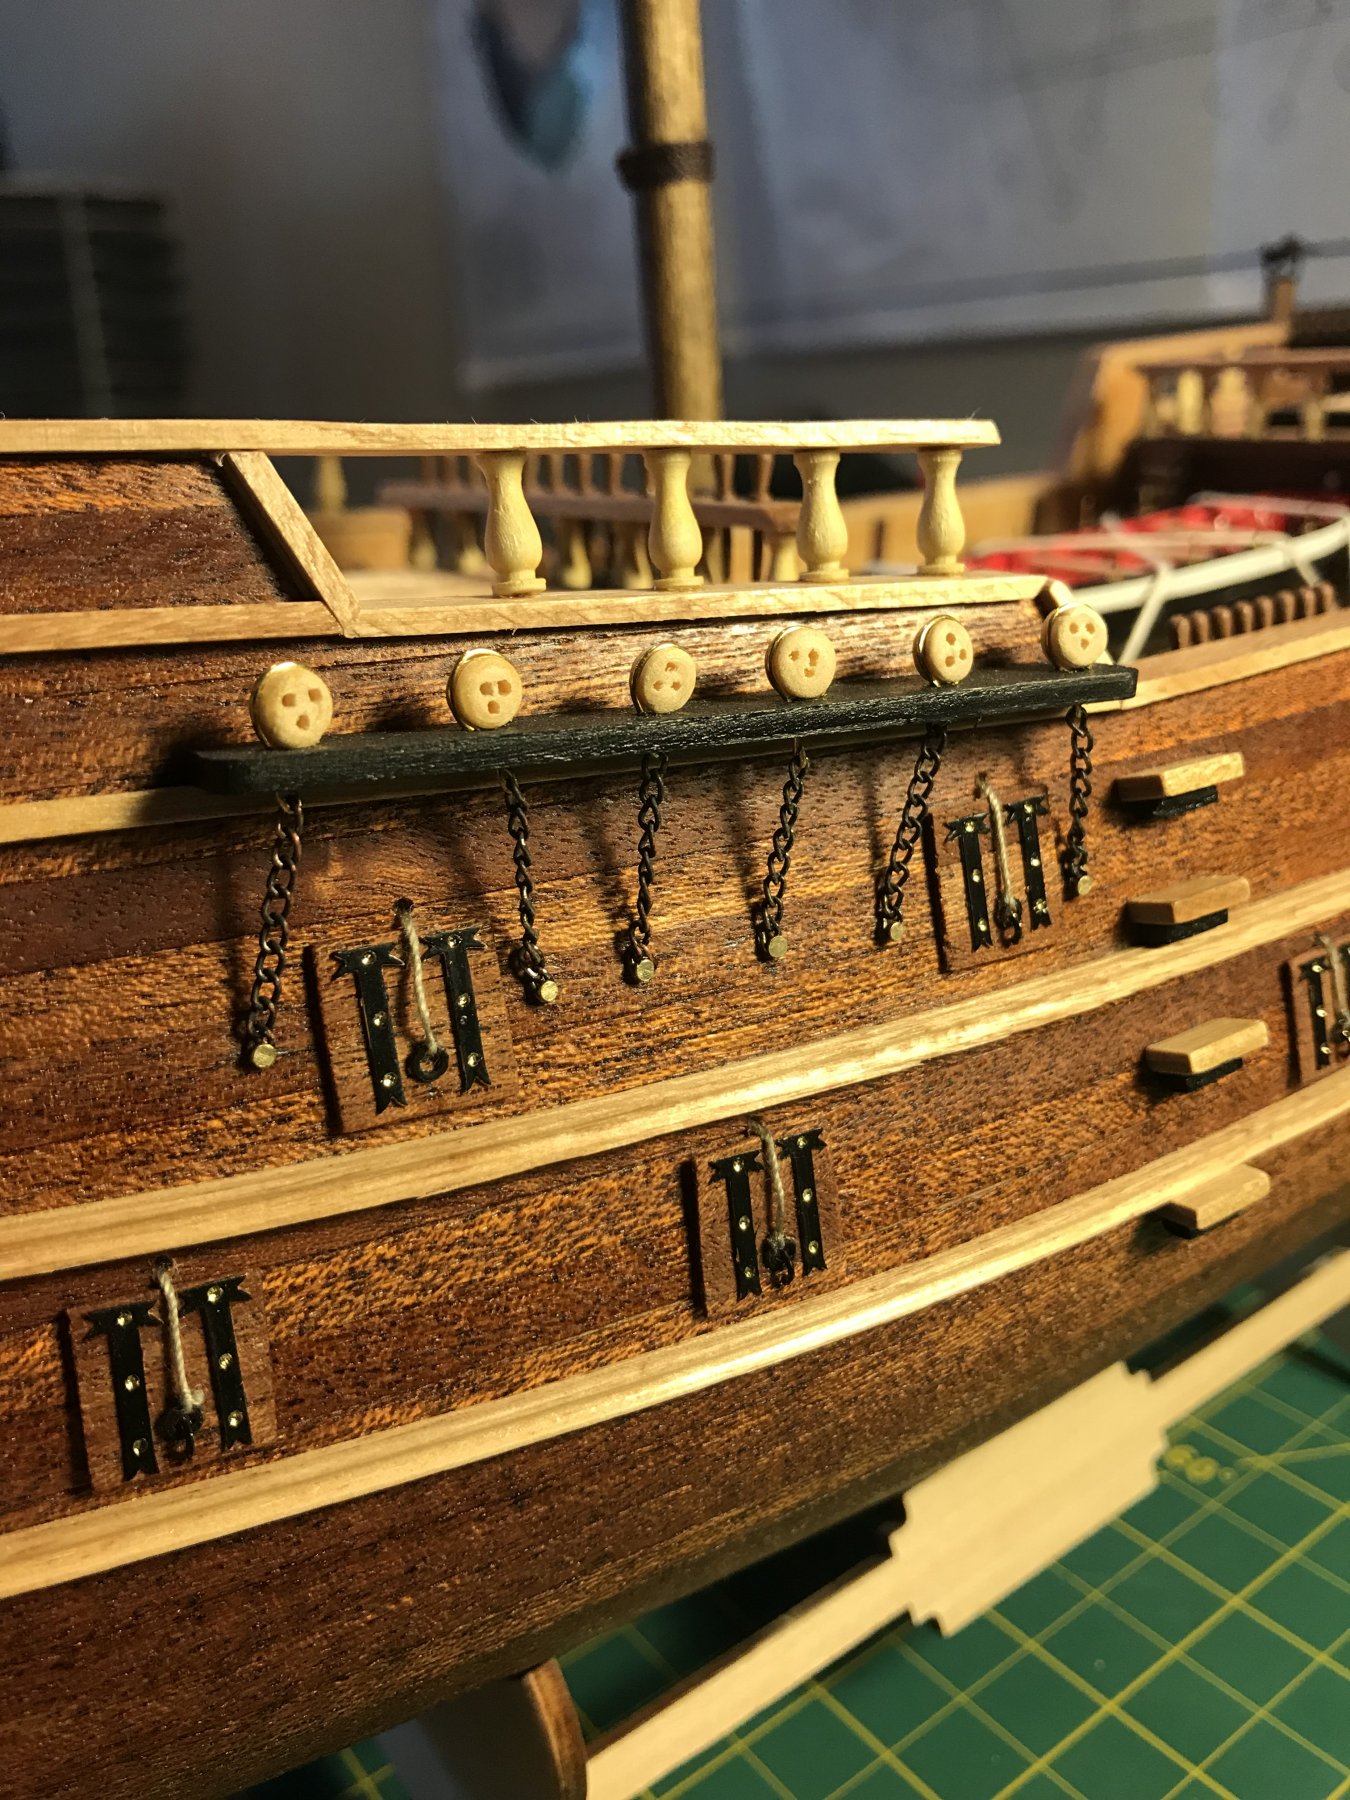
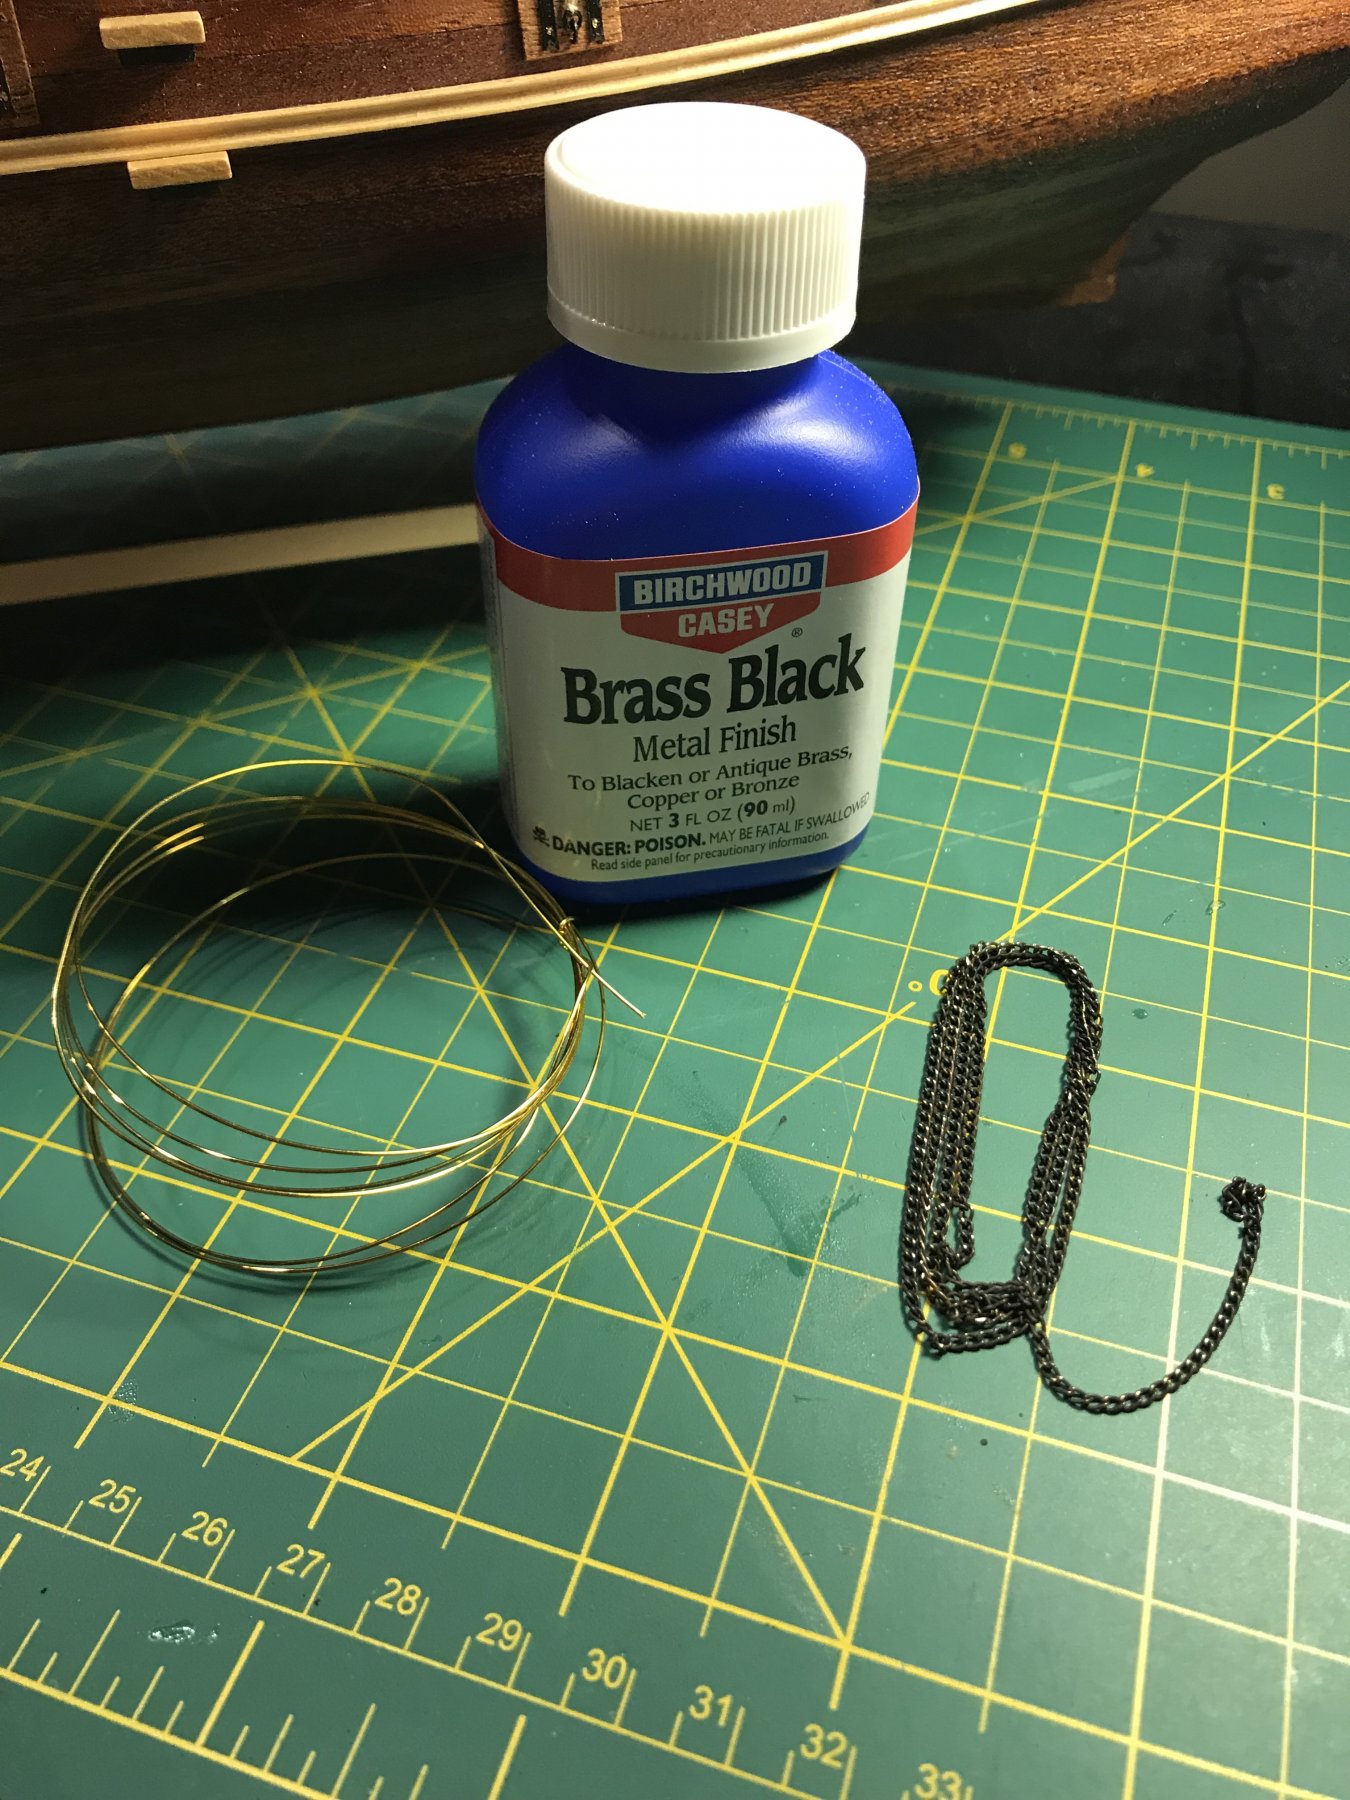
I used this brass black due to change the colors of the deadeye chains from brass to black, I think it looks 10x better. It’s simple. Just clean the surface and let soak until desired color. Rinse. Dry.

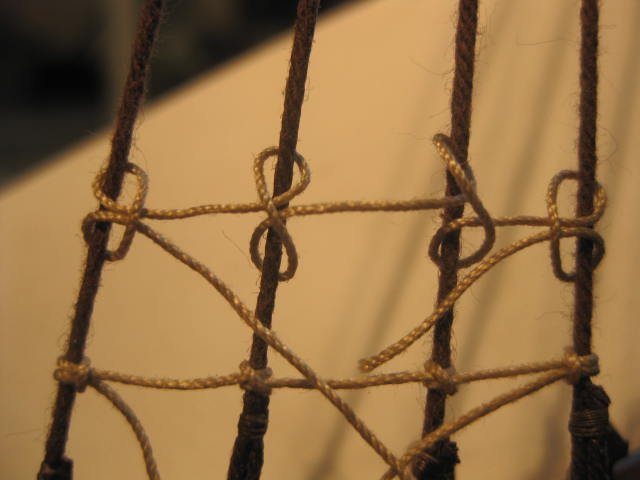
Many ways to tie ratlines, here’s the method that I used

A picture of my old work area, my new space is going to be much better.

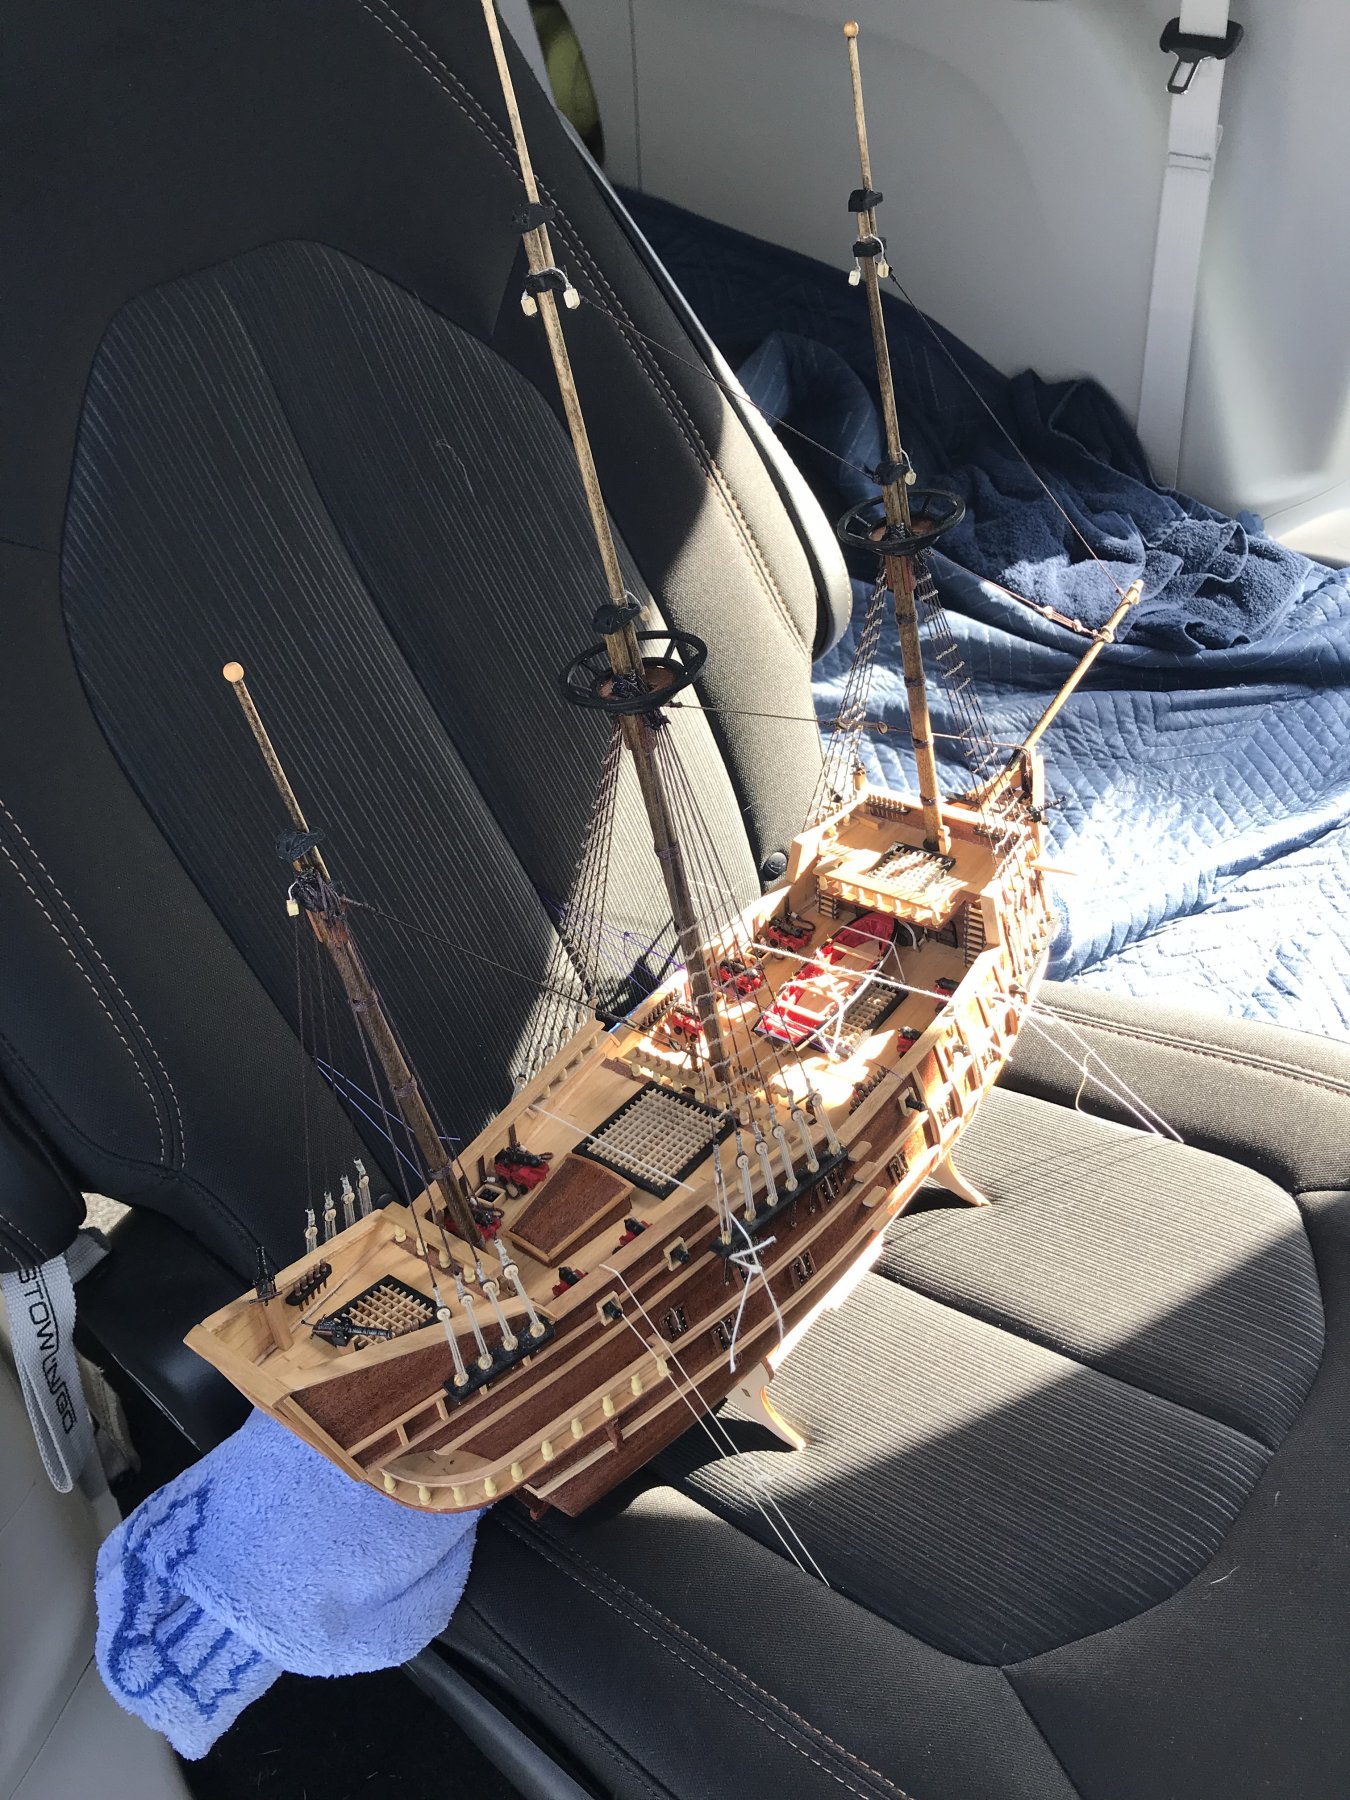
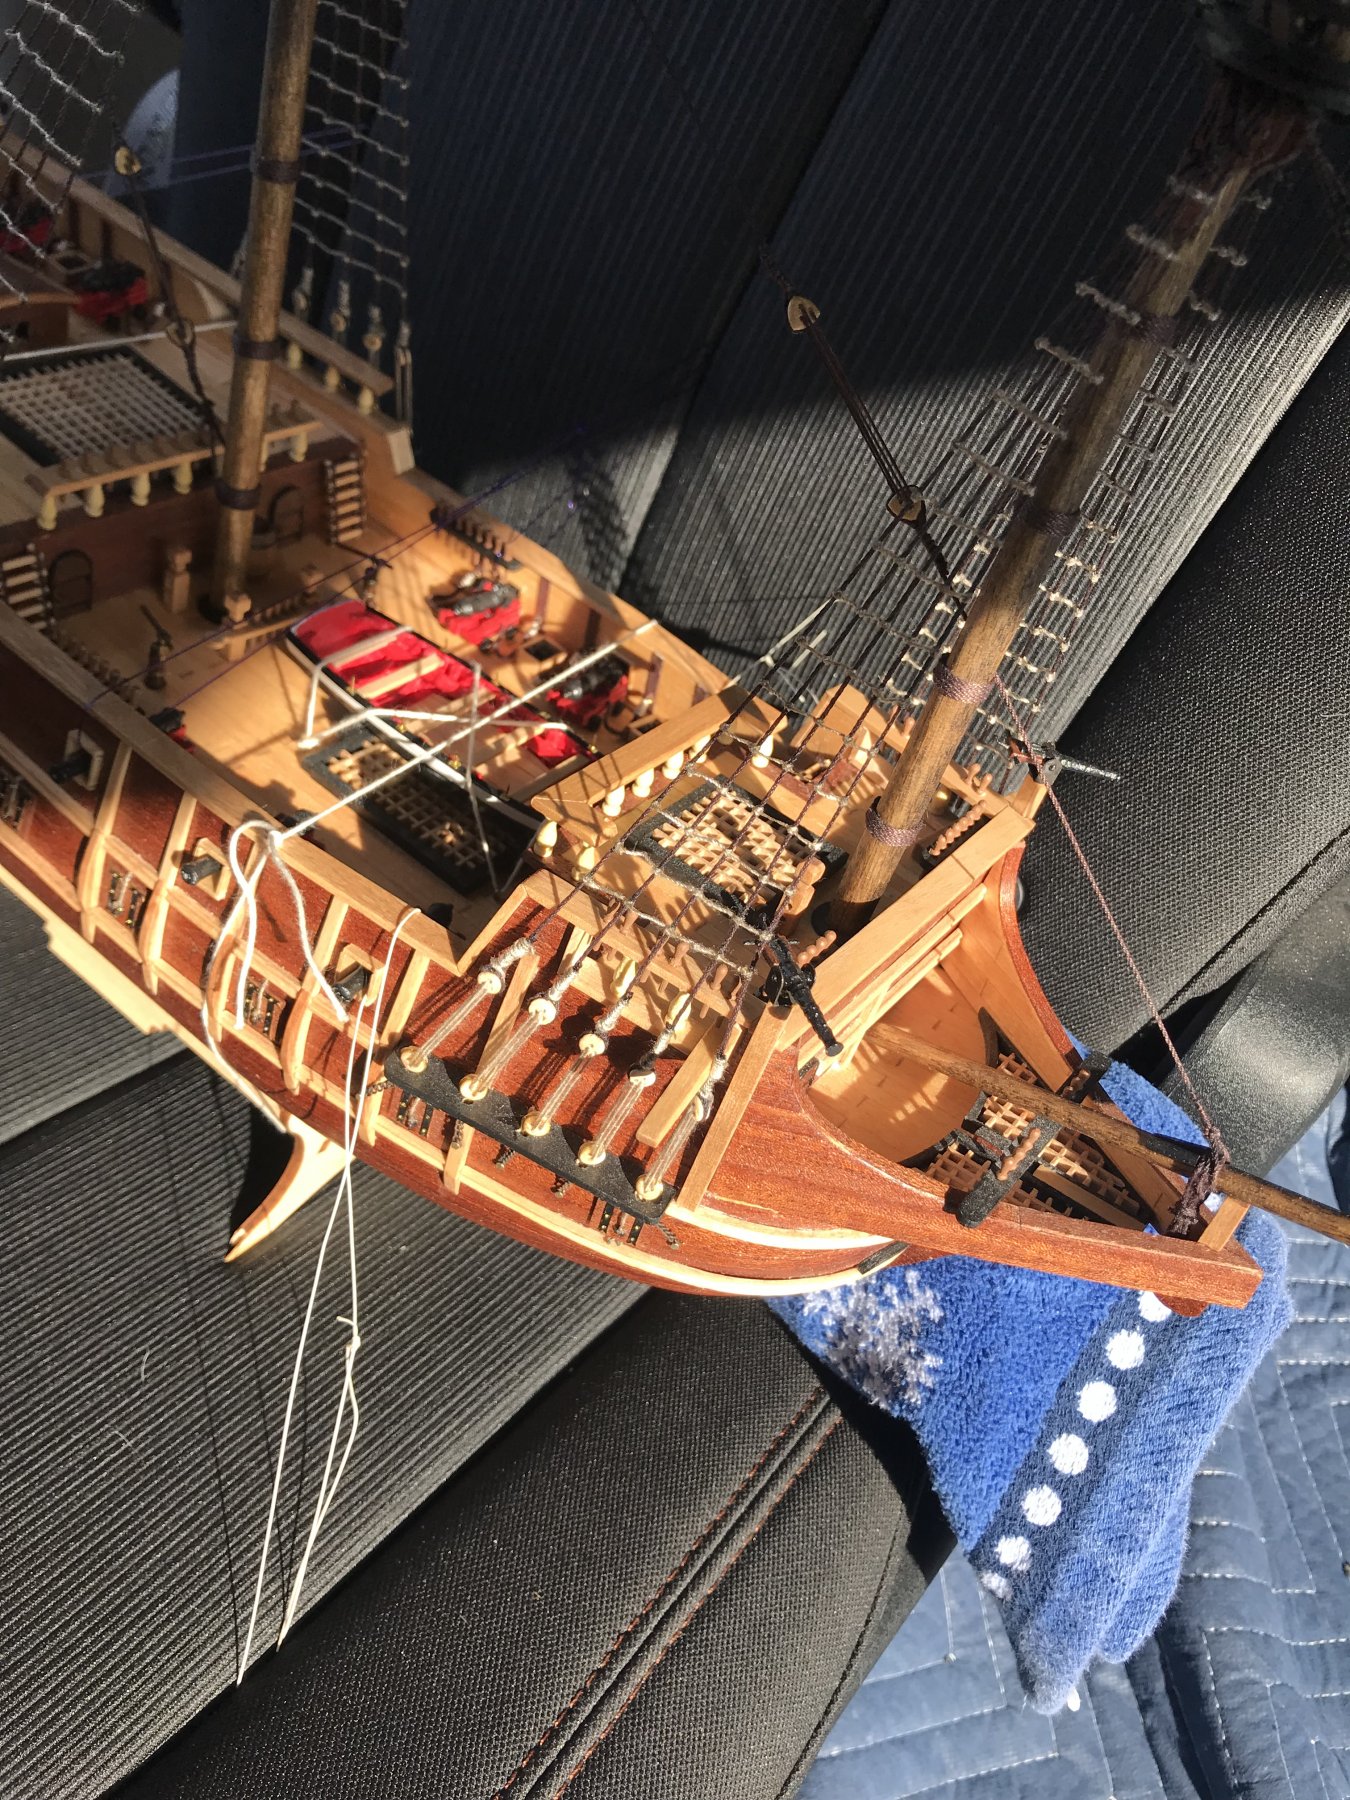
While browsing the forums I’ve seen many people who have built shopping crates for their projects....I’ve also seen a few of those projects get unpacked with varying levels of damage. I also don’t gave easy access to a workshop at the moment so I took a different approach. I tied the ship to the stand by wrapping string around it in a few places. I then placed the ship/stand on the backseat of my vehicle i then used nylon suture (medical fall talk for needle and thread, same stuff they use to see you up in the ER) and sewed the setup to the seat in various spots. The drive gave me anxiety but It was very secure, no risk of airbag damage (back seat) and I could see it at all times so I could pull off if something happened. It worked flawlessly and it’s safely siting at my new house. Once I get settled I will post pictures of the new workspace.


- GrandpaPhil, Duanelaker and Osmosis
-
3
-
-
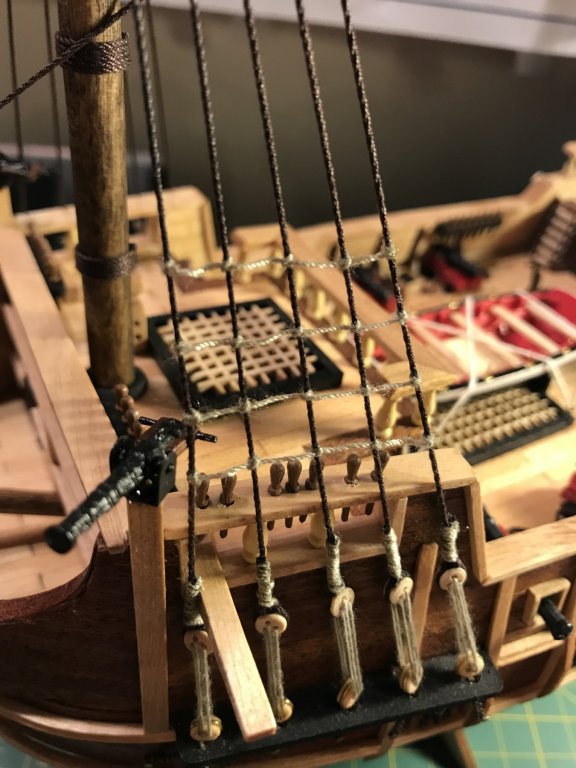
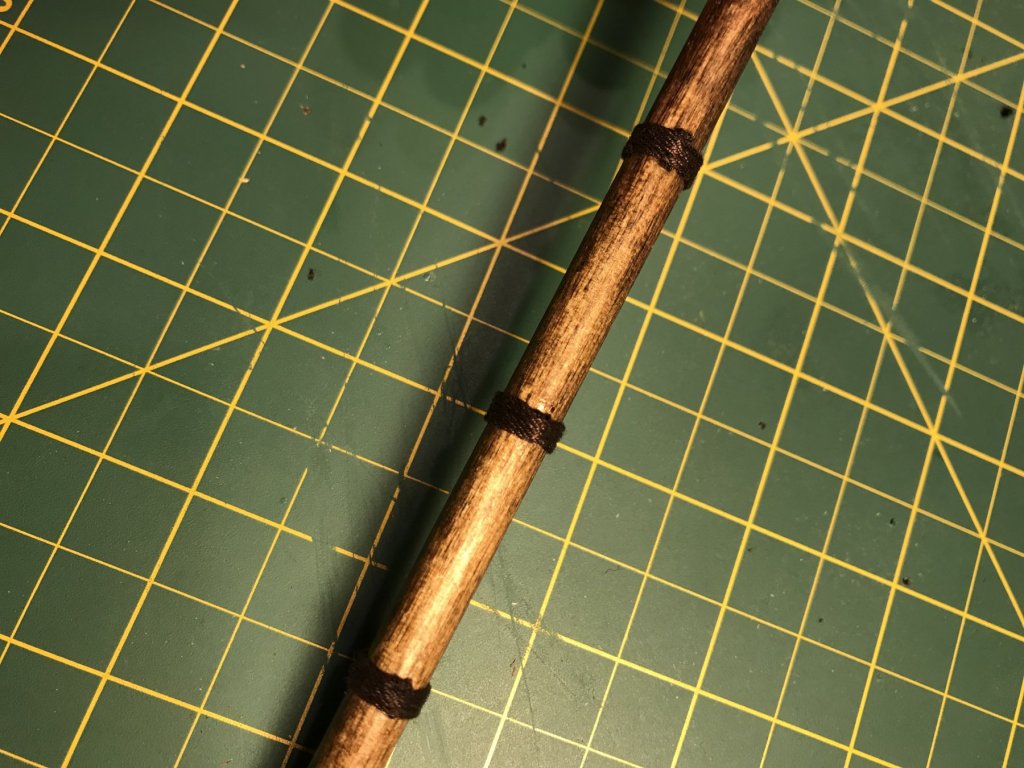
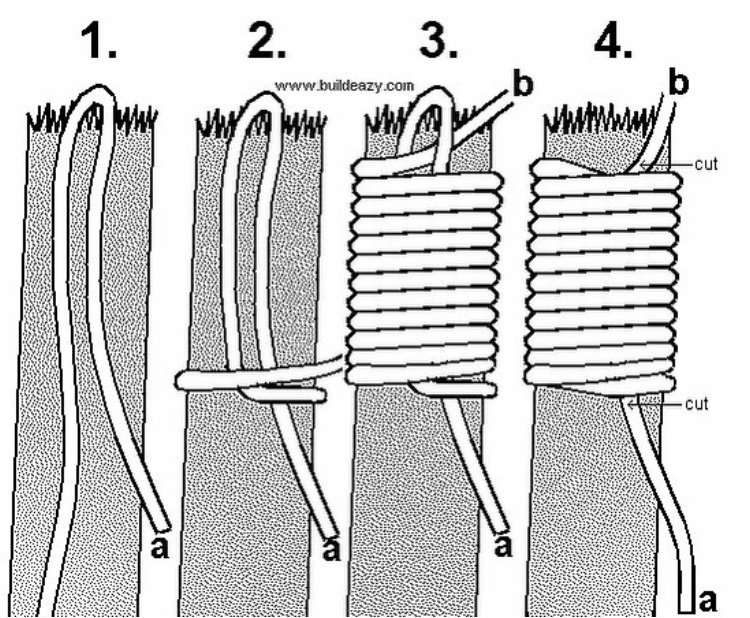
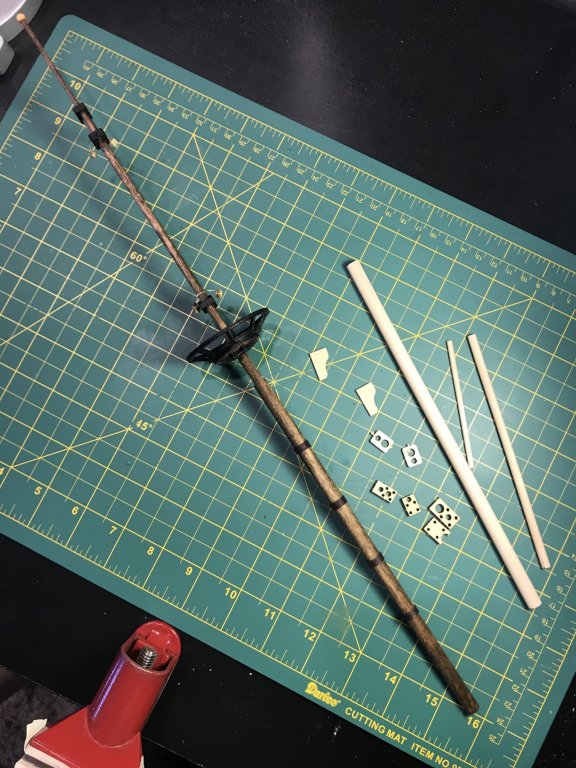
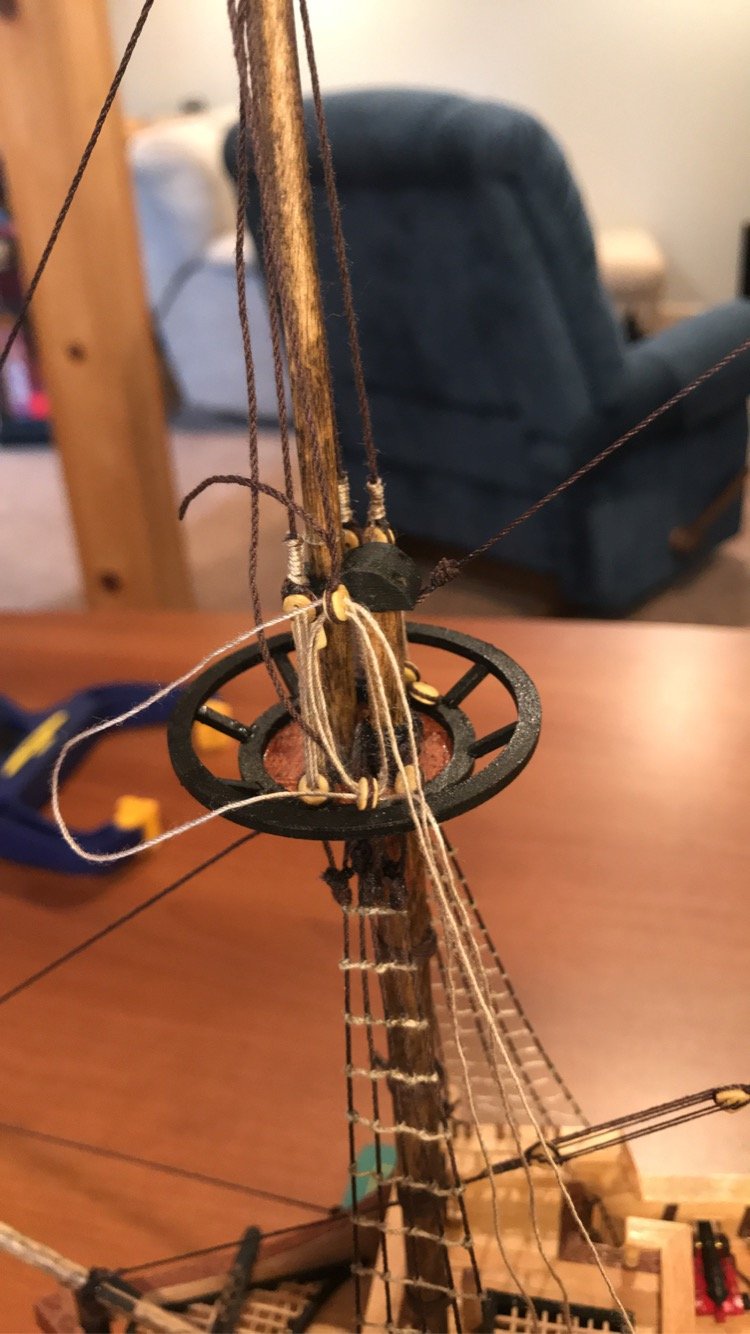
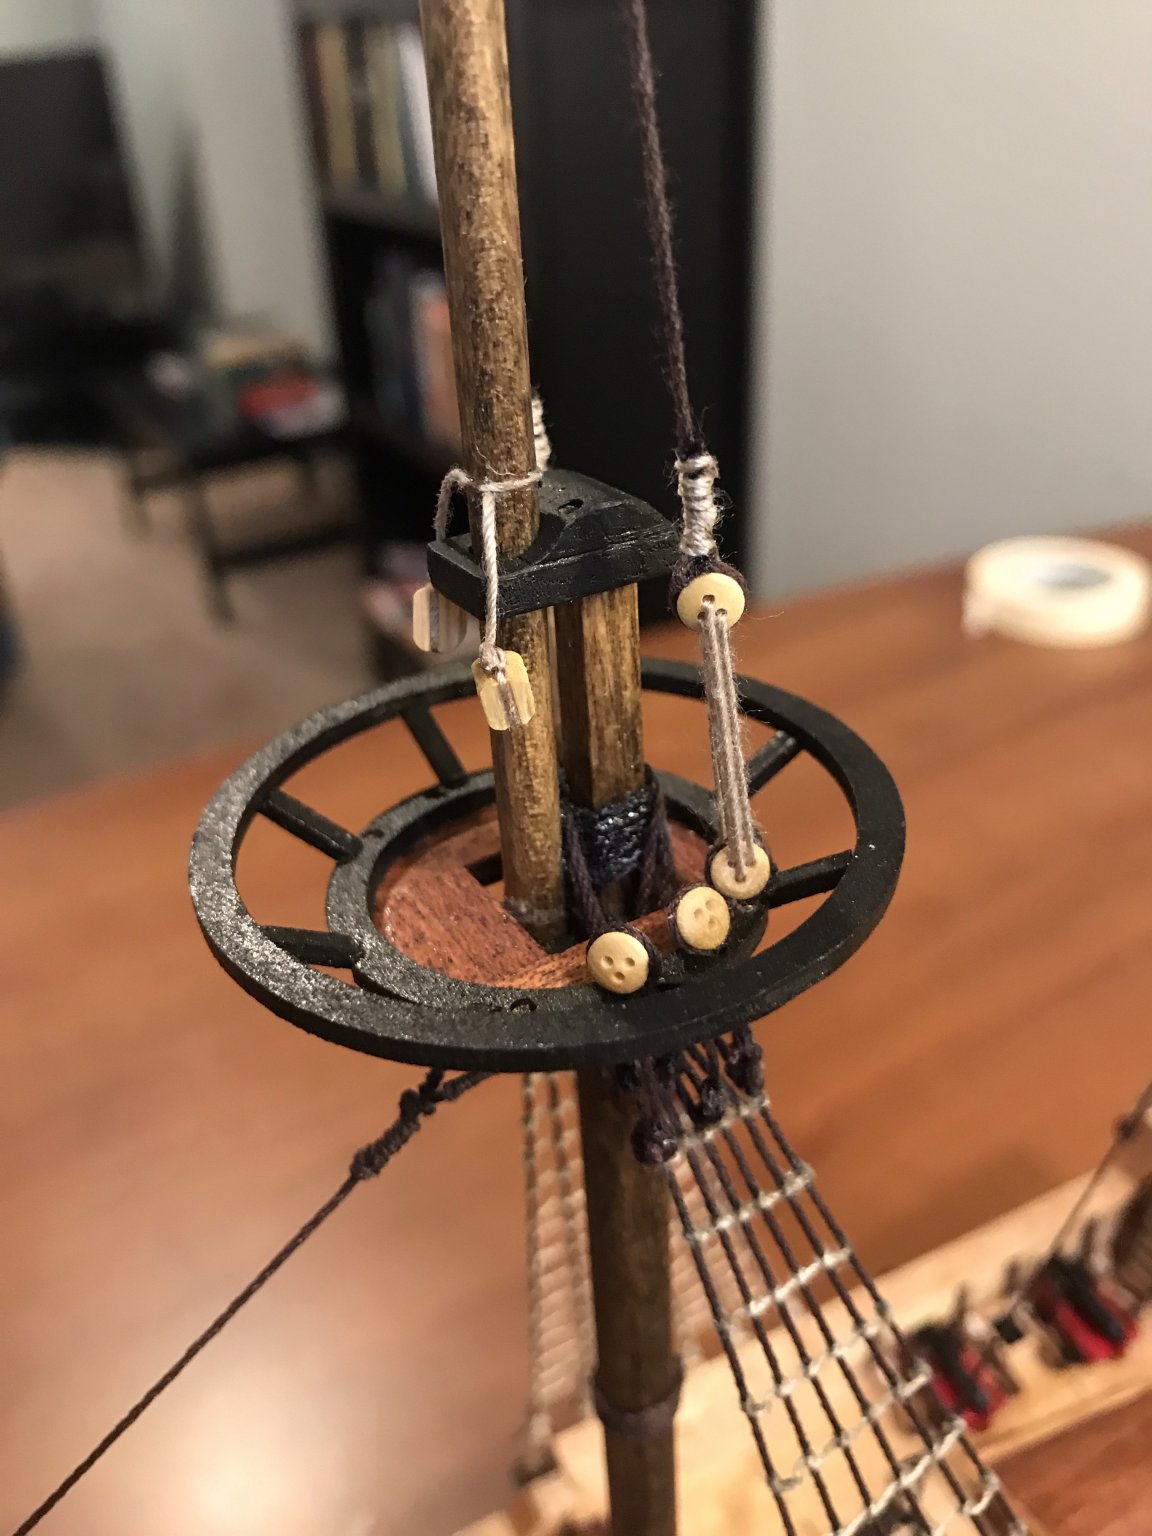
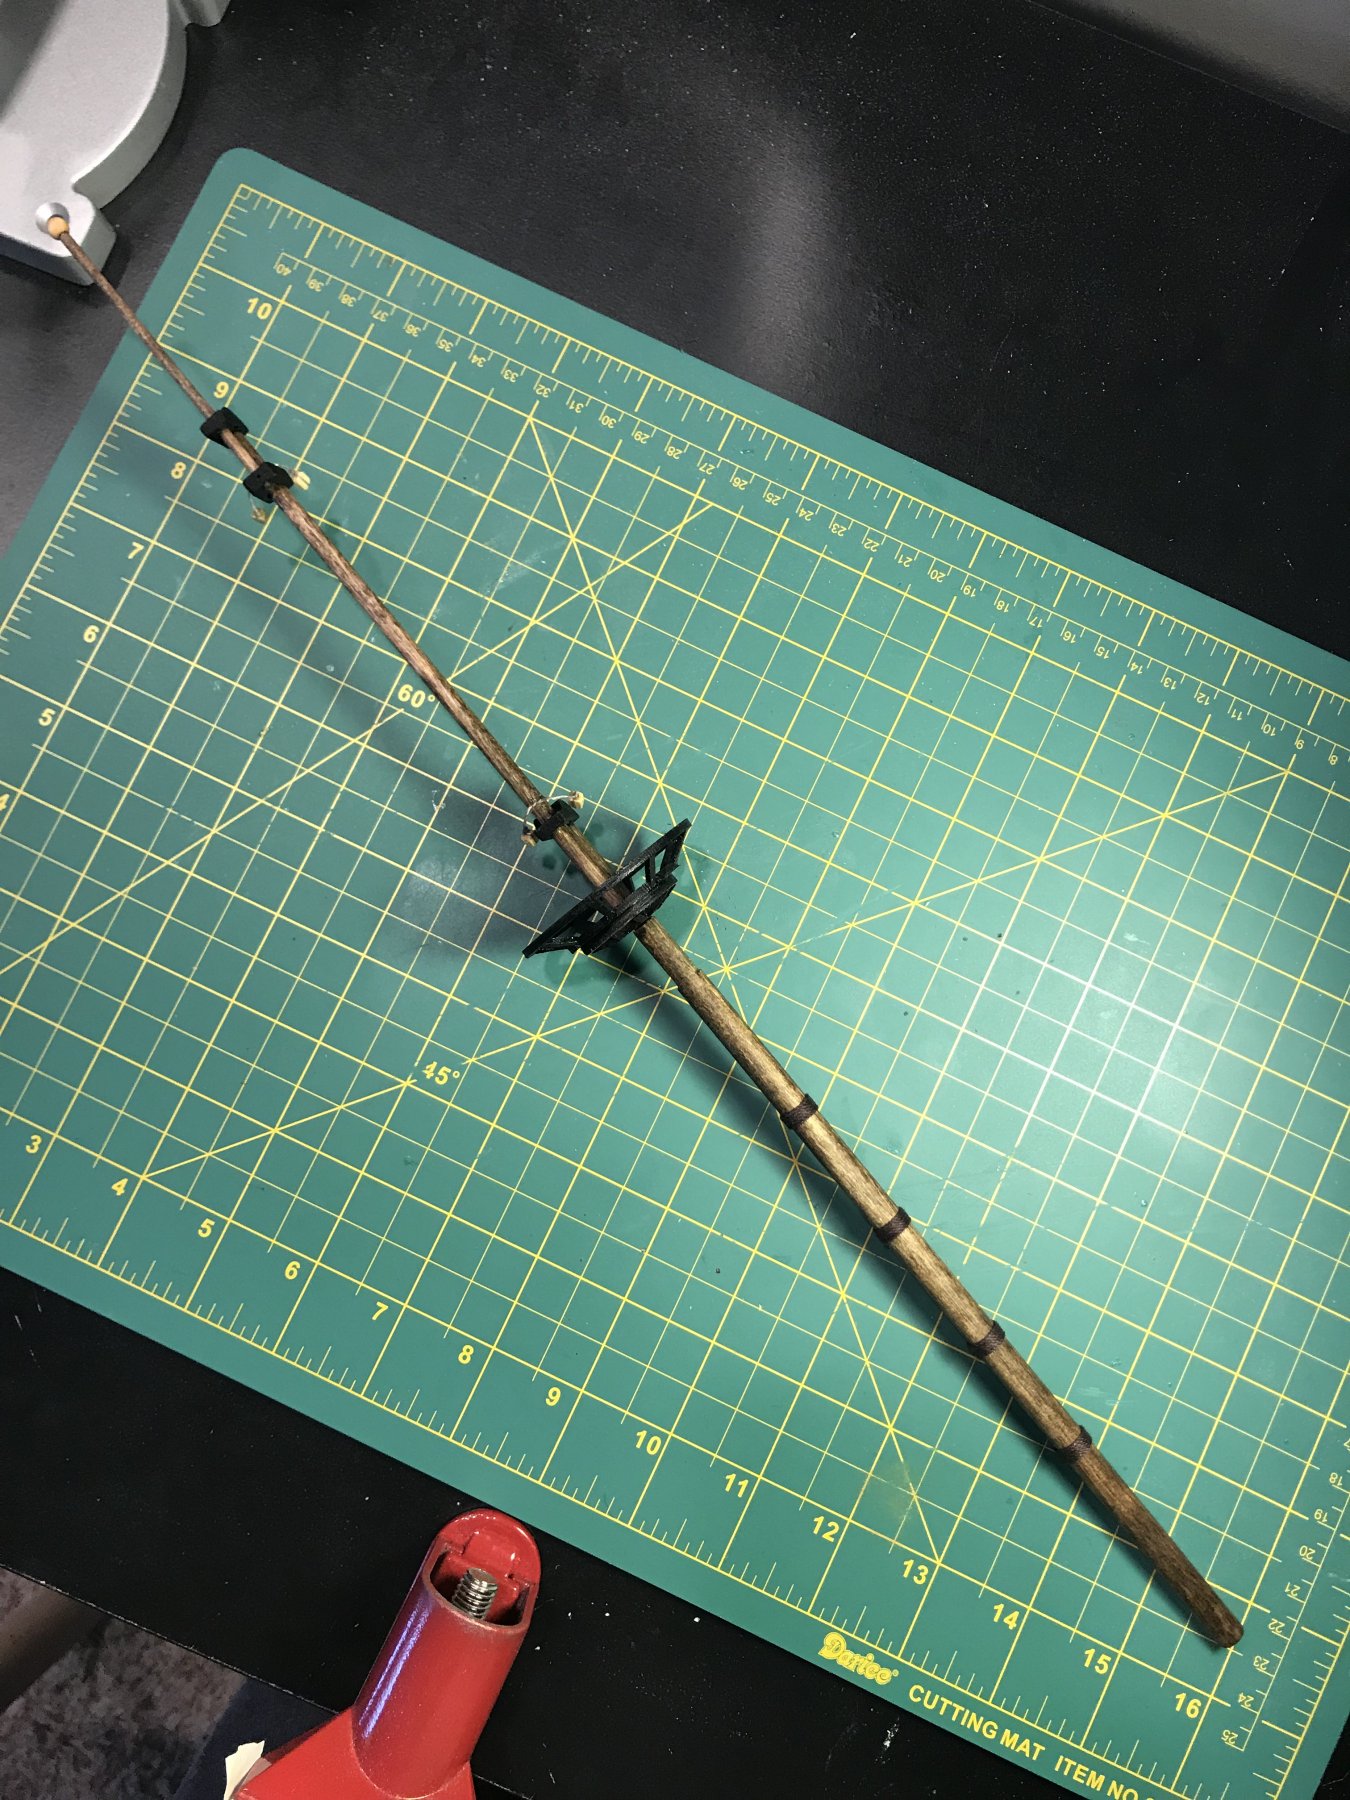
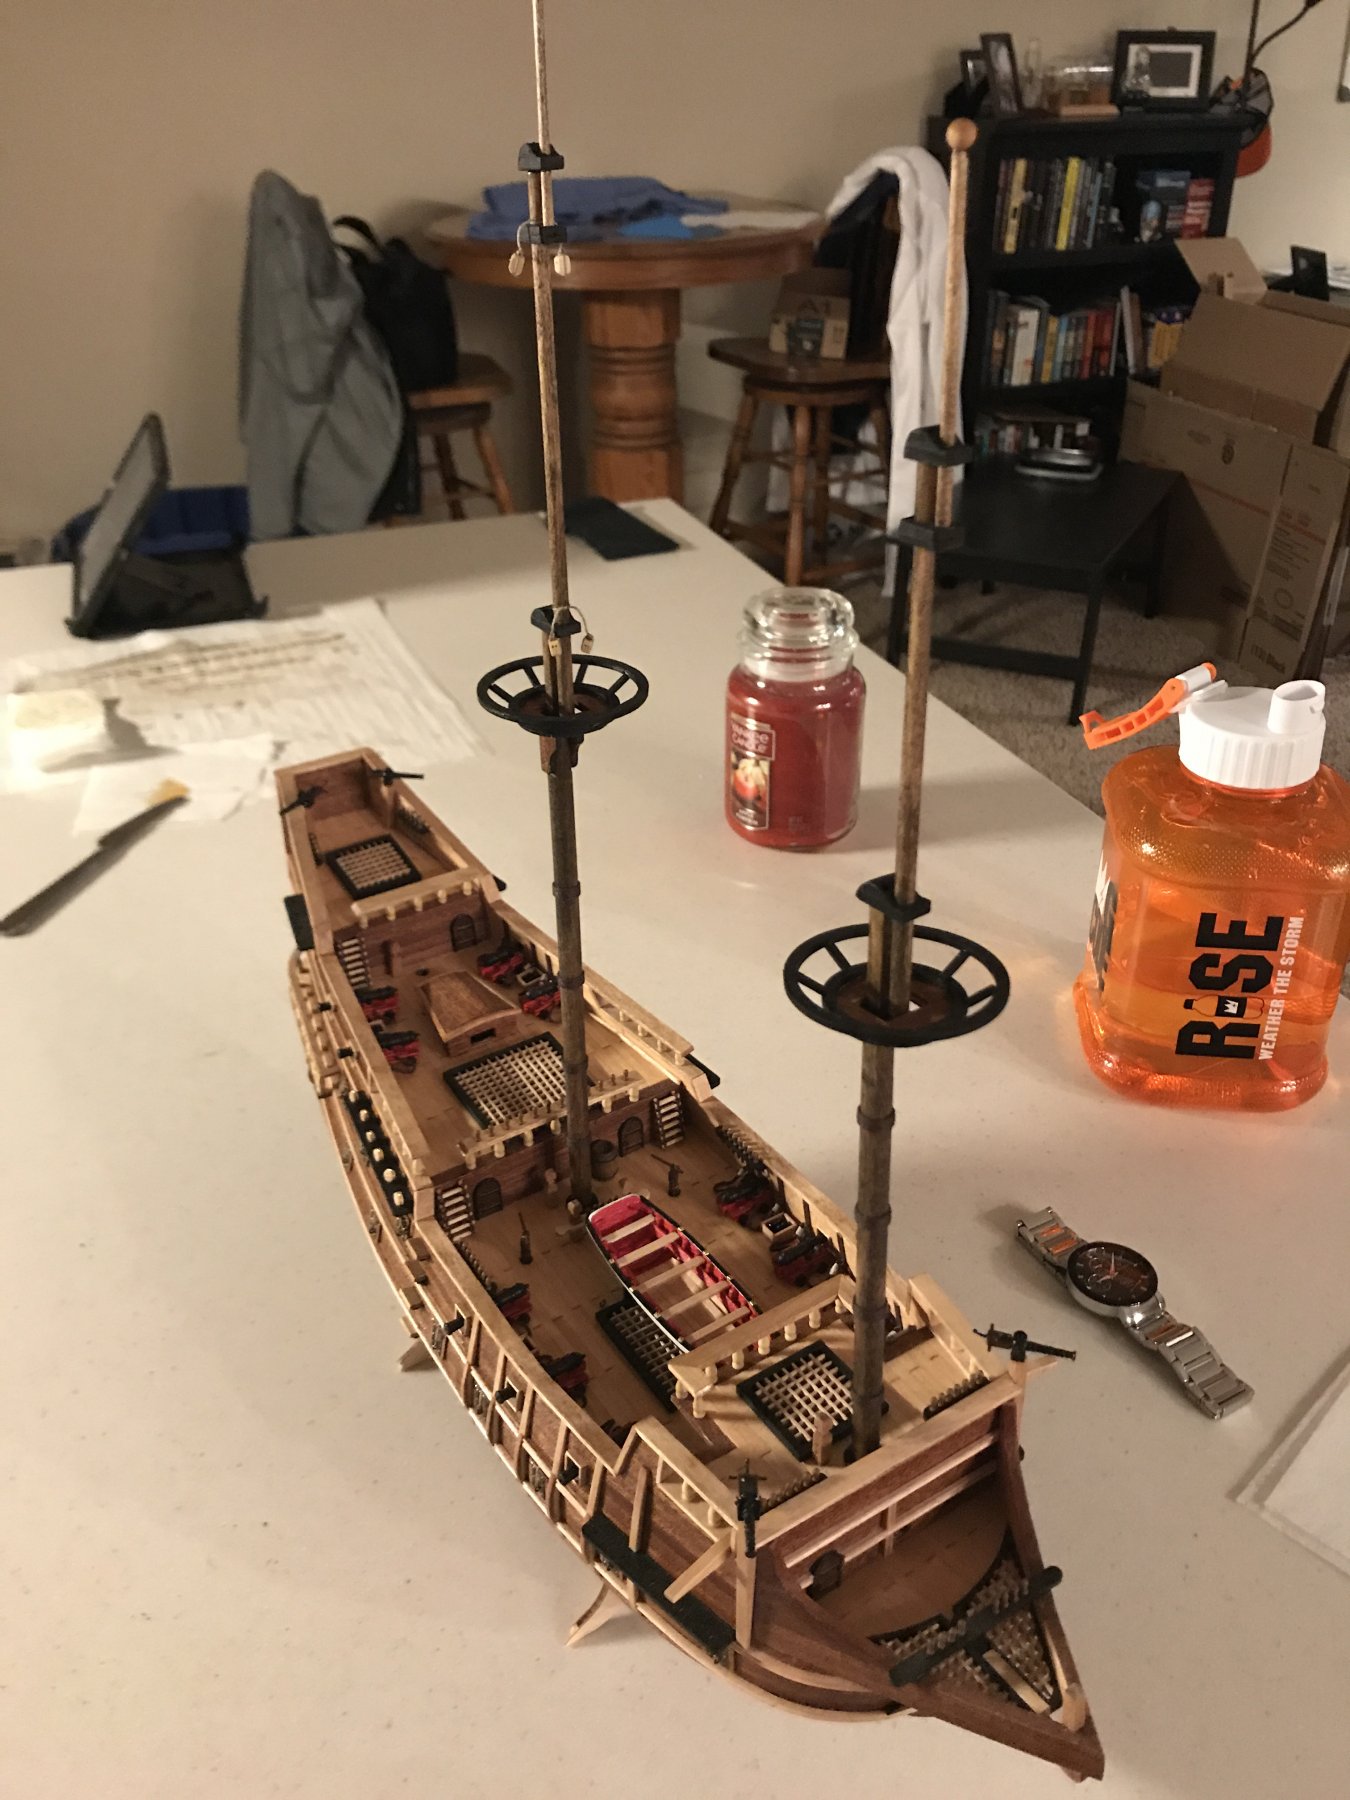
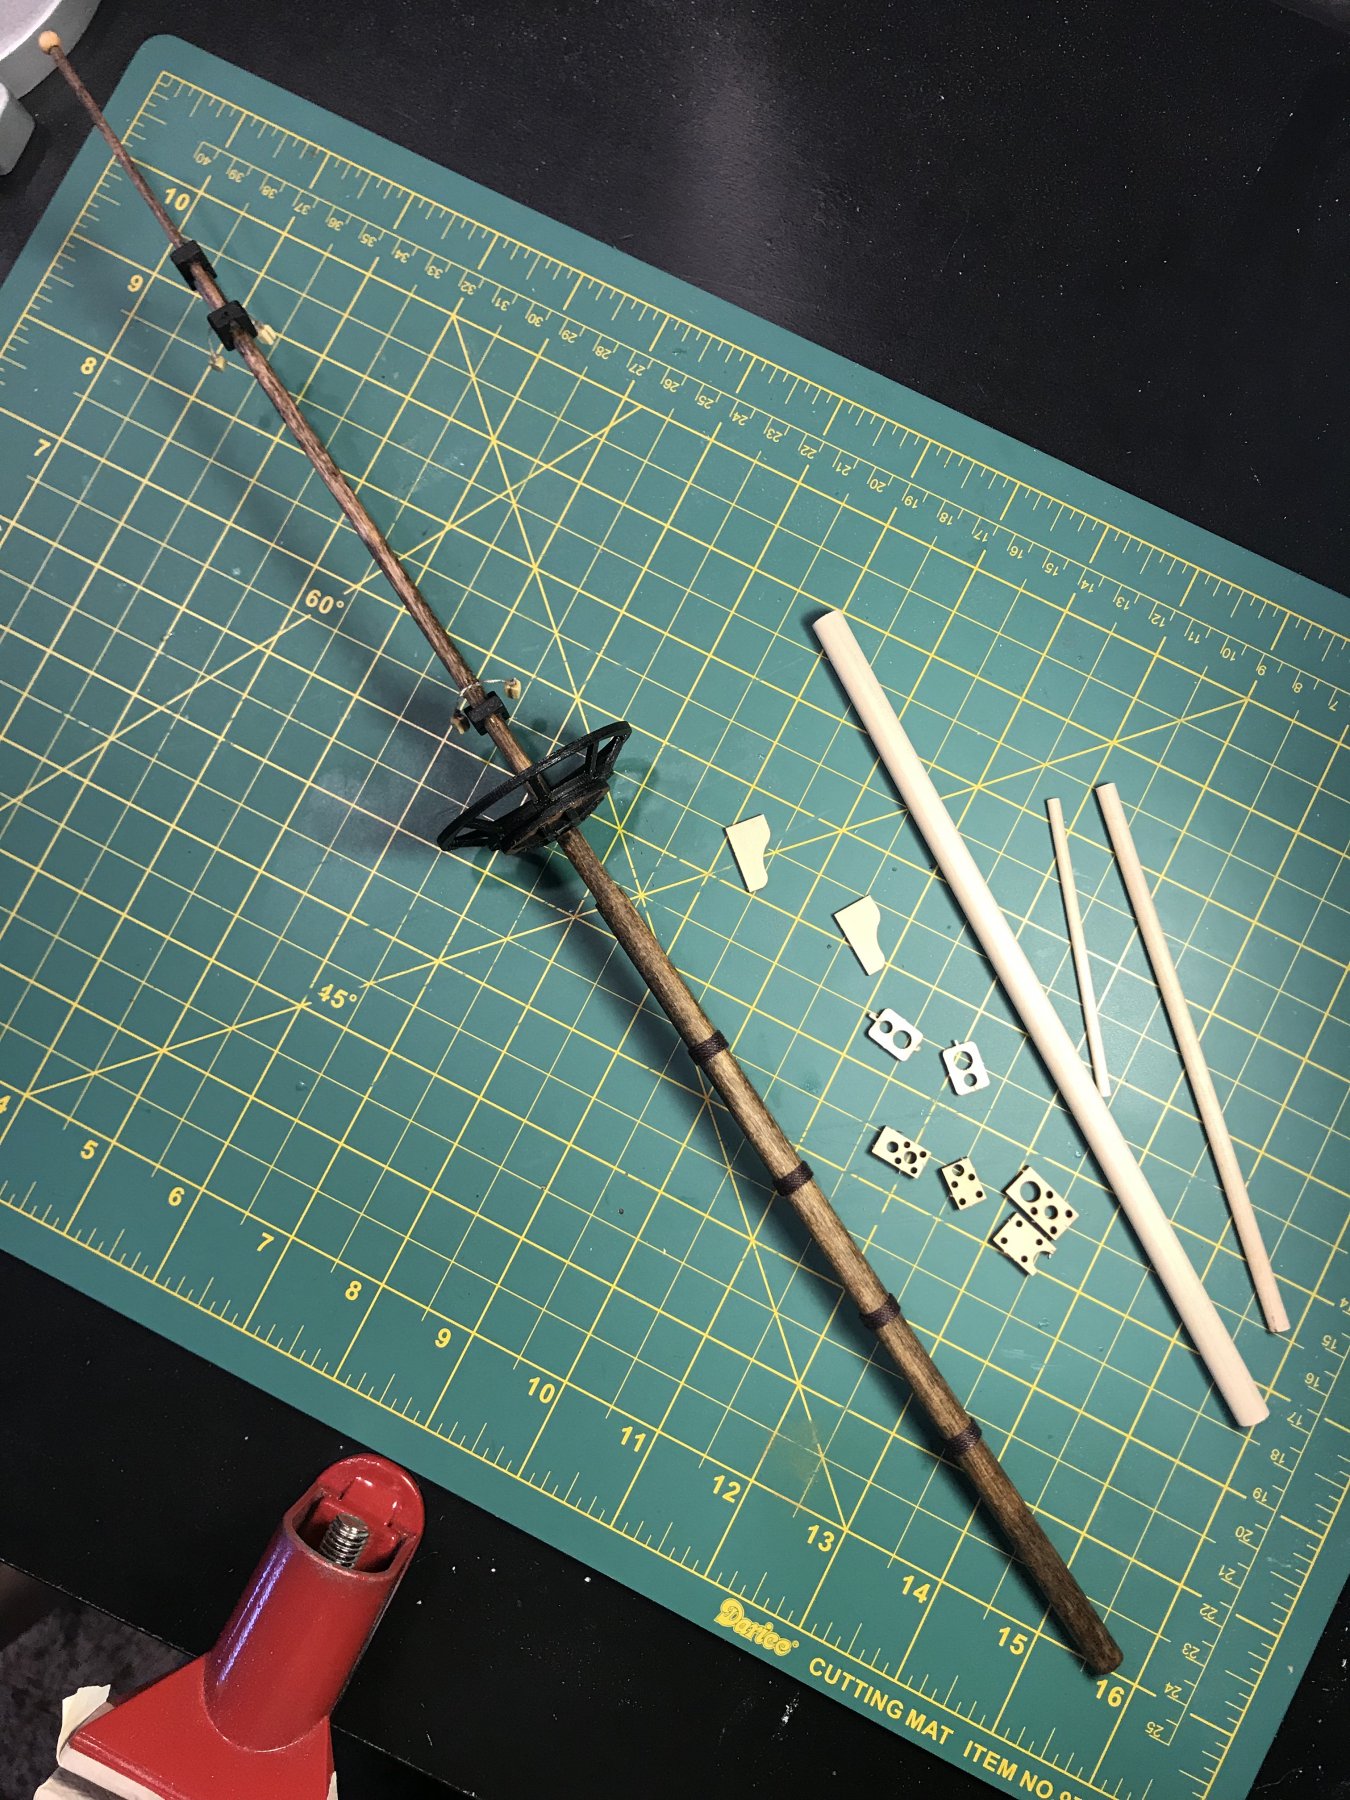
The deck is fully assembled and I am now working on the masts. With my first build I just used super glue and square knots, this time I am at least attempting to tie the proper knots, started off strong with whipping on the main mast.
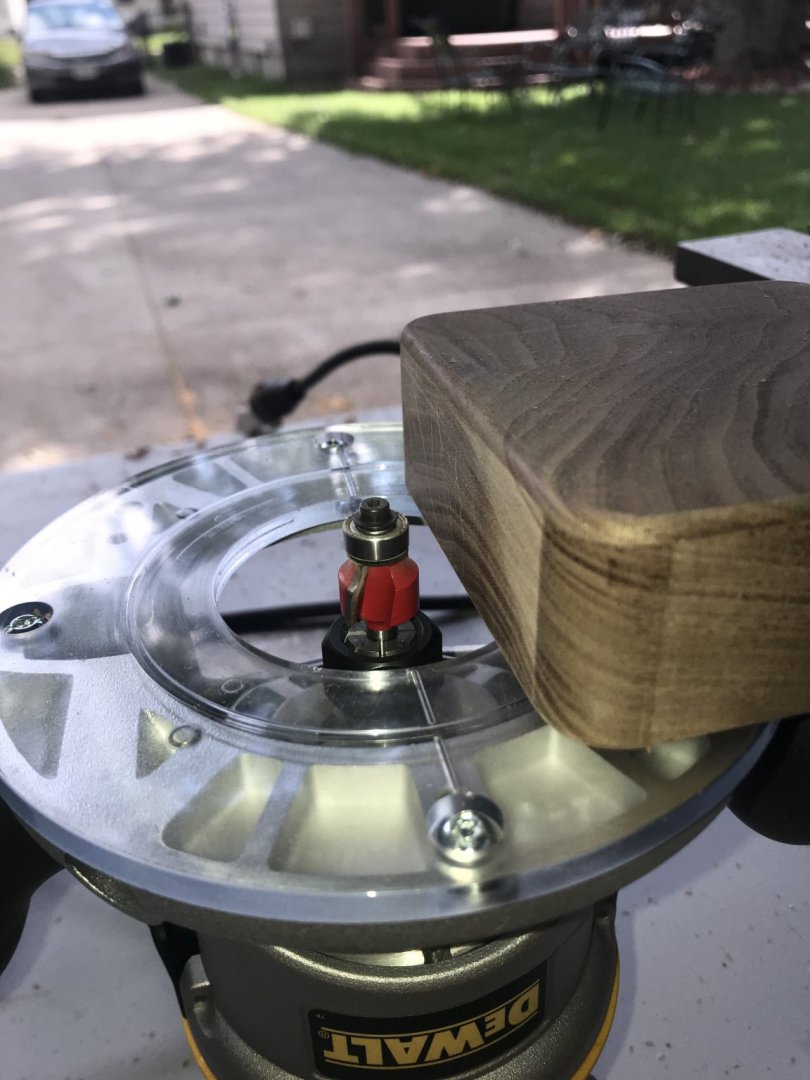
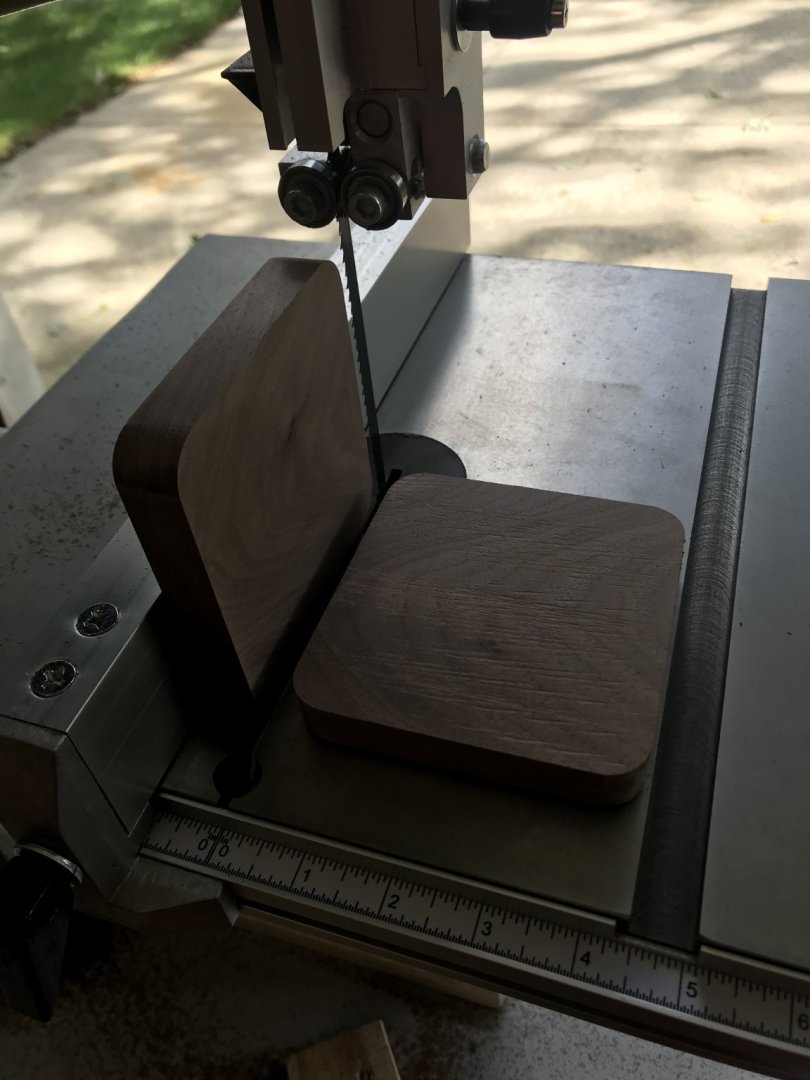
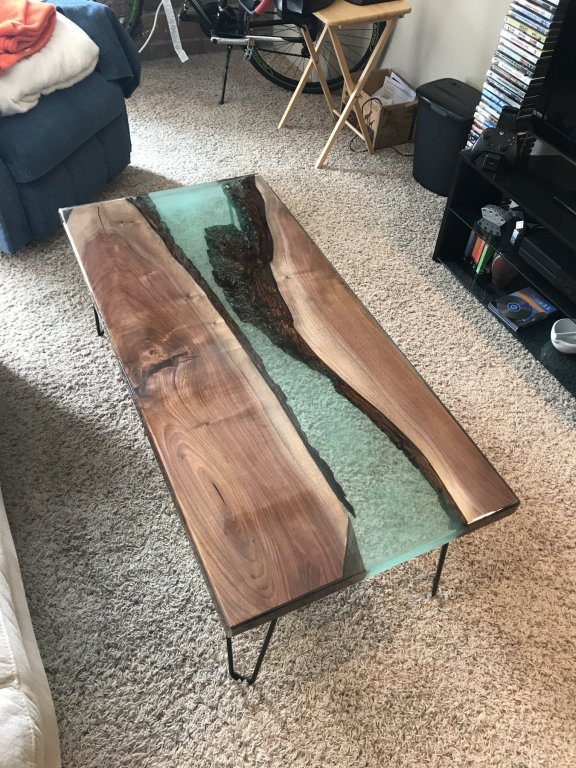
I also recently made a live edge table, it will not be part of the final display of the ship but I am planning on making a display case for it and I would like to implement a live edge component similar to this. Considered even making a recess in the “river” for the ship to sit in, like it is actually floating down a river. Who knows


- Duanelaker, mtbediz, vulcanbomber and 1 other
-
4
-
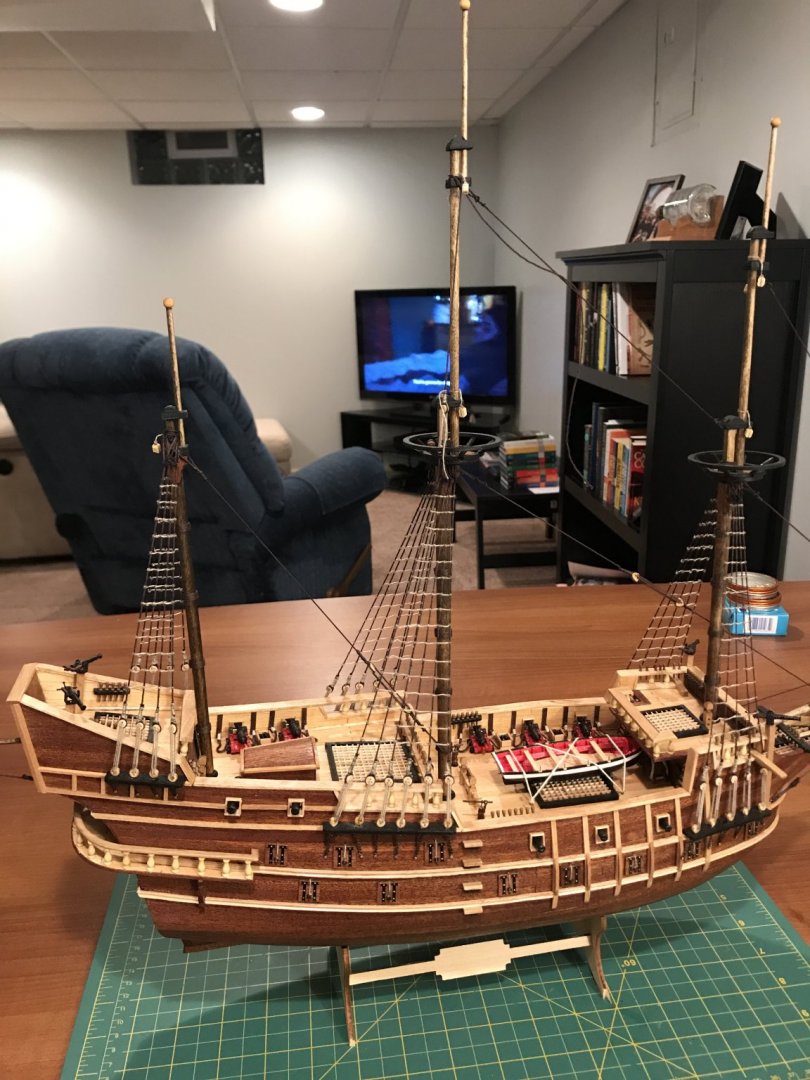
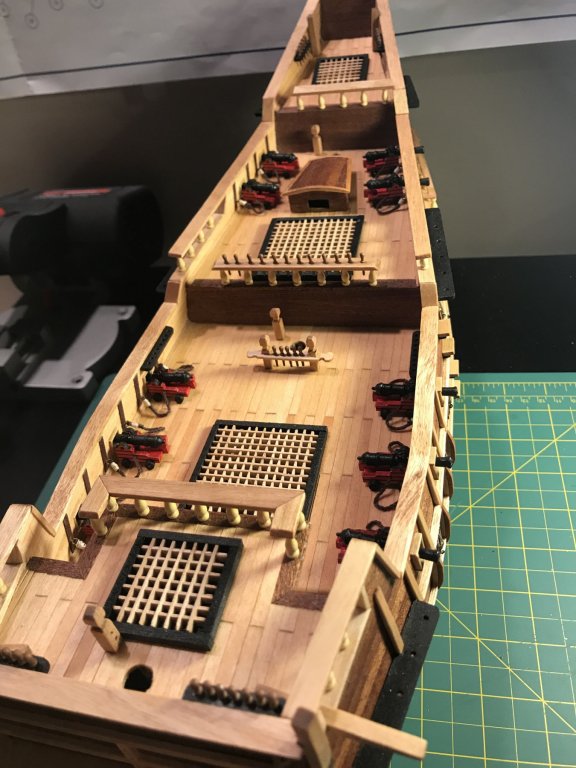
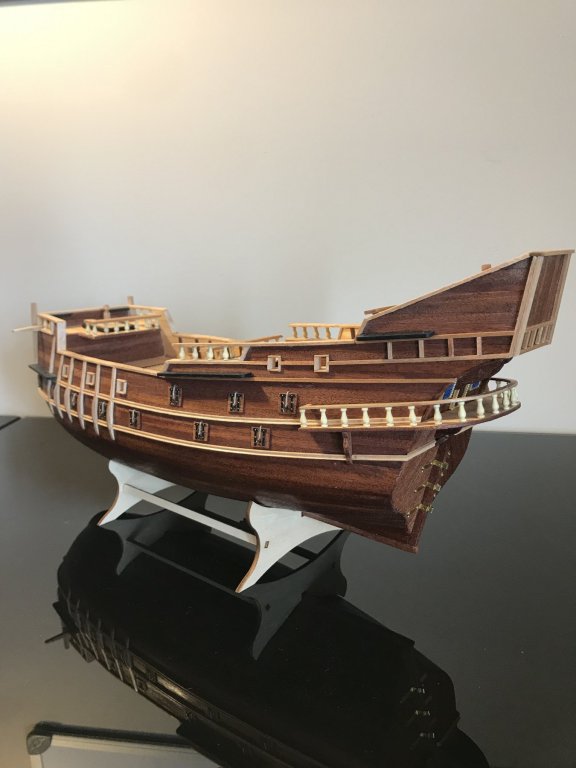
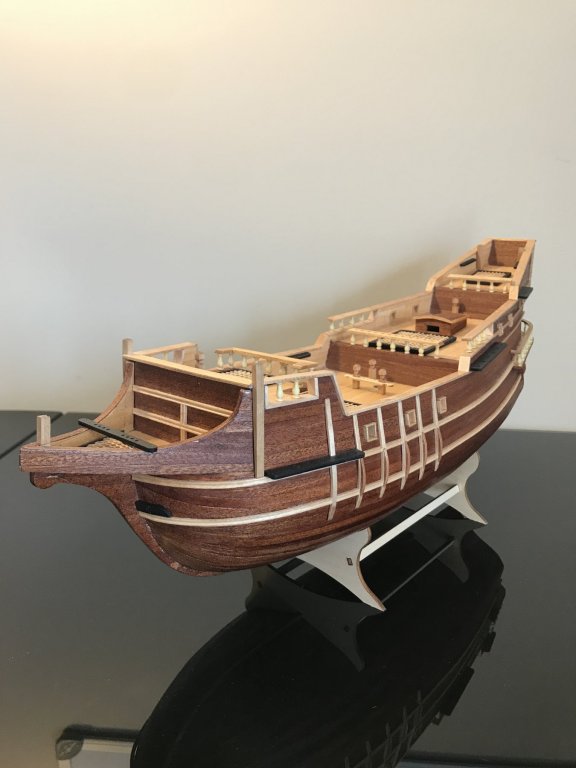
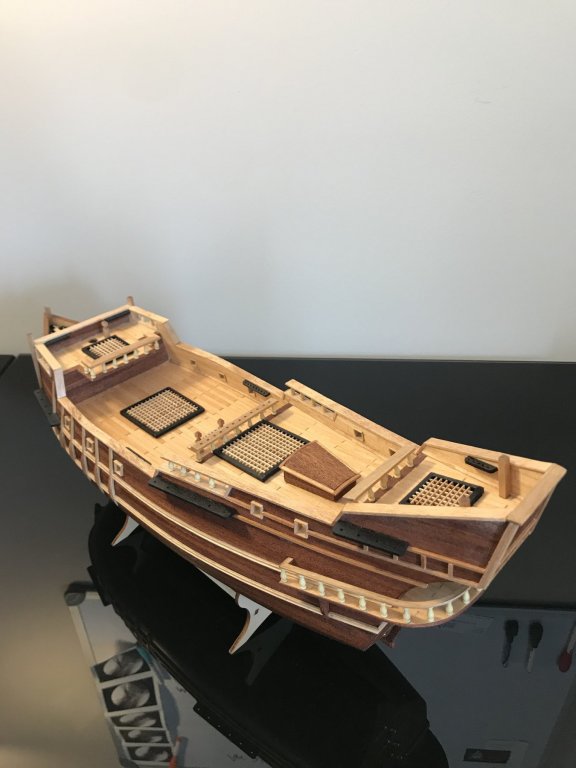
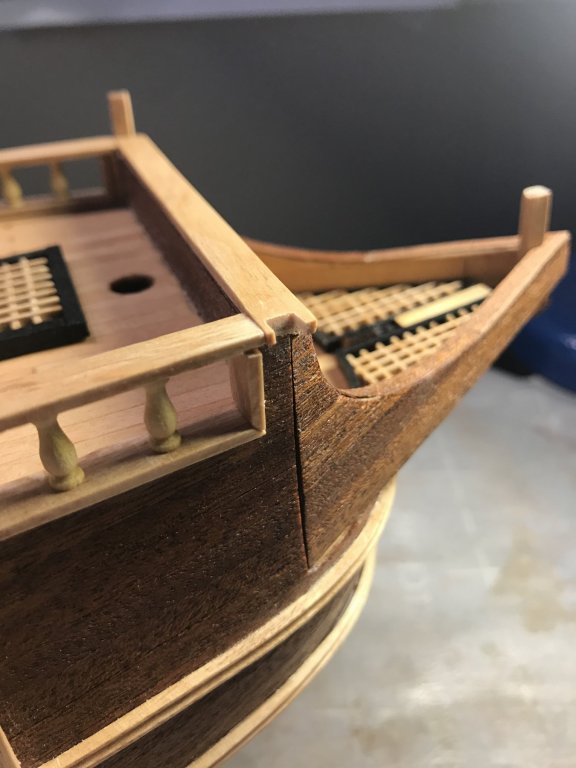
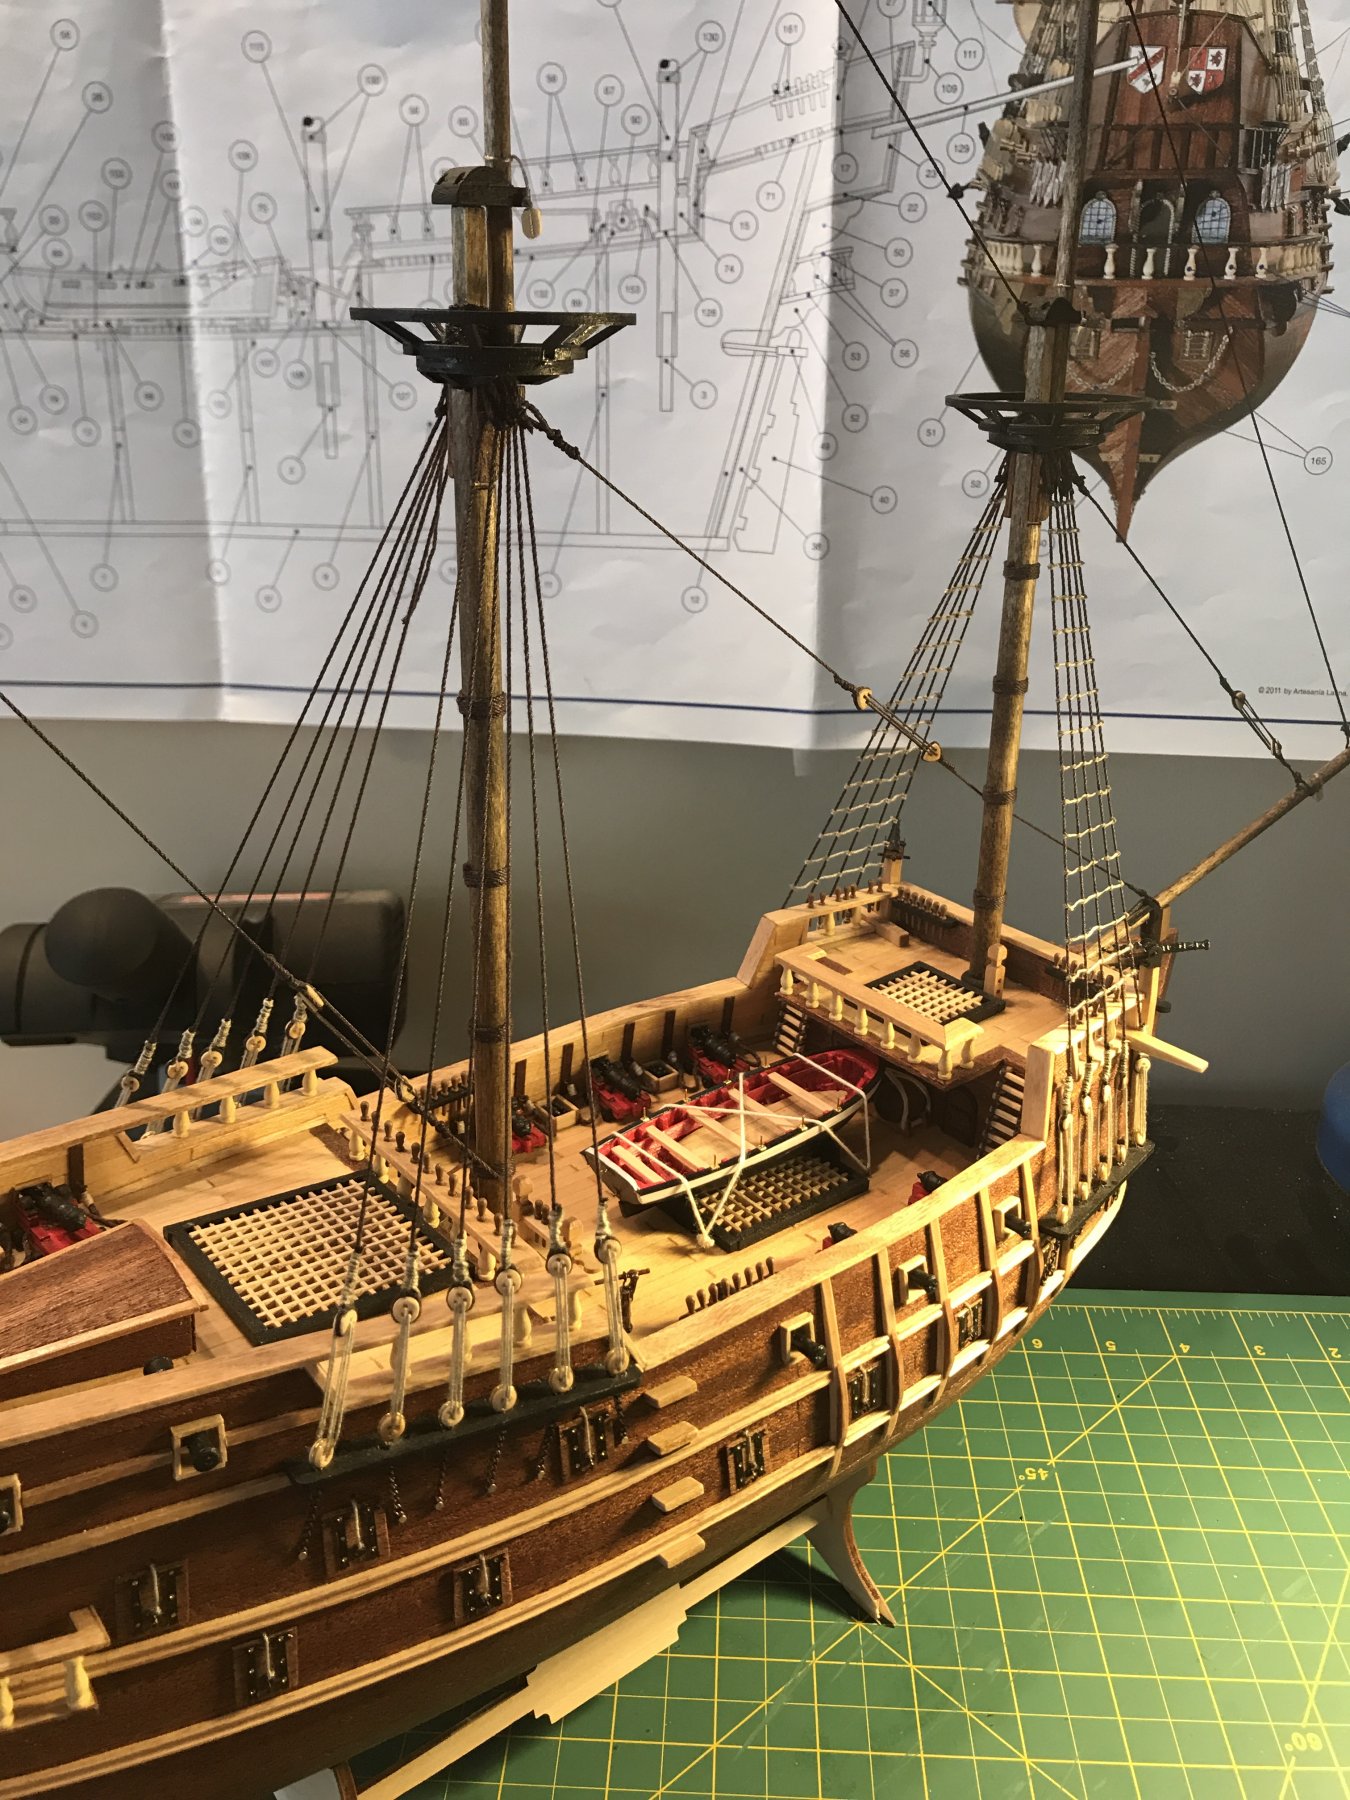
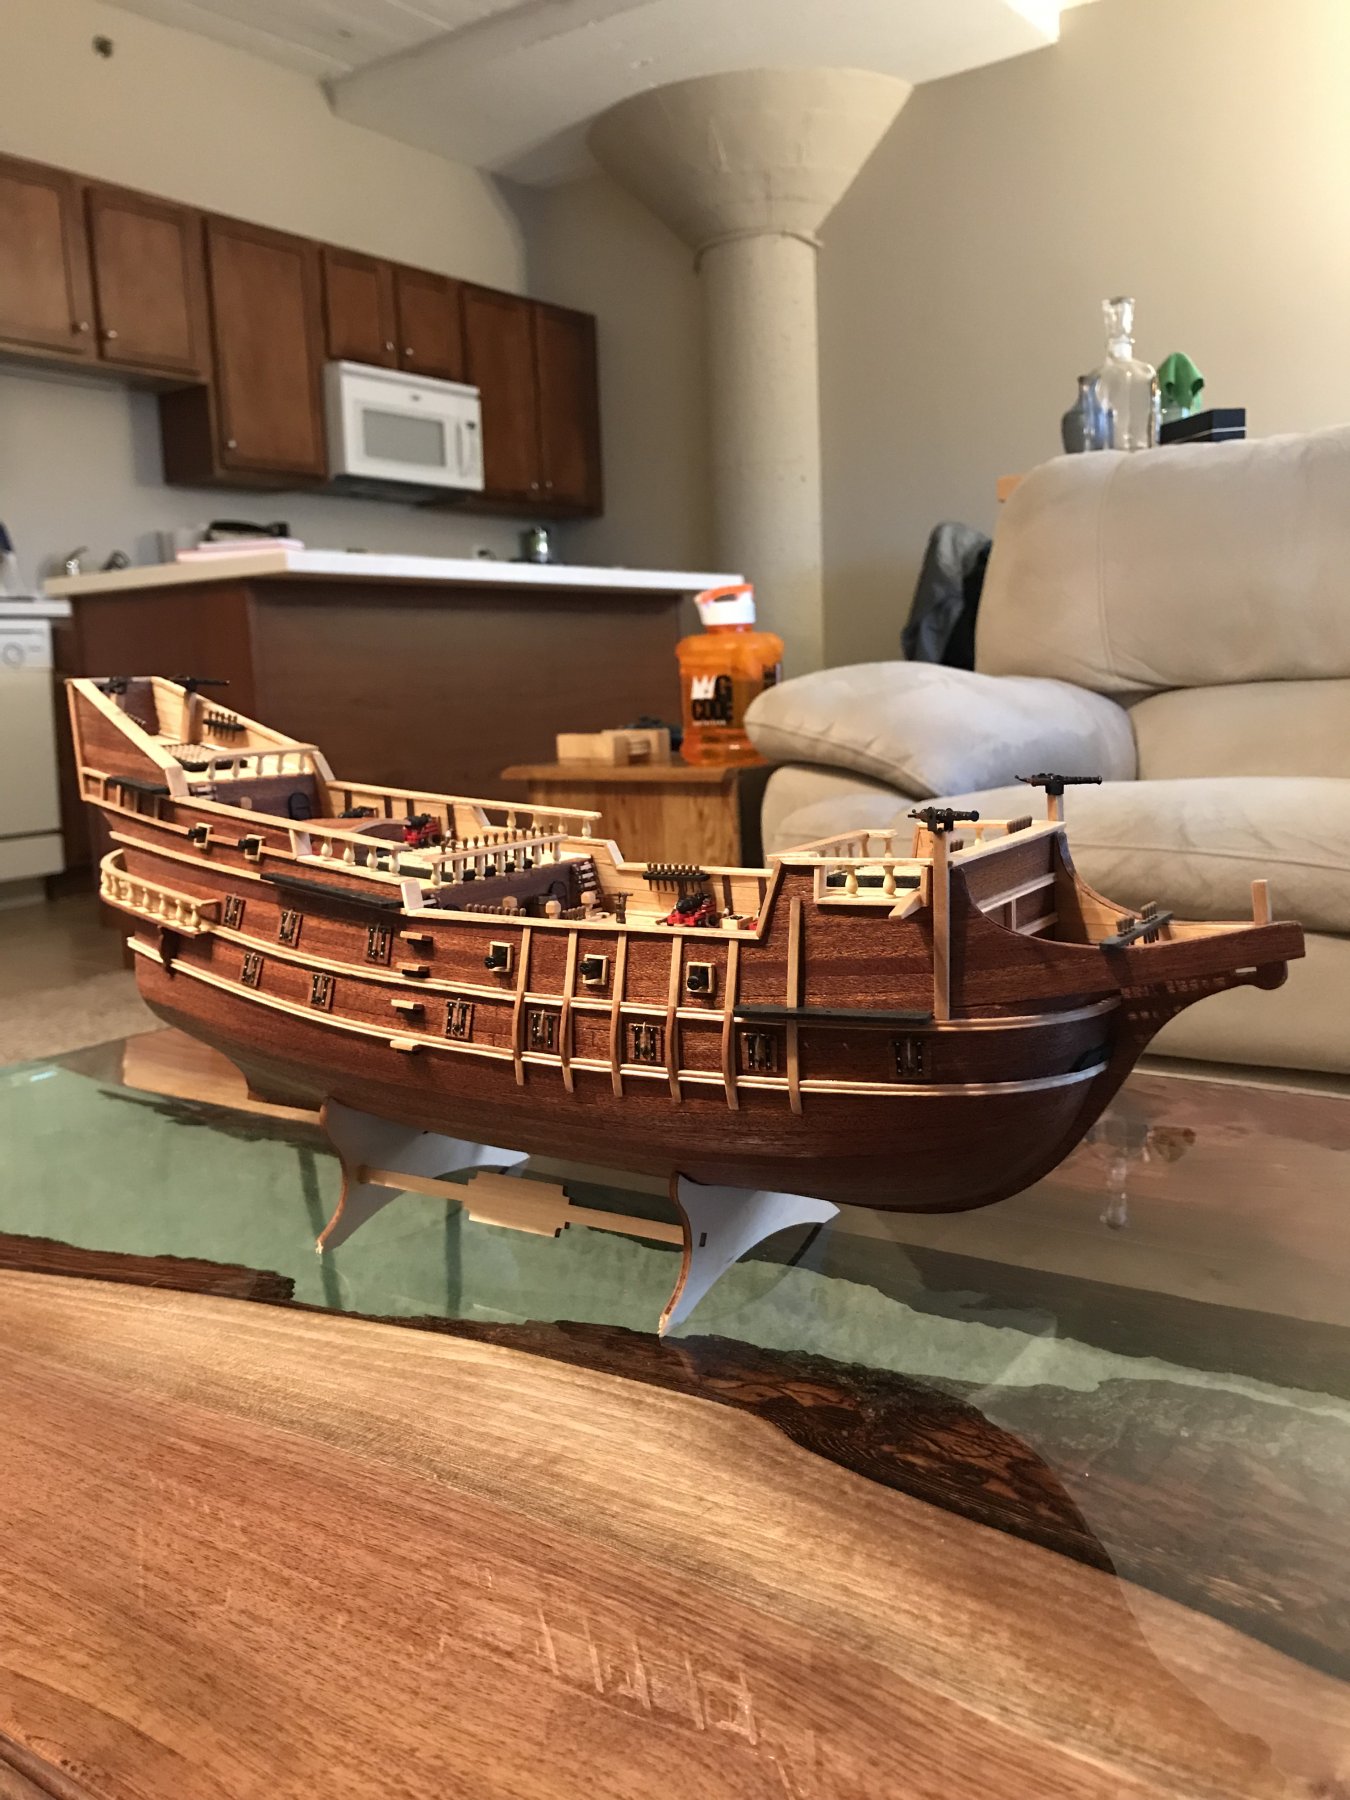
And the deck is essentially done! I remade a few more of the laser cut pieces supplied with the cut. They were shaped fine, just didn’t hold varnish and I prefer the wood look to paint (I painted a lot of things early on while waiting for glue to dry with planking...before I got too far in planning)
so other than that not much customization has gone into it. The directions are pretty much spot on with plenty of detailed pictures.
Time to start working on the masts and putting the dead eyes on the channels.


- mtbediz, Osmosis, Duanelaker and 1 other
-
4
-
-
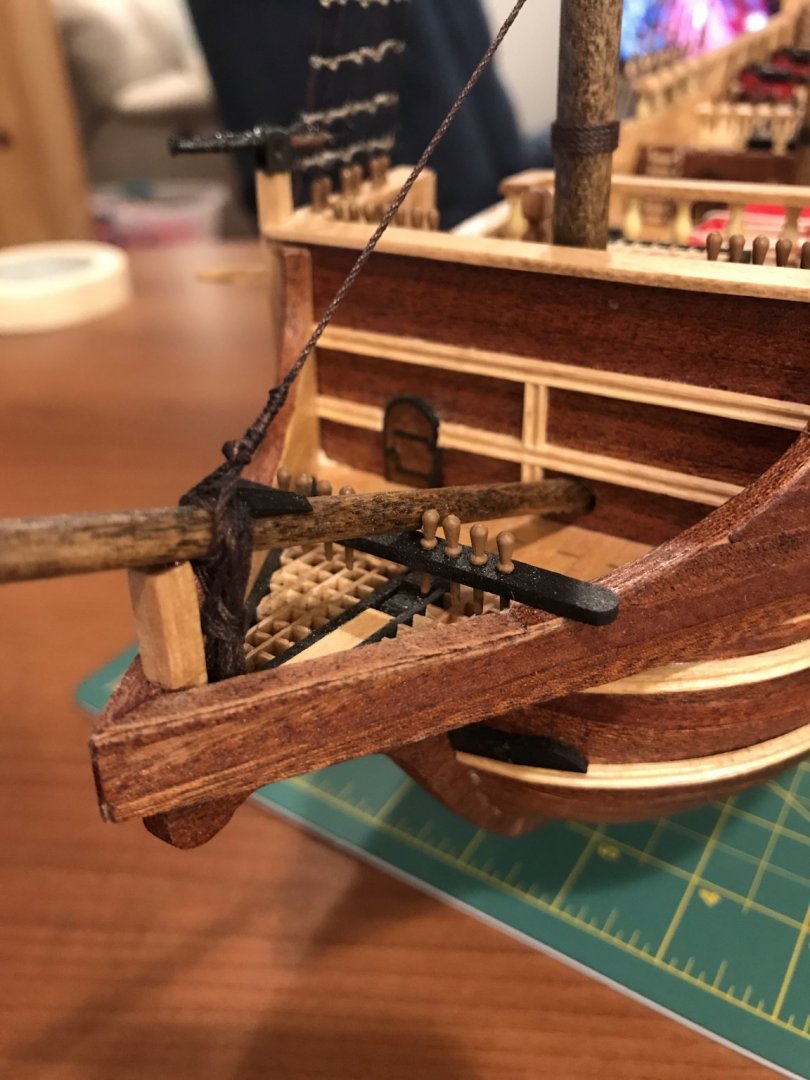
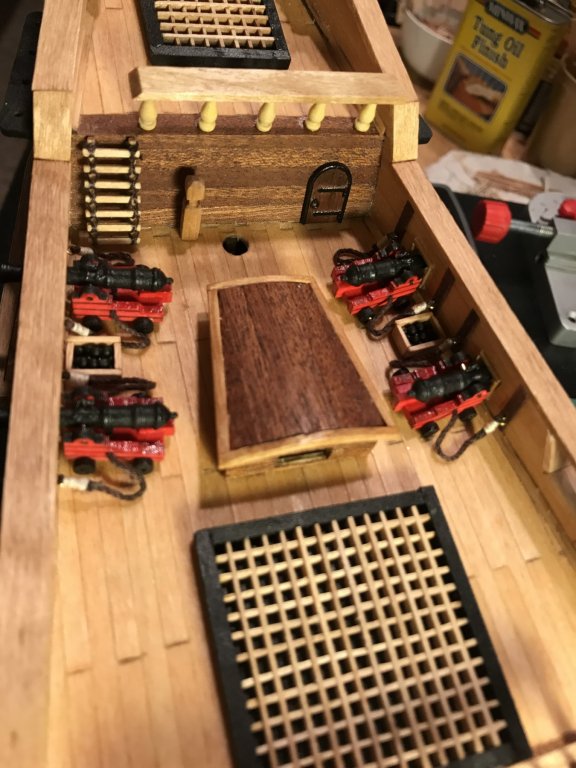
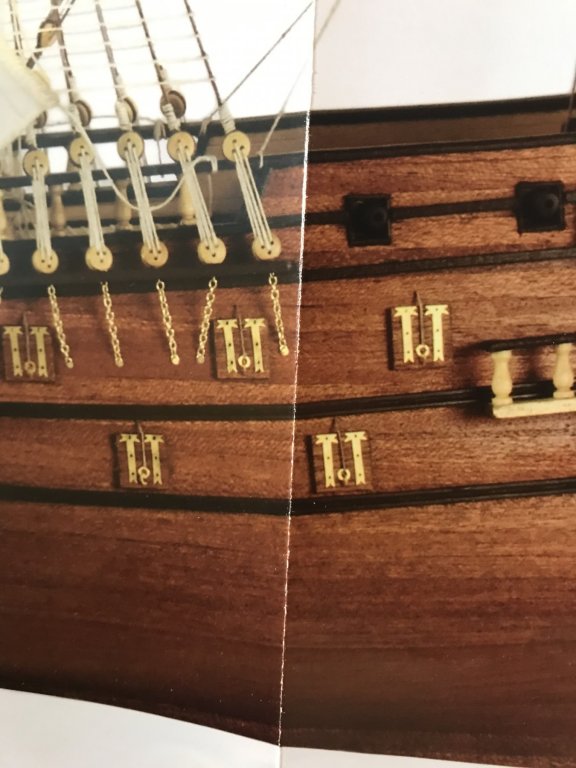
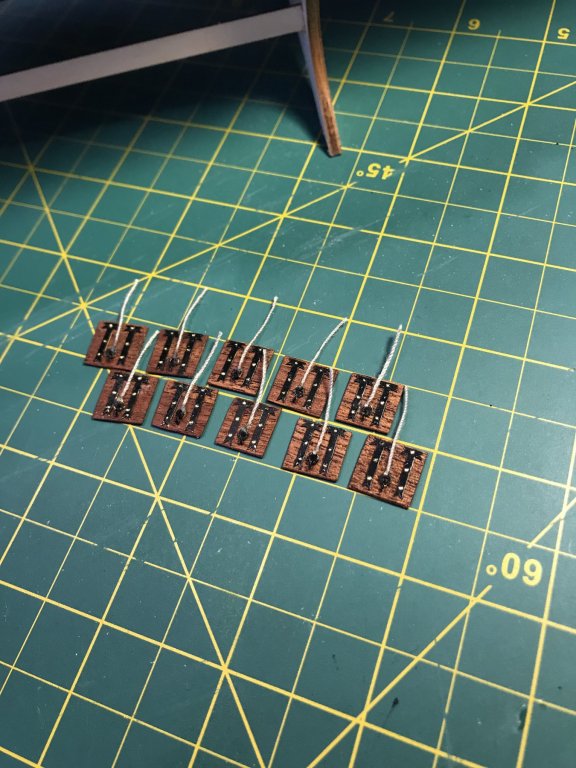
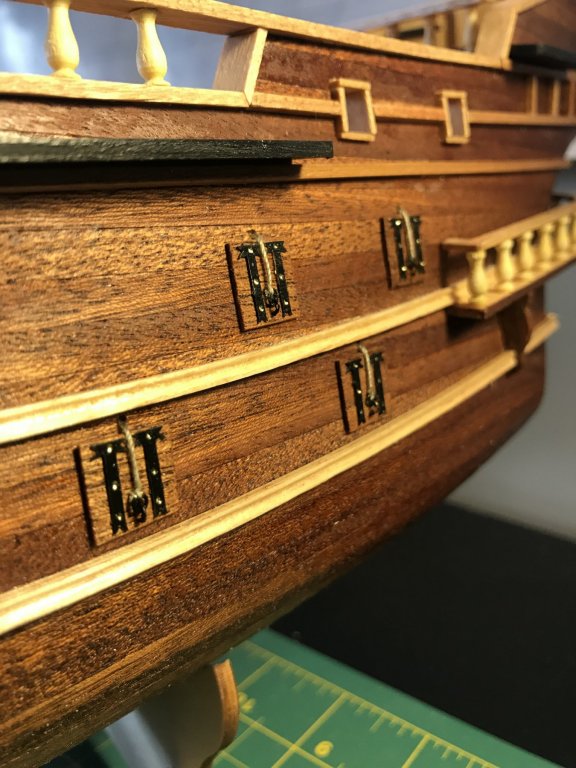
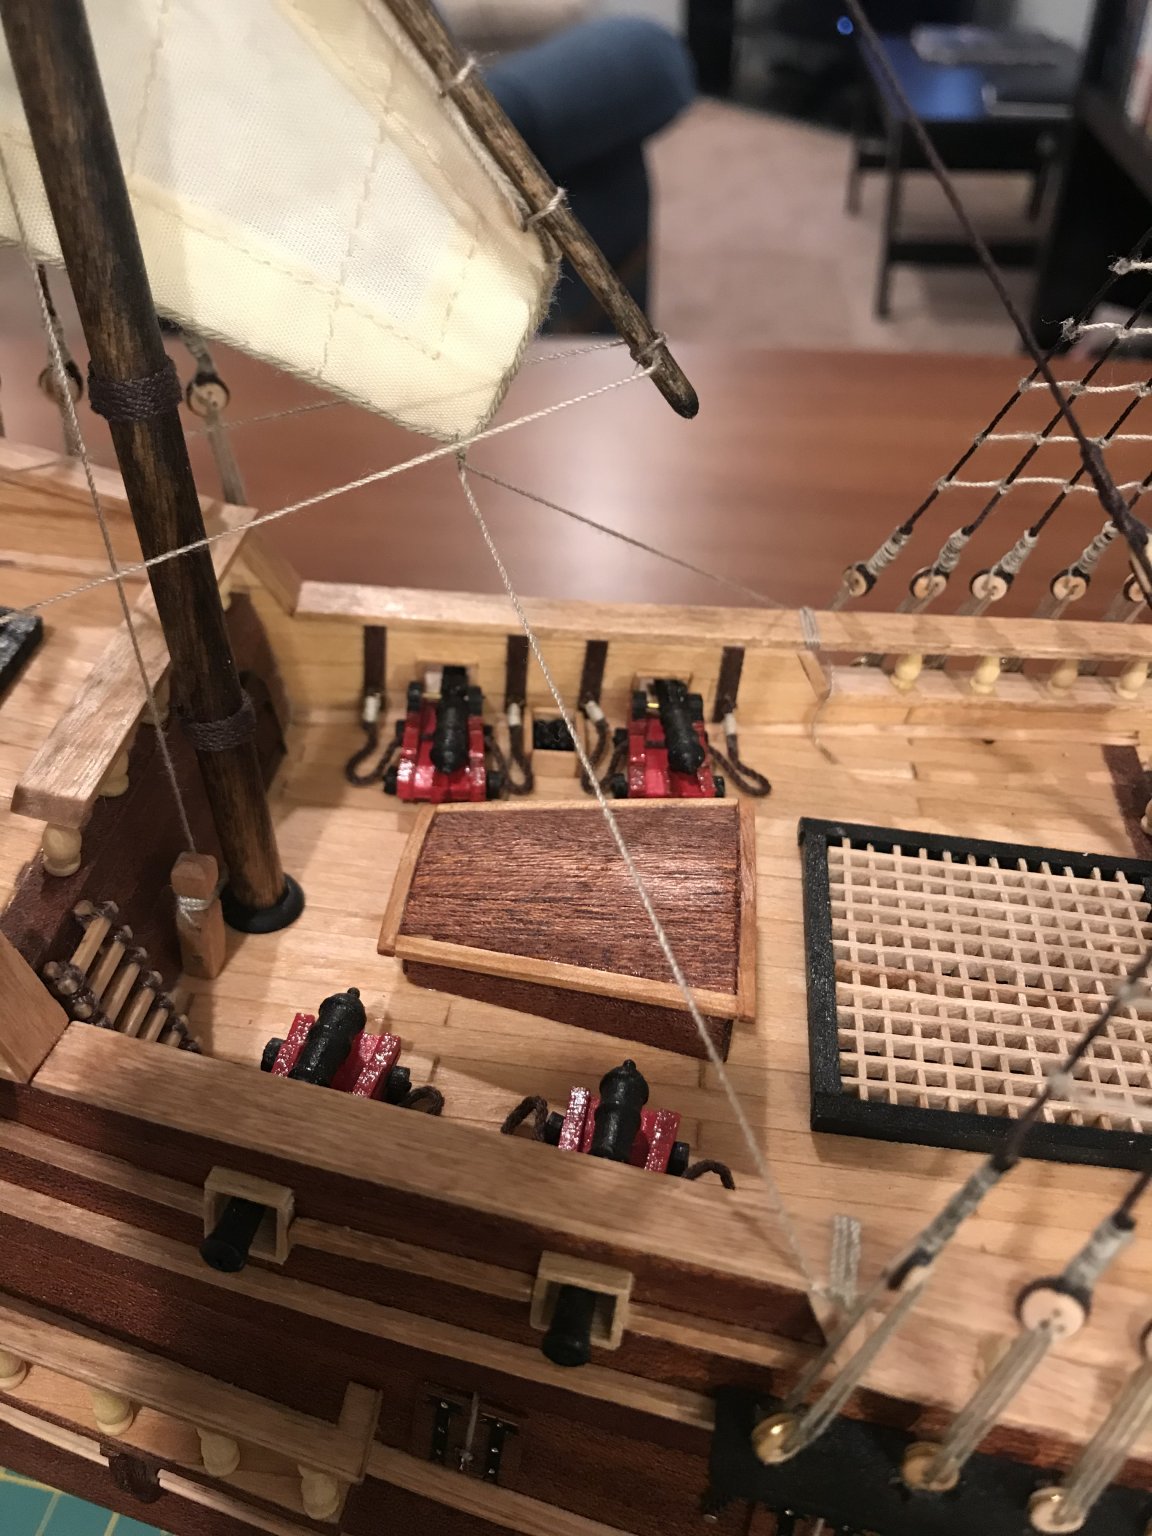
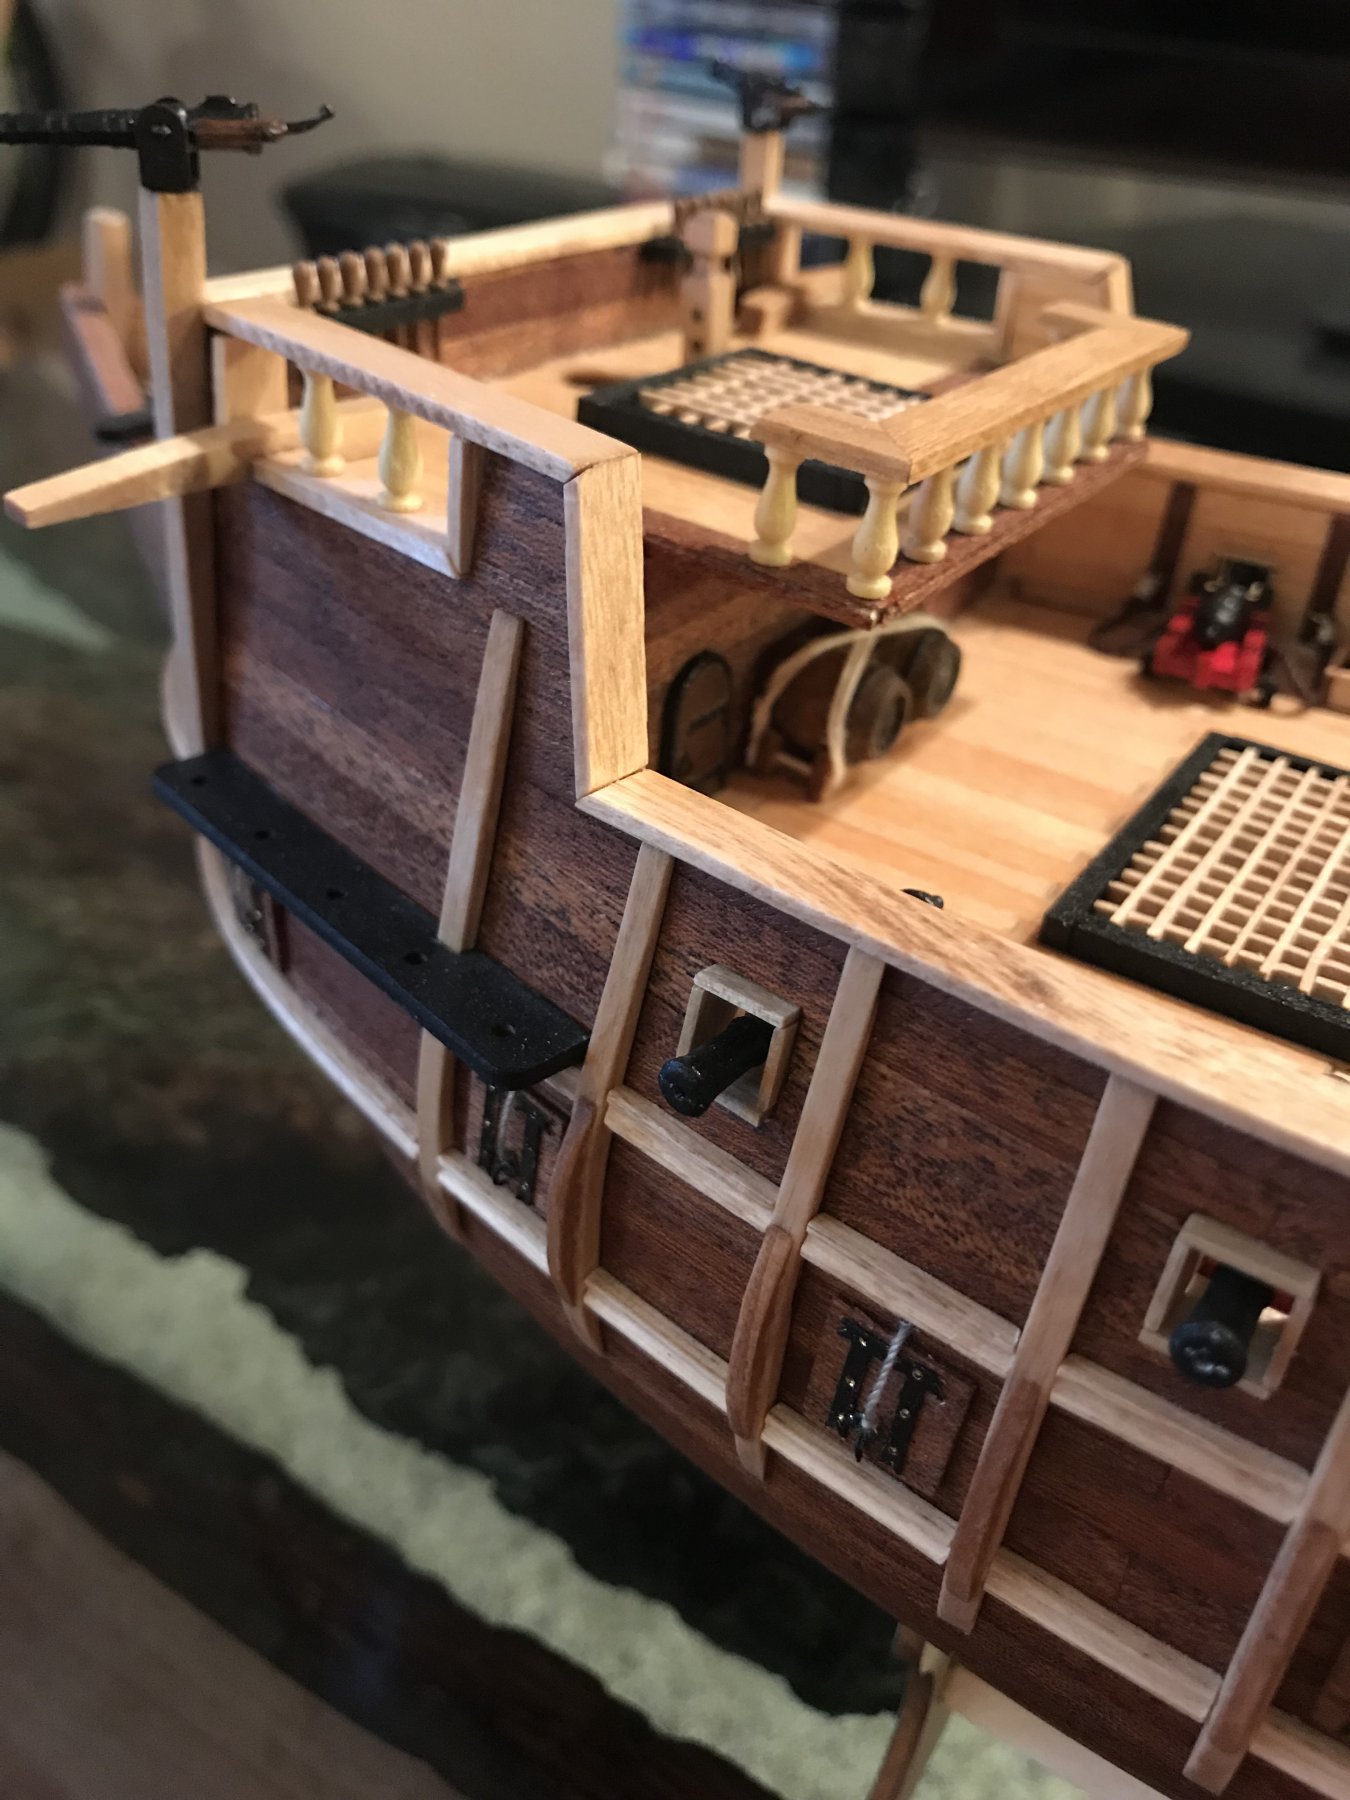
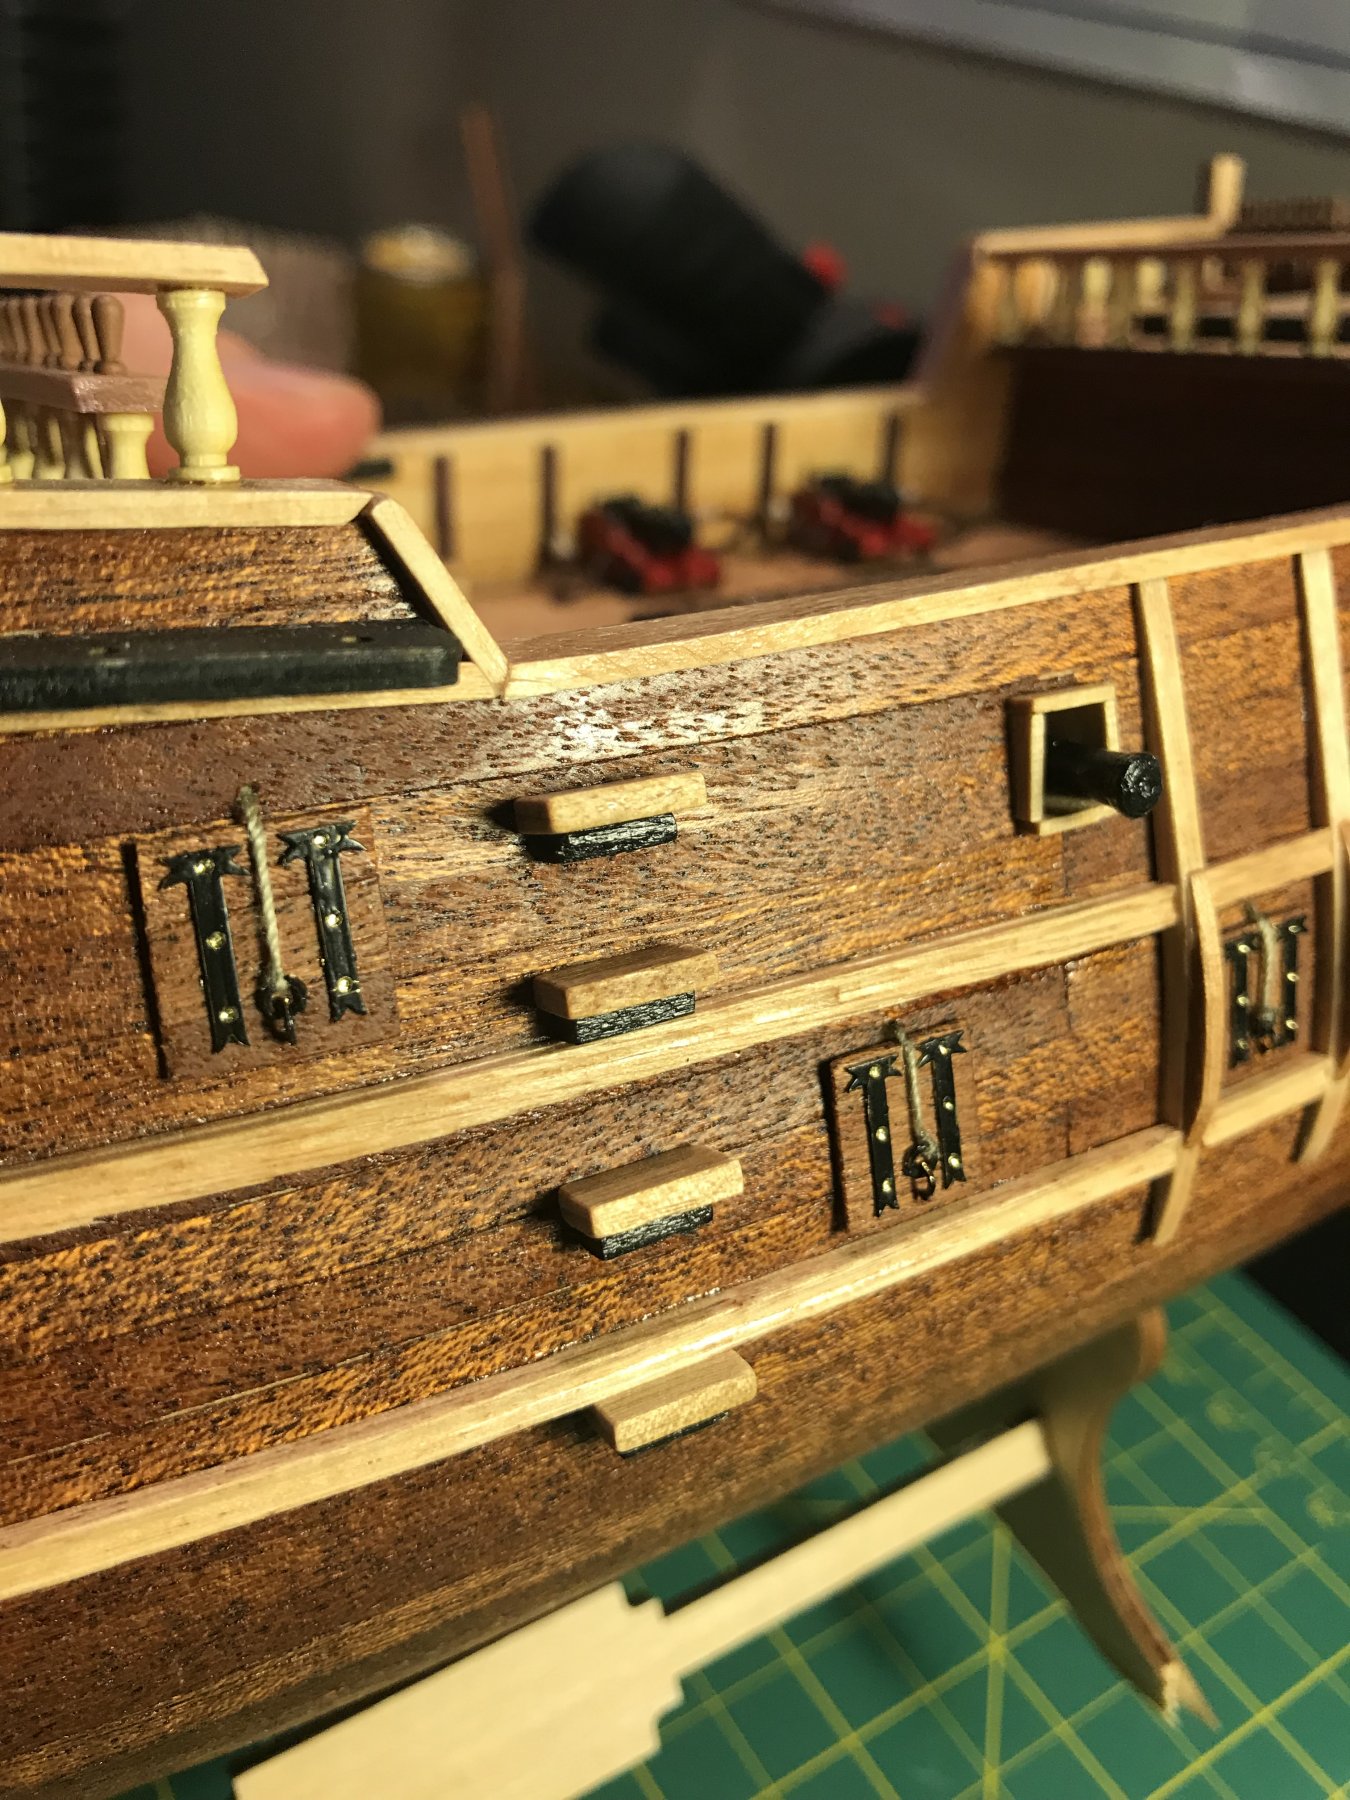
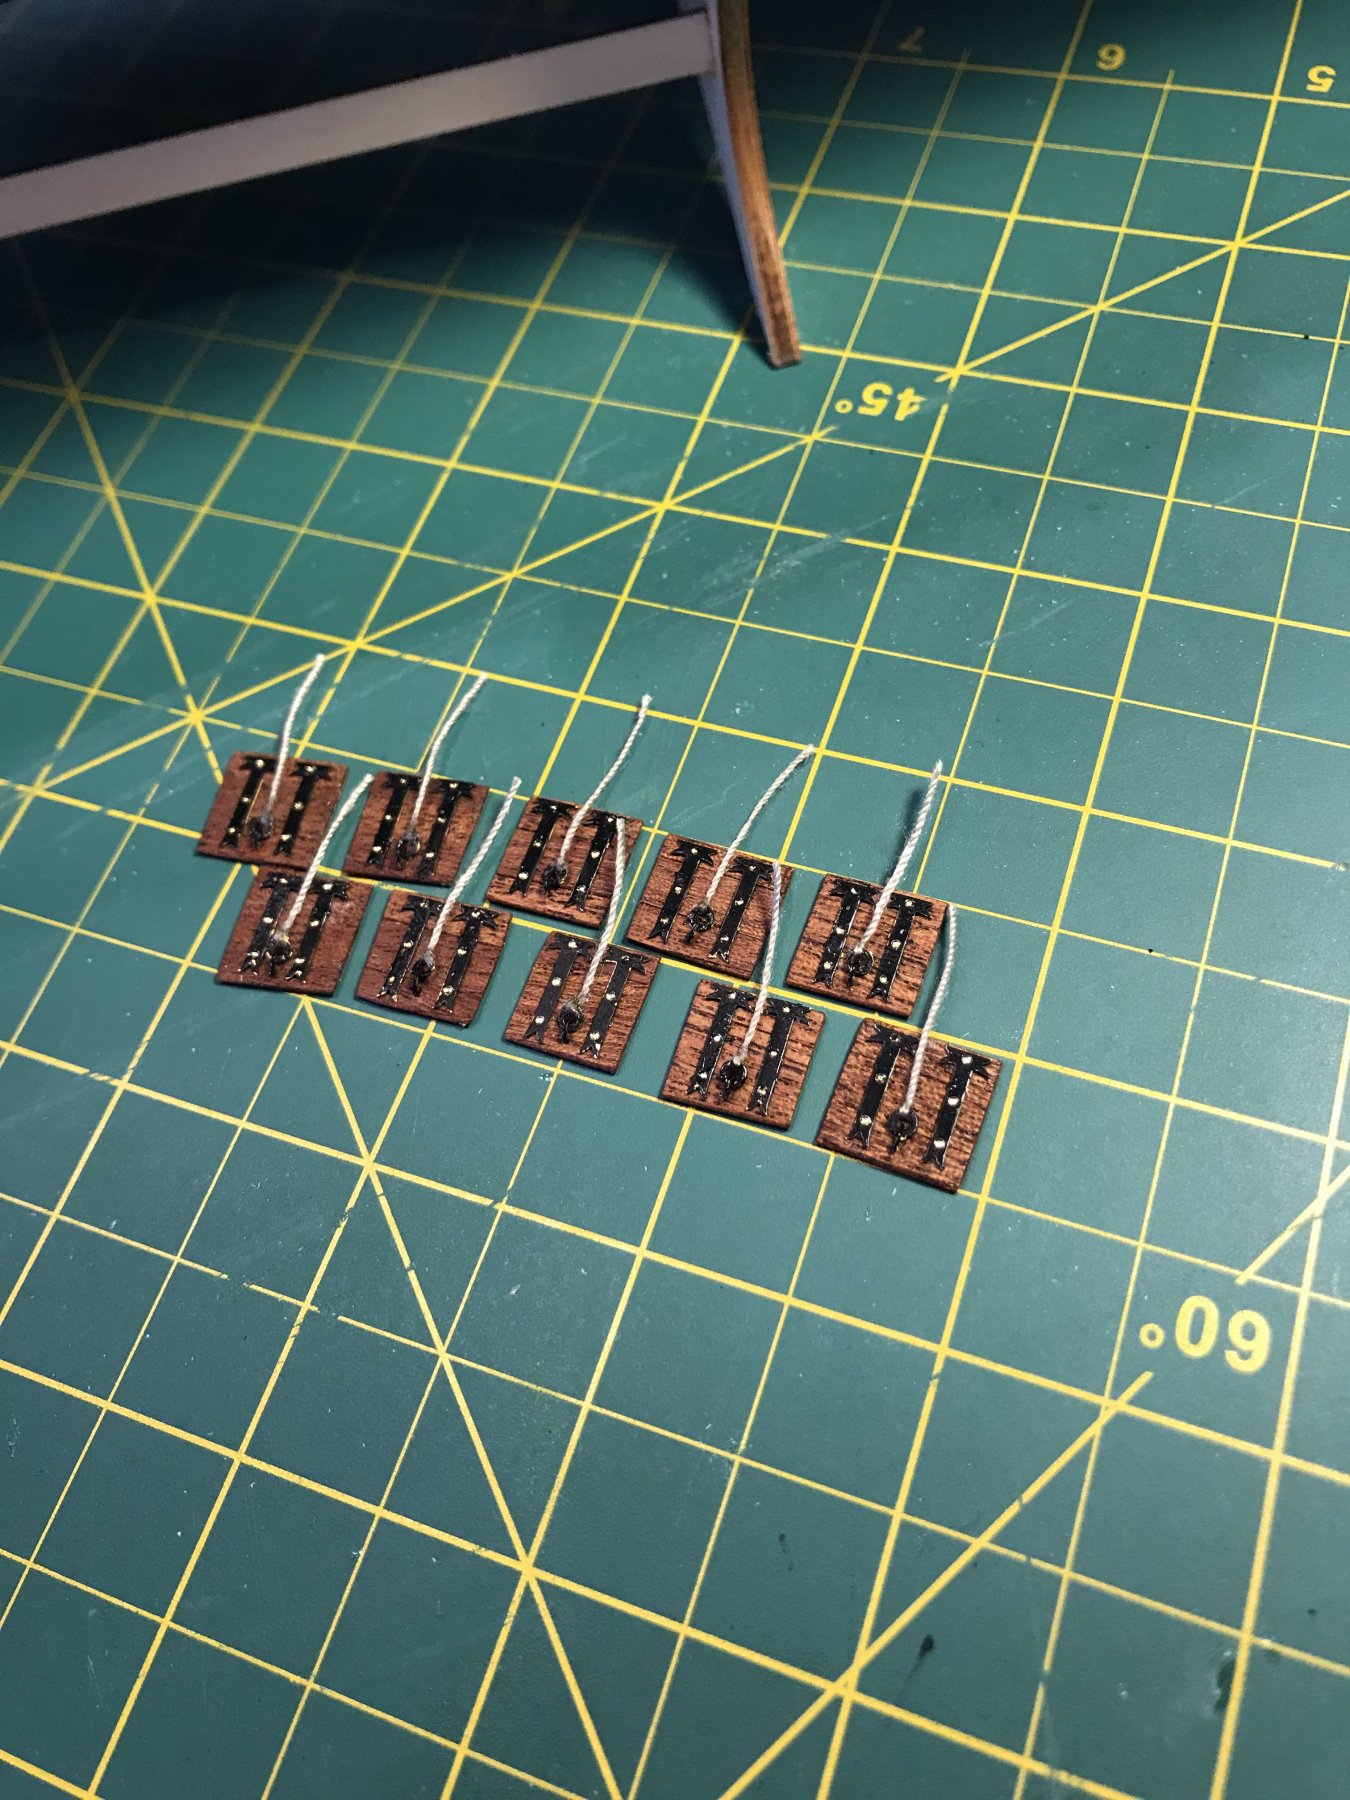
Got to work on the gun ports. The directions say to leave the pre-cut brass pieces as is and paint small black dots to mimic a nail or bolt holding the brackets on but I decided to go the other route. I think they turned out really good.
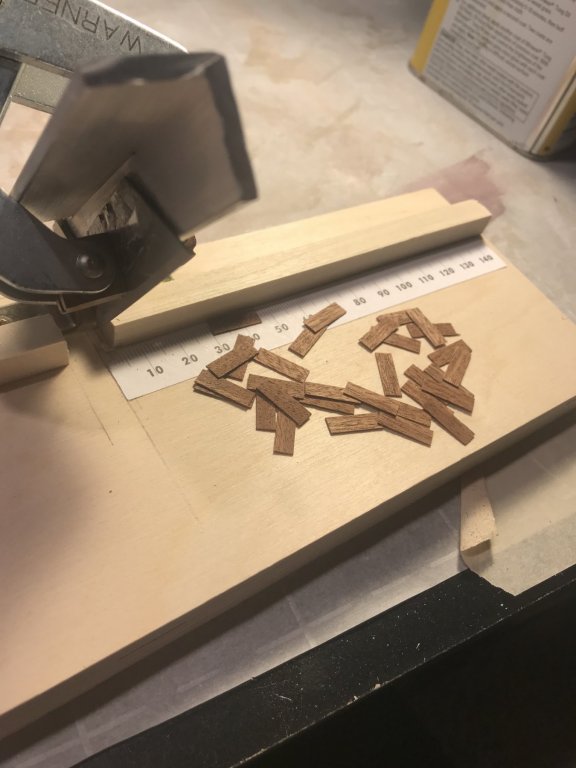
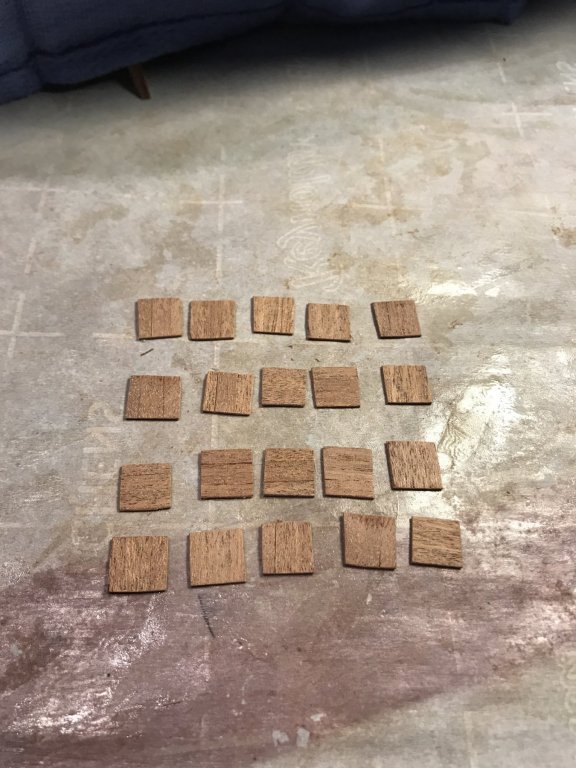
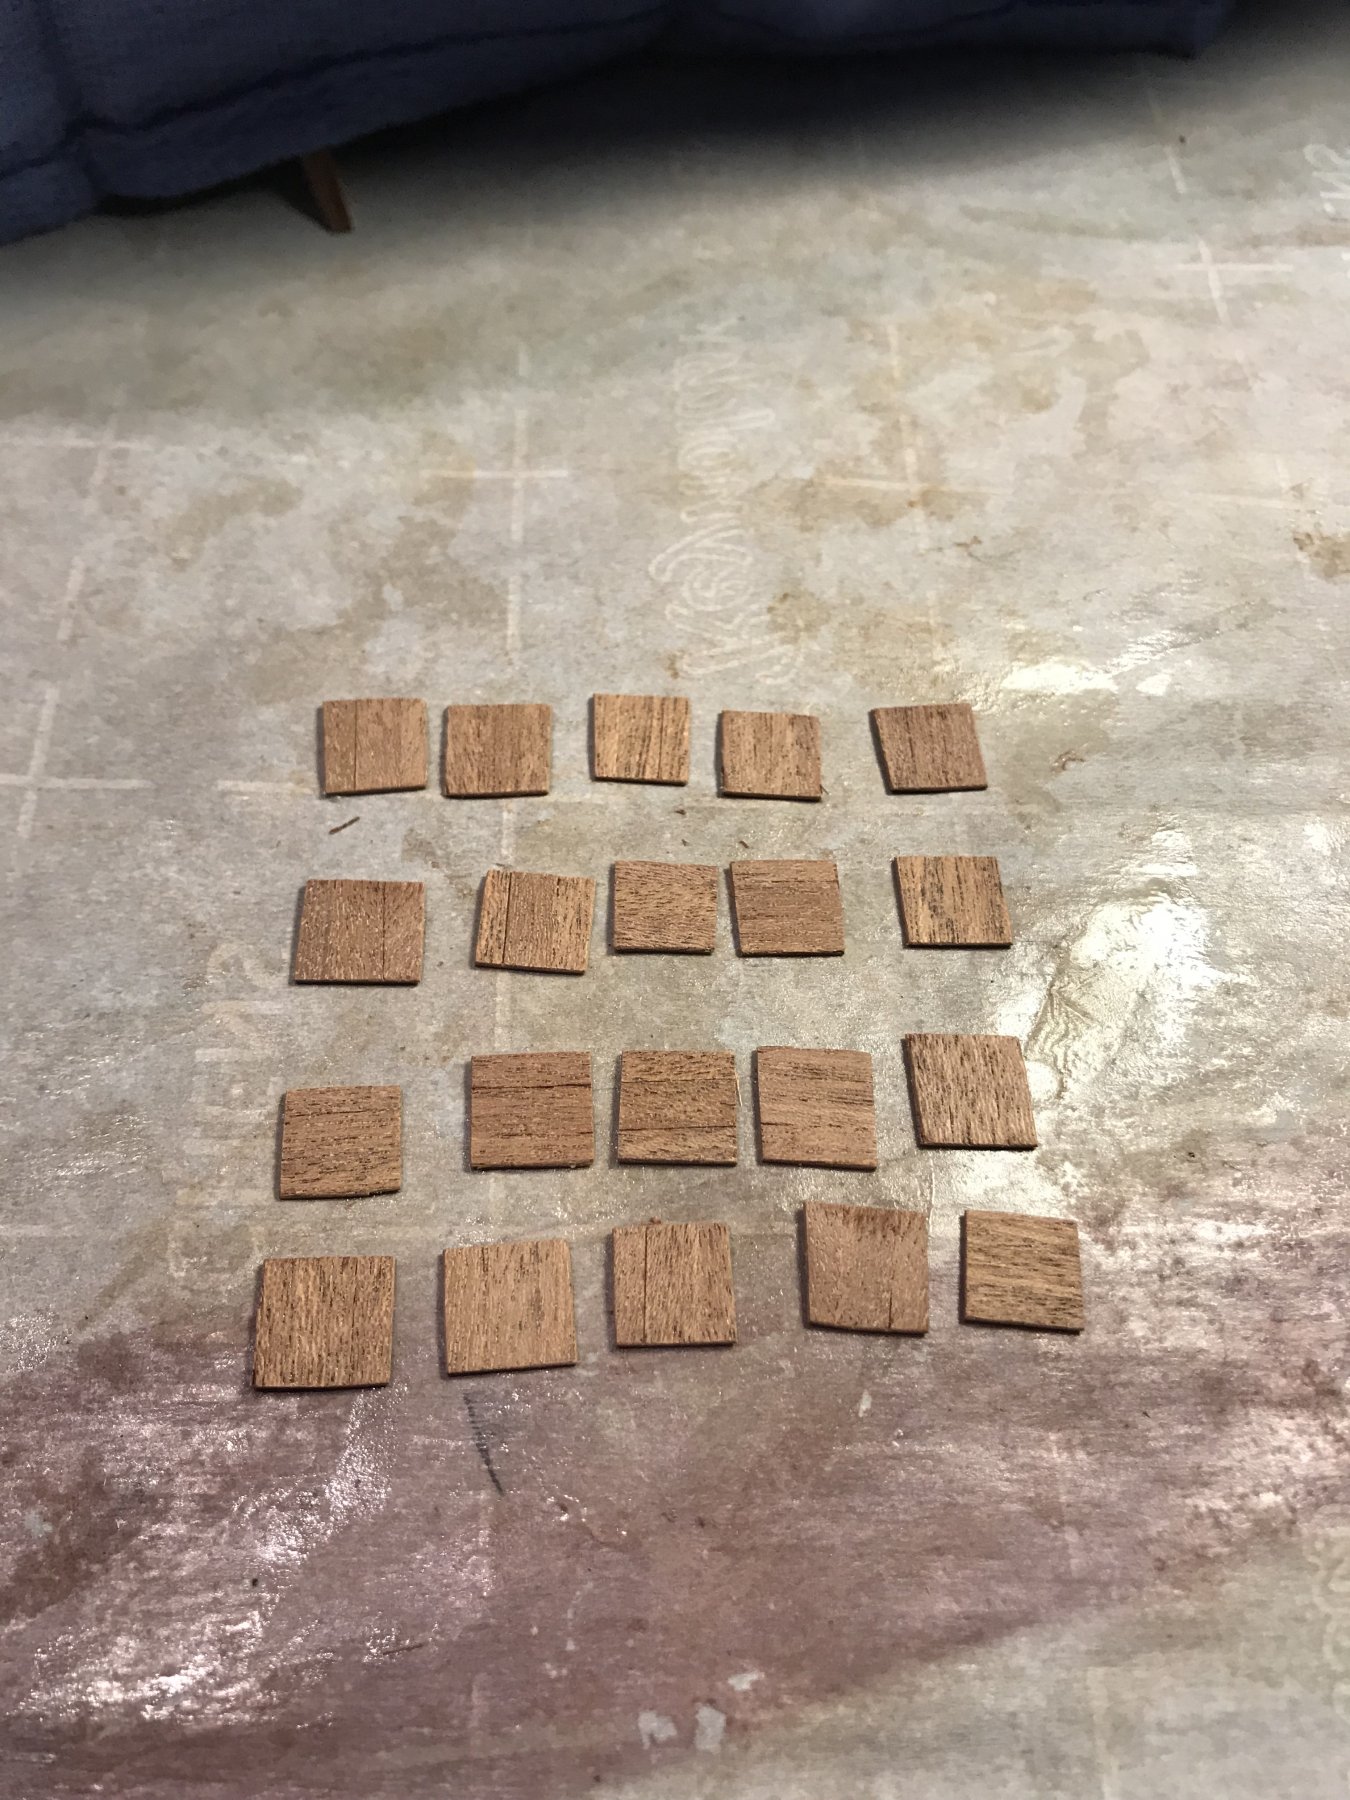
The plank cutting job i made made made this process so simple. For anyone reading, I highly recommend some sort of device like this.
- mtbediz, GrandpaPhil, Osmosis and 1 other
-
4
-
-
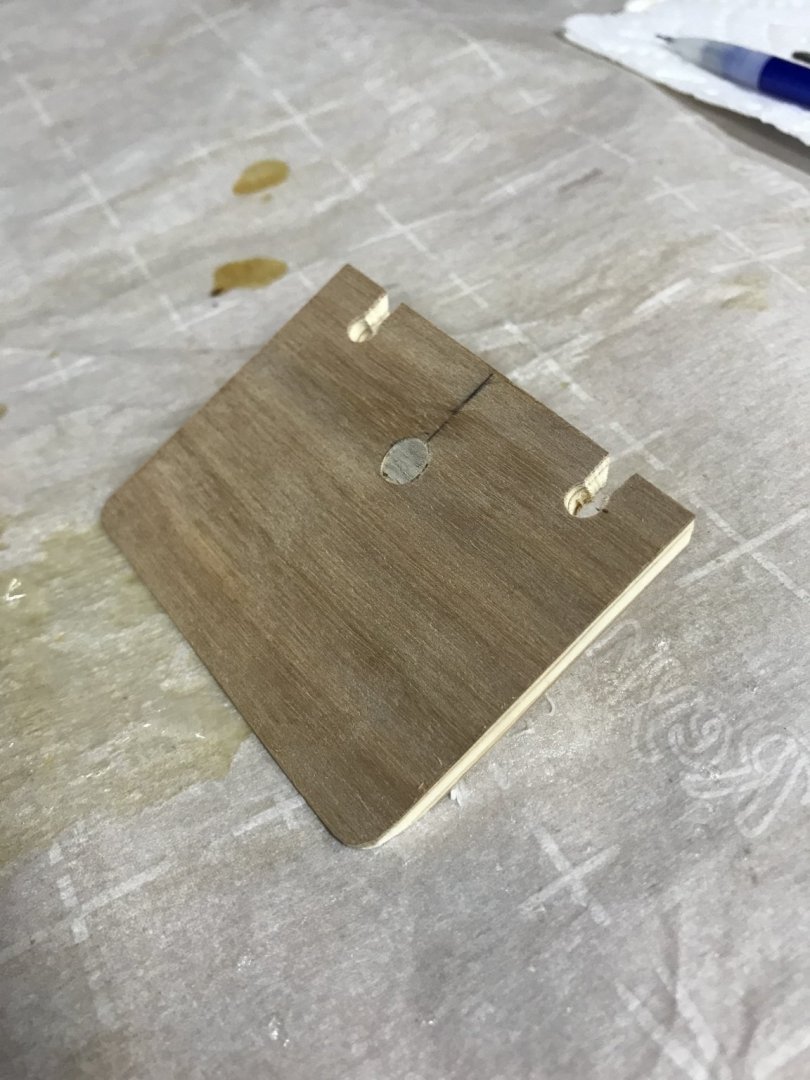
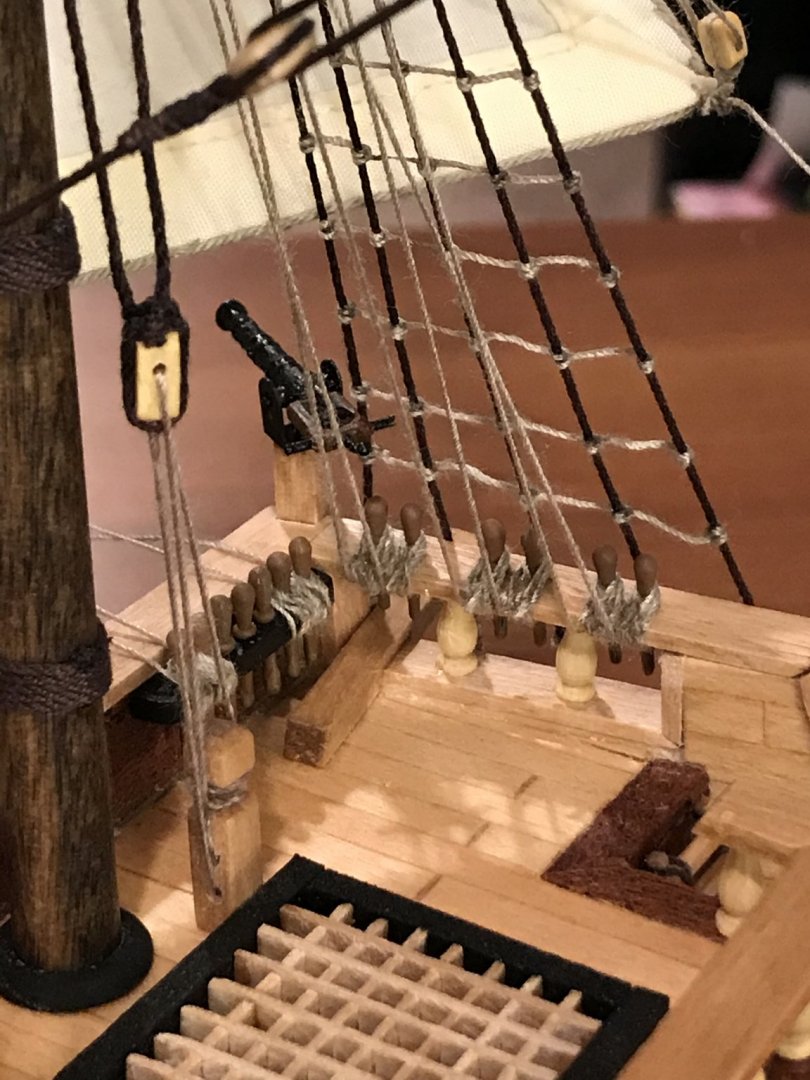
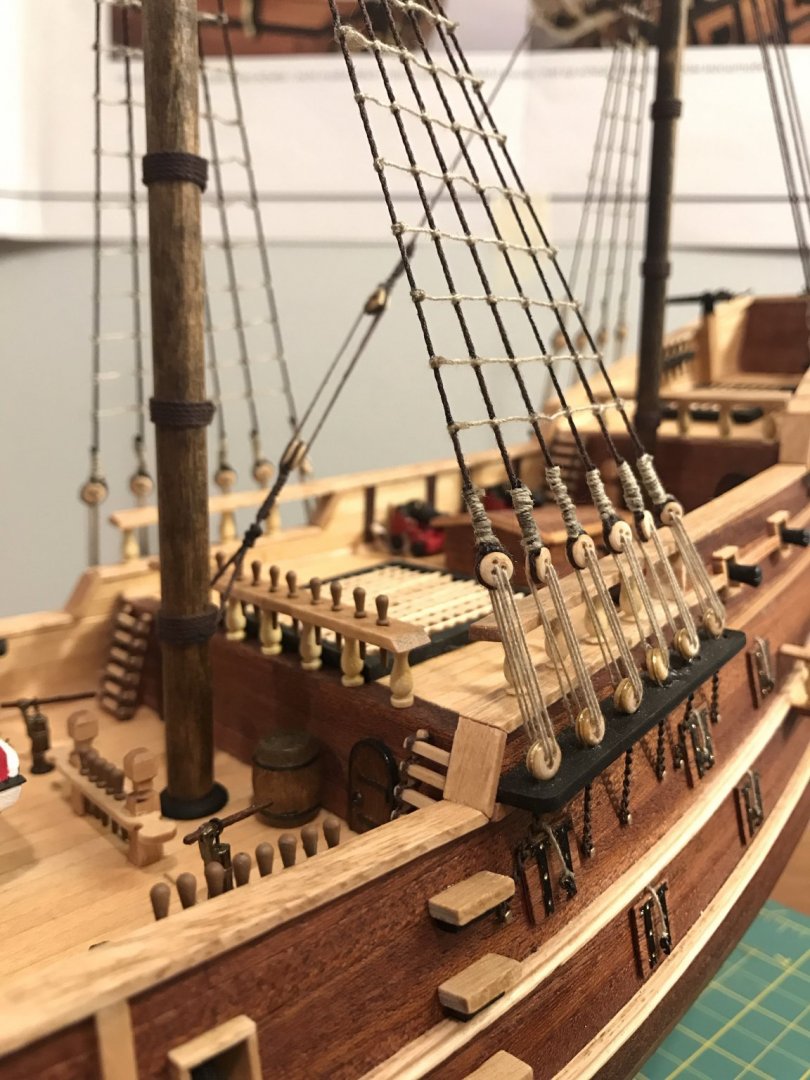
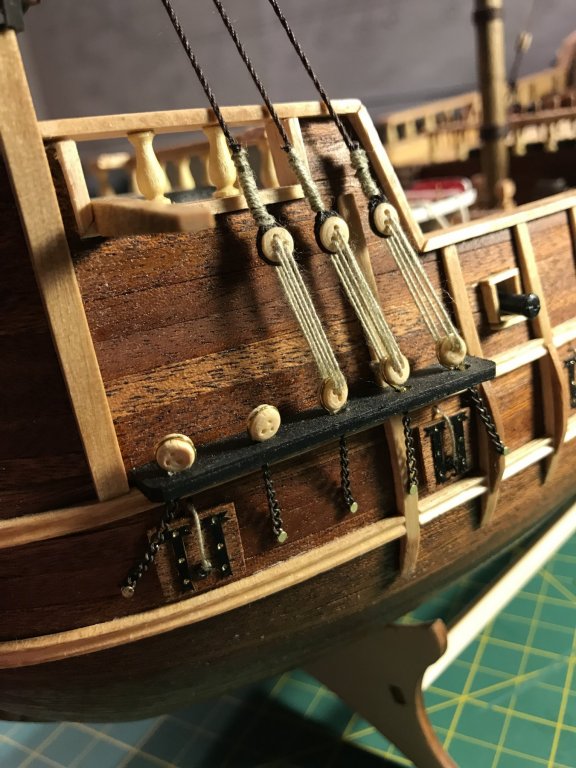
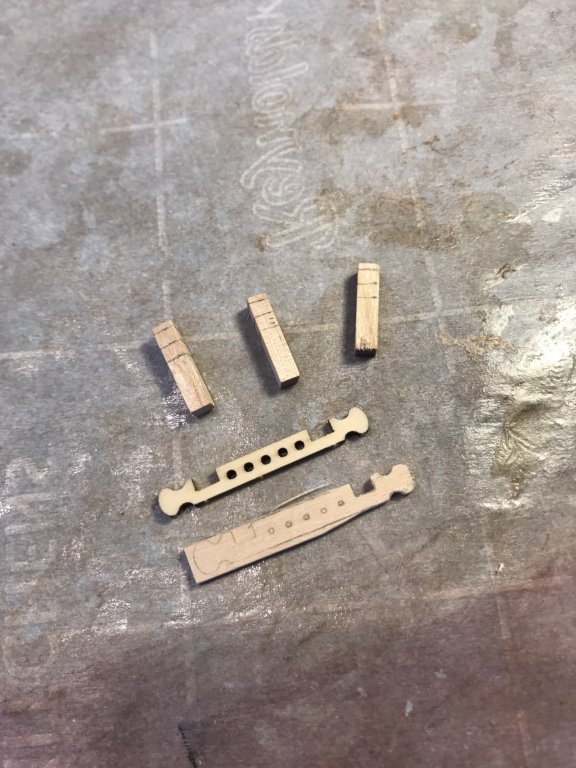
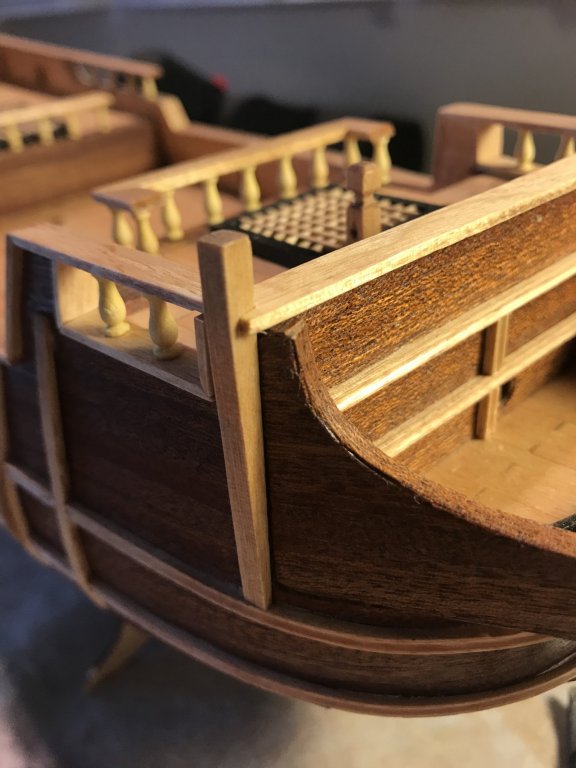
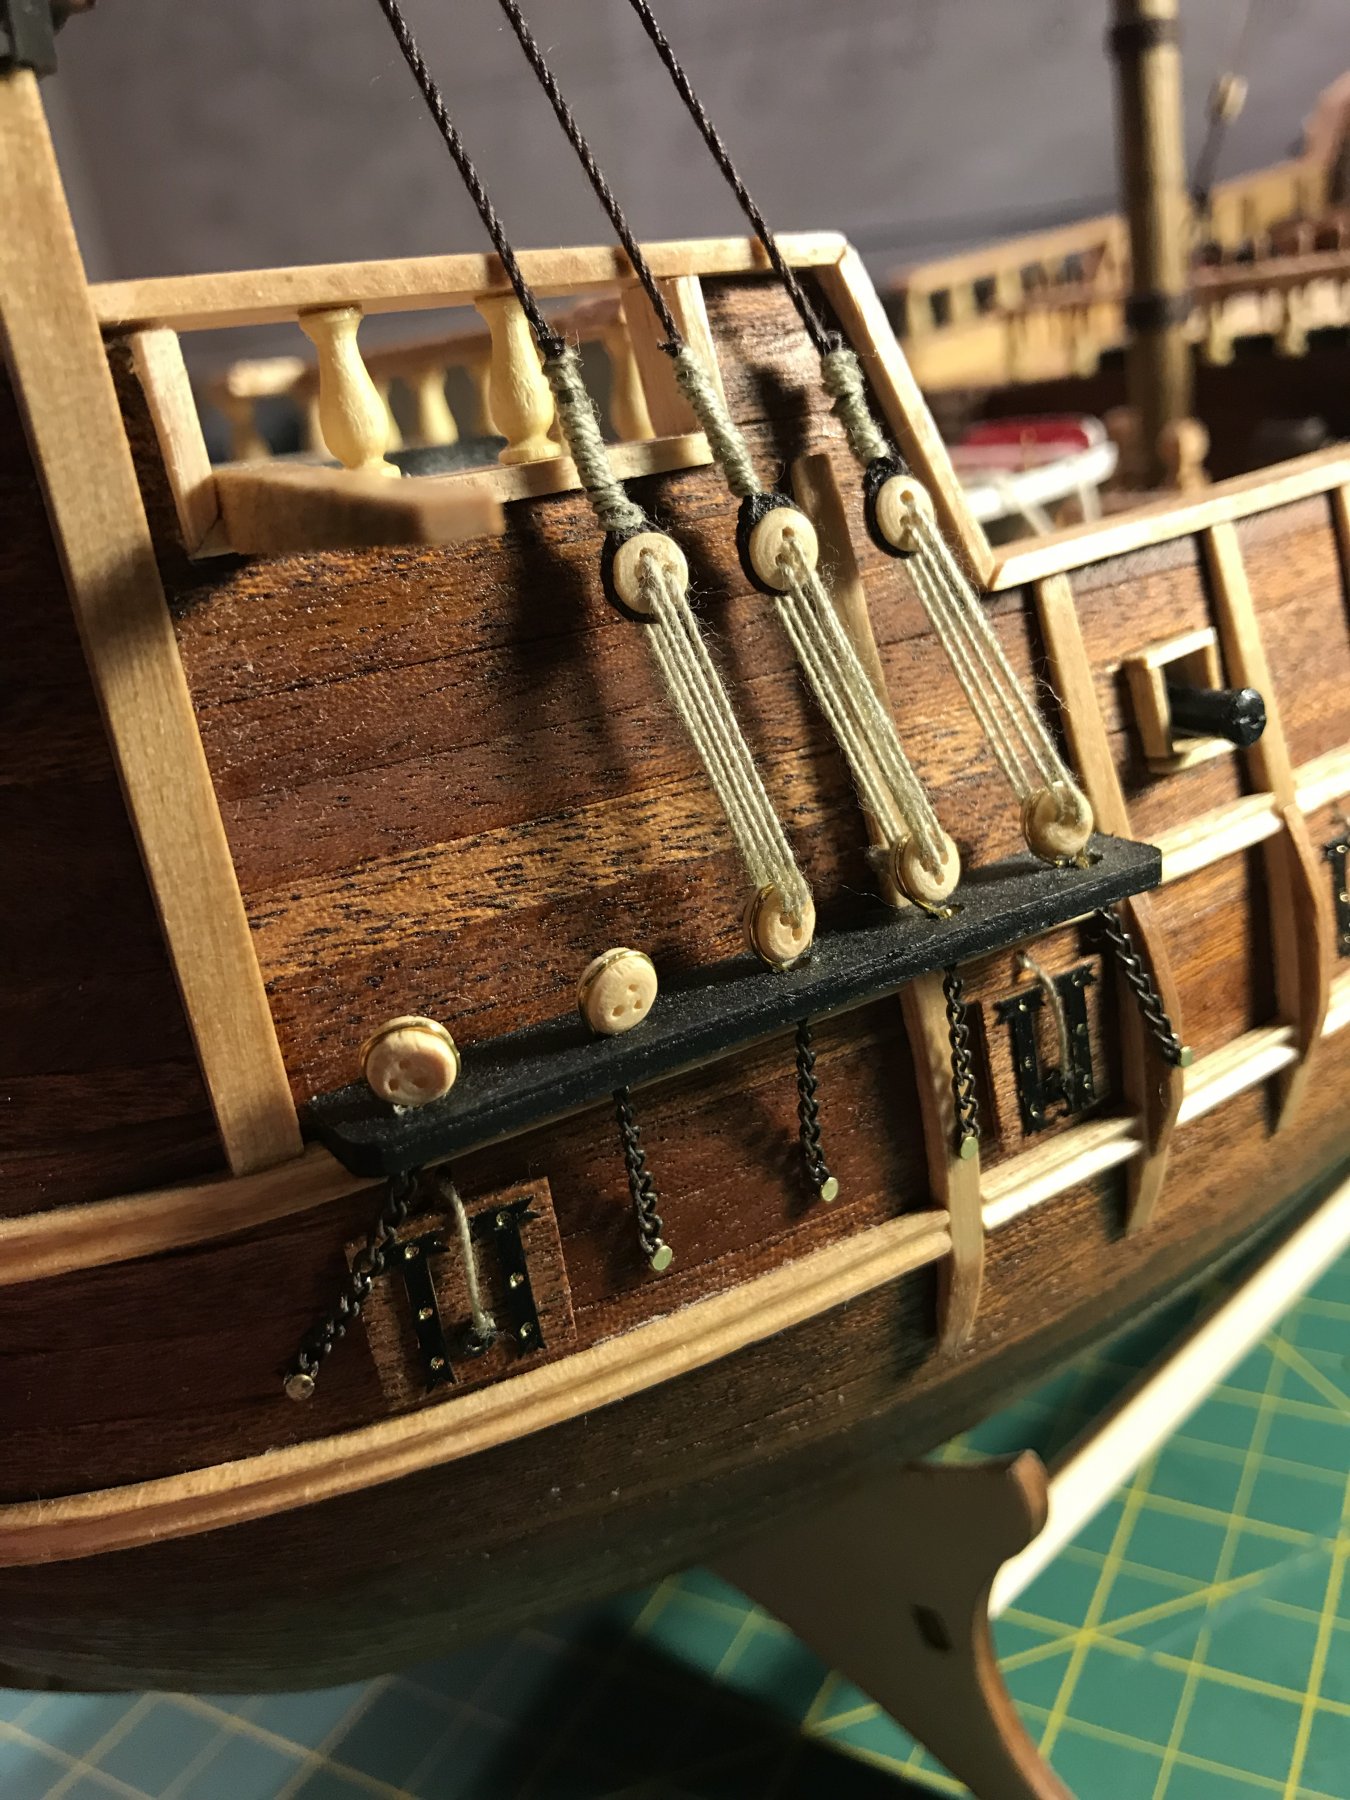
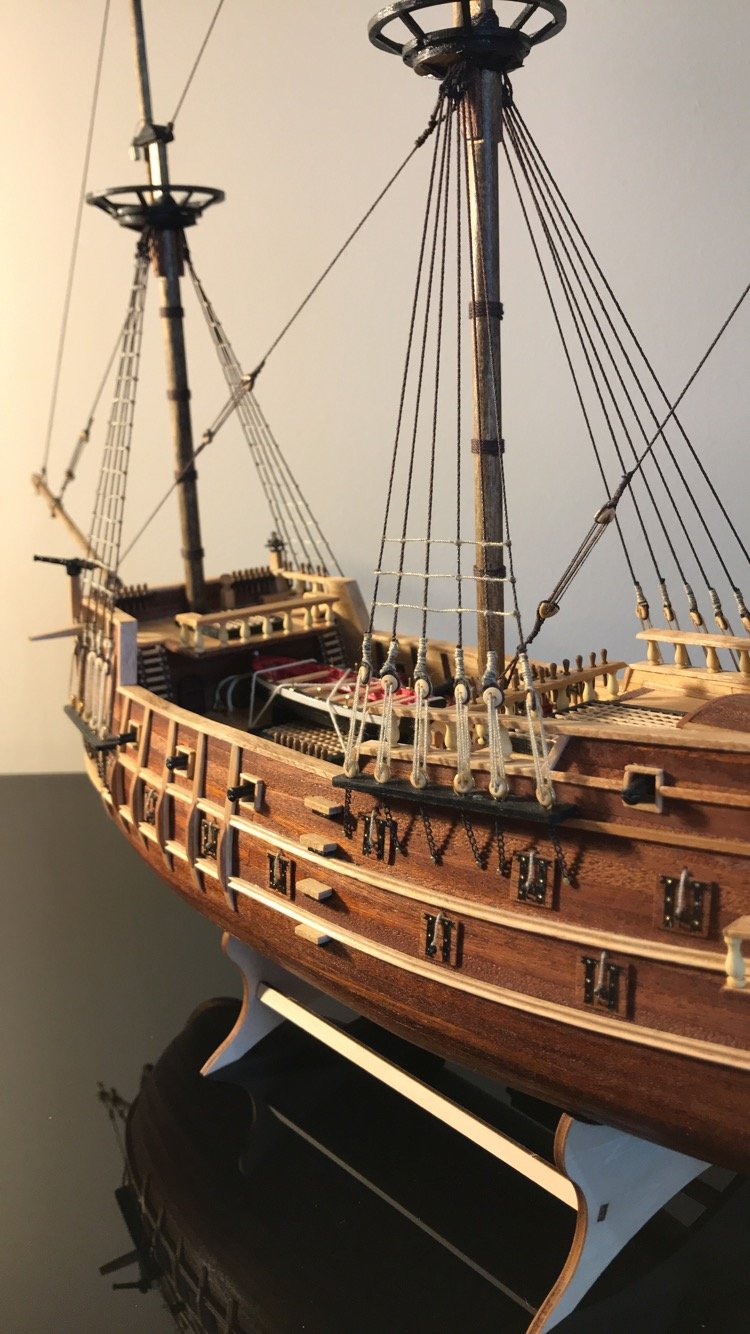
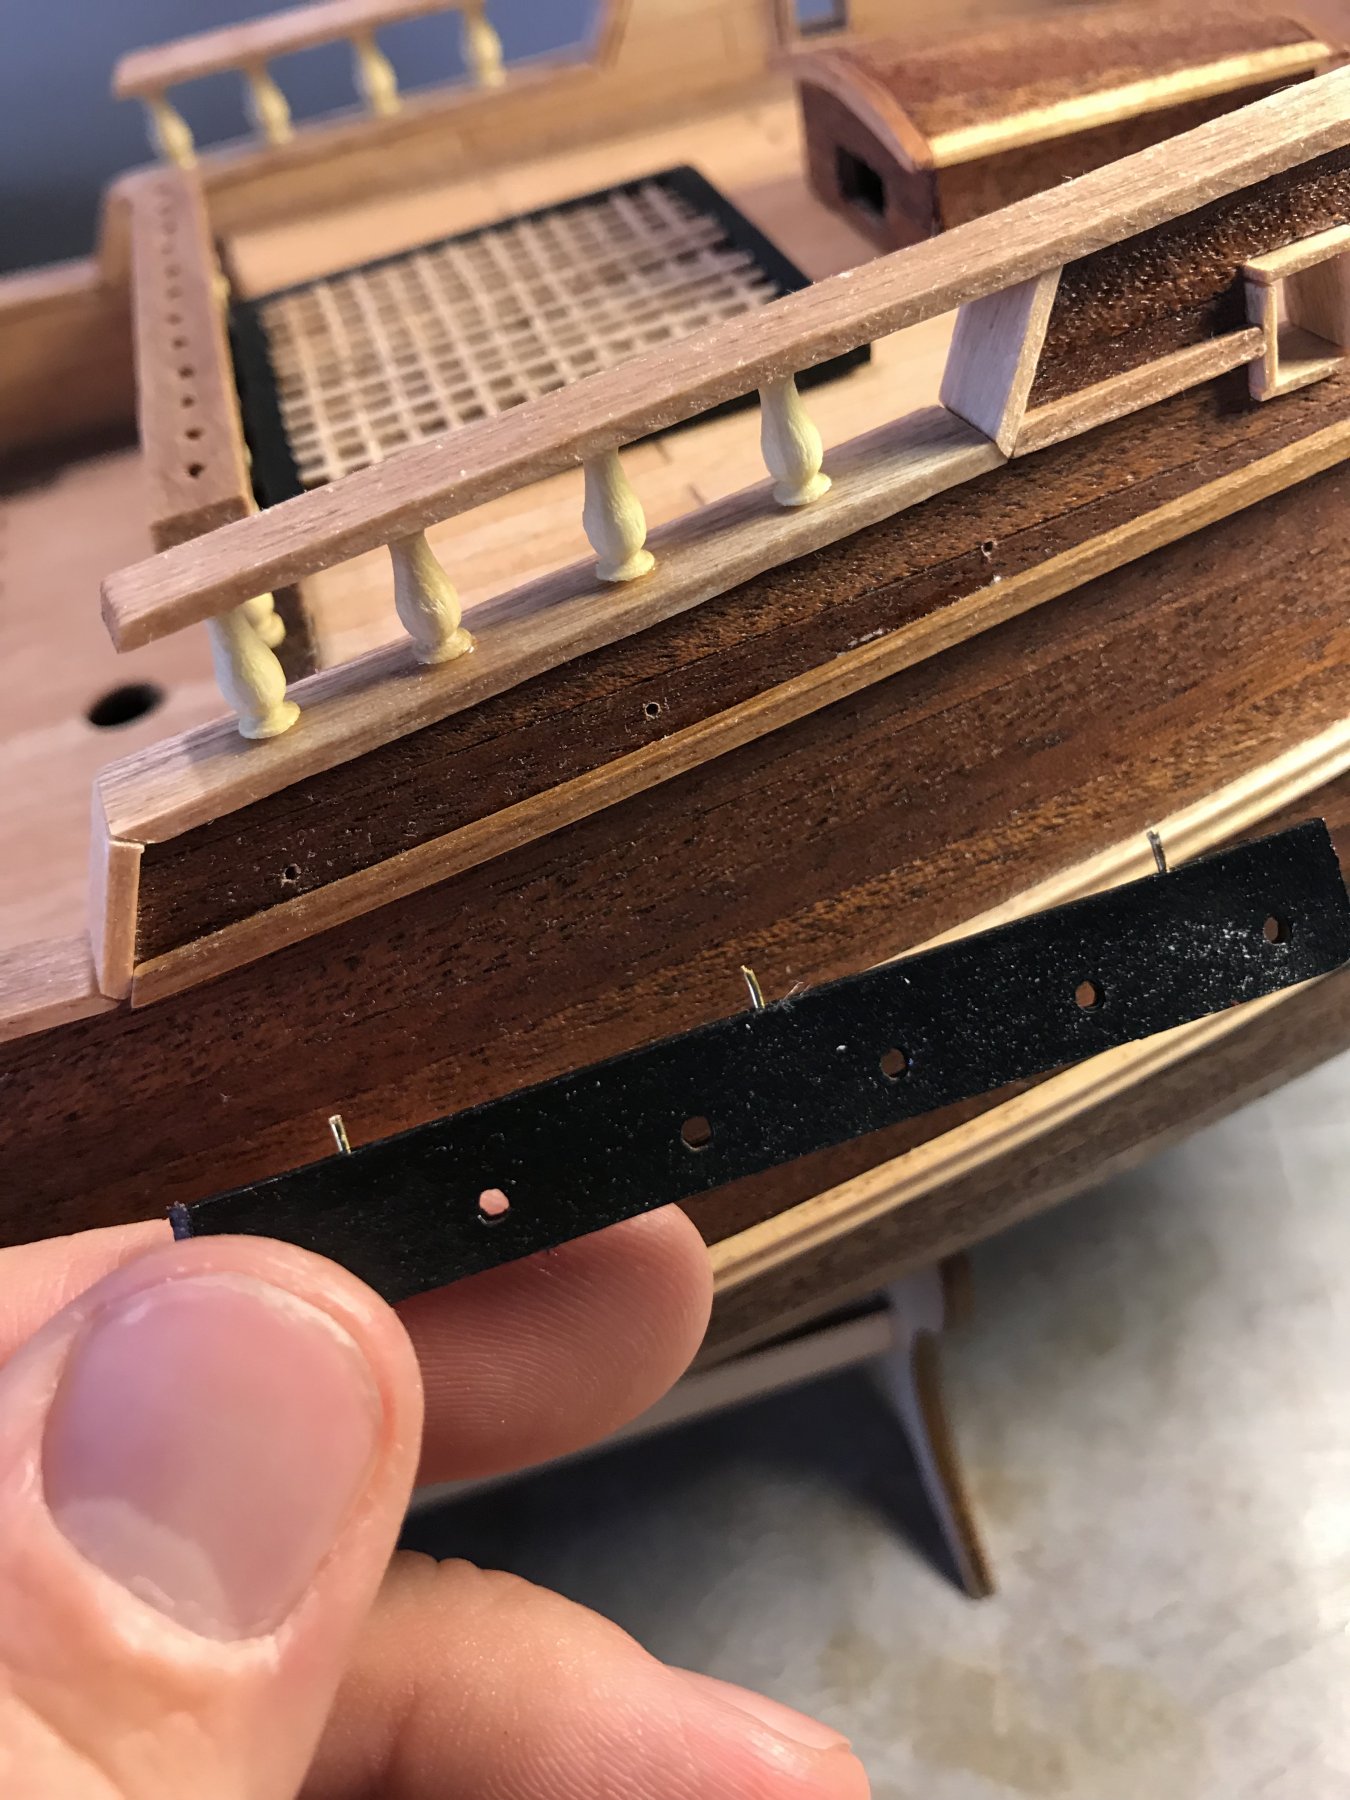
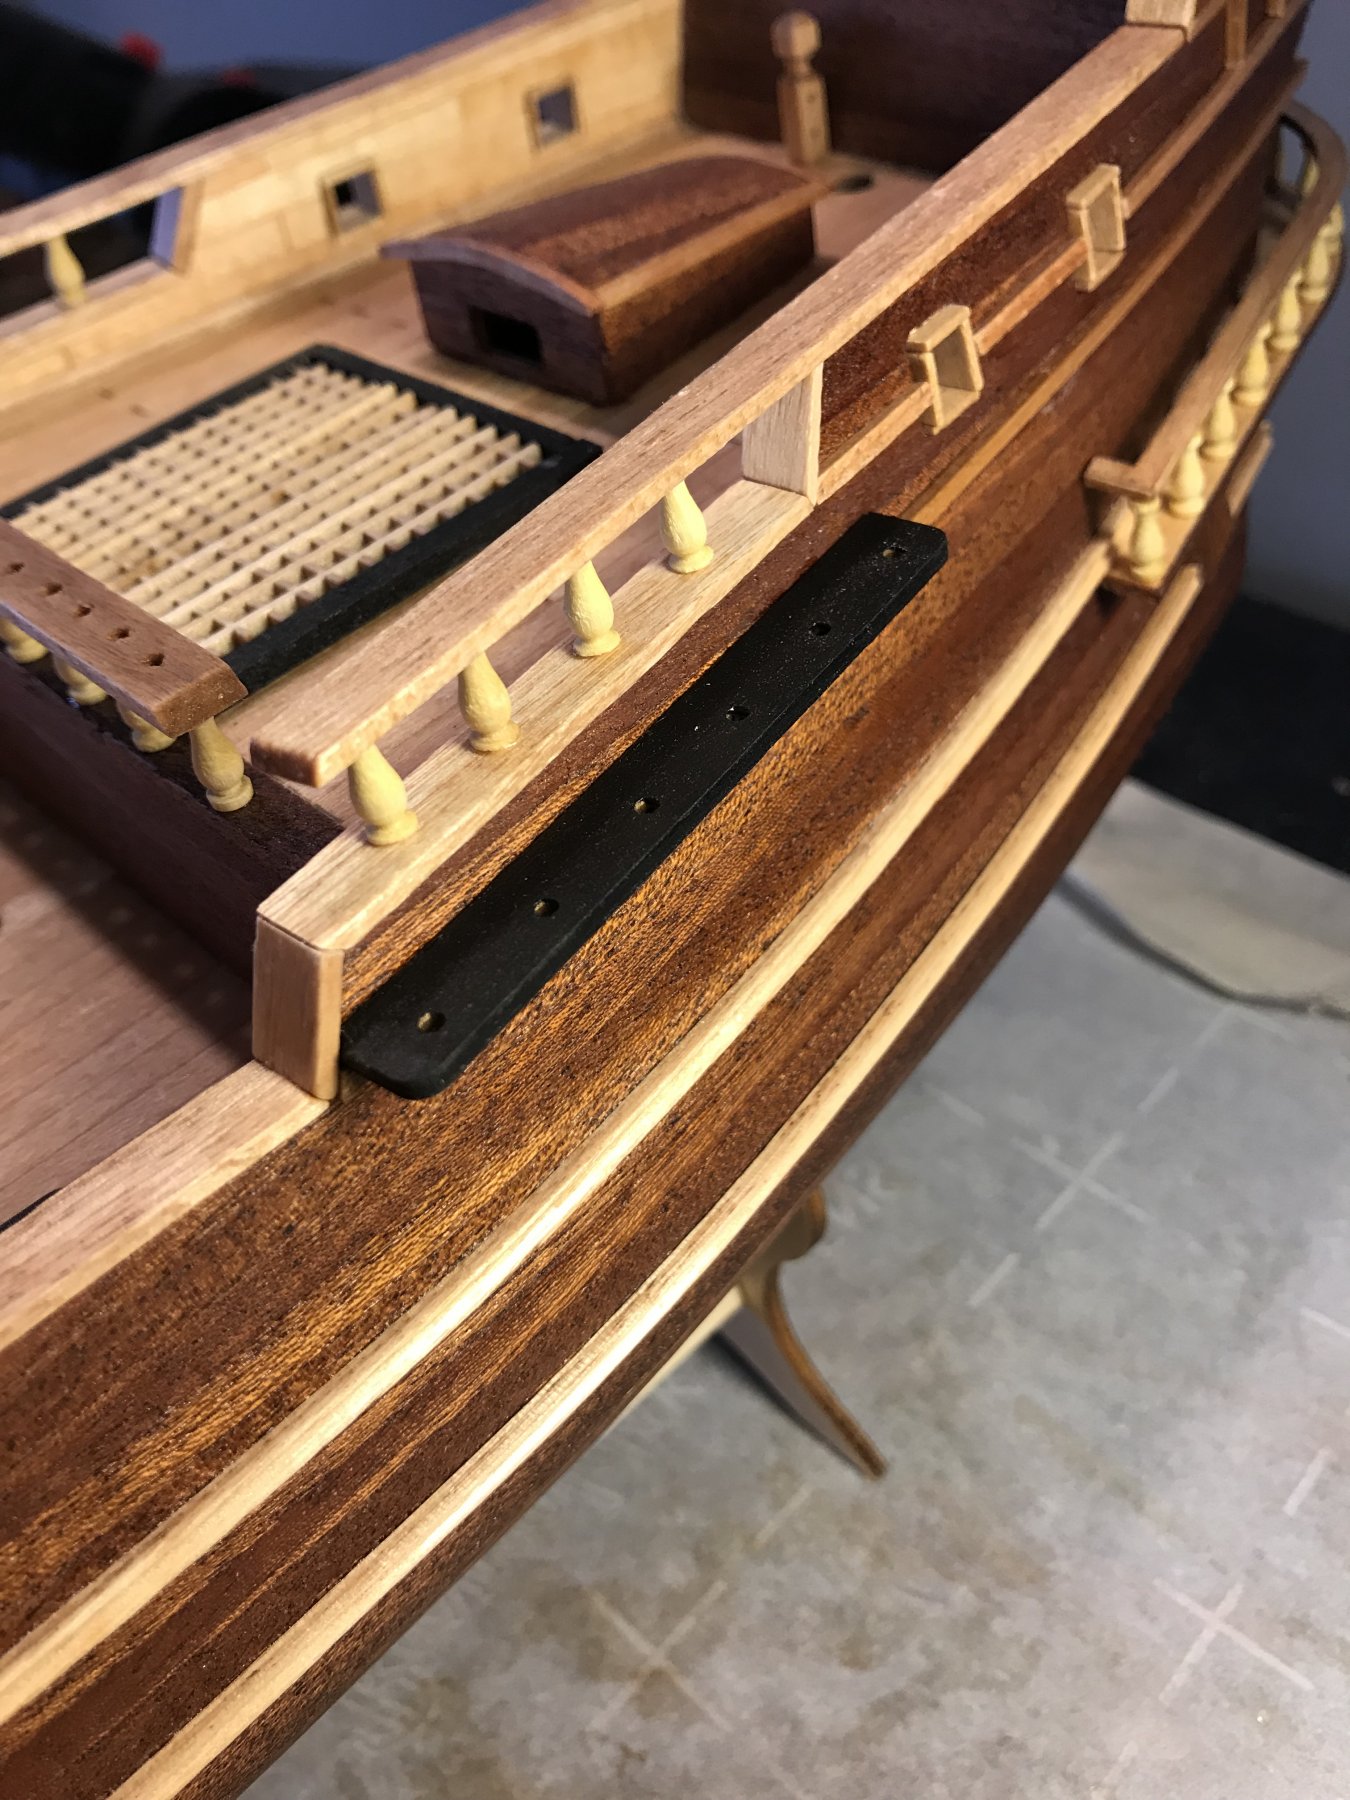
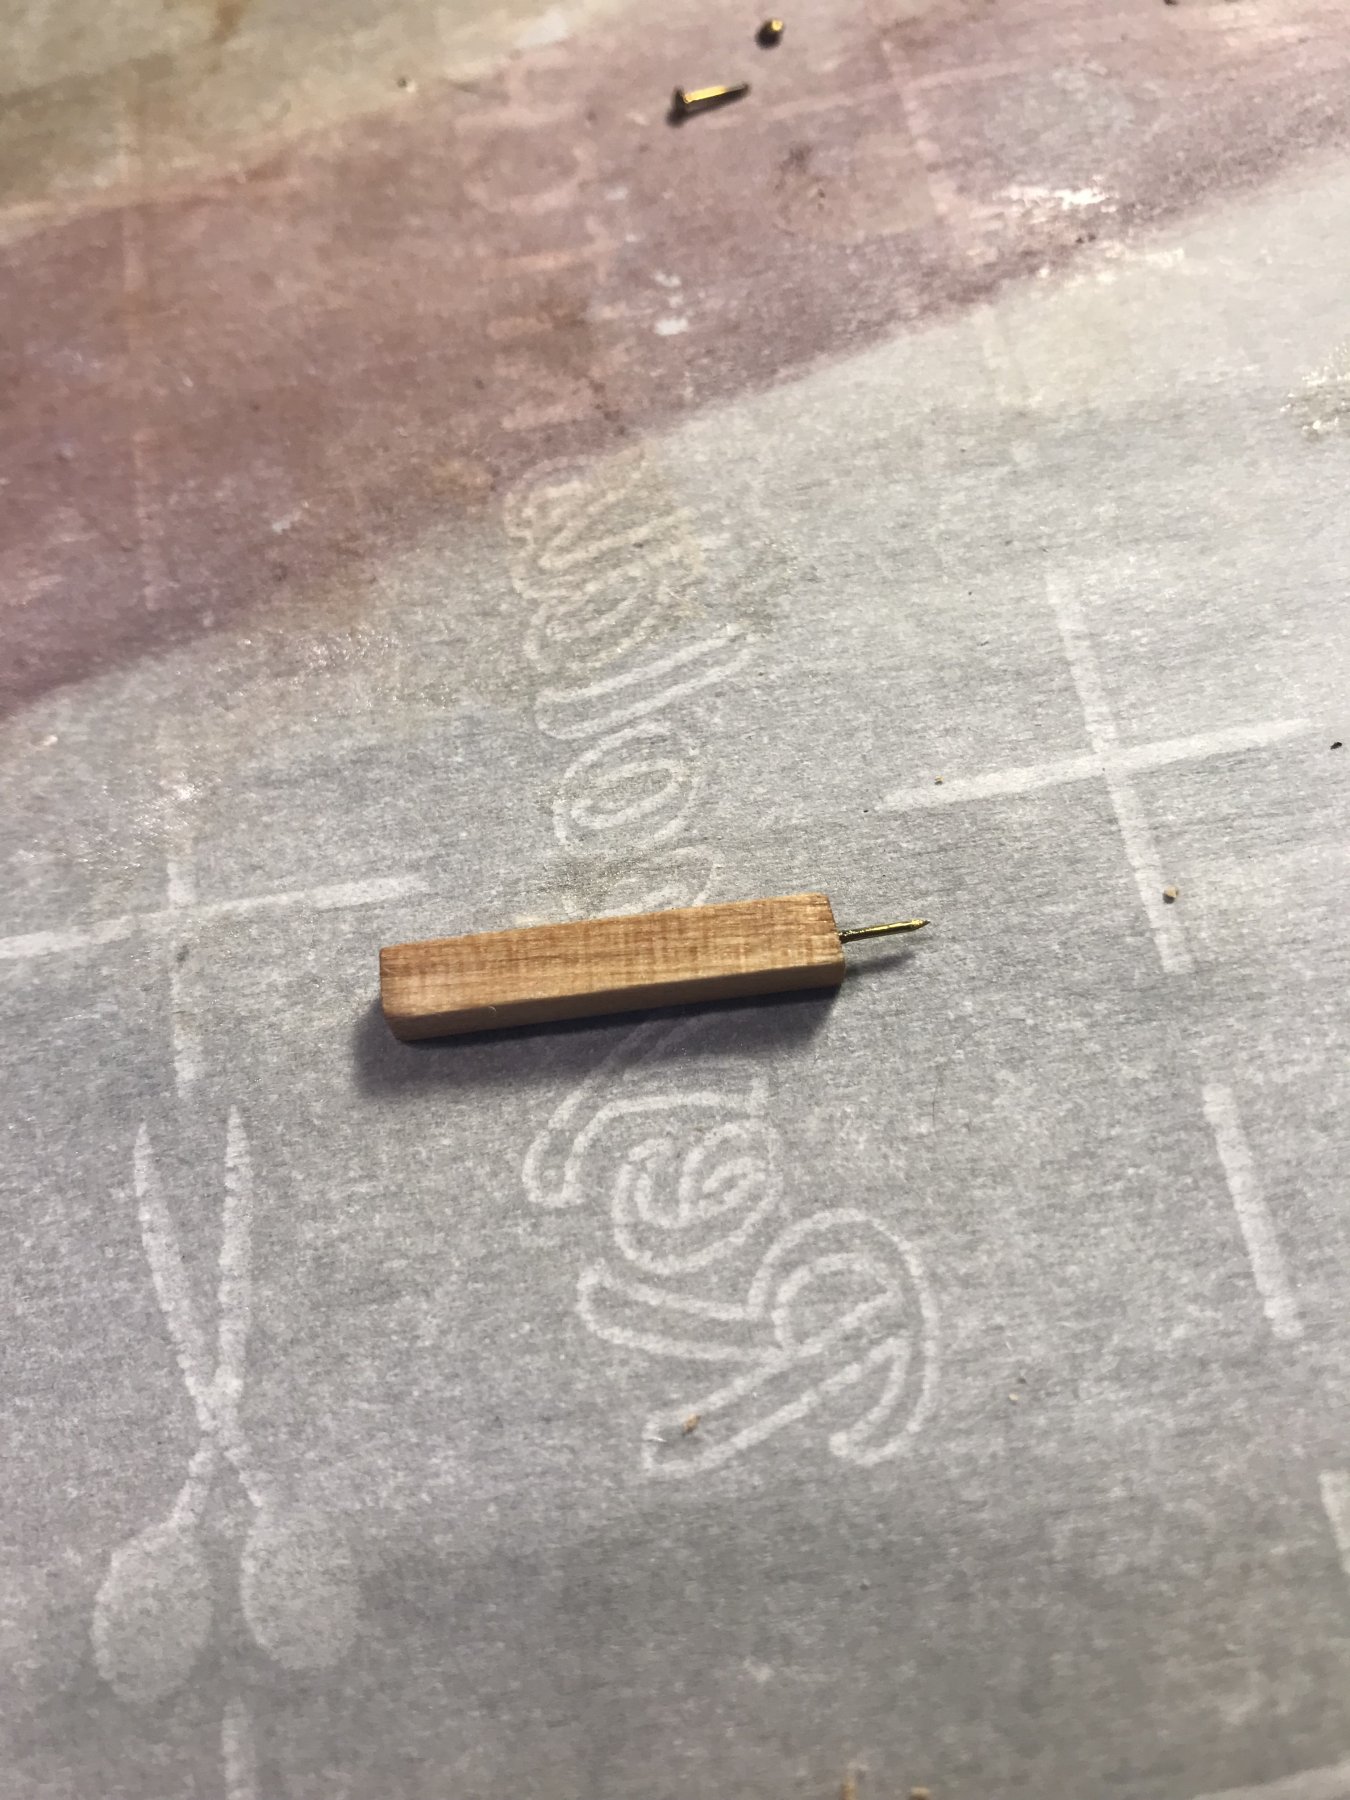
I decided to apply the same reinforcing technique to the channels for the dead eyes, I have 3 brass pins inserted in each one. I forgot which log I got that idea from (one of the many San Francisco’s I’ve browsed) but if you’re reading this, thank you.
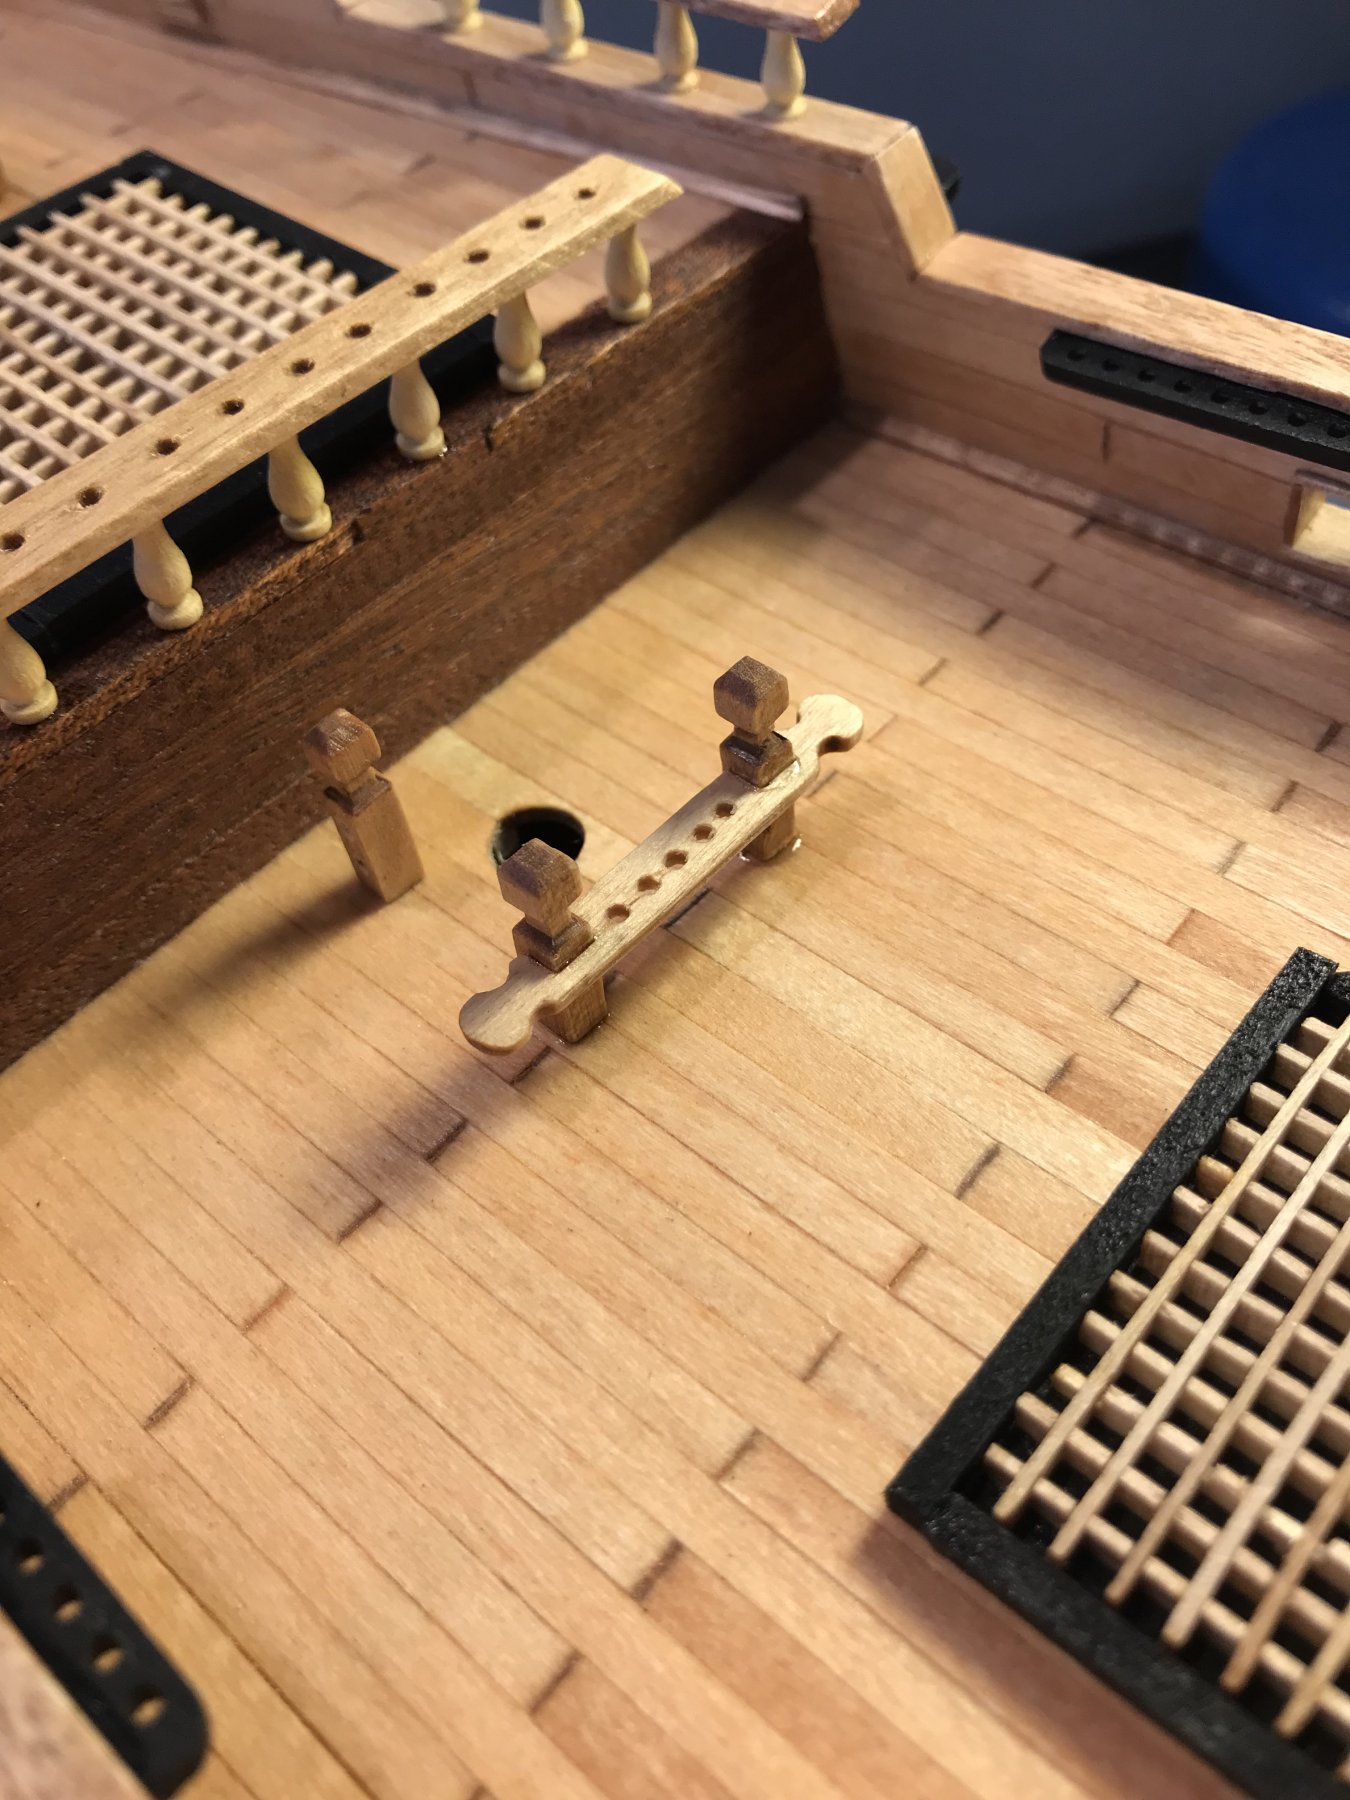
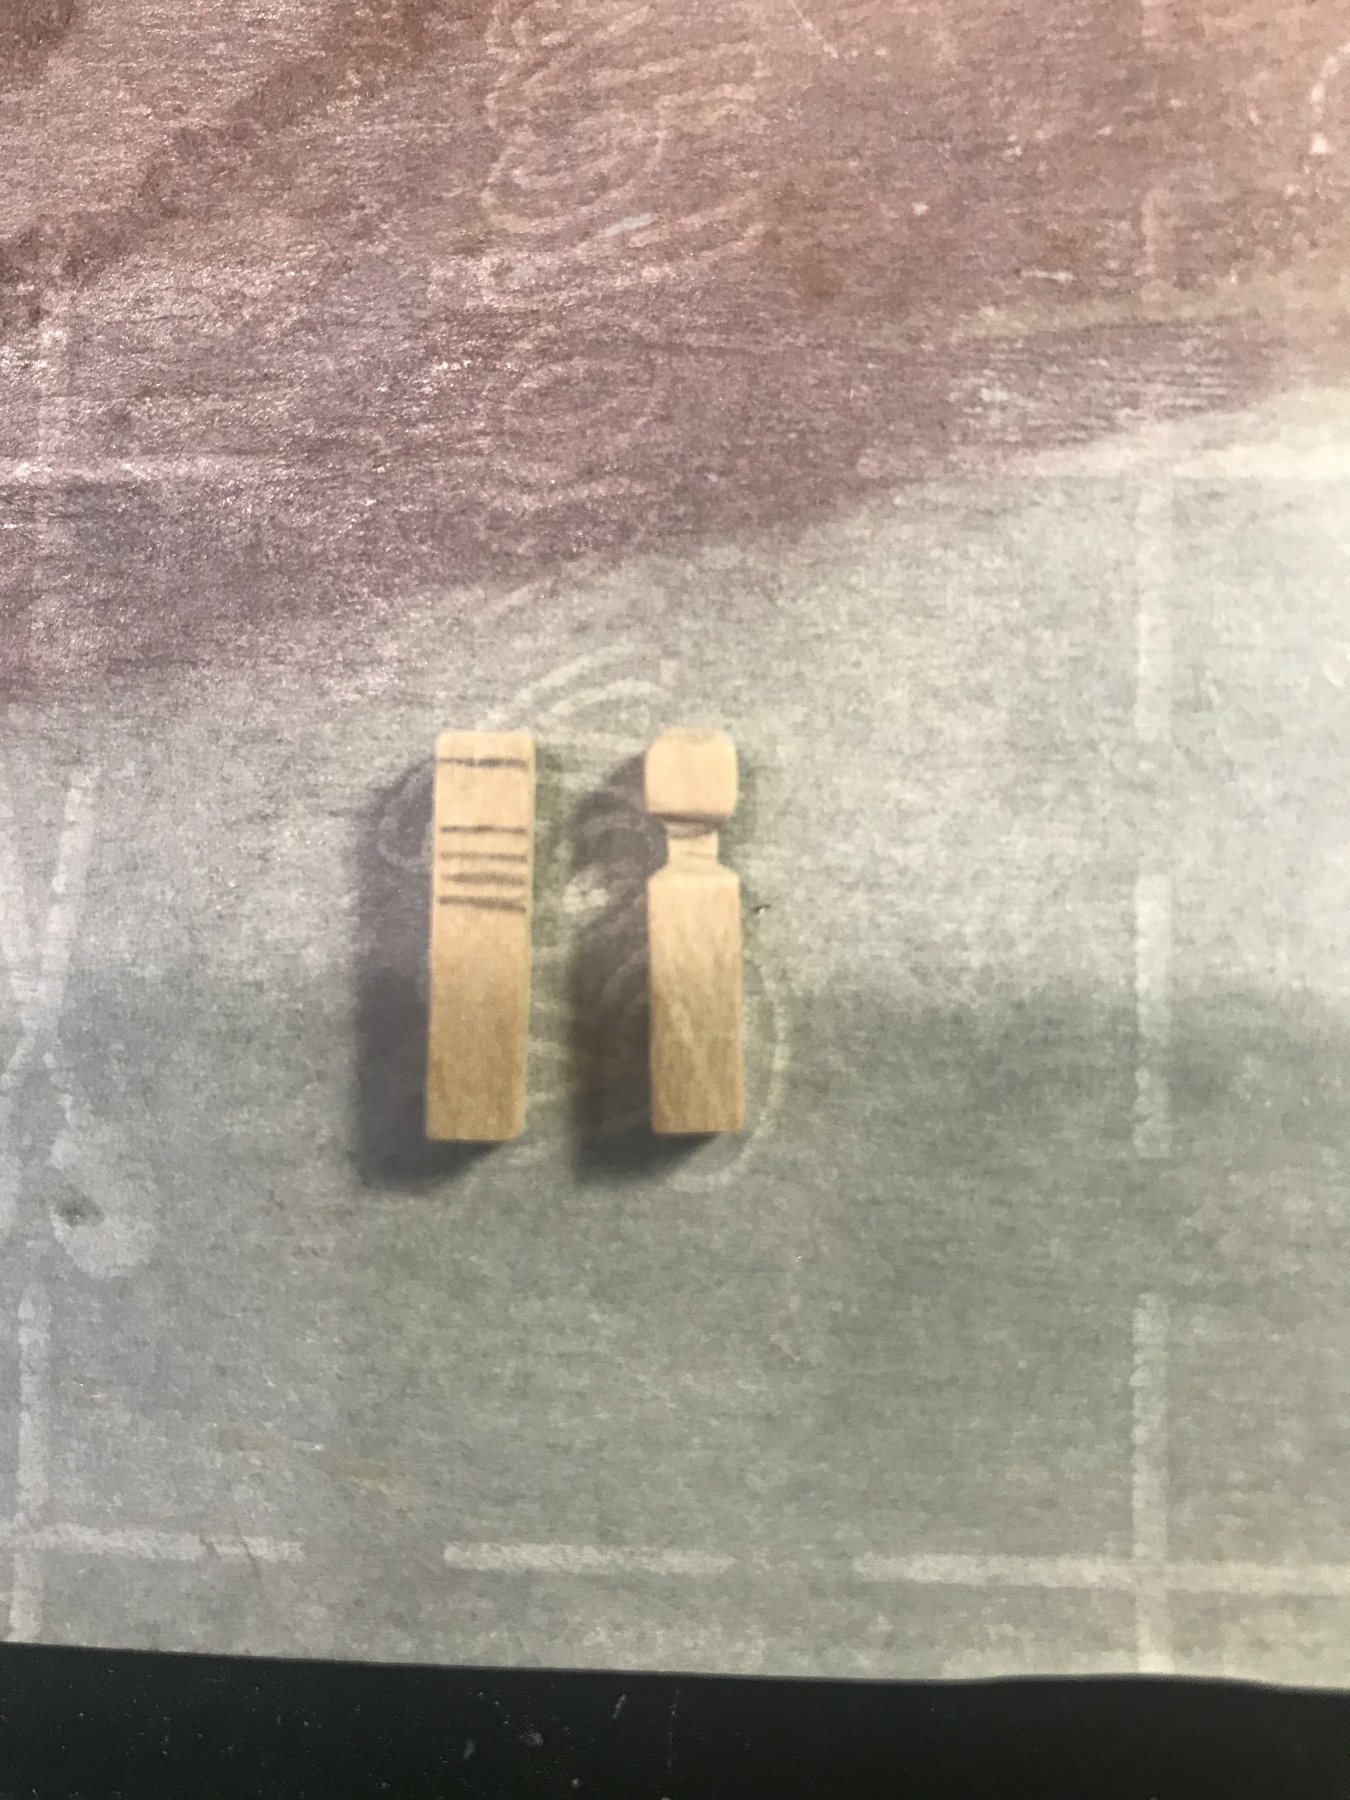
The holder for the belaying pins came with a laser cut piece, but as with the railings it was rather flimsy and didn’t hold varnish at all so I made my own using a small dremel bit.
It is really coming along, I cannot wait to start rigging.


- Osmosis and GrandpaPhil
-
2
-
My goal is to finish this by the end of May before I start up a new residency. I am moving right along now so I think that should be doable.
Just starting to poece the deck together, like the railings, anything that is glued to the deck and will have rigging tied to it/under tension will be getting reinforced with a small brass nail and extra glue.


-
Welcome newbee,
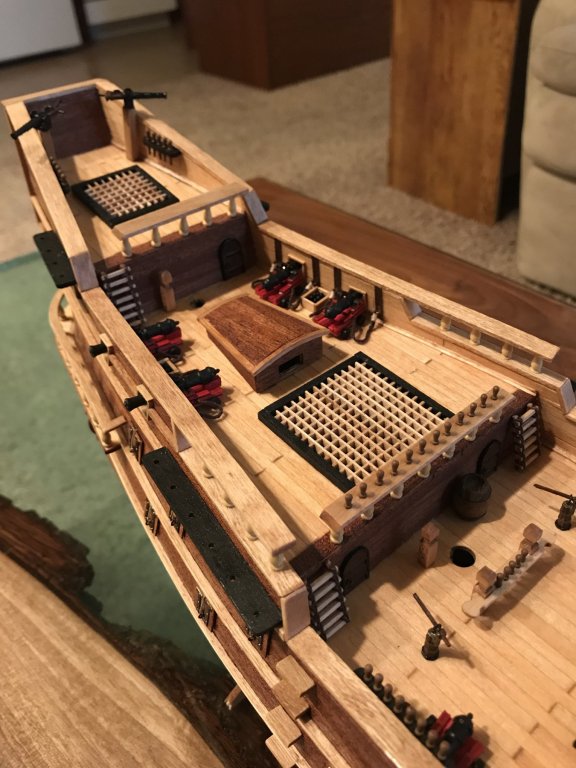
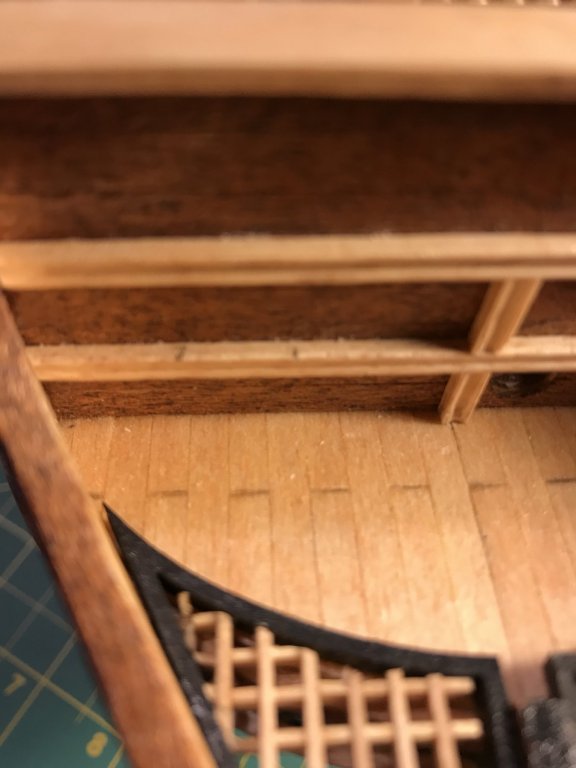
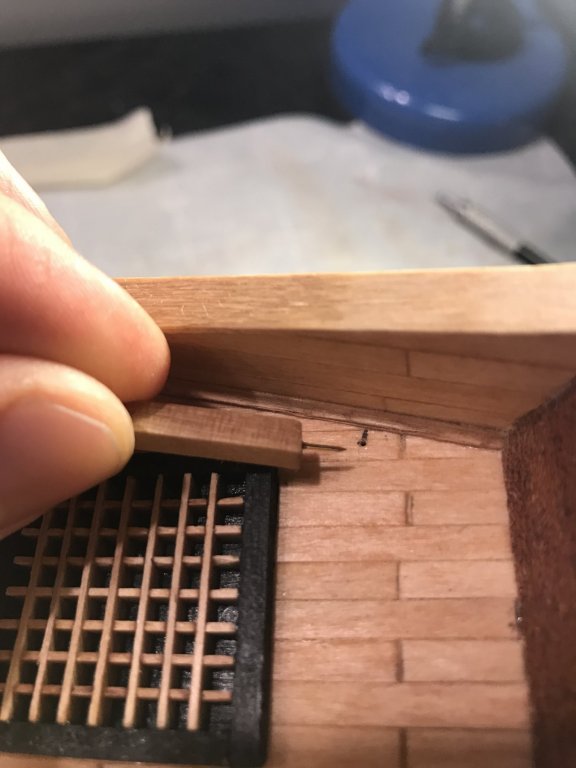
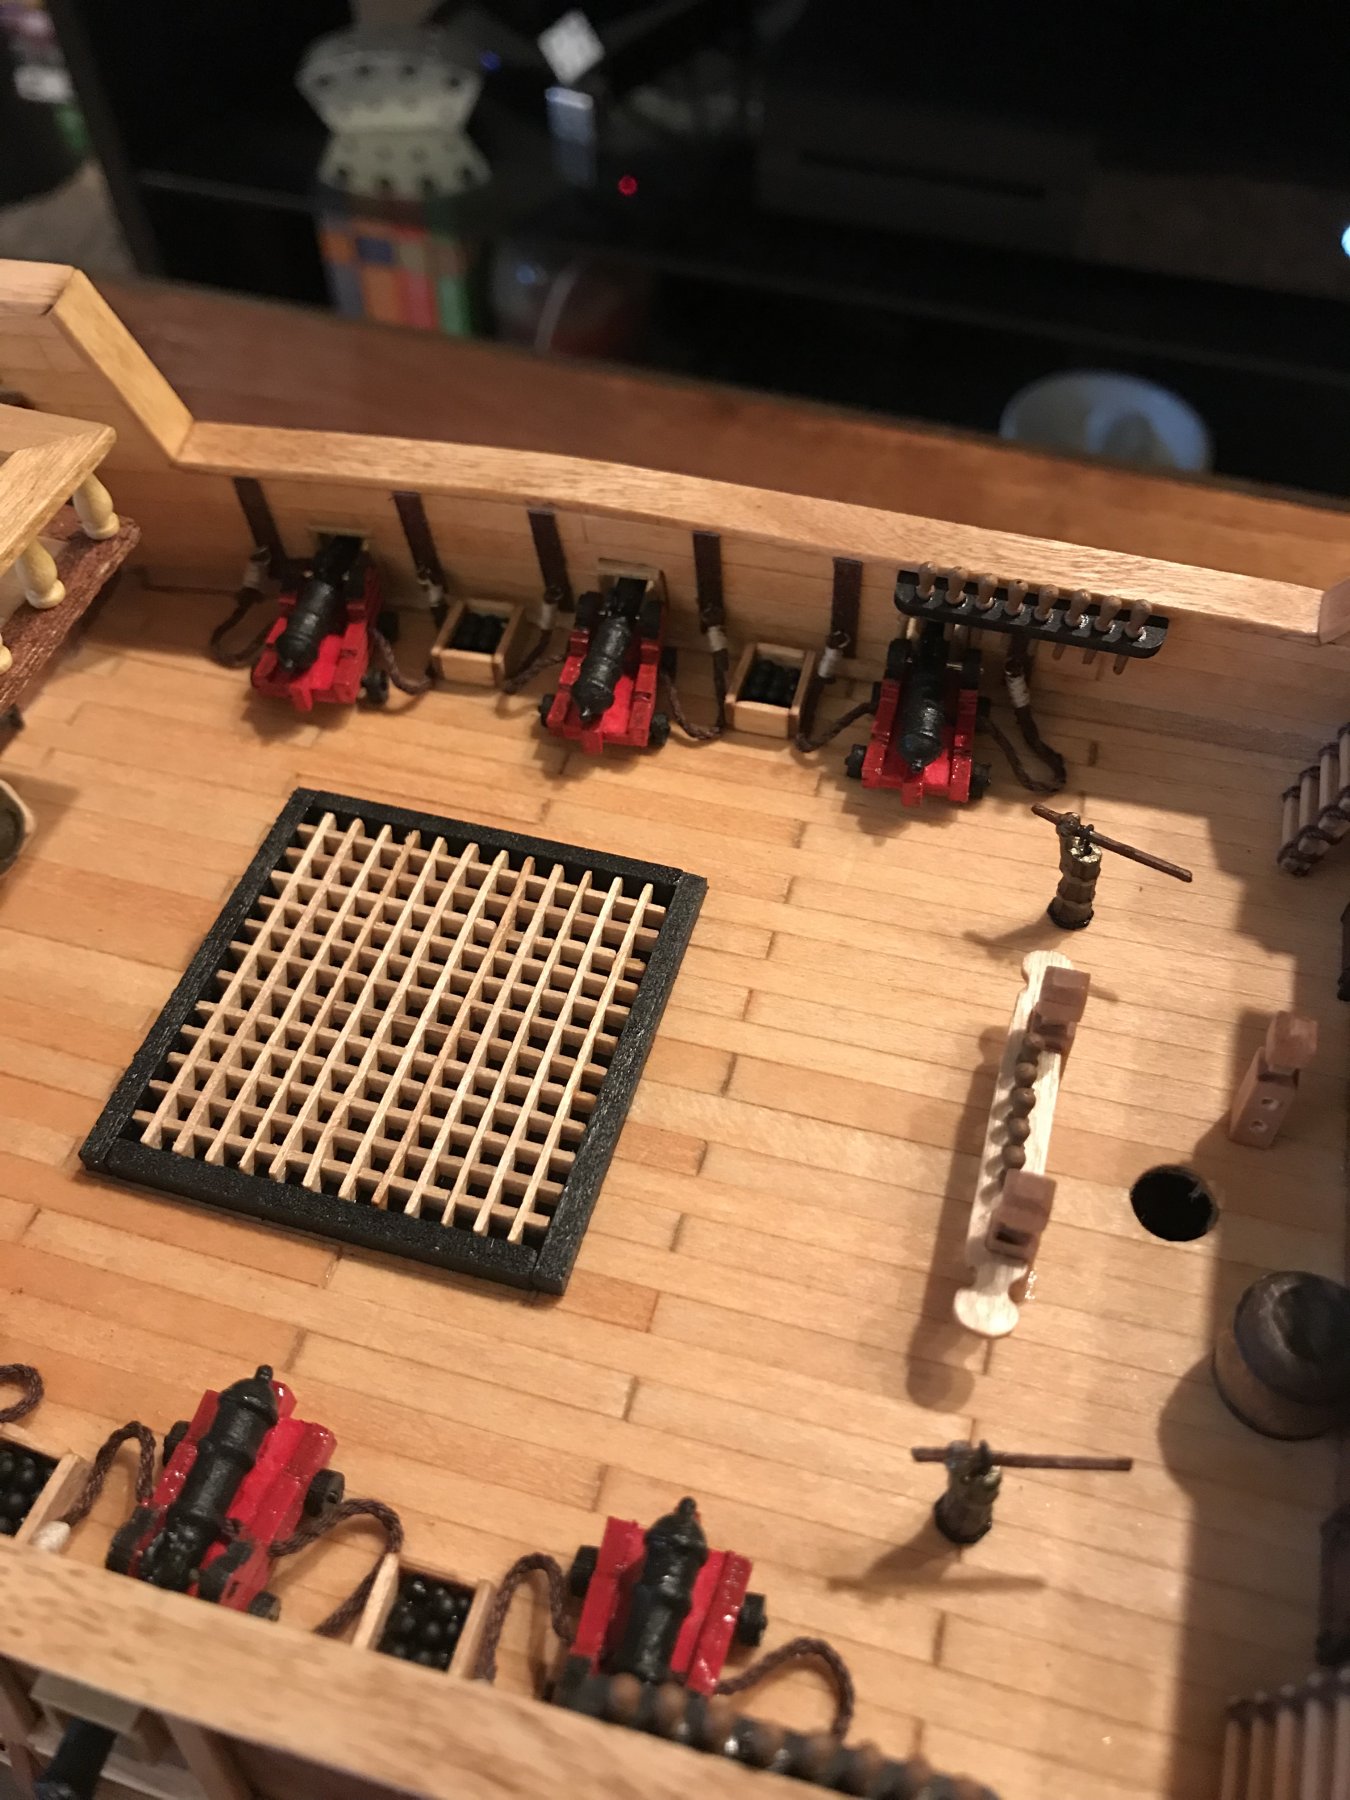
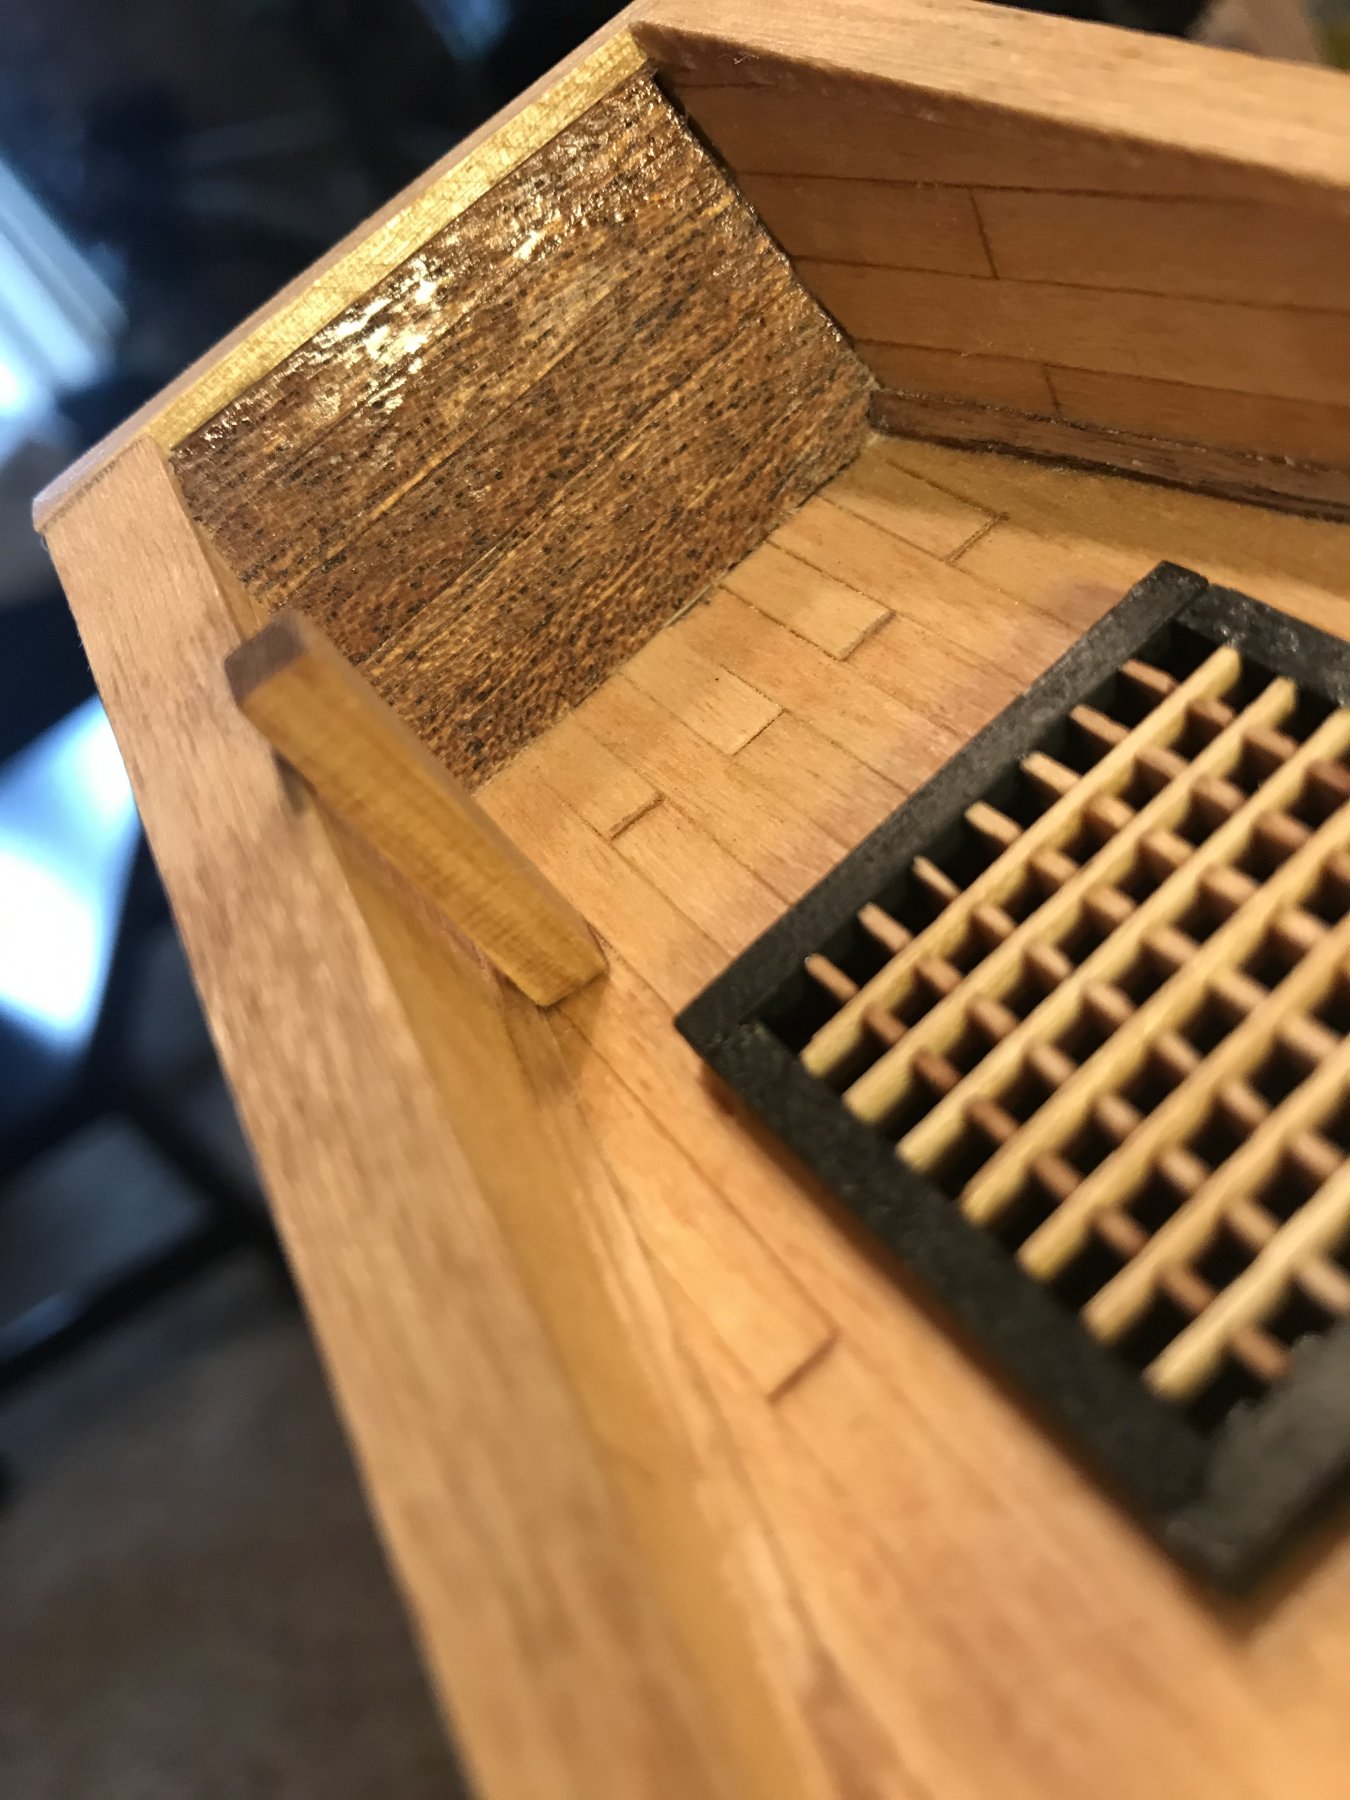
After painting one of the floors black under the grating, I definitely wish I had taken the time to plan and cut out the floor first. I still considered it, but voted against it given that I am already so far along and figured I would probably mess things up with my dremel and I would regret it. Next build though I am planning on that. Leaving the floors painted black and gluing the grates over leaves a lot to be desired in my opinion.


Princess Royal 1842 by Warnerade - Authentic Models - BOTTLE
in - Kit build logs for subjects built from 1801 - 1850
Posted
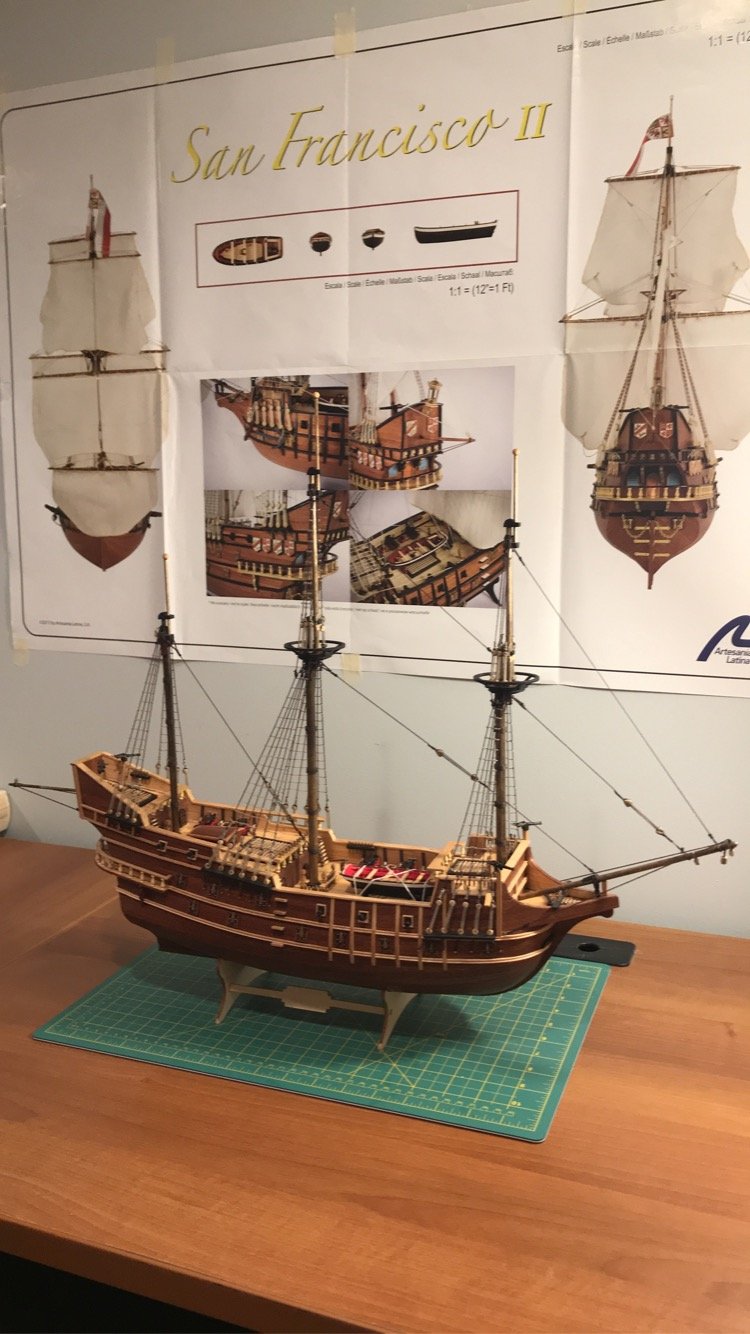
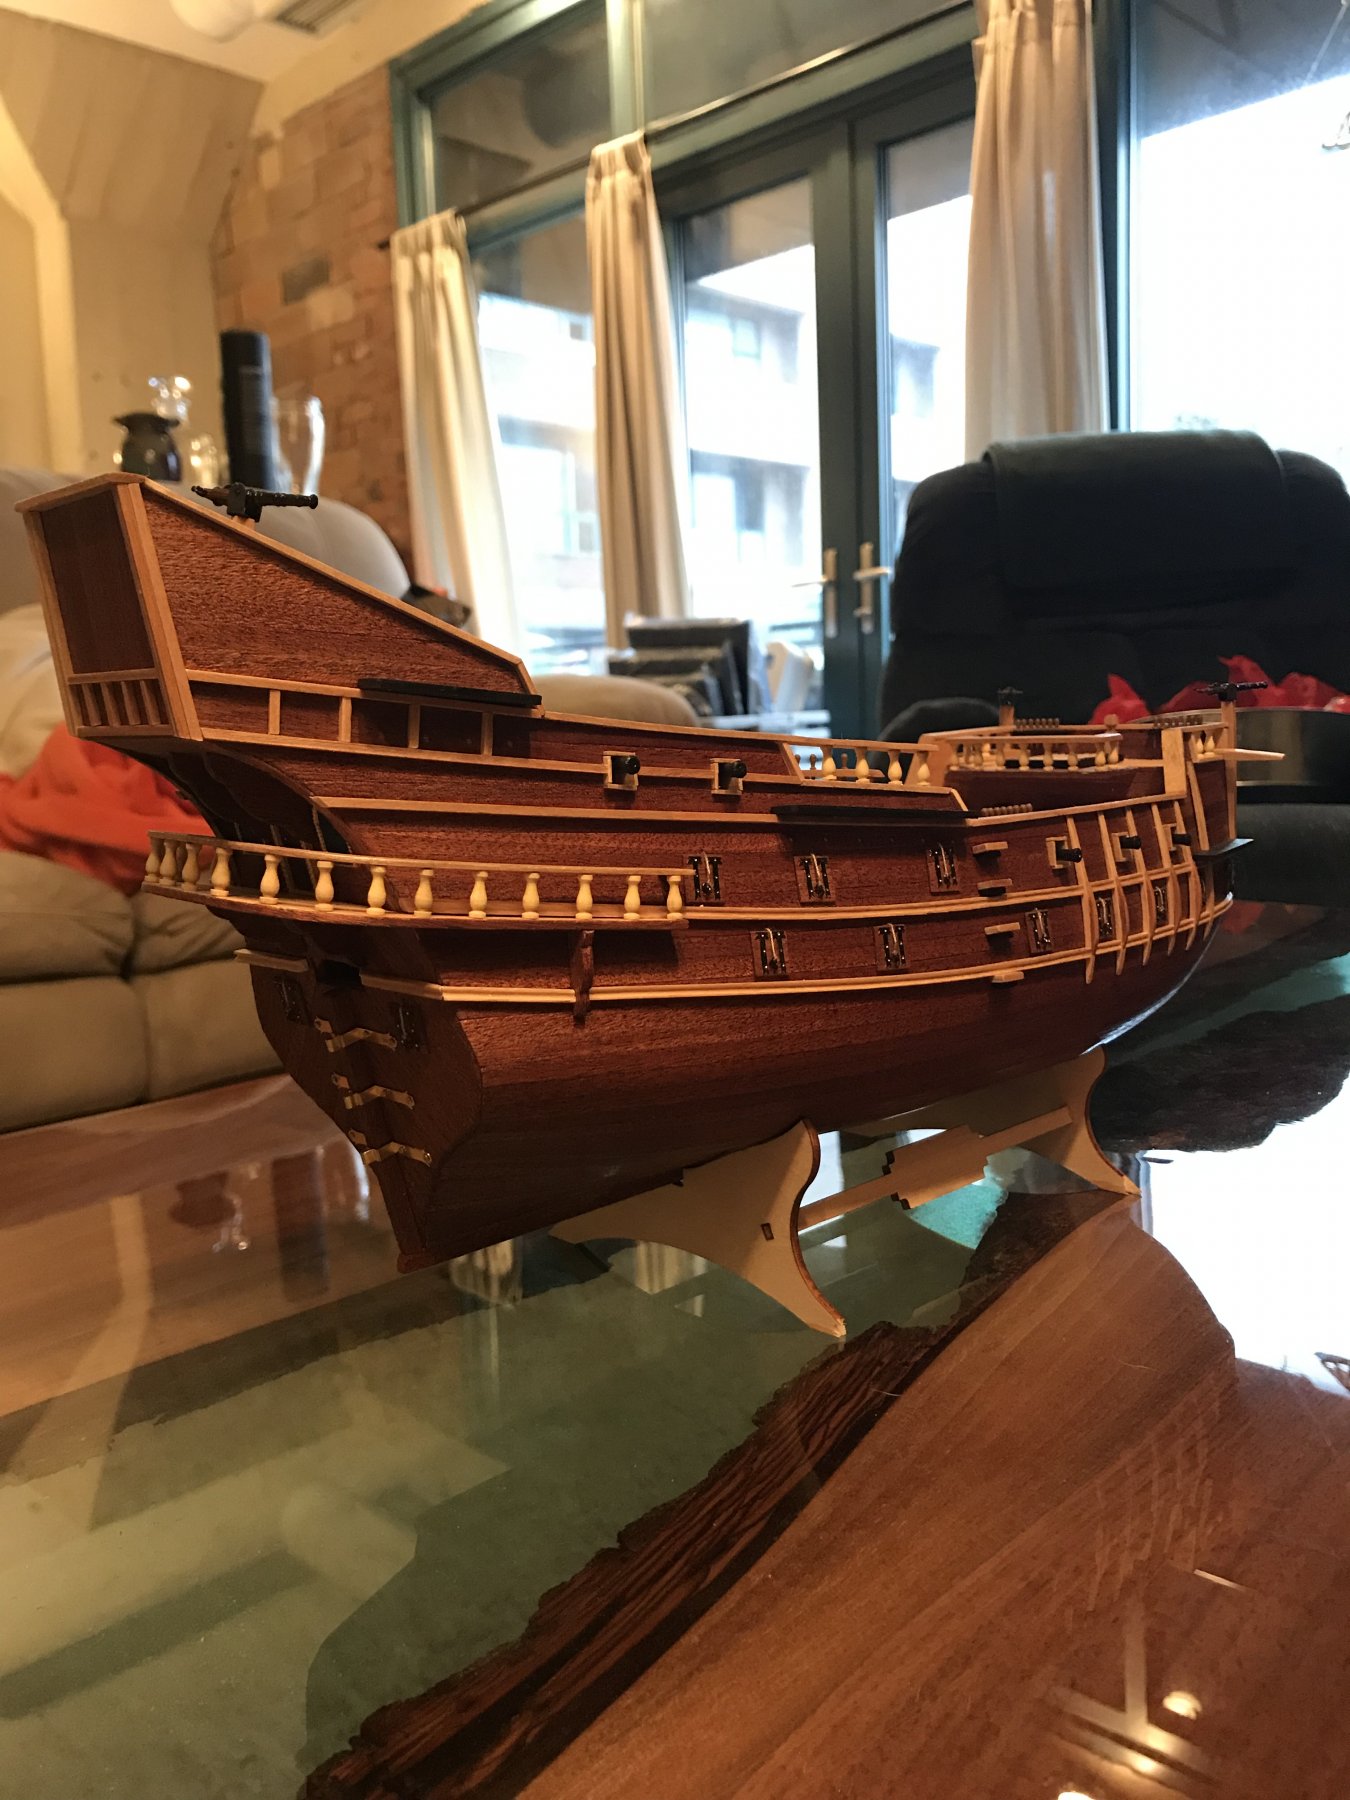
Well my San Francisco by Artesania Latina build is coming to an end, just working on the stand and display case now I decided to start planning for my next build.
My first ship was the Golden Yacht bottle kit by Amati, I will say I enjoy the larger models more but about a year ago I came across this kit on eBay and purchased it. From what I can tell the kit itself was produced and sold in 1988 and stopped selling shortly after that. I have tried to research the kit and there is not much on out there on it.
I was a bit skeptical purchasing something so old on eBay as the box was damaged in the picture, but from what I could tell it had never been opened. And when it arrived, it was clear that it wasn’t. All of the parts inside the box were still packed away and appeared to be in pristine condition.
I have not started it yet, but I will soon.