


Warnerade
-
Posts
175 -
Joined
-
Last visited
Content Type
Profiles
Forums
Gallery
Events
Posts posted by Warnerade
-
-
Does anyone have any experience with the various oils used for finishing? I found a previous build of this ship and the gentleman used Tung oil and the finish turned out spectacular. I asked my dad about it and he said that danish oil might give me an even better result. Just wondering if anyone can weigh in on the topic. I already started covering a few items with the tung oil so I believe I am committed at this point but I am curious for future projects and my own curiosity.
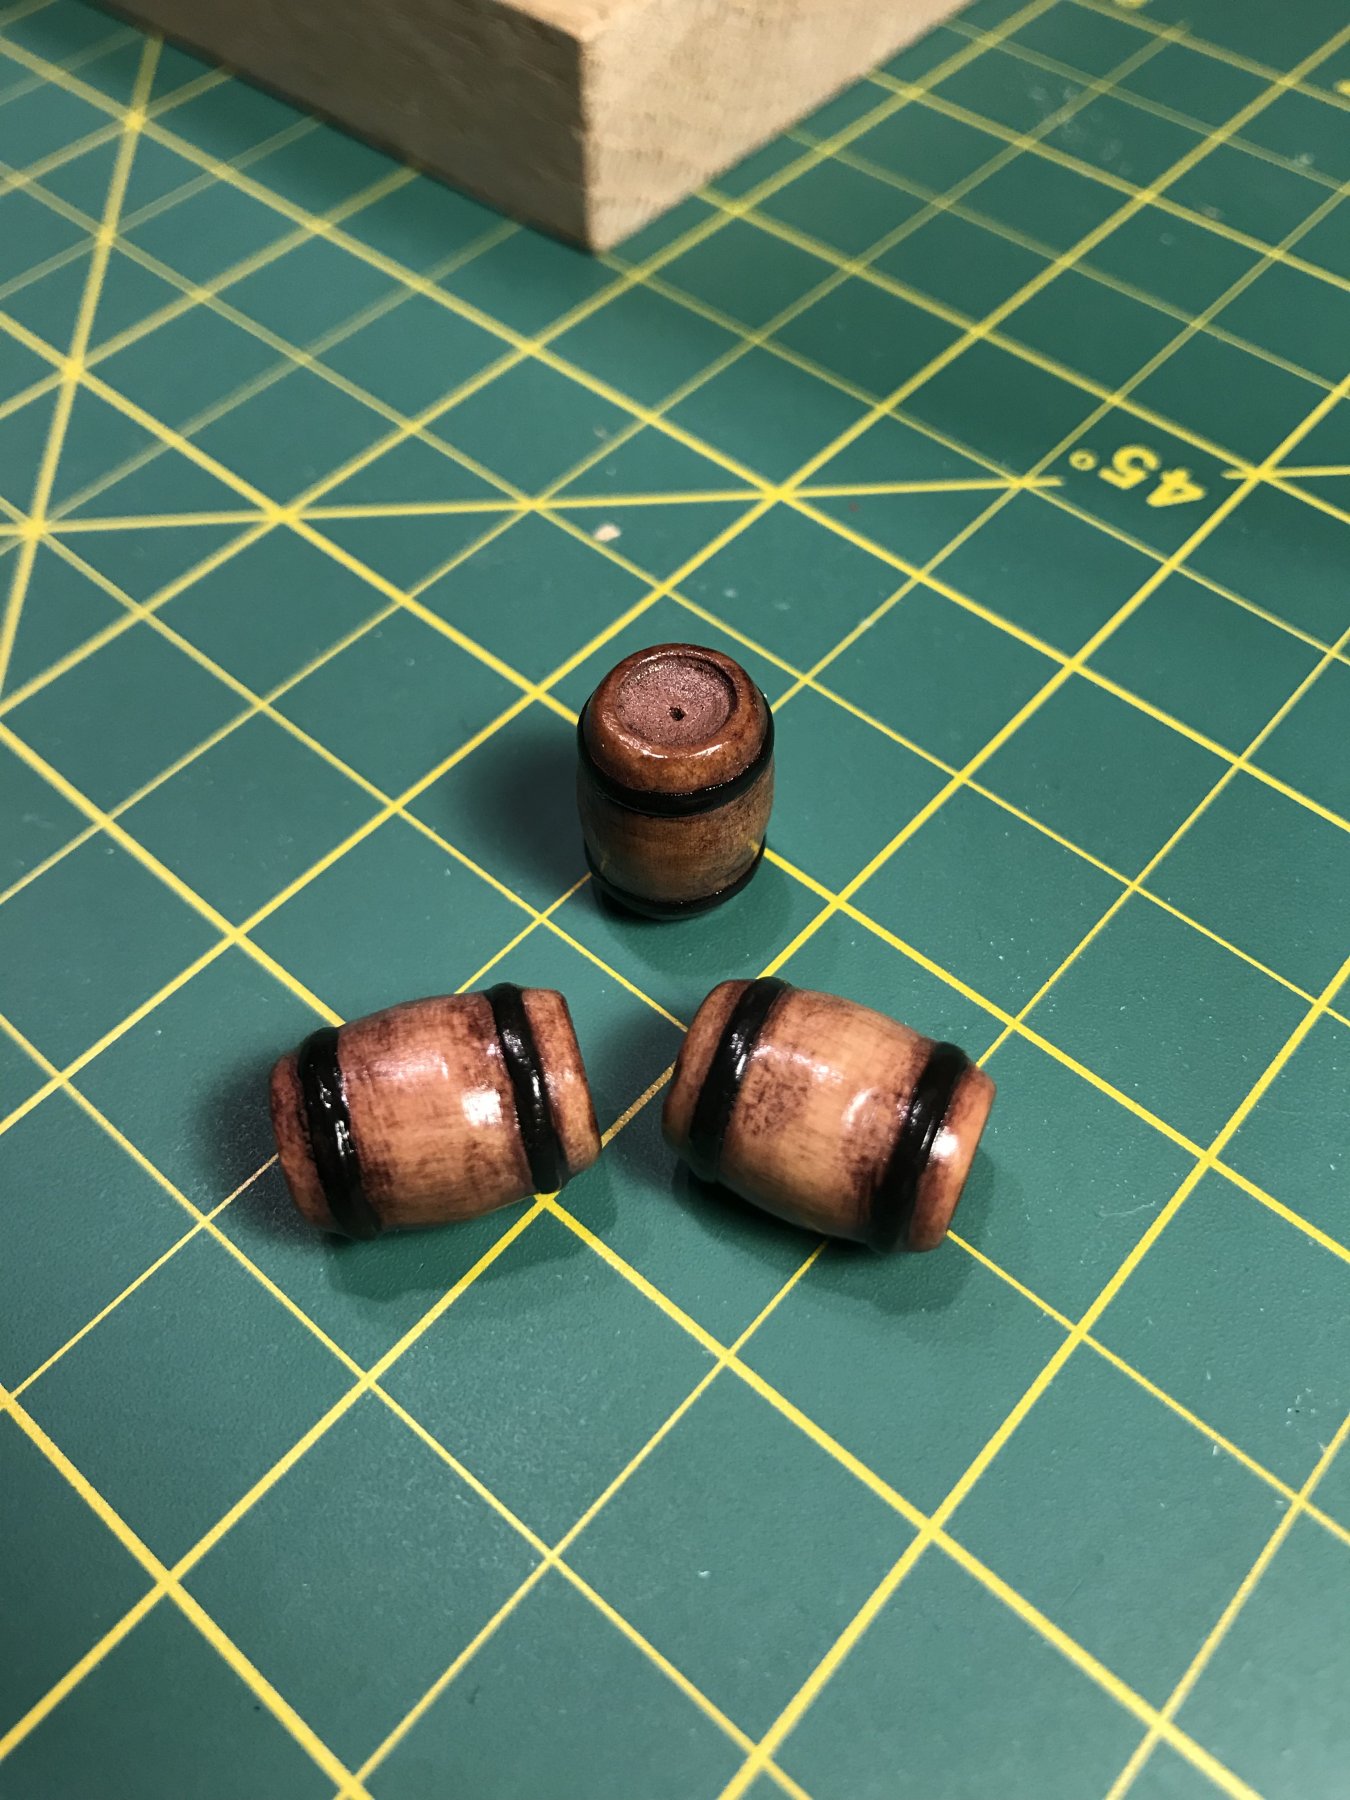
I am considering starting over on the barrels. I had the thought after, but it may have looked better if I took my scalpel and placed a few slits along them for the stain to sit in and give a more authentic look.
The port side is files somewhat smooth up to this point and the starboard side is not. I think in the future I’m going to file/sand smooth after every couple of planks rather than halfway through. What a chore lol
Below is a before and after pic of one of the items tens I used Tung oil on.


-
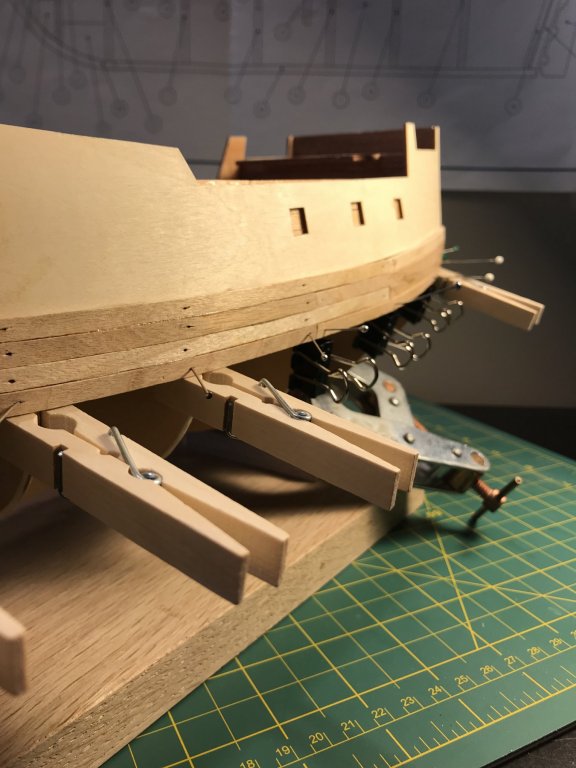
I must say, I had no idea the size of this ship until I noticed how large the clothespins looked when attached to it. I’m intrigued, well done. Cannot wait to see it when it’s finished
-
Would you mind telling me how you applied the tung oil? The kit I have is double planked with the outer planking .5mm but I believe it is the same type of wood as your primary planking, it is that same darker color and I love how the tung oil finishing turned out.
-
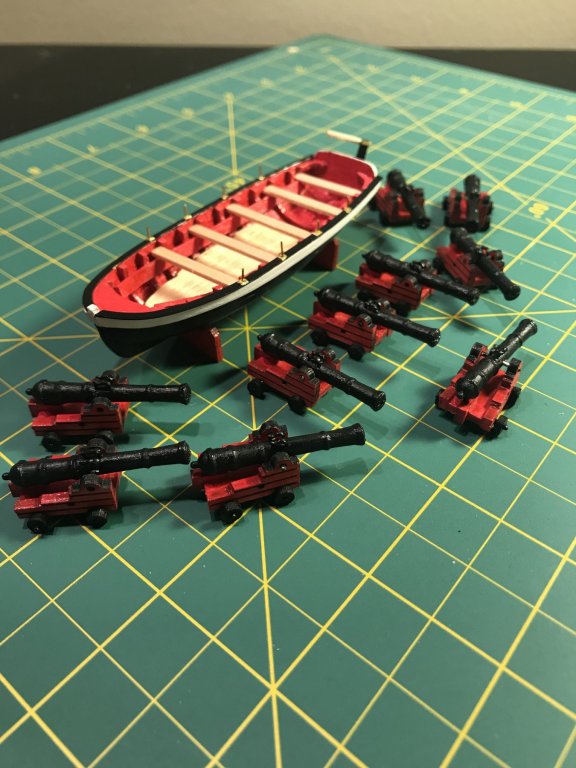
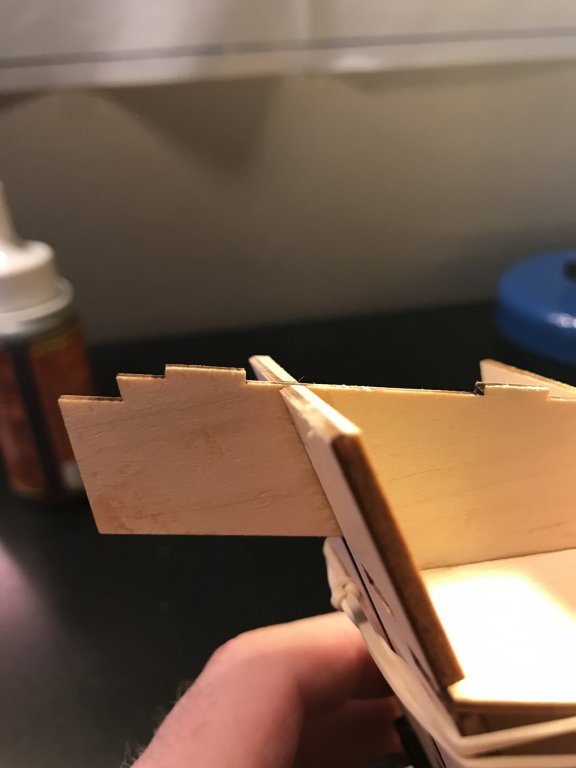
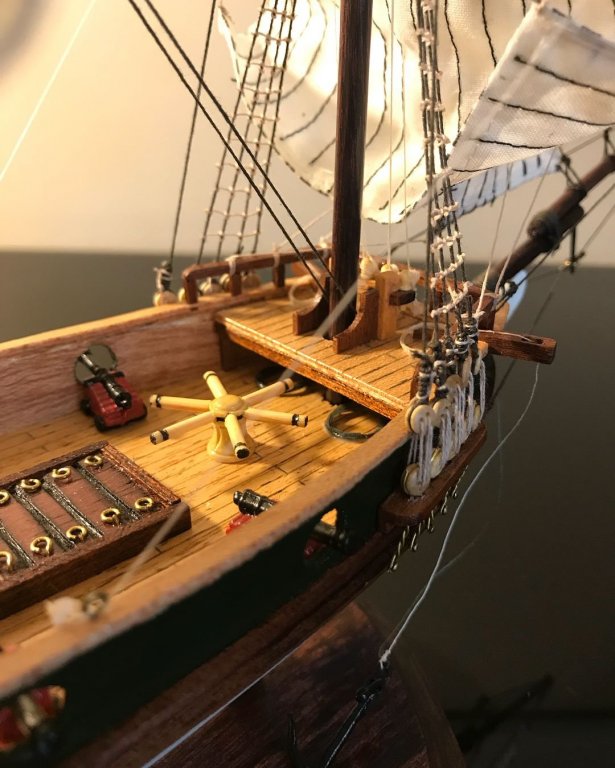
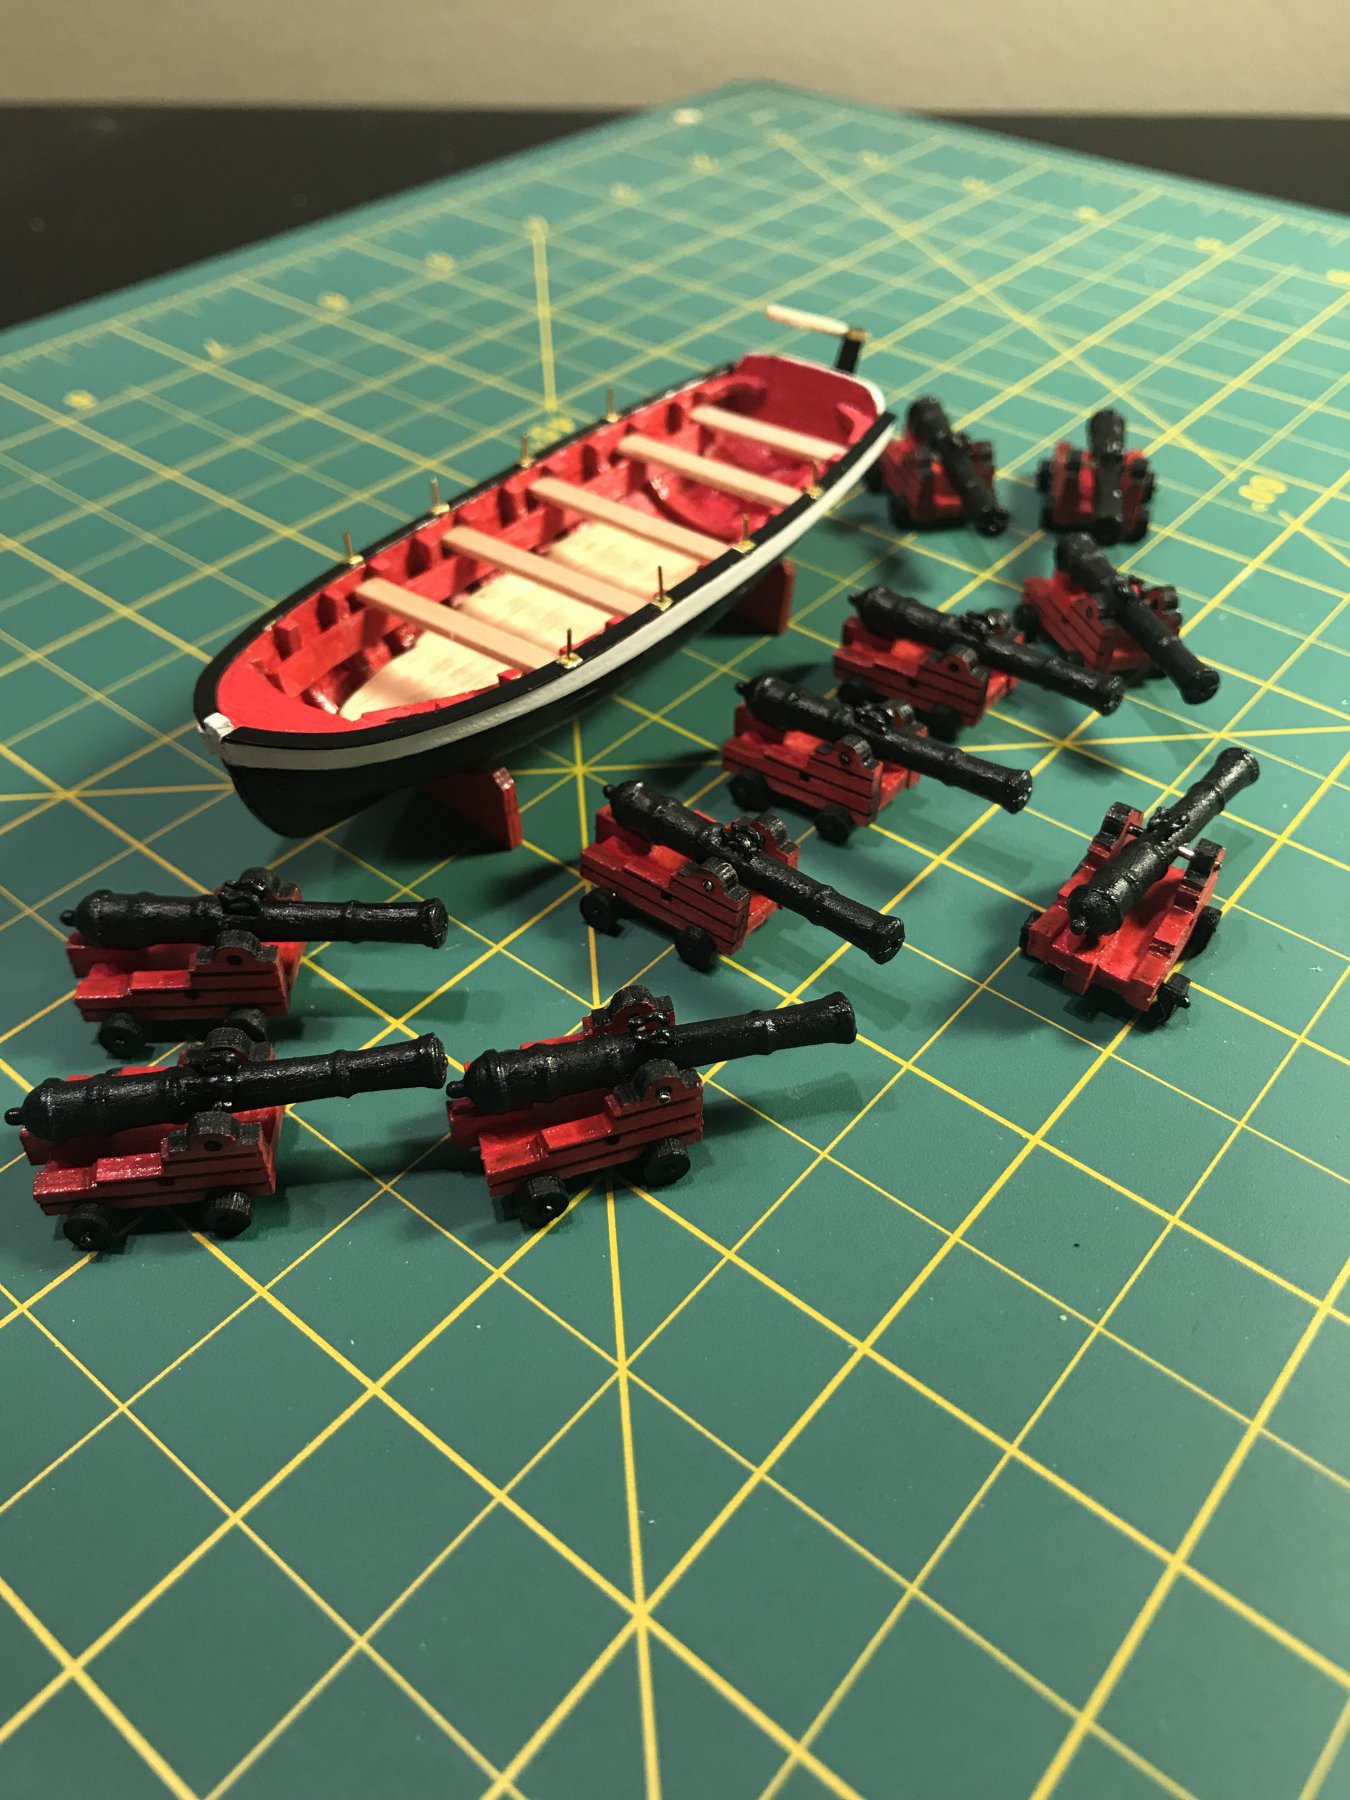
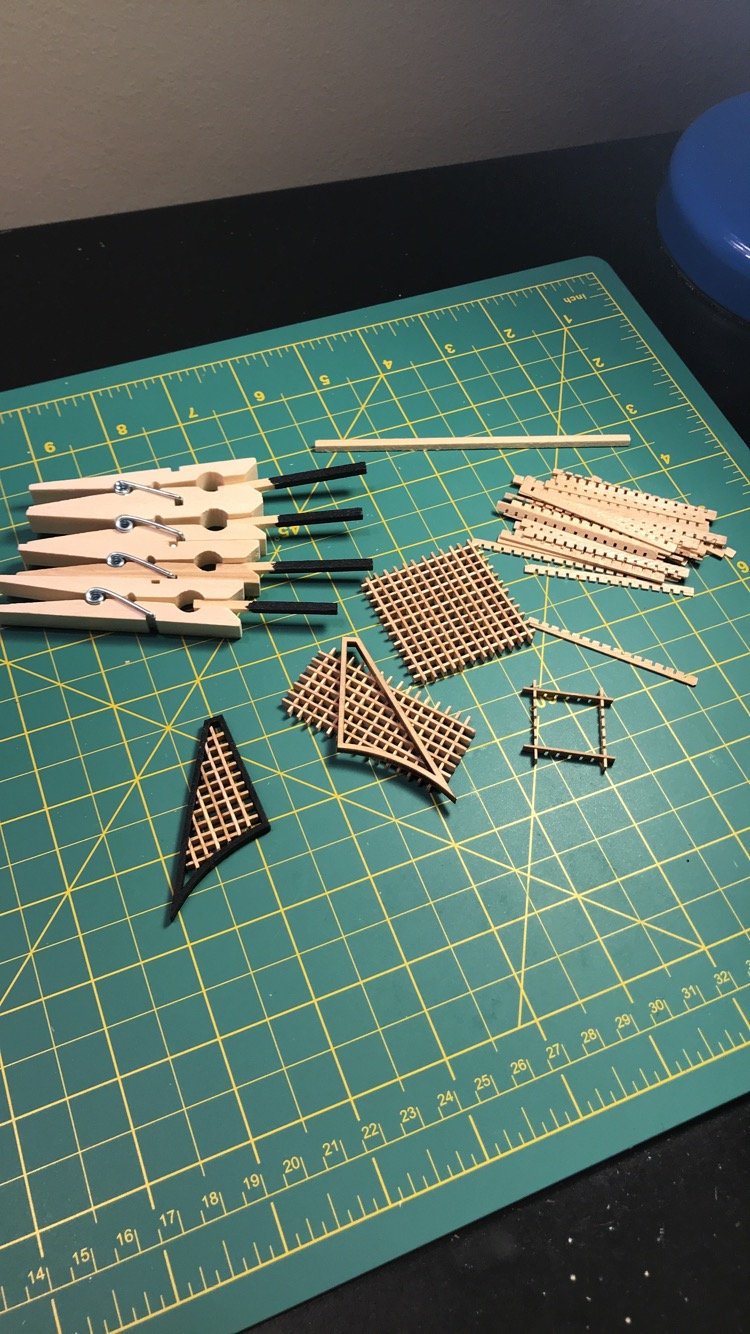
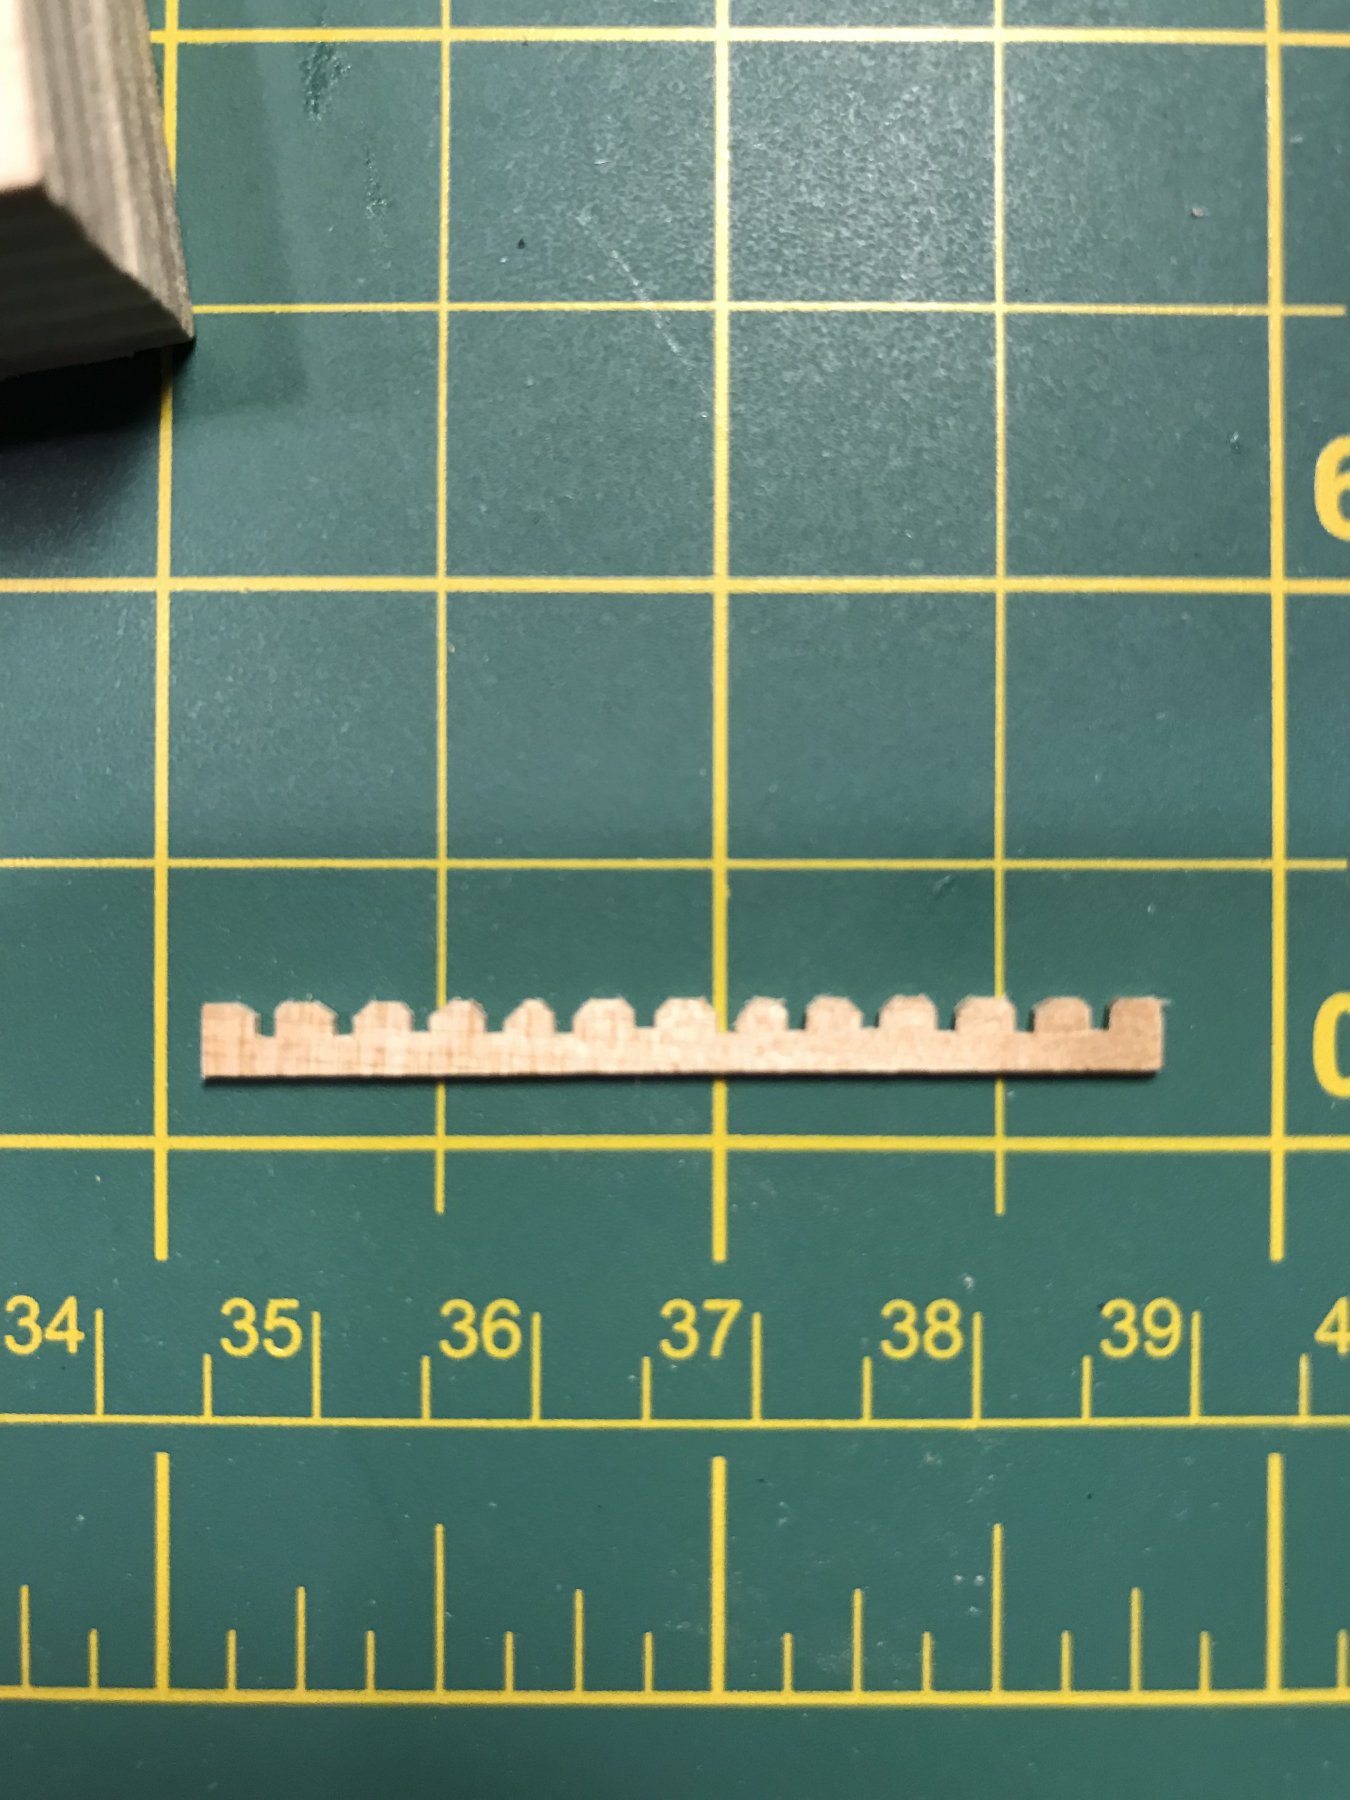
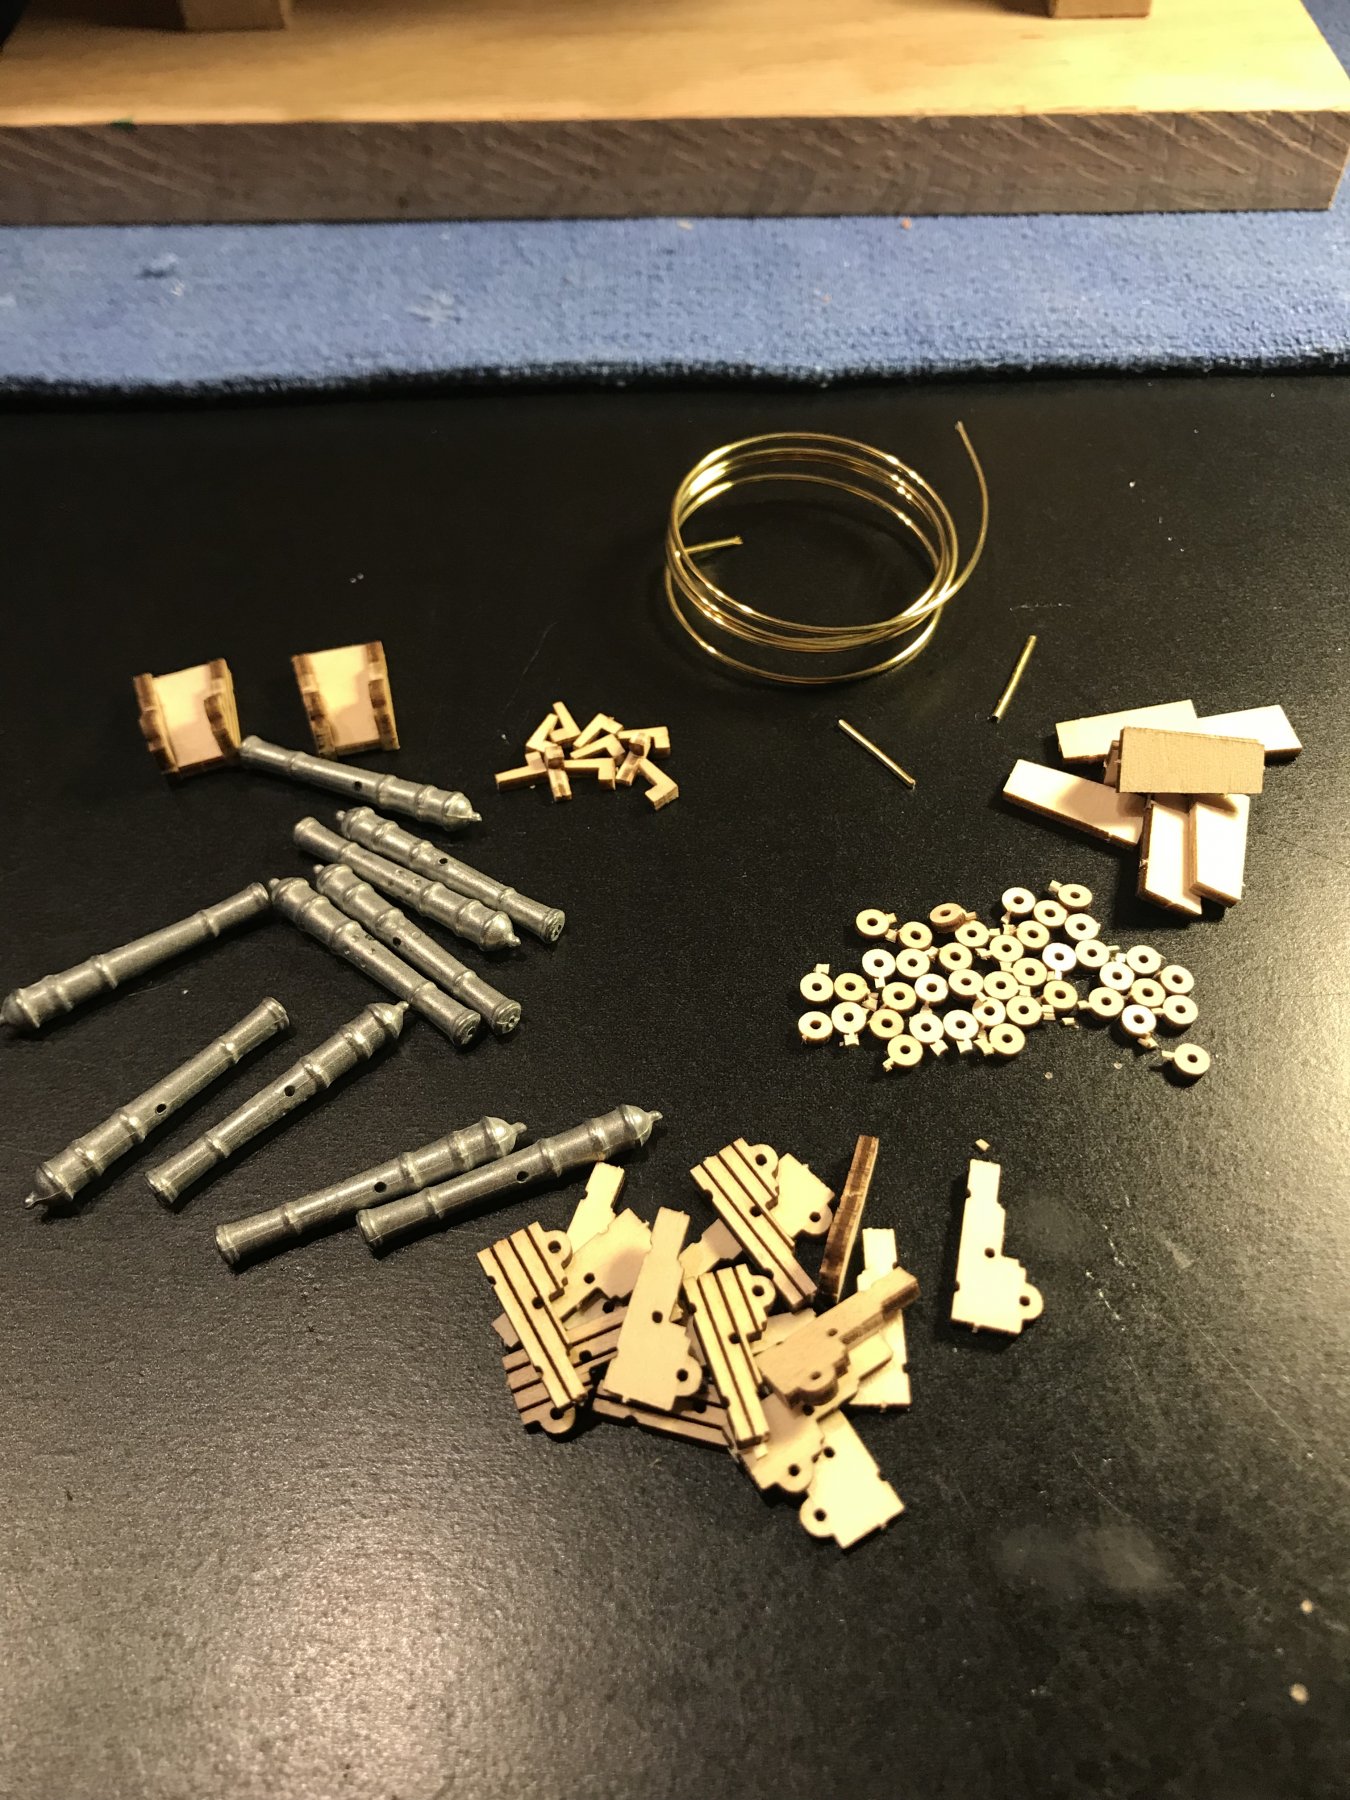
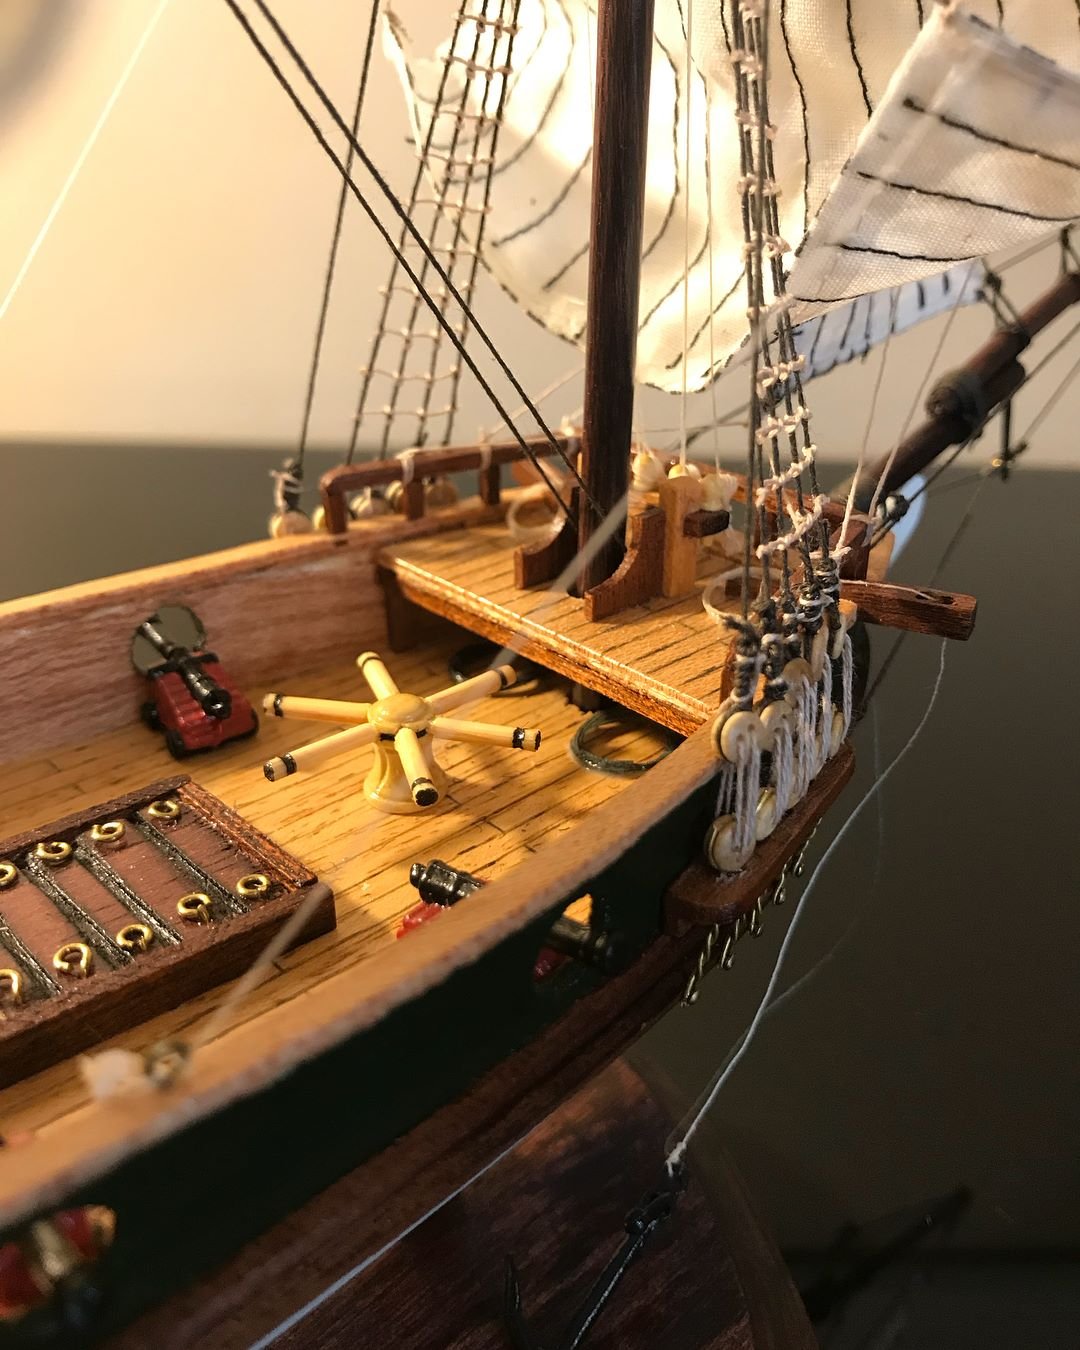
I finally got started on the planking. After laying down the first line my initial thought was it wasn’t that bad, but I’m sure as it progresses and things need to be filed and sanded for proper fit I’ll be cussing up a storm. I also managed to finish the long boat and the cannons, and got started on the grating. With my schedule it’s easier to find time to do small things for a little bit, it was hard to find time to actually sit down and attempt the planking.
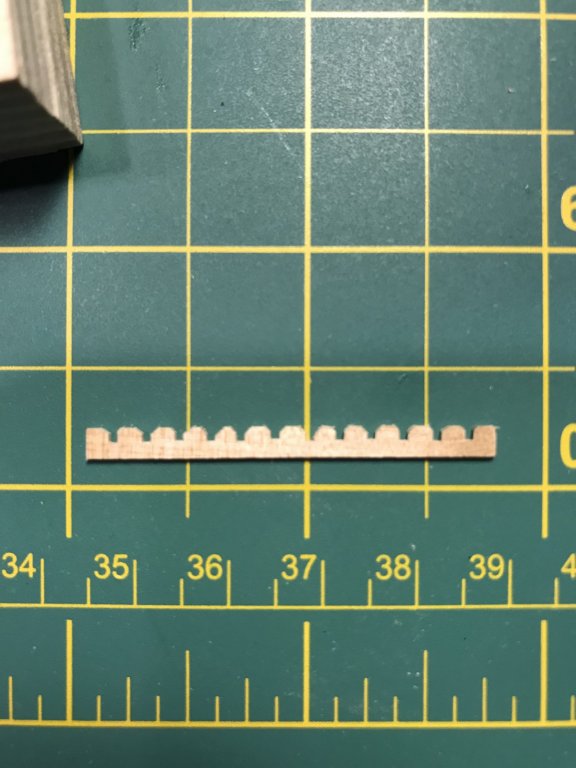
For the most part, the cannons long boat and grating all went together as easy as the directions make it look. The only issue I had was with the grating and some of the serrations not lining up, causing there to be uneven squares, which actually made it a pain to fit together. My solution was to file a 45 on top of each serration that was facing down. It helped the pieces find the groove much easier.
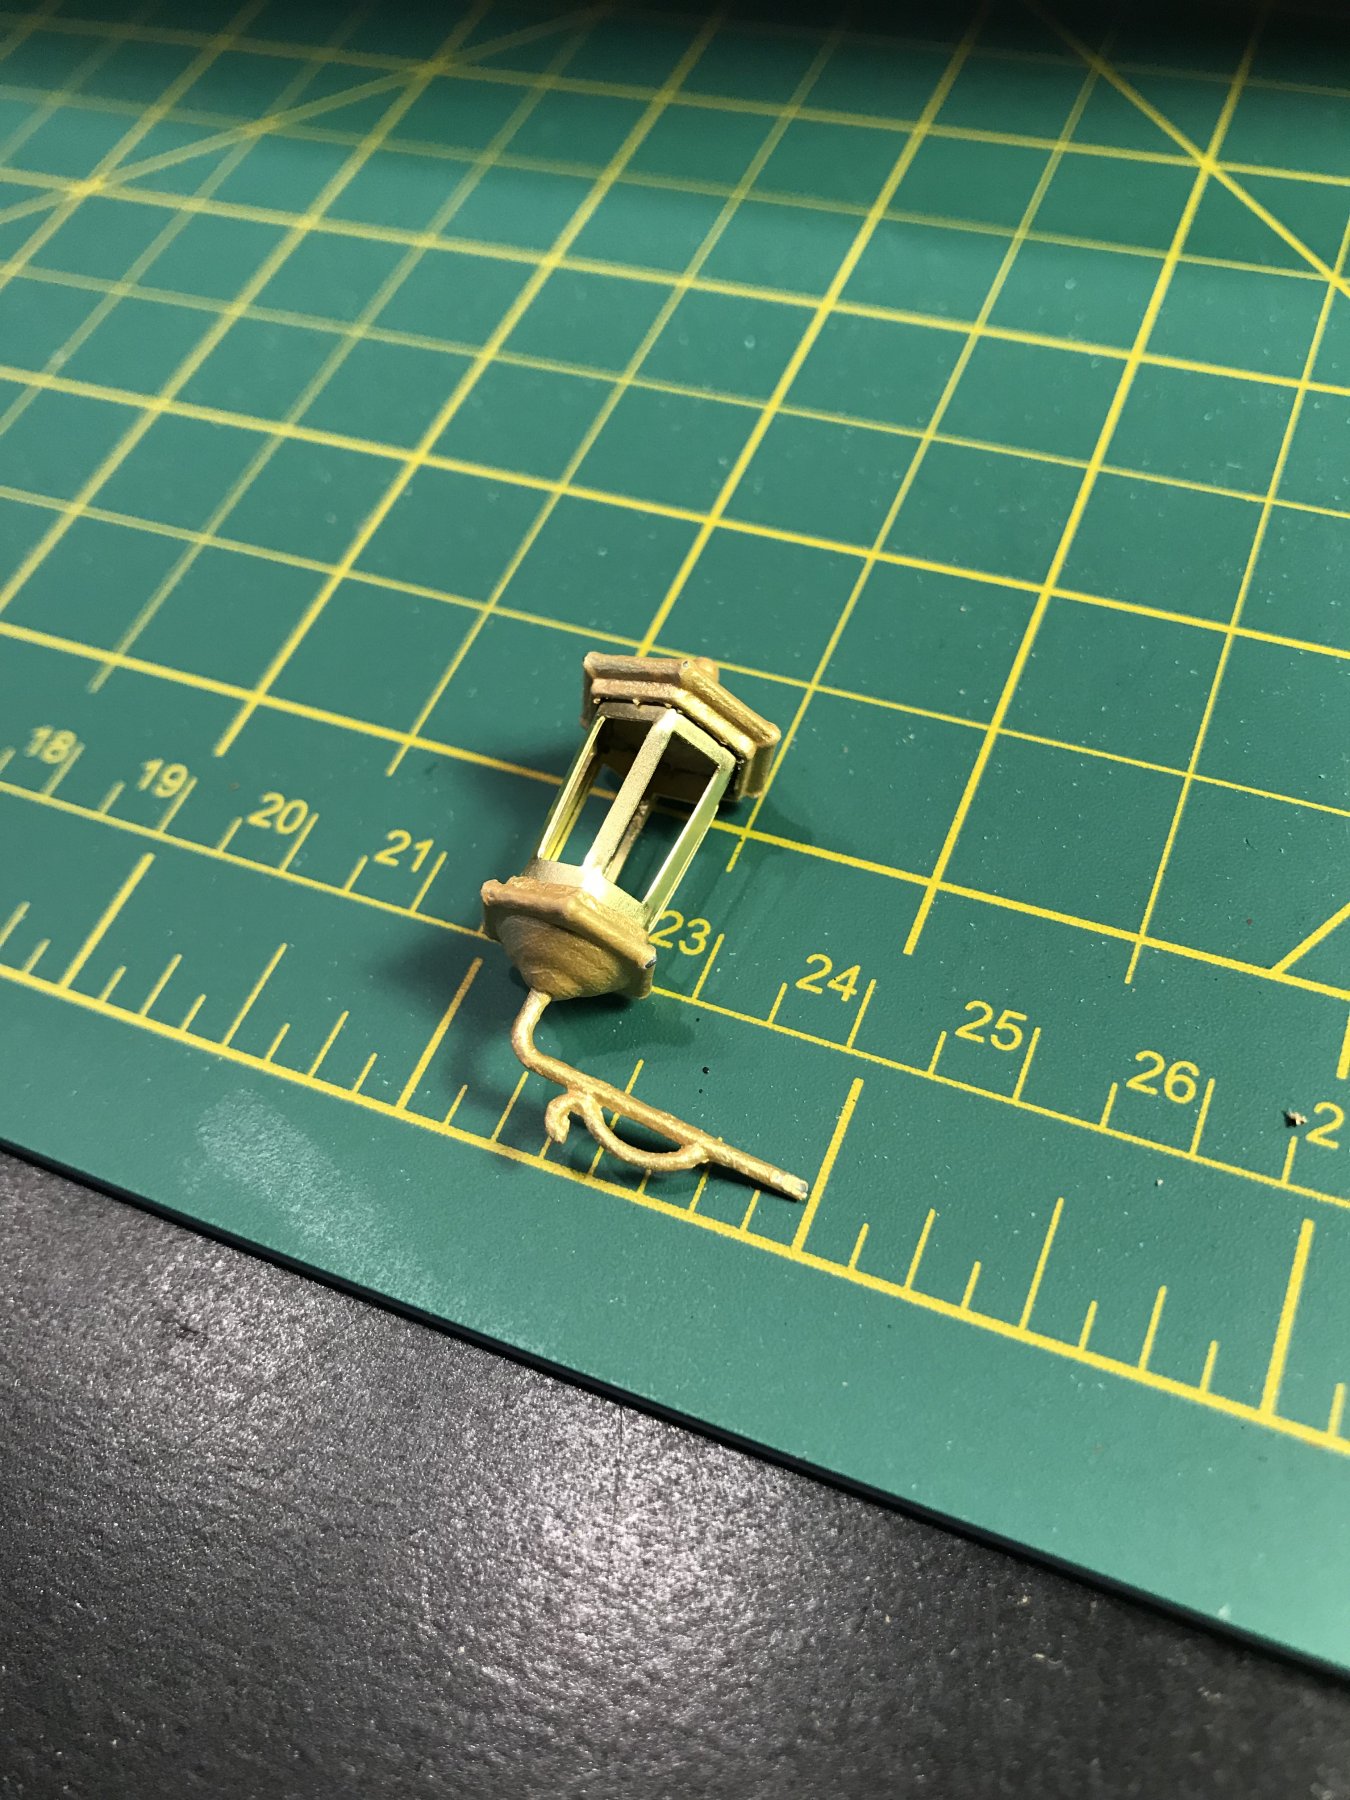
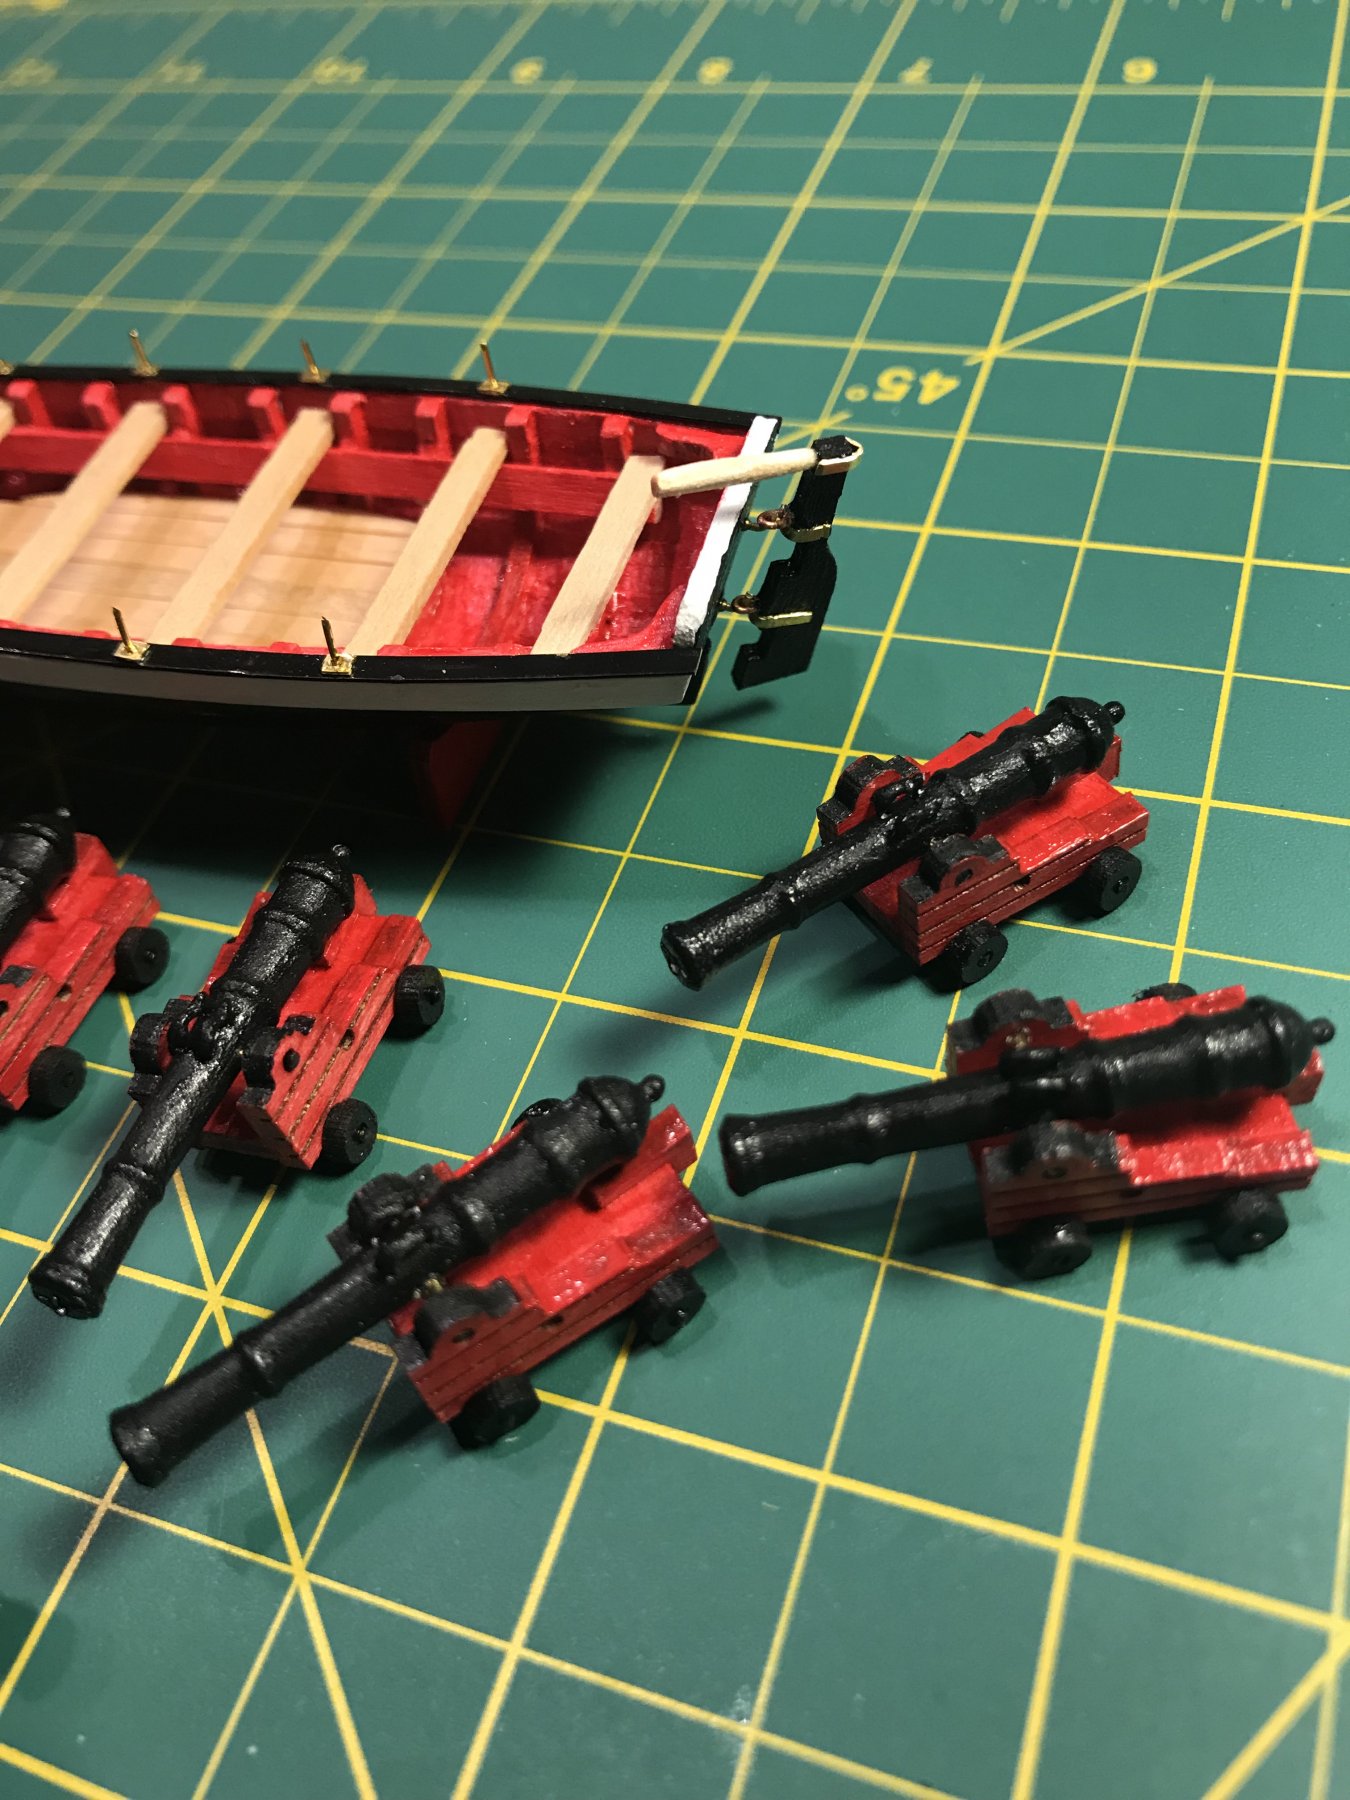
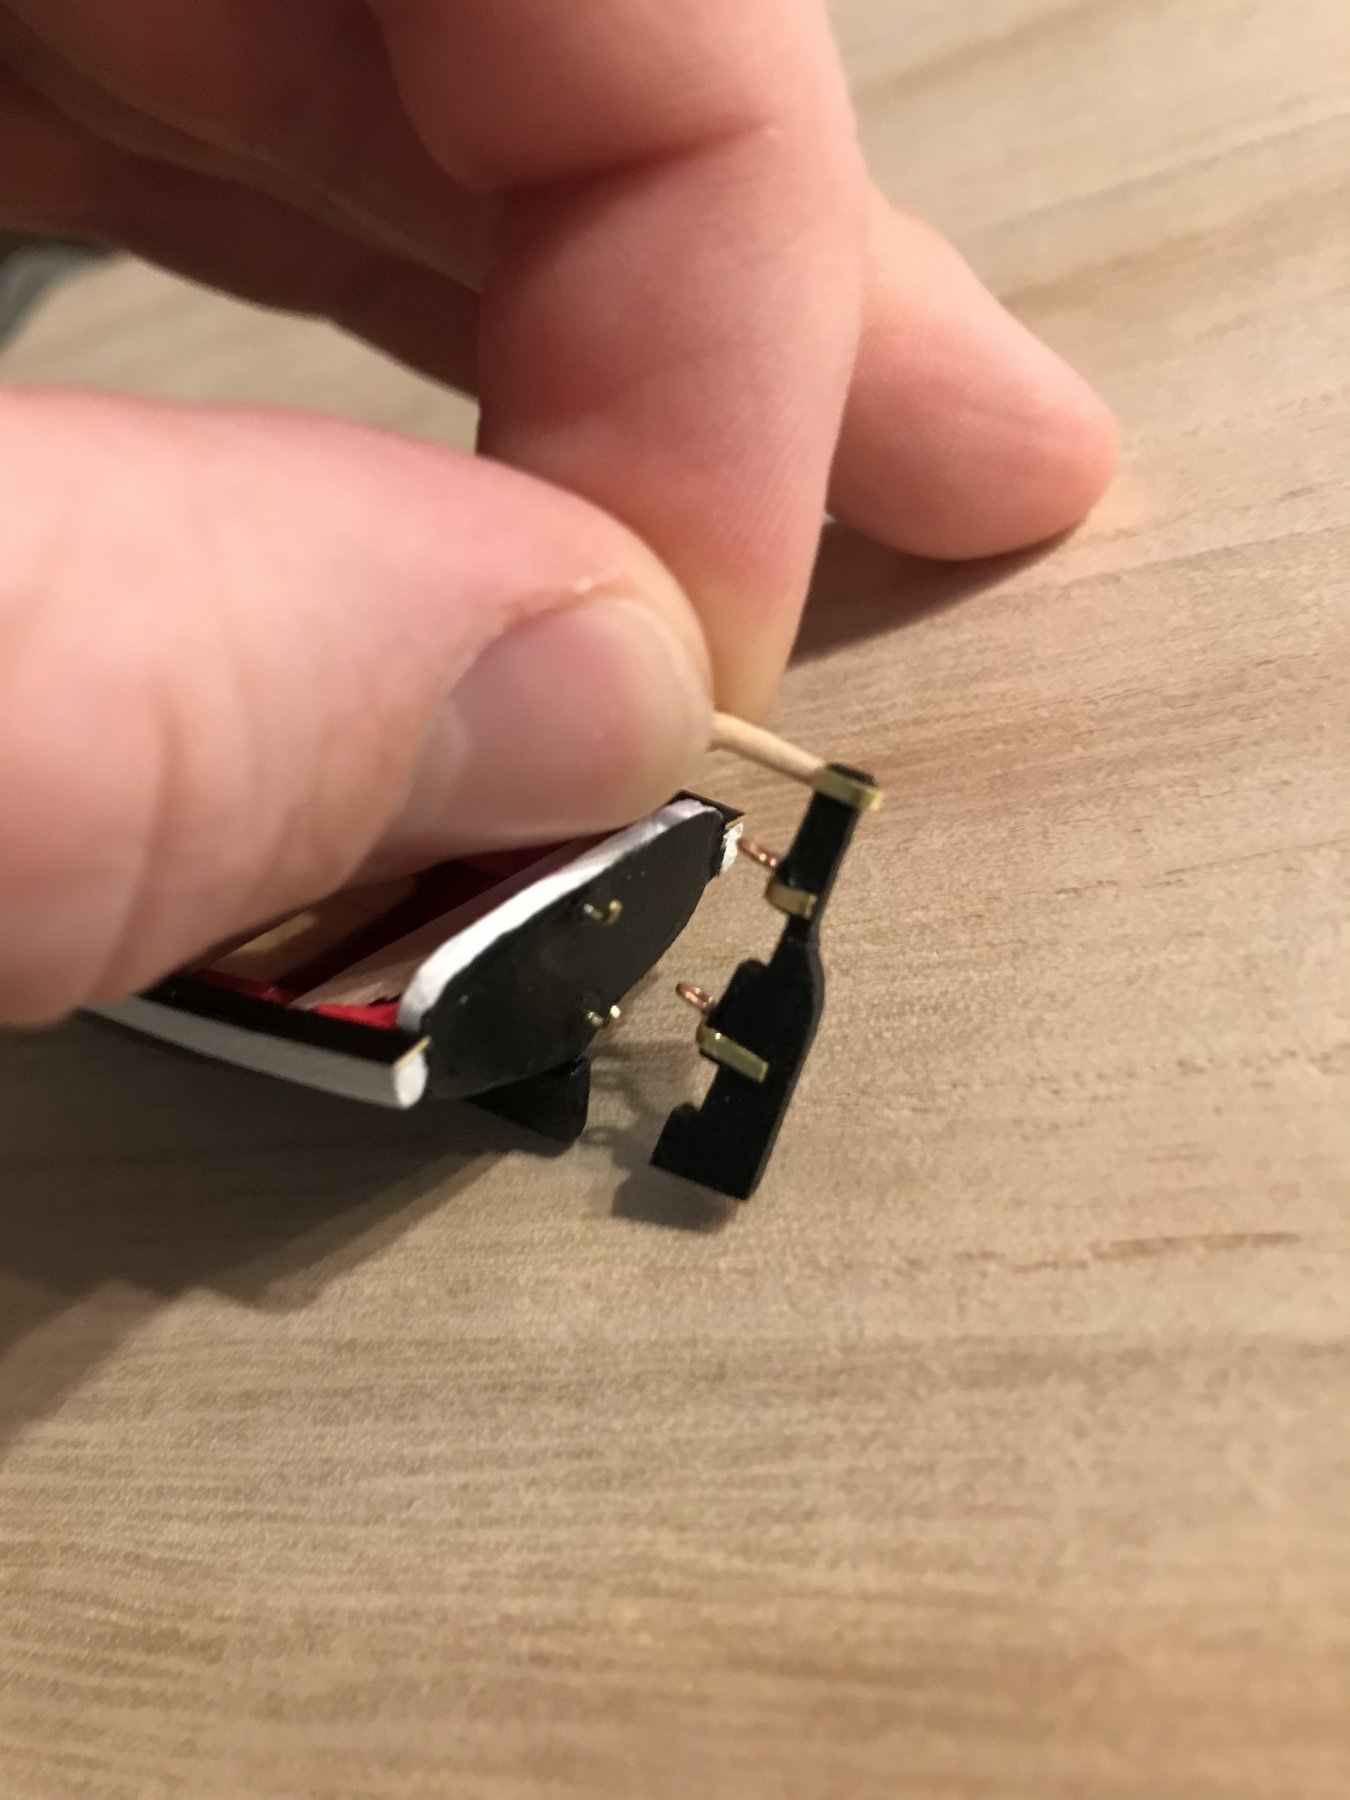
I also made a small (but crude) modification to the long boat. As far as I could tell the directions did not call for a working rudder, so I found two eye bolts from a previous build and cut/glued the ends to the rudder and then glued bent brass wire to the stern. It’s a little far away from the boat itself but overall I am happy with it.


-
I wish I had done some searching and found this before starting mine a few weeks ago...this model is fantastic. Well done. I had tossed around the idea of doors and lights like you did, but this is only my second model and I didn't know how to pull it off. I also like the color scheme of this older version much better. The one I have has a lot of things painted bright red, including the interior of the long boat and the cannon bases.
-
Are you using standard wood glue to glue the inner planks on? I am getting ready to plank mine as well and was wondering. It will be my first time planking anything. Then I was curious about what to use for glue for the thinner outer planking.
-
call me stupid, but what is this matte poly used for exactly?
-
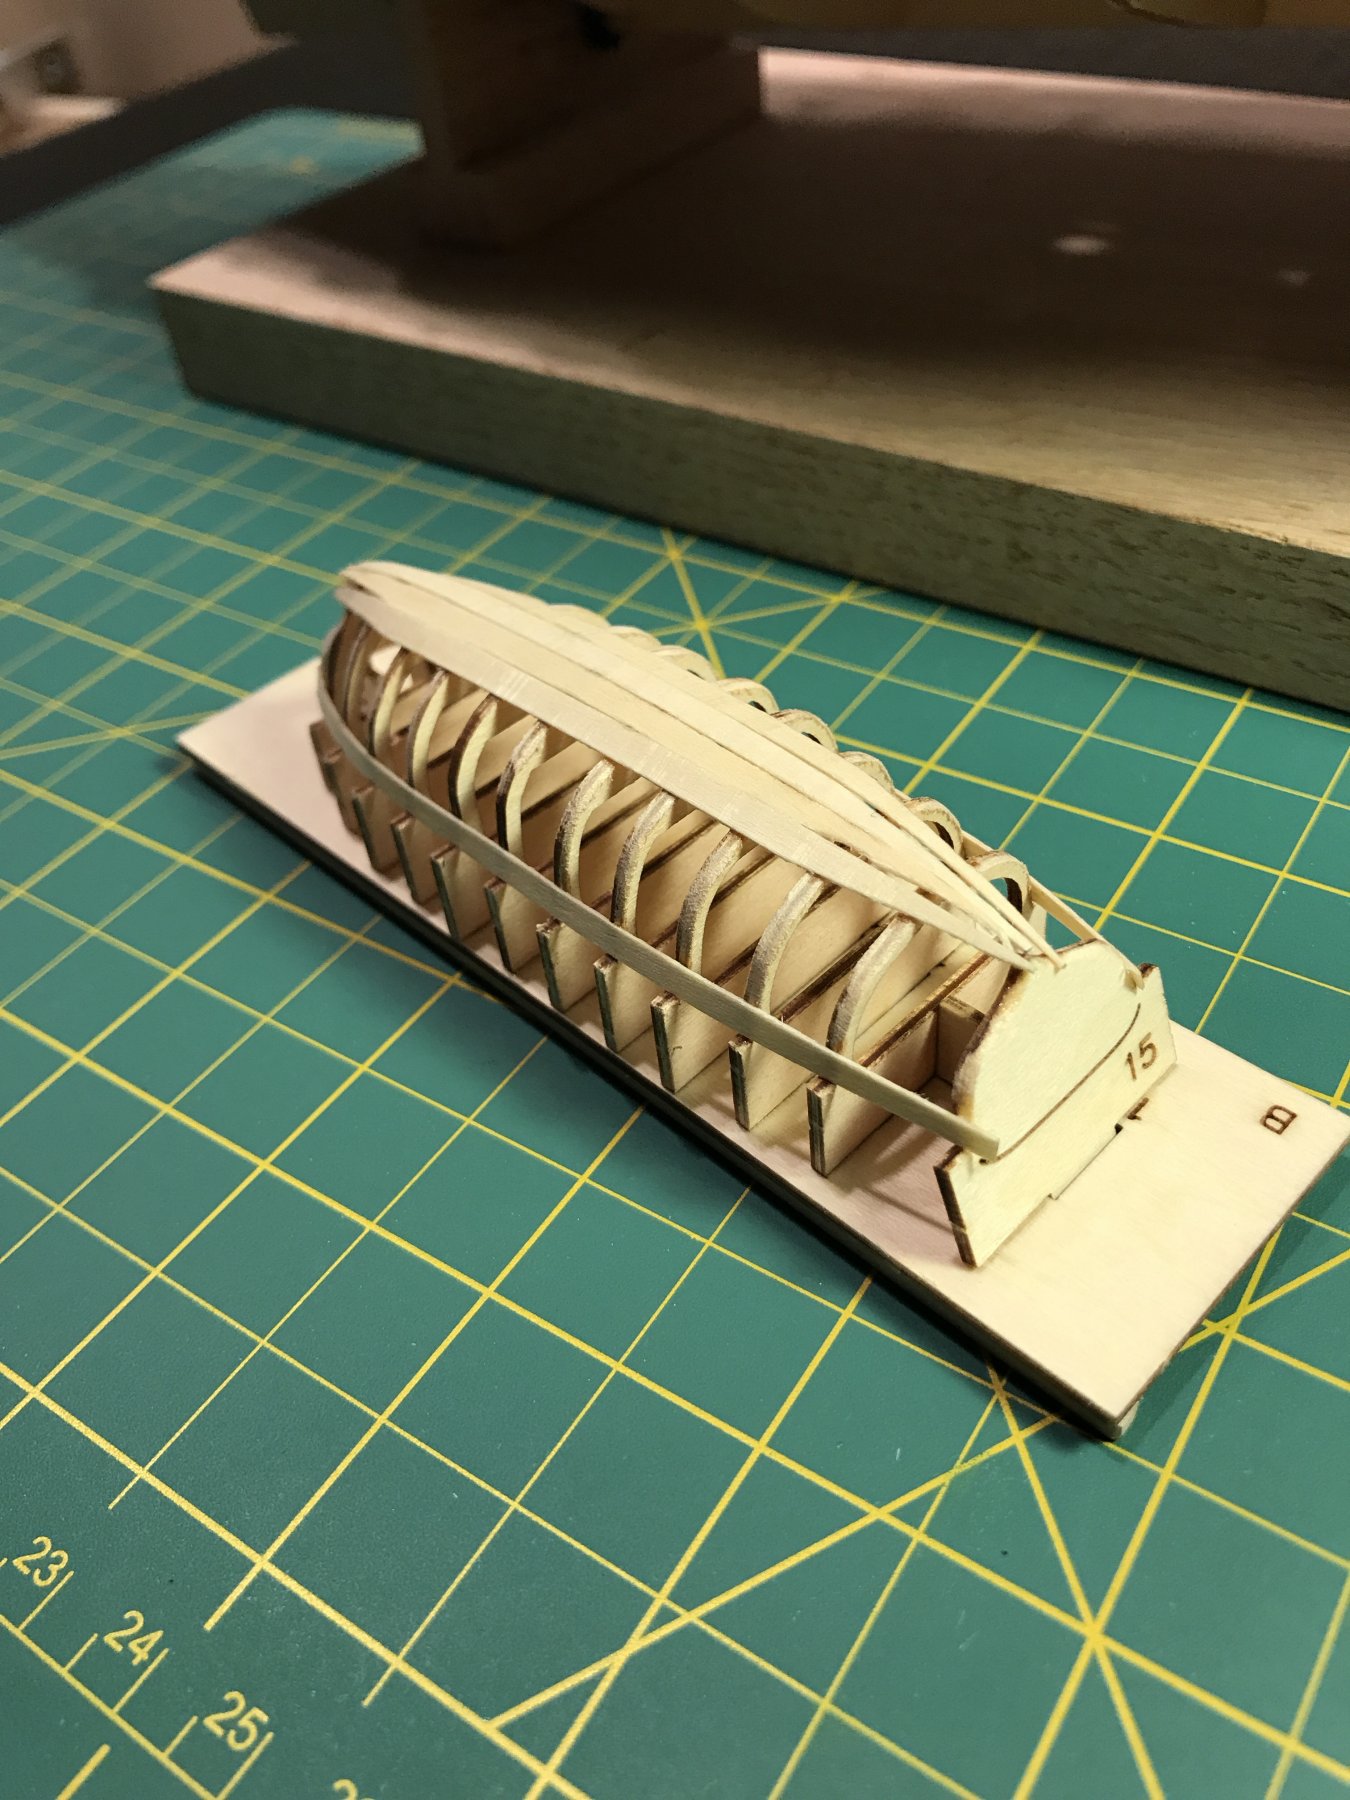
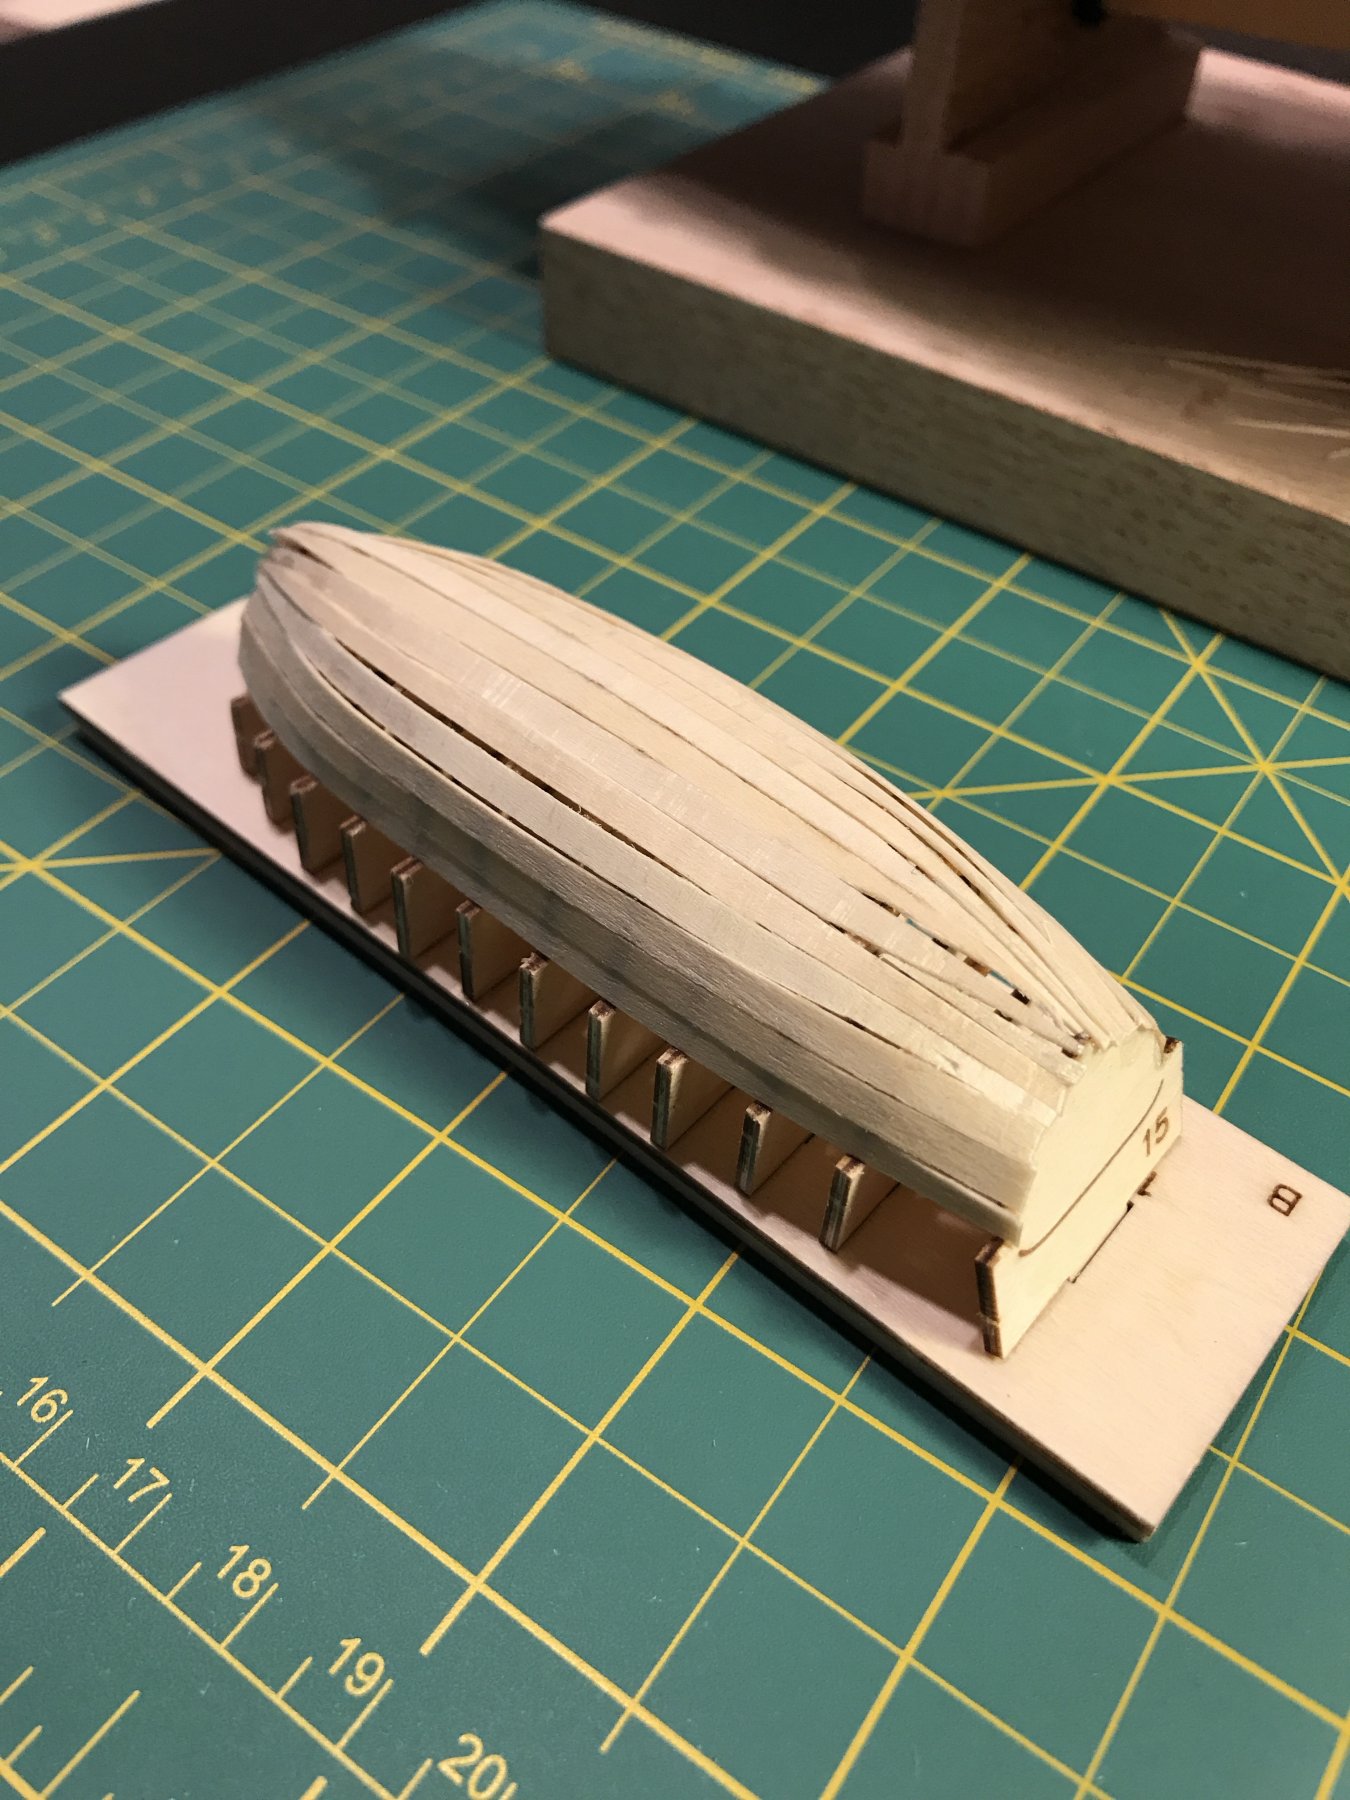
Progress is coming along at a snails pace it seems like, but I have the inner bulwarks planked and I have been working on the long boat while the glue dries. This long boat is my first attempt at planking anything, and I can only hope that the few things I learned on it carry over to the ship.


-
Might I suggest a clear glass jug that is used to brew beer in? I have one of those and I am planning on figuring out a way to custom build a boat to stick in there one day...I looked at the measurements one day and I am pretty sure its 13" diameter, 10" high...the opening is only about 1" but it would be easy to cut a bigger hole.
-
I actually had this same issue with my first build...the laser cut plywood did not want to bend whatsoever. I ended up breaking one on my first attempt but the second one I actually soaked in hot water for a much longer duration and then I covered the container with saran wrap, leaving only a small vent for the steam and microwaved it. This seemed to really make the wood more pliable...I am sure others on this site have other/probably better ideas.
-
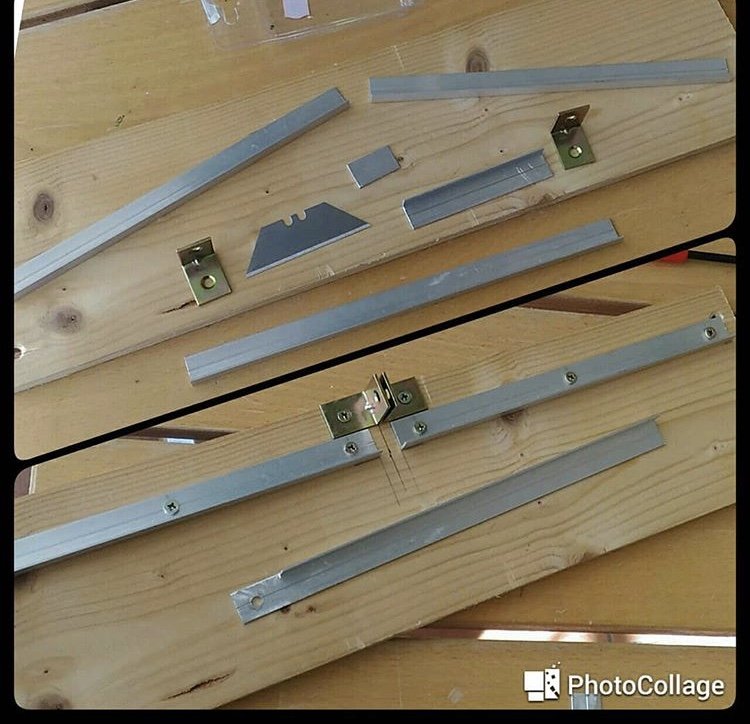
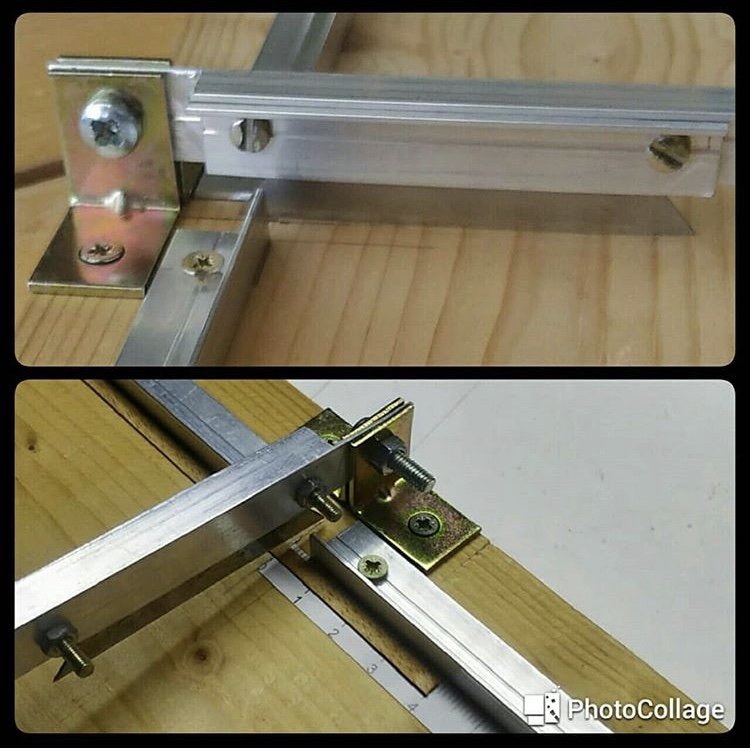
Glenns, I am not sure how far along you are with cutting the planks, but if you have some free time this weekend I actually just posted a few pictures of a plank cutting jig that you can make yourself for relatively cheap. The pictures can be found in my build log on here for the San Francisco II.
As Imagna said, planking never looks pretty while it is being carried out but from what I've seen the final product always seems to turn out way better than anticipated. I like the idea that you are planking a solid hull, looking back I wish i would have attempted that with my previous one
-
-
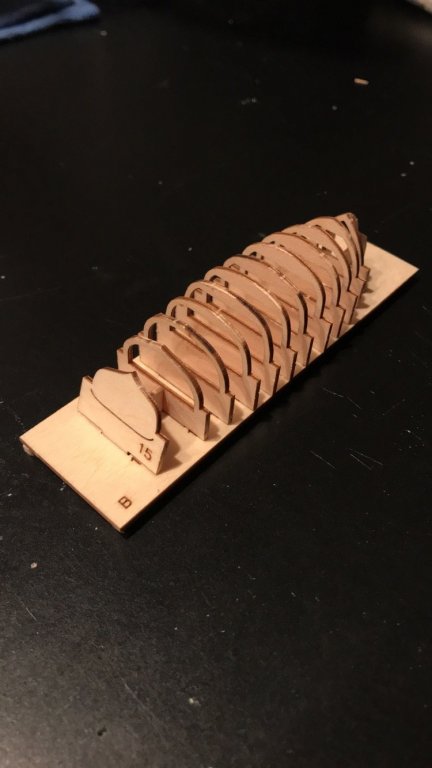
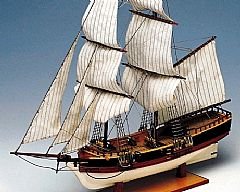
This is not the one I made, but I stumbled across it on Instagram and pretty much copied it. I just cannot seem to find the paper scale for mine.
-
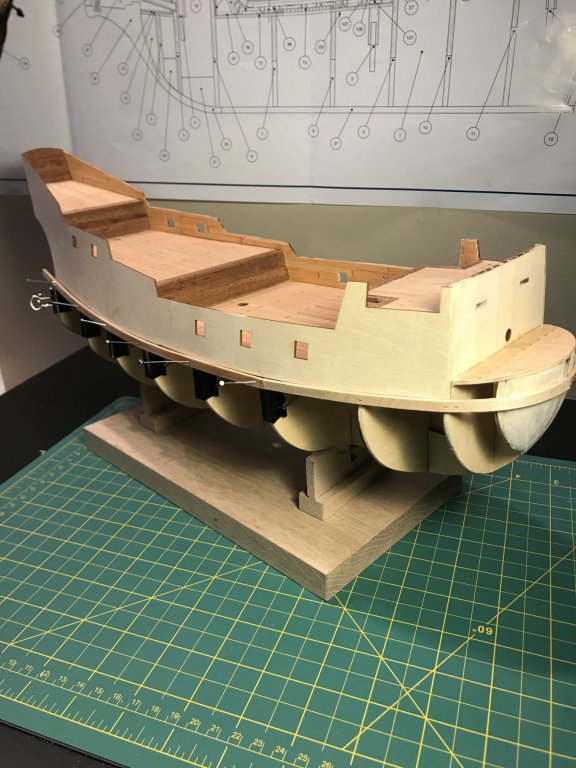
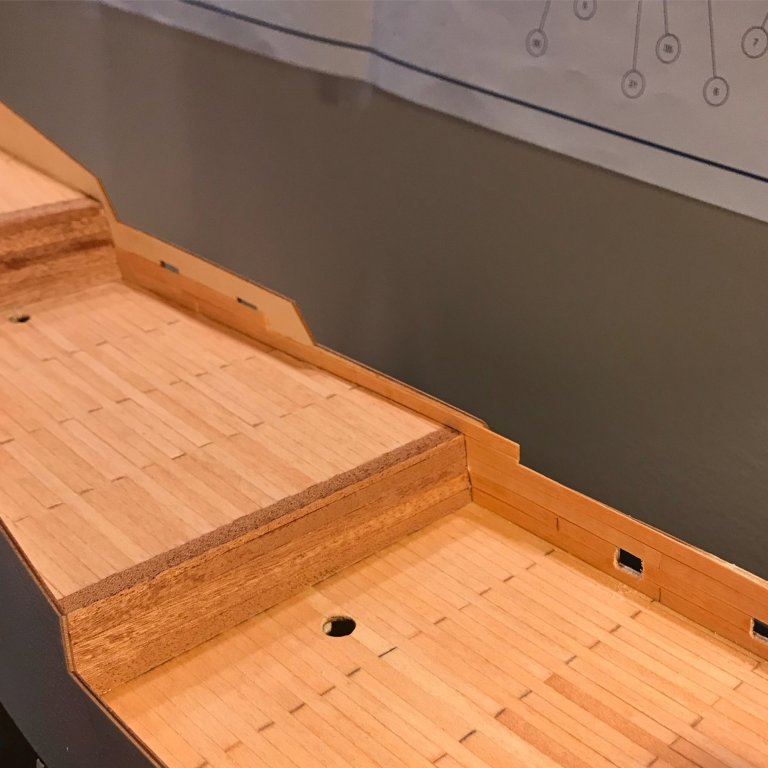
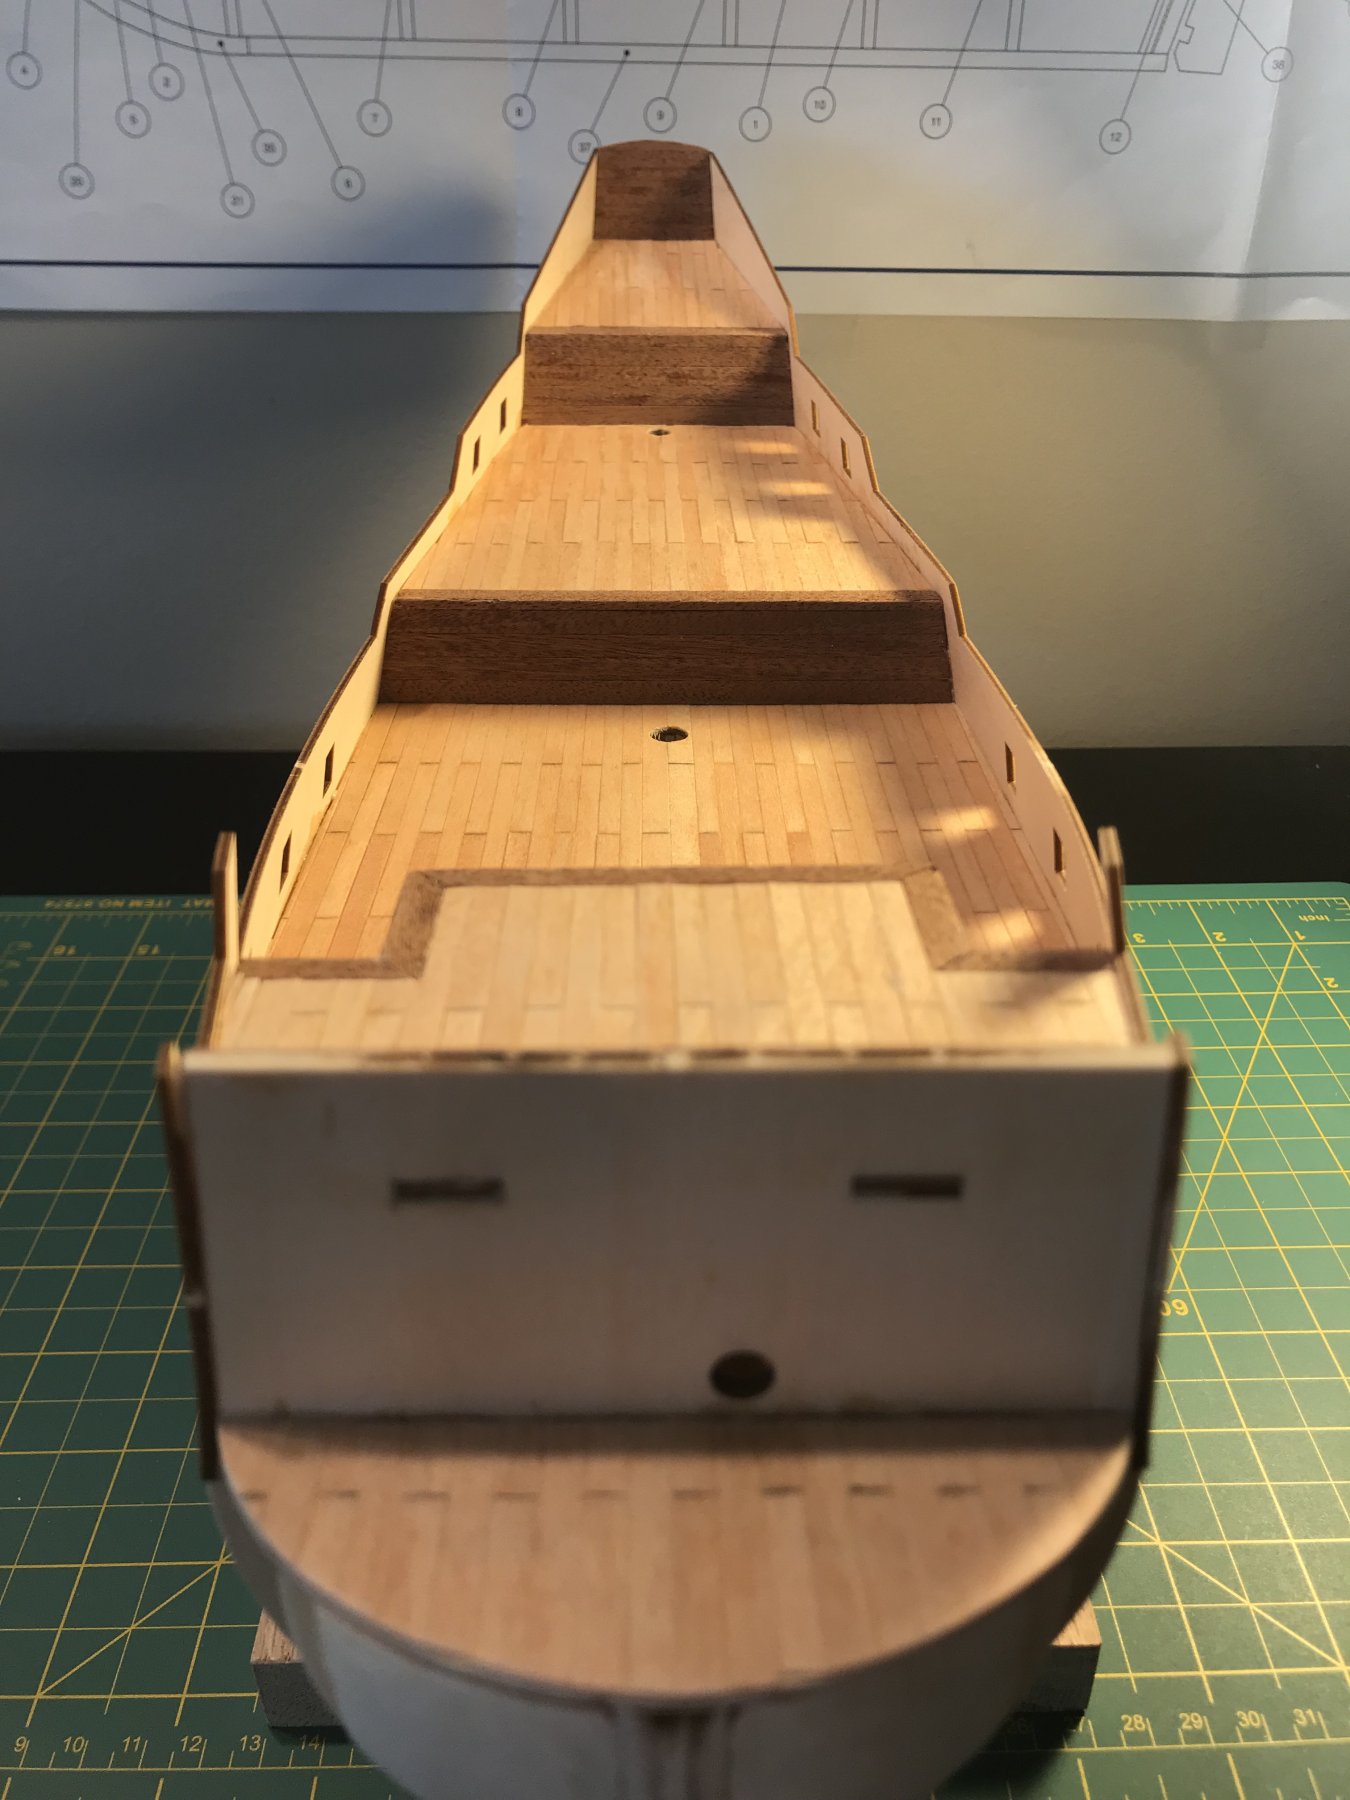
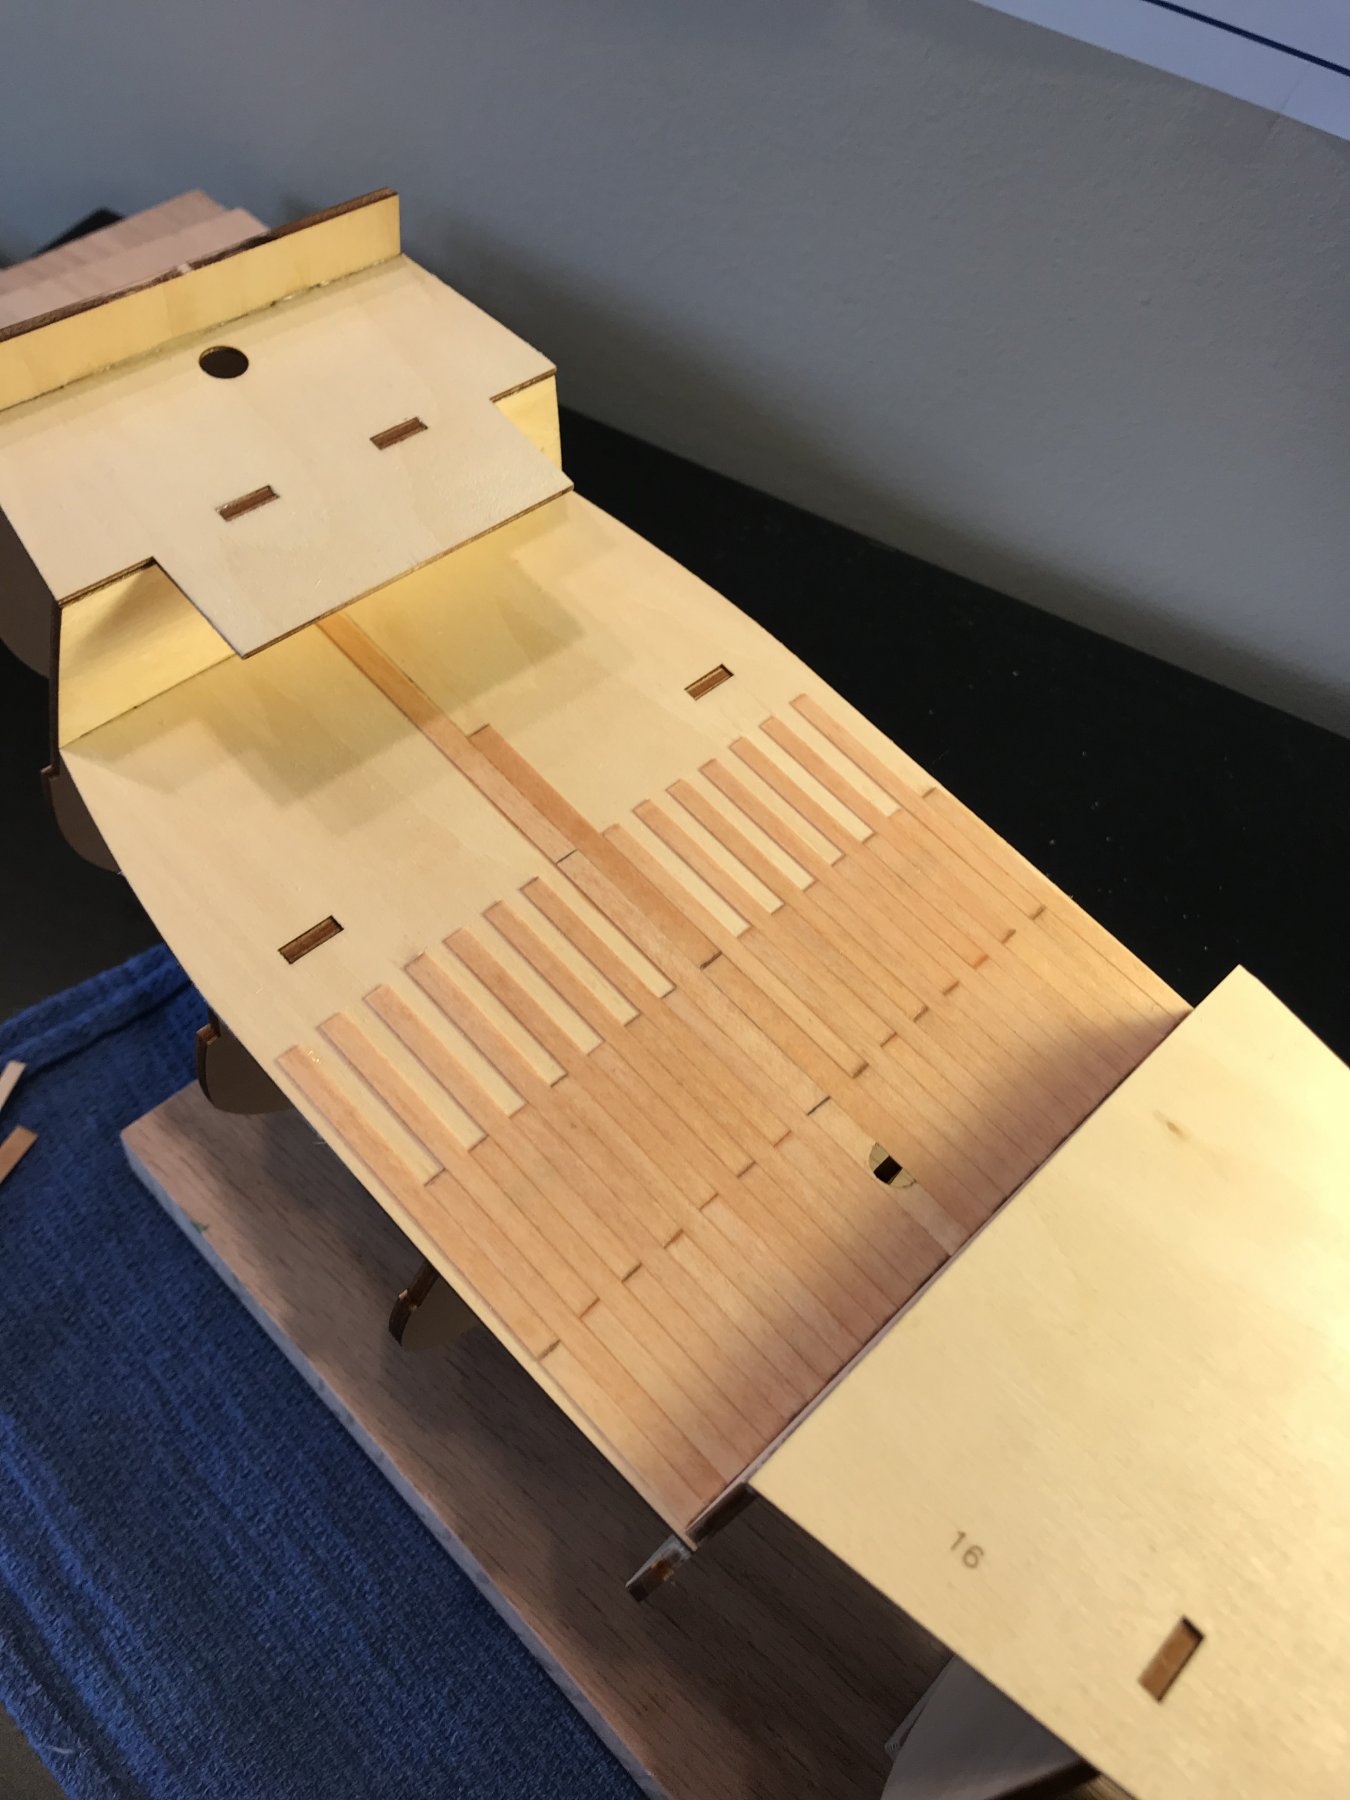
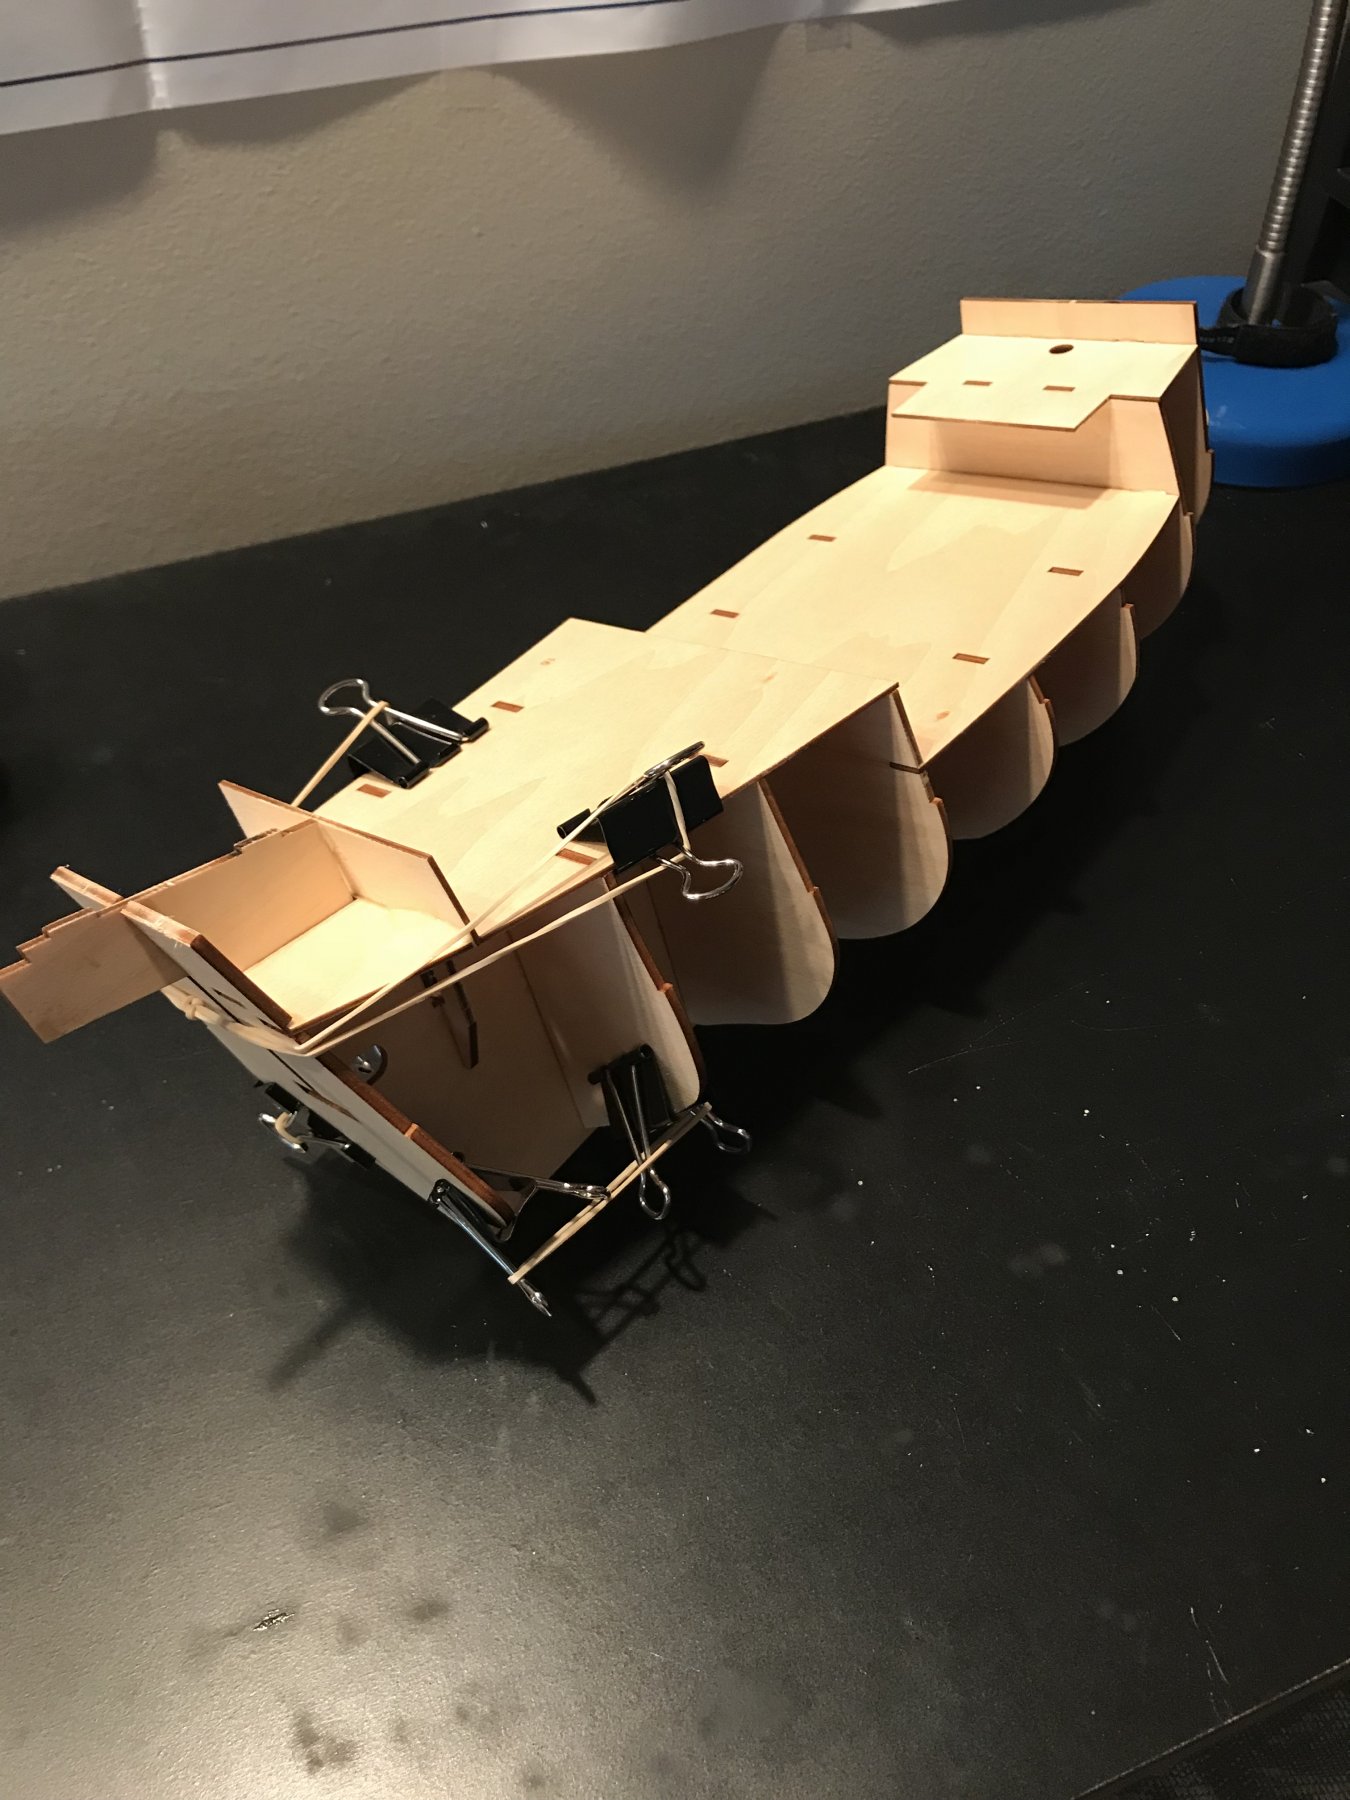
The deck is completely planked, about halfway through I decided to work smarter and picked up a few materials to make a cutting jig for the planks. I didn’t have time to get any pictures of it but I will post it eventually. Time ran short before I had to go to work.
The kit did not come with filler blocks so I went to Menards and picked up some small blocks of walnut. Between my dremel and the soft nature of the wood it didn’t long To get the contours just right
While the glue for the planks was drying I decided to get started on the cannons and the long boat.
I will have the bulwarks on tomorrow, and then hopefully I can start planking soon


-
I am currently building the full model of this in 1:90 scale, it will be interesting to watch your progress as I go
-
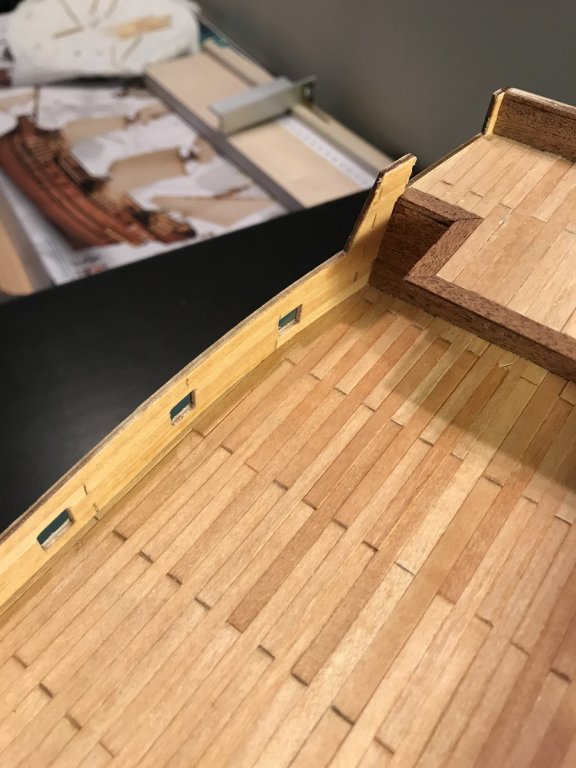
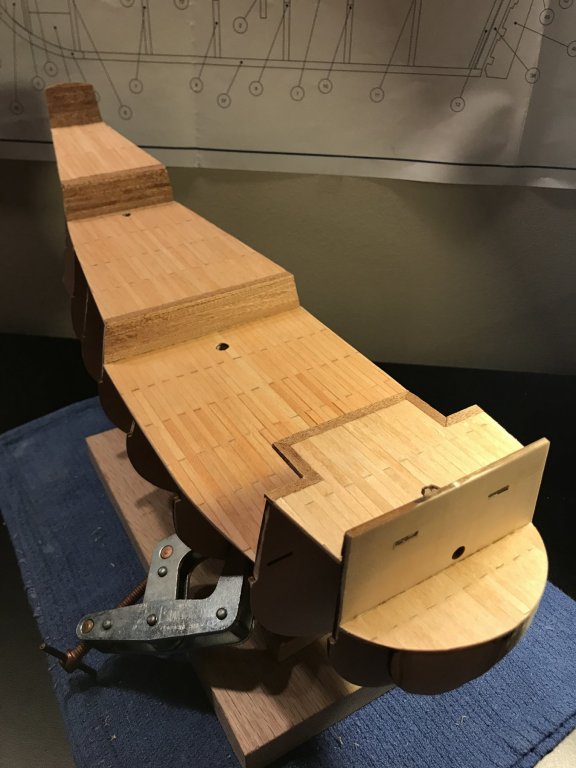
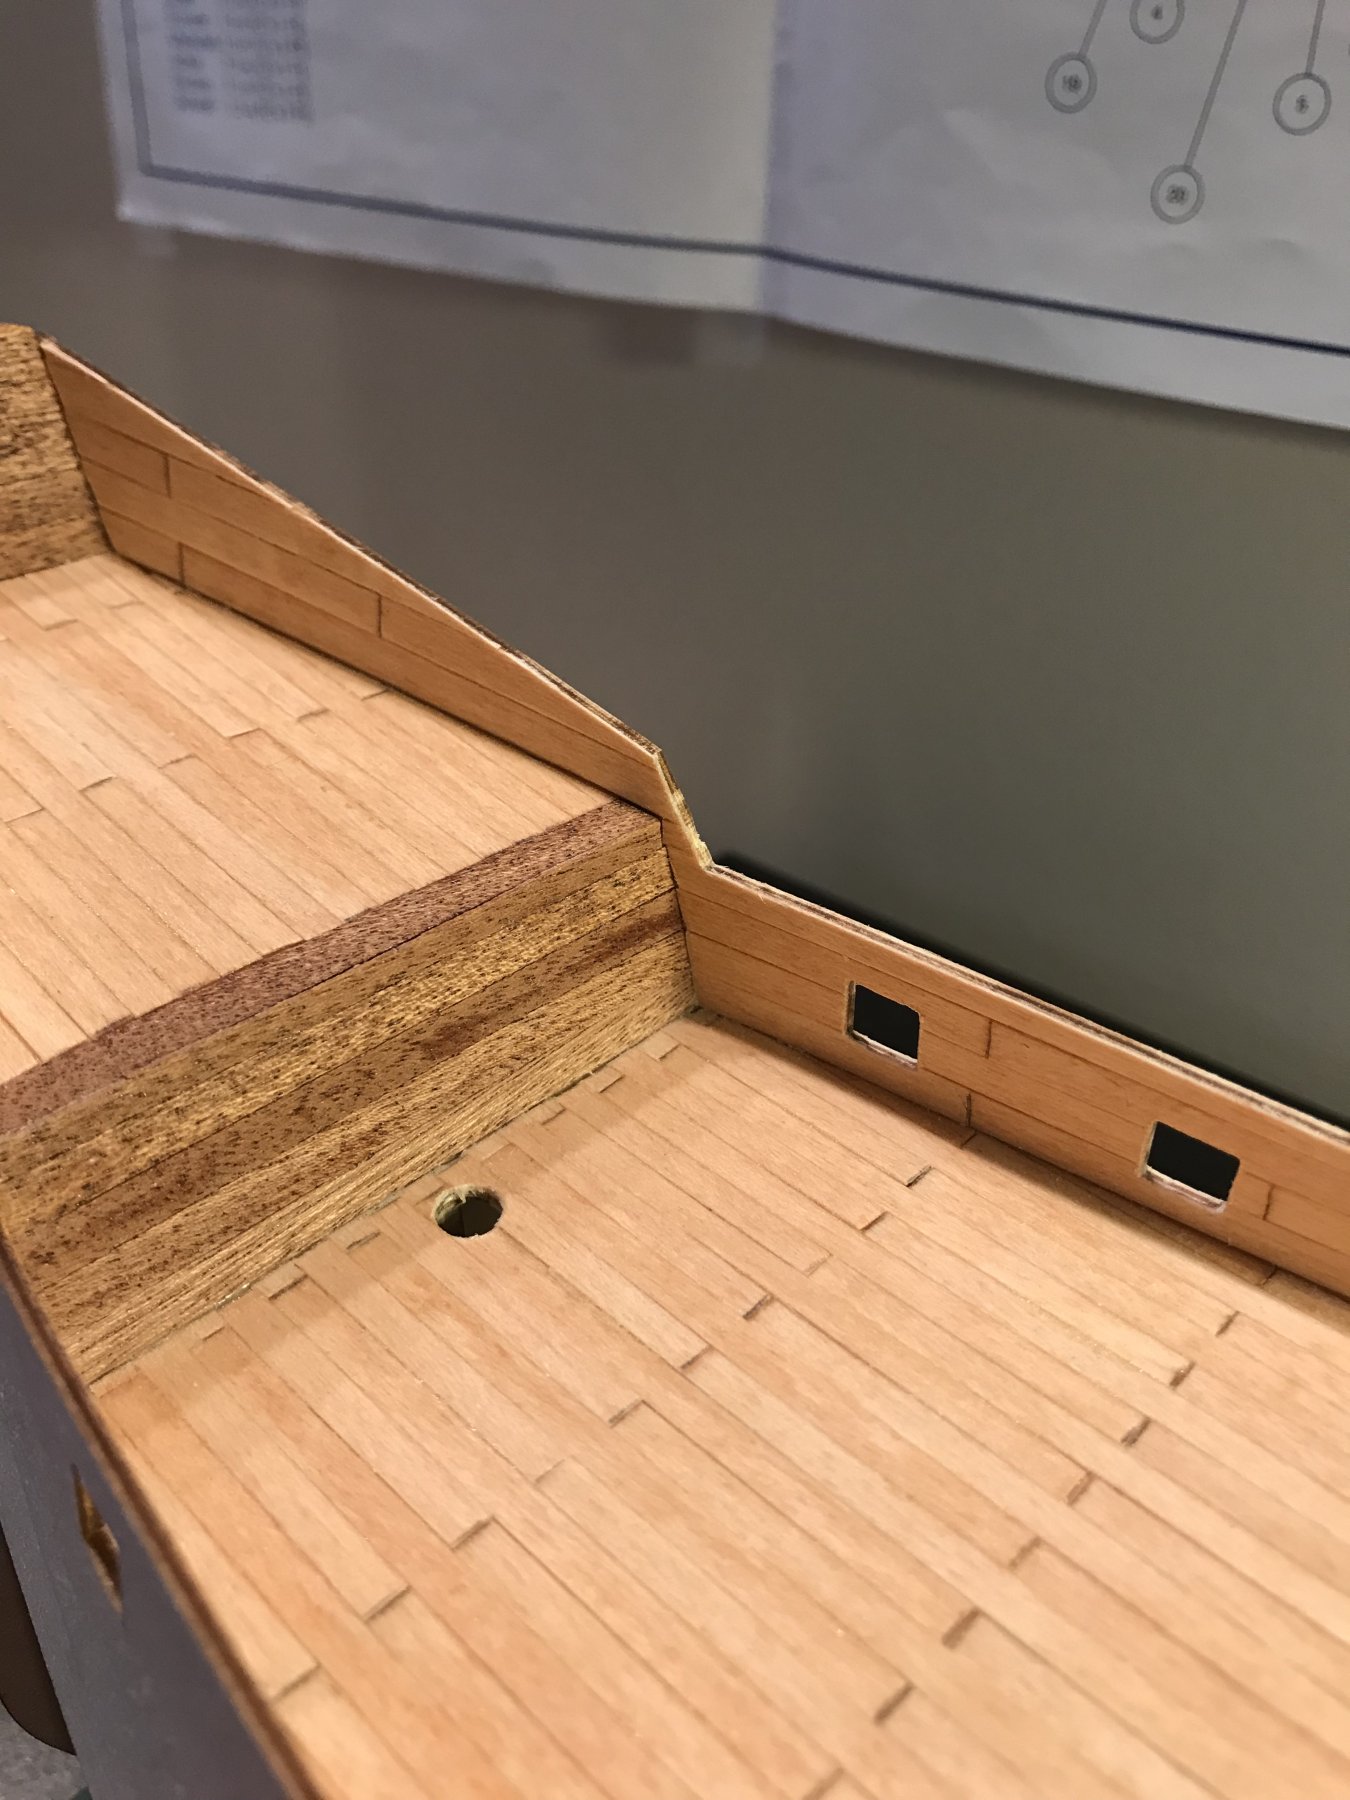
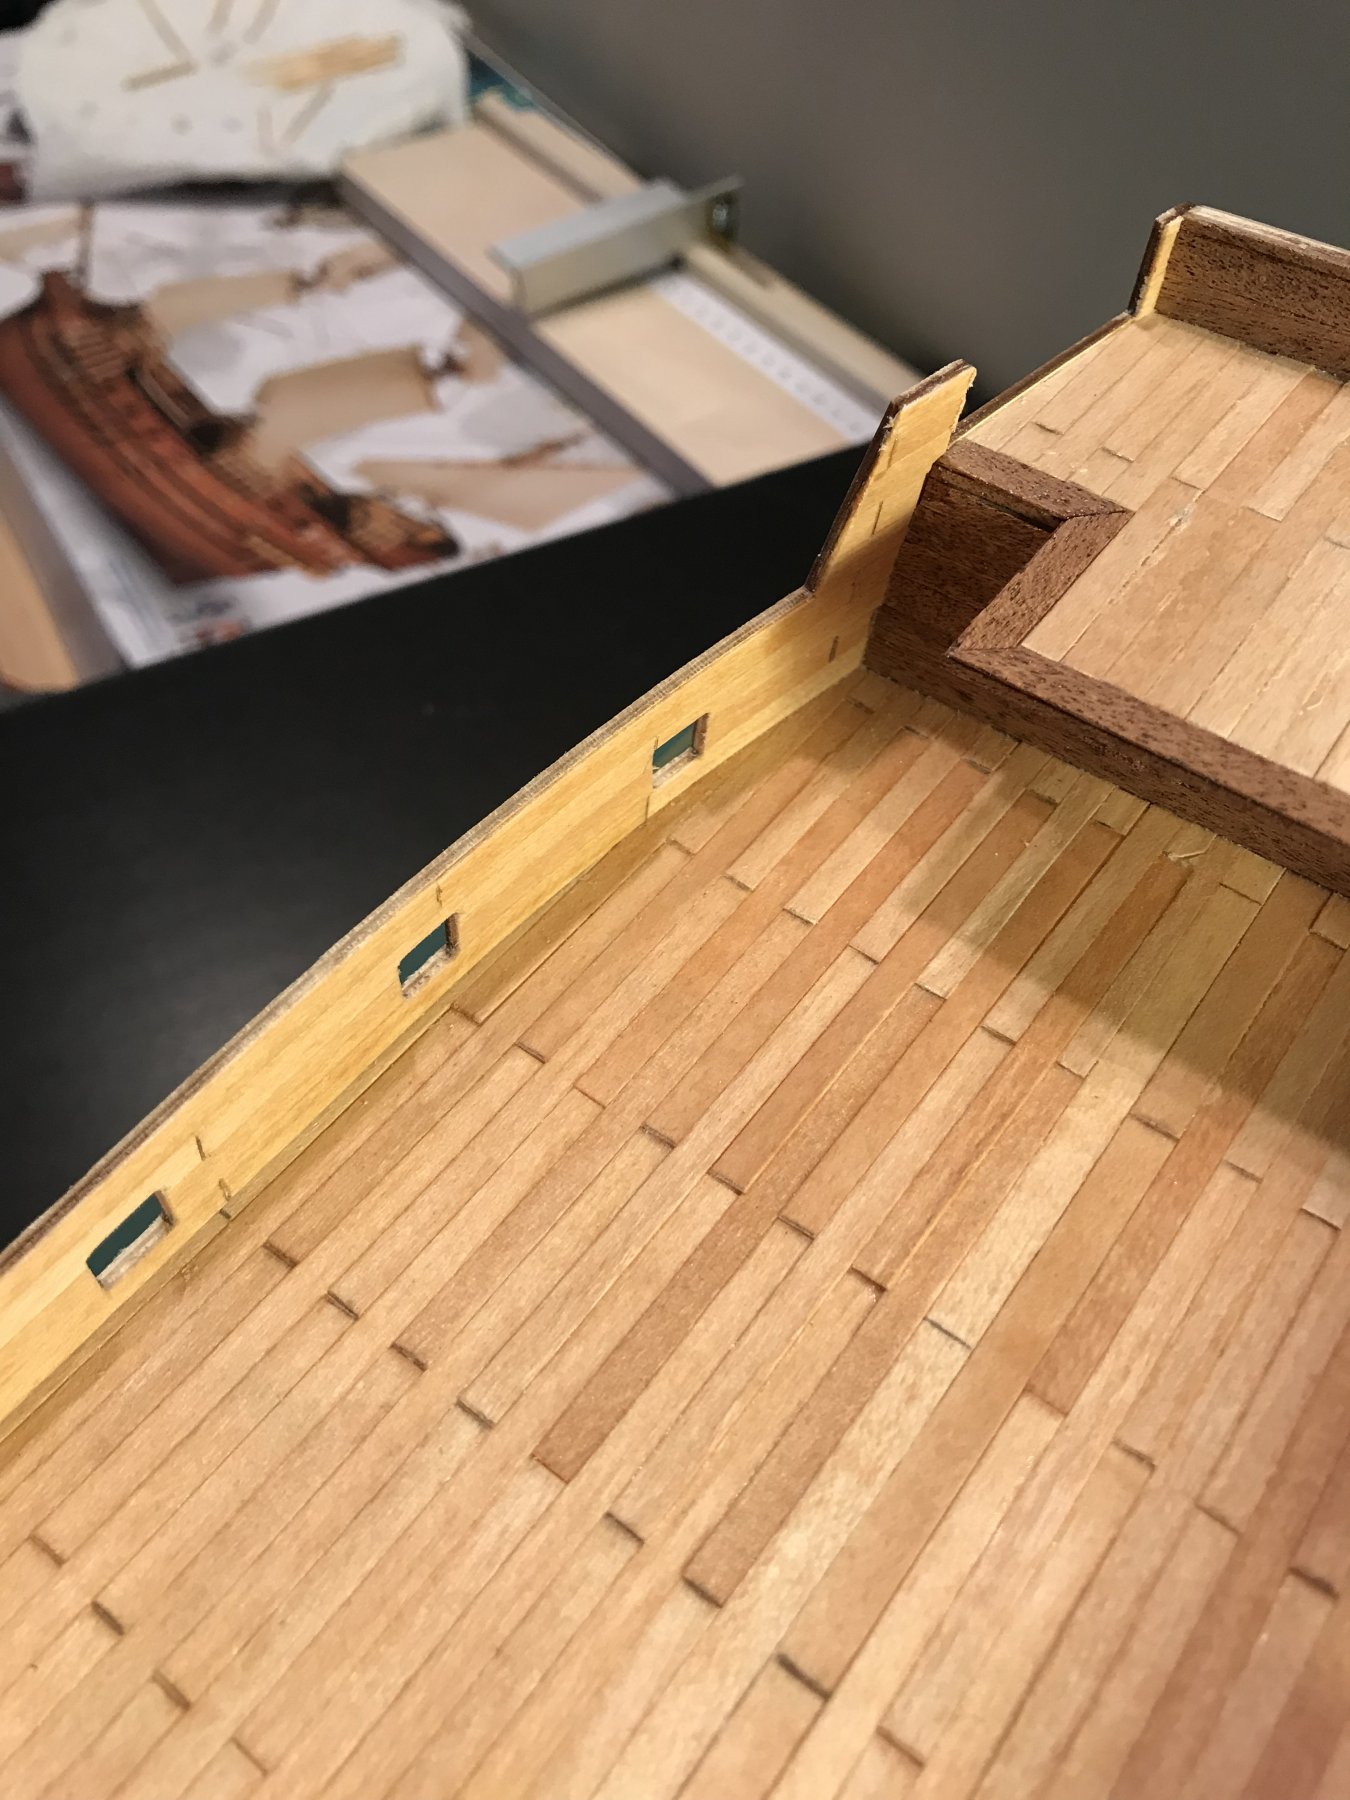
Made a little progress this weekend. Got a majority of the fairing done and when it came time to plank the deck the directions say to just lay the planks down and pencil in the deck lines. I did this on my previous build and wasn’t happy with how it looked so I decided to cut the pieces individually for a more “authentic” look. I decided this after I laid down the first plank and the glue was dried, of course.


-
On 10/11/2018 at 12:21 PM, robert daniels said:
This was also my first ship. It will be easier to plank the hull if wait on the false keel. Also it is a single planked ship and the wood is thick and hard. I suggest an electric plank bender. Best of luck.
They must have changed the kit in that regard as well, the deck boards are single planks but the hull is double planked. I am investing in a plank bender though.
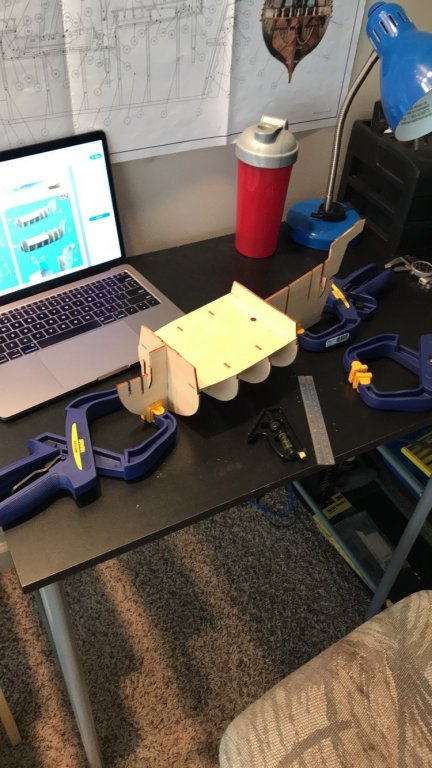
Got a little progress tonight. After I filed all of the pieces down it all got together incredibly well, mich better than I was expecting after looking through another build log. The directions give a step by step pictorial on how to assemble everything.

-
after looking at logs for the past two weeks, I have noticed a trend of people glueing the false keel to the keel for the first step in order to clamp onto their vice to hold the frame uo during assembly. In my directions it does have installing the false keel until after it is planked. Is there any harm from gluing the false keel on now?
As stated, first time building the hull so I am sure to have many questions.
-
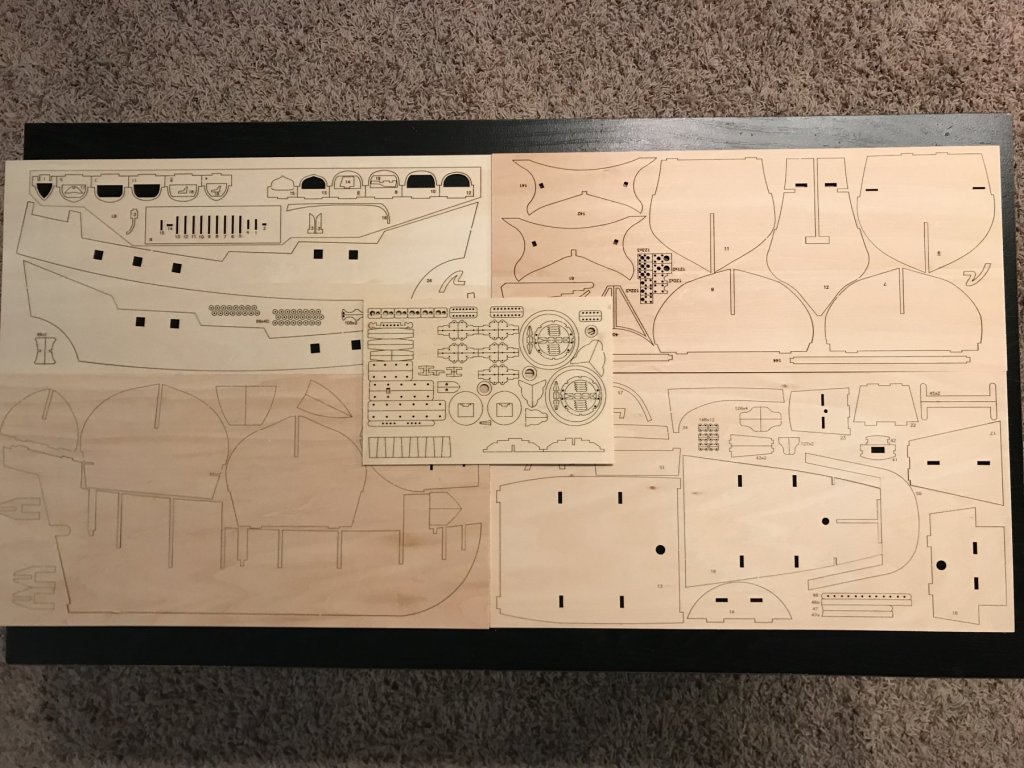
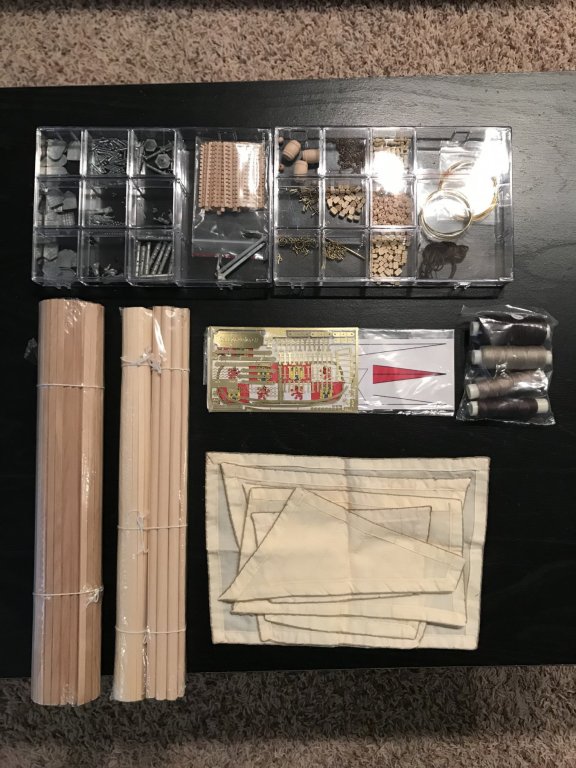
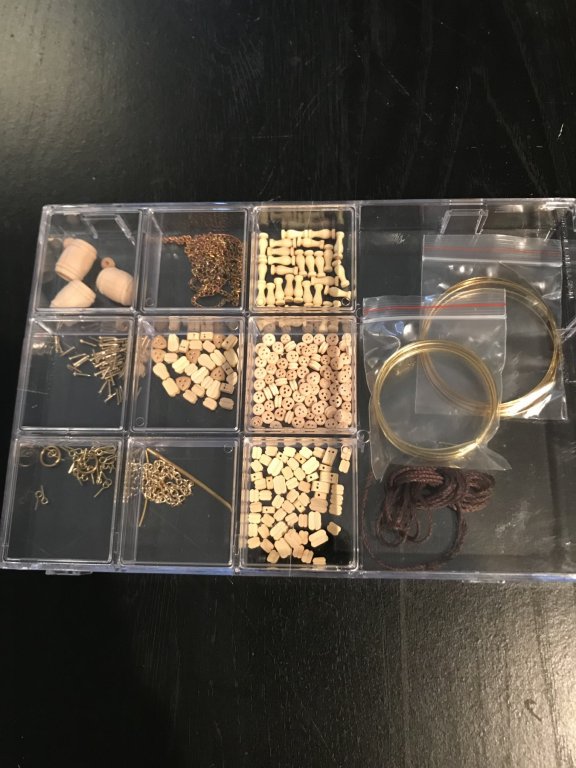
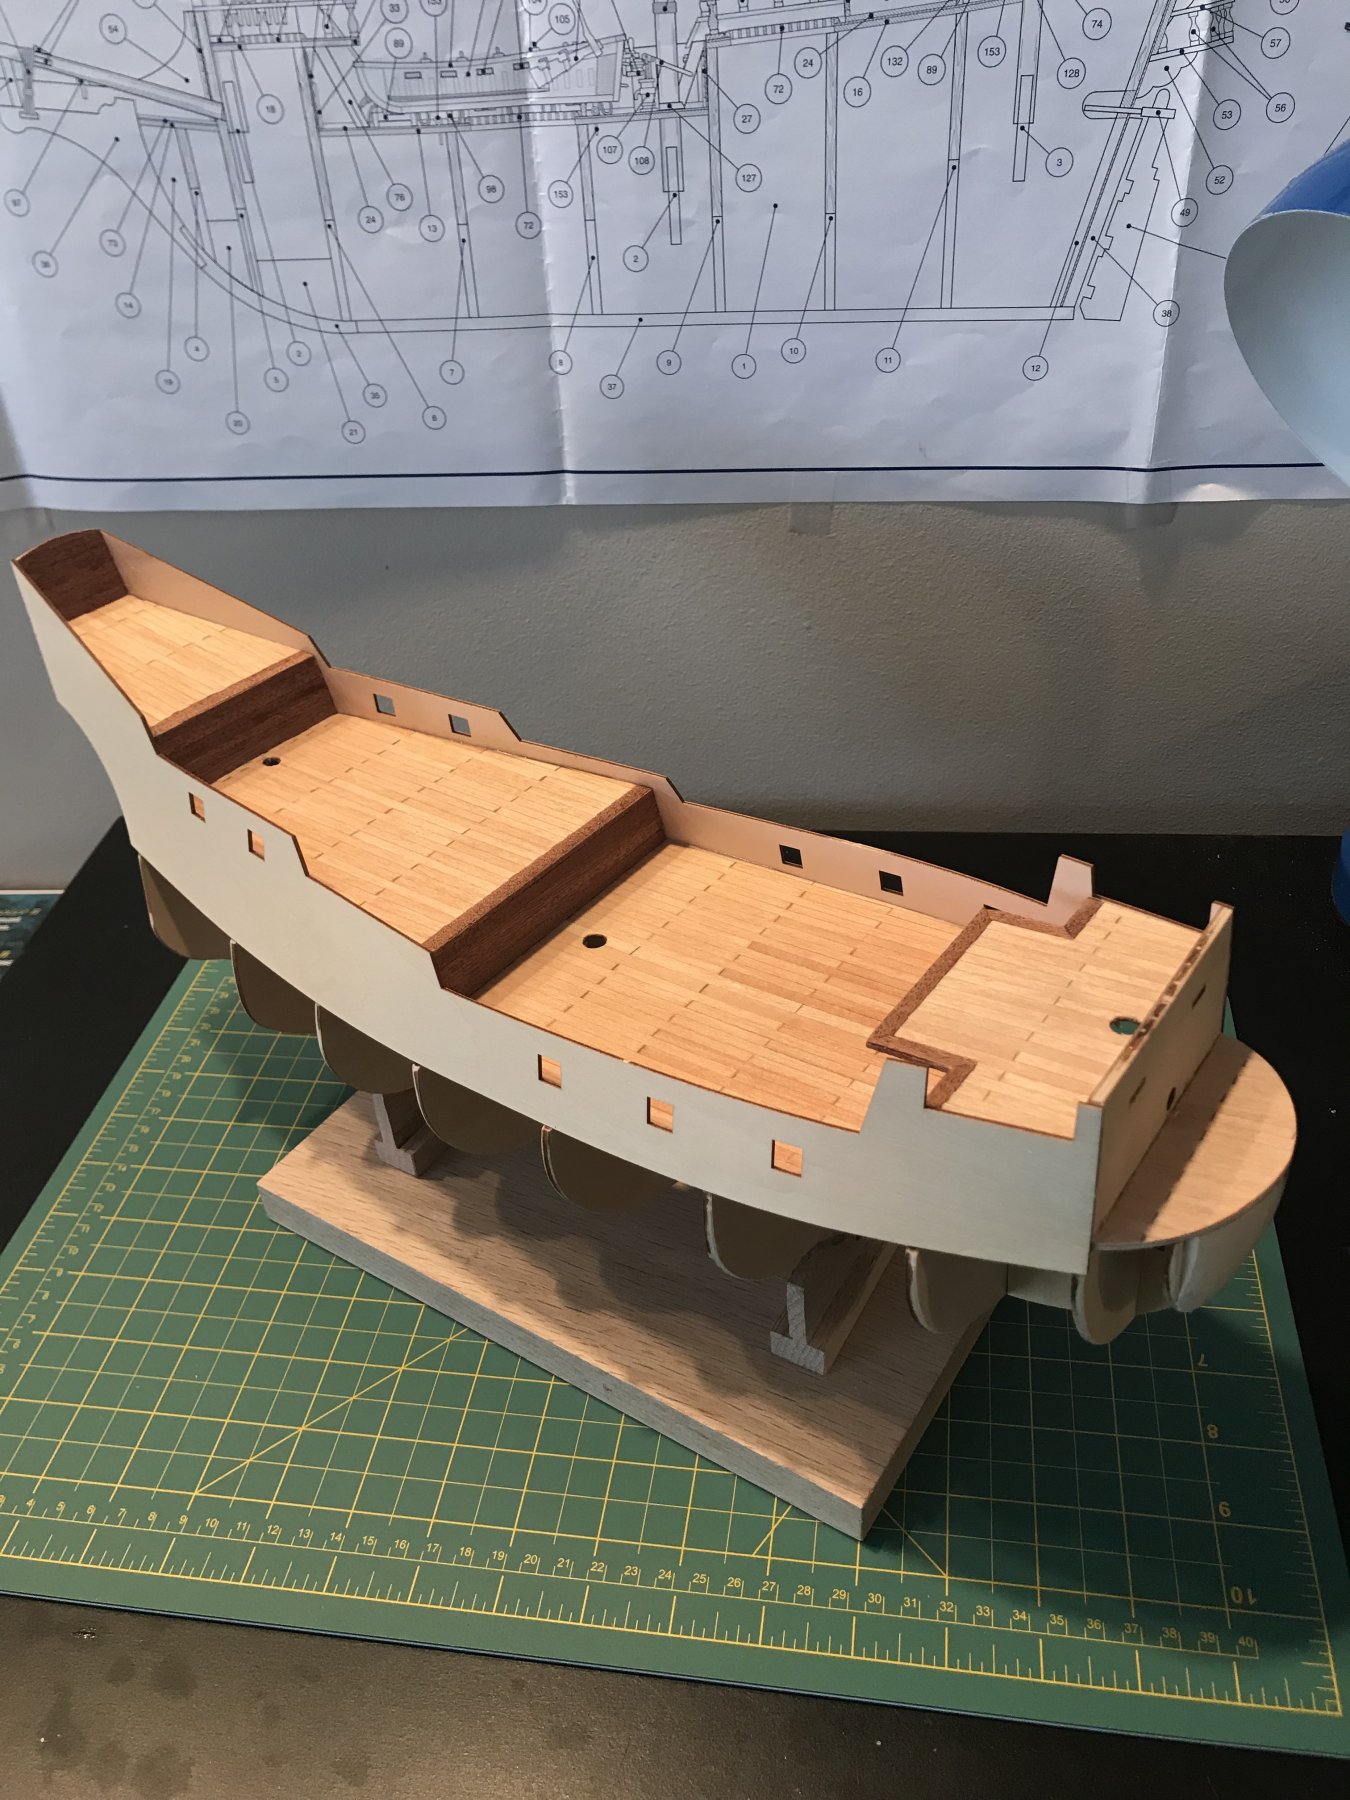
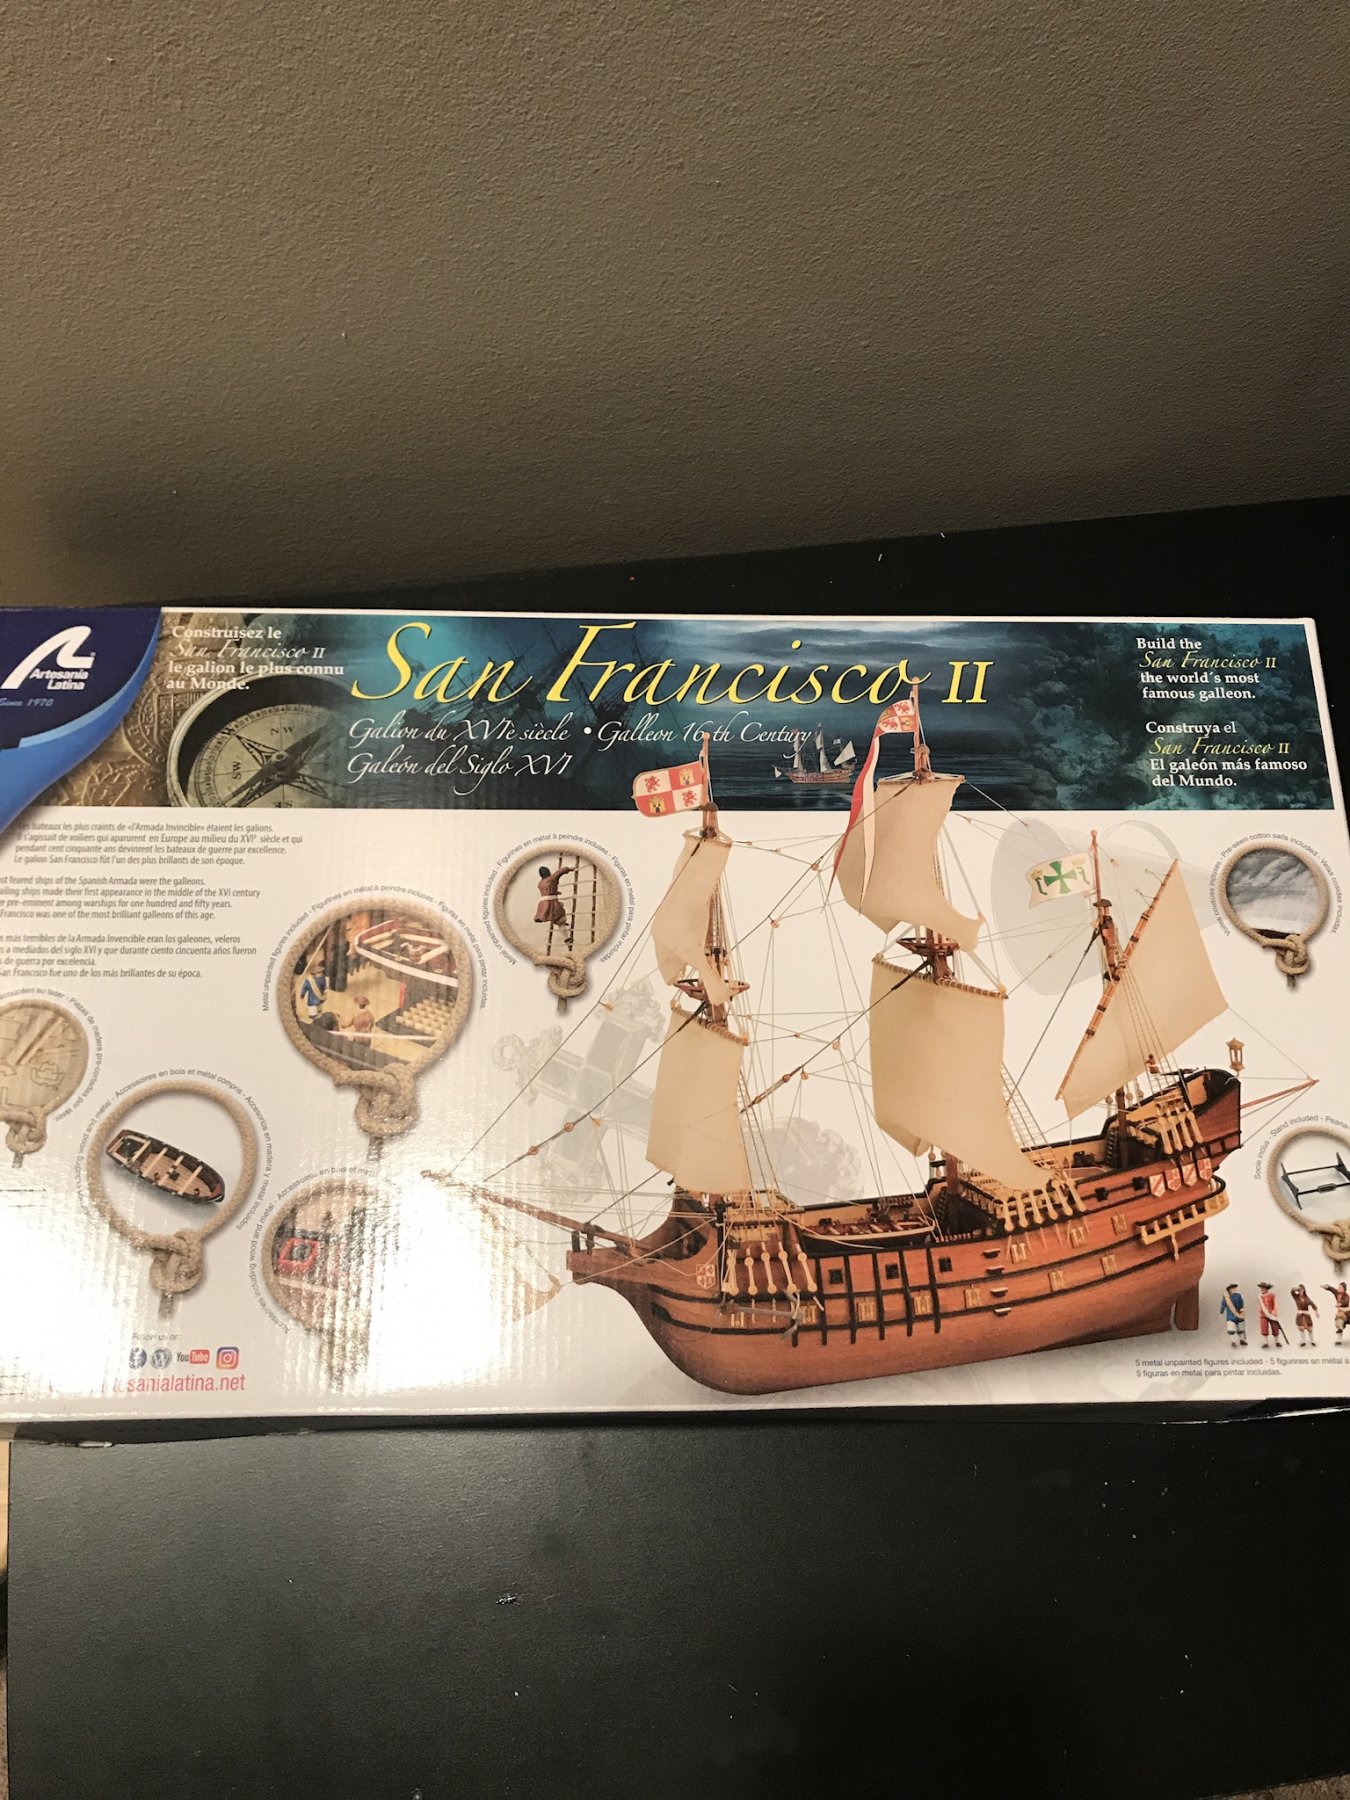
Didn’t take long for me to get the new kit opened and unboxed. I figured ill present the contents of the kit since it seems to be a less common kit on this website. I was initially planning on doing a master korabel but the hobby shop called me with too good of a deal to turn down.
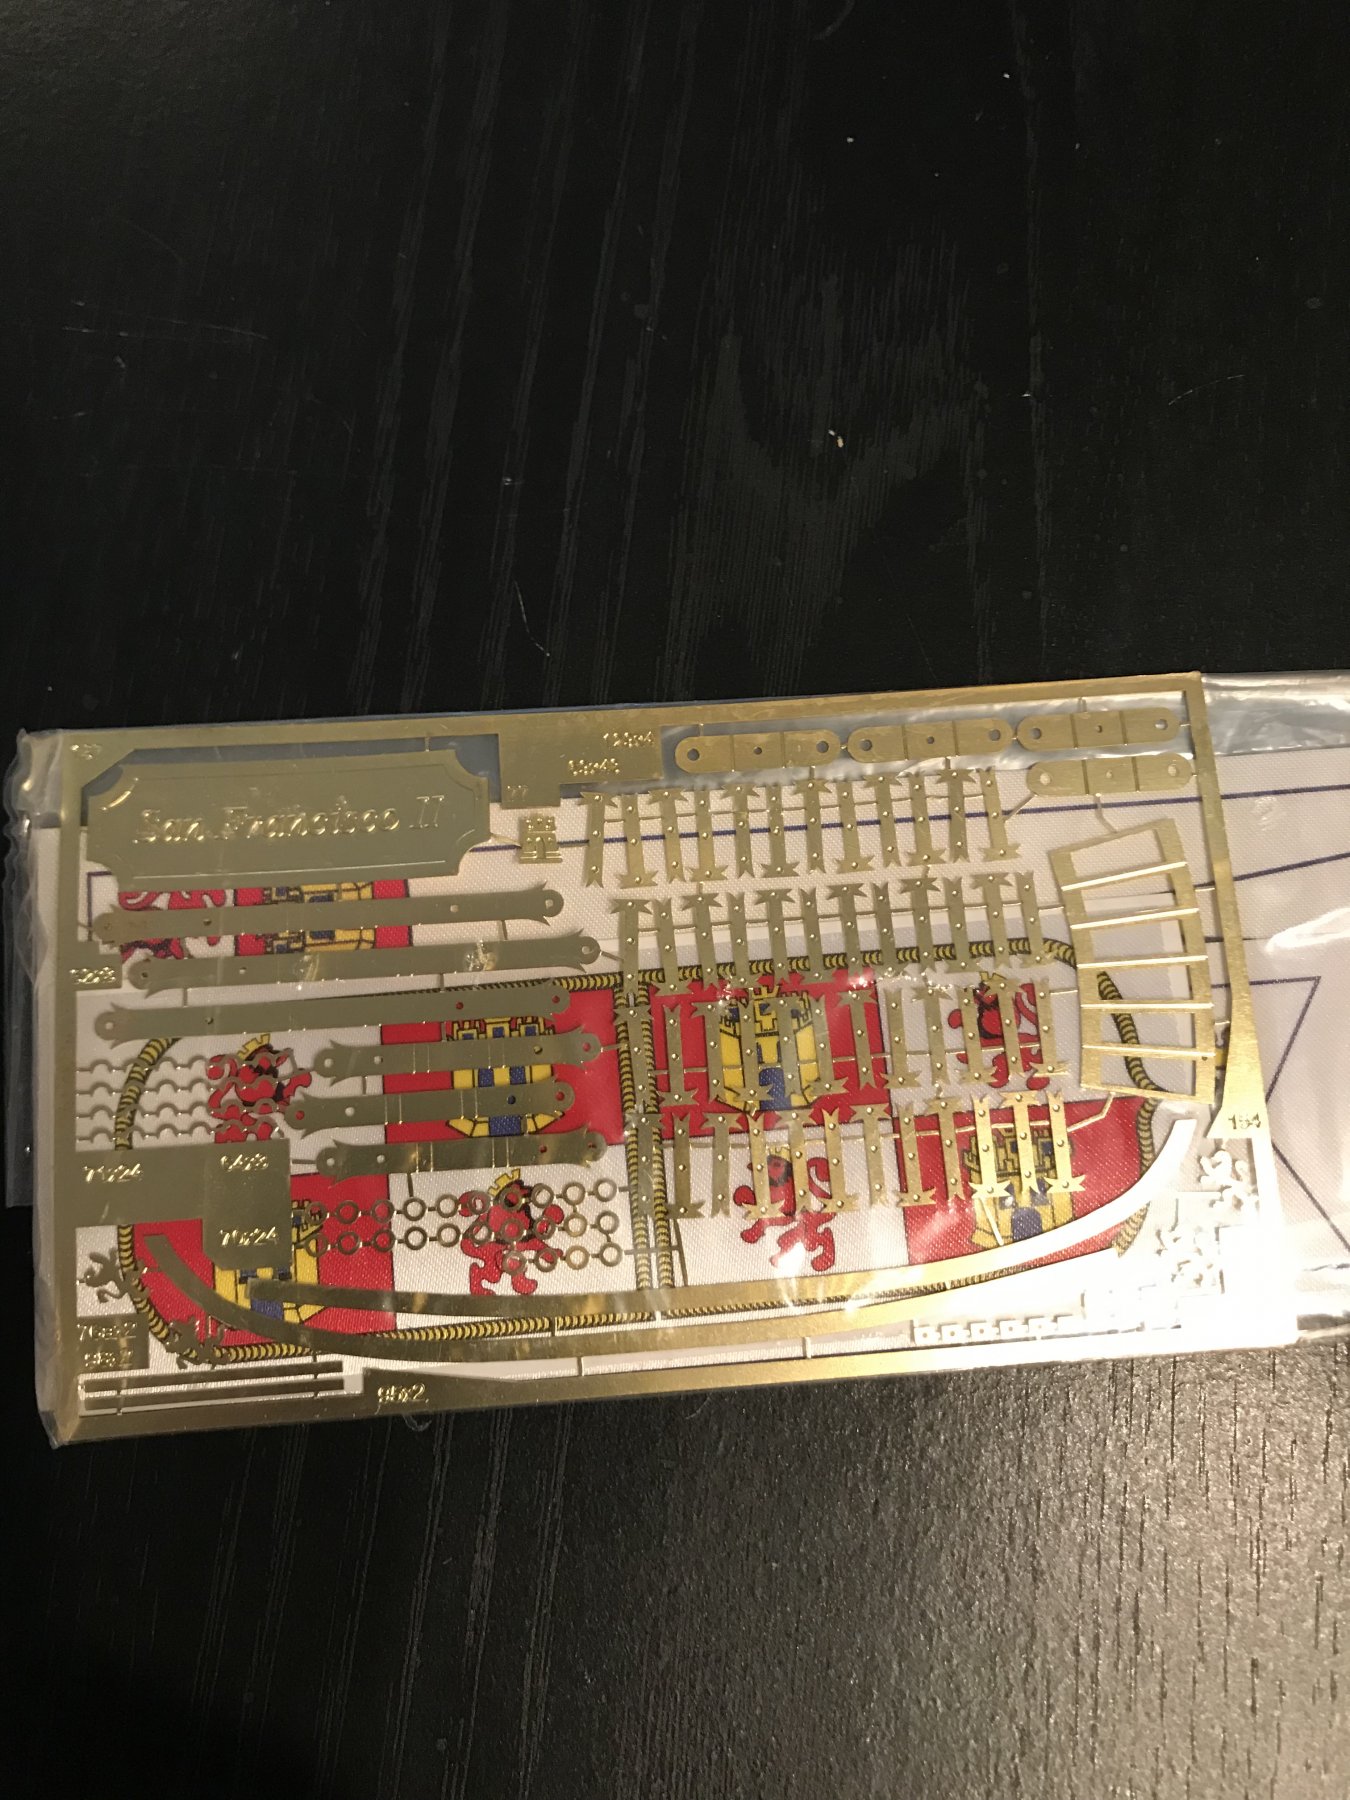
Upon opening the the box I was fairly impressed with the contents, especially after my recent build which was fairly basic. All of the parts are laser cut and pop out easy. I haven’t opened and closely inspected the die cast parts but at first glance looking through the case it all appears to be good quality. The sales came pre-sewn, which is a very nice touch.
This will be my first attempt at assembling and planking a ship, so we will see how it goes.


-
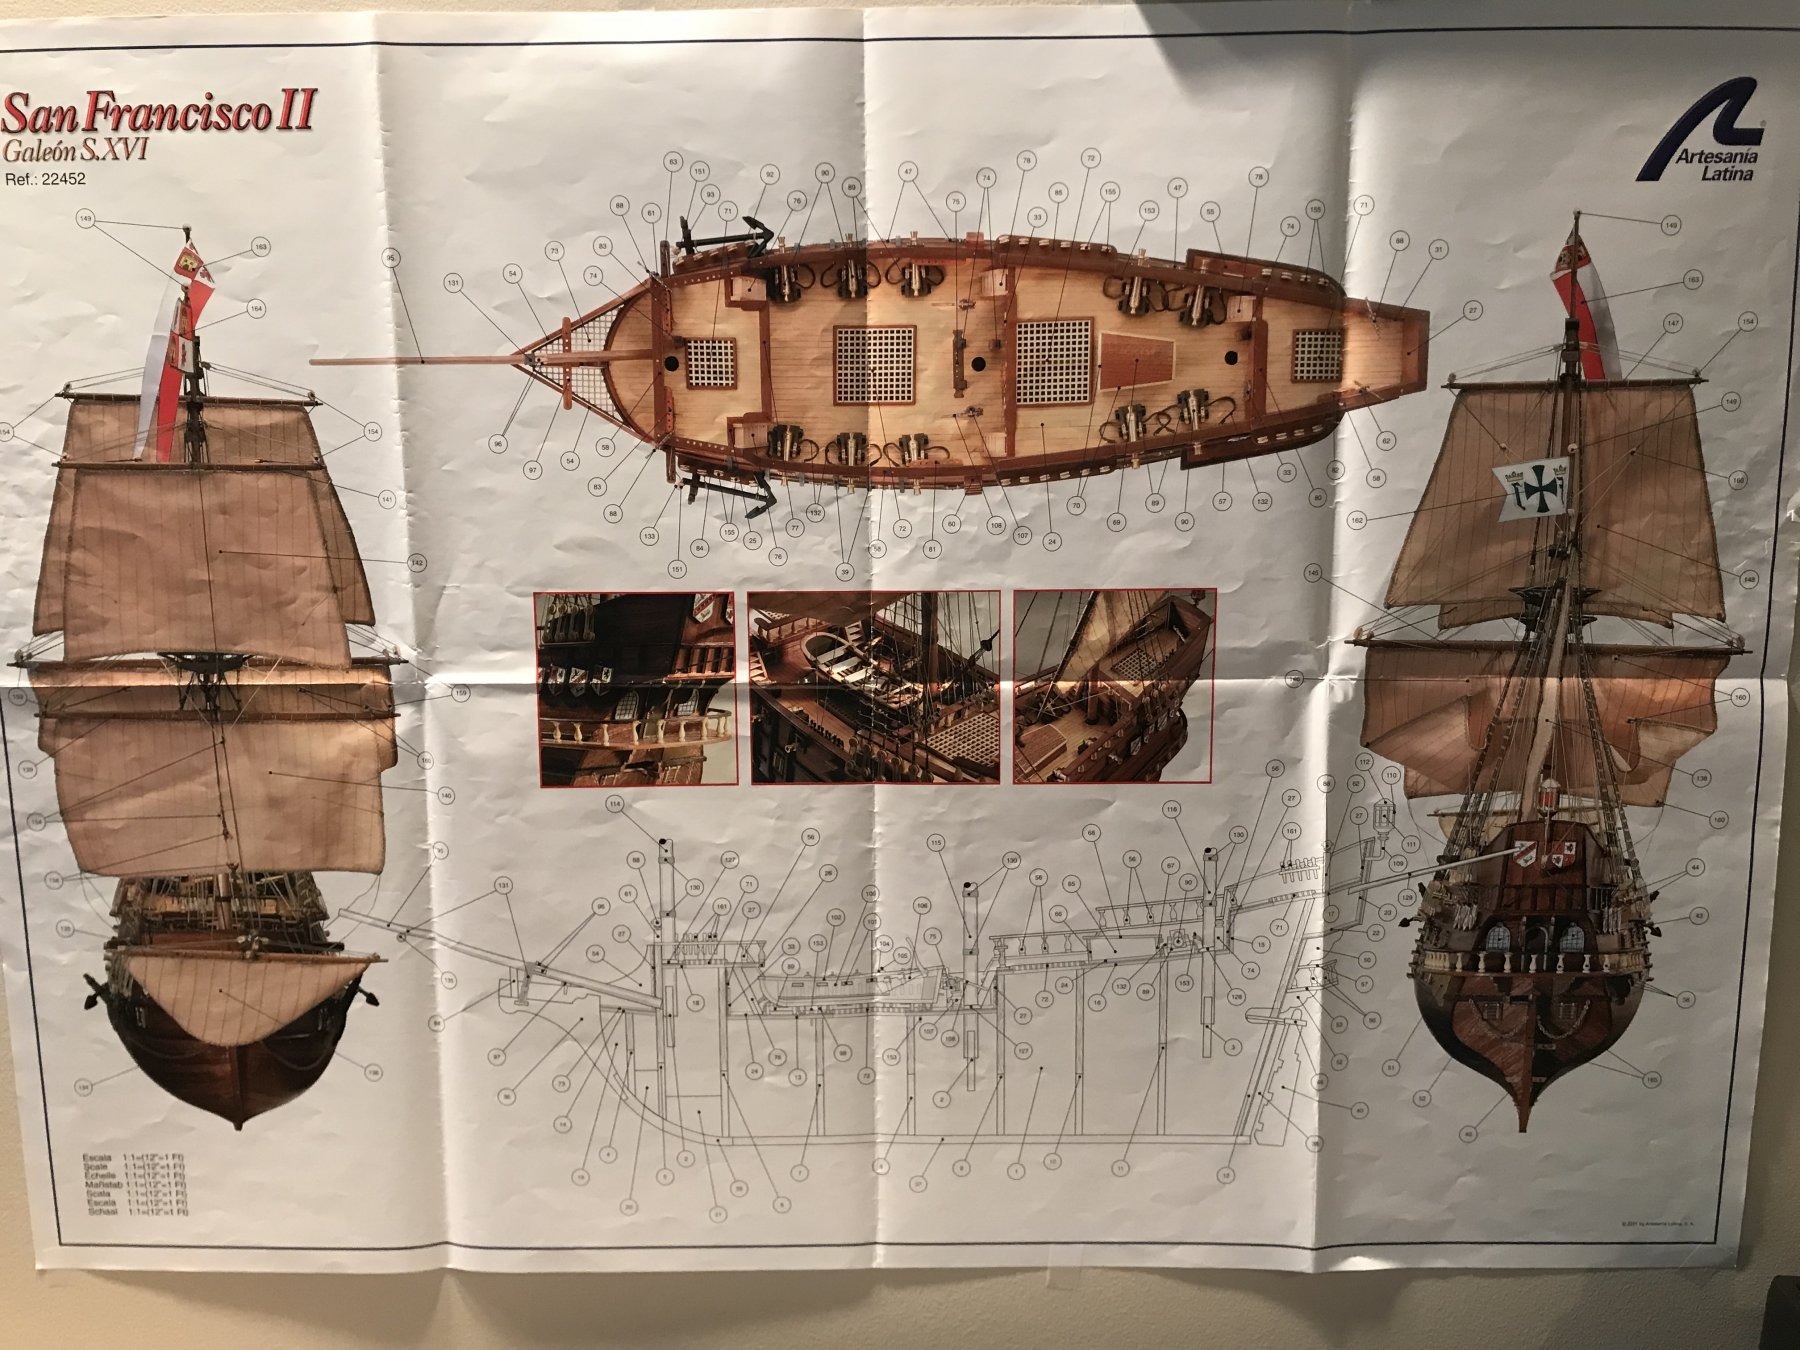
Well with the incredibly brief instructions and poor rigging diagram that I’m convinced is wrong in a few spots it’s no surprise people don’t finish his kit haha. I was also disappointed in the amount of rigging line provided. I ran out of both colors 3/4 through rigging and I feel I was being pretty conservative with it. Ah well.
-
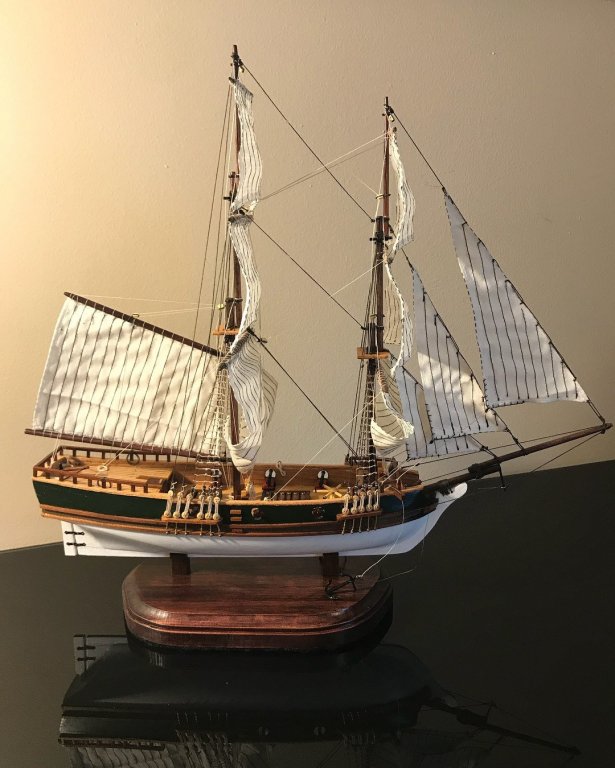
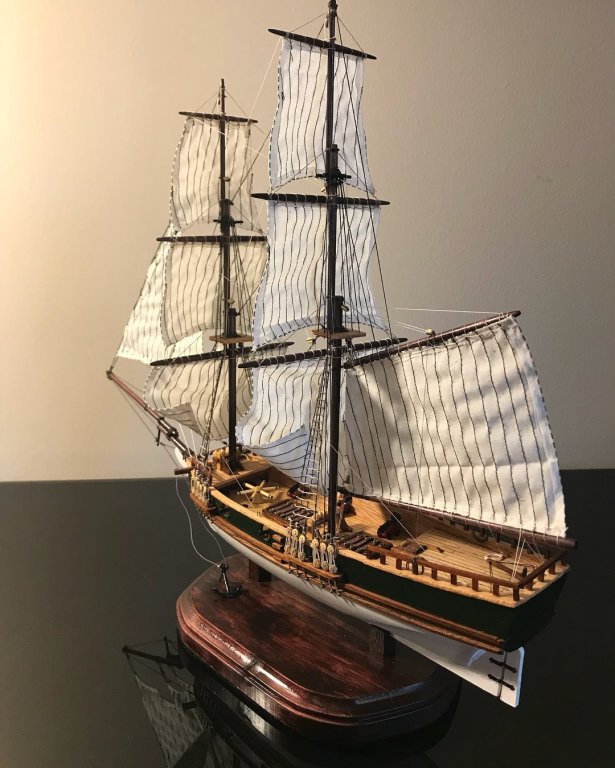
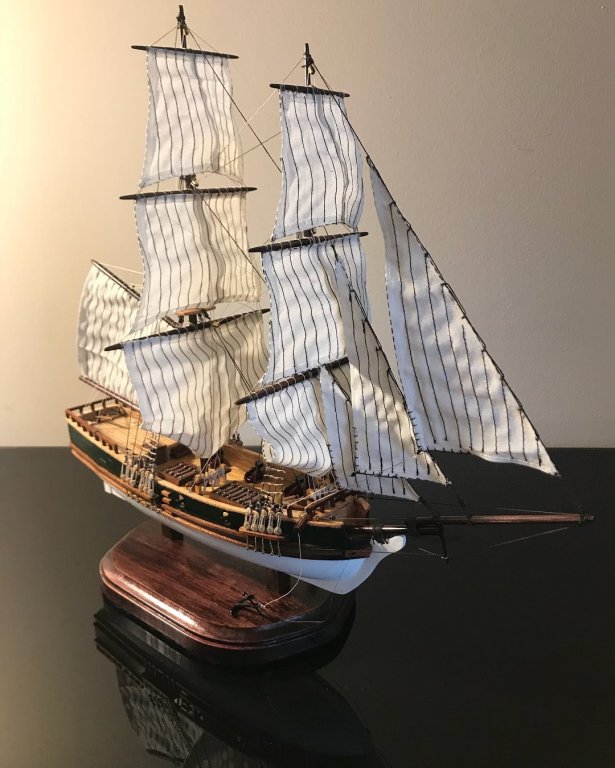
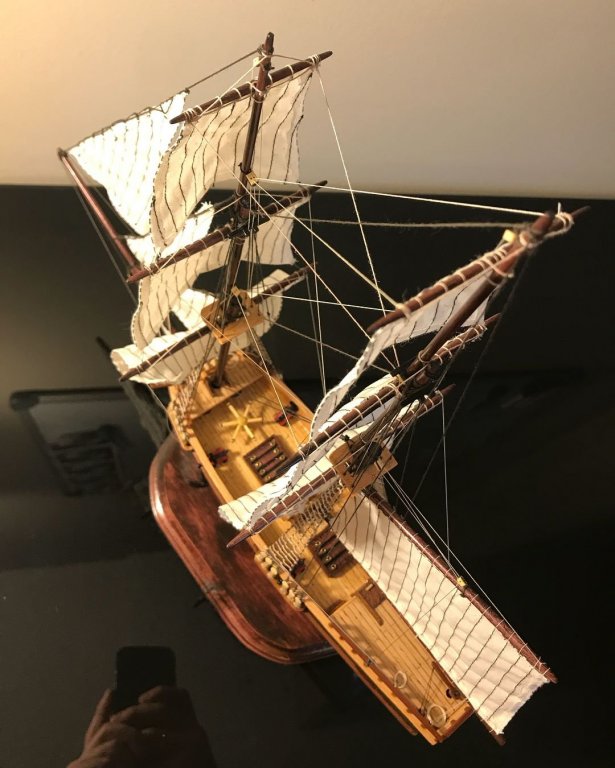
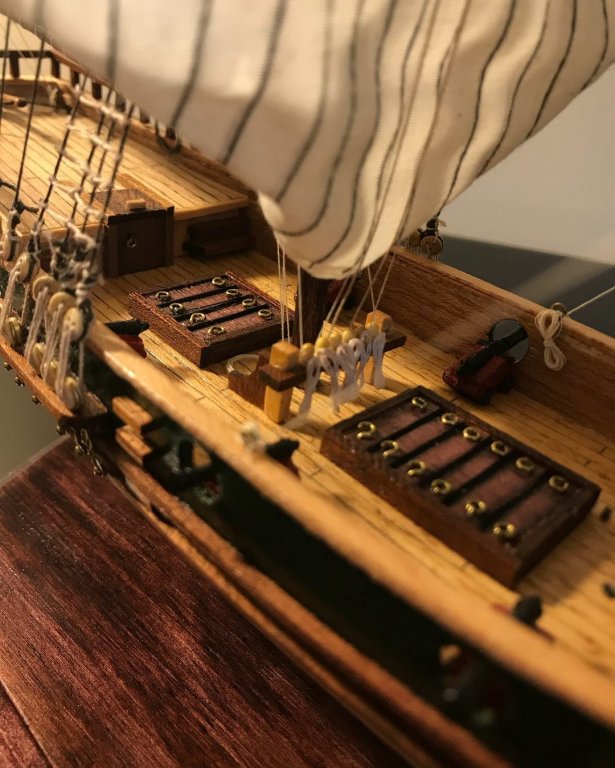
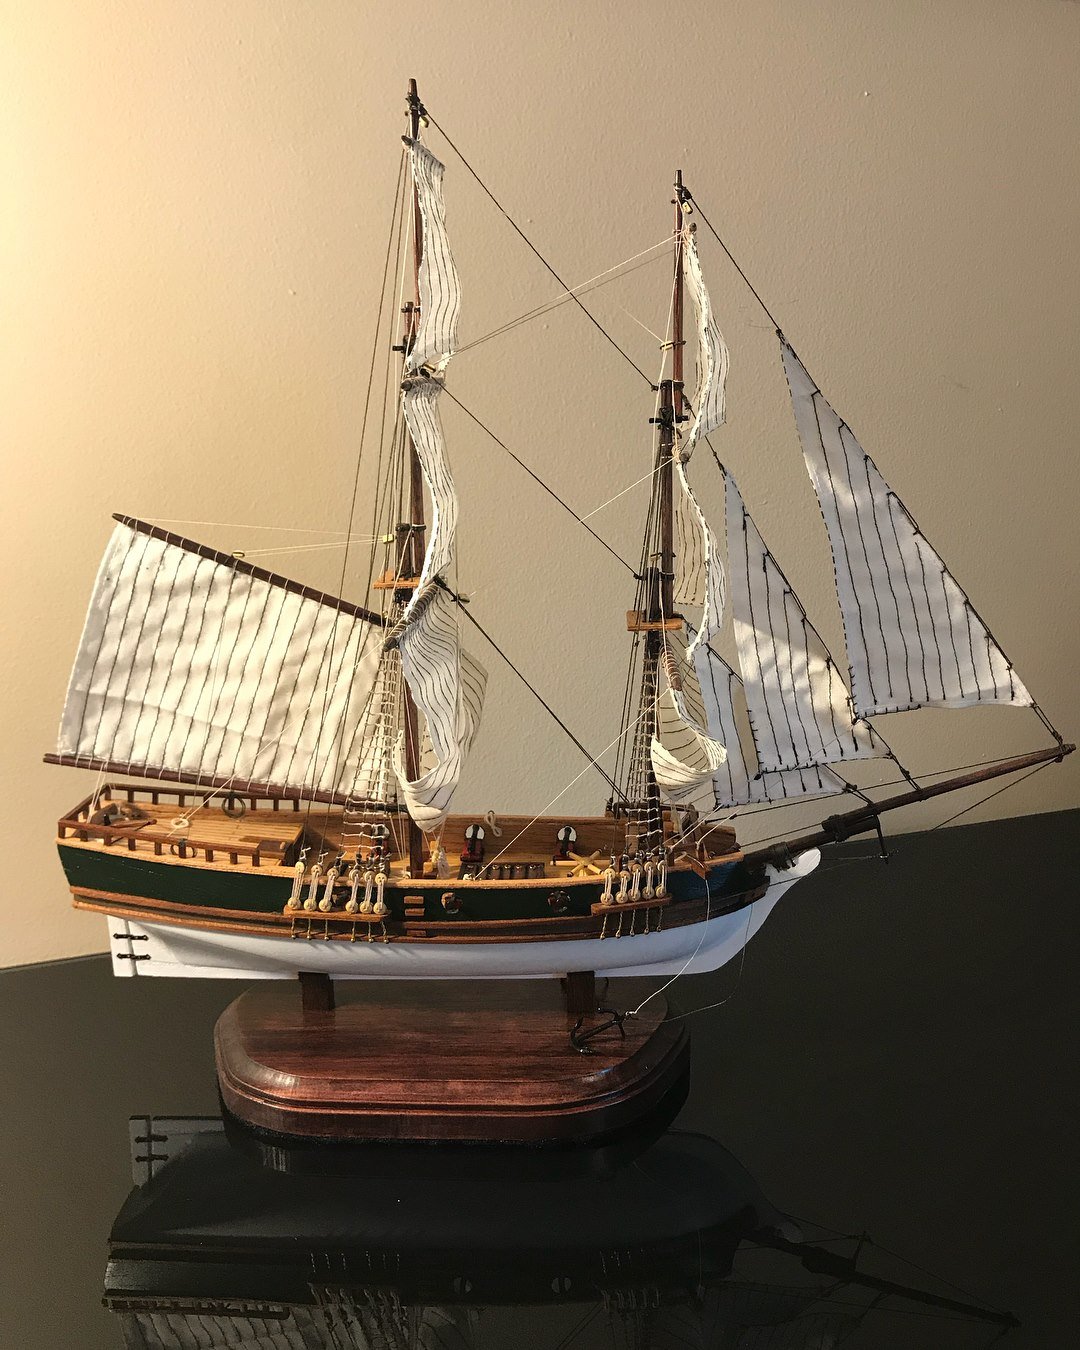
Well, I put the finishing touches on her tonight. Overall this went much faster than I was anticipating. which is great because tomorrow I am making a trip home and giving it to my parents for them to display in their house in Florida and they're leaving this weekend. I initially didn't think I would make the deadline. It is definitely not the most historically accurate ship on this site, and I cut a few corners in order to finish it in time. Thankfully my parents aren't savvy with this stuff so they'll never know. However, I did pick up a few books during the build and found out how to do things properly for the next one, some of the things required just doing it in order to see why it was "supposed" to be done the other way.
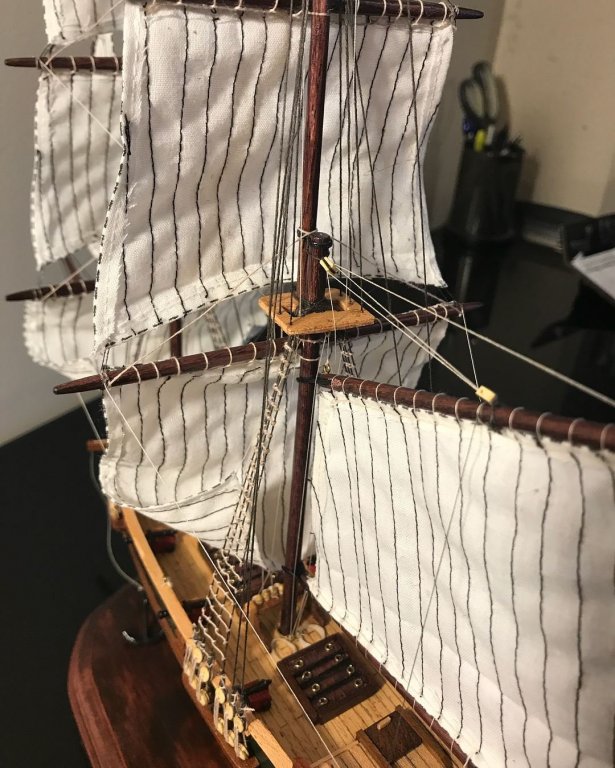
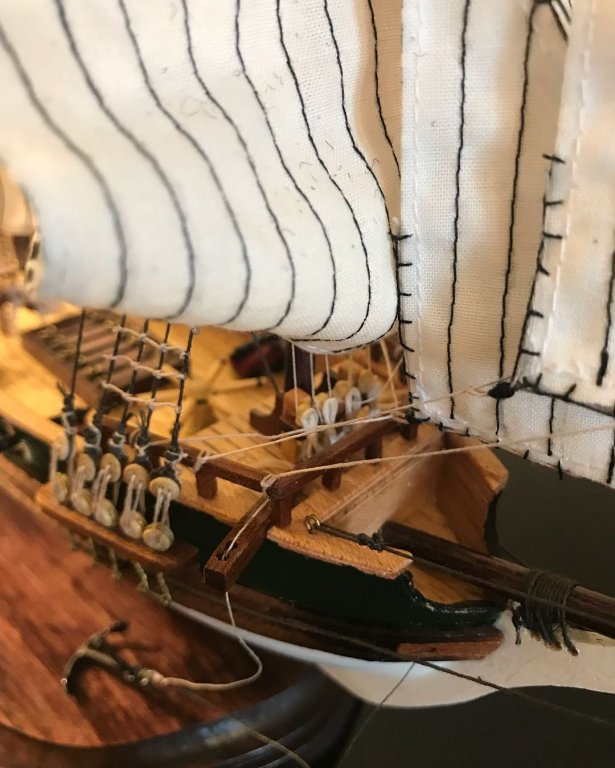
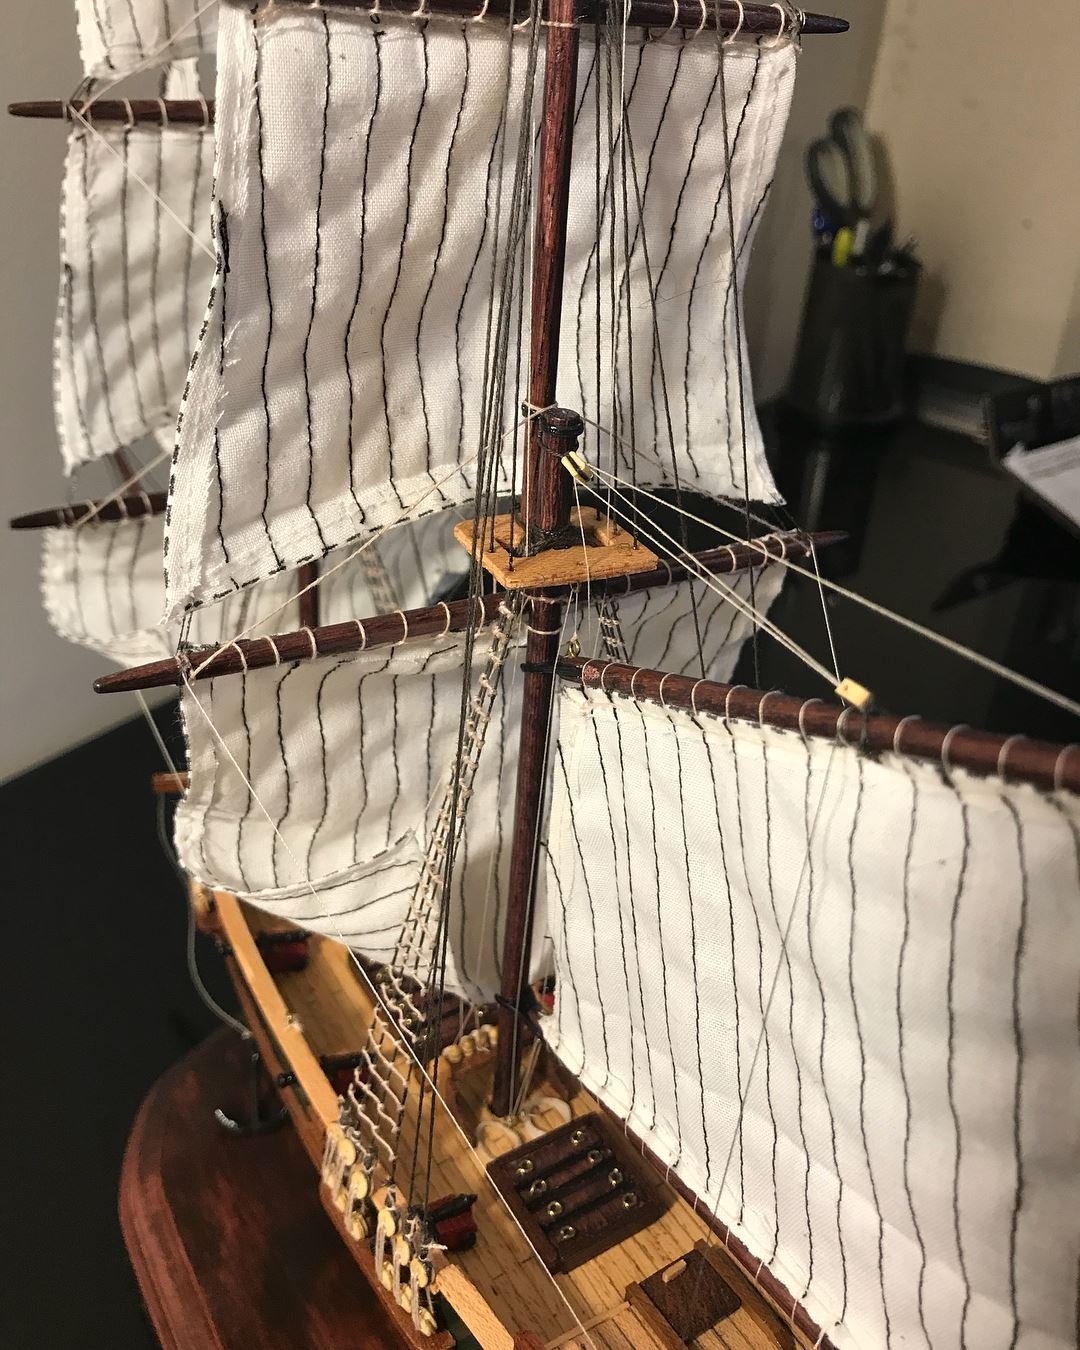
I definitely need to work on the sails more for the next one. This kit just came with the design of them on a large sheet that required cutting and sewing. It has been a while since I sewed but I thought I did a decent job until I put them on. The picture on the box makes it look like the black lines are sewn in but after I started putting them on I started to think they were drawn on with pen or pencil. I could not get the ripples out of them no matter what I did. Good thing my next kit comes with pre-sewn sails....or I may just leave them off. Have not decided yet.
I will be starting another one here very shortly and I'm beyond excited for it. I am a first year resident applying to surgical residencies this year, and this all started with the purchase of a model car to assemble after graduation to pass the time and keep my dexterity for in the OR has definitely turned into something I really enjoy.
- Duanelaker, Jim Rogers, hexnut and 3 others
-
 6
6
-
-
I am currently finishing up a union brigantine by constructo and on the box the main sail and fore sail are partially furled (I believe that is the right term) and I was wondering if the topsail and royal sail would ever be the in the same partially furled position? I am just curious, I was considering doing this to make more of the rigging visible.
This is the picture on the box
-
for those using the watered white glue...what mix ratio do you suggest?
- mtaylor and thibaultron
-
2


San Francisco II by Warnerade - FINISHED w/ display case - Artesania Latina - scale 1:90
in - Kit build logs for subjects built from 1501 - 1750
Posted
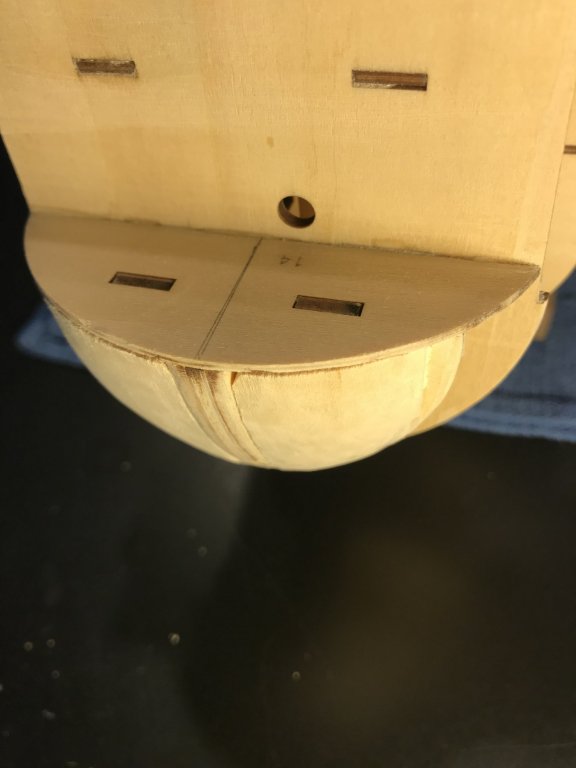
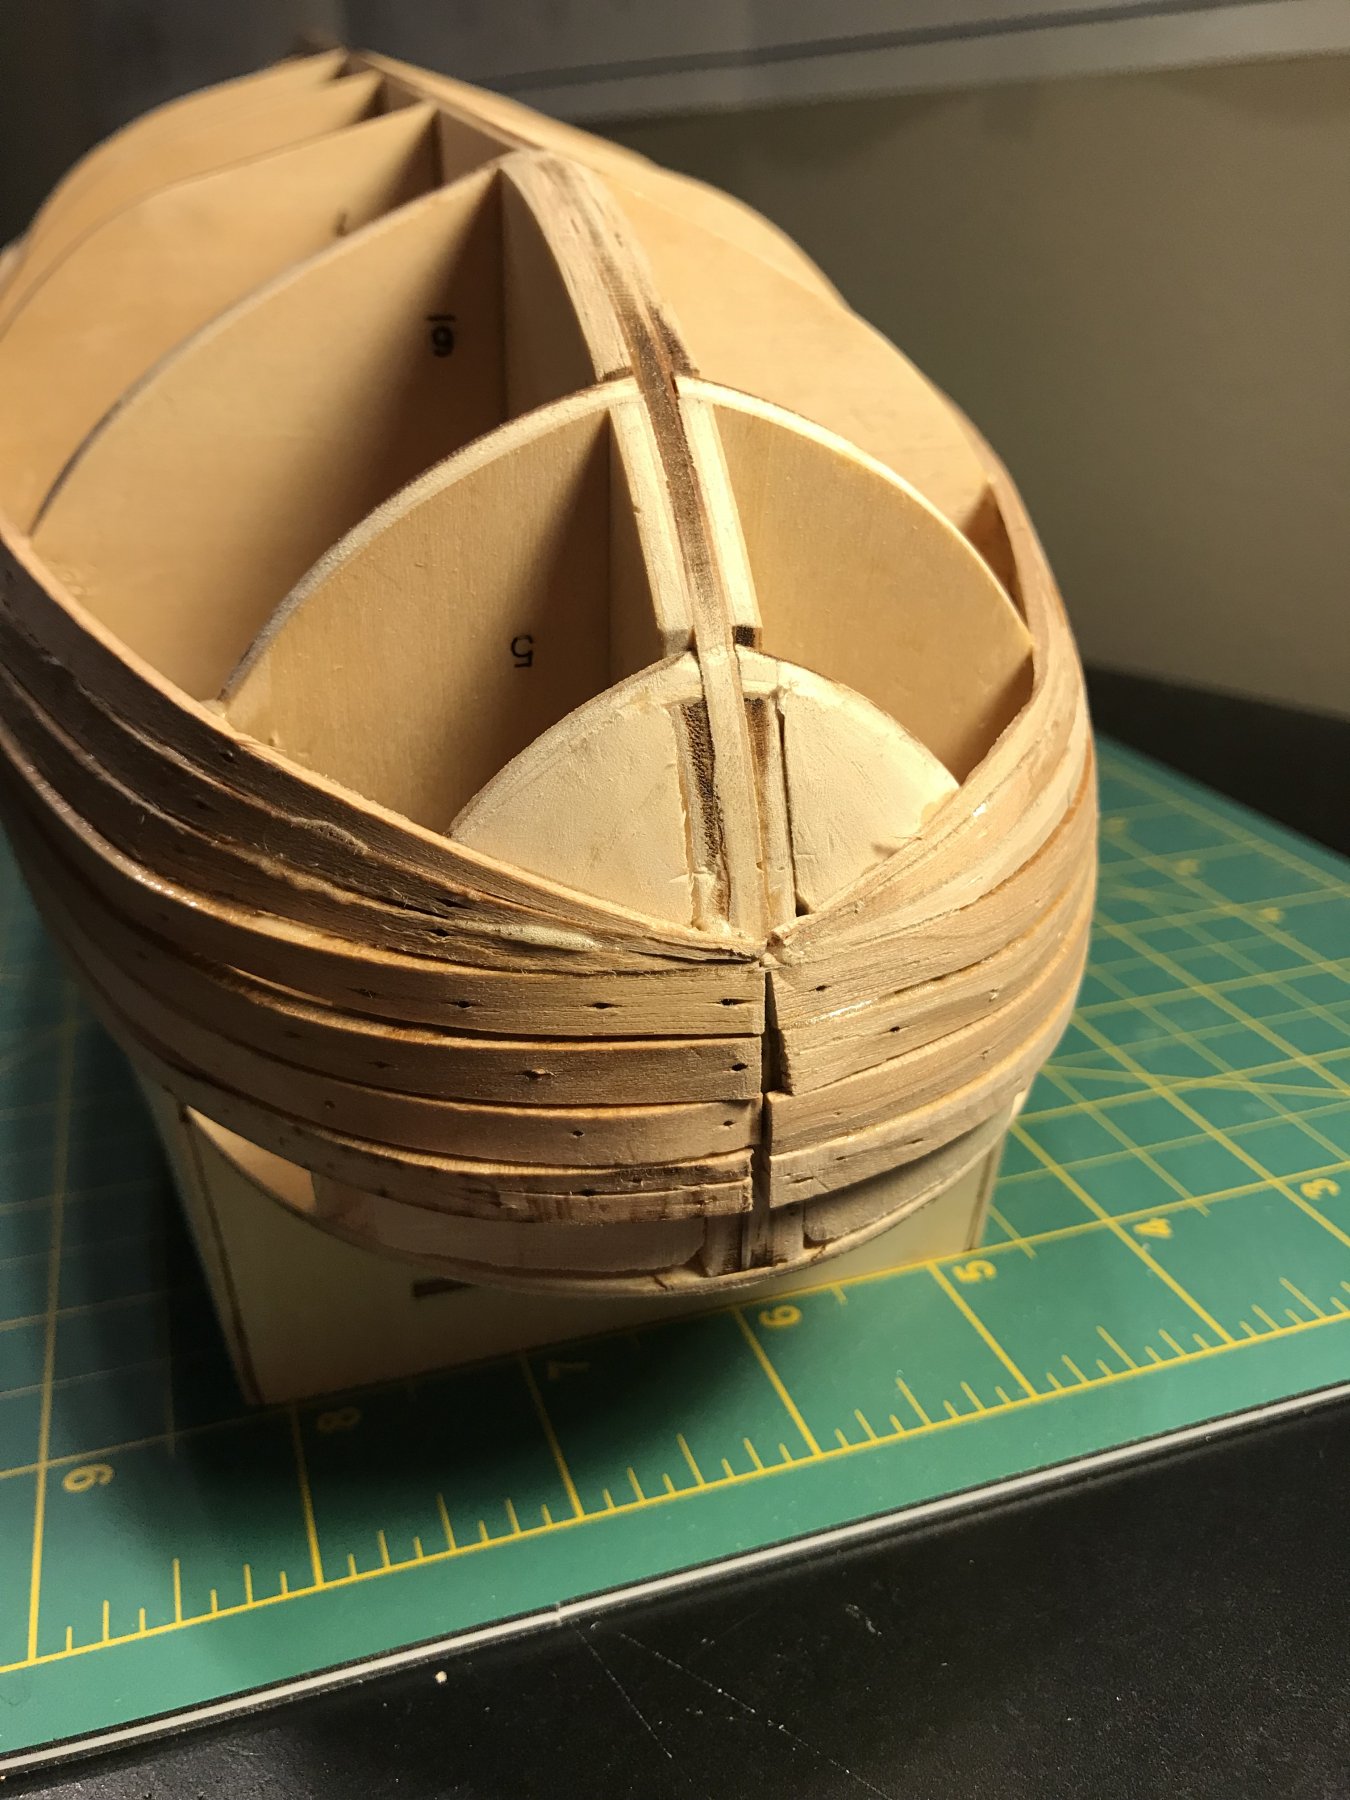
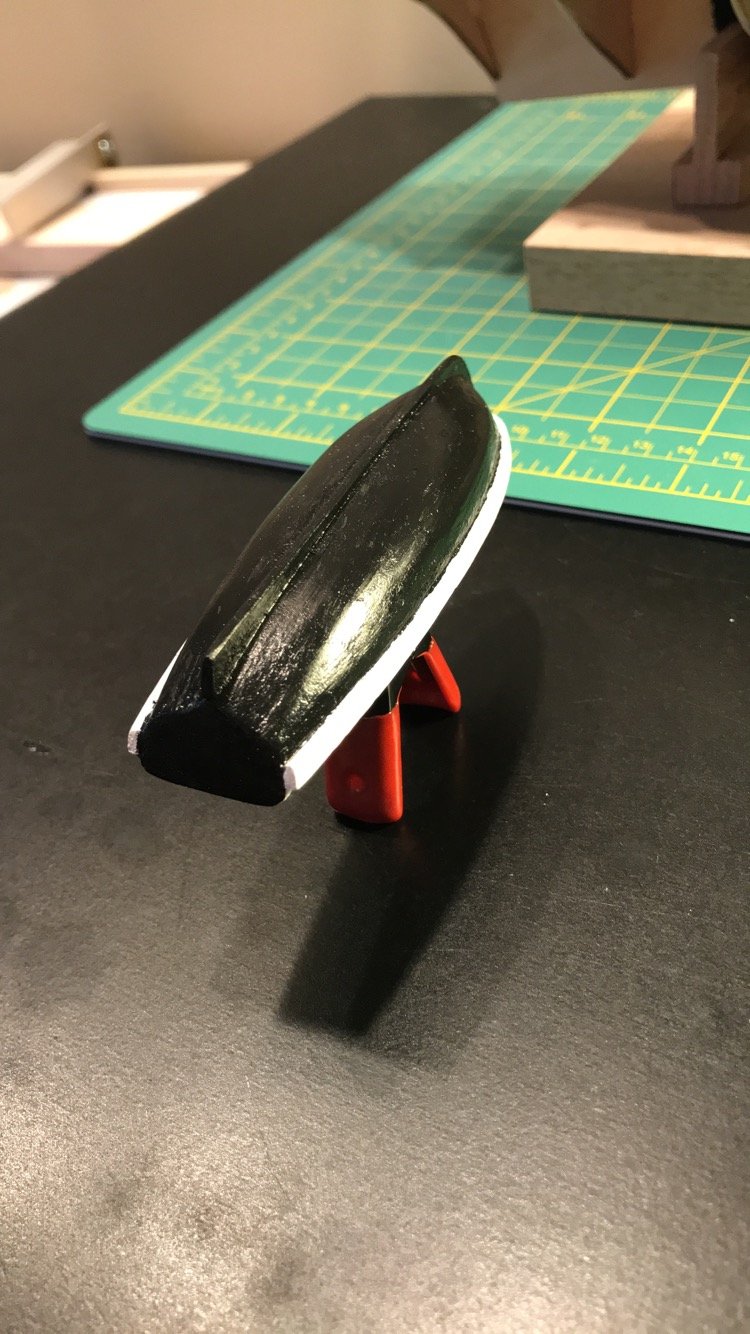
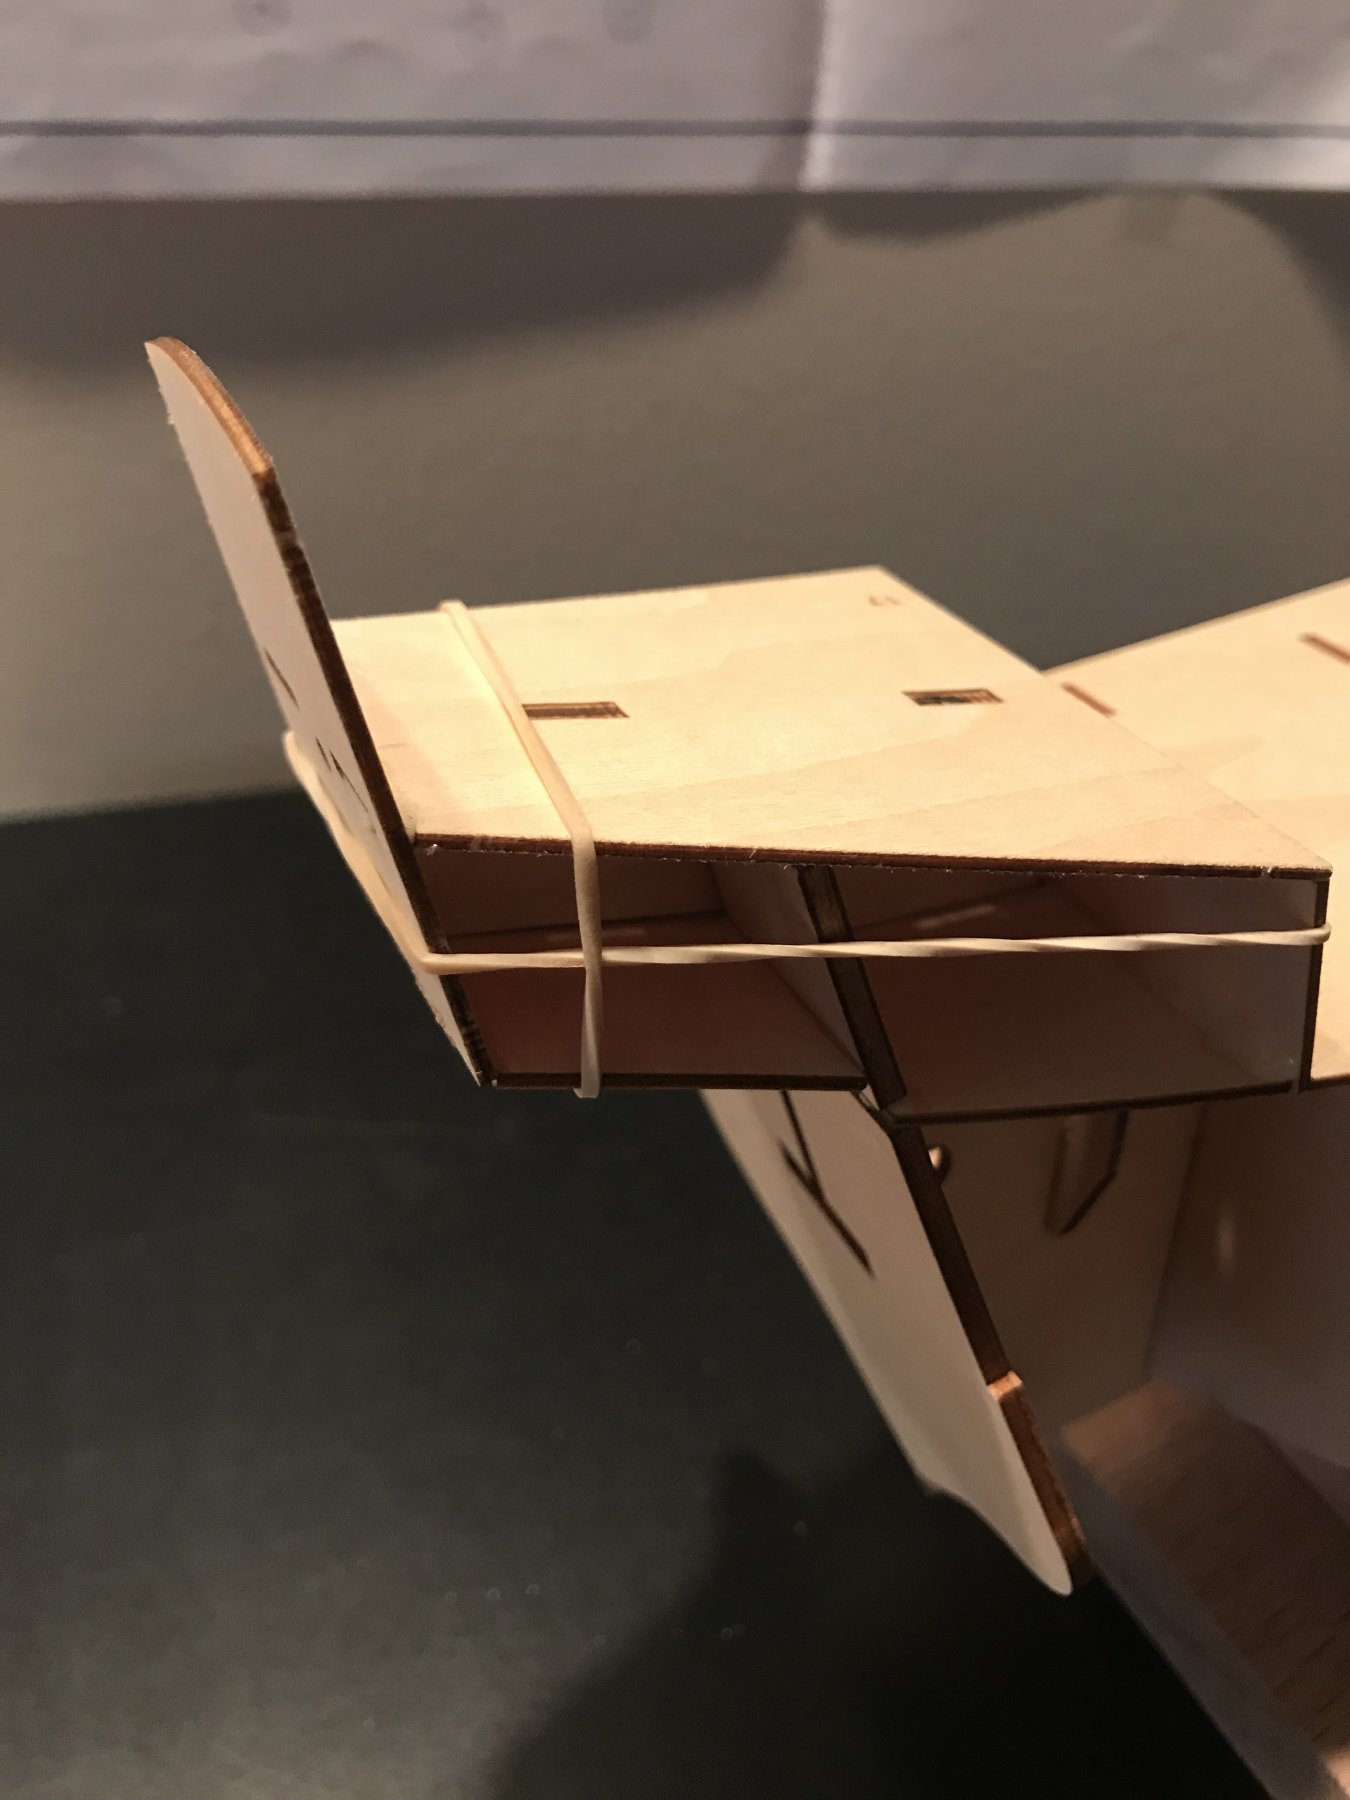
I appreciate the advice but I think I’m doing just fine. I have read plenty of “how to” guides, and for my first time planking each plank is getting better and better as I go. My biggest issue is the glue, it expands about 3x while drying so despite using minimum it still shows through. But it also interdigitates very well so I know I am getting solid fixation. It is a double planked Hull, and this first layer is fairly thick and hard to work with (especially for a beginner) but the second layer is .5mm. The rudder attached below was just finished with the same planking, by the time o start the second layer it will look perfect.
My biggest struggle has been cutting/bending at the bow. But it’s coming along