-
Posts
922 -
Joined
-
Last visited
Content Type
Profiles
Forums
Gallery
Events
Everything posted by robert952
-
@JacquesN Check you PM.
-
Give me a day or two and I will scan my copy to pdf and send it to you via PM. Welcome to MSW. I look forward to your build log on this. (I hope to get back to my build. I am about as 'moved in' as I can get and am freeing up time for hobby stuff.)
-

Table of Offsets and Lofting
robert952 replied to allanyed's topic in CAD and 3D Modelling/Drafting Plans with Software
I've watched the first few minutes. Want to watch with no distractions and to take notes. However, it seems to be very informational on a subject the still at times confuses me. Thanks for sharing the link. -
The instructions at the bottom of the text box used for posting replies indicates, 'drag files here' to attach. I just type, add a couple of line spaces (3-4 works well). I put my cursor on the one of those line spaces to insure separation and drag the image over from its file folder. If I am posting multiple images in an area, I hit a line return/space before dragging the next image into place. The info about the thumbnails is true. Deleting the image from the text body doesn't remove it from the thumbnails. However, deleting the image from the thumbnails deletes from 'my attachments' and the thread.
-
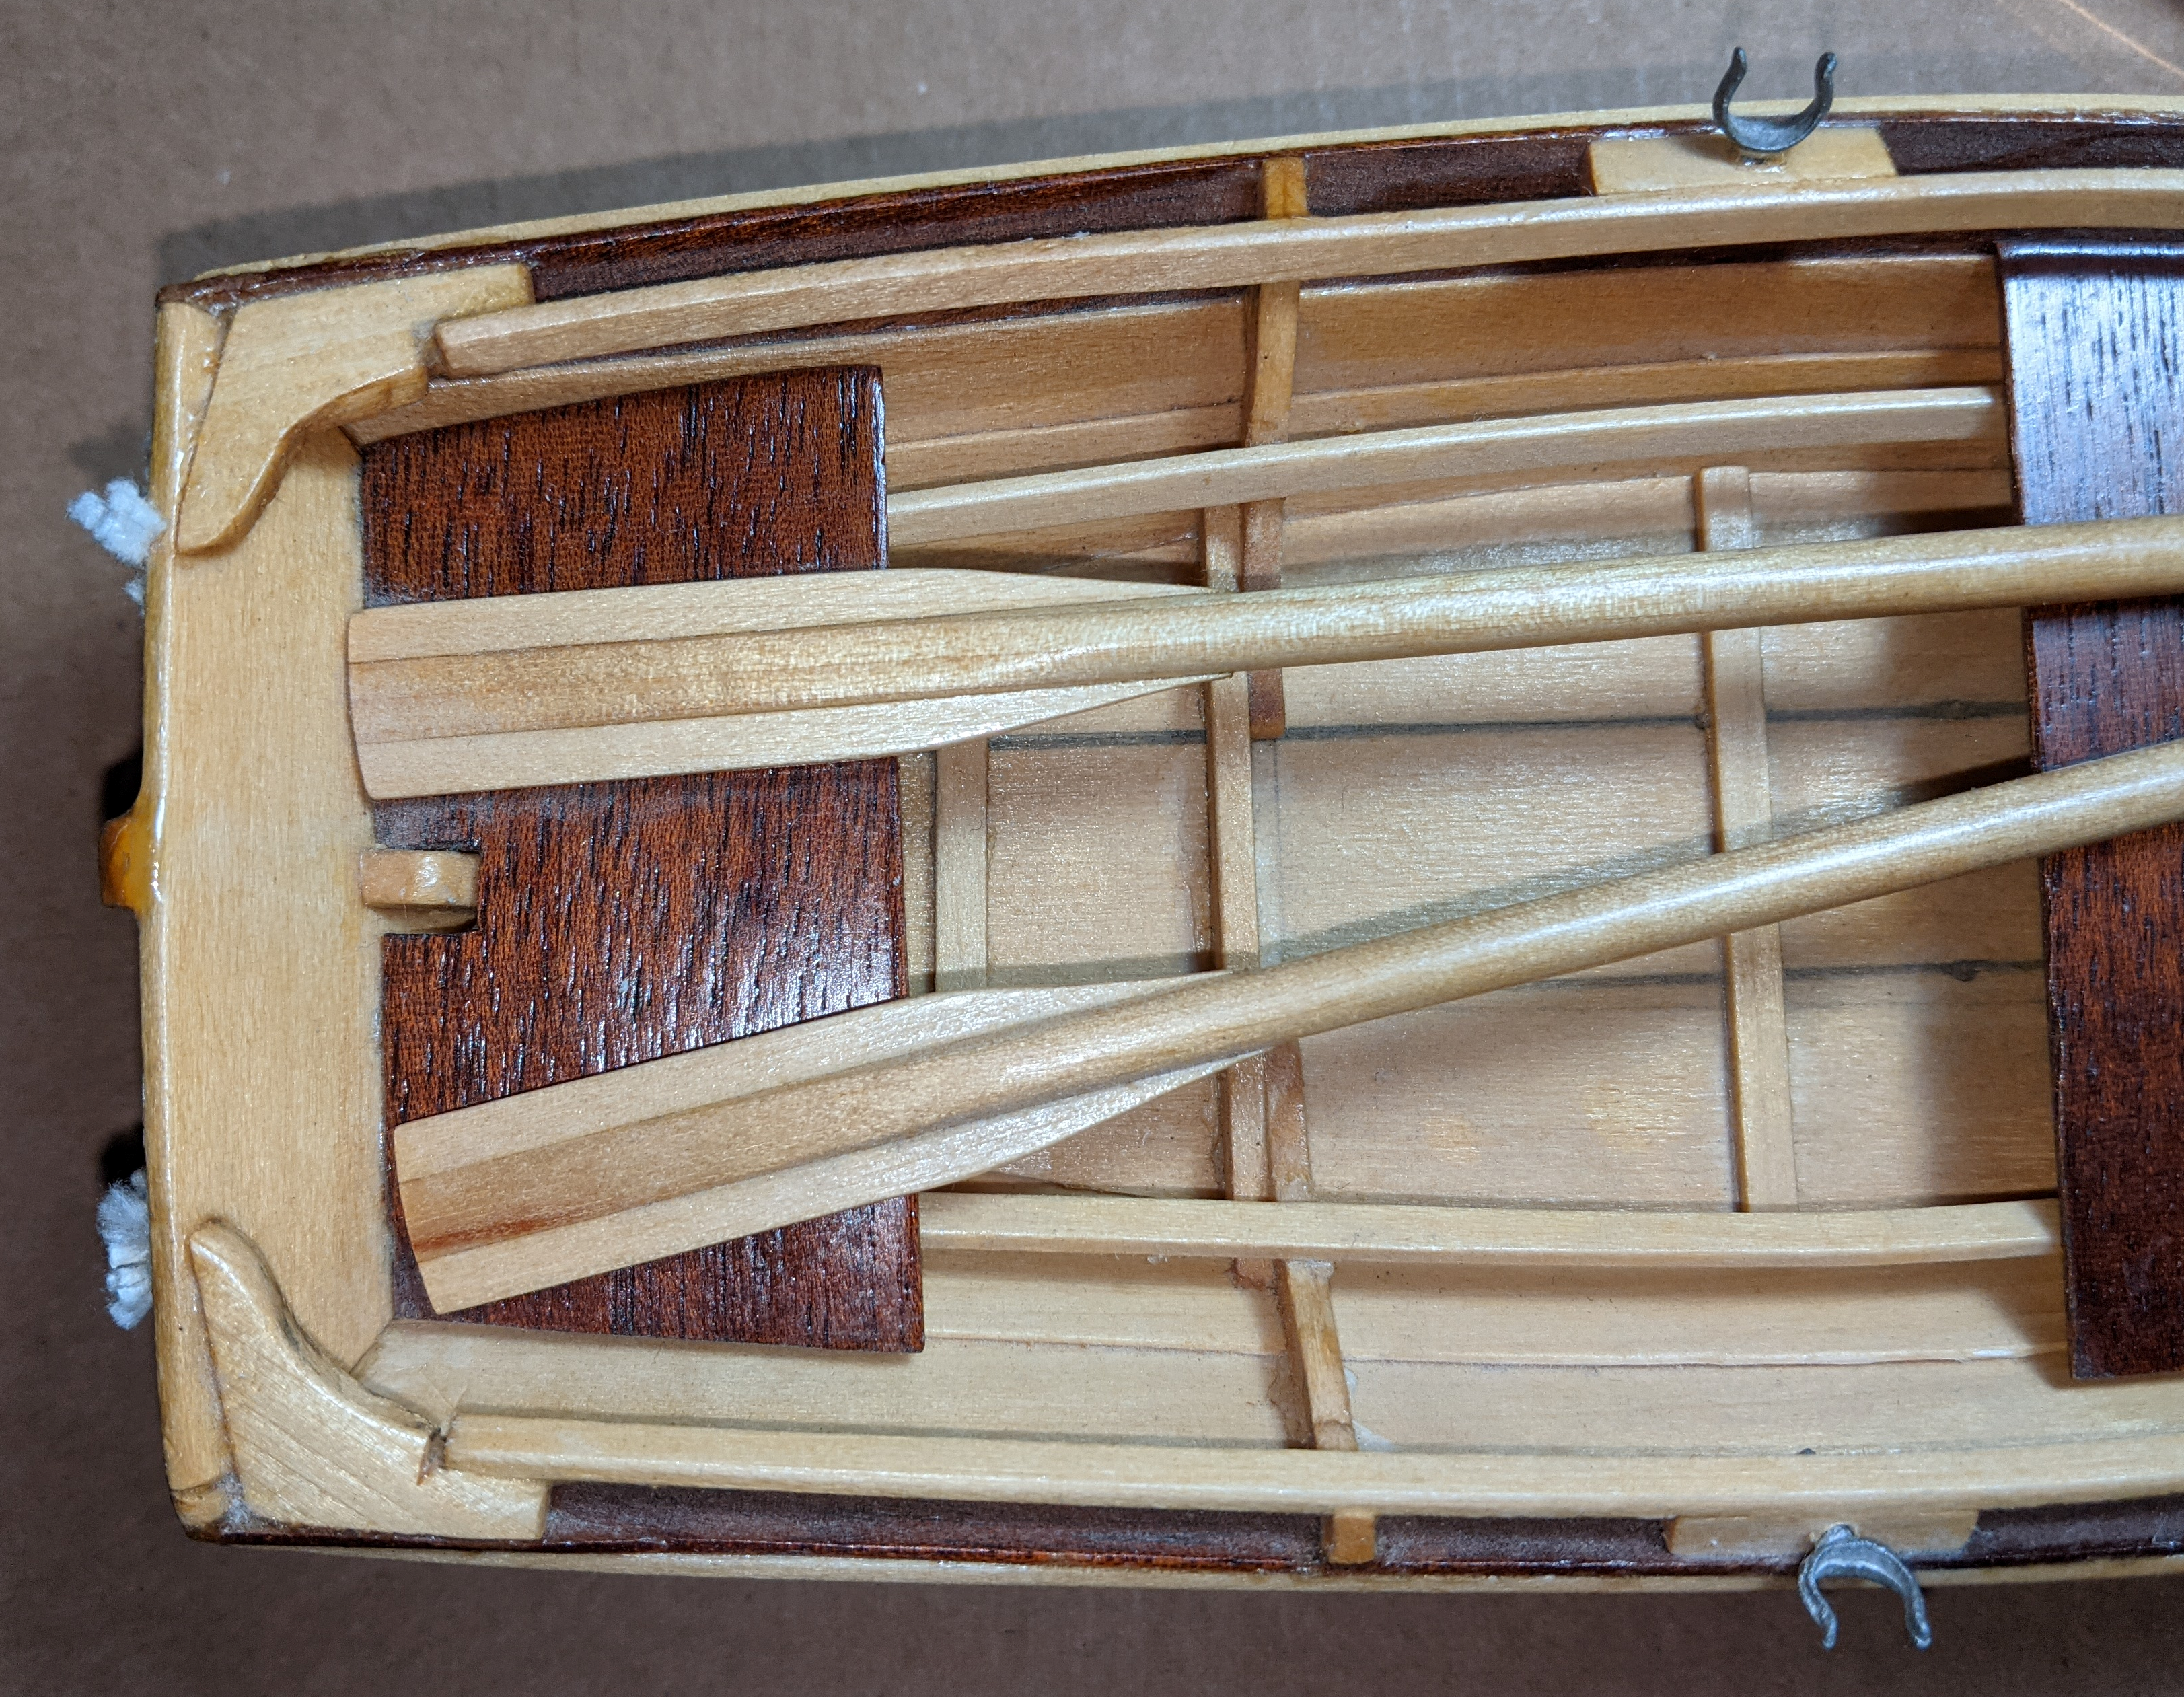
Hopping on board this build log. The first model you build is fun and exciting. And it can be a bit scary. But don't fret. You'll do fine. Take your time and enjoy the experience. You will learn a lot during the process. And, if you've read a lot of builds, in just about every one are "I'm not entirely pleased with..." or "if I were to do this again, I do it...." comments. However, at the end of the build you will also see, 'I am pleased with what I built" type comments, too. The latter statement should be the goal. The former shows the learning process. Don't forget, you have a bunch of people here willing to help out with that learning process. Just ask. Good luck and have fun.
- 69 replies
-
- Lowell Grand Banks Dory
- Model Shipways
-
(and 2 more)
Tagged with:
-
I guess you found the review useful. The book will definitely give you some insight to the ships, their specs and how they performed. (Spoiler alert, most were under powered either because of design 'flaws' or engines not performing as spec'd.) Thanks for reading.
- 2 replies
-
- ironclad
- Confederate Navy
- (and 7 more)
-
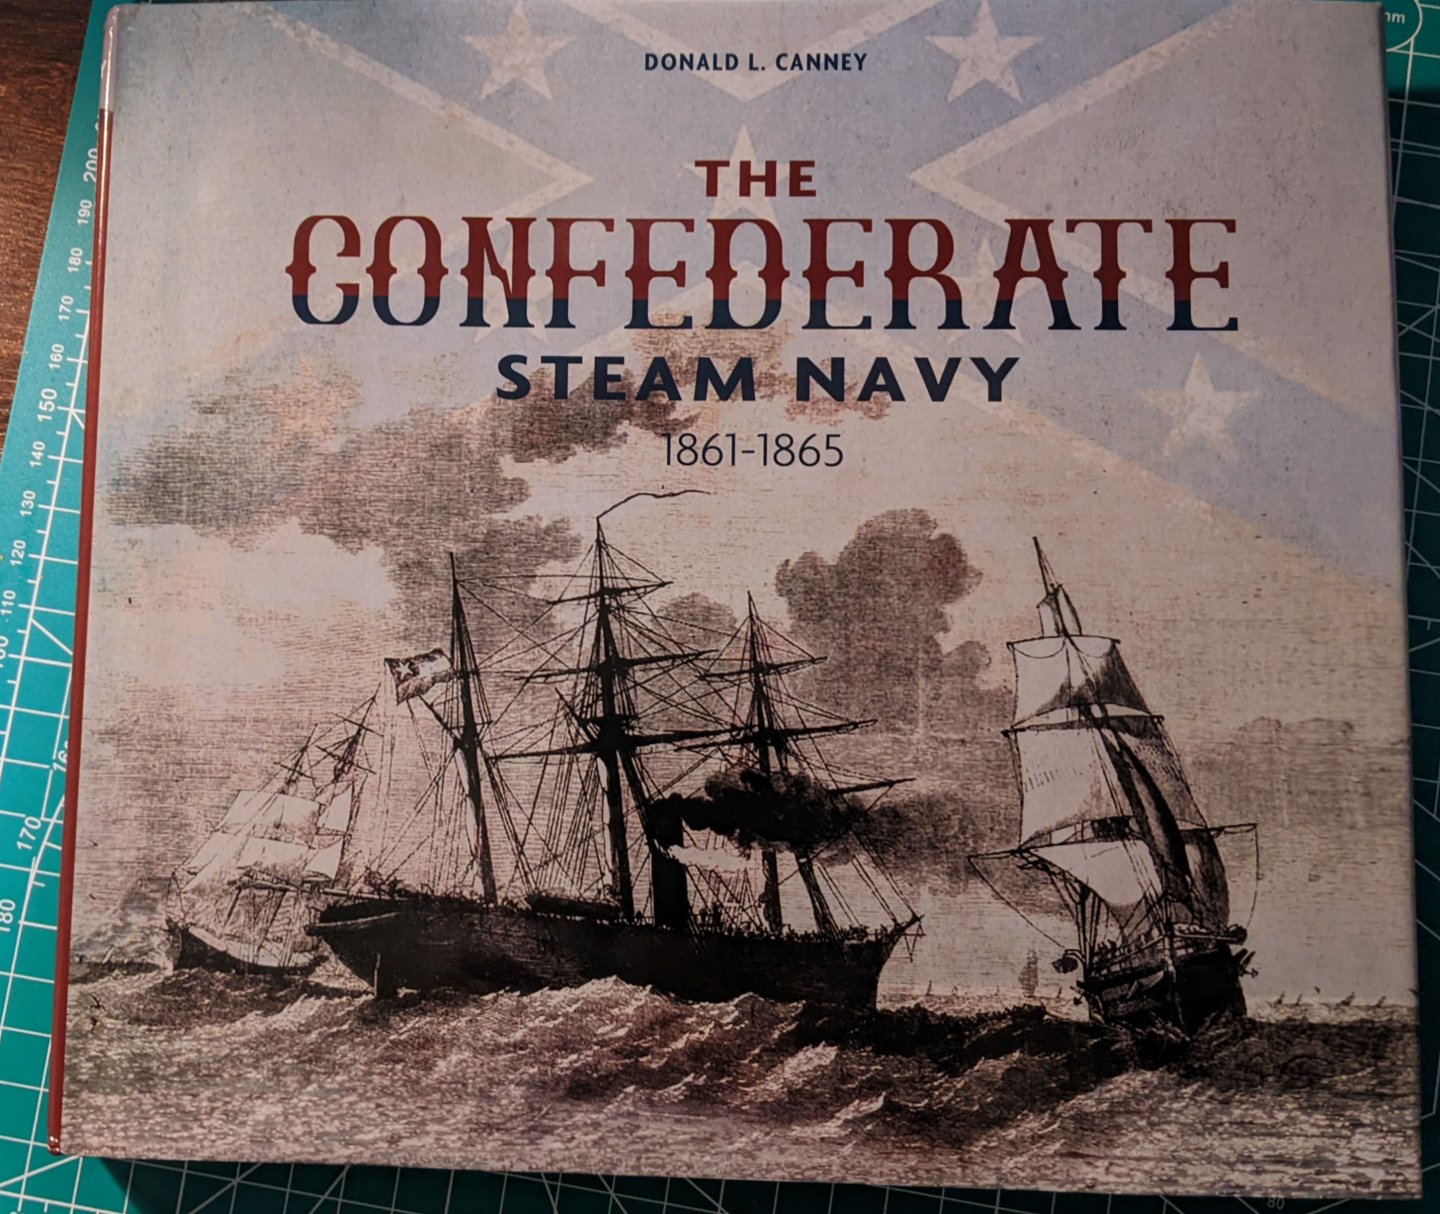
Donald Canney specialized in the transition period of sail to steam power and wood to steel construction of the US Navy. He worked with the US Coast Guard as registrar for that service’s national artifact program from 1991 until his retirement in 2006. While the world’s navies of 1861 to 1865 were making this transition of sail to steam and wood to iron, the American Civil War provided the impetus to speed up that evolution on both sides of the conflict. The Confederate Steam Navy details the ships of the Confederate Navy from 1861 to 1965. The author focuses on ships with steam power and those converted to steam power. The text provides a lot of insight into all aspects of the transition covering technology, politics and logistics of building each boat. He also outlines the careers of each ship during the conflict. The first six chapters cover the ironclads from the early beginnings of the conflict. He devotes a chapter to each year of the war when discussing ironclad battleships. The author covers every ironclad ship involved in the Confederate Navy. I use the term ‘involved’ loosely as Canney includes ships that were under construction but never completed. Most of these were destroyed due to the eminent capture of the shipyards by Union forces. Some ships he discusses were under construction in Europe (particularly England) and were confiscated due to the political stances of England with regards to the war in America. He outlines the final disposition of these ships, too. For the ships discussed he explains the hull construction, the engines; and other aspects of ship propulsion; and the ships' armament. His descriptions tell about the material used for the hulls including dimensions along with the types of wood and iron employed. He provides details on the steam engines based on their classification of pressure, size of cylinders and stroke length. He details how the engines were installed and the propellers for the ships. He describes the deck arrangement and sizes of the various guns used on each ship. While covering these details, Canney points out issues of internal conflicts between the Confederate Army and Navy. He points out the Confederacy's lack of industrial base for supplying the necessary materials (plate iron specifically) to all who needed or wanted the material. (As a side bar, Canney includes a 2-page appendix titled “Notes on 19th century shipbuilding and steam engine technology.” I suggest readers start with this appendix as the author explains the terminology particular to how measurements were made during that time in history and terminology pertaining to steam engine technology. These notes explain the shift in terminology from one ship to another in his descriptions of these aspects.) After covering the ironclads, Canney devotes chapters to many other steam powered ships and boats including blockade runners, commerce raiders, gunboats, and floating batteries. Some of these chapters select a few which were representative of the literally hundreds of such boats brought into the Confederate Navy. Canney bases his observations and conclusions using source documents from those who served on board, were spies who collected information for the Union, after-action reports and descriptions of the ships after they captured. He points out discrepancies he found between the various information sources. While the book has many black and white drawings, photographs and paintings of ships and their components, for the modeler they may not be extremely useful. The illustrations are small and lose detail due to the reduction on the image to fit in the book. However, the author includes the source of the illustration so that a serious researcher has a starting point for further investigation. While the book is not for casual reading per se, I enjoyed reading the details on ship names I recognized from board games (Ironclads - Yaquinto Games; Shot and Shell”- 3W Games). Along with my gaming experience, the bibliography and and notes leads me to believe that Donald Canney provides a comprehensive listing of the steam powered vessels involved in the Confederate Navy. He provides good representatives for the non-battle ships of the times. The book provides details not normally found in other book on thehistory of the battles involving these historic ships. I'd recommend this book for serious students of ironclad and steam powered vessels from this period of nautical history. BOOK DETAILS Title: The Confederate Steam Navy 1861 -1865 Author: Donald L Canney Schiffer Publishing, Ltd. 2015 Hardback (9-1/8 wide X 8-3.8 tall); 192 pages (includes end notes, bibliography, and index) Twelve chapters each dedicated to different classes of steam powered ships of the Confederate Navy Black and white images: photos, drawings and paintings Cover price: $39.99 Available on Amazon and Barnes and Noble websites ISBN: 978-0-7643-4824-2
- 2 replies
-
- ironclad
- Confederate Navy
- (and 7 more)
-
Following along. Your decision to use different wood illustrates that even a simple "beginner's kit' can provide challenges and avenues for the more experienced modeler. I look forward to this build. You've got a good start and a nice plan for the project.
- 32 replies
-
- Grand Banks Dory
- Model Shipways
-
(and 2 more)
Tagged with:
-
I like the concept, particularly the aspect of using a basic hand tool set. On board this build log.
- 80 replies
-
- rigging/masts
- NRG
-
(and 2 more)
Tagged with:
-
And at what speed? Rock tumblers run about 30 RPM. It would seem that using a drill you'd get a lot higher speed. (I like the small speed control motor idea @hornet uses.)
-
Us lurkers like this kind of thread, too. Thanks for posting.
-
I promised the Admiral I would reduce the number of models I have after we moved. (Don’t worry. I still have PLENTY to build.) To her joy, I put 26 on the chopping...,I mean, shopping block. Most of these I have either lost interest in the subject matter (military vehicles), inherited them from my sons who did not get into model building (spaceships, fantasy stuff), or I thought at the time of purchase they were ‘a great deal.’ (But I am not trying to make a profit as such.) There is the proverbial, 'when will I build them' reason to cull the herd. Of potential immediate interest may be the eight ship models listed below. I give the kit number so you can look at the kits online and check prices. Mine are lower than the lowest price I found online. I hope the price entices you. Photos of the kit follow the listing pages in the PDF. The attached PDF file provides details on all 26 models. The buyer pays shipping costs. I will do my best to get an accurate cost once I have your shipping address. I am limiting the shipments to the mainland US to keep costs down and hope to use USPS. I realize the cost of shipping may exceed my selling price. So, I want you to make informed decisions. The sequence of each line follows this pattern: Reference number / Manufacturer / Scale / Kit (catalog number) / price. (Reference number is used to identify photos in the PDF.) Ships (Wooden) 1. Cutty Sark / Scientific / 1:140 / 174 / $25.00 2. New York Pilot Boat/ Model Shipways / 1:96 / 2027 /$30.00 Ships and Boats (Plastic) 3. USS Missouri / Revel / 1:535 / 85-0301 / $12.00 4. USS Arizona / Revel / 1:426 / 85-0302 / $12.00 / (Buy them both: $20.00; an appropriate pair to have together) 5. USS Constitution / Revel / 1:196 / 85-5404 / $25.00 6. Diesel Tug / Lindberg / 1:87 / 772221 / $15.00 7. North Atlantic Fishing Trawler / Lindberg / 1:90 / 77222 / $10.00 8. Monitor and Merrimac / Linberg Classic Replica / 1:210 and 1:300 respectively / 718 / $10.00 PM me if interested in any of them. Also, I will consider discounting (like items 3 and 4 above) for multiple items purchased. Cull my stash.pdf
-
That new model smell. 😁
- 40 replies
-
- Model Shipways
- Muscongus Bay Lobster Smack
-
(and 1 more)
Tagged with:
-
Thanks for the detailed answer. I appreciate your candor and think others will, too. I look forward to your next build.
- 62 replies
-
- Muscongus Bay Lobster Smack
- Model Shipways
-
(and 1 more)
Tagged with:
-
I'll add my congrats and good job! (I enjoyed your comment that they won't be confused for airplanes. That's one of my criteria for success - that it at least looks like what I intended to build.) Now that you have completed these three (which make up the Model Shipways series for beginners), and if you don't mind answering. (If you prefer not to answer, no problem. I find it interesting to hear/read what people think.). What advise would you pass along from the experience? What's your 'final thoughts' on the series? (I am trying to talk my Dad into starting the series. I gave him the dory only so I don't overwhelm him but have all three if he decides to get into this hobby.) What were the biggest 'take-aways' from the experience of building these three? And, what's the next for in your shipyard? (Purely just nosey curiosity.)
- 62 replies
-
- Muscongus Bay Lobster Smack
- Model Shipways
-
(and 1 more)
Tagged with:
-
I just finished a complete read through of this log. Nice job on the model. Glad to see you have continued to work on this model. I find the battle between the Virginia and Monitor too be a great study in the evolution of warships. An interesting book (IMHO) is The Monitor Chronicles published by the Mariner's Museum which houses artifacts of the Monitor. The book uses source material of letters from crew members, newspapers articles, and letters from some of the principle players. Another on the ships and battle is by John V Quarstein: The Battle of the Ironclads. Keep up the nice work on the model.
- 37 replies
-
- first build
- BlueJacket Shipcrafters
-
(and 1 more)
Tagged with:
-
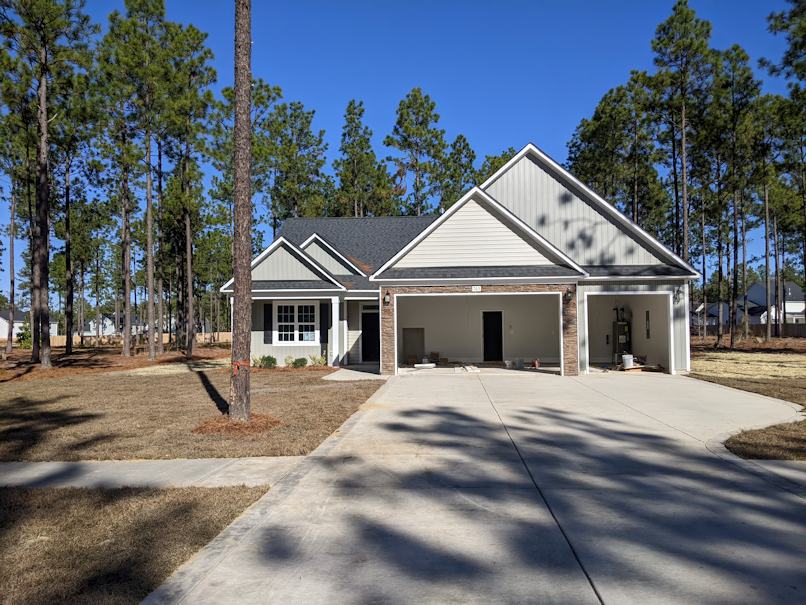
OK...getting closer to returning to this project. As stated, it seems forever ago, we started the process of moving to a new home that was under construction (concrete pad had just been poured). Long story short: While the house was under construction, we moved stuff to a 'u-stor-it' place (about 8 loads in my small SUV). That included ALL my modeling accoutrements. With the Admiral's permission, I have a room that I can call "My Room" which will have my relocated workbench. (I may lay claim to the third garage in the image below. Don't tell the Admiral.) We closed the sale yesterday (1/9). Today, we got major appliances in place and got a propane tank (for cooktop and fireplace only) installed. Mover comes tomorrow to pick up my worldly possessions at old home and move them to new. (I will be off-line for some time until I get my inhouse network squared a way and ship shape.) One loose end with a 'move out' cleaning of my old home will be tied off on 1/13. Then, the work of finding all my previously mentioned worldly possessions and putting them where they belong in the new digs starts in earnest. Especially the stuff for "My Room."
- 44 replies
-
- maine peapod
- peapod
-
(and 4 more)
Tagged with:
-
Where can I get a set of those tools? A couple I think I know how they would work. Congrats on finishing the model. @Dave_E Like just about any endeavor, there's an learning curve. Start with a simpler project and move on to more advanced. Look at my Monitor and Merrimac build for another project. (Link in signature.) My Metal Earth track record: I've done 3 successfully, ruined 1 because I didn't pay attention to the instructions and couldn't back up to fix the problem.
-
Great detail for the scales they use. This one is 1:130 scale. Looking forward to watch the rest of this build. Looking great. I find the Metal Earth models to be a great change of pace. They usually take only a few hours (over several days) to complete them. I have 4 or 5 in my stash (including the USS Constitution.)
About us
Modelshipworld - Advancing Ship Modeling through Research
SSL Secured
Your security is important for us so this Website is SSL-Secured
NRG Mailing Address
Nautical Research Guild
237 South Lincoln Street
Westmont IL, 60559-1917
Model Ship World ® and the MSW logo are Registered Trademarks, and belong to the Nautical Research Guild (United States Patent and Trademark Office: No. 6,929,264 & No. 6,929,274, registered Dec. 20, 2022)
Helpful Links
About the NRG
If you enjoy building ship models that are historically accurate as well as beautiful, then The Nautical Research Guild (NRG) is just right for you.
The Guild is a non-profit educational organization whose mission is to “Advance Ship Modeling Through Research”. We provide support to our members in their efforts to raise the quality of their model ships.
The Nautical Research Guild has published our world-renowned quarterly magazine, The Nautical Research Journal, since 1955. The pages of the Journal are full of articles by accomplished ship modelers who show you how they create those exquisite details on their models, and by maritime historians who show you the correct details to build. The Journal is available in both print and digital editions. Go to the NRG web site (www.thenrg.org) to download a complimentary digital copy of the Journal. The NRG also publishes plan sets, books and compilations of back issues of the Journal and the former Ships in Scale and Model Ship Builder magazines.


