grsjax
-
Posts
1,061 -
Joined
-
Last visited
Content Type
Profiles
Forums
Gallery
Events
Everything posted by grsjax
-
Not sure if this is the right place for this. Has the current unpleasantness in Ukraine has an impact on the availability of these kits?
-

Suggested sites for purchasing wood model ship kits
grsjax replied to Capella's topic in Wood ship model kits
Check the sponsors listed on the right side of the home page of this site. Some good sources there. -
A pointed bow is easier to plank. You might want to take a look at Model Shipways "Willie L. Bennet" Skipjack kit. A good introduction to building models of sailing vessels. Great instructions. Here is a link to a build log.
-
The only thing I ever read about him that might be controversial is that some of his reconstructions of design details were considered very speculative.
-
Another good series are the Richard Delancy novels by C. Northcote Parkinson. His other books are great reads as well.
-
Picked up a cheap Oral-B 500 toothbrush on ebay and made an oscillating detail sander from it. Pulled the bristles out of the head and glued a small piece of sandpaper on it. Tried it out on the hull of a model I am working on and it worked great. Produces a nice smooth surface. I am not going to trying using coarse sandpaper with it as I think it would be to aggressive. The head oscillates at a high rate.
- 5 replies
-
- 15
-

-
They are all good. I found it best to read them in sequence. Although each novel is a complete story reading them in sequence makes them more understandable. Look at it not as 20 different books but one book 6000 pages long.
-
Old Montgomery Ward Model Kit worth building?
grsjax replied to kwaheltrut's topic in Wood ship model kits
You have to start somewhere and this is a very cheap way to get into it. Enjoy the process with your kids and let them have the pleasure of seeing it come together. Next kit can be something more advanced. -
Is there a Boudriot's 74 Gun Ship in "kit" form???
grsjax replied to Michael Scarborough's topic in Wood ship model kits
Some of their larger kits can be bought in stages. I think the Bellona is only available as a complete kit at this time. The owner of CAF is on this forum so you could contact him and ask. Here is a build log for the CAF Bellona https://modelshipworld.com/topic/29729-hms-bellona-by-yves-vidal-caf-model-148/ -
Is there a Boudriot's 74 Gun Ship in "kit" form???
grsjax replied to Michael Scarborough's topic in Wood ship model kits
The CAF model of Bellona is about as good as it gets for a kit. Expensive at $1500+ including shipping but CAF models are worth what they cost. Also very big at nearly 5ft long for the finished model. Going to need a dedicated space and set aside a few years for this one. -
There is one on Amazon for $85.
-
Announcing the Model Ship World Ship Kit Database Project
grsjax replied to SkerryAmp's topic in Wood ship model kits
Here is a spreadsheet with Midwest kits that are not on the current database. I will send it along to Adam Kit Name Vender ShipType Period Scale Material Length Beam Height Kit Type Skill San Francisco Bay Scow Schooner Midwest Schooner 19th Century 1:48 Wood 17" 4.375" 17.375" POB Advanced America's Cup Challenger Endeavour I Midwest Sloop 20th Century 1:64 Wood 24.625" 3.875" 34" POB Advanced Shrimp Dragger Midwest Fishing Boat 20th Century 1:16 Wood 22" 7.625" 14.25" POB Intermediate Trawler Midwest Fishing Boat 20th Century 1:27.4 Wood 25" 7.625" POB Intermediate 29' Bassboat Midwest Fishing Boat 20th Century 1:16 Wood 22" 7.625 POB Advanced Cheaspeake Double Kayak Midwest Kayak 20th Century 1:12 Wood 21" 2.5" 1.125" POF Beginner Harbor Master Midwest Tug 20th Century 1:24 Wood 19" 7.75" 12.75" POB Intermediate Fireboat Midwest Fireboat 20th Century 1:24 Wood 23" 7.25" POB Intermediate The Weatherly '62 America's Cup Winner Midwest Sloop 20th Century 1:24 Wood 35" 6" 48" POB Advanced Boothbay Lobster Boat Midwest Fishing Boat 20th Century 1:12 Wood 30" 10" POB AdvancedRC Tour Master Midwest Tour boat 20th Century 1:24 Wood 19" 7.75" 10" POB Intermediate Rainbow '34 America's Cup Winner Midwest Sloop 20th Century 1:64 Wood 24.625" 3.875" 34" POB Advanced -
Came across some kits from Midwest that are not on the database. A level 3 kit of a San Francisco Bay Scow Schooner (1/4" = 1"), a level 4 kit of the 1934 America's Cup challenger Endeavour I (1:35 scale), 50' Harbor Tug (1/2" = 1'), Eastern Rigged Trawler (7/16" = 1'), Downeast Shrimp Dragger (3/4 = 1") and a 29' Bass Boat (3/4" = 1'). Found these in back issues of Ships in Scale. I believe a couple may be Laughing Whale designs. If anyone has back issues of model magazines or old catalogs I would be interesting in hearing about any other kits that may be in them.
-
I asked this question before but didn't get anything pointing me to more information. Still want to know, is there a list or archive of all the models produced by Laughing Whale and Midwest over the years. I remember catalogs from years ago that had a lot of models from these manufactures that no longer are available and no information about them anywhere. Sometimes I will run across an old ad or an ebay auction for one that I have never seen before. I know Bluejacket took over Laughing Whale but they only offer a small number of the old kits.
-
I agree that metric is easier to use but that said if you have a set of drawings in Imperial it is generally better to go with that rather than converting everything into metric. Digressing a bit, I had a 1970 Triumph 500 that had metric, SAE and Whitworth fastenings. Made for a real nightmare when trying to find the right wrench.
-
Thanks for the input. Turns out the post was on facebook and I just thought I had seen it here. The poster used an Oral B "cross action" toothbrush to make a little orbital sander. Going to have to see about trying that out.
-
The other day there was a thread on using an electric toothbrush as a sander. Can't seem to find it now. Can someone point me in the right direction?
-
The question is, does CAF still sell the kit. Another question is it a legitimate kit that can be here on MSW?
-
This 1/48 model of a British ceremonial barge used to be on the CAF website but I can not find it now. Has it been discontinued?
-
Nice looking boat. Would be an interesting kit in wood and 1:48 scale.
- 54 replies
-
- 2
-
-
- BlueJacket Shipcrafters
- wendameen
- (and 3 more)
-
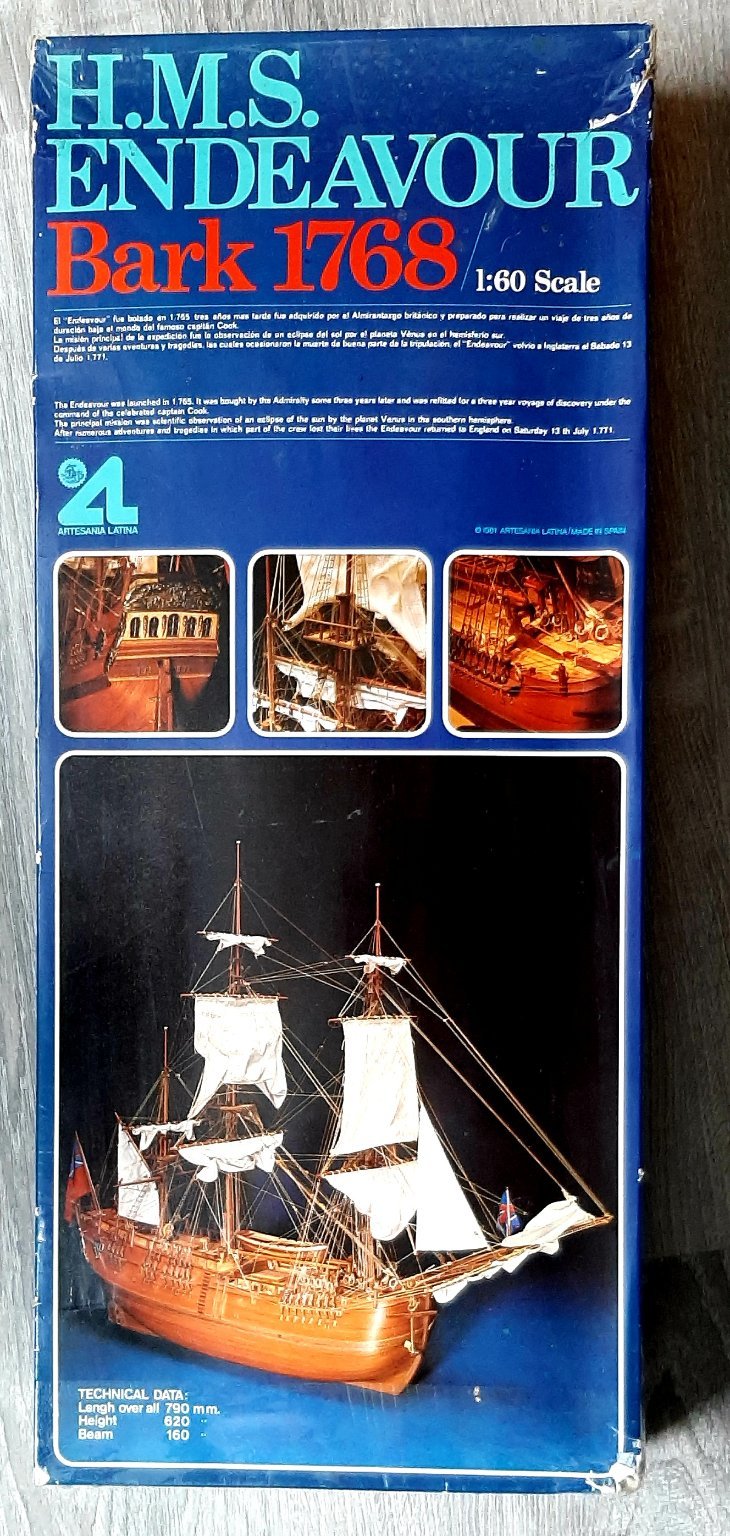
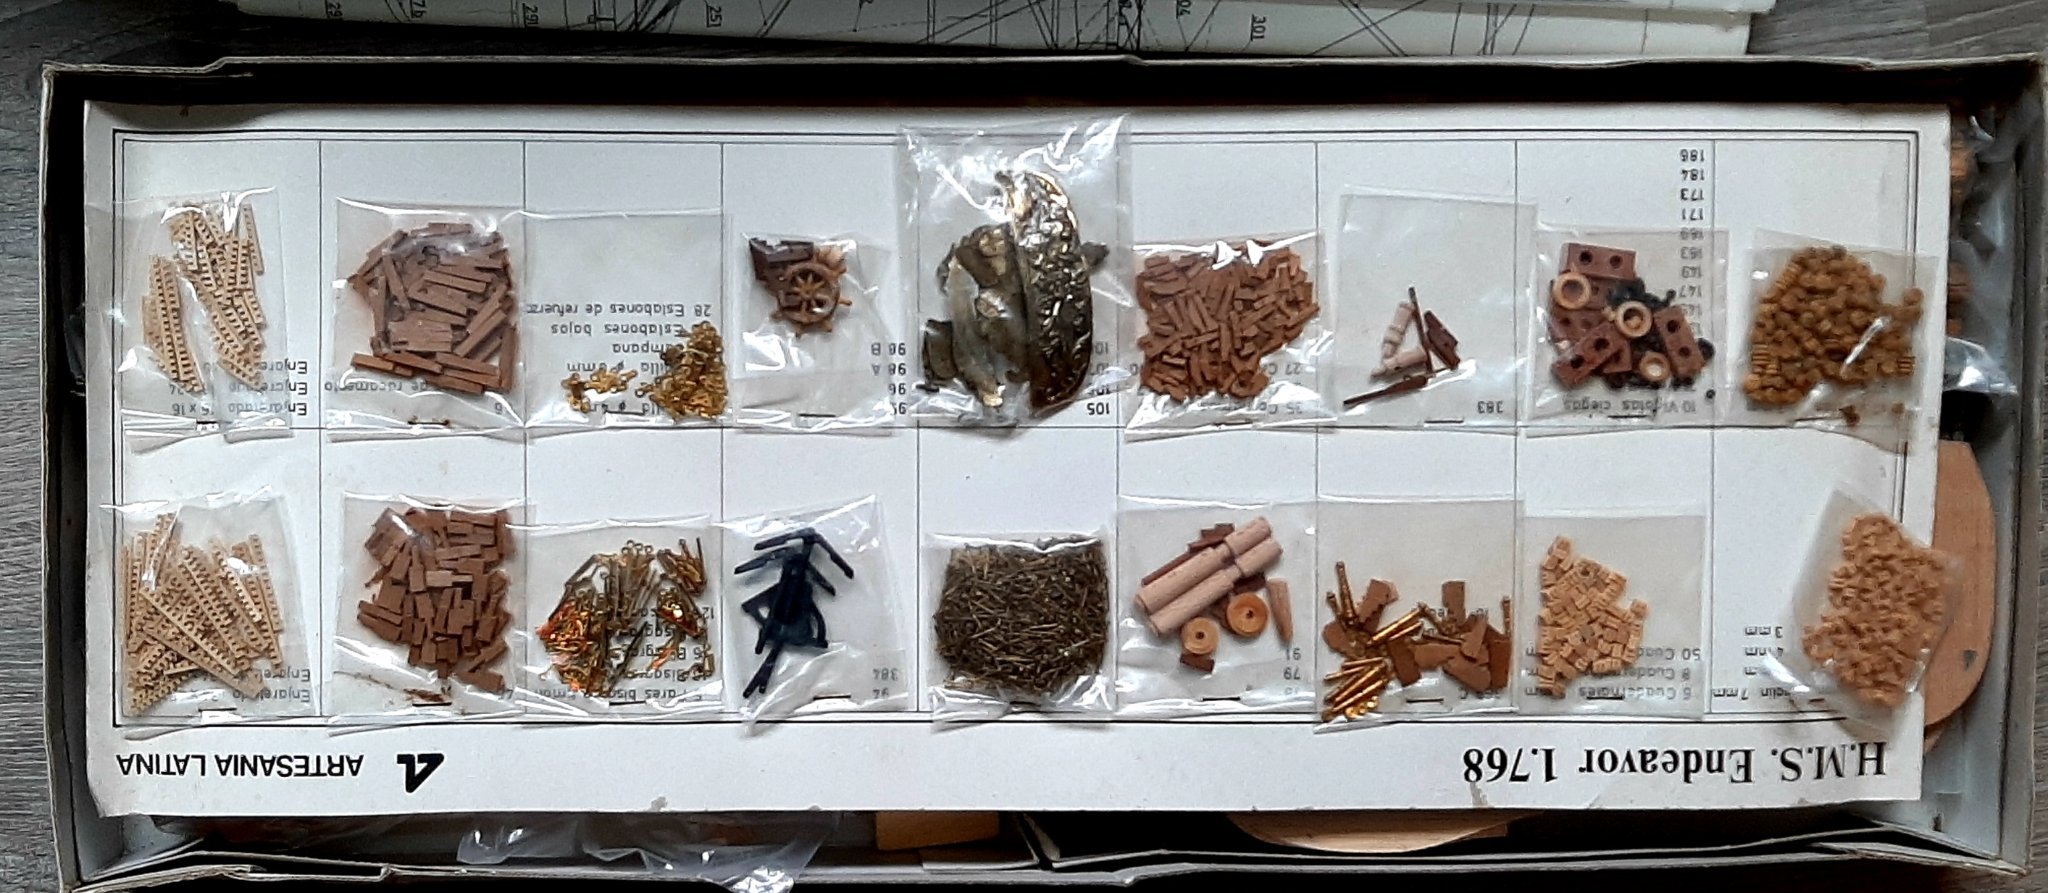
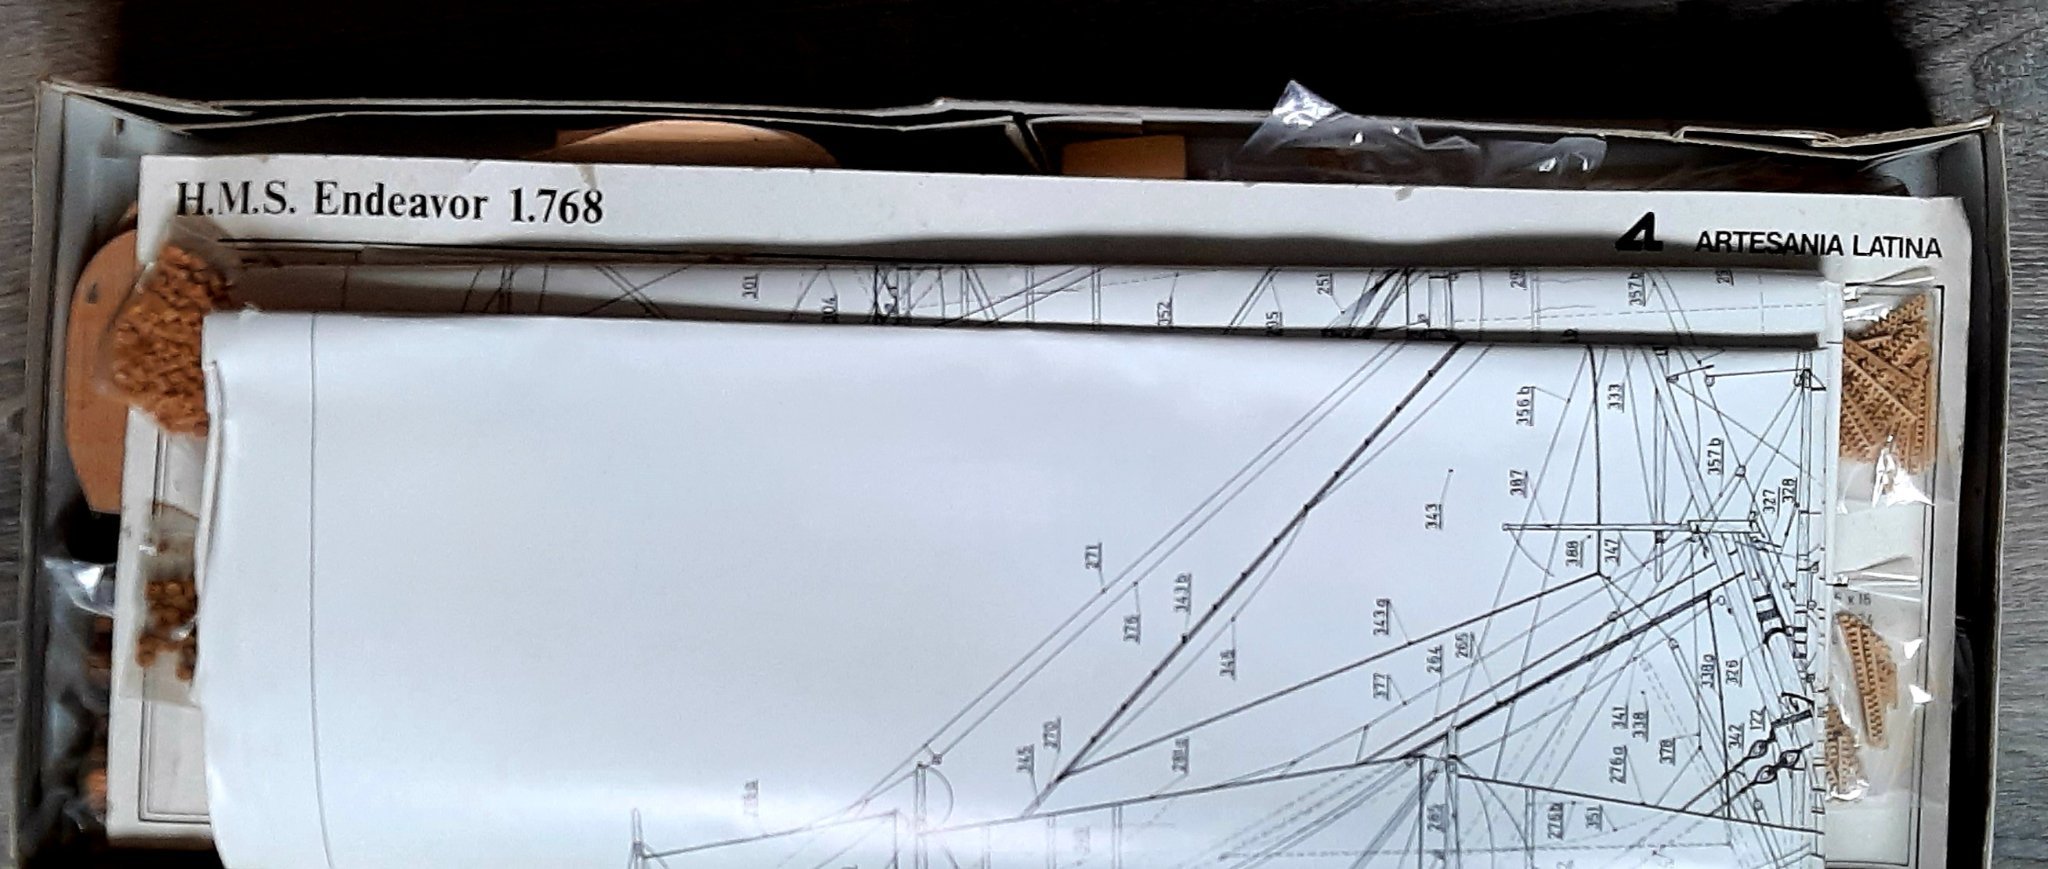
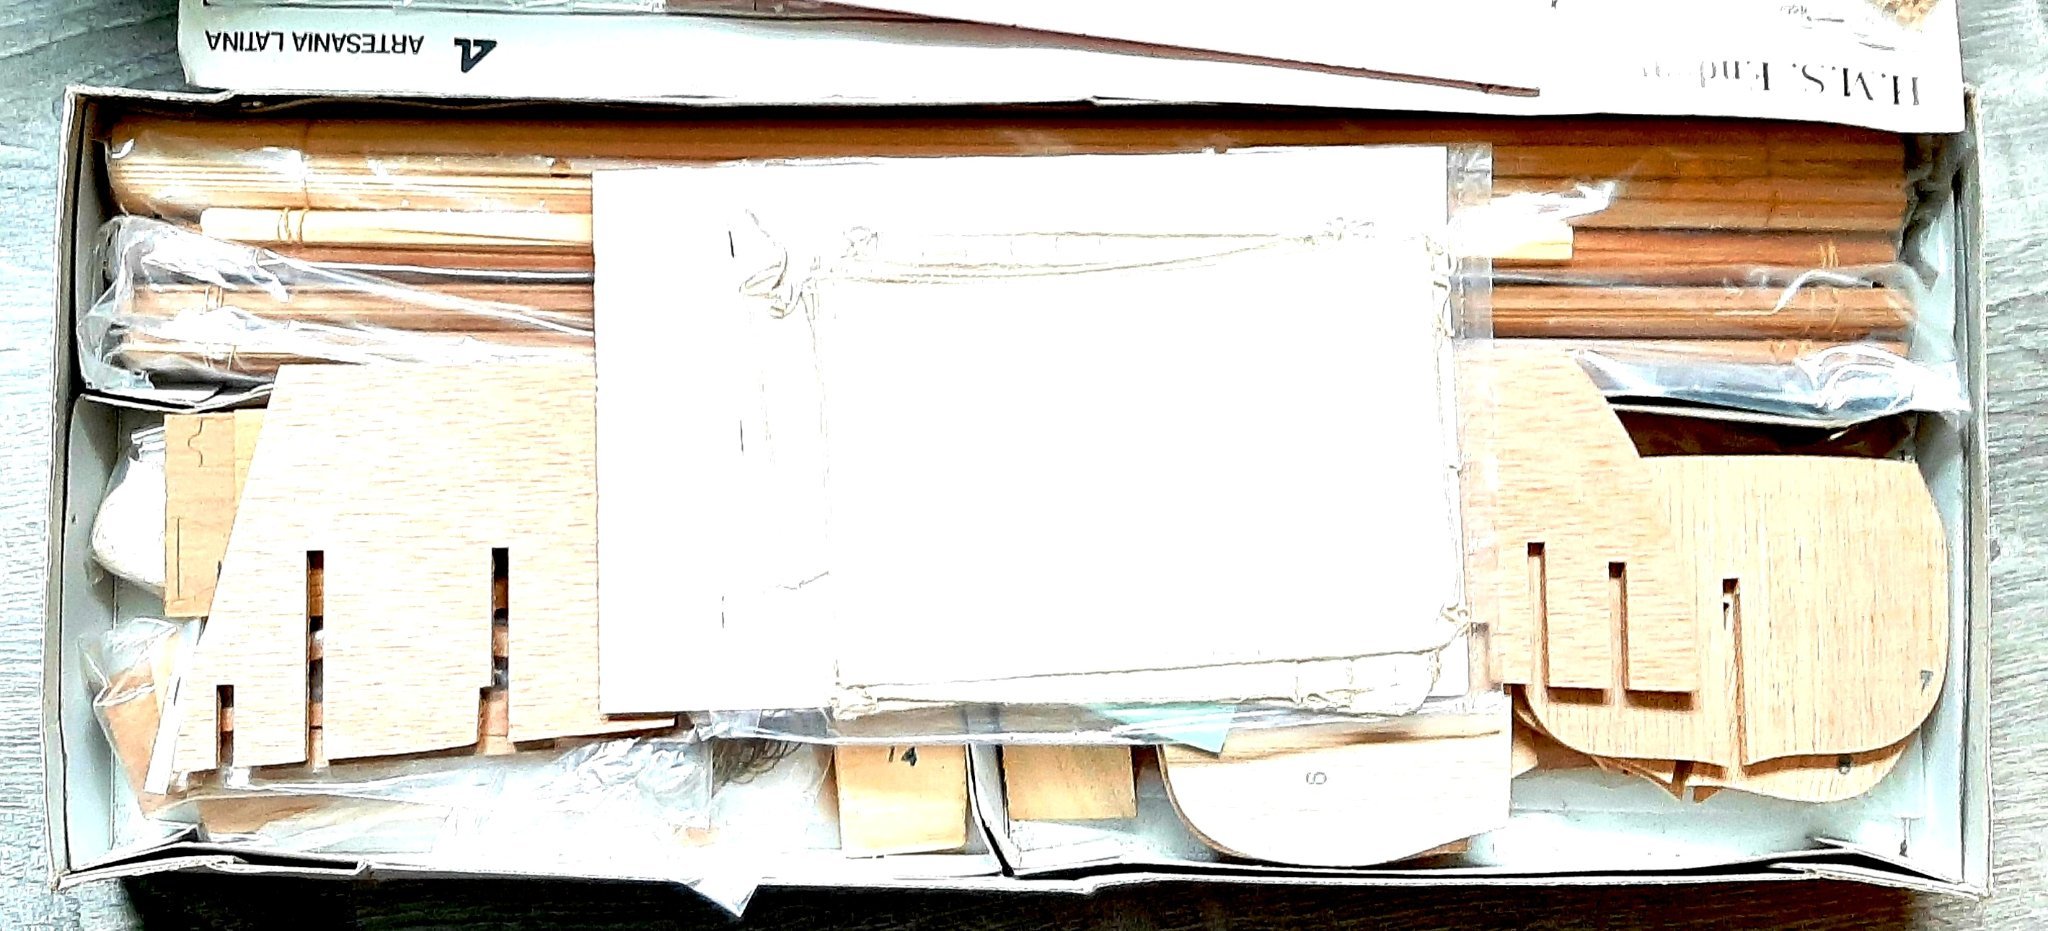
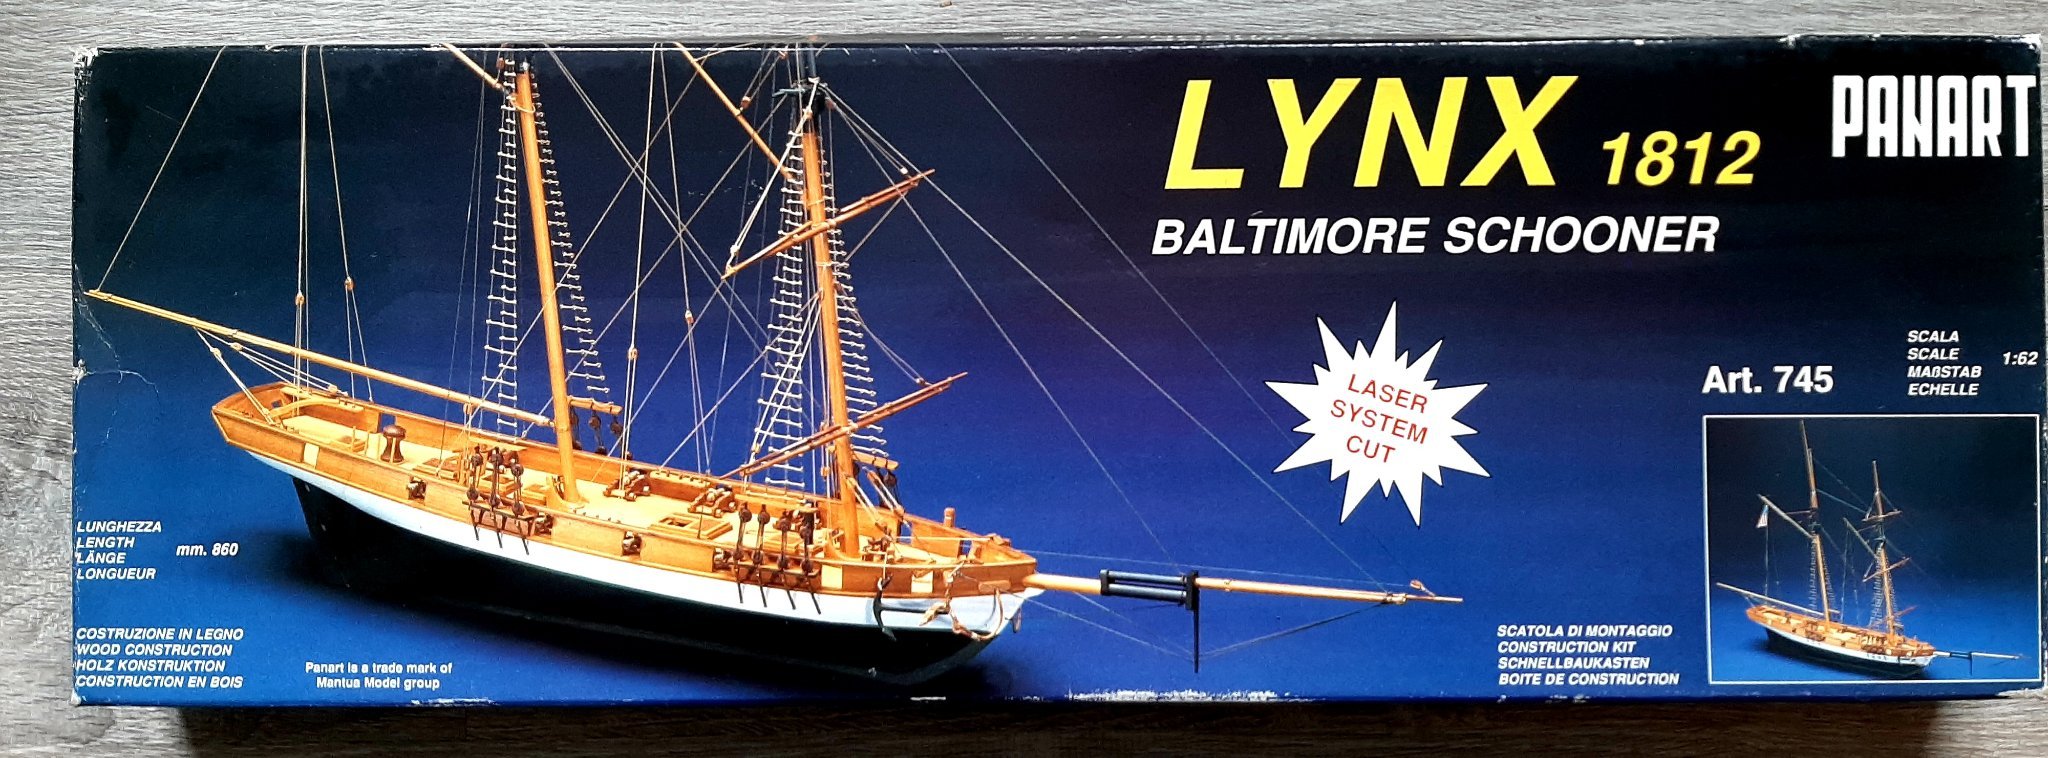
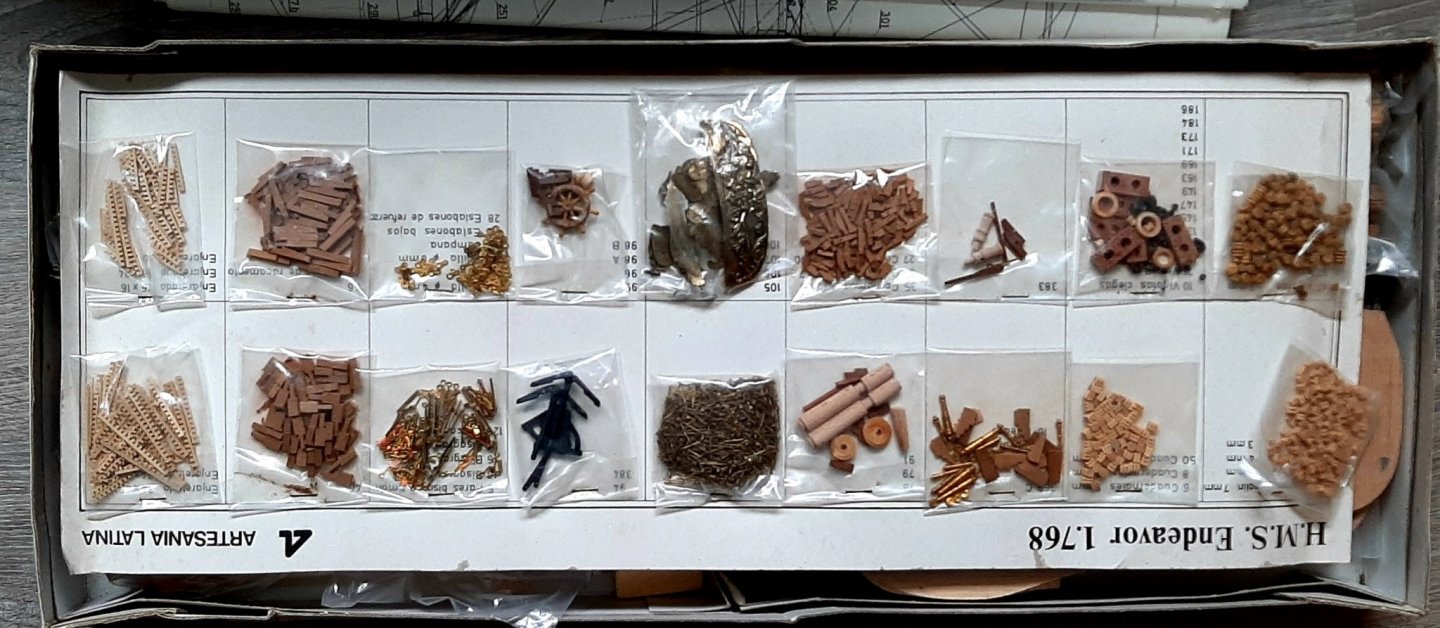
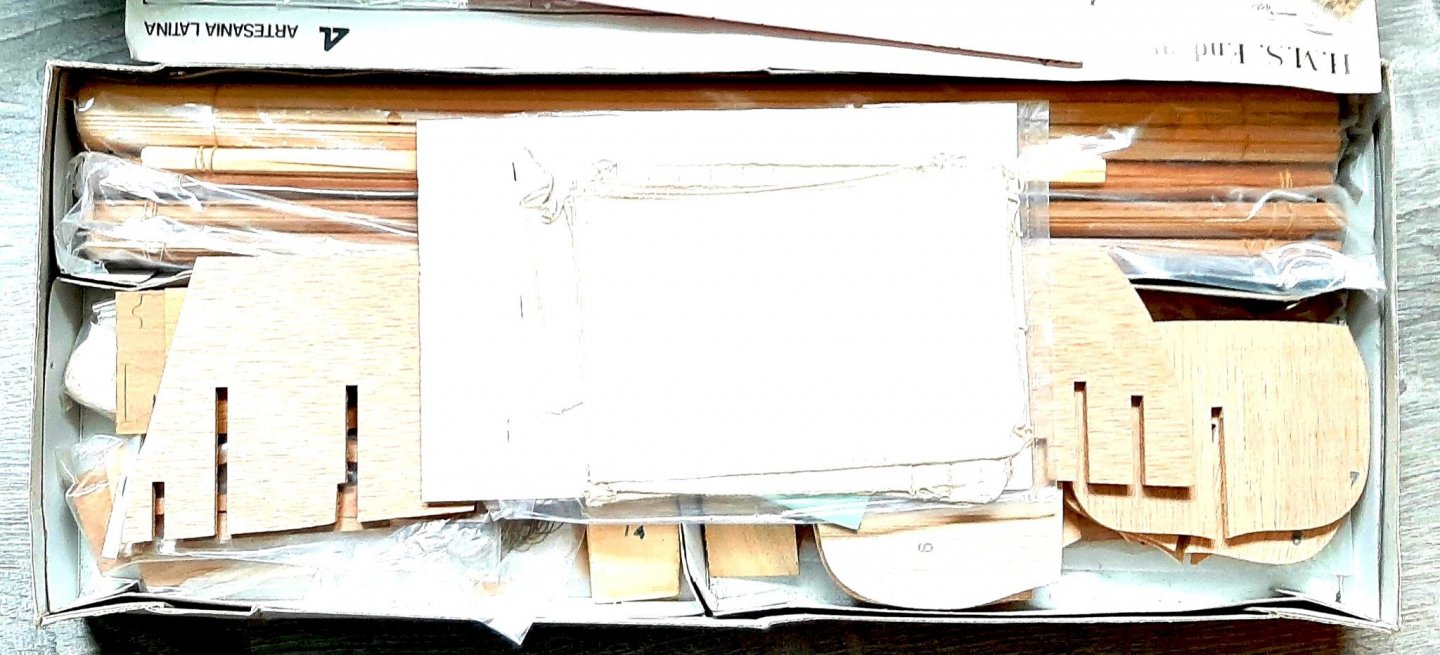
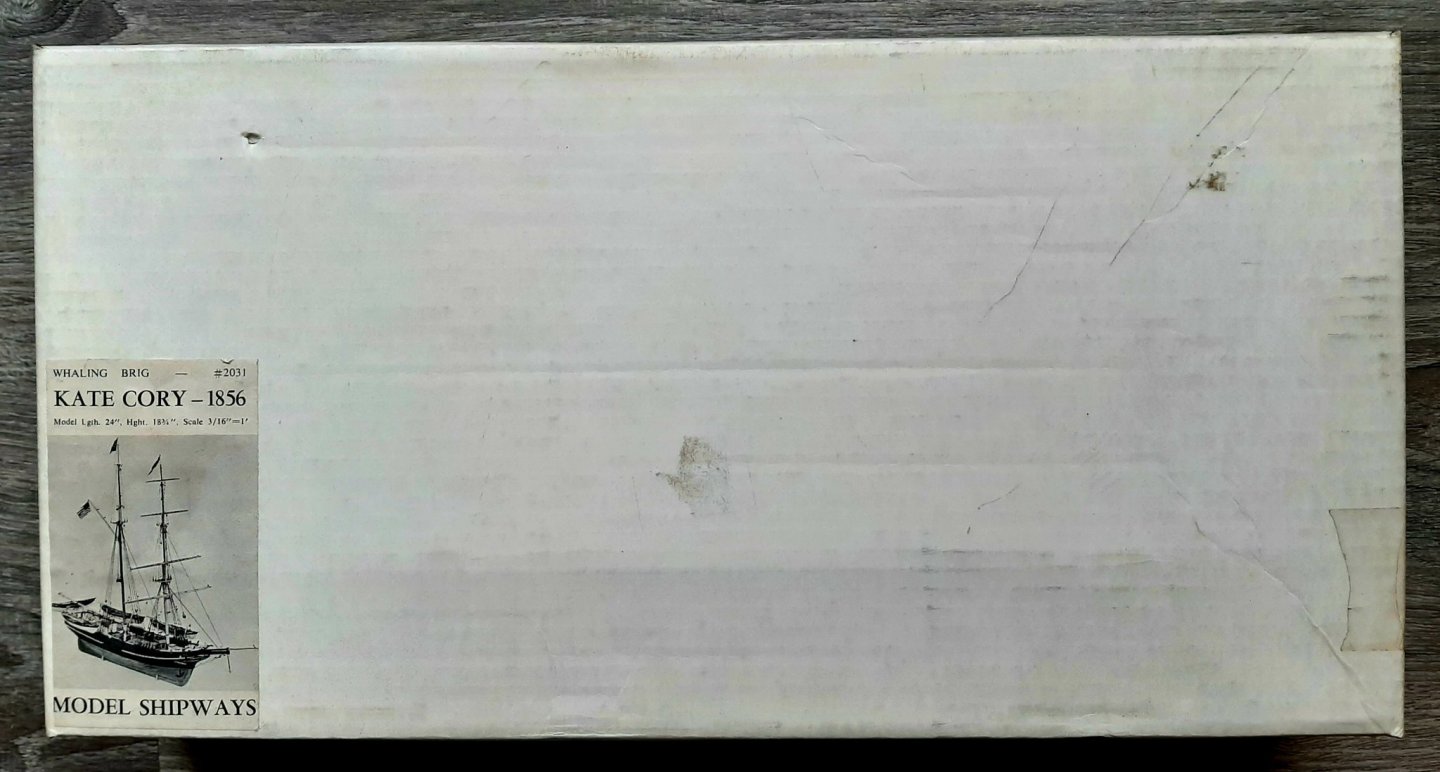
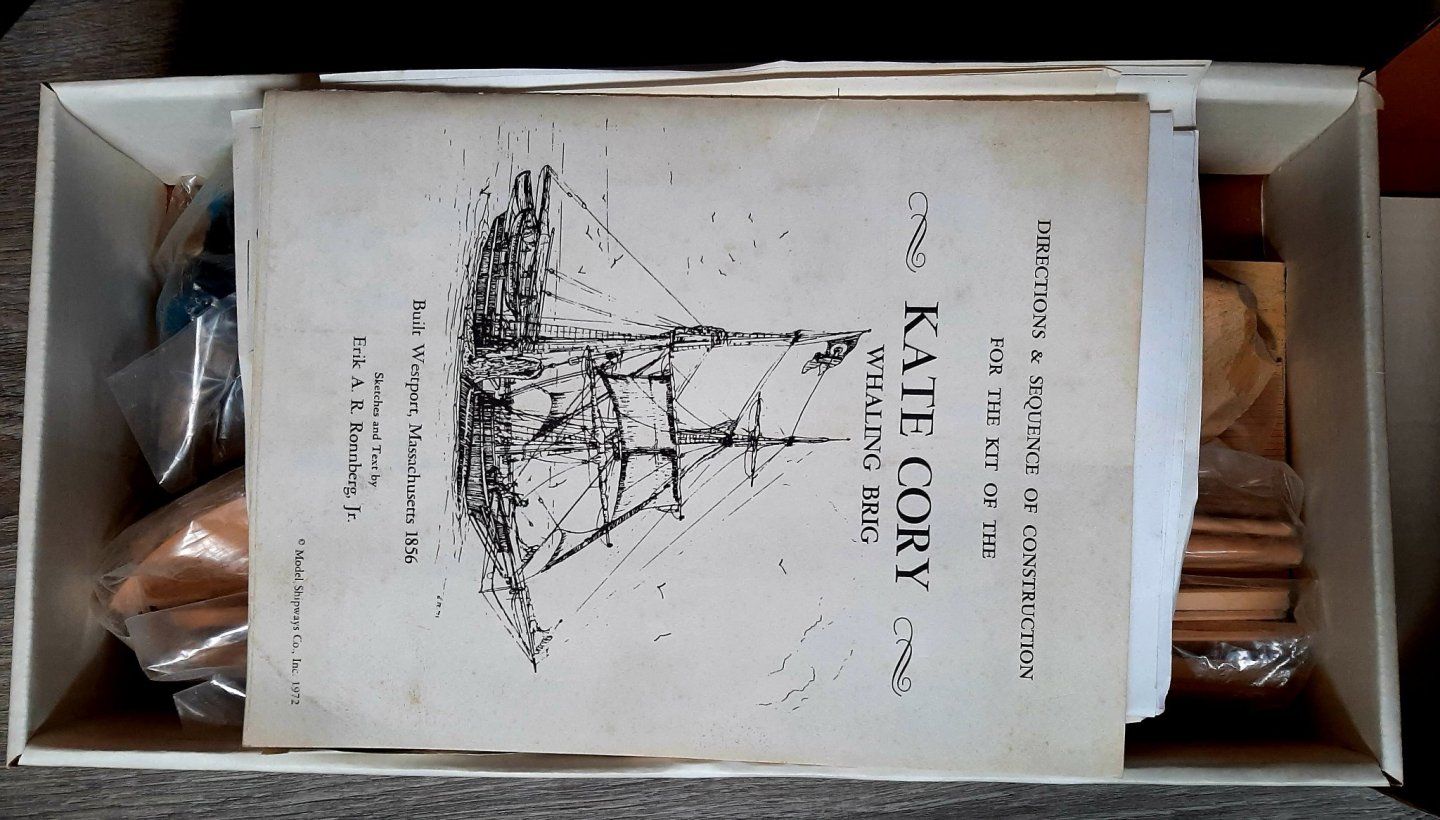
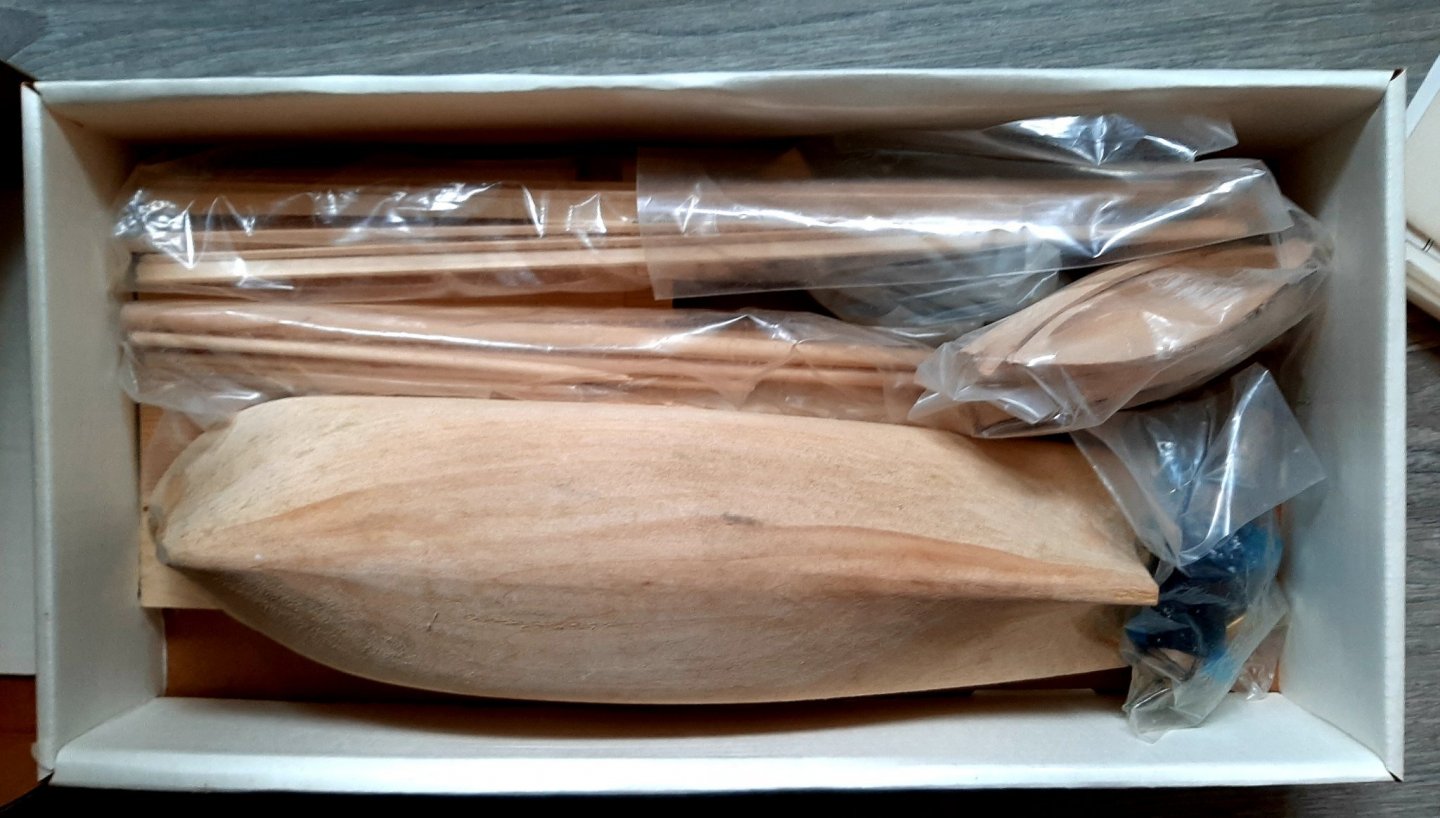
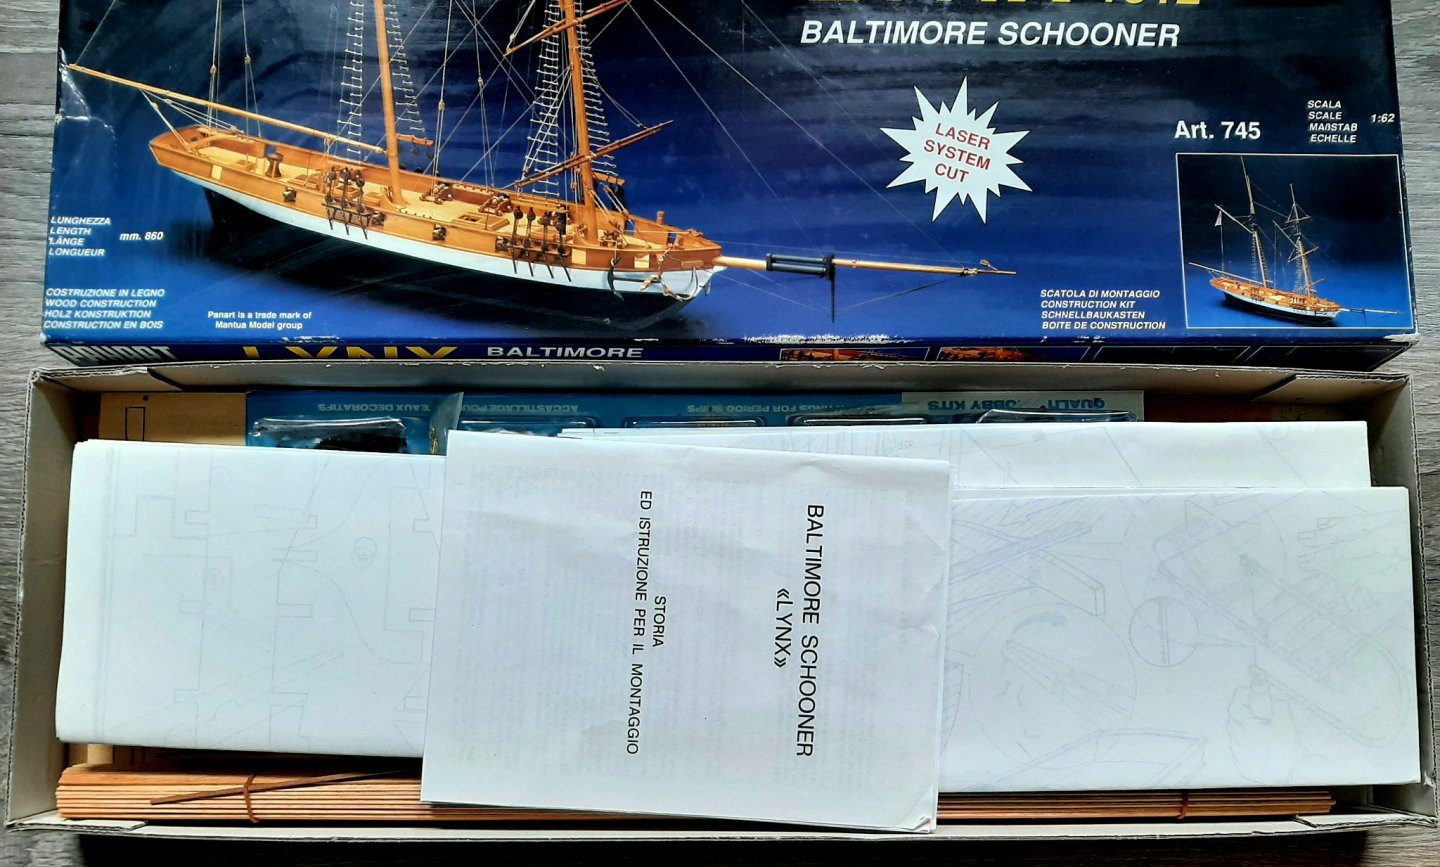
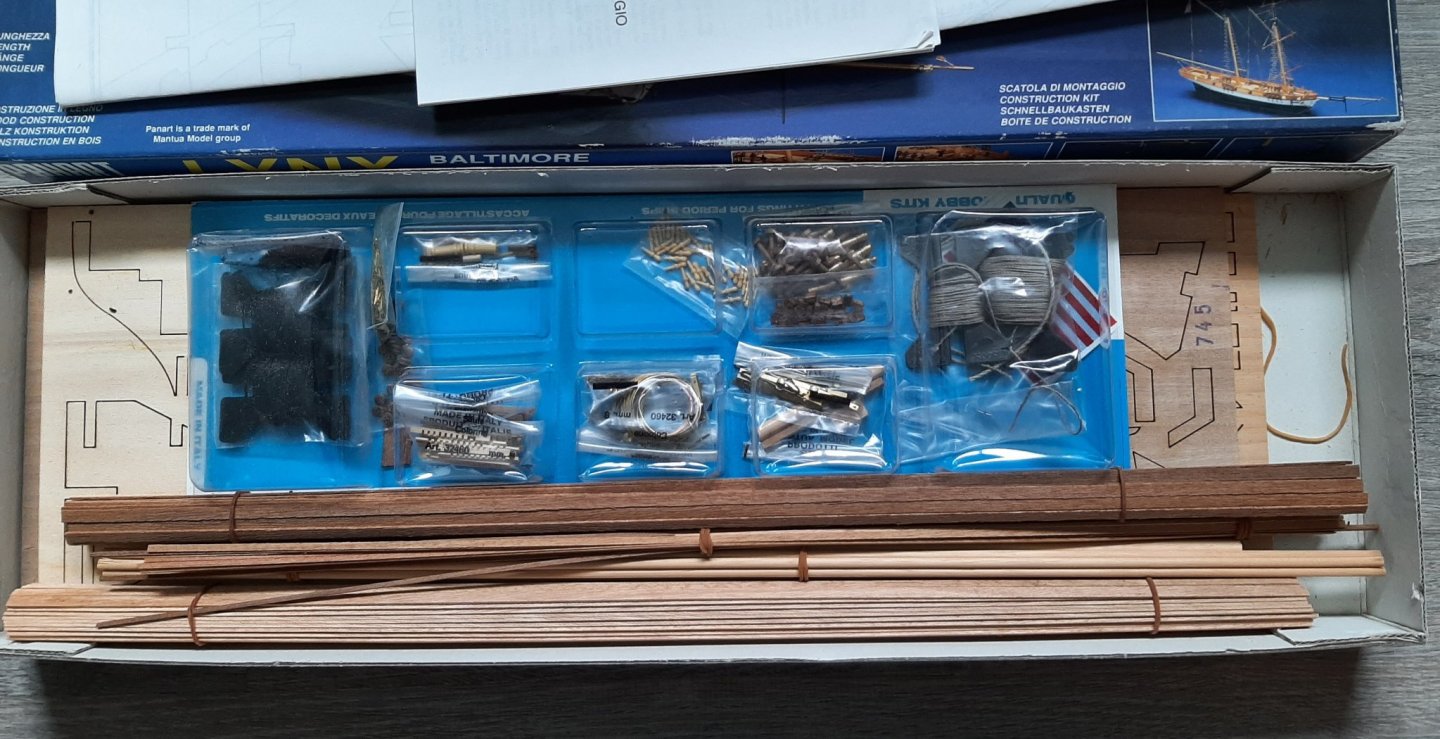
3 kits for sale. HMS Endeavour, Whaling brig Kate Cory and Schooner Lynx. Drop me a PM if you are interested. Shipping is from zip 96720. 1. Artesania Latina HMS Endeavour 1:60 scale. Box is a bit beat up but all there and in good condition. $150 + shipping In the last Endeavour pic the sewn sails don't show up very well. 2. Model Shipways Kate Cory. White box. Box is a bit soiled but kit is complete and in good condition. $150 + shipping 3. Panart Lynx Schooner. Box worn but contents are complete and in good condition. $100 + shipping


- 1 reply
-
- 1
-