
HOLIDAY DONATION DRIVE - SUPPORT MSW - DO YOUR PART TO KEEP THIS GREAT FORUM GOING! (Only 36 donations so far out of 49,000 members - C'mon guys!)
×


lraymo
-
Posts
297 -
Joined
-
Last visited
Content Type
Profiles
Forums
Gallery
Events
Everything posted by lraymo
-
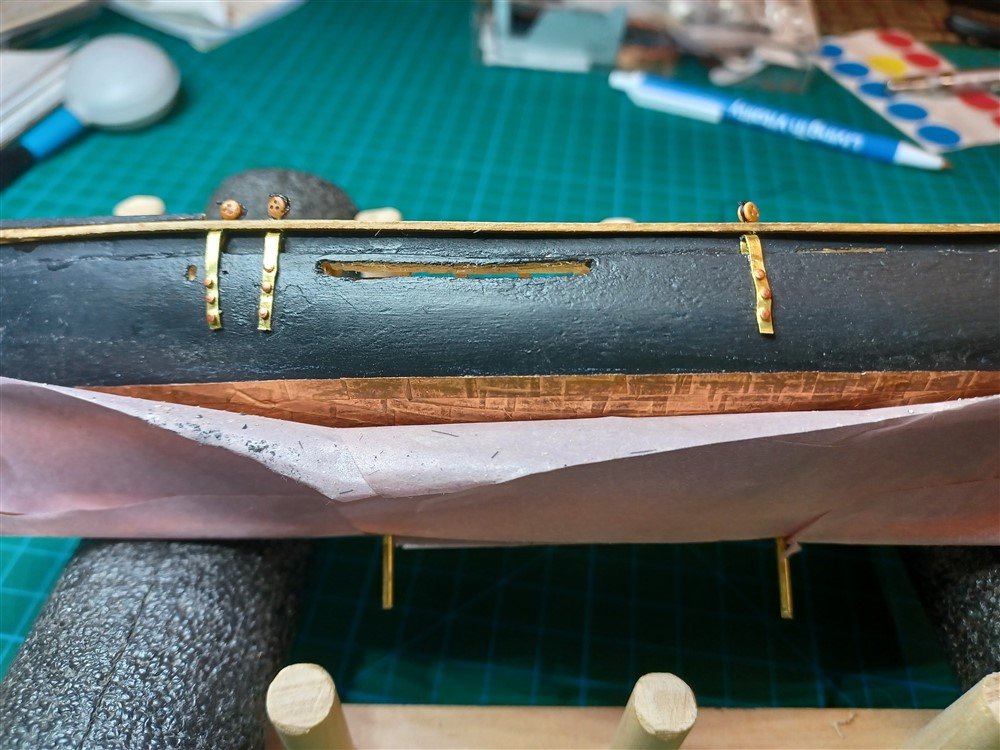
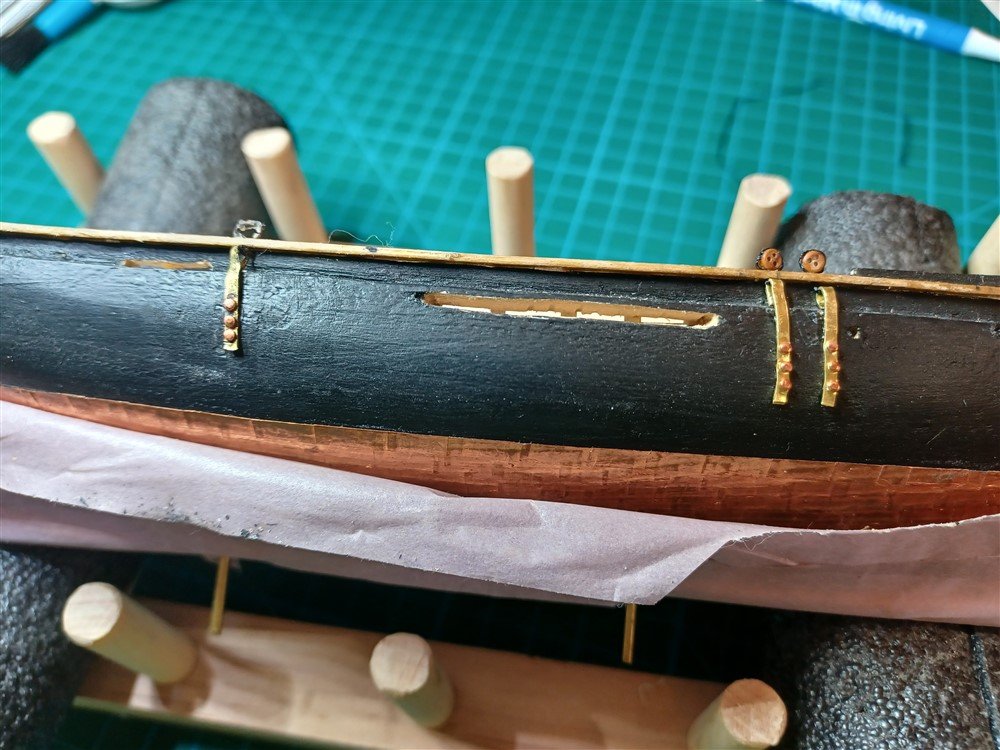
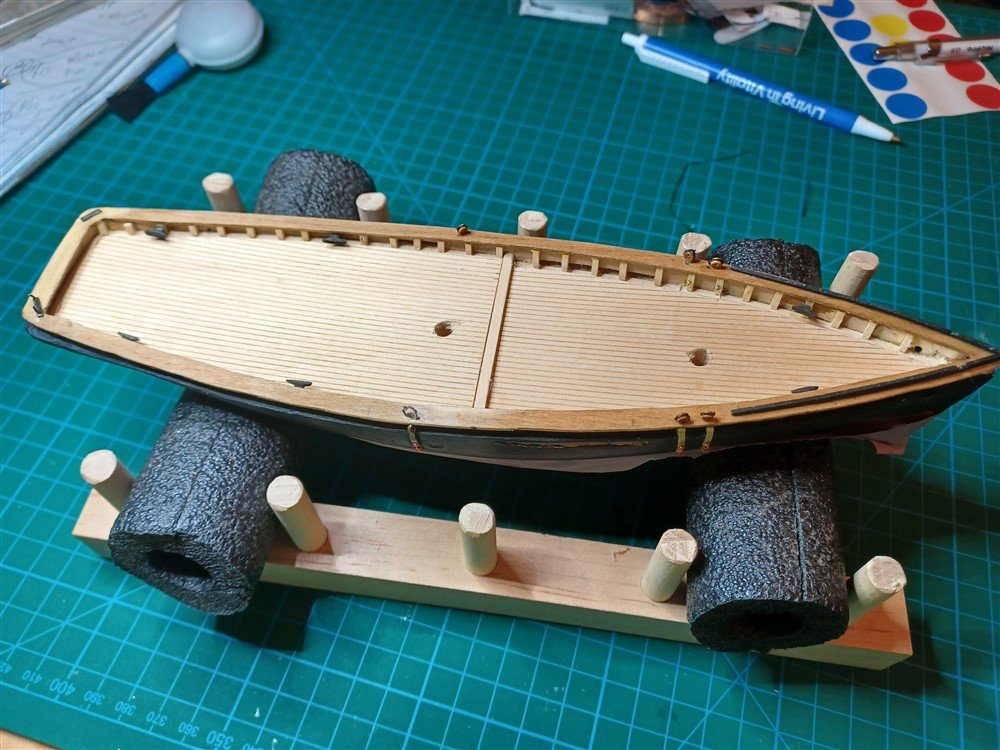
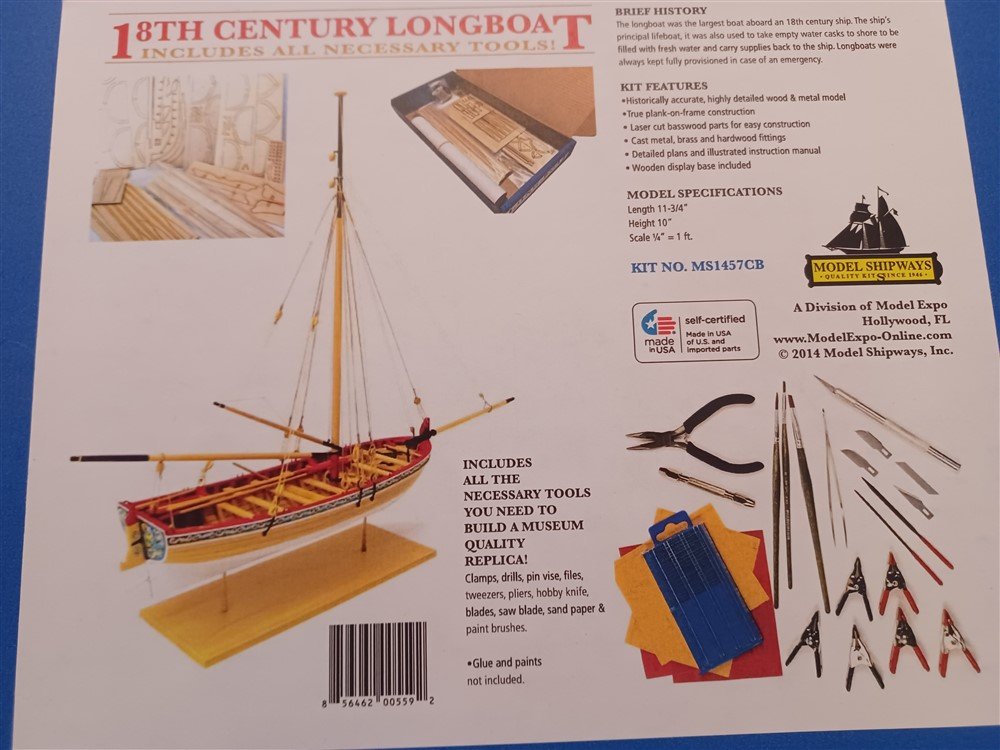
I think the chainplates have gotten the best of me! I finished the six attached to the hull, but it's making me question my ability to go further on this build. I'm seriously considering going to the simpler "18th Century Longboat" to learn more of the basics, before trying to finish this one. Side views: But it might be time to put this one in "Dry Dock" and start on the simpler model... The current state of the Phantom is below. Below is the third in the Model Shipways starter set of three builds. I finished the first two, and thought i was ready for the Phantom, but I seem to not have the needed skills, tools, or experience to do it justice. So the Longboat may be what I need before going further. Haven't' pulled the plug yet, but I'm thinking about it...
-
Eric, this history is fascinating! It inspired me to ask Google what the doors were for. This is what I found: "Grain elevators have doors high up on the top, also called the "headhouse", because this is where the grain is loaded into the storage bins, allowing for the most efficient way to funnel the grain from trucks or railcars directly into the elevator's vertical storage system using gravity to move the grain down into the bins." Not sure if you can count "Google" as actual research, but it made for interesting reading! Your model is looking great!
-
Eric, thanks for posting! I enjoyed reading all your historical details. Especially since it gave me something interesting to do, while I sit here soaking my fingers in nail polish remover after an unwise decision not to use gloves on my latest bout with super glue!
-
Eric, this is great history along with your project, and I'm glad you decided to share it! I've been to Rocheport several times to ride the Katy trail (but I've never done the whole thing! I'm impressed with anyone who's done that!) Love your layout, and looking forward to watching the build!
-
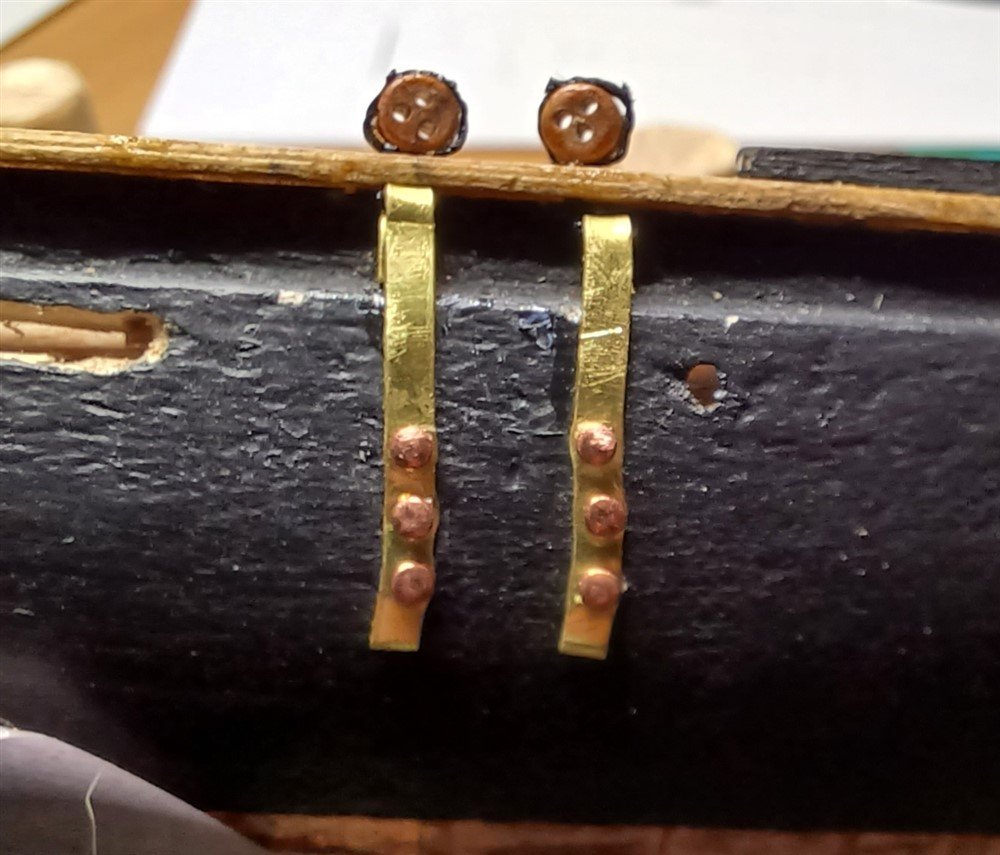
Chain plates... still wonky, but these two are better than the first one! Now it's on to the three on the other side. But a wave of springlike weather has hit Kansas City after the brutal sub-zero week we just had, so the golf course is calling my name, which may lessen my time here! But persevering! The thread around the deadeyes got caught up in excess CA, and although I tried to correctly line up the deadeye holes, I couldn't hold on to the deadeyes very well as i placed them, so they ended up where they "fell"! I'm looking forward to improvement on the port side!
-
I think you need to find a tiny coffee pot to put on it!
- 732 replies
-
- 5
-

-

-
- Lula
- sternwheeler
- (and 1 more)
-
The Engine Room looks terrific, as does the maintenance door. QC comes thru on the trim!
- 732 replies
-
- 4
-

-
-
- Lula
- sternwheeler
- (and 1 more)
-
Ditto what Keith said! I'd love to see pictures!
-
Thanks Vossie! I'll try that! HaHa! Maybe I should've tried harder on the tube I just trashed!
-
Thanks Keith. One question... when I open a new bottle or tube of superglue, how do i keep the cap from permanently sticking on, when I try to replace the cap? i keep losing superglue, because when i try to open it a second time, the cap seems permanently stuck! Thanks Eric, that's a great tip! It makes sense, and I really appreciate the diagram! Also, are you currently working on a model? Which one? One more question... the deadeye is SO tiny, that my fingers seem too big to handle it. If I buy a larger scale model, will the deadeyes be much bigger? And if so, what's the best "larger scale" i should look for? This is 1/8"=1 ft. I saw a larger model of the same ship at 1:48 (I think that's bigger, but i have a hard time translating scale info!) Is there a better size for me? (Not that I'm giving up, but I'm a bit discouraged, and wondering if I bit off more than I can handle!)
-
Vossie, I just read about your injury. I'm sorry to hear! Your Lady Nelson work is beautiful, and I hope your recovery goes well so you can resume work! Thanks for your words of encouragement and advice on my build log. Rest up! I recommend Line of Duty for binge watching!
- 714 replies
-
- 2
-
-
- lady nelson
- victory models
- (and 1 more)
-
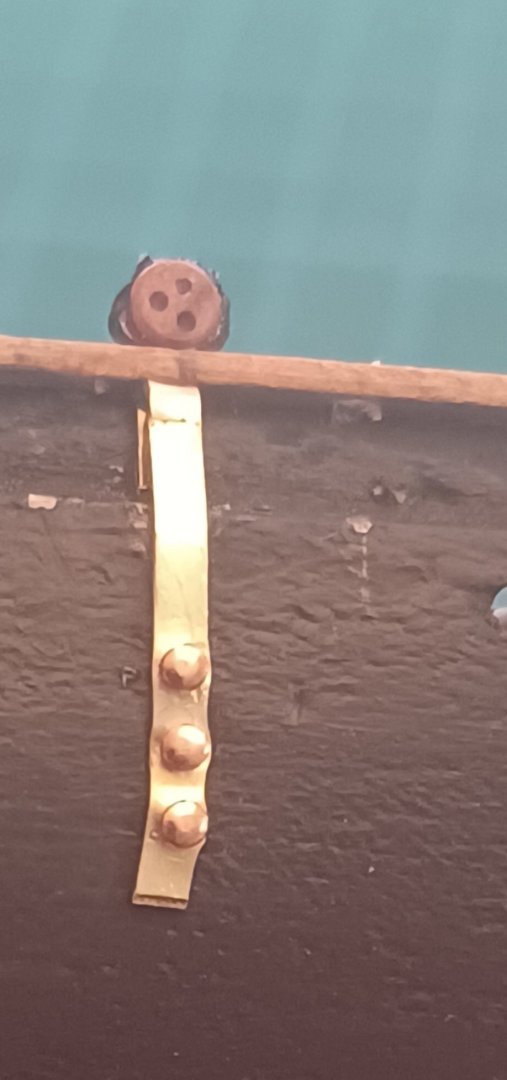
Thanks Vossie. I like the idea of using the wire! thanks Keith, I may try your applicator idea too! My first chainplate was an epic fail! And when I tried to drill out the deadeye holes, it broke apart! But here's chainplate number two, using MUCH LESS superglue and being way more careful! There's still alot wrong with this one, but its much better than my first attempt! And i have 4 more to go, so I'm hoping each one is better than the last! (It looks like the deadeye holes are clogged, but they are open. It's just not a very good picture from my phone!)
-
I'm glad you're still going to do stairs! (I was going to ask about ladders, but stairs are good!)
- 732 replies
-
- 3
-
-
-
- Lula
- sternwheeler
- (and 1 more)
-
I'm home from Florida, where it was 78 degrees, back to the cold midwest! Bummer, but starting up again on my chainplates. I finished one chainplate. I am truly embarrassed to post this picture. I had trouble with everything, including super-glue, which I had to scrap off the hull (along with some paint). The chainplate itself, and the little nails were hard to deal with, because my fingers aren't tiny, but the biggest trouble was the deadeye, for which I used superglue to affix to the ship. Sadly, i also inadvertantly filled up the three holes with glue, and now there's no way to get the rigging thru those holes. I may have to soak the deadeye in nail polish remover just to get the holes opened up. Is there a better glue to use for this work? I was trying hard not to glue my fingers together (I used gloves), but its hard to work with gloves on! This looks really bad. But i figure if I keep trying, I might get better one day!
.thumb.jpg.5d69ddca95e2fd8a7ea02d949f2f5515.jpg)
-
Wow, you've completed alot since I last saw this, and it's gorgeous!
- 732 replies
-
- 4
-
-
-
- Lula
- sternwheeler
- (and 1 more)
-
Wow, the wheel is looking great! but I am so sorry you and Maggie have been sick, and even more concerned about your slip on the ice! Yikes! I hope you have both recovered from illness, and since you are working on the wheel, i assume this means your arm is better. But at any rate, rest up as needed!
- 732 replies
-
- 4
-
-
-
- Lula
- sternwheeler
- (and 1 more)
-
Thanks for all the good ideas and suggestions! Not sure I'll paint these little chainplates, but your info is good to know. At any rate, won't be working on the model for a bit... making a quick trip to Florida to see some friends (but I'll be back in a week!)
-
Question: I tried to paint the brass chainplates with the black paint that came with the kit, but the paint wouldn't stay on the brass. Is there a special black paint I should use? (I may not paint them anyway, but for future knowledge, what paint works best on brass?)
-
Thanks Keith! This model will take a looong time to finish, but hopefully I'm learning alot along the way!
-
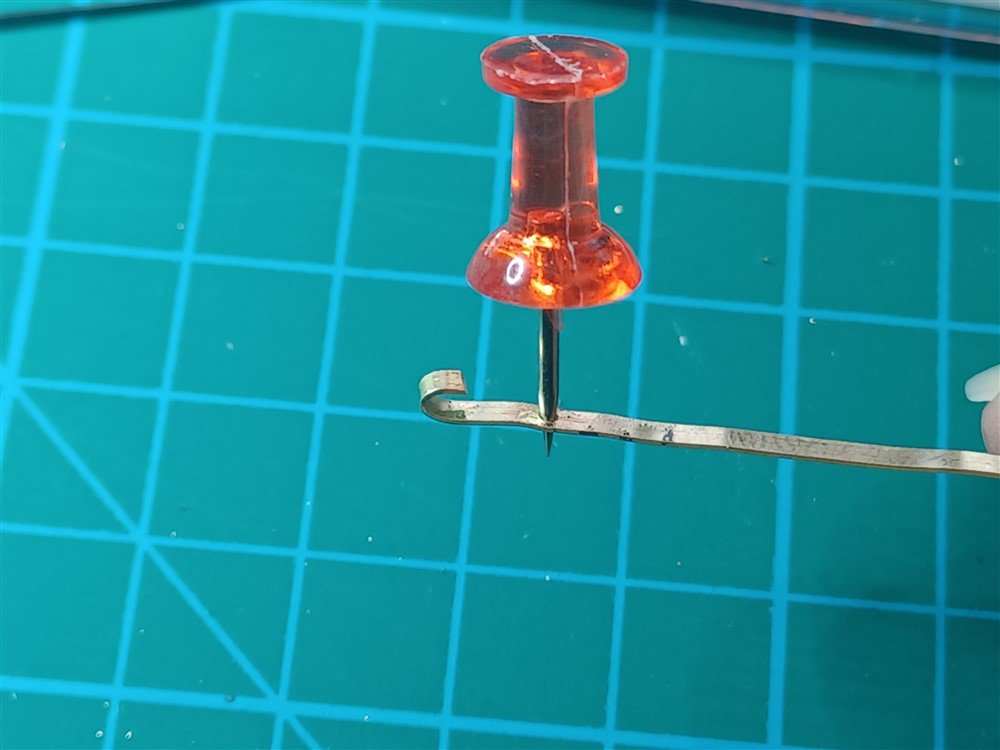
A bit of success! These chainplates don't look all that great, but for me, my goal was to make 5 of them, with three tiny holes in each of the 1/16" strips of brass. I found a couple alternative options, since my little drill bits weren't working. I could buy a mini drill press for $129!!! OR use a thumbtack and a little "reamer" tool I already had! I went for the cheaper option! These still need alot of work, but hey, I have achieved HOLES! I hammered the thumbtack in a little bit, but if it went too far, it would create too big a hole and split the brass. So I only hammered it in about 1/8", and then used the reaming tool to open up the hole to the correct diameter. It was still difficult to keep the hole in the exact center of the strip, but they'll look better (I hope!) once they're installed, painted, and the little nails are attached!
_1000.jpg.a84383e46a335d90c9ff8e27ebe30f0e.jpg)
-
Apparently I did 😁! Maybe its time to buy some new tools, like a drill press! You are probably right. It seems dull. My #61 is actually the BIGGEST I have. I'll try using a smaller size! This sounds like a good approach. I will try it. And my practice drilling had the bit jumping and sliding all over the place, so I will try to make a "dimple" with the smallest nail I can find. Thanks for all the advice! I'll keep plugging away!
-
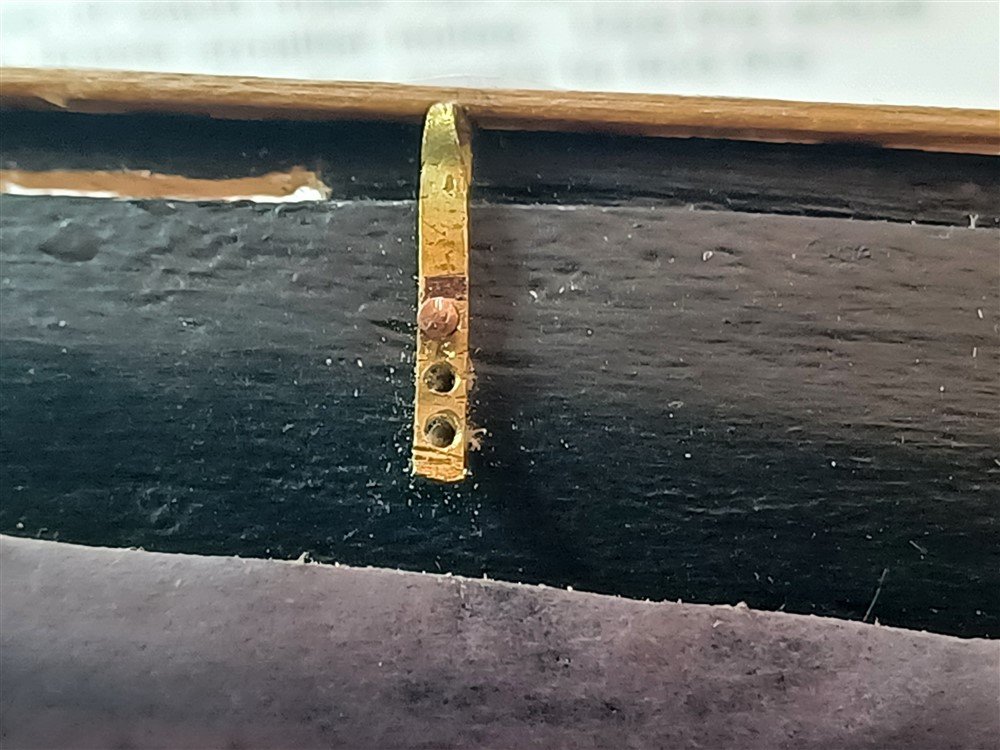
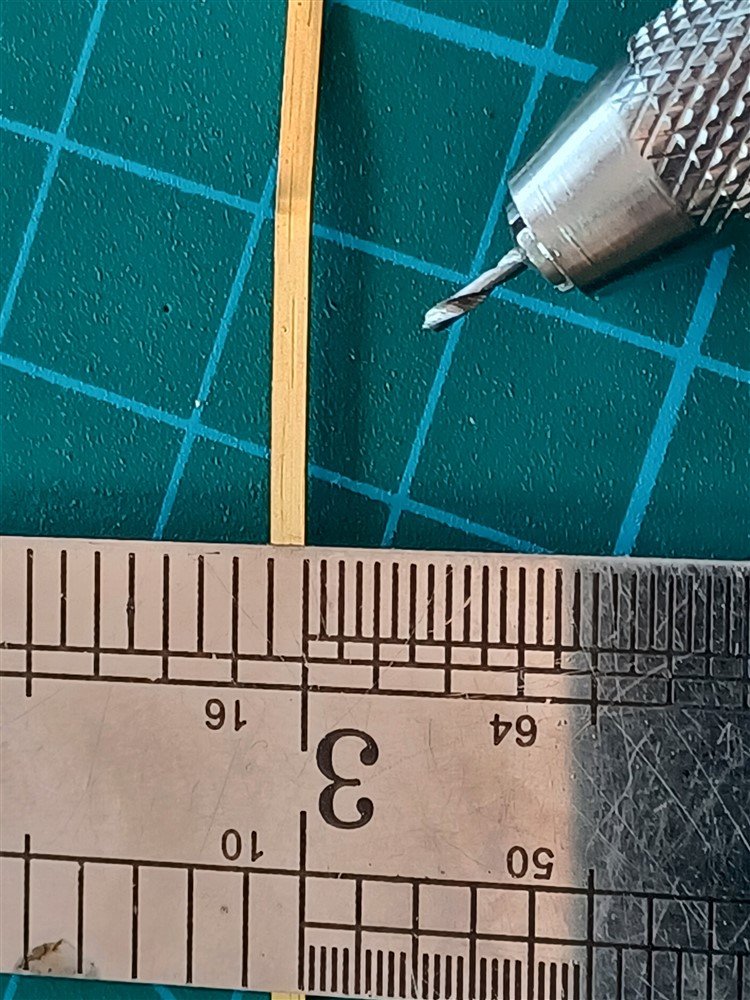
Starting over is so hard! I've forgotten alot of what i was doing. But getting back into it, i'm trying to finish up the chainplates. I had started one, and thought i'd make the other 5 before installing them all, but in looking at the little tiny holes, I can't for the llife of me figure out how I made them??? The brass strip is 1/16", and I am trying to use a #61 little drill bit for my little finger drill, but it doesn't want to go through the brass strip. Is that the right tool? I did it before, but can't figure out how! PS - pay no attention to the rudimentary work. It'll take awhile to get good at this!

.jpg.be7192d2b5294606e9d7d36821eb4440.jpg)