
HOLIDAY DONATION DRIVE - SUPPORT MSW - DO YOUR PART TO KEEP THIS GREAT FORUM GOING! (Only 36 donations so far out of 49,000 members - C'mon guys!)
×


lraymo
-
Posts
297 -
Joined
-
Last visited
Content Type
Profiles
Forums
Gallery
Events
Everything posted by lraymo
-
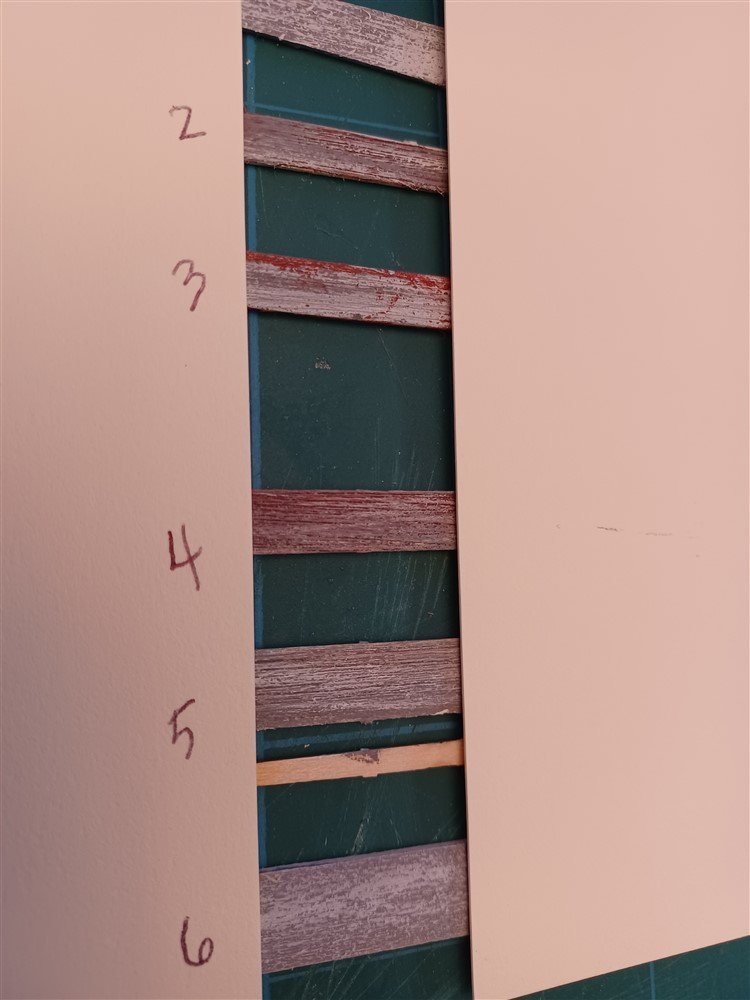
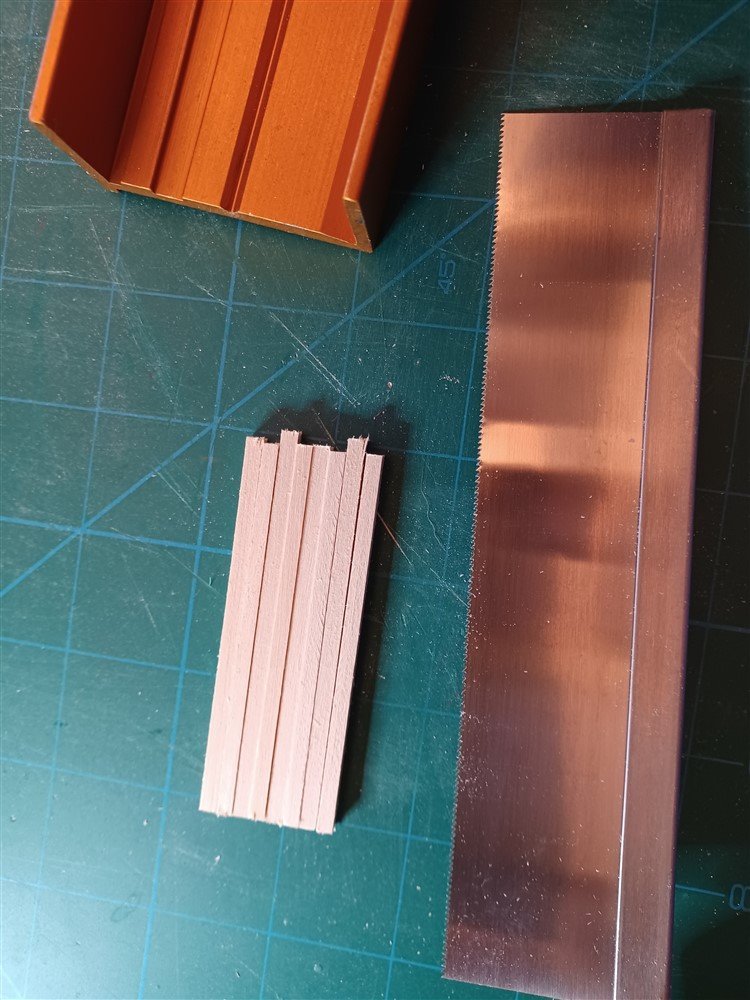
2nd try, and Keith, I really like the sample photo you posted. So far, I'm not able to get that look. One of my issues is that the "timbers" of the launchway are only 1/8" thick. So not much surface to work with! Anyway, my next try includes 6 pieces, with various shades of "brown" (I have to improvise with a red & black misture). I made grooves, but again, not much surface to work with. Could any of these work? I like @ or 3, or possibly 5?
-
Thanks for the feedback, Keith. I like your wire brush Idea. (Fortunately, I have just the thing... a wire brush that I use to clean my golf clubs!) What fun! Thanks!
-
Hi Keith, I was really interested in the 8" table top vise you just got on ebay, since I am looking for some way to hold my little phantom, when I start working on the deck and rigging (sometime in the future, since I have lots to finish on the hull first!) So I jumped over to ebay, and found a new, in-the-box, Workmate. I didn't get quite as good a deal as you got, but for under $60, I went ahead and bought it! Thanks for the showing it in your log!
-
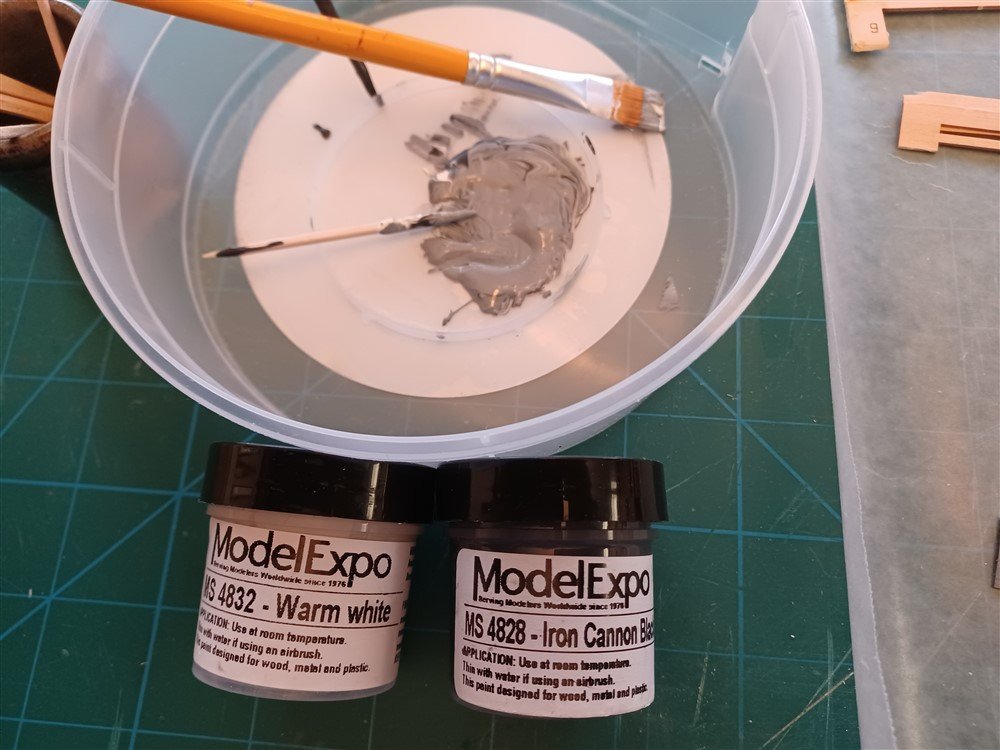
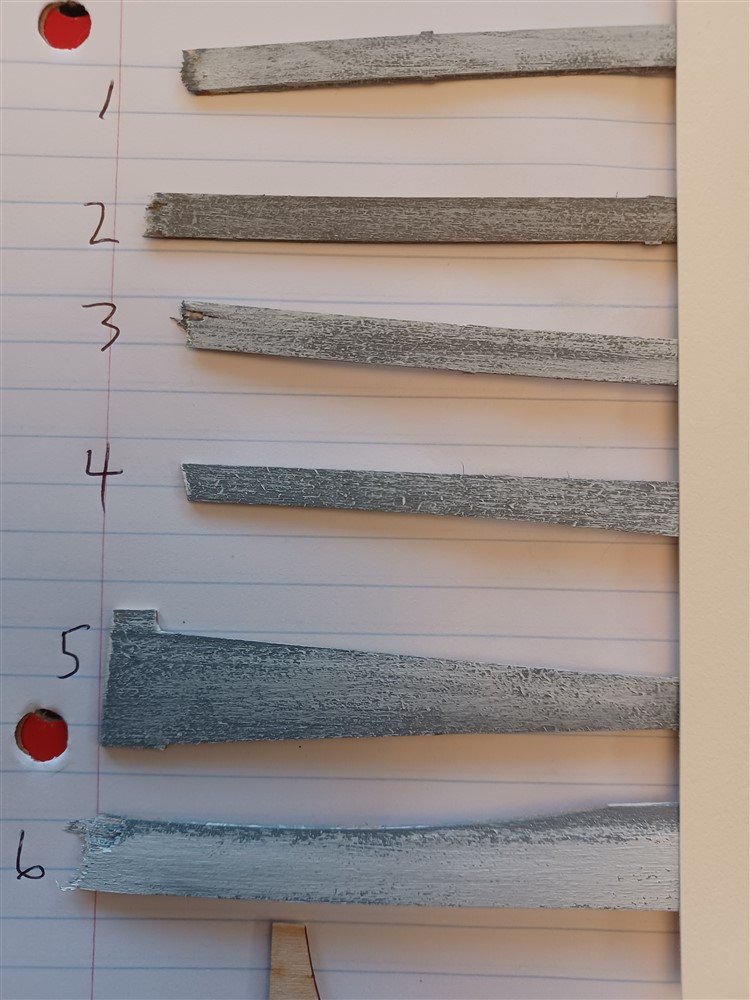
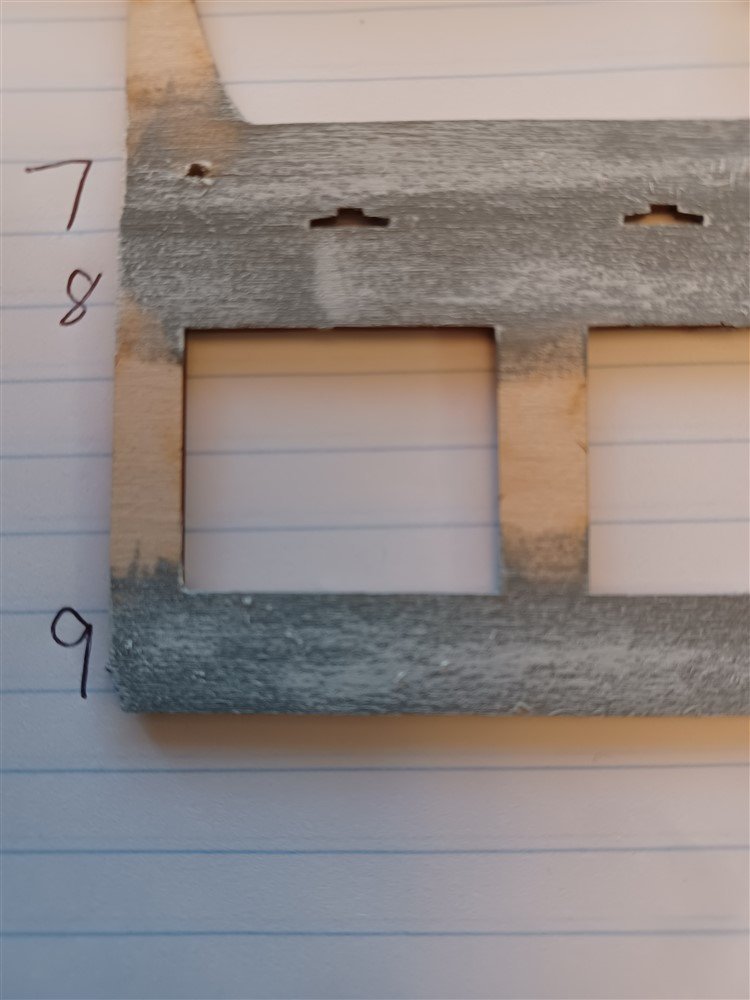
@BrianK, Hi, and welcome aboard! Thanks for your tips about the sanders! @Keith Black, I decided to try my hand at weathering, after reading Gary's incredible logs. (What amazing detail!) Anyway, I tried to use what I have on hand, and I came up with a few samples. I started by mixing some "Iron Cannon Black" with "Warm White" till I came up with a nice shade of gray. Then took some scrap basswood, painted it with the gray, and then used a light coat of "MS 4831-White" brushed on sparingly. (I tried to use the "tape" method described by Gary, but I didn't have much luck.) But I like some of these samples, with #3 the best, followed by #4, #5, and #9. Any thoughts? Do any of these look "weathered" enough to use for my Launch Way?
-
Thanks Keith, I will read Gary's logs with much interest!
-
Keith, my plan was to use a light stain (Minwax Wood Finish "Golden Oak") which I have on hand. Not sure how to weather... I would assume it would involve a grey stain, but what else would need to be done to achieve a weathered look? It's a cool idea which I hadn't thought of!
-
WOW! Fabulous work! (of course, now I want to hear about that jeep in the hallway...)
-
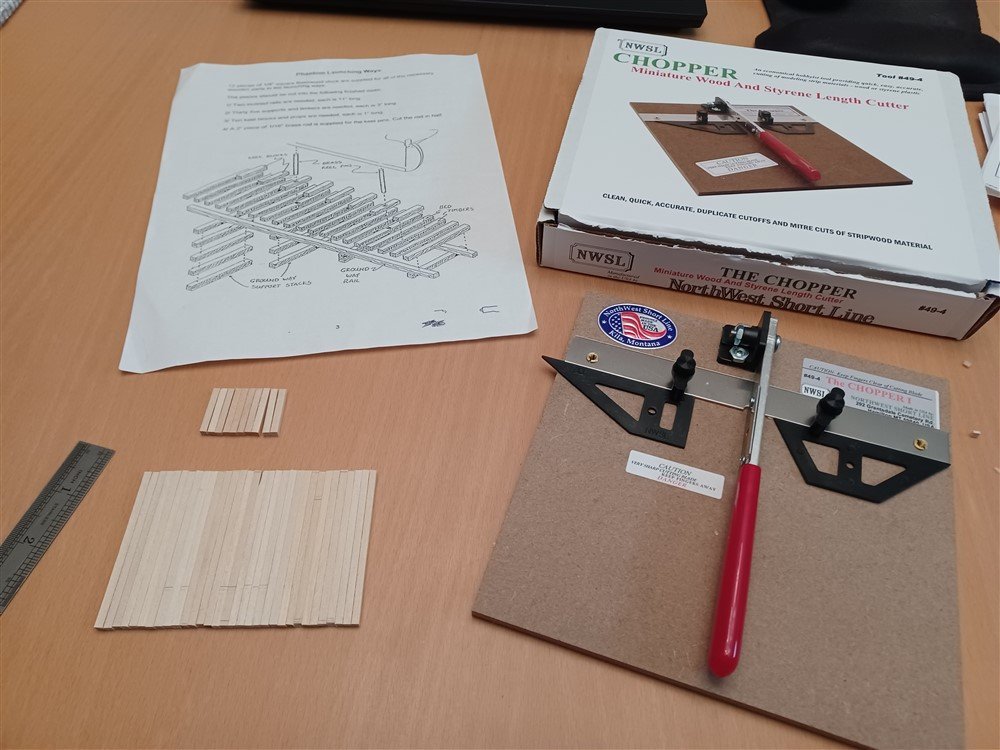
Although the "workshop" has been put away for the holidays, the "Cutter" arrived today, and I just had to try it out! It worked well, and I cut 10 very evenly cut "keel blocks" and I trimmed the 32 bed timbers to a consistent length. They aren't perfect, but only because my original cuts didn't square off the ends very well. (The Cutter does a nice job on the ends!) I didn't want to continue to trim, as the 3" "target" length is now down to 2 3/4" and I figured no one would notice the slight imperfections in length! Happy Holidays everyone, and see you again after the New Year!
-
LOL, I'm trying to breathe through my eyelids, but I keep falling asleep! But with the help of my new "cutter" I am hoping to take my time and be more accurate in my cuts!
-
Thanks, this looks like a great idea! I can see alot of value in this, so I just decided to purchase it as a Christmas present to myself! Thanks!!!
-
Thanks Keith! I'm embarrassed to say that my "accuracy" problem is mostly from being too fast and too sloppy in my measurements!
-
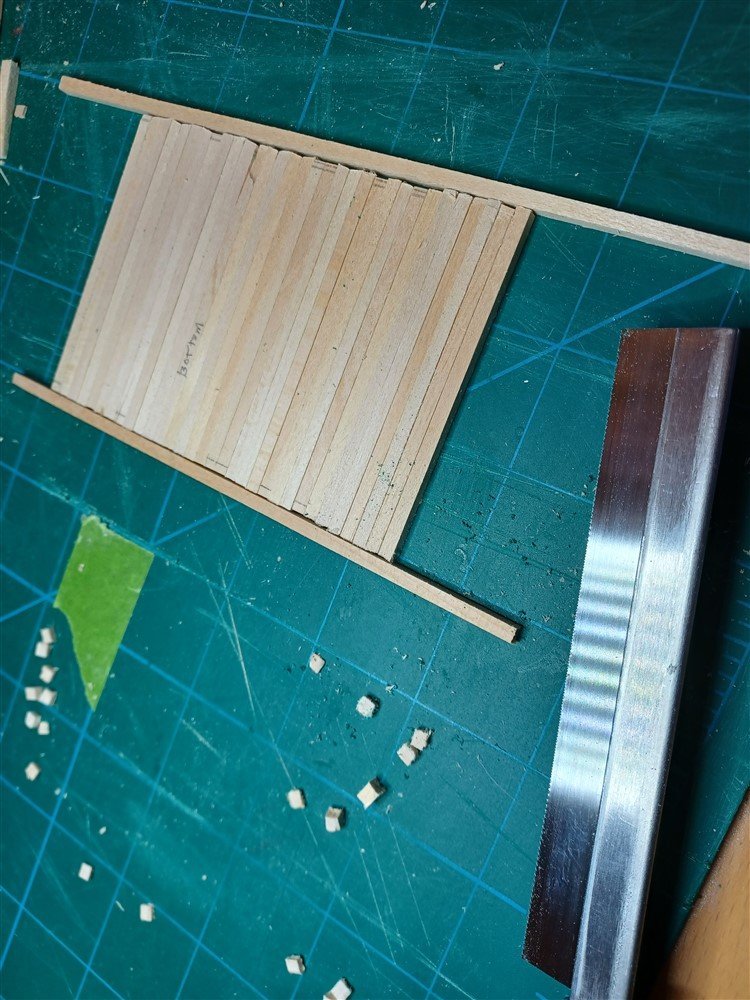
Had to pack up the workshop (a.k.a. kitchen table) for the holidays, so I won't be getting much done till January. But I did try to cut the pieces for the Launching Ways, only to realize my ability to cut accurate 3" pieces of wood isn't very good! Some longer, some shorter than needed, so I tried to even them all out using a razor saw, but still didn't get really good accurate cuts. Figured they'll be ok, but not happy with my inability to make precise cuts! Initial attempt: Tried to trim the ends... still not great, but will have to do for now. Workshop packed up. After Christmas festivities, I'll be able to use the table again!
-
Hi Keith, I love your ship and the rigging. Your expertise is impressive! One day, I hope to be able to do rigging like yours, but in the meantime, I get to watch and learn from following your build! Thanks!
-
Thanks @SkiBee, I appreciate your thoughts, and I might go with 3/8" too! Seems to be right... and your coppering looks terrific!
-
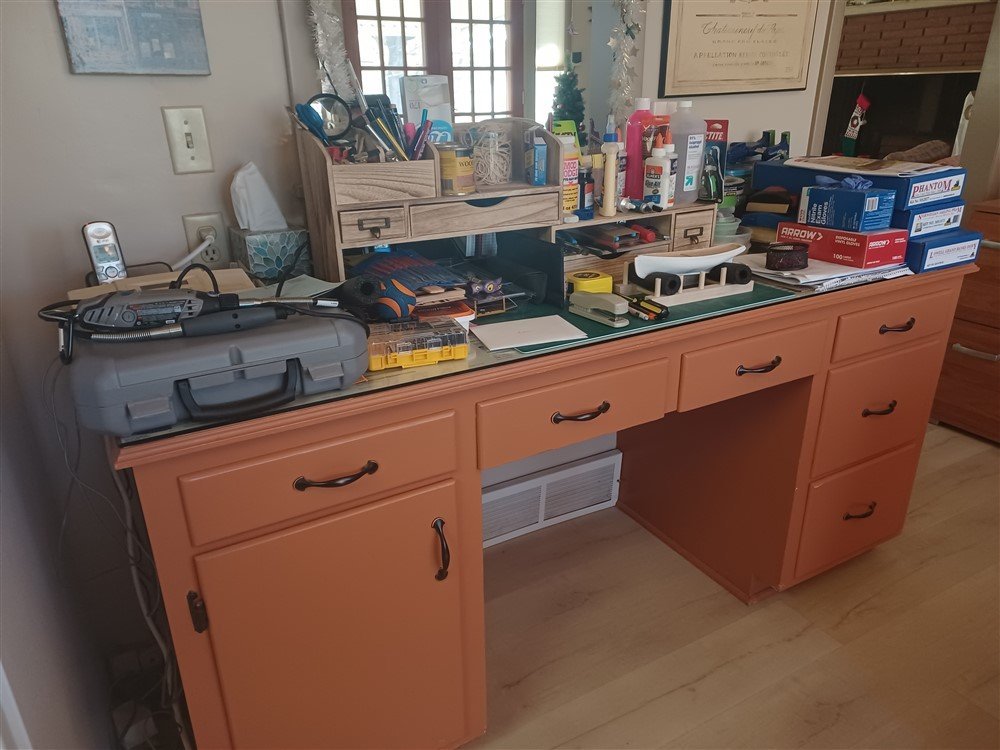
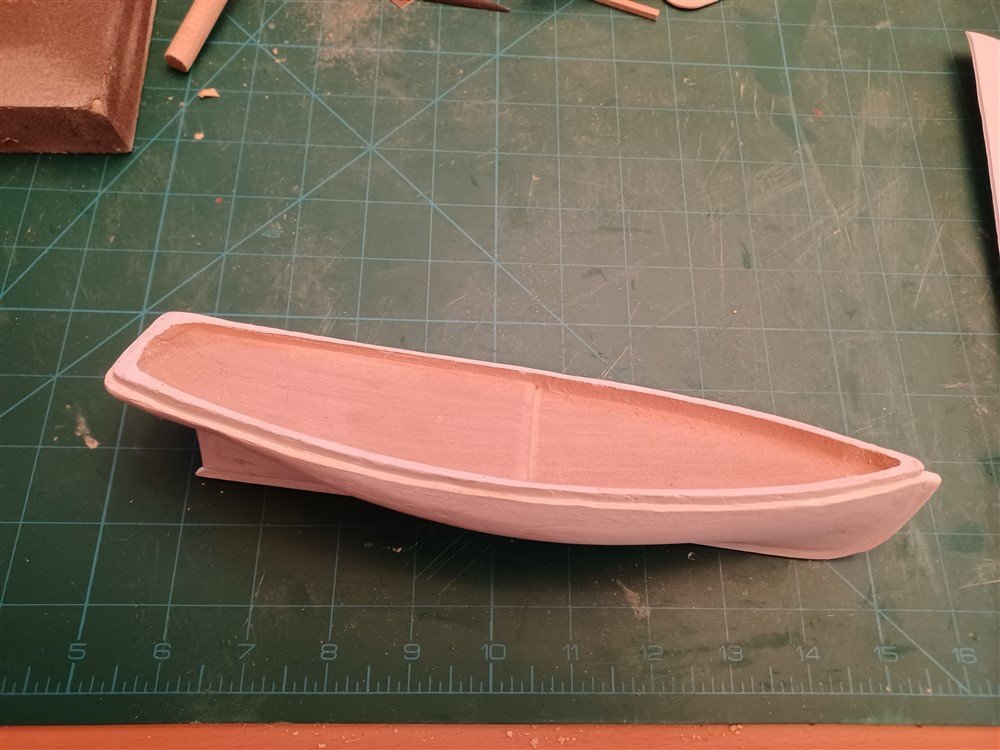
Sanded the hull, primed it, and sanded again. Still see a few bumps and blips, so more sanding is in order. Then I'll be ready to paint it using the black paint from the kit. I'd like it to have a bit of a sheen on it, so I'm thinking I'll also add a layer of Clear Satin from the previous kit. I didn't prime the deck yet. Wanting to get the outer hull finished first. I'm also concerned about the coppering. I asked SkiBee what length should be used for each plate. I'm thinking 3/16", but I don't really know. I also need to clean up and organize my work space! Yikes!
_1000.jpg.37471f96efb6b67e094d36857cde2c7b.jpg)
-
@SkiBee, what is the length of each of your copper plates? I'm getting close to doing the same, but it says they should be 1/8" long. That's got to be a typo! I know its 1/8" wide, but maybe 1/2" long? What did you do?
-
Thanks, I found several good tips on marking the waterline. After nap time tomorrow (an important part of any day!), I'll have to try some of the techniques!
-
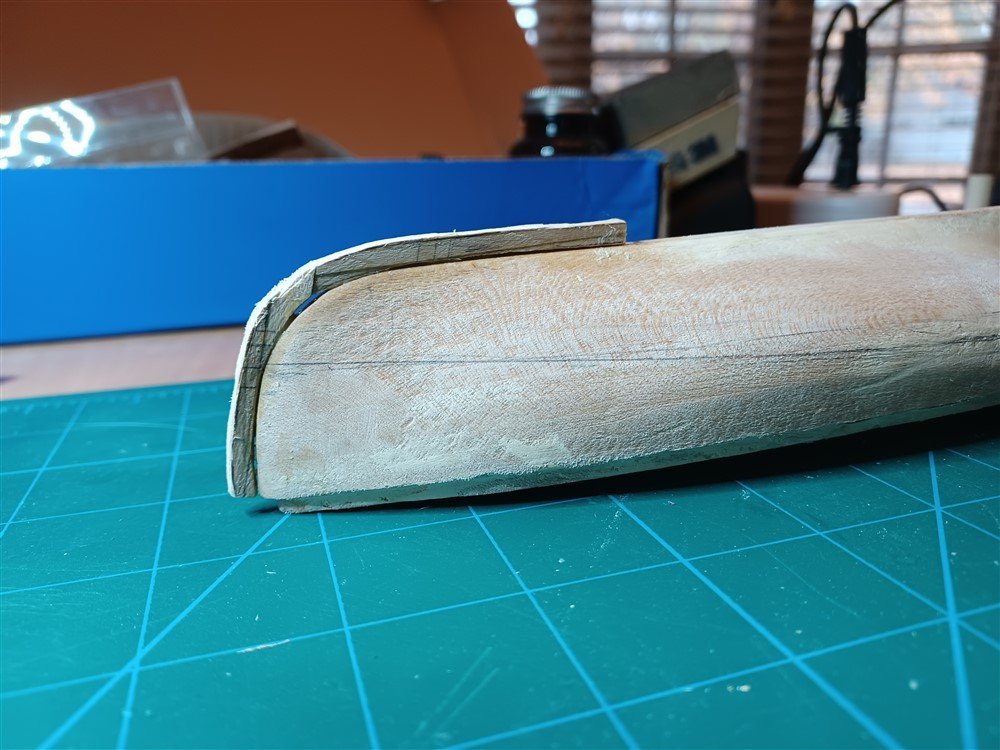
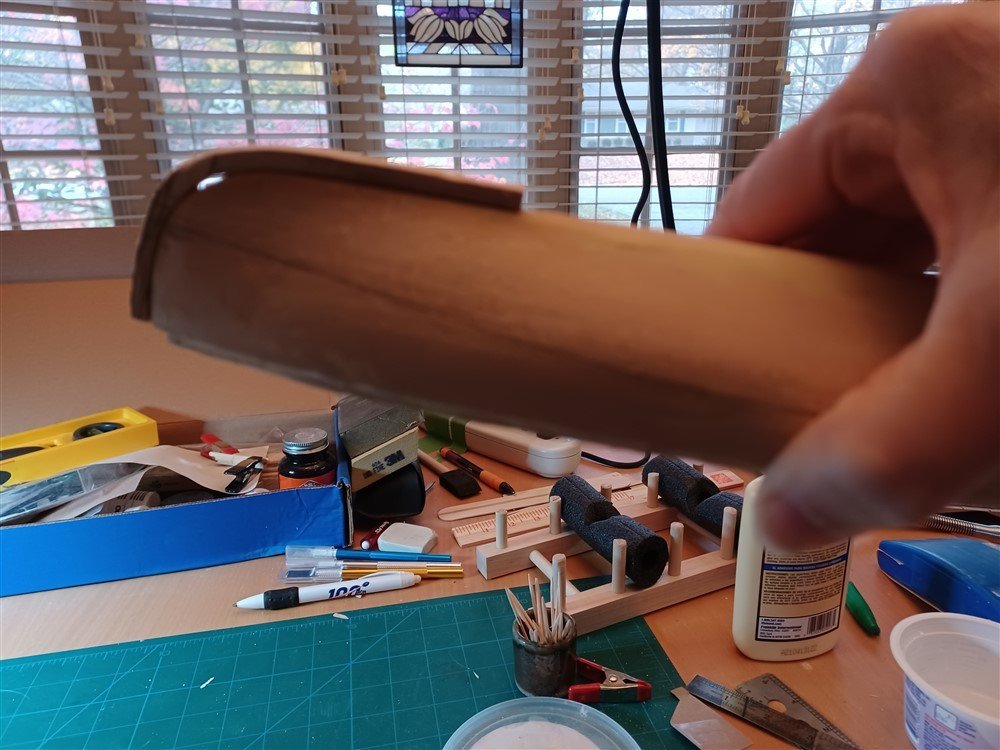
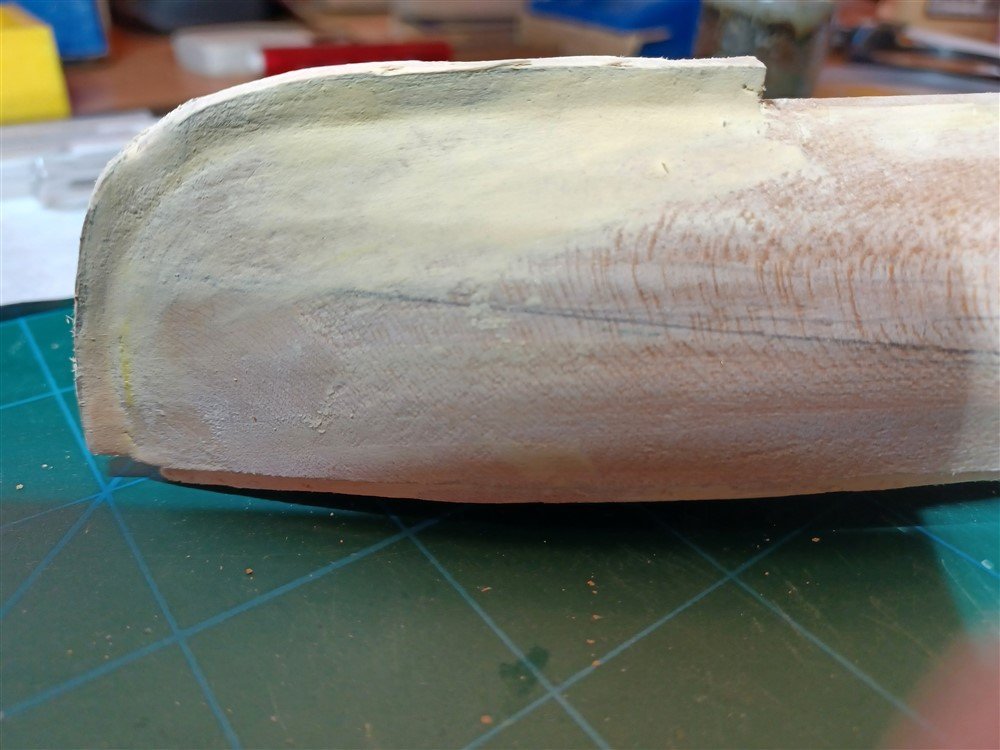
Hi Keith! You're too funny! I've been too busy to do much on the model (how did I ever find time to work??? Retirement shouldn't be this busy!) As it so happens, i finally got some time to work on the stem and sternpost. Glued the pieces of wood together for the stem as described, cut out a reasonable facsimile, and glued it on. Some gaps, but I actually felt good about how it fit. Then using @SkiBee's blog as an example, I used wood filler to smooth and fill in the gaps. Right now it looks really rough, but after it dries, and I do some serious sanding, it should turn out ok. Then i just need to add the keel, sand & paint! I do have a question though. I drew a waterline, but it was mostly guesswork, and after I prime and paint, I'll need to recreate the line. Are there any good tips for creating a waterline?
-
WOW! Impressive... it is gorgeous!!!
-
The copper is looking good! I'm not quite there yet, but will be using your "painters tape" idea to keep the edges from snagging. Good advice!
-
Thanks everyone! @EricWilliamMarshall I bought a small drill set on Amazon, @Keith Black the pin idea will work out well for the rudder, and @SkiBee I appreciated the visual! I've finally gotten an idea of what I need to do. I actually have much more work to do, before I even need the drills (perhaps I shouldn't have read ahead!) Anyway, thanks!
-
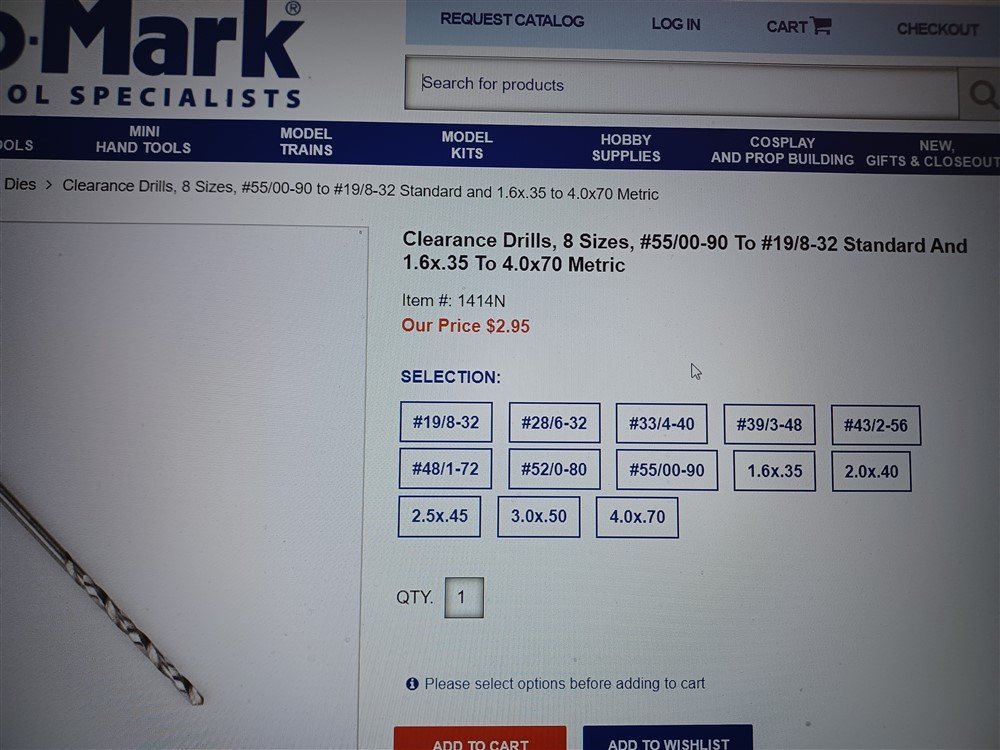
Thanks, but still confused! You all have given me lots of info and numbers (and I learned alot from the videos!), but nothing corresponds to this list of drill bits. Which of these do I need to get? (Sorry to be dense!) For the rudder, it says to use a 3/16” diameter bit. For the launching way, it says to drill holes for the 1/16” brass keel pins. Which of these drill bits should I buy?
-
SkiBee, what size bit did you use to drill the holes to mount the boat? And did you use a "pin vise" to do it? I also have a big drill, but I think its much to big, heavy, and awkward to try to drill the holes! So I am hoping I can use the pin vise, but I don't know what size bit to use. Your thoughts?
-
Rudder confusion! In reading ahead, it says its now good time to drill the hole for the rudder. What hole are they talking about? In the instructions, it talks about the rudder being held in place with pintles and gudgeons glued to the stern post. So I am confused about what hole needs to be drilled (and where?) Also, it says to use a 3/16" diameter bit. What size is that? I have a set of bits that go from 61 thru 80. And another bit that is 55. Would any of these work? And what goes into the hole after its drilled? I'm confused!


