-
Posts
467 -
Joined
-
Last visited
Content Type
Profiles
Forums
Gallery
Events
Everything posted by abelson
-
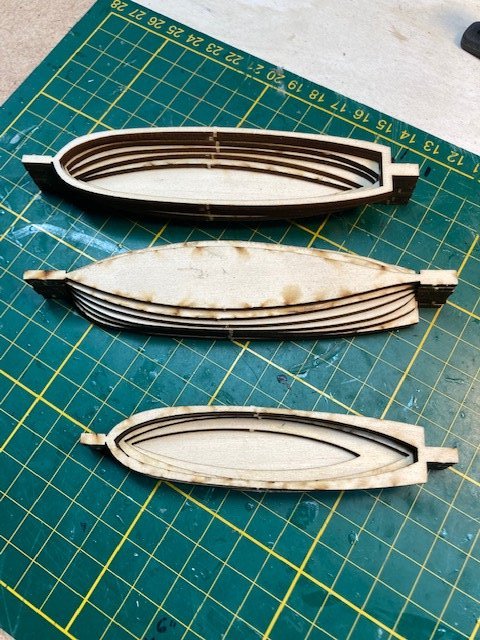
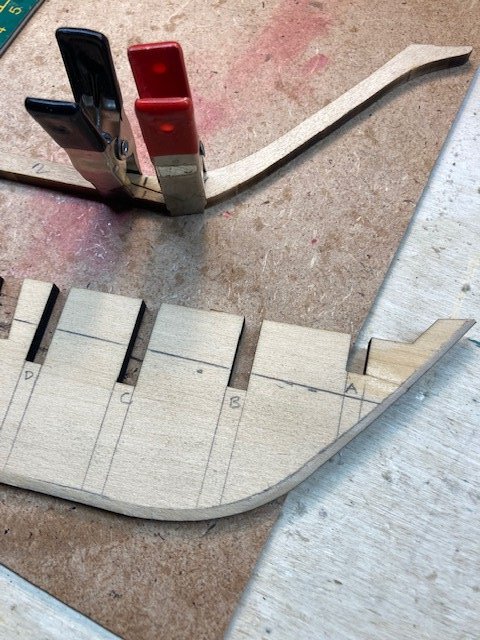
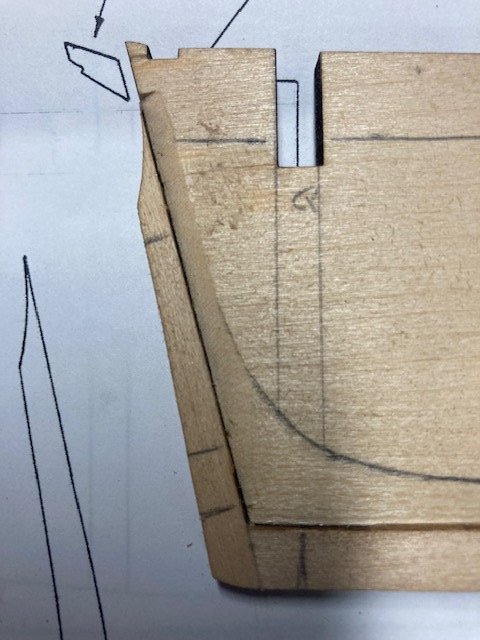
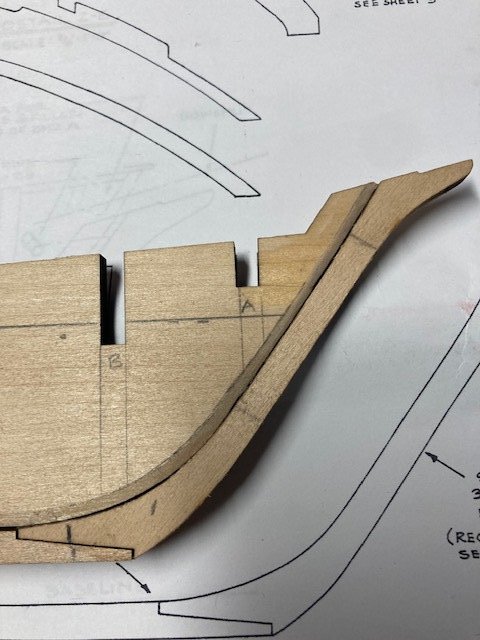
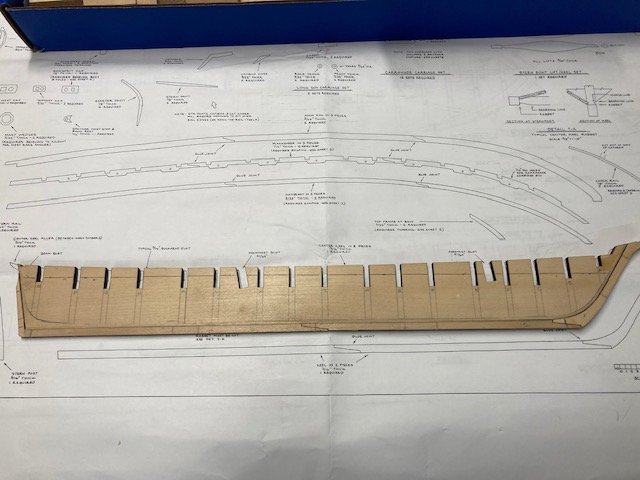
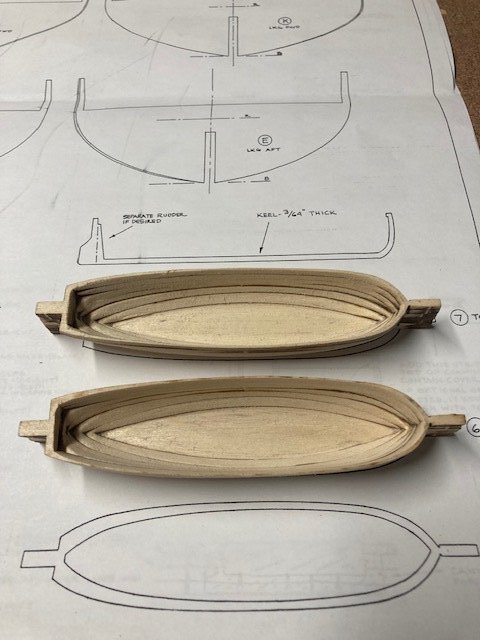
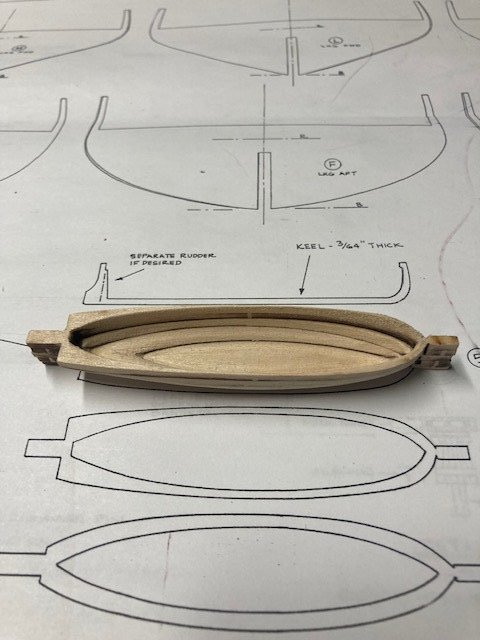
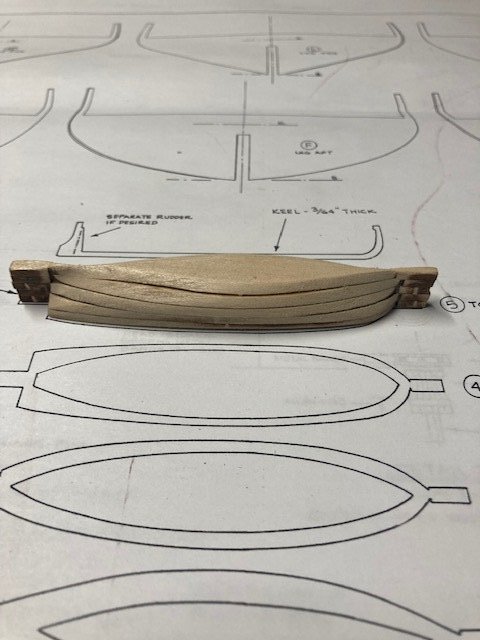
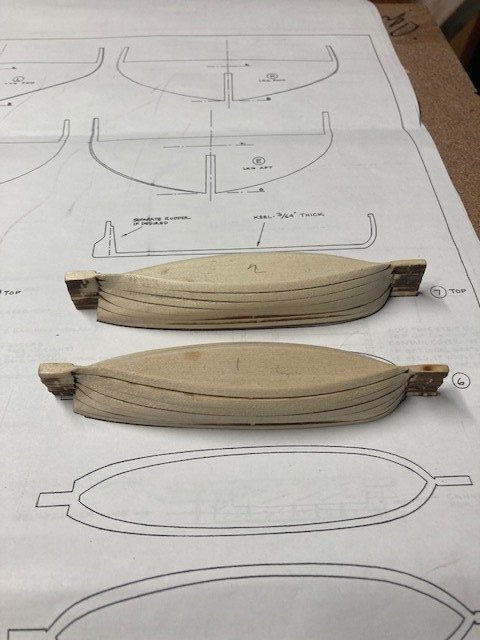
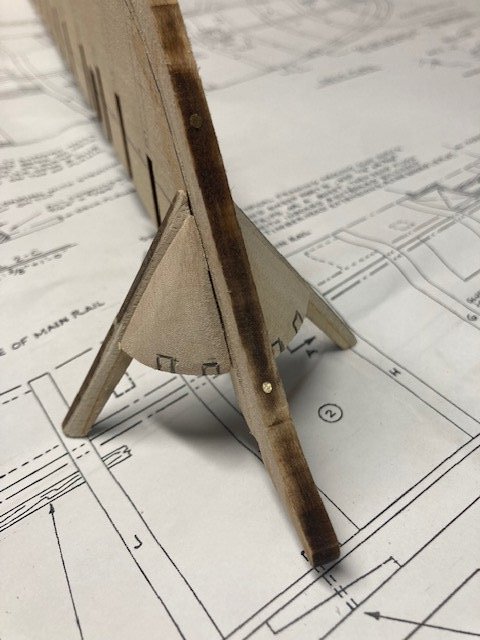
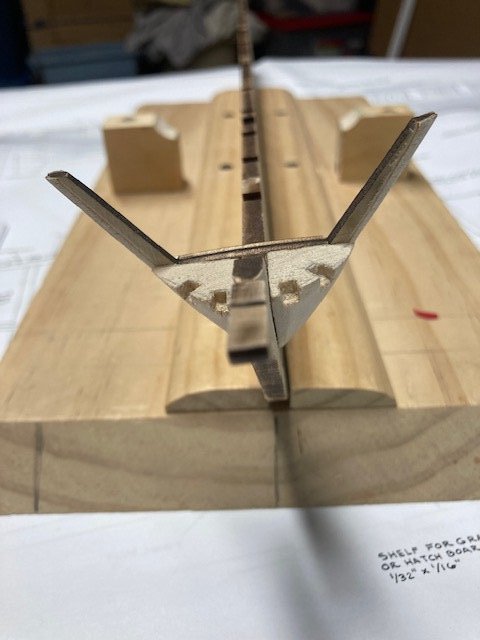
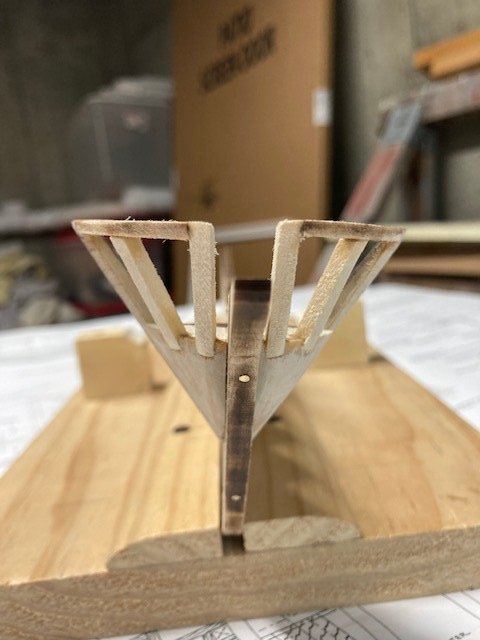
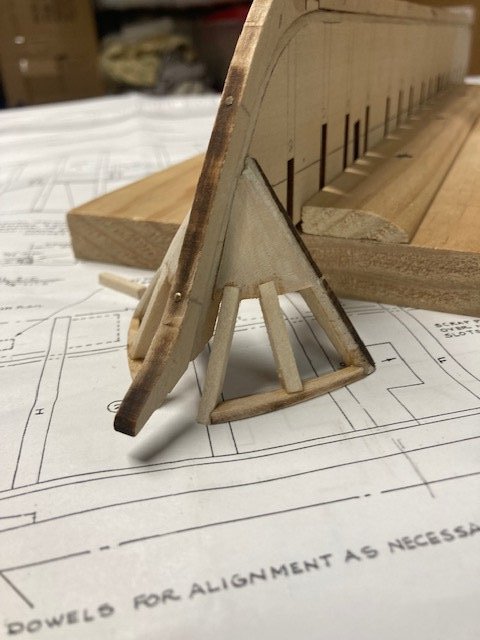
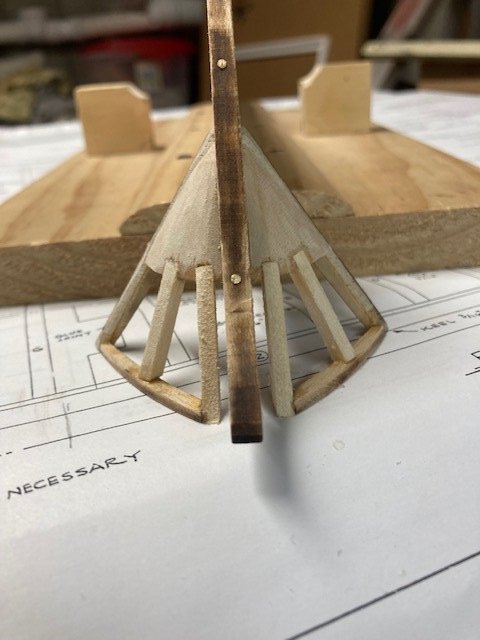
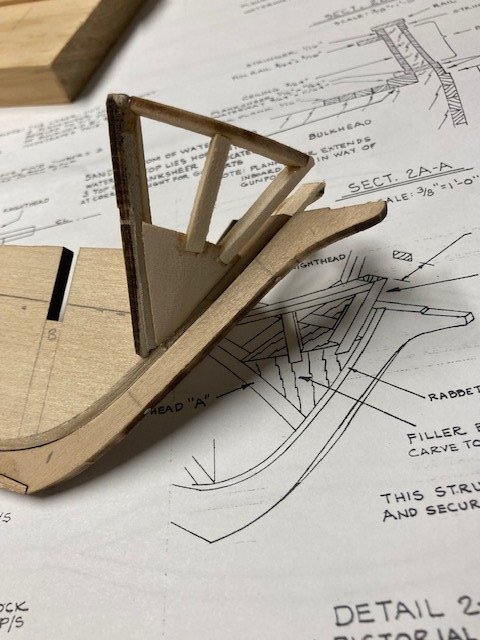
I recently completed the US Brig Syren. In my last post of the Syren log, I indicated that my next build might be the Constitution. However, after seeing the scale of the Constitution (48") and looking ahead to the size display case that would be required to display her, I decided against it. Instead, I am now embarking on my fourth build, the US Brig Niagara. The Niagara is a little shorter (43"), so I think the display case for it would be more manageable. And, based on some logs I have reviewed, the Niagara build is very similar to the Syren in many aspects. So, here I go. I ordered the kit from Model Shipways (see photo). As is typical, I checked the parts list against the contents and found that the ships bell was not included and I was short some blocks and nails. Everything else was in order. I labeled the size of the various bundled wood strips for quick reference. The kit comes with 6 detailed plan sheets and an instruction manual which I gave a precursory review before getting started on the build. I also jotted down a few notes that I thought would be helpful from my review of a few Niagara build logs. I decided to deviate from the instructions and start with the quarter boats and stern boat. I glued the various laser-cut lifts together and secured them. While waiting for them to dry, I turned my attention to the one-piece keel. Right out of the box Murphy’s Law crept up. The center keel fell off the work bench and the bow at bulkhead A and stern at bulkhead Q broke off – clumsy me. I glued the pieces and allowed the keel to dry overnight. To mix things up, switching to the center keel, I decided to make the rabbet before attaching the keel, stem, and sternpost. I marked the bearding line on the center keel with a pencil. For the stern bearding line, I made a copy of the plan, cut it along the bearding line, placed it on the keel and traced the bearding line. For the rabbet depth, I laid a strip of 1/16” thick plank flush against the bottom of the center keel and traced a line along the keel. I flipped the keel over and repeated the process. This gave me a good line to follow when bearding the keel. I used an x-acto knife to carefully cut the rabbet. The rabbet was then evened out with a sanding block and flat file. I checked the depth of the rabbet repeatedly by placing a piece of planking against the keel stem. Next, I glued the keel and stem together and allowed it to dry overnight. Continuing, I marked the location of dowels to secure the keel and pre-drilled holes in keel and stem. Also, I pre-drilled pilot holes for the pedestal mounting screws. The pedestal location is a matter of preference, but I typically locate them 1/3 of the way from the stern and the bow stem. I applied carpenters glue to the keel and secured to the center keel with brass pins inserted into the predrilled holes and applied clamps to hold the keel in-place while drying overnight. Before adding the stern post, I deepened the rabbet. The stern post was then glued and pinned. I cleaned out the rabbet of some glue with a flat file. I’m glad that I created the rabbet before adding the keel – it was much easier. Sanded the exterior and interior of the quarter boats and the stern boat to a rough finish with sand paper and a Dremel. I will apply some wood filler to even things out. I won’t spend much more time on the interior because once all the thwarts, seats, gratings, etc. are added much of the interior will not be readily visible. Also, I'm afraid to make them too thin. There’s a lot more to be done on these. I plan to jump back in forth between the boats and the ship while glue is drying and to break the monotony. Moving on to the bulkheads. I beveled bulkhead A. I took the advice of some other build logs and assembled bulkhead A and the bow filler pieces, knightsheads, timberheads, and support pieces before permanently installing the bulkhead on center keel. The filler blocks were made from the kit suppled 3/4"x1"x1" basswood blocks - they're a little harder to shape than balsa wood. It took quite a lot of sanding and filing to get the right shape. Once that was done, I made a copy of the filler block top from plan sheet 2 and used it to mark the cut outs for the knightsheads and timberheads. The cut outs were notched with x-acto knife and evened out with a flat file. Next, I cut (from 1/8" x1/8" basswood), test fit, assembled, and glued the knightheads, timberheads, and laser cut top stiffeners. A added a little CA at the joints to further secure the pieces. I did some final filing to further shape the assembly. Next up, bulkhead Q and the stern blocks. Stay tuned.
-
Thanks everyone for the compliments on the final build. I had indicated in the last post that my next build might be the Constitution. However, after seeing the scale of the Constitution (48") and looking ahead to the size display case that would be required to display her, I've decided against it. Instead, I am now contemplating building the Niagara. The Niagara is a little shorter (43"), so I think the a display case for it would be more manageable. And, based on some logs I have reviewed, the Niagara build is very similar to the Syren in many aspects. I welcome any comments and suggestions for my next build.
- 157 replies
-
- model shipways
- syren
-
(and 1 more)
Tagged with:
-
Just hit upon your build log while contemplating what model to build next. You're doing a fantastic job! I recently finished the Syren. I was thinking about building the Constitution next, but the the size (48") concerns me. Thinking ahead, the size display case needed to store it would be huge. The Niagara build is very similar to the Syren in many aspects. The length is 10" longer then the Syren (33") but not as long as the Constitution. I think a display case for the Niagara would be more manageable than the Constitution. With that in mind, I'm now leaning toward the Niagara for my next build. In the meantime, I'll continue to review your build log.
-
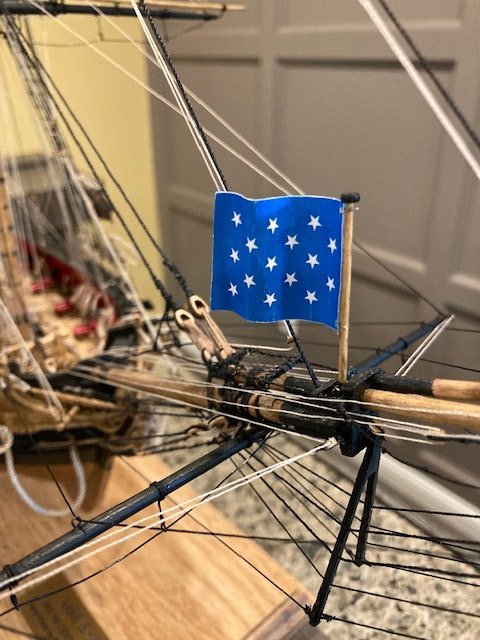
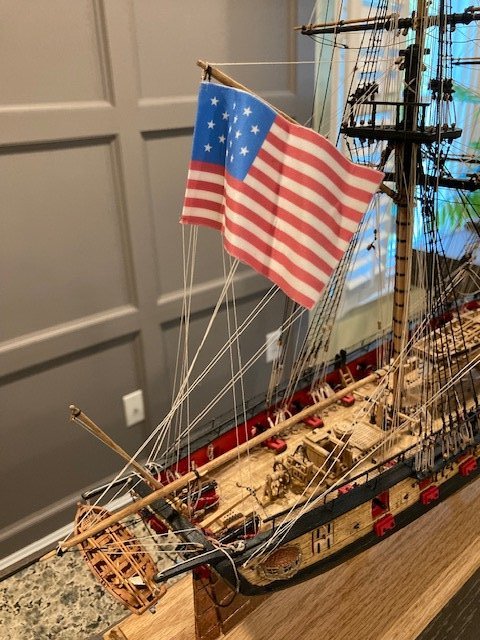
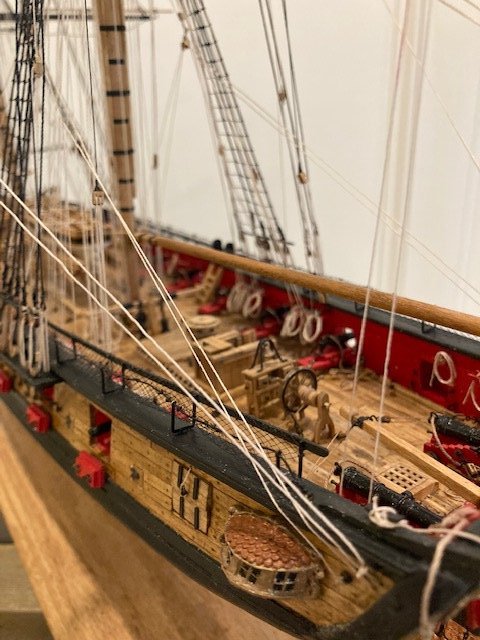
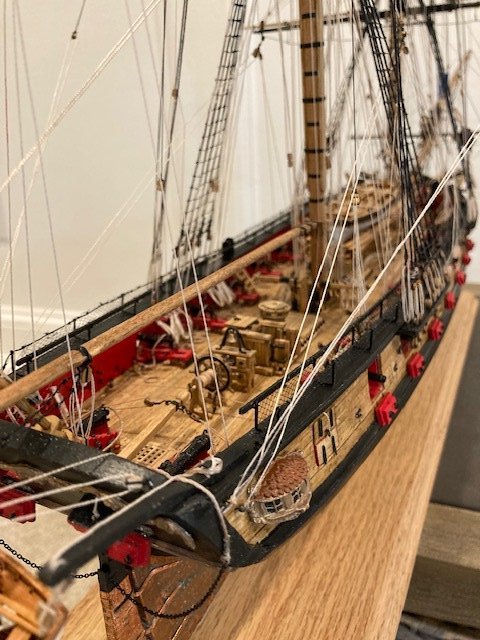
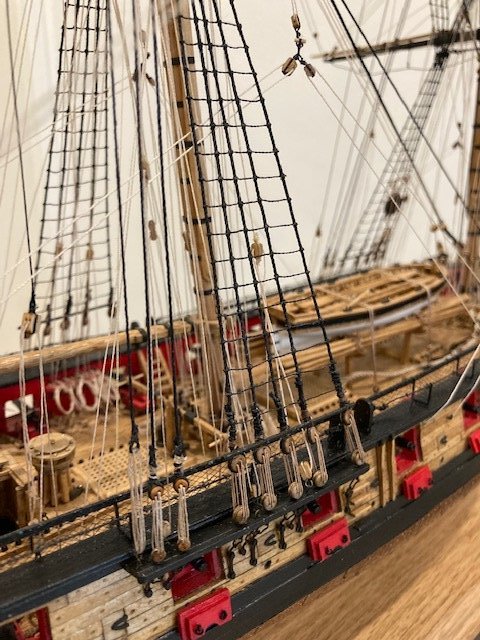
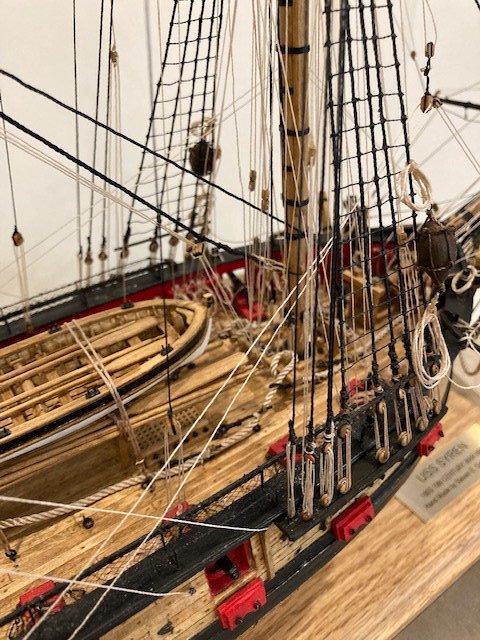
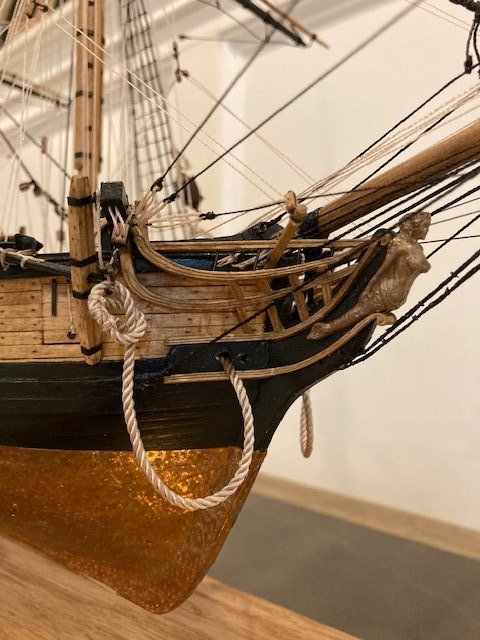
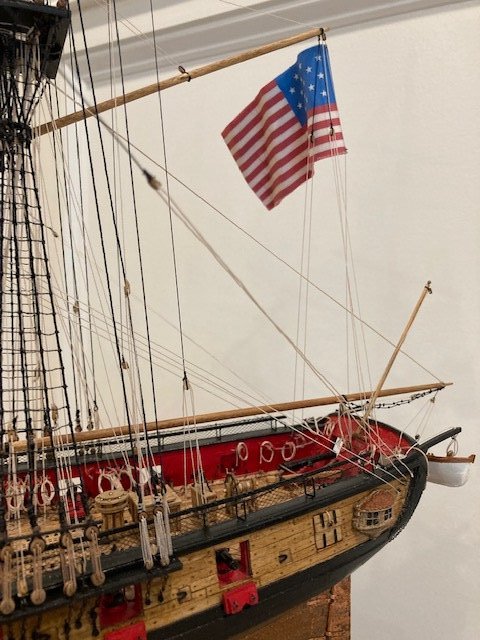
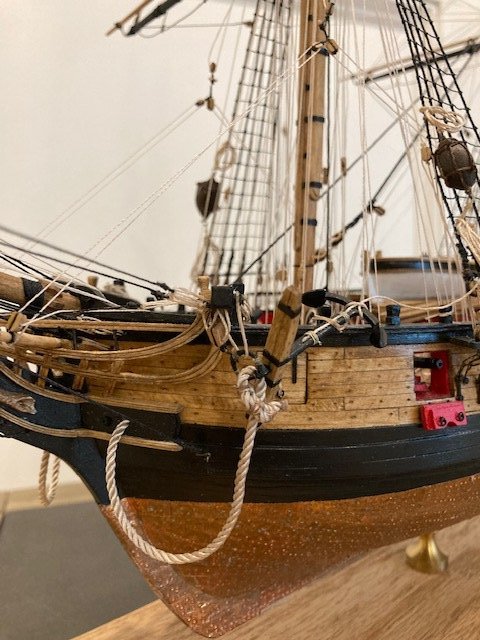
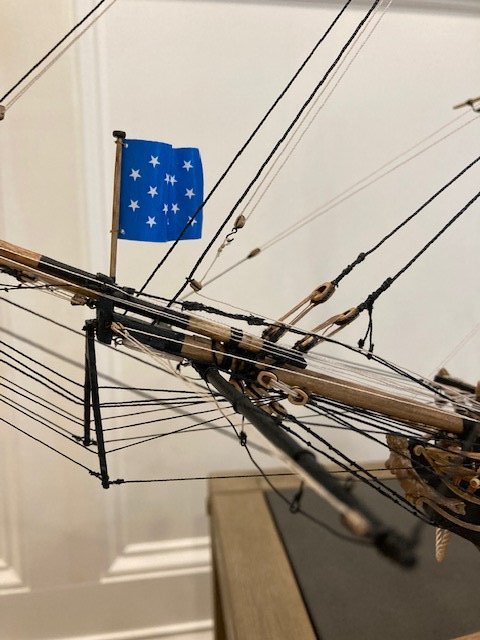
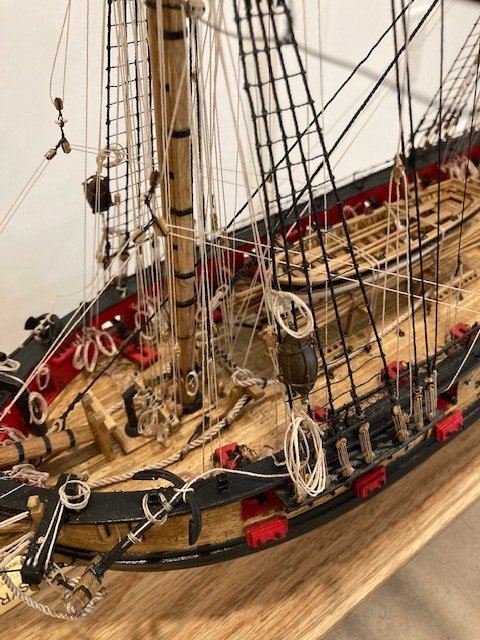
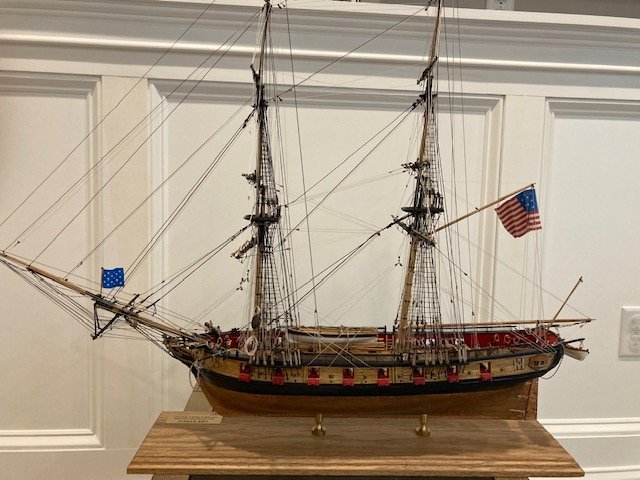
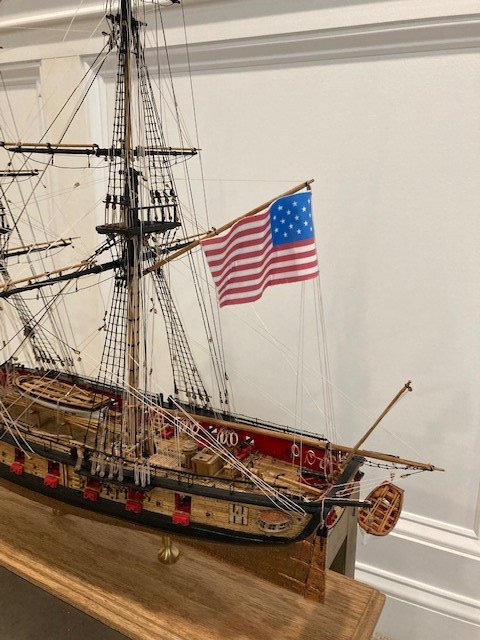
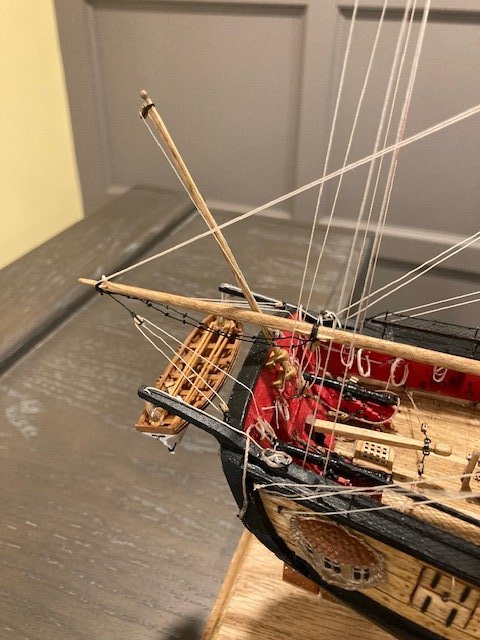
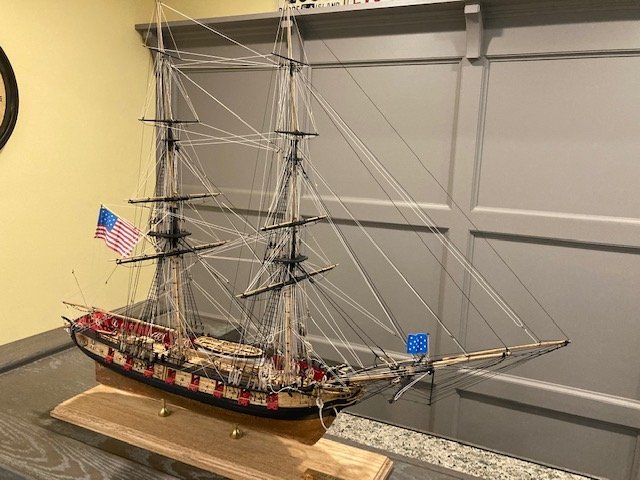
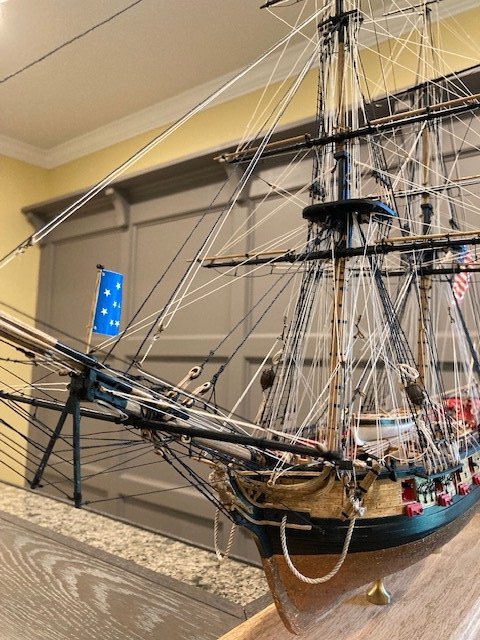
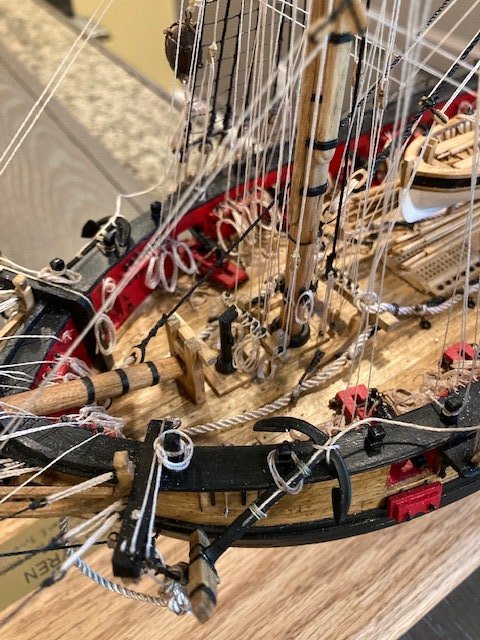
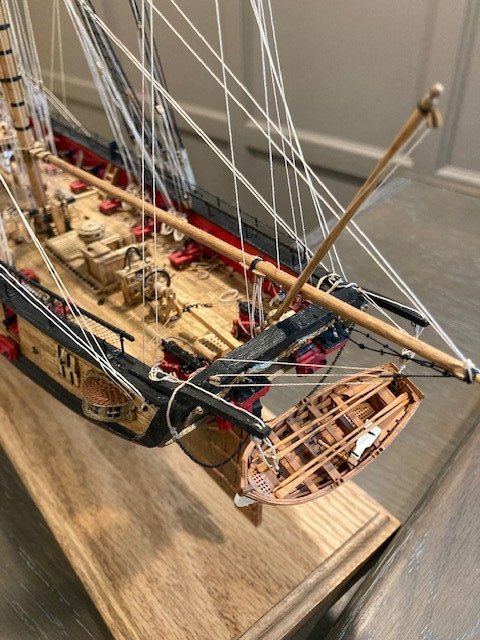
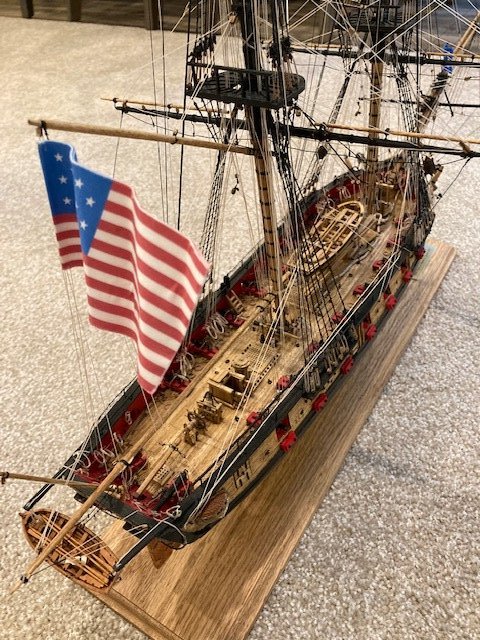
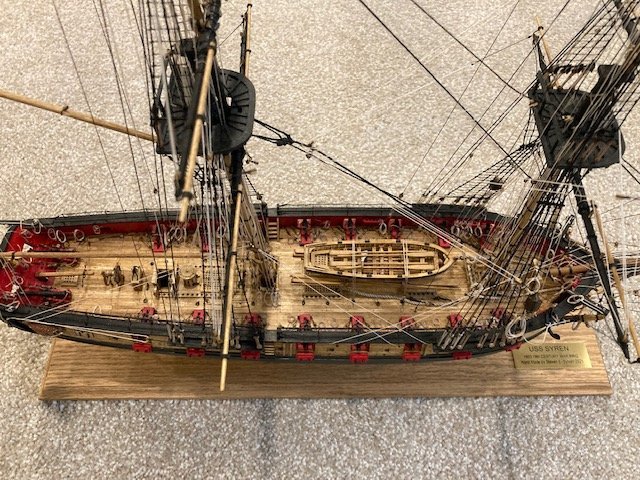
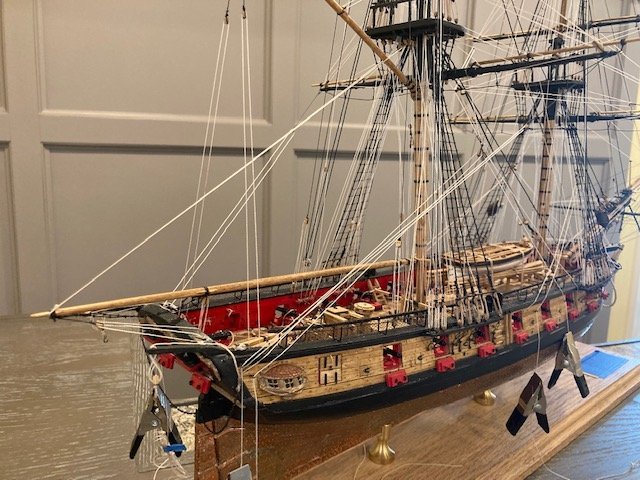
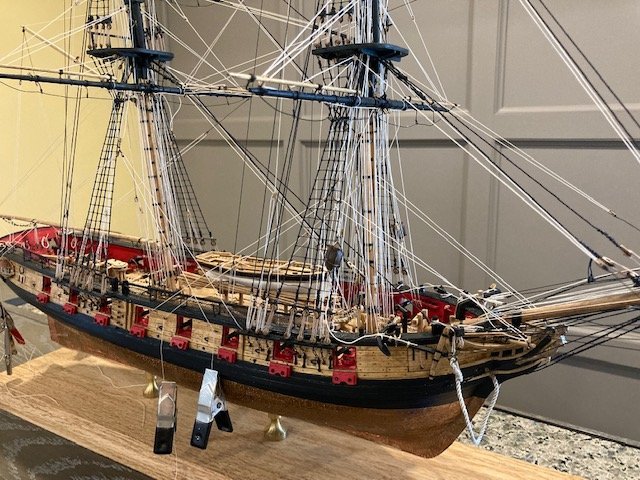
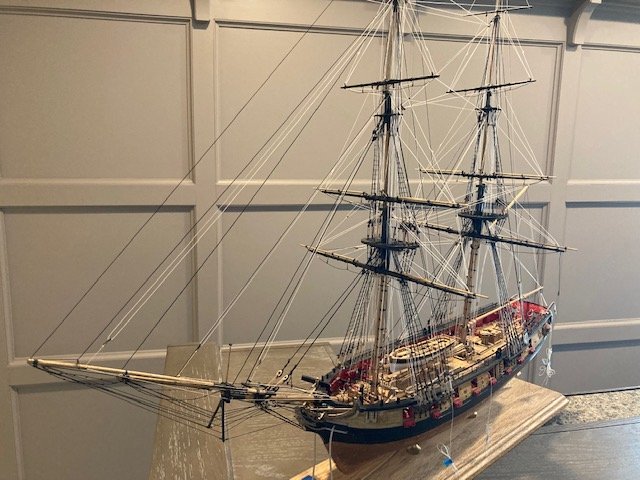
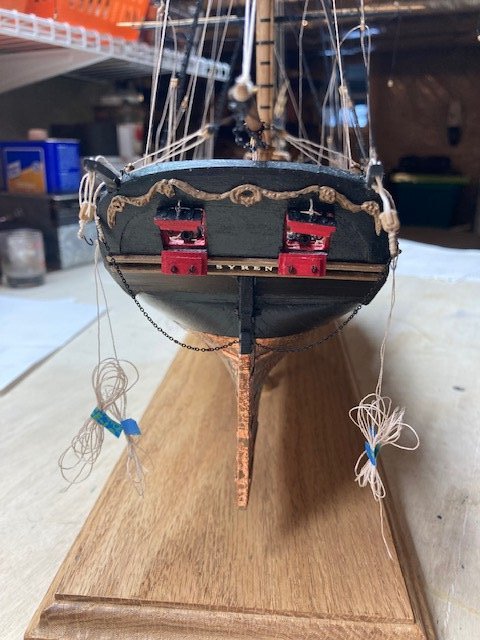
Well, 26 months later, the USS Syren is finished. I permanently rigged the braces, tacks, and sheets. The rope coils required a lot of time and, I must admit, was not an enjoyable task. Even at that, there are many belaying points that do not have a rope coil – I decided enough is enough. The final task was to add the flags – fairly straight forward. This was a challenging and, at times, frustrating build that had its share of Murphy’s Law incidents, most of which seemed to occur in the final stages. Most notably, when the fore top gallant mast pole snapped off with all its rigging attached (see photo). At that moment I was ready to give up, but I persevered. It was actually an easy fix. The tension in the rigging allowed the mast to be reset, and trusty CA glue held it in-place. The only ramification is that the top mast is angled slightly more than it should be. In the final analysis, I'm satisfied in the outcome - it honed my ship modelling skills. I’m glad that I could share the work progress with fellow builders. Your comments were complimentary and encouraging. And for that I’m gratefully thankful. I dedicate this build to my late wife Diane. I’m thinking my next build will be the USS Constitution. As always, stay tuned. In the mean time, enjoy the following photos. BTW, the display case was purchased from Abordage.
- 157 replies
-
- model shipways
- syren
-
(and 1 more)
Tagged with:
-
Excellent build and photography. A project well done, one that will become an heirloom.👍
- 950 replies
-
- syren
- model shipways
-
(and 1 more)
Tagged with:
-
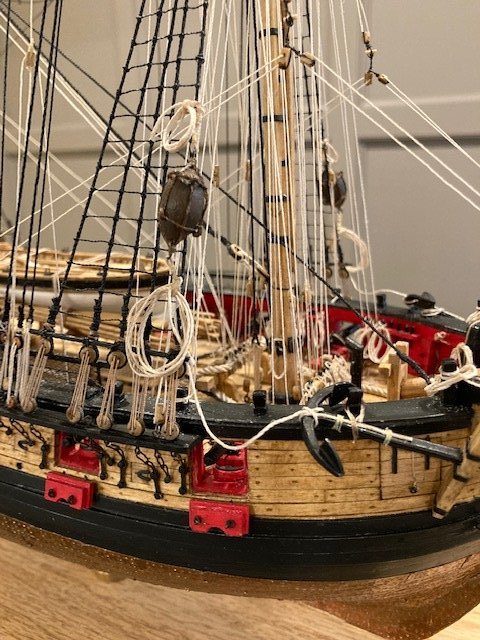
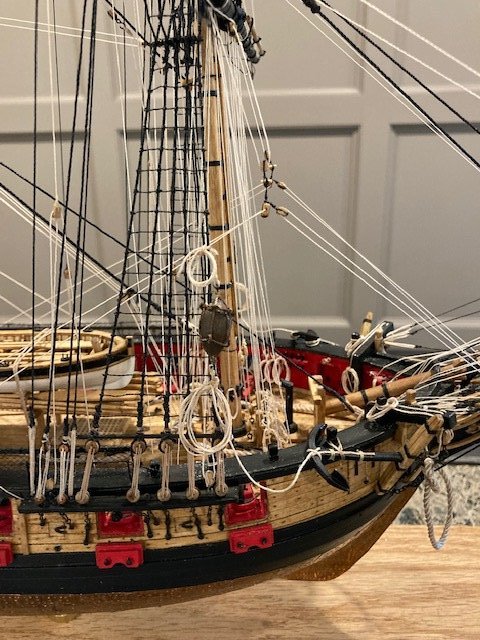
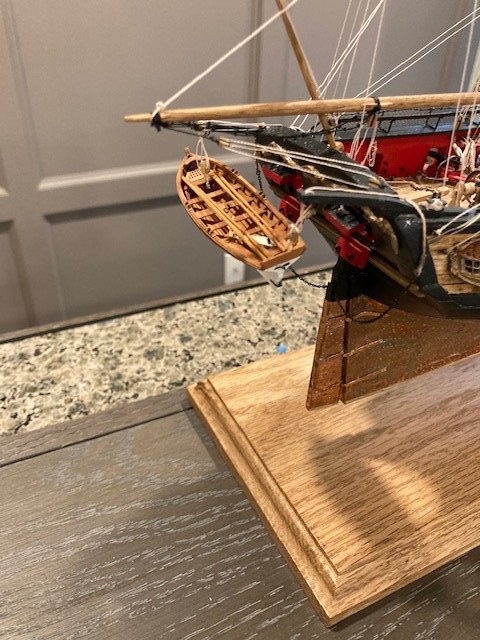
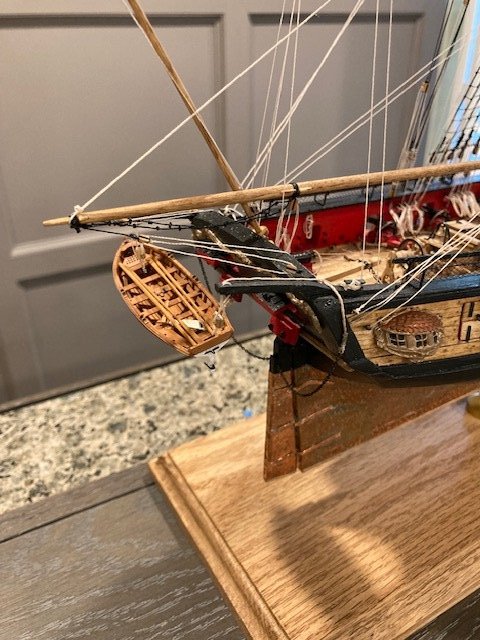
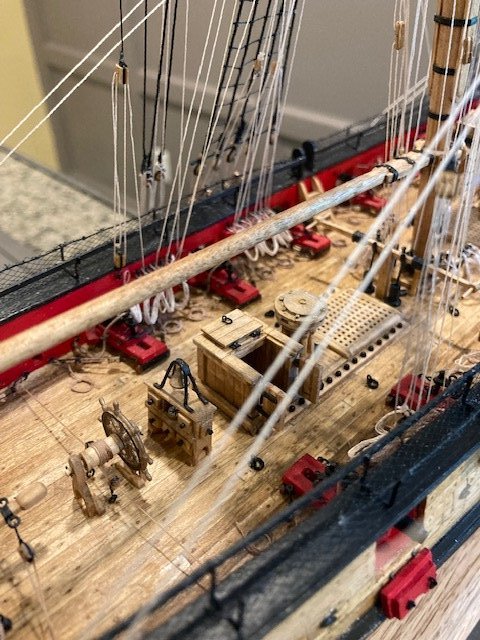
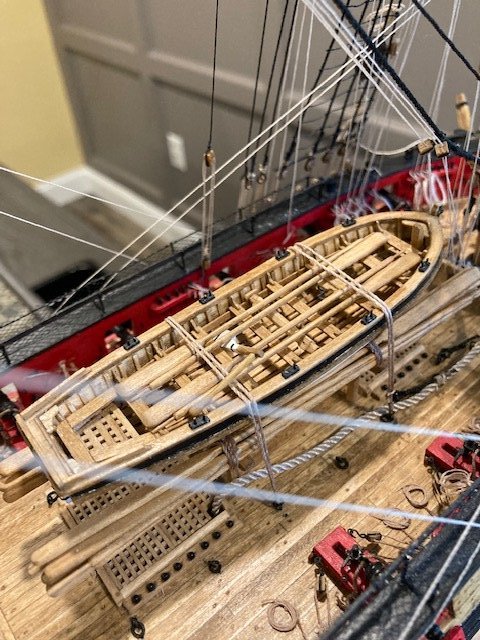
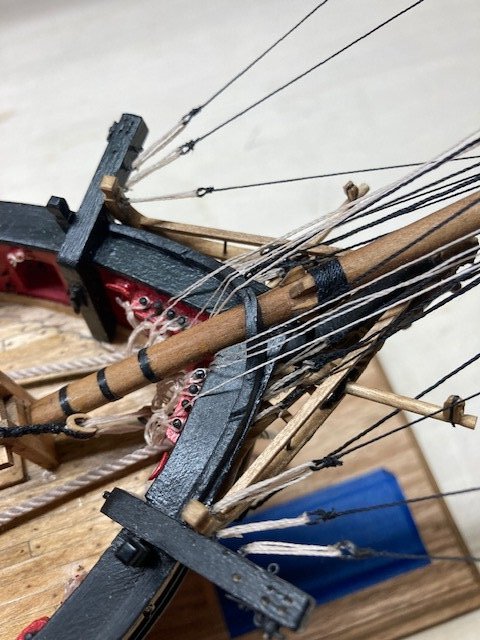
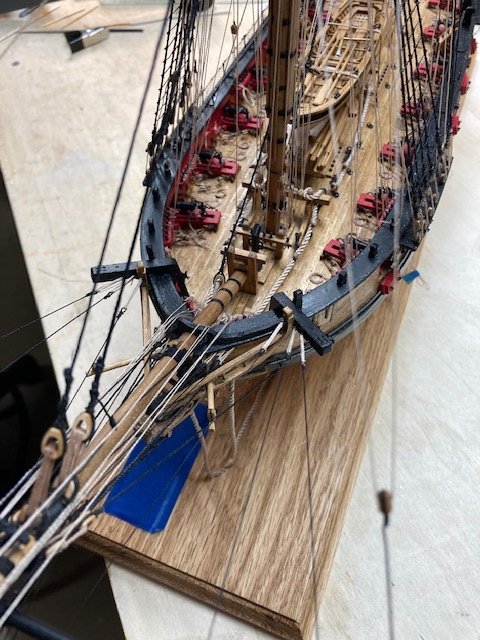
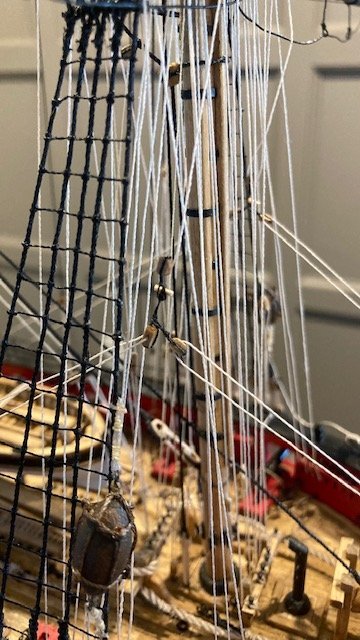
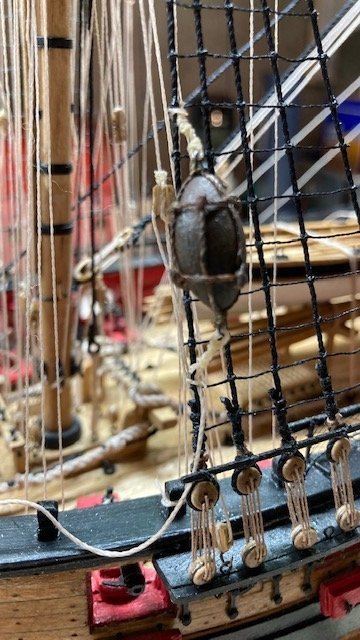
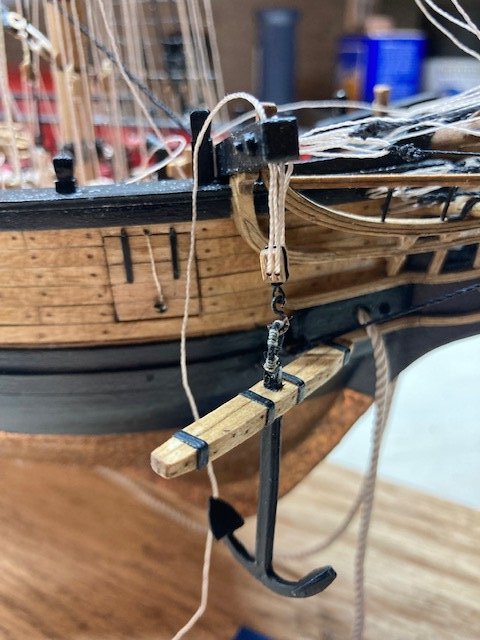
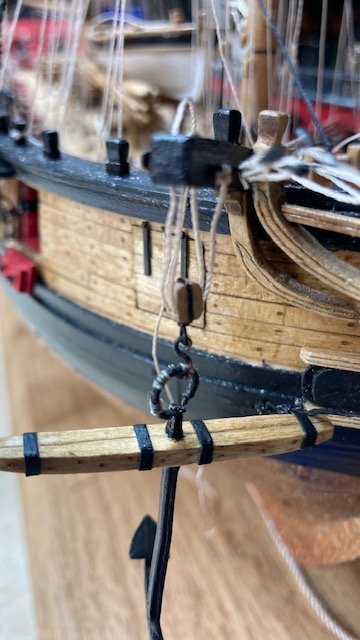
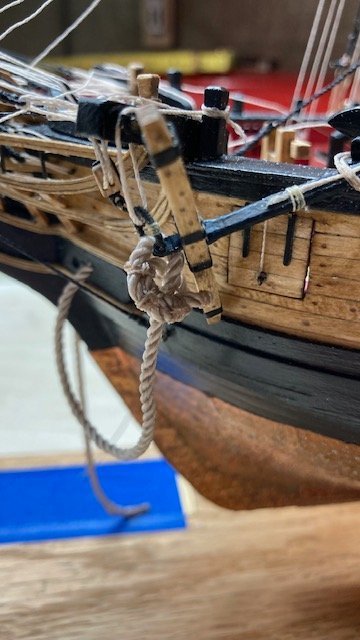
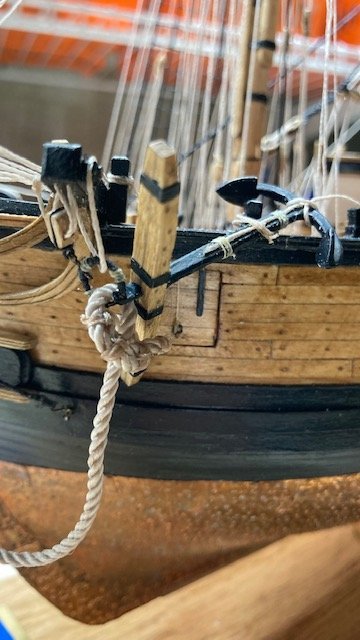
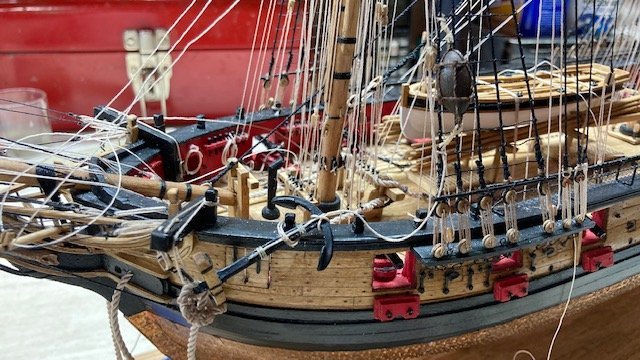
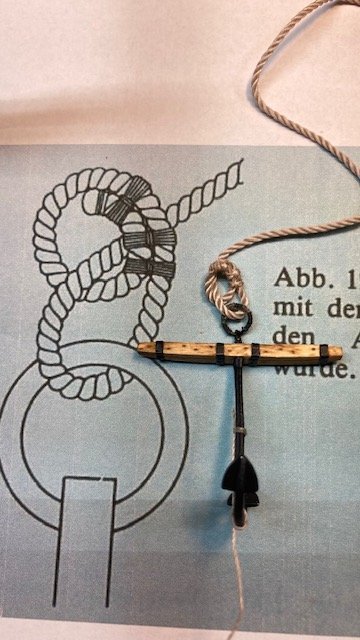
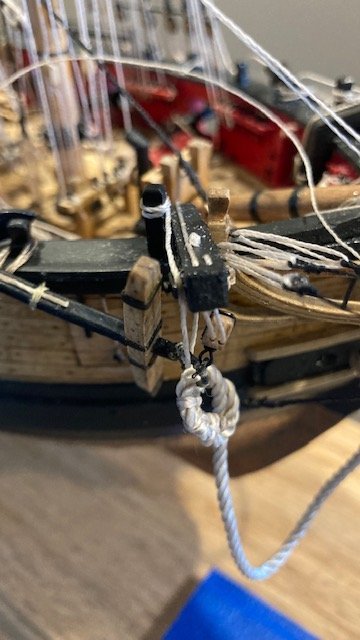
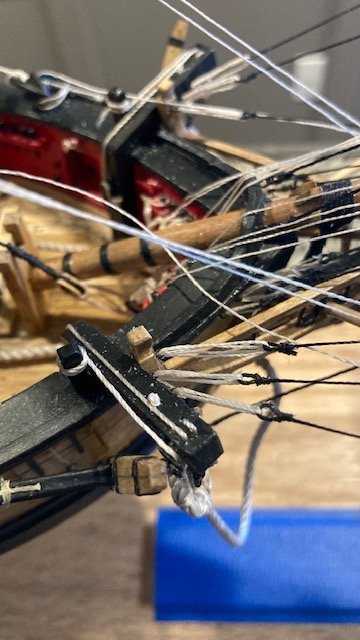
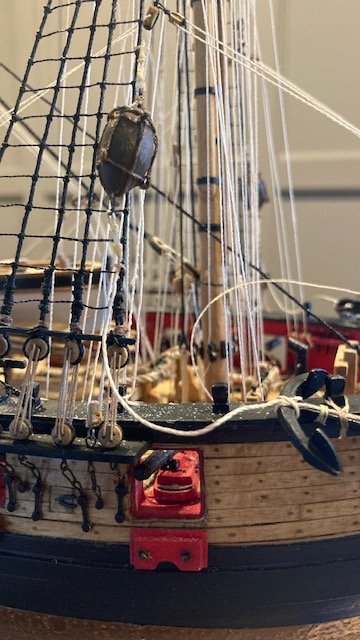
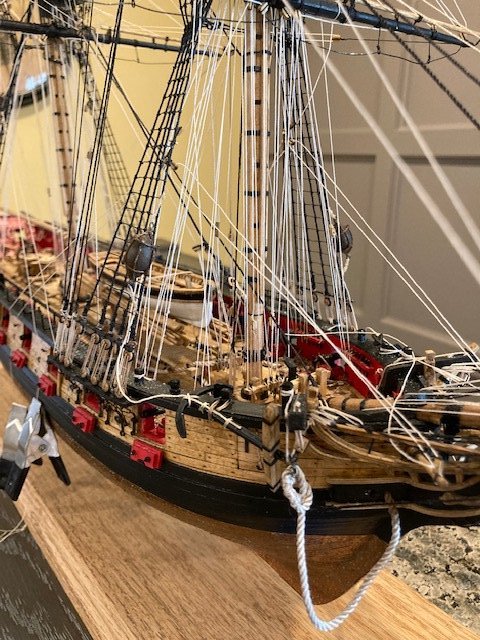
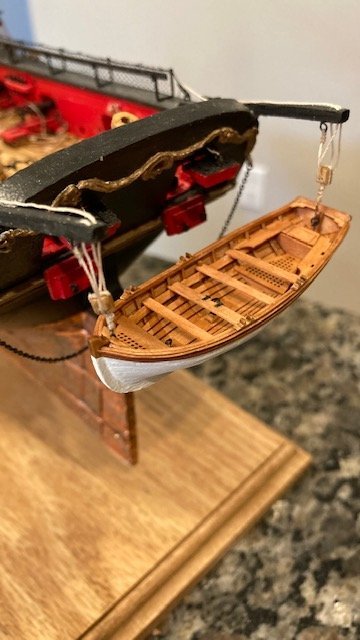
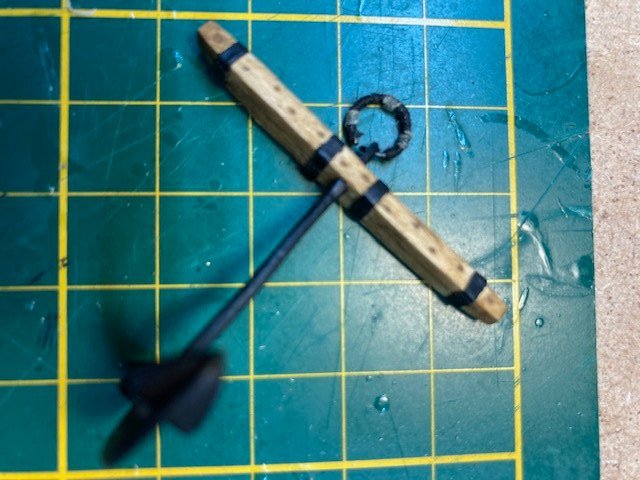
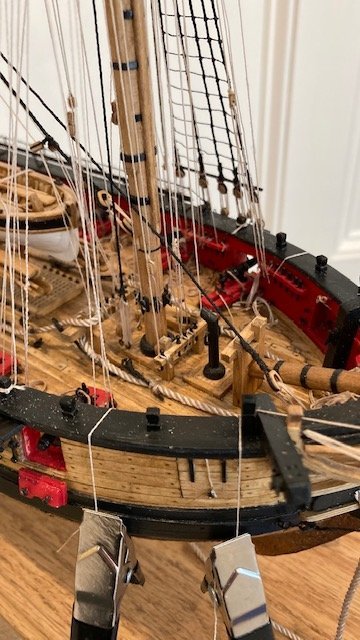
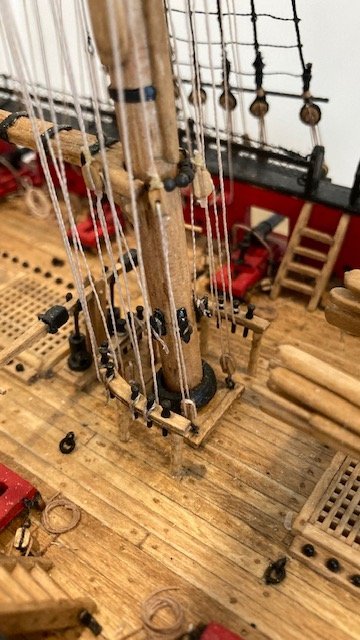
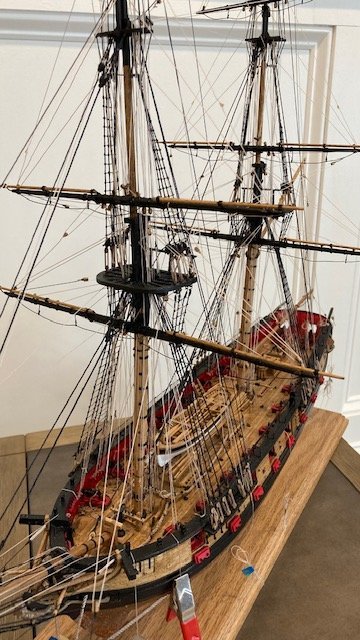
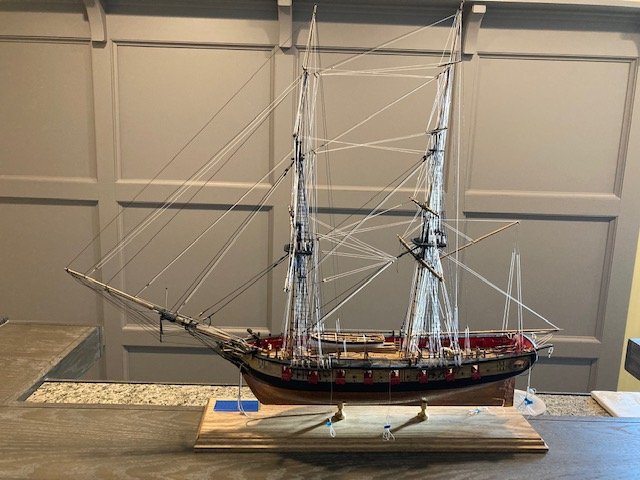
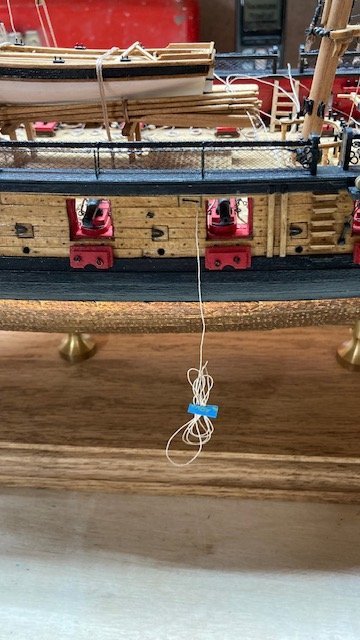
Finished rigging the spritsail yard jib guys. These were fairly easy following the instructions and the plans. Moved on to the main braces, main sheets, main tack, fore sheets, fore tack, and clew lines. Made the block assemblies per the instructions. I set up the starboard side main course block assembly temporarily. I positioned the block assembly at roughly the 7th shroud down from the futtock stave. This seemed like a common position based on some other build logs that I reviewed. The block assembly setup nicely with the continuous lengths of rigging for the lower course sheets, tacks and braces that I had done previously (February 27, 2022 post). Satisfied with the position of the block assembly, I locked it in by applying a little CA to the block hanging from the yard and then belayed the line to the fife rail (6). The port side main course block assembly was set up similarly. The fore course block assemblies were positioned same as the main course assemblies. I set them up temporarily, adding the fore course tacks (.008 tan) and connecting the continuous length of rigging for the fore course sheets. Rigging the anchor was next. I started with the tackle for the anchor. I stropped a 5/32” double block with 22 gauge wire, creating an eye for a hook. The hook was made from brass wire. I flatten the hook end in my bench vise. The hook eye was attached to the block eye. The tackle was made .018 tan line as per the instructions. I cut a length of .018 tan line long enough to attach it to the anchor and to the buoy that will be attached to the shrouds. Attaching the line to the anchor is straight forward following the illustration on Sheet 6 and the instructions. A shorter length (3/8”) of .018 line was seized to the opposite end of the buoy. For the anchor cable (.083 tan), rather than a simple overhand knot tied to the anchor ring, I added a little more detail following a detail that I found somewhere (don’t recall where). See photo. Subsequently, I found another detail on the NRG forum (attached) that might be of interest to fellow modelers. I had previously run the anchor cables (January 5, 2021 post). Unfortunately, at the that time, I cut the starboard side cable too short to enable tying it to the anchor ring. So, I had to cut the cable at the hawes hole. I cut a length of .070 tan line and tied it to the anchor ring. Note: the instructions call for the anchor line to be .083 tan line. My kit did not include .083” tan line. I set the anchor ring on the anchor tackle to establish the proper drape for the anchor cable before cutting the line and gluing it in the hawes hole. I didn't quite get the anchor cable drape equal on starboard and port sides, but that adds to the mystique of the ship. To finish the anchors, I added the stopper cable (.018 tan) and lashed the anchor to the timberhead with .018 tan line. Next, I seized the end of the upper buoy line to the forward most shroud at the 10th rat line below the futtocks stave. The anchor rope coils will be added later. Except for the flags, Chapter 21 is complete. I’m holding off of permanently rigging the braces, tacks, and sheets until the various rope coils are added. At this point, the ship is basically complete. I plan to add the jolly boat. In the meantime, I included a photo taken back in September. My next post will be of the completed ship. Stay tuned.
- 157 replies
-
- model shipways
- syren
-
(and 1 more)
Tagged with:
-
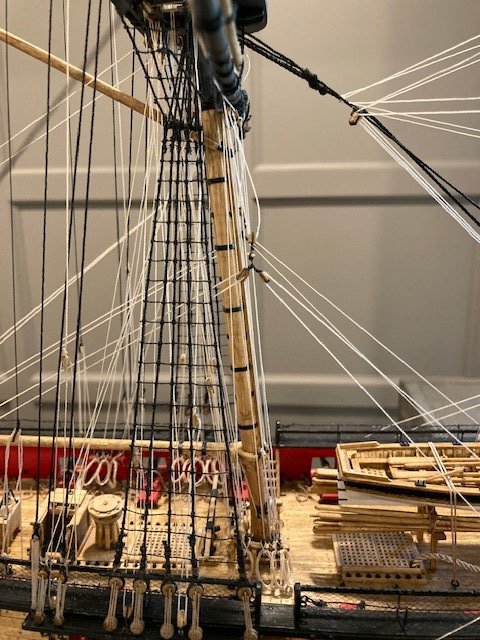
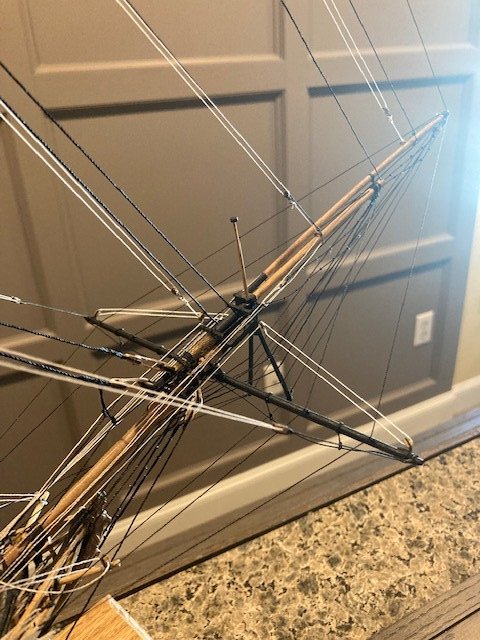
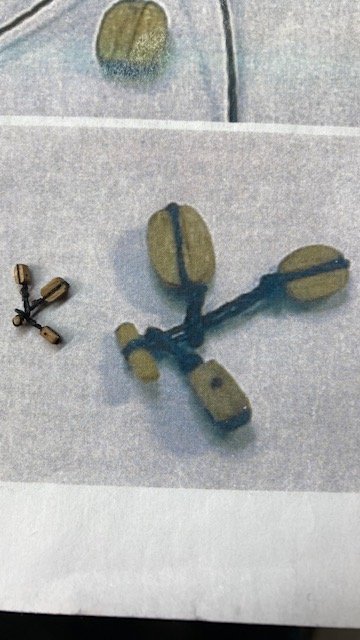
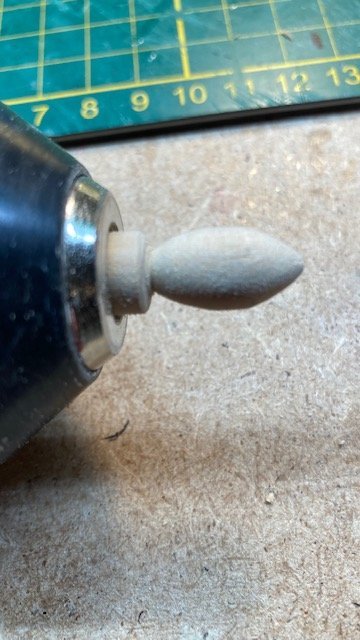
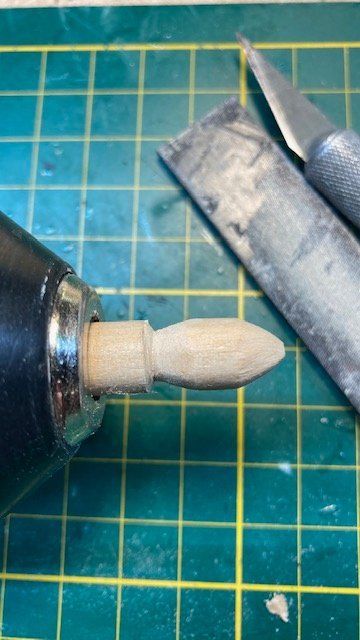
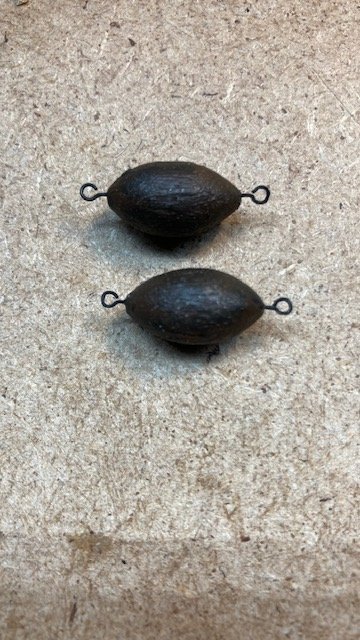
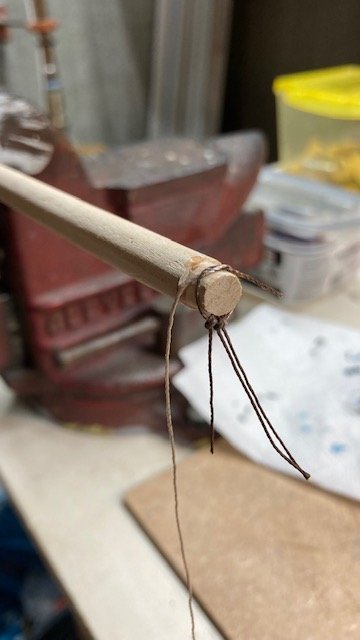
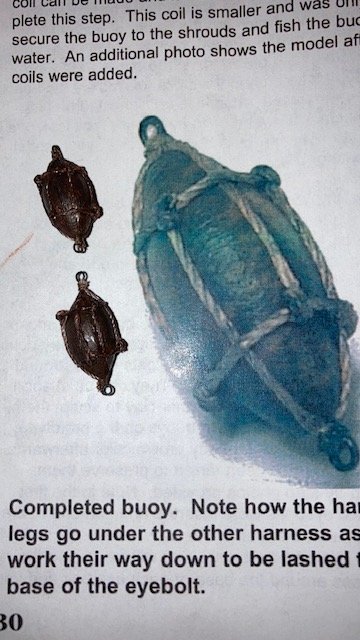
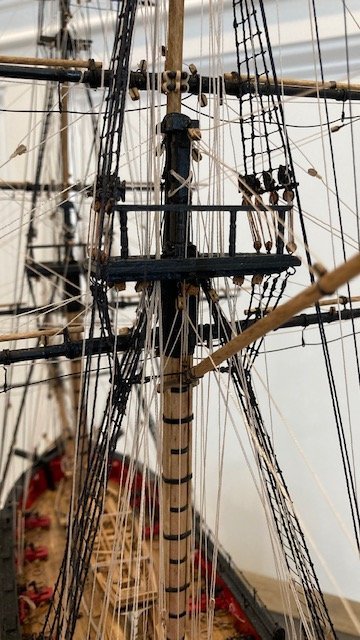
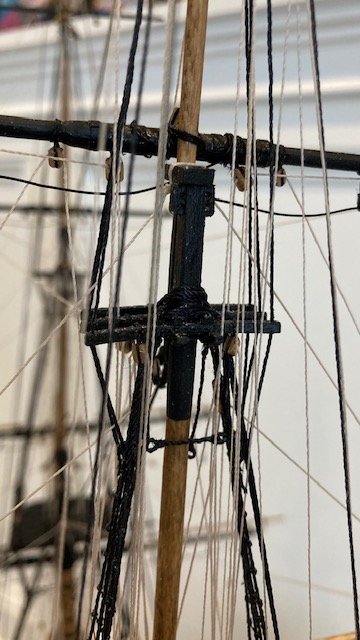
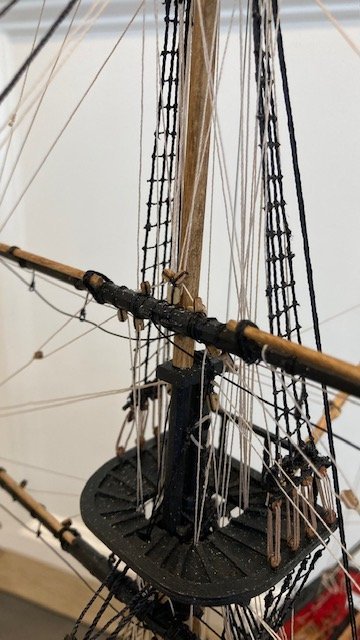
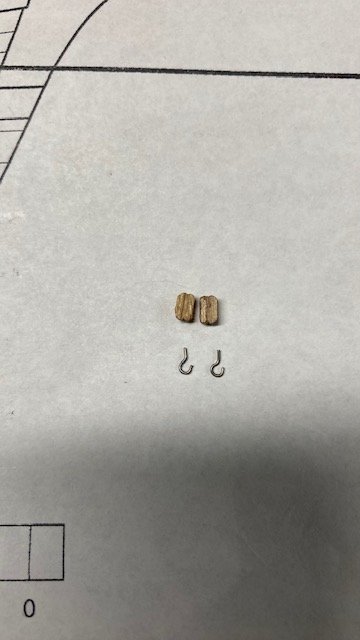
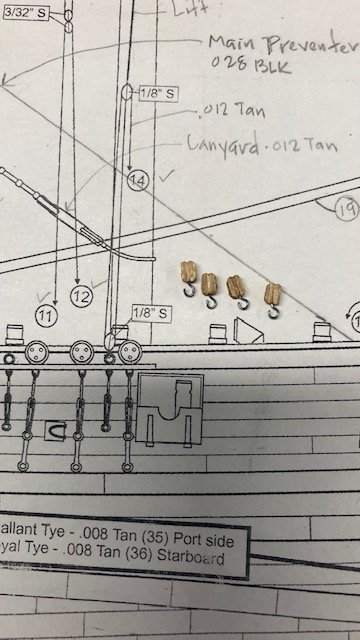
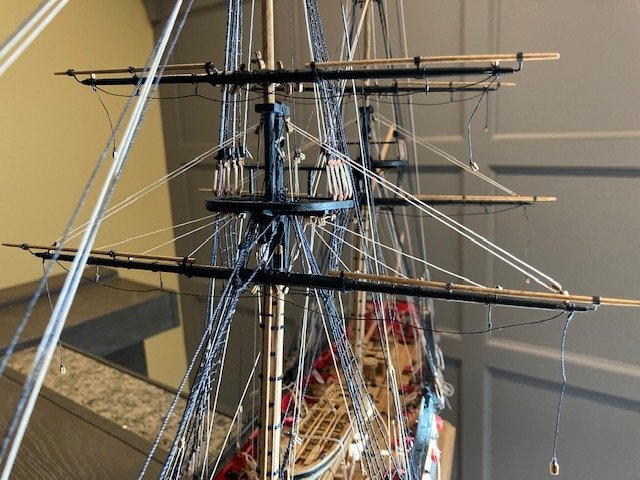
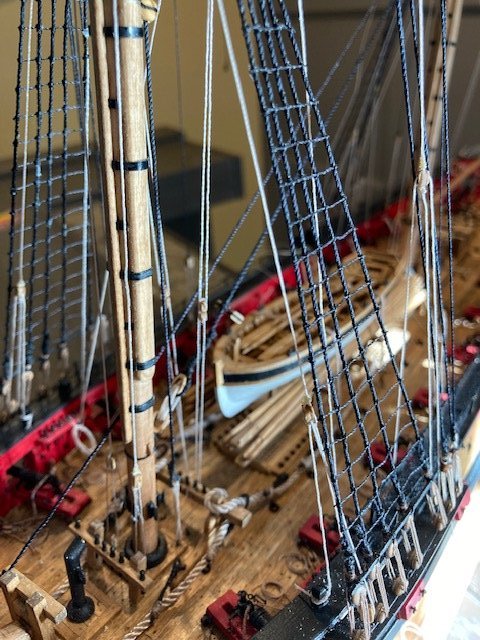
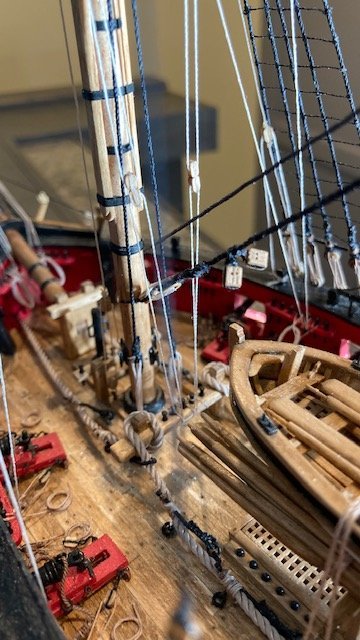
Progress report: With the exception of the main braces, main sheets, main tack, fore sheets, fore tack, and clew lines, I have completed the running rigging. Note: There are a number of 3/32” blocks that have to be added as part of the running rigging as follows: two 3/32” single blocks on the main royal stay for the royal braces, and two pairs of 3/32” single blocks that on the main topgallant stay: one pair for the topgallant braces and one pair for the royal braces. This are shown on Sheet 7 (see photos). I was not aware of these until I read the instructions in Chapter 20. In hindsight, it would have been easier to add these blocks before adding any of the running rigging - a word to the wise. I ran out of .008 tan line and had to order more from Model Shipways. While waiting for the order to arrive, I made the sprit sail yard per the instructions. I used 28 gauge wire for the foot ropes and stirrups. I made the eye bolts from 22 gauge wire. Jumping ahead to Chapter 21, I decided to make the anchor stocks. Rather than make them in two halves, I used a single piece of 1/8” x 3/32” wood strip and tapered it. I drilled a hole at the midpoint of the stock and squared it up with a file. To simulate treenails, I drilled holes in an alternating pattern and filled them with Golden Oak putty. To simulate stock halves, I scribed a line down the center of the stock with a knife. To finish up the stocks, I applied Golden Oak stain. The look of the wood stocks is a huge improvement over the cast metal stocks. I cleaned up the anchor castings and finished them with black acrylic paint. The iron rings were made by wrapping 22 gauge wire around a 1/4” diameter dowel and snipping the ends off. I wrapped rings with sewing thread before attaching them to the anchor. Note: Leave a little bit of the ring ends unwrapped so it fits in the anchor hole. The anchor buoys were next. There are some build logs that have good illustrations and discussions on how to make these - WalrusGuy and SalD for example. I made the anchor buoys from a 3/8” diameter dowel that I had laying around. I carved the general shape first with an x-acto knife and then used my “poor man's lathe” to shape them. The only drawback to this method is that the opposite end of the buoy, i.e., the end attached to the chuck can only be shaped so far until it has to be cut from the chuck piece. It’s difficult to do the final shaping thereafter. I drilled a hole at each end of the buoy for insertion of the eyebolts. The buoys were painted with a mixture of burnt umber and black paint. I started on the anchor buoy harnesses (.018 tan) when my Model Shipways order arrived, so I but them in abeyance to finish up the rigging. With that done, I moved on to completing the buoy harnesses. For the anchor buoy harnesses I basically followed the instructions. The process wasn’t new to me because I had made the harnesses before for my Fair American build. Nonetheless, it wasn’t easy. I “muddied up” the.018 tan line by lightly painting it with the same mixture of burnt umber and black paint that was used for the buoys. I made up 12 knotted harness lines (about 1.25” long). I knotted each line on a toothpick, applied a little CA, snipped the end of the knot off, and slid the knot from the toothpick. I strung the 3 lines on a length of .018' muddied up tan line. I found it easier to knot the harness before wrapping it around the buoy. To do this, I notched the end of a 3/8” dowel to about 5/8” diameter. I wrapped the harness around the dowel and tied it with a simple overhand knot. I lightly applied CA to the knot, removed it from the dowel, and snipped the loose ends. I draped the harness on the end of the buoy, grasped the 3 harness lines together at the opposite end of the buoy, aligned the harness lines evenly around the buoy, and applied CA to each knot. Next, I seized the three lines around the eyebolt with some tan sewing thread, applied CA, and snipped the excess line. The CA darkened the seizing, so the seizing didn't need to be muddied up. Next, I secured the spritsail yard to the bowsprit with the truss/sling and then rigged the lanyard between the eyebolt on the bottom of the bowsprit cap and the eye (I used an eyebolt here) on the center of the spritsail yard. I had to order more .012 black line to complete the jib guys. In the meantime, I rigged the spritsail lifts (20) and the spritsail braces (21) but did not belay them. They are held in tension temporarily with clips. Here are some progress photos.
- 157 replies
-
- model shipways
- syren
-
(and 1 more)
Tagged with:
-
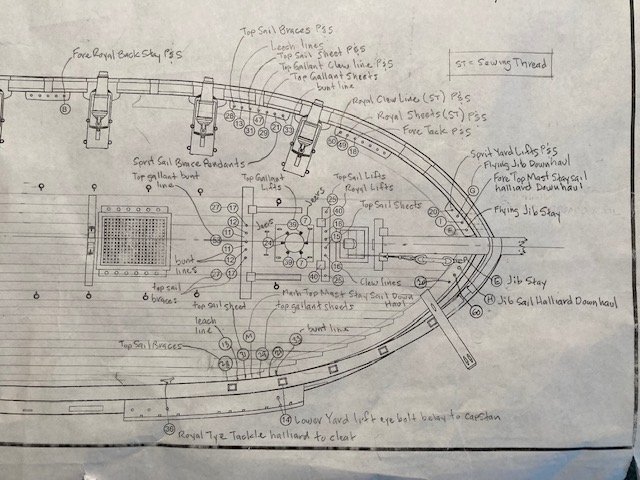
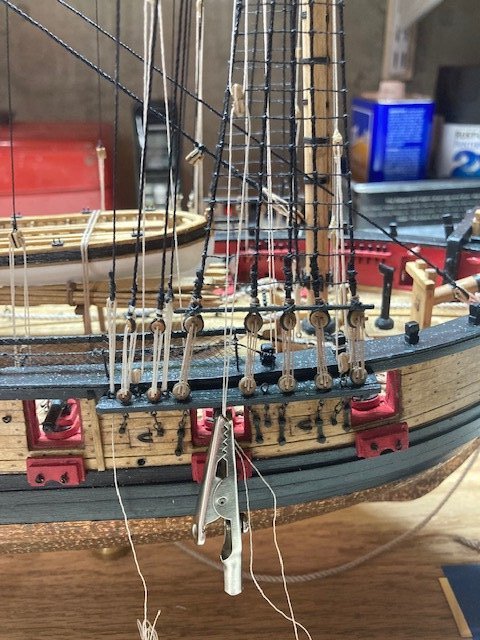
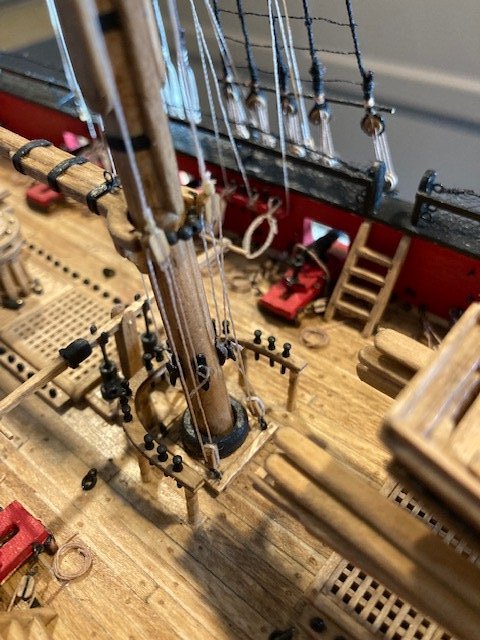
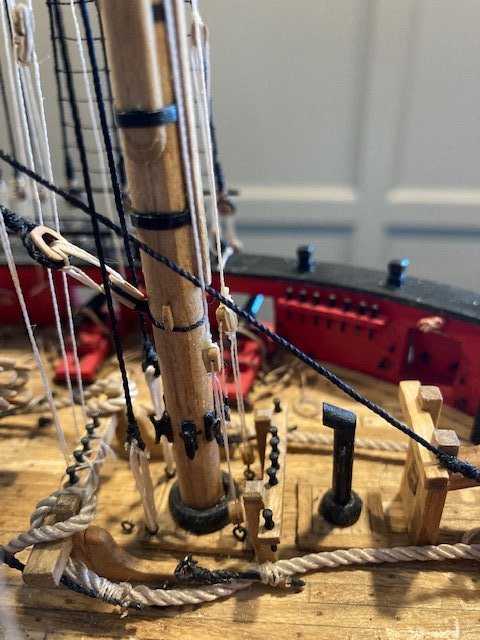
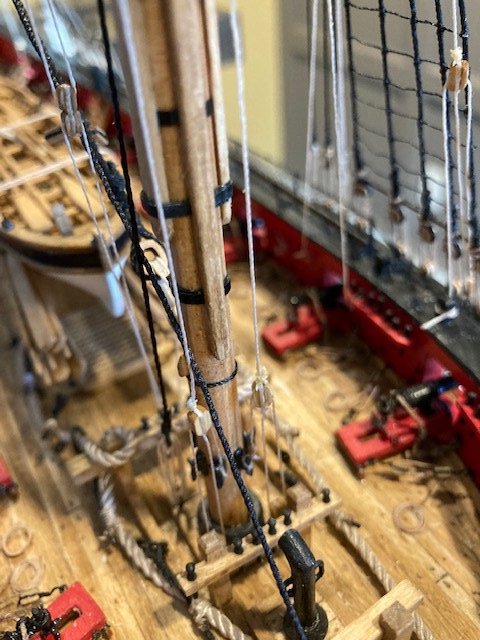
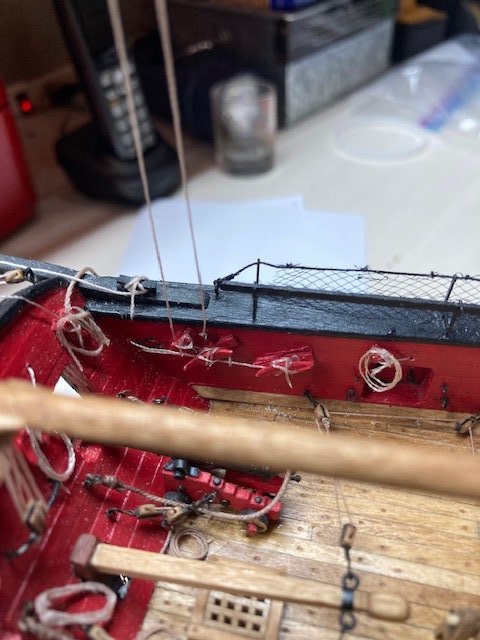
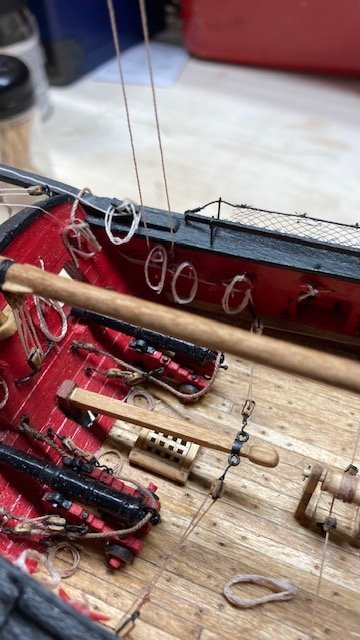
Moving on to Chapter 20, while studying the Belaying Plan, I decided to label the various running rigging lines on the plan as a quick reference for other builders - it’s kind of crudely done (see attached). While doing this, I discovered there are two belying pins on the port side aft most pin rail labelled 51. One of these should be 52. Also, while cross-referencing the plan and the instructions, I discovered on Page 125 that the royal lifts are incorrectly designated to be belayed to 42. This should be 40 (belayed to the fore bits). I think I have everything labelled except for pin number 60. I haven’t yet figured out what gets belayed to pin 60. I completed the Jeer Ties (.012 tan) for the main and fore course yards. The jeer slings were previously completed (See May 30, 2021 post on Page 4). The jeer ties run in one continuous length through the 1/8” single block on top/center of the lower yard and the 1/8” single block on the end of each jeer sling. The running ends on both sides of jeer blocks are taken down to the base of the mast and set up with a running tackle. I seized a 1/8” single block to both ends of jeer tie and made the 1/8” blocks that are hooked to the eyebolts (designated as number 7 on the Belaying Plan) on the aft side of the main mast and fore mast. The hooks were made from 28 gauge wire. The hardest part (for me) was belaying the line to the mast cleats. I’ll finish them off with rope coils later. Completed the main and fore lower yard lifts. The trickiest part of the lifts was seizing the .012 tan line behind the blocks lashed to the mast cap. I simply tied a knot, secured it with a little CA, and trimmed the loose end. The tackles (.008 tan) were set up same as the running backstays. The main course lower lift tackle block is hooked to the eyebolt in the channel (designated as number 4 on the Belaying Plan) and belayed pin 4. The fore lower lifts are hooked to the eyebolt in the channel (designated as Number 14) and belayed to the capstan. Next up were the fore course leech lines (.008 tan) and bunt lines. These were setup as per the instructions. Reeving the ends of the rigging line through the single blocks hanging under the top was tricky. The fore lower course leech lines were belayed to pin number 13 on the bulwarks rail. The fore lower course buntlines (.008 tan): I created the block assembly using two 3/32” single blocks, stropped together end-to-end. Note: As the instructions advise, make sure you position the sheave holes for the blocks on the inside of the assembly. I ran the rigging line through the various blocks as per the instructions and positioned the double block assemblies about 3” above the deck. To get the height of the double blocks above the deck, I reeved a length of .008 line through the bottom block and attached an alligator clip to the loose ends. I adjusted the line until I got the approximate height above the deck and then lock it in place by applying a little CA to the single block on the yard arm as per the instructions. The falls for the buntlines (.008 tan) were secured to the riding bits adjacent to belaying pin number 11 as per in the instructions. Then, the running end of the fall, which runs through the buntline block, was belayed to the pin number 12 on the bulwarks rail. Next up, the main course yard leech lines and bunt lines.
- 157 replies
-
- model shipways
- syren
-
(and 1 more)
Tagged with:
-
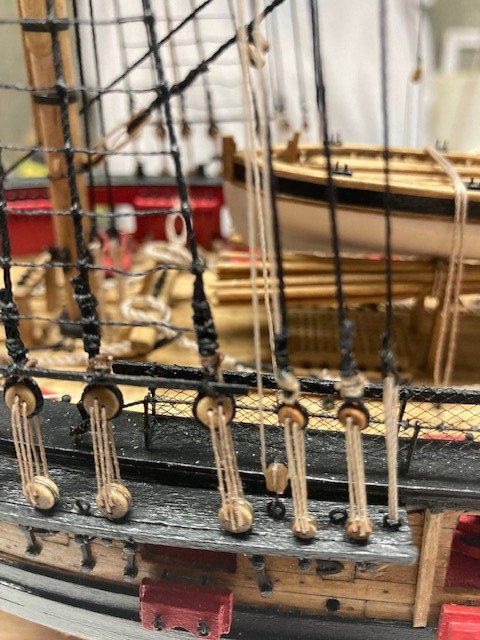
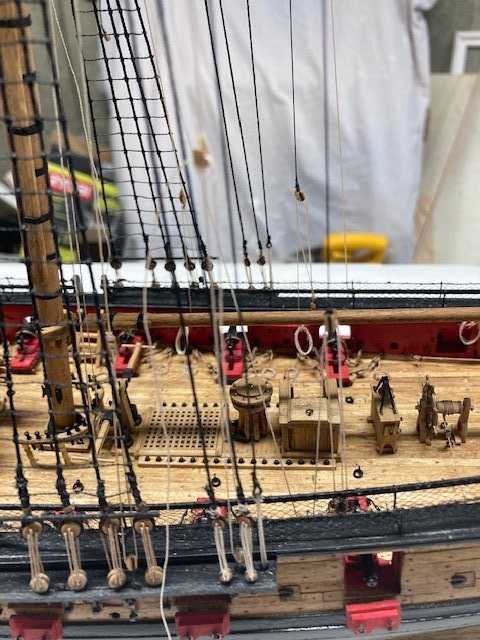
Started on the inboard rigging for the lower course sheets, tacks and braces. Decided to add them as one continuous length, making sure they are long enough to rig later. For the main sheet, I cut a 28” length of .008 line. For the main braces, I cut a 36” length of .012 line. To aid in passing the lines thru the simulated sheaves, I stiffened the end of the line with CA. No problem there. However, belying the lines to the cleats on the bulwark was troublesome and nearly disastrous. I somehow managed to snag the topgallant backstay. The eyebolt came out of the channel. I had to cut the lanyard, re-glue the eyebolt, and remake a new lanyard. Then, the vang eyebolt came out of the bulwark. I was able to simply put it back in place. Then, one the carronade tackle eyebolts came out. I was able to re-glue it. Aside from not being so clumsy, the lesson learned here is to adequately secure the eyebolts from the get-go. Wait, there’s more. I snagged the flag staff (an added feature that is not part of the build) and broke one of the brackets. I was able to repair the broken piece with some white glue followed by a little CA. All and all, disaster averted. Whew. Oh, one more thing, not sure how or when it happened but, the striker broke at one of the pre-drilled holes. Luckily, it didn’t completely break off. CA glue to rescue again. I managed to complete the port side sheets and braces and added rope coils. I'm not sure I like the rope coils. They don't seem to drape naturally, but I think they're okay for the layman's eye. Although this is my third build, I still have trouble belaying lines to cleats in the traditional manner. The problem is, working with an implement in each hand - a necessity for inboard rigging. Also, the work is in close quarters, fraught with the potential for Murphy’s Law. On the bright side, the starboard side sheets and braces were complete without incident. The loose ends of the course sheets, tacks and braces were coiled up and secured with tape. Completed the fore sheet rigging, port and starboard – need to add rope coils later. Cut a 24” length of .008 tan line. Also, added the main tacks. Took a chance here and cut a 17” length of .008 line. I say chance, because the plan does depict the true location of the 3 block assembly where the sheets, tacks & clew lines come together. After belaying the starboard side tack line to the cleat and securing it, it appears that the main tack might be a little short. If so, I’ll revert to the instructions and simulate a continuous line. I cut the port side longer. Note: I had more success belaying the lines to the cleats. I discovered it’s easier if you do it all in one motion. The tricky part is securing it with glue while holding the line in place. This completes Chapter 19. Now the running rigging starts in earnest with the sprit sail yard to follow.
- 157 replies
-
- model shipways
- syren
-
(and 1 more)
Tagged with:
-
To: Justin P., Dave E., Ryland Craze and WalrusGuy Thanks so much for the condolences and the compliments. Working on the ship does take my mind off things. There's some solace in it.
- 157 replies
-
- model shipways
- syren
-
(and 1 more)
Tagged with:
-
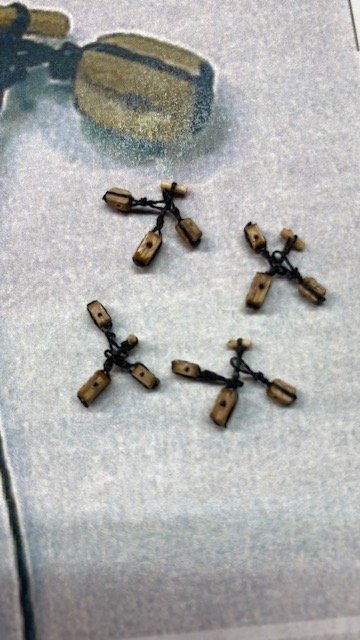
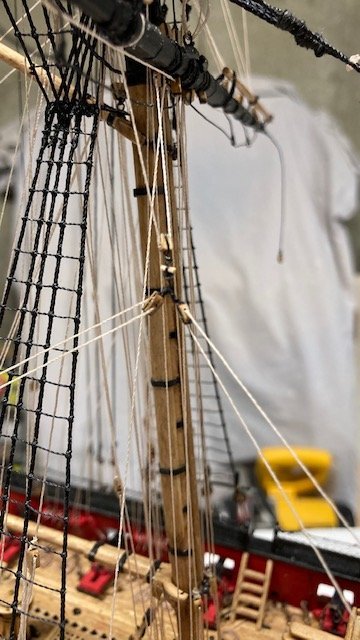
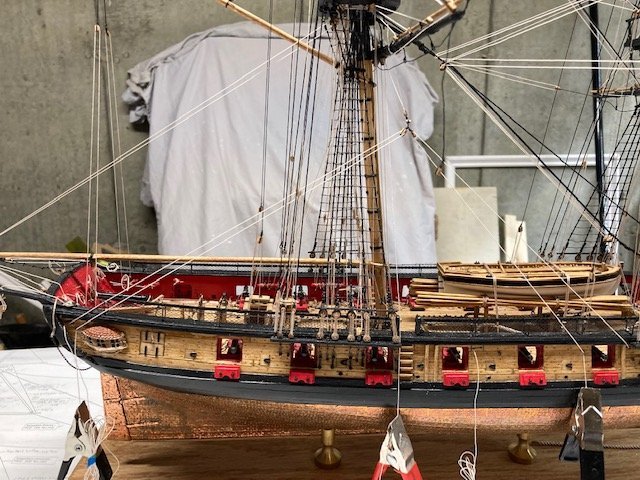
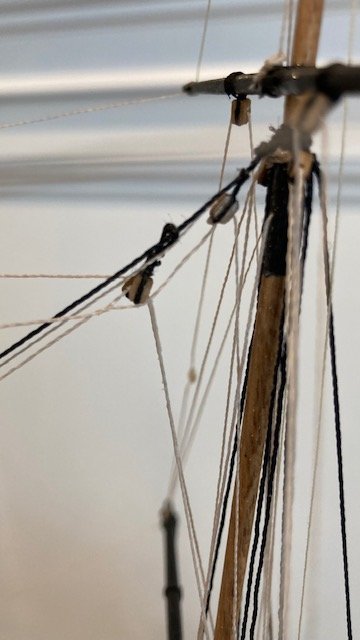
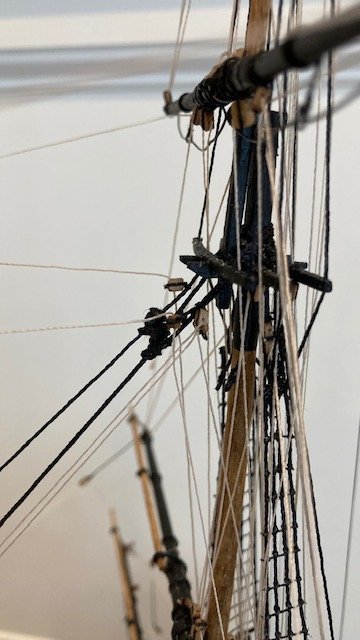
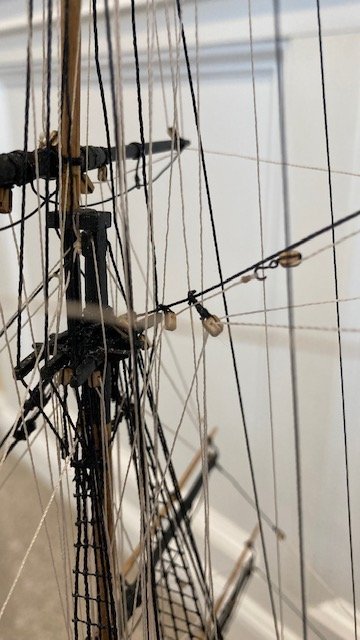
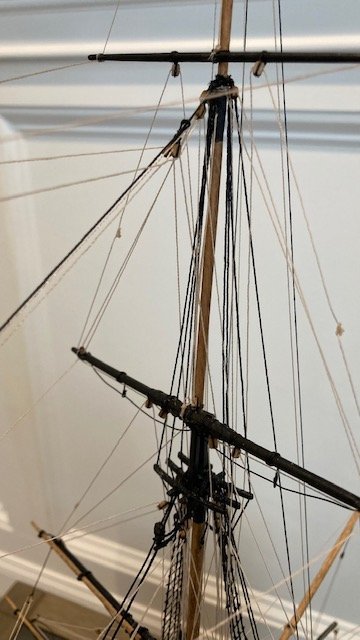
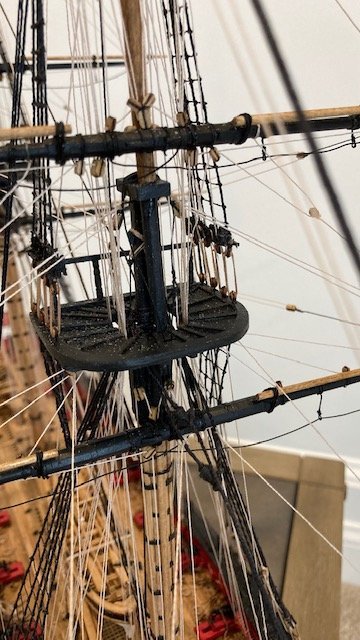
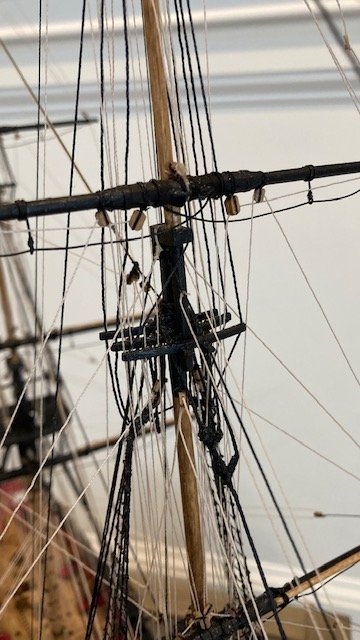
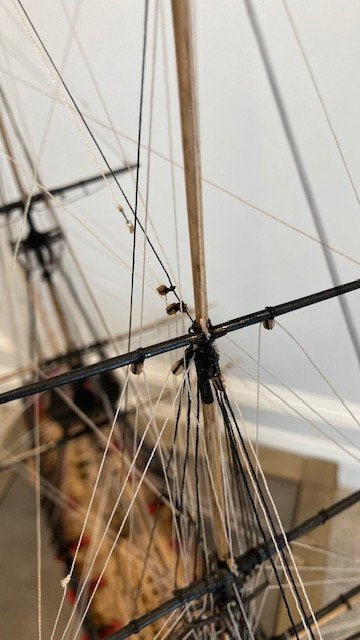
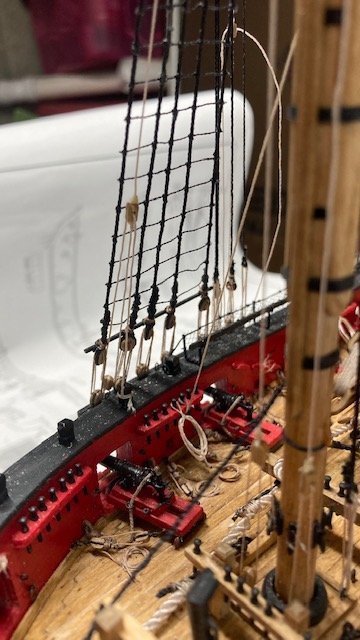
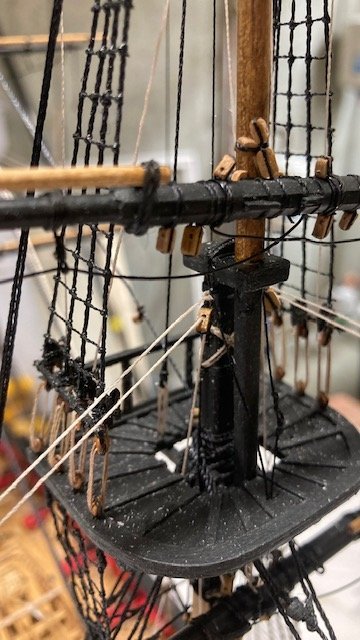
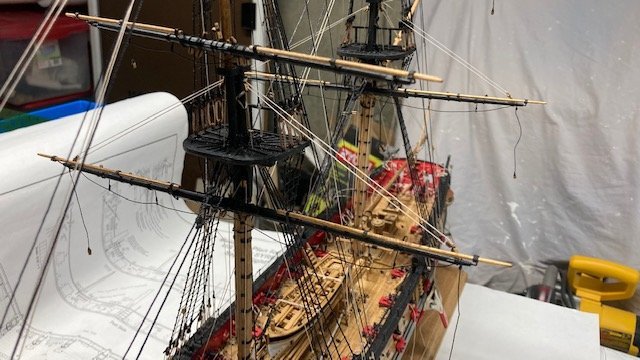
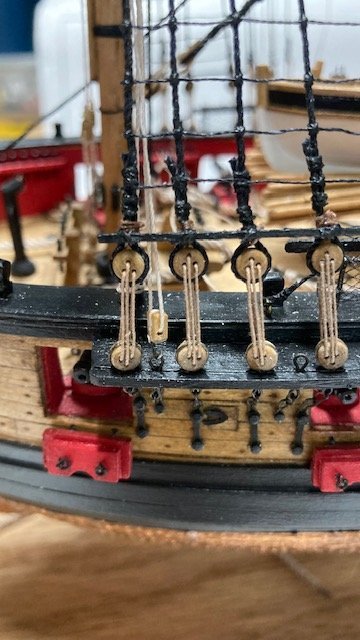
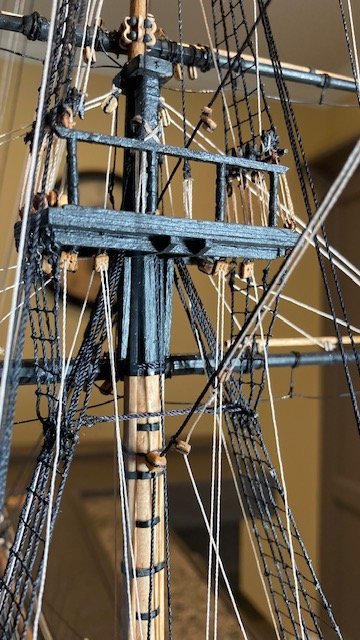
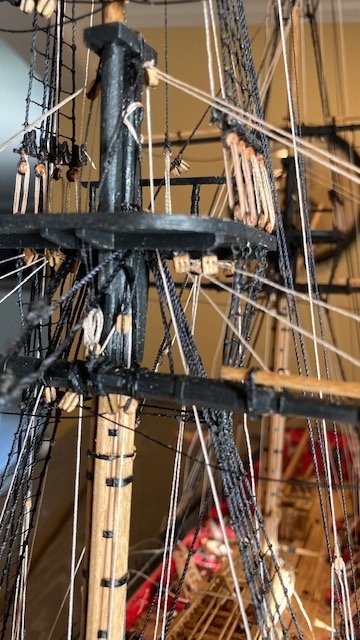
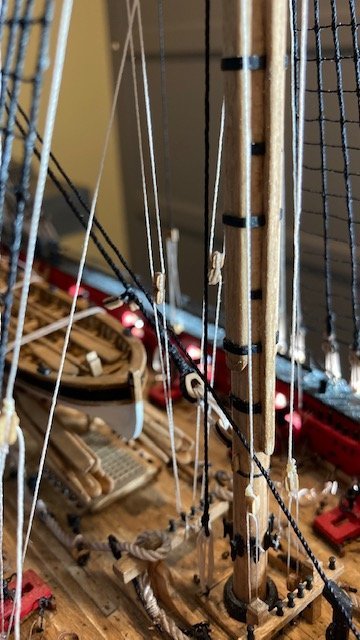
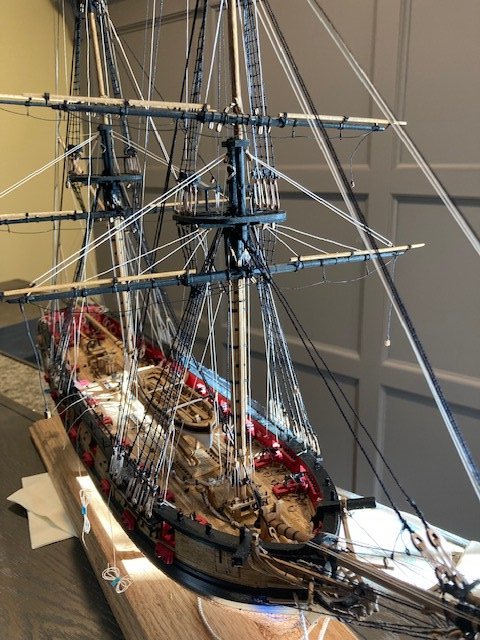
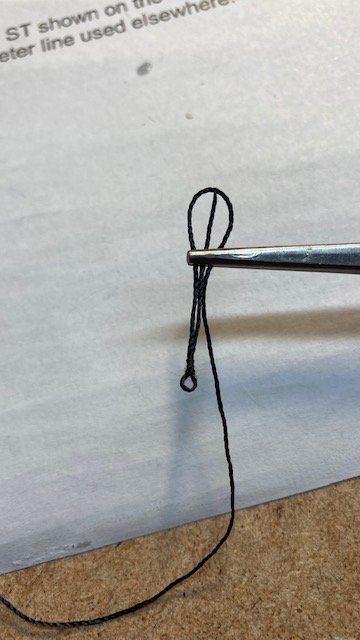
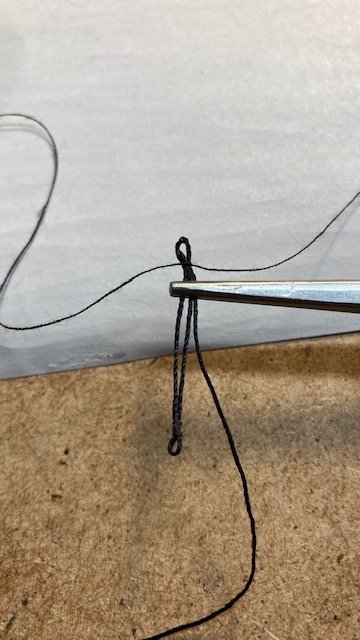
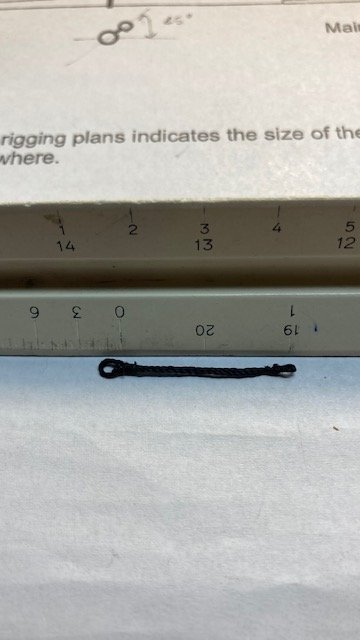
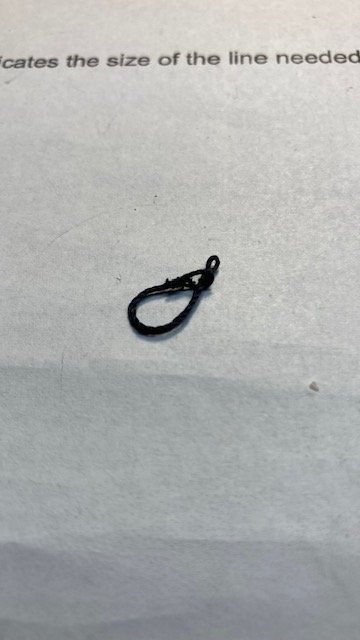
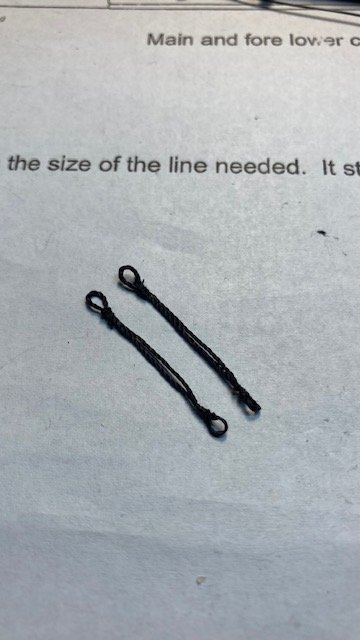
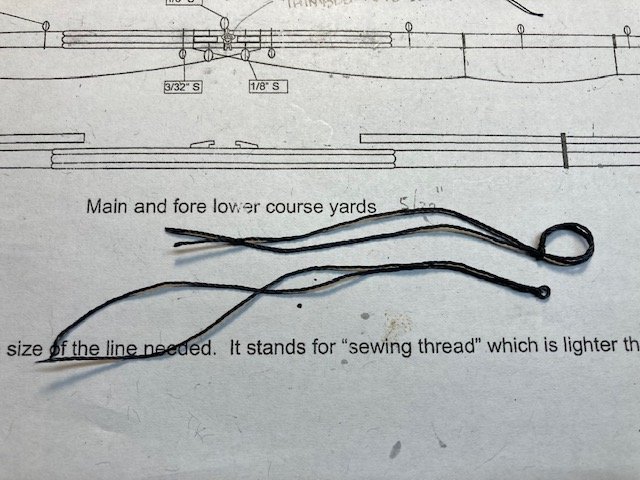
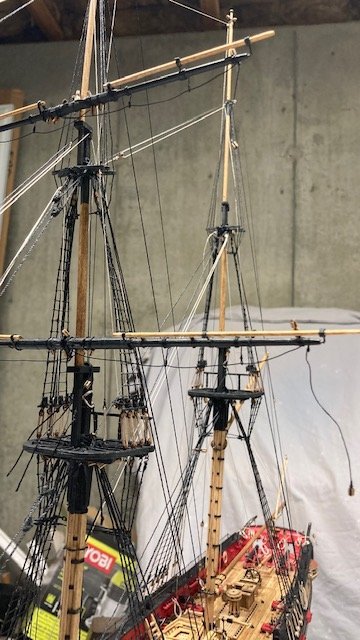
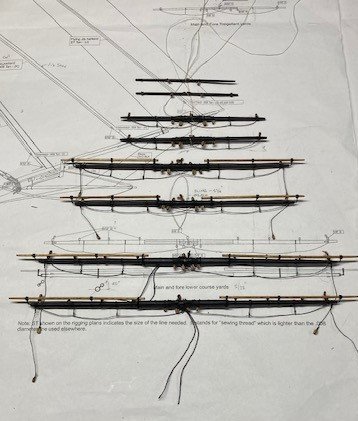
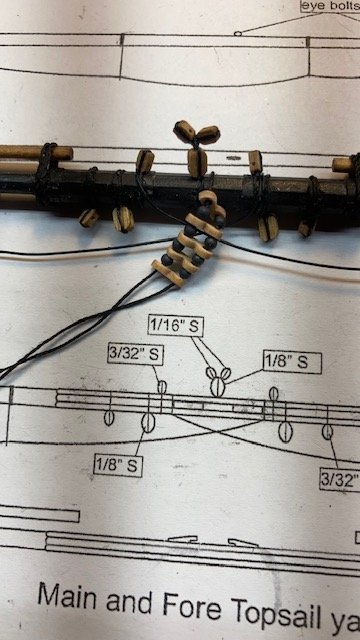
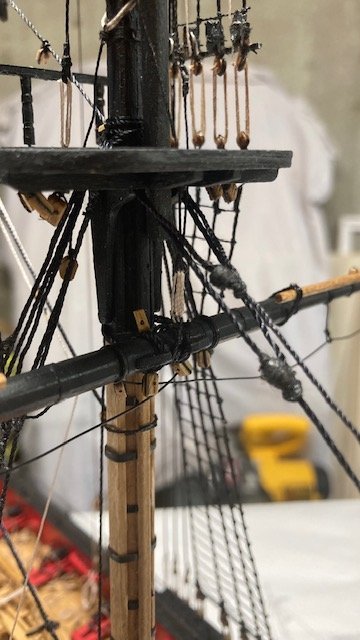
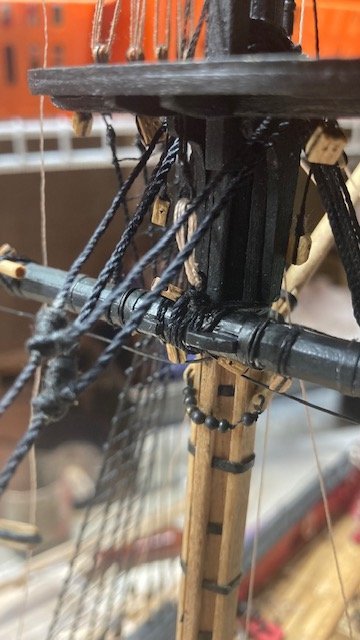
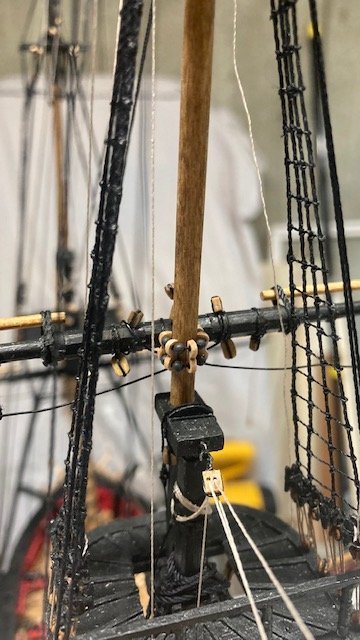
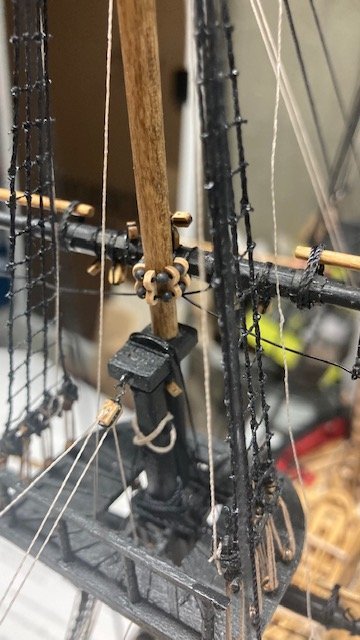
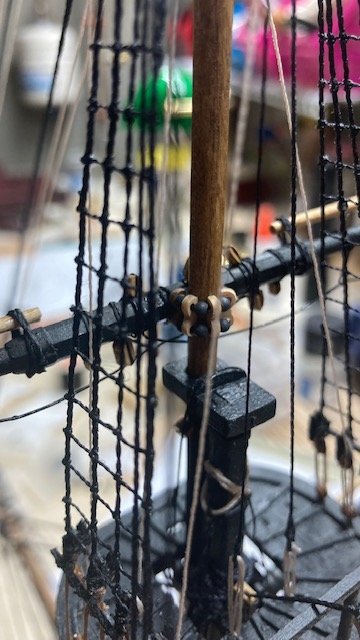
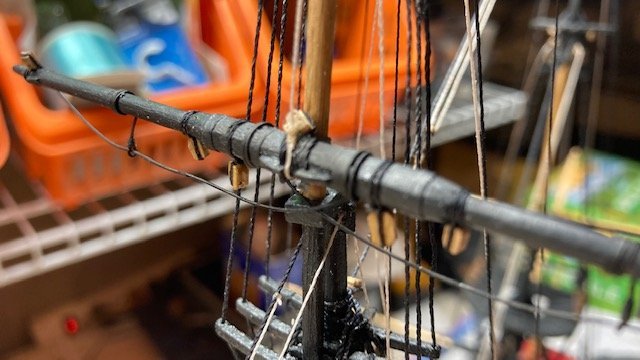
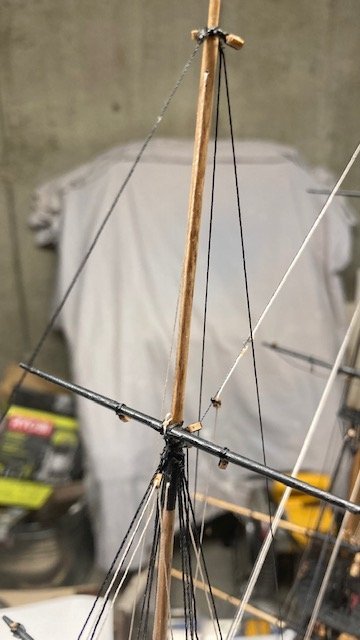
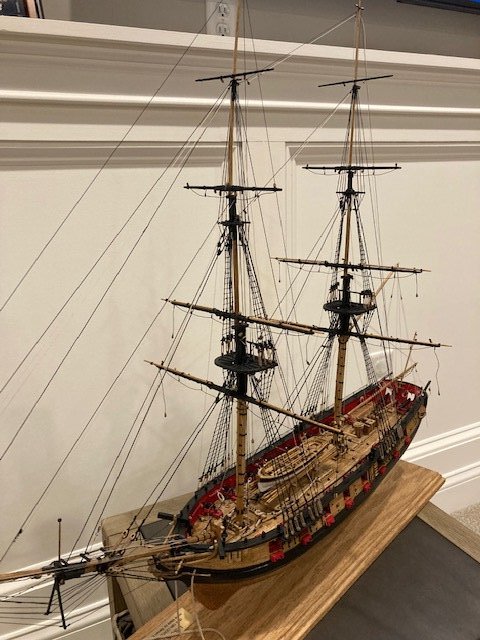
Took some unanticipated time away from ship building due to the expected/unexcepted passing of my wife of 49 years – she lost a courageous 4-year battle with small cell lung cancer. Managed to complete the main and fore lower course yards. Added the simulated sling and thimble that is lashed around the yard at its center between the sling cleats. The thimble should be positioned on the front of the yard as depicted on Sheet 6. Whence the yard is pinned to the mast, the simulated thimble will be lashed to the thimble on the end of the sling with a lanyard. The instructions are vague as to how to make the thimble so I thought I would describe how I made the sling and thimble. The sling was made using .021 black line. I looped one end and seized it with sewing thread. I added a little CA to stiffen it. I created a loop at the other large enough to pass the eye through. When you loop the line you’ll have 3 ends. Seize all 3 together and then snip off 2 of the ends. I always apply a little CA to the ends to be trimmed to make them easier to clip off. I didn’t stiffen the opposite end loop. The slings are about 1” long from loop to loop. The following photos may be more illustrative of the process. This is also a good time to add the simplified truss. Note: Chapter 19 says “use a generous length of .018 black rigging line for the truss.” Chapter 20 says the truss is .021 black line. I used .021 black line. The truss was made and attached to the lower yard as per the instructions in Chapter 20. I attached the stuns'l booms and irons. Lashed the booms to the yards using some .012 black rigging line. The lower yards were pinned to the mast. Tying the truss around the mast was difficult. Rather than seize the two loose ends after wrapping them around the yard, I simply secured them with CA and trimmed the ends. The lanyard (.008 tan) was set up between the thimble and the other simulated thimble on the end of the sling. Lesson learned: I made the sling to the configuration shown on plan sheet 6. This resulted in a lanyard that was too short for my liking, so I shortened the sling. If you want a longer lanyard, make the slings shorter than depicted on the plan. With the lower course yards secured, I moved on the top sail yards. The stuns’l booms and irons were attached to the yards a la the lower yards. The parrels for the top sail yards were made with the small wooden ribs and round trucks supplied with the kit. I sanded the char off the ribs and strung the ribs (5) and the trucks with .018 black line. The illustration is provided on the plans isn’t clear as to how to do this. I simply strung the ribs and trucks on one line and created a loop on one that went around the yard. The yards were pinned to the mast and the two loose ends of the parrel were wrapped around the yard and tied off. The line was secured with a little CA and the loose ends were trimmed. The topgallant and royal yards were attached to the mast with a simplified trust (not pinned) same as the lower yards. The topgallant yard truss was made with .021 black line. The royal yard truss was made with .018 black line. The topgallant and royal yard tyes were passed through the simulated sheave in the mast. I decided to create the running tackle on the end of the tyes but to not belay the running end of the halliard yet. They were made from 3/32” single blocks and .008 tan halliard. The note on Sheet 6 says to make the space between blocks double the space of the lower lifts. The space between blocks of lower lifts scales about 9.5”. So, I made the space between tye blocks 19”. In hindsight, I should have reviewed this in greater detail before I cut the length of line for the tyes. Sorry the photos aren't clearer. Next up, the Inboard rigging for the lower course sheets, tacks and braces.
- 157 replies
-
- model shipways
- syren
-
(and 1 more)
Tagged with:
-
I admire your courage in creating the letters for the ship name. You've done a good job. In looking at the latest version, my eye is drawn to the letter A. It appears to be slightly smaller. Maybe it's an optical illusion. It could just be the spacing between the letters A and C. I think the letters C and Y could be a little closer too. Just my thoughts. Keep up the good work.
About us
Modelshipworld - Advancing Ship Modeling through Research
SSL Secured
Your security is important for us so this Website is SSL-Secured
NRG Mailing Address
Nautical Research Guild
237 South Lincoln Street
Westmont IL, 60559-1917
Model Ship World ® and the MSW logo are Registered Trademarks, and belong to the Nautical Research Guild (United States Patent and Trademark Office: No. 6,929,264 & No. 6,929,274, registered Dec. 20, 2022)
Helpful Links
About the NRG
If you enjoy building ship models that are historically accurate as well as beautiful, then The Nautical Research Guild (NRG) is just right for you.
The Guild is a non-profit educational organization whose mission is to “Advance Ship Modeling Through Research”. We provide support to our members in their efforts to raise the quality of their model ships.
The Nautical Research Guild has published our world-renowned quarterly magazine, The Nautical Research Journal, since 1955. The pages of the Journal are full of articles by accomplished ship modelers who show you how they create those exquisite details on their models, and by maritime historians who show you the correct details to build. The Journal is available in both print and digital editions. Go to the NRG web site (www.thenrg.org) to download a complimentary digital copy of the Journal. The NRG also publishes plan sets, books and compilations of back issues of the Journal and the former Ships in Scale and Model Ship Builder magazines.


.jpg.01106b7d1bbbcbebe22e25f802c31a94.jpg)
.jpg.9f6eafbbc0c8b29bde6952ce8a169e29.jpg)

.jpg.95d219c7c056c0d4e5a837b605a2acf4.jpg)
.jpg.71c8d652add495b8d82bc8f850338290.jpg)


.jpg.206f92713ae1f3833cdbd7e653aec0c5.jpg)
.jpg.984cf74d7442c7ed725faa9311fb7aa0.jpg)
.jpg.d06ead6e438cf471e075b293b0b2dbe5.jpg)
.jpg.8c427bafdcdb4b0ea33a7757dafdbac2.jpg)
.jpg.790eea17c20a4a555dce479d3f359ed7.jpg)
.jpg.eb43848d62f050ae3d3b30721e63d721.jpg)
.jpg.1e8590a44cd587aac2f520e28d6dc479.jpg)
.jpg.a68f2c839bbbb8829b245b2fdeead5be.jpg)
.jpg.5c09128d7f992d1a0666efb94ee7adfe.jpg)
.jpg.a81838764a240284a72855d965e4e7a6.jpg)
.jpg.8a6d03e811d489699a64184c81b6dc2b.jpg)
.jpg.5621ba68ef849861eb8629c4f970044f.jpg)
.jpg.3037e8fa9fc79a2b284b9dd9940c32ce.jpg)
.jpg.356a3e48bd0e6977bea66eb9c2e7bba2.jpg)
.jpg.05c3ec35e427470a7e5349ba85dde432.jpg)
.jpg.4b9543e58086af5fed7f9b9cdac5d895.jpg)
.jpg.b06c293dc244d8ba70bfee8c51e6e47d.jpg)