HOLIDAY DONATION DRIVE - SUPPORT MSW - DO YOUR PART TO KEEP THIS GREAT FORUM GOING! (Only 20 donations so far - C'mon guys!)
×

jpalmer1970
-
Posts
408 -
Joined
-
Last visited
Content Type
Profiles
Forums
Gallery
Events
Everything posted by jpalmer1970
-
 Hi, I planked the whole bulwarks and then butted the margin plank up against them. I was able to bend a couple of the boxwood strips to use as the margin planks.
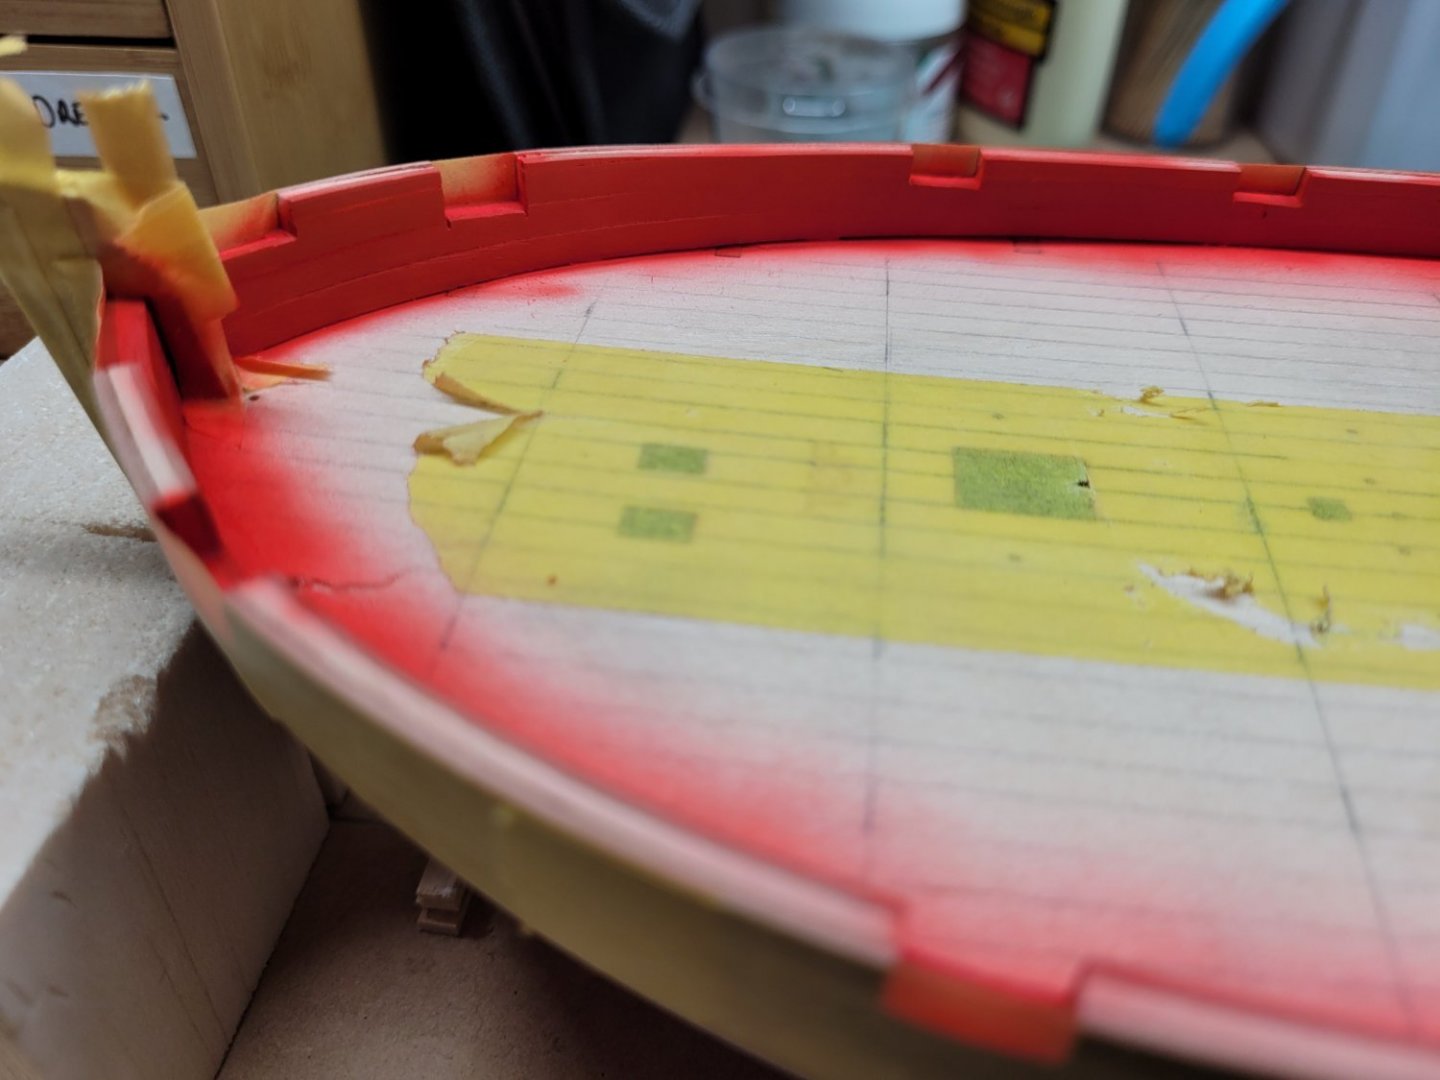
- 562 replies
-
- 6
-

-

-
- vanguard models
- alert
- (and 2 more)
-
Hi Thukydides, Great painting! I planked the inner bulwarks and painted them before installing my margin planks. The bulwarks may need a bit of a paint touch up when the deck is finally finished but that will hopefully be easier than painting the whole lot later. I am also considering adding a line of spirketting too if I can source some suitable wood.
- 562 replies
-
- 2
-
-
- vanguard models
- alert
- (and 2 more)
-
This is incredibly fantastic work and very inspirational ! I look forward to following the rest of your build 👍
-
Hi Bob, Yes it is the AL kit. It is this year's Xmas present but it will be a while before I get started on it. I'll be borrowing heavily from your build log and those others on here given how sparse the AL instructions are. I'll get a copy of the rigging book by John Leather and maybe Leo will even have more helpful information about the TallyHo in his rebuild videos.
-
That was great. I'll certainly have a look at the other videos on that channel as I think they may be very helpful in understanding a lot more about my next build, the Pen Duick Thanks for the link.
-
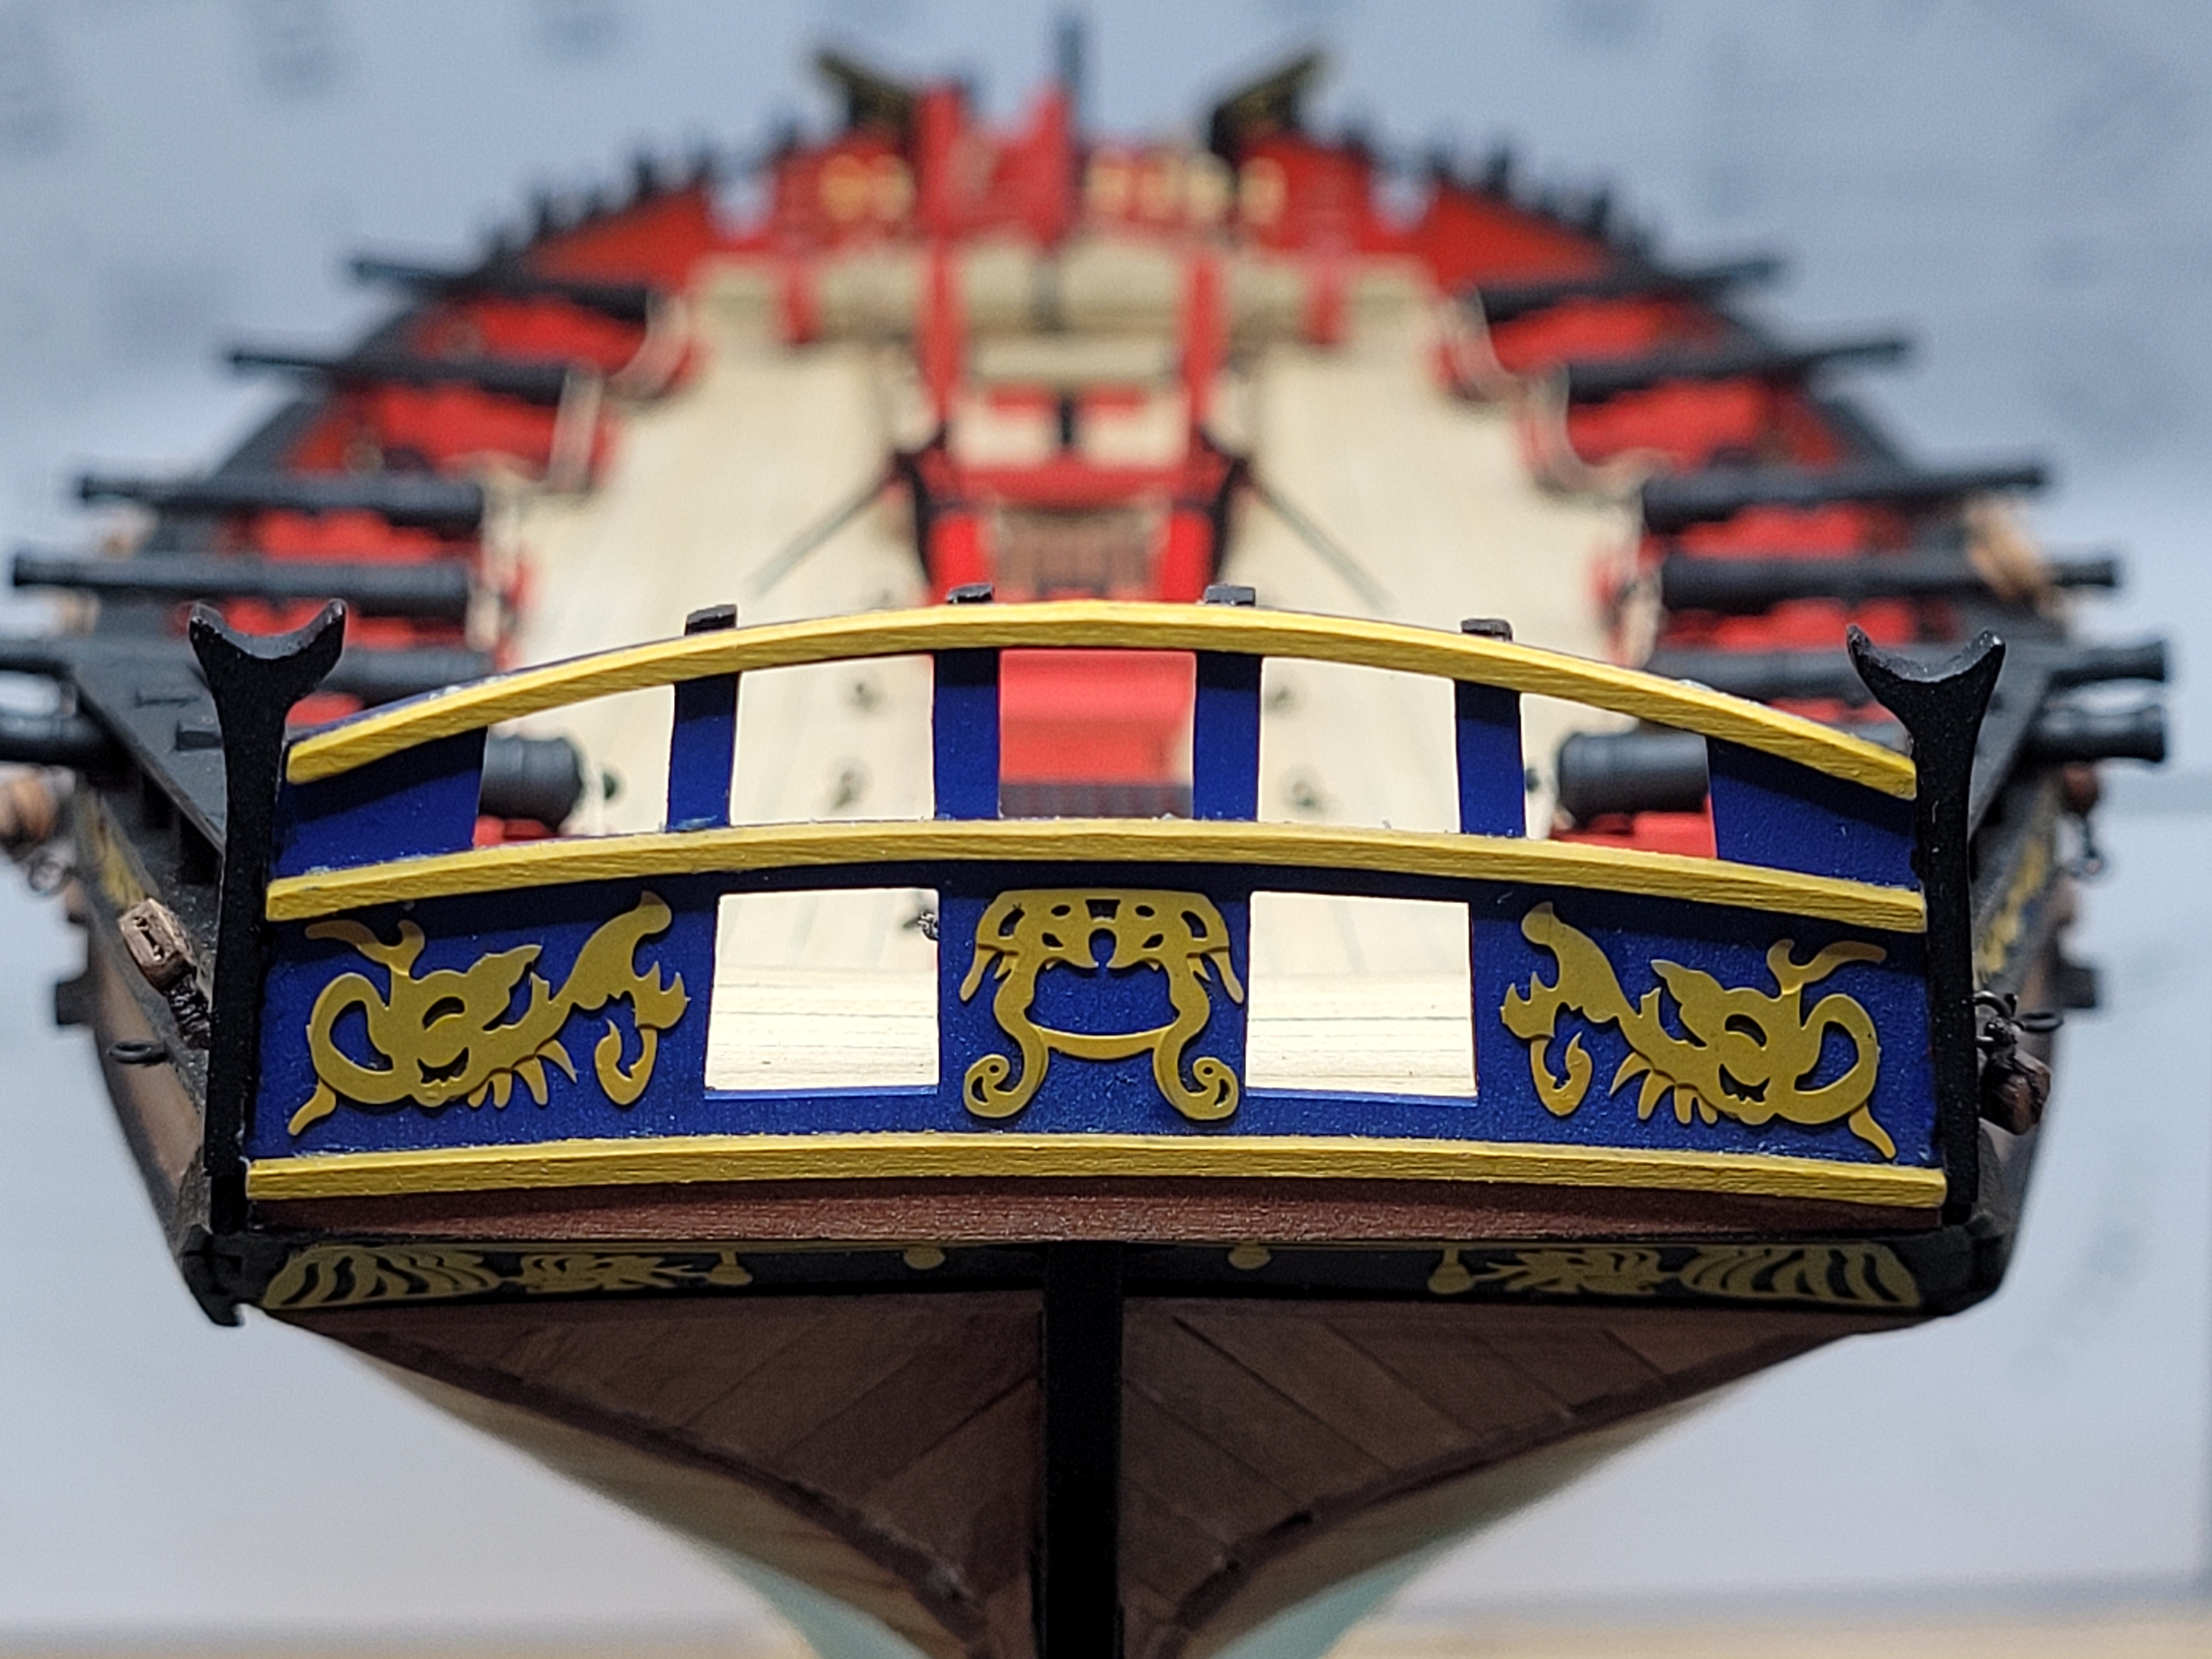
It is looking very good - some ingenious work constructing the transom there.
- 562 replies
-
- 3
-
-
- vanguard models
- alert
- (and 2 more)
-
No I didn't see the extra pieces, and they will be even less noticeable once everything is painted. You can always call them 'port linings' if anyone does quibble about them 😀
- 562 replies
-
- 2
-

-
-
- vanguard models
- alert
- (and 2 more)
-
This looks great Thukydides. The transom does seem to be a very tricky area of the build. Even if the counter is positioned at the correct height, the transom does seem to need a little more area at the base to bring the bottoms of the ports above the deck planking level. I think my counter is too low anyway so I will need to fill a gap at the bottom of the transom. Your scratch built transom is looking great and I look forward to seeing the next steps.
- 562 replies
-
- 2
-
-
- vanguard models
- alert
- (and 2 more)
-
I found a fairly local to me plastics / acrylic fabricator. They make the perspex sneeze guards etc we see all around us now post covid, but they can also do other items and shapes including display cases. I had them make me a perspex case but without a base and then found my own piece of wood to use as a base. A lot cheaper, better and quicker than me making the whole thing myself!
- 857 replies
-
- 1
-
-
- Sphinx
- Vanguard Models
- (and 1 more)
-
I look forward to seeing the rest of your log 👍
-
They do look good !
-
That's a great build, and a great log describing it too.
-
Welcome ! This was my choice for a first build as well. It is a nice little model and will allow you to pick up some skills. Just be aware that because it is an open boat you can see the inside of your planking so make sure you take your time to make it as neat as you can.
-
Colorado Anglers 102 Vice
jpalmer1970 replied to Laggard's topic in Modeling tools and Workshop Equipment
I sometimes use a fly tying vise for some rigging procedures. It looks like this vise has an adjustment nut that will rotate in and out. This allows you to use larger or smaller hooks- if you are tying flies. Depending upon where you have the nut set, when you lock the lever in place the jaws will either close or be slightly open or wider open. You therefore control how closed the jaws are by rotating the nut to the appropriate place - with a bit of trial and error. Hope that helps. -
Great work Thukydides. I've still got 6 planks left to add each side in my second planking so you have moved ahead of where I am now. I look forward to following in your footsteps.
- 562 replies
-
- 1
-
-
- vanguard models
- alert
- (and 2 more)
-
Hi Bob, Drilling pilot holes of a slightly smaller diameter than the pin just makes it easier to insert the pins and minimises the risk of me pushing too hard and breaking things 🙂
- 562 replies
-
- 8
-
-
- vanguard models
- alert
- (and 2 more)
-
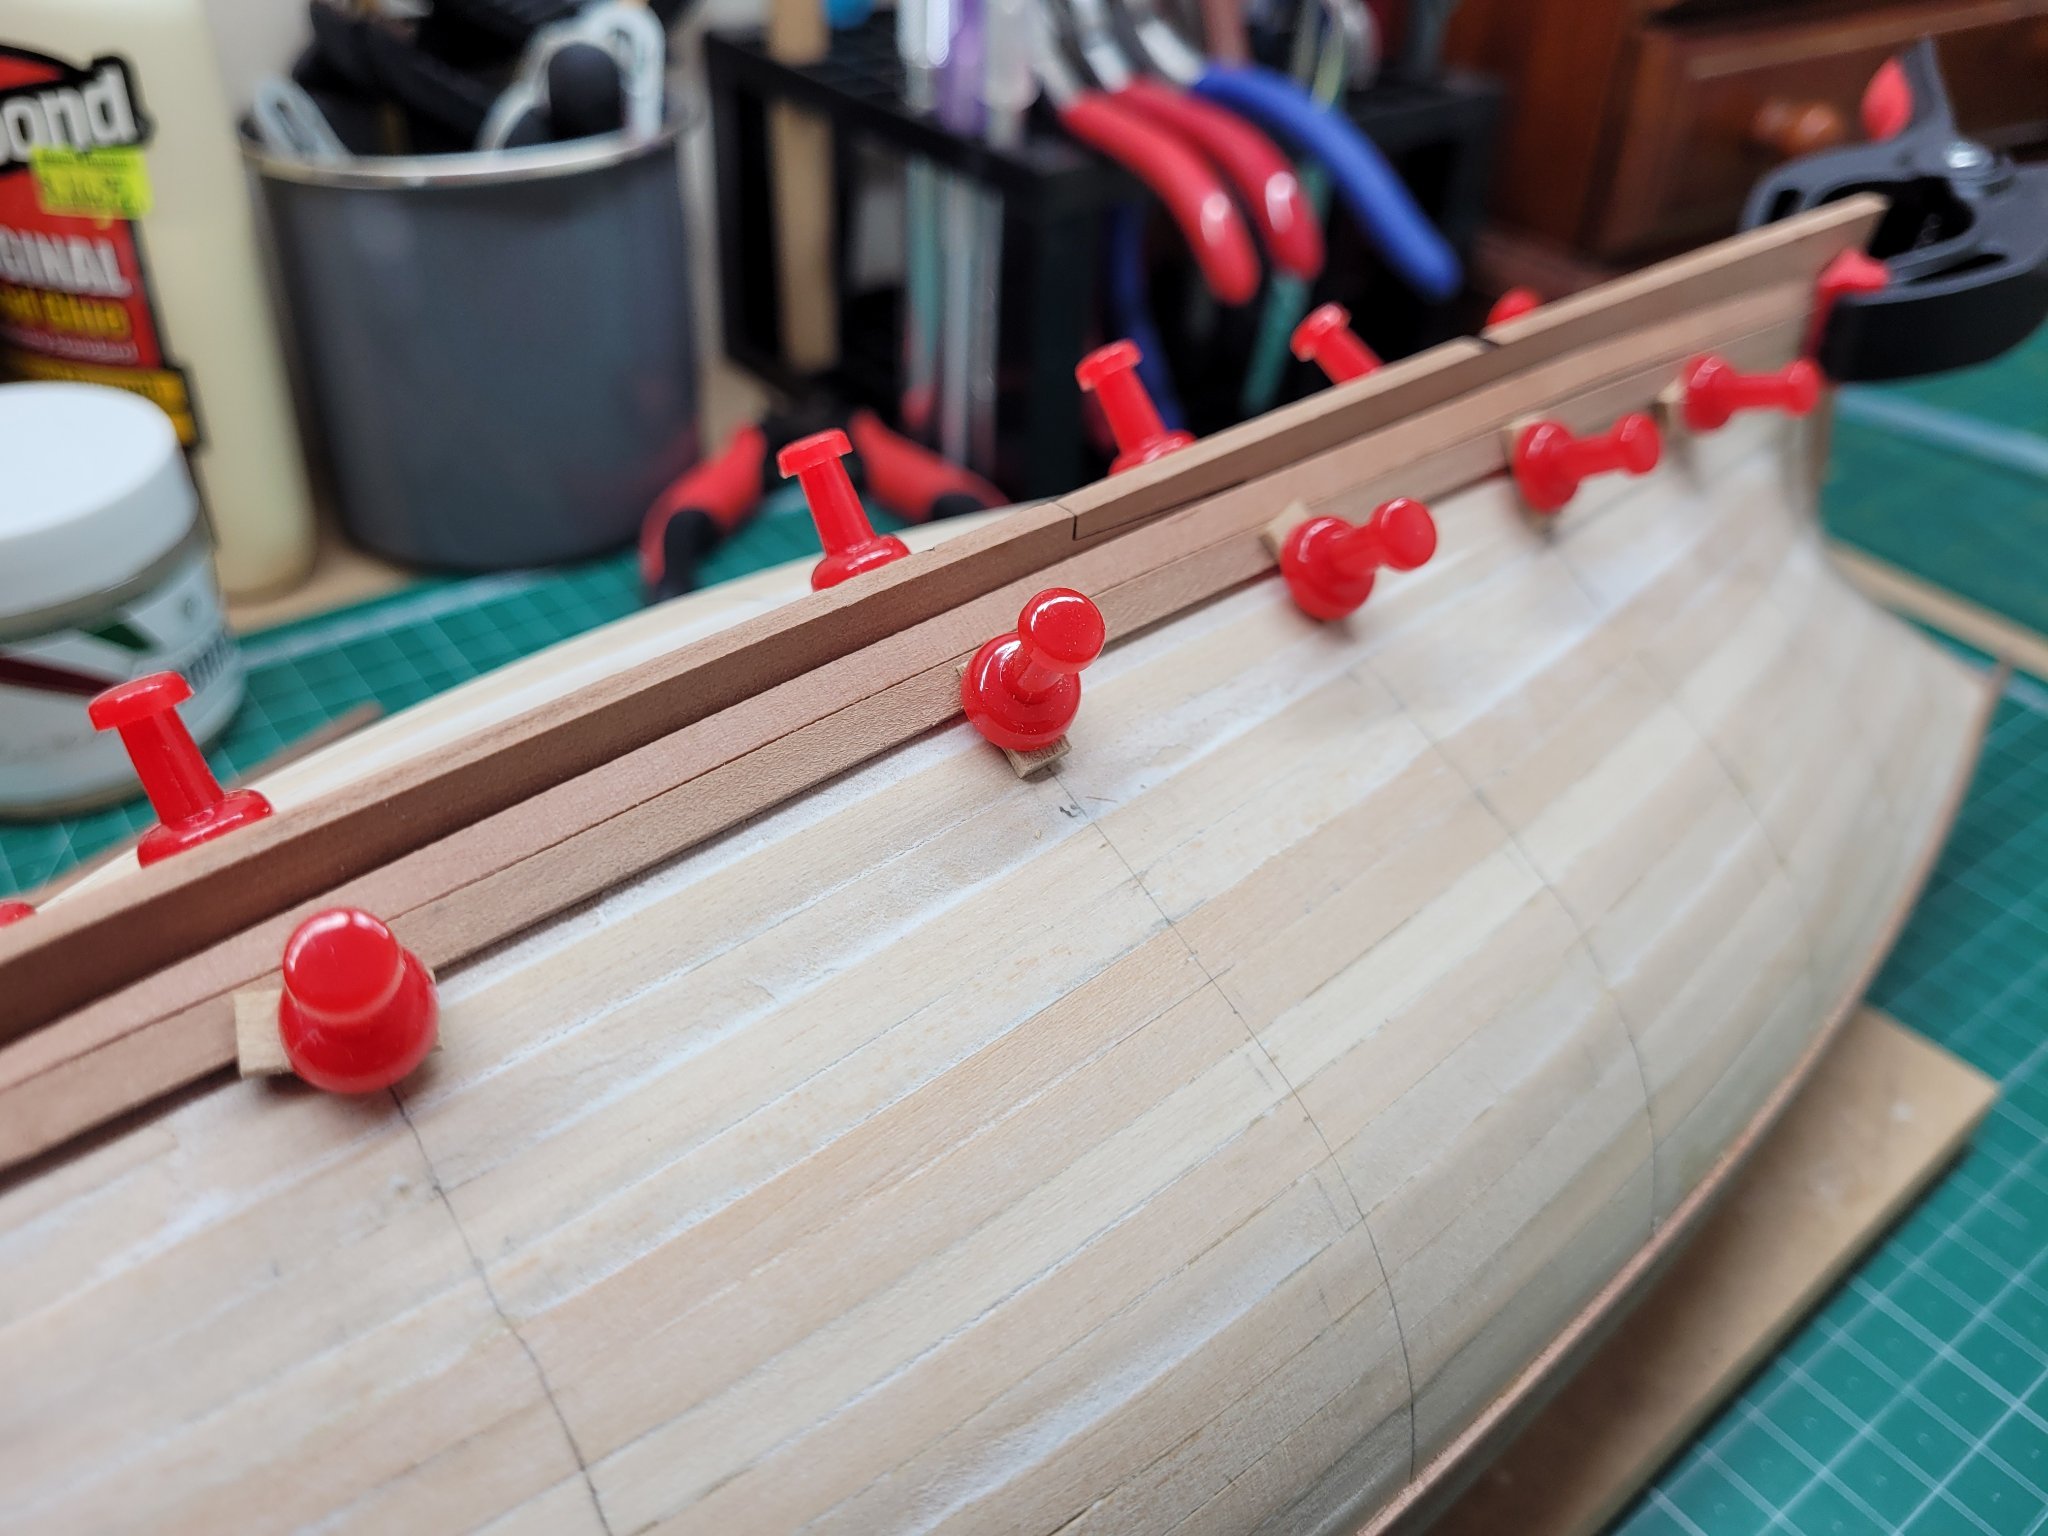
I just use some map pins with an offcut of the first planking skewered on it to provide a bit protection against the second layer. I drill a run of holes in the first planking so that the pins then hold down the second layer. I just wouldn't trust myself to get the plank in the correct place with CA and not make a mess. It sounds like you are doing well now though.

- 562 replies
-
- 7
-
-
- vanguard models
- alert
- (and 2 more)
-
I'm using pva for the second planking. It's a slower process but provides me with more control.
- 562 replies
-
- 1
-

-
- vanguard models
- alert
- (and 2 more)
-
Thukydides and Phill, I'm also working on the 2nd planking and had planned to thin down part 76 to match the thickness of the wale.
- 562 replies
-
- 3
-
-
- vanguard models
- alert
- (and 2 more)
-
It's looking really good Phill.
-
I guess that is one of the benefits of working with wood - it easy easy to adapt things 😀
- 562 replies
-
- 2
-
-
- vanguard models
- alert
- (and 2 more)
-
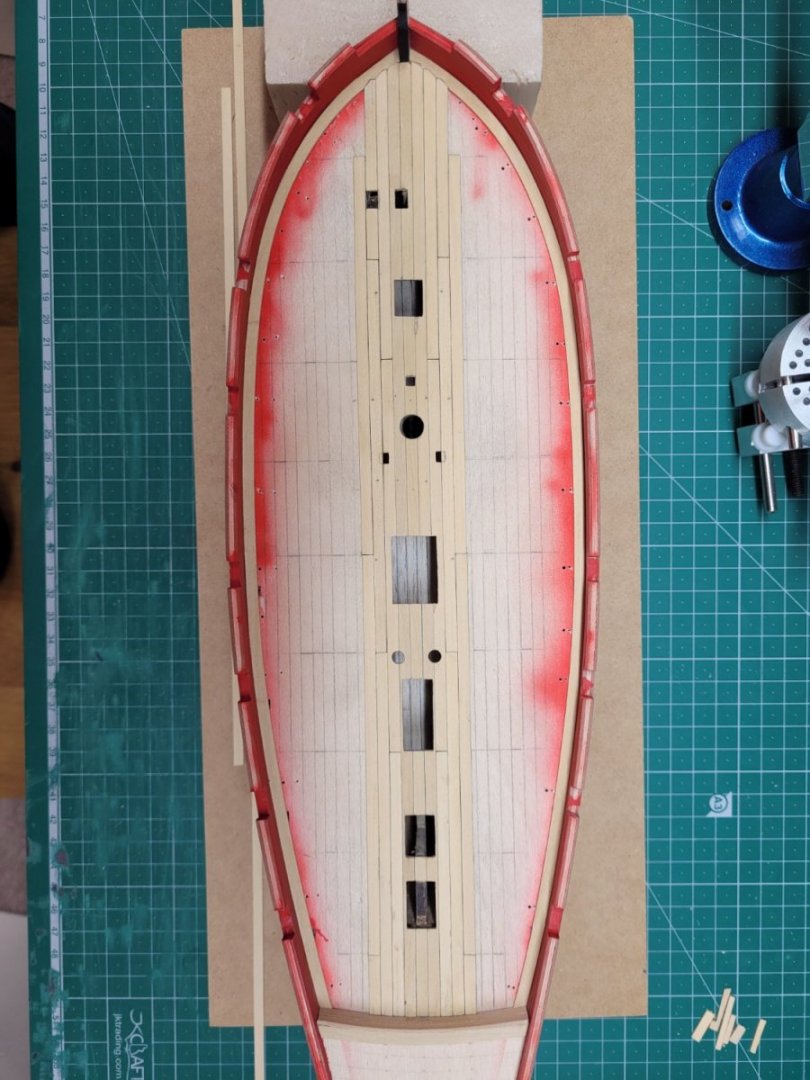
When you get down to the keel area I would suggest you leave your run of planking short of the deadwood area. I planked all the way to the stern and even though I had thinned the false keel originally I basically had to sand the ends of the planks away to get them to be thin enough once the second layer is added. It doesn't say it in the manual but if you look carefully at the top left picture on p20 you can see where the run of planks in the first layer ends short of the stern.
- 562 replies
-
- 2
-
-
- vanguard models
- alert
- (and 2 more)
-
Another local here !