
.jpg.f14fd0b82ddc4970171089371a368a63.jpg)
Seamanpeter
-
Posts
68 -
Joined
-
Last visited
Content Type
Profiles
Forums
Gallery
Events
Posts posted by Seamanpeter
-
-
Thanks Kevin,
still not sure if I put all this in the right place but until now did not get any comments about it.
Well here we go, starting to take all apart for the glue option and use the Aliphatic waterproof/sand-able glue.
Now here is the tricky part! Glue the parts is not a bad/difficult job but to do that in a fashion that all will get in the right place you have to think logic as 1 mistake and the whole built is going to be funny!!
To keep it strait I use the slip-way what gives me a good indication if all is correct and 90 degrees on each other specially the frames.
Anyway, presently half way, back side is finished the frames and some other parts, topside of the deck railings is done, where as the roll comes on the stern is also done but can still take the top of the backside off in order to have better access underneath what I like to have other equipment mounted later.
Means only the top shell is glued, rest will follow when my reinforcements are in place between the frames.
Now just started the front part and bow what is now drying before put it on.
Need to cut the centre connection as otherwise the bow trust cannot be mounted.
I also did find the spot for the Azimuth props in the backside where as the tail will go through the shell, used the original ones as still waiting to receive them and the bow truster.
Also the accommodation and the bridge will start today with windows bridge as the rest already done.
Wish me luck, pics are doing later.

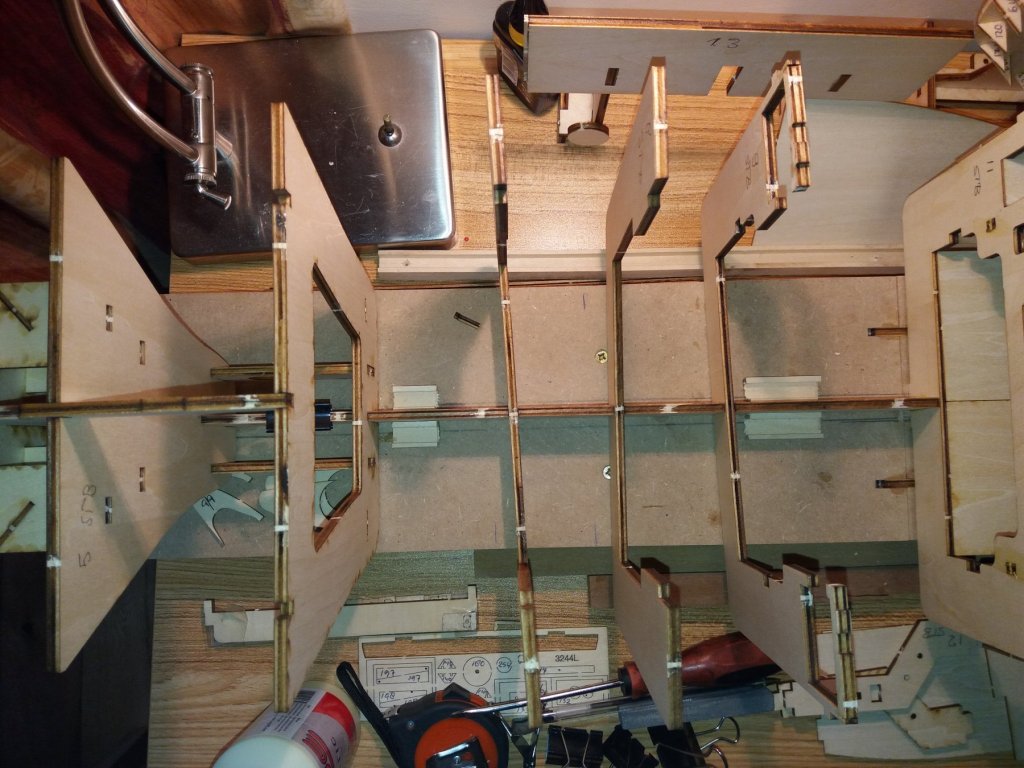
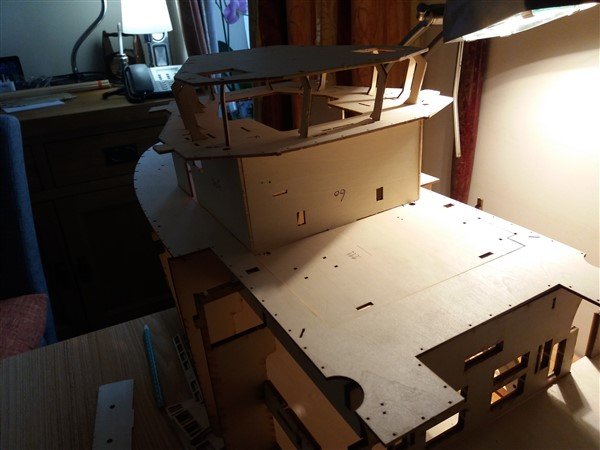
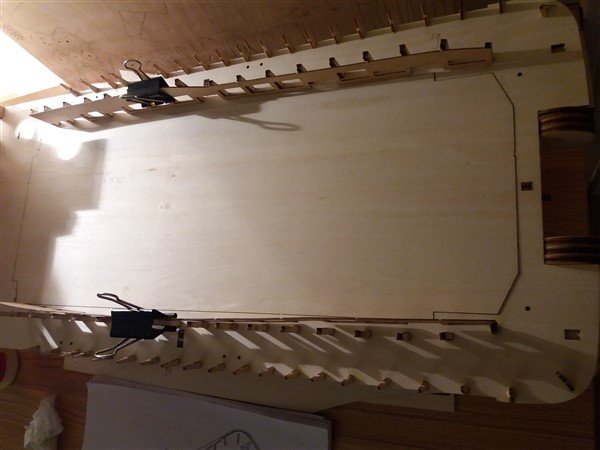
Aft part glued together in a fashion I can still take it complete of as having to make some more strength in the built
 view from top aft deck
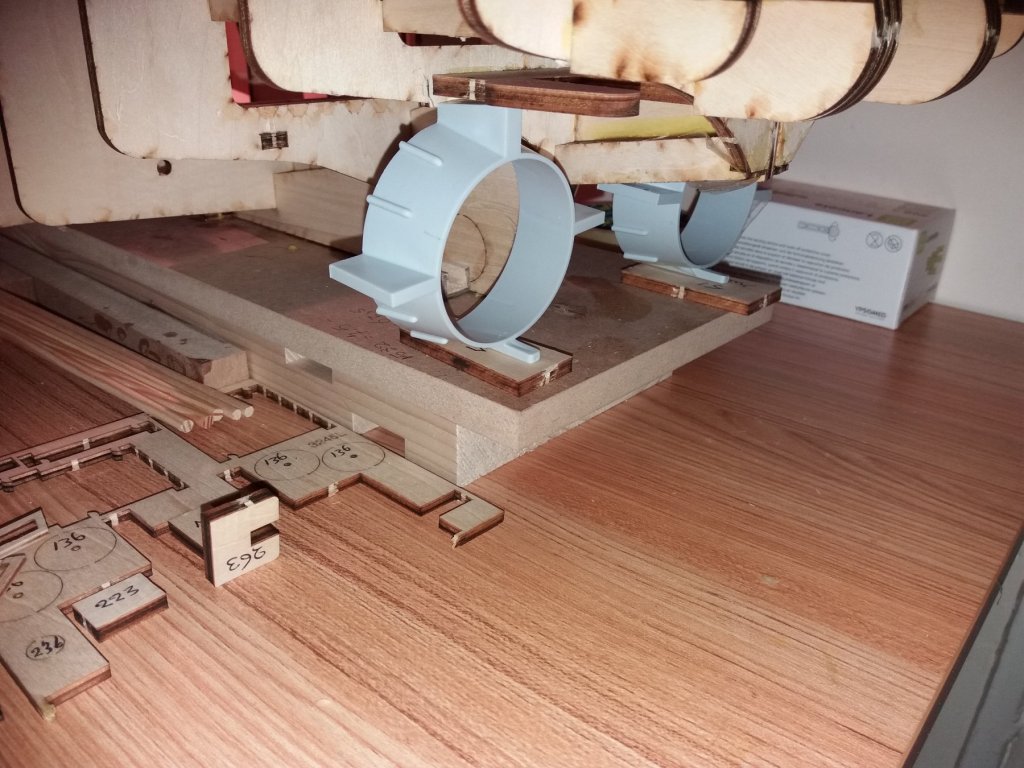
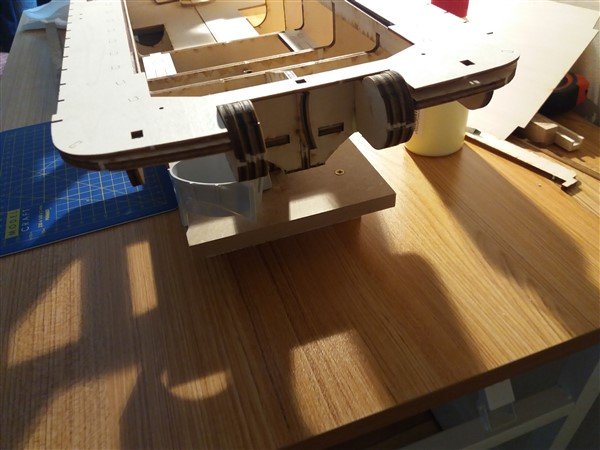
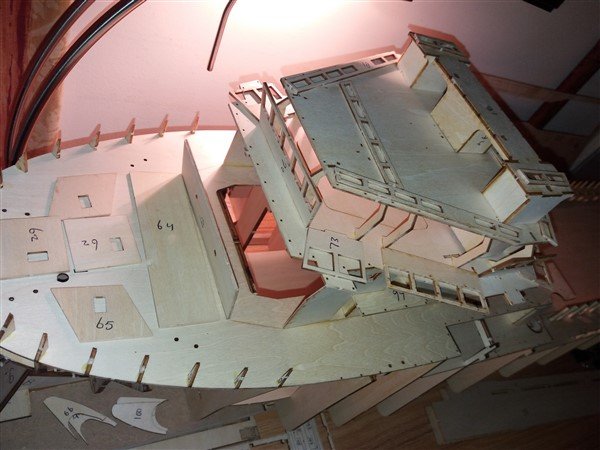
Just to give the impression how the Schottels will be put on later

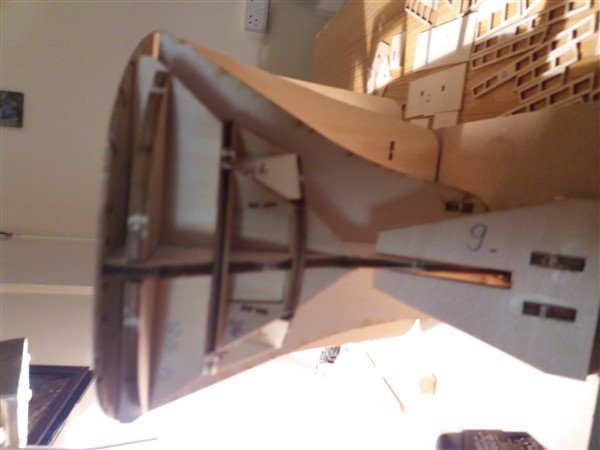
other view Schottels and here I saw that have to lift the building ca 5 mm to have more clearance under the kort nozzle
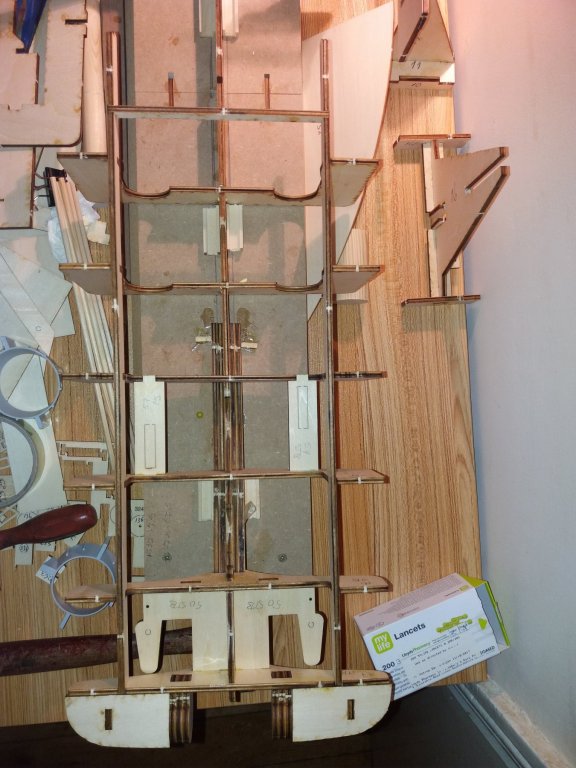
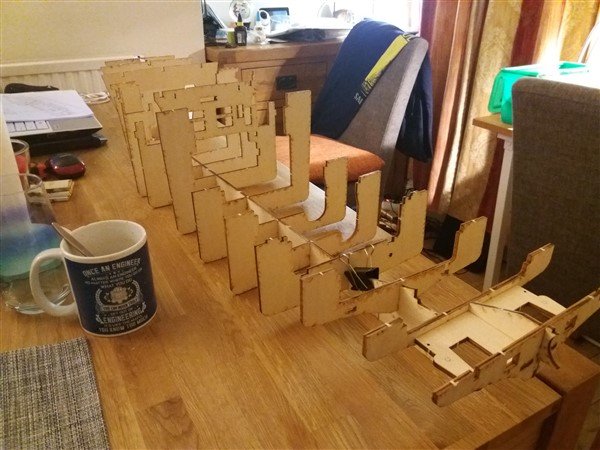
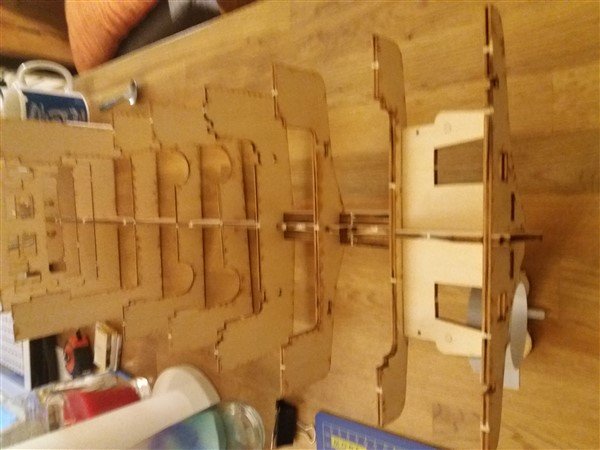
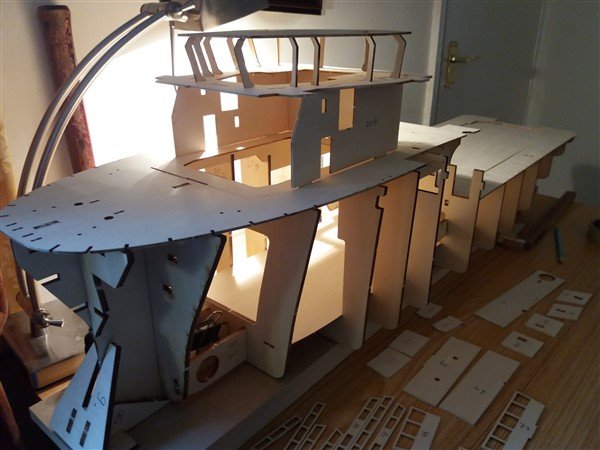
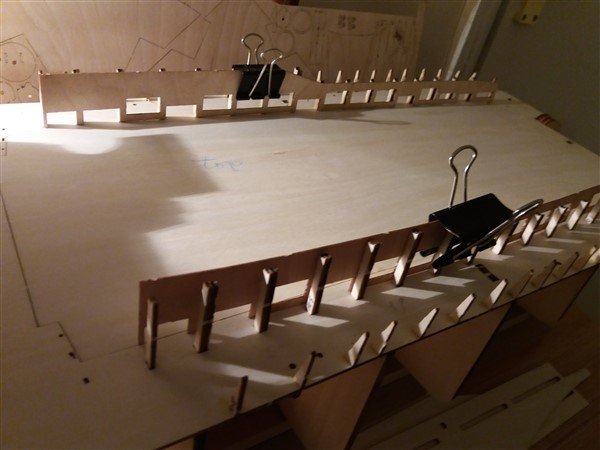
Just an overview of the frames (not lined up yet and glued)
-
I must admit that until now I did not glue all the frames from the hull as she is still on the slip-way and needs to make reinforcements in between the frames but having her on the slip is much more easy to do that as it's a great stability tool to work with on this relative big kit's.
Glad I have this slip-way built and make her on this.
For the price you don't have to spare as it is relative cheap and during the building it can be easy moved from 1 to another spot without damage vital elements of her.
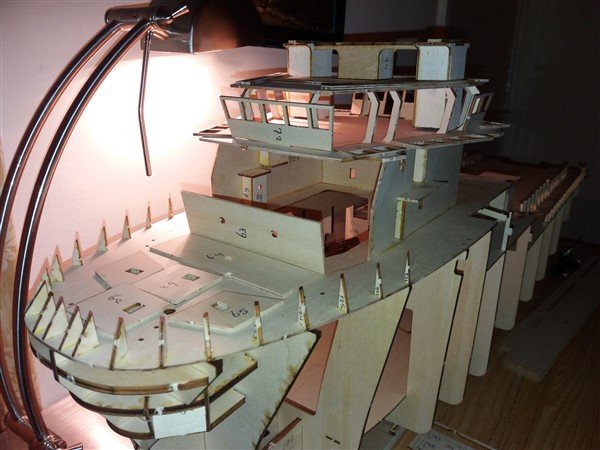
Also some of the bridge parts already glued but in the sense that the <roof> of the bridge can be removed for making inside her bridge the consoles for the nav equipment and the towing winch on her back side of this bridge.
Funnels are glues but still not on the bottom as need to have this off when I make the pipes in there.
Did not make comments under the pics, sorry for that but must be clear enough looking at those pics.
-
Good day all,
Not sure if I'm in the right place on this forum but if not, sorry then it has to be moved.
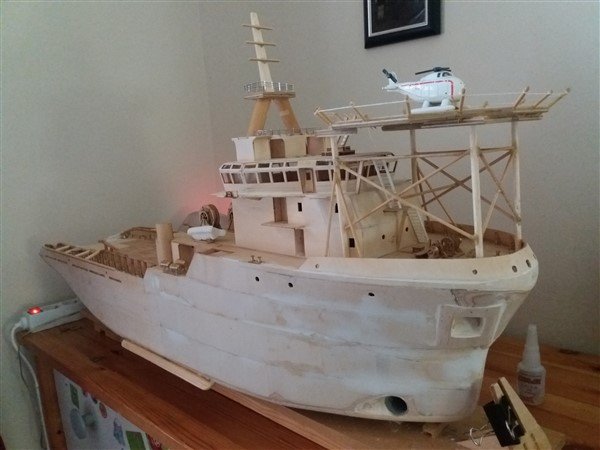
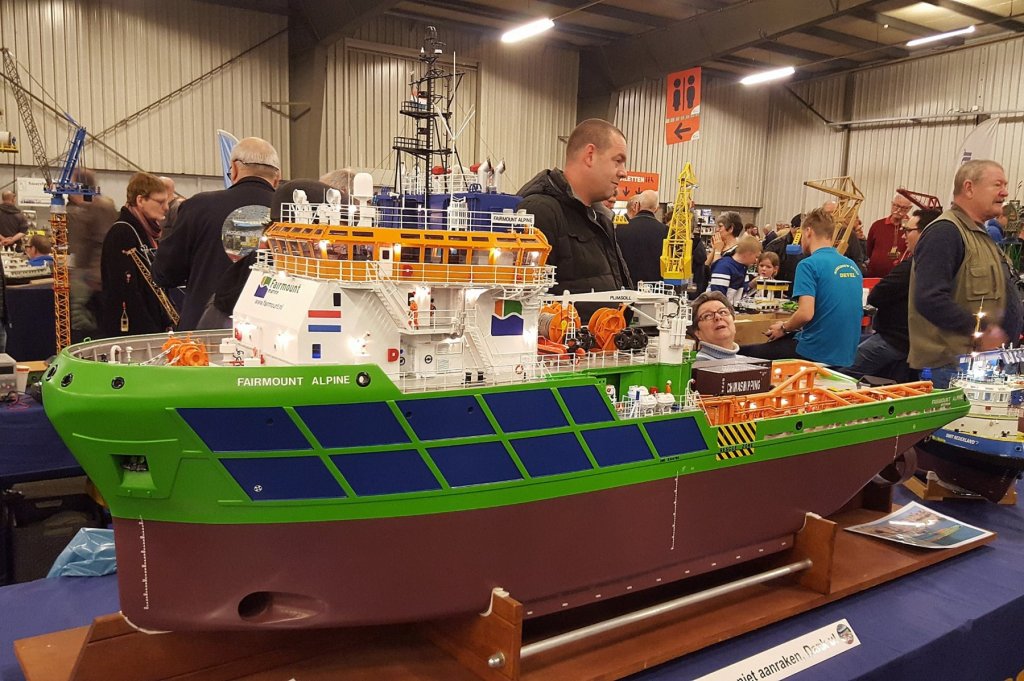
Well here I am with my building side from the sea going tug the "Fairmount Alpine" what with today's name Boka Alpine still runs across our Oceans.
This is not my first kit to built but did not do this for the last 20 years+ but being pensioned now the misses wants me to have something to do, maybe keep my brain occupied who knows.
Anyway, did start this building from Billing Boats and want to make it different then original, means want to have a Schottel prop stern with 360 degrees rotation. No rudders of course, no shafts, no stern trust so leaving a lot of weight behind what has to be compensated with ballast afterwards but so far I am not yet.
Also the bottom will be changed as don't like those small <planks> on vital shell places as go for "massive" shell all the way in the bottom and want to make kim keel's as did see with the sailing models that she is moving to fast when giving a little course changing.
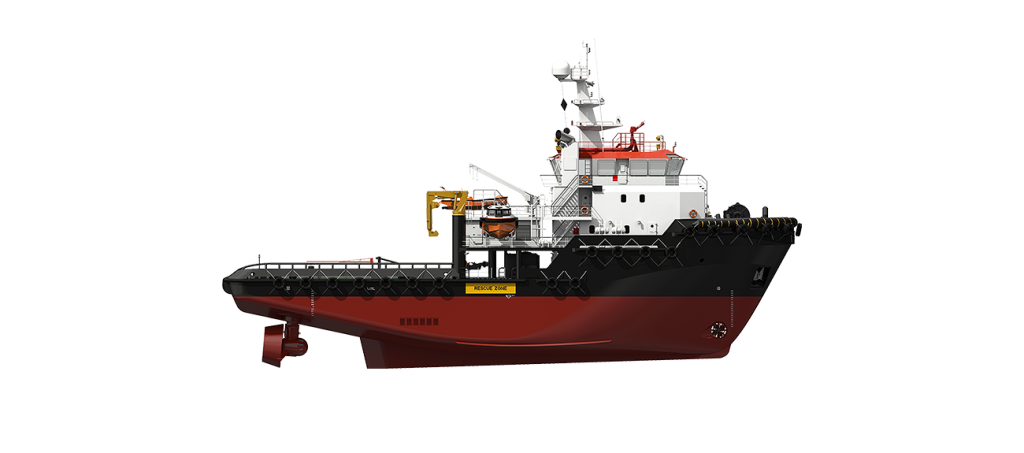
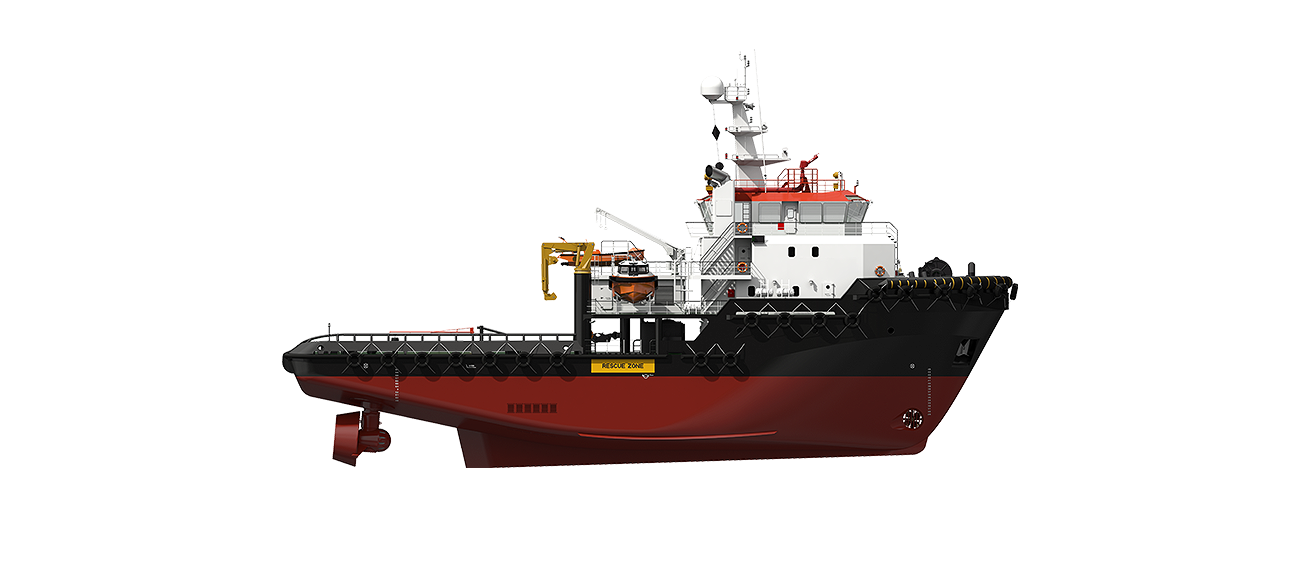
Not sure if the <fixed> keel is low enough in the water but if not will extend that also and maybe with ballast in there too. (example the Damen tug in pic)
So this project will take some time with having all this in place but no rush, got time.
Sequences I use is not the same as Billing boats gives in the manual but this is my system and to my humble opinion is much better.
Also waiting for the propellers and bow trust to arrive so I can finish the hull.
Having a lot of wishes for this project such as working fire fighting equipment, anchor winch that is working, towing winch and winches on the deck in working condition, lights accommodation and navigation, smoking funnels and more of that stuff.
Hope you like the pics here and if comments no problem, will respond to them all.
Have a great day you all.
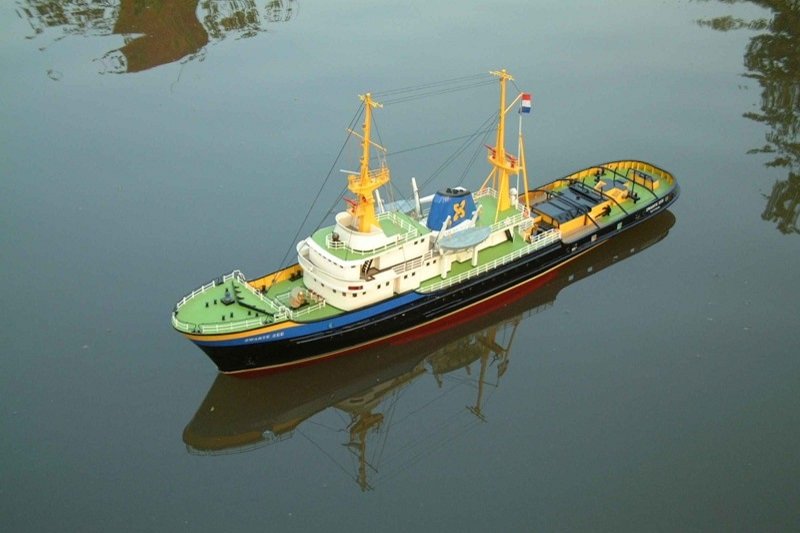
First built I made +25 years ago!
On this vessel to see the Azimuth propellers, not sure if they are Schottels
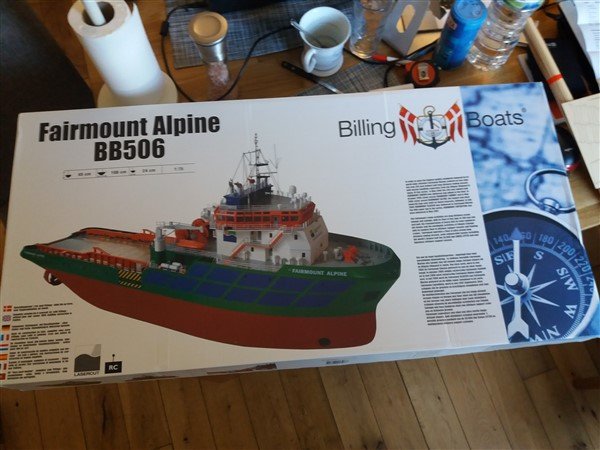 Birthday present from my wife to keep me busy
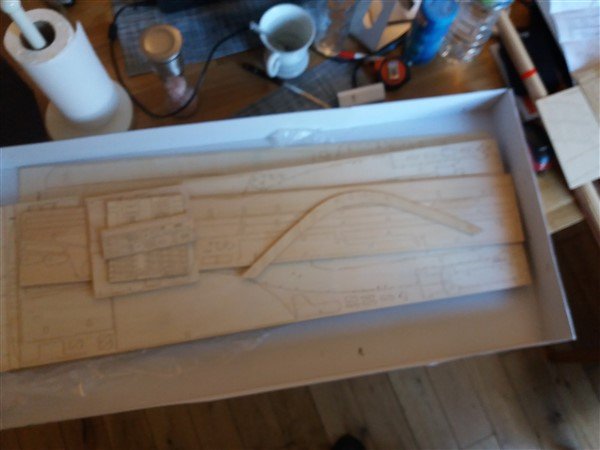 opening the box
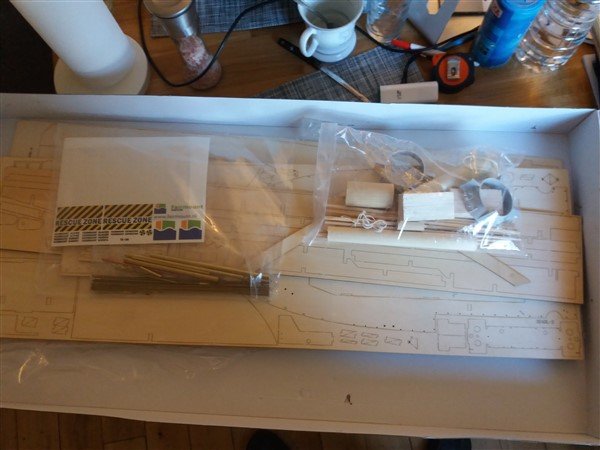 all the goodies
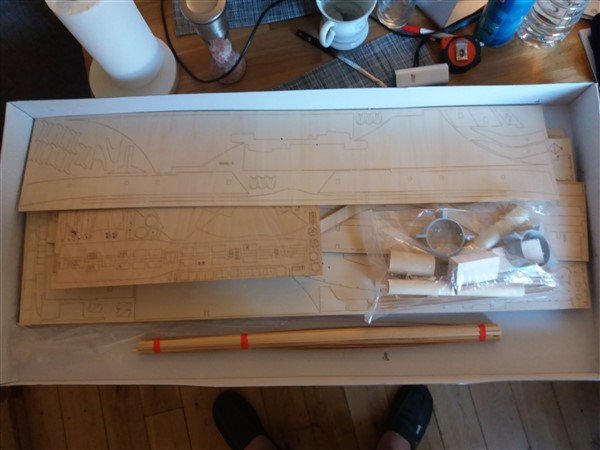 and more goodies
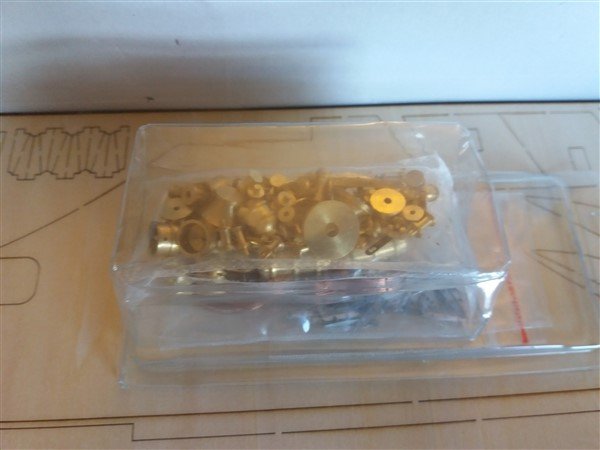 all the brass stuff I will most likely need
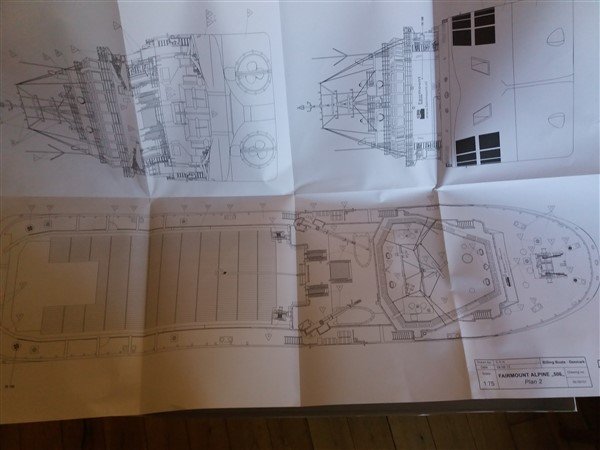
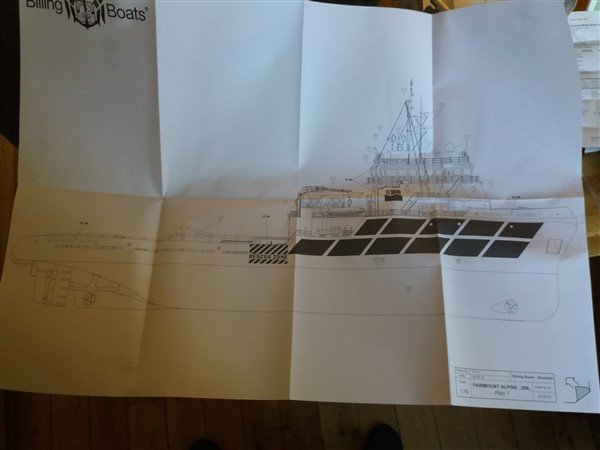 drawing scale 1:75
 Well mine will be different then this
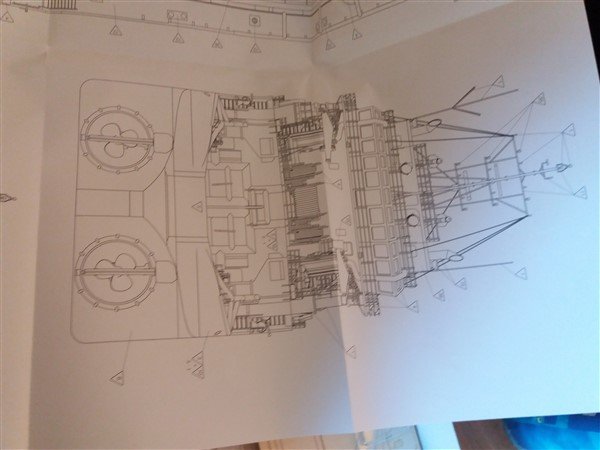
 Yep, just the forward facing drawing as I made altering to it.
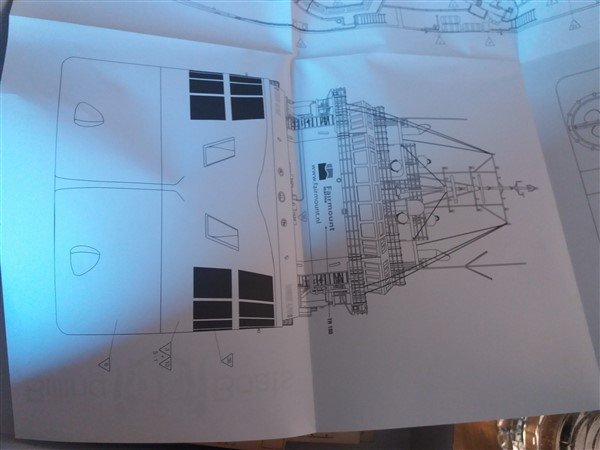
 same here, altering will be made by me on this built
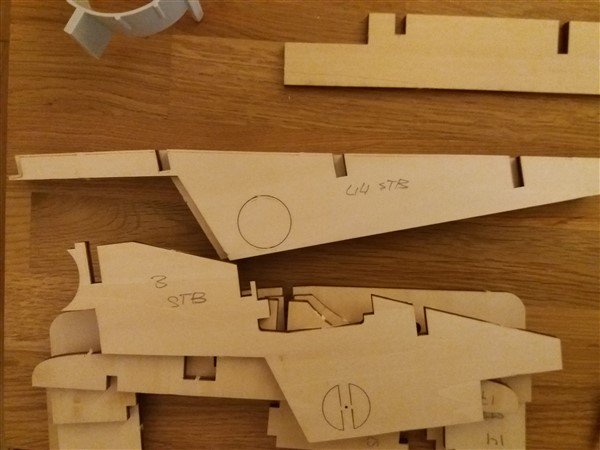
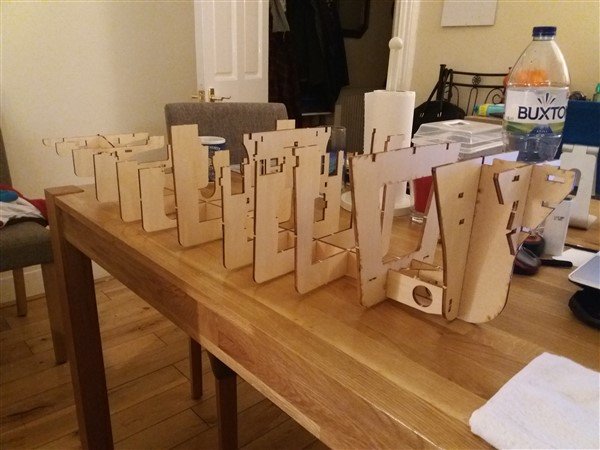 here comes the first raw set-up
 not to bad but waiting for the "slip"
 looks massive already
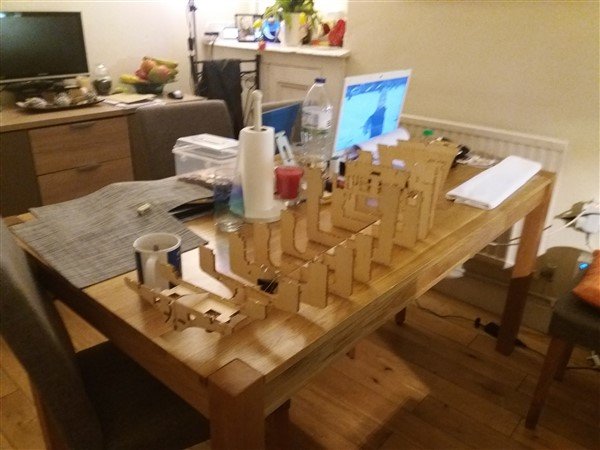
 now comes the nummering part!
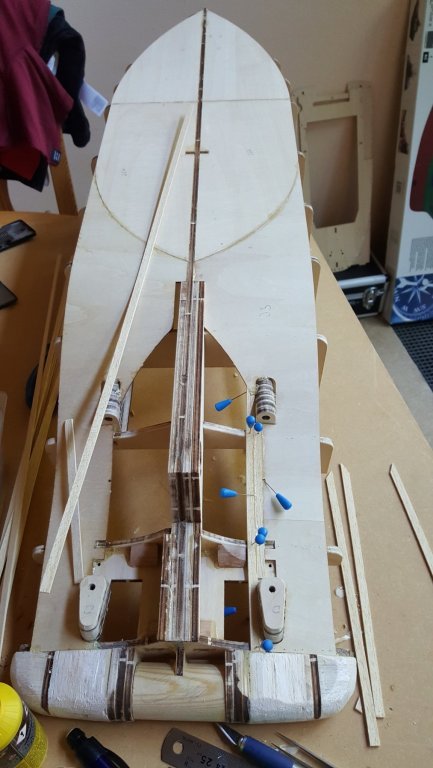
 position of the propulsion and NO stern trust on mine
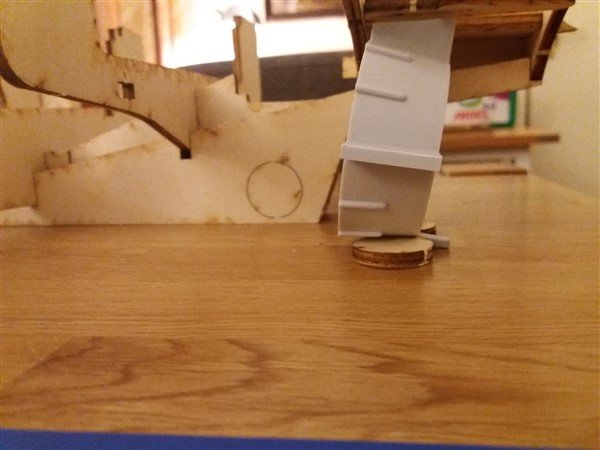
not to bad looking for the kort nozzle but to my knowledge to low so need to raise the hull / keel.
 top position stern what I have to alter with ref to Schottel penetration
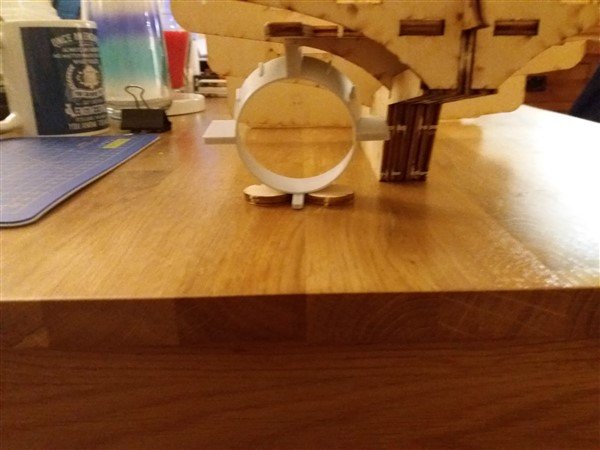
 using the tiny hole as ref for the Schottel
 coffee is a must have building this massive tug
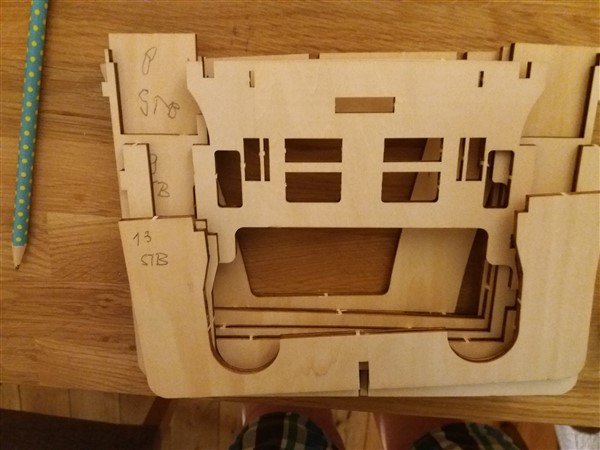 here it comes, nummering all parts
 numbers, this is an absolute must otherwise you get last
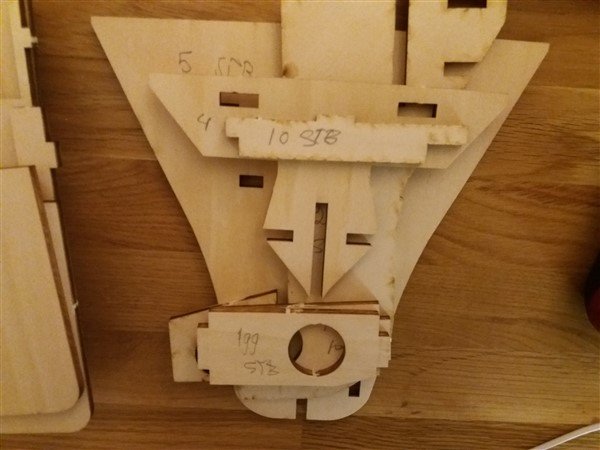
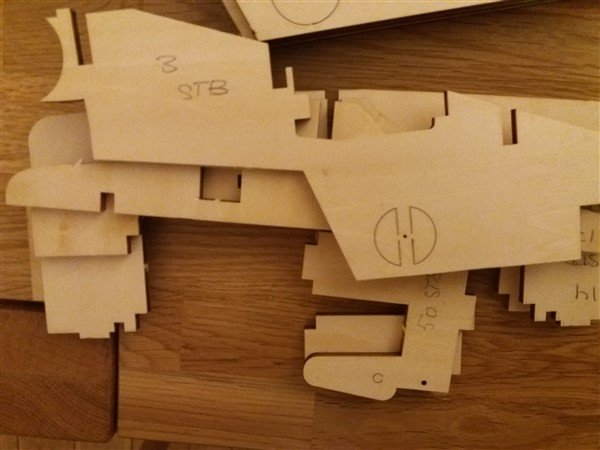 same here, stb and ps separated as mistakes are easy made
 part of the keel stern where as normally stern trust is situated
 midships keel frame
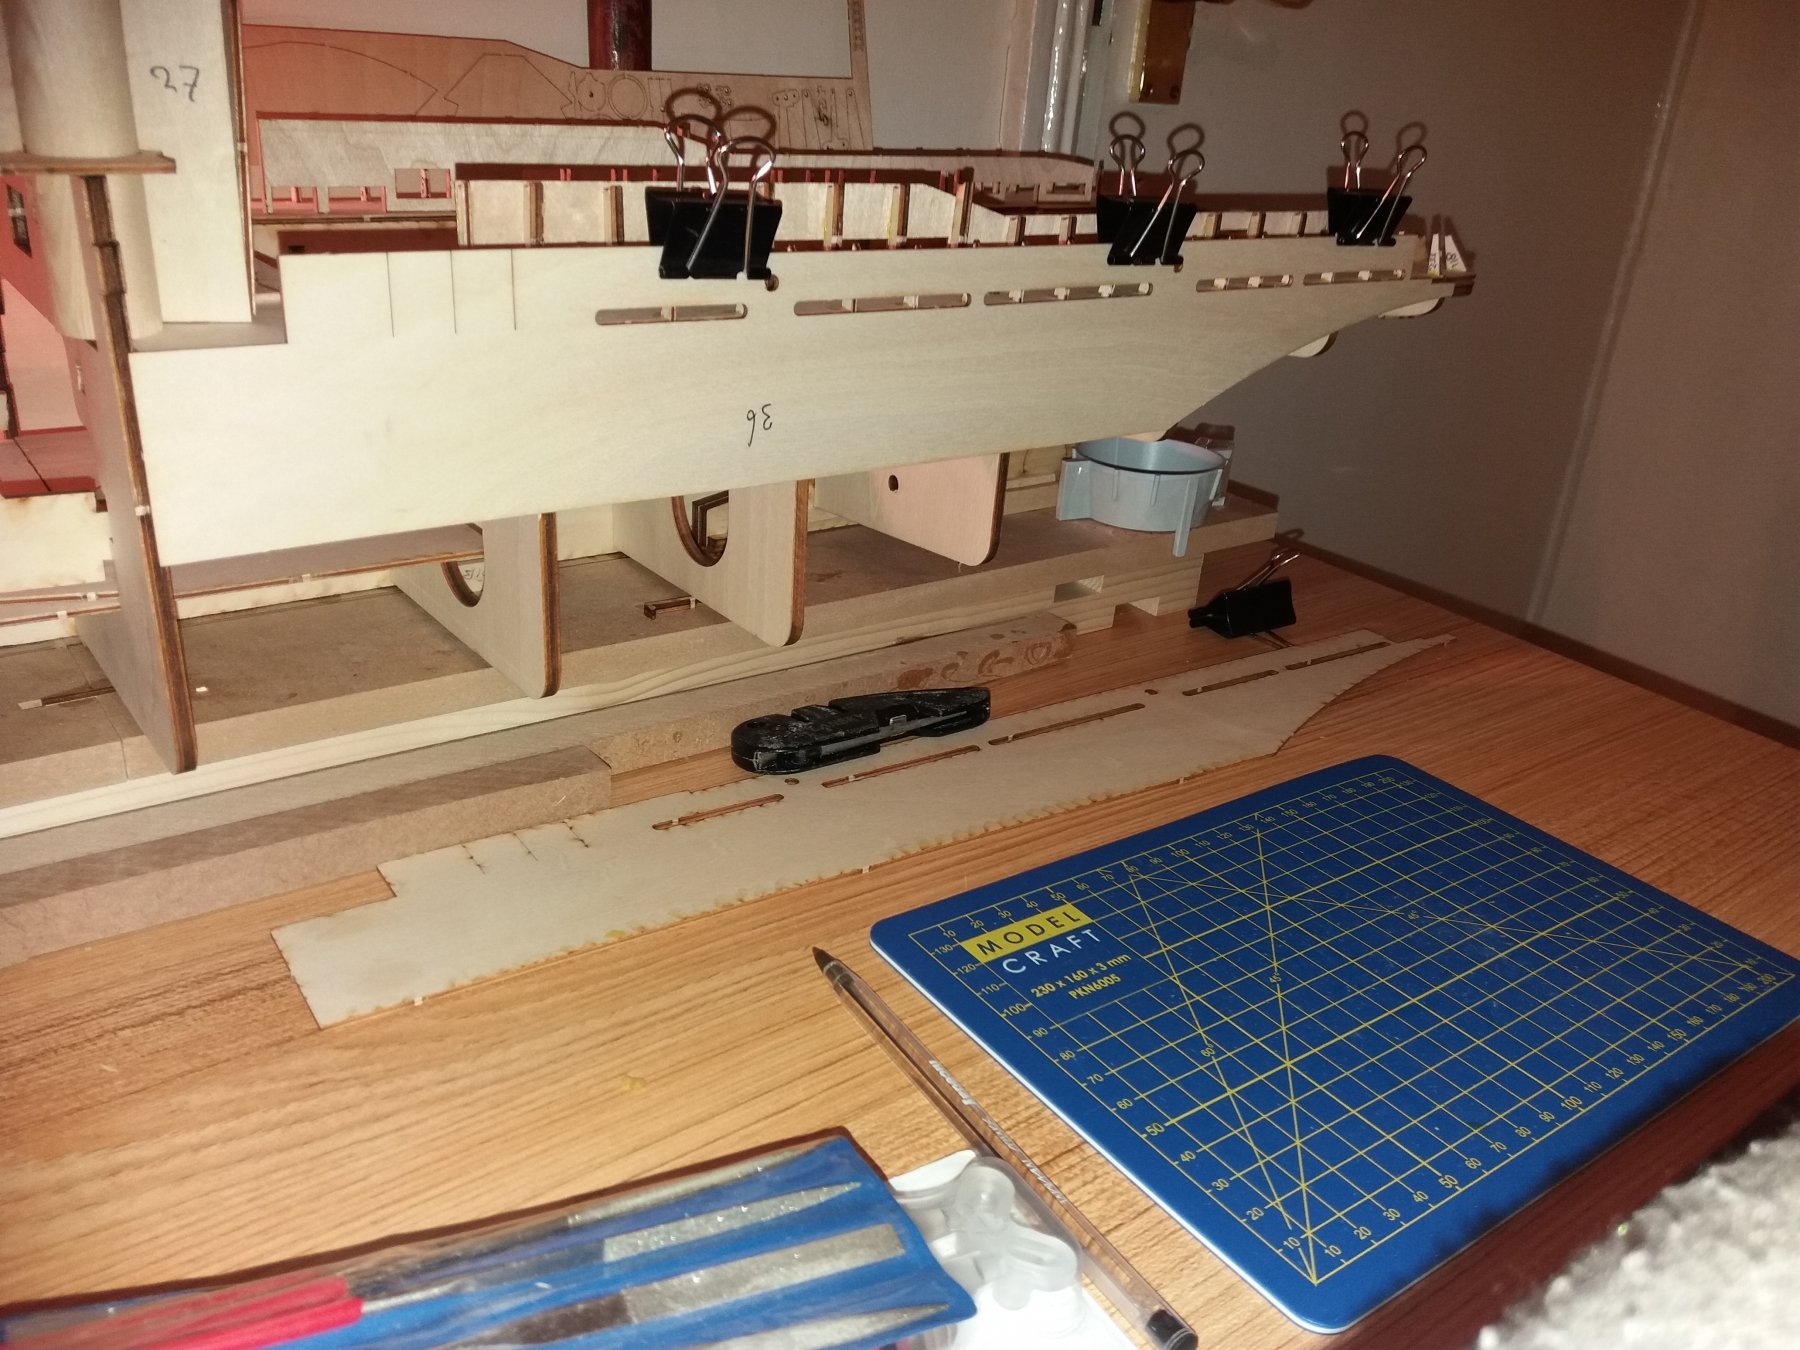
 got the slip what is an easy help to keep the built strait
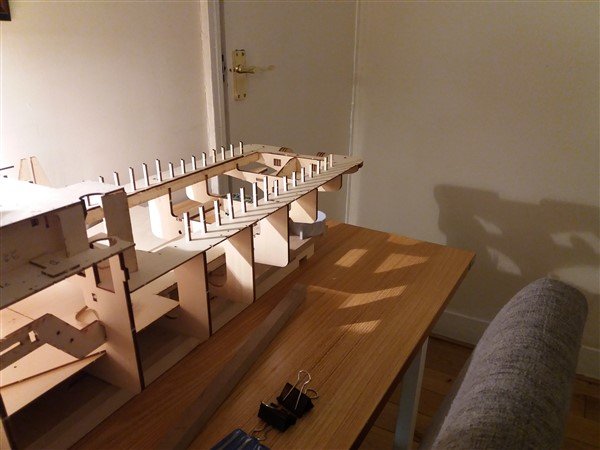
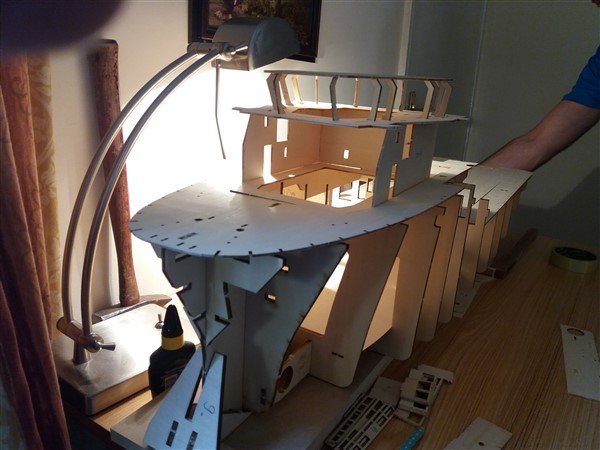 already raw until the bridge
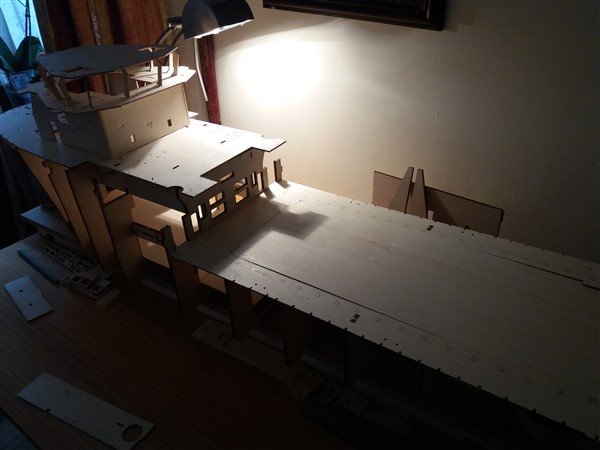 even aft deck already set up
 looking at it now see the aft accommodation with no 60 is upside down!
 bow frames
 clearly see bow trust position
 having the slip you can secure the built with the bow
 securing he built on the slip
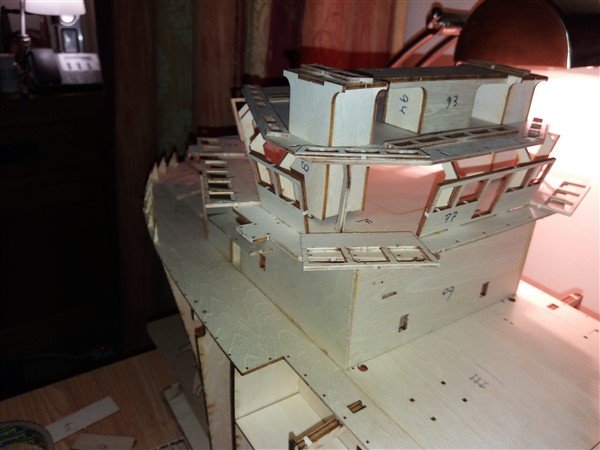
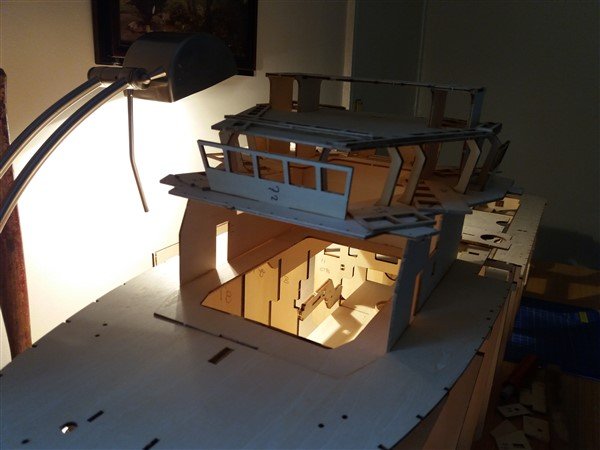 bridge deck and monkey island with funnels
 starting bridge windows to be mounted / glued
 stern with stern roller (not mounted yet)

inside after stern part what needs to be altered for Schottel propulsion and most likely also for the towing pins.
 side frames aft deck installed
 some works accommodation done
 protection plate aft deck iwo supports glued
 side sub frames hull mounted / glued
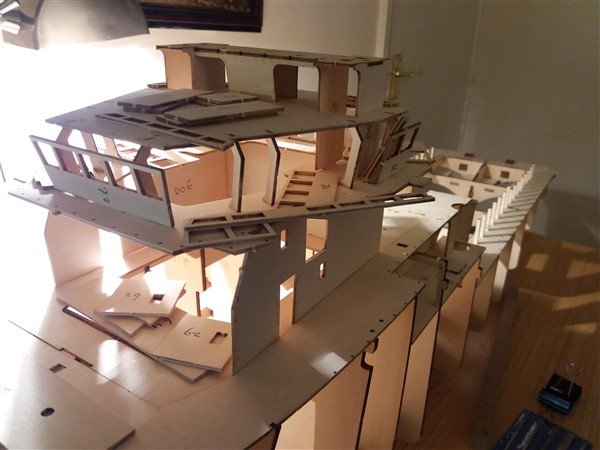
 further with bridge and superstructure
 all sub frames forward deck glued
 taking shape on aft deck
 still working on windows bridge
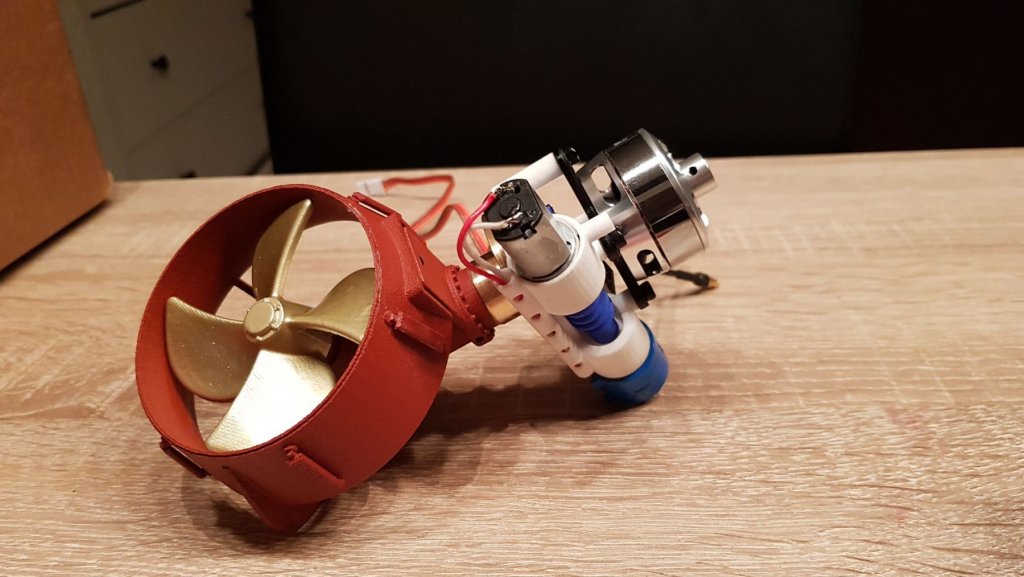
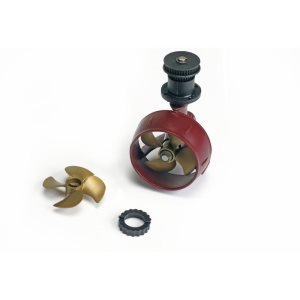 Schottel propellers I am going to use diam 70, for exact measurements I put later here.
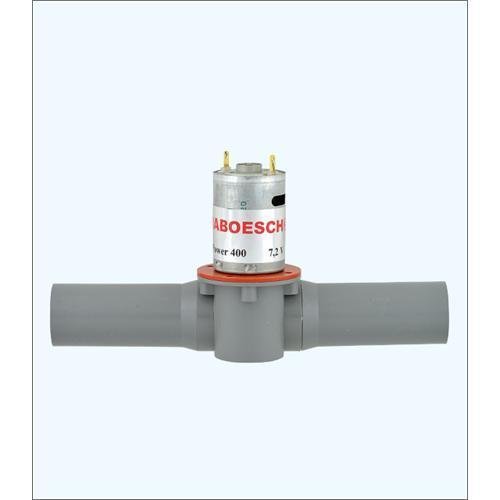 bow trust but mine is 24 mm
- GrandpaPhil, hexnut, BenF89 and 6 others
-
 9
9
-
Jo, no problem but RC means Radio Controlled.
So with a remote control, the ship in the water and having all electronic built inside you then control the vessel by this control unit and by means of batteries connected to electric motors you can sail the ship.
Lights are lights inside your building, you have a little deck house there and could easily built in 1 or 2 small led light and of course a battery + switch on/off.
But that is all up to you, if you will follow me you can see there how I will do it with my building (when the postman it will deliver).
As of now I only have the slip-way what is when you built a ship like mine I rather use a slip-way to built the hull and frames inside as it makes sure they are in line and correct distance from each other.
Beside you have a strait keel line and if not strait you will see it afterwards and cannot correct it anymore unless you break off some vital parts and rebuilt.
I used it before and happy with it but will show next week when my first data comes into force so to speak.
Ok have fun there and if you need some info don't hesitate to drop a line.
have a great evening.
Peter
-
Mark, thx for the advice but still waiting for the built to arrive by post.
The one we ordered with did not have it in stock so now did find another one here in the UK that has her.
Already got the slip and can built that together.
But you right, soon I have the tug I will open a built log.
Thx for your patience and will revert in the building site.
brgds
Peter
-
Thx Mark from a cold UK!
Will do and as soon I have the vsl in hand I will open a building site and if you want yo can follow it there.
Presently still waiting for the e-mail from them but already find one where they have it in stock so just depends on that one.
Cheers for now,
Peter
-
Just an update here.
Good job I asked "Premier ships" what happen with my wife's order and just now got the mail stating that this boat is s<sold out> so I asked here to refund and I will buy the boat where they have it in stock!! This will be "Howes Models UK.
Then it will take some days before I will receive it all.
Now just got my "slip" from Billing boats, at last something is there, gives me also more time to organise all like table and tools.
Also I will change this model to 2 x Azimuth Veith VZ 1250 - 70 mm, forget about the stern truster and rudders as those Azimuth can turn 360 degrees.
Also have to modify the keel as can be seen on the picture from a Damen tug with 2 x Azimuth's mounted.
So I will be the first one to built it in this fashion and to be honest, as I look into the keel of this model it is easy to do.
I will upload some pics here so you can image how it will look like.

-
Well Jo, same as me joined this forum and must say found a lot that could be a help for building mine. I'm not saying that I'm a beginner but yes, this will be my first "BIG" building so to speak in wood.
Also mine is somewhere in the pipeline and should come this week. It is a complete wooden kit and I will be supriced how it looks like.
Then again, reading here and looked at the 2 others that already did make it but not completed the whole, at least I can see how it will be just the hull and other parts.
So yes, it will be reorganising my brain as did those buildings before and the biggest one I built (20 years ago) was from Billing boats the Zwarte Zee.
We will look into your building progress and also you can see mine , guess we will be finished nearly same time and then we are the proud owners of some lovely model ships.
Not sure if yours is RC but could be nice if it was also with illuminated lights etc.
Anyway good luck when the postman will deliver yours, will follow your goal to built it and if we can help just let us know.
Success for now.
- popeye the sailor, SHIPSCAT, Fright and 3 others
-
6
-
great building so far. Anything done more since last year?
Interested to know how the hull is presently, complete or not.
looking forward for more details.
-
Welcome here, also me new on here but don't have the same experience as you have with Billing boats.
Built in the past several ships, Passive and RC controlled, all billing boats.
Sure you must have some imagination through to complete all but personally, coming from shipping I did not have any problem.
But here on this forum there are nice guys and will give you a hand or advice if you get stocked.
Presently I built the Fairmouth Alpine and start to have the slip-way installed, the actually boat comes this week but will place some pics later.
Success with your built and hope we will see when completed.
-
Dan, good day to you.
Just got a question and you can maybe give an answer.
What has coming to my mind and correct if I'm wrong but from the "to built" projects a lot of them are not finished as not noticed here, just the hull with some and that's it.
Now having said that, it looks to me that a lot of members are starting a building but due to what ever reason not finishing it.
Bit off a bad idea but then again, we don't know the reason why and maybe we never will know.
Is this the normal behaviour from those members (and I went back to 2014) that just they disappear and nothing afterwards.
Even I start building the Fairmouth Alpine, there are 2 members that also started the vessel but none of them finish it?
Anyway, I will keep you updated in another part of this forum with my building progress and hopefully I will finish that after some time.
If any member reading this and cannot or will not finish this/her building I'm willing to finalise it if they send me what is left/done to me.
I will not keep it but will send it back in final state.
Waiting yours,
brgds
Peter den breejen.
-
As I'm not familiar with the "sail"boats from Billing, I must admit that the one I built was from Billing Zwarte Zee and this one was accurate as it can be! Now I'm starting with the Fairmouth Alpine but haven't got it yet and will be coming in my position this week. What I can see and also been there in Denmark with Billing boats, the models they have presently are very accurate as been on board on both in my years, also when the Zwarte Zee was built and must admit, the kit you will get is just the kit, any detailed parts such as compass, lights, winches, anchors etc not even talking about the options such as "burning" lights all have to buy separate to the kit during or later on so in a way you are right that the kit is <incomplete>! But all parts are available on the market to upgrade your built as you want, all depends how much money you want to spent! Normally when a kit cost £350 you have to add basics another £500 and then again if you want all, another £400 - £500 to make it complete and accurate as it can be.
So make a long story short, bearing in mind that the building time also is around 6 - 12 month, the investment to finish all cost around £1500 but then you are the proud owner of a vessel (even on scale) what last for years and gives you the satisfaction showing it around!
-
Just looked in to it and can see that 2 persons already have this boat built? as far I can see they did not finish it? or are still building it. Never mind, I want to be then no 3 with the same building but I will finish it and sail with it also.
thanks again for the link and as soon I have my first frame up (using the <slip-way> I will post it there and make the dock/building file.
-
thx and will do. Have a great weekend there down under!
-
thanks Cabbie, if you can tell me where to open this building log I will put in there the progress.
-
good day all,
Thanks for accepting me here.
Just some info, retired technical fleet manager so lots of time to pick-up my hobby again.
My first model (ca 20 years ago) to built was <Zwarte Zee> van Smit Rotterdam, was complete with steering (single prop and no truster), used it with my kids in Denmark and was towing a rudder boat with me inside to control the tug.
Now start to built the Failmouth Alpine and just got the "slip-way" where as I will built her on.
During the fases of building I will put some pics here for those who want to follow this project.
Again, thanks for having me here and sure we will enjoy the time building and looking/reading here.
- JeffT, Haliburton, ccoyle and 2 others
-
5


Fairmount Alpine by Seamanpeter - Billing Boats - RADIO
in - Kit build logs for subjects built from 1901 - Present Day
Posted · Edited by Seamanpeter
description pics
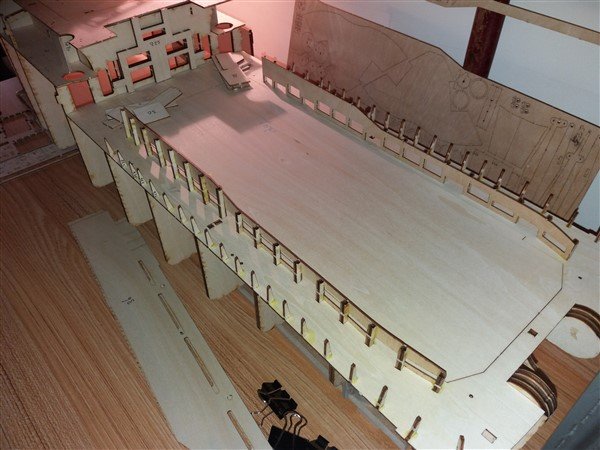
Done a major progress until now.
Finished the bridge, did the penetration for the towing wires making smooth and glued, supports for the cranes cut and on the bow deck did all the frames and the top "sheet" what was a bit difficult too.
Tomorrow want to start with the aft part of the project and doing railing works on deck and on the stern the 2 bend plates next to the roller.
It takes form to it and looks like a strong tug!
starting to glue all on the bridge deck
superstructure to be glued
superstructure and other relevant issues there glued
going to take shape with the superstructure already nearly done
superstructure nearly all done glued
also the bow nearly all glued
going to look good with most parts already glued