

sir francis haddock
-
Posts
48 -
Joined
-
Last visited
Content Type
Profiles
Forums
Gallery
Events
Posts posted by sir francis haddock
-
-
-
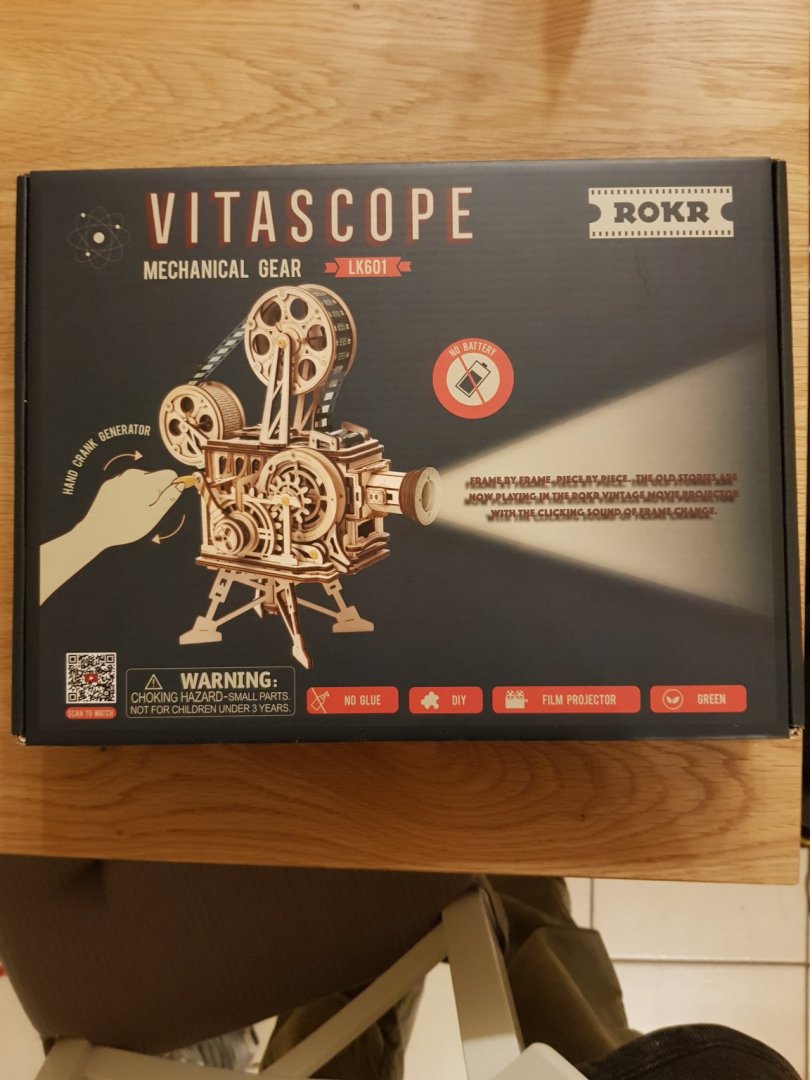
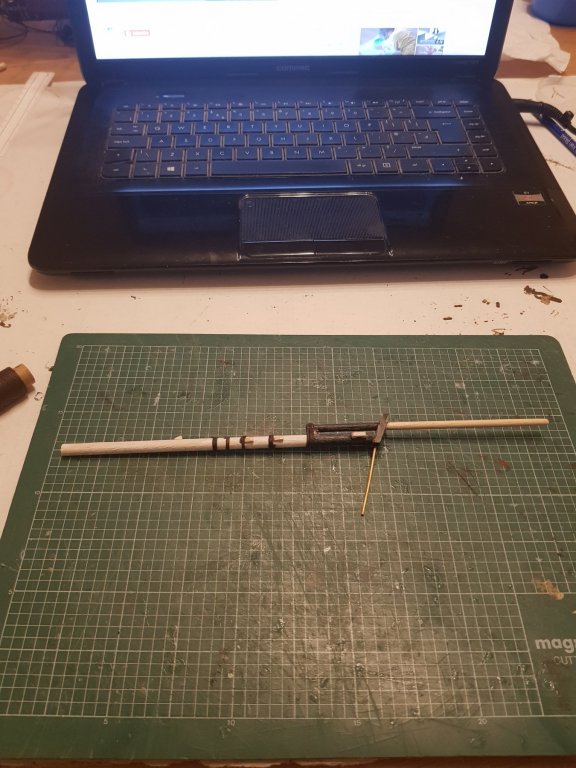
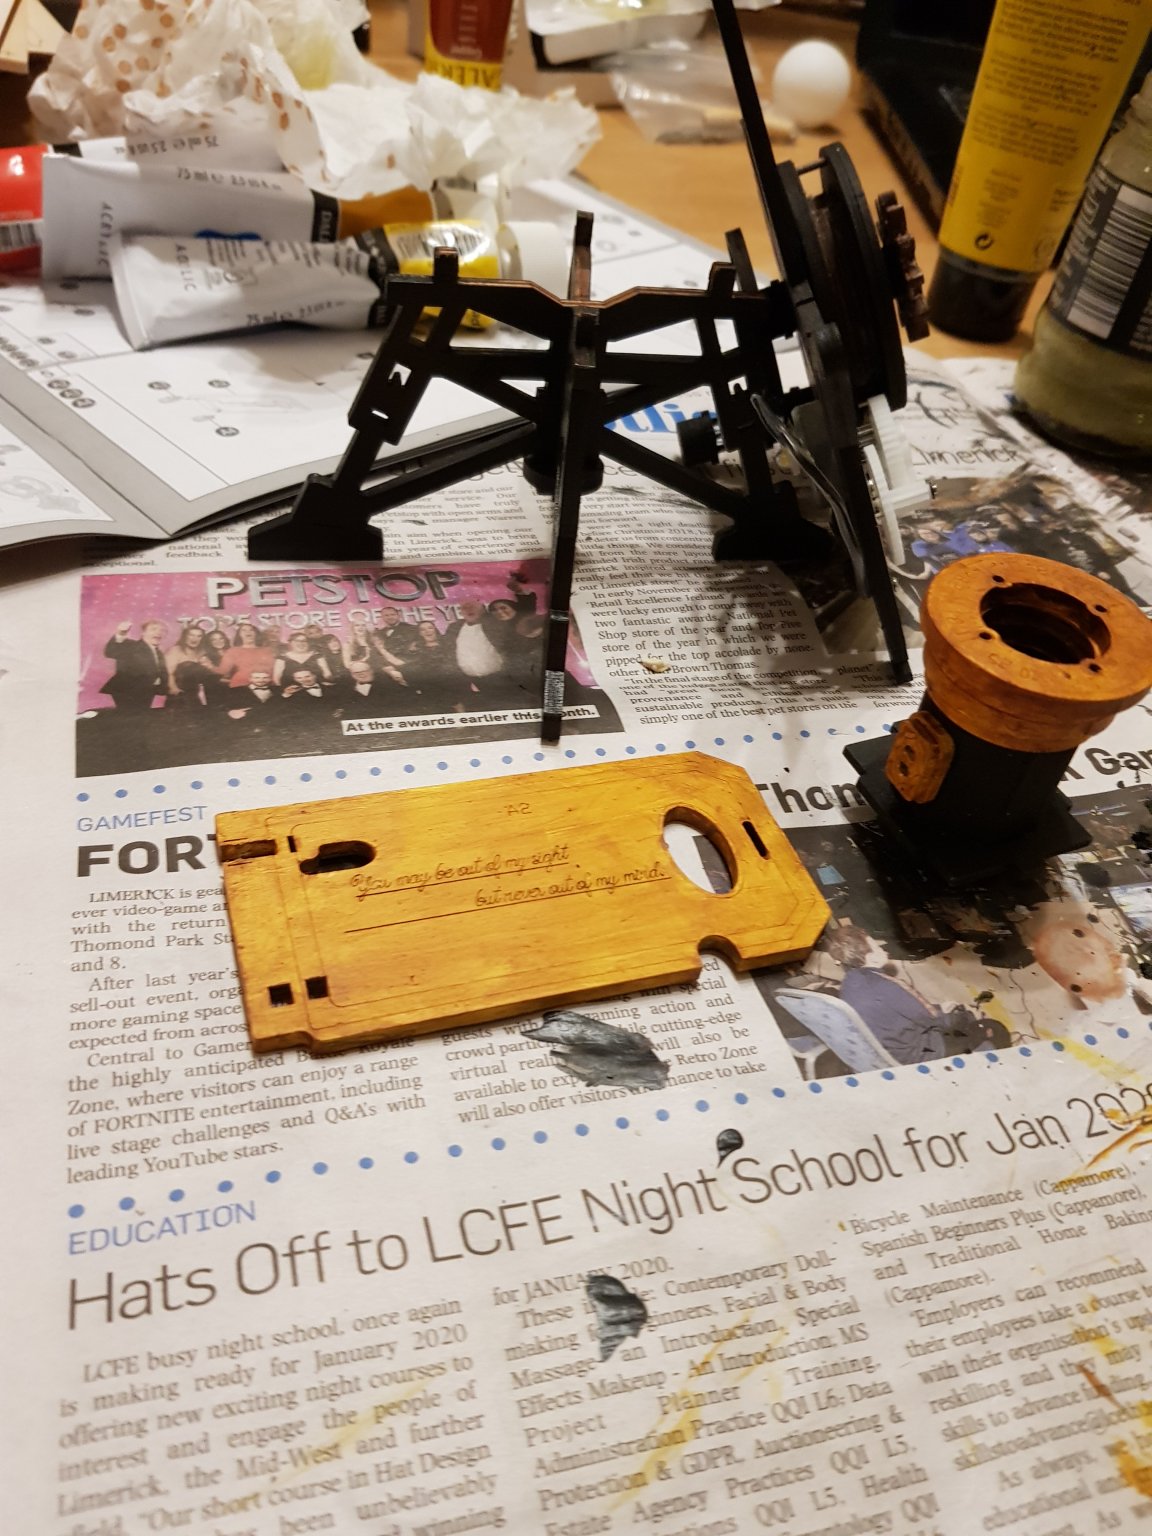
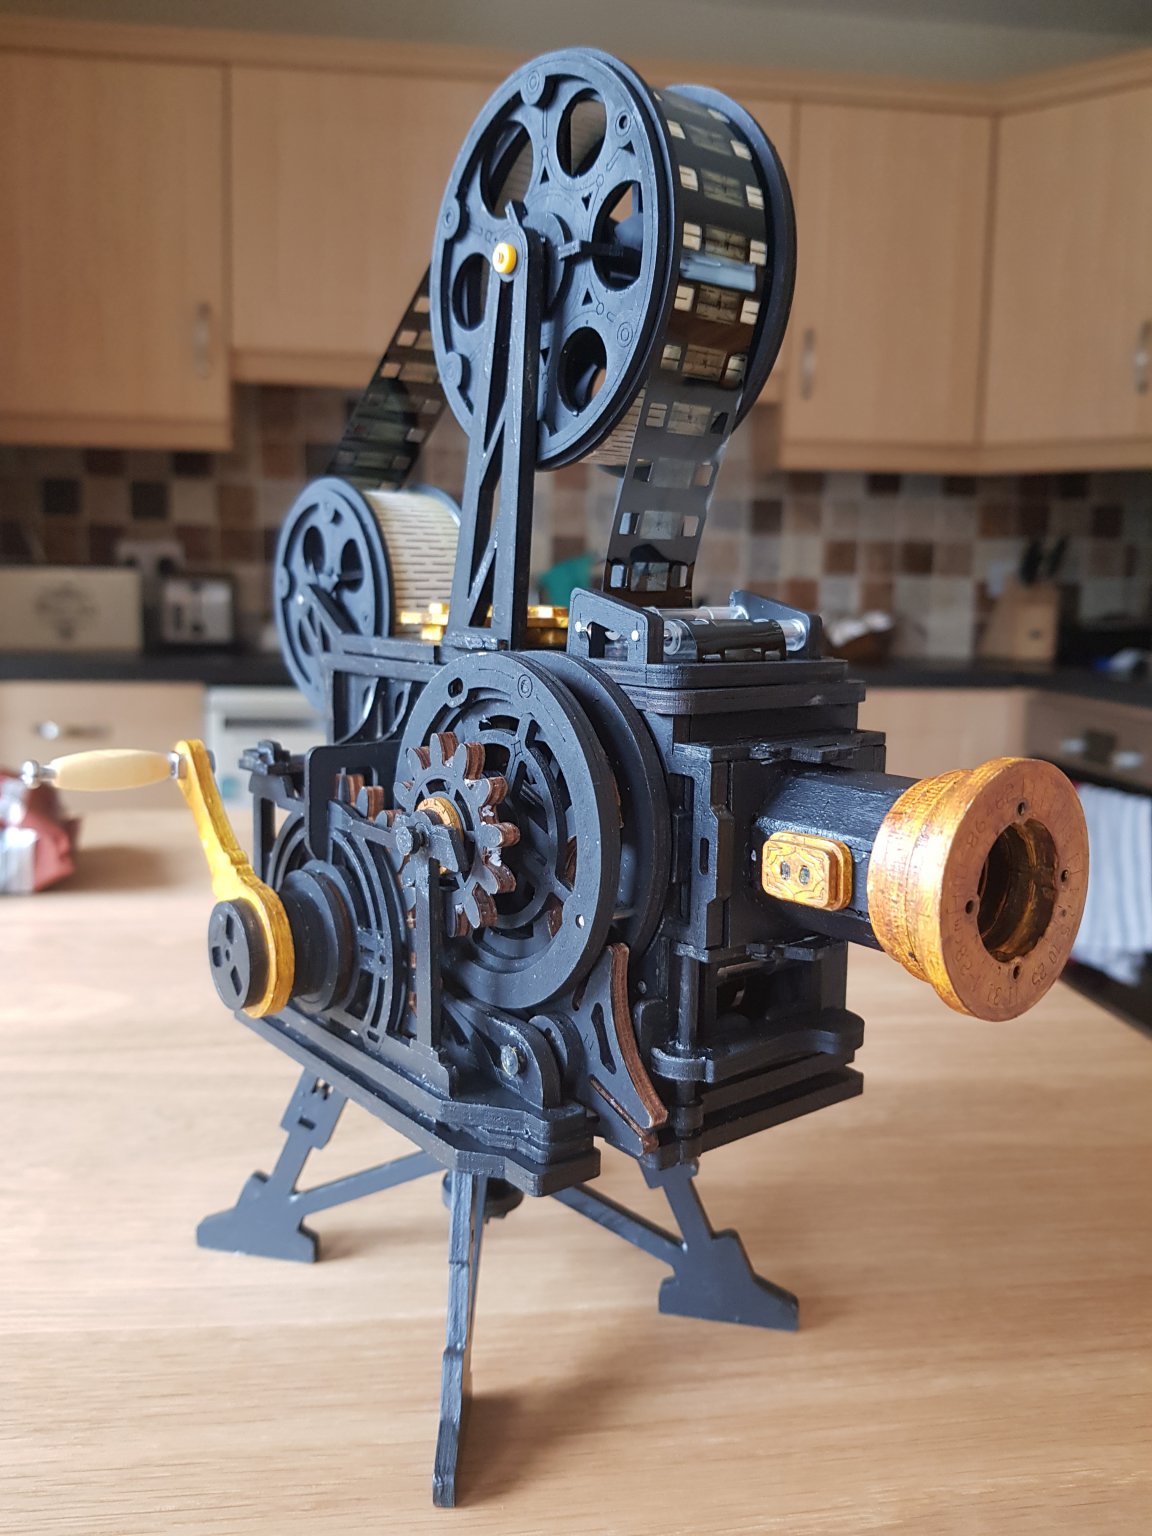
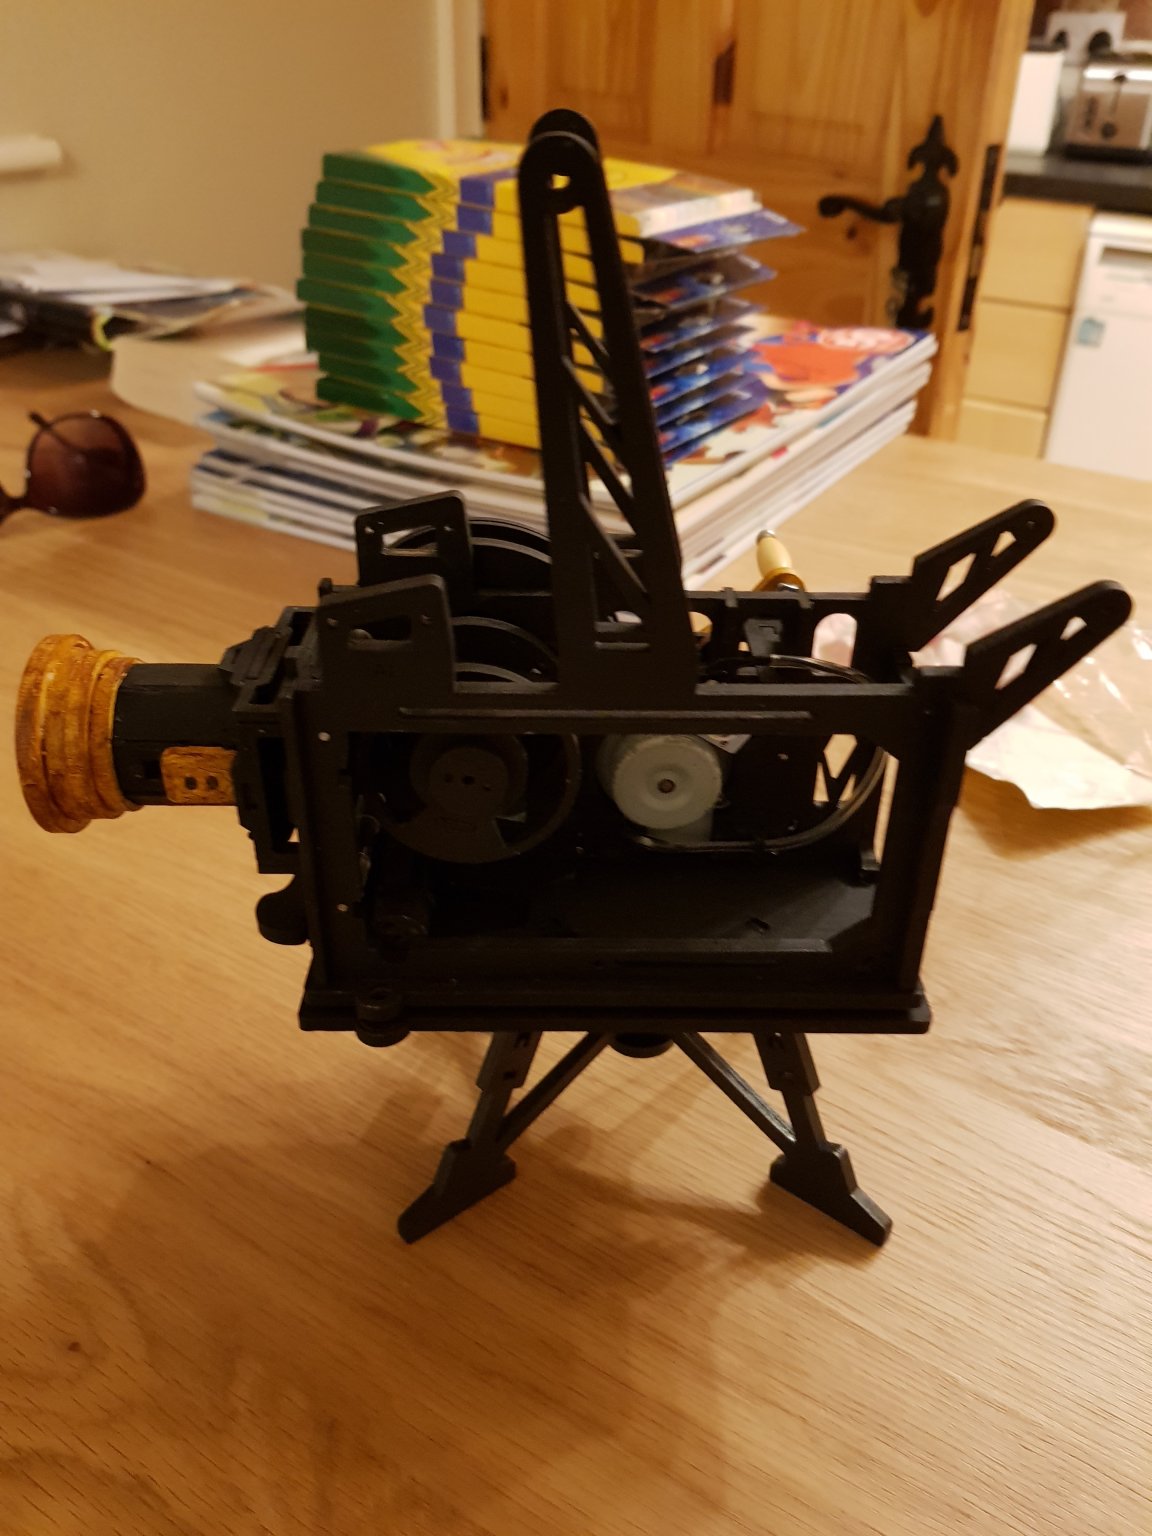
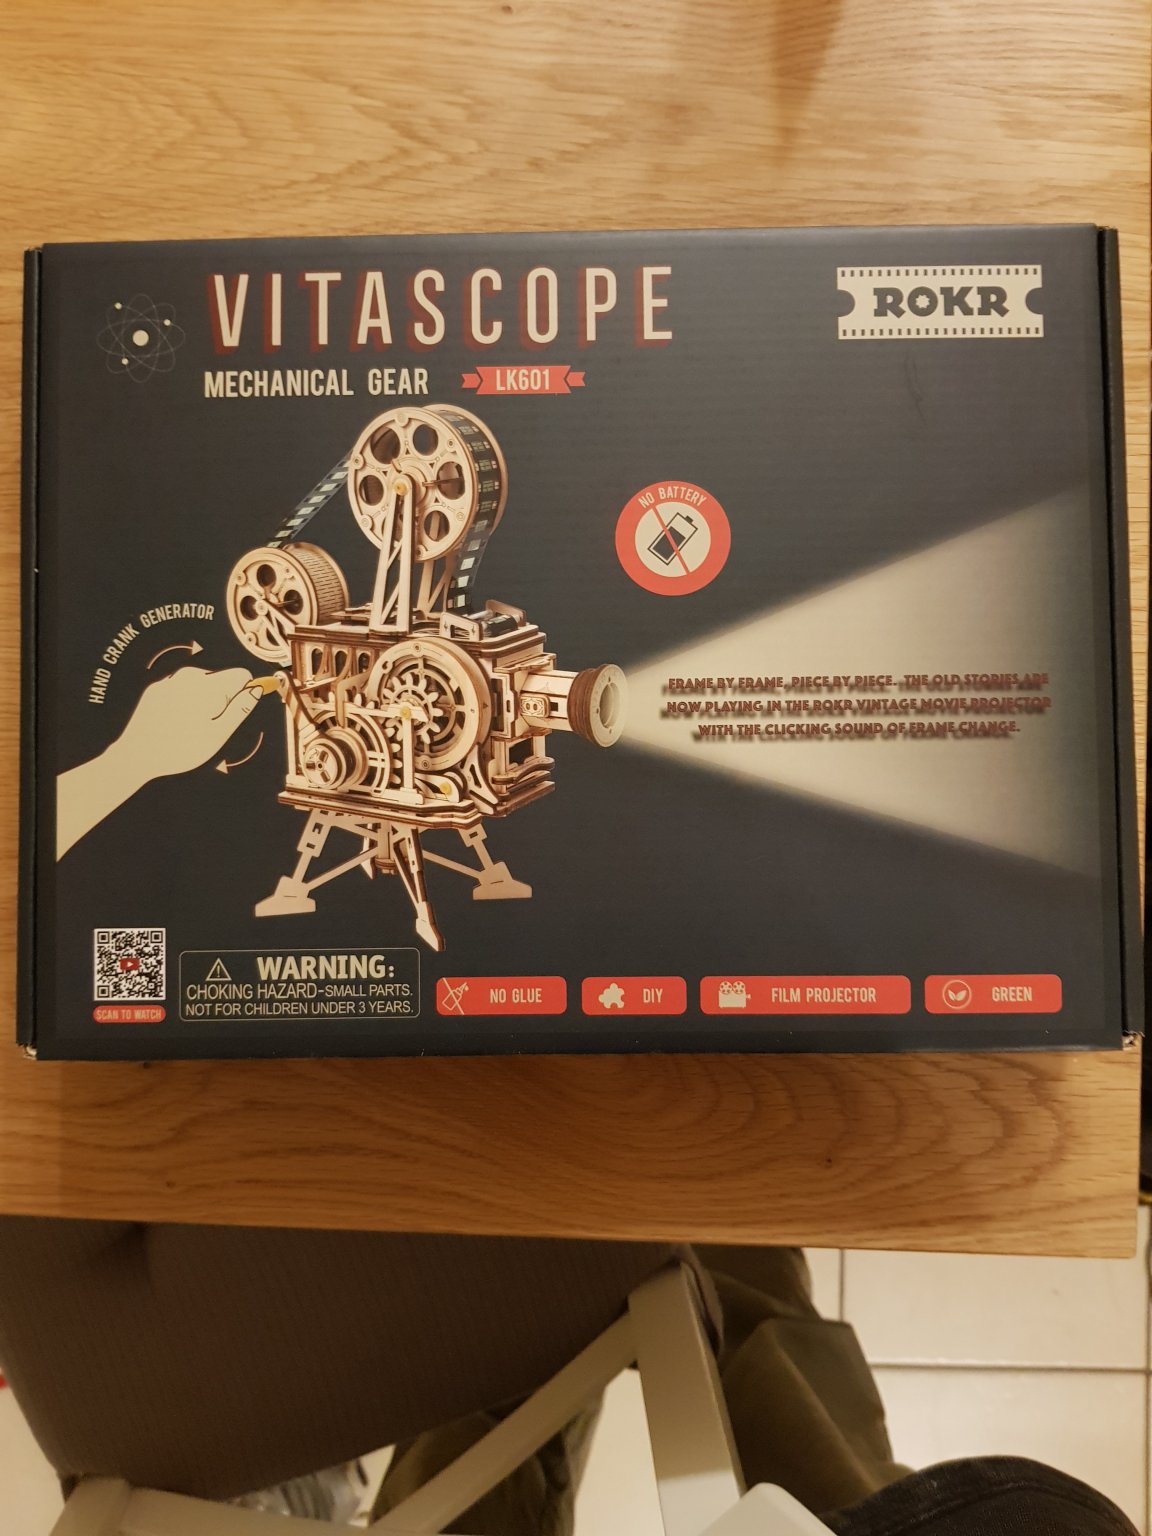
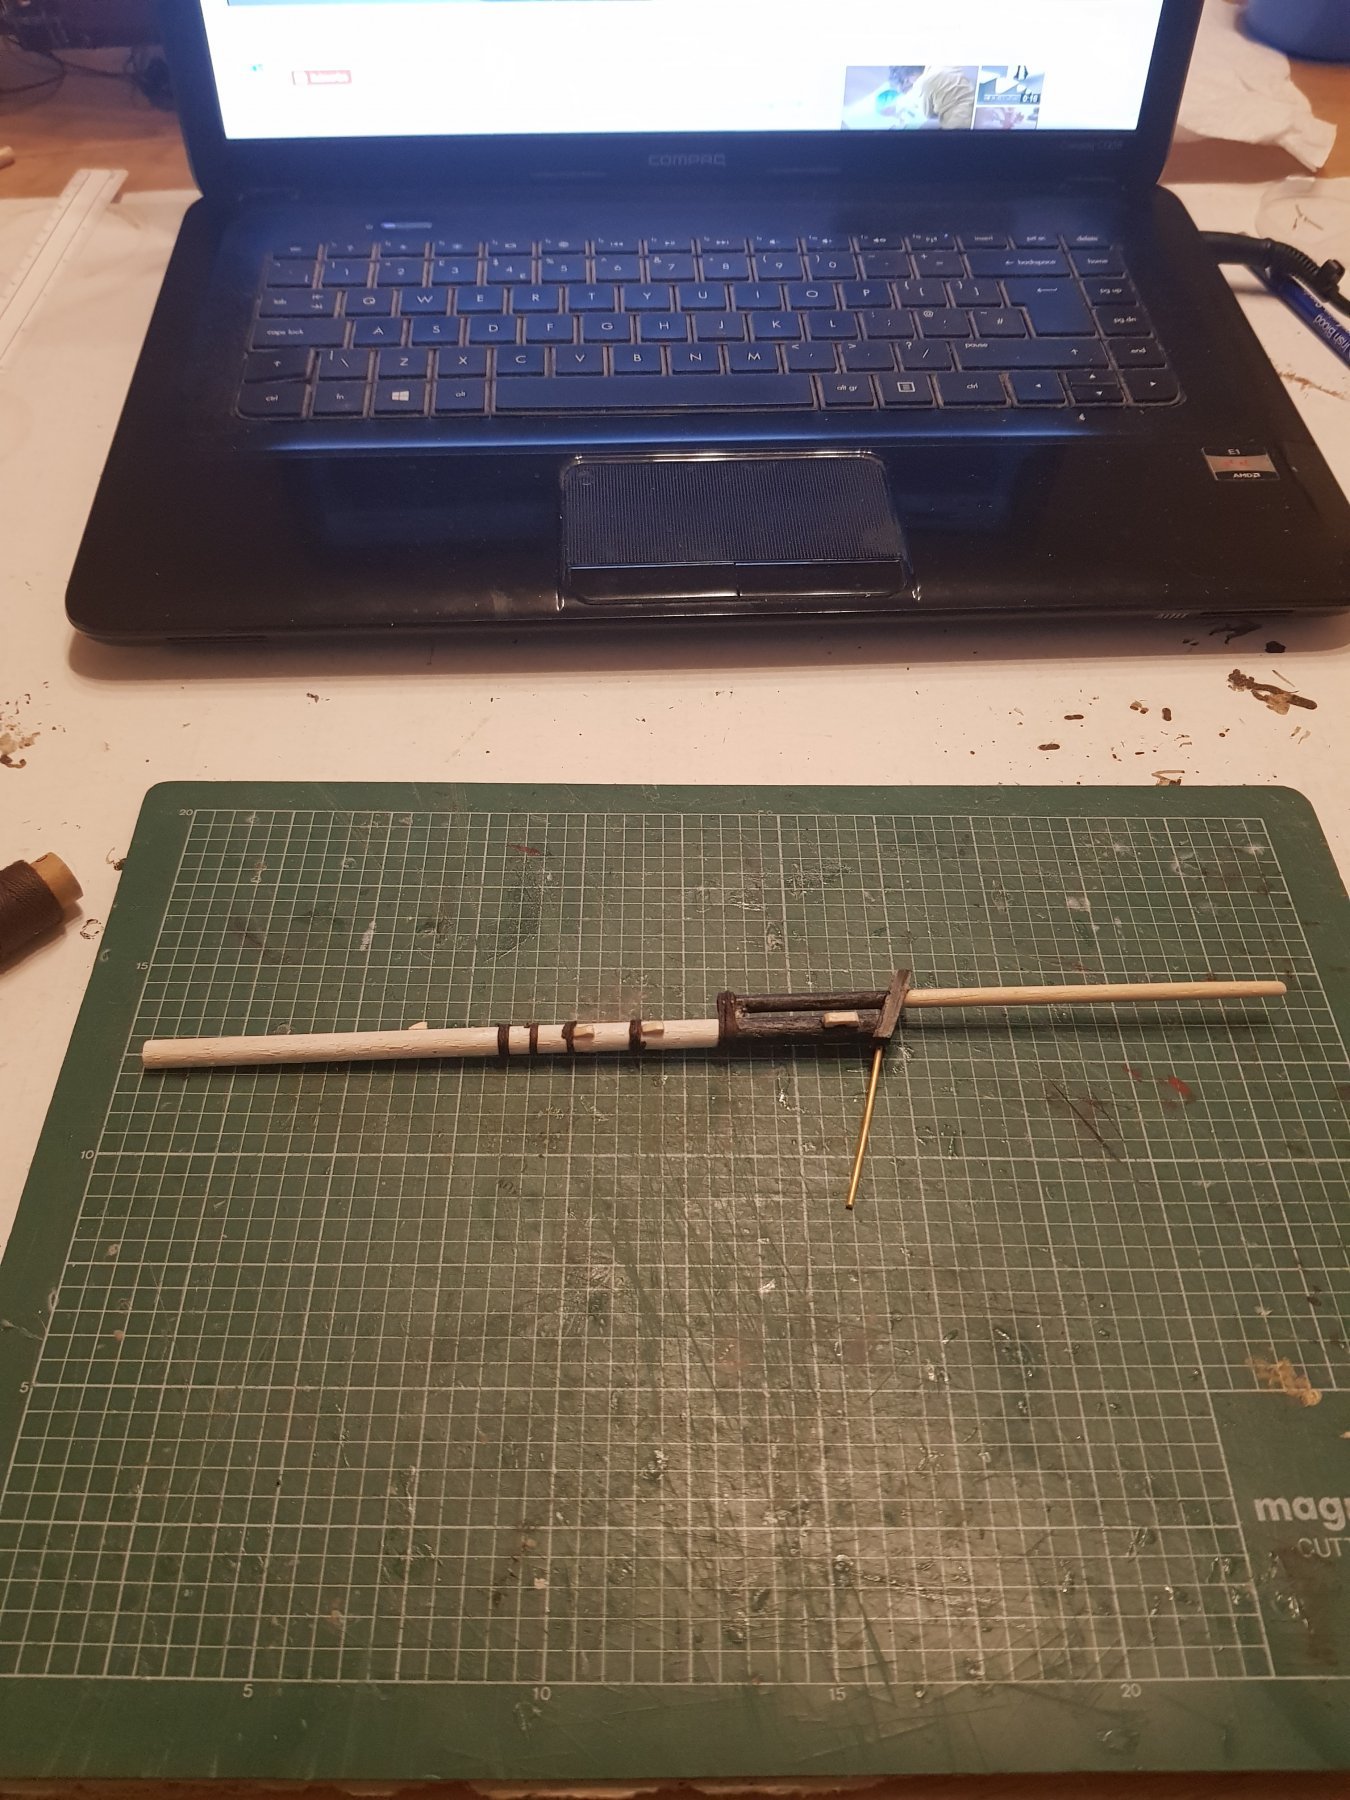
Small side project I did in the week. The amazing thing is that it projects an 8 second film.


- gieb8688, EJ_L, monstertodd1 and 1 other
-
 4
4
-
-
On 2/23/2020 at 3:21 PM, Flyingramses said:
Hello Sir Francis, would you mind advising exactly what glue you used for decking planks, you mention contact glue, is that the white glue used for the hull? One YouTube video shows the guy painting a yellow fluid from a tin, seemed to give him time to stick down the planks which is what I need!

-
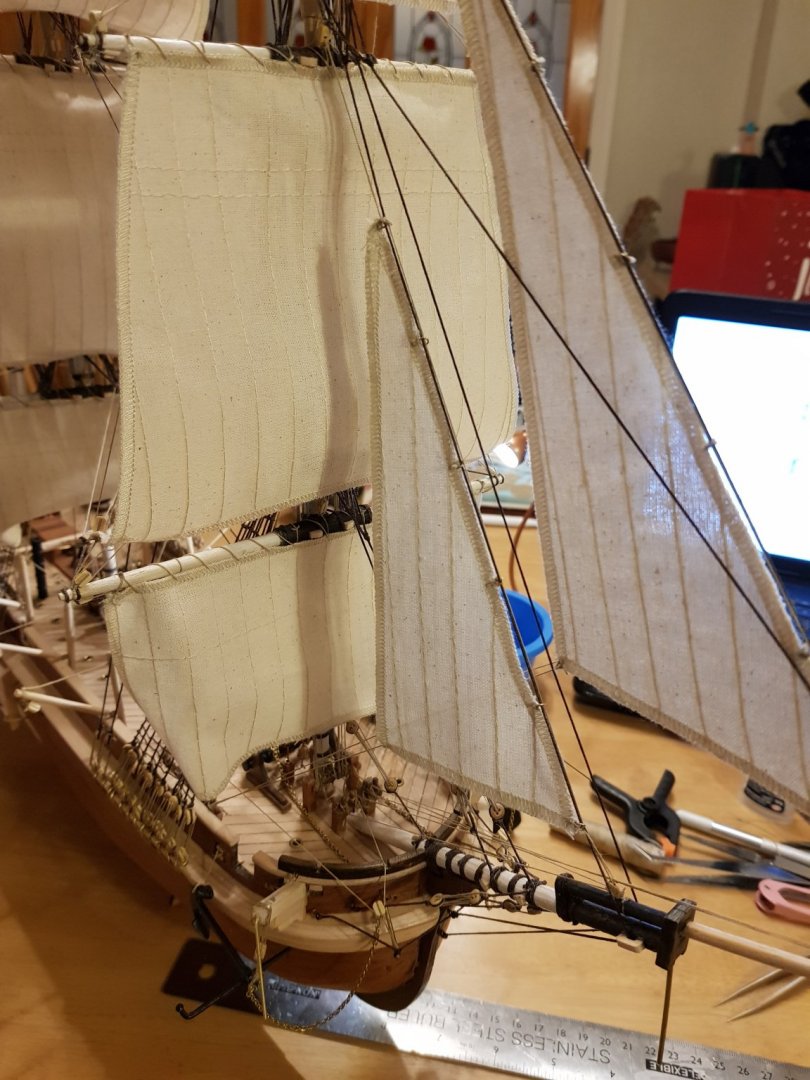
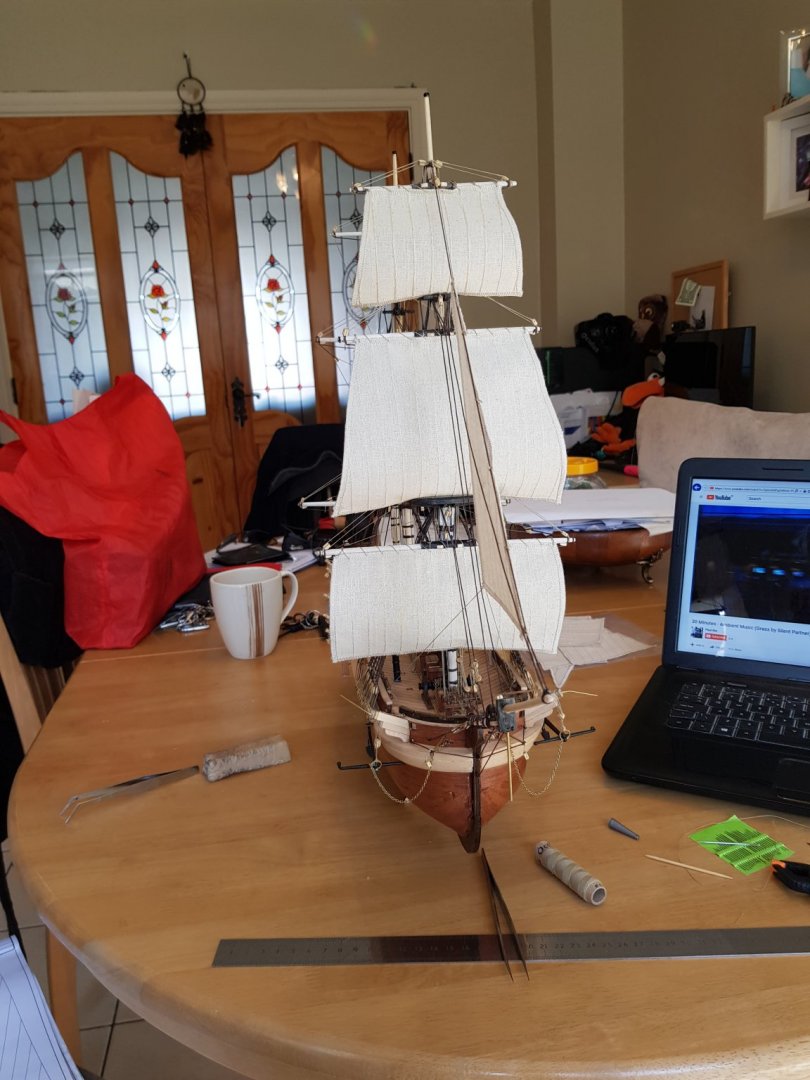
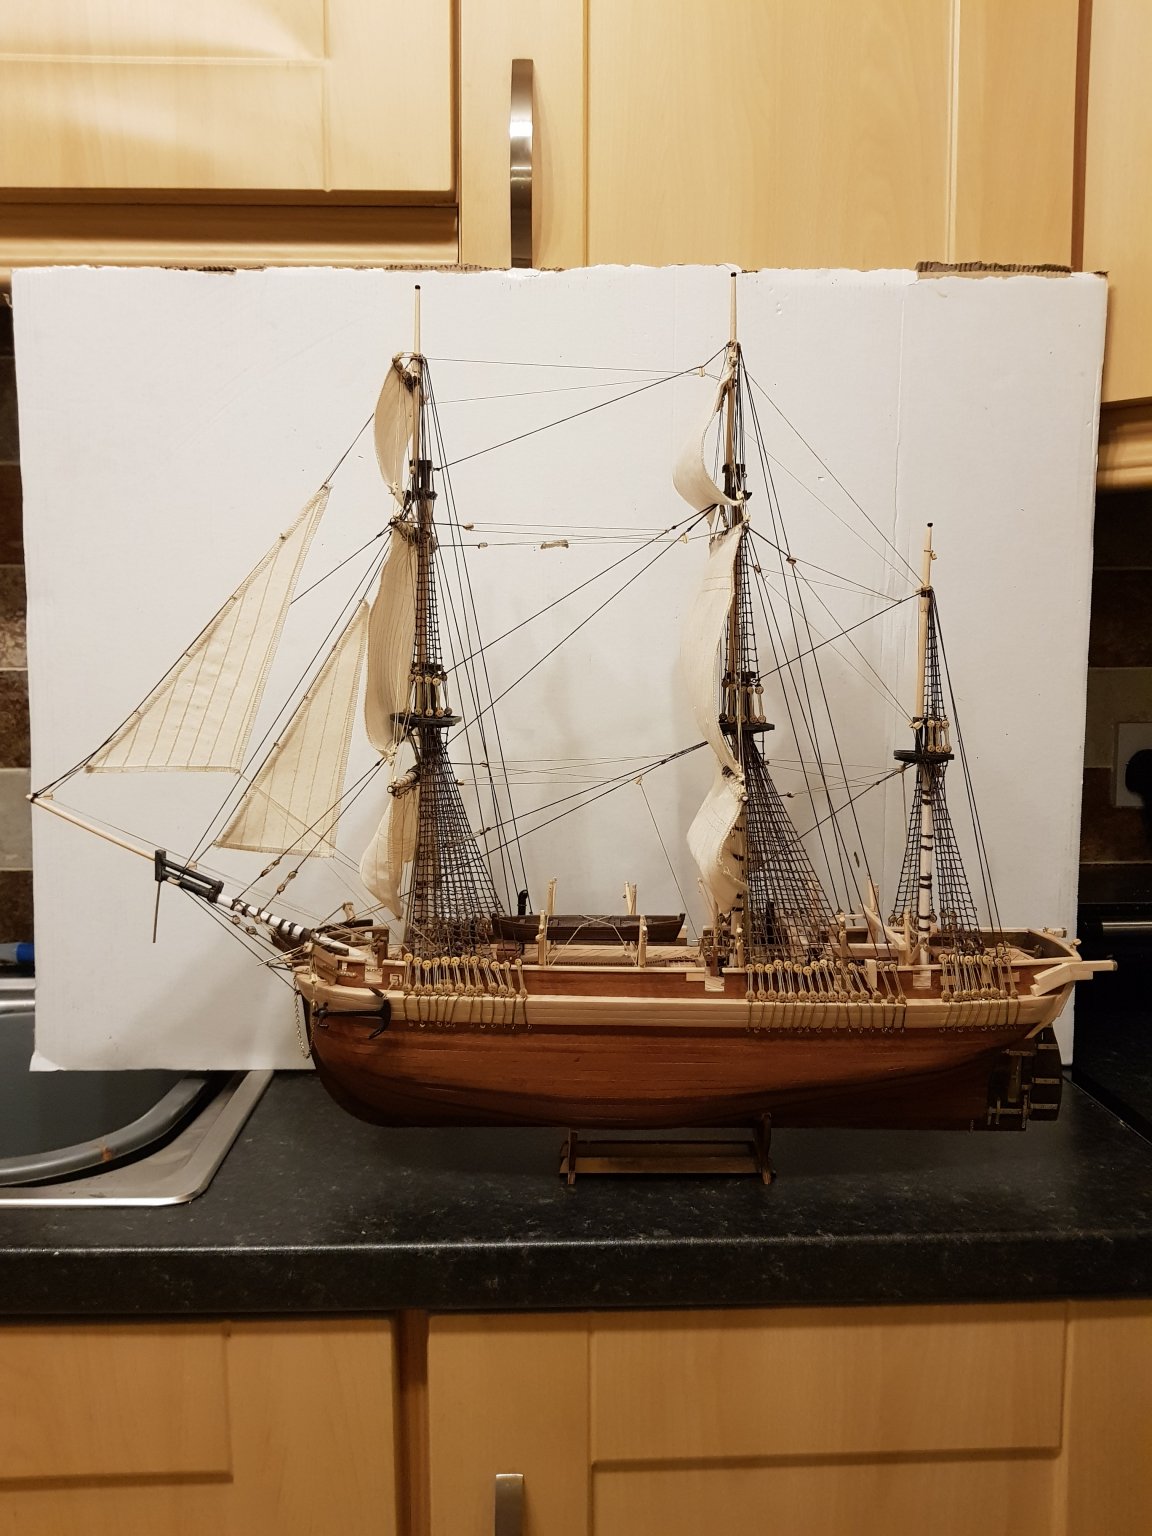
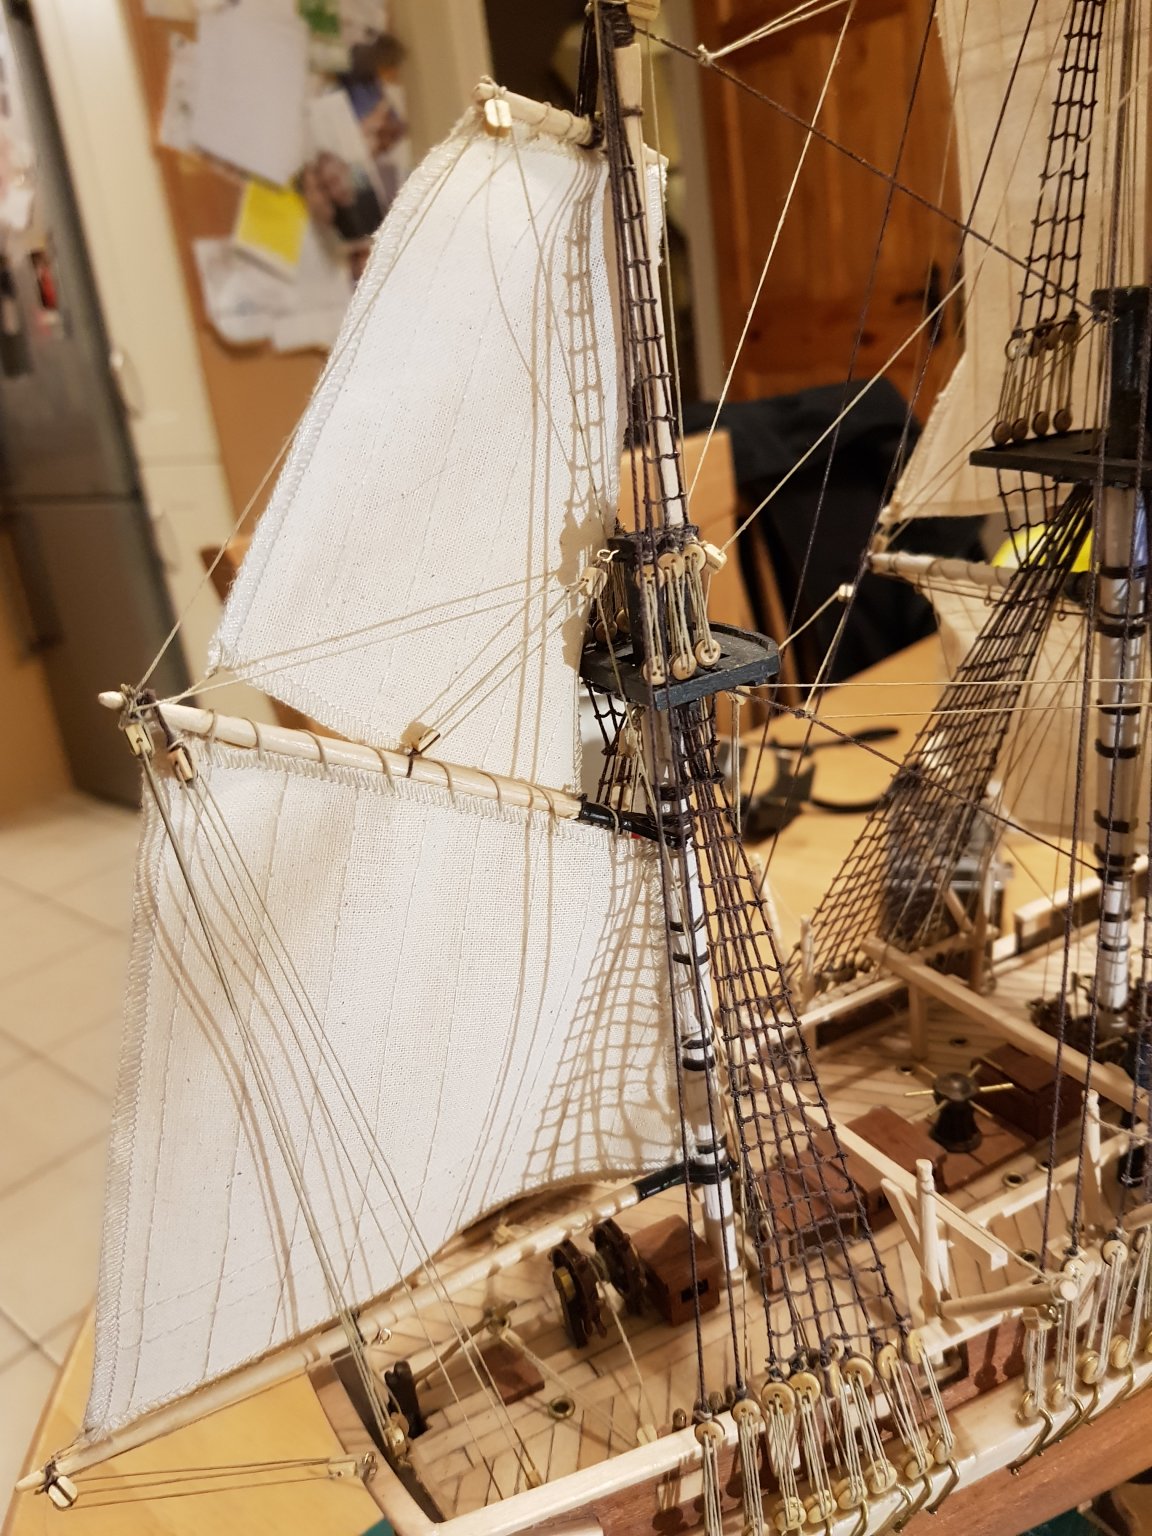
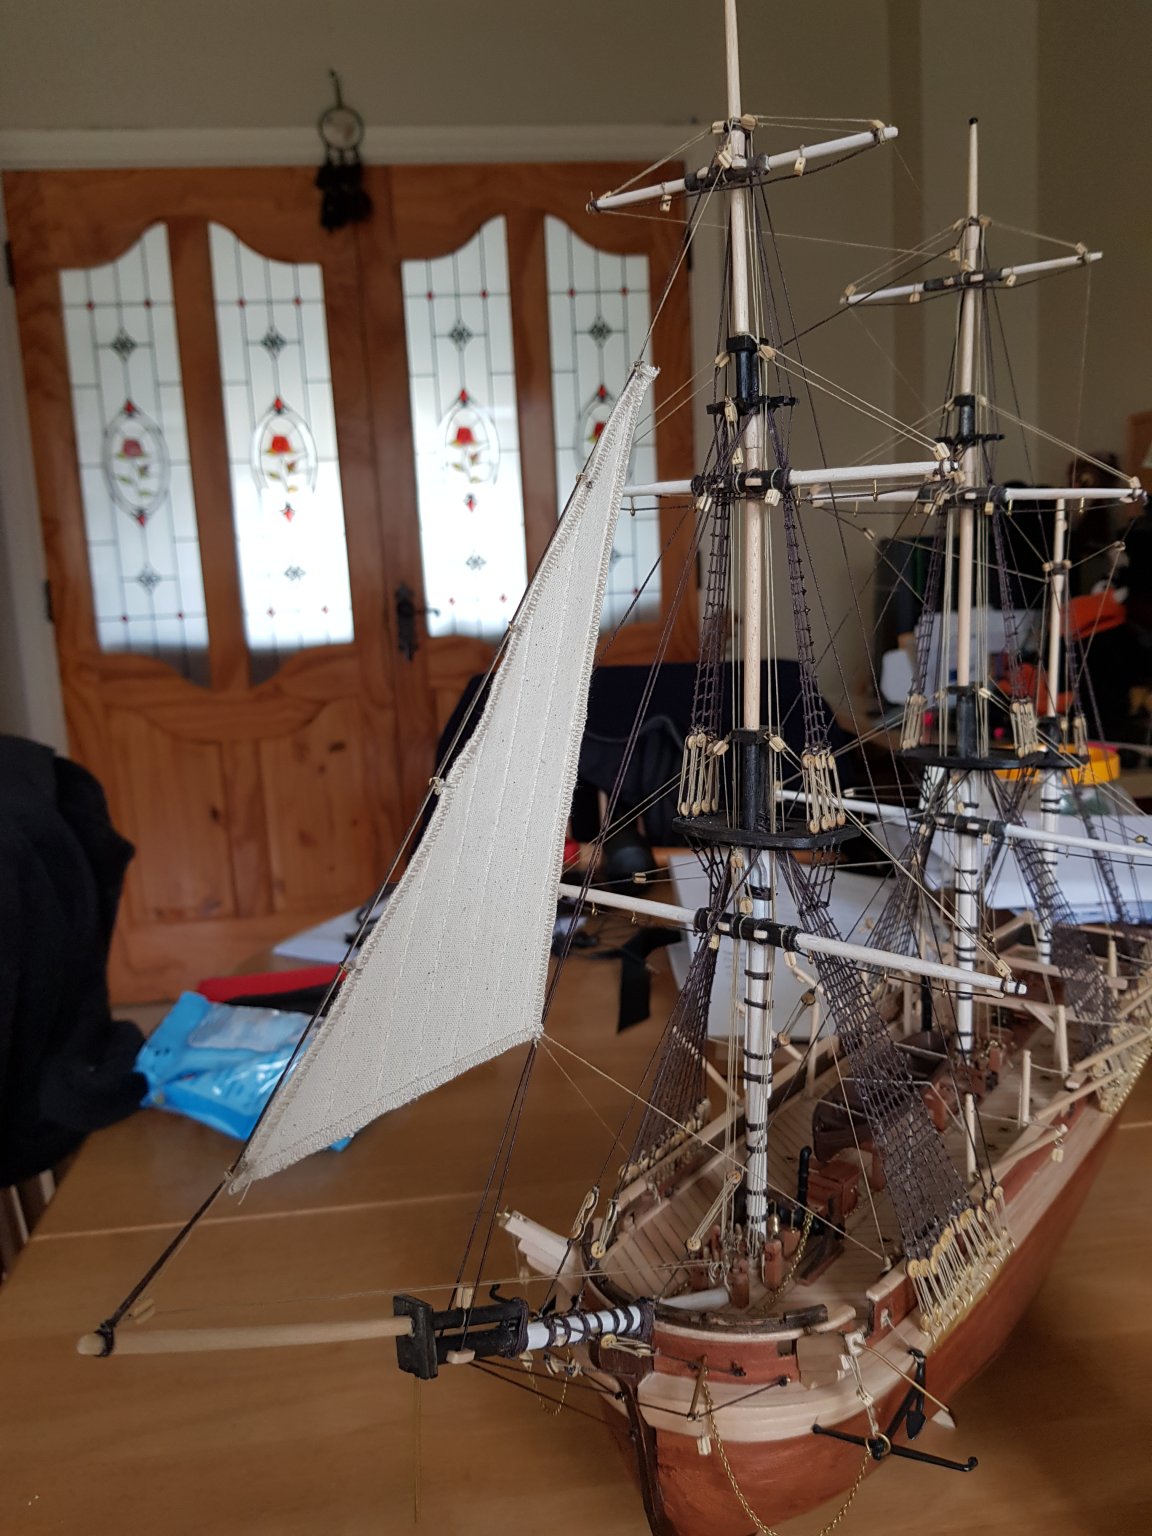
Another sail done. Getting faster at these.
Thought I would get these peices in before the boom and sails. Must be easier without them in the way.
- gieb8688, JayCub, consitution and 3 others
-
6
-
Slow and fiddly work on the lines.
- GrandpaPhil, EJ_L, JayCub and 3 others
-
6
-
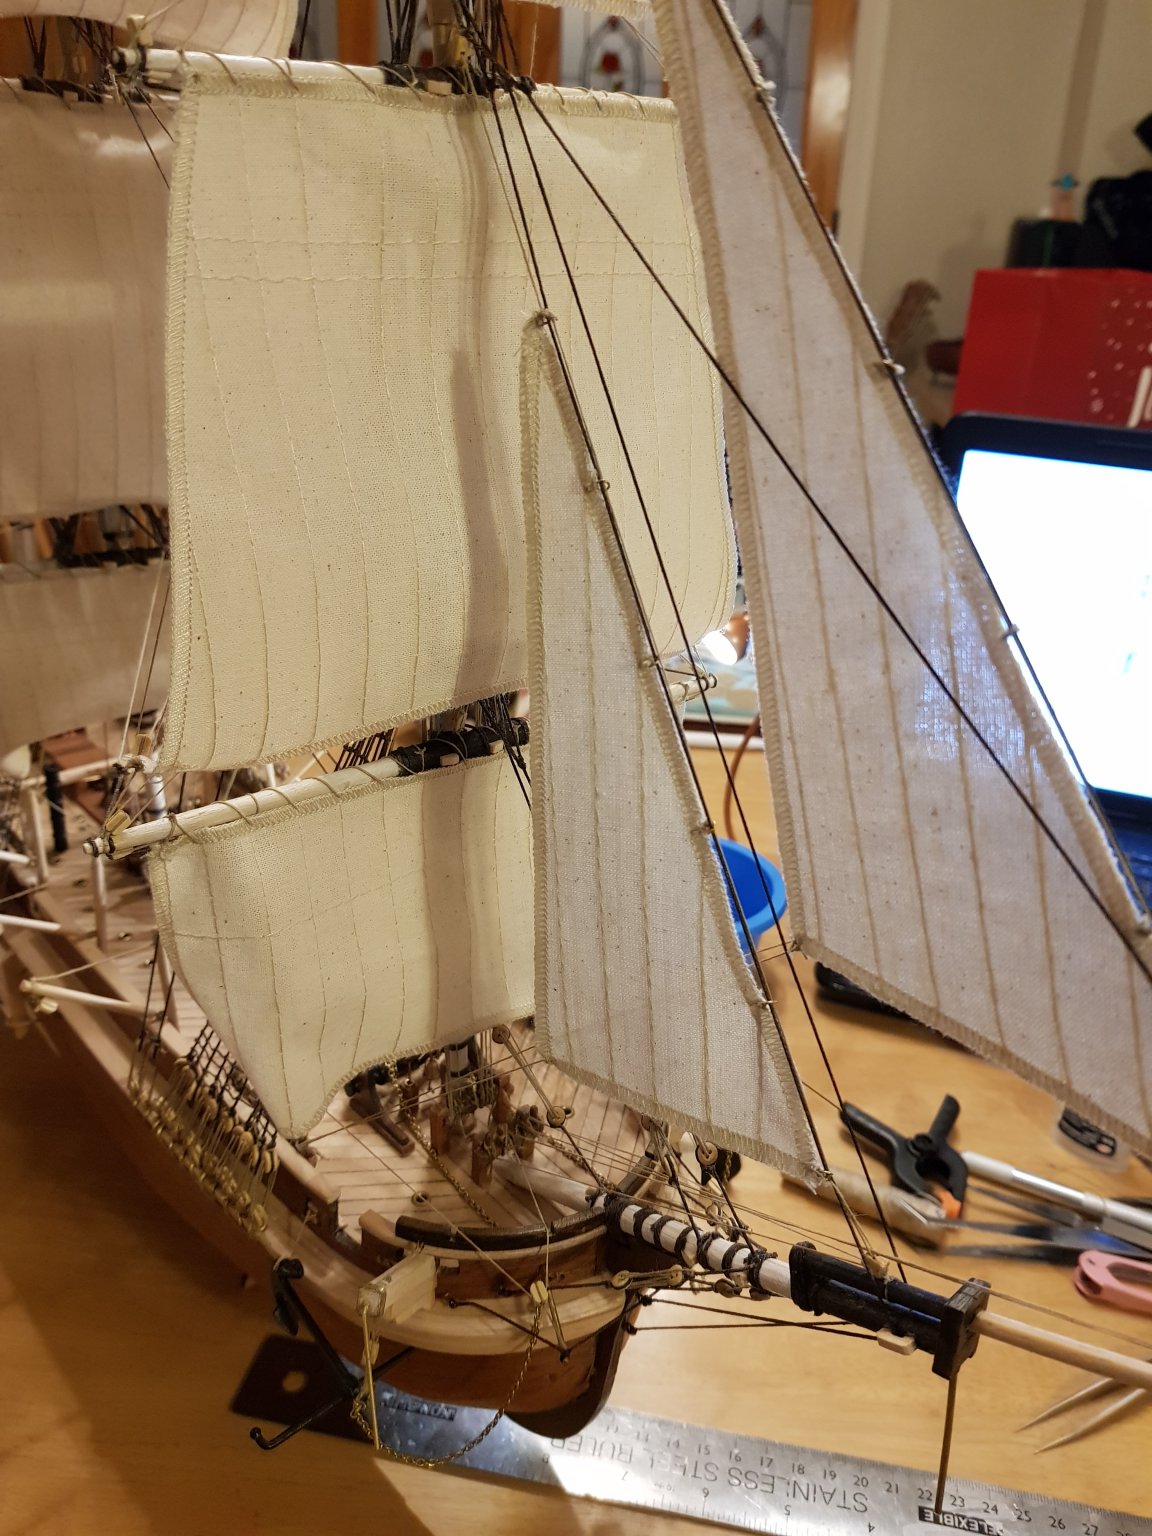
Hi am back after a break. Small case of getting married. Hope to get back in full swing. Some more sails added. 😊

- gieb8688, GrandpaPhil, EJ_L and 3 others
-
6
-
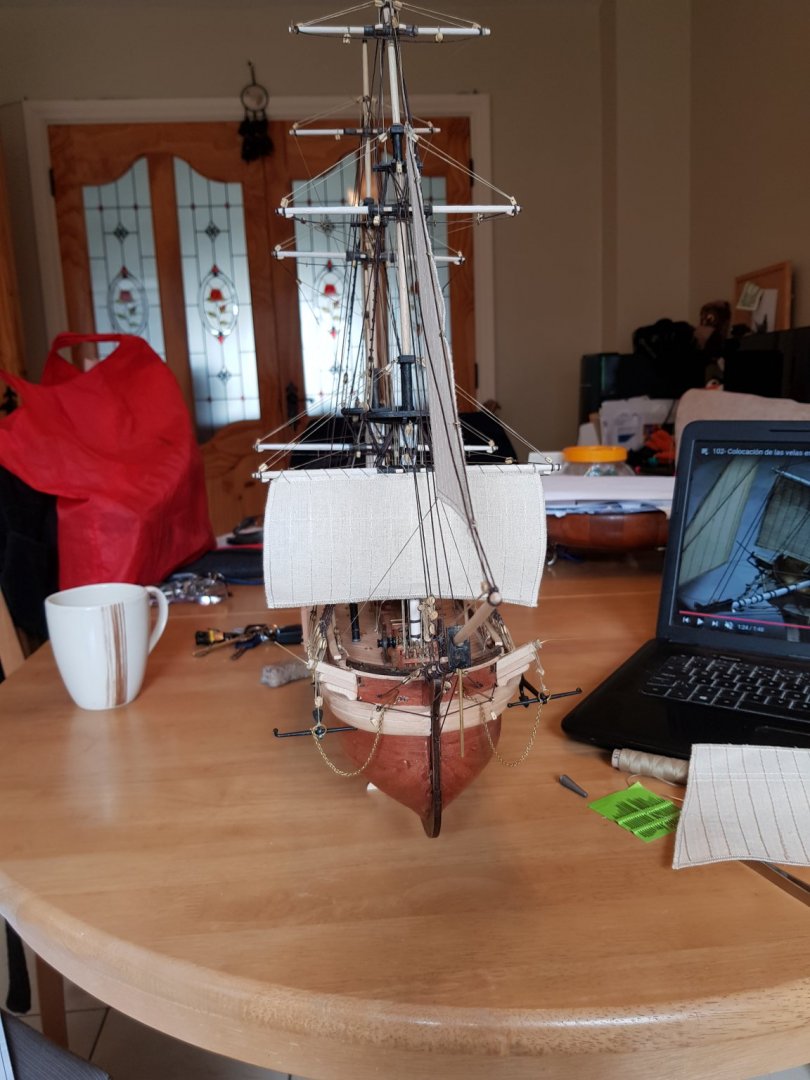
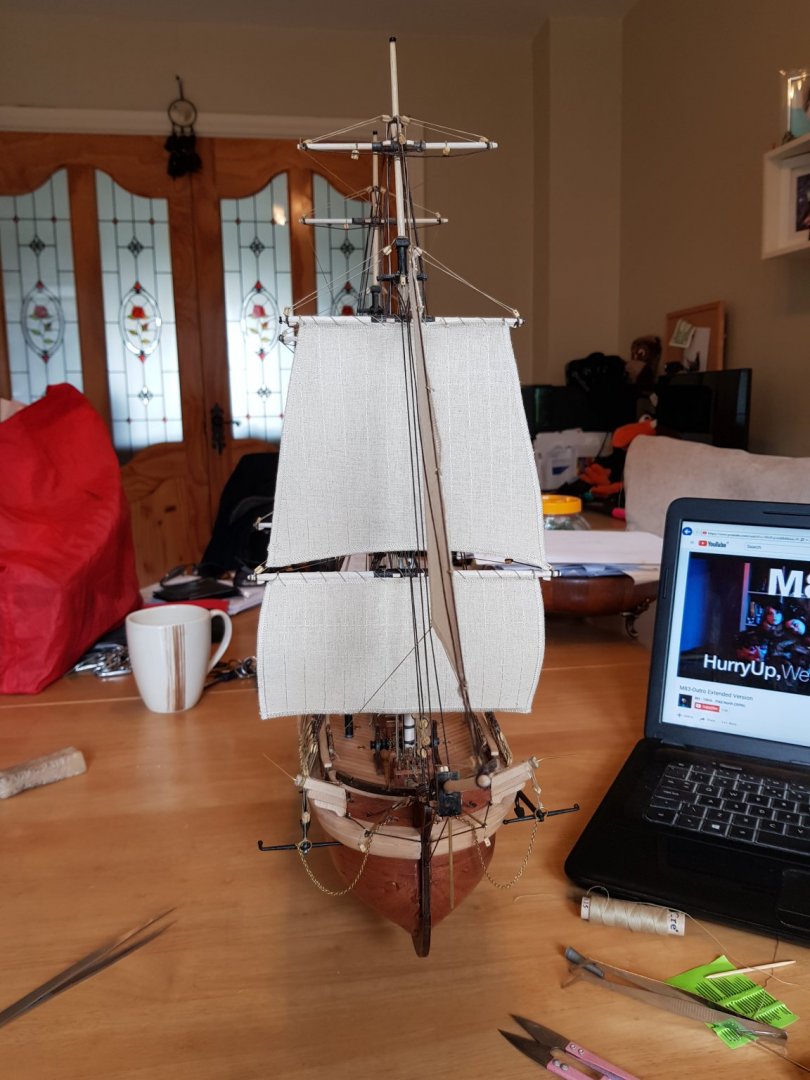
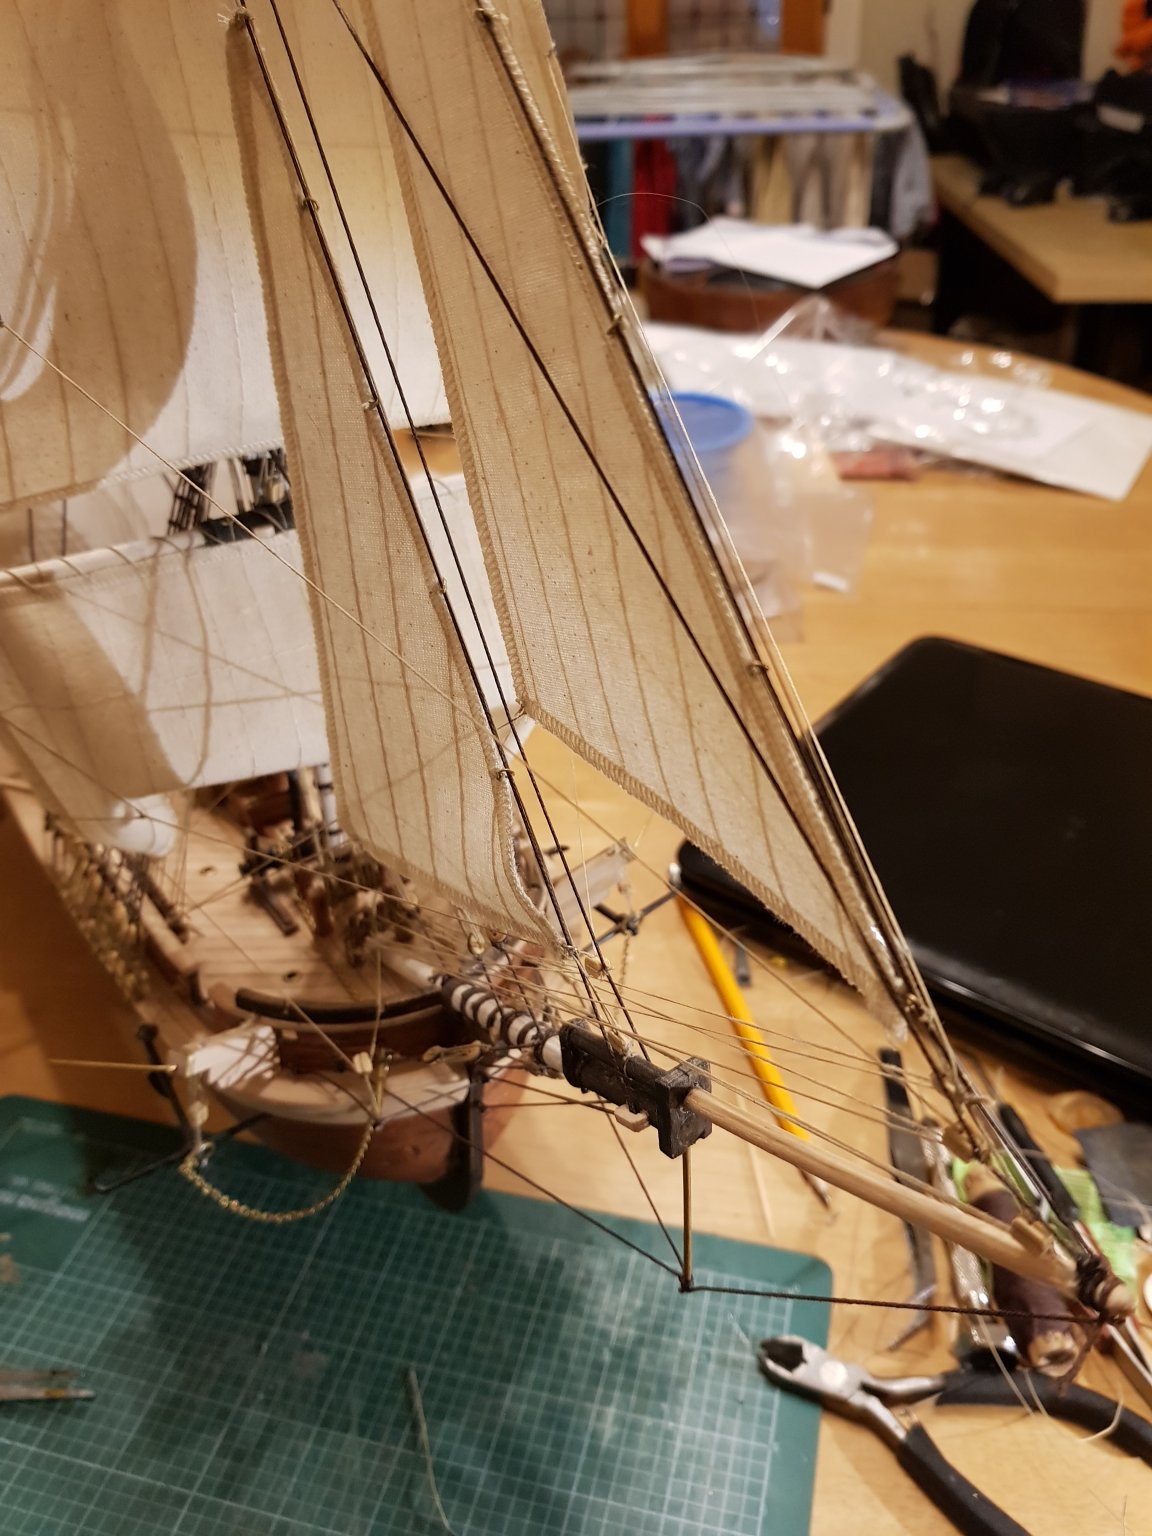
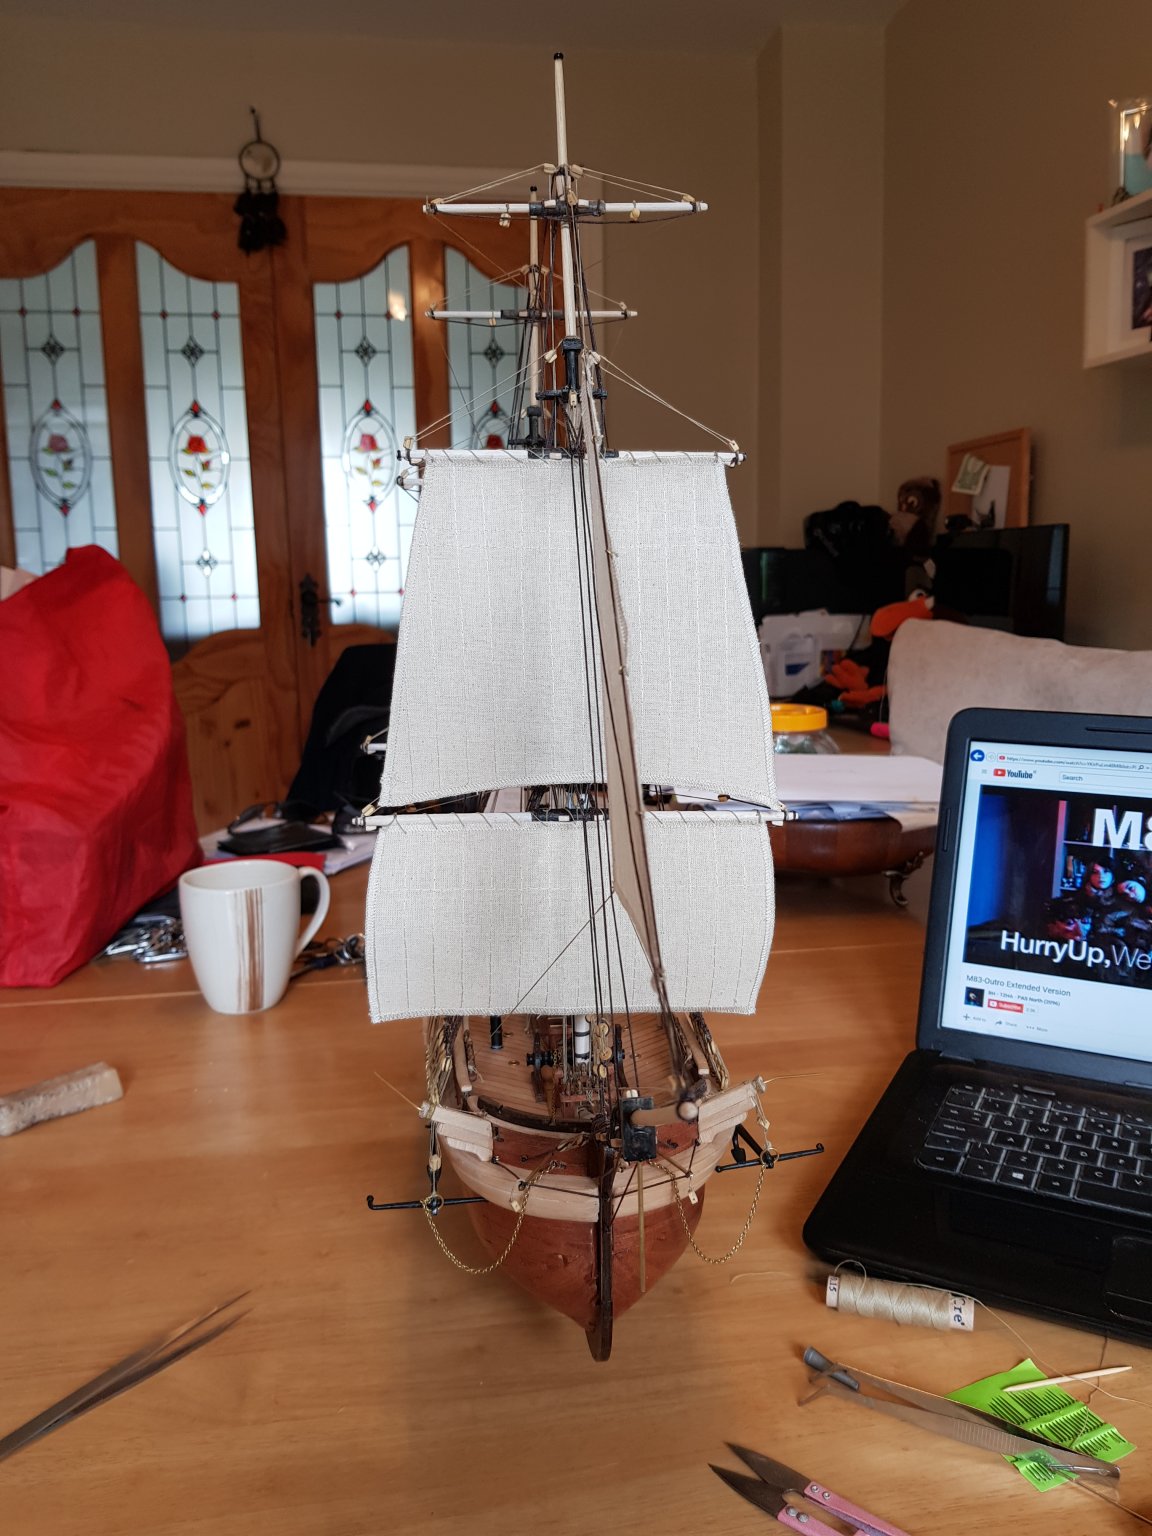
Sails are going in. Seems to easy, must have done something wrong. 😉

- Diver, consitution, VTHokiEE and 7 others
-
10
-
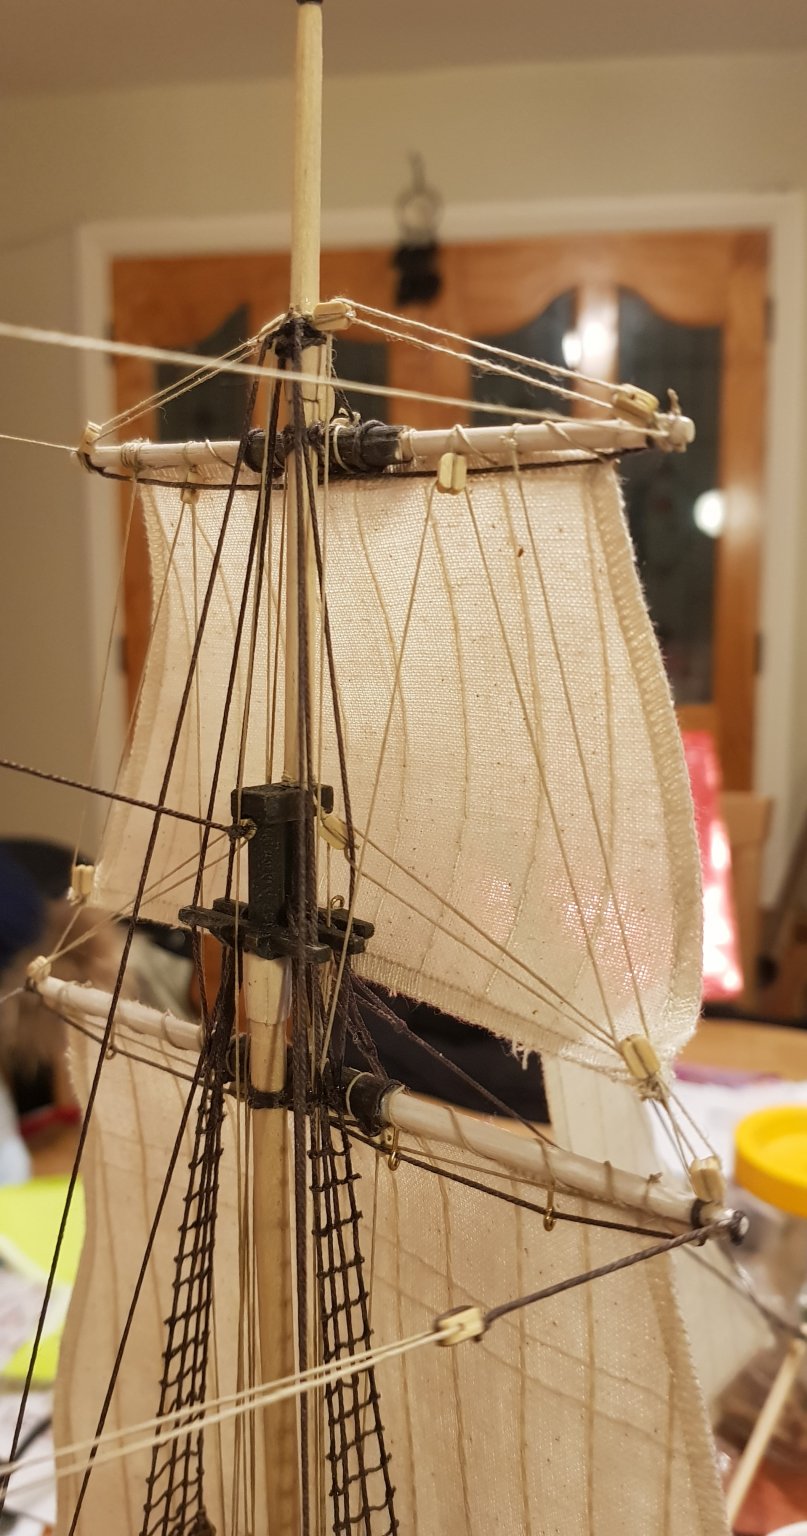
More rigging done, seems to be progressing much faster now. The halyards are quite tricky. 😀


- EJ_L, Haliburton, kier and 8 others
-
11
-
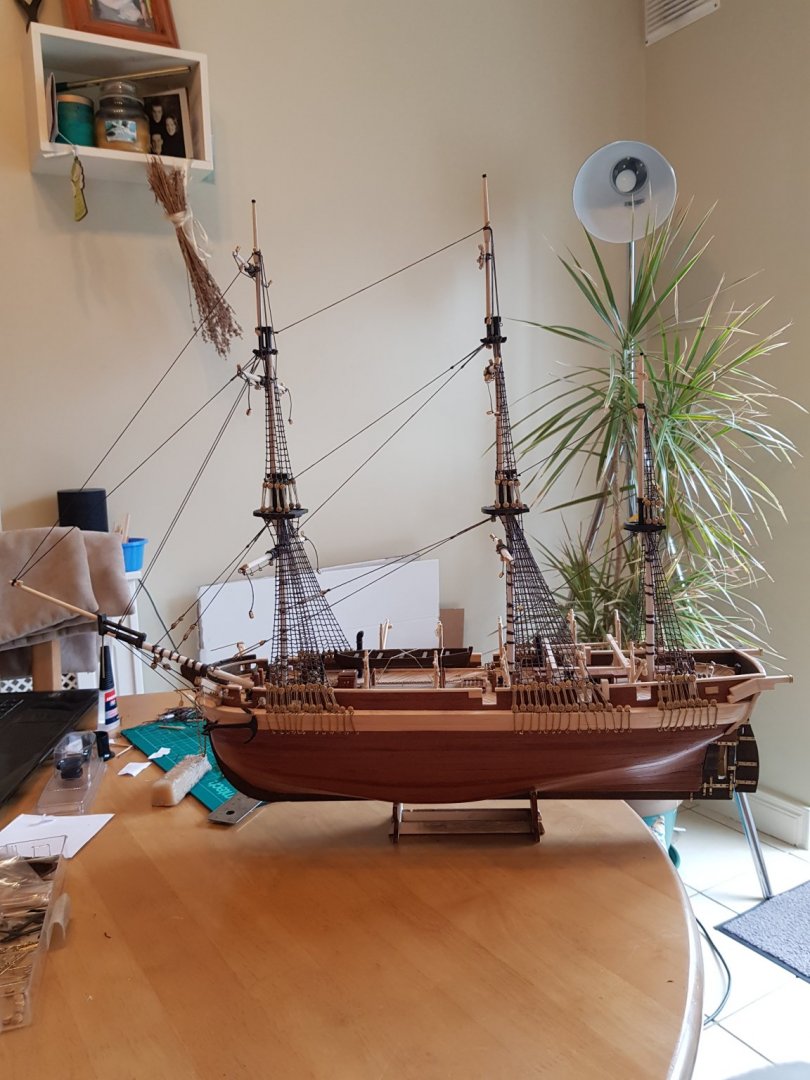
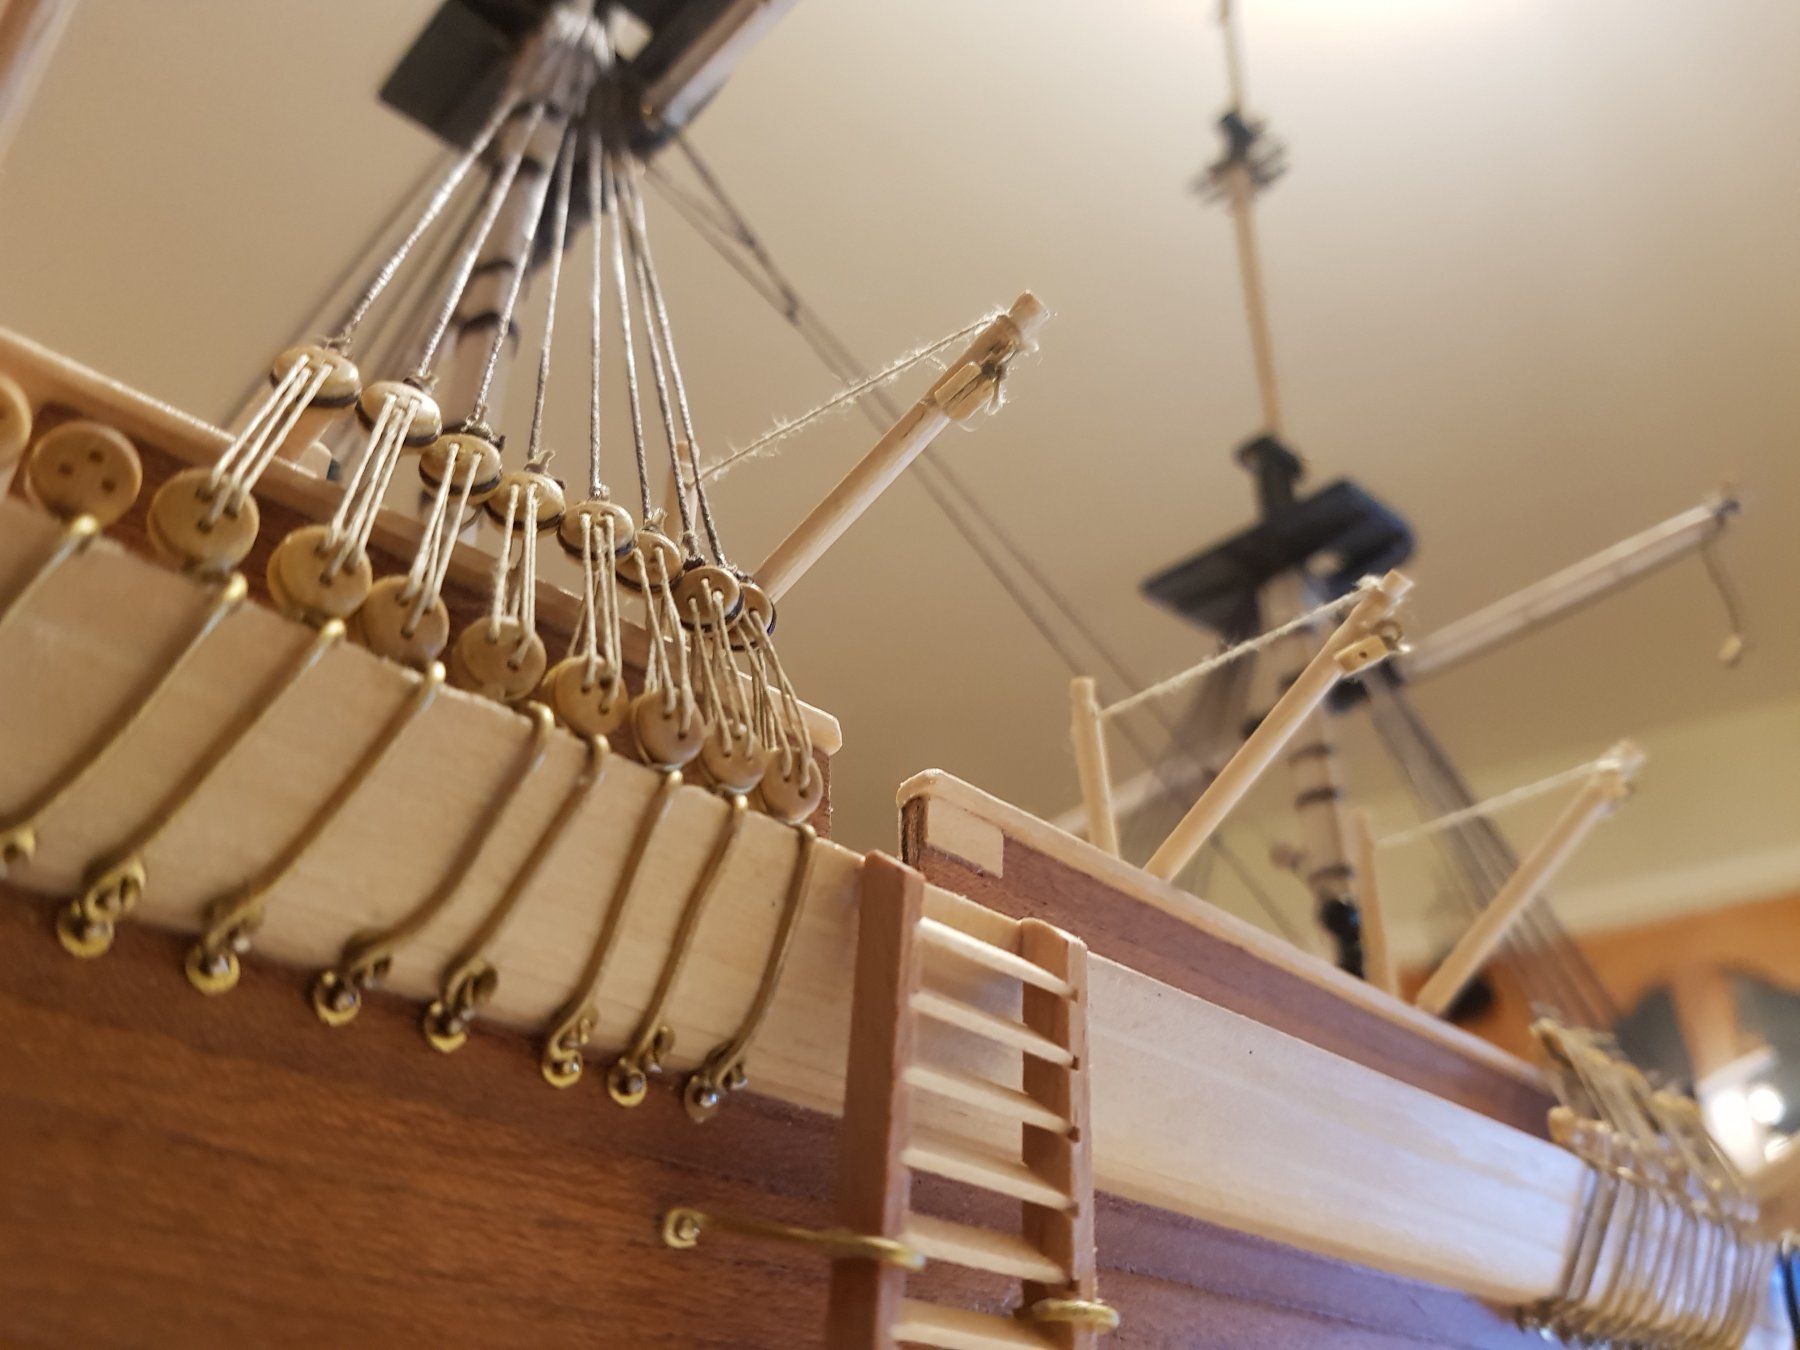
Been chipping away at the shrouds and the ratlines. So, so many. Tying every rat line takes forever.

- Haliburton, consitution, RickyGene and 6 others
-
9
-
On 8/23/2019 at 3:34 AM, LyleK1 said:
Love the build...
Working on the deck fittings on mine now.
An curious why you decided against the ice shield on the bow?
I have decided against painting mine too... just too hard to cover up the beautiful wood!
The hard part is not knowing what I should paint and what should be left natural wood.
Suggests?
Hi LyleK1, didn't go with the ice shield because I thought not painted it would stand out a lot. I have painted the life boats, anchors and chimneys. These are cast metal so need to be painted. I also painted the masts, I used a very watered down acrylic just to stain the wood. The very pale colour of the dowl seemed to distracting. There really wasn't any logic to it, just what feels right. Good luck with your build. Would be awesome to see a pic. 😀
-
On 8/9/2019 at 1:59 AM, RickyGene said:
sir francis haddock, I thought I would share a little detail I came across today that blew my socks off. I had seen a drawing of the 1845 fit for the HMS Terror and noticed them, but wrote it off. Then I came across a photo today of the Terror on the ocean floor after being discovered and look what was laying on the deck timbers. Easy enough little detail one could add if so wished.
I should be posting some photos soon of where I am at in my build.
Rick
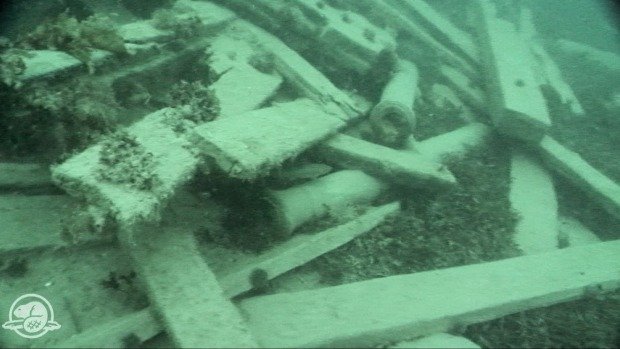
Well spotted, I had read somewhere that the Terror had 2 cannons and 2 swivel guns. When I was ordering some extra parts from occre they had 2 sizes of extra cannons on there website. I did get 2 of the largest size but they aren't right for the age of the ship. (But I now have 2 model cannons do I'm happy) Cornwall models I found later, has a larger range of cannons and barrels. But not sure if I want to add more to the deck.
-
1 hour ago, RickyGene said:
Any up-dates my friend. Thought you would like to know the FK/Ribs are now in the build slip. I have read and re-read your thread and I have decided to start now this same wonderful kit. I again will ask a question I asked before hoping someone would reply. I have some wonderful Pear and Boxwood, I am undecided about using or use the material that comes w/the kit. If I use the supplied wood for the 2nd planking, I will color.
What I want is for the planking to remain evident and not just a slick sided paint job. So again, I am looking at either India Ink and or black dye for the areas that require black. I will as you shared use the pencil method to replicate the deck caulking but here I will digress and use boxwood for the decking and deck hardware. I also will replace the chain for the anchors w/heavy cord for the cables. I just have a hard time seeing that chain run down the deck and not demolish everything in it's way. If this is correct for the chain, please someone let me know. Looking forward to your progress.
Rick😎
Thank you RickyGene, been away from the project for a couple of weeks due to work and the general heat wave. looking forward to getting back on track and working my way through the rigging. As for the painting, anything from me would be guess work with a wood model. But it would seem likely the thinner the paint/ink the more the grain would remain. Is there a black varnish? I have been form the start looking up everything I can find on line about anything to do with models of the Terror, one was on youtube by a German (I think?) builder. Its not in English but he does show how he coloured and weathered the deck.
-
Thanks Heinrich der Seefahrer for all the positive comments (and every one else). The grating looks very good and would take it to a higher level. Would be a great challenge
 . with more construction under my belt maybe then would be able to pull it of.
-
On 8/3/2019 at 5:05 PM, RickyGene said:
Not too hi-jack your thread, but I want to build/color as I go. Have you ever or for anyone who reads this, used India Ink to precolour your planks. I want the ship to have the feel and look of a planked vessel. Paint does the job yes, but it obscures the plank detail. Have read others say they have used this method. Just wondering if this is not a messy way to do.
Rick
For my deck I just used a pencil for the edges then varnish.
-
-
5 hours ago, Haliburton said:
Wow, looking really great! Have you seen the Occre diorama with the Terror surrounded in ice?
Thank you very kind to say. Yes I have seen the diorama I think it looks cool 😉
- Haliburton and EJ_L
-
2
-
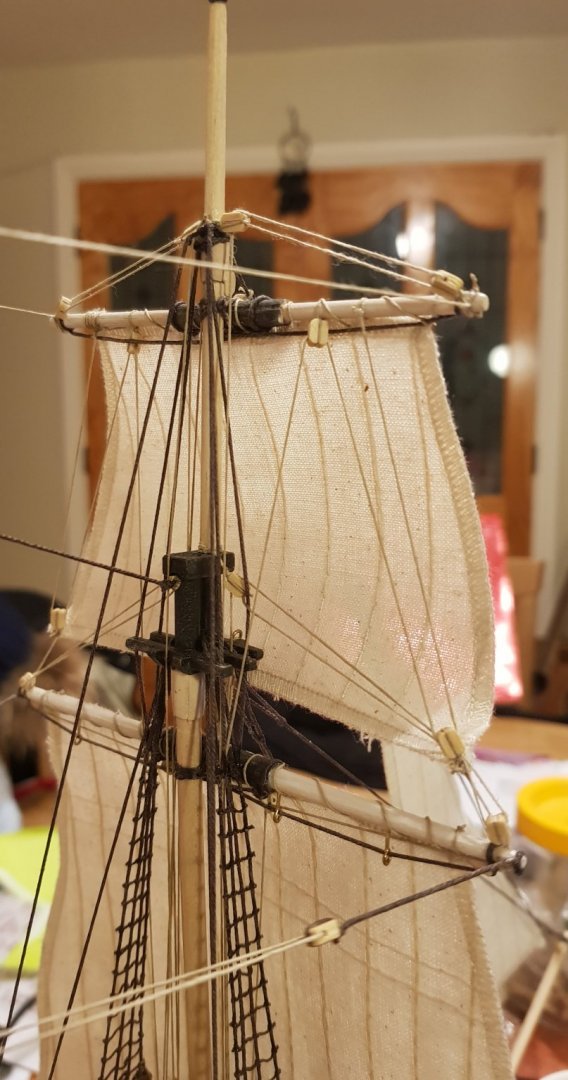
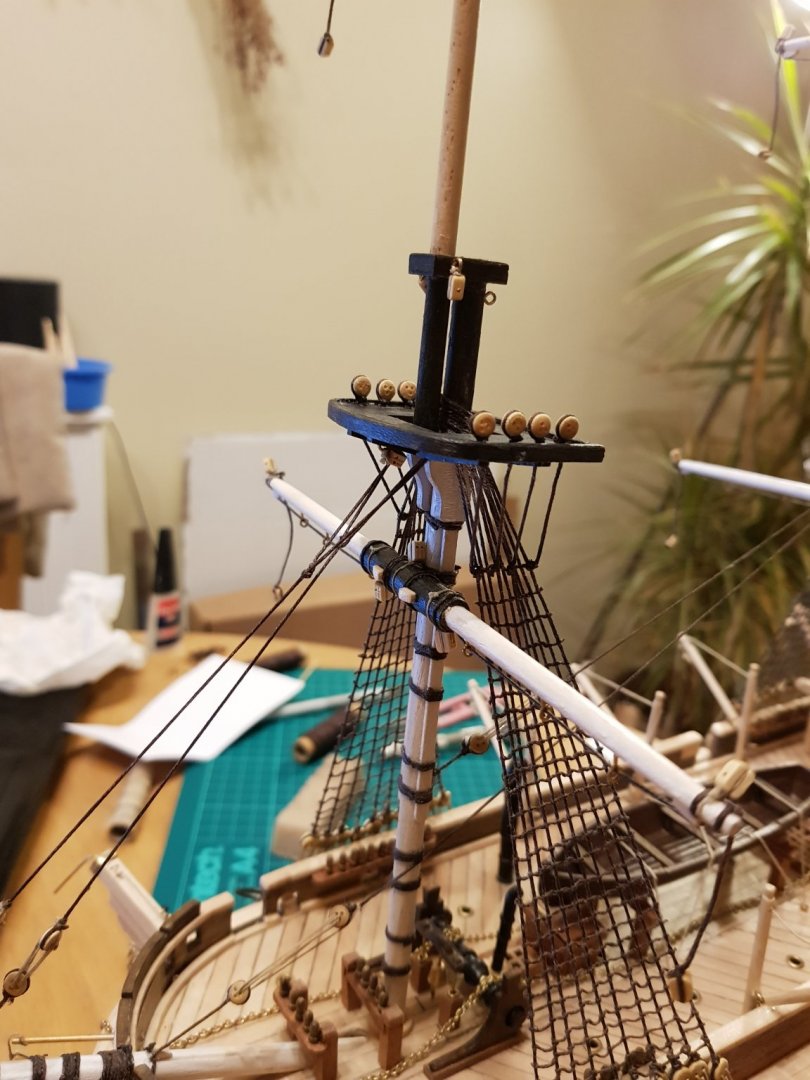
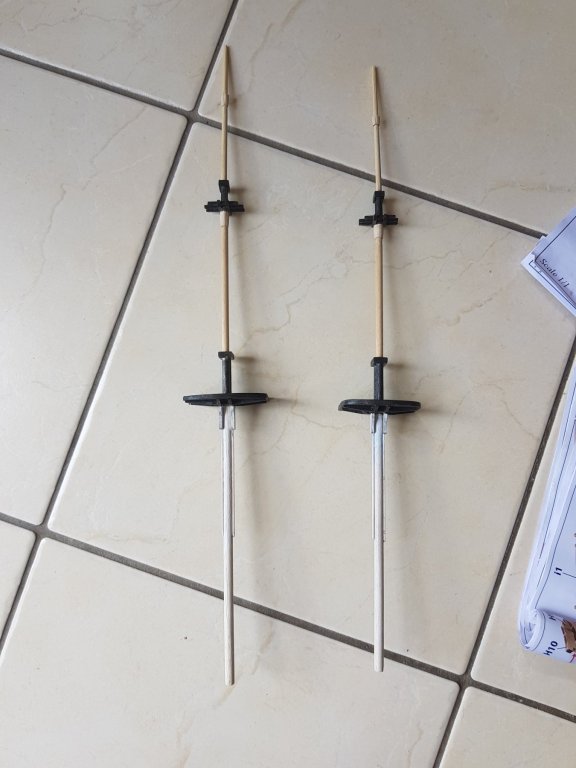
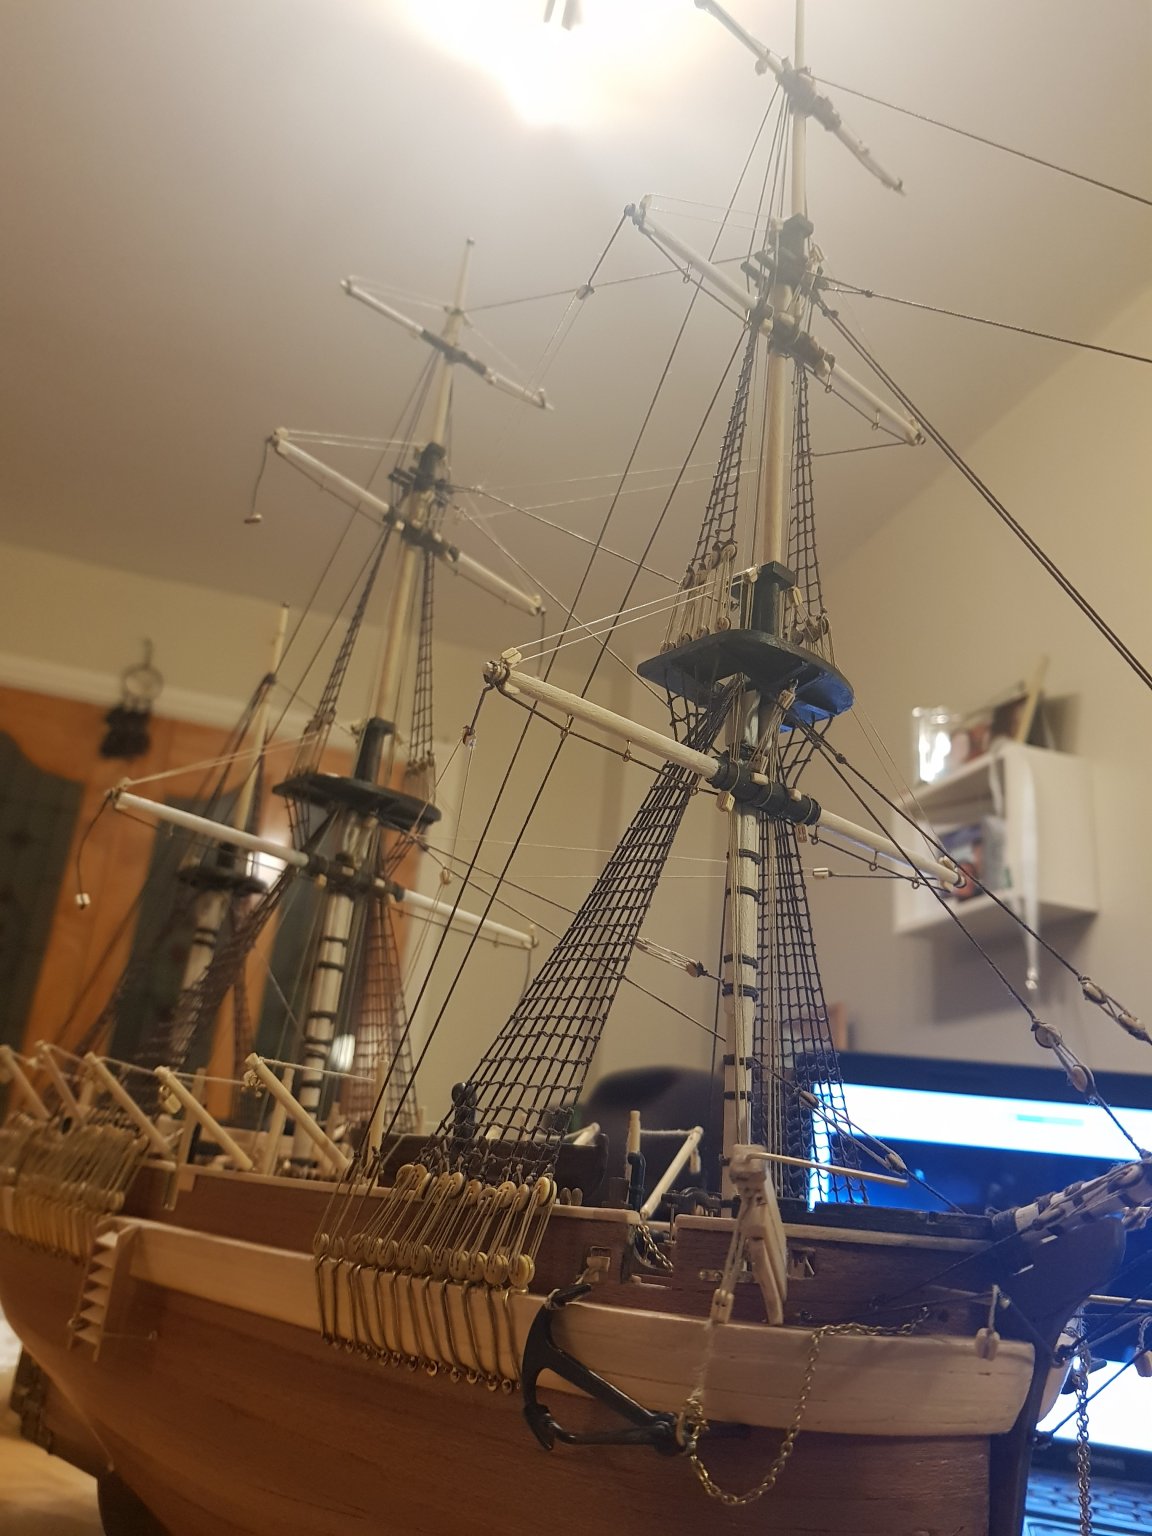
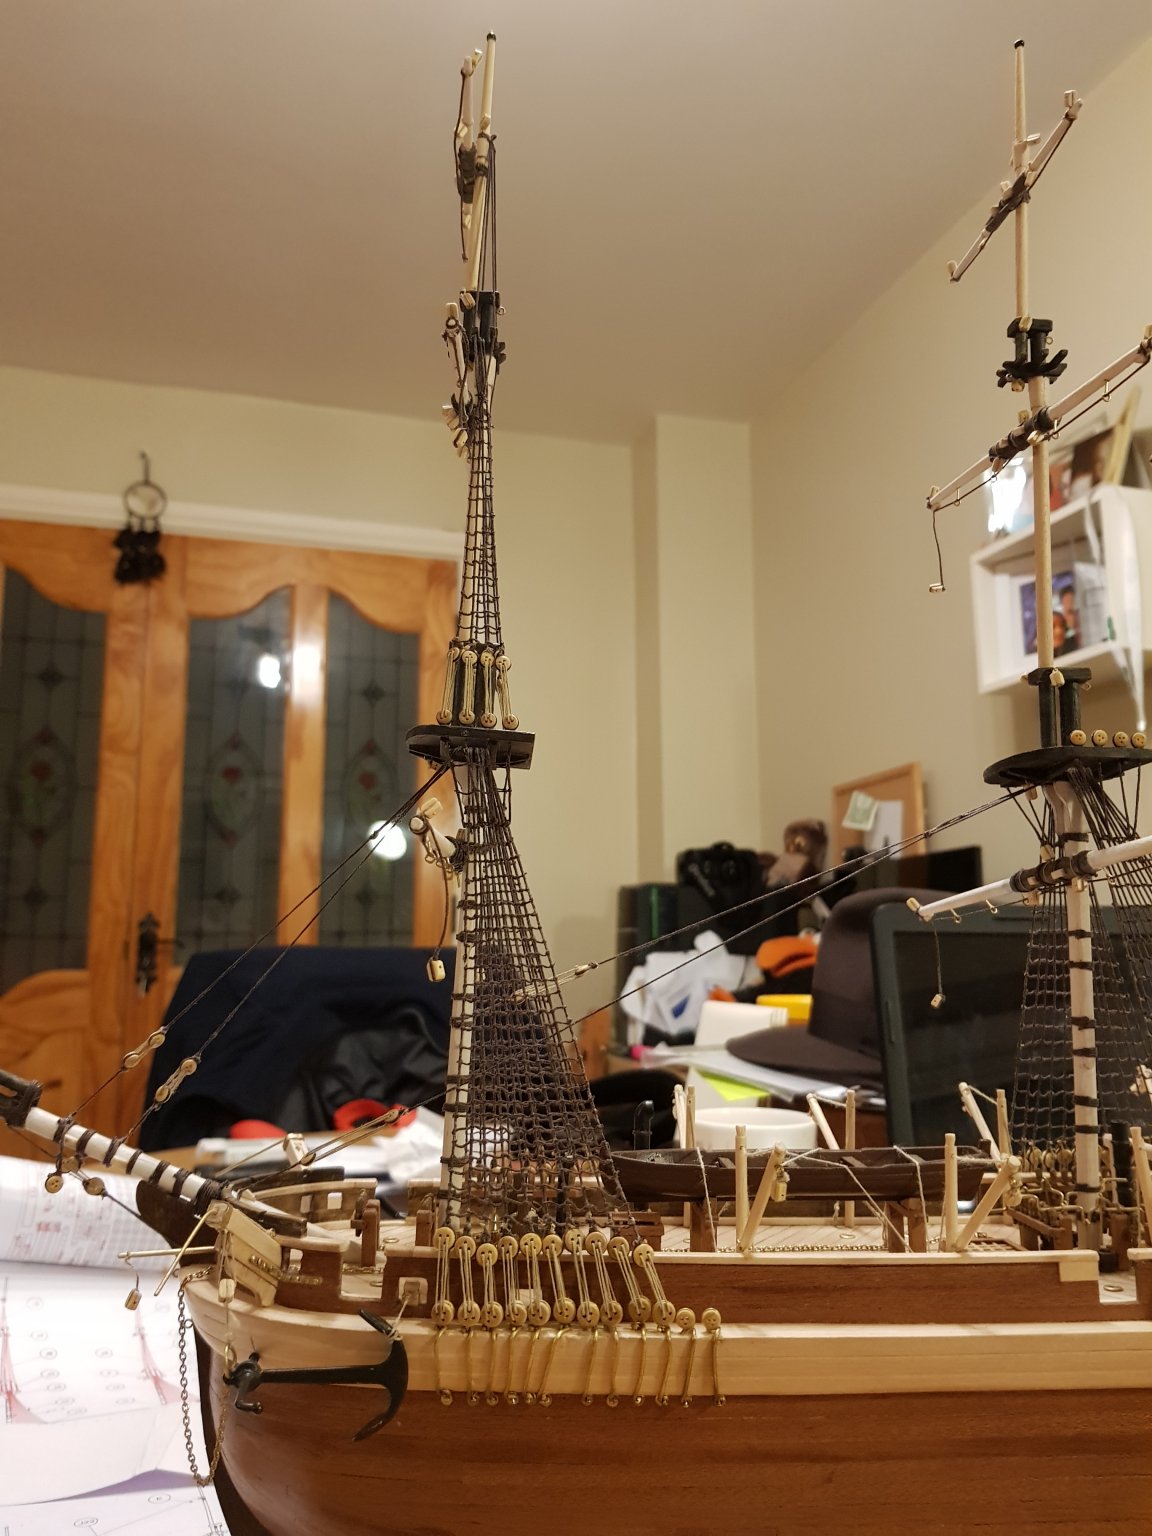
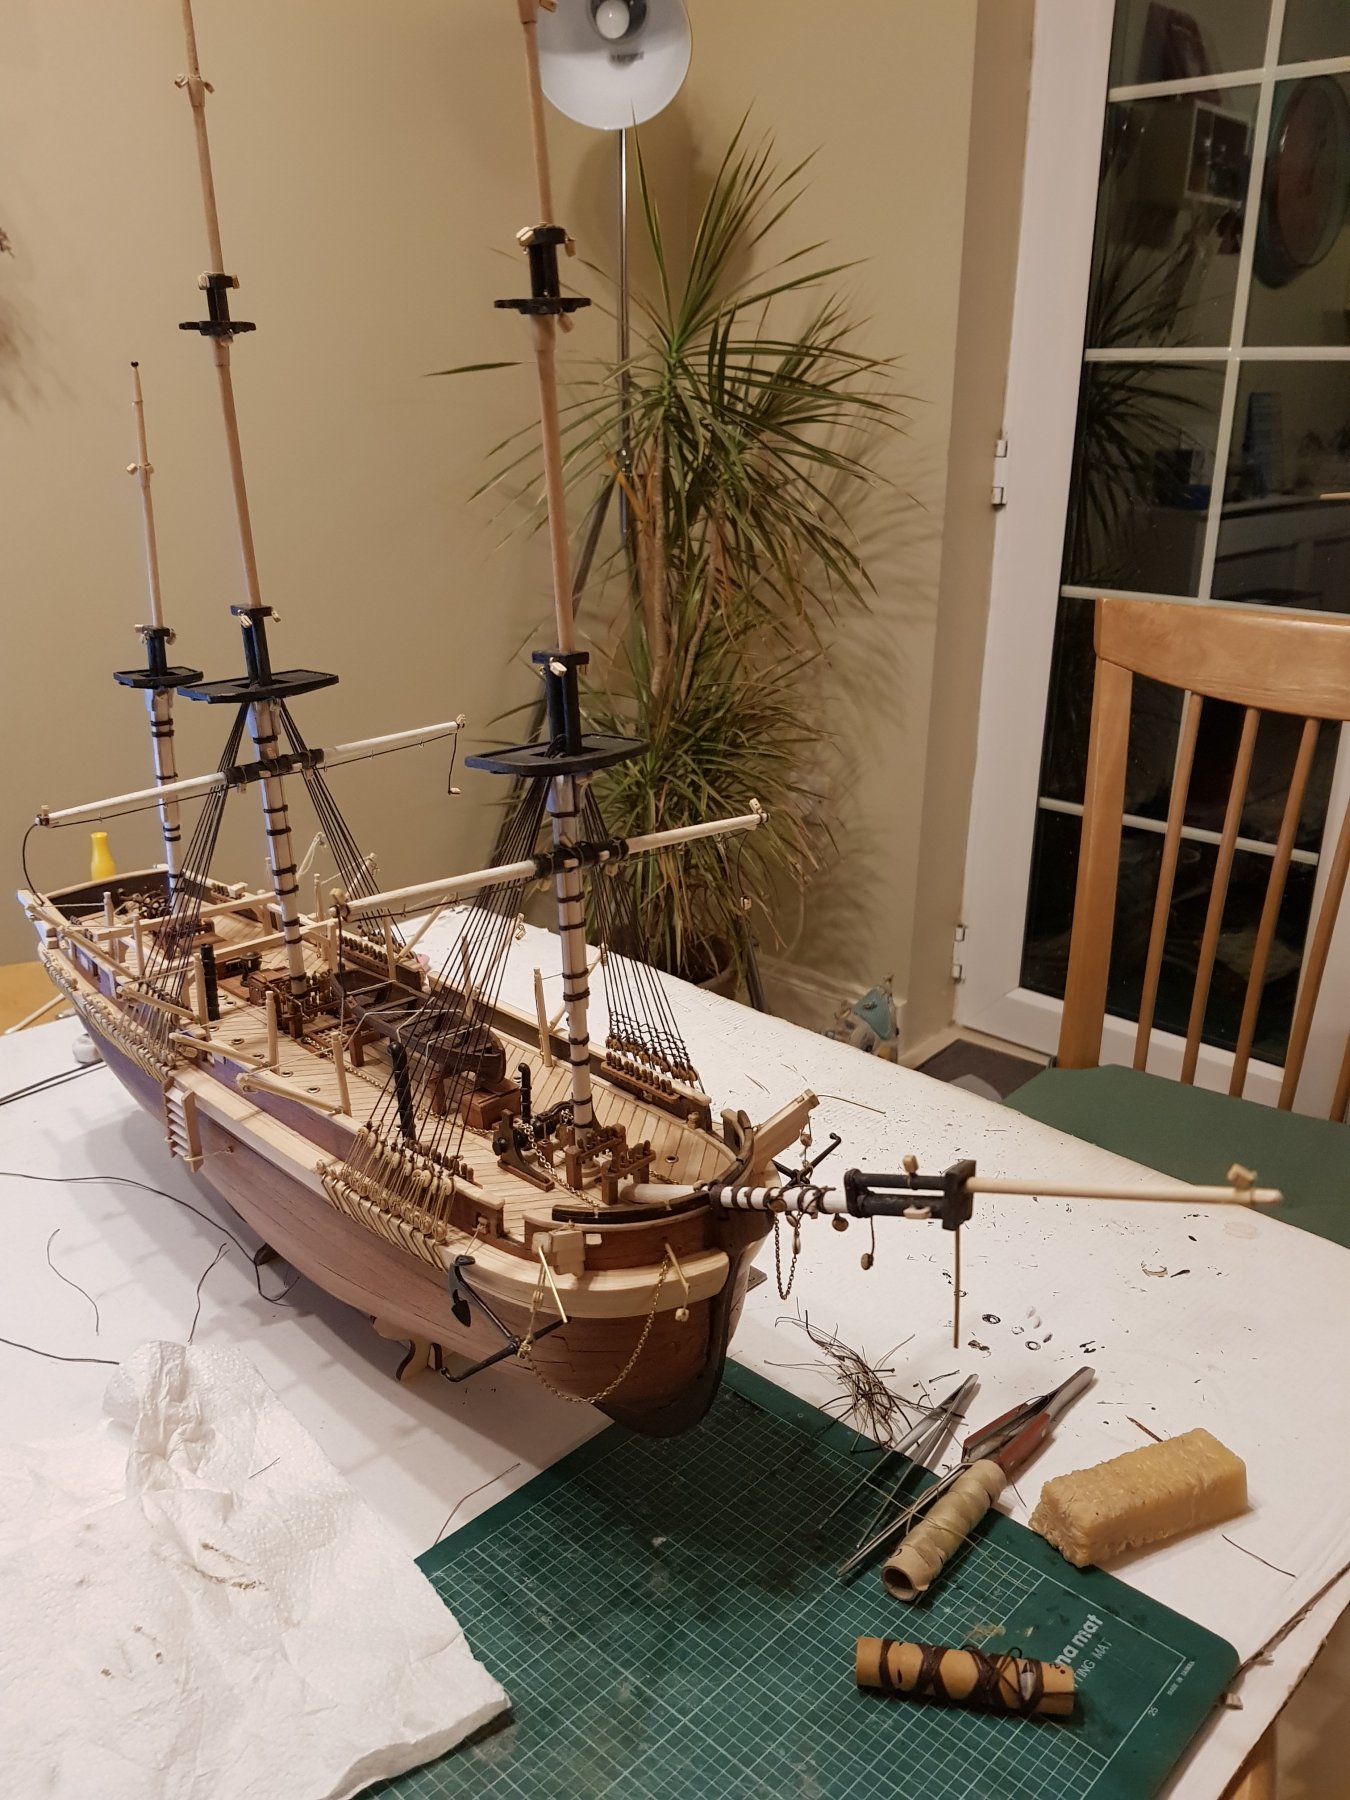
The yard arms took a surprising amount of time, but there is a lot going on in them.


For the shroud I was pulling the string tight. I think this was the wrong way to go because the first mast the dead eyes were not level. For the 2nd mast shroud it was not ai tight.

The ratlines got easier the more I did but it feels like knitting with tweezers.
- Haliburton, hof00, GrandpaPhil and 4 others
-
7
-
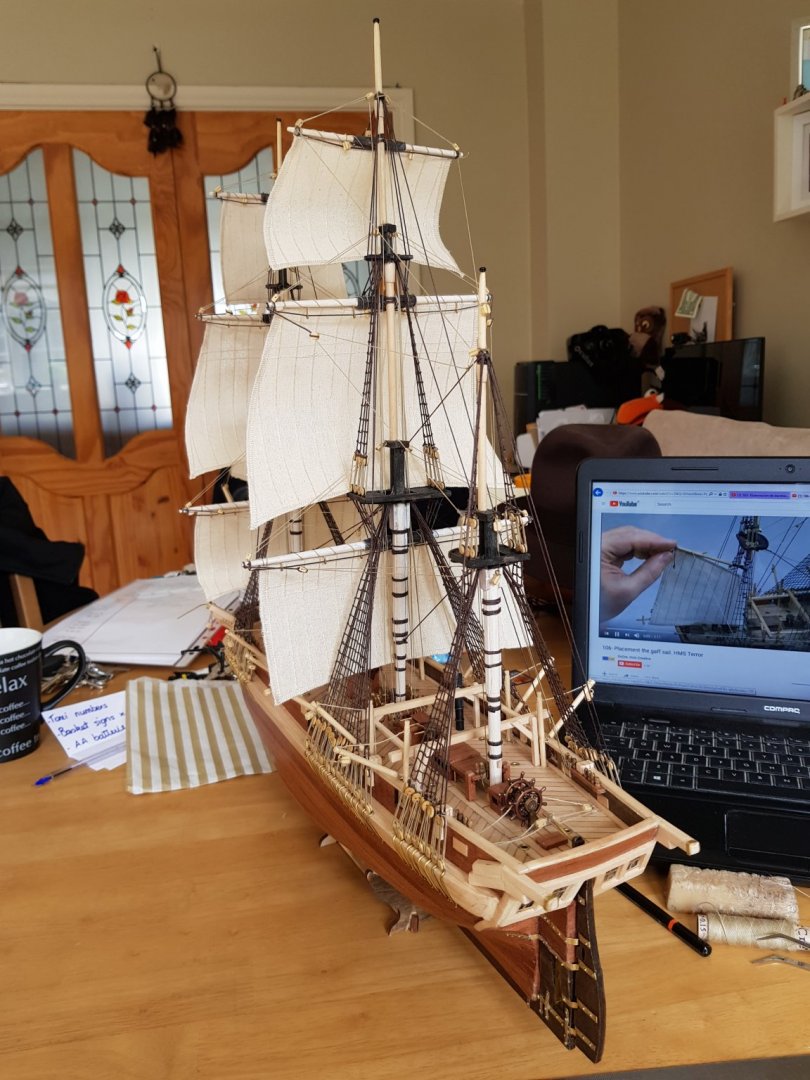
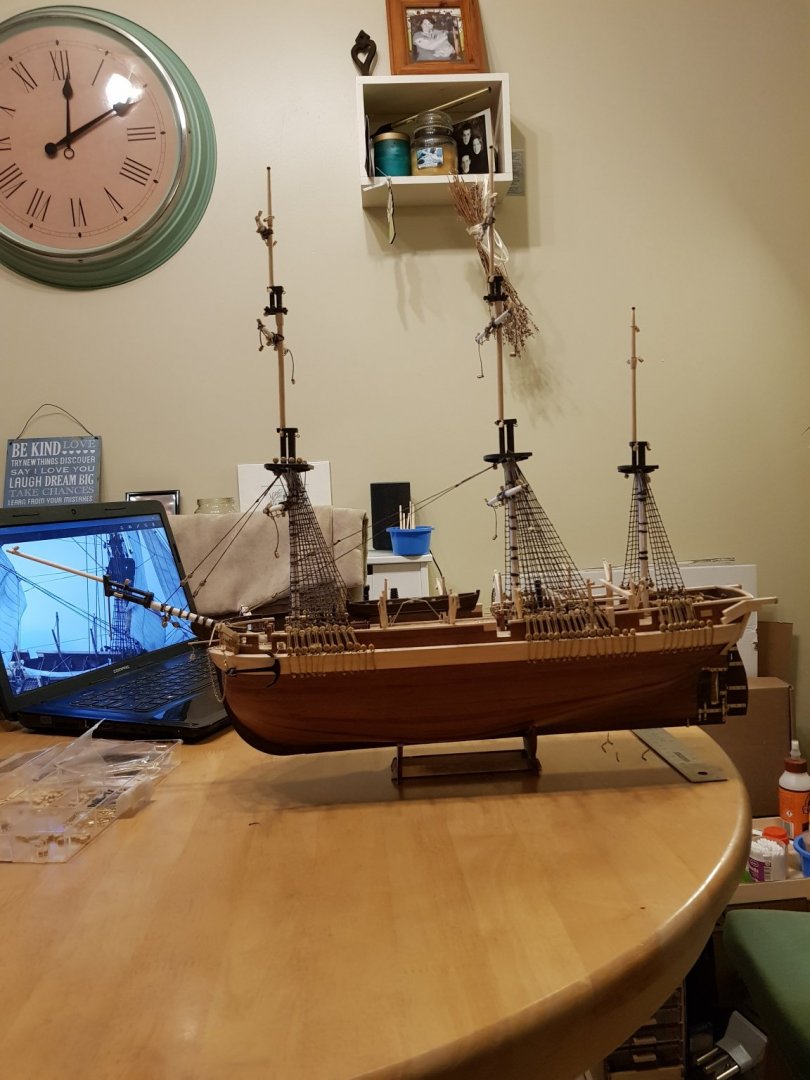
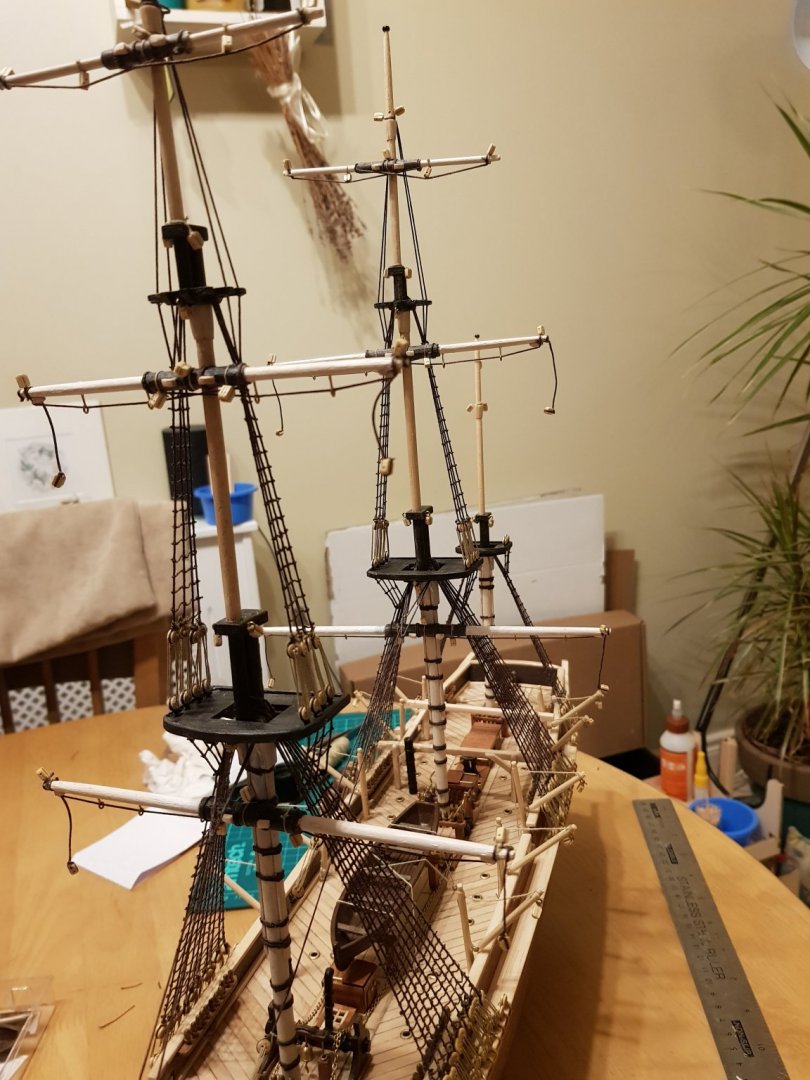
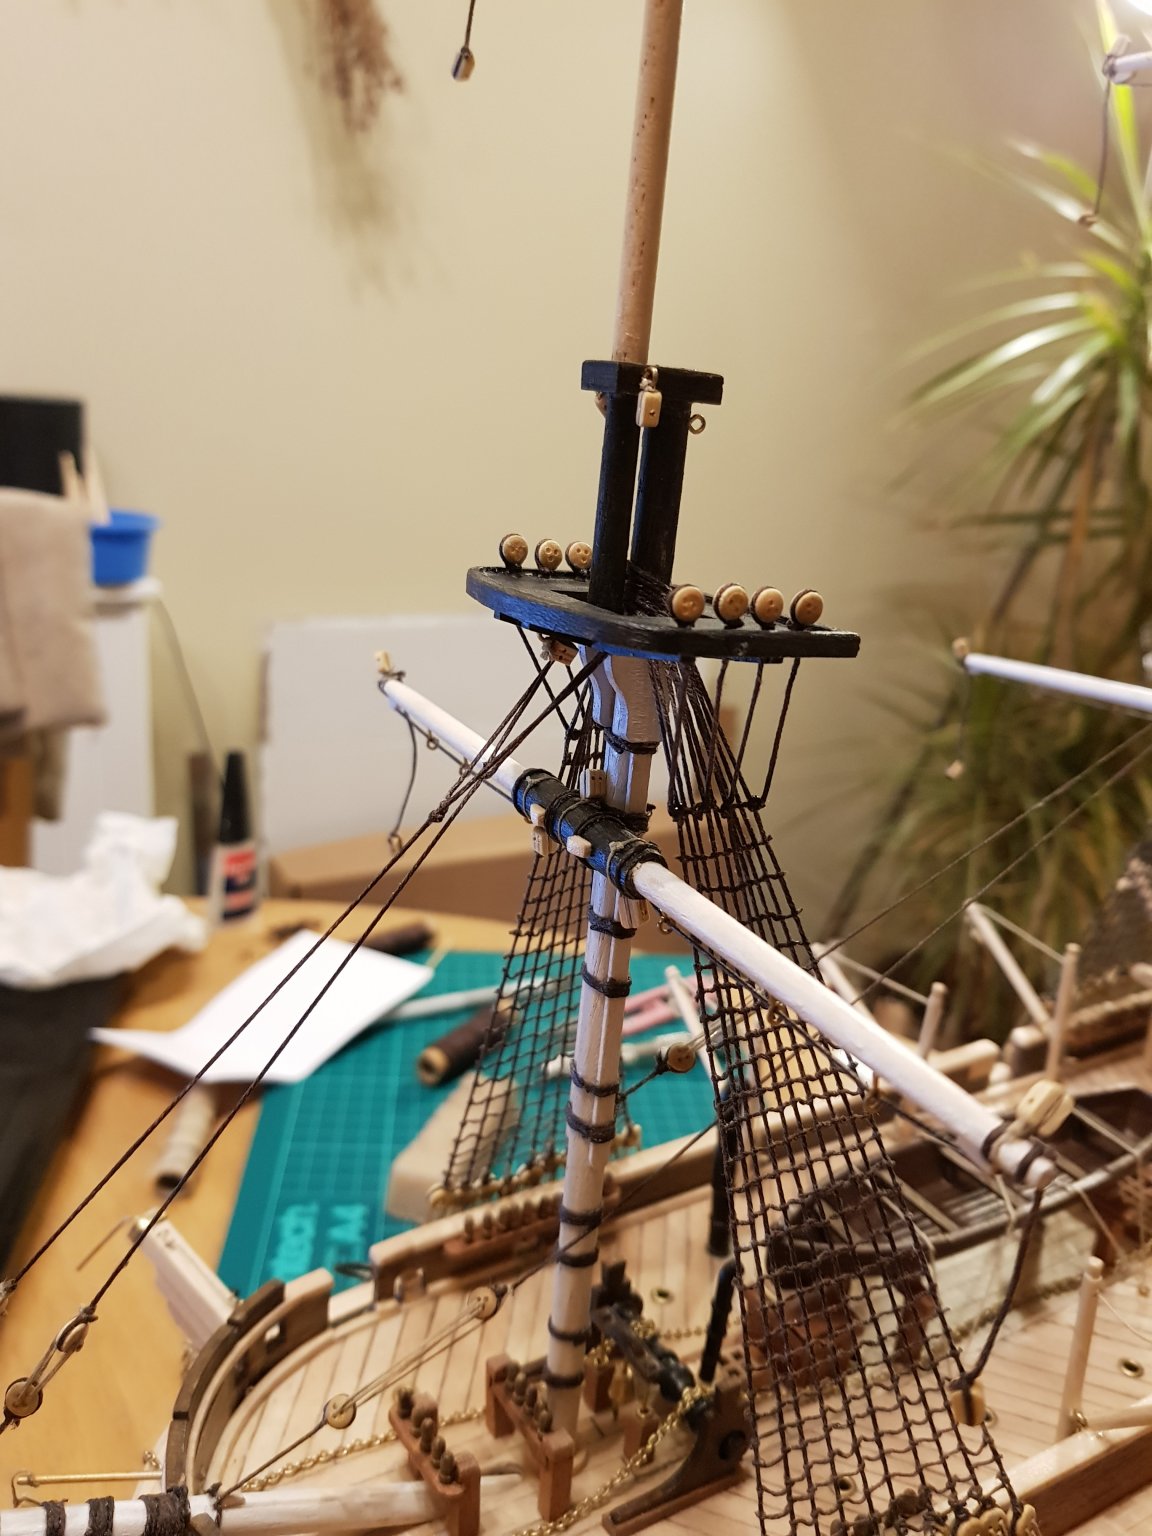
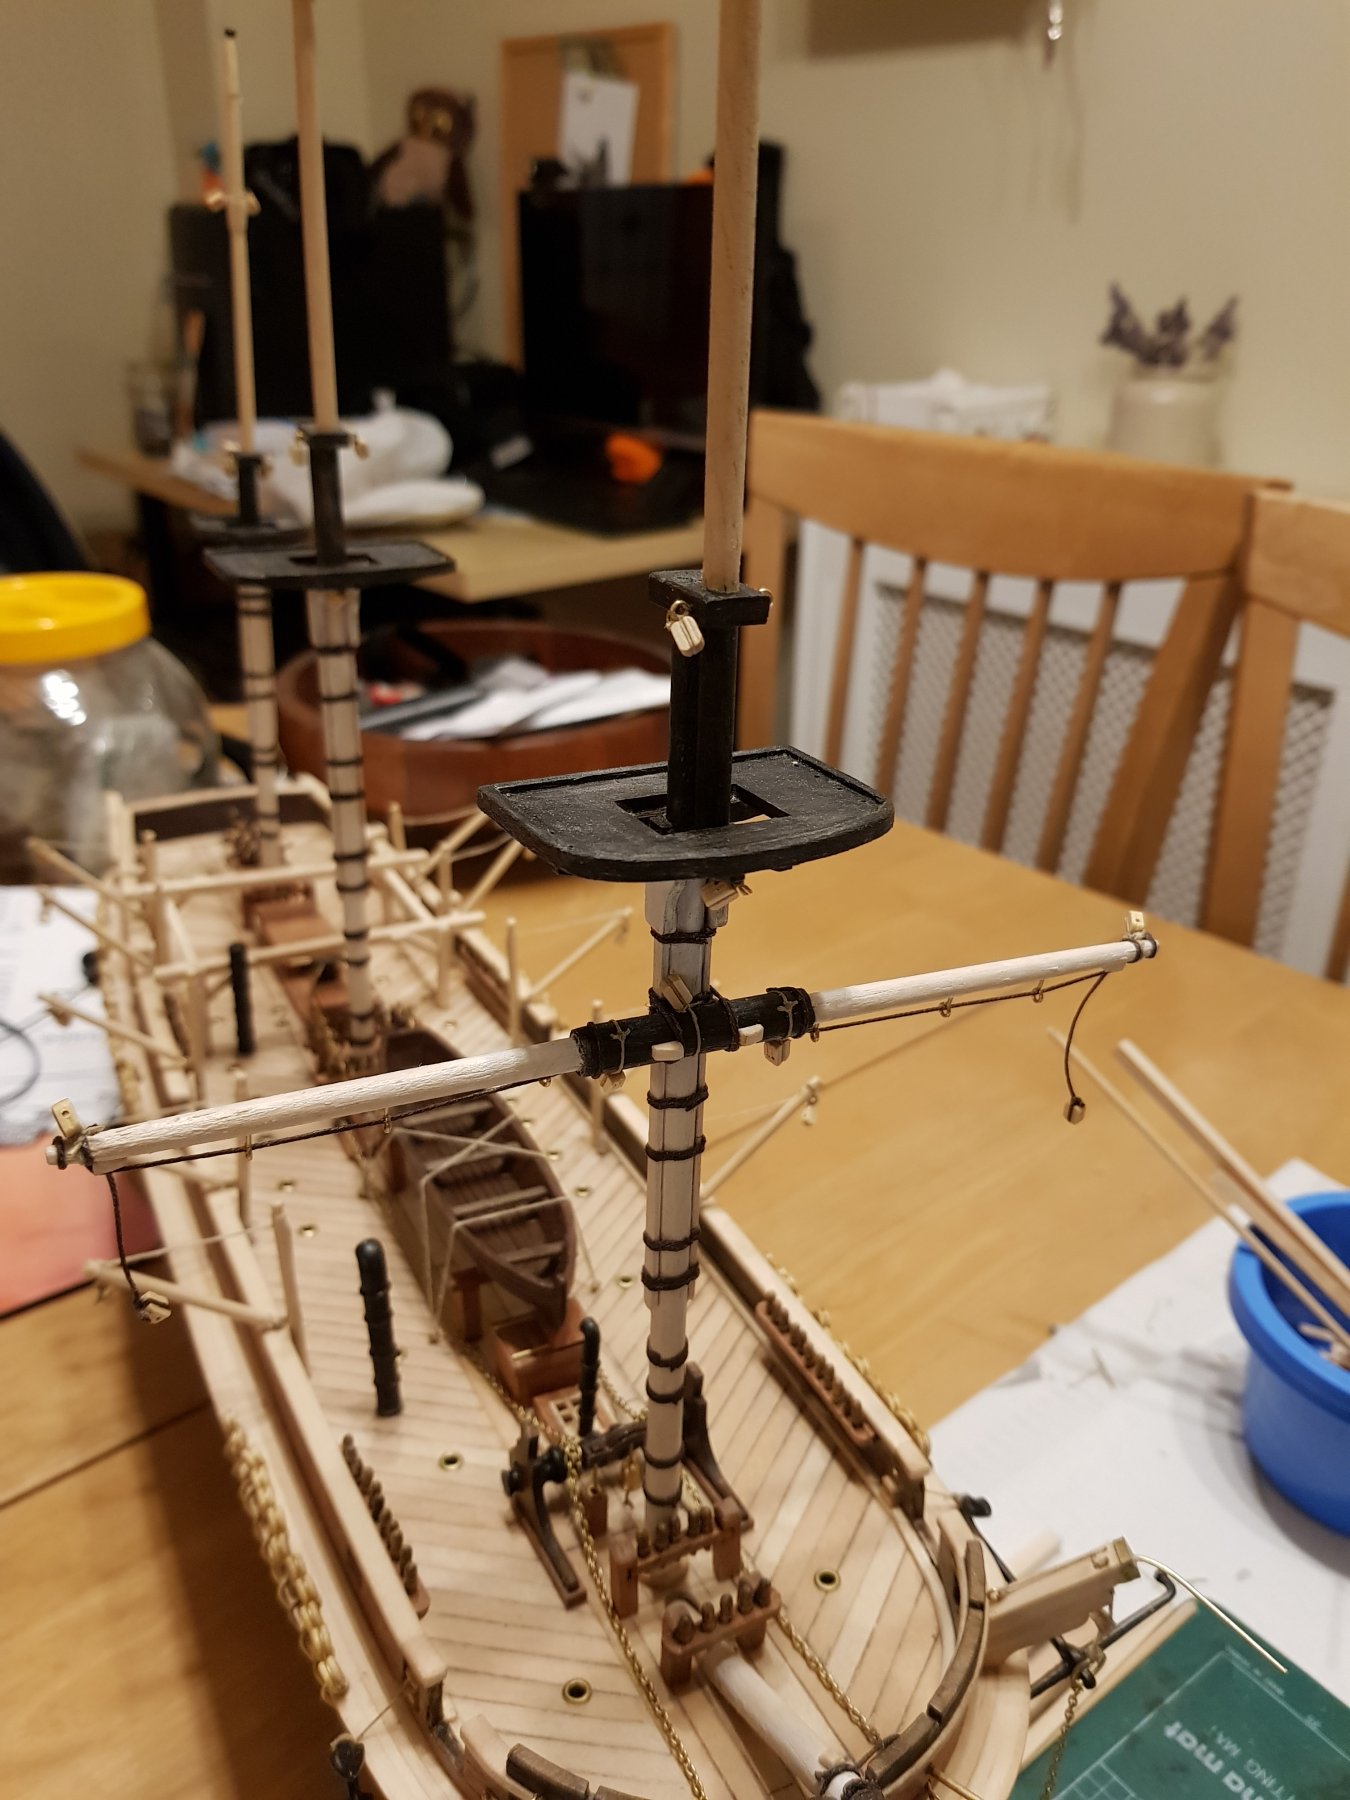
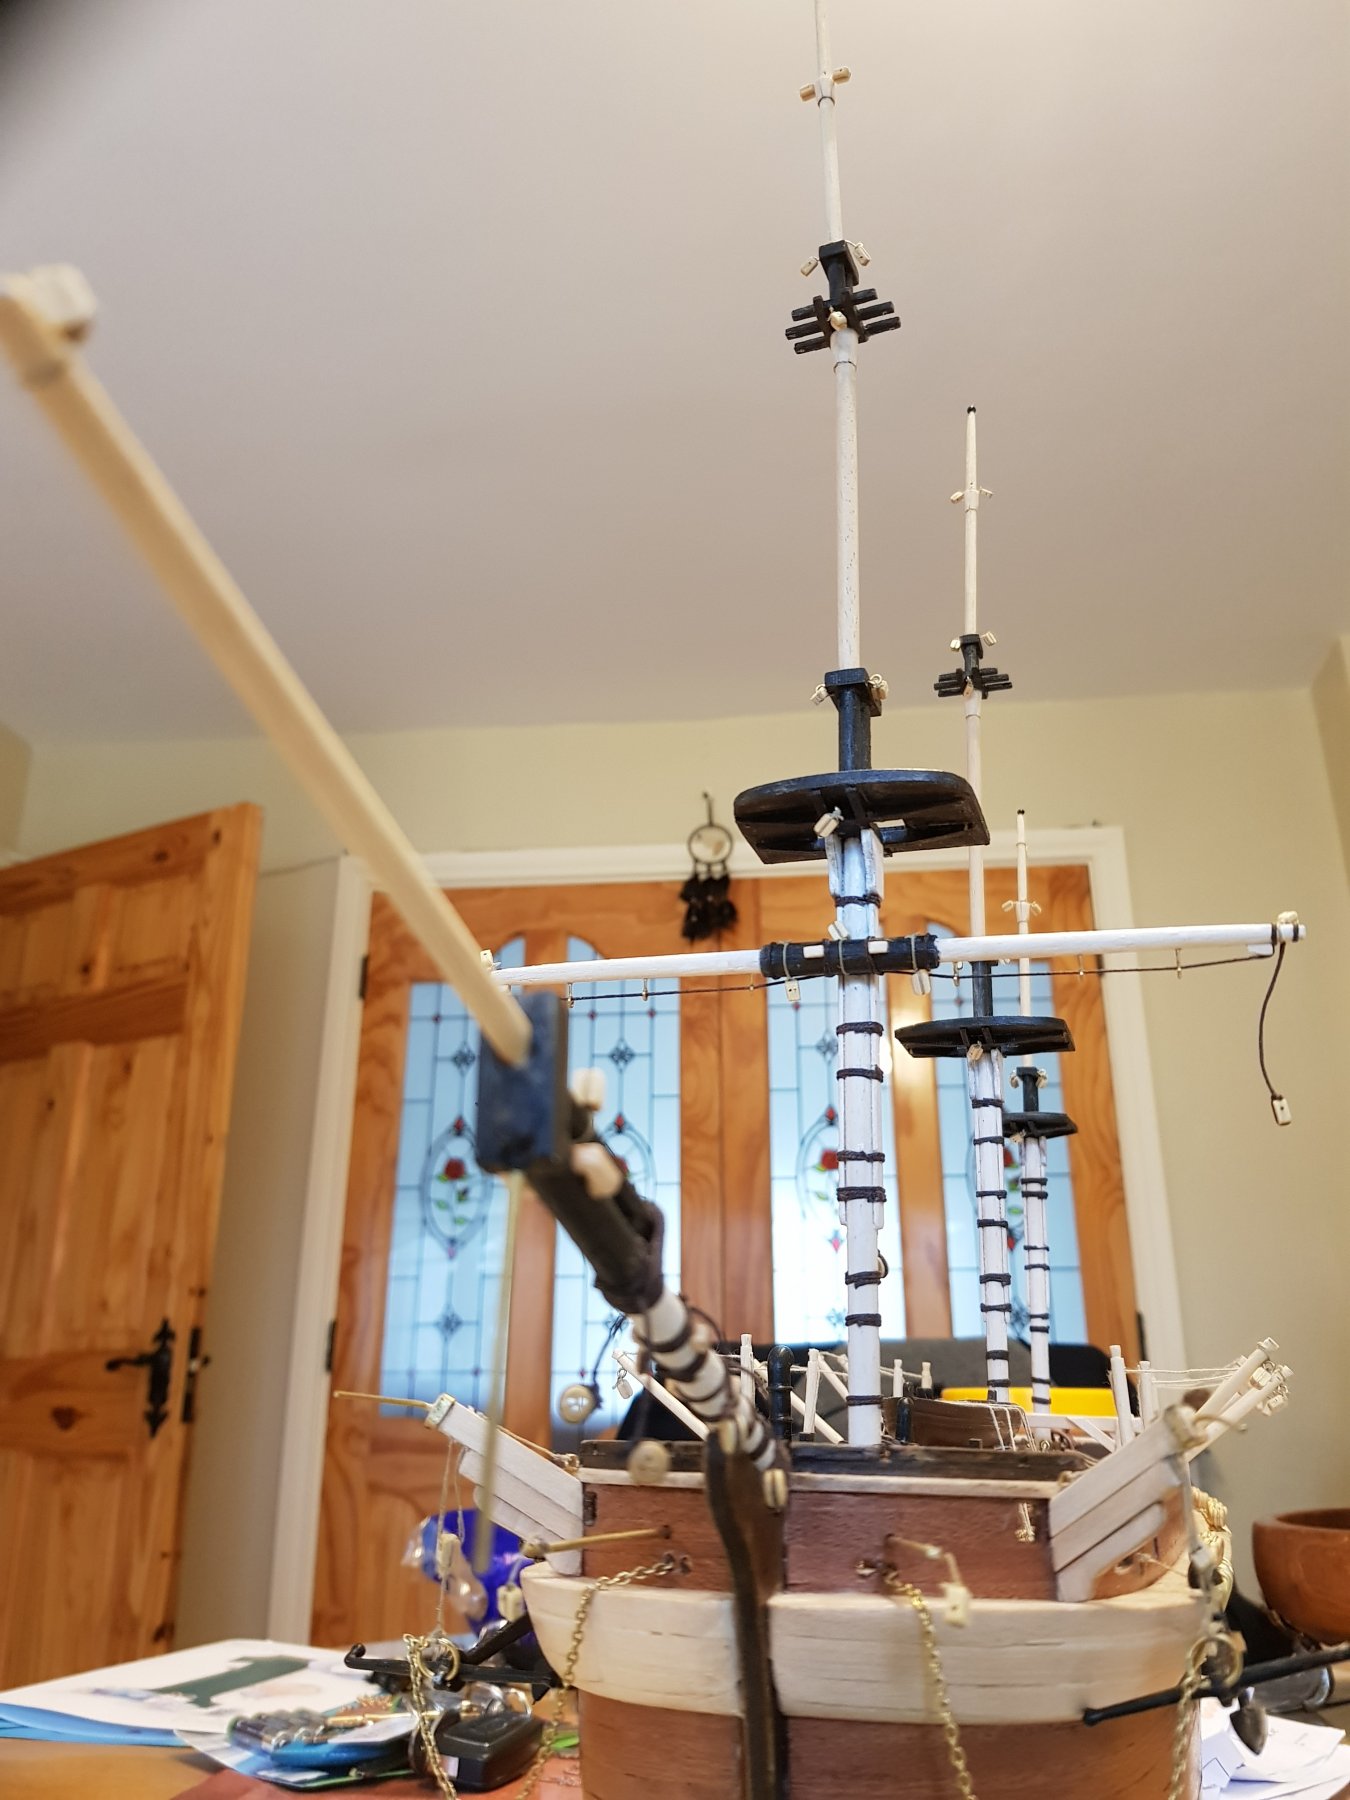
The masts were straight forward enough. It was easier to paint them in sections and then put them together.
I recently got a rotary tool (it was very cheap, wasn't sure I would need it) and thought it would be a good opportunity to try it out on the holes for the mast. It was amazing and saved me so much time 😁.
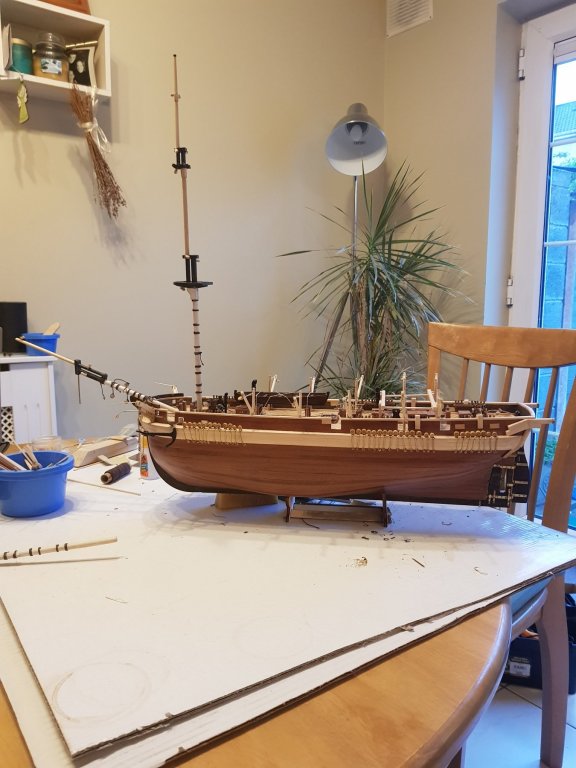
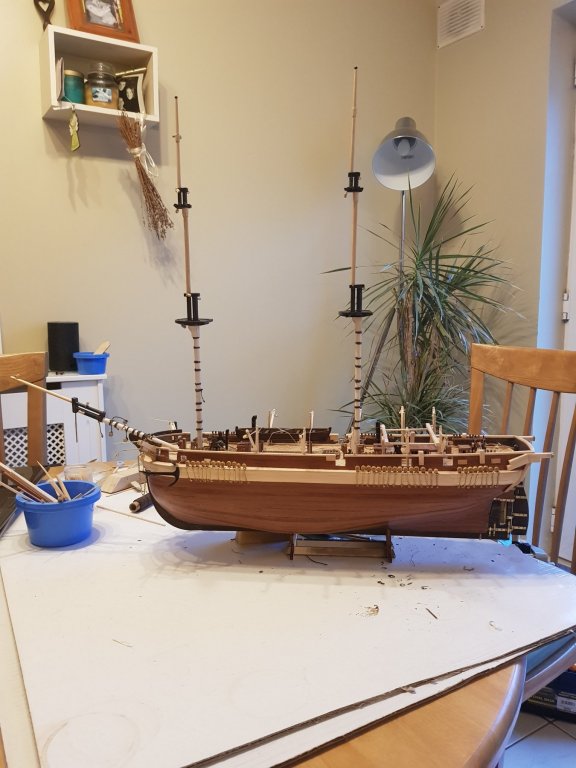
Now its starting to look like a proper ship.
- EJ_L, ScottRC, Haliburton and 5 others
-
8
-
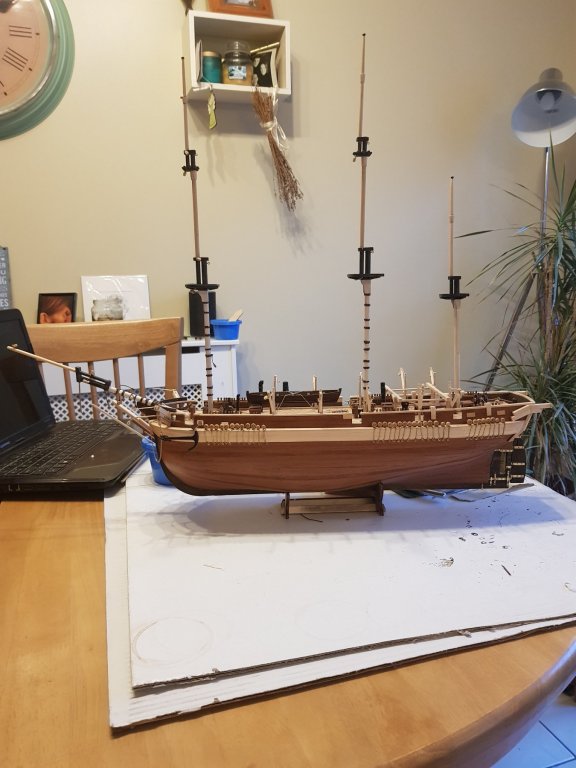
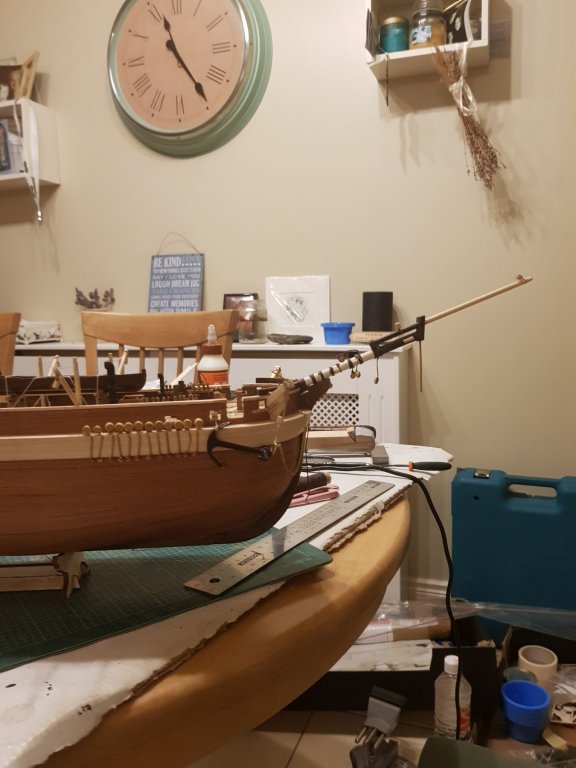
I decided after seeing the bowsprit made up that it could do with some variation to break up the dowl colour. So I'm going to water down some paint and use it more like a stain.

I also moved the ropes and wood block on the 1st half up higher than where they are on the instructions. The placement on the instructions didn't match where they should be on the pictures.
- Diver, GrandpaPhil, Cabbie and 3 others
-
6
-
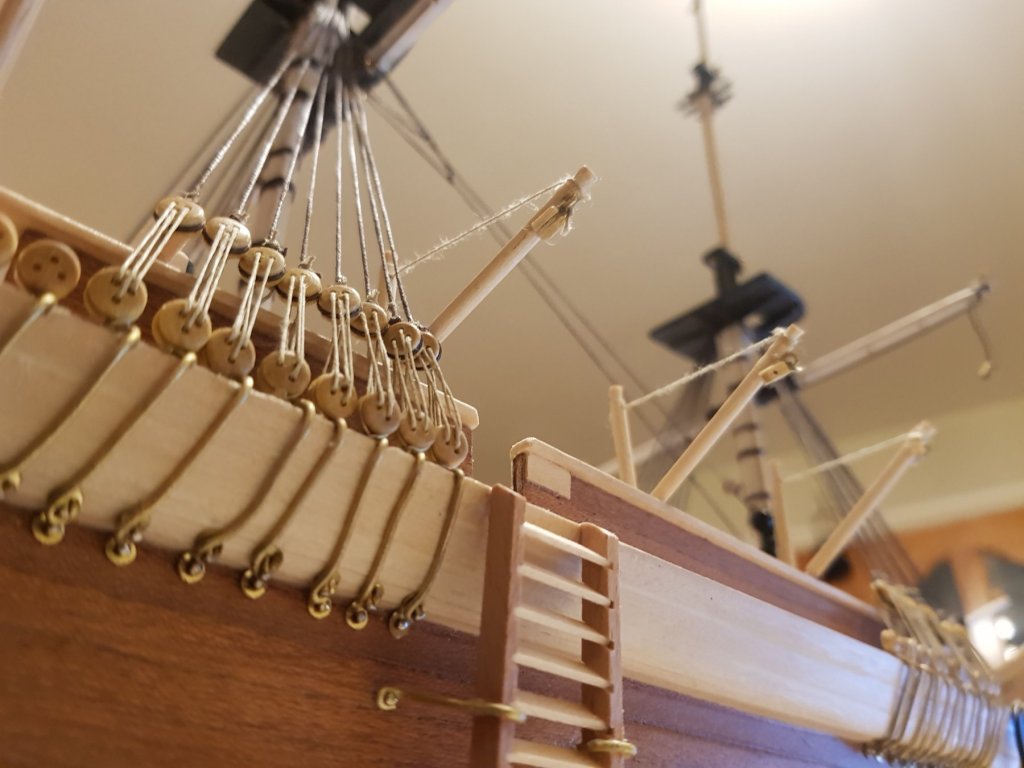
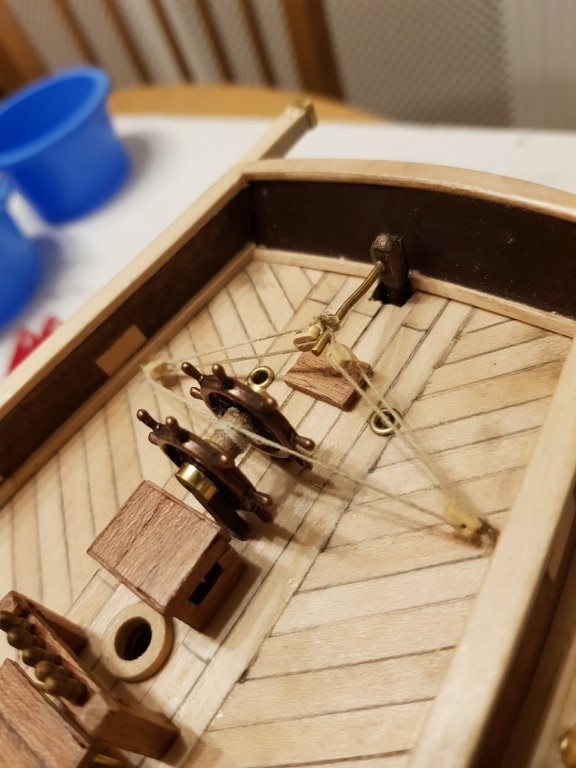
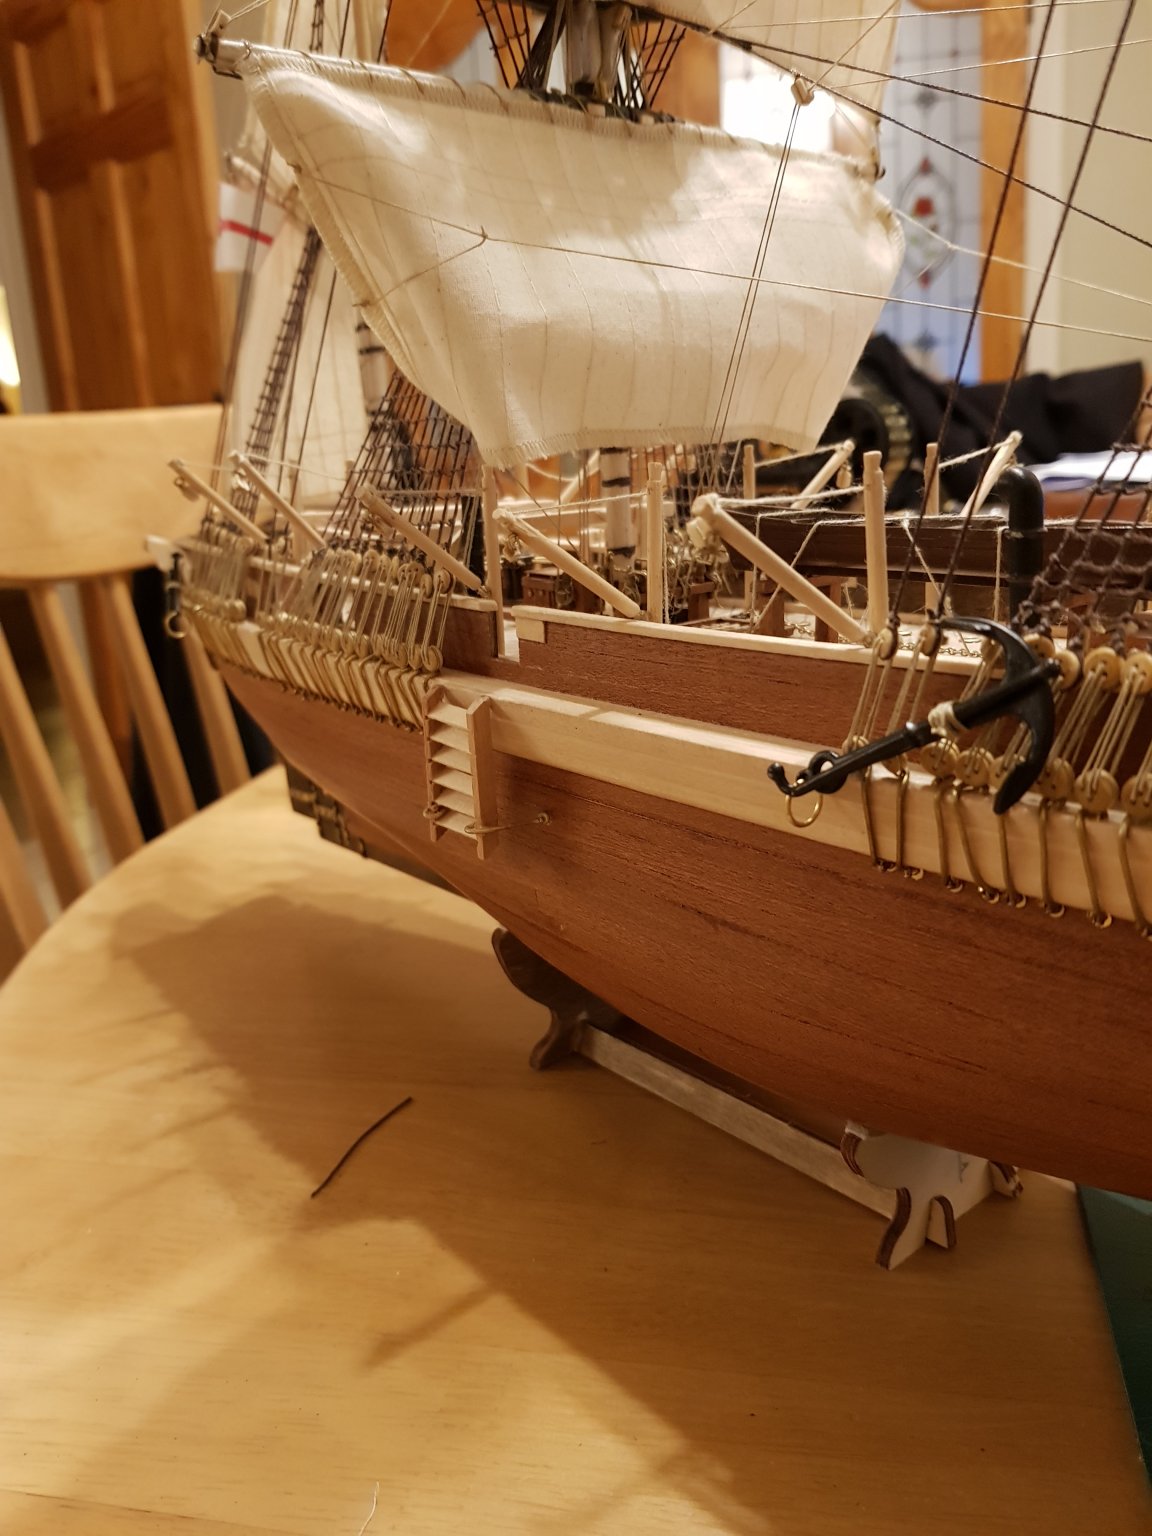
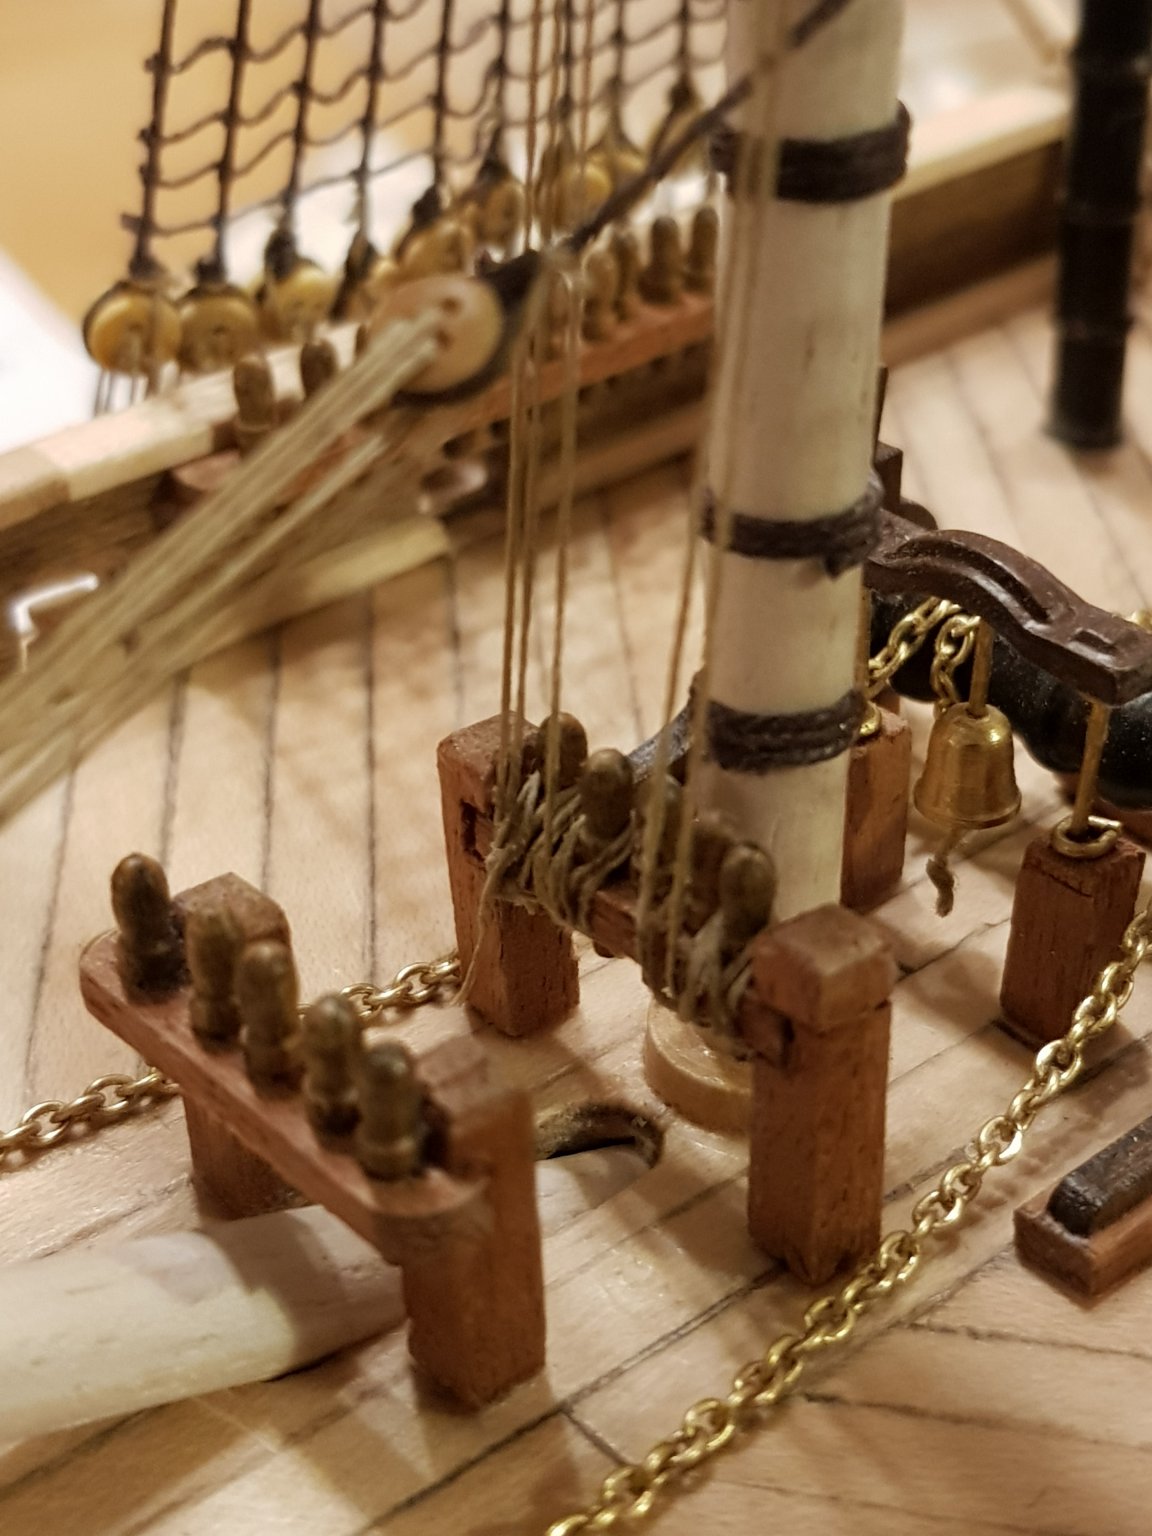
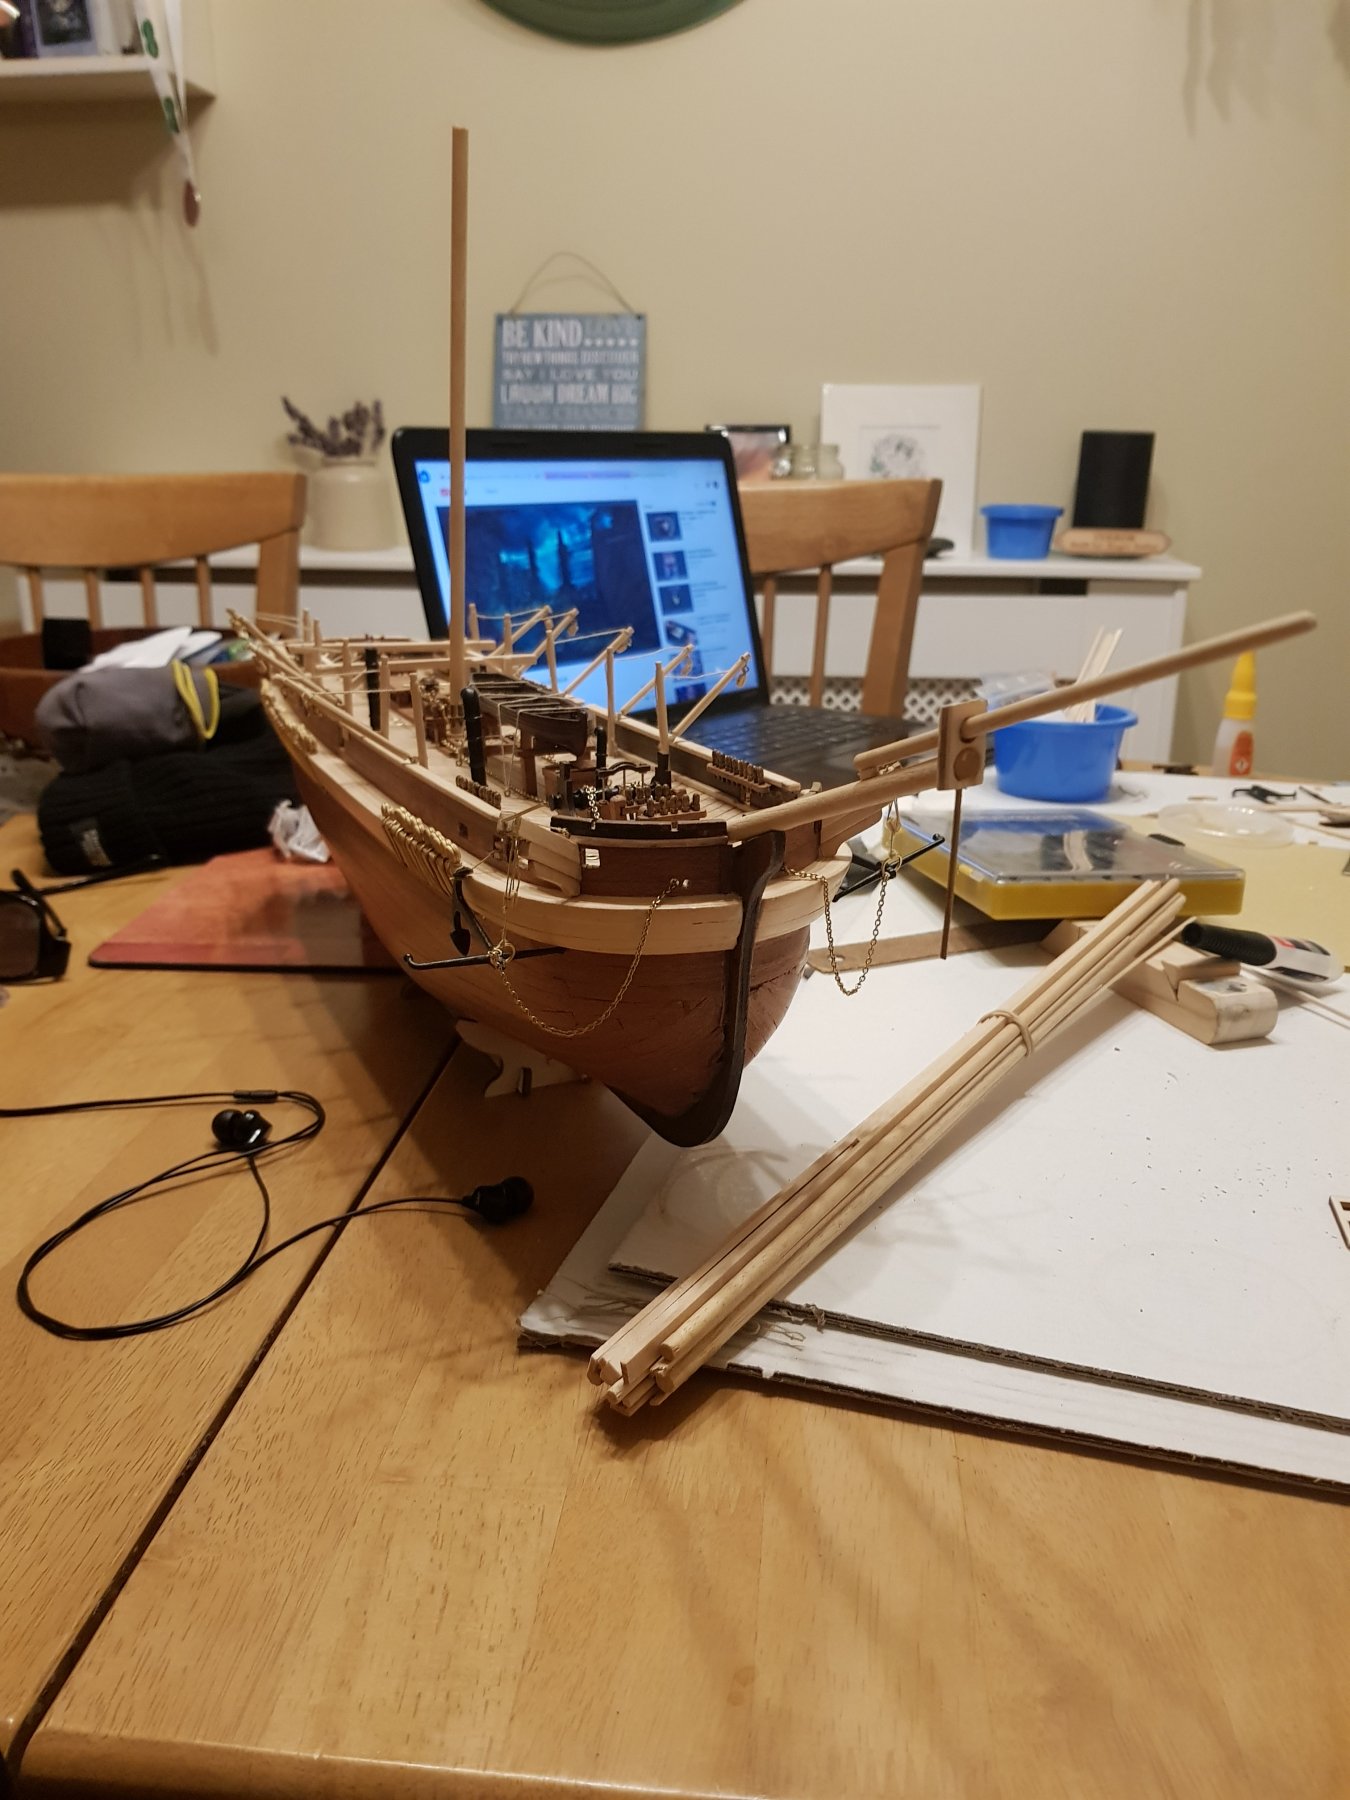
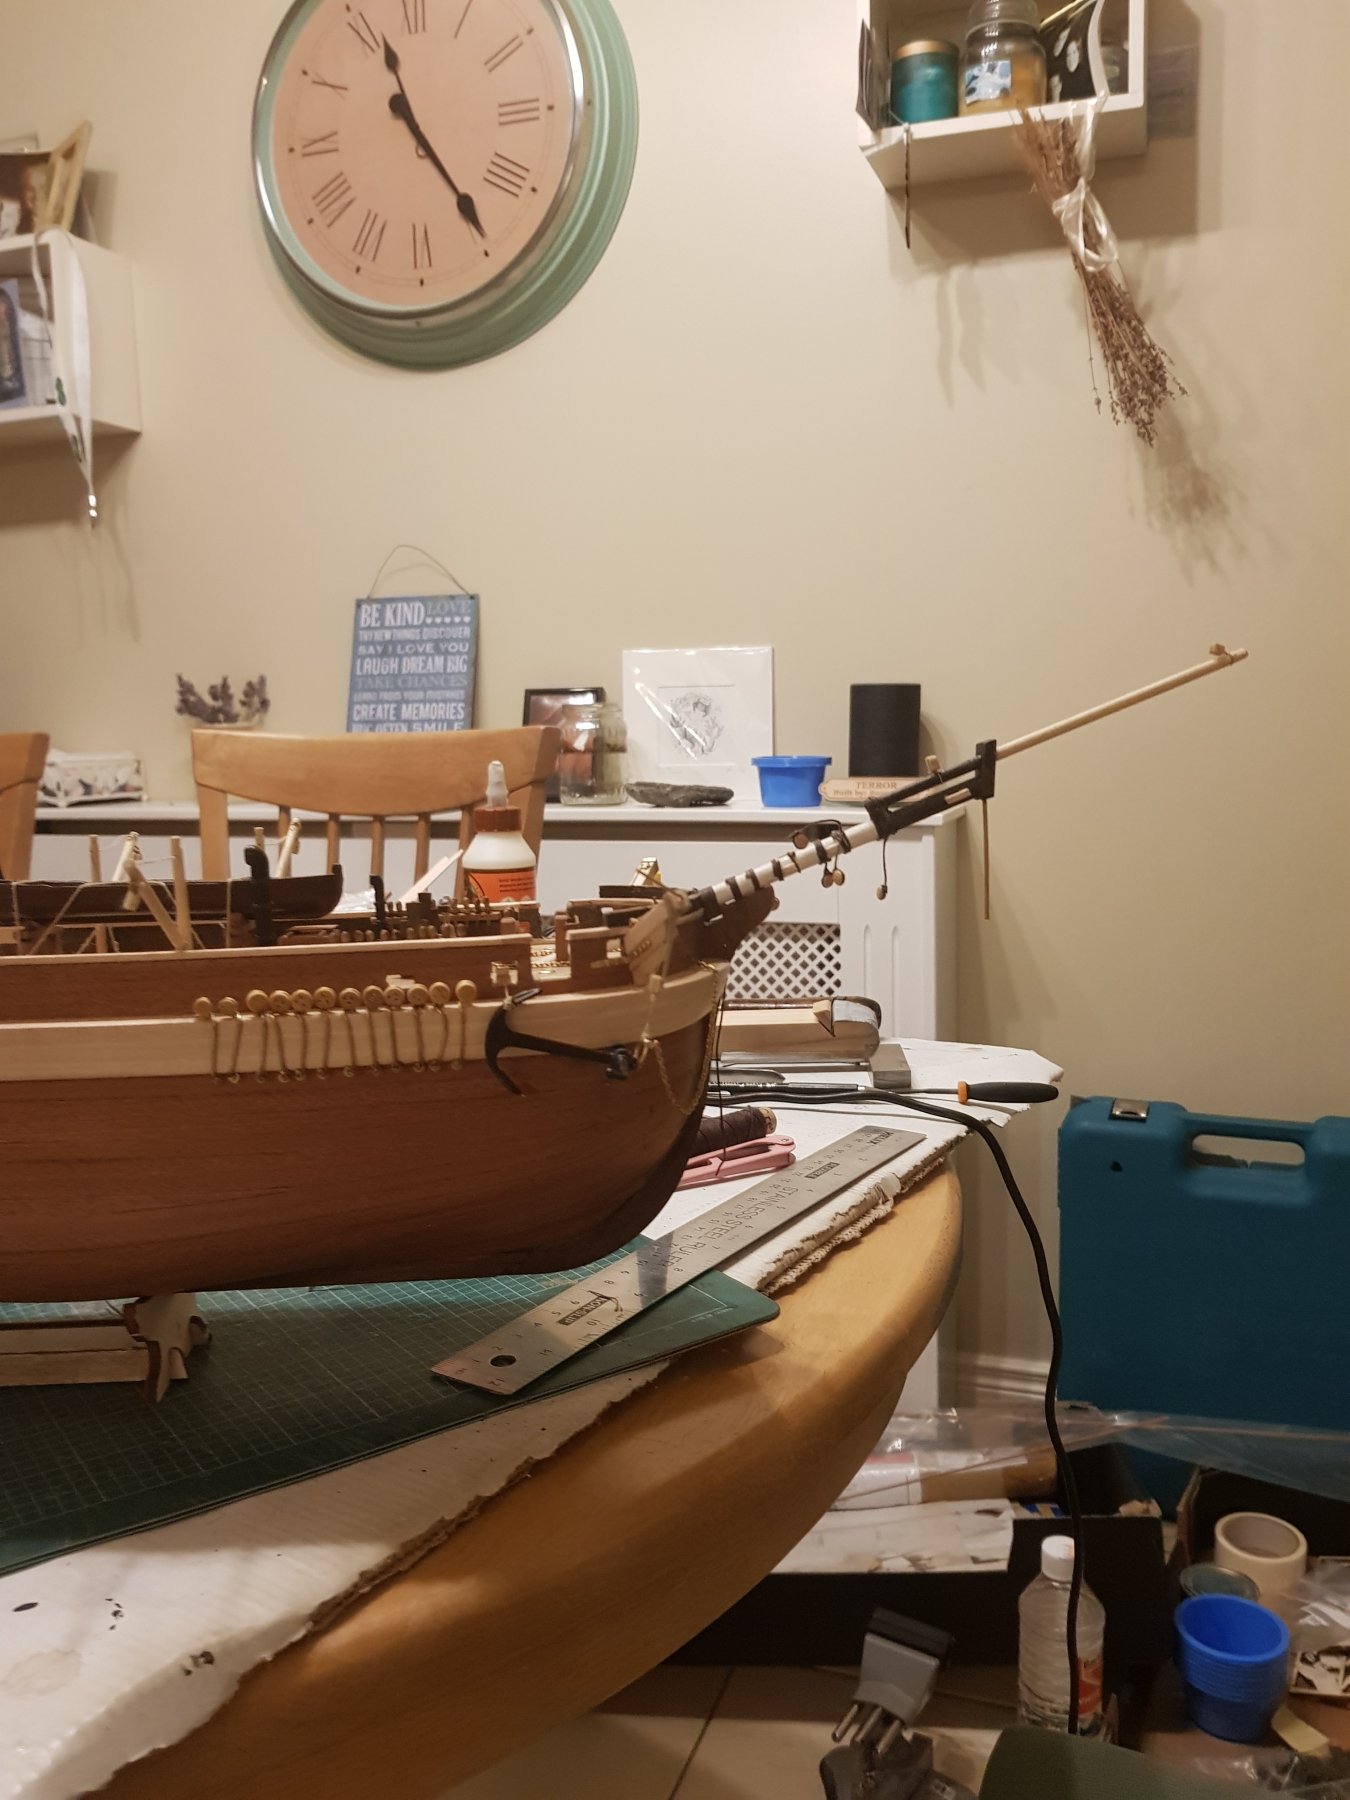
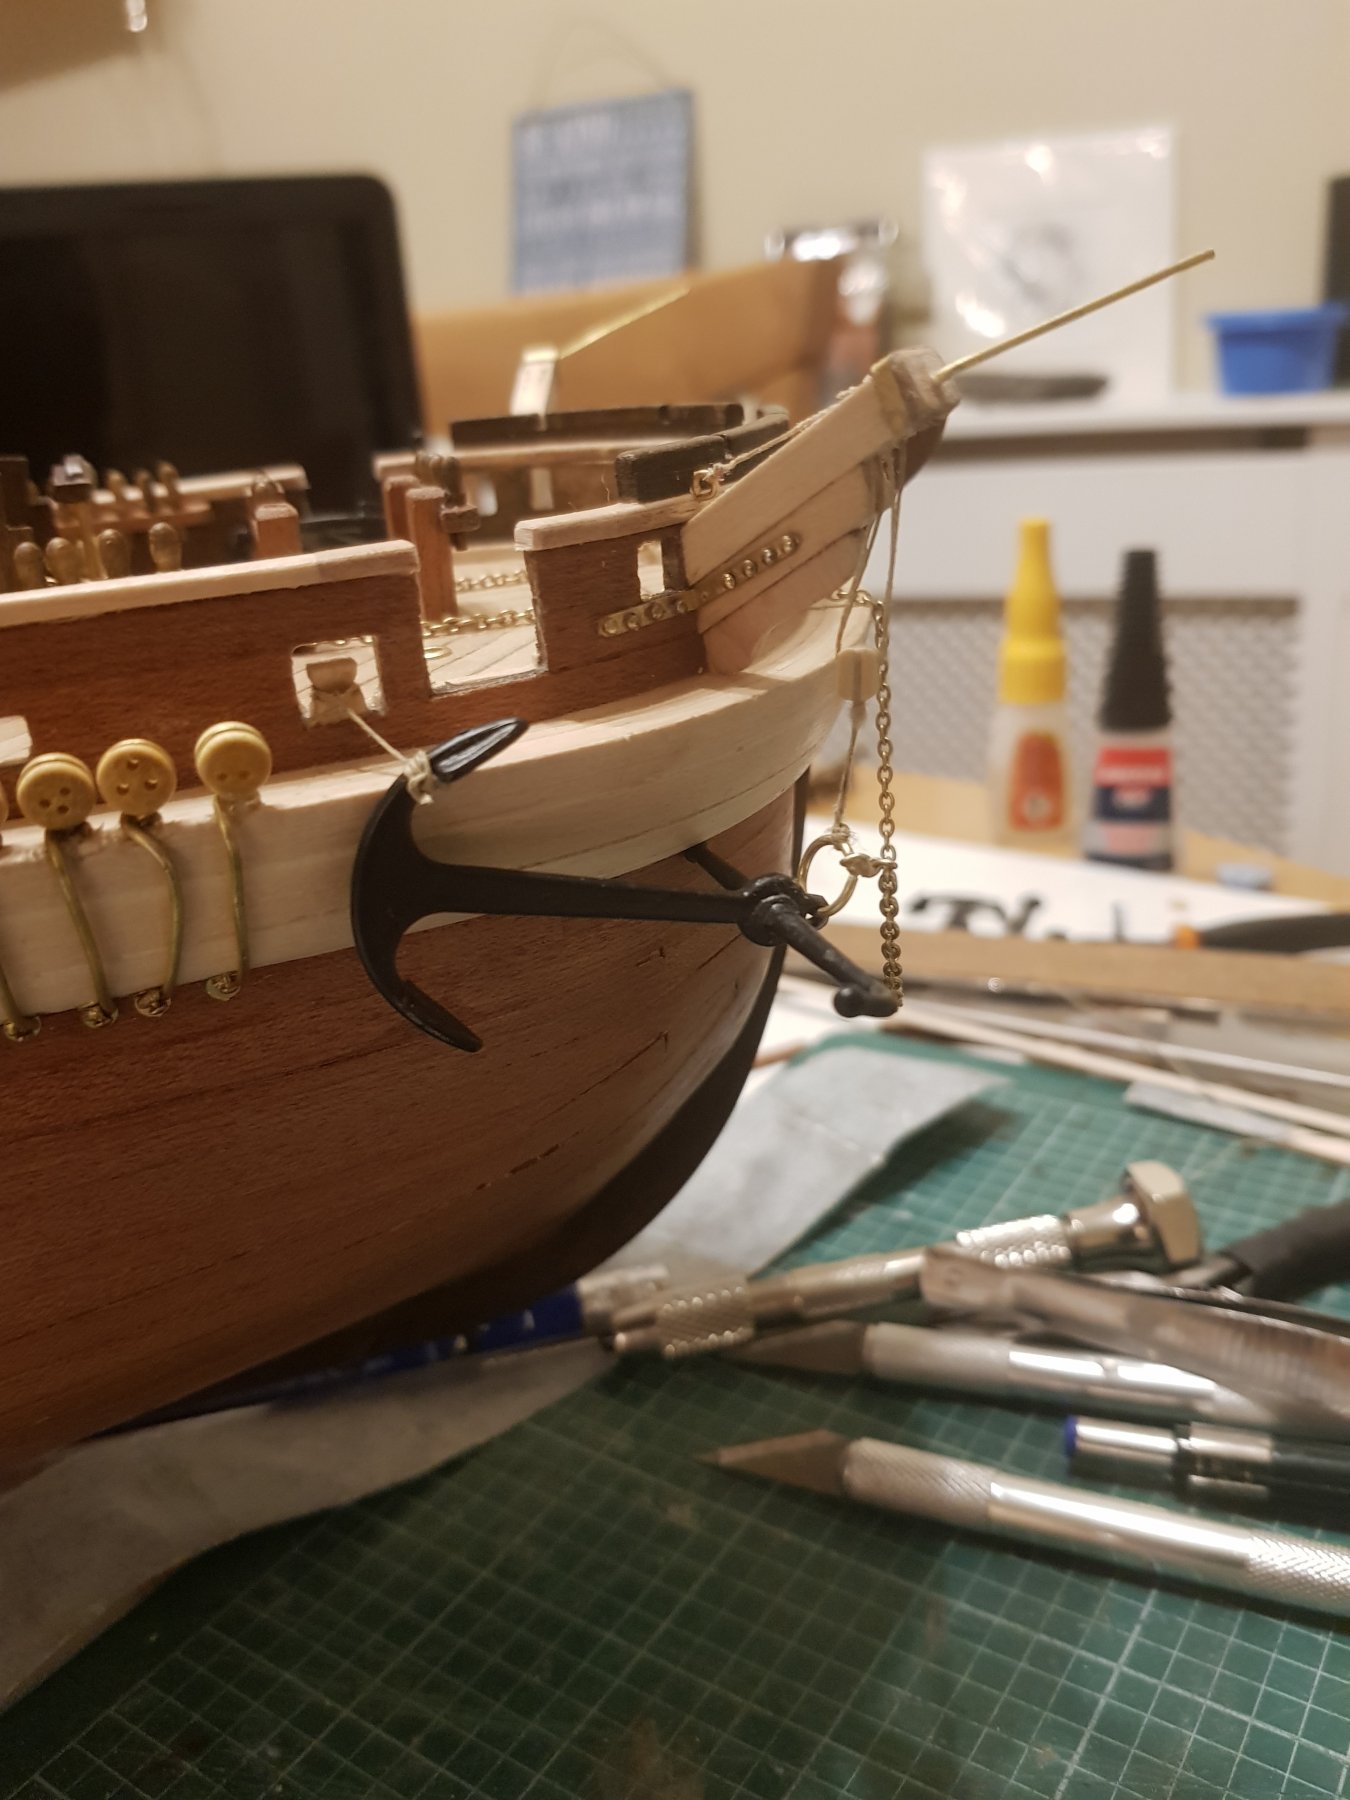
I ordered beeswax online and then used it on the line holding the ships boat. It makes a huge difference to candle wax. Then moved onto the pump handles, this has a lot of tight bends that were challenging and I had to do it twice. The anchor chains were straightforward though.
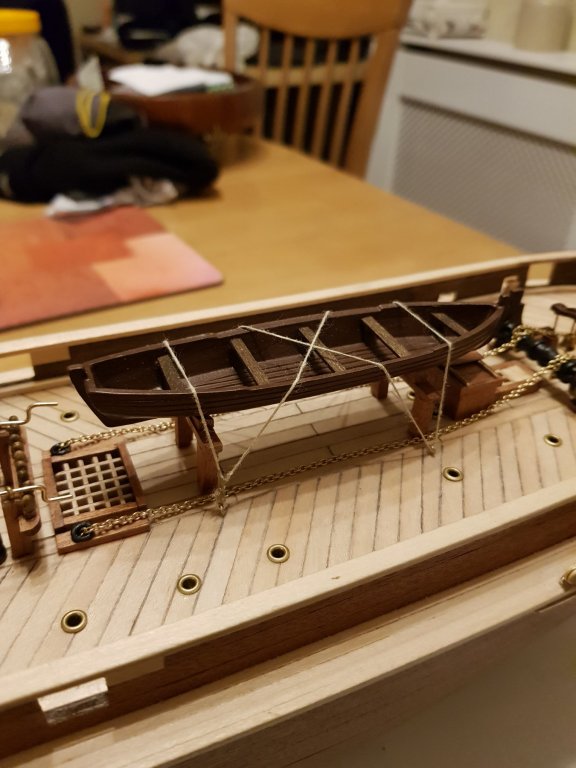
The davits were ok, hardest part was trying to fix the eyebolts together at an angle with the superglue. But with theses attached and the brass rods at the bow, every time I move something is getting snagged.
The anchor chain links are too small to fit the loop that the anchor is attached to. In the end I had to file a small bit of the loop.

- ScottRC, Cabbie, consitution and 4 others
-
7
-
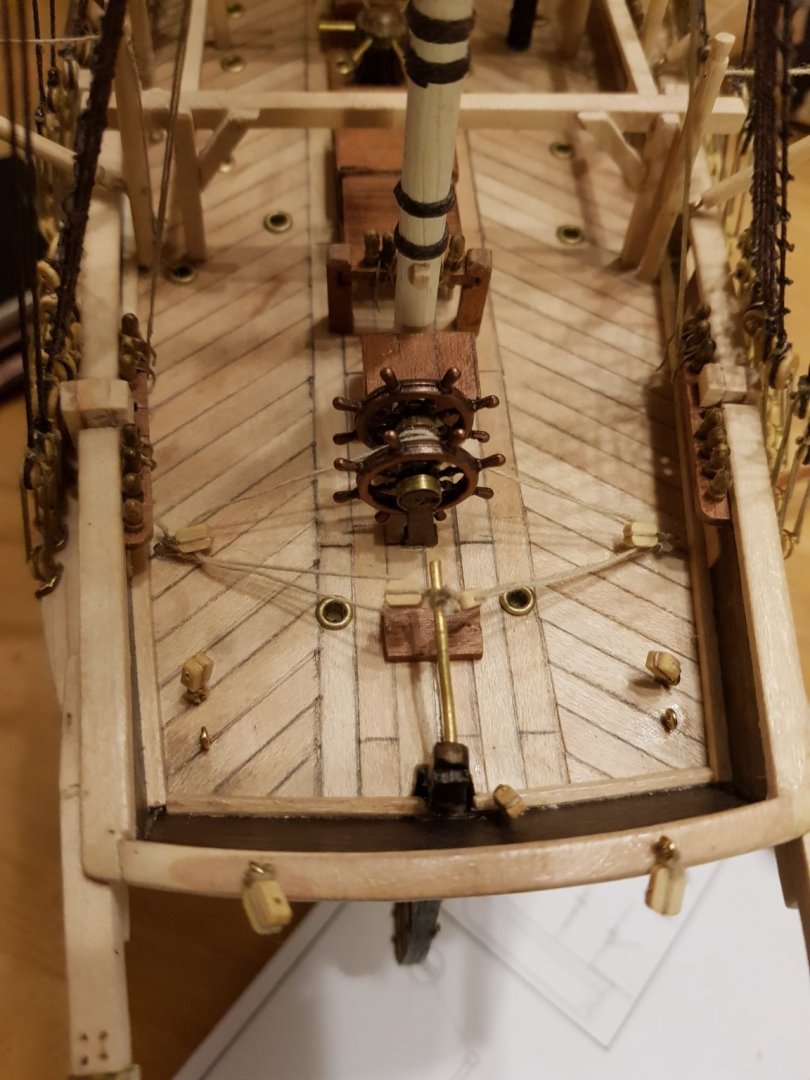
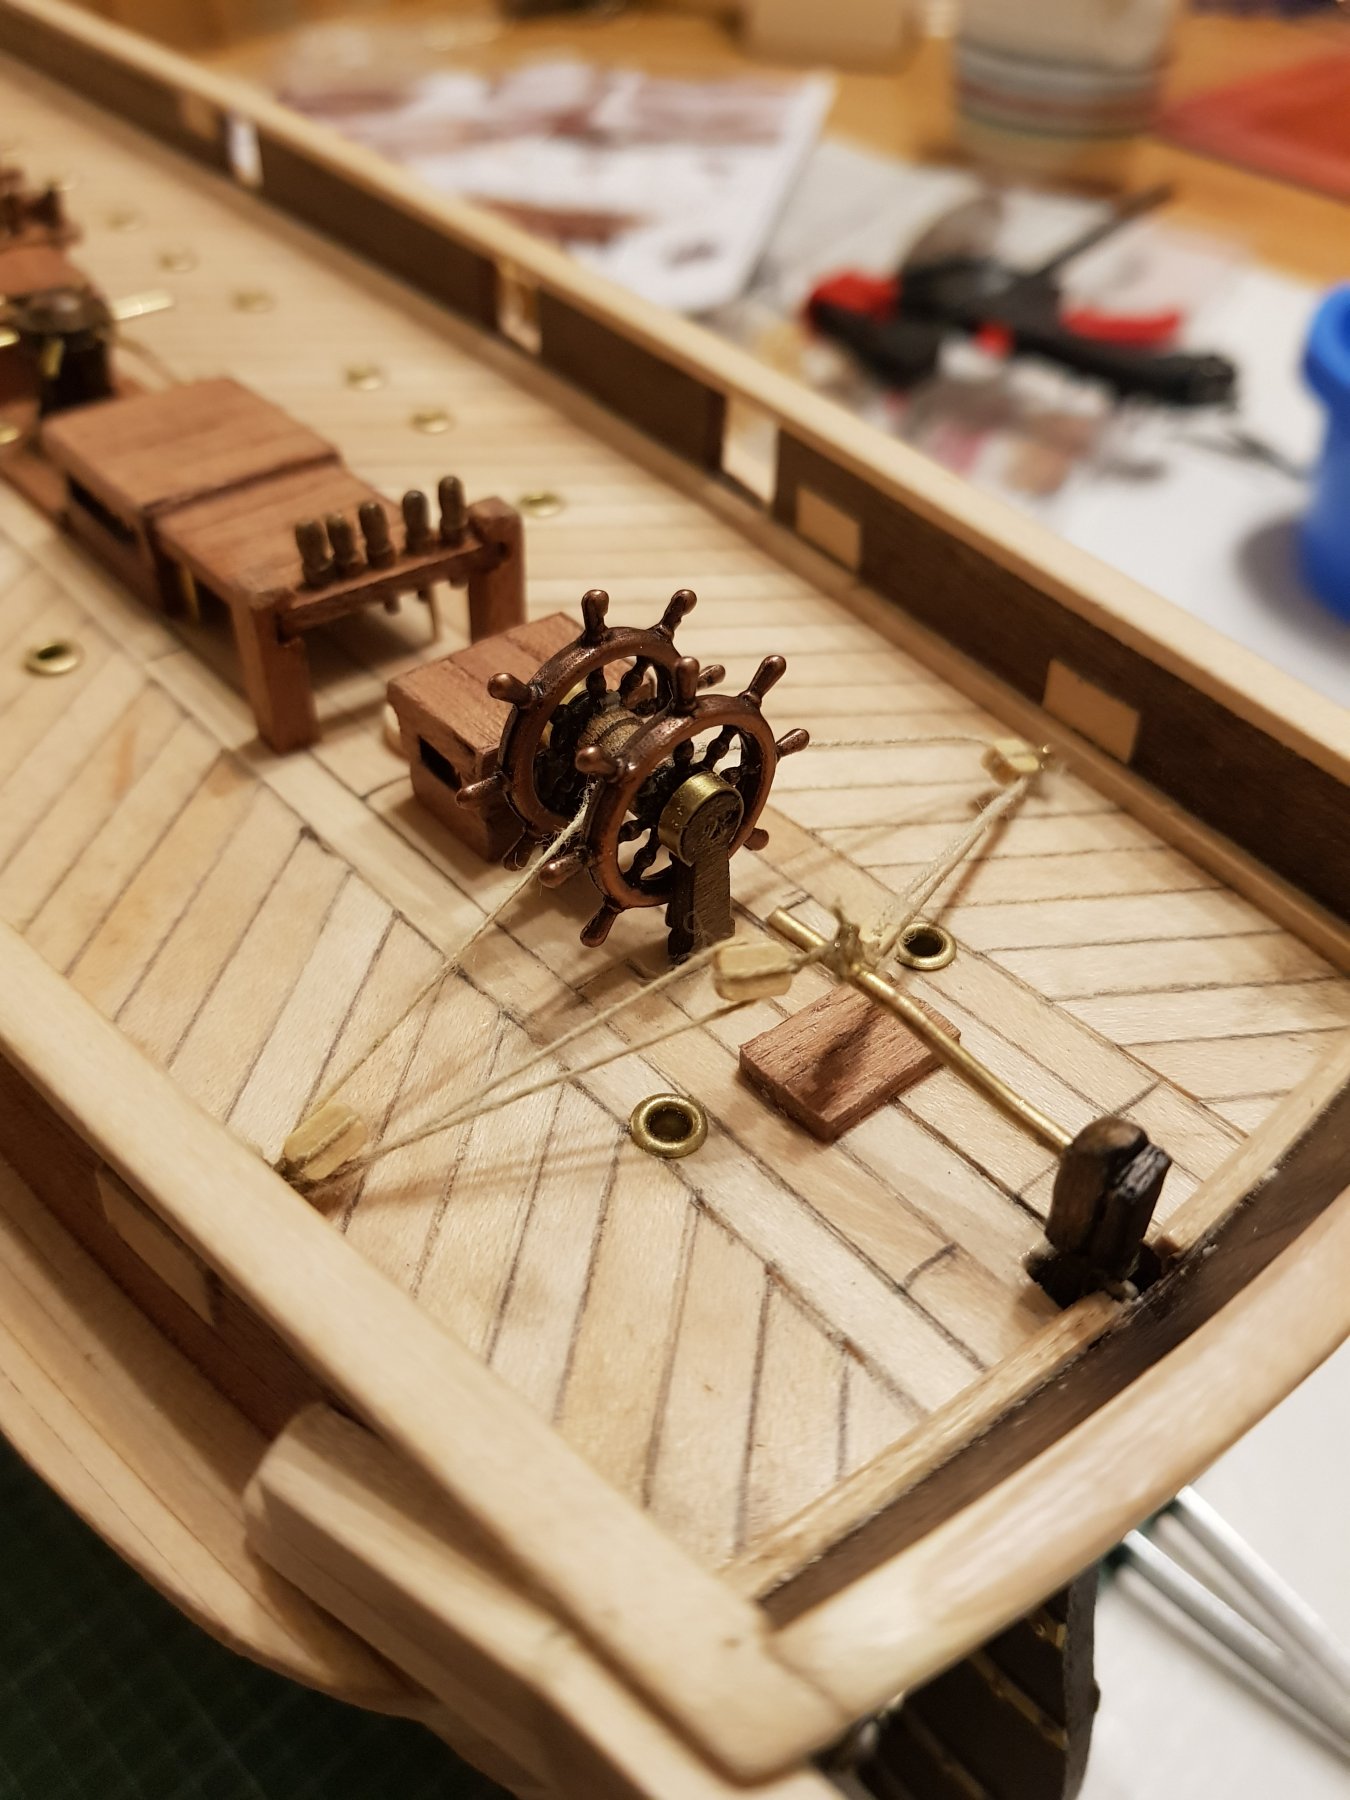
After the parts turned up I attached the wheel and rudder. I couldn't find beeswax anywhere so I used a candle. I don't think it made it any easier.

still having a great time making this 😁
- catopower, ScottRC, GrandpaPhil and 5 others
-
8
-
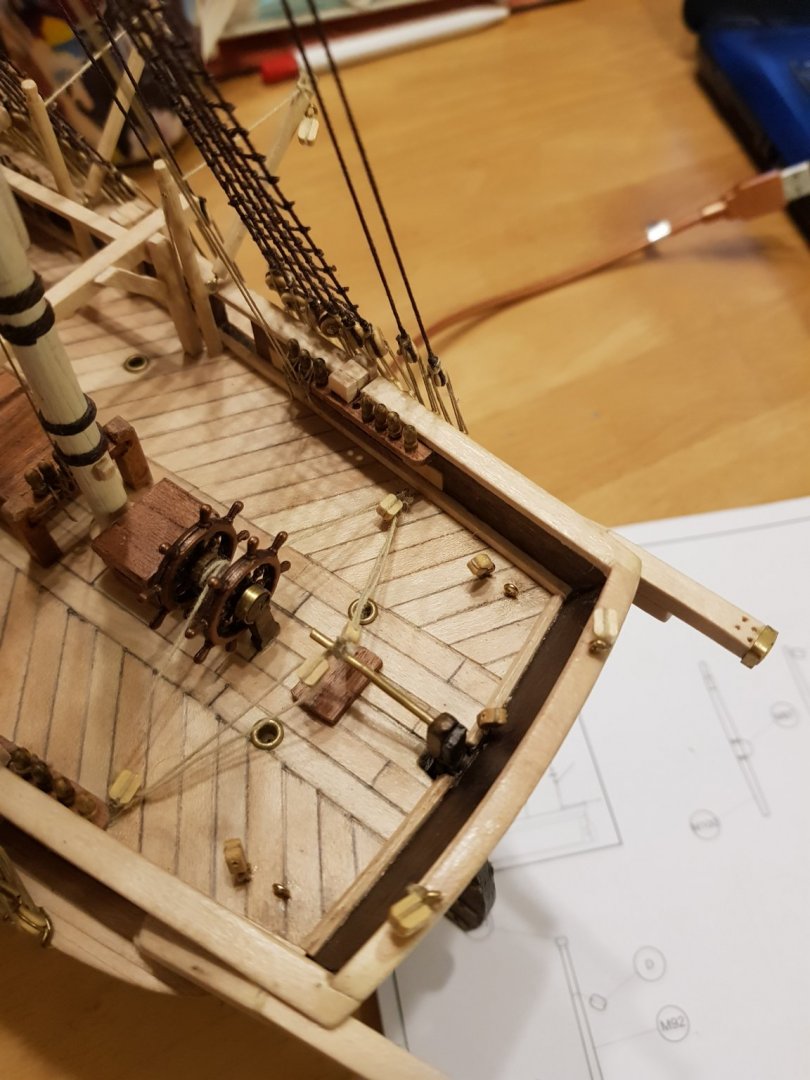
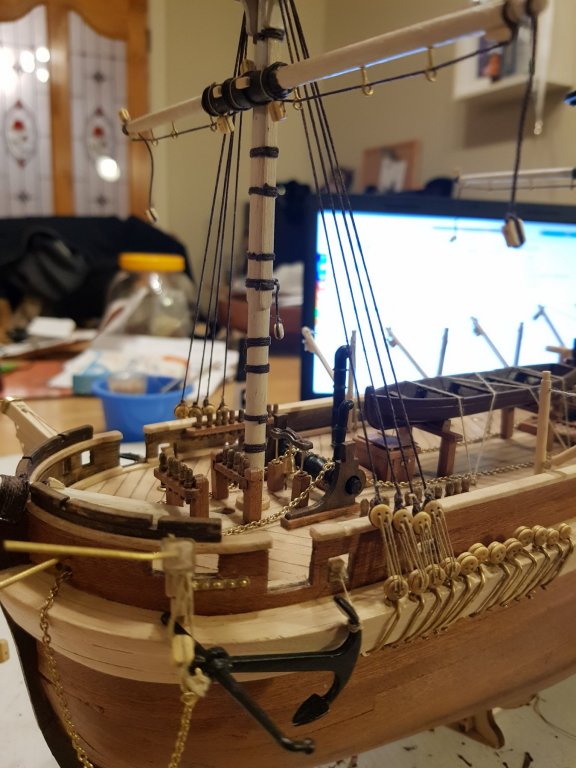
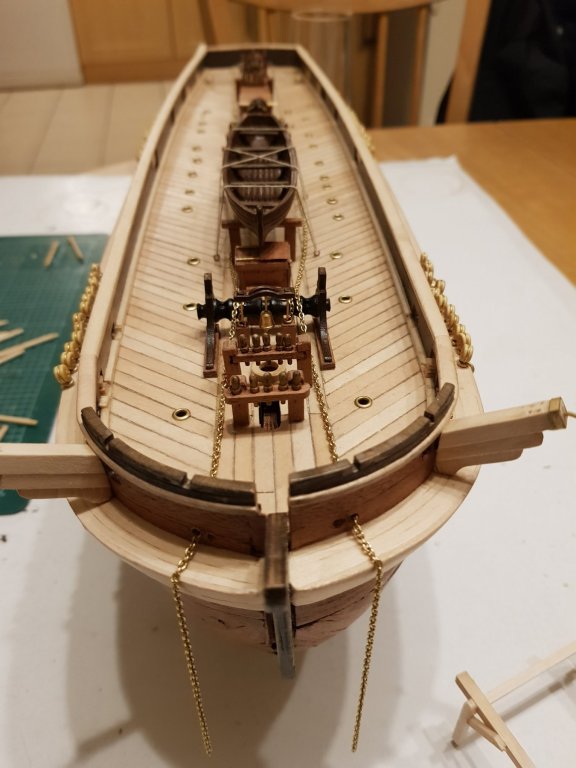
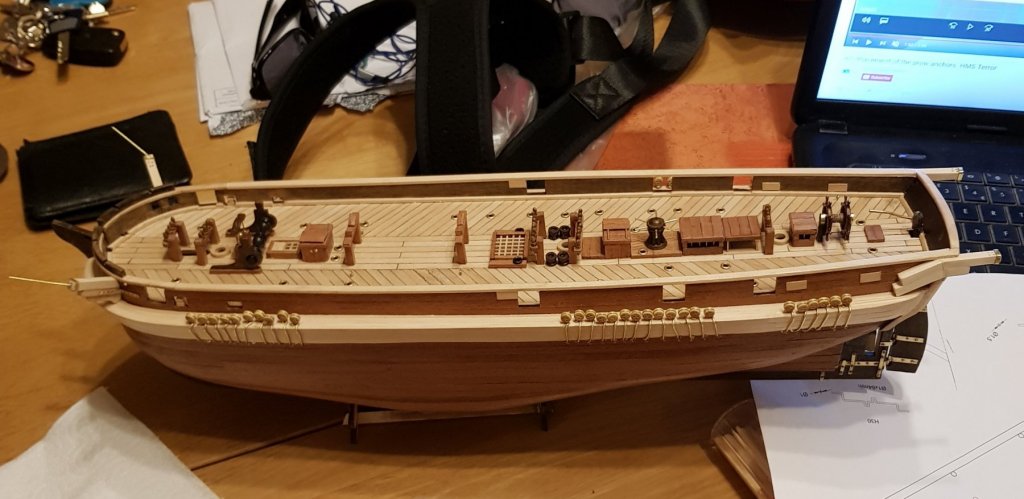
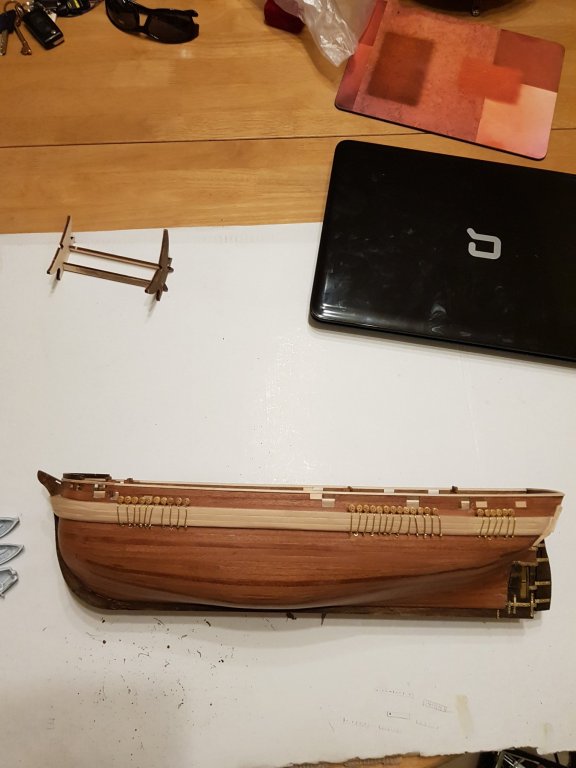
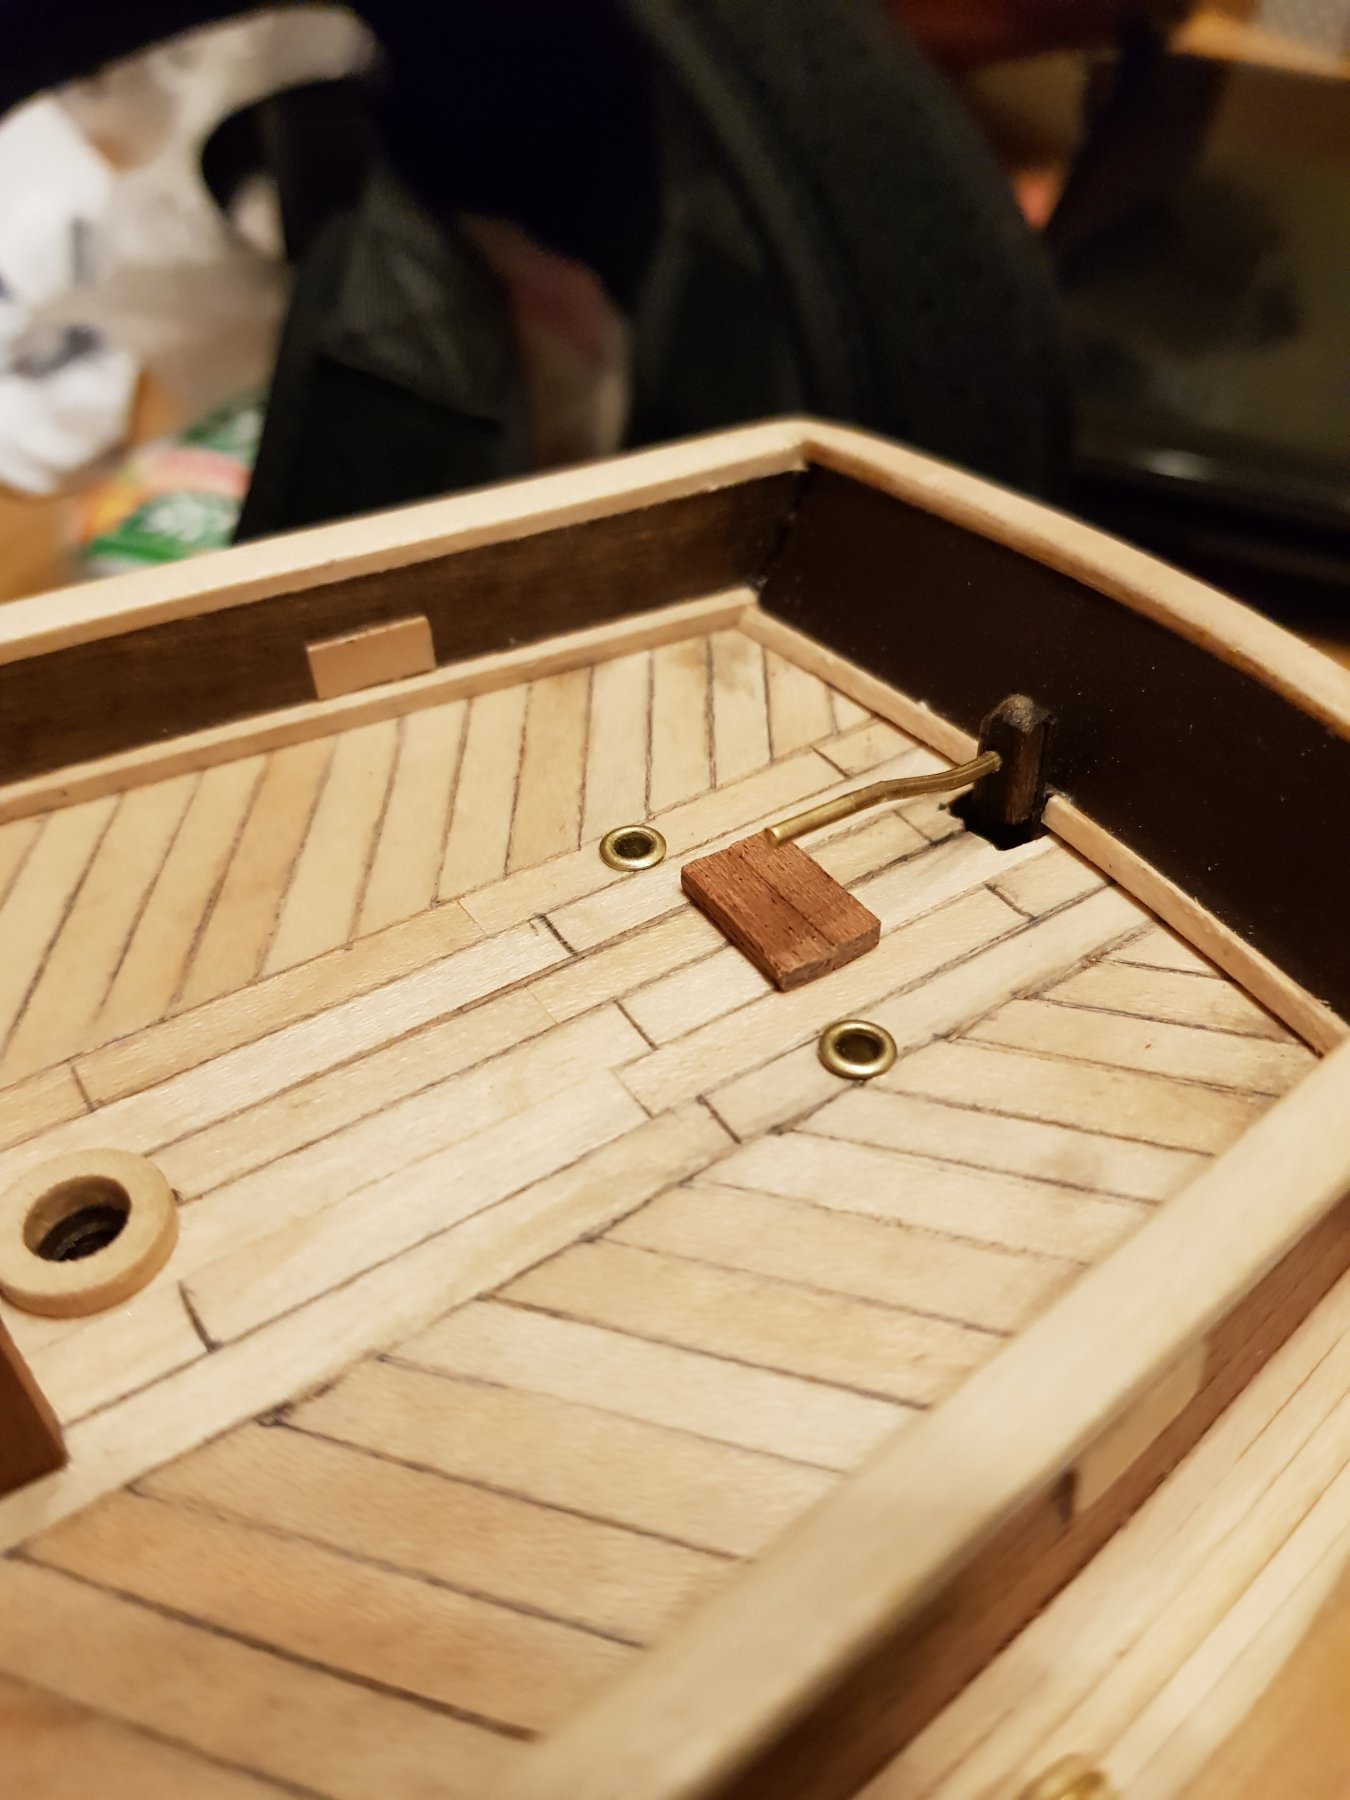
While waiting for them to arrive I worked on the parts that go on the deck. Making them but not gluing them on till I had all finished.
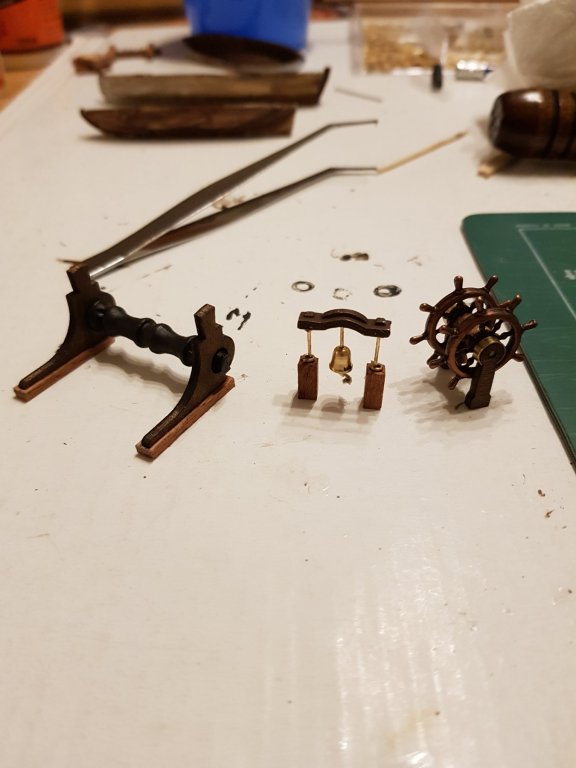


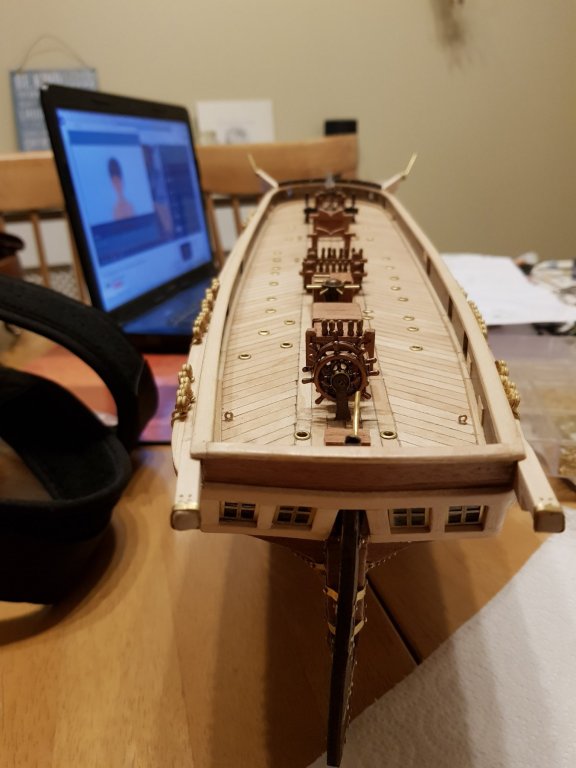
These were a change, up till now everything had been to do with the hull. But these are small parts made separate.
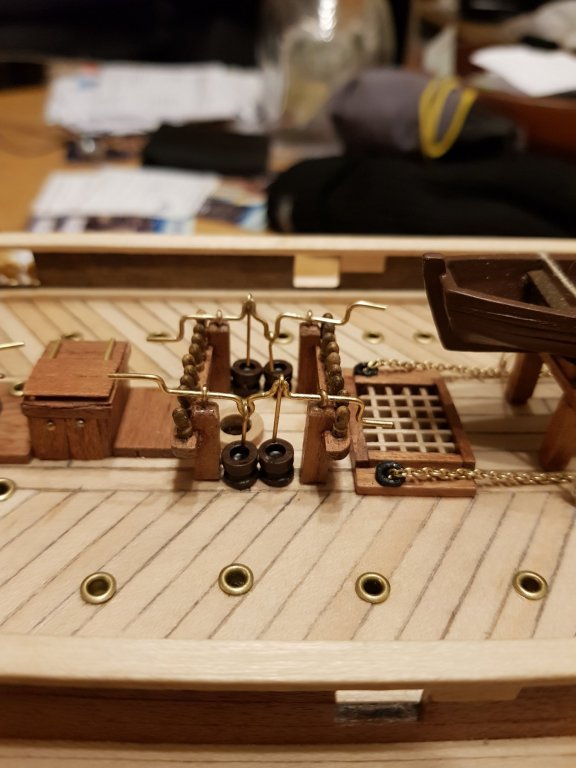
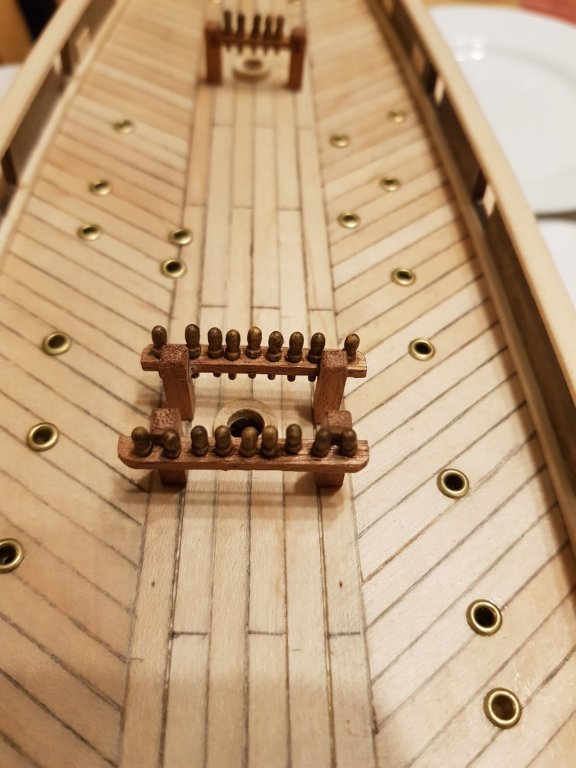
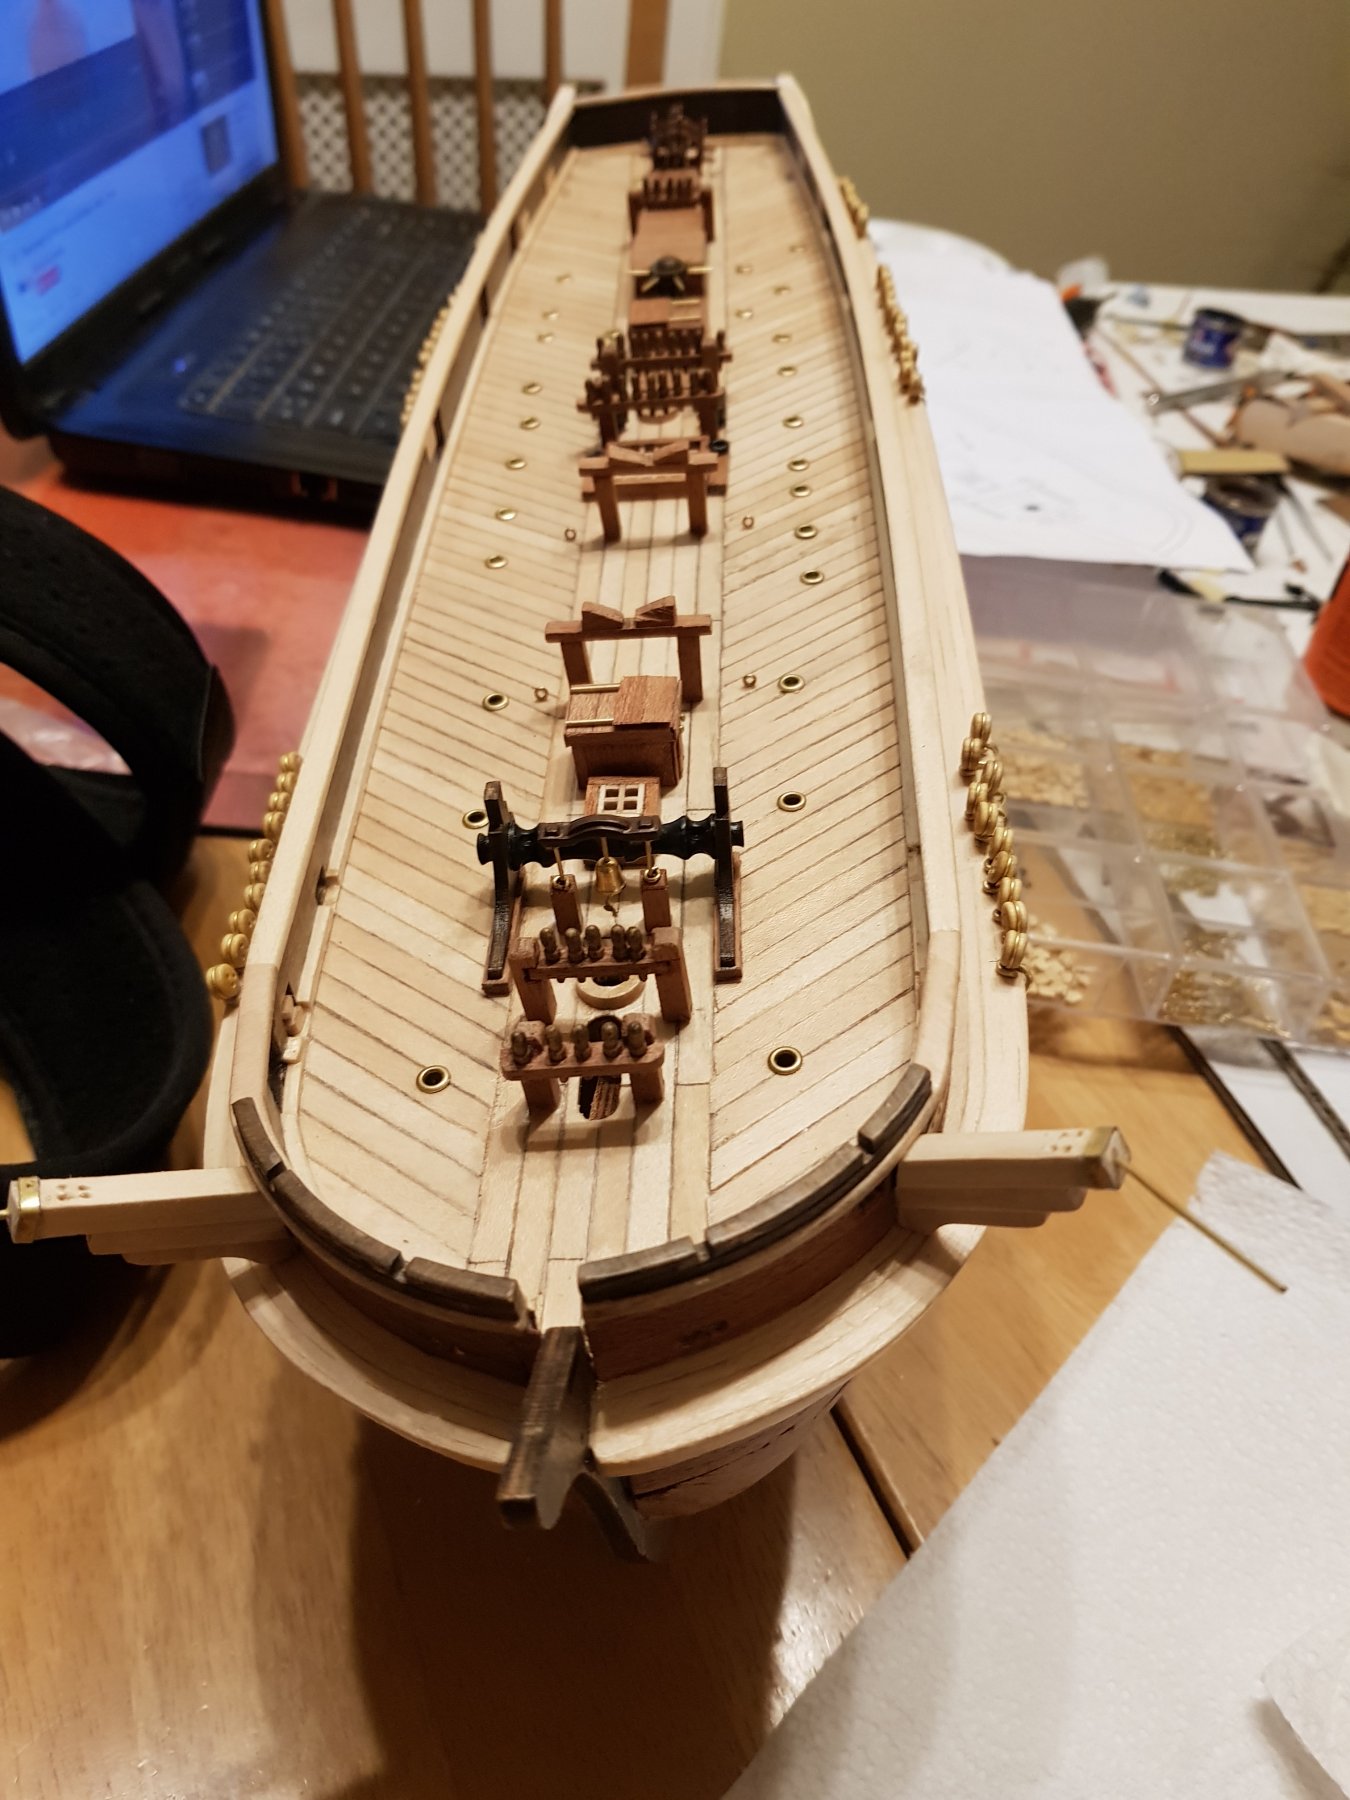
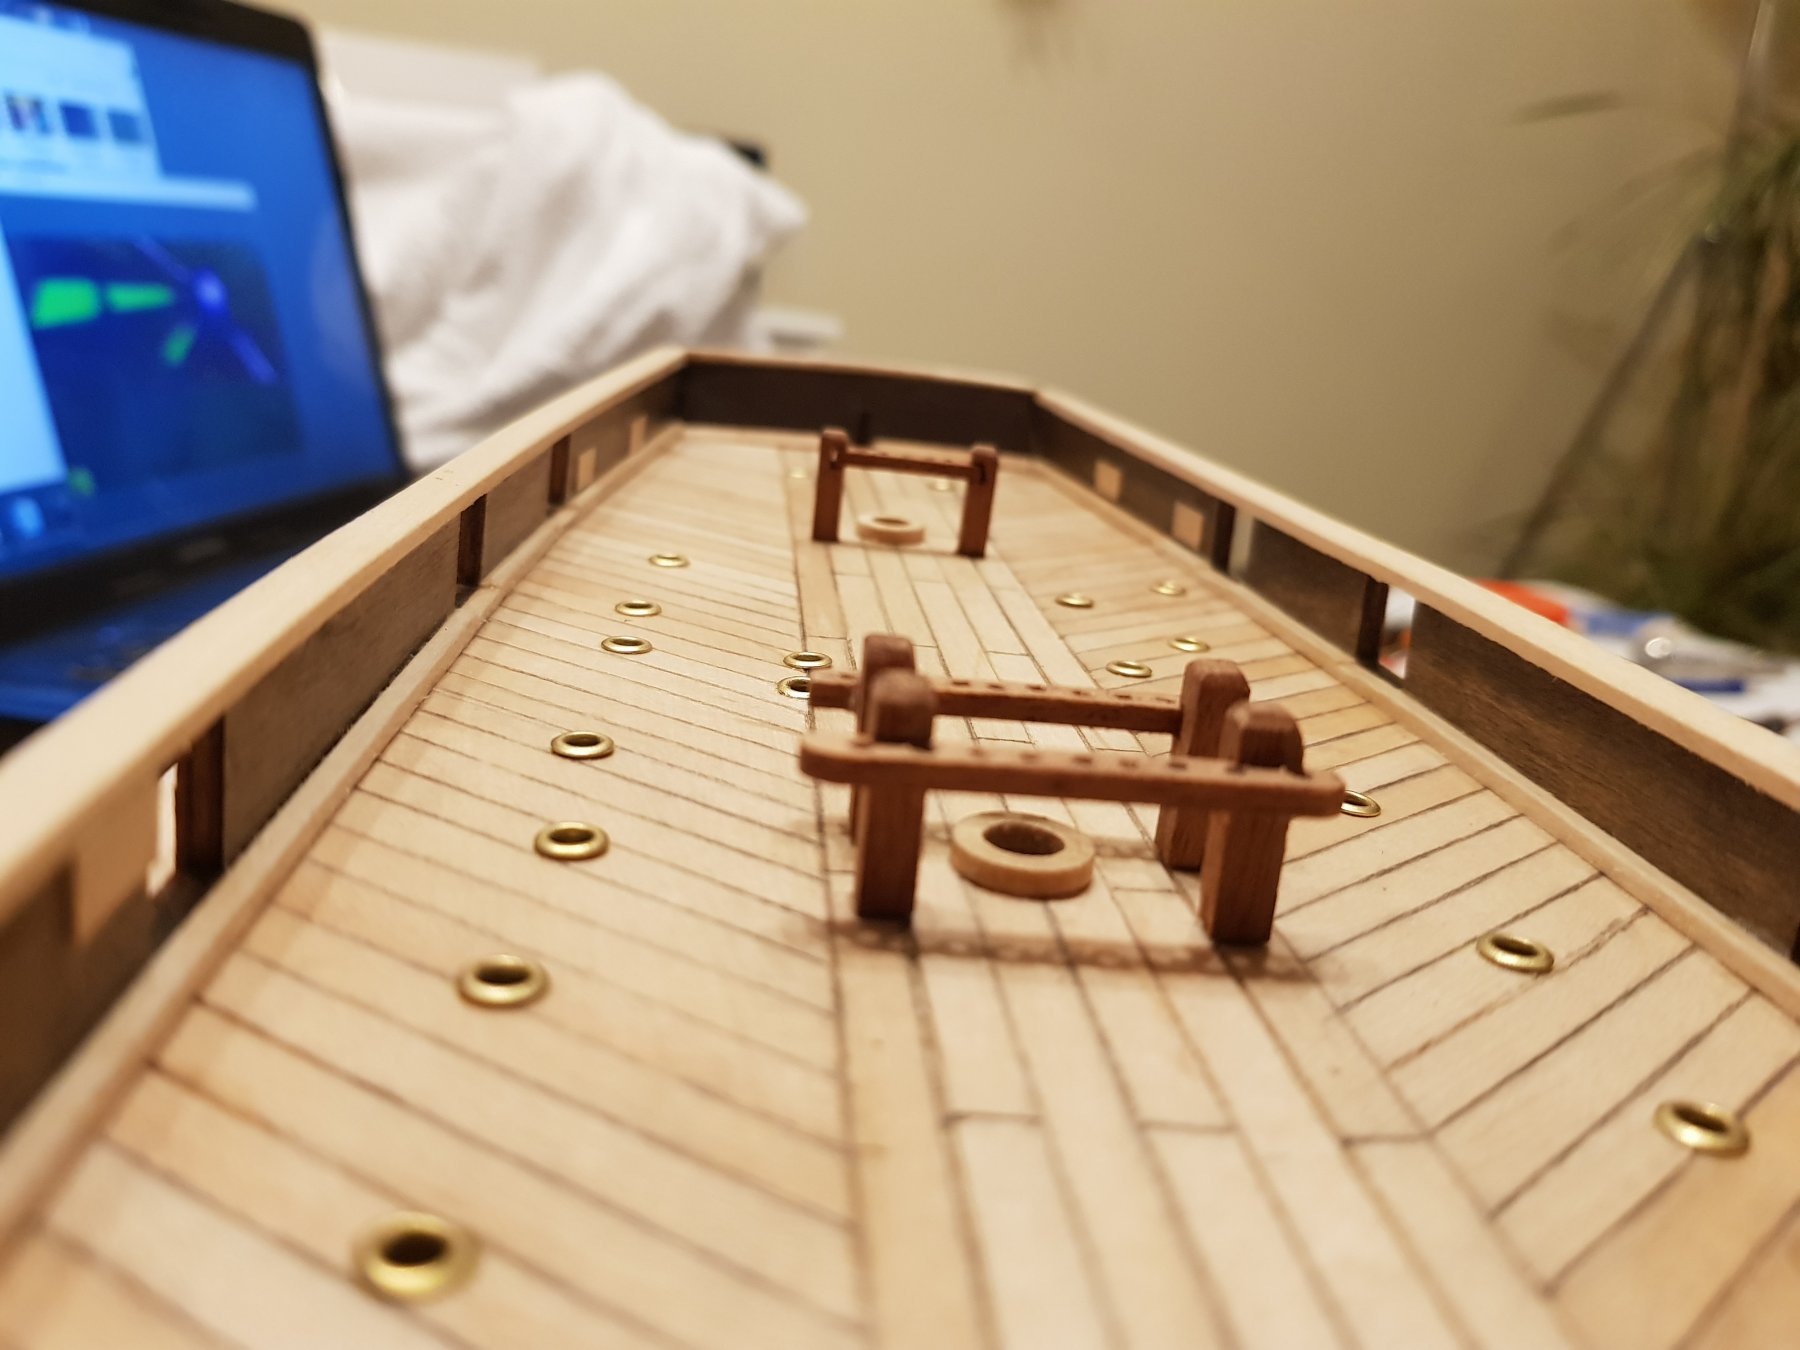
All glued on and the 2 belay posts in there correct places. There is a small mark on the deck where the front one was, but it’s almost invisible. The one next to the main mast is covered by the pumps.
-
Then the posts around the main mast where the pumps are between them, looked to close. First I thought I had made a mistake but placing the 4 buckets on the plans there is not room for them to fit in. so another post had to come up and move. But it’s easy to cover and fix.

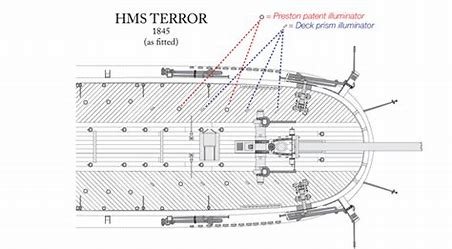
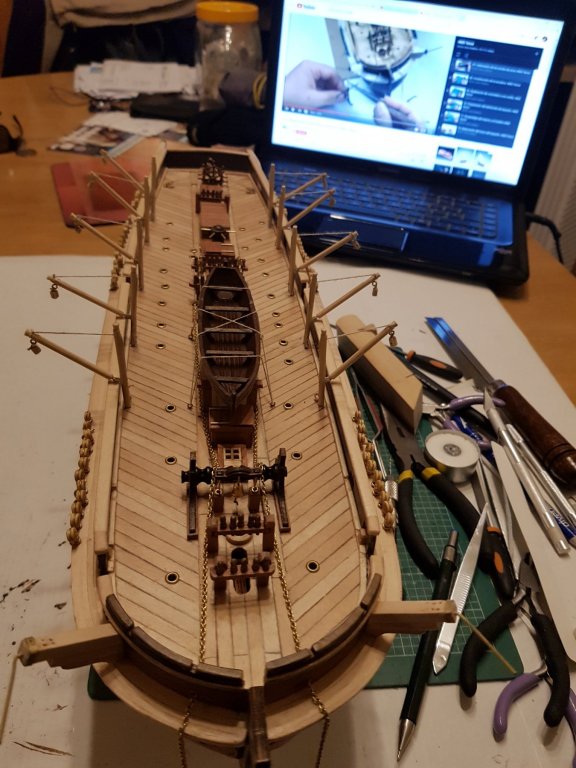
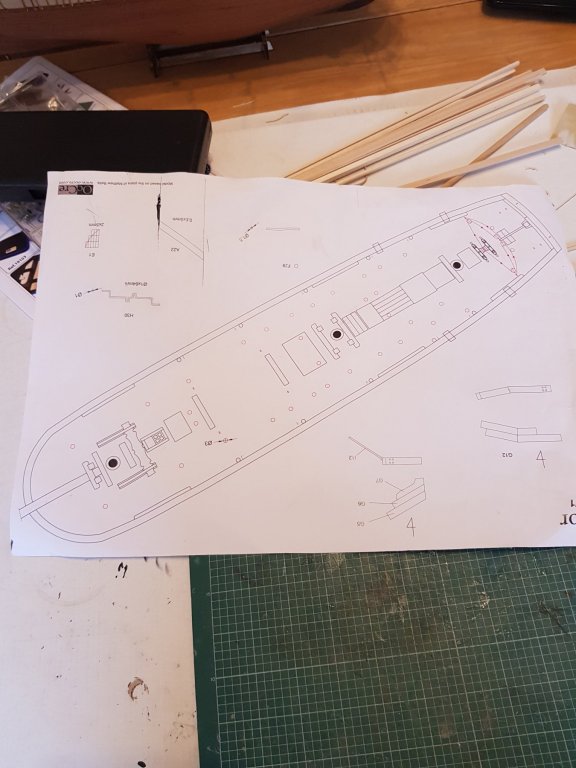
The 1to1 deck plan.
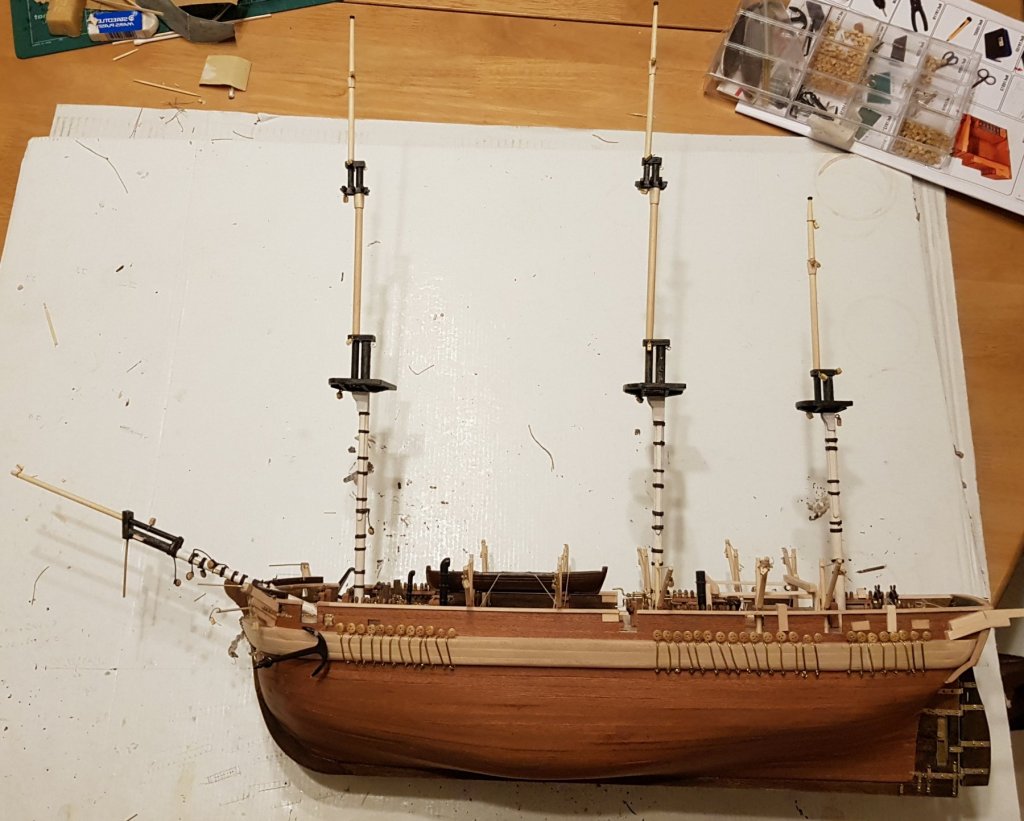
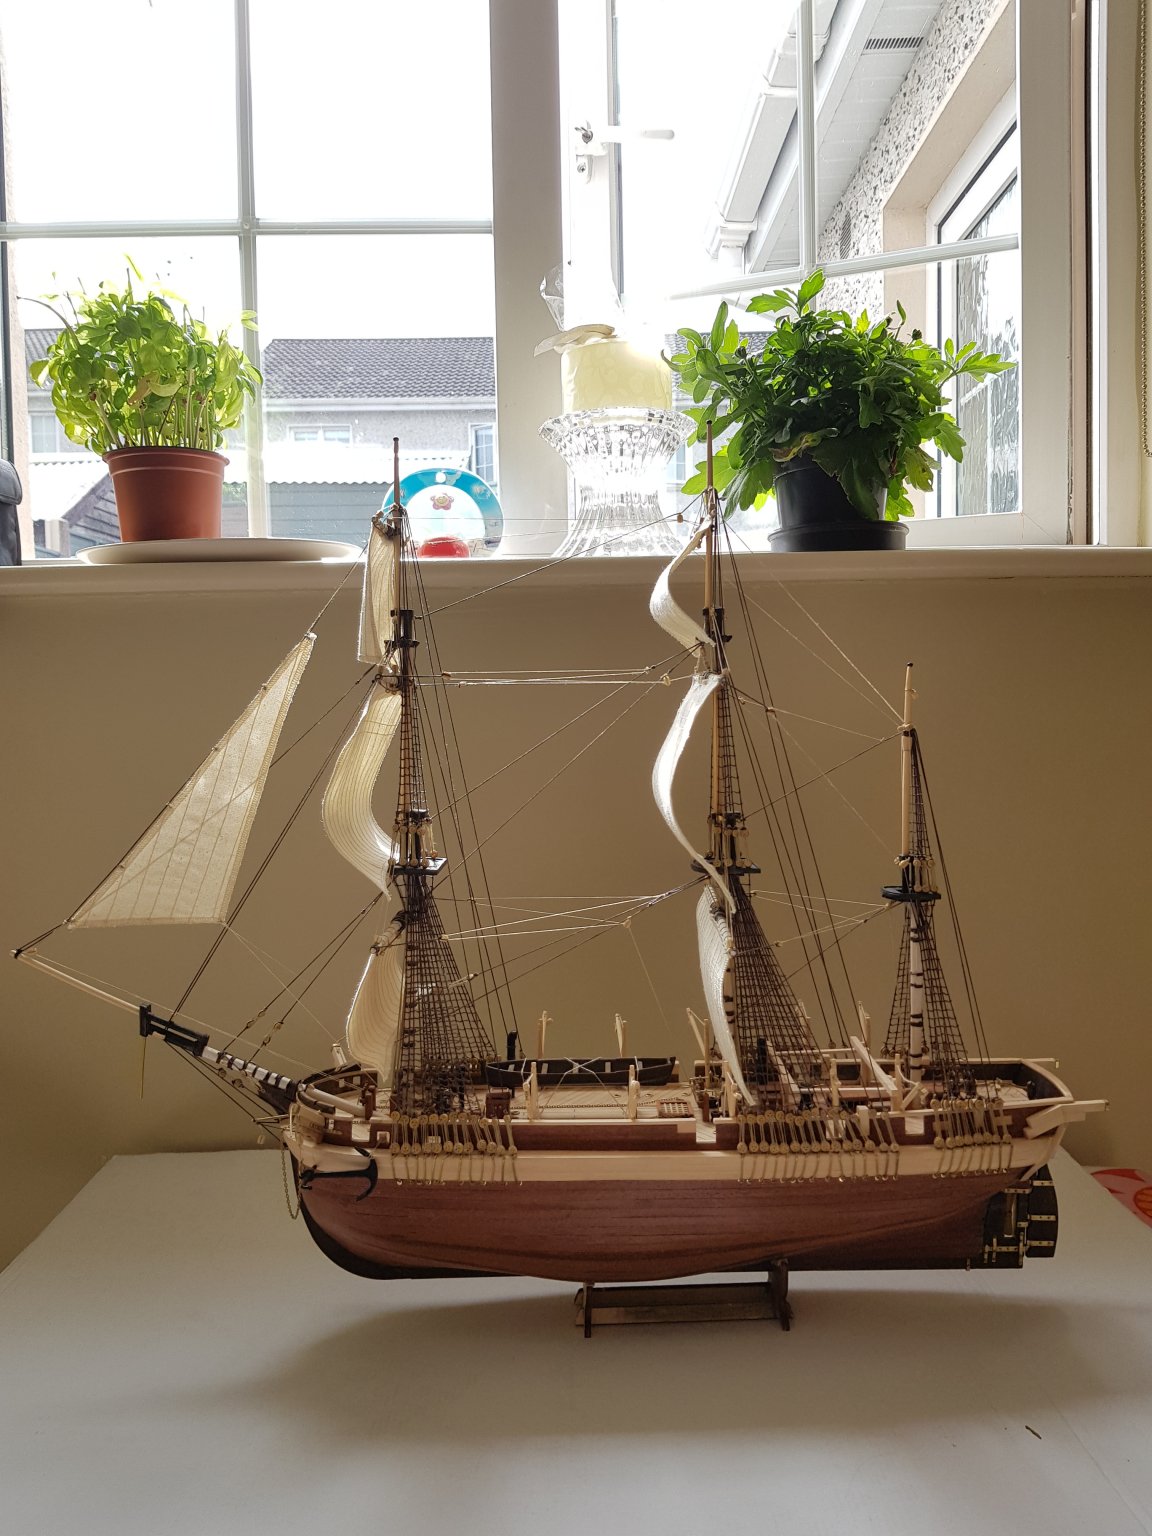
At this point I had to decide about painting. I like the wood finish so I’m going to leave it unpainted. The model has metal plating for the bow (as it was meant to break through ice). This I will also be leaving off. Unpainted I just think it will look like I cut up a can of red bull and stuck it on.
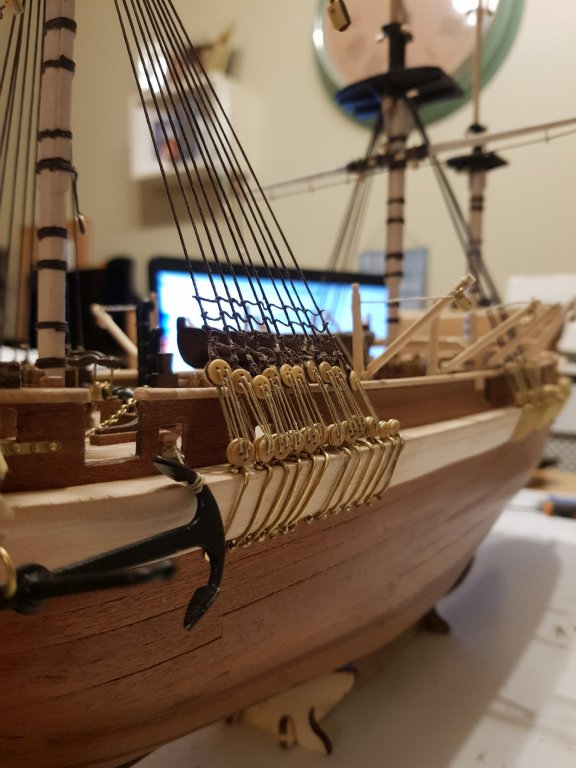
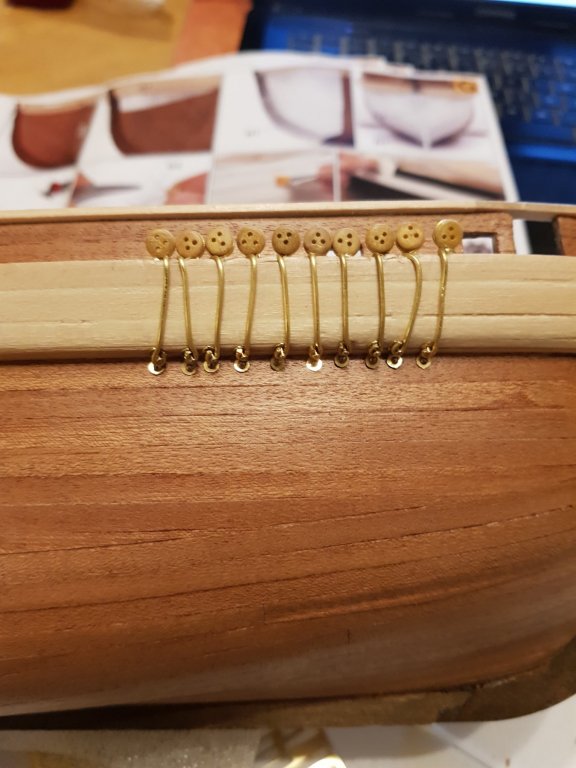
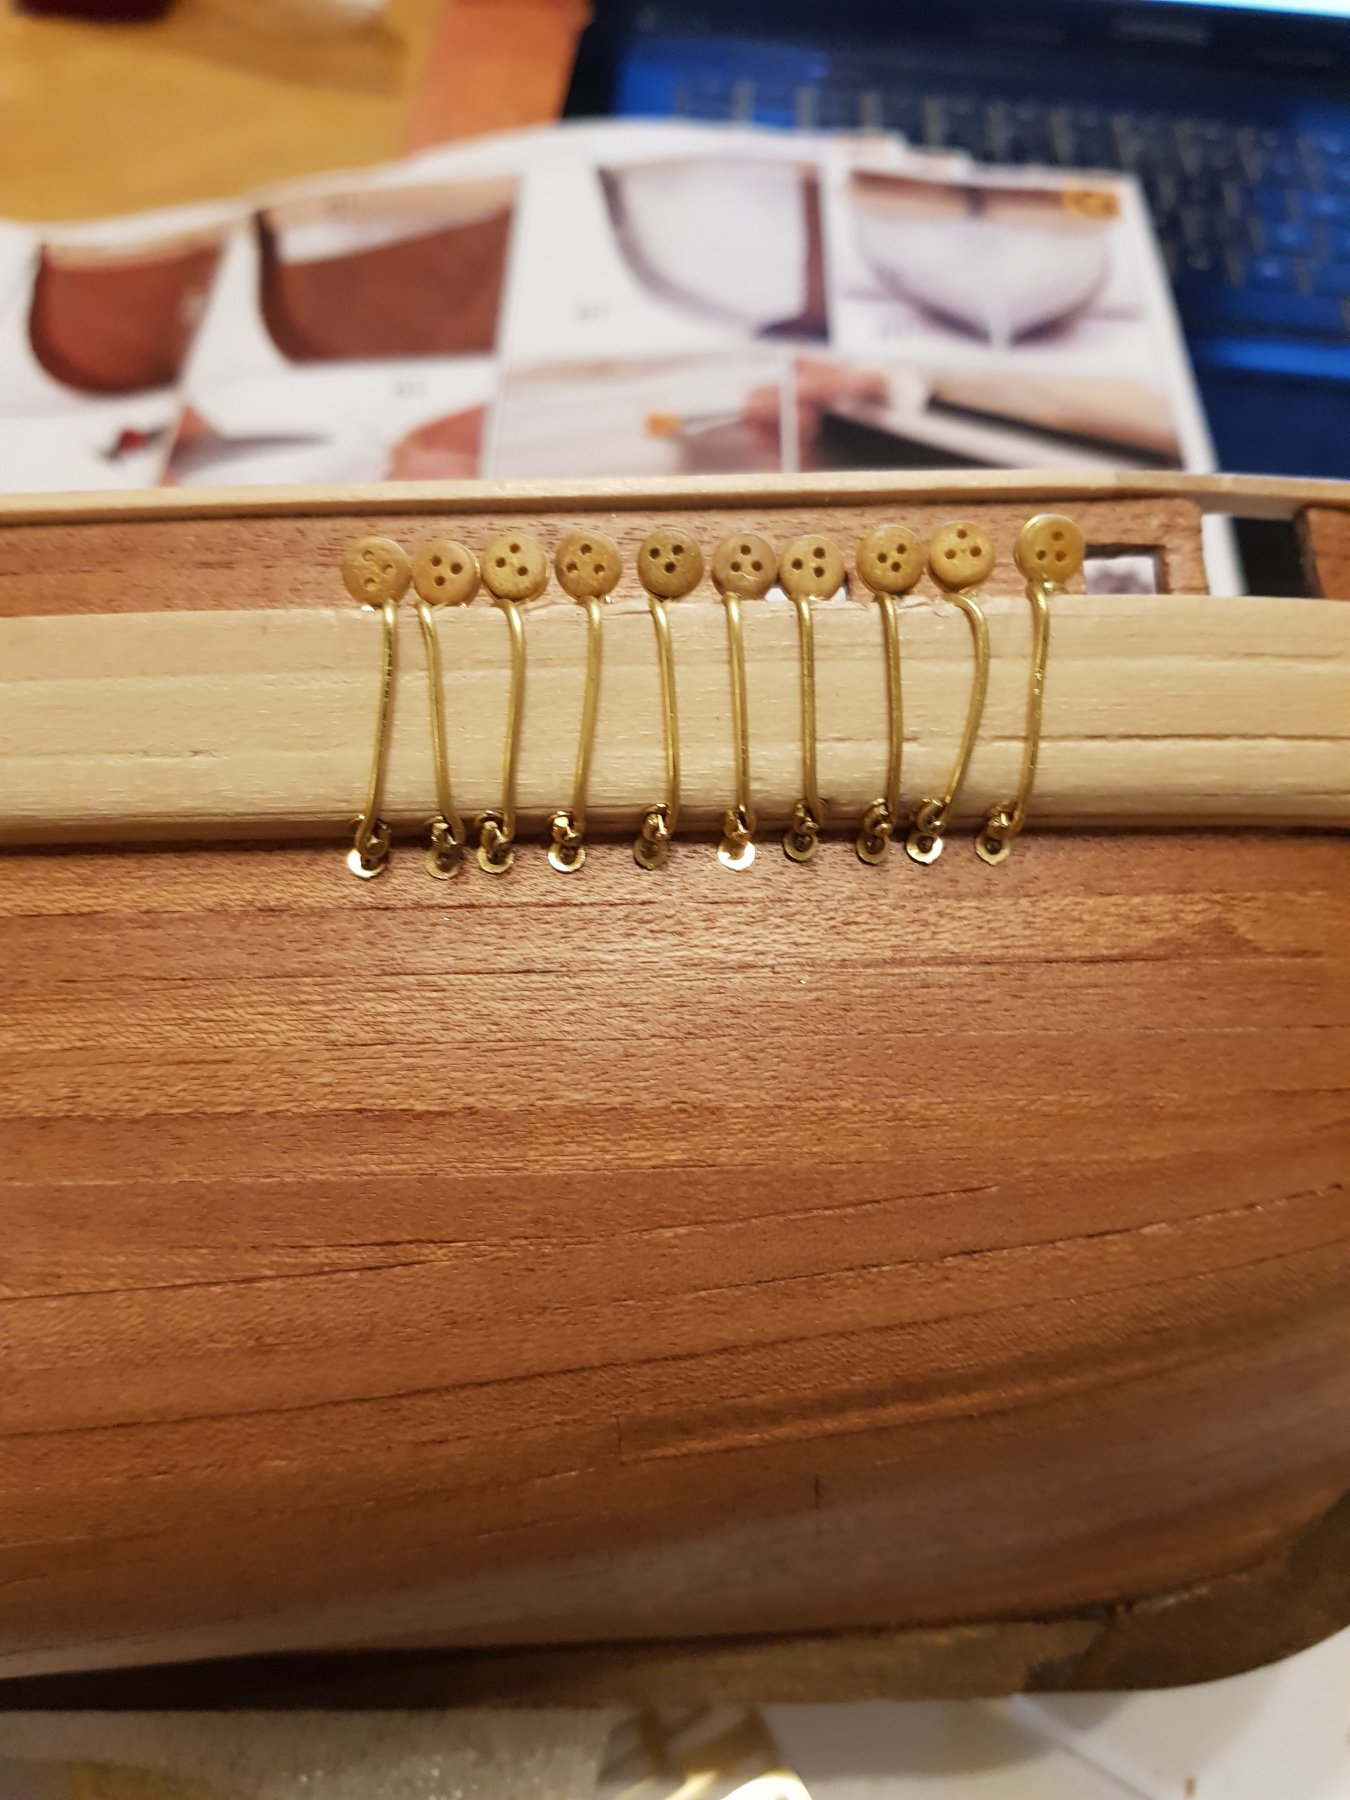
Next are the pillars. These are 1mm brass rods cut down and bent into loops at both ends. Then bent around the bumper and pinned into place. There are 70 needed, about half way through I realized that I would be about 14 short. The rods come in 100mm; again I thought I had made a mistake using too much? But I had cut them to the instructions lengths and I would still need more for other parts of the ship (like the pumps). I filled out the missing parts form on the Occre website and received an email that they would send the missing parts on.
- consitution, Haliburton, ScottRC and 1 other
-
4


HMS Terror by sir francis haddock - FINISHED - OcCre - scale 1:65
in - Kit build logs for subjects built from 1801 - 1850
Posted
Finished. 😊