


sir francis haddock
-
Posts
48 -
Joined
-
Last visited
Content Type
Profiles
Forums
Gallery
Events
Posts posted by sir francis haddock
-
-
-
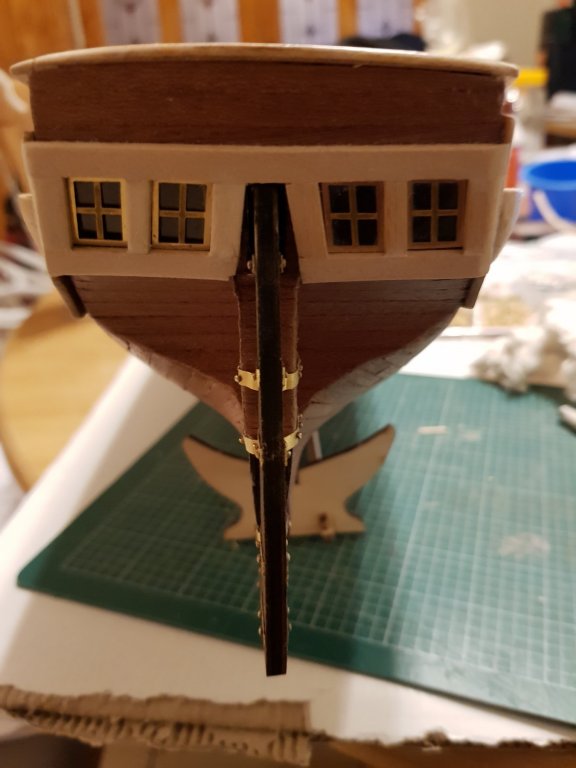
The windows ended up being so small that cutting them out didn’t matter. Unless a strong light is put close they just look black.
- consitution, ScottRC and EJ_L
-
 3
3
-
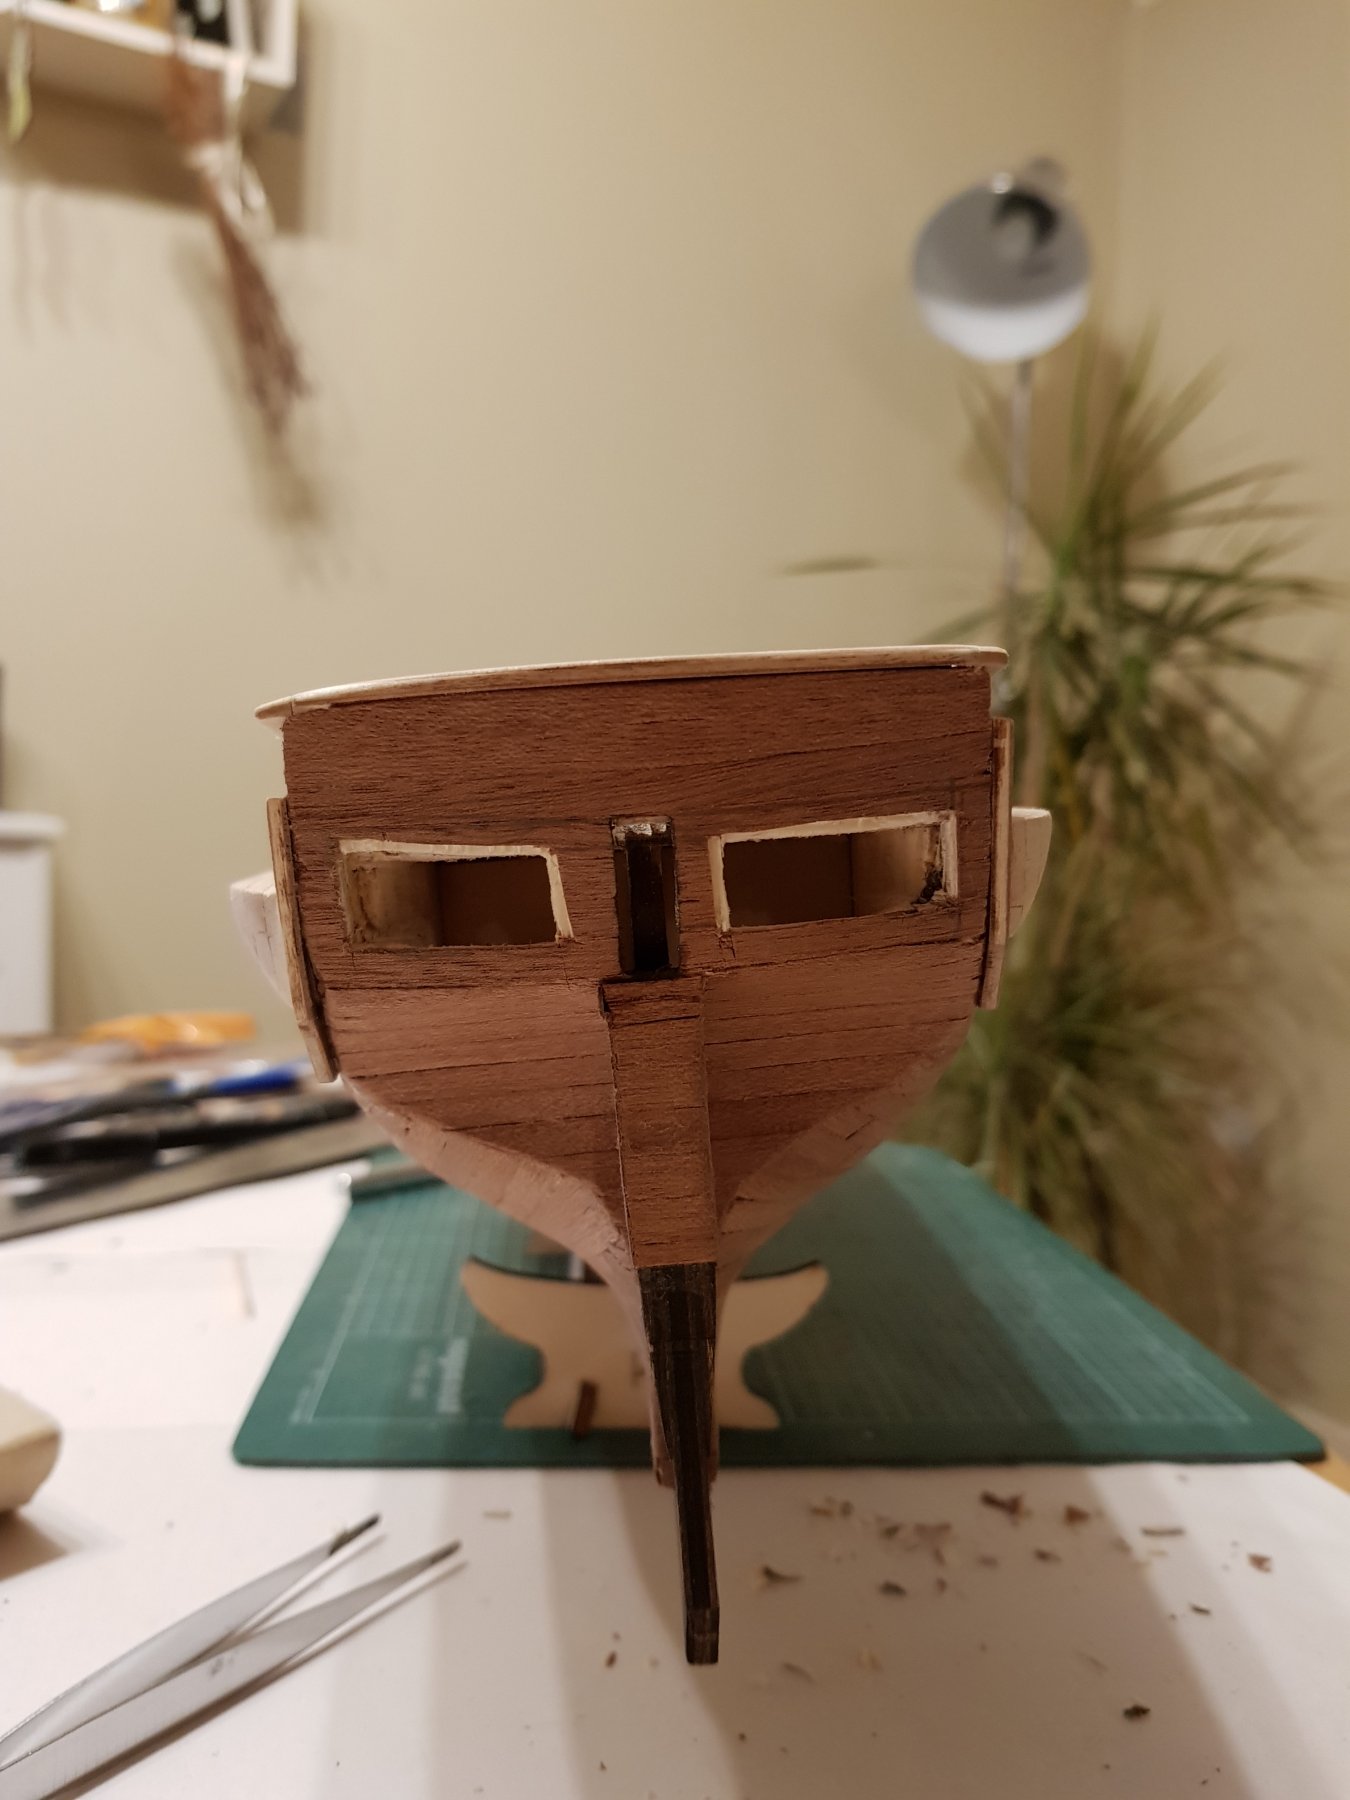
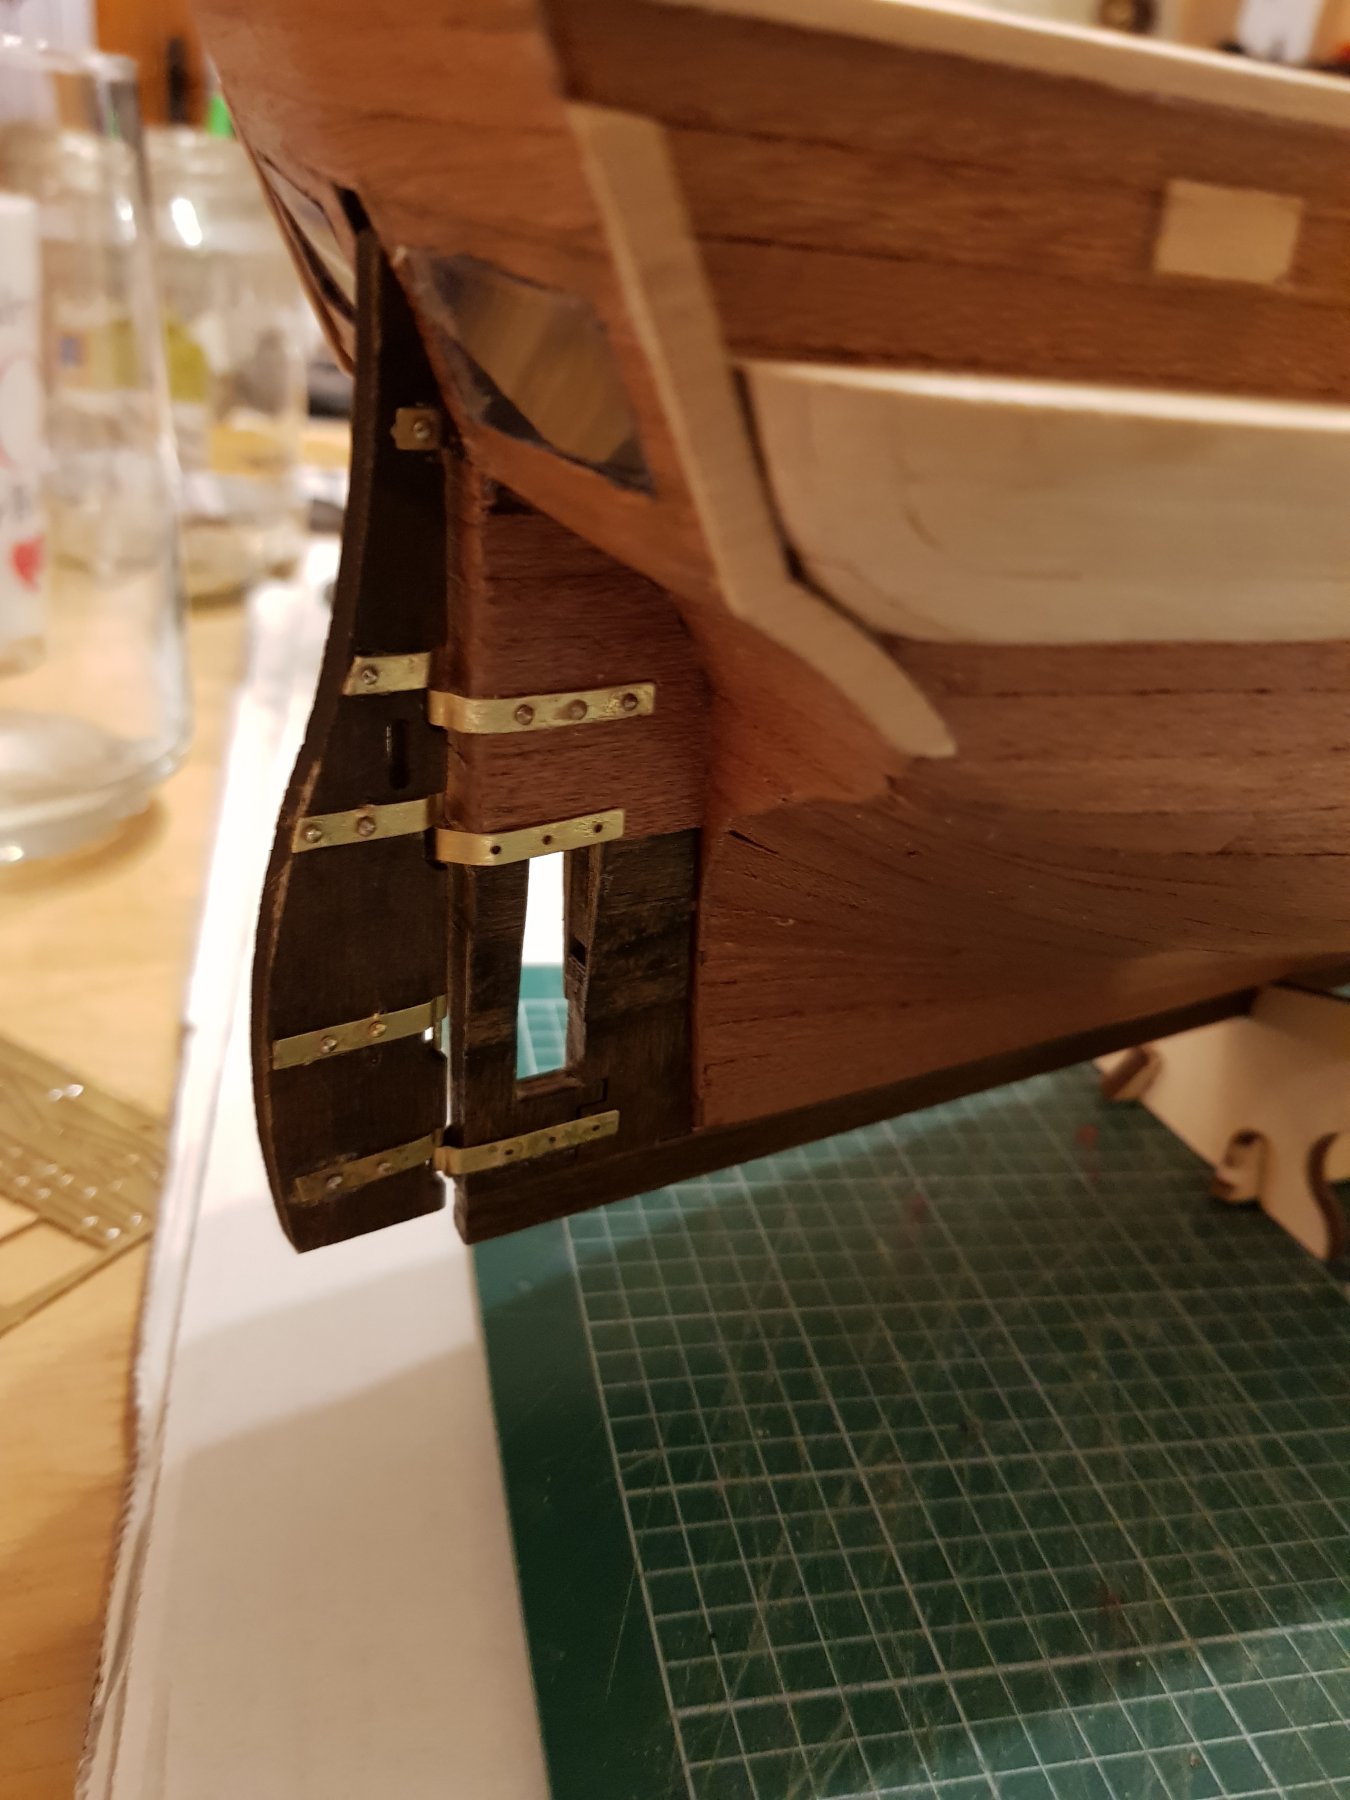
In the instructions the windows are painted on, I didn’t think that looked so good. So I decide to cut out the windows and put plastic to glaze them instead, thinking this would look better.

The windows will be covered by a wooden frame so it did not need to be so neat.
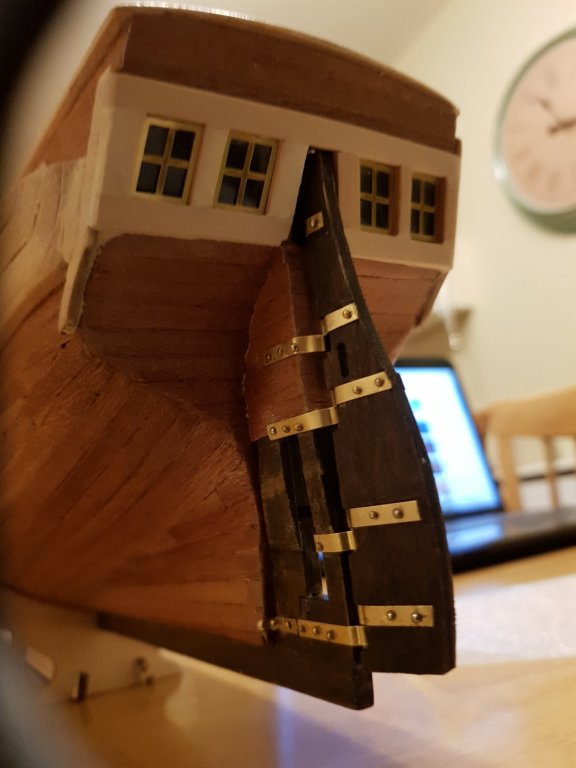
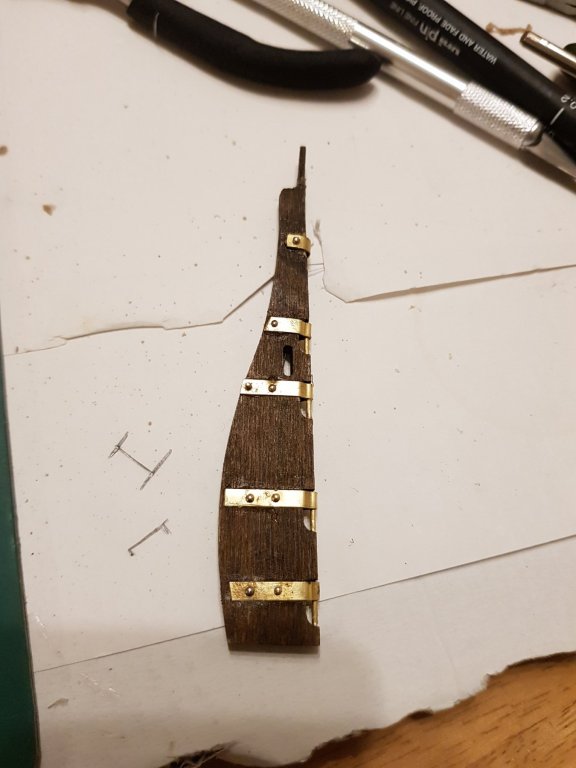
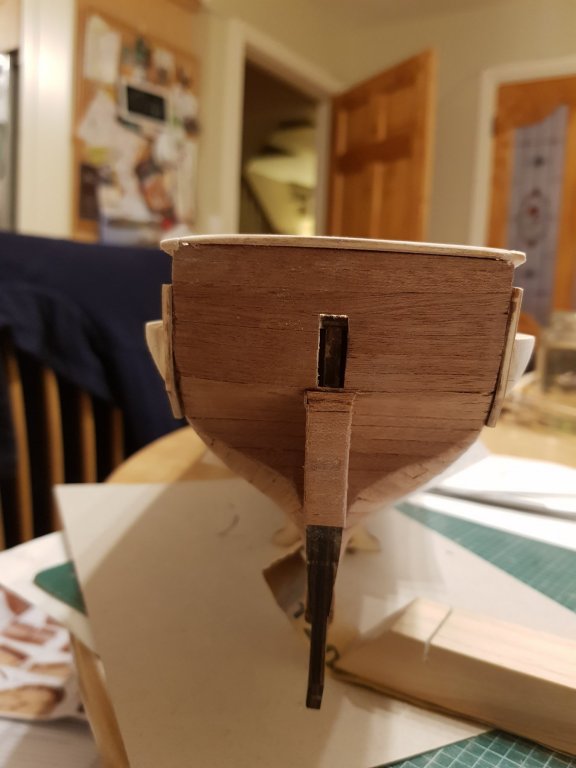
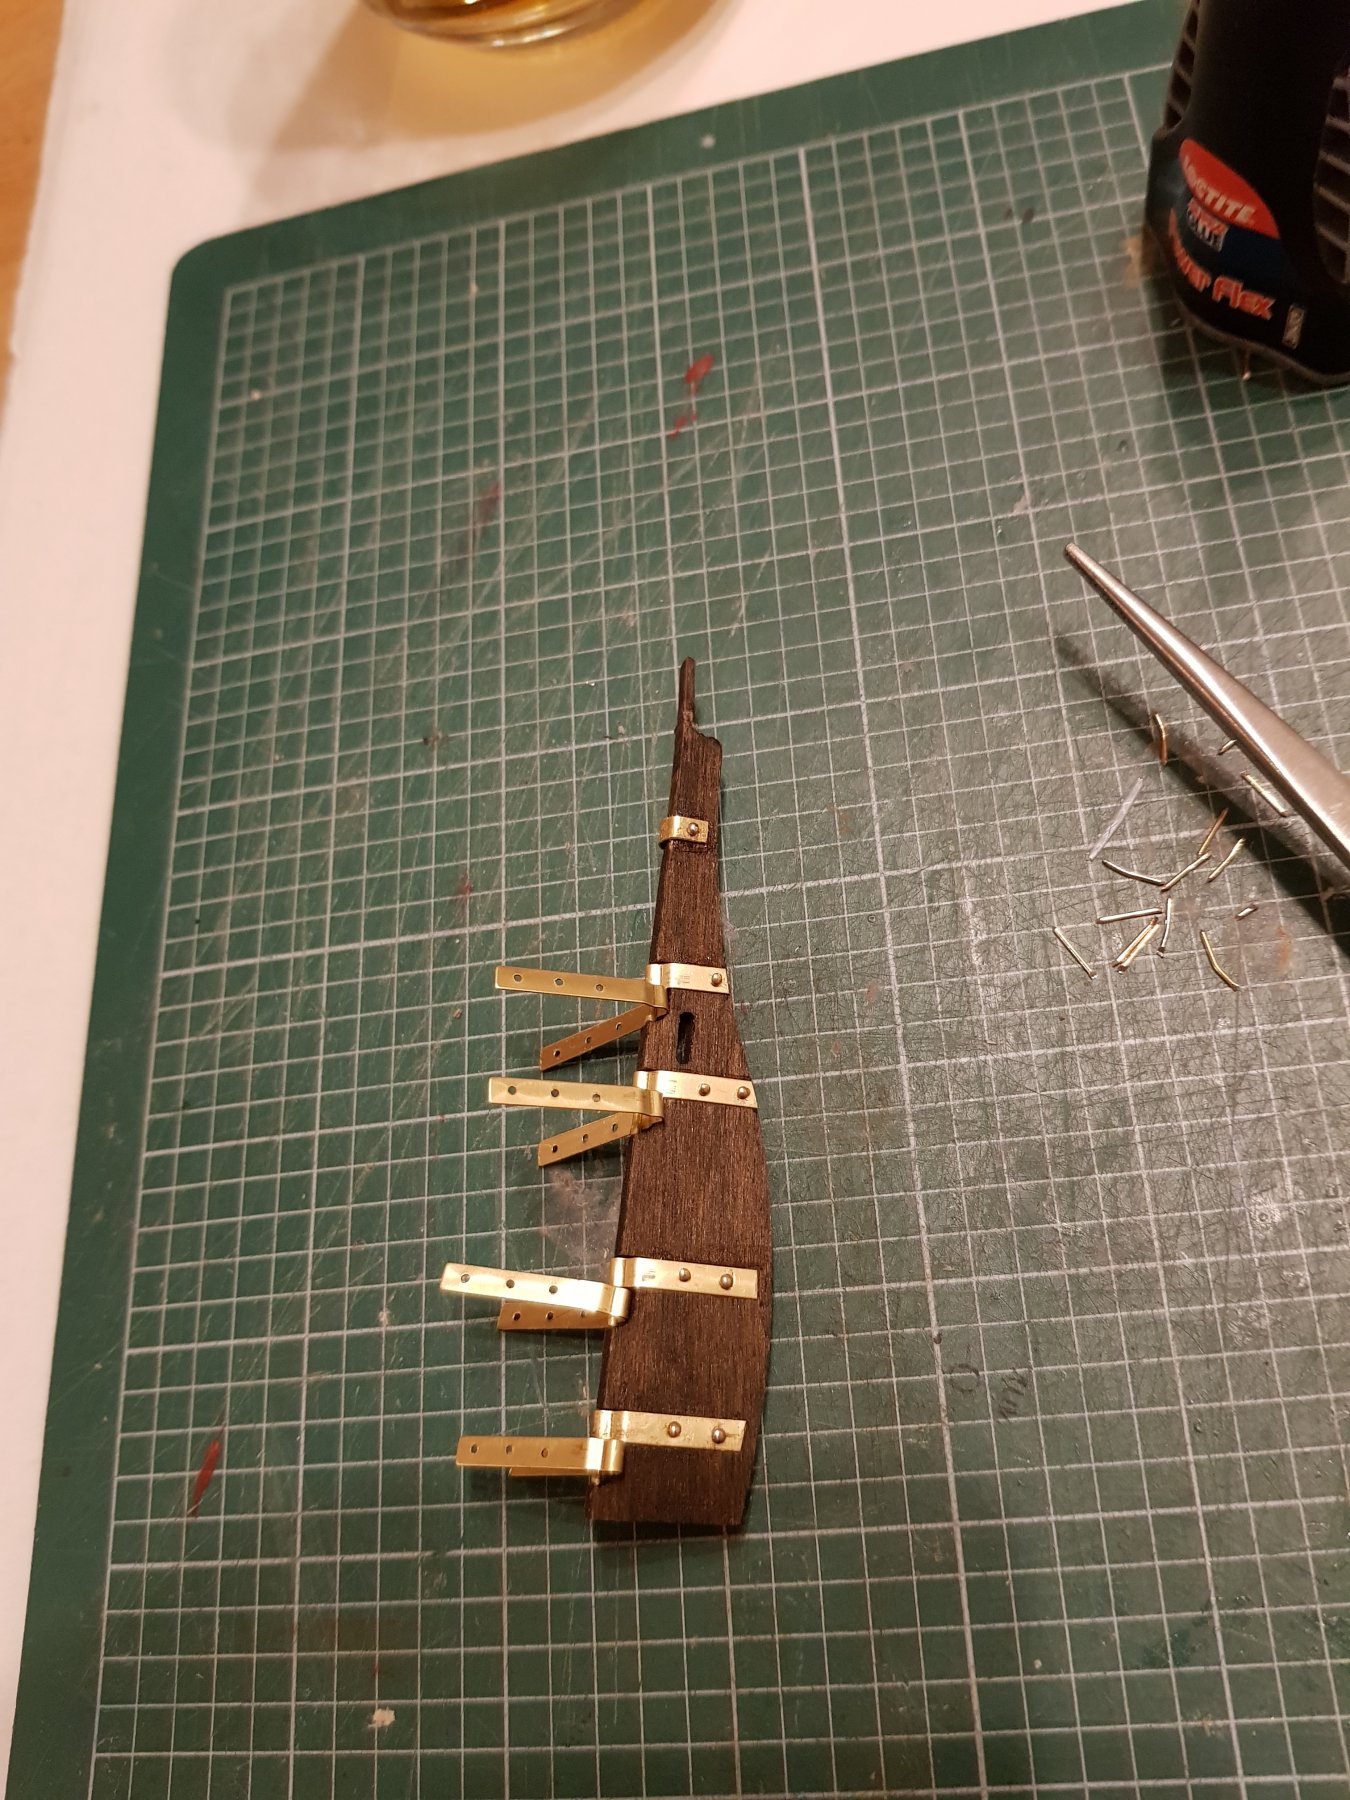
Next was the rudder. This was a bit of a challenge, getting the cut down pins into the metal strips took some time due them flying out of the tweezers. I lost so many of these.


- EJ_L, Haliburton, consitution and 1 other
-
4
-
On 5/17/2019 at 11:45 PM, Haliburton said:
Looking good, the holes are not intended to be fully symmetrical? Scott
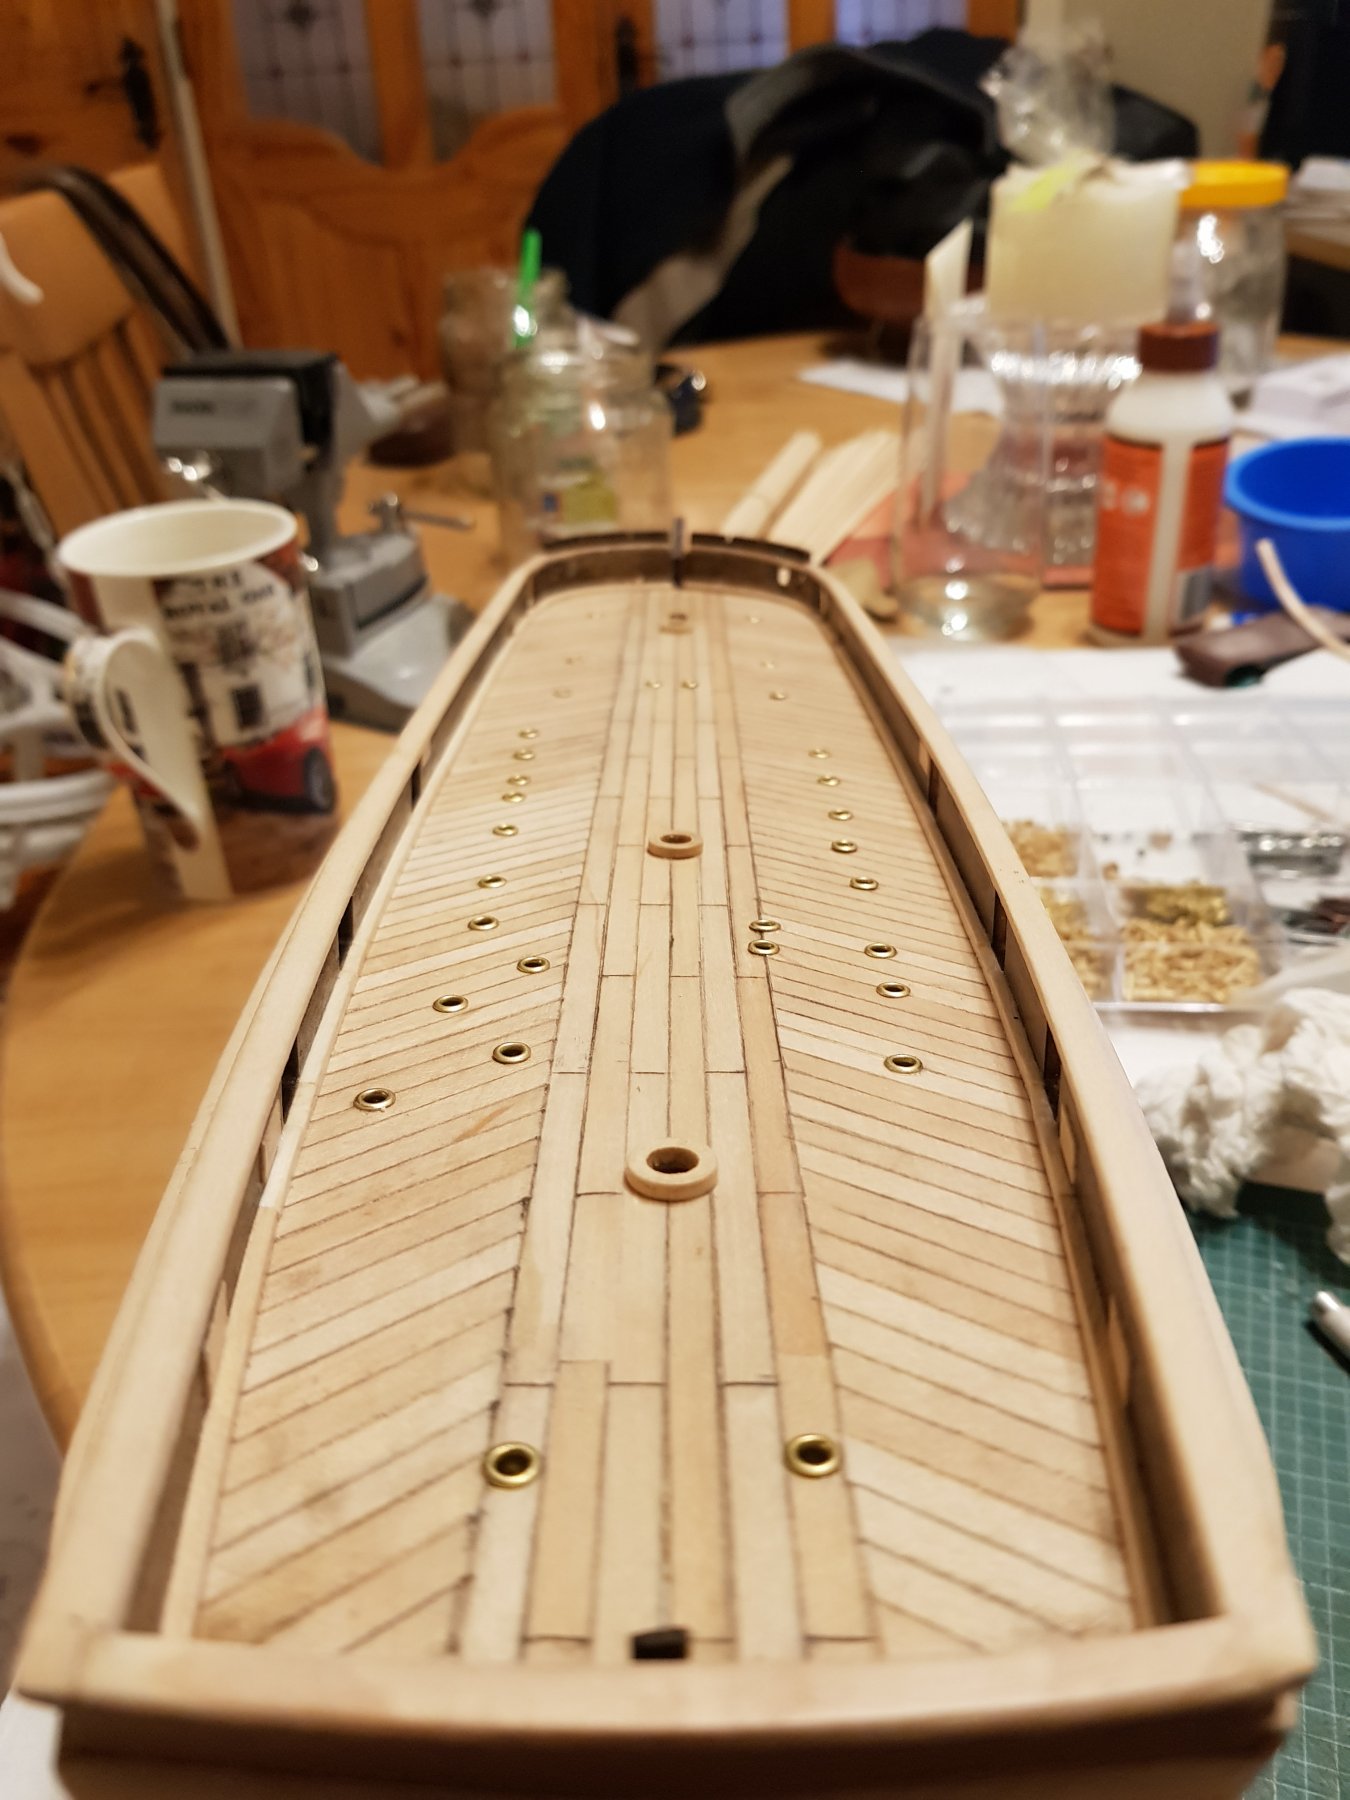
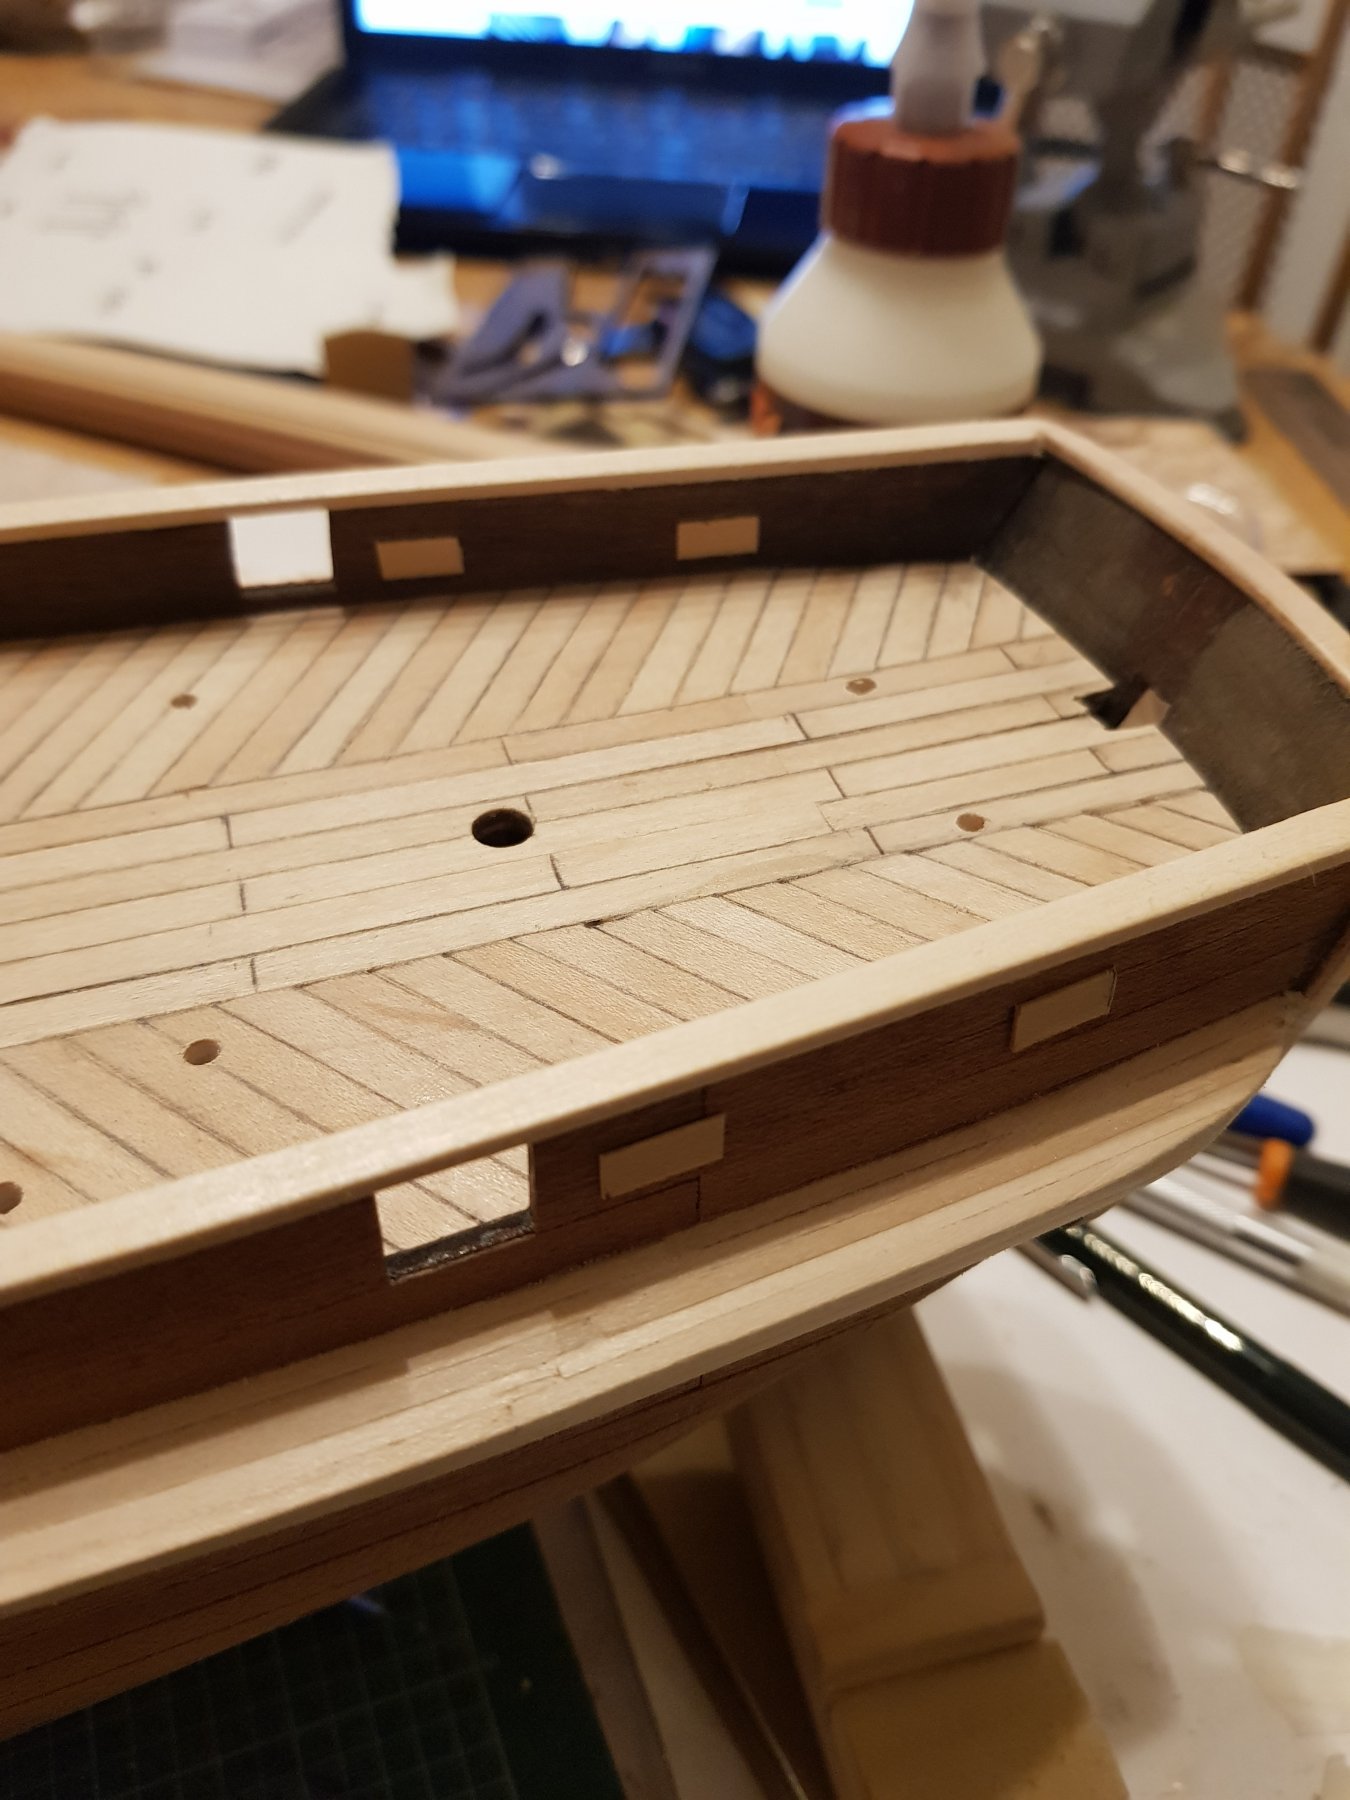
Hi Scott the holes have 3mm brass portholes to cover them and where they are is from the plans. I think they were put where they needed light below deck.
- ScottRC, kier, Landlubber Mike and 2 others
-
5
-
-
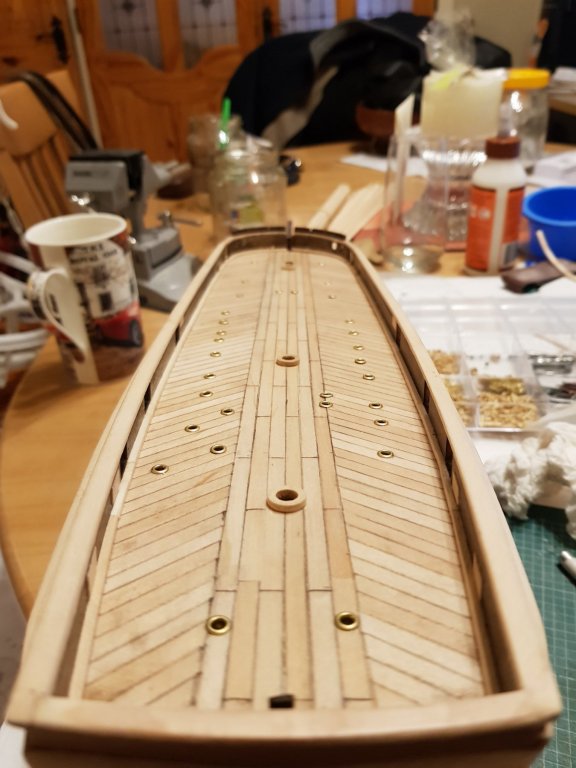
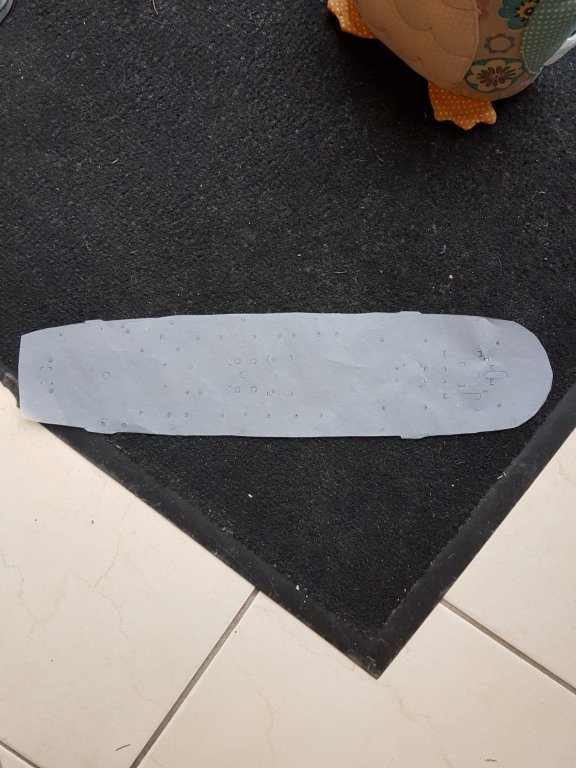
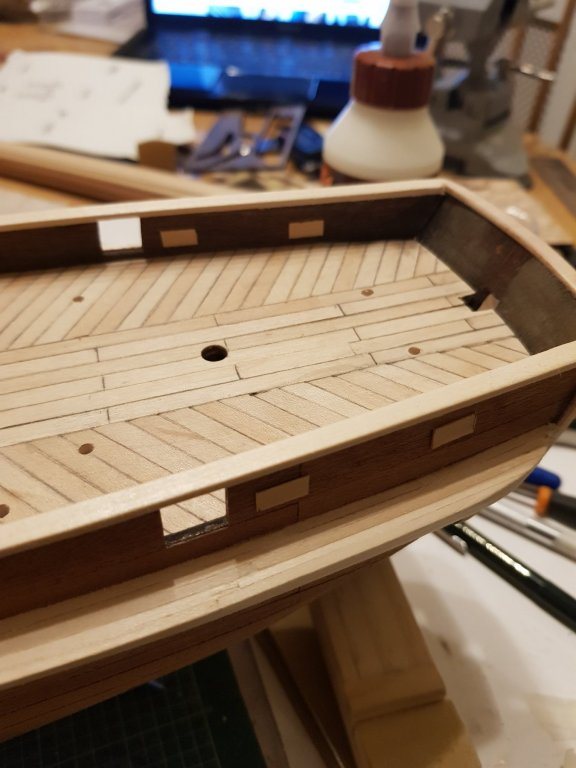
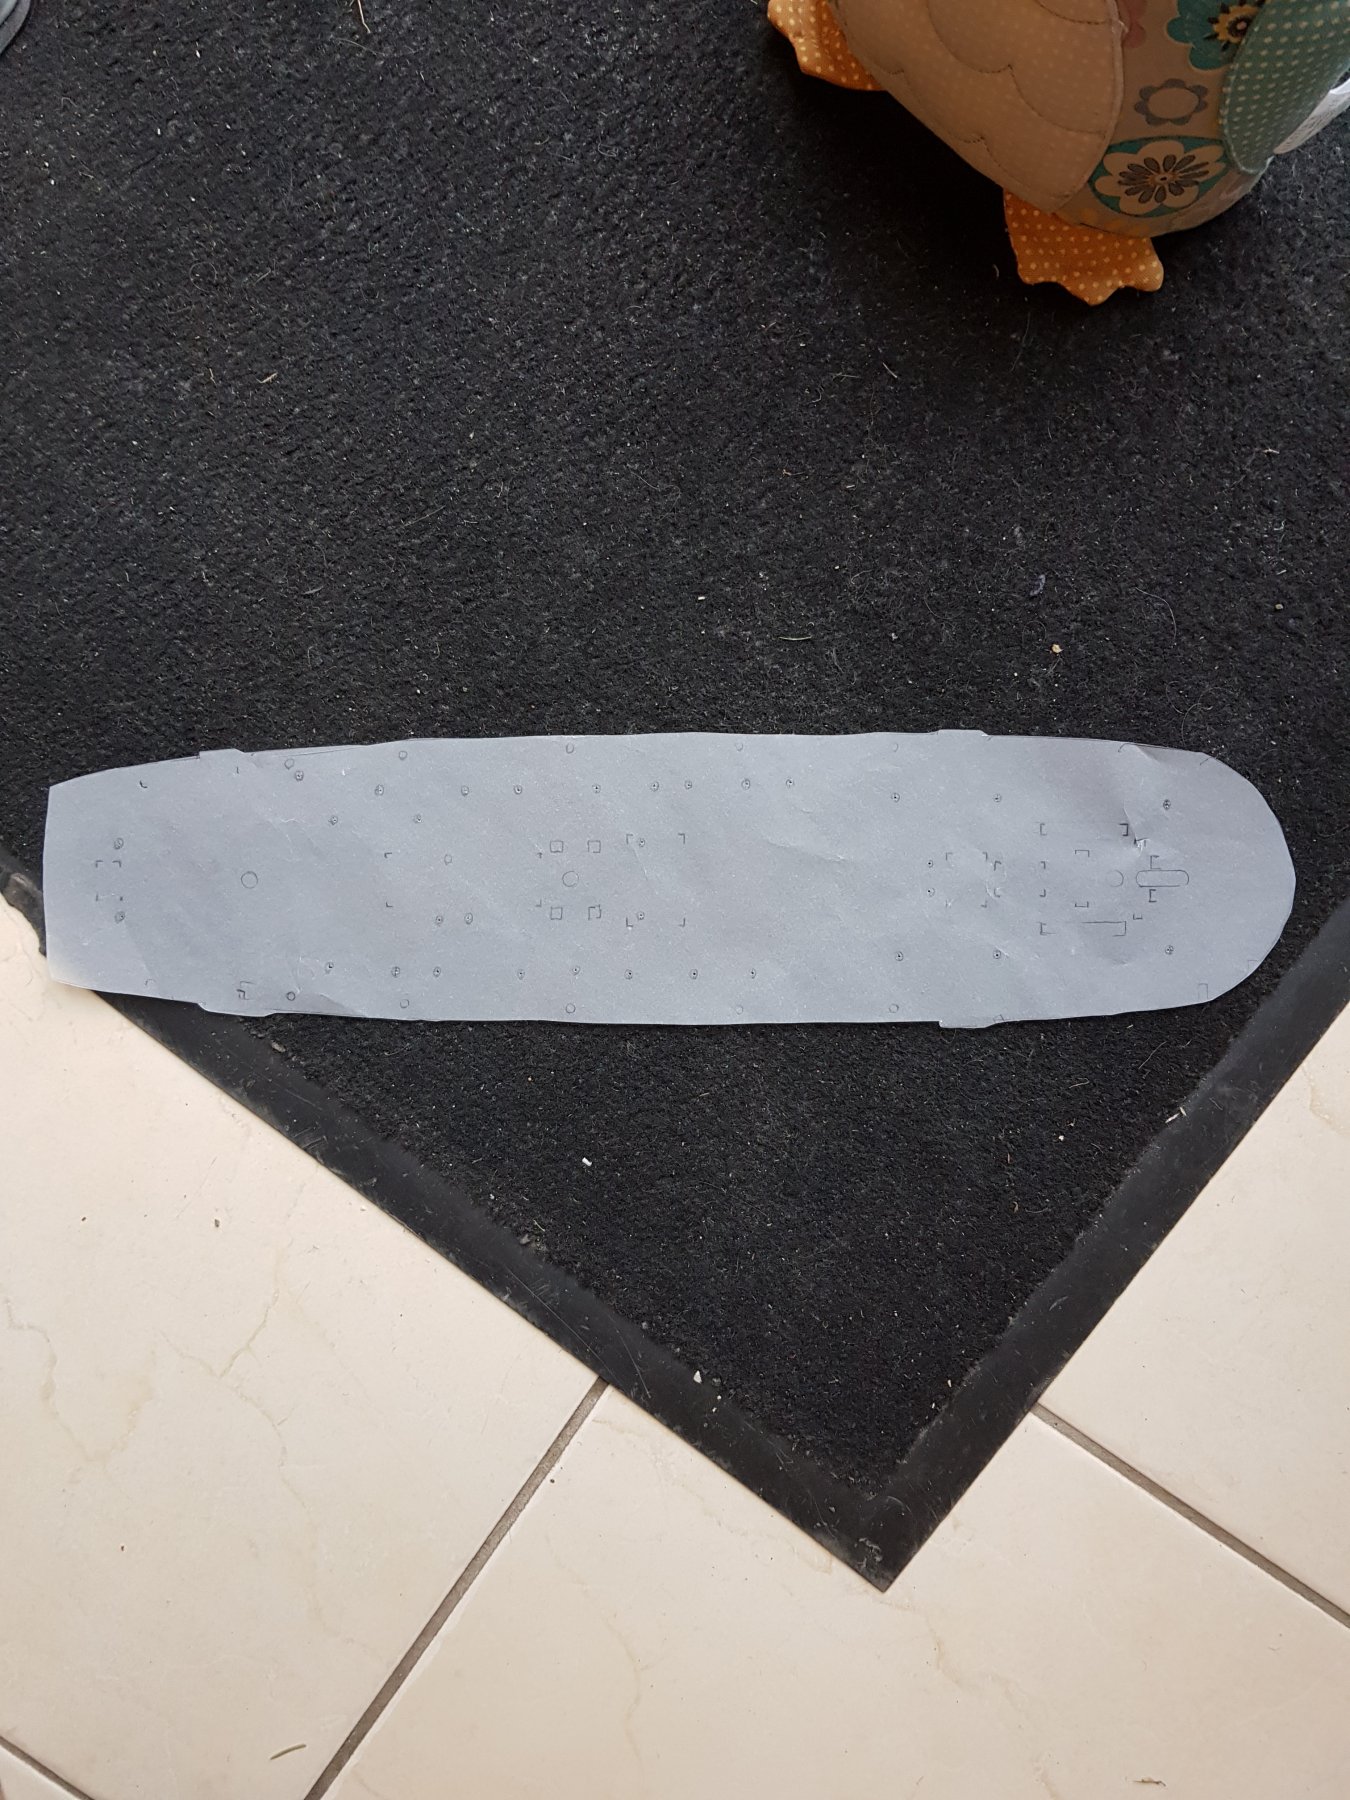
I traced the deck potholes from the 1 to 1 deck plan, I thought this would be easier than measuring out every position and used a normal electric drill to the pit the holes in.
- Haliburton and EJ_L
-
2
-
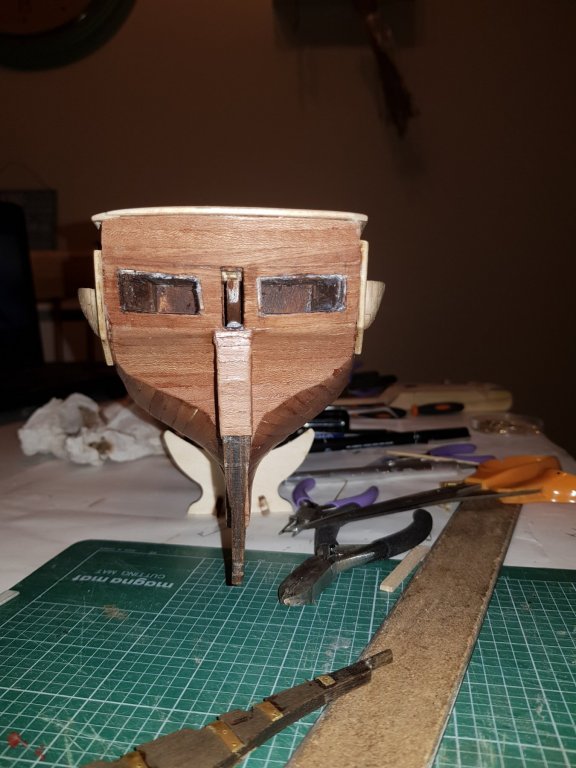
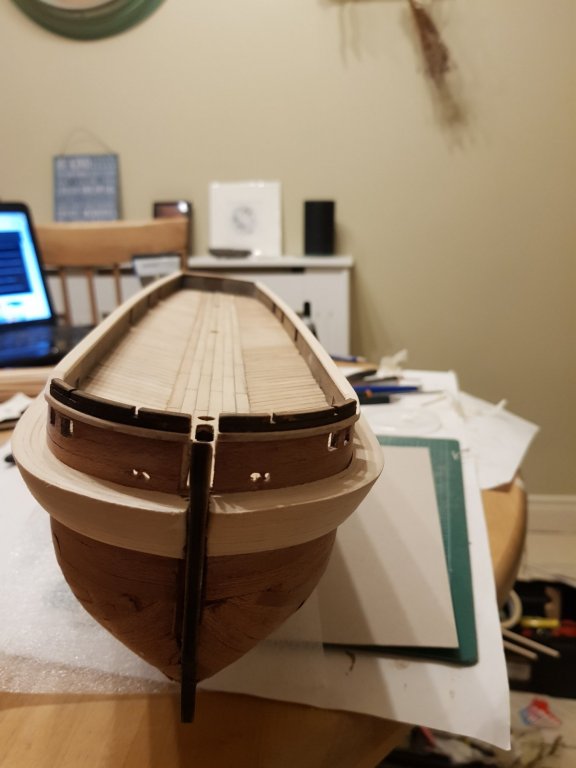
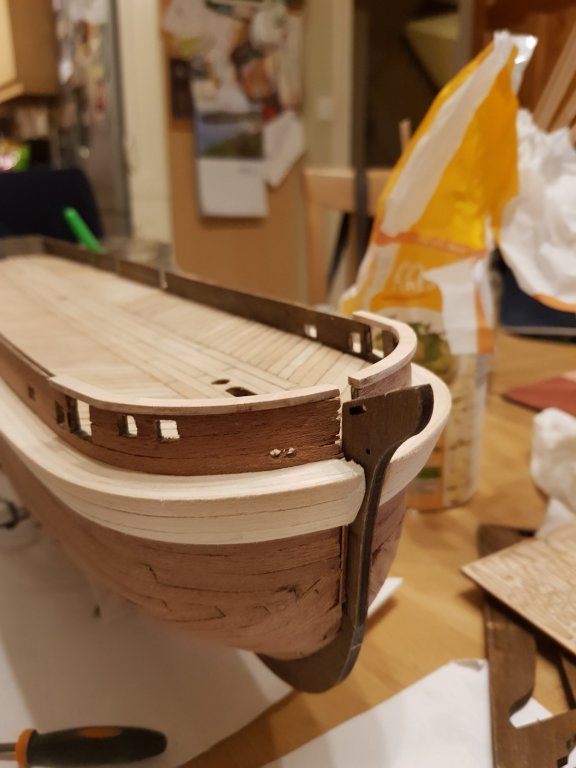
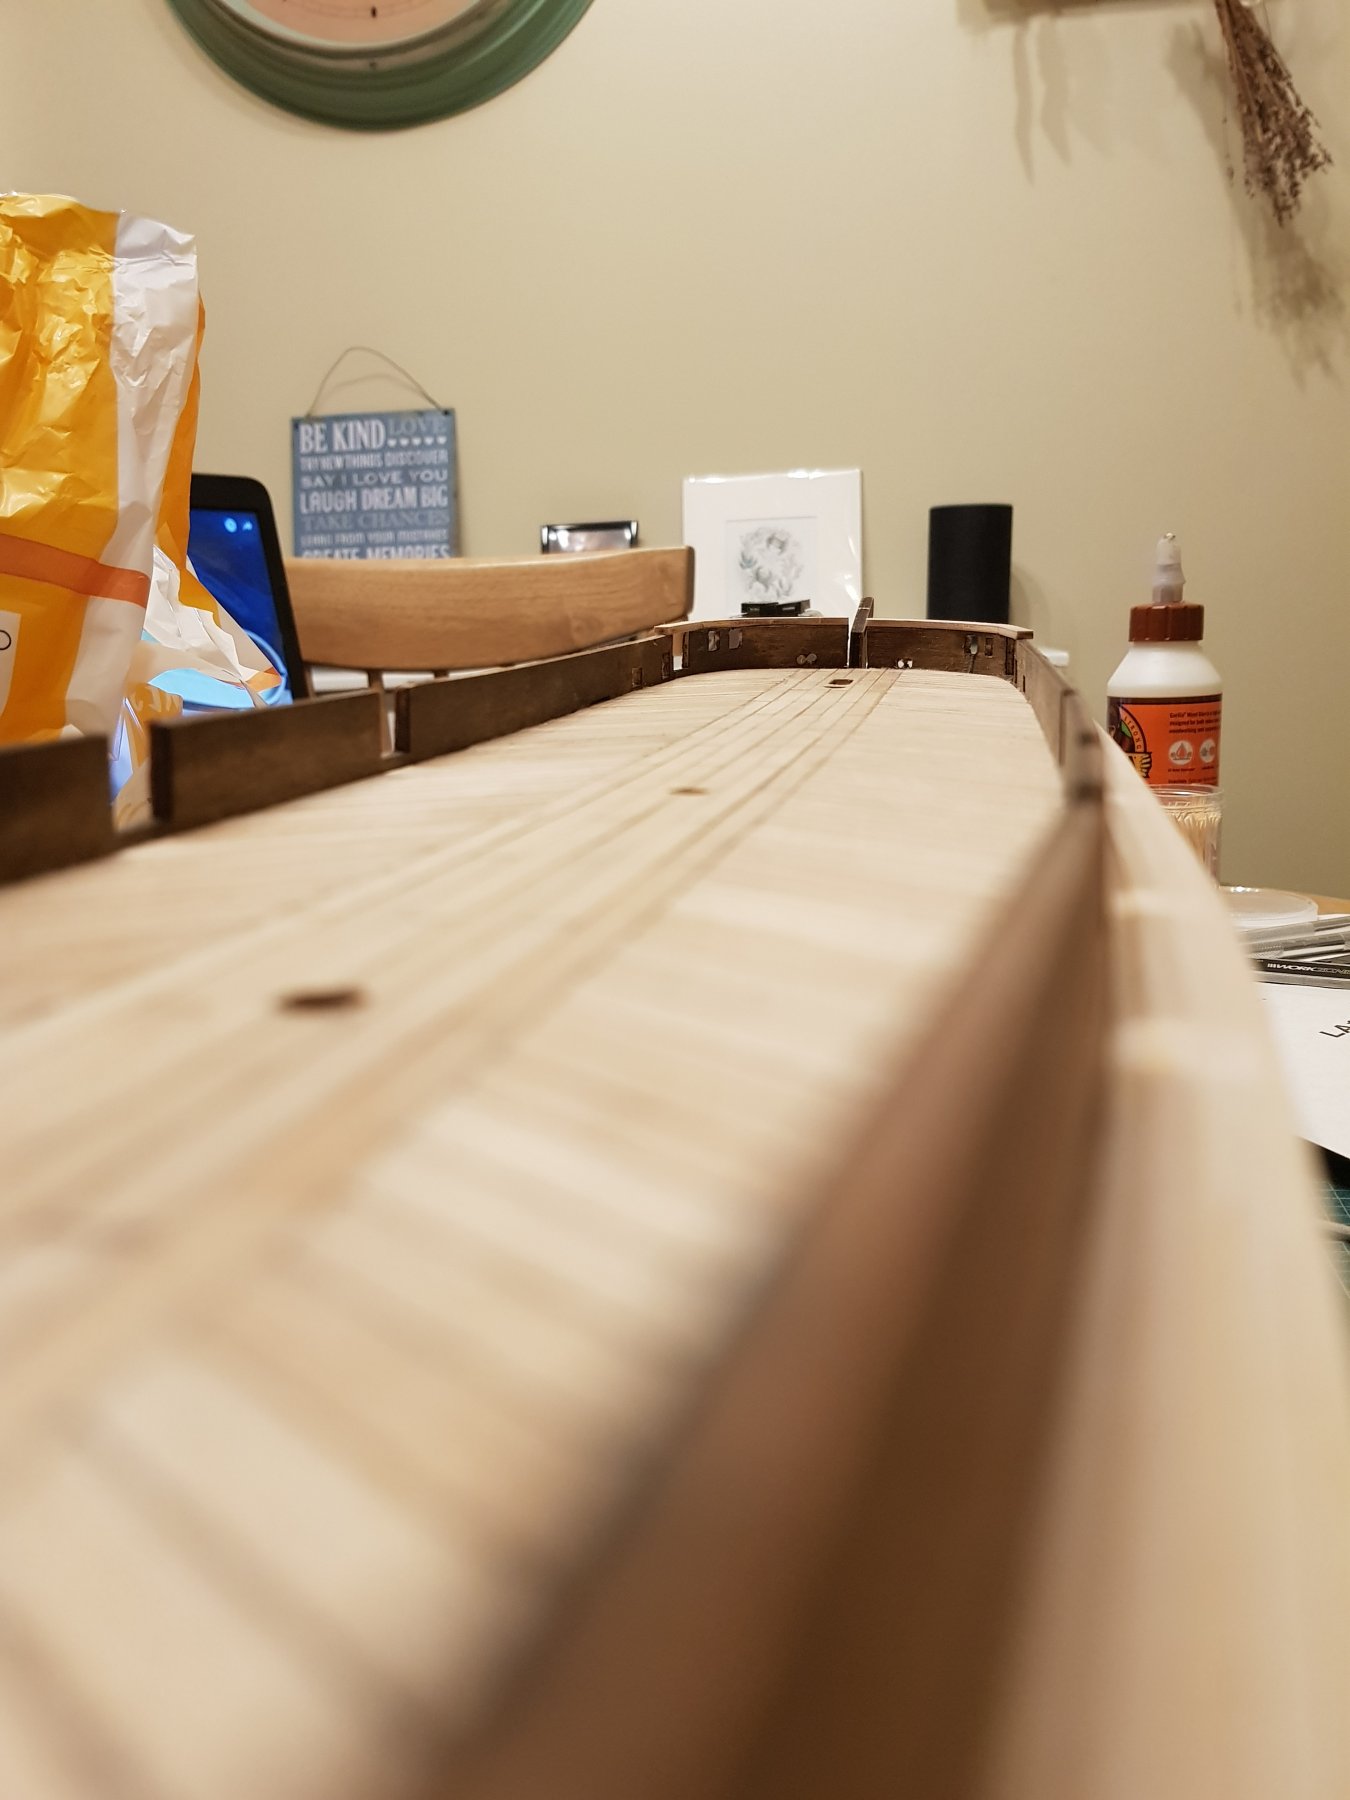
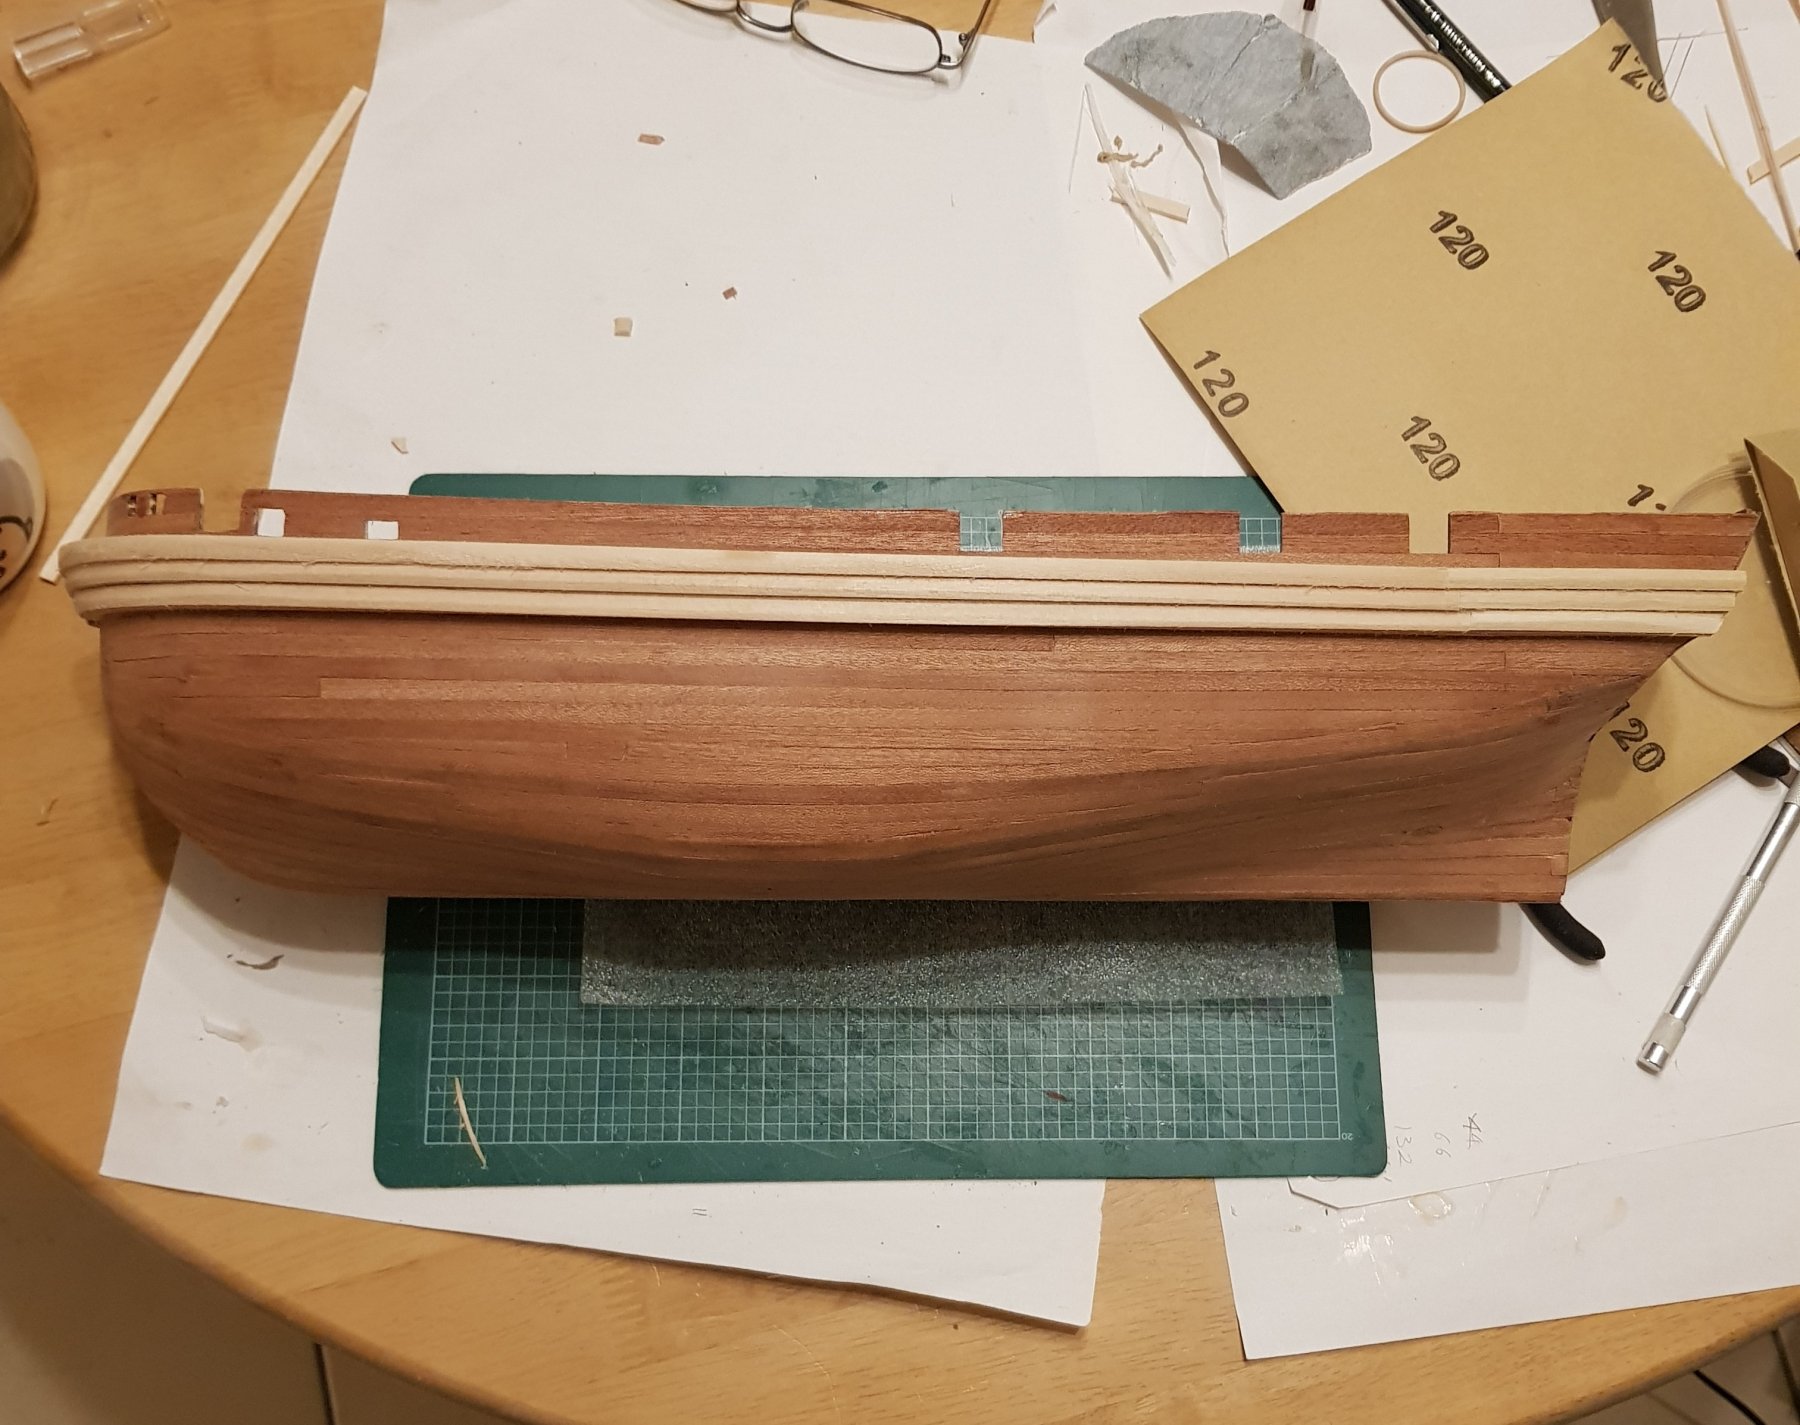
The bumper sanded and finished and the rail on. I painted the back where it had snapped with brown acrylic paint, it looks better but think I will paint the whole piece to match.
- Haliburton and ScottRC
-
2
-
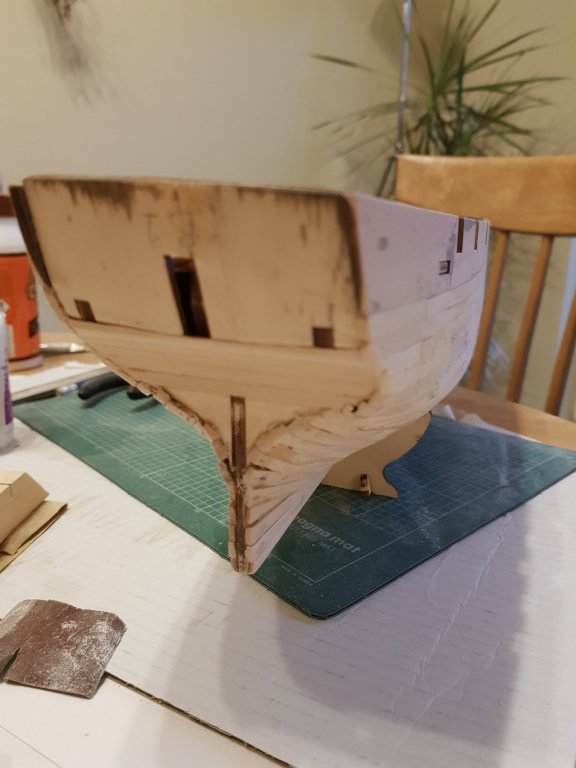
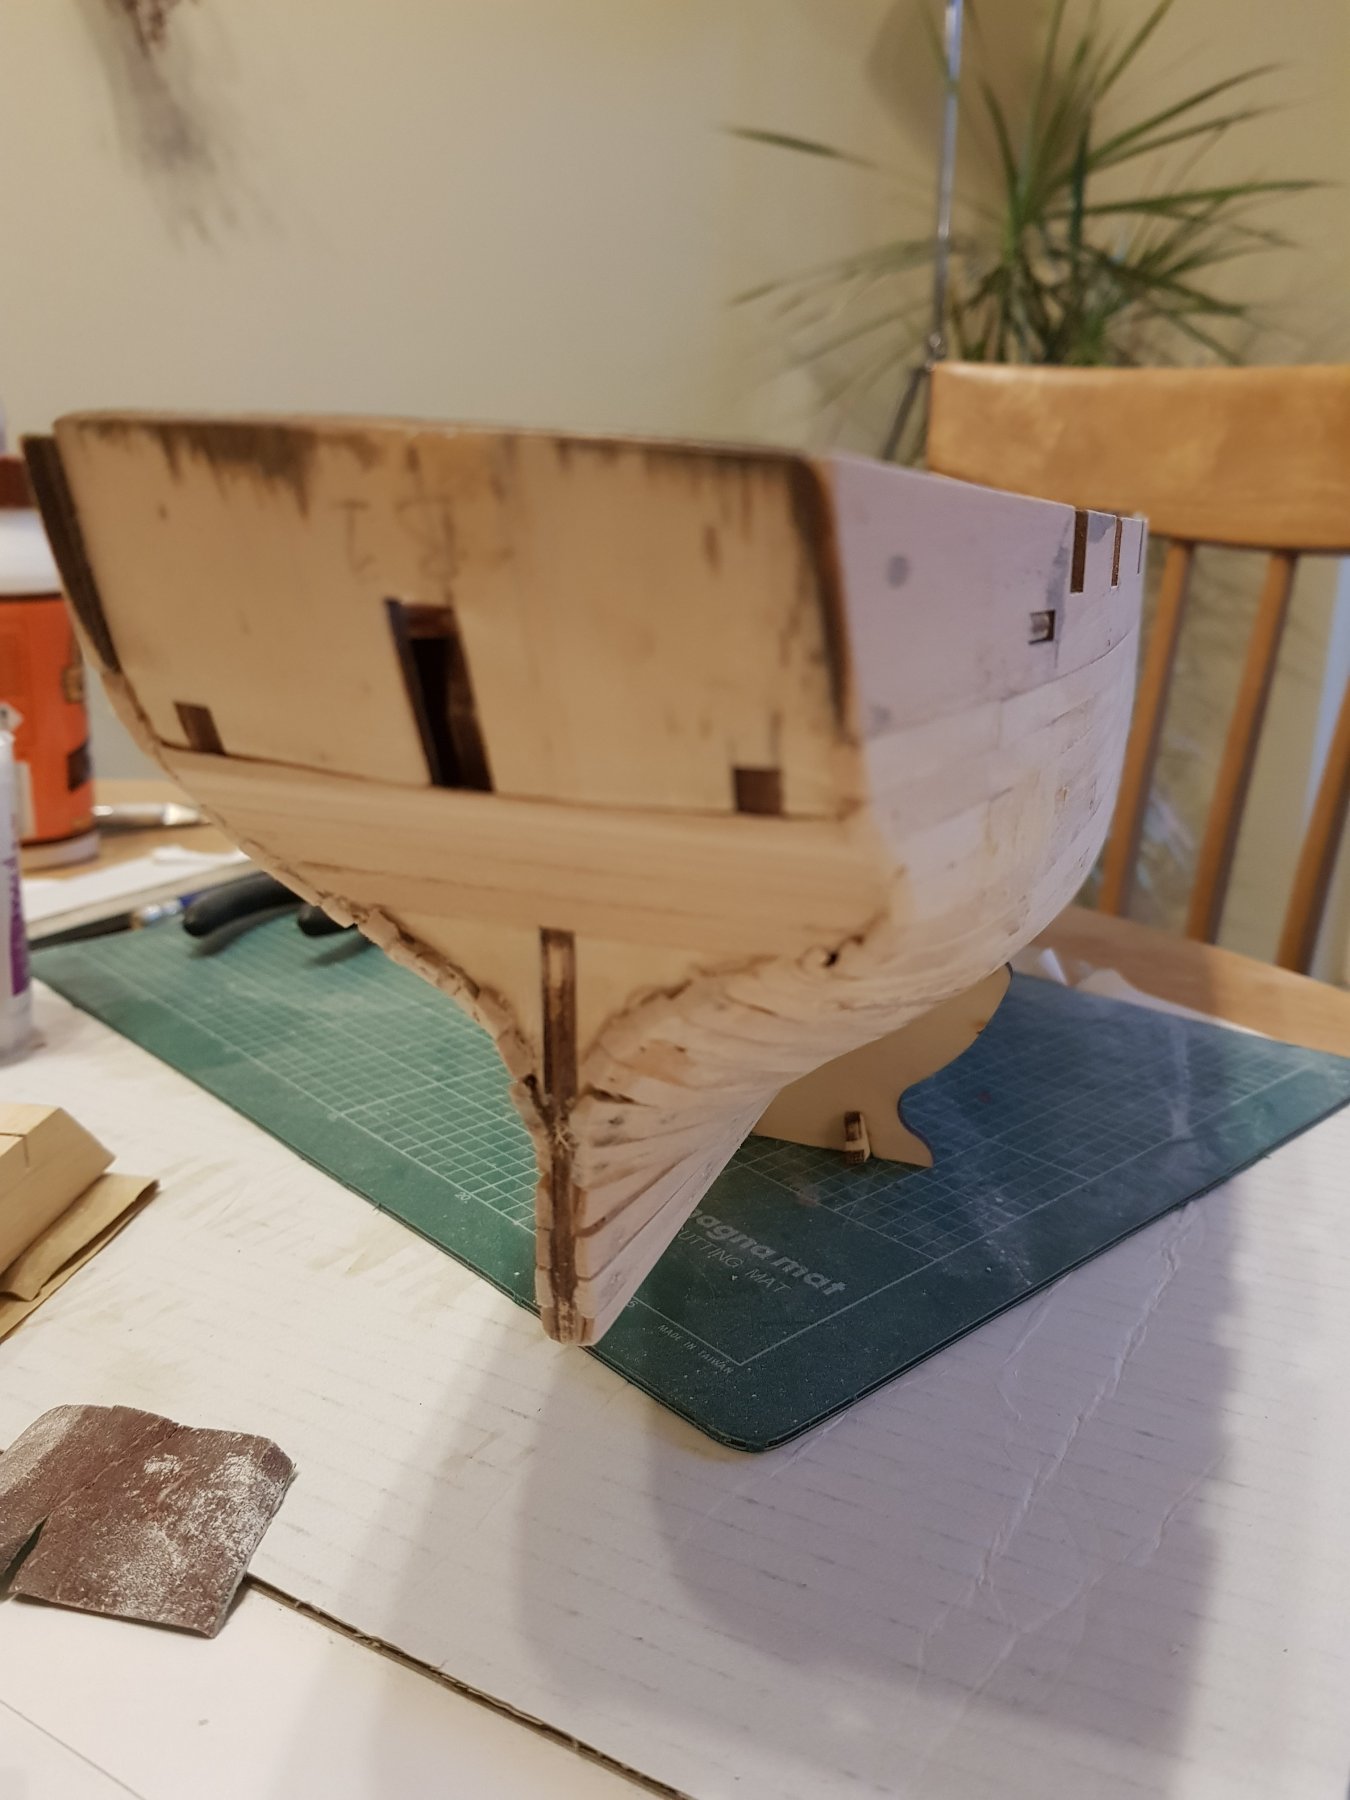
I tried to cut down the 2nd layer where the keel goes in but even with a new sharp knife blade and going slow it splintered. If I can remove this part I have enough left to replace it.
The other side looks a lot better.

- EJ_L, consitution, catopower and 1 other
-
4
-
-
-
1 hour ago, TOM G said:
you tube can steer you wrong on a lot of things, your on course for being your first build. and you are enjoying it......... i think you will be building another. mind you these ship kits take a long time to build, and you have to educate yourself as you go along. you may reach a point where you feel exhausted but don't give up the ship....... take some time off, and you will bounce back. now about planking go here http://modelshipworldforum.com/ship-model-framing-and-planking-articles.php www.syrenshipmodelcompany.com/resources/ChapterchapFour.pdf it took me a while to wrap my head around all this, 🙄 this is the right way to do the planking process. TOM G cleveland, ohio u.s.a.
Thanks Tom, the planking instructions seem a bit abstract at 1st. It wasn't until I was actually doing it that it then made sense, after the mistakes
 .
.
-
53 minutes ago, Haliburton said:
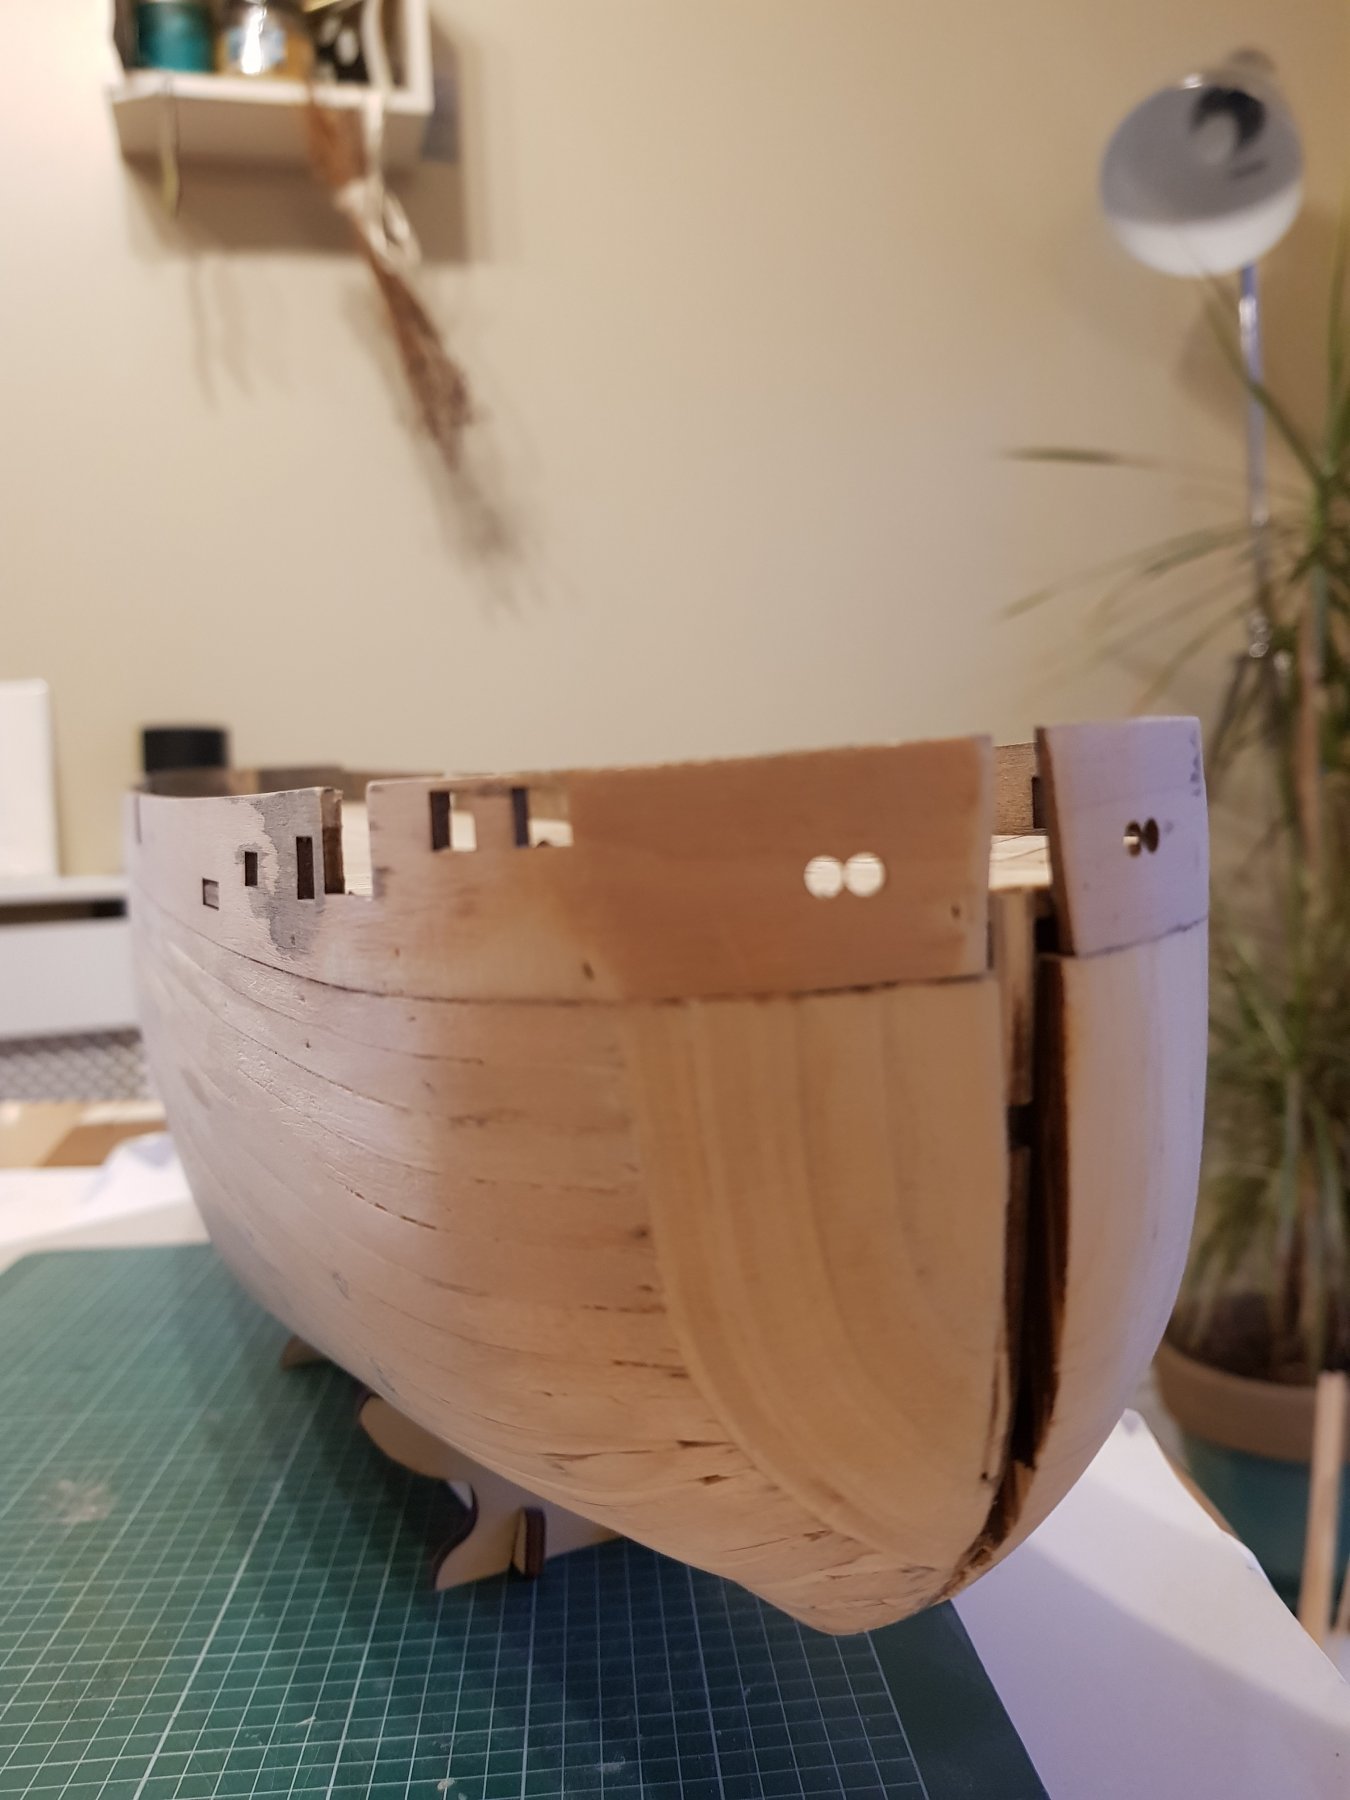
I can’t tell from the picture - did you plank the bow reinforcement or is that the sanded ply? It looks like planking and if so those bends look tricky. Scott
The bow reinforcement is just sanded ply.
-
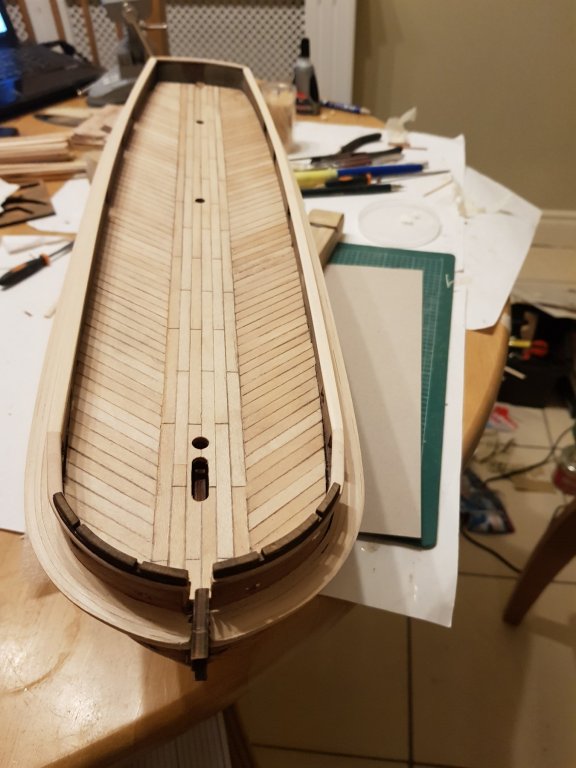
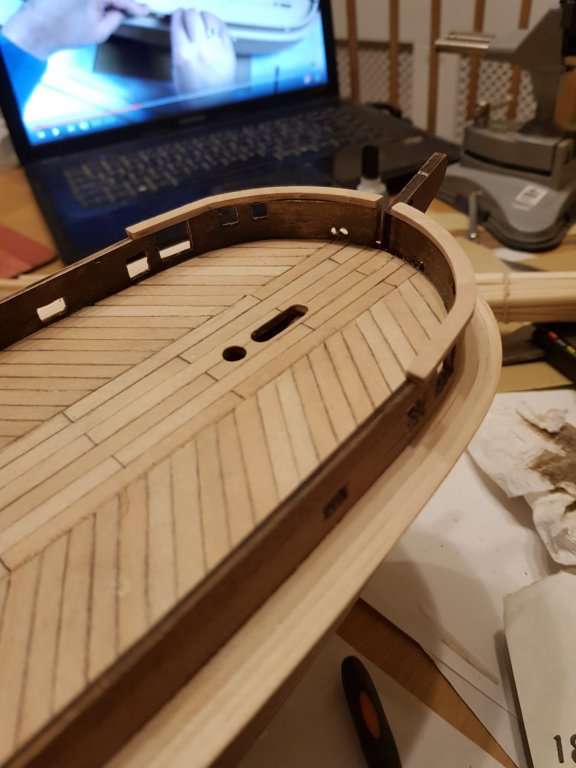
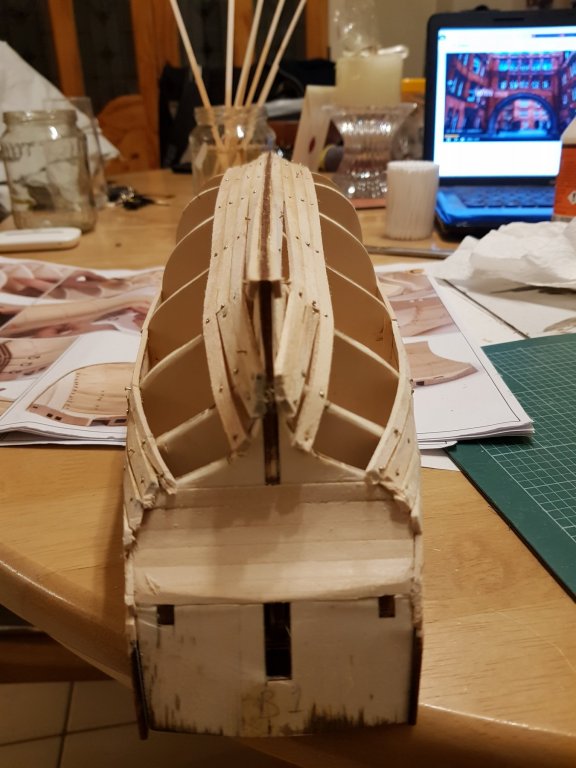
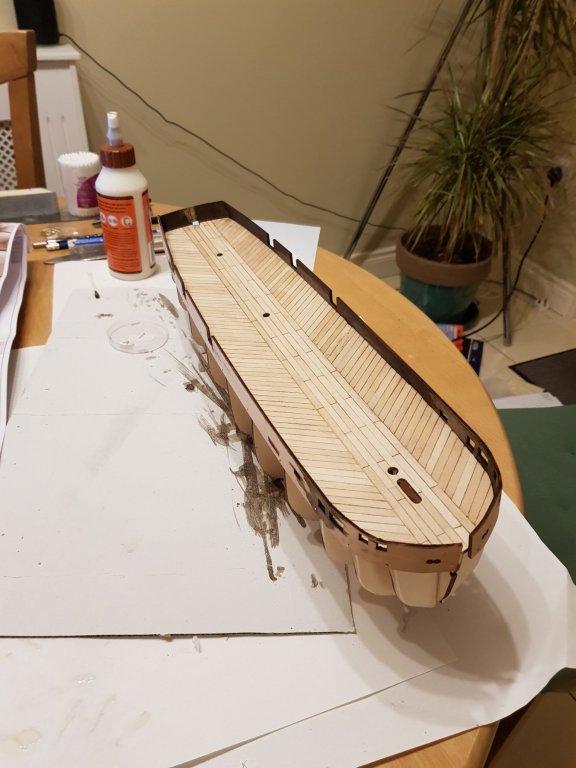
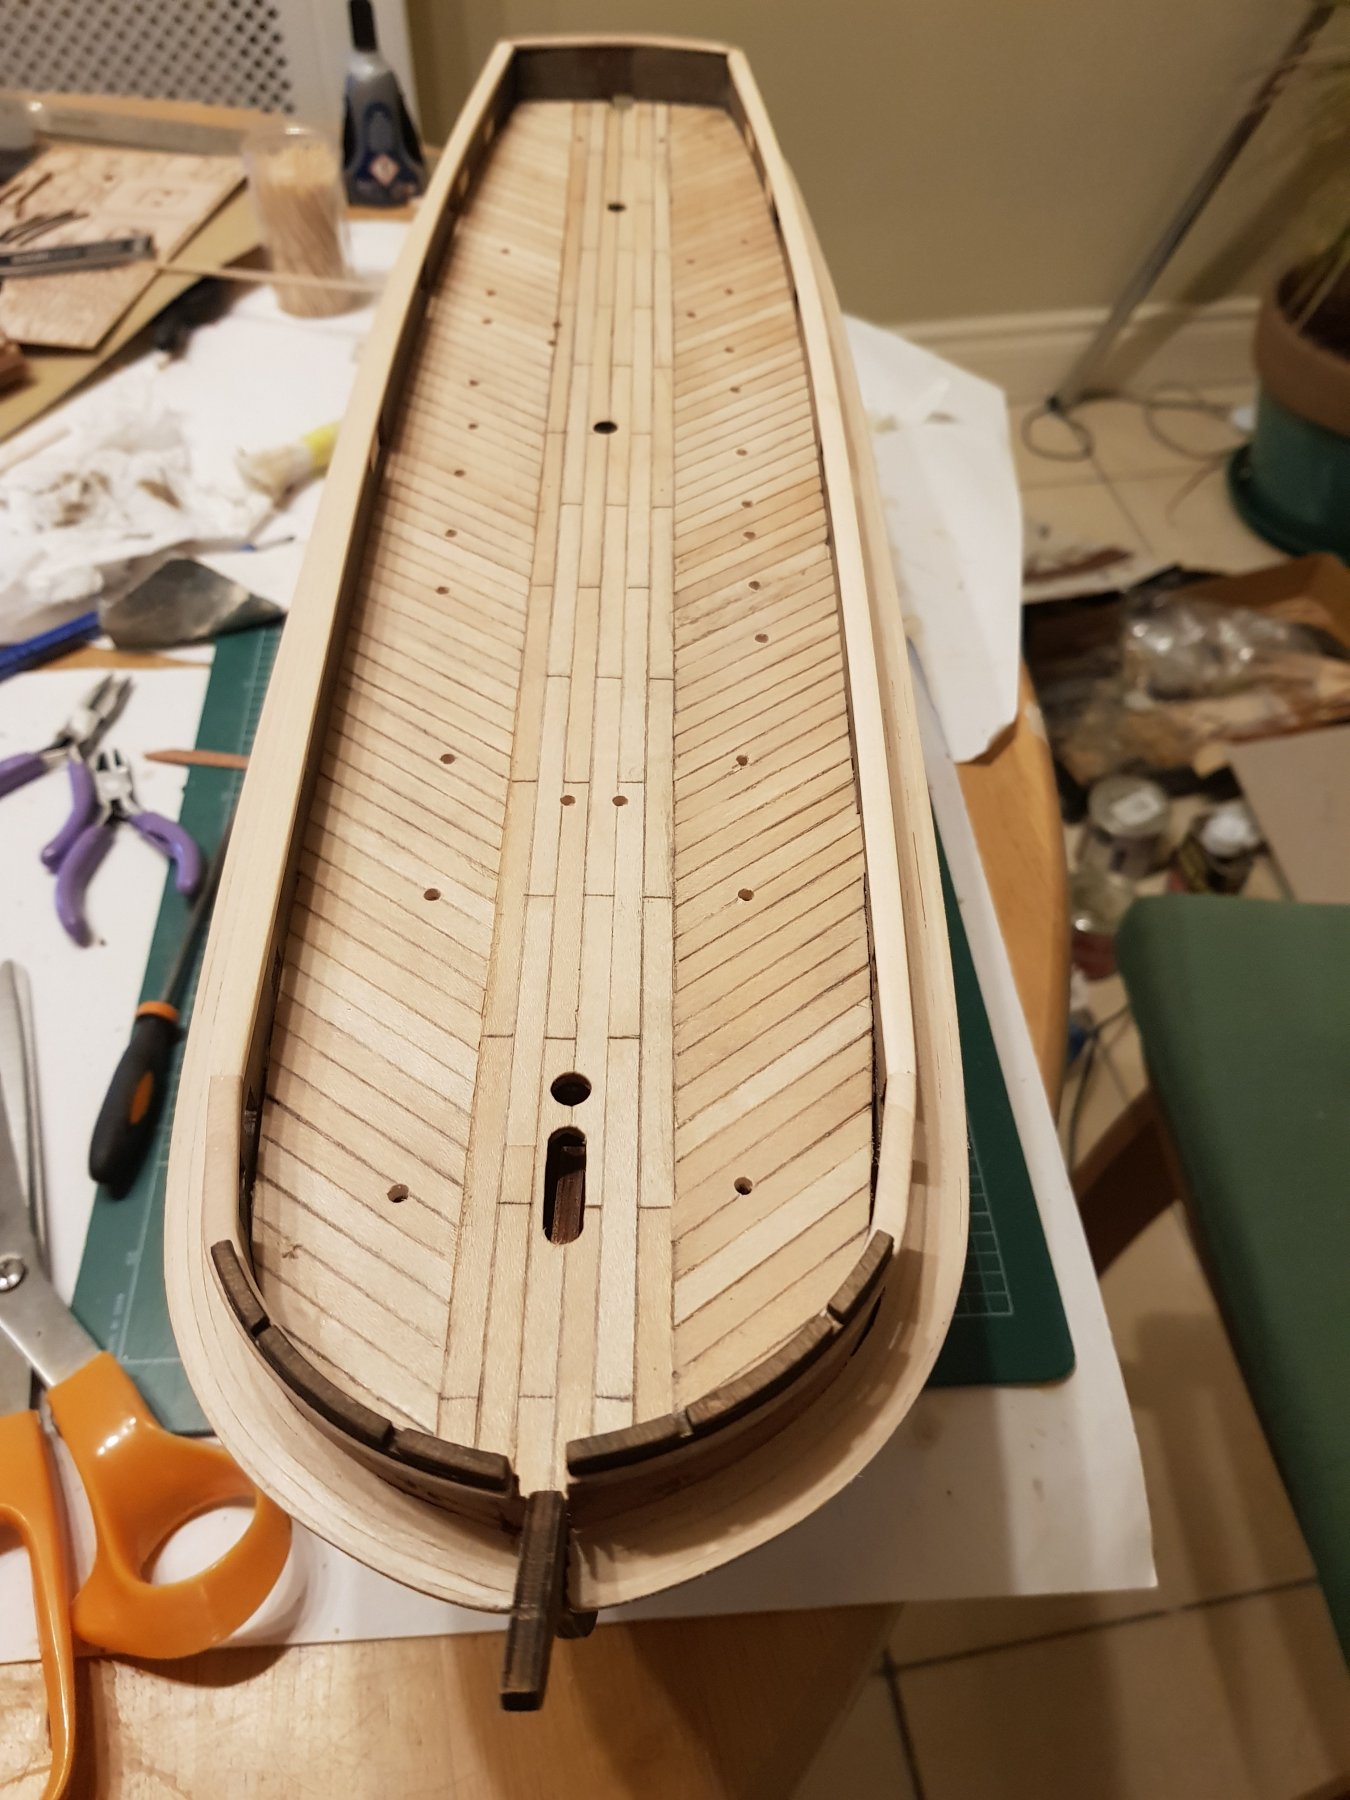
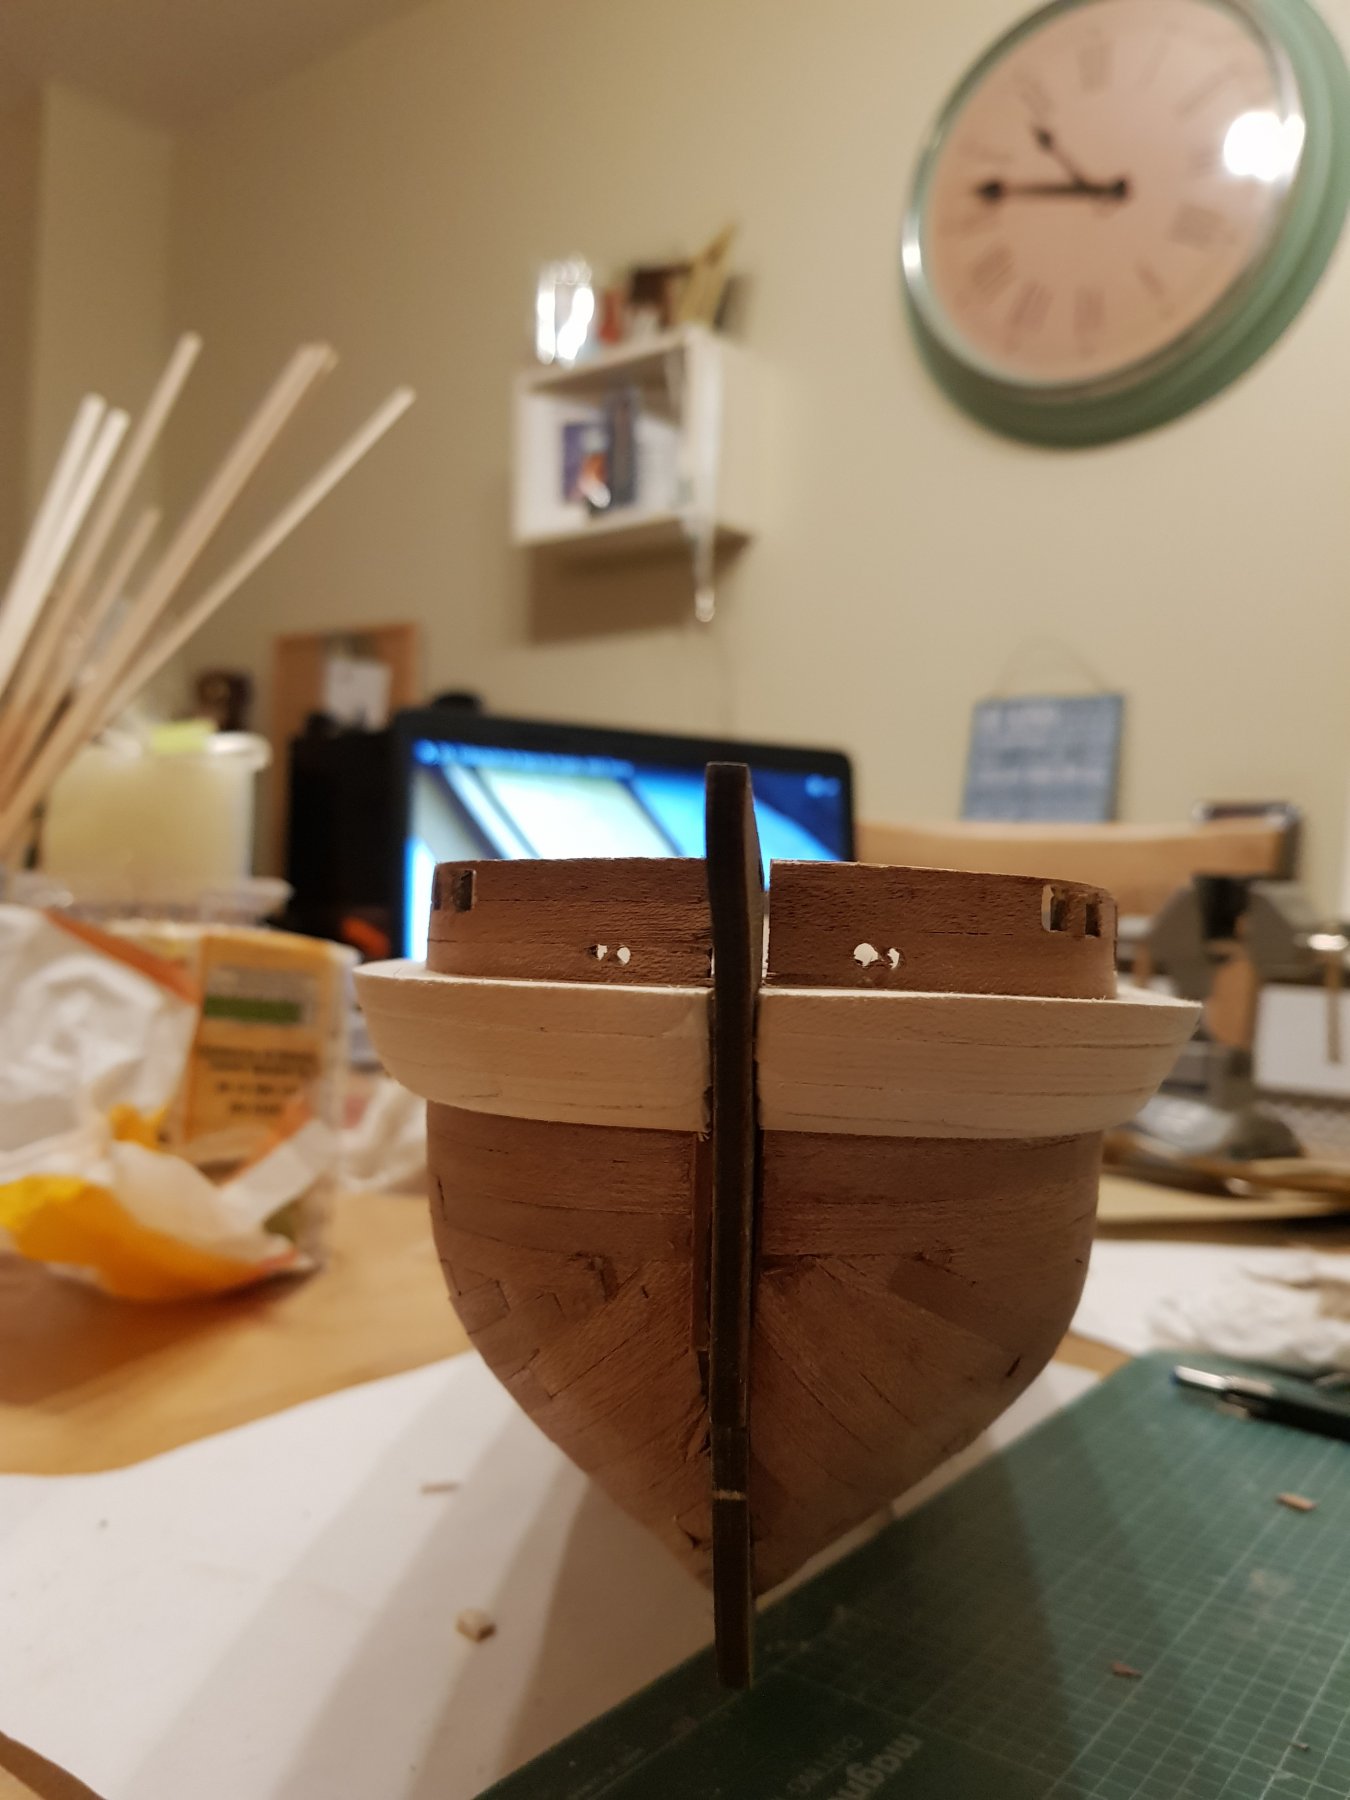
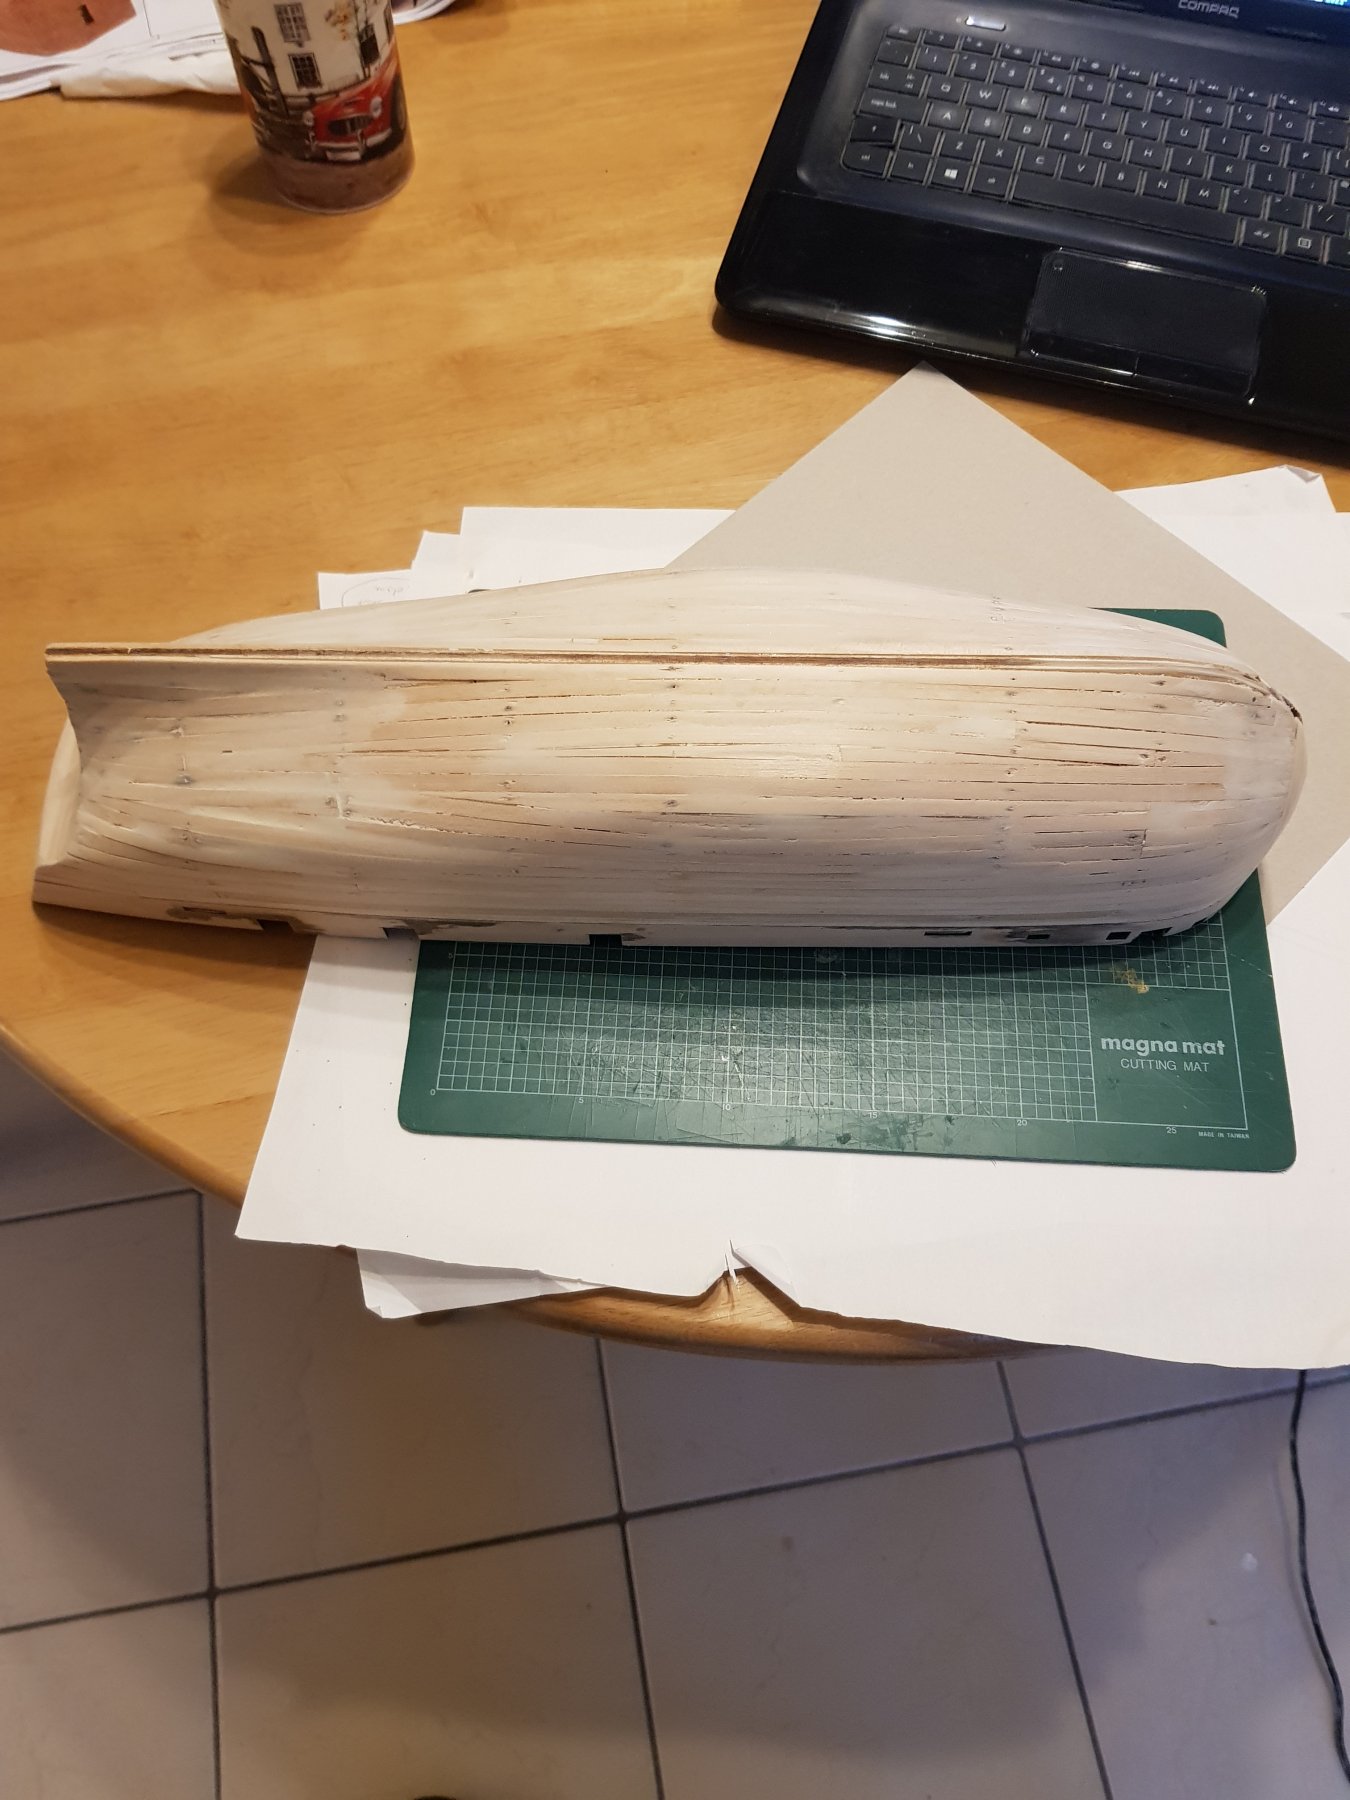
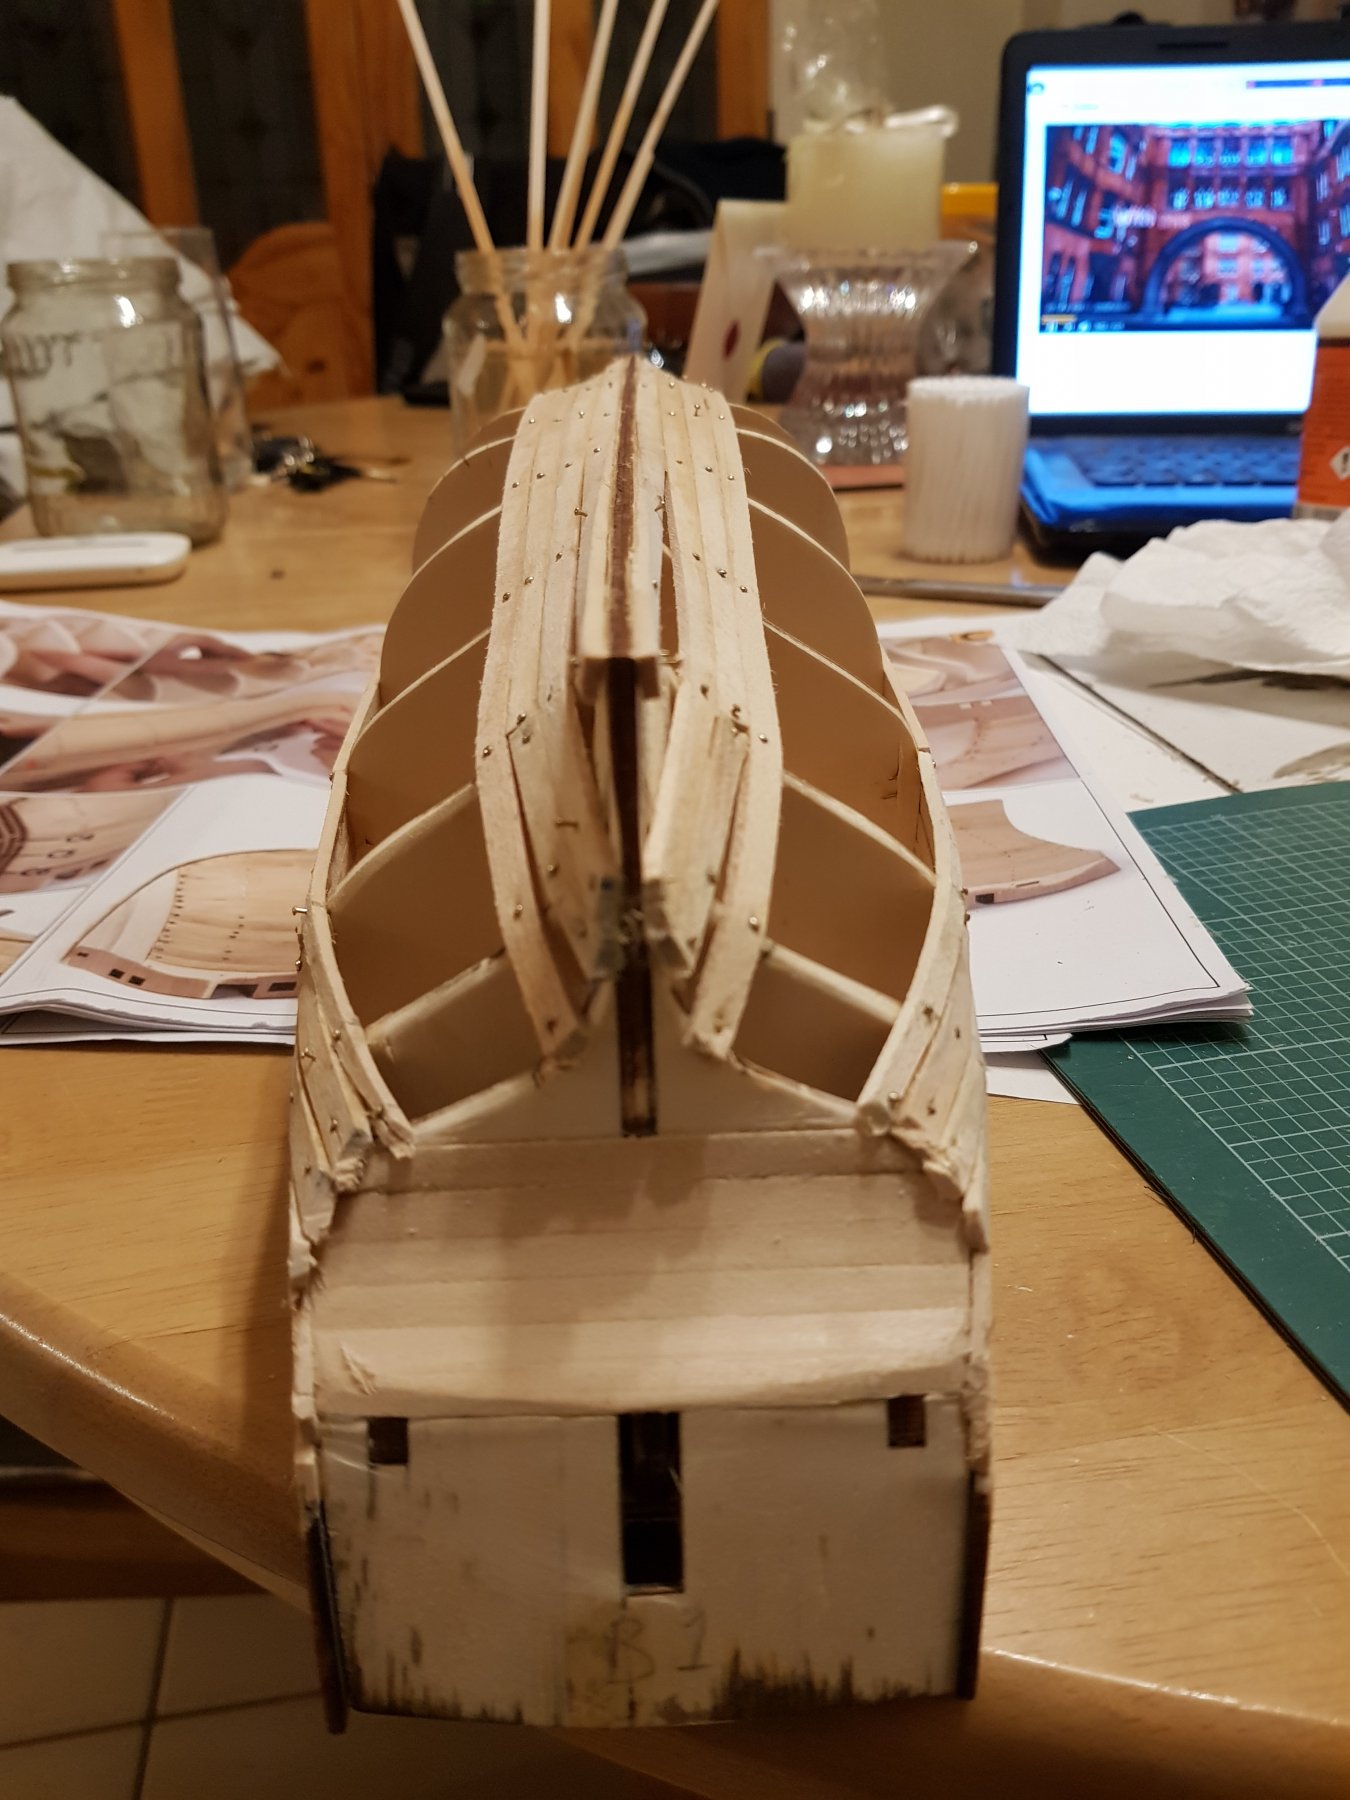
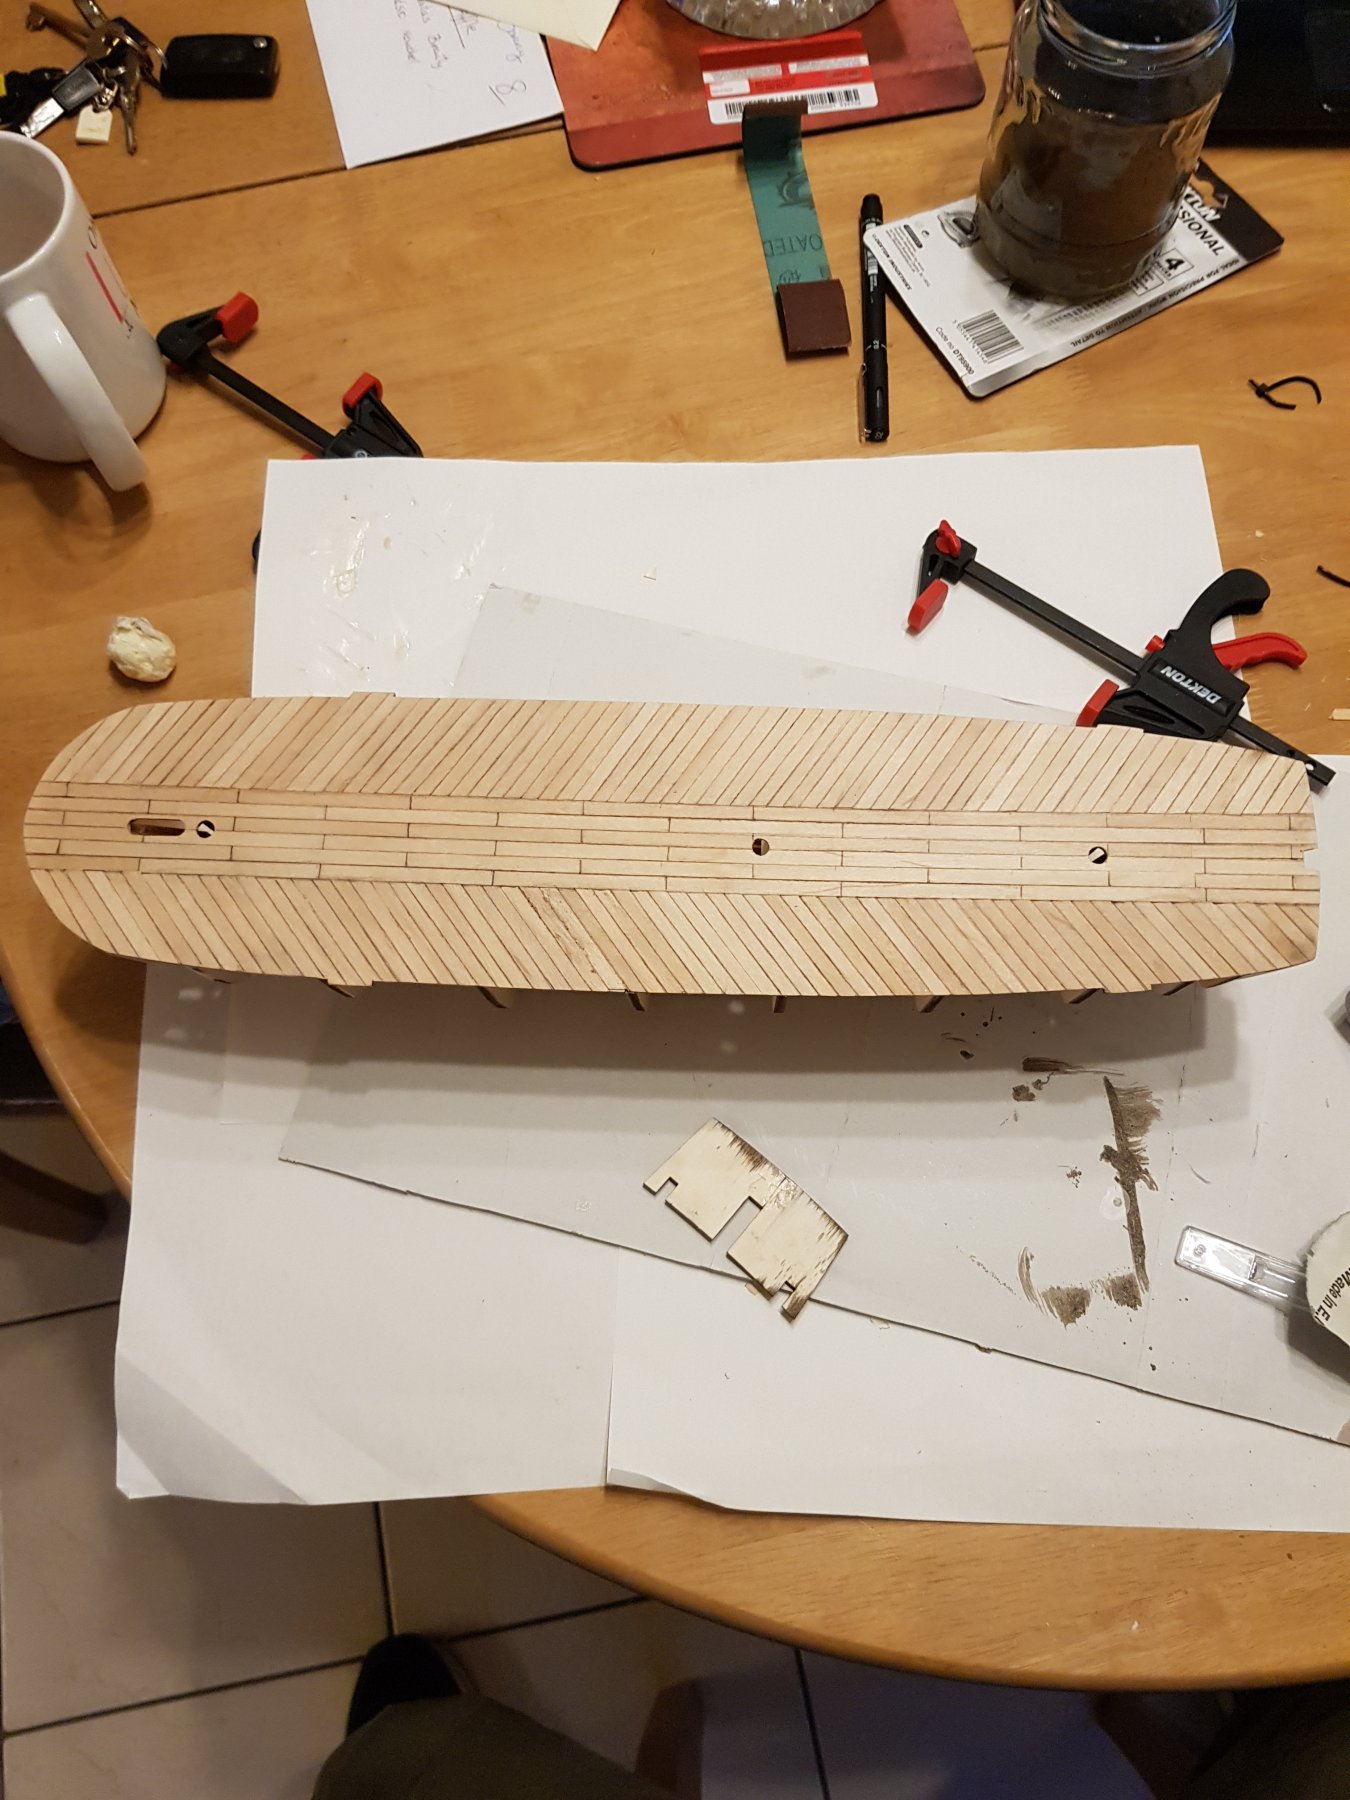
The planking all done, edges tidy, some gaps. Nothing to big that filler cannot fix. Am amazed it all came together and looks like a hull. The instructions and video say to leave the pins in but I thought it would be easier to sand if I took them out.
6 pieces of plywood for the bow reinforcements and lots of sanding. Was braver this time and used a heaver sand paper that really saved a lot of time. I also discovered that sanding filler is something best done outside.


-
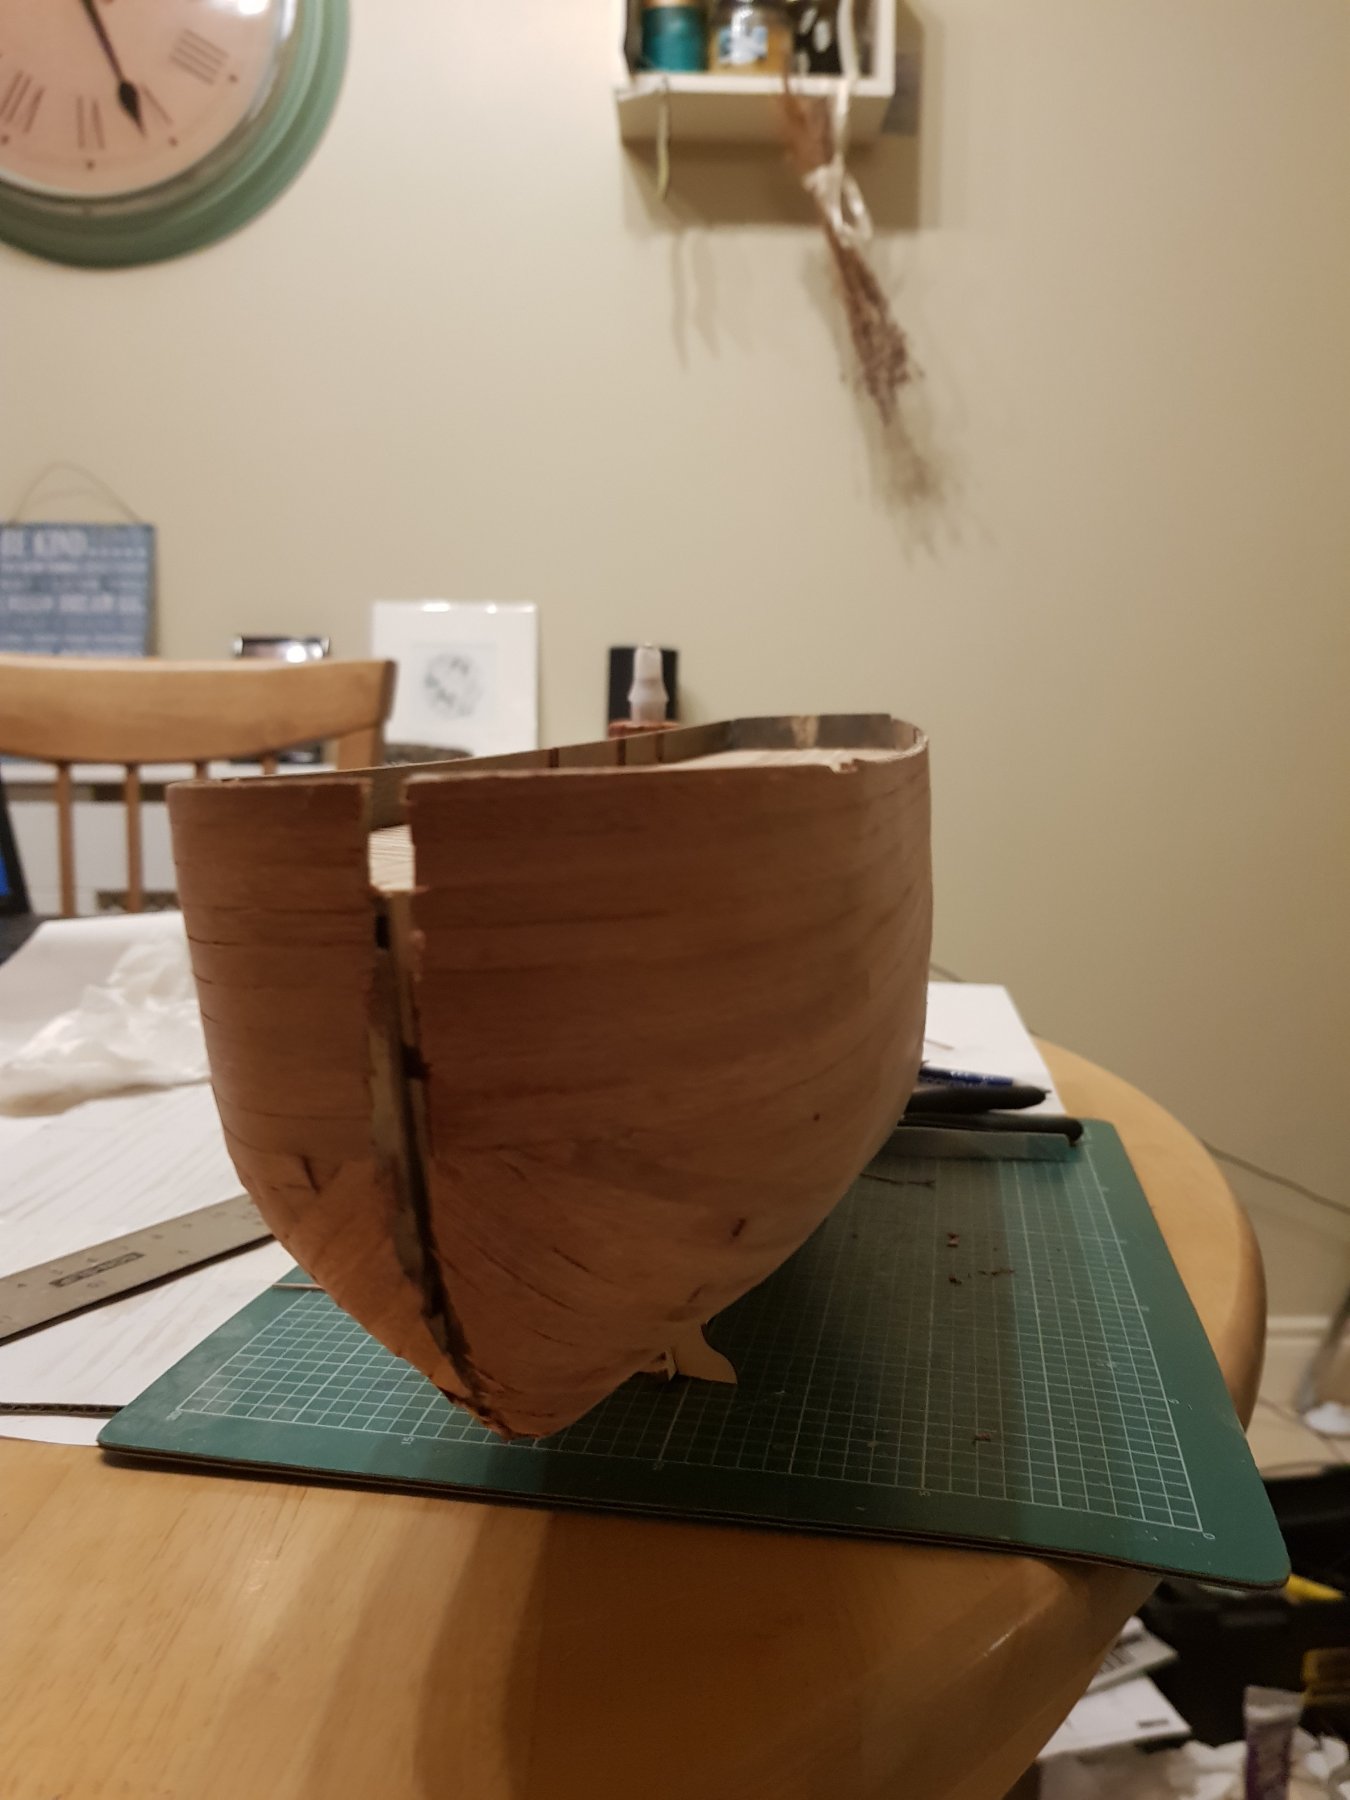
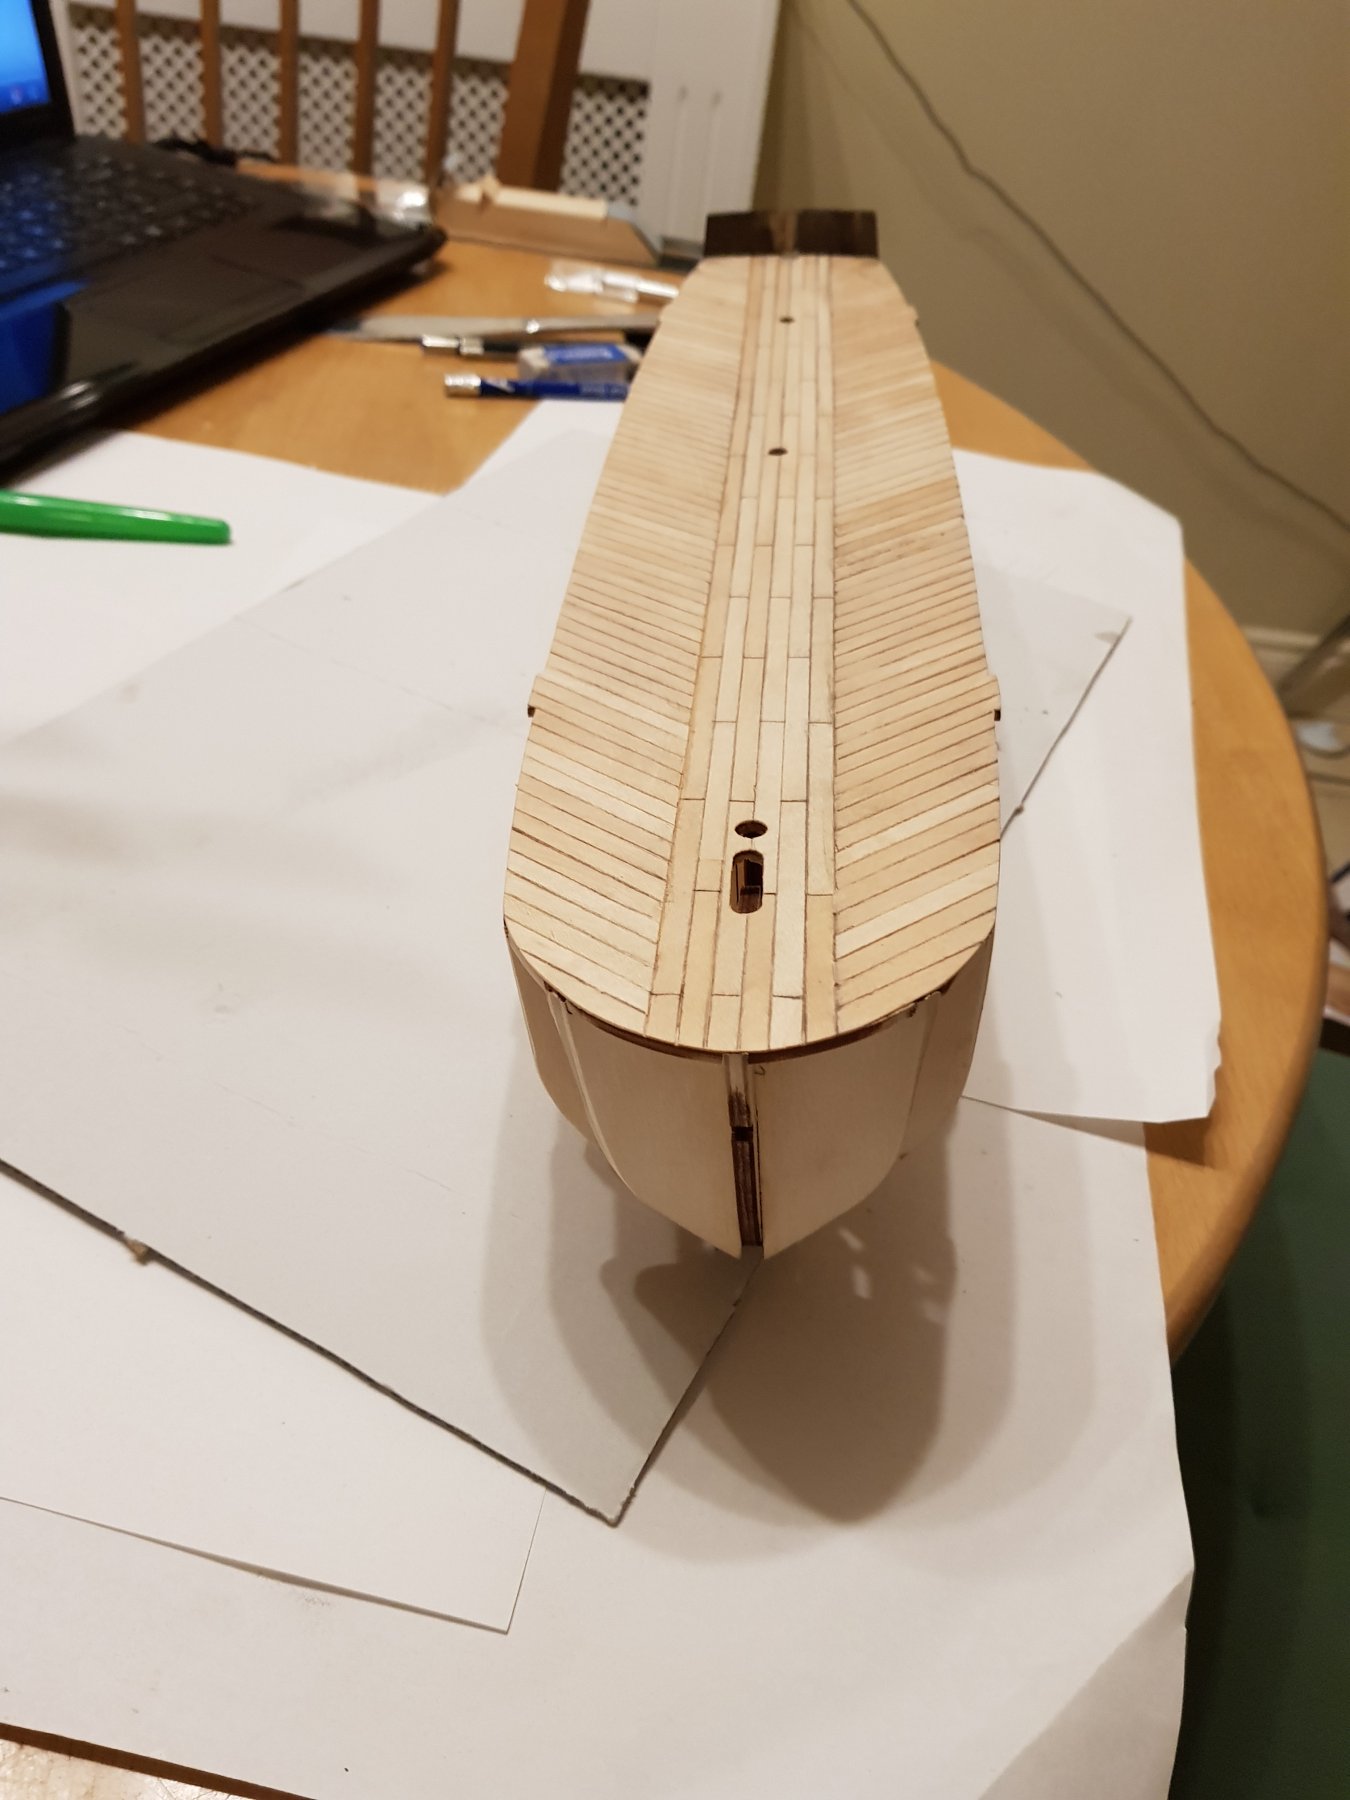
The bottom of the hull planking for the prow I felt ended up untidy, but I was able to sort of clean it up. It’s a learning experience and will be covered by the 2nd layer. The YouTube videos skipped over this bit.

- Haliburton and EJ_L
-
2
-
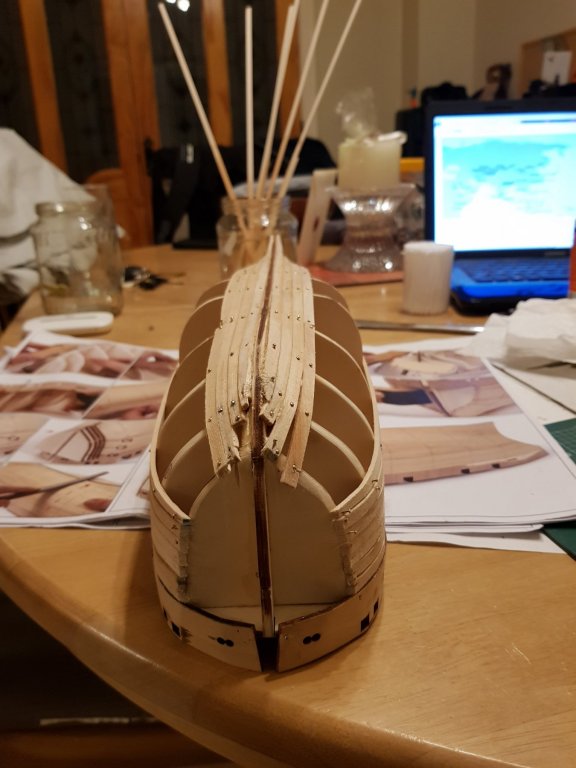
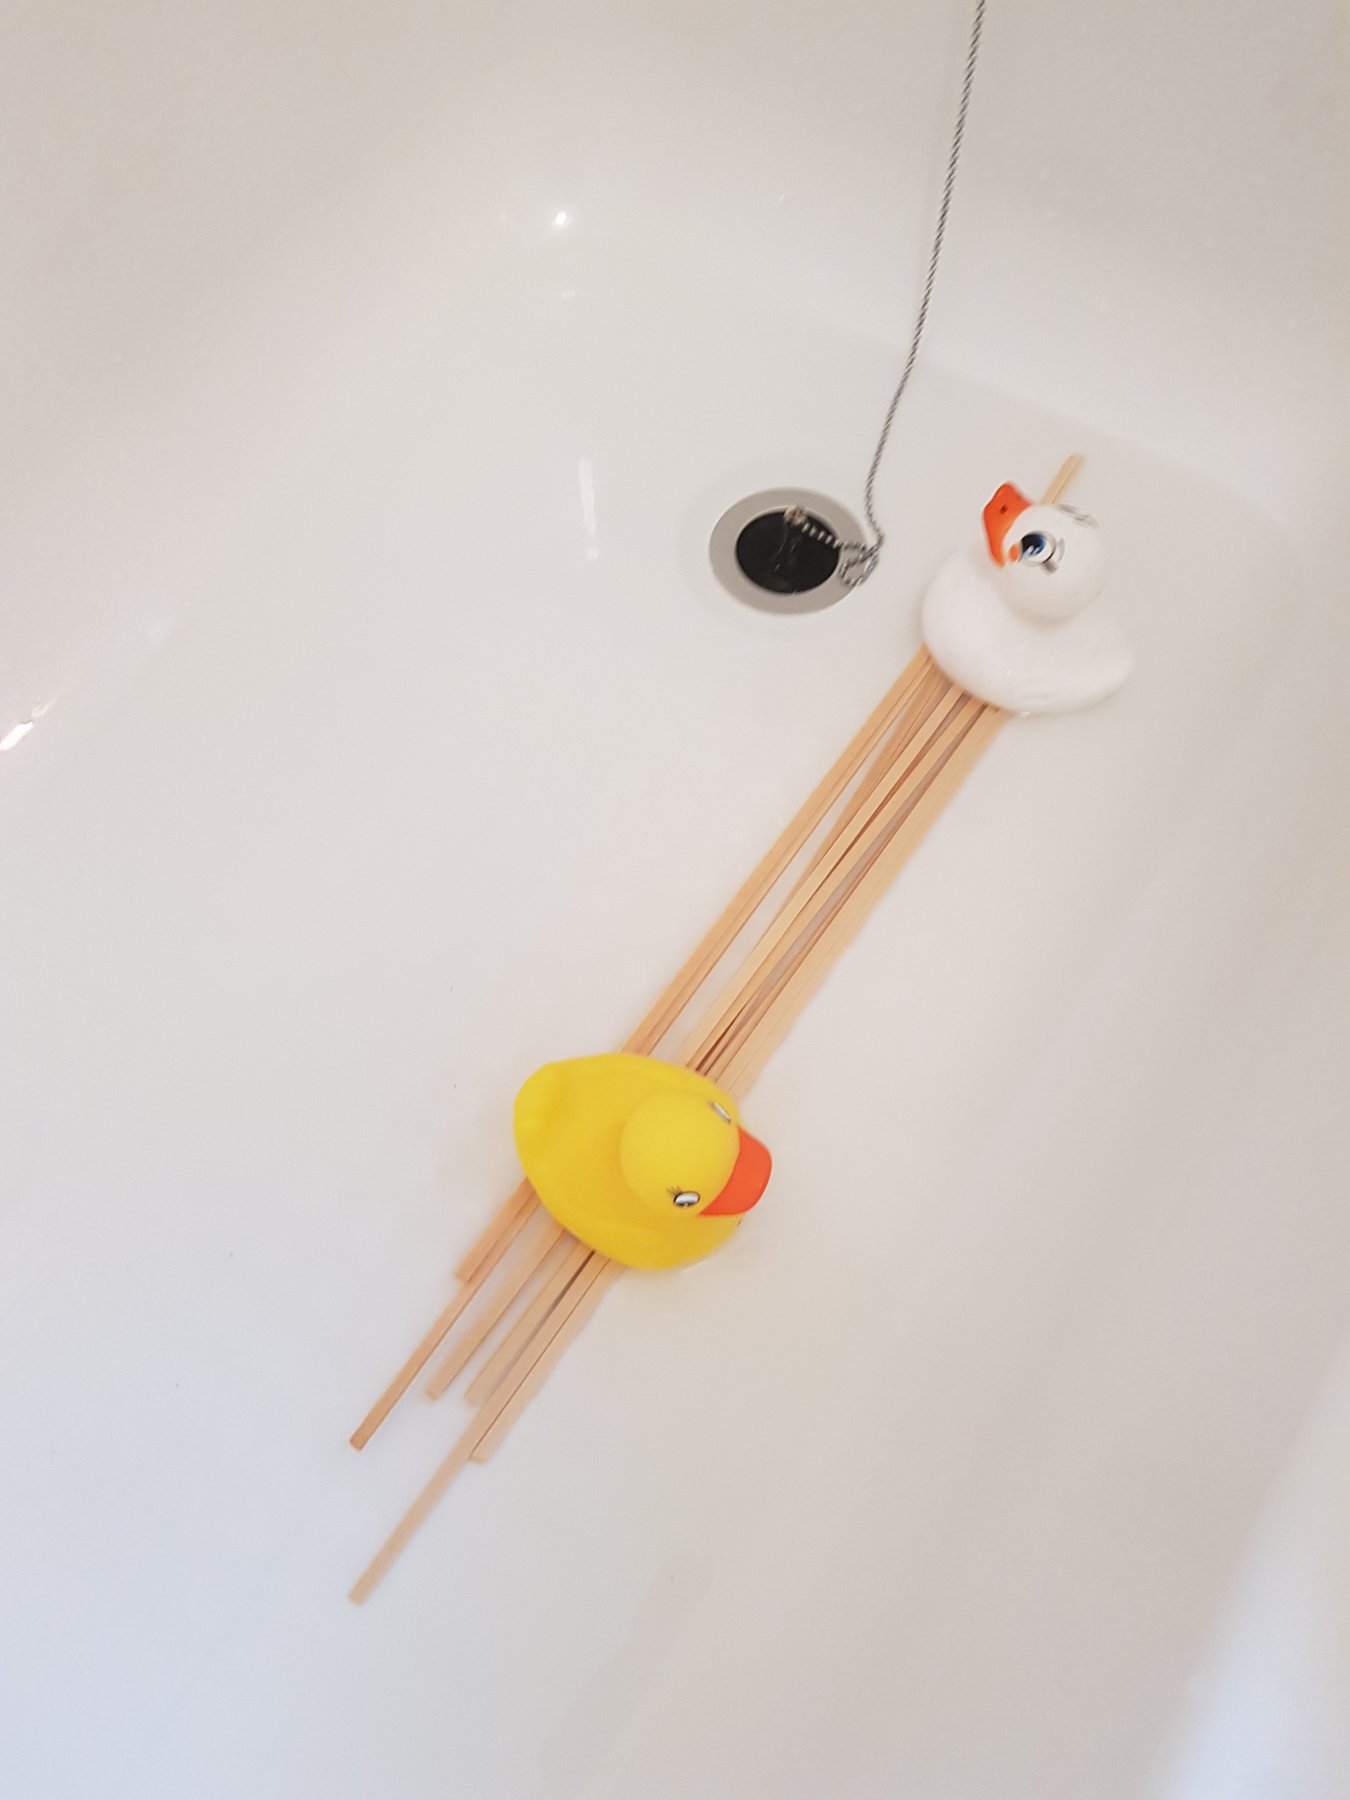
The planks for the bottom of the hull needs to twist 3 ways and I needed to find a way to soak all the length of the planks in one go. The bath was the only place I have big enough. But the wood floated, had to enlist some extra crew to hold them down.

- druxey, Haliburton and EJ_L
-
3
-
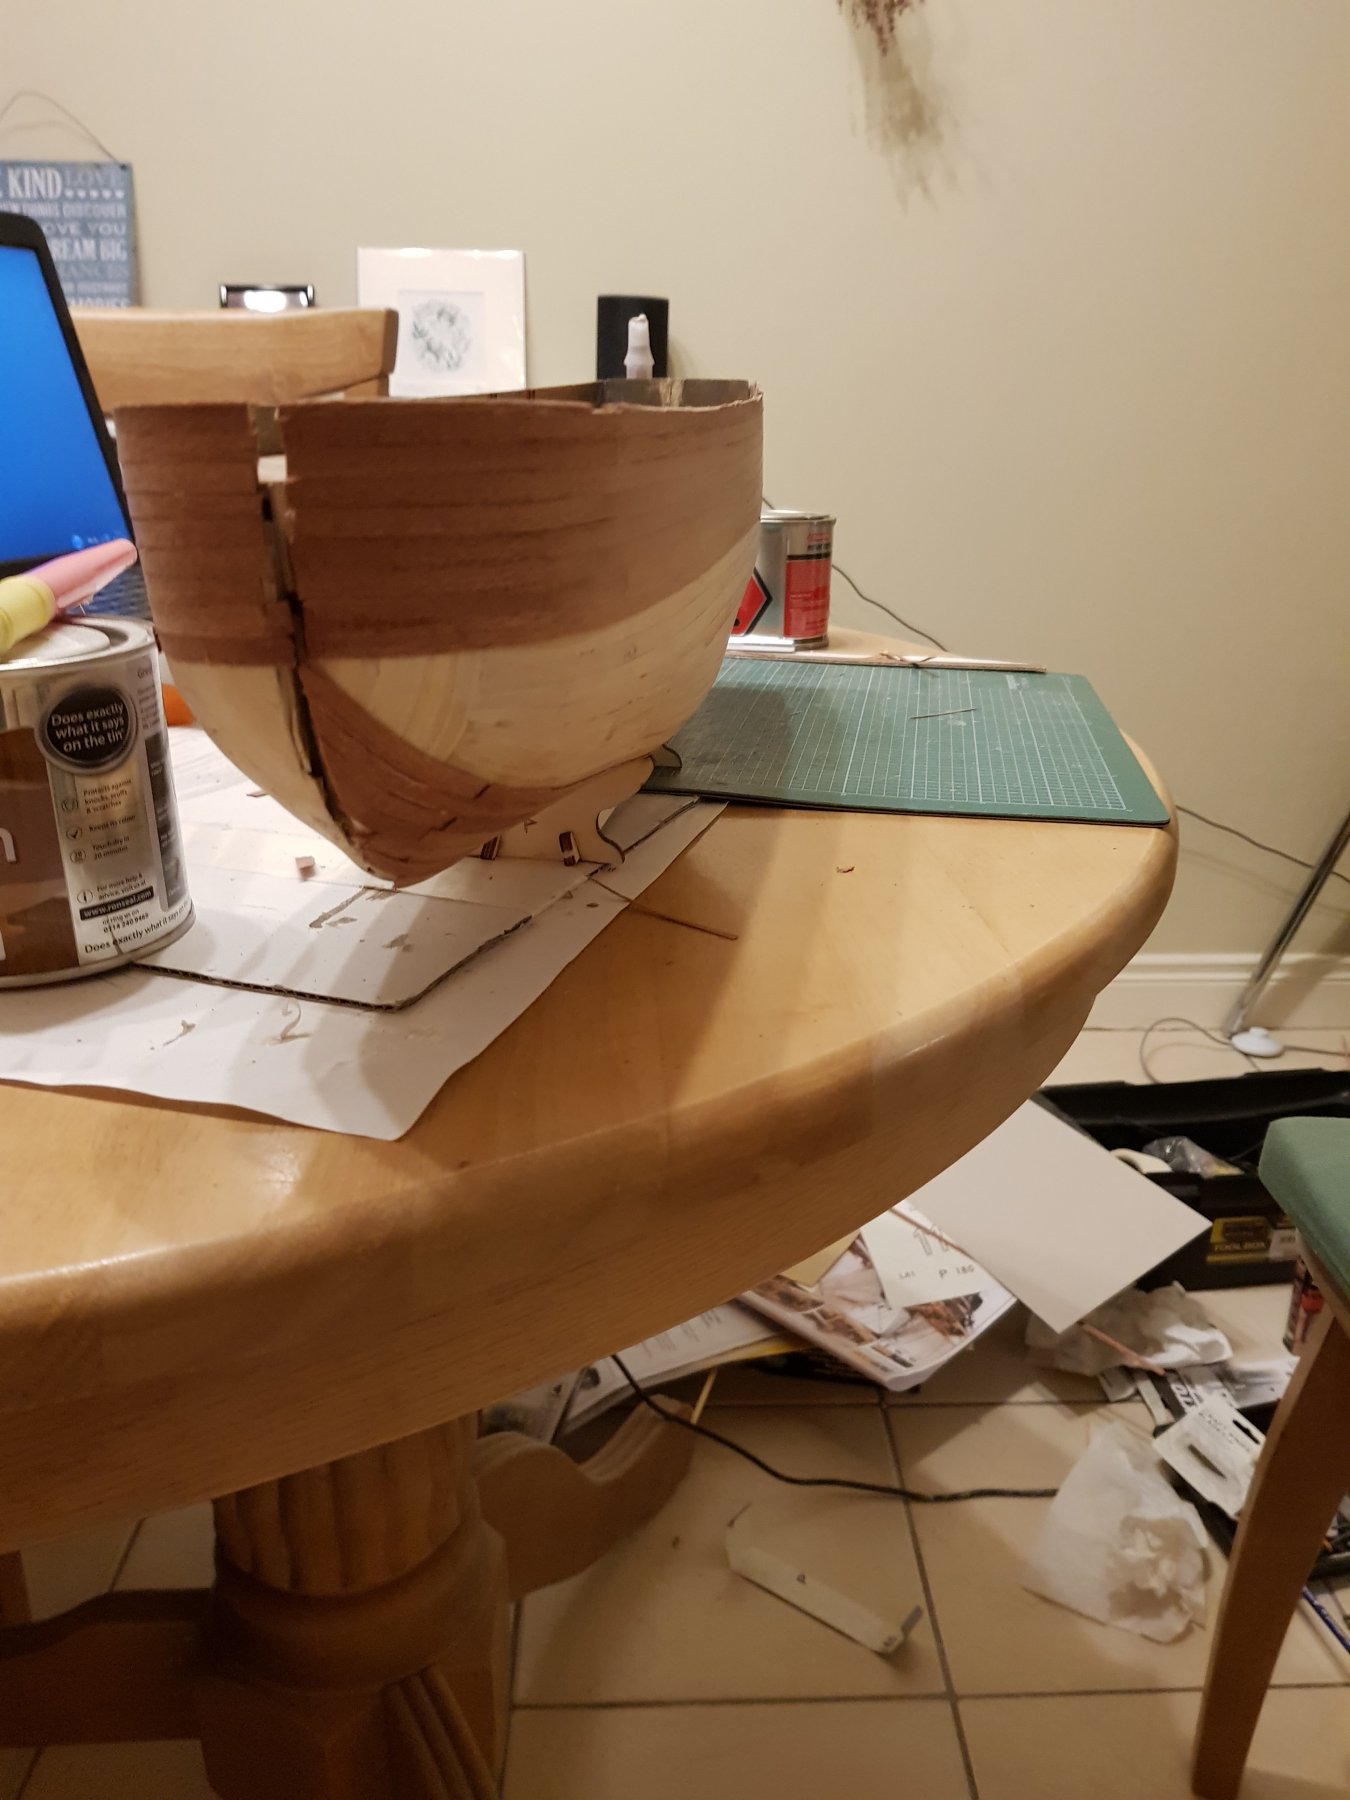
I did both sides at the same time because I read doing one side at a time could warp the hull. Soaking the planks bending getting the pins in the right place were challenging but ok to do with some patience. So far I’m having a great time enjoying it coming tougher.


- EJ_L and Haliburton
-
2
-
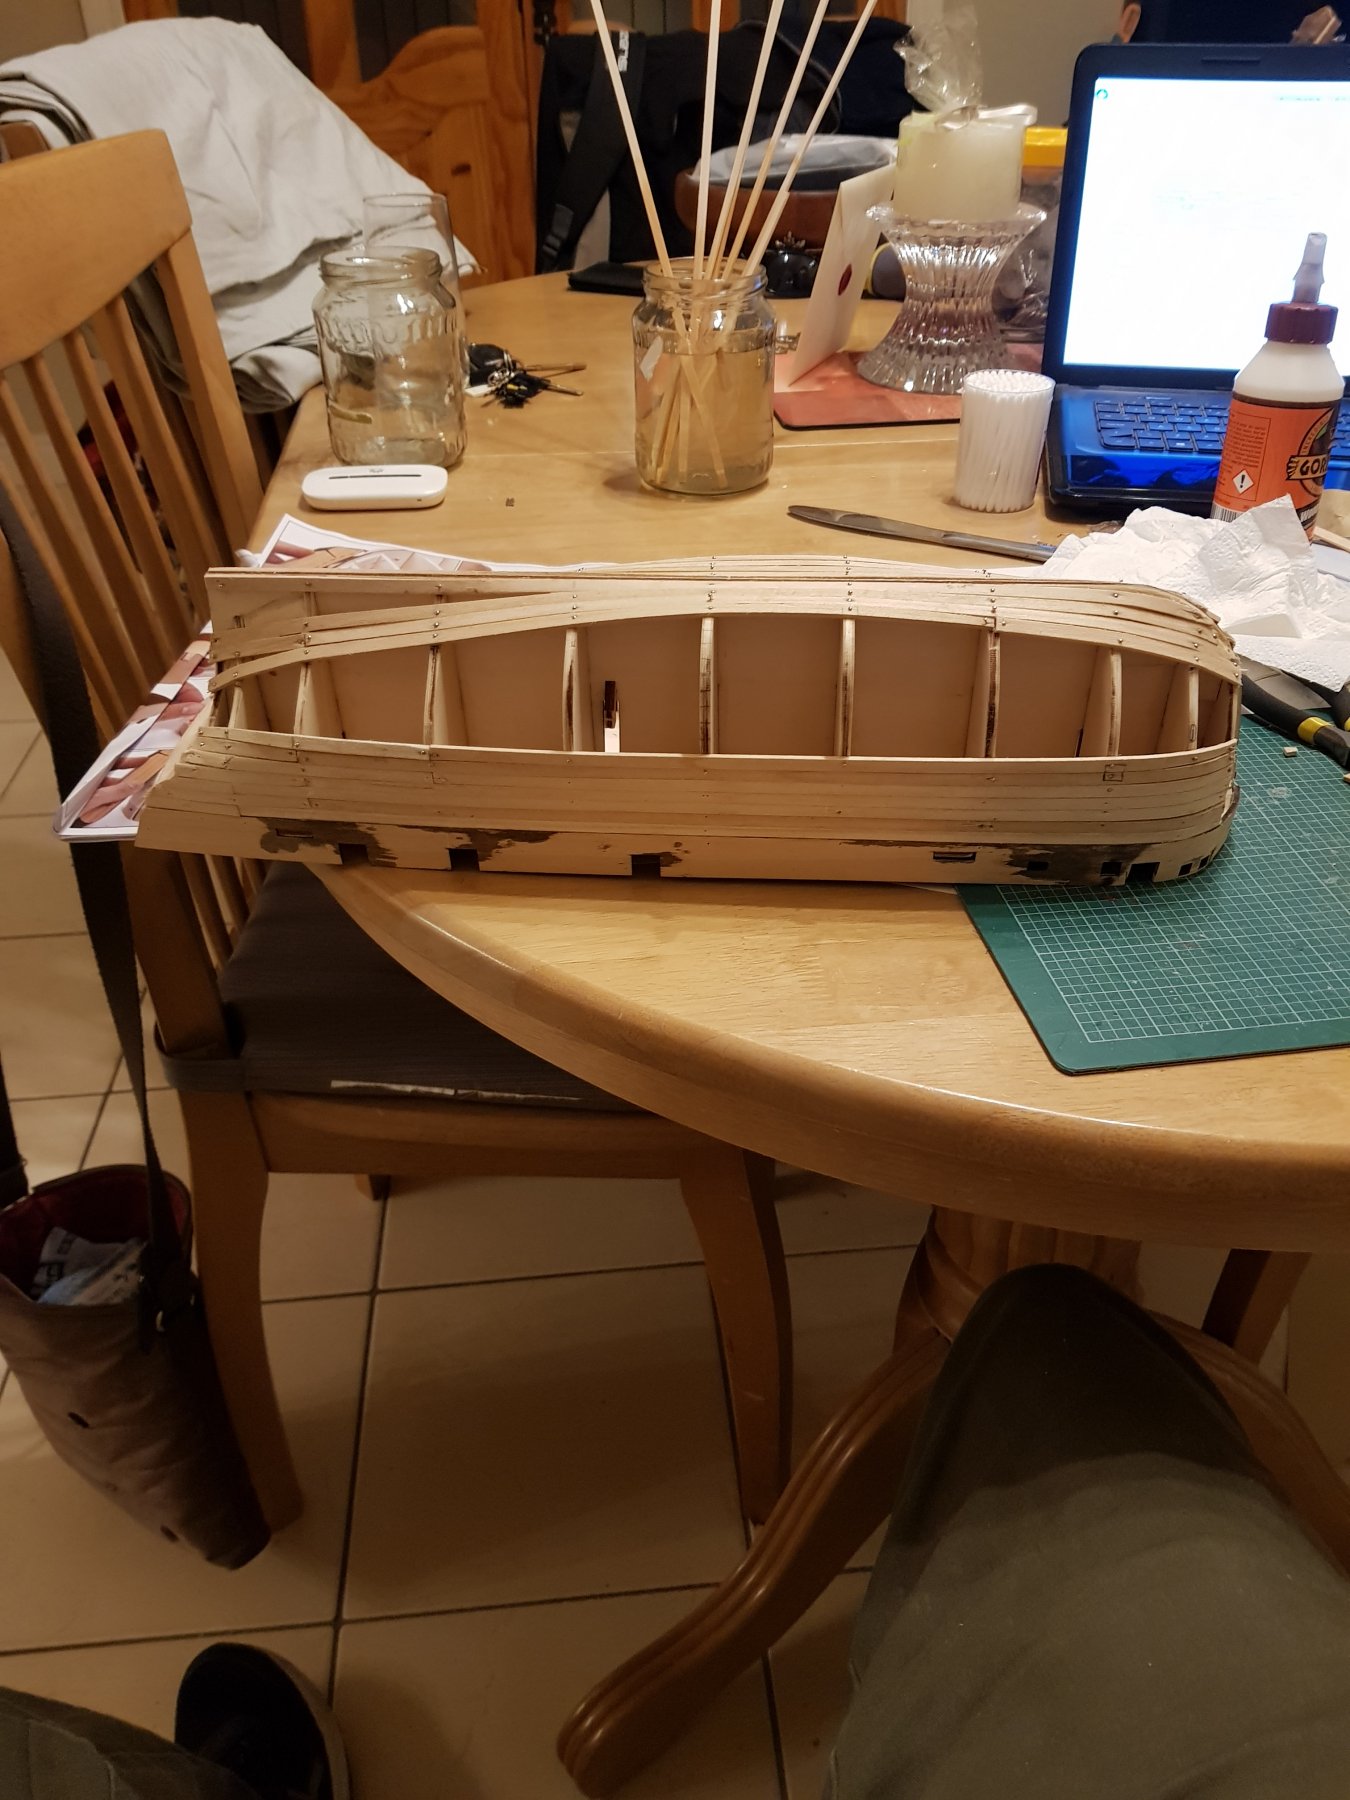
Next is the planking. This and the rigging is what I expect will be the most challenging parts. The information I found was to start at the top work my way down, then go from the bottom up and meet in the middle, pinning and gluing as I go.
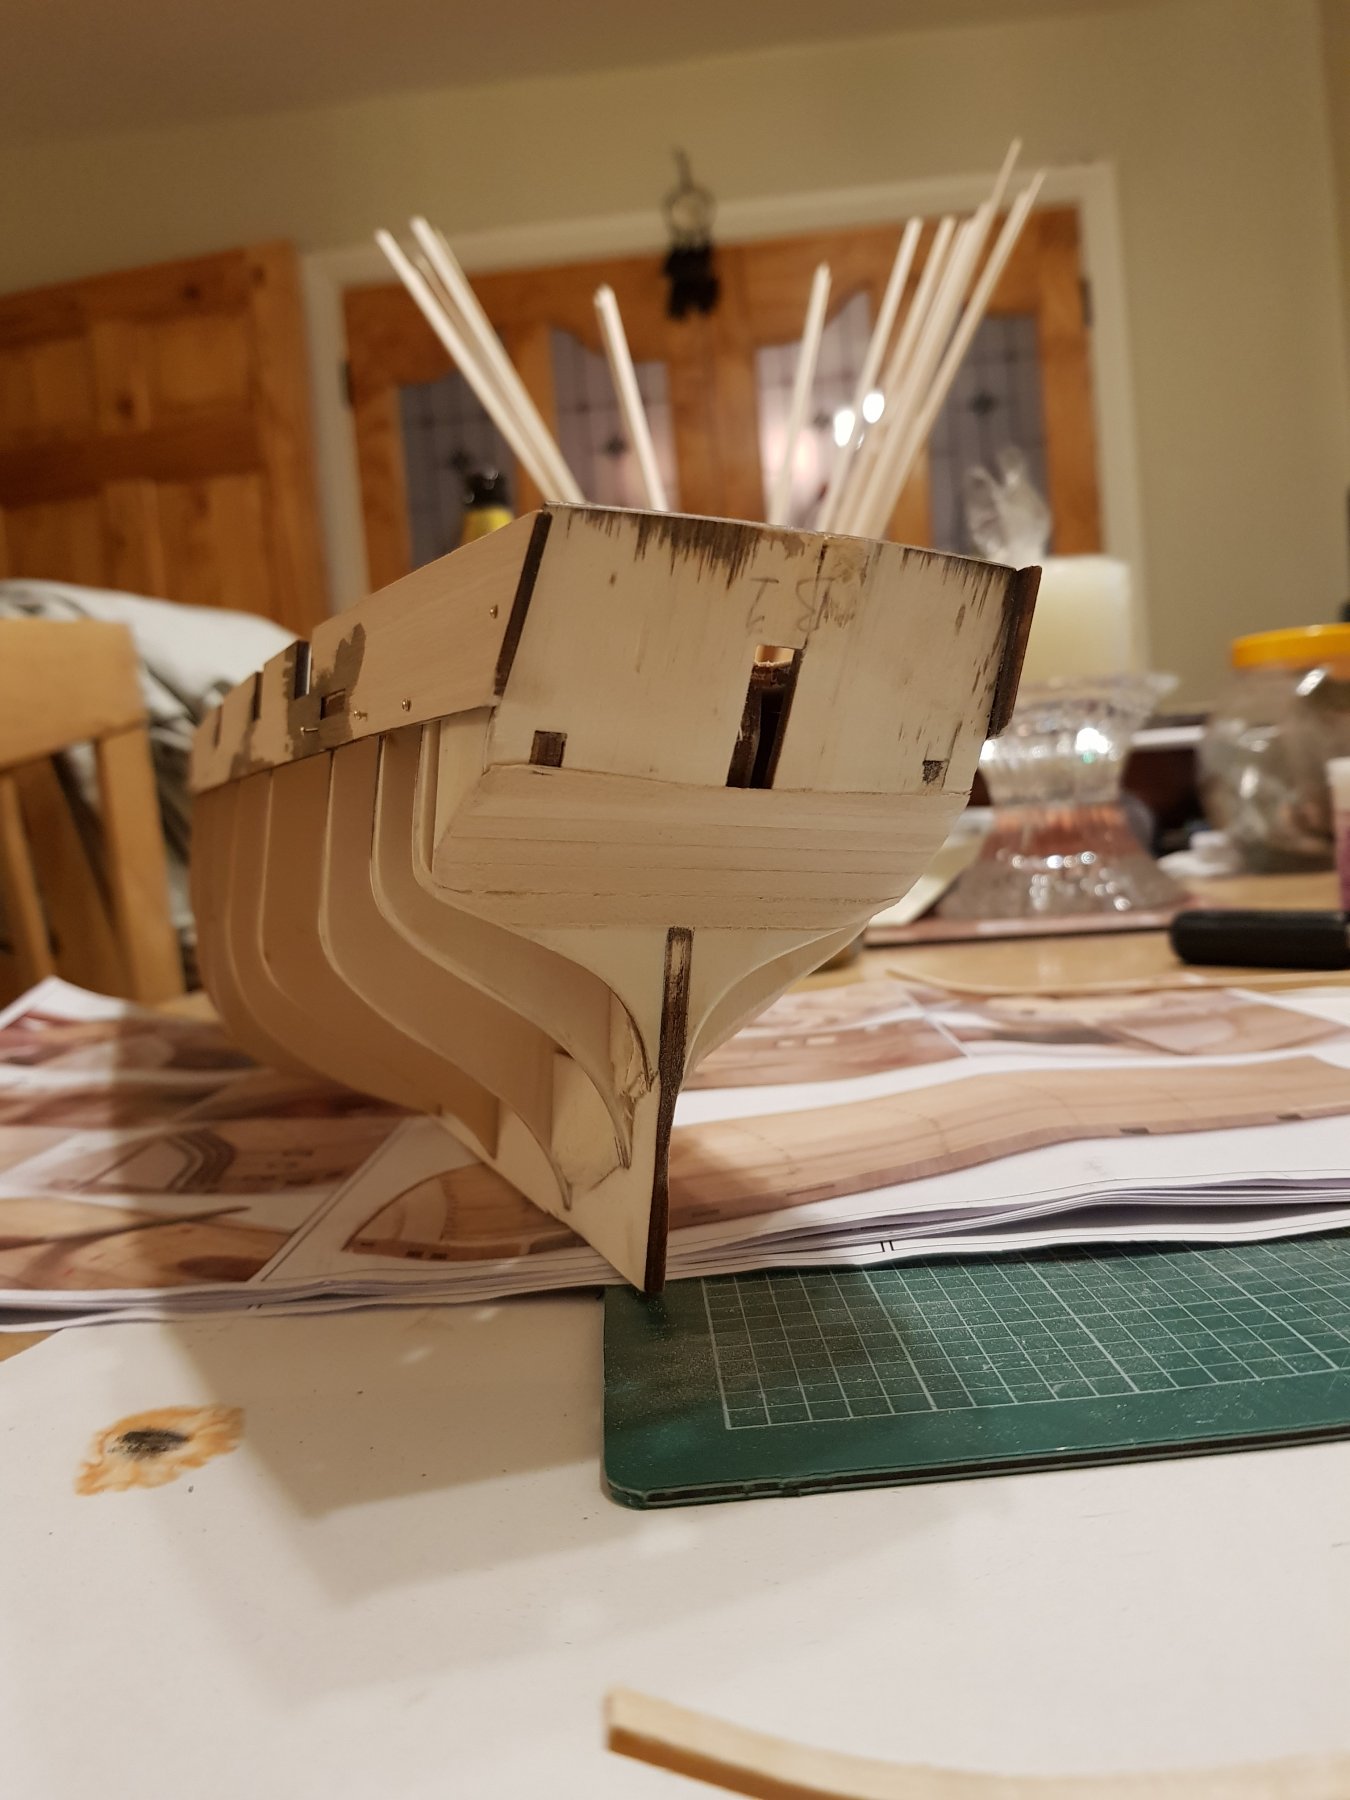
The stern planking was so easy, short planks with no bends. But trimming the ends with a hobby knife and nothing to rest against is something I think will happen a few times with this project.
")

-
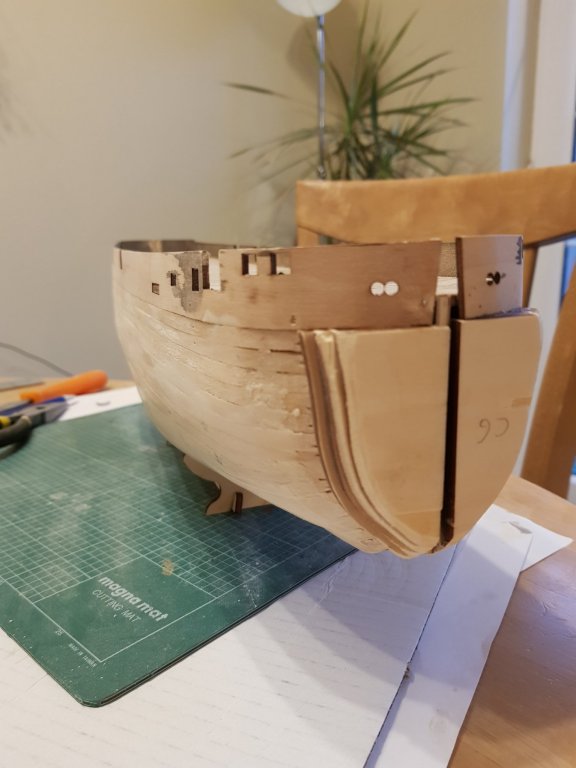
Sanding the reinforcements took some time to get flush with the false keel. Then the sides to be bent, stained and attached (on the YouTube video it’s called the armour). I live in southern Ireland and there are not many model shops around. Most of the tools I’m using have to be ordered online so I ordered an electric plank bender and small tool kit that had a pin pusher, which were used for the 1st time on the armour. They were easy to use and no problems yet.
- clearway, EJ_L and Haliburton
-
3
-
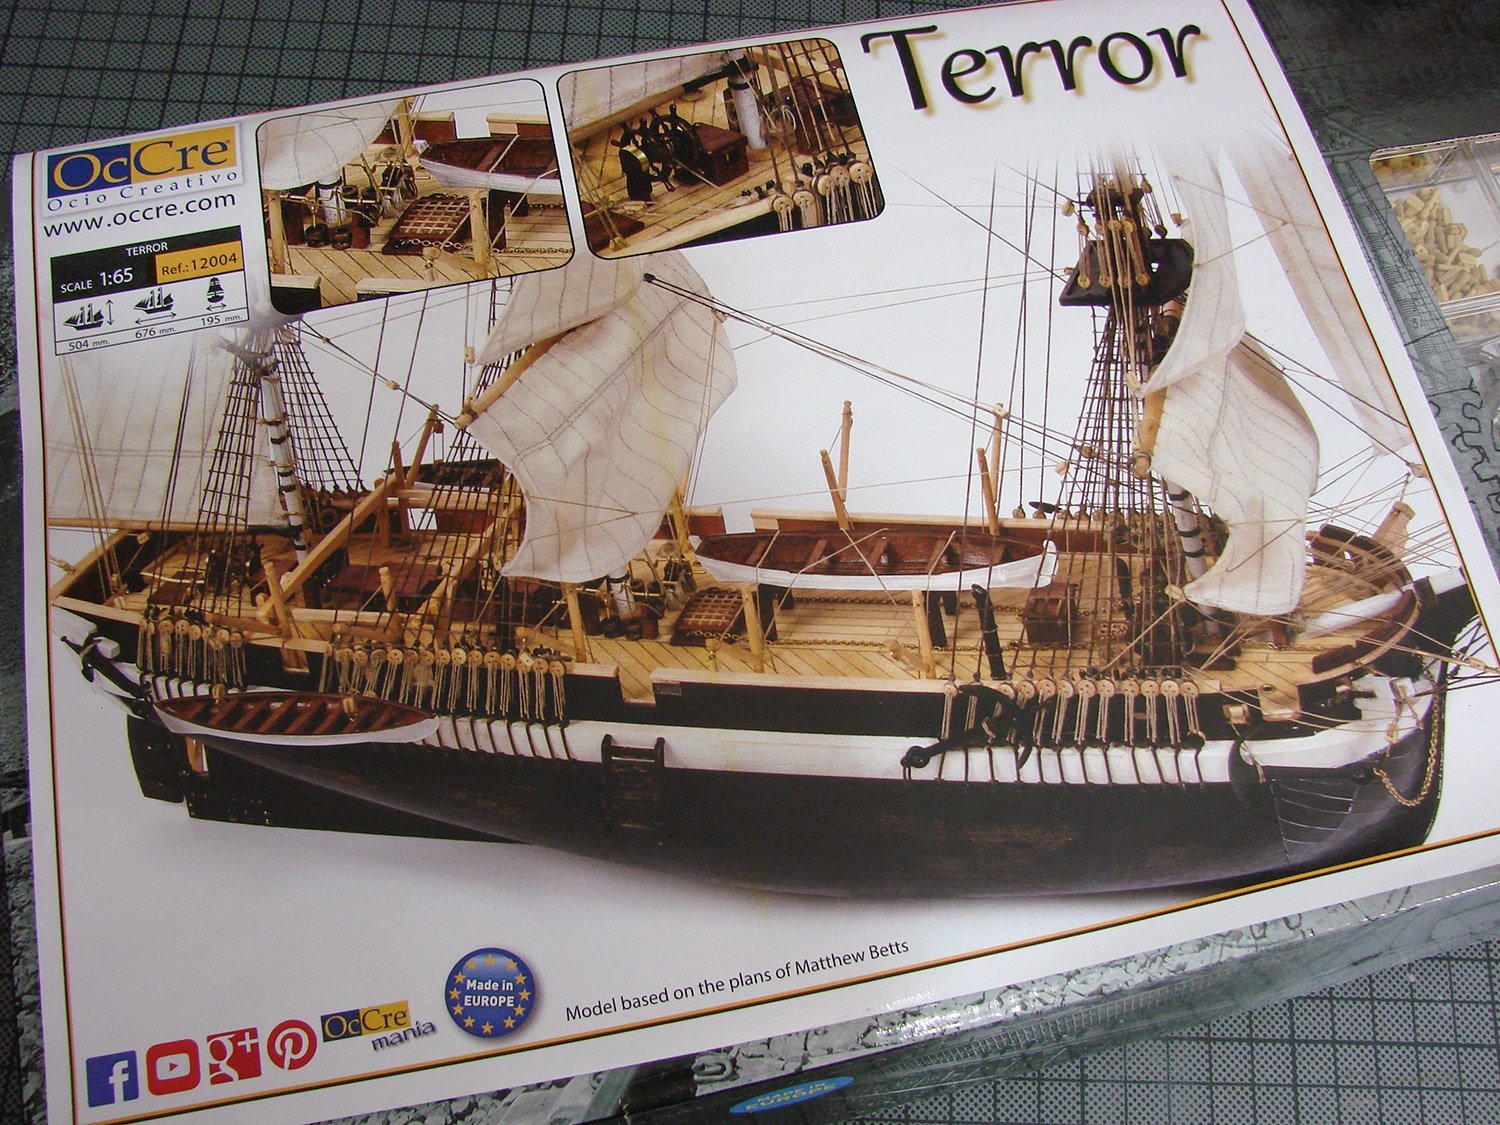
Hi pat, this is a pic of what the completed model should look like (I hope).

- EJ_L and Haliburton
-
2
-
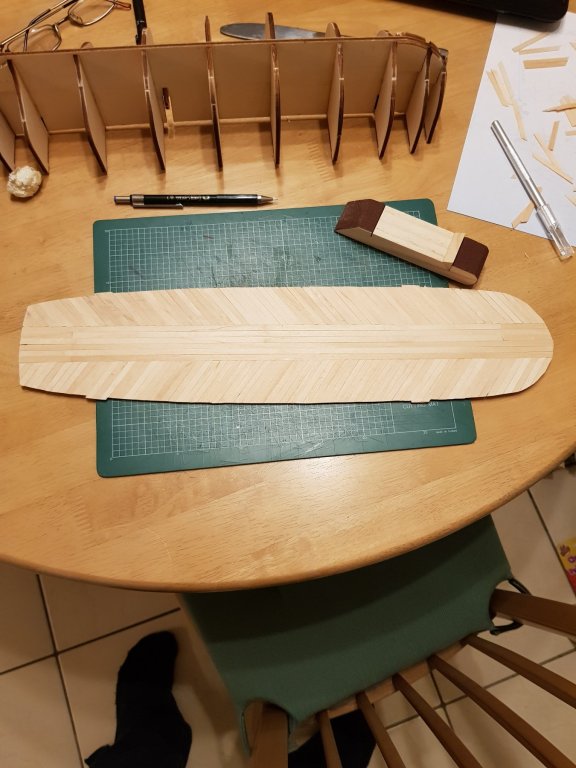
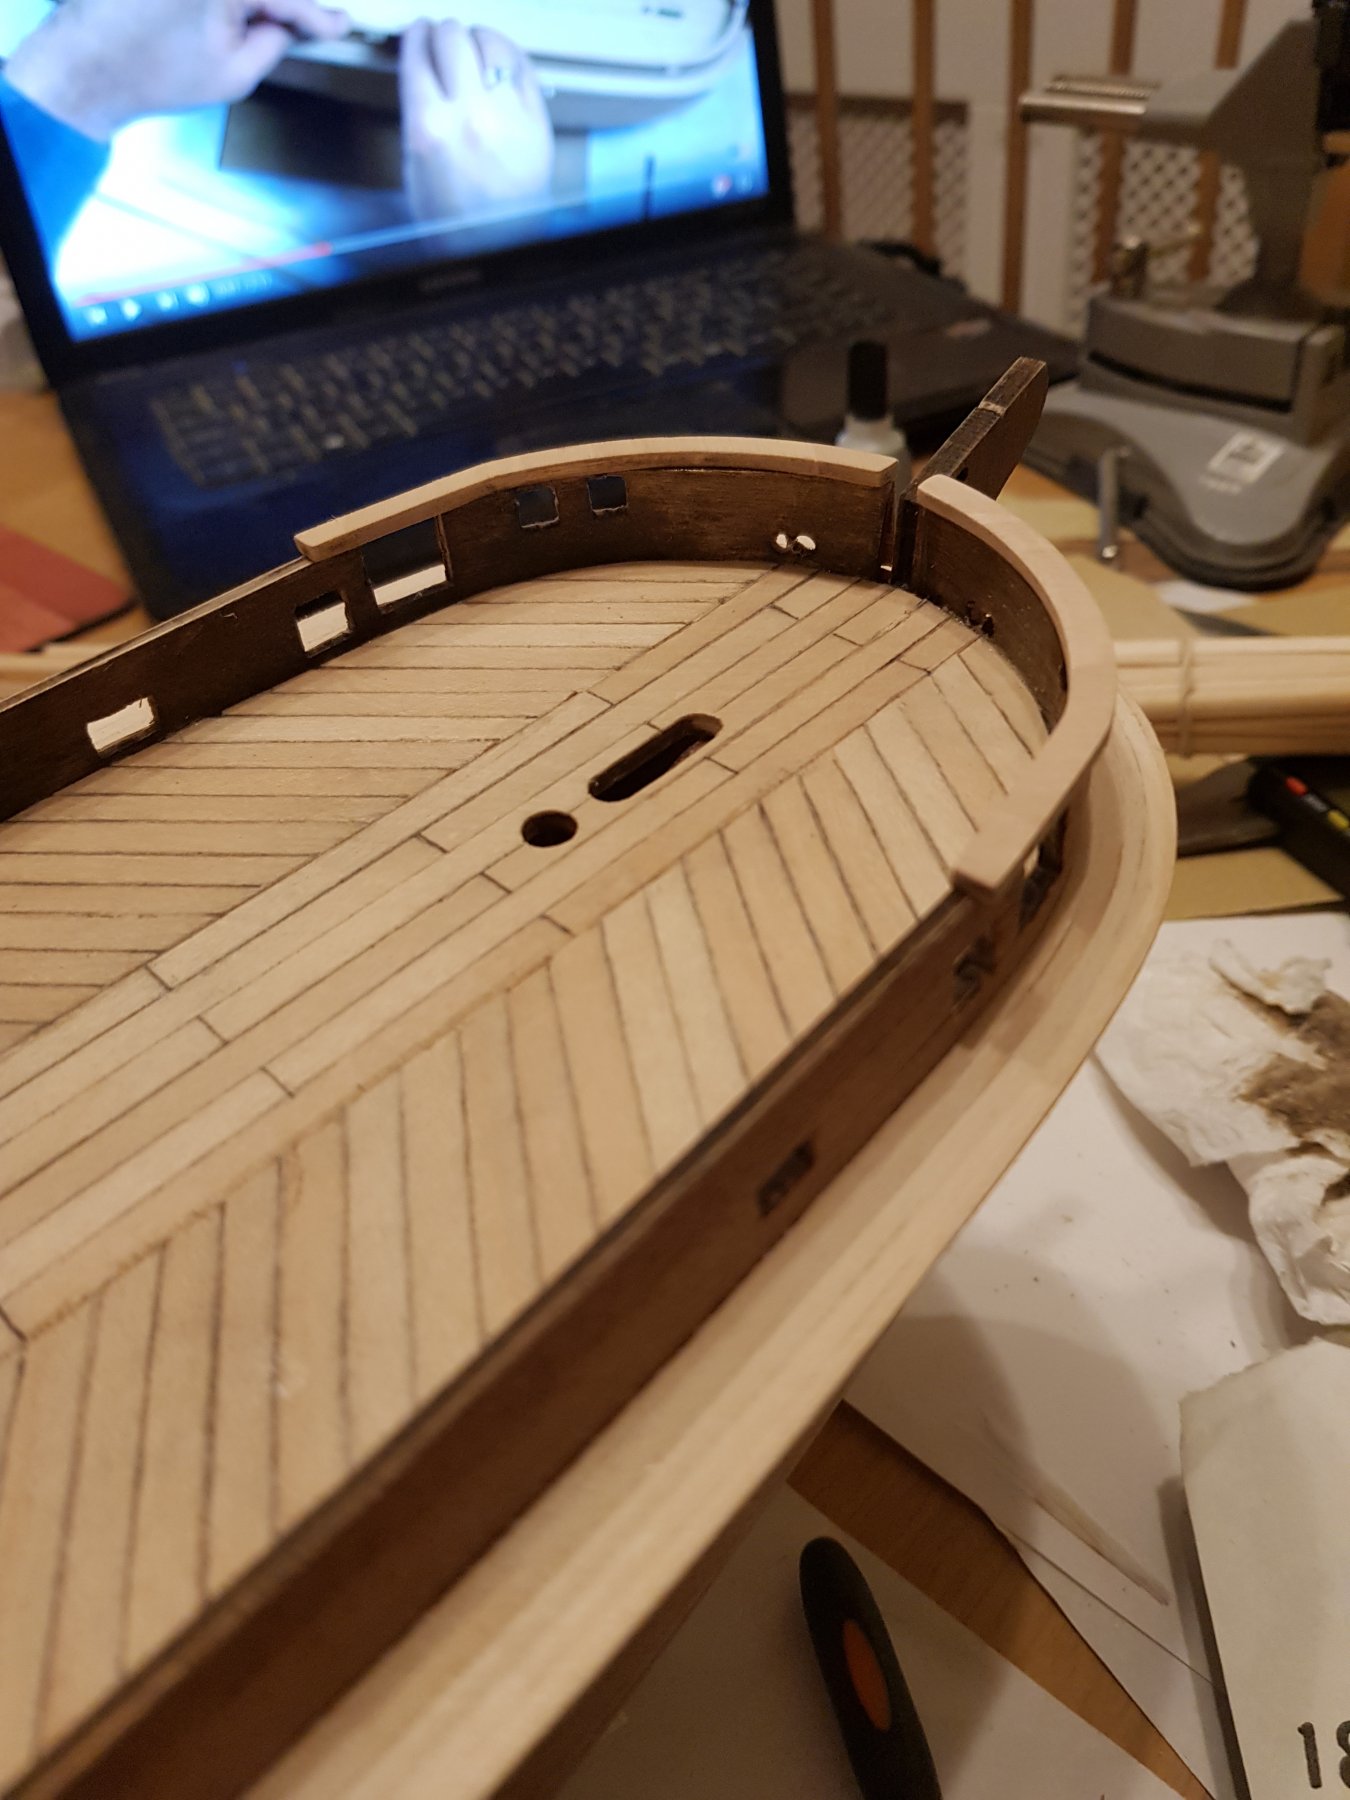
Contact glue is not the easiest thing to use... But it worked after some trial and setbacks. The deck was easy to clean up, pencil the lines and sand. The mirror (board at the back of the deck, not sure of the names?) I noticed has a slight curve around the deck. So I flexed it to see if it would bend, thinking I might have to soak it. It snapped. After I glued it back and stained it I had a big white line of non-stained glue. Will deal with later.


- tarbrush, Seventynet, Elijah and 8 others
-
11
-
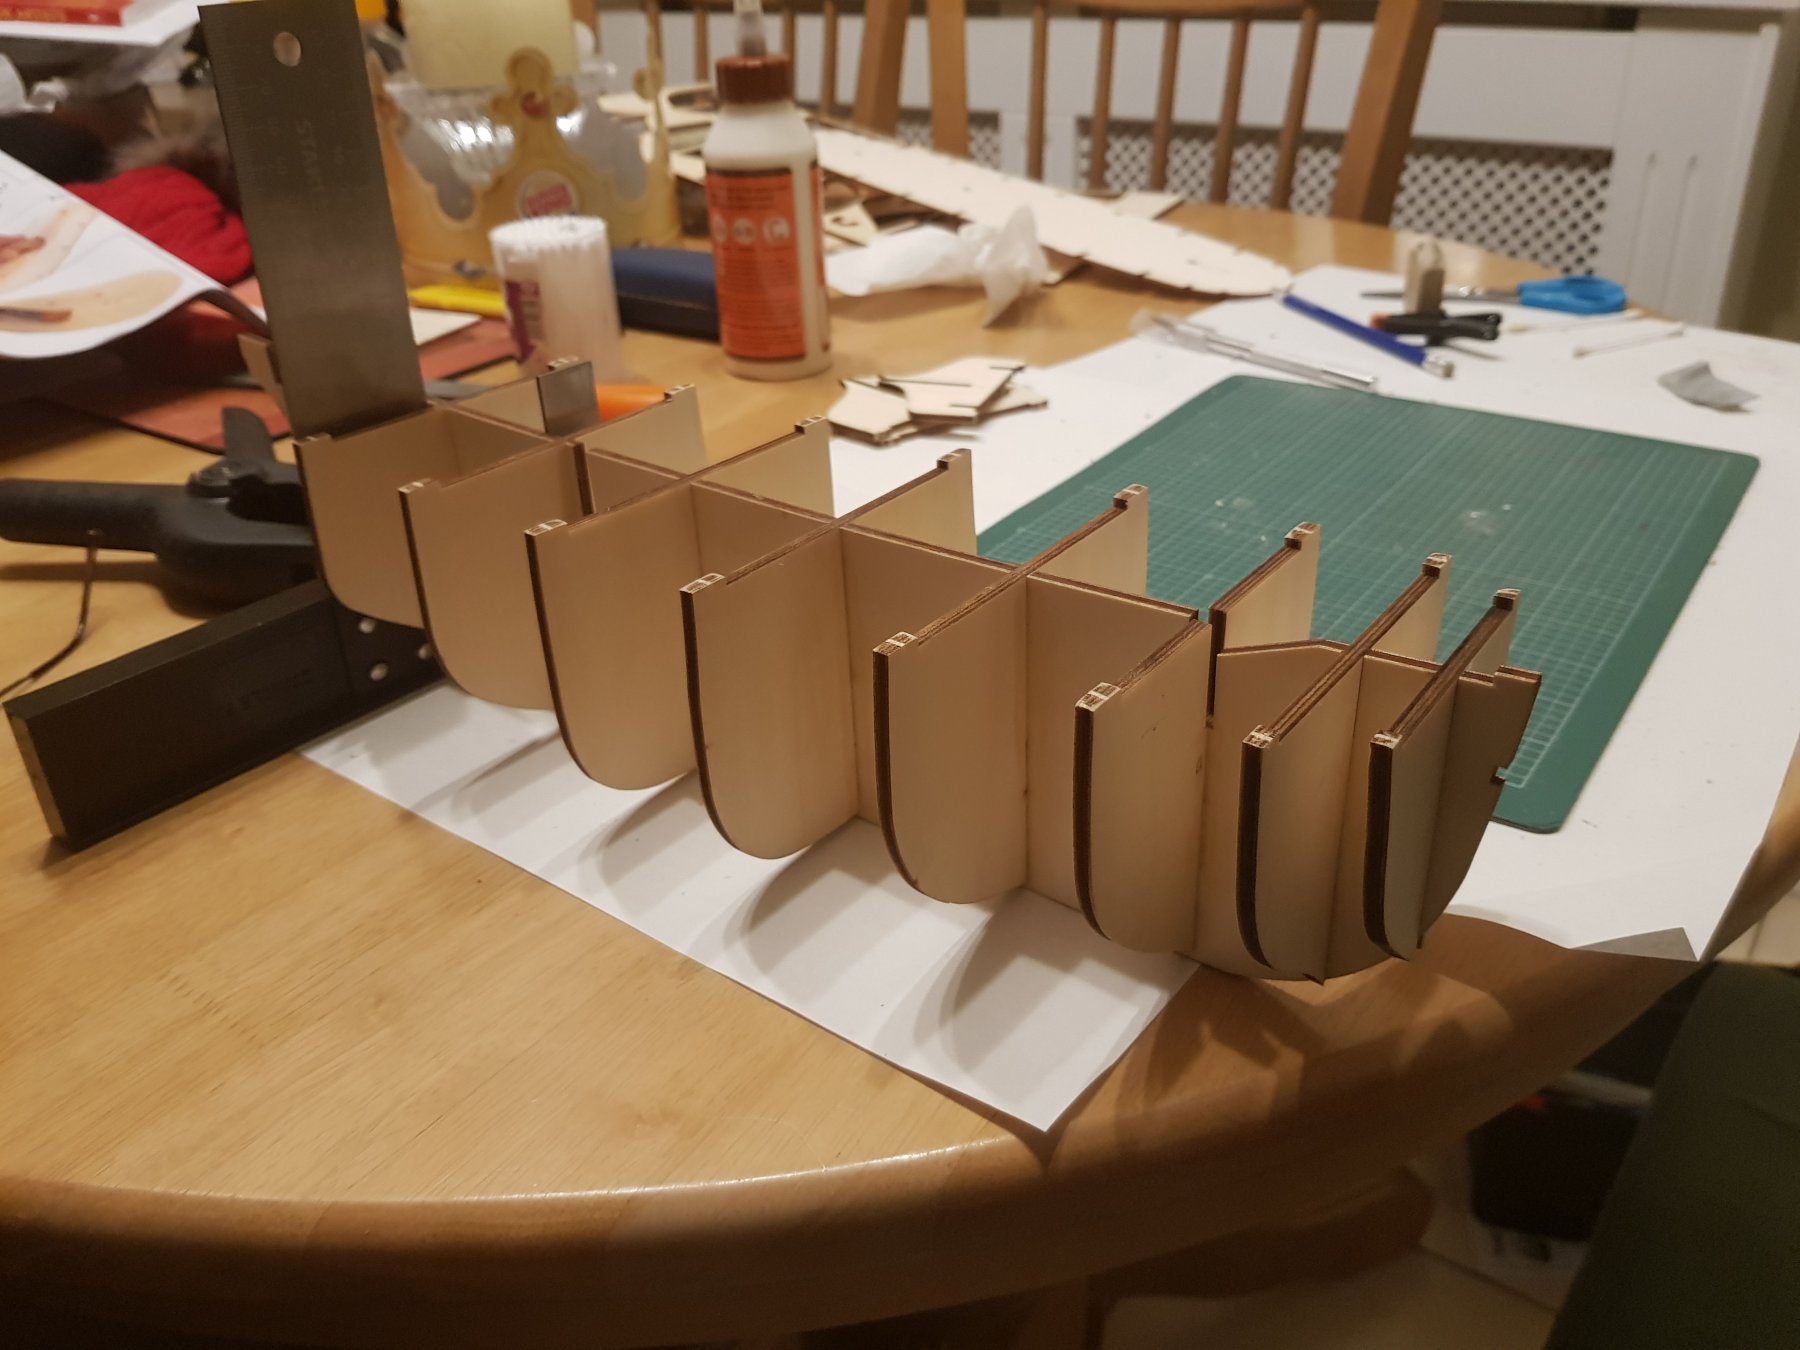
Hello, this is my 1st build. I had only ever made airfix kits in the past (a long time ago) and they always went wrong, with the wings dropping off and the like. I found the Terror kit and thought this would be a good start. I could practise and discover if (1) I could do this, (2) enjoy doing this and get the equipment I need as I am going along. So everything is new to me and I am sure there will be lots of mistakes. But I hope lots of fun.
The skeleton went together easily. The instructions are more pictures showing the order to make it with very little actual instruction. Without the YouTube guide I would be totally lost.

- Elijah, Waitoa, Haliburton and 3 others
-
6
-


HMS Terror by sir francis haddock - FINISHED - OcCre - scale 1:65
in - Kit build logs for subjects built from 1801 - 1850
Posted
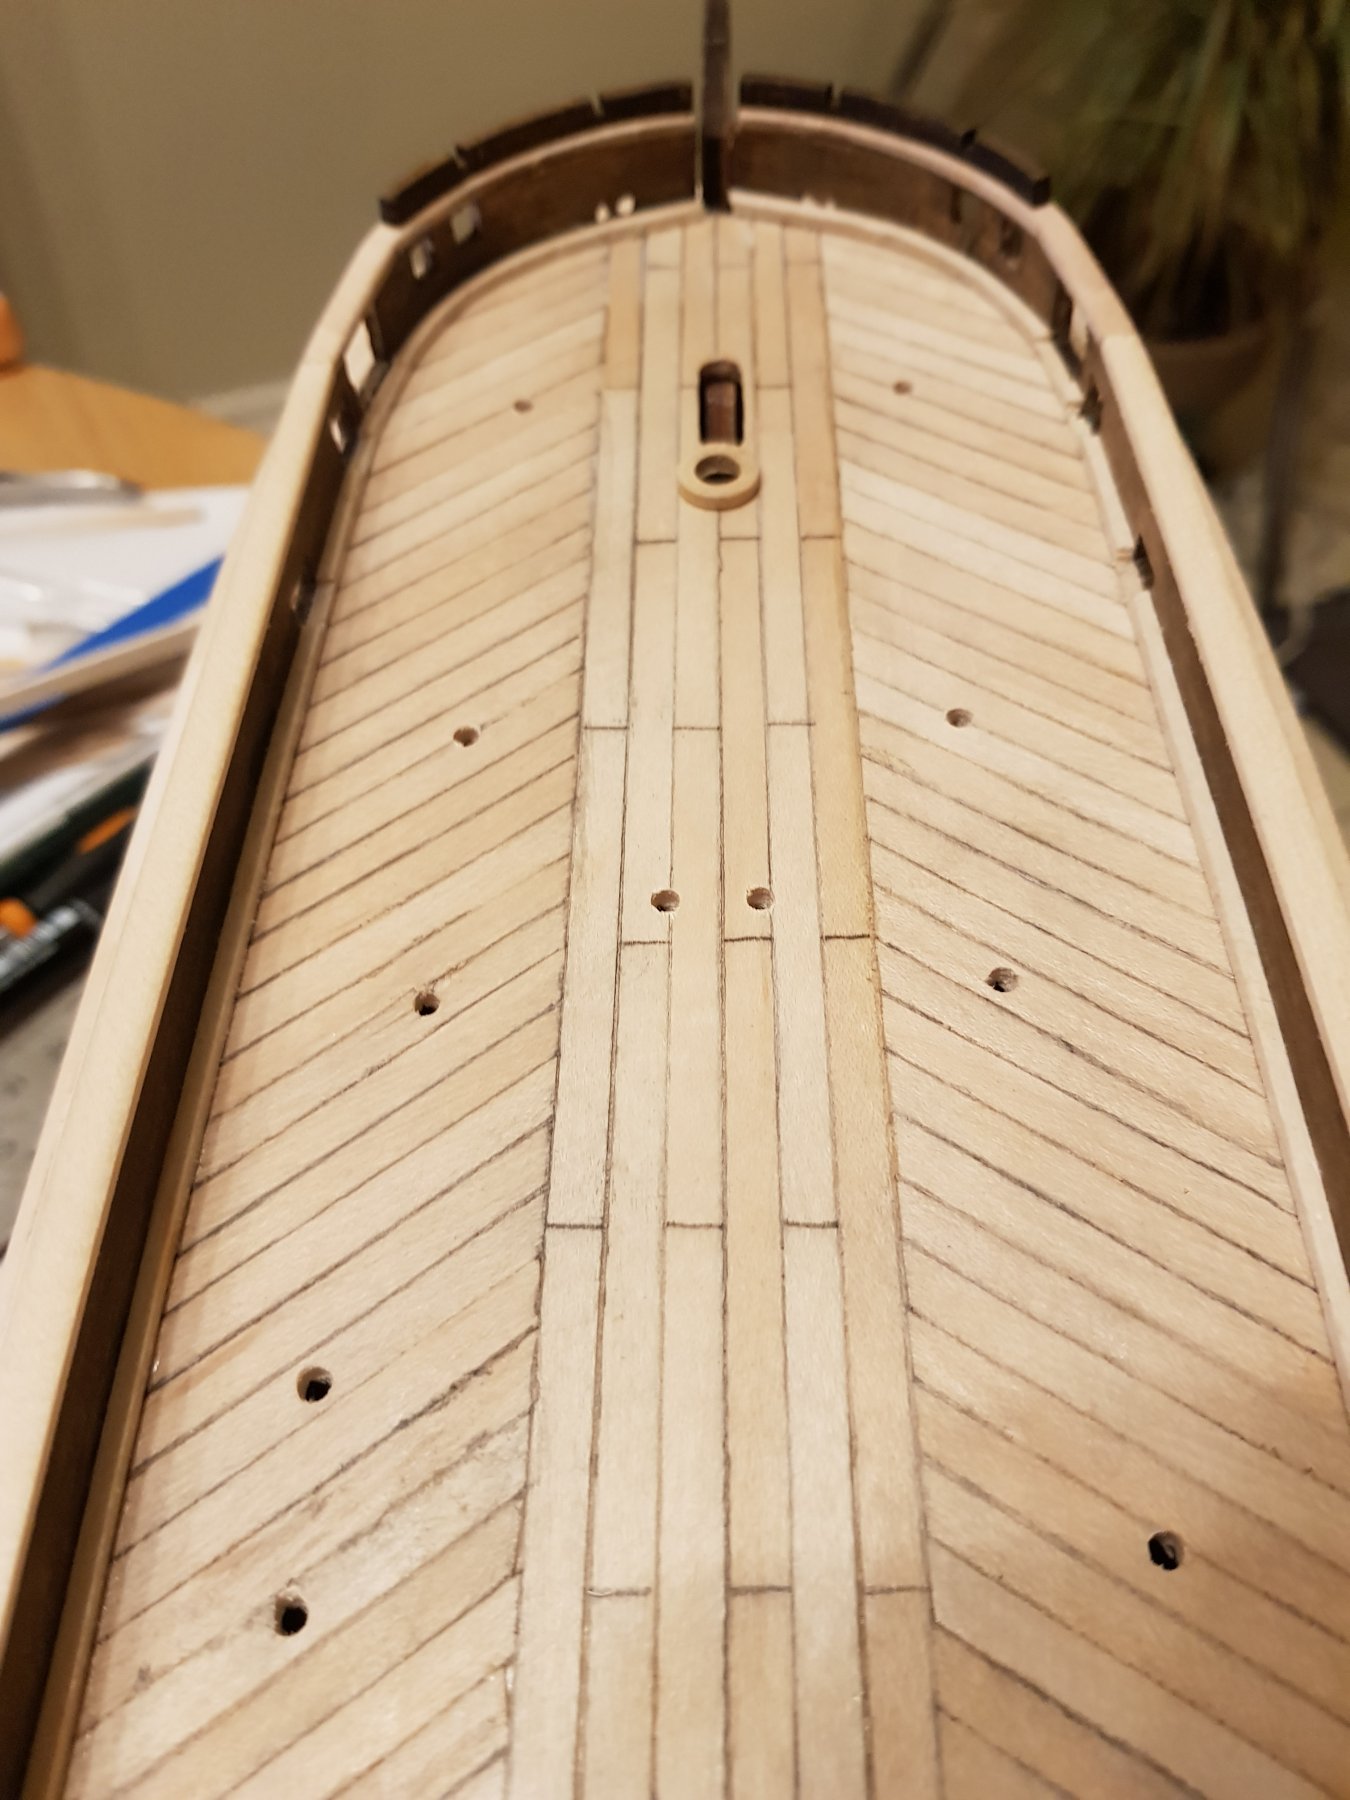
The next part on the instructions is the belay posts. This was where the 1 to 1 deck plan fell apart a bit. I followed the plan with placing them, then watching the YouTube guide and the pictures in the instructions saw that the foremost post needed to be much further forward.