-
Posts
164 -
Joined
-
Last visited
Content Type
Profiles
Forums
Gallery
Events
Everything posted by Capt. Kelso
-
Excellent job! I struggled with this kit, but a good learning tool. Your results are exceptional.
- 82 replies
-
- half hull planking project
- half hull
-
(and 2 more)
Tagged with:
-

pin vise and drill bits
Capt. Kelso replied to palmerit's topic in Modeling tools and Workshop Equipment
Check EBay, Vintage Watchmakers/Machinists tools, I found a good Starrett. I have found some handy little tools in this category. -
From my experience anything I have painted with enamel or lacquer white paint has "discolored" or faded over time. I was looking at one of my builds completed in 1992, kept in a glass case and noticed how the white paint has faded. I typically apply (airbrush) a coat of flat Dullcote finish to my entire build, hard to tell if that is the cause.
-
Welcome!
-
I have airbrushed with Model Masters Acrylics using a thinner mixture I found on "CYBERMODEL", Distilled water, isopropyl alcohol, flow improver and flow retarder. Used the thinner with Vallejo, AK, Model Shipways paints as well. Just water did not work very well, clogged quickly. Tech Tip: Make Your Own Acrylic Thinner Have only airbrushed acrylics on small items/areas using this thinner. No problems to note. Actually, did not know Model Masters had an airbrush thinner!
-
Looks good! You may want to consider removing the laser burn from the parts to be painted prior to gluing. Laser burn can be difficult to paint over.
- 71 replies
-
- grand banks dory
- midwest products
-
(and 2 more)
Tagged with:
-
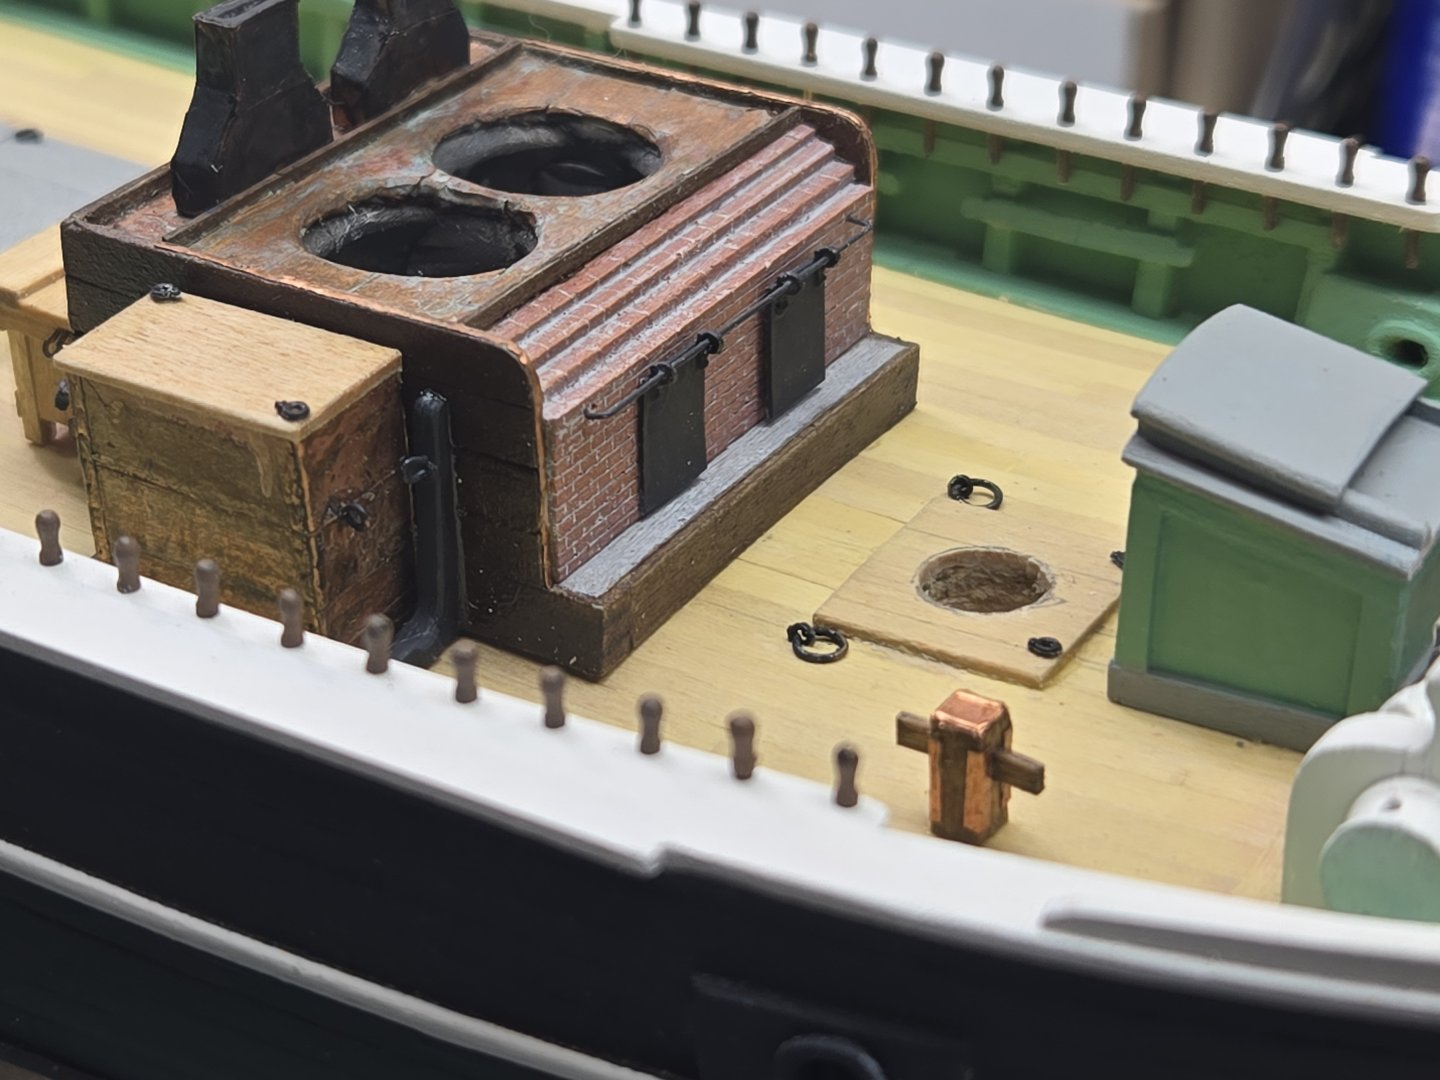
PqLear. You raise an interesting question regarding the traditional finish style of wooden ship models. I have rarely seen a weathered wooden ship model, in a museum, competition, or otherwise. Personally, I never felt there was a standard, weathered vs non-weathered. Didn't think much about. In my opinion it was simply a matter of the builder's preference, scale, "imagination" and skill level. Depending upon the type of vessel, I like the application of weathering. It adds a dimension of reality; it offers a nice change and challenge to a normal build. Also, I don't feel weathering hides detail but oftentimes can enhance it with washes and highlights. But the weathering needs to be done proportionately. I have seen models with the copper hull weathered but nothing above the water line! My photos are intended simply to offer a perspective on differing degrees of weathering I apply. A subtle application to the tryworks enhances a basically dull structure whereas the 1/24 scale Dory is given more depth. As the saying goes, "one size doesn't fit all", "different strokes for different folks".
-

Rigging Mast Deadeyes Order
Capt. Kelso replied to acaron41120's topic in Masting, rigging and sails
Agree with rwiederrich easier to install off the model. I learned the hard way, more difficult with the mast installed, especially on a smaller scale like my Harriet Lane. -
Looks like the old Bluejacket Kit I built several years ago. I have built a couple of boats and used "The Dory Model Book" by Harold Payson for reference. There are different versions of the Dory, Clam, Banks, etc.., which did not have a standard color scheme. So, if you are building a working Dory or recreational version your choice of paint color is open. Consider the color scheme of the Midwest Sea Bright Dory Lifeboat (I built that as well), sometimes a combination of bright colors with white makes the model stand out.
- 71 replies
-
- grand banks dory
- midwest products
-
(and 2 more)
Tagged with:
-
No matter which method you use (trial and error) I find doing ratlines is a "mind set". It's a slow tedious time-consuming process!
-
Nice job, exceptional finish work.
- 81 replies
-
- Norwegian Sailing Pram
- Model Shipways
-
(and 1 more)
Tagged with:
-
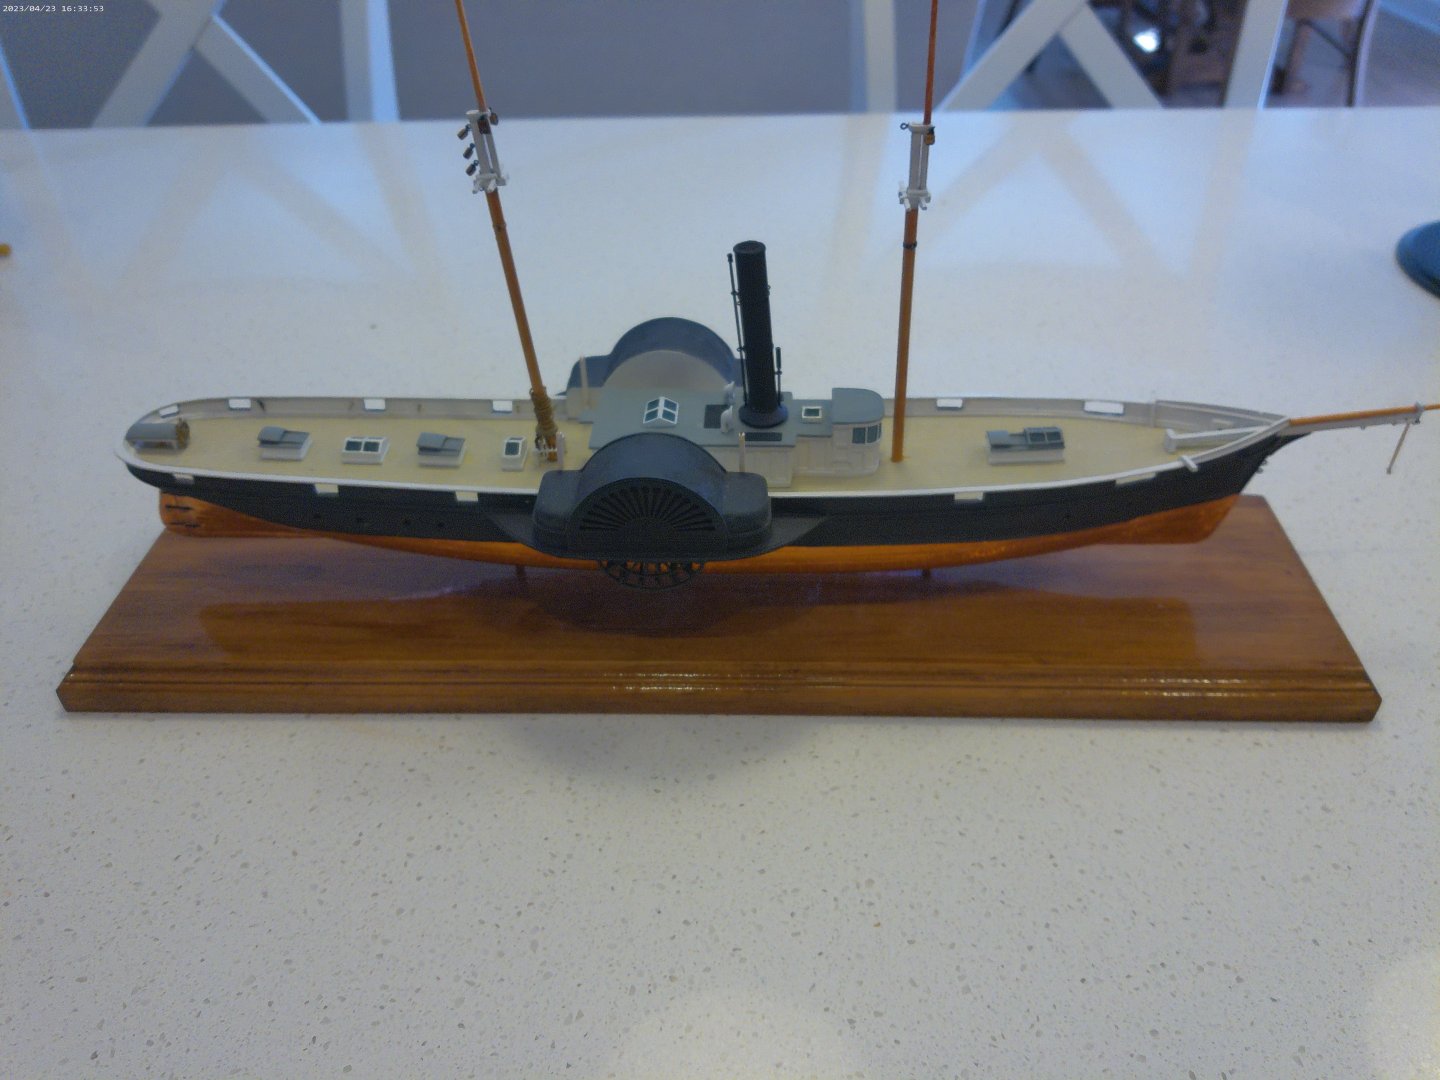
Similar to you I decided to take a break from another build. In my case I relocated which meant setting up a new work area and all the hassles involved in moving. When I got settled, I found I lost momentum with my Kate Cory build and decided to work on something "simpler" to get back in the game. I decided on an older Model Shipways Harriet Lane solid hull, 1/144 scale kit. I'm often wondering what I was thinking. Can't comment on the 1/96 scale kit but with regards to the cannon fit, it is very important to make sure the bulwarks are the correct height from the deck to accommodate the cannons before adding the decking and rail. Sounds basic but I decided to put a couple of cannons in place to ensure they fit correctly before gluing the decking. Mine did not fit properly and I had to decide to remove more of the wood hull/deck or build up the bulwark. I decided to lower the deck.
About us
Modelshipworld - Advancing Ship Modeling through Research
SSL Secured
Your security is important for us so this Website is SSL-Secured
NRG Mailing Address
Nautical Research Guild
237 South Lincoln Street
Westmont IL, 60559-1917
Model Ship World ® and the MSW logo are Registered Trademarks, and belong to the Nautical Research Guild (United States Patent and Trademark Office: No. 6,929,264 & No. 6,929,274, registered Dec. 20, 2022)
Helpful Links
About the NRG
If you enjoy building ship models that are historically accurate as well as beautiful, then The Nautical Research Guild (NRG) is just right for you.
The Guild is a non-profit educational organization whose mission is to “Advance Ship Modeling Through Research”. We provide support to our members in their efforts to raise the quality of their model ships.
The Nautical Research Guild has published our world-renowned quarterly magazine, The Nautical Research Journal, since 1955. The pages of the Journal are full of articles by accomplished ship modelers who show you how they create those exquisite details on their models, and by maritime historians who show you the correct details to build. The Journal is available in both print and digital editions. Go to the NRG web site (www.thenrg.org) to download a complimentary digital copy of the Journal. The NRG also publishes plan sets, books and compilations of back issues of the Journal and the former Ships in Scale and Model Ship Builder magazines.


