Edwardkenway
-
Posts
3,047 -
Joined
-
Last visited
Content Type
Profiles
Forums
Gallery
Events
Everything posted by Edwardkenway
-
 Excellent save and redo!! It's good you were able to salvage the brass bands.
 -
A drop of isopropyl should break the CA bond, then perhaps you could gently tease the stock off in one piece, without taking them apart.
-
Looking good Jack, with some new toys, ahem! tools. I had to have a second glance at the anchors and I think Andrew is right. It's good to have you back at the bench 😉
-
Happy New Year OC, to you and your family.
-
Nicely done Andrew!!
-
F4U-1A Corsair by DocRob - FINISHED - Tamiya - 1/32
Edwardkenway replied to DocRob's topic in Non-ship/categorised builds
A superb model Rob! I am in awe of your weathering skills, the Corsair looks absolutely stunning. -
I'm sure there would have been dismounted cavalry troopers using muskets, as there would have been plenty of discarded weapons on the field belonging to the multitude of dead and wounded. In short it is not an unreasonable assumption to have your cuirassier picking up and using a musket. Hope you had a good Christmas and here's to a happy New Year
-
Merry Christmas OC and here's to a happy New Year for you and the Admiral 🍾
-
I don't think you can go wrong with frigates, as with the fleets at the time always more needed. Concerning Bolitho/Alexander Kent books, the two ships I'd go for would be HMS Sparrow, a ship rigged sloop of war and HMS Pharalope, a 32gun frigate, I think.
-
Tim, welcome to MSW
-
That's always the way of things, the next kit takes over, and then the next😊😇😉 Don't worry EG we'll wait😁
-
, welcome to MSW
-
Not a lot happening on this, I'm waiting for a canopy mask to arrive, but with the postman strikes, it's anybodies guess as to when that will turn up. Thank you for all the likes and comments. Cheers
-
Very nice!!! Beautiful model again Chris.
-
F4U-1A Corsair by DocRob - FINISHED - Tamiya - 1/32
Edwardkenway replied to DocRob's topic in Non-ship/categorised builds
Those stencils look amazing! I agree with Ken, so much better than waterslide decals -
Hang on in there OC, and wishing you and the Admiral a speedy recovery!
-
Nice!!! The camo looks good, did you do it freehand?
-
F4U-1A Corsair by DocRob - FINISHED - Tamiya - 1/32
Edwardkenway replied to DocRob's topic in Non-ship/categorised builds
I am watching this stage with interest, as I'm going to attempt doing it on my mossie. Never done it before. PS, if you were going for a steam punk look it could be left like that😉 -
From out of the shadows ...my first post!
Edwardkenway replied to RobTBay's topic in New member Introductions
Rob, welcome to MSW -
For years of figure painting with Citadel acrylic paints, albeit only with brushes, I must admit I only ever thinned the paint down with water. I know better now. Total agreement!
-
Is the Mig ammo primer their One Shot stuff? I'm sure OC would know a good make of primer, he seems to get excellent results on his Waterloo figures. Very nice job on the recesses 👍
-
Dave and welcome to MSW
-
and welcome to MSW
-
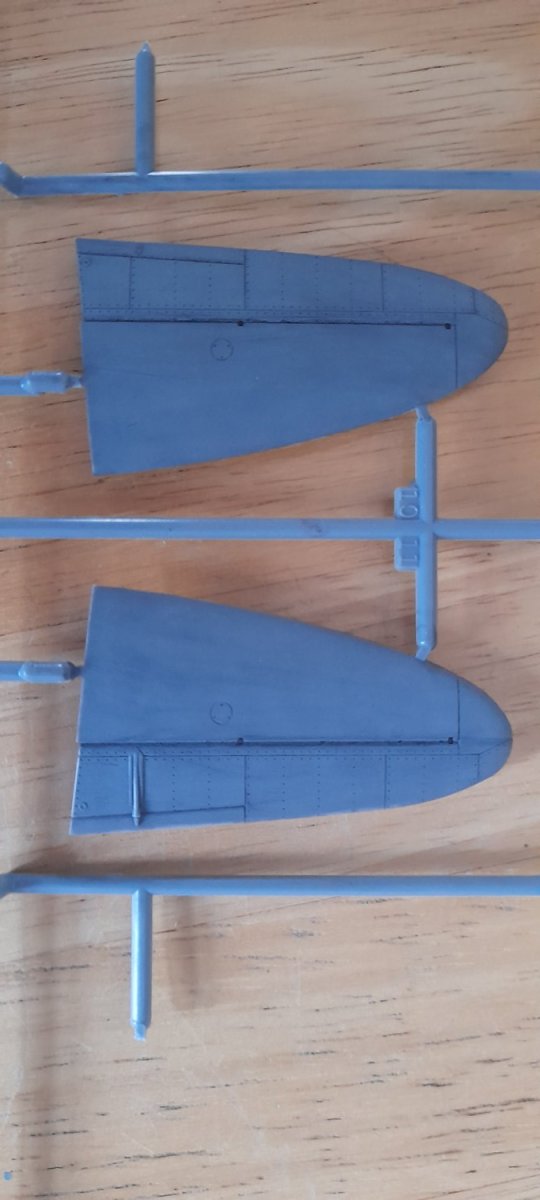
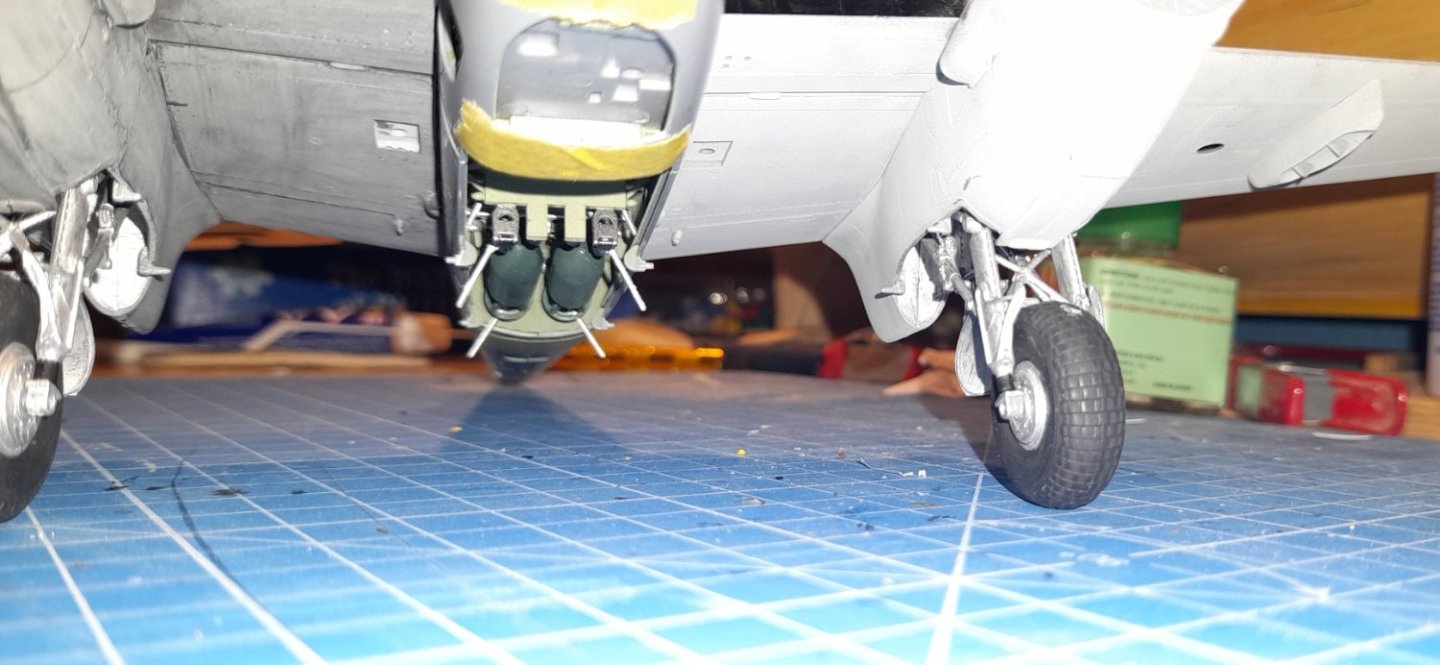
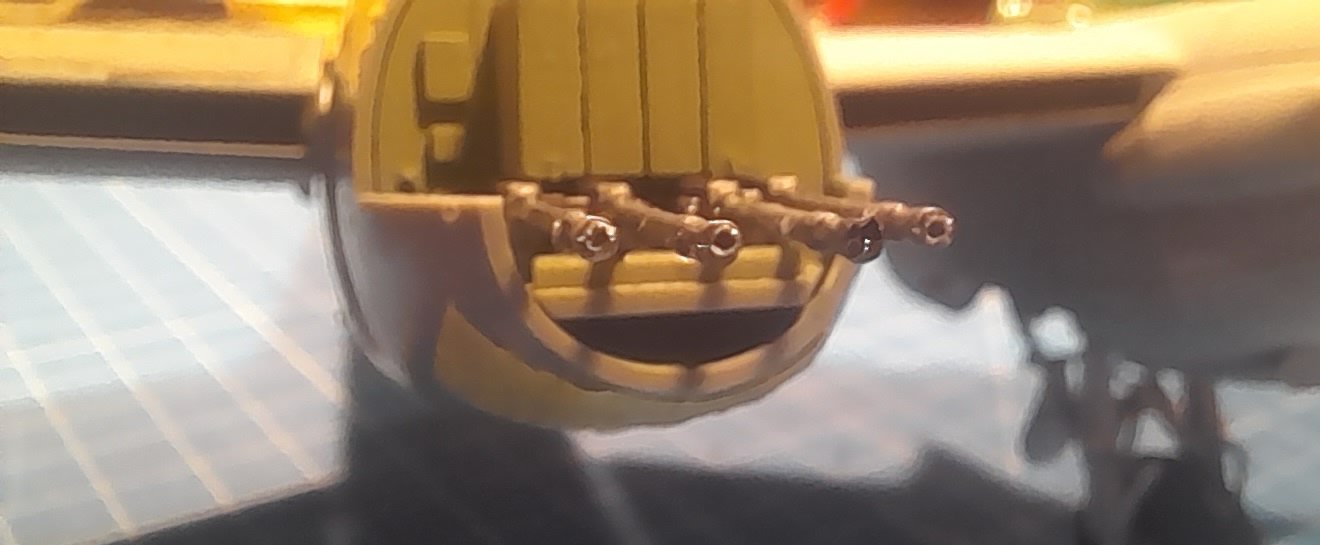
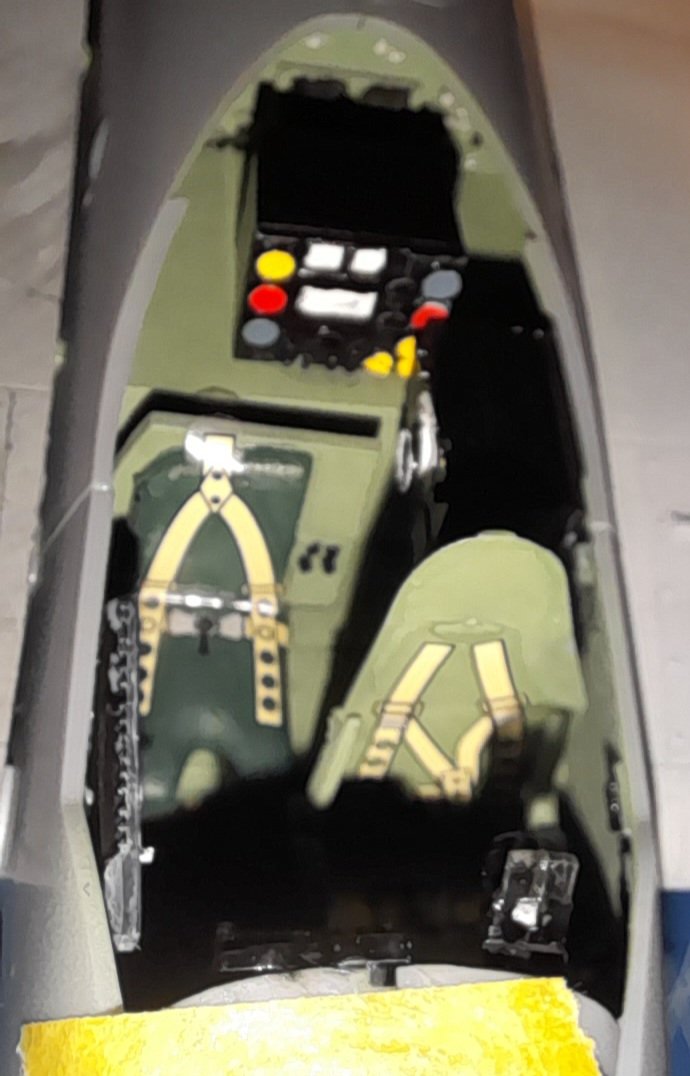
A couple hours last night, and experimenting with darkening the panel lines, not having as specifically made paint for it, I've tried a Games Workshop/Citadel armour wash on the rear wings It looked OK, so did it on starboard main wing, Not so good, I'll try citadel black ink. Also I dry fitted everything in the fuselage, the fit of the parts is really good, no gaps to fill. The seat belts are decals, not sure if I like them that much.bomb bay minus the doors, they'll go on after painting is done. I had a go drilling as @yvesvidal suggested, three barrels wents ok, one barrel the drill bit went awry, my fault for not being careful. Thanks for the likes and comments, all is appreciated. Cheers


- 33 replies
-
- 13
-