HOLIDAY DONATION DRIVE - SUPPORT MSW - DO YOUR PART TO KEEP THIS GREAT FORUM GOING! (Only 20 donations so far - C'mon guys!)
×

.jpeg.7d7eba14c97a2e1d9f79cd2c97f6424a.jpeg)
EricWilliamMarshall
-
Posts
986 -
Joined
-
Last visited
Content Type
Profiles
Forums
Gallery
Events
Everything posted by EricWilliamMarshall
-
Hola y bienvenidos!! Hello and welcome!!
-
Welcome!! As a side note, the designers of both the 1:24 and 1:48 version of your first build have accounts here at MSW. The designer of the 1:48 (which is your build, I’m guessing) has a number of group projects you may wish to peek at, at sometime. Best of luck with the Lady Nelson!
-
.thumb.jpeg.fc5d633a7b34428fcf19419a73d56d55.jpeg) How is shaping, etc. of planks different between the first pass and second?
How is shaping, etc. of planks different between the first pass and second? -
Awesome!!! Thanks for the pictures - yours are the only photos of a built-version of this model I have seen. As you may remember, the instructions are a bit light on detail. As a result, I keep staring at the box lid, trying to reverse engineer what I see. But there is only one photo to work with (admittedly, there are several copies of that photo on the box top though.) I see you had much better success with working with the given parts than I did! She looks very nice! Again thanks for sharing! i also bought this kit in the ‘90s as well, from a cool hobby shop in the east-side of Manhattan. I cut two pieces and got scared I that would ruin the kit. The kit then survived moves, a fire, having kids, etc. until now when I decided I was fine with ruining the kit and had go.
- 155 replies
-
- 2
-

-
- opium smuggler
- Authentic Models
- (and 1 more)
-
I don't, but I will hazard the following: most of the Victory models show a yellowish color. The cheapest yellow color in that time period is ochre (yellow or gold), so I would assume that. But I'm ready for an expert to jump and correct me!
-
My sister had a stroke in her thirties. Similar constraints. It is hard to have patience...
-
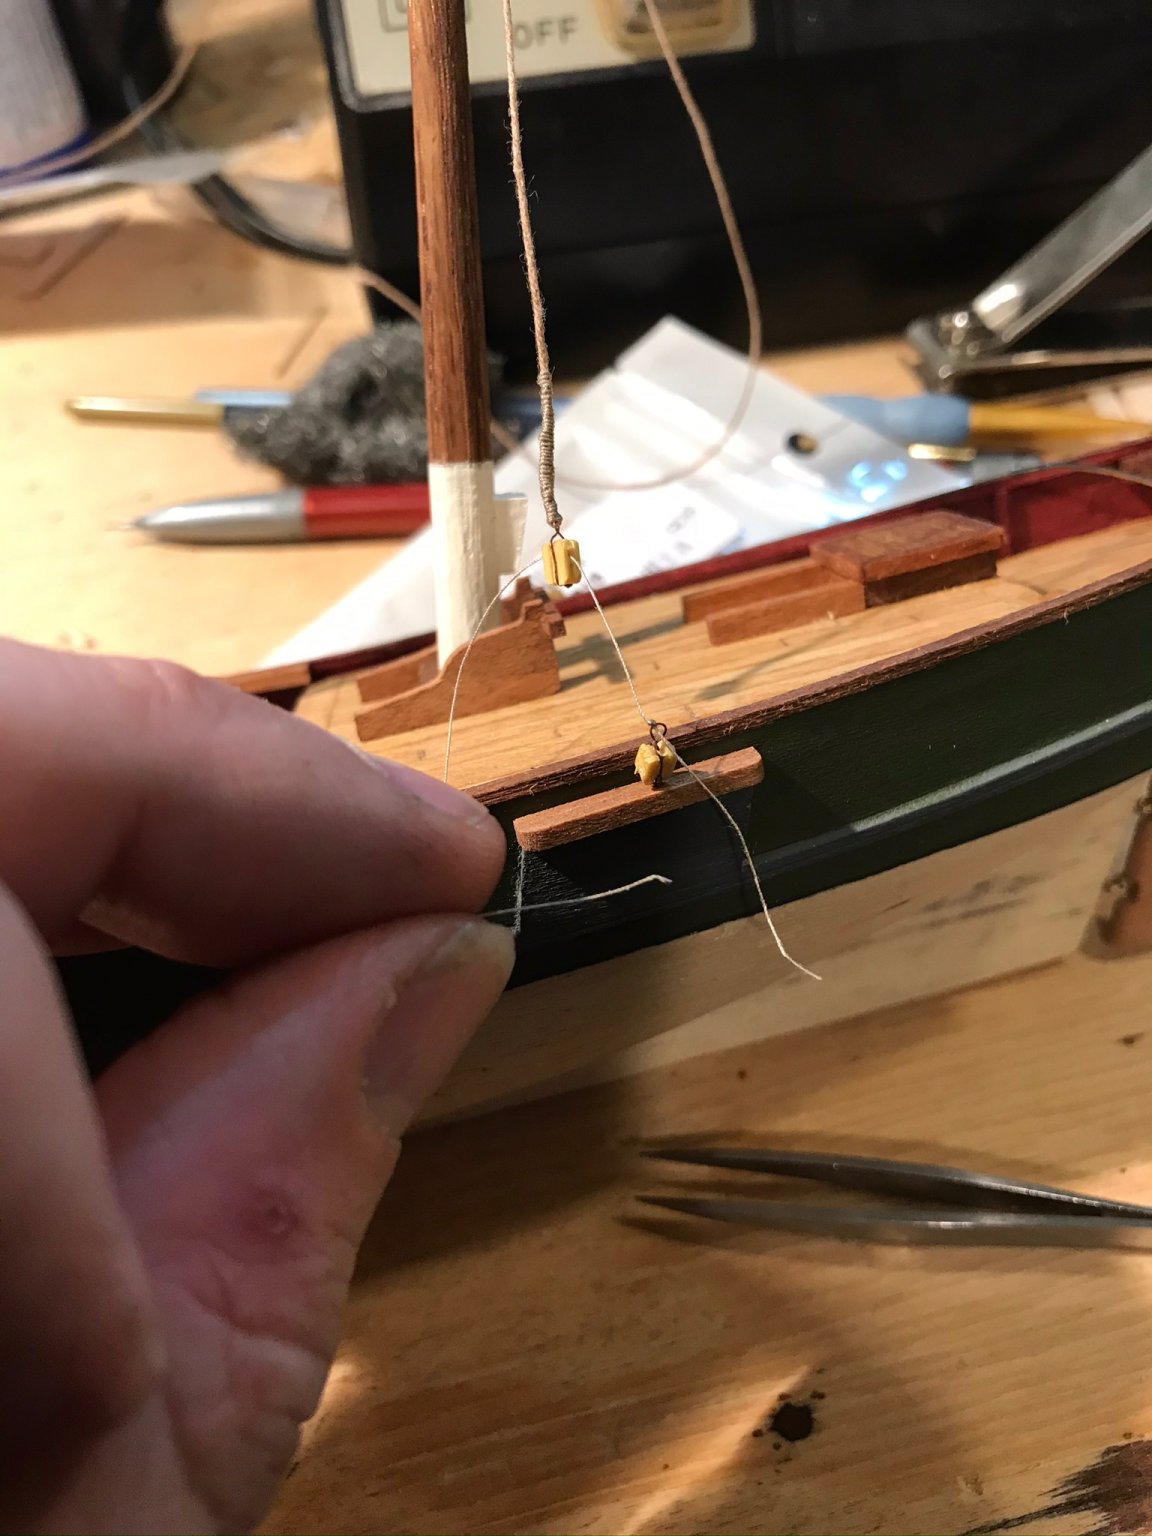
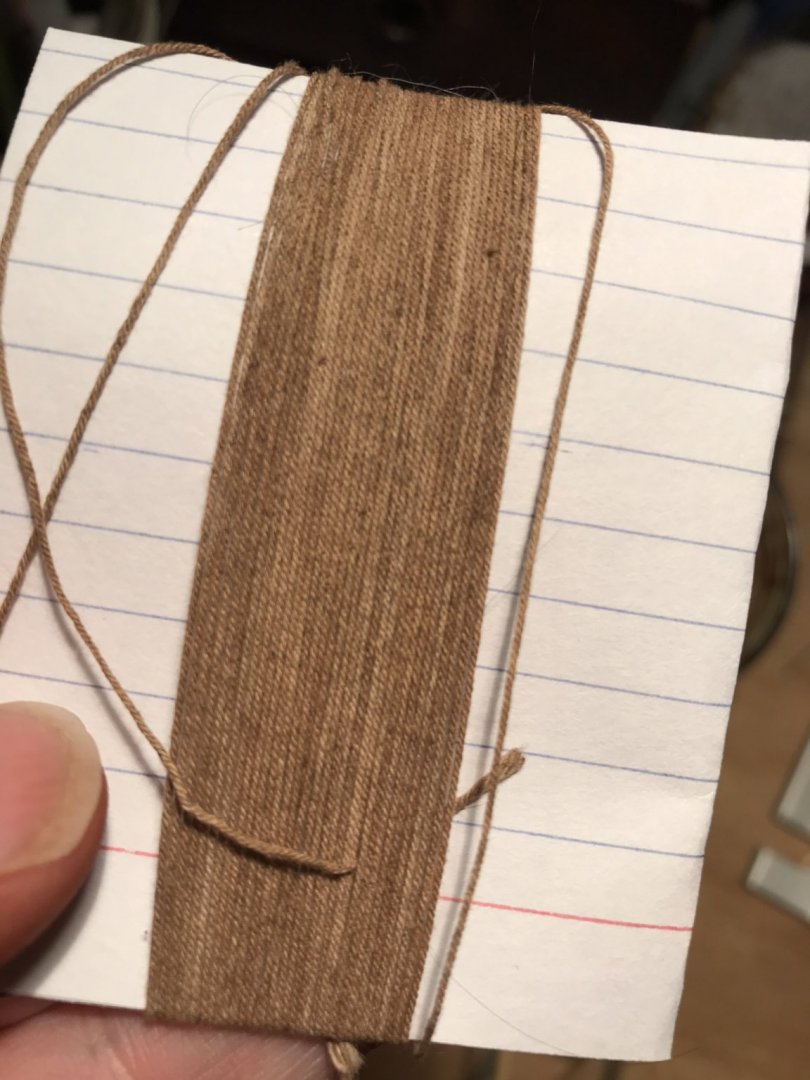
Thanks! I quite like that myself. The string had a coating which caused the dye to bead and not interact with the string. As first that bothered me, but then once I got the dye to seep in, I too noticed the variations and stopped. After poking around the internet, there a few ways to force/create such variation.
- 155 replies
-
- 1
-
-
- opium smuggler
- Authentic Models
- (and 1 more)
-
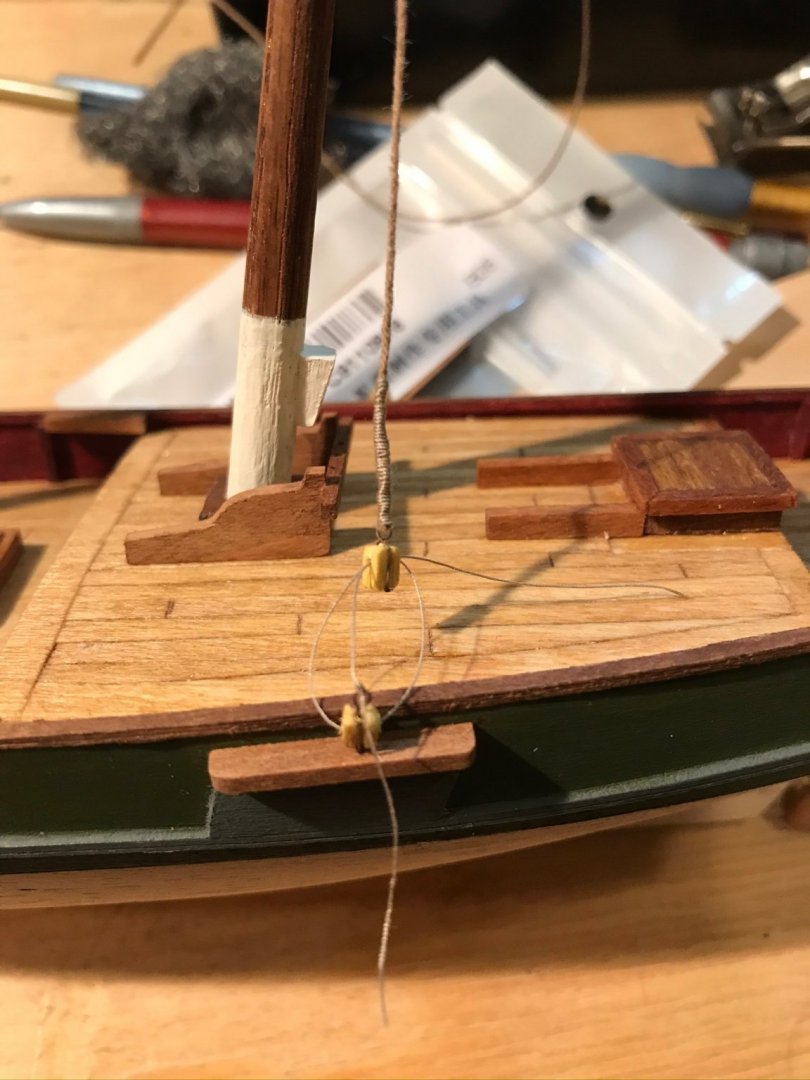
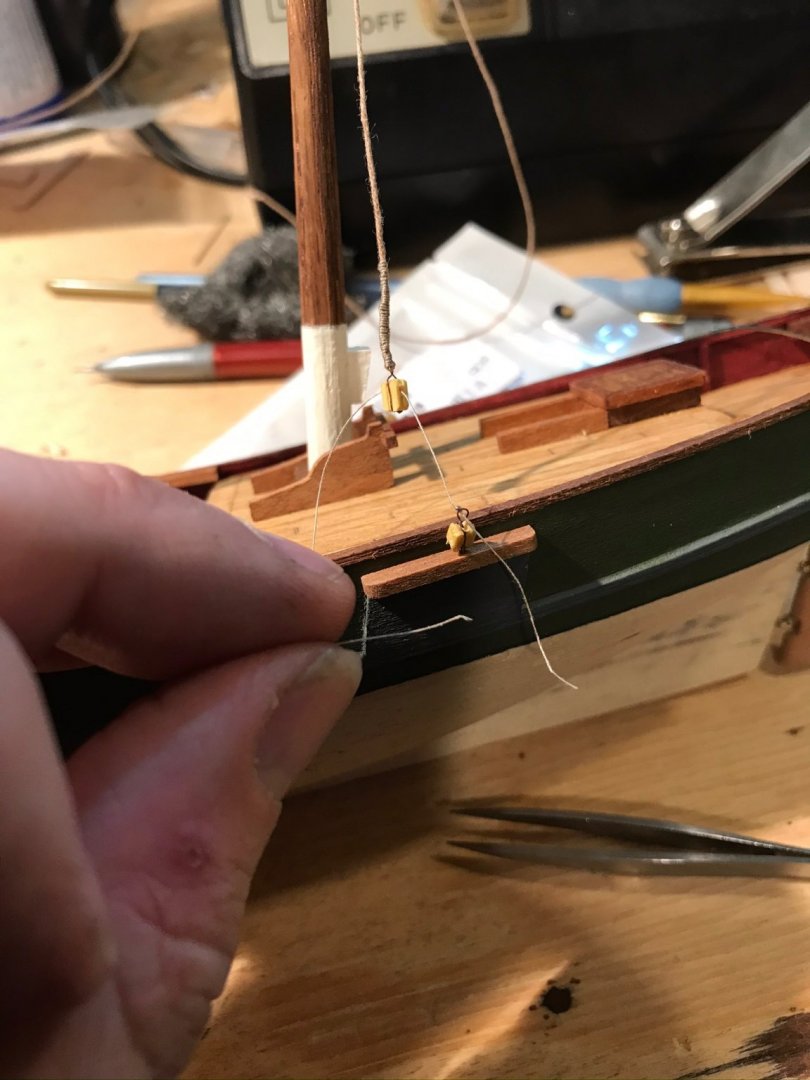
I noticed I have be aware of any twist on the string or the blocks tangle up. I went with minimal thread wrapping (skipping the stuff I asked about earlier).
- 155 replies
-
- 2
-
-
- opium smuggler
- Authentic Models
- (and 1 more)
-
More of the same! I found the winding the thread around the string taxing, especially for the in place work!


- 155 replies
-
- 9
-
-
- opium smuggler
- Authentic Models
- (and 1 more)
-
Like everyone else, I wish you a speedy recovery!! (And the sliver lining, a bit more building time!)
- 2,696 replies
-
- 3
-
-
- heller
- soleil royal
- (and 9 more)
-
I second that!! Plus I’m sure tequila kills virus cells on contact!
-
That is so true!!! I imagine tuba players have the same issue. I’m much better at my ‘quieter’ instruments. But only due to my desire to stay married...
-
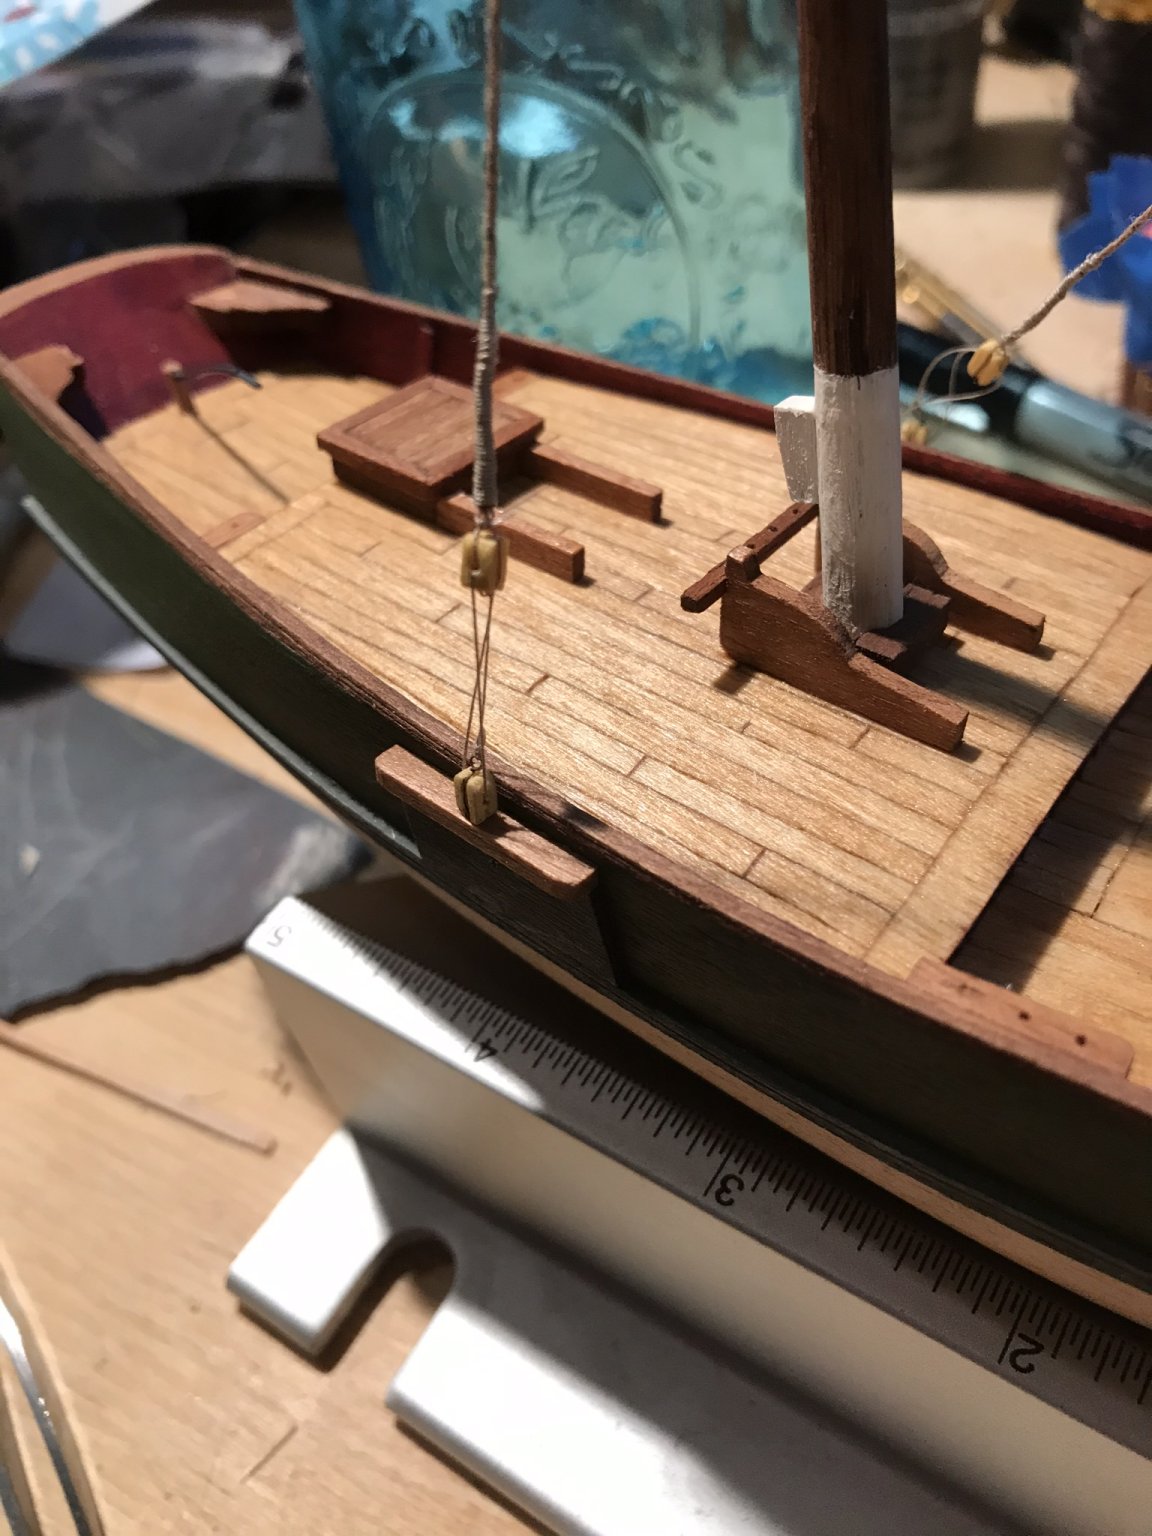
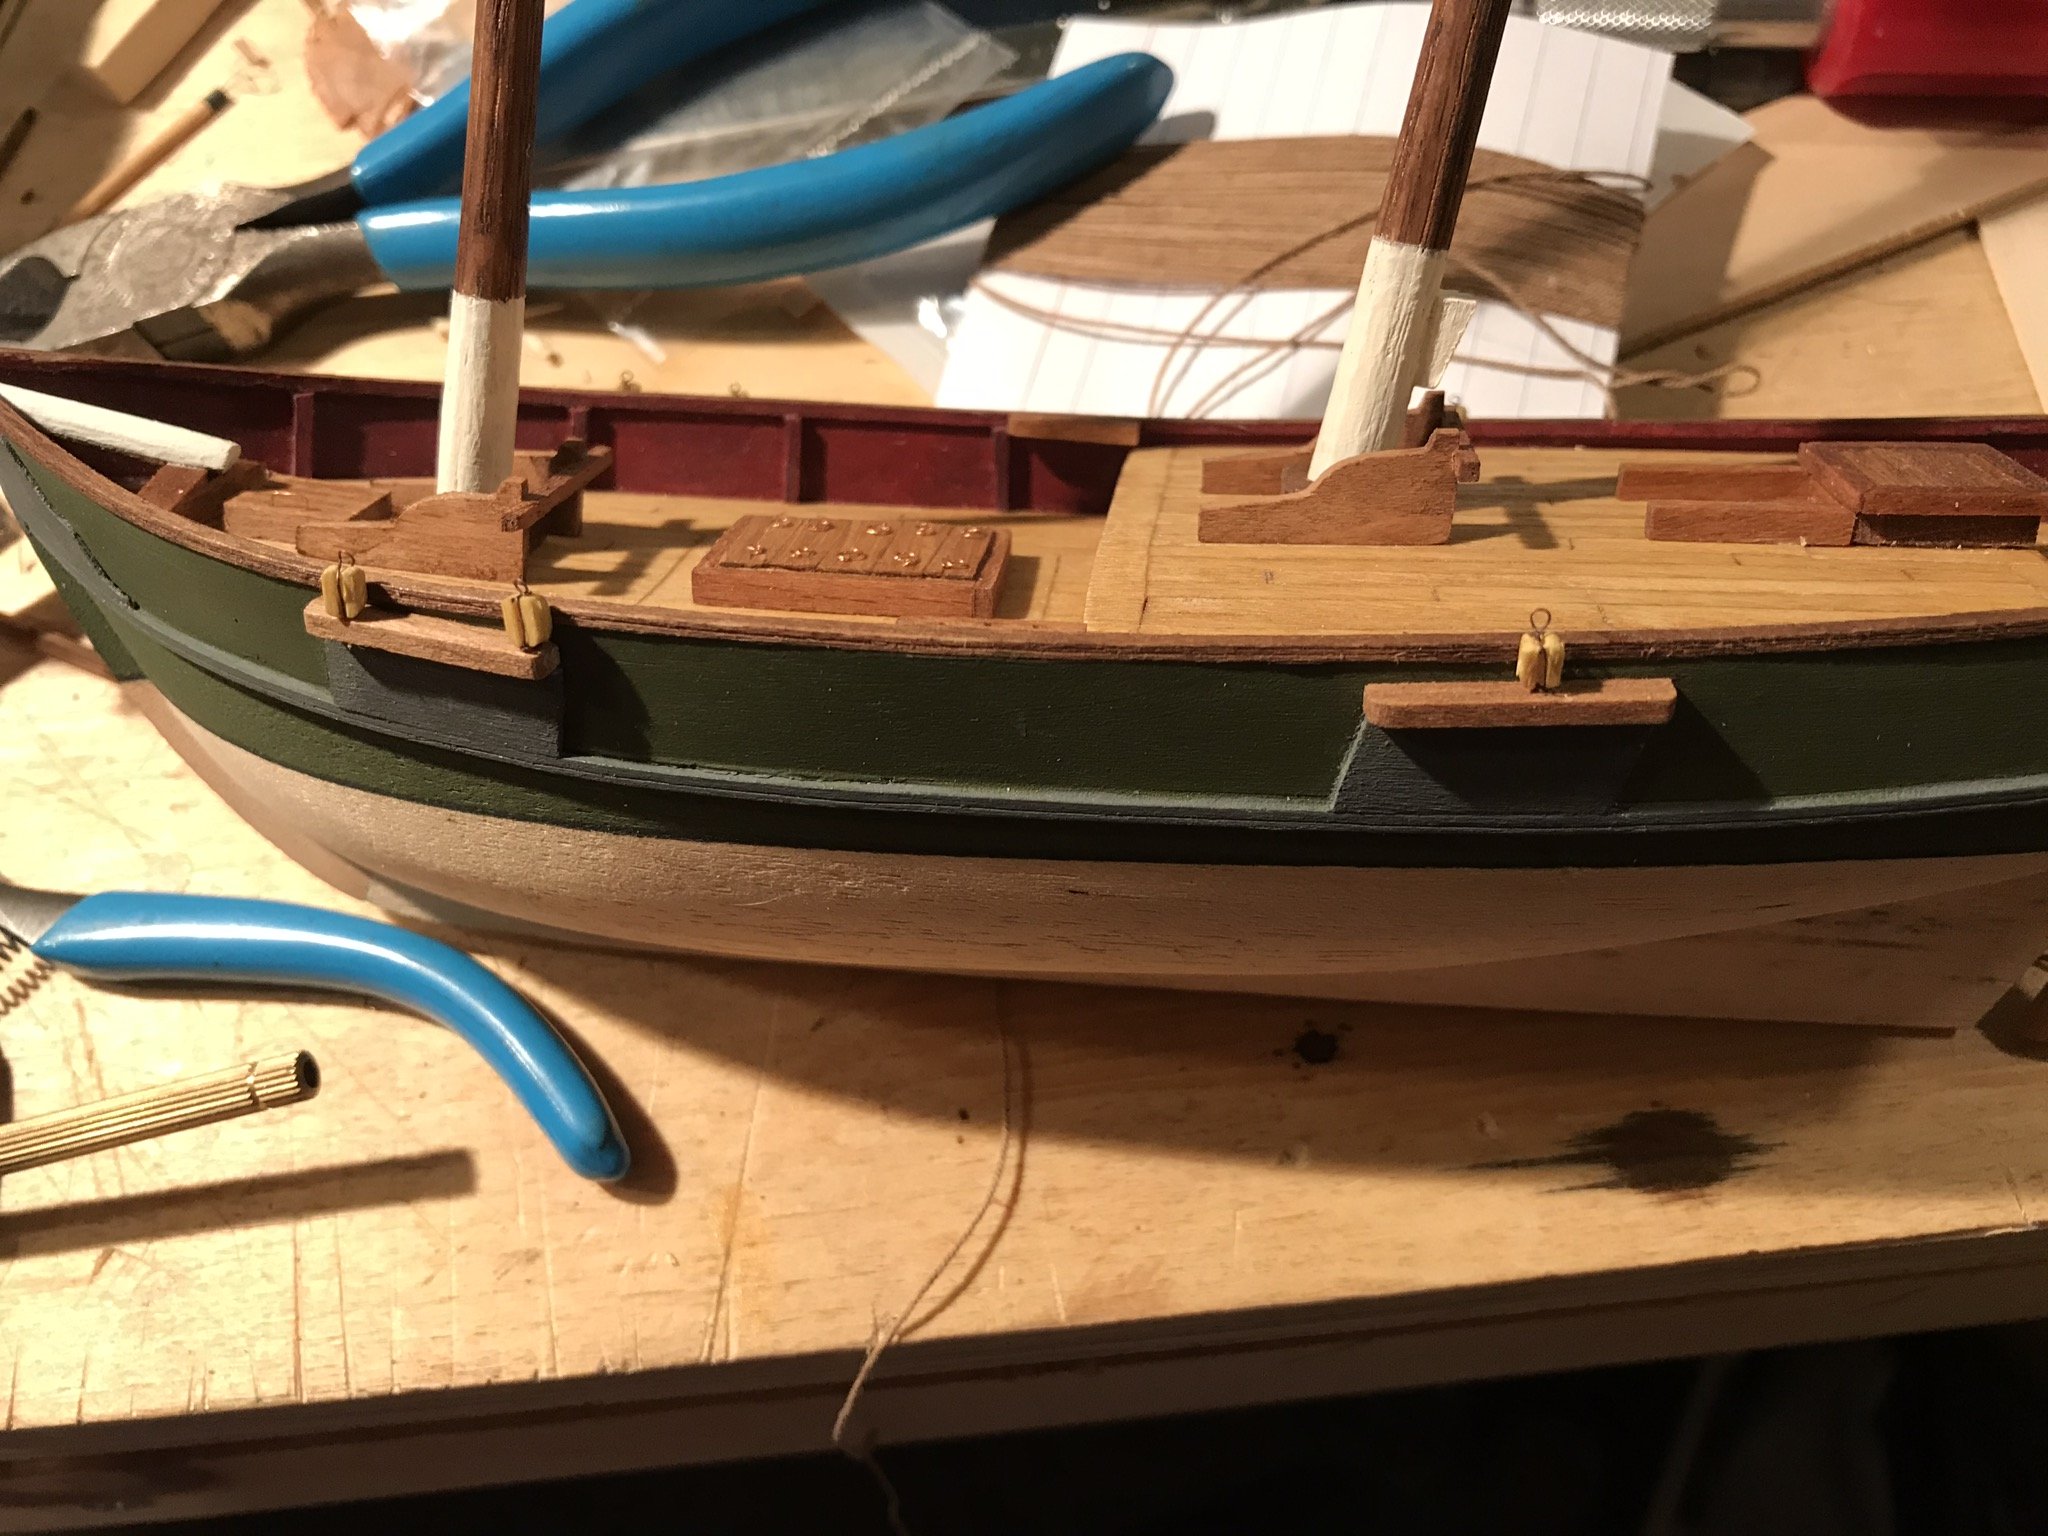
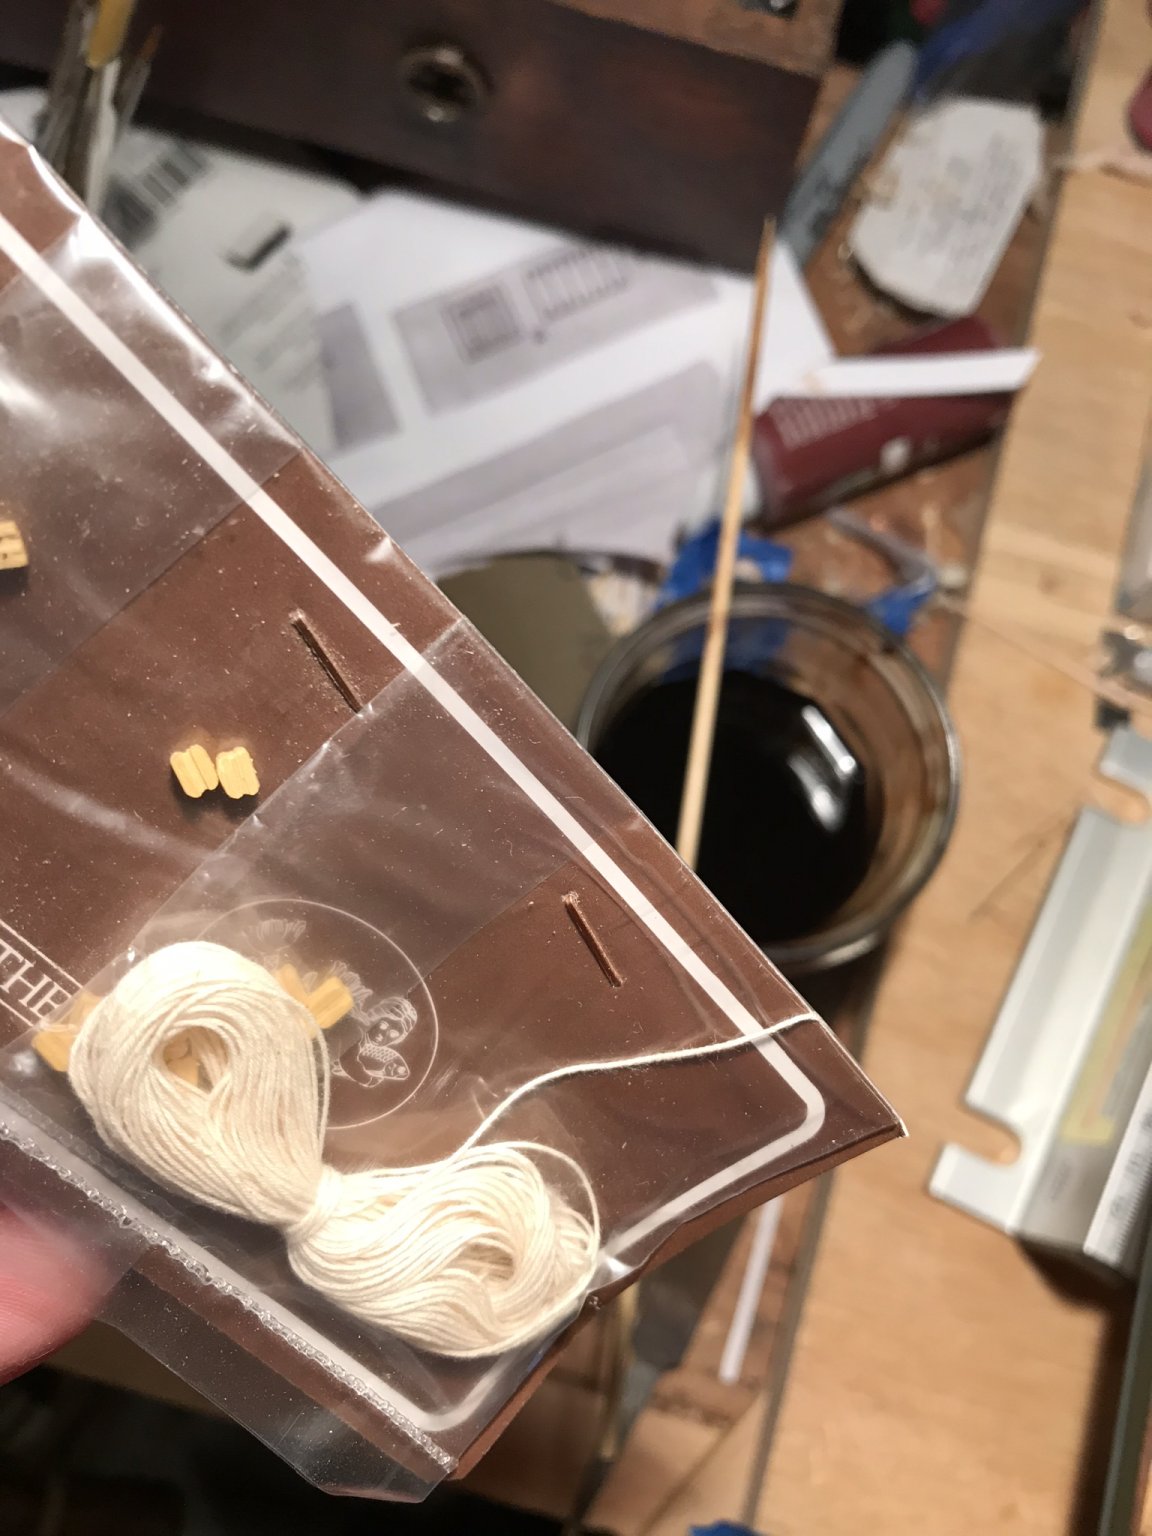
I’ve started the rigging!! I mounted the blocks. Again vague instructions (actually no instructions, but an image.) There are no channels, either. The string in the kit is too thick for the supplied blocks, so I’ve used cotton thread as well. I’ve chosen a color as close as could find in the house (since we are ‘sheltering in place’:) ). This is my first stab at ‘the pair of blocks’ bit (there are no dead eyes in this kit) and the winding string about the thicker string. I used thin wire on each block to create the loops after fumbling a bit with tried thread or string.

- 155 replies
-
- 9
-
-
- opium smuggler
- Authentic Models
- (and 1 more)
-
Hahaha, although the large bottle might make you care less... She looks great; congrats!!
- 170 replies
-
- 1
-
-
- medway longboat
- Syren Ship Model Company
- (and 1 more)
-
And for the record, from the ‘outside’, the build looks great! I look forward to more. I’m having a challenge to get time to work on my build as well, in this time of plague. On the the other hand, I’ve never had a spot to hang my plans. I did see another build log where an easel was used for the plans and another who made a frame from PVC pipes for the plans. As fate would have it, I have a banjo - I’m gloriously awful at it.
-
VTHokiEE suggested balsa filler to me for my last build. I found it easier to work with than sawdust and glue. It was water soluble, creamy, sanded well and took stain. Just for the record I got: Hobbico HobbyLite Filler Balsa.
-
In my young days, I found old hack saw blades prefect for repurposing into tiny scrapers. Chuck (of Syren fame) uses sheet brass, due to the quickness of shaping the profile he wants.
-
Yikes!! Does ventilation help?
-
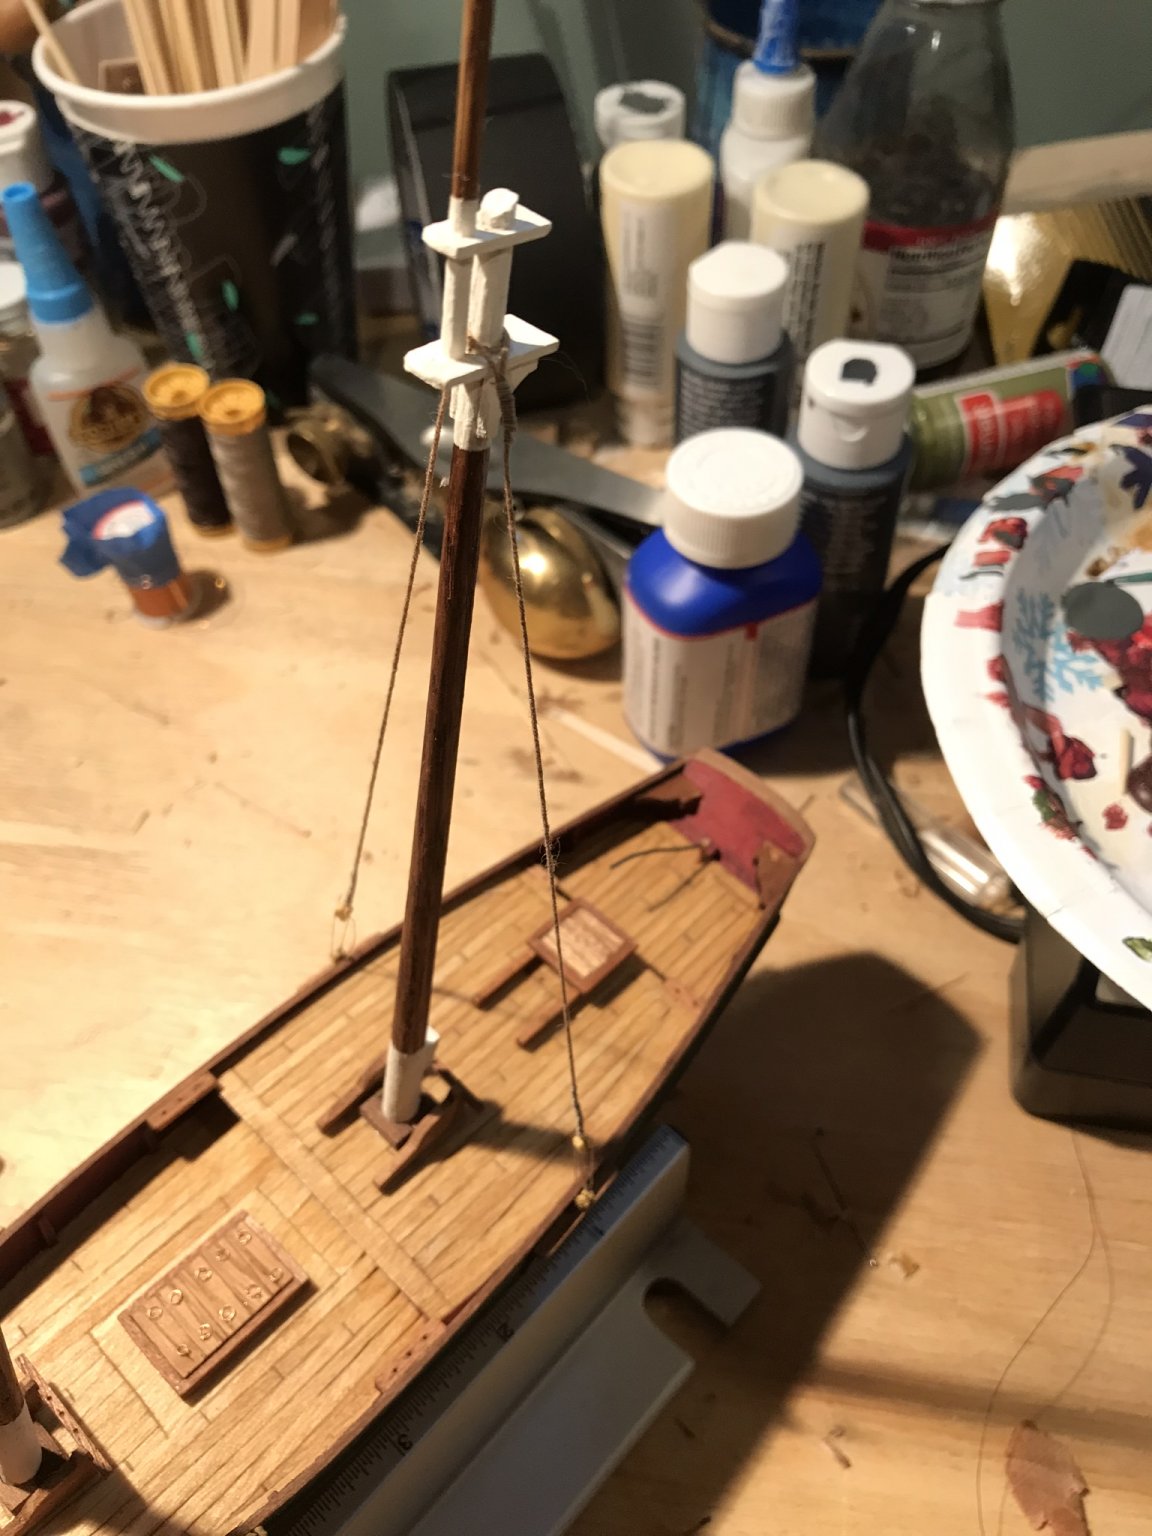
I dyed the white string for the rigging darker as per the brief instructions. Not as dark as could be, but given the limited color selection in house due to virus lockdown, I’ll take it.

- 155 replies
-
- 7
-
-
- opium smuggler
- Authentic Models
- (and 1 more)
-
nifty and clever!!
-
Chris, Thanks for the kind words!! Jersey City Frankie has some great insights and work on sails he started on his HMS Victory (the build log was formerly here: https://modelshipworld.com/topic/9359-hmsvictory-by-jerseycity-frankie-–-heller-–-plastic-1100-–mostly-rigging-and-sails/ note: the link is broken and that log is no longer to be found). I've run with his idea in a slightly different direction. As Chuck mentioned before, this is an older kit. But the folks who made it, really tried to make an all inclusive, 'we got you covered'-kind of beginner's kit. But the bar for kit quality and builder knowledge is higher now on average.* Long story short, so much of the kit can obviously be improved on, that it begs even a novice, such as myself, to look about a bit and think, I could do better. (Or at least, my efforts may be as poor as the kit's offerings!). It has prompted be to try things that were not in my original plan. Which was something like: 'oh, this is a simple kit'; 'I'm a simple builder'; 'I just bang it out and learn a wee bit along the way and build my first wood ship, having finished a wood boat.' Not a clever plan, but suitable for an after-work, after-family, scrap-a-few-hours-together-to-waste approach to this hobby. *to clarify, the experts of every age have done and will do extraordinary work and I assume the same may be true of top of the lines kits from yesteryear, with beautiful expensive wood, etc. My point is on average, I would wager that laser cutting, brass etching, vastly improved printing and research means better kits across the spectrum. I would also wager the average builder builds skills, knowledge, etc. at a fast rate than pre-internet, pre-MSW, pre-Amazon, pre-cheap tools, etc. So I posit that 'hump' of the bell curve for quality of both kits and builders has moved closer to 'quality' end over time. I invite comments my elders, the more wise, etc. (actually, everyone, to be honest!)
- 155 replies
-
- 4
-
-
- opium smuggler
- Authentic Models
- (and 1 more)
-
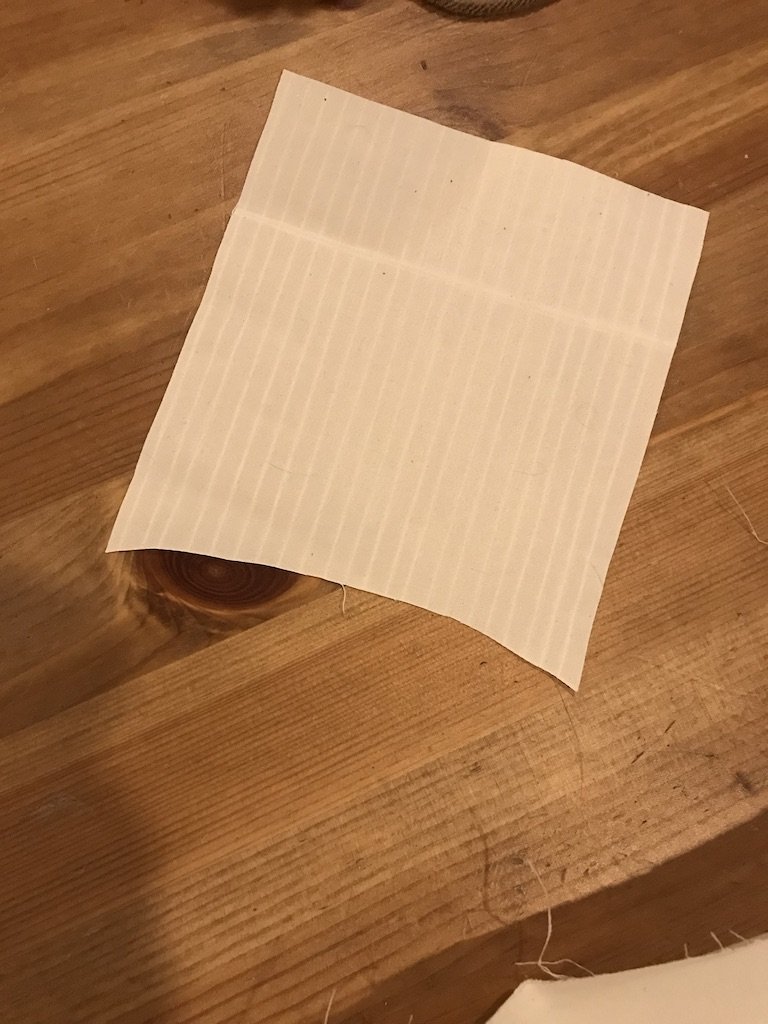
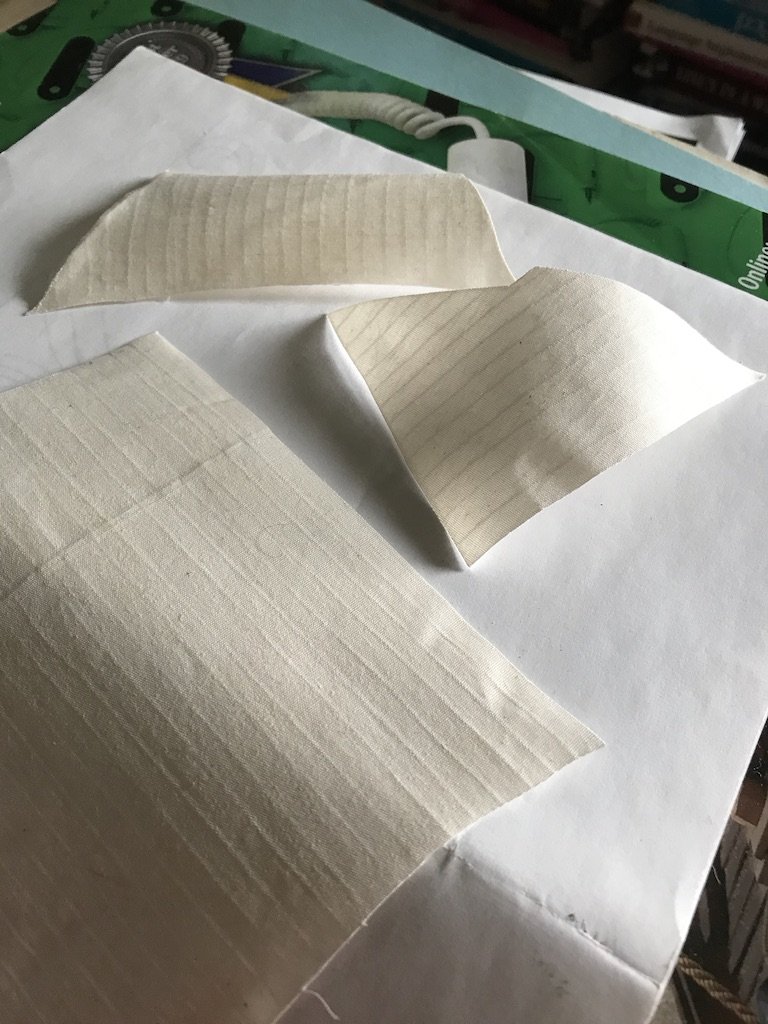
I started on the sails, while I think about my rigging. I'm using cotton fabric (I bought extra as part of my last build) that I painted with water-soluble varnish (so think cheap acrylic matte medium). If I do that before cutting, I have less loose threads. I played with using cyanoacrylate glue, but this works about the same and is cheaper and easier (a double win!) I then scored the fabric with metal. In this case, the back of a scissor blade. Last time I used white gel pens for the seams, this time the scoring looks good to me, especially at the smaller scale.
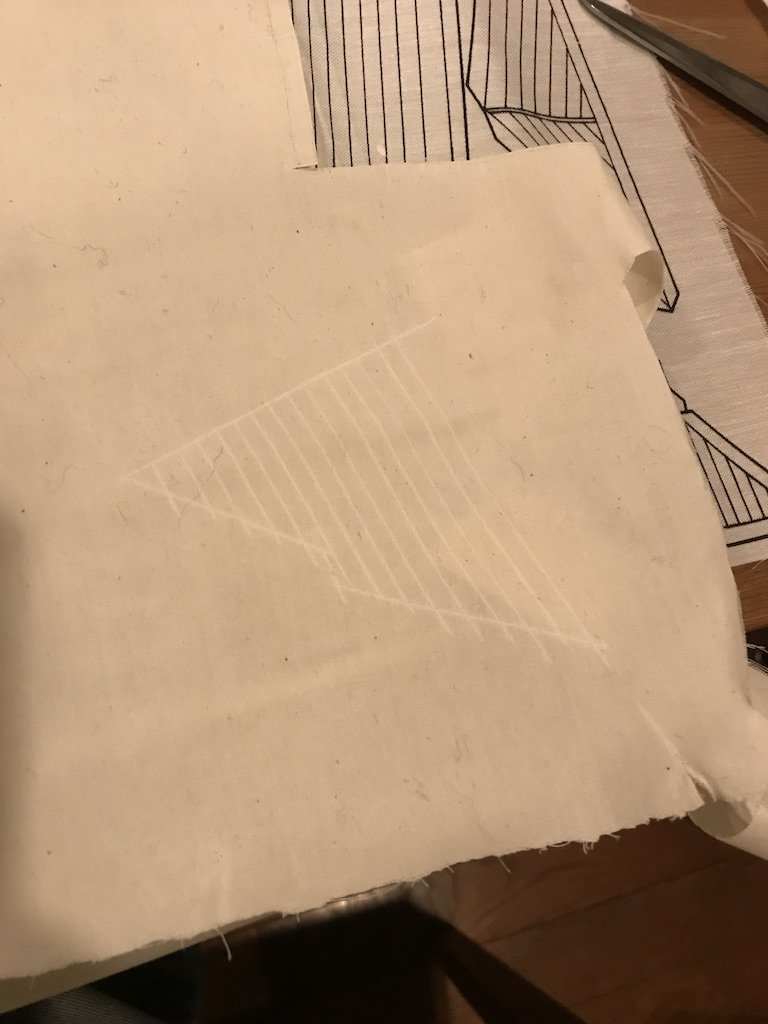
- 155 replies
-
- 5
-
-
- opium smuggler
- Authentic Models
- (and 1 more)