realworkingsailor
-
Posts
3,271 -
Joined
-
Last visited
Content Type
Profiles
Forums
Gallery
Events
Everything posted by realworkingsailor
-
 No you don't......
 -
Grant: Don't plan on drying out until I have to go back to work (late Monday or early Tuesday) Popeye: not sure who built the model, possibly donated by someone who knew of, or was a fan of, the company... Can't say for certain Andy
-
Really? That's a bit generous... I'd figure on mere minutes...
-
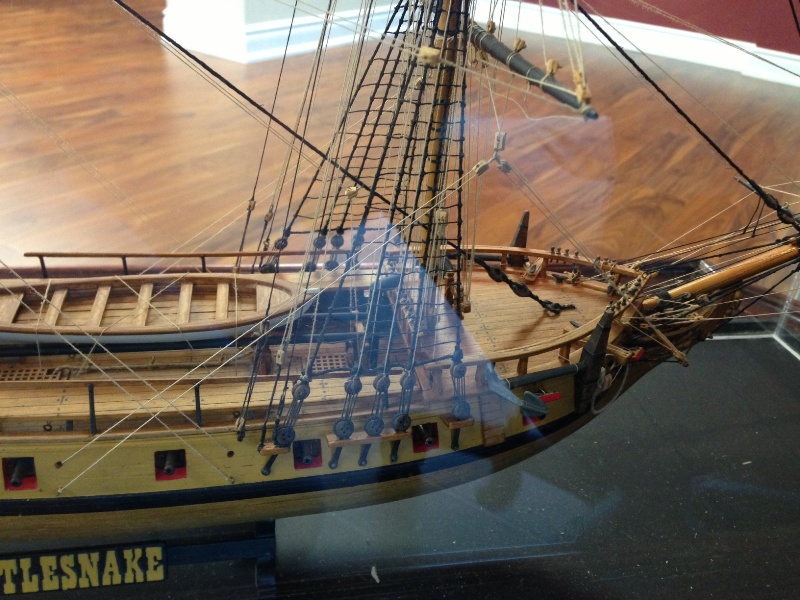
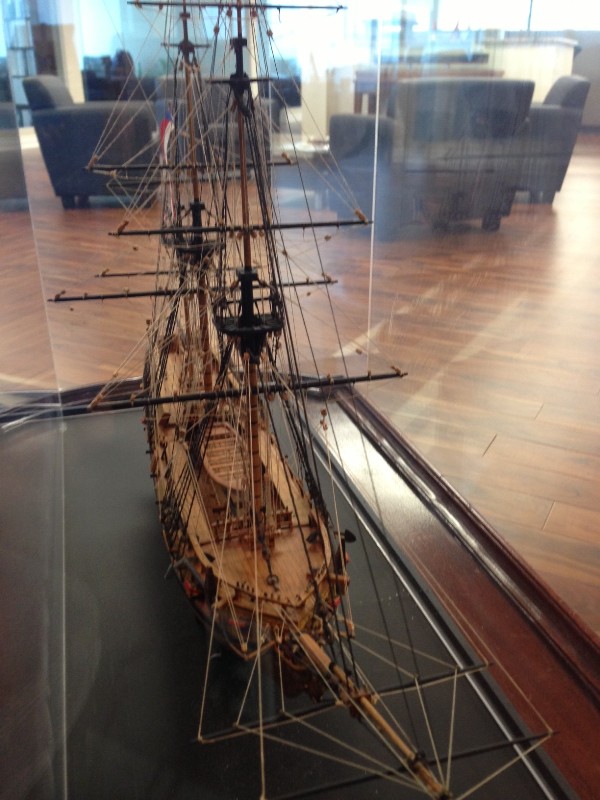
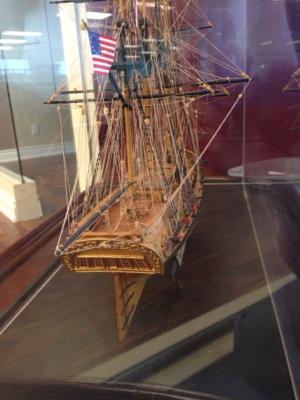
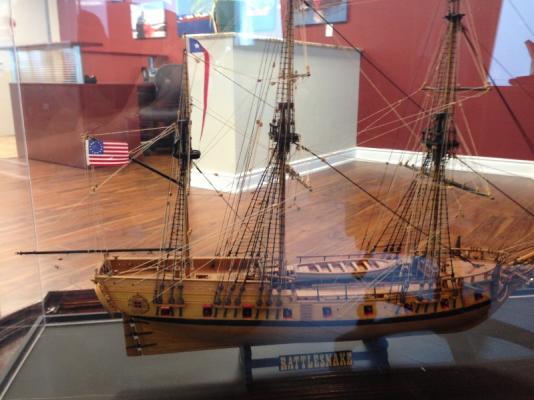
Well, I passed the course (not that it was too hard or anything... ) Kevin, thank you very much for your offer of assistance, things got a little... well.. you can well imagine what happens after hours with 8 sailors and a hotel bar... so I figured a few things out and emailed the photos to myself for download later on a different computer... Sorry for the poor quality photos... nothing like trying to take pictures in a bright office (even with the lights off) with a cell phone camera through an acrylic case... but I'm sure some of yuo at least will get to enjoy them.. So here they are:


-
Woo hoo! Andy
-
Good luck with the redo...sorry my serving machine hasn't worked out for you... Andy
-
Sent you a PM, Kevin
-
Very nice, Sherry! Andy
-
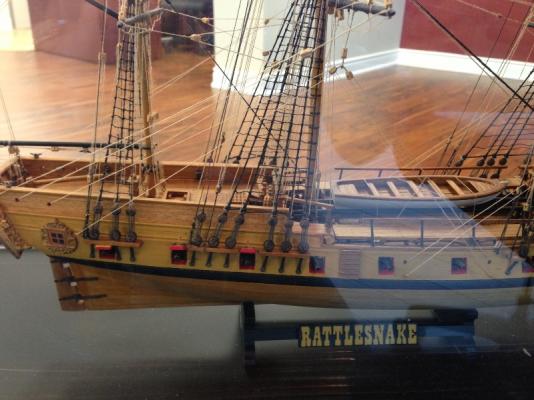
So of all things... There happens to be a model of Rattlesnake in the company office here... I took a few photos on my phone with the intention of sharing them... They're too big for the forum... Dang.... Andy
-
Not bad at all Andy
-
Thanks Popeye John.... I could make some snide remark.... But I won't
-
That's waaaay too organized for me
-
Cruizer-class Brig-Sloops of the Royal Navy
realworkingsailor replied to molasses's topic in Nautical/Naval History
Agreed, very interesting stories surrounding this class of ships. Thoroughly fascinating reading Andy -
I'm really not too far away from home, the company has a office outside of Hamilton (about and hour's drive from home) Over the next few years the company will be updating all the ECDIS systems, so we're all being sent for training on the new system. Andy
-
Well the shipyard will have to take a short break, I've been sent on a one week training course... Hopefully I'll have a couple days when this is over before I have to go back to work Andy
-
Sorry Popeye, I have to disagree, if anything, I'm more like 75% right handed and 25% left handed.... The worst of both... Andy
-
Grant, don't even worry about it for one minute Every little tidbit of extra information is always appreciated. The timing may not allow me to implement the correction, but don't worry... As I've said there's always "next" time Andy
-
Yowsa.... You're nearing the home stretch...looks amazing Andy
- 1,668 replies
-
- 1
-

-
- syren
- model shipways
- (and 1 more)
-
And according to TFFM IV it depends on if the shroud is 3 or 4 stranded.... I dunno... I'm happy with it, and I'm glad that everyone else thinks so too Andy
-
Yup... Always a smart thing to walk away for a bit... Keeps nerves and tempers from getting frayed.... So lets see some SI progress (emphasis on "see") Andy
-
Minty? You've got a toothpick in there somewhere we can't see?
-
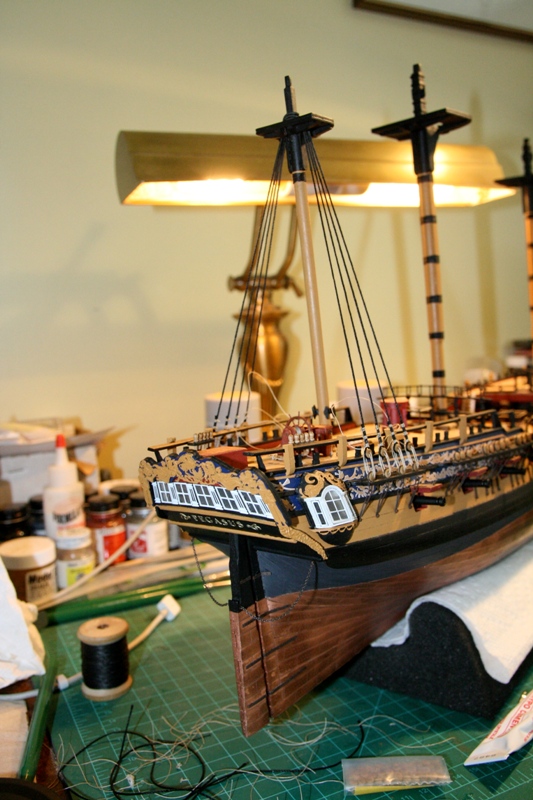
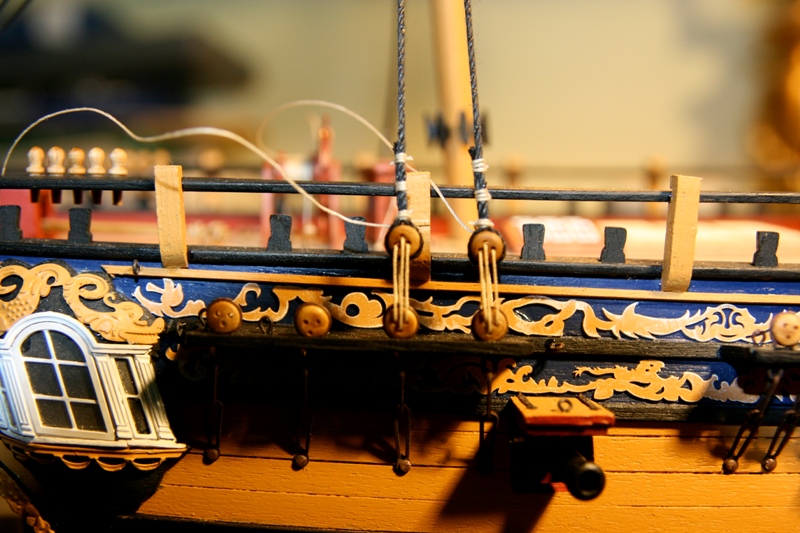
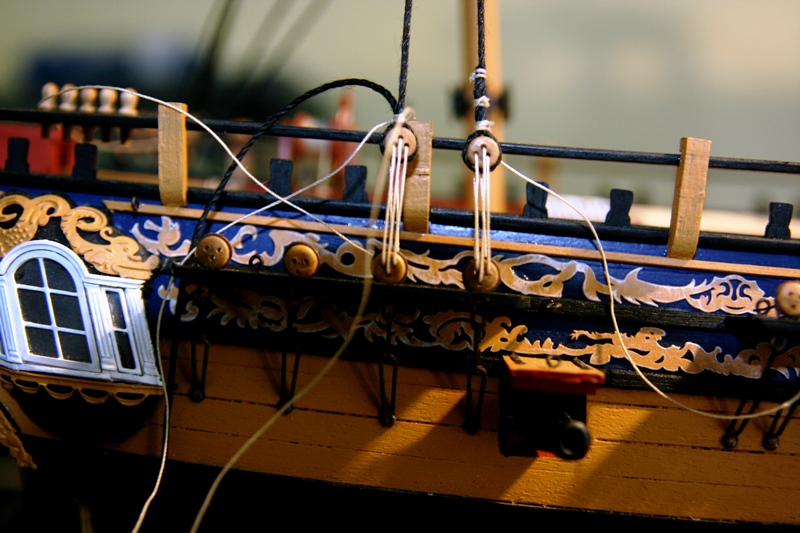
Am I left handed? .... well... the answer to that is long and convoluted... I think by default I am right handed... but it could have gone either way... I play hockey and golf left handed, I can swing a baseball bat either way (although a bit more effective left handed), tennis right handed. I write right, but apparantly way back when I was first being taught to write, I was constantly switching hands, and my teachers would consistently put the pencil back in my right hand... although for all intents and purposes, my hand writing goes from illegible to atrocious.... I'm not ambidextrous.. so who knows what the heck I am.... Mark, Peter, Popeye, Aldo, and everyone else, thanks for looking in, I'll try not to let all this positive feedback go to my head. Anyway... a small progress report... finished the mizzen shrouds. And yes... I probably wrapped the deadeyes incorrectly, but I'm not changing that now.. it isn't something that really bothers me too much... maybe next time. I've still only left the lanyards secure with a single half hitch and I've also left them a bit overlong. When I get the stay on, then I'll do a final tension adjustment and secure everything properly. Andy


-
Thanks Augie... Nothing like a haphazard comment to send us all into paralytic confusion (no offence meant to you, Grant, maybe on my next ship I'll remember to do it correctly ) Andy
-
Uh.... Oh.... Hmmm..... I've got it set so that on both sides the dead end is on the aft side of the shroud.... I hate to say it, but it's a small detail that I think I shall choose to overlook.. So I am in no position to say you are right or wrong.. I'm just going to do it my way, but thanks for your compliment Andy
-
Randy and Sjors.. sorry if I've been a bit vague about the whole thing.. For knots I secure them with a small dab of GS Hypo Cement. http://georgestrains.com/search/?query=Hypo+Cement&records=6 This stuff is great, a little smelly, but it soaks right into the line and dries with a little flexibility in it. After that I'll brush on Acrylic Matte Medium instead of wax to cut down on the fuzzies and whatnot. A 500ml Bottle of premixed (diluted) medium from Scenic Express goes for about $6: http://georgestrains.com/product/81555-scen-matte-medium-16-oz/ BTW, if you can't find a local supplier, George's Trains will ship internationally and overseas. In the case of my servings, after making up a run on my machine, I'll just coat the whole thing in matte medium and let it dry before removing the rope. Anyway, I've re-jigged the first mizzen shrouds.. much nicer now.. The lanyards are sill just held with a single half hitch in case things need to be adjusted. Andy