realworkingsailor
-
Posts
3,271 -
Joined
-
Last visited
Content Type
Profiles
Forums
Gallery
Events
Everything posted by realworkingsailor
-
 In other words, where that expression came from is subject to various interpretations... and the actual origins may never be precisely known. Andy
 -
Good to see you're still "plugging" away at your build (Sorry....bad one, I know, couldn't help it) Andy
-
Well, like most "myths" there is a modicum of truth to it... I dare say that one way or another, "the whole nine yards" has something to do with ammo belts of machine guns. And there's probably enough anecdotal evidence to support both sides. Andy
-
As a further aside, the Vickers gun was liquid cooled, through a siphon hose under the barrel, which lead to a jerry can of water. And although cumbersome, probably enabled a longer firing period. In addition to all that, I'll have a few more update photos of my build later this morning. Andy
-
Unfortunately not, just the last section. But there's so much other text that makes it worth while. And if I'm not mistaken, "the whole nine yards" refers to the length of the ammo belt of the Vickers machine gun. In WW I trench warfare, going the whole nine yards meant you really where laying some heavy fire on the enemy... At least that's the story I've been told... Andy
-
Hehehe, no worries, blame the fall of MSW 1.0 I had it all explained, way back then.. Andy
-
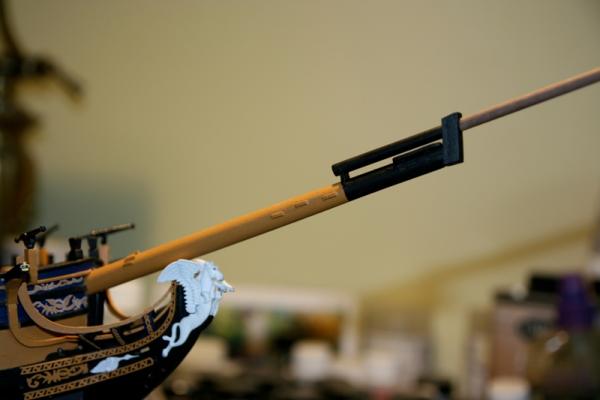
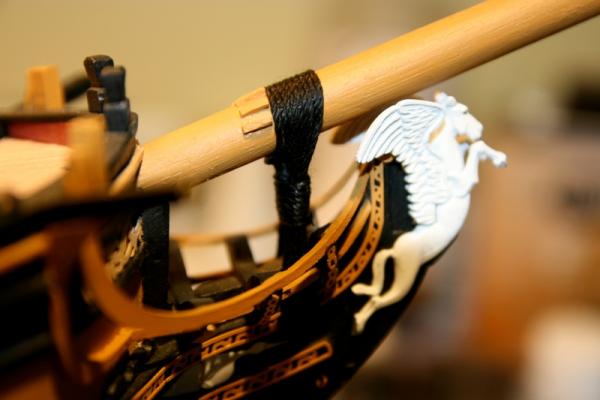
Thanks, Ham (you don't mind Ham? ) and Frank. Frank, the figurehead is already painted.. She was grey resin to begin with, I gave it a coat of white and then dry brushed and highlighted some of the details in black. Andy
-
Within the limits of my abilities and resources, of course
-
Oddly enough, Keith, those photos on the link you posted, are right out of TFFM IV.... Andy
-
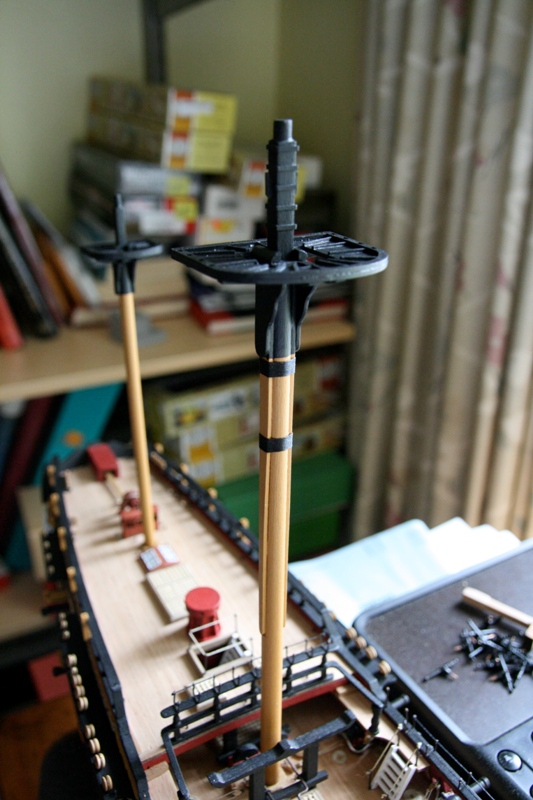
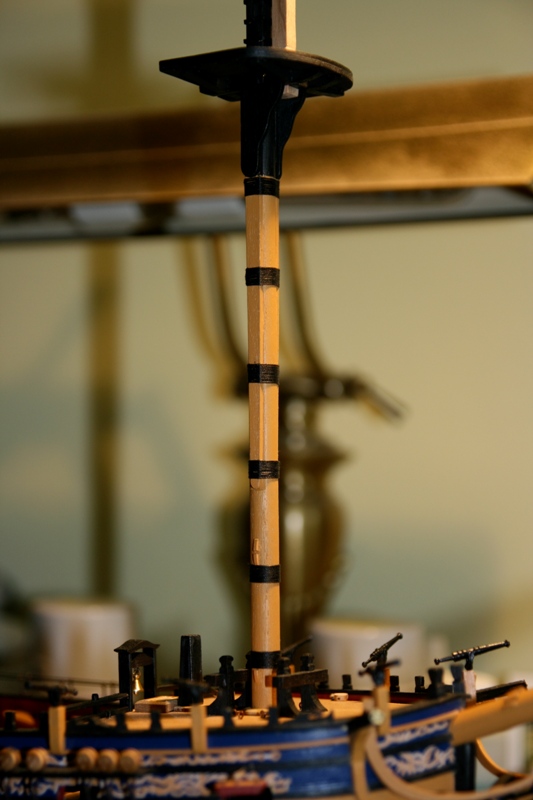
Well.. before my mind goes numb, a quick little morning update.. The weekend is proving to have some good "indoor" weather... So I've started the wooldings on the mainmast this morning. And you can see the mizzen all painted up. Doing the battens on the mizzen top was... well... let's call it amusing... I think I'm also going to make a few changes. On the mizzen the Amati kit says to use a piece of walnut and make some sort of vertical pinrail, which to my mind looks more than a little wonky. Looking at TFFM IV (especially the colour section in the back), it looks more like there are supposed to be actual cleats on the mast (at first I thought it was some kind of spider band, but no..), looks muck better to my eye. That book is starting to open up a whole new can of worms... I may not follow it to the letter, but I can pick and choose the changes I feel I can make... Andy

-
I do have some wax, but seeing how well the matte acrylic worked, I don't think I'll be using it. My next trick will be figuring out small scale serving (since I don't have a "machine").... I have done it in real life, and it wasn't that hard... We shall see.... Andy
-
Nice job Not too much more to have this one complete and on display. Andy
-
Your fault for that one Andy
-
Well, that settles it then... Obviously full scale is your forte... So time to upscale your model build Andy
- 1,319 replies
-
- 1
-

-
- caldercraft
- Victory
- (and 1 more)
-
The nice thing about doing it the way I just did, you can get all the knot tying and glueing out of they way first, then come back and coat the lines. Next time I'm down at the hobby shop, I'm going to pick up a bottle of matte medium, same basic stuff, but a little cheaper by volume One thing I will mention, the rigging line supplied by Amati isn't too fuzzy to begin with, so results may vary based on the line supplied. Andy
-
Thanks guys, I've since given the gammoning a coat of clear matte acrylic, did a good job of handling the fuzzies (that you guys couldn't see ), I'm probably going to use that throughout the rigging process. Andy
-
Actually... Wayne, looking again at the dimensions you gave, the HMS Bee would probably be a closer example of the GH in schooner form... Andy
-
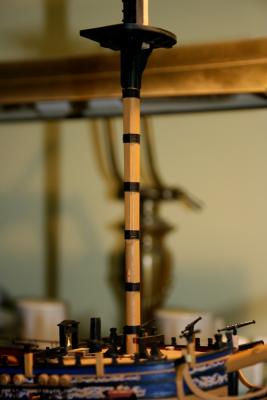
Alright.. some more fodder for the photo hounds.... And to keep a certain You-Know-Who.. and a certain slave-driver of a moderator happy , or if not happy.. satisfied enough to lay off the whip for an hour or so... First bit of standing rigging... the gammoning. And this morning's progress on the bands on the top of the main mast. Andy

-
About an hour and a half drive north, so yeah, relatively close. Been there a few times when I was a kid. Although at that time they only had the HMS Bee.... Andy
-
It's pretty tight to my wrist.. But it will be removed when things start to get dicey
-
Too hot for sleeves.... I don't smoke... No cats allowed in the house (I'm allergic) And I wear may watch on my left arm and have the starboard ship side facing me when I work (for now... ) Andy
-
Thanks everyone, for the continued positive feedback. I am fully aware of the snag hazard now presented, I guess having long-ish arms helps... And the warm weather will help keep sweaters away Today work will resume on the main mast, I'll try to get most of the detail work done on it... Andy
-
Naval History On This Day, Any Nation
realworkingsailor replied to Kevin's topic in Nautical/Naval History
1780: Launch of HM Snow Ontario (22) at Carleton Island at the east end of Lake Ontario (now a part of New York State) She was later lost with all hands, in a gale, October 31st 1780. -
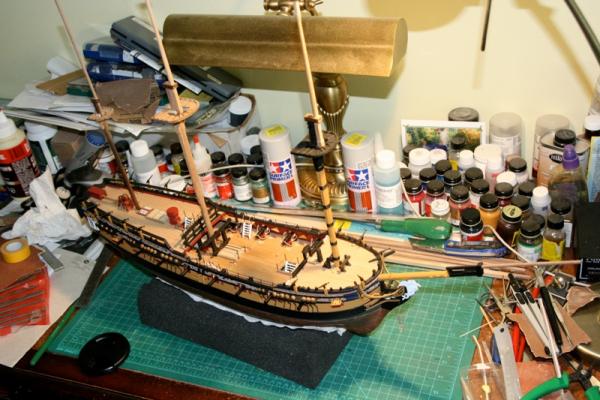
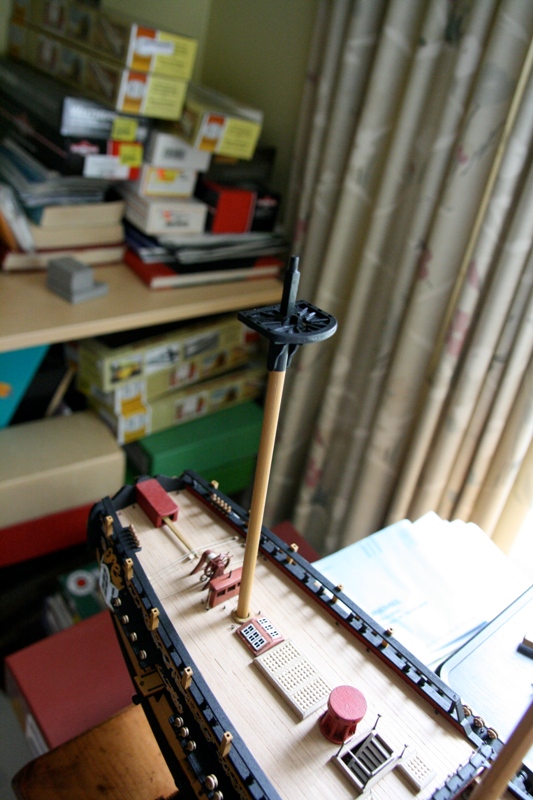
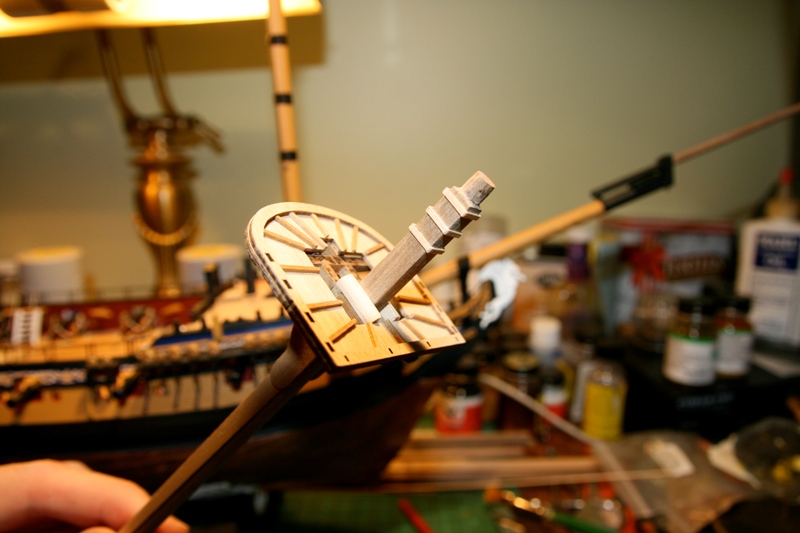
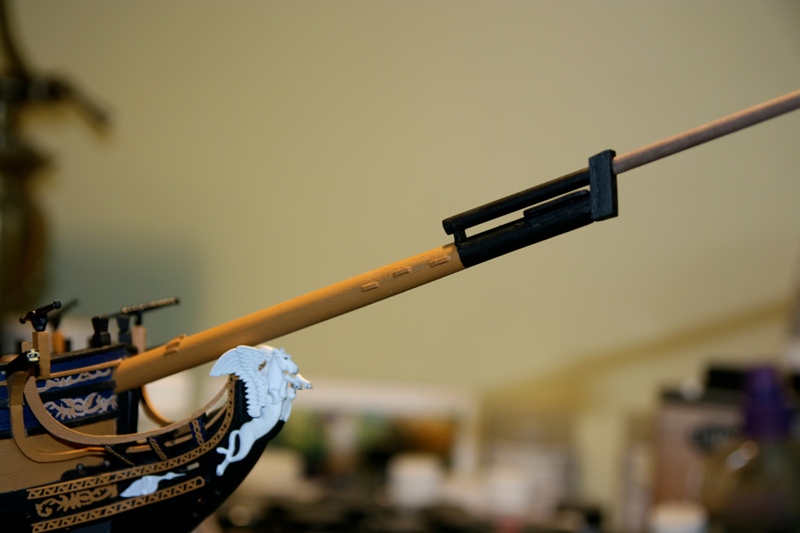
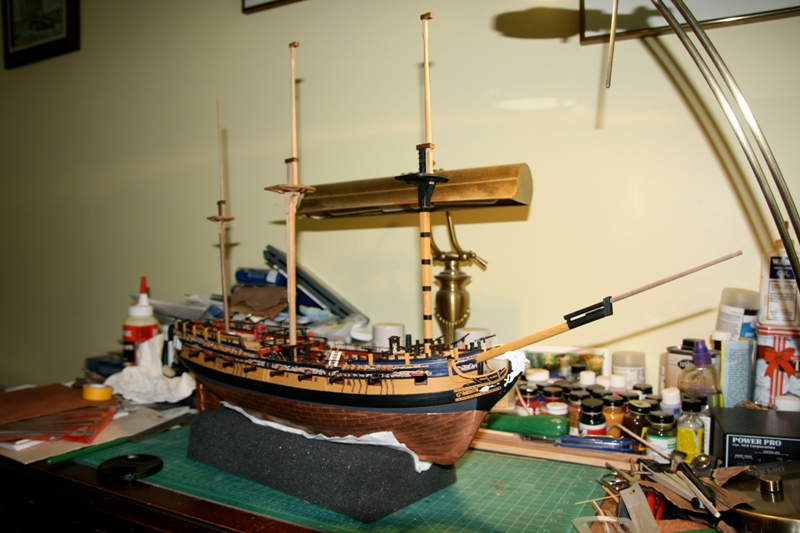
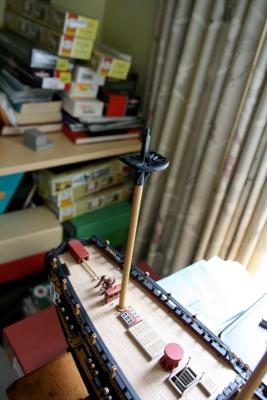
OK, ok!... Don't get all bent out of shape... I've got the battens done on the main top, next step will be to do the bands and cleats, then the main mast will get painted up. Foremast all painted and the wooldings put on, I had to joggle the spacing a little bit, but it's not really noticeable unless you attack the thing with a ruler. Also got the bowsprit all cleated and painted up, and yes according to the plans, those cleats are supposed to look like that. And just for good measure, a couple of overall shots.... nevermind the mess on the workbench... the paint revolution has not yet come... Now... is that better? Andy