


ObviousNewbie
-
Posts
211 -
Joined
-
Last visited
Content Type
Profiles
Forums
Gallery
Events
Posts posted by ObviousNewbie
-
-
Another update: cut off the excess wood, sanded the edges, lightly sanded the deck, and here it is:
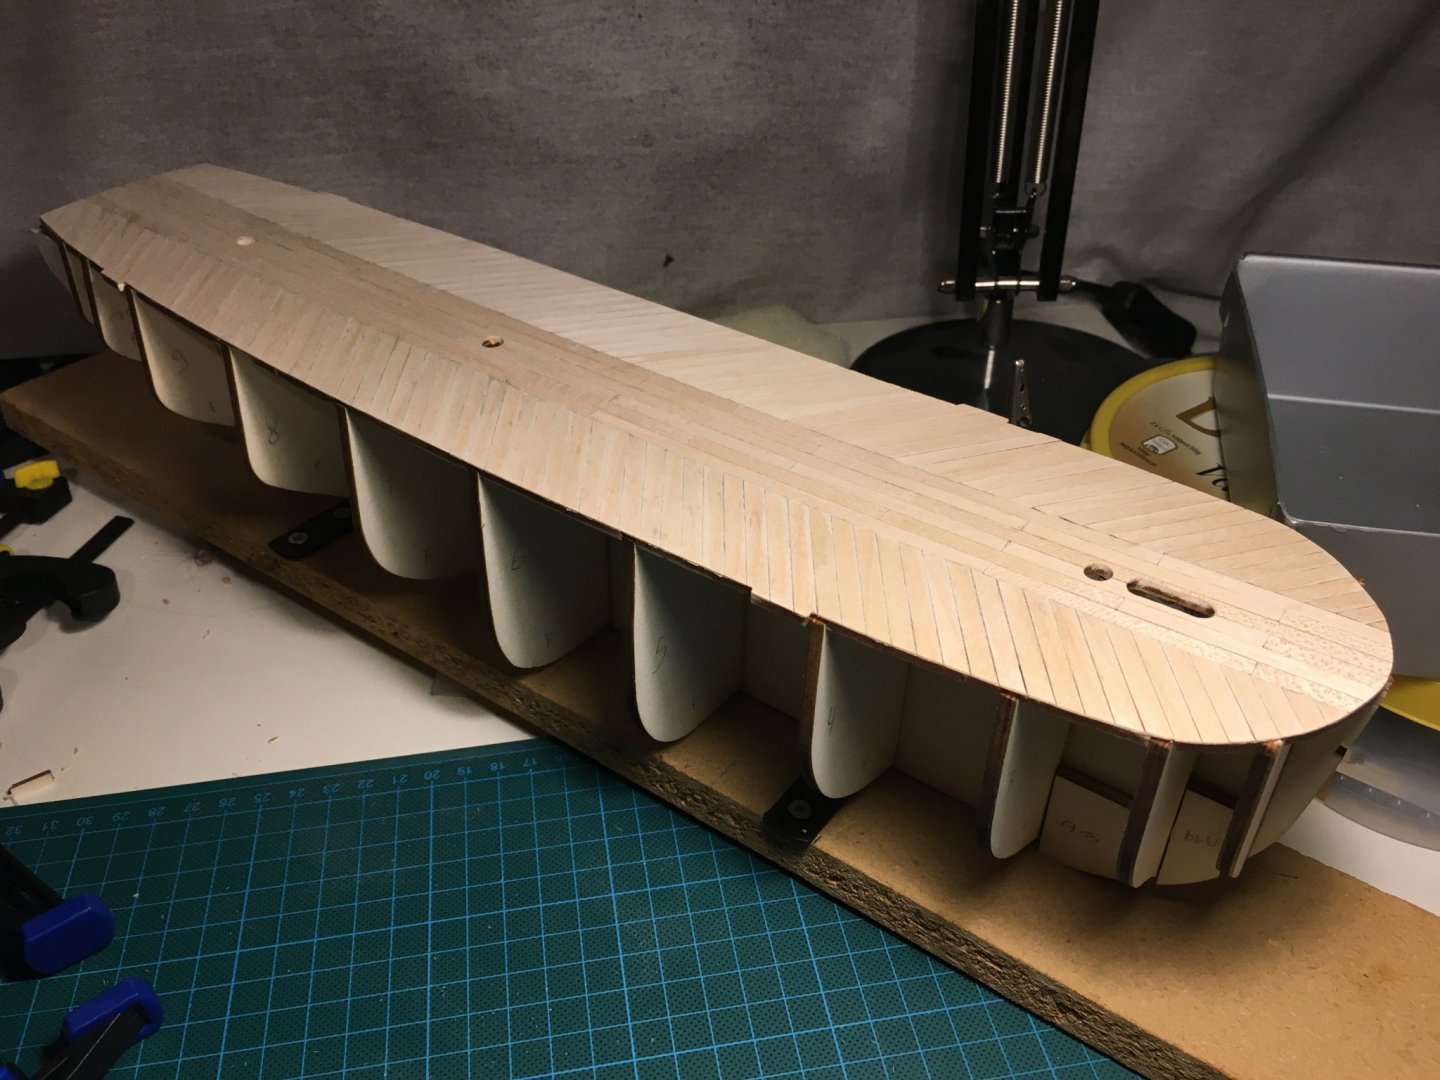
The caulking is a bit more pronounced in real life, but very subtle nonetheless. Don't really fancy having a go at the deck with a pencil though.
Apologies for the log spamming, but everything I do, I do for the first time, with all the hesitation and doubt, and afterwards the excitement to see the results. 🙂
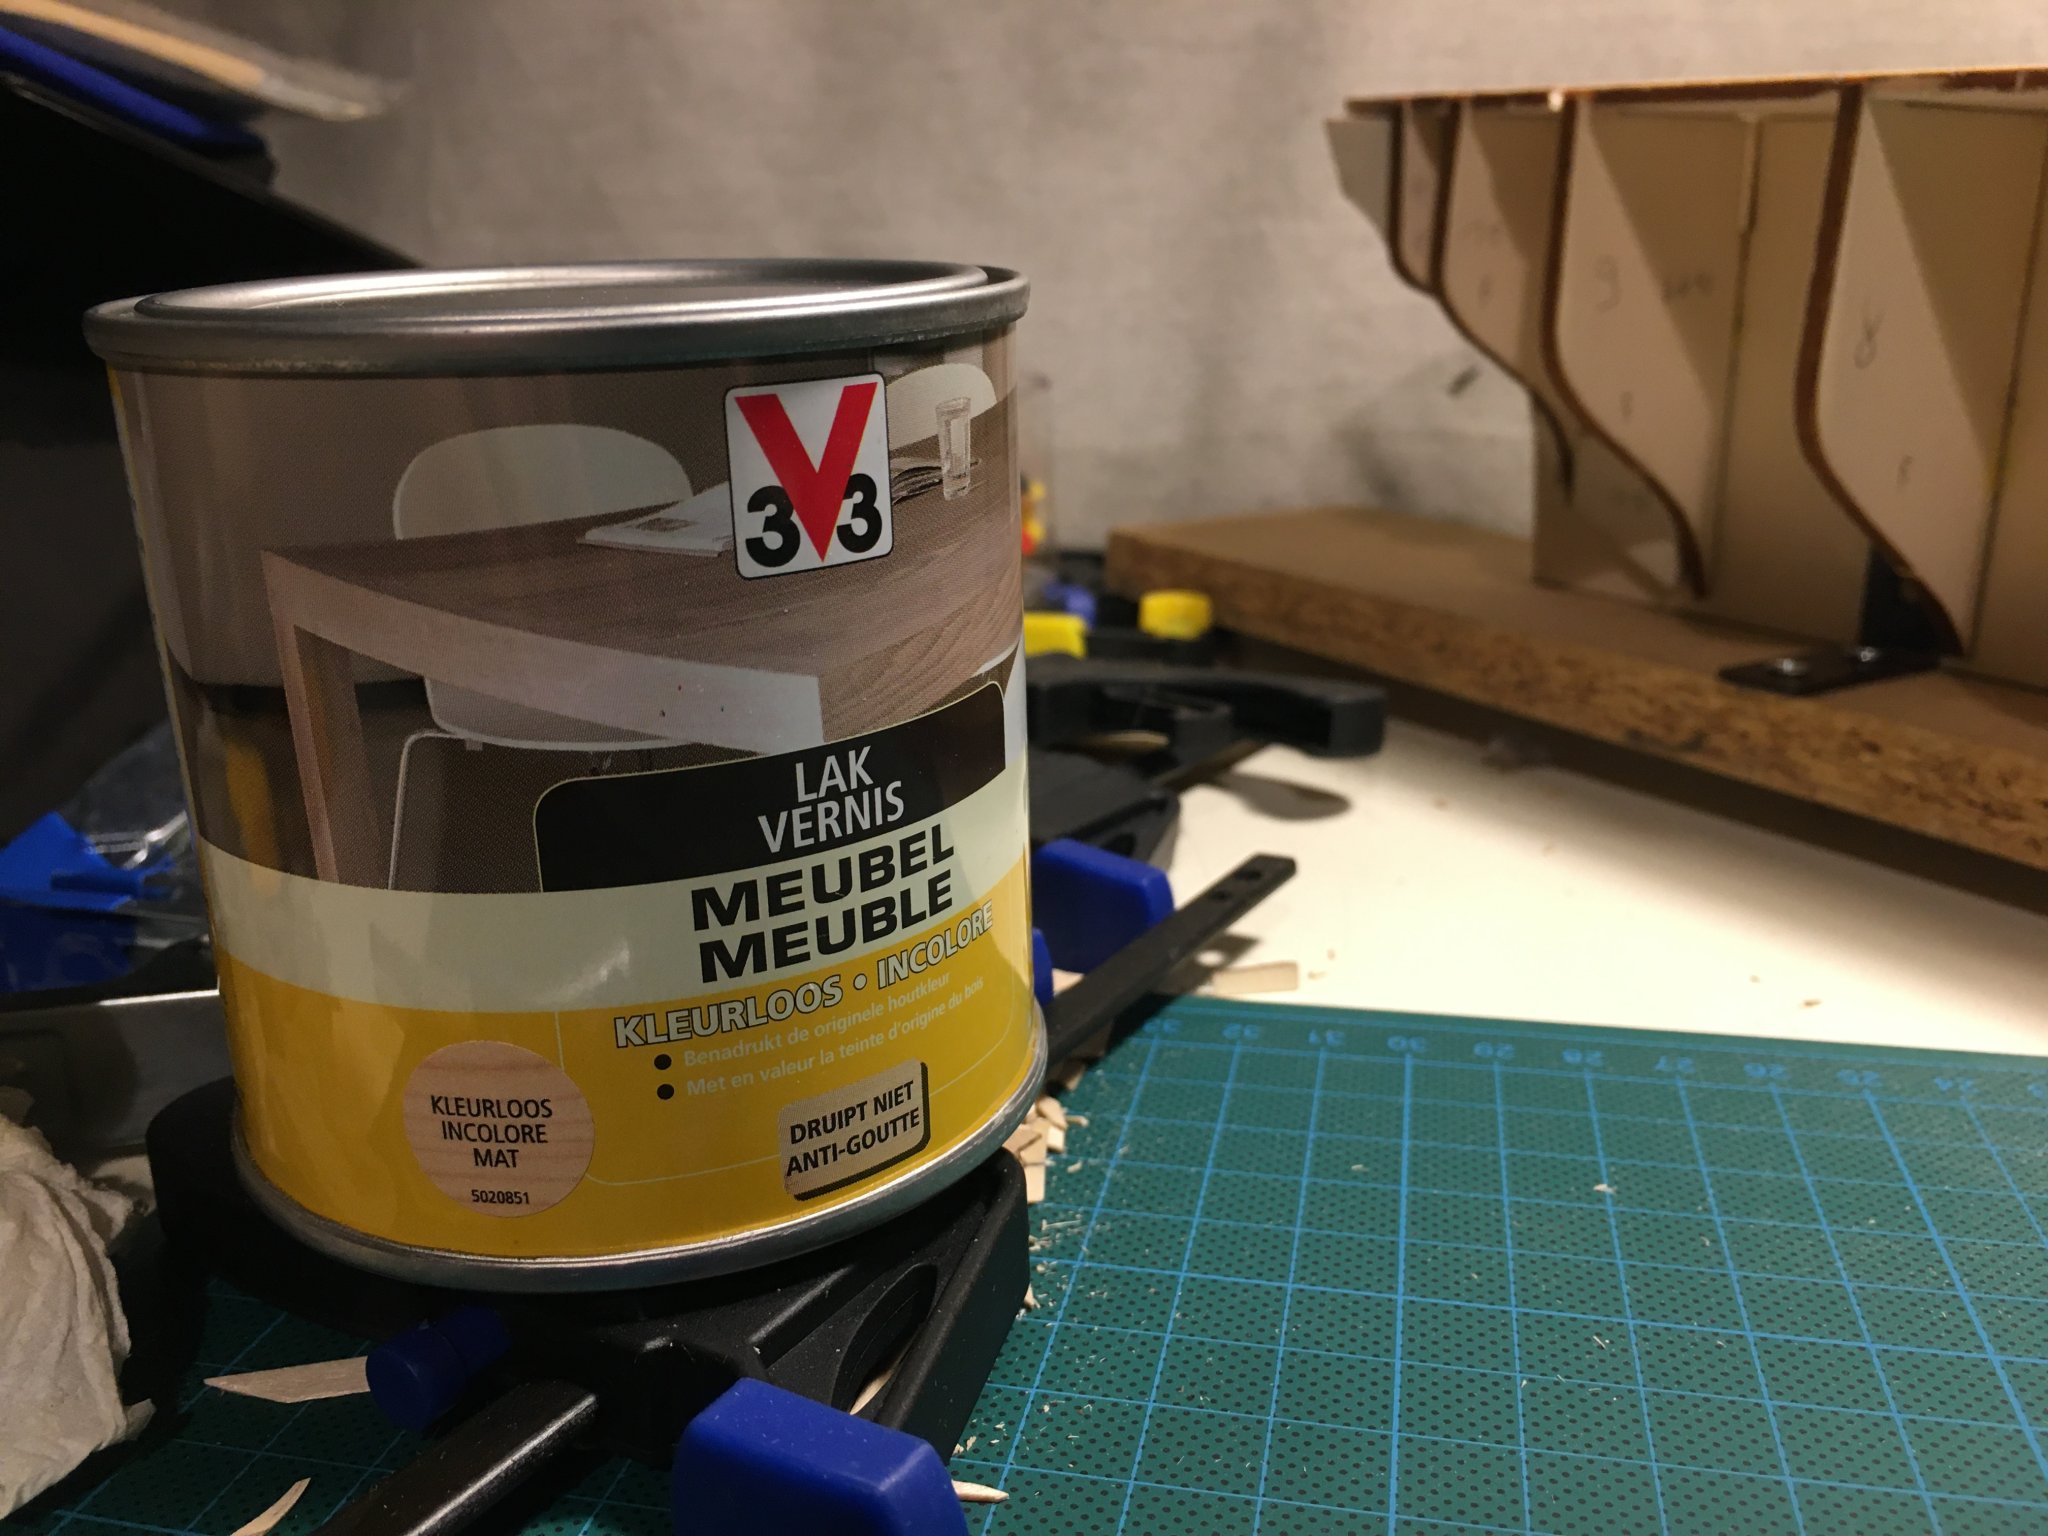
And again a question: I made a quick stop at the hardware store tonight and found this:
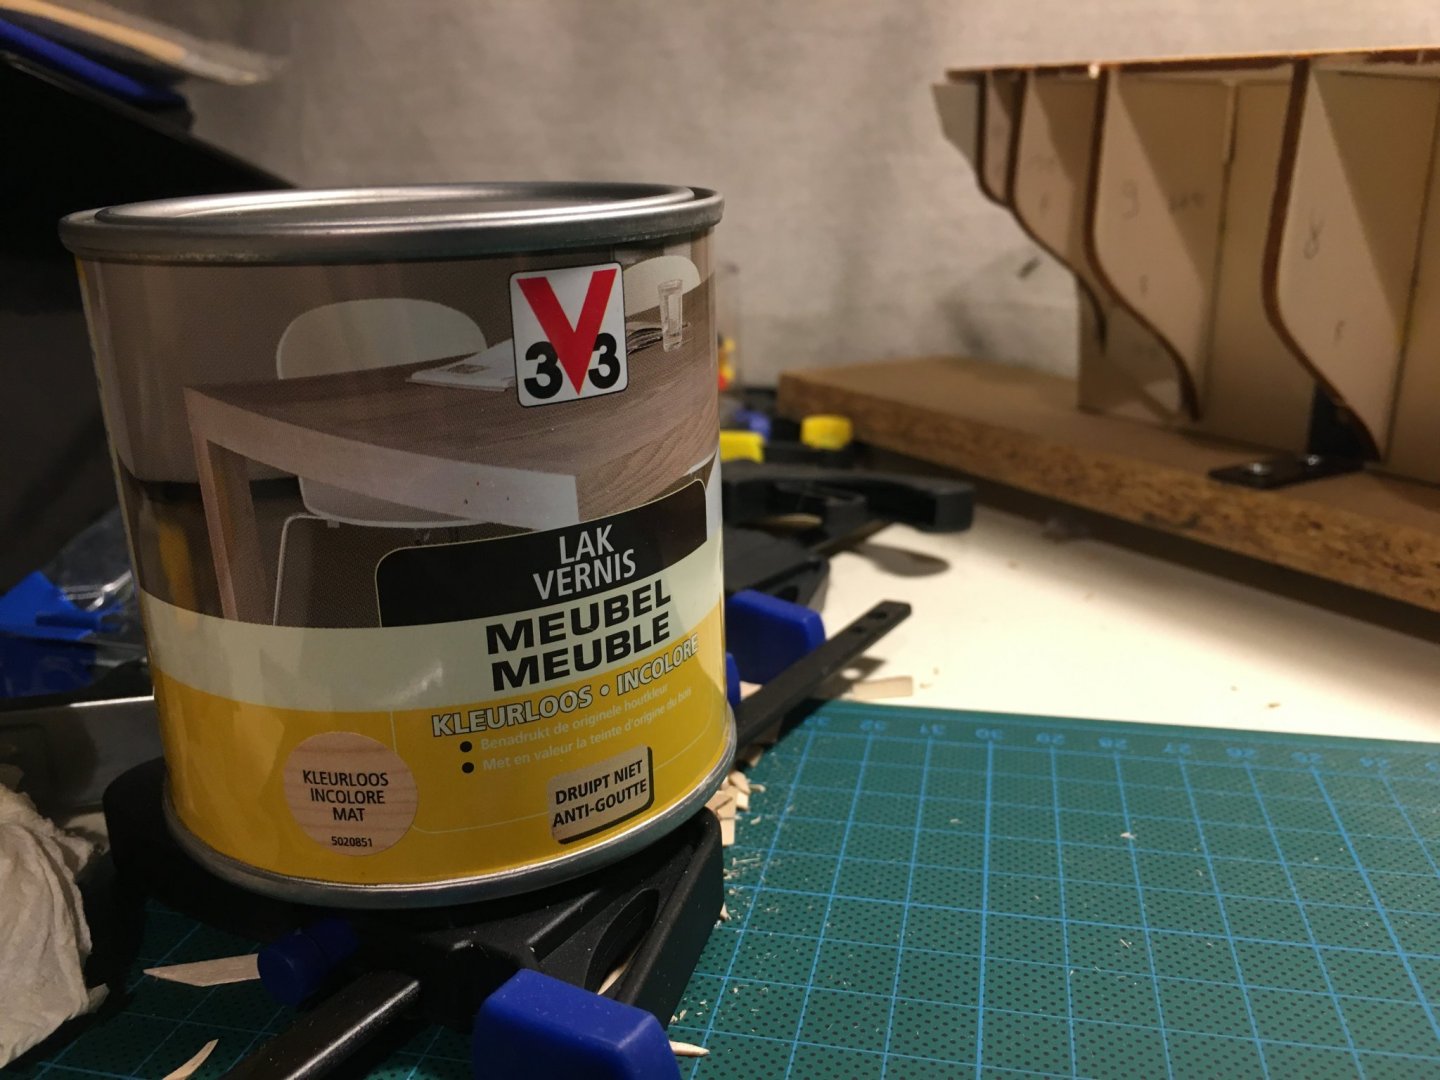
Translated: Lacquer/varnish for furniture, colourless, mat, and water-based. Is anyone familiar with this brand/product? I bought a small tin to try out, with the idea to use this on the deck and other parts of the superstructure... Thnx in advance for all the advice!
- Wahka_est, JeffT and GrandpaPhil
-
 3
3
-
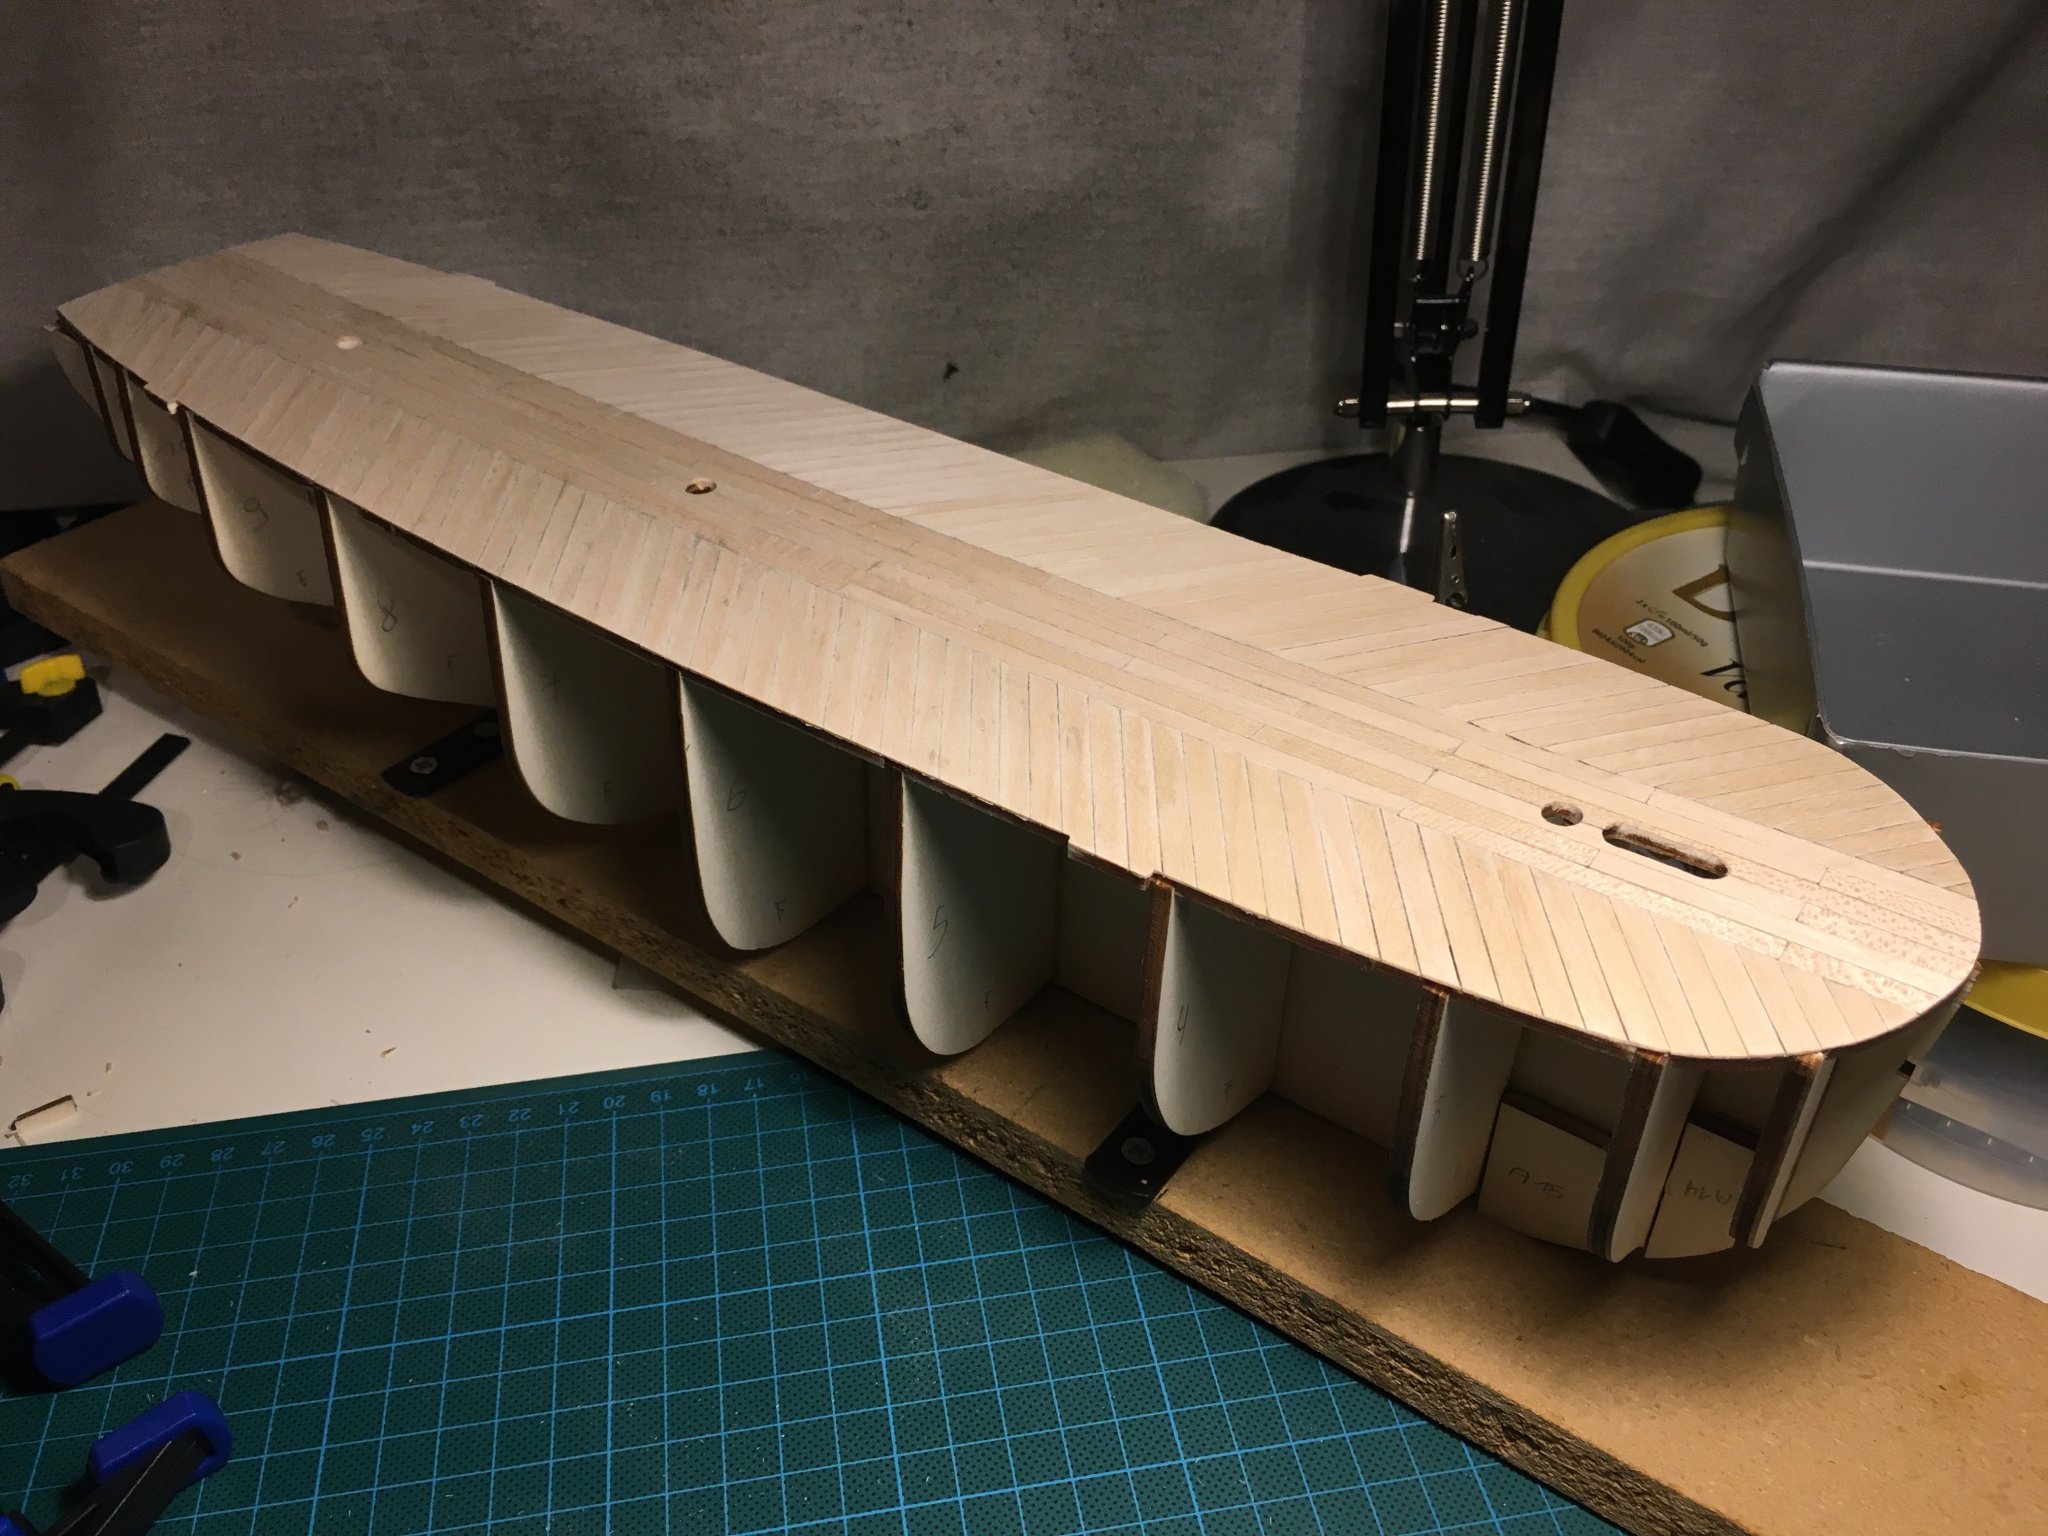
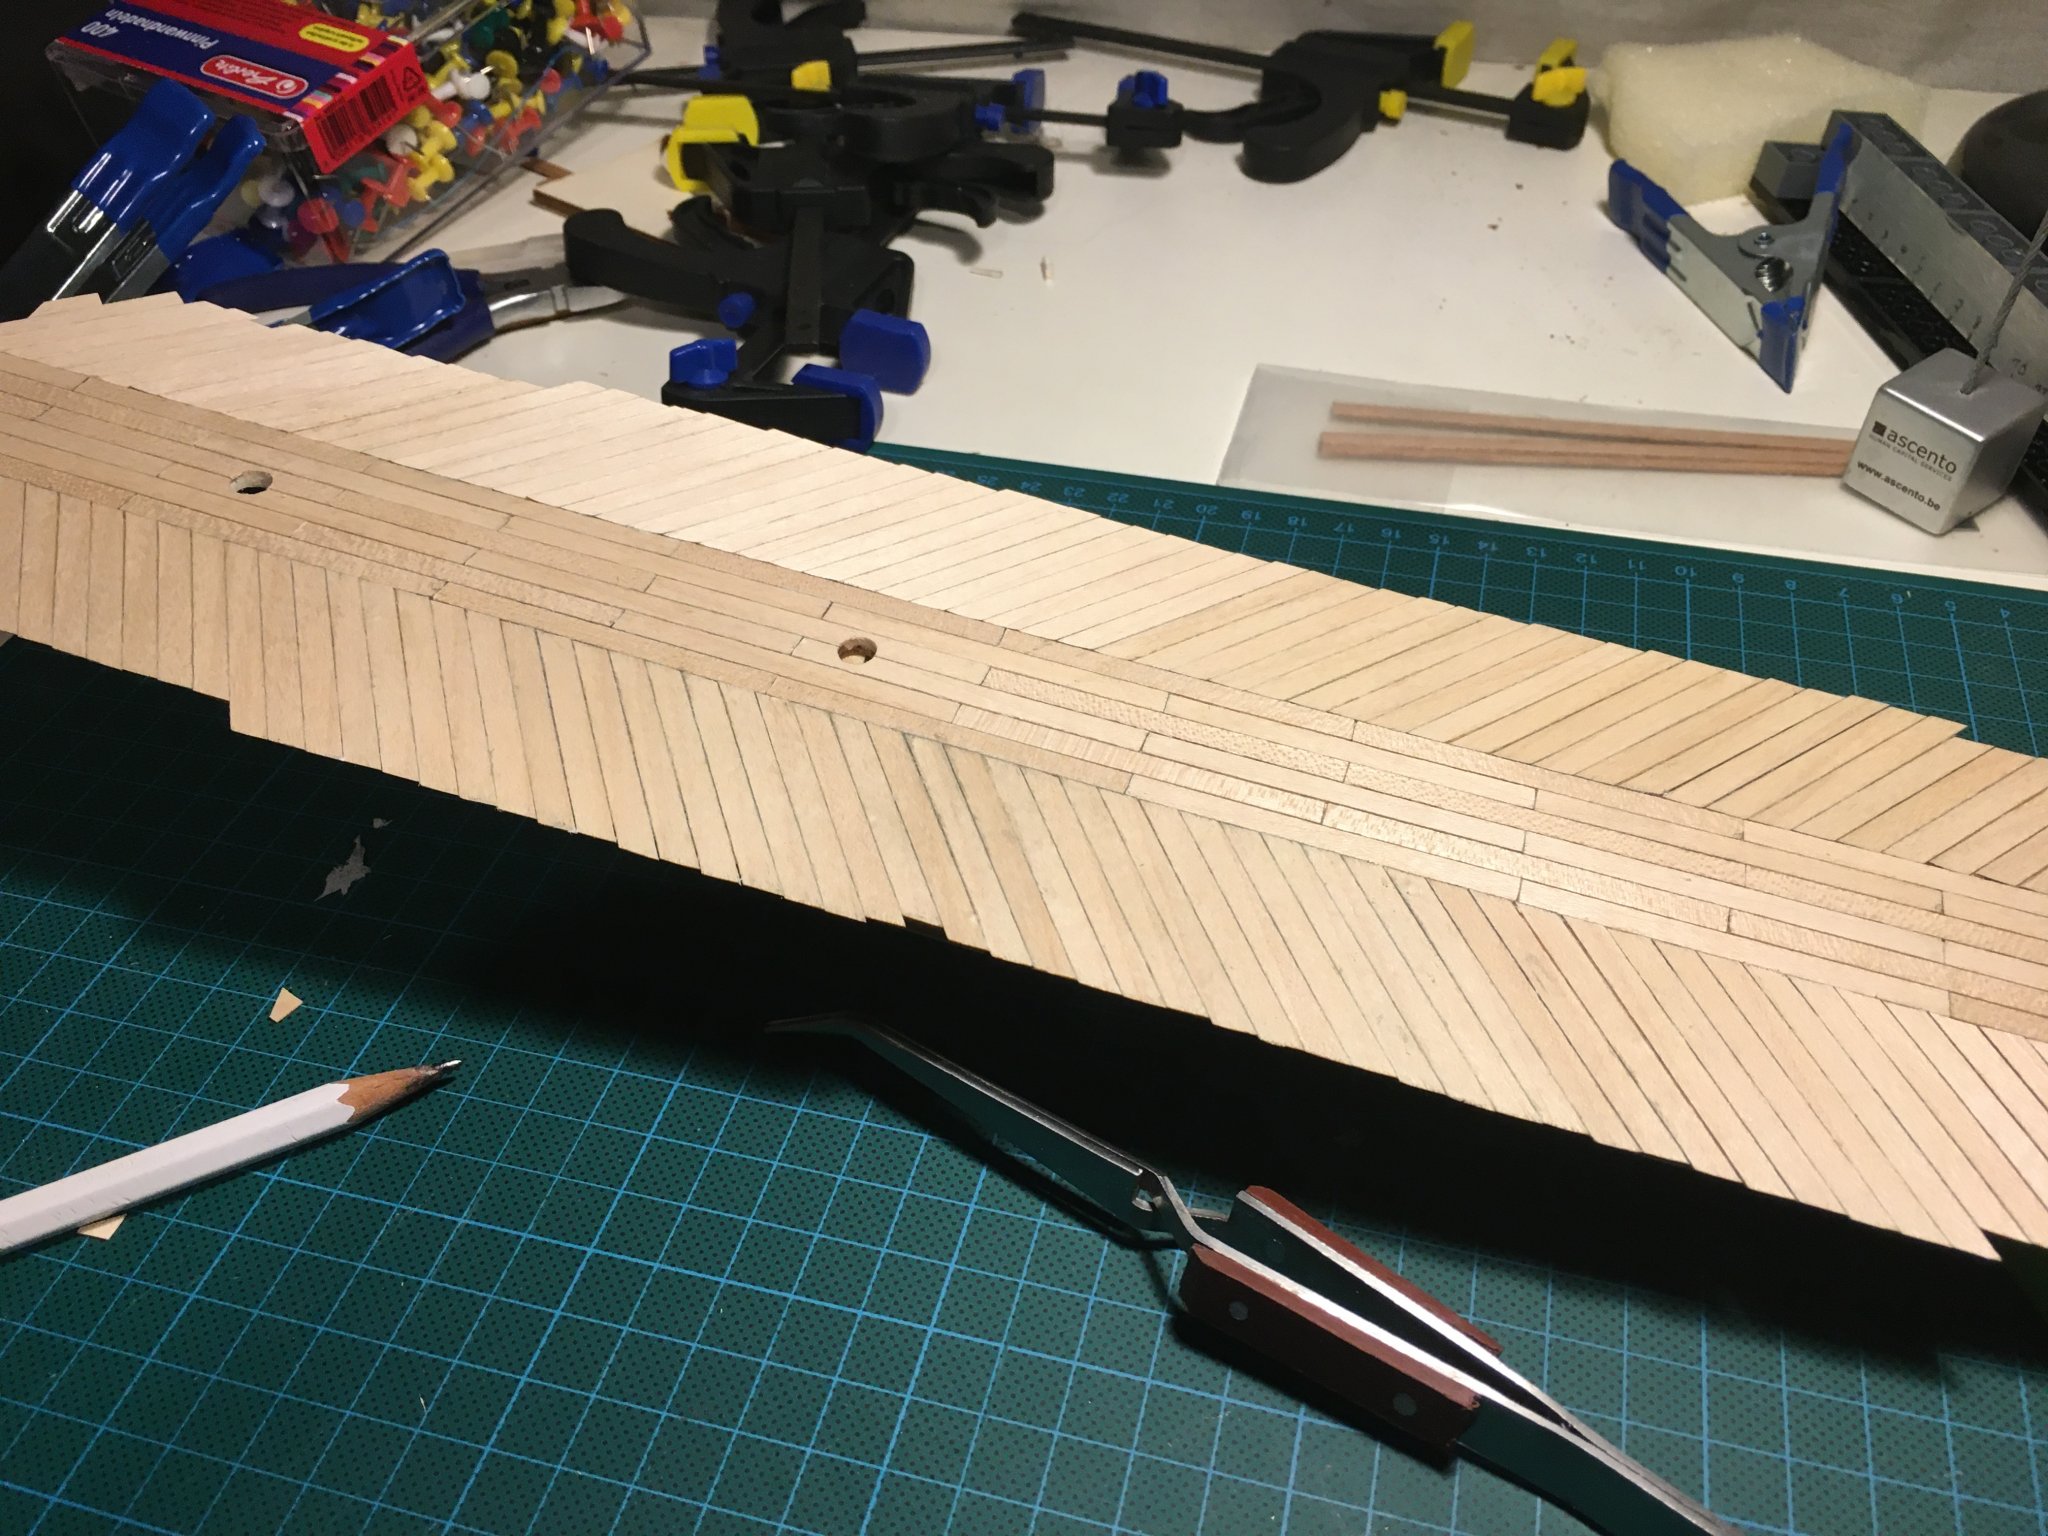
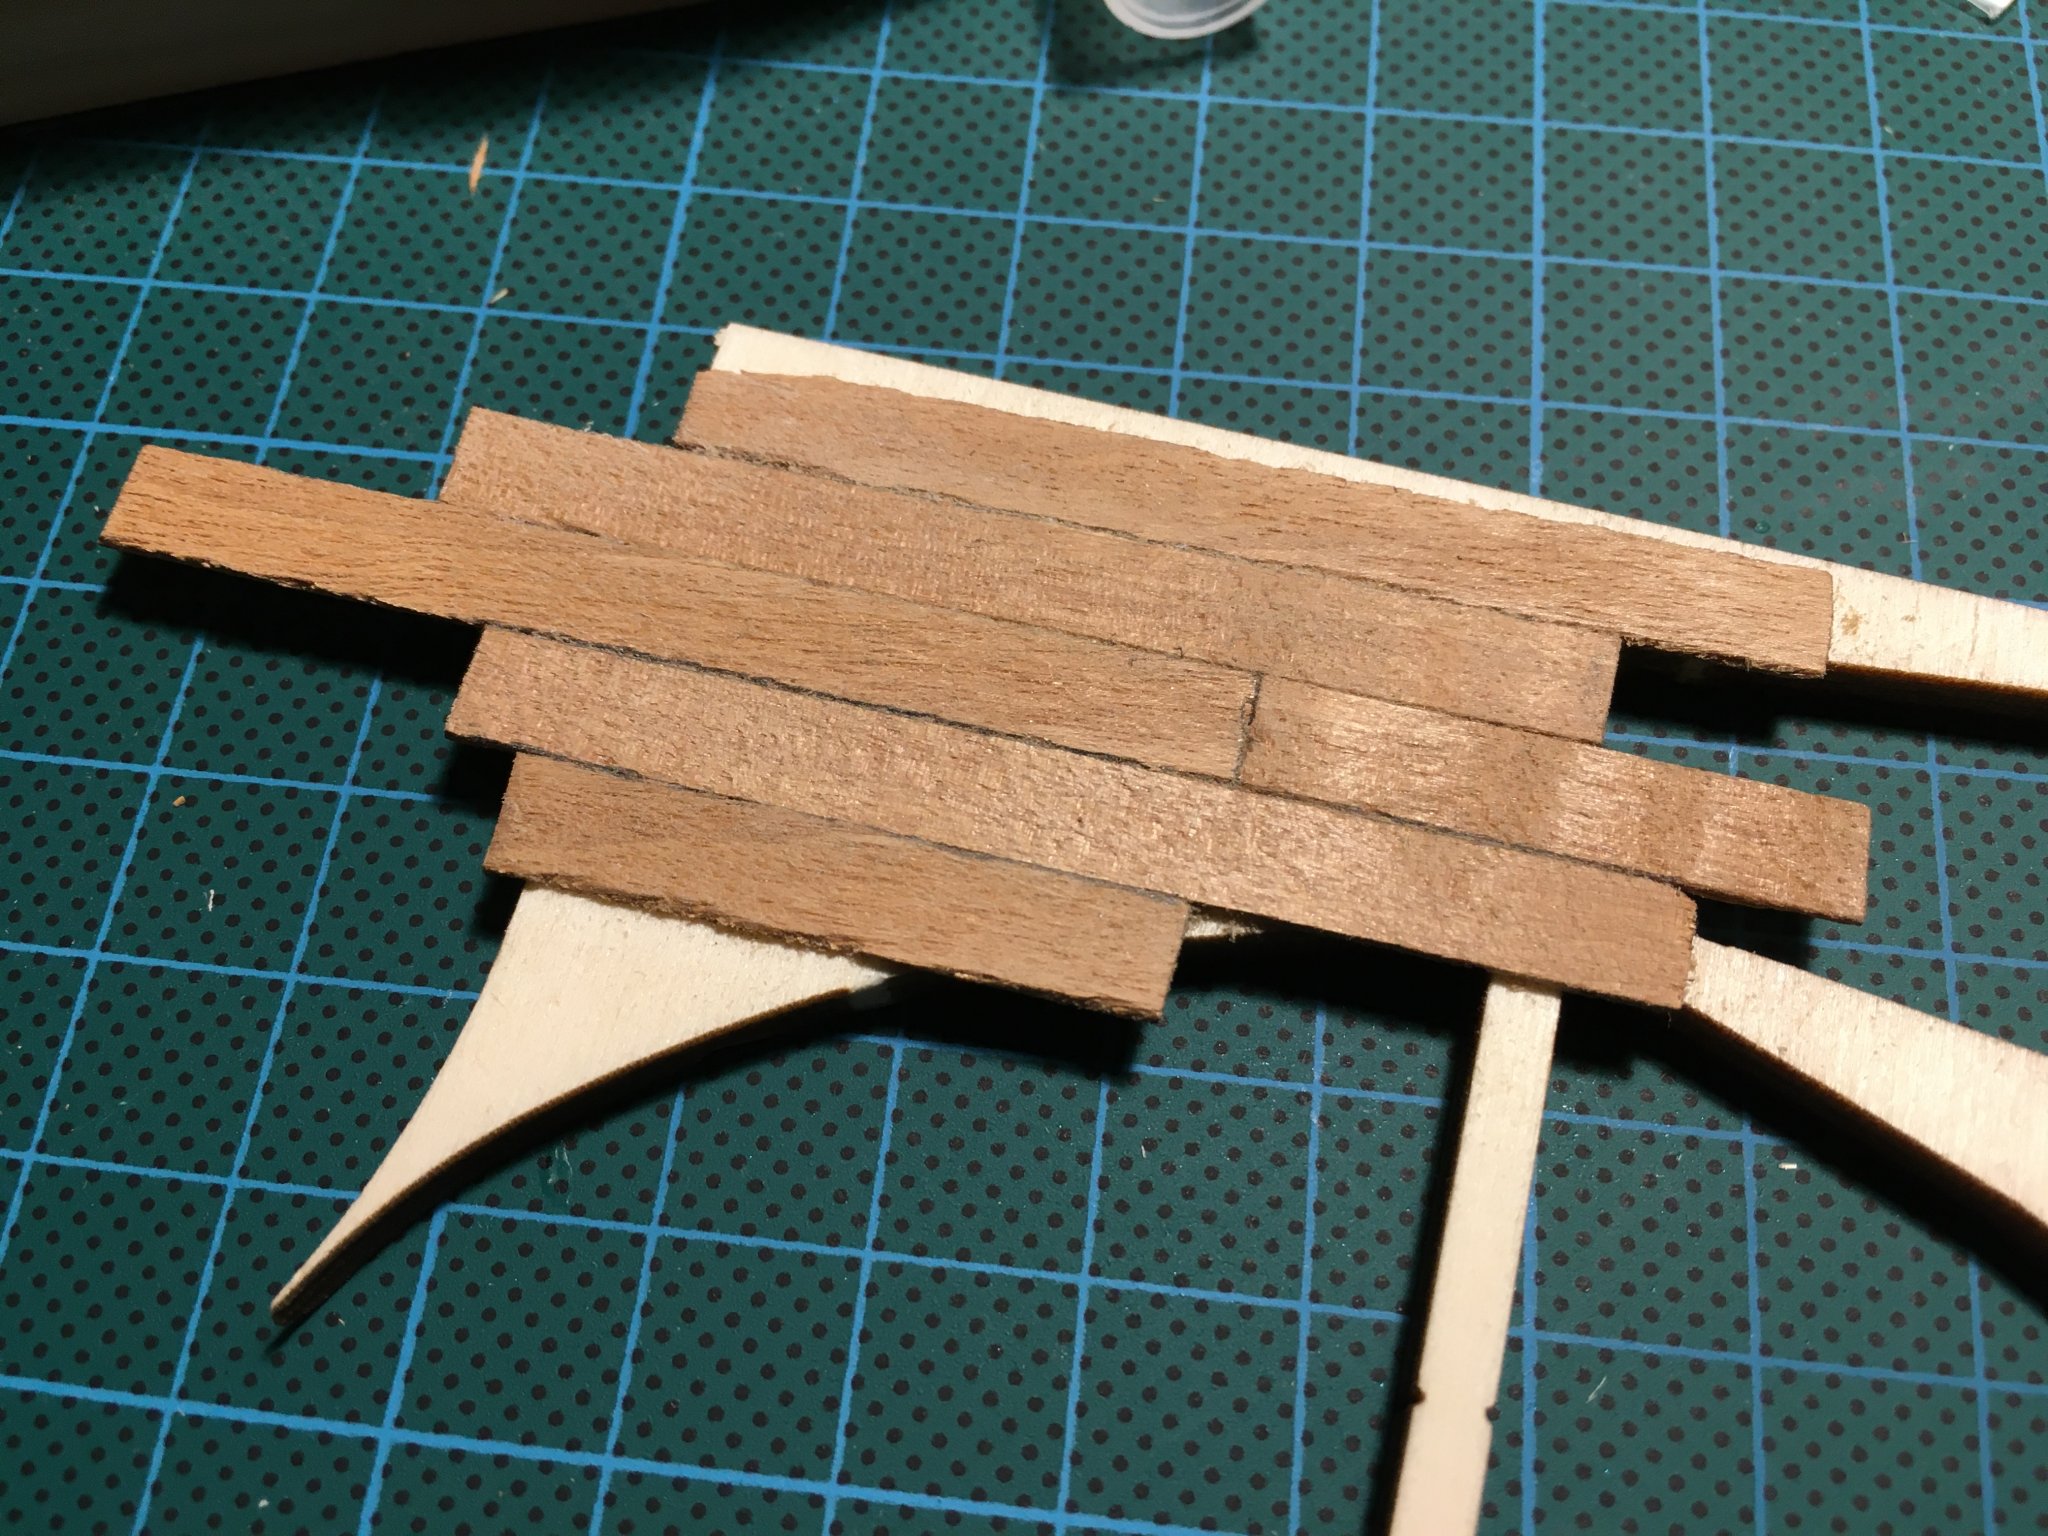
Update: deck planking is done!


That took longer than expected. After the assembly of the bulkheads, this was a whole new building experience for me. One of the things I wanted to find out was if I still had the patience to work in a focussed way.. Well, now I know 🙂 I opted to work with individual planks, instead of following the instructions, and I learned a lot. I'll leave the deck to dry overnight and tomorrow I'll trim the edges and sand the top, followed by some varnish 🙂
Sanding paper-wise, I've been using P240 up until now, as it's somewhere in the middle of the scale. Not sure if I can use this on 0,6mm plankettes though, any suggestions? Thnx again for all your advice, so far my enthusiasm for building this ship is only growing.
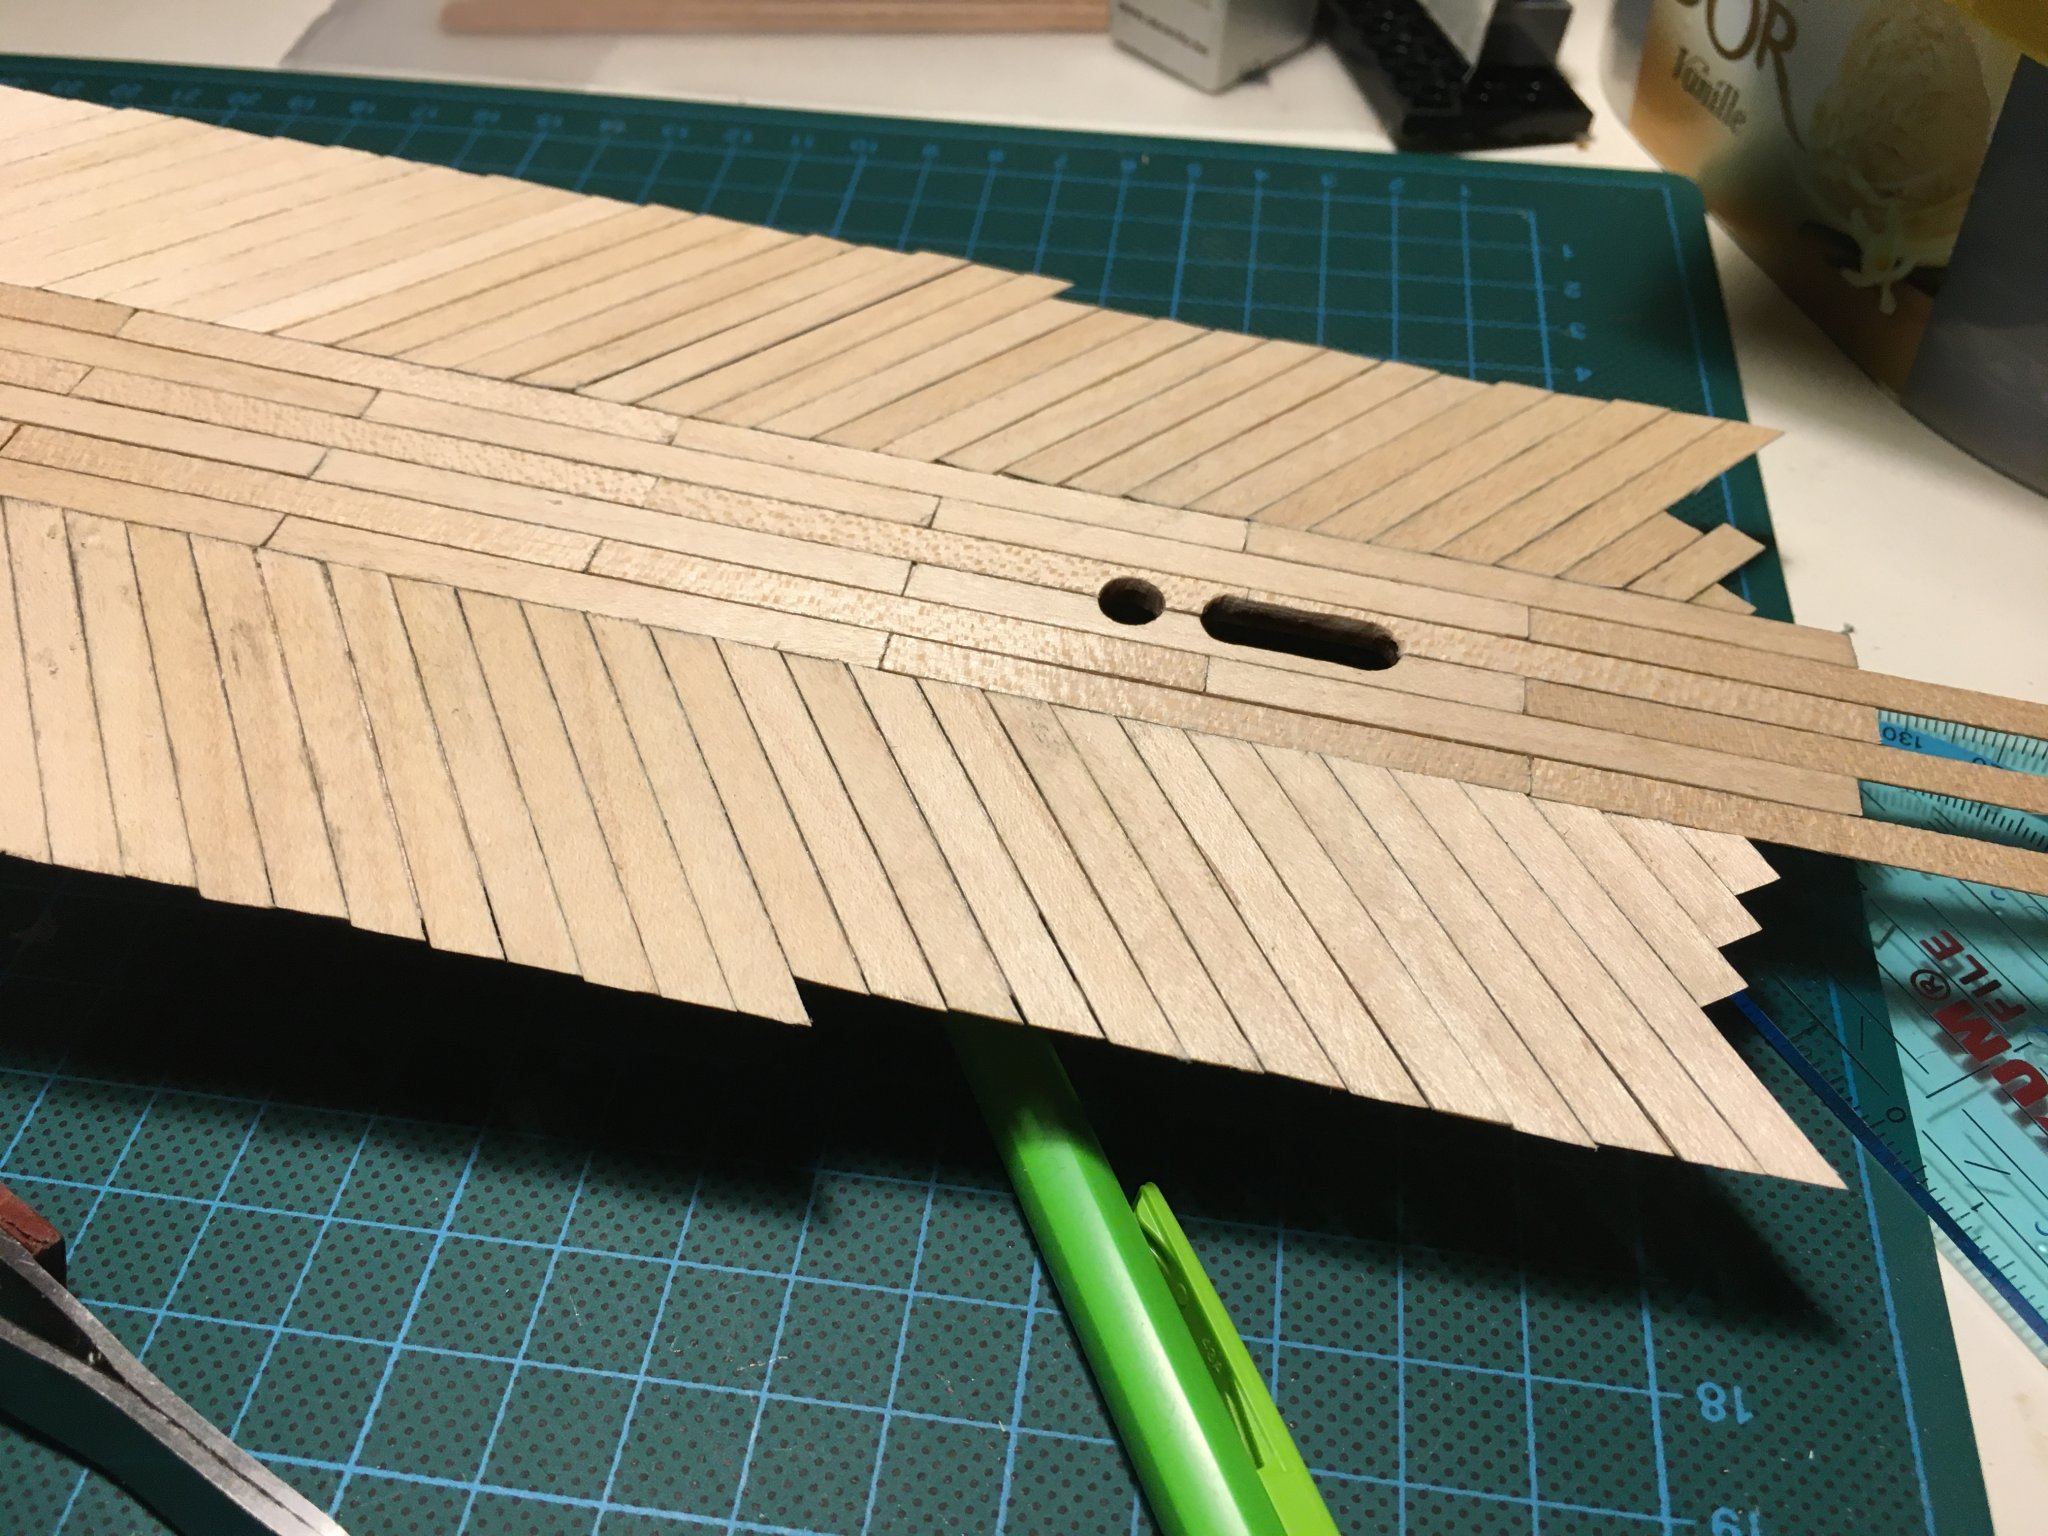
Oh, small tip for anyone building Terror and starting on the deck planking: the schematic on the plans for the inclined planks is correct angle-wise, but incorrect lengthwise. The parts list calls out for a length of 47mm, while the drawing of the plans is only 42mm. That's why you see the two different lengths used in the pictures above, as 42mm length does not cover the false deck at its widest point.
- GrandpaPhil, Duanelaker, JayCub and 6 others
-
9
-
-
🙂 I understand how you feel, I'm working on the deck planking, one diagonal plank at a time. I thought it would drive me insane, but I'm enjoying the focus and the slowness of it all, as well as the joy when you see your handiwork. And wood as a building material is a true revelation, I'd only done plastic before, but the feel and the smell just adds to the experience.
-
Stupid question: I'm working on the deck planking, keeping en eye on alignment. I decided togo for individual planks, deviating from the Occre plans which call for full length strips to be placed and then marked with a pencil (pictures will arrive later on).
I've got some dark brown woodsman and matt varnish in storage I use for maintaining my garden furniture. Can I use this on the model? The colour seems to match with there suggested colour for the inner bulwarks, so was just wondering.
-
Nice work, the smoothness of the first planking is impressive!
-
Still trying to see the AMC show I heard so much about, not available over here unfortunately. Saw some trailers on YT though, seemed intense 🙂
-
1) That makes sense, was the reason I was thinking about the same technique.
2) Interesting, how long did you leave them in the hot water? I keep hearing the most diverse times, from 15 minutes to overnight..
She looks great though, thank you for sharing!
-
16 minutes ago, Wahka_est said:
Nice!
Are those 2nd hull planking strips there? Are you useing those for deck planking?
No, just some samples I got as an extra with the plank bender. As I only had 2 little trips to work with, my surfacing was somewhat limited 🙂 Used 240 sandpaper to smoothen things out, not sure if this is fine enough..
-
Tested a bit, both glue application and caulking:
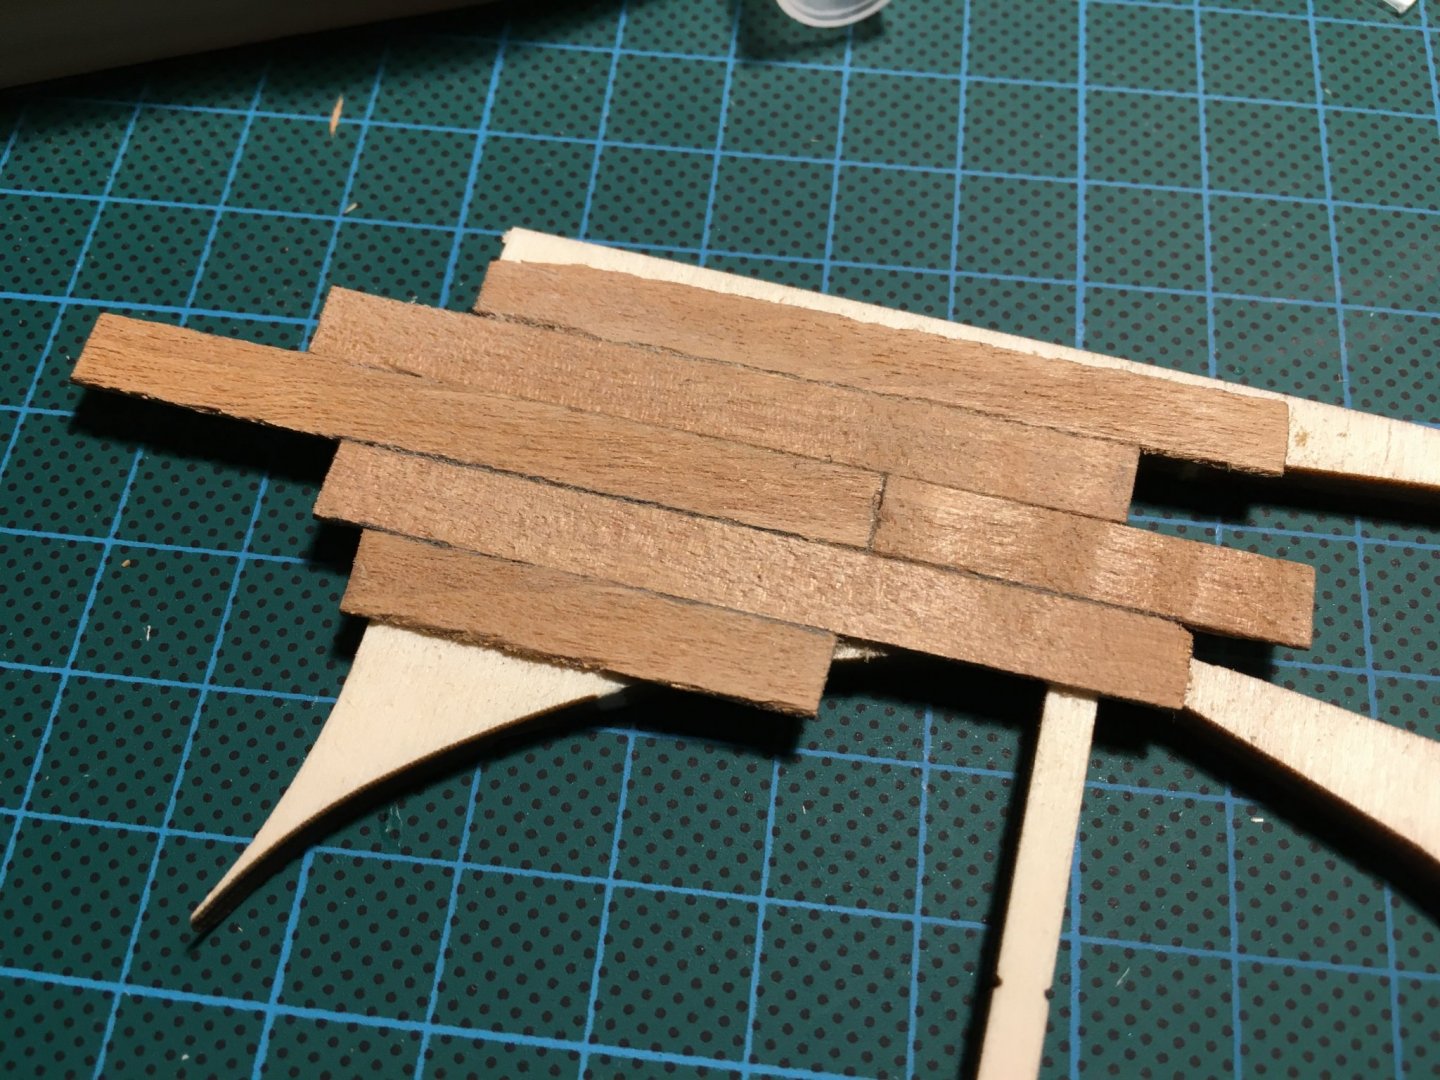
So wiping off the glue with a damp cloth works perfectly, thnx Henke and Wahka_est ! All planks were caulked (is that even a word?) on the top and right side, but the bottom 2 planks had additional treatment with a pencil after they were glued on... Guess my caulking needs practice 🙂
It was a bit hard to practice on these strips though. They came with the plank bender I got and the edges were very uneven. Checked my supply from Occre, and these strips are way more even (and thinner).
-
Thnx for the referral to your build log, very informative 🙂
I have two questions:
1) I see for the planking you went from nails to push pins, any reason why? I'm asking because to me the pushpin approach seems easier to remove than filing down the nails...
2) Bending the bulwarks: did you use a plank bending tool? If so, which one?
-
22 minutes ago, Wahka_est said:
Hi
Building my first ship also and happens to be Terror :).
i used pva glue for decl planking that i applied with brush on deck. Then it evens out and dont push out so much(found that out in later stage).
i have seen that some do caulking before(you still need to so after glueing from one side to an other). I did it after glueing-check my log.
I would suggest to do a trial run with few planks before glueing and decide then.
You are doing a good job!
Thnx, will give it all a go tonight!
-
4 minutes ago, Henke said:
Hi ObviousNewbie,
I am sorry. That greeting sounded condescending but it was unintentional 🙂.
May I suggest that you use a water soluble aliphatic glue (water soluble before it has set) for the deck planking. You can then easily wipe off any excess glue with a wet cloth. Do the caulking before gluing using a pencil or a a black or dark grey pointed pen marker.
Kind regards
Henrik
Hi Henrik,
No harm done, I'm Robert by the way 🙂. Thnx for the tip, I have some spare wood and planks available, will try that out tonight!
-
Hi all,
Small update: after much measuring, planning and hesitation, finally opened the glue bottle 🙂 Got the bulkheads in place and glued, using the "Danish Method" (Lego Bricks):
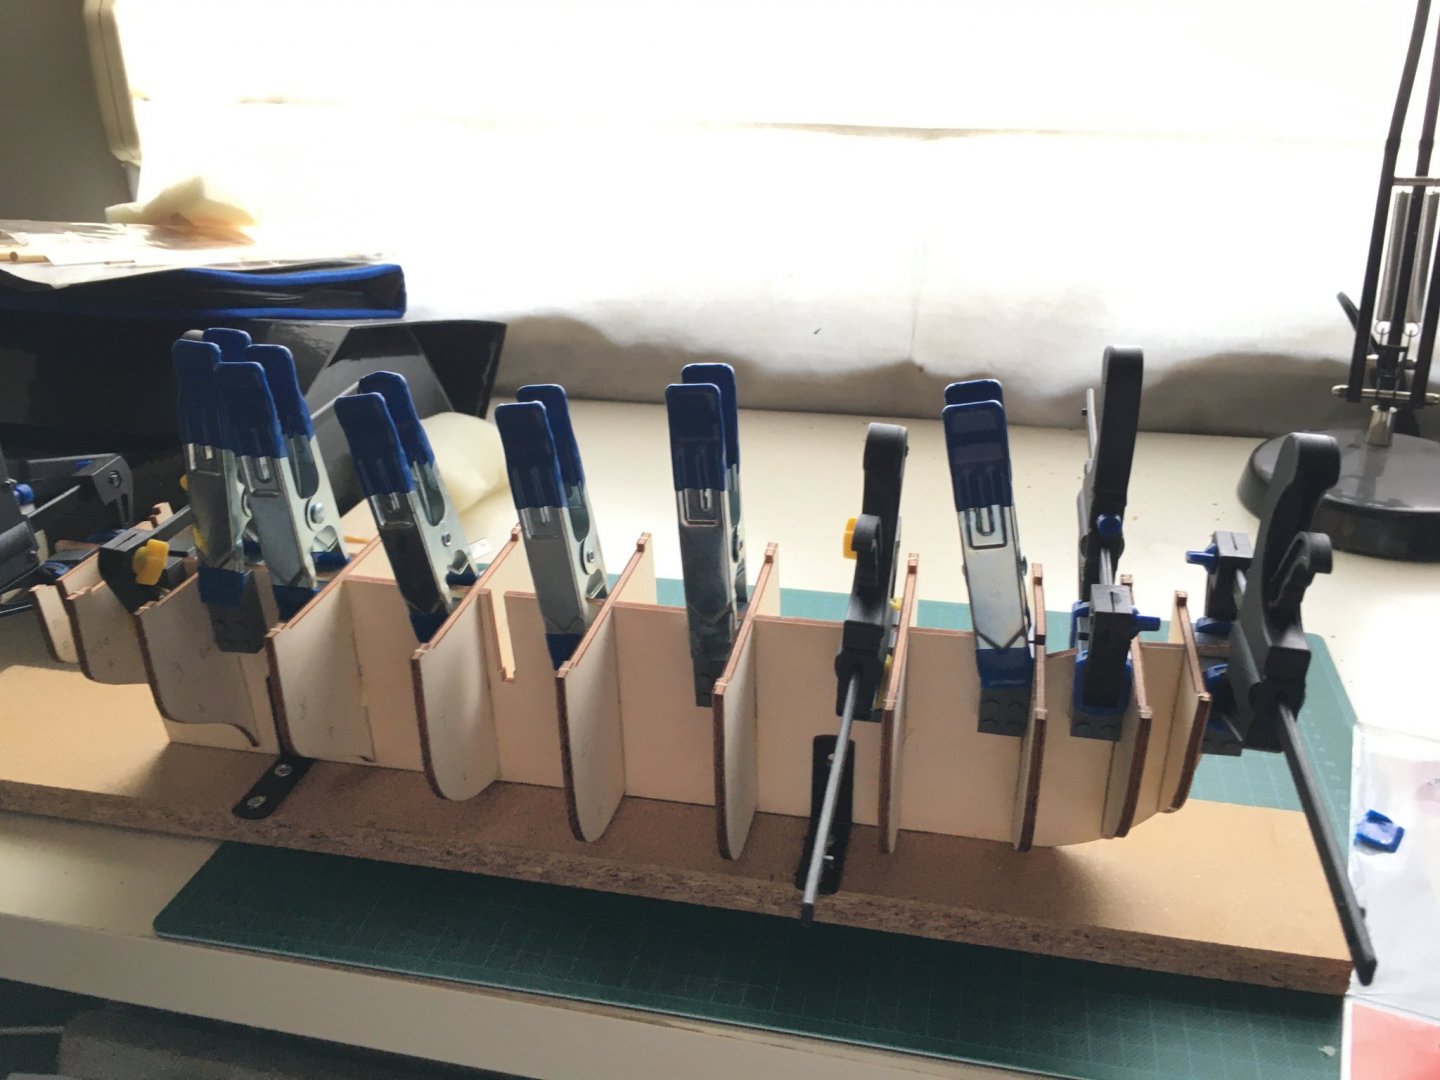
Mantua's alifatic glue seems to be doing the business, dries evenly, can be dosed quite easily, and hardly any discolouration on the wood itself. So proceeded with glueing the reinforcements as well:
Some minor alterations needed to be done, as one of the bulkheads was leaning back a bit, although squarely lined up. Adjusted the opening on the false deck to make everything fit again.
On to the next step: planking the deck, and some more questions:
1) The video on the Occre channel are using contact (cobblers) glue for this, any reason why? Only thing that comes to mind is that contact glue is thicker and allows for better positioning and correcting.
2) Same video: planking is done in one go, so without cutting the planks to the accurate length (60mm). After all planks are fitted, caulking is applied with a sharp pencil. Just wondering if the result of this would be as good as the approach where each plank is caulked before fitted?
Thnx in advance again for your help!
-
On 2/9/2020 at 1:40 PM, druxey said:
Looks like you have absolutely the right mind-set and approach to building. Most 'newbies' rush into things. You are thinking ahead and anticipating - exactly the right attitude. You'll do well!
Thanks for the encouragement, really appreciated. Will move on slowly and steadily!
-
On 2/9/2020 at 6:56 PM, Seems ok to me said:
I asked the google about aliphatic glue because I had no idea what that was. Seems like just carpenters glue?
That's what I thought, but it seems ti dries without leaving any marks on the wood. Will try later this week, I'll keep you posted.
-
18 hours ago, DonInAZ said:
I'm a newbie myself and am taking the much more cowardly approach of building some small boat kits before I tackle a full on plank on bulkhead ship kit. I love following builds from people building their first ship model because I know there will be a lot of good questions and therefore a lot of good answers. Best of luck to you!
Thnx, so far I'm really enjoying all the preparations, main reason I took the step was to be able to work on something for a long time, months instead of weeks. Haven't really set myself a deadline, but from what I've seen so far one year build time seems to be reasonable, I can live with that. The reason I chose HMS Terror is from the available models this was the one that stood out for me, and I got the advice: "If you are going to build something, build something you like, something you'd want to build". I realise there's a number of extra hurdles to jump with Terror compared to other models, but I dove in nevertheless, allowing for more time to prepare and learn.
-
On 2/8/2020 at 2:17 AM, Seems ok to me said:
I just got this kit in today and will be following along with your log. I’d love if you have any tips along the way as this is only my second build.
Hi there, so far no real issues, I've been scouring all over for references to other builds. Next to the three build logs on this forum, there's this detailed build log (in French, but lots of images), as well as this build log and this one on another forum (in English). Also, on Youtube there's a lot of info, the full set of 113 videos from Occre of course, but also some handy video's on planking HMS Terror (in German), and a Russian video log.
I've also been following other builds, both on this forum and elsewhere, to learn about basic techniques. As my past was more focussed on plastic models, I was really interested in the properties of the different glues used, and what to watch out for.
I find the video build log of John Aliprantis covering the Santissima Trinidad helpful as well. A monster of a ship, but he gives a clear explanation of what he's doing. He seems to be using CA glue for most of the assembly though, I don't think I have the experience yet to work with that type of glue, except for small details.
To finally decide on glue I visited the model store close by, they recommended the Ali-Glue from Mantua (aliphatic glue), as it seems to leave no marks on the wood. Will try that out later.
Good luck and happy building 🙂
-
Another small update, still dry fitting and checking, trying to identify issues before they're no longer fixable. After fitting the bulkheads and the deck, I wanted to see if the holes for the masts align with the spaces in the false keel. Foremast and main mast were no issue, slight lean backwards, but from the provided drawings that was the way it is supposed to be. Mizzen mast was another story, as this mast leaned forward.
Checked the fittings, found the hole in the false deck was misaligned:
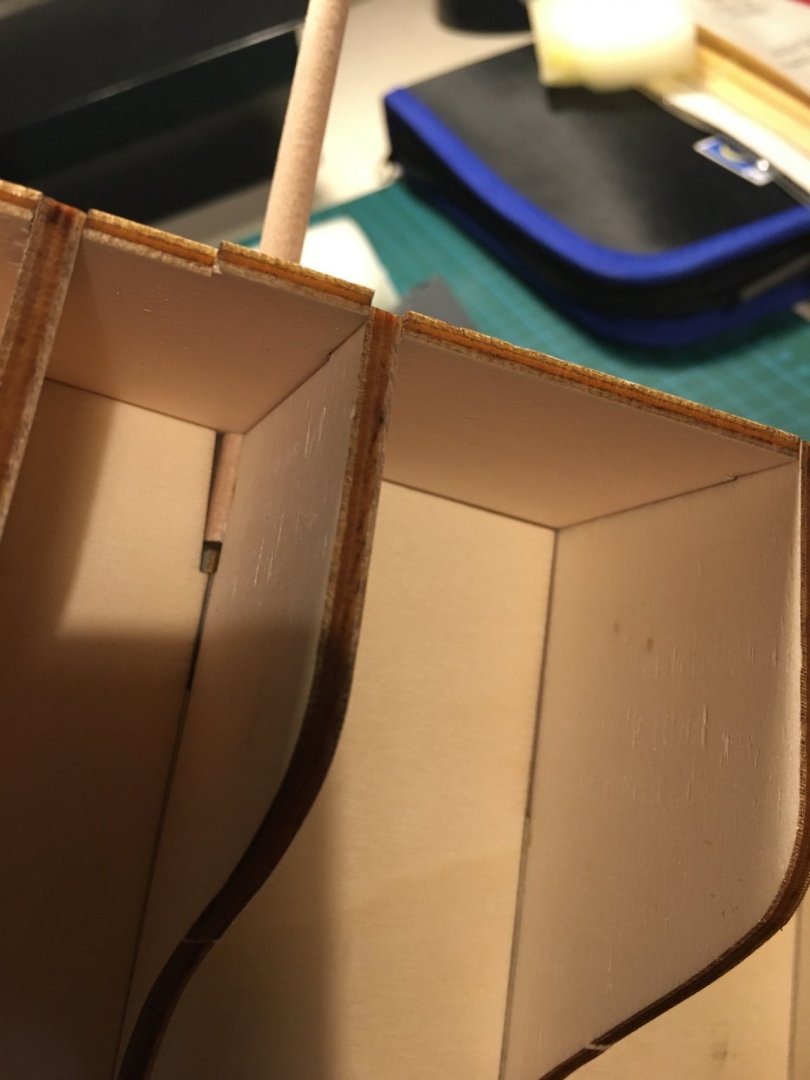
As you can see in the picture, the hole in the deck forces the mast forward. So some filing needs to be done on the deck 🙂
I'm probably being too careful, but this is the first time I've worked with this material and I still have a lot to learn.
- GrandpaPhil, JeffT, Duanelaker and 4 others
-
7
-
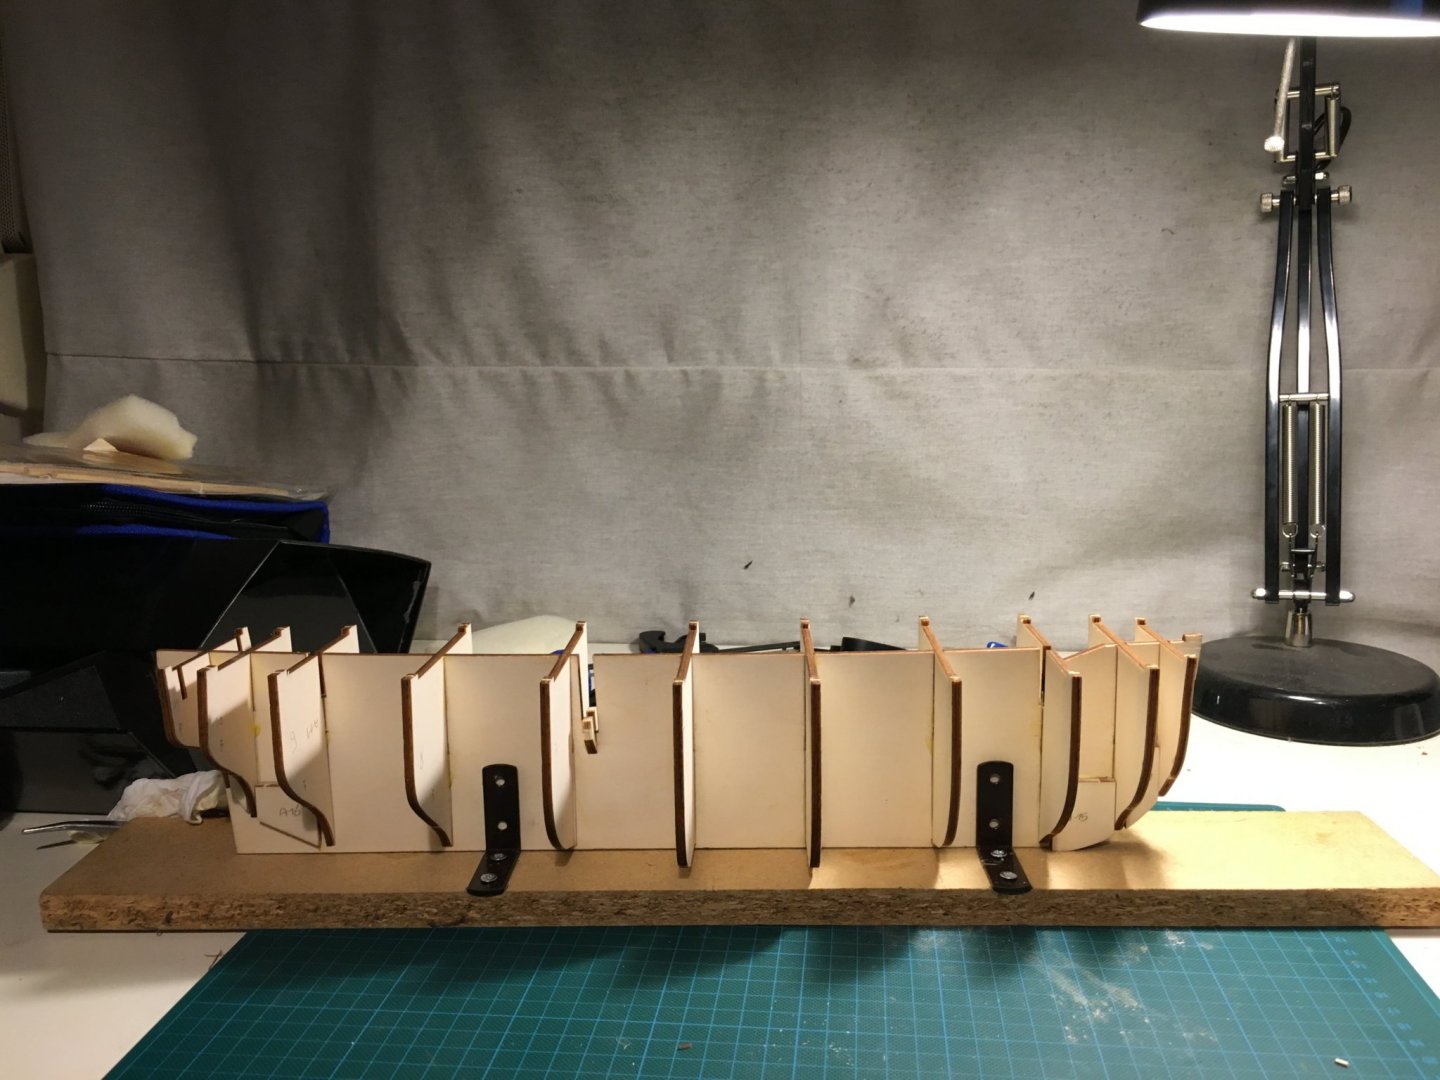
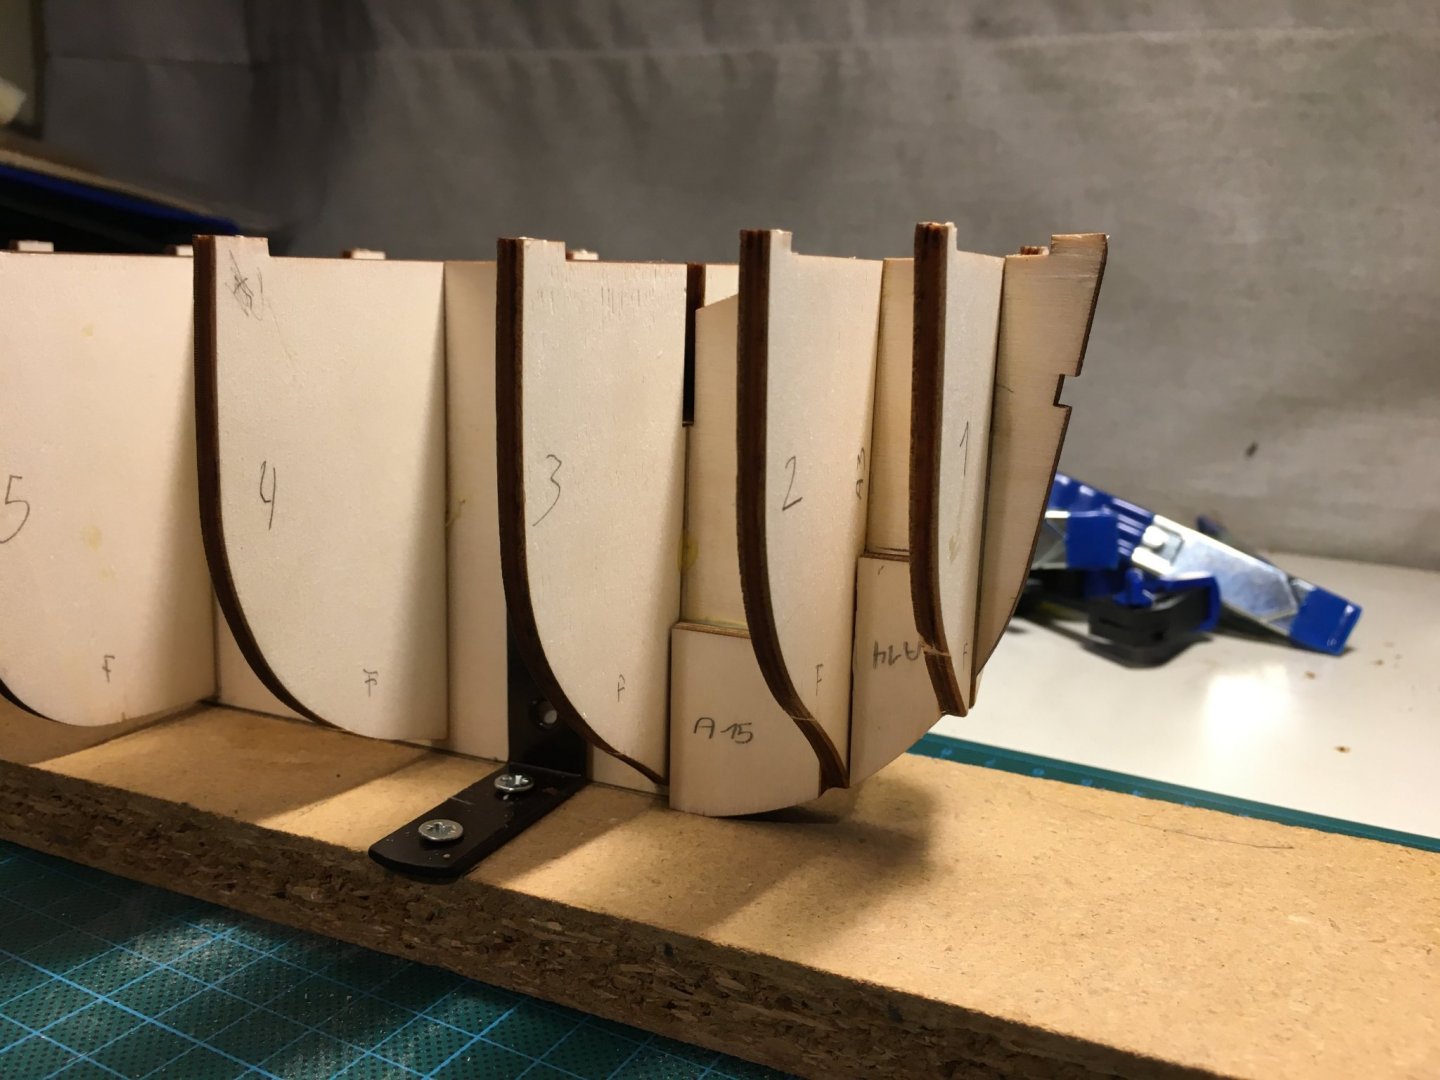
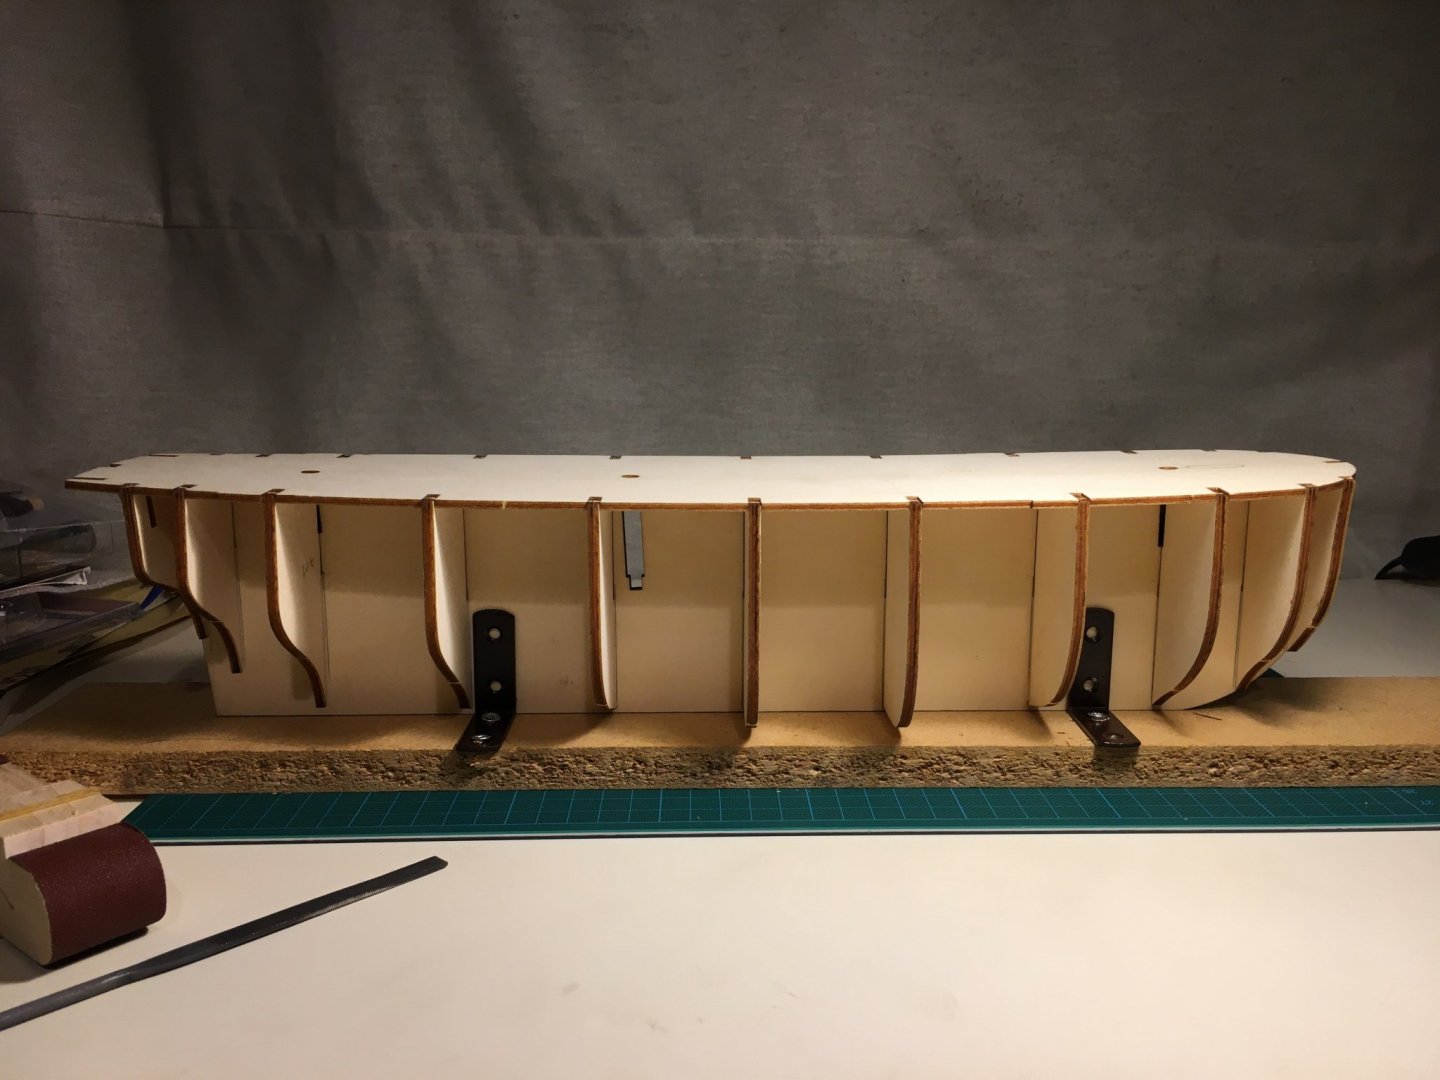
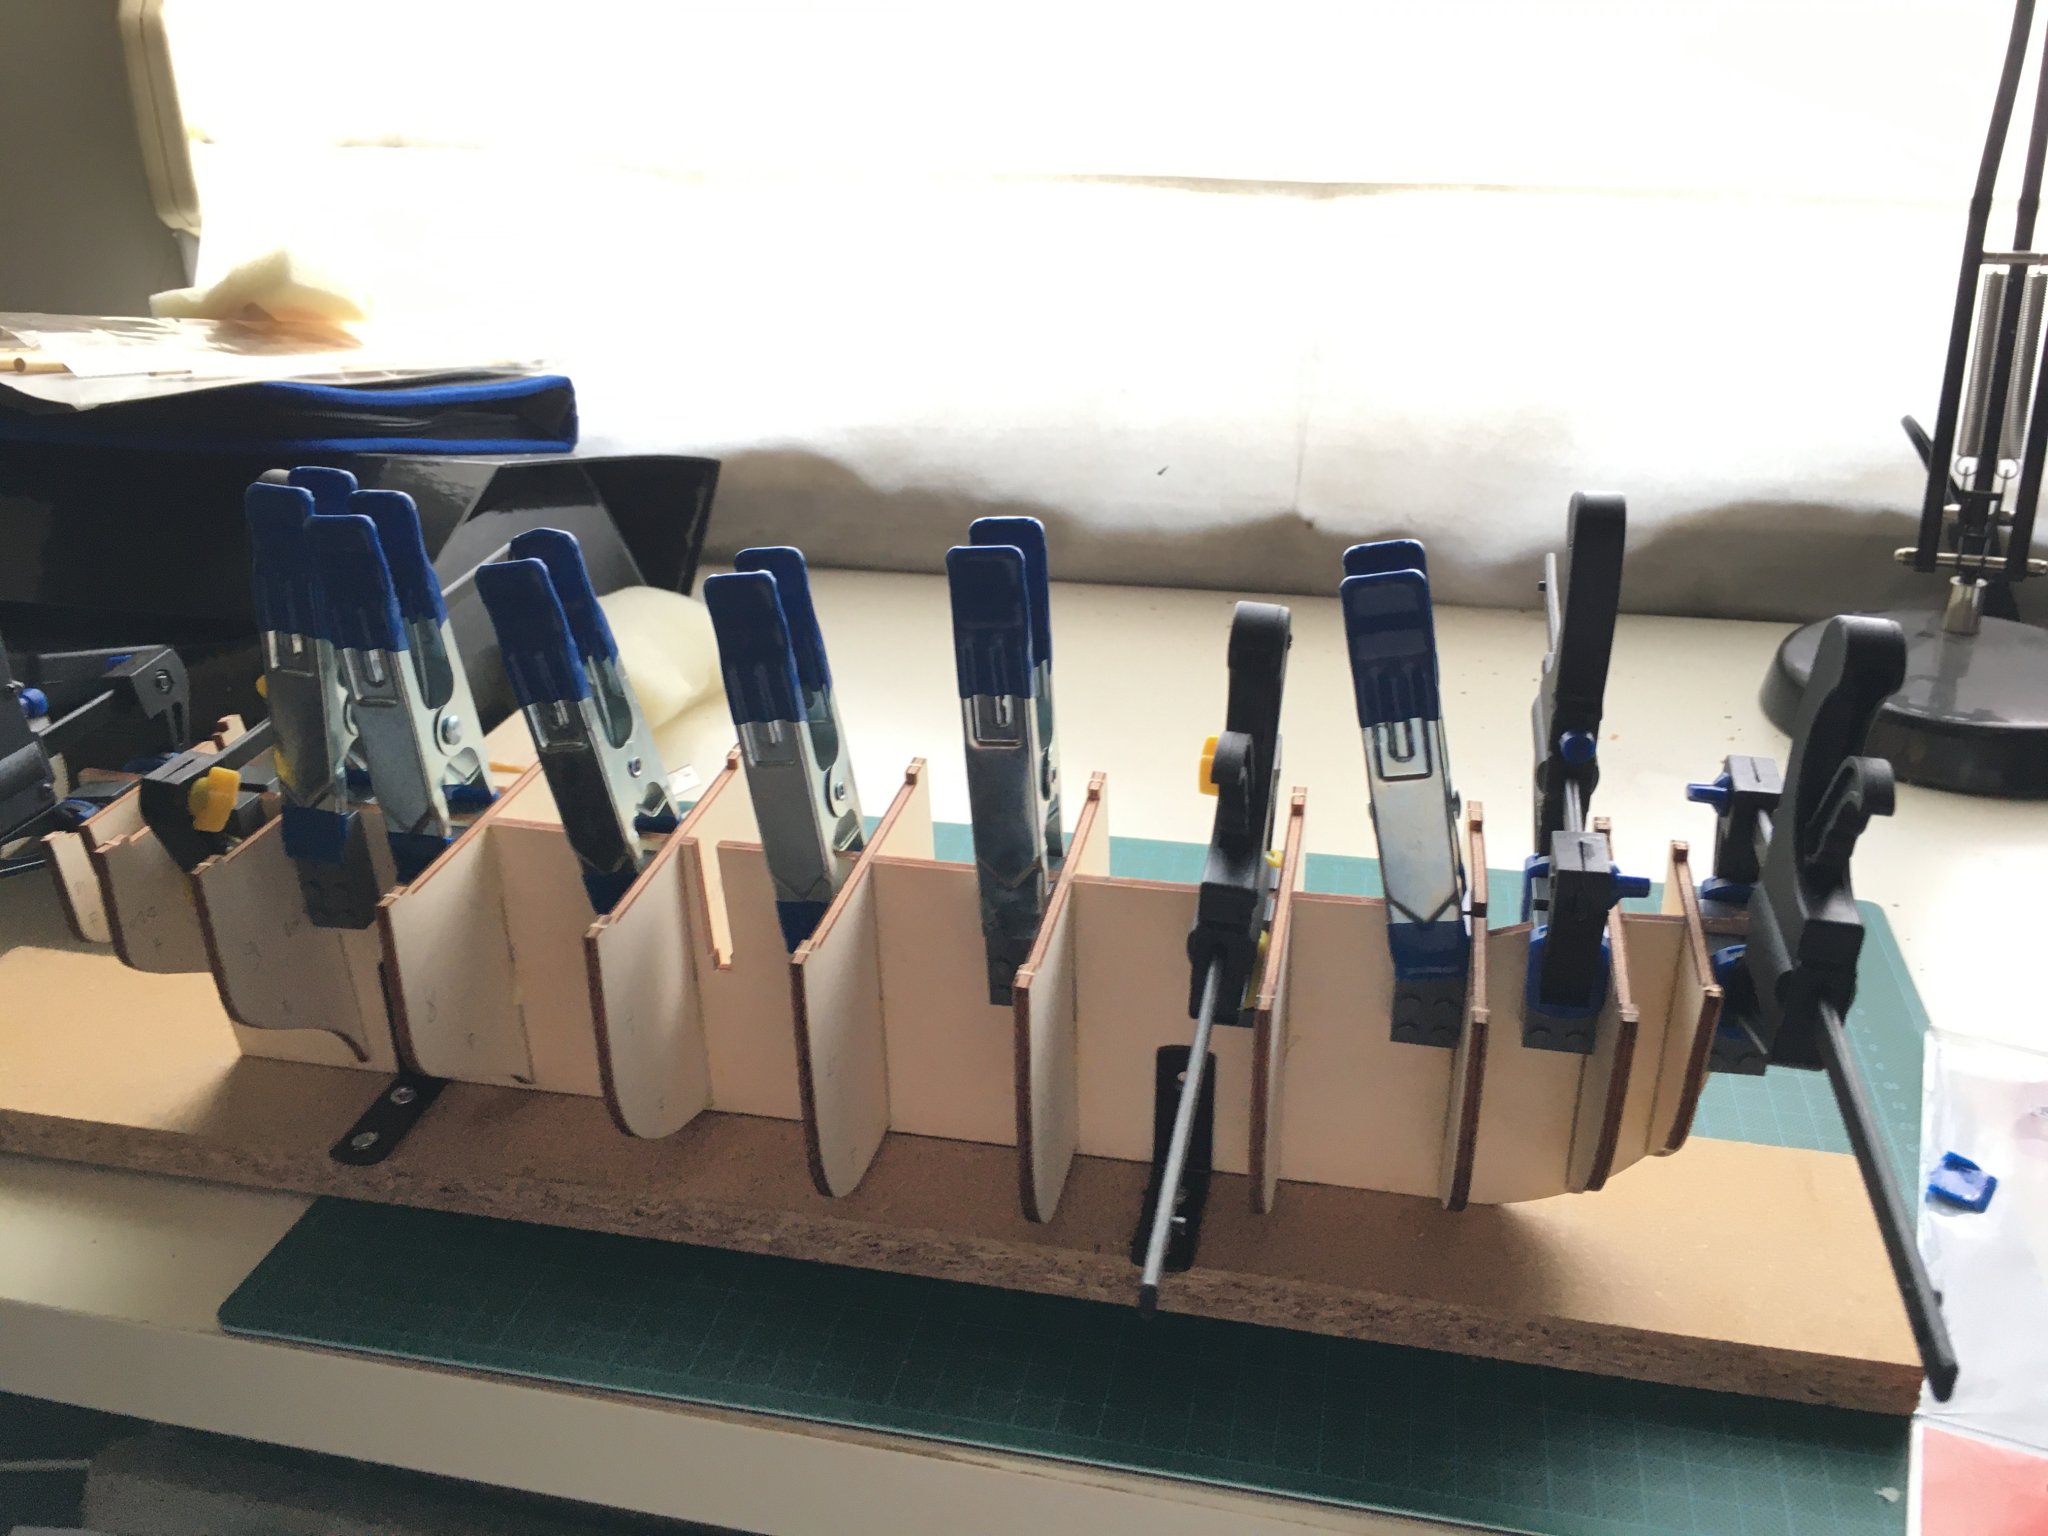
Small update: managed to create a basic jig to work on the hull assembly, cut out the bulkheads and dry fitted them onto the false keel, then dry fitted the false deck to check fitting. Marked the areas on the false keel for applying glue. Overall no big issues yet, had to file off a small amount on one of the bulkhead tops to make the fit. Next step, cleaning and sanding the parts, then rechecking and glueing... Thnx to Mr. Coyle for the advice, warp was indeed not an issue.
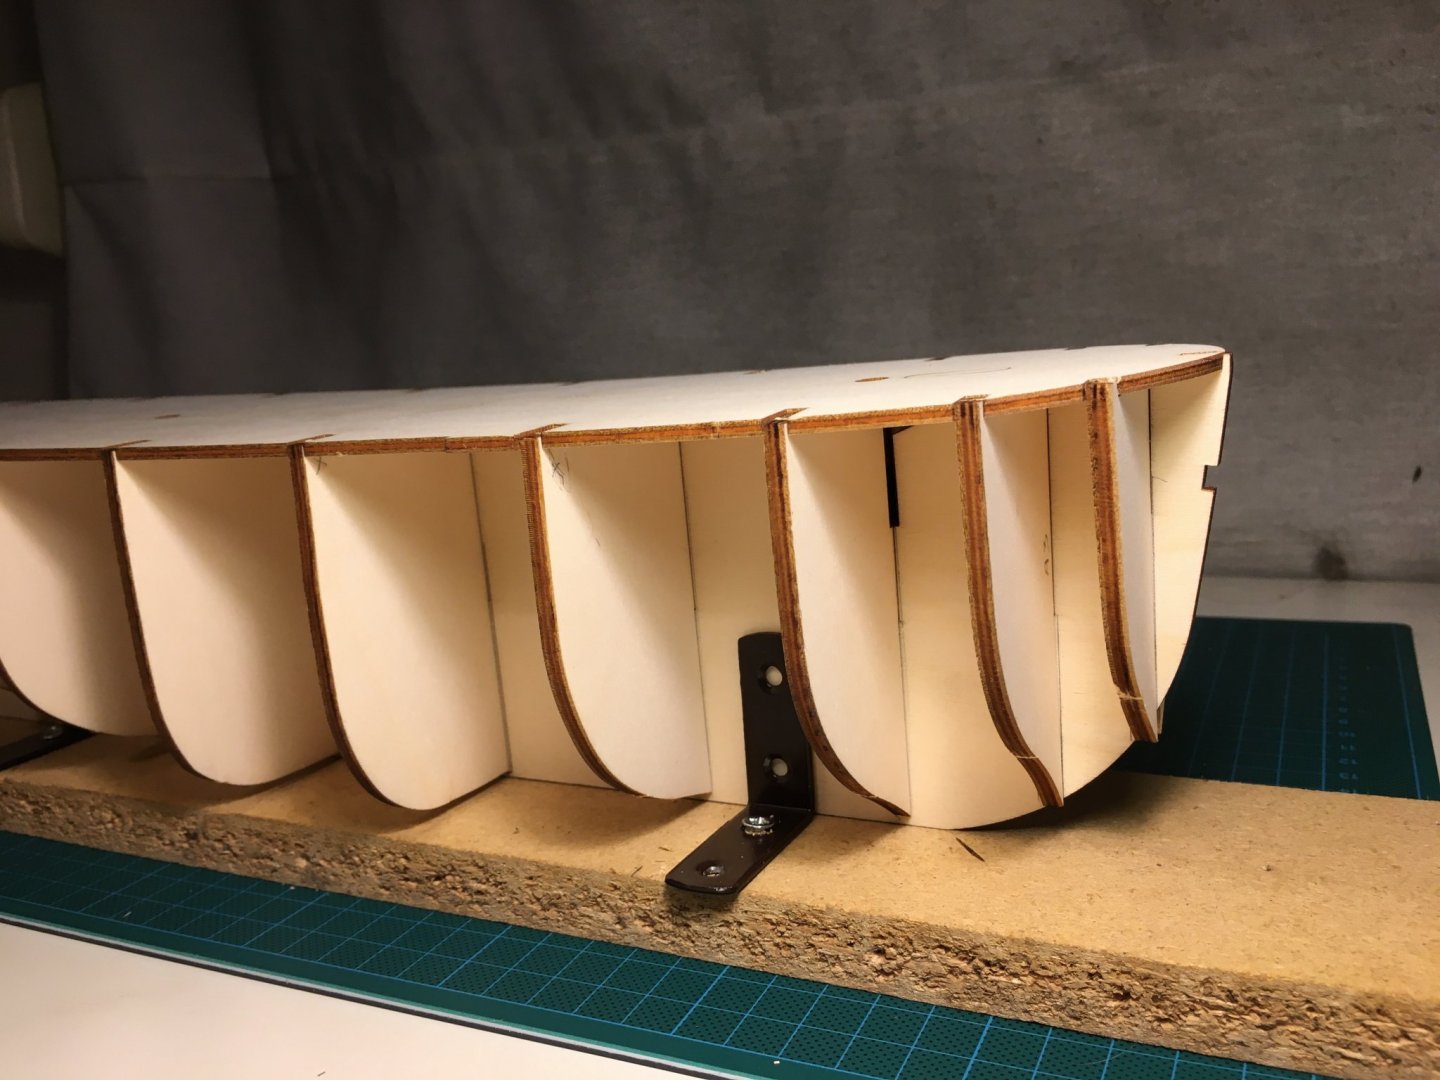
- Ian B, Cuda1949, GrandpaPhil and 4 others
-
7
-
Hi all, just to let you know I've started my first build log with trepidation and enthusiasm on my first build: HMS Terror by Occre. See you there 🙂
-
After spending the last couple of months gathering tools, and more importantly, information, I feel comfortable enough to start a build log. HMS Terror is my first try at wooden model ship building, though I have had plenty of experience working with plastic kits, as well as working with wood on a somewhat larger scale.
Next to build logs on this site and elsewhere, in a variety of languages, I studied Occre's tutorial videos and finally, when the ship arrived as an early Christmas present, the plans. Honestly speaking, the plans took some figuring out , as I'm used to Tamiya kits plans which are detailed to the extreme. On the other hand, the way these plans are made up really presses hime the idea that "I'm going to build this!" In a later stage I will need somme assistance on the rigging schemes provided, but we're a long way away from that.
hundreds of questions, but one which needs to be addressed before I even take out the bulkheads: when opening the box, I found all parts present, packed neatly, and of good quality (learning what to look for in other logs). However, the false deck and keel have a small warp:
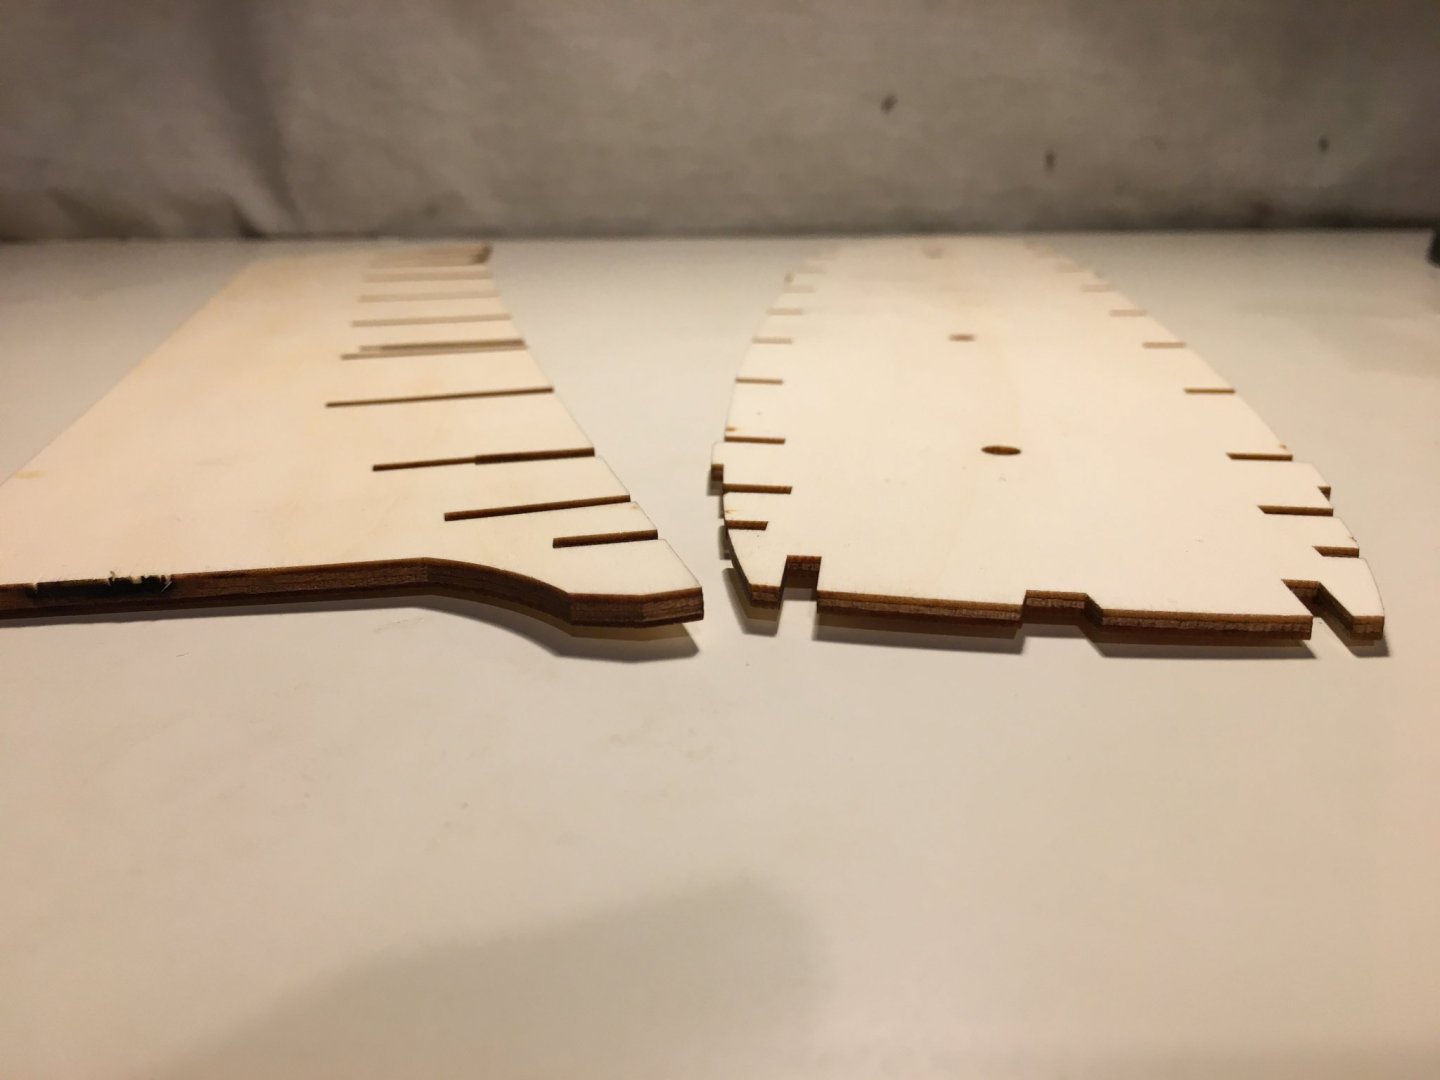
Not sure the picture does it justice, but you can see the edge of both sticking out. In all fairness, the warp is smaller than the with of the plywood, and very easily straightened. So my question: does this need to be corrected before I assemble the hull? I read in Mastini's book that the hull parts are critical and must be in perfect condition, but this seems so small? Also, when correction is needed, I assume putting both parts in warm water to soak and then squeezing them between two straight (and heavy) objects will correct them, but how long does the wood need to stay in the water? And how long before the weights can be removed? For reference, the false keel is 3mm, the false deck 2mm. Warp on both is about the size of the plywood itself, 3mm and 2mm respectively.
Thnx in advance for your guidance!
- JeffT, druxey, Haliburton and 2 others
-
5
-
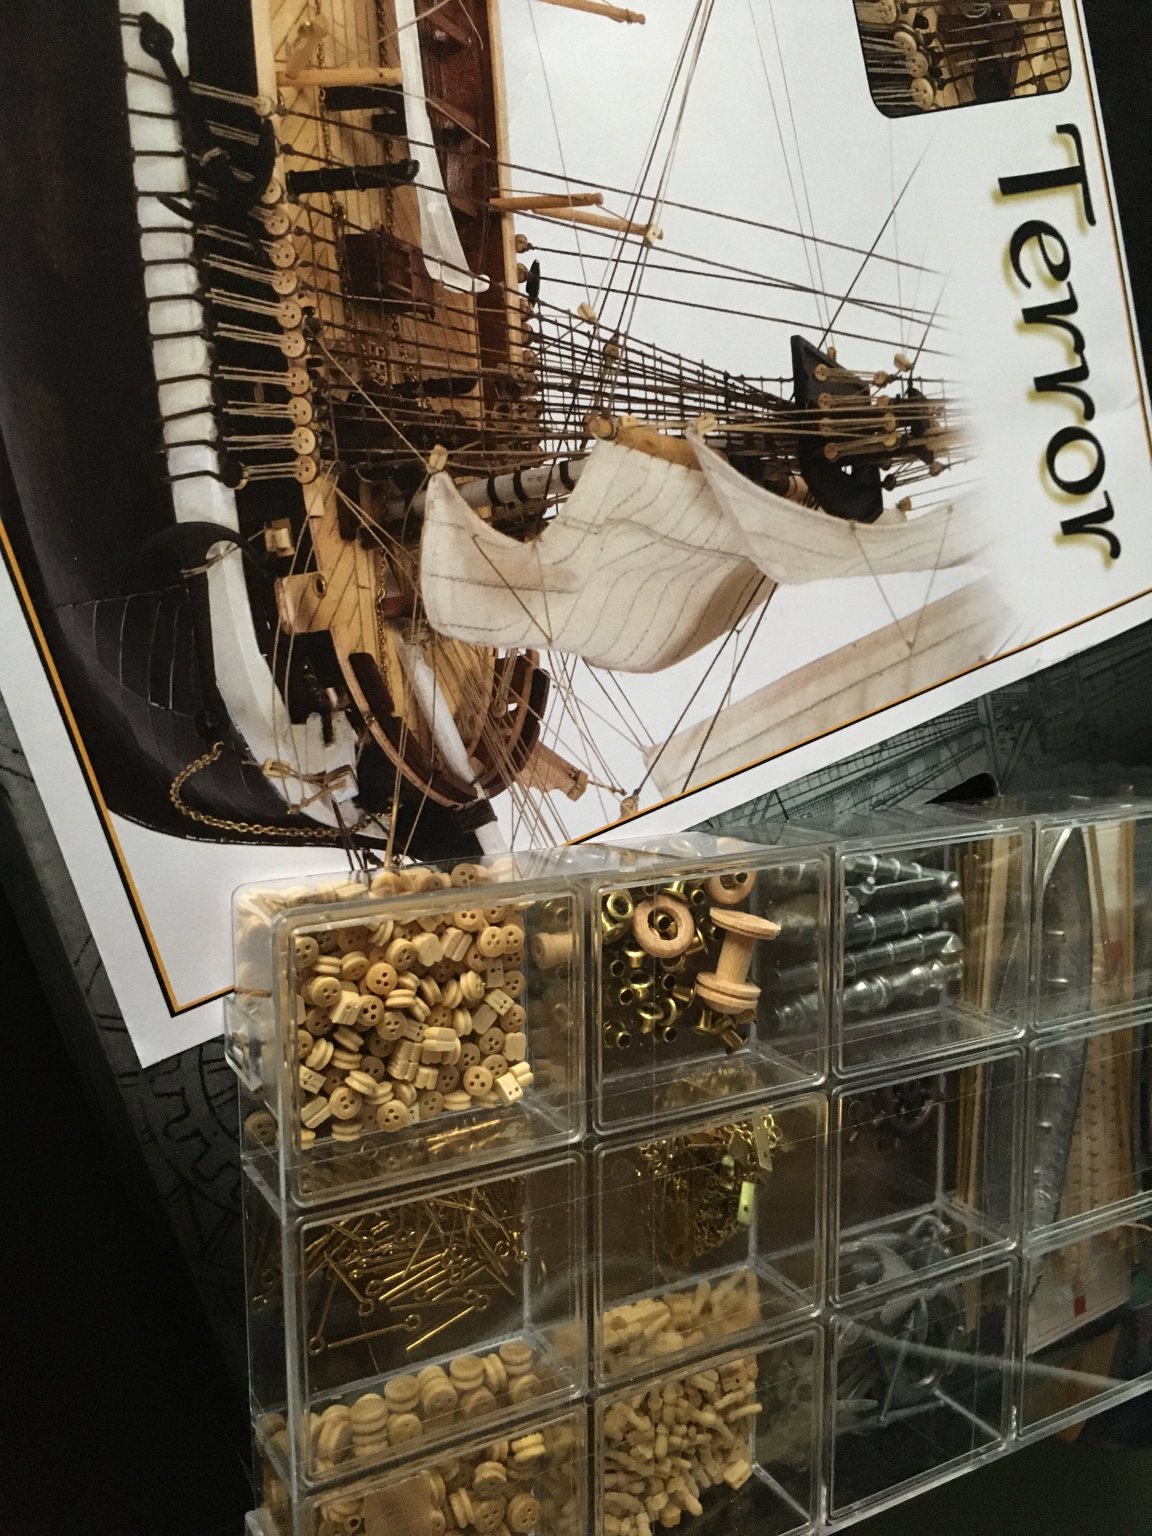
Hi everyone, Merry Christmas to you all!
The Admiral surprised me yesterday evening:
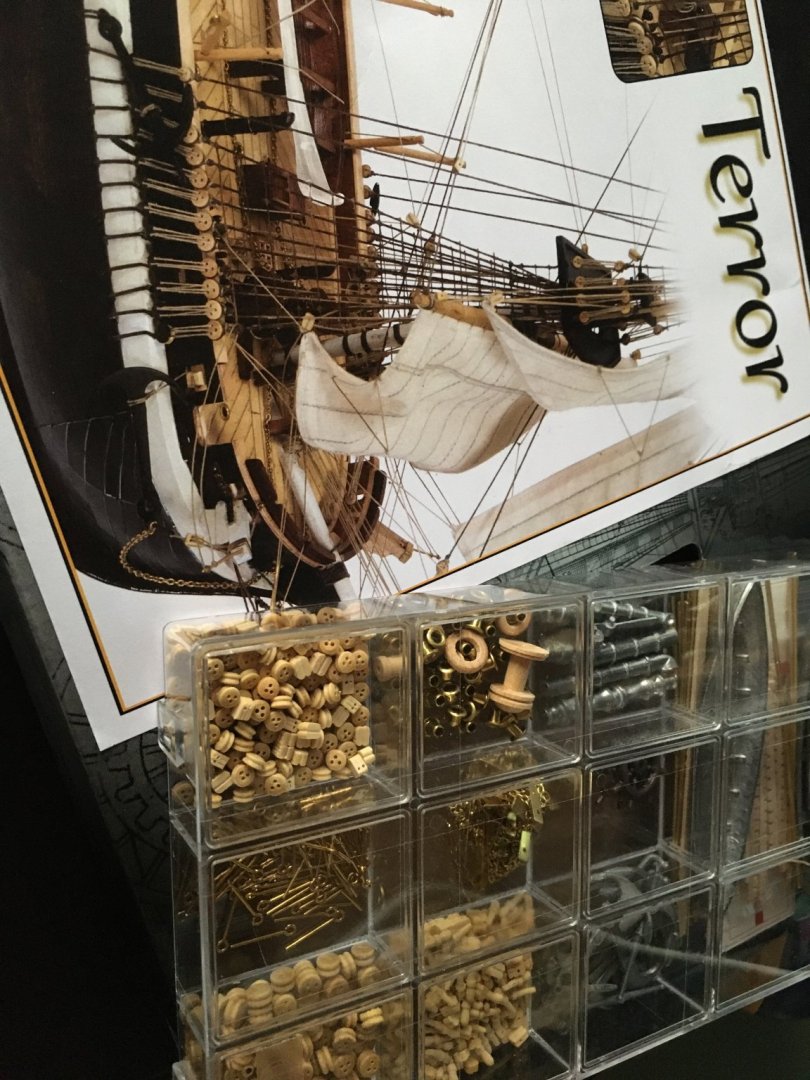
She bought me the ship I was eyeing, so HMS Terror now awaits 🙂 A bit earlier than scheduled as I'm still gathering tools and making space, but at least I won't have to look around for the ship itself. Friends of mine also gave me this:
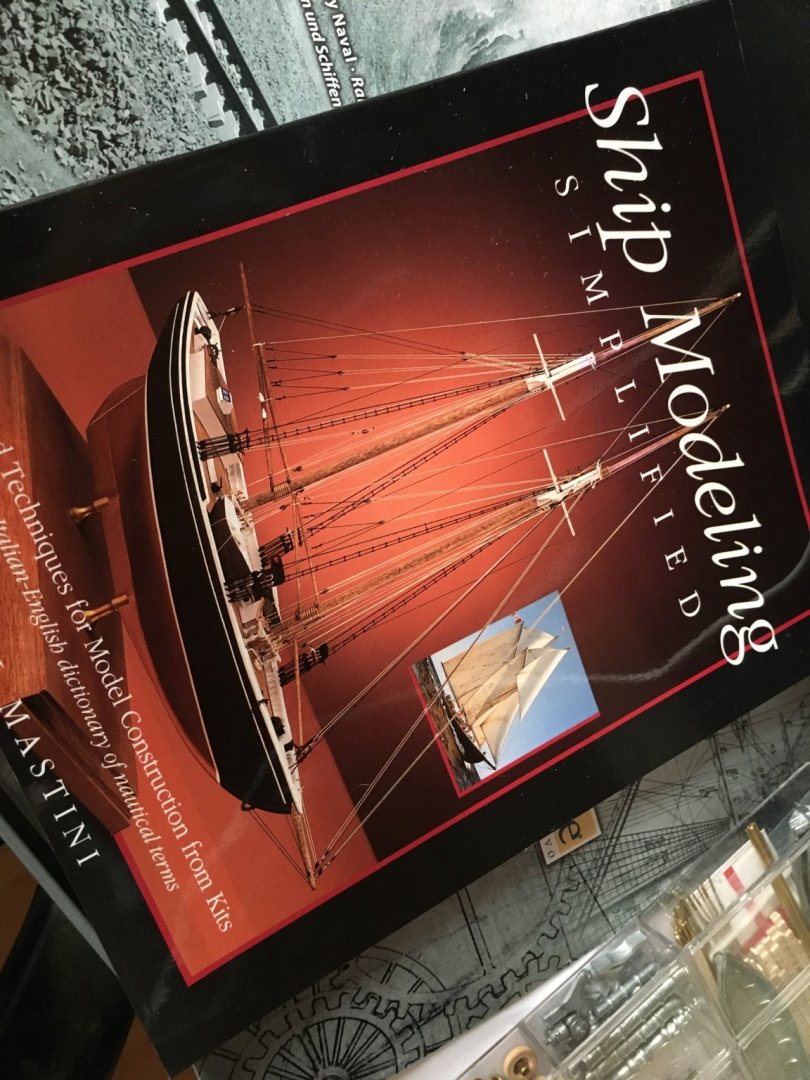
Heard about this book in this forum, so I'd put it on my wishlist. I'll be devouring this tome during the rest of the Christmas holidays, from what I've read so far it's very clearly written. After that, the real work begins..
Happy holidays!

-


HMS Terror by ObviousNewbie - FINISHED - OcCre - Scale 1:75 - first wooden ship build
in - Kit build logs for subjects built from 1801 - 1850
Posted
Thnx for the tip, so basically get some balsa wood and sand it into shape after inserting it between the bulkheads?