


ObviousNewbie
-
Posts
211 -
Joined
-
Last visited
Content Type
Profiles
Forums
Gallery
Events
Posts posted by ObviousNewbie
-
-
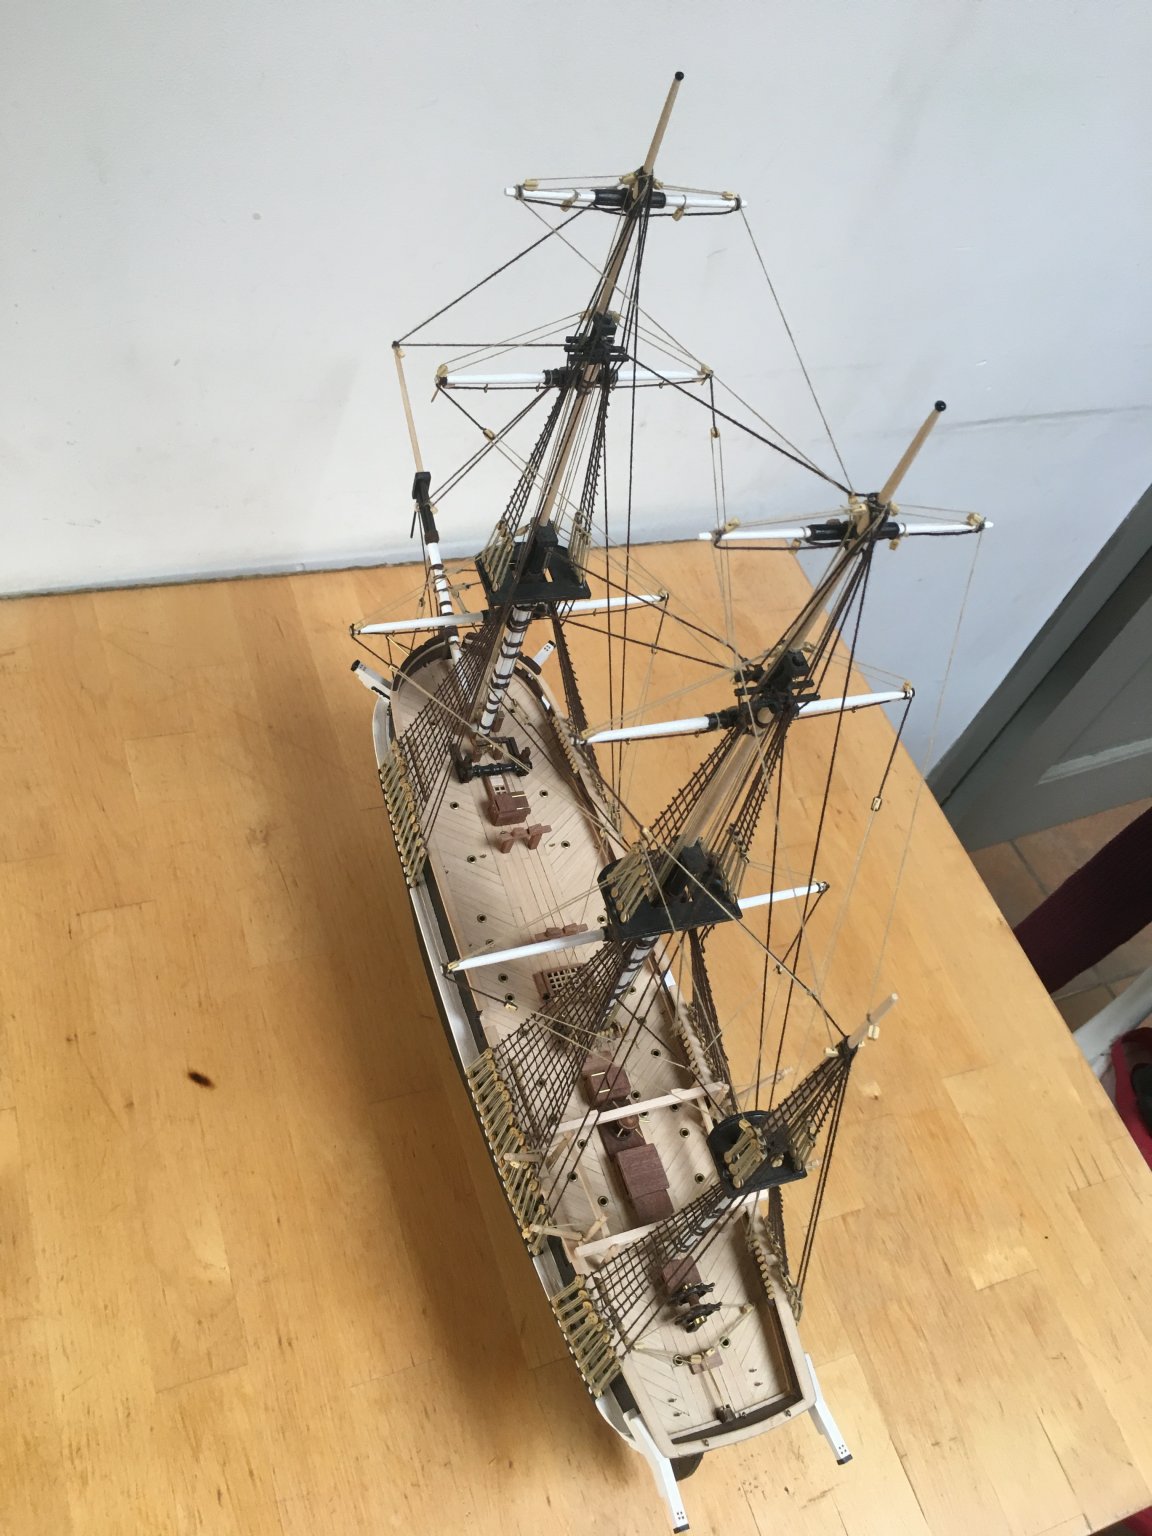
Hi all, thx for checking in. Some progress during heatwave days, all the bulkheads are glued, and I proceeded to the planking of the lower deck (gun deck?)
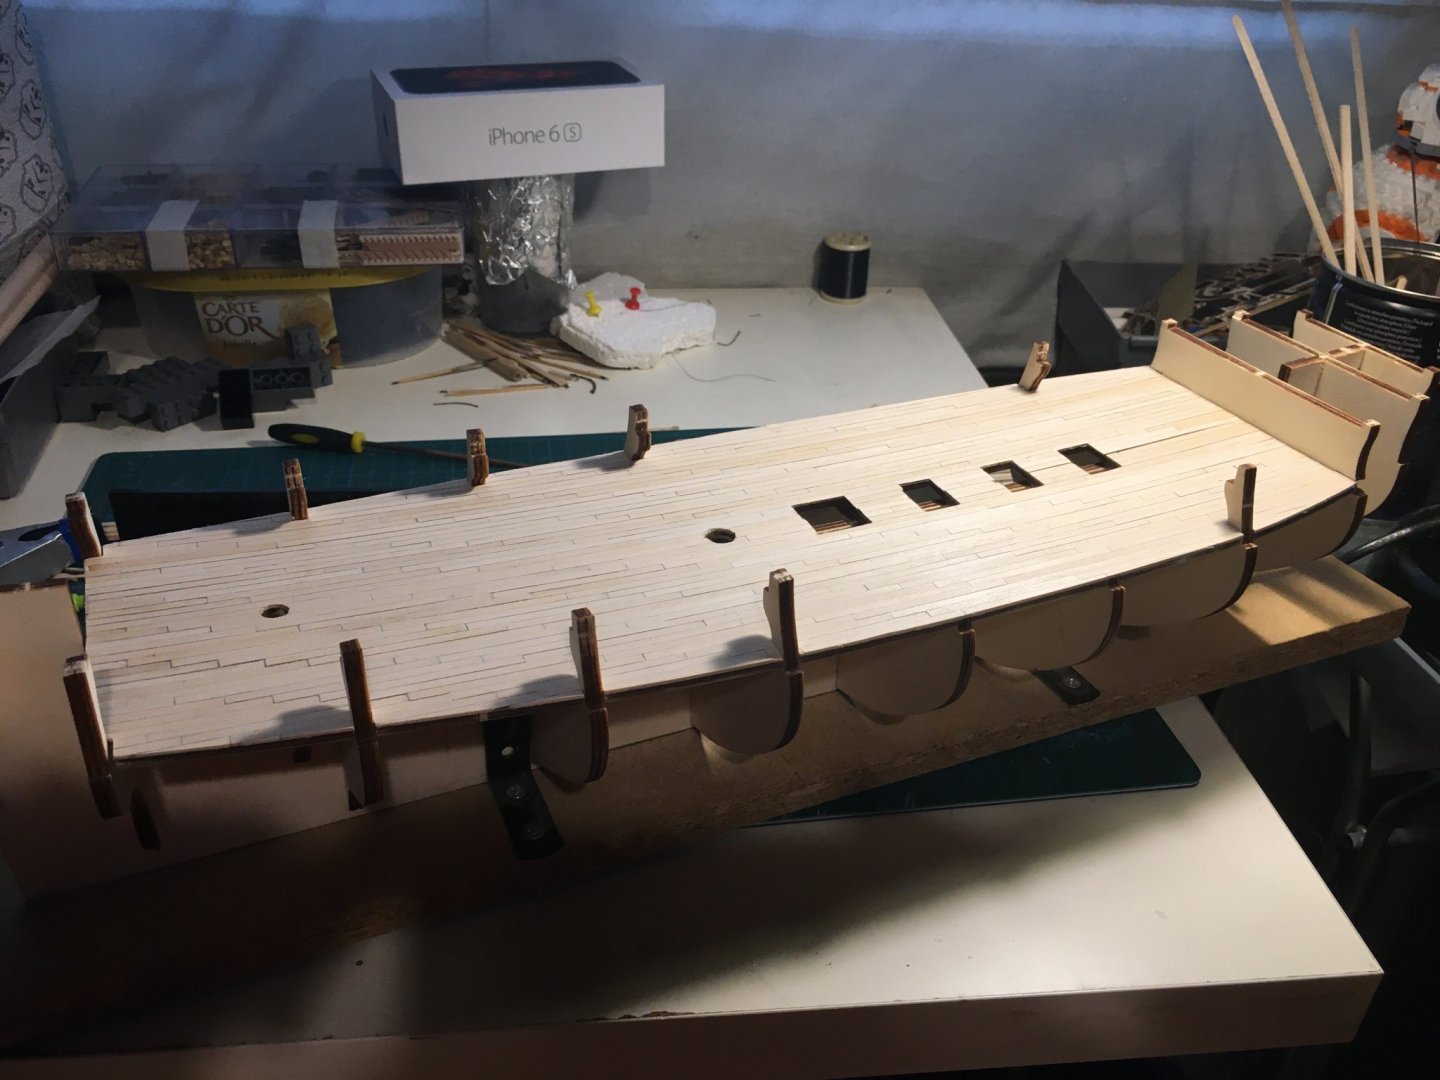
The plans called for a planking scheme half way, and pencil the edges in, but from experience with my previous build I decided to plank with individual planks. Patience is a virtue 🙂 didn't really like the scheme, saw some examples in here of other schemes and got inspired. As the plans did not give a length for the individual planks, I extrapolated from my Terror plans, where the planks were 60mm (1/75th scale). So on 1/84th, that amounted to about 55mm, ideal for dividing into 5😄 . And so I did, here's the result, first sanding done, not varnished or glued into position yet:
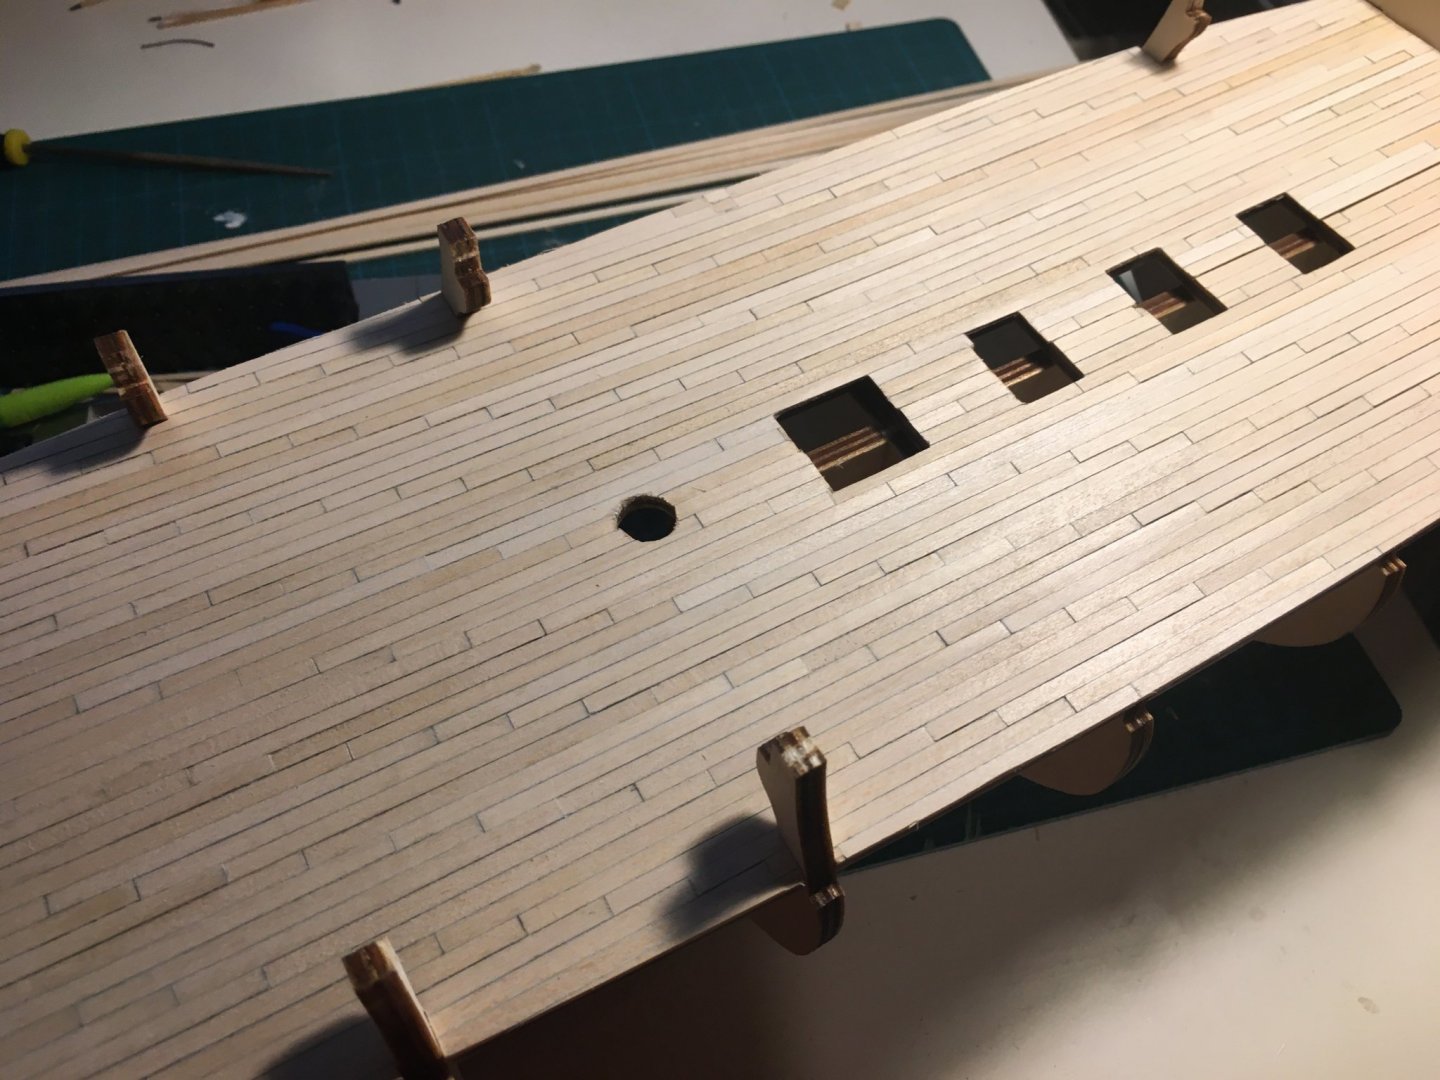
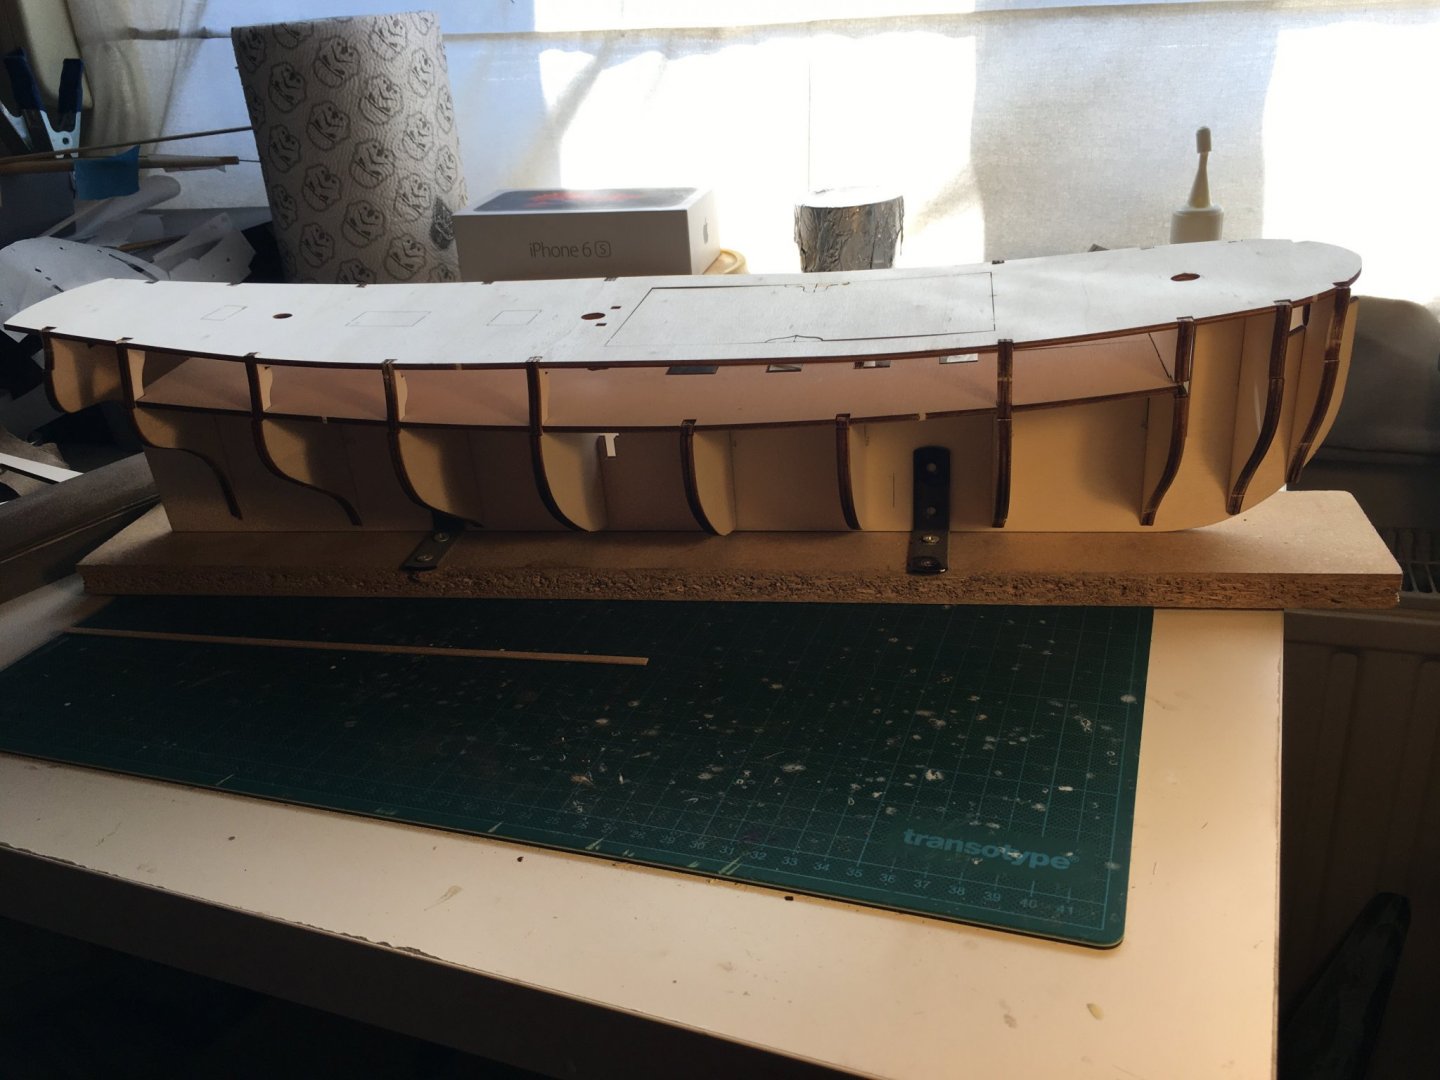
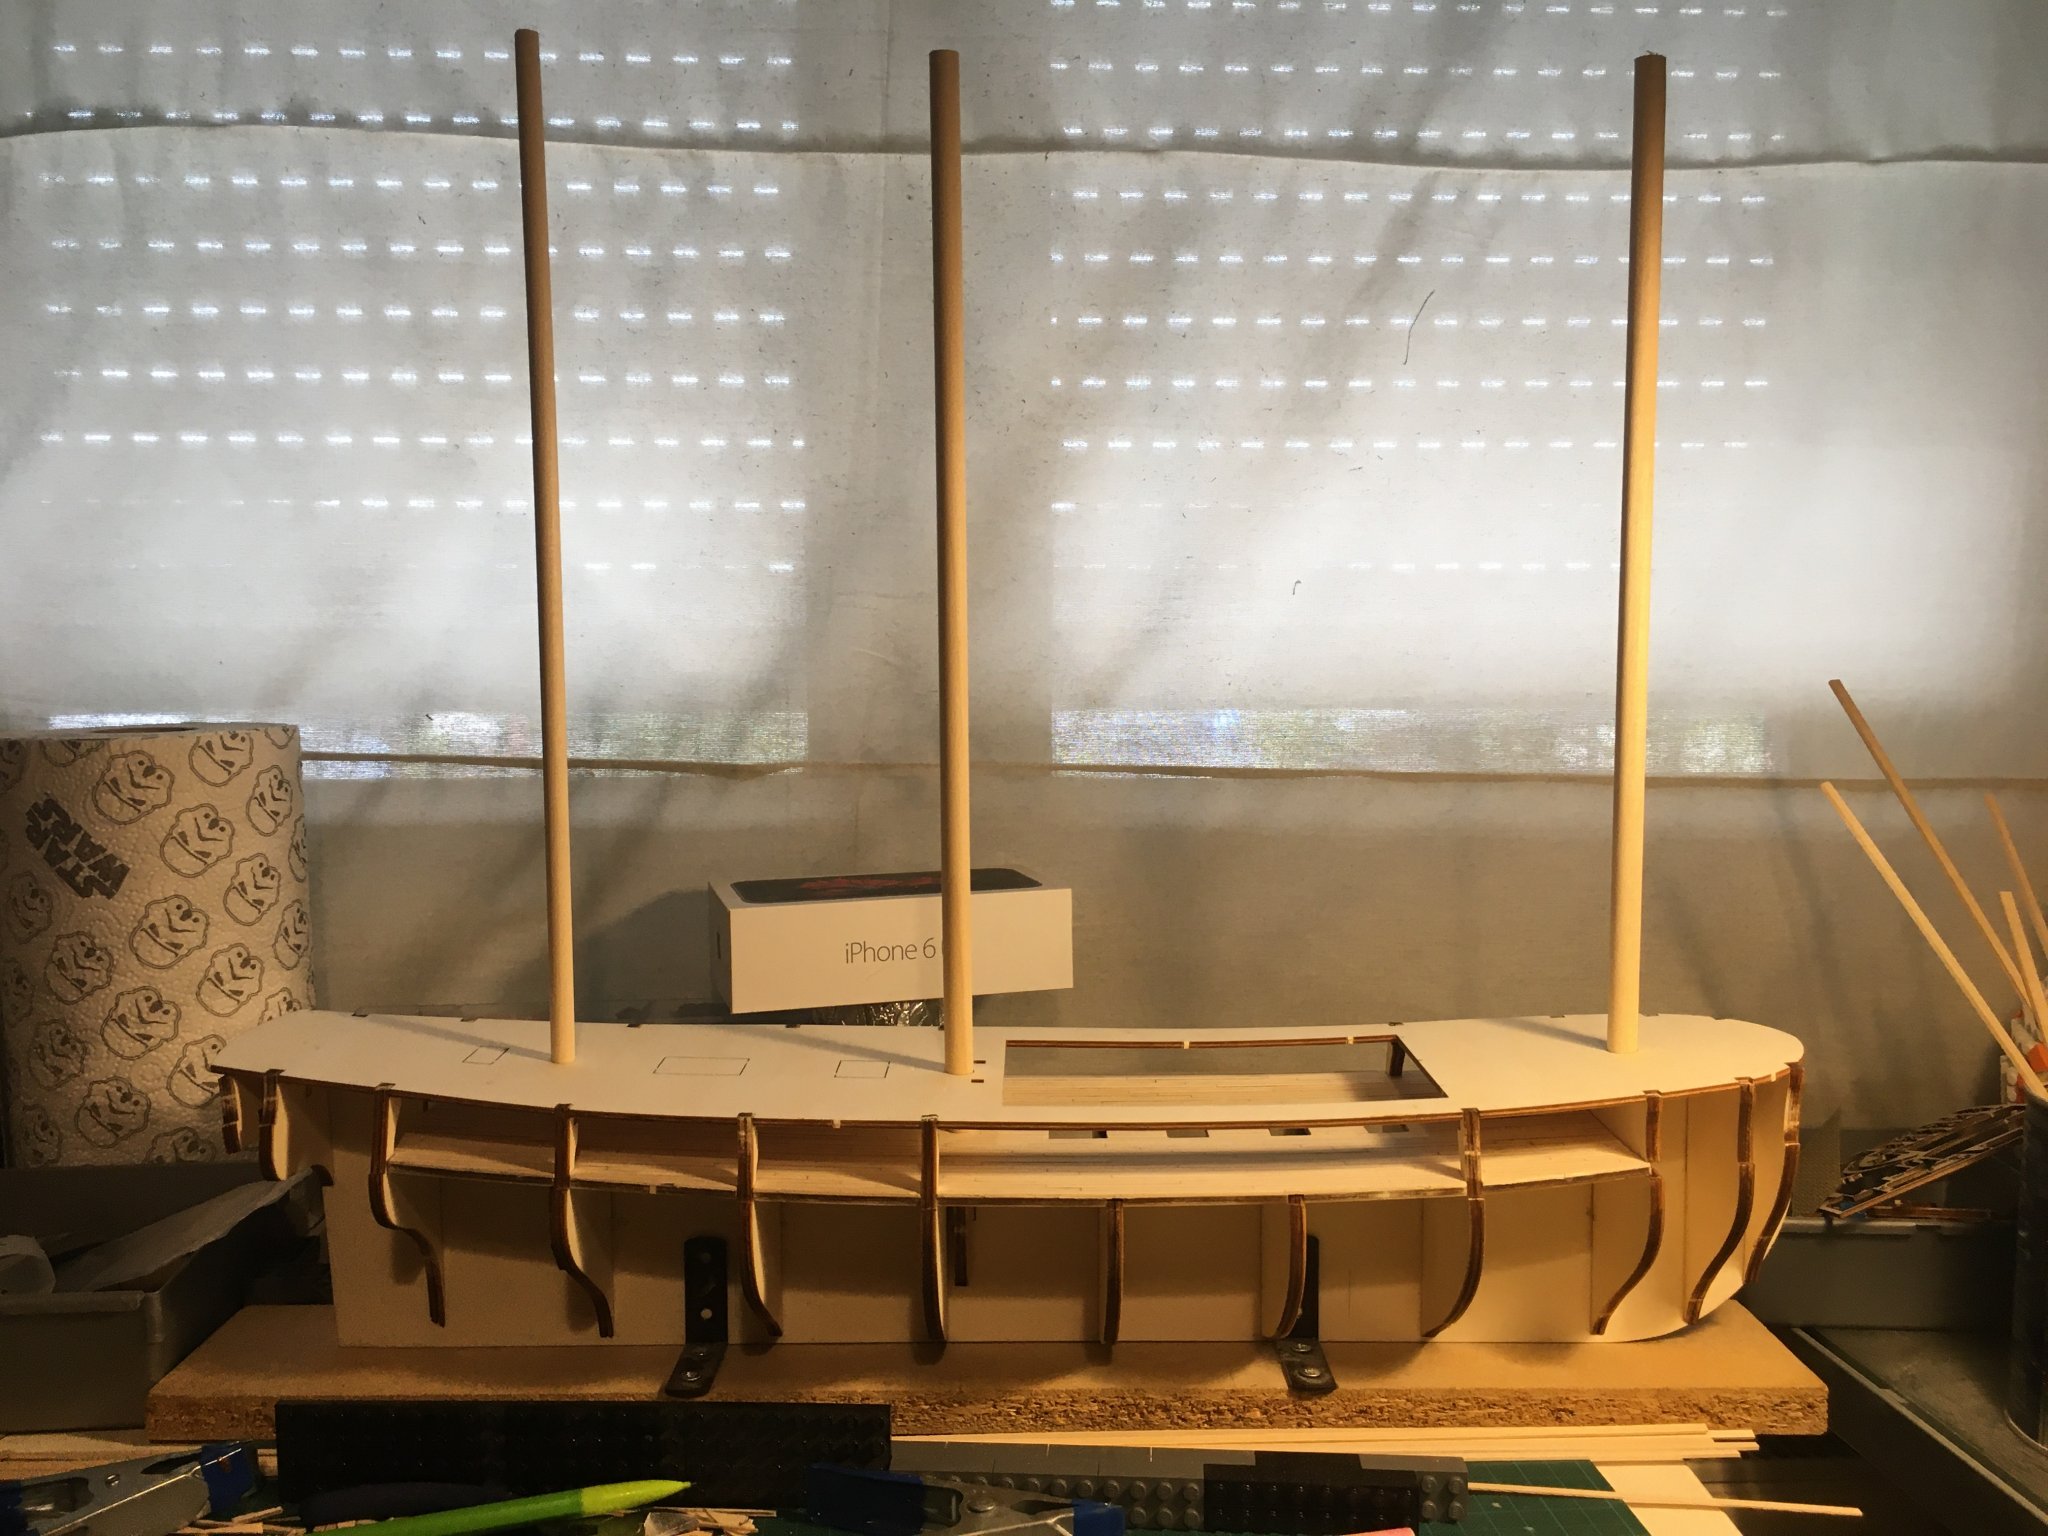
After this was done, checked the alignment of the mast and bowsprit holes. Nothing major, main mast hole was covered slightly by a bulkhead, but easily corrected:

She's a big girl..
And that's where we are today. The shipyard will be closed for a couple of weeks due to a slight case of holidays; so looking forward to get out of the house after all this Covid mess in Belgium. Stay healthy, stay safe, and see you all in September!
- clearway, Rik Thistle, Jonny 007 and 2 others
-
 5
5
-
Shameless self-promotion: I started on a new project, Frigate Diana by Occre. If you're interested, here's the link to the Diana Build Log.
-
Congratulations on an excellent job!
-
Done, and indeed, I had some excellent advice 🙂
-
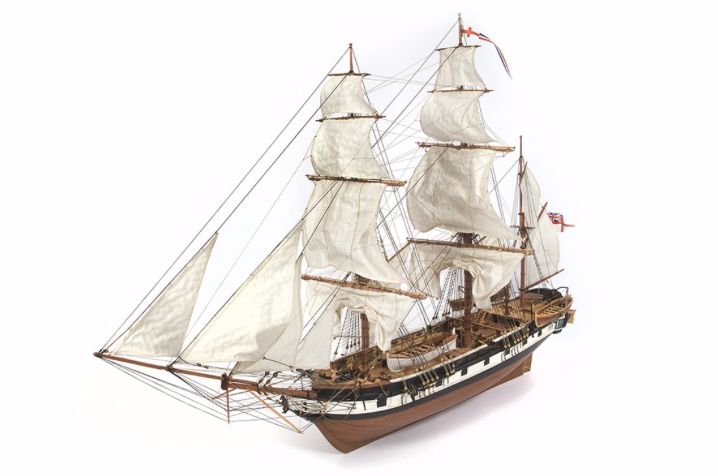
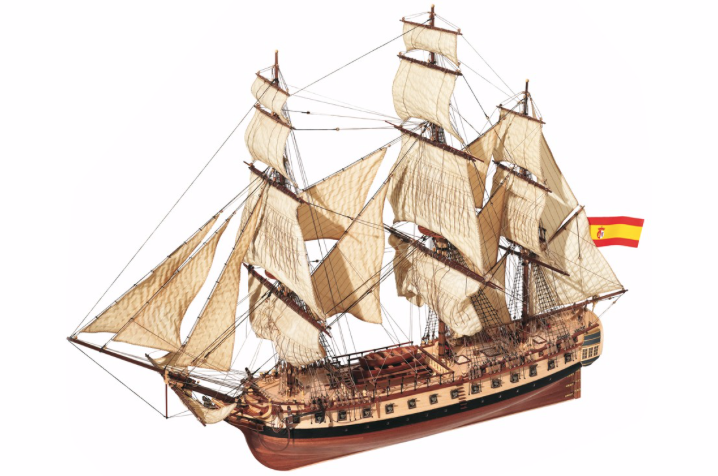
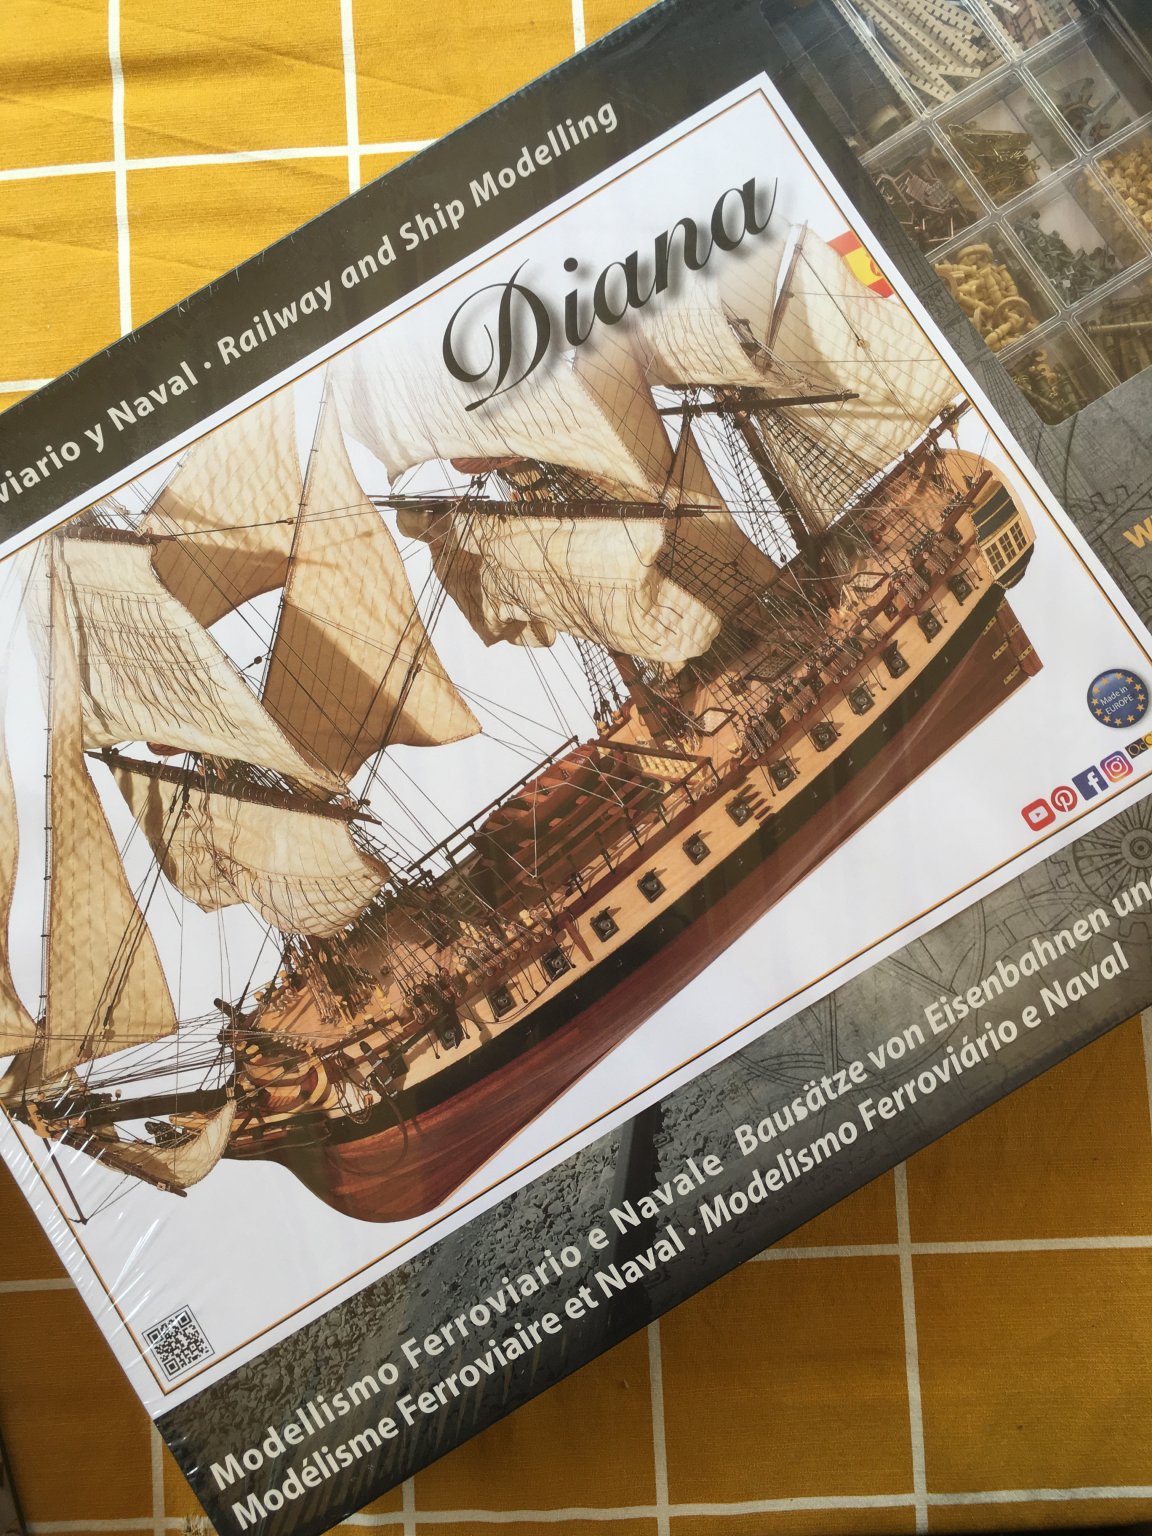
To quote one of my favourite movies:"Here we go again.." After building HMS Terror, I was completely hooked, and as Corona is still roaming the streets, I managed to get my hands on Frigate Diana, also by Occre. Here's some history I picked from the Occre site:
"The frigate Diana was launched on the 10th of March 1792. It formed part of the series of frigates known as "Mahonesas", as they had been built in the city of Mahón.Thanks to its design, it could sail faster than its predecessors. It took part in the war against France along the Catalan coast although, during the war of Independence, its base was in Cadiz. As a member of the naval forces of Havana, it took part in battles against the corsairs in the Antilles and made various trips across the Atlantic. It was broken up in 1833 in the naval shipyard of Cartagena."

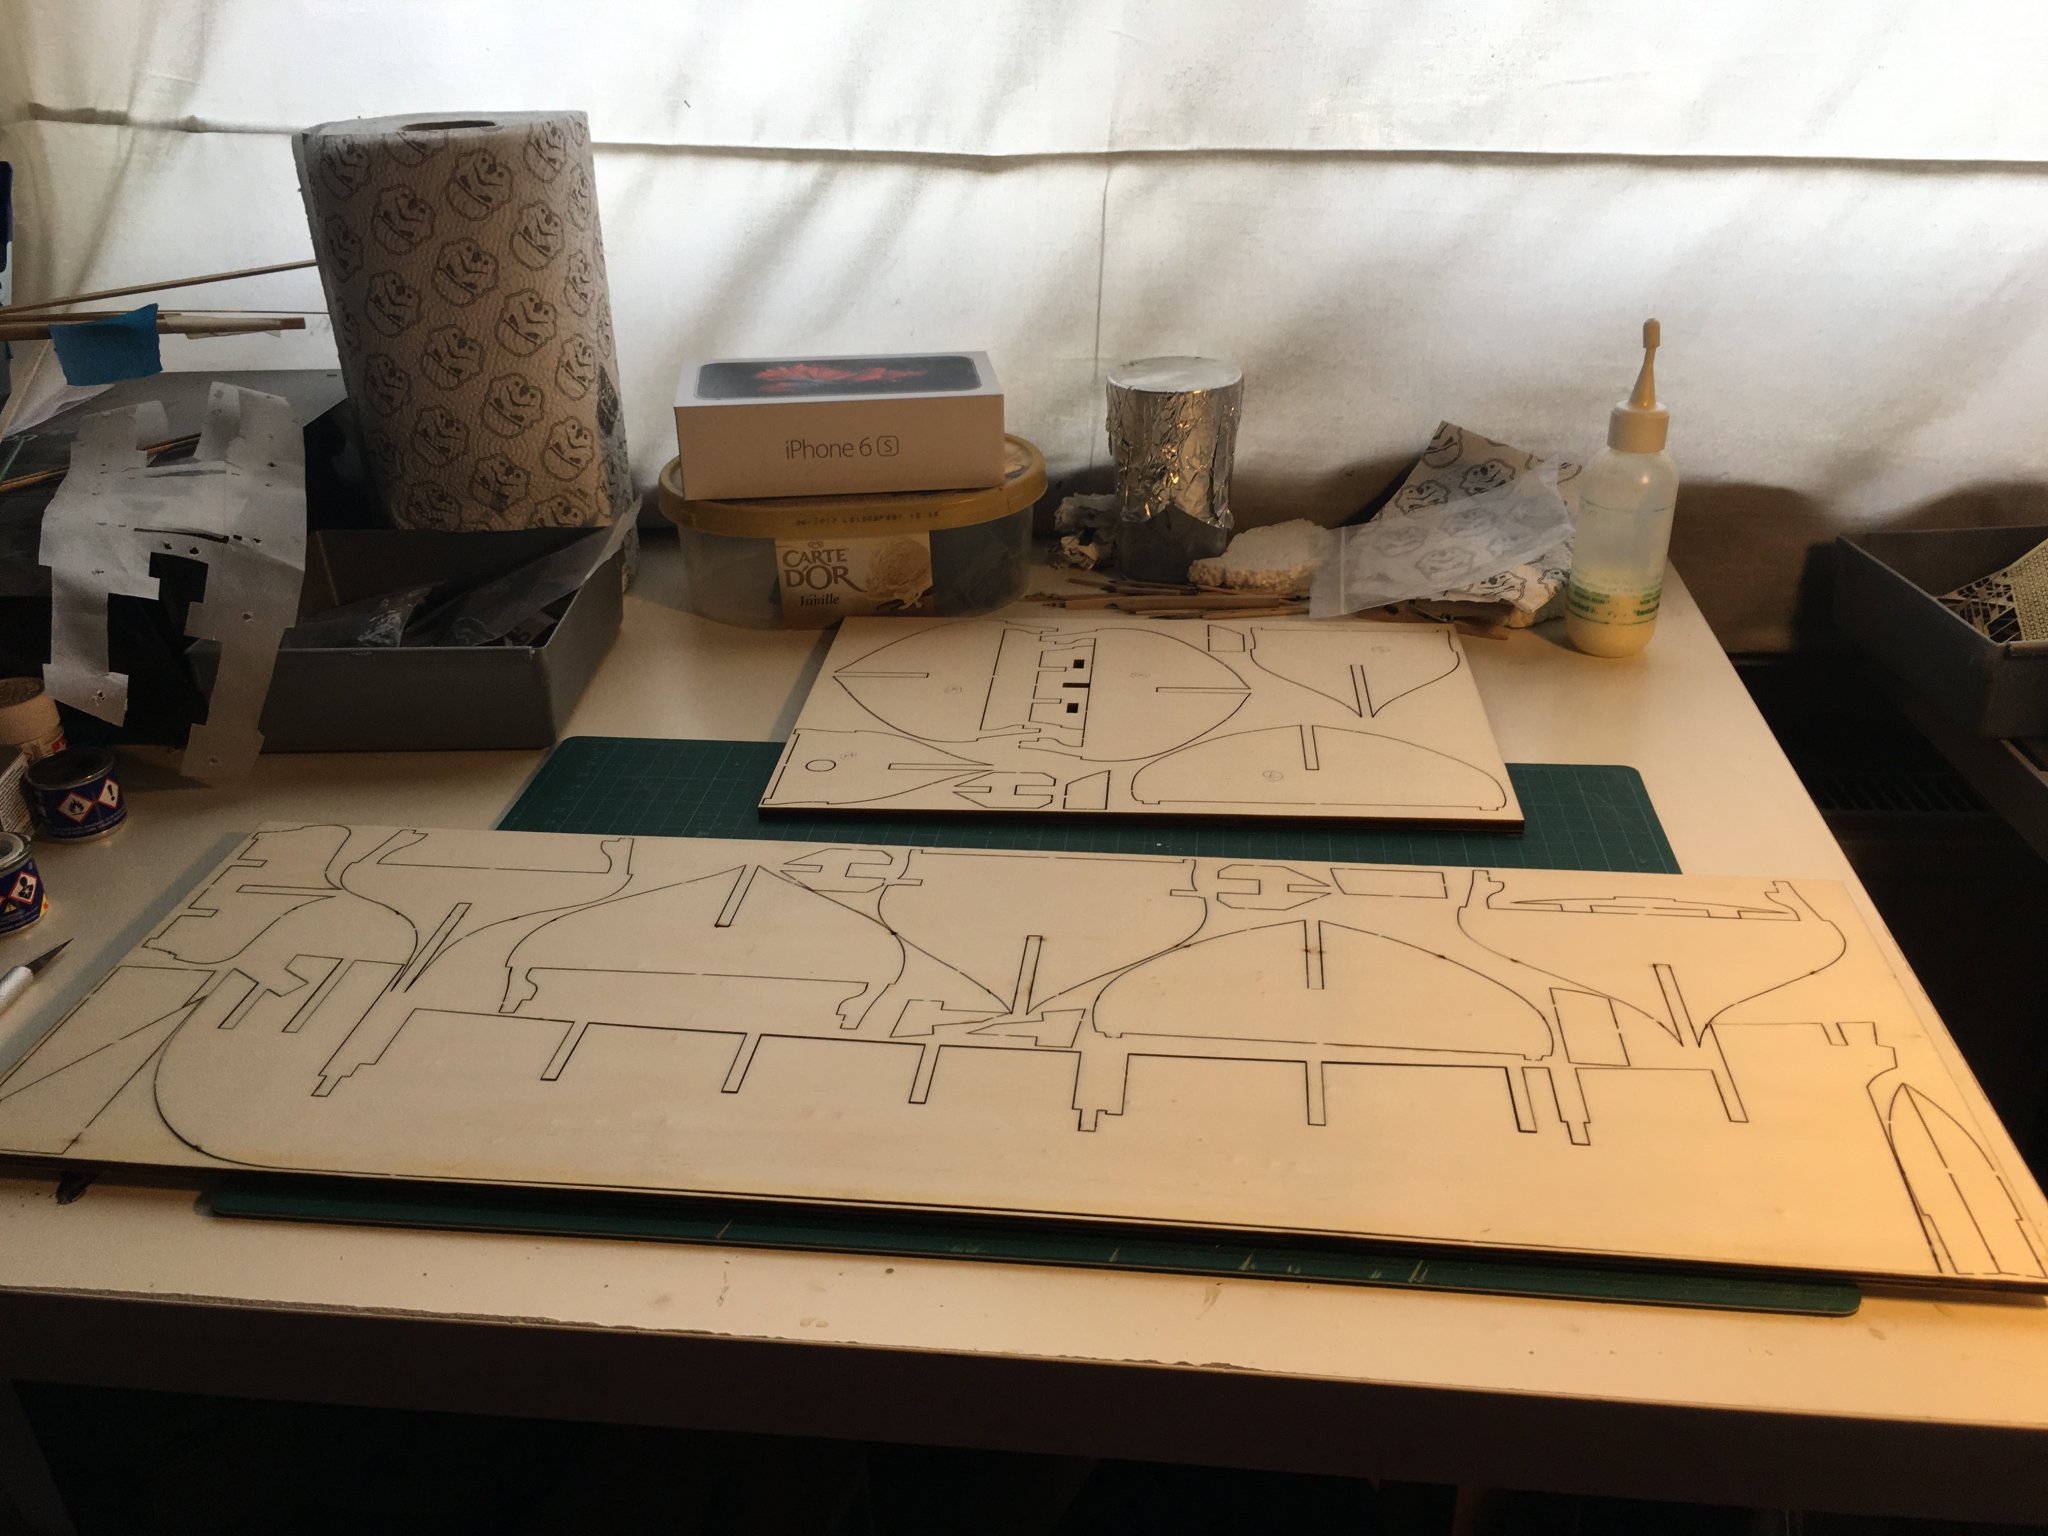
Apologies, I did not make an unboxing video 🙂 , but I was a bit stunned at the amount of stuff in there, from the hull planking strips (long enough to cover the hull this time😄 )to dowels 10mm in diameter (Terror's thickest dowel was 6mm), to a 1:1 profile drawing of the entire ship, causing the Admiral to comment:"And where do you intend to put that?"
Studying the plans, I luckily found a lot of techniques also used in Terror, but plenty of new stuff here as well: no hull paint to cover any second planking mistakes, much more detailed work on the bow and the deck. Pretty challenging for a newbie like me (again). So I took a deep breath, cleaned up the shipyard and got unpacking:

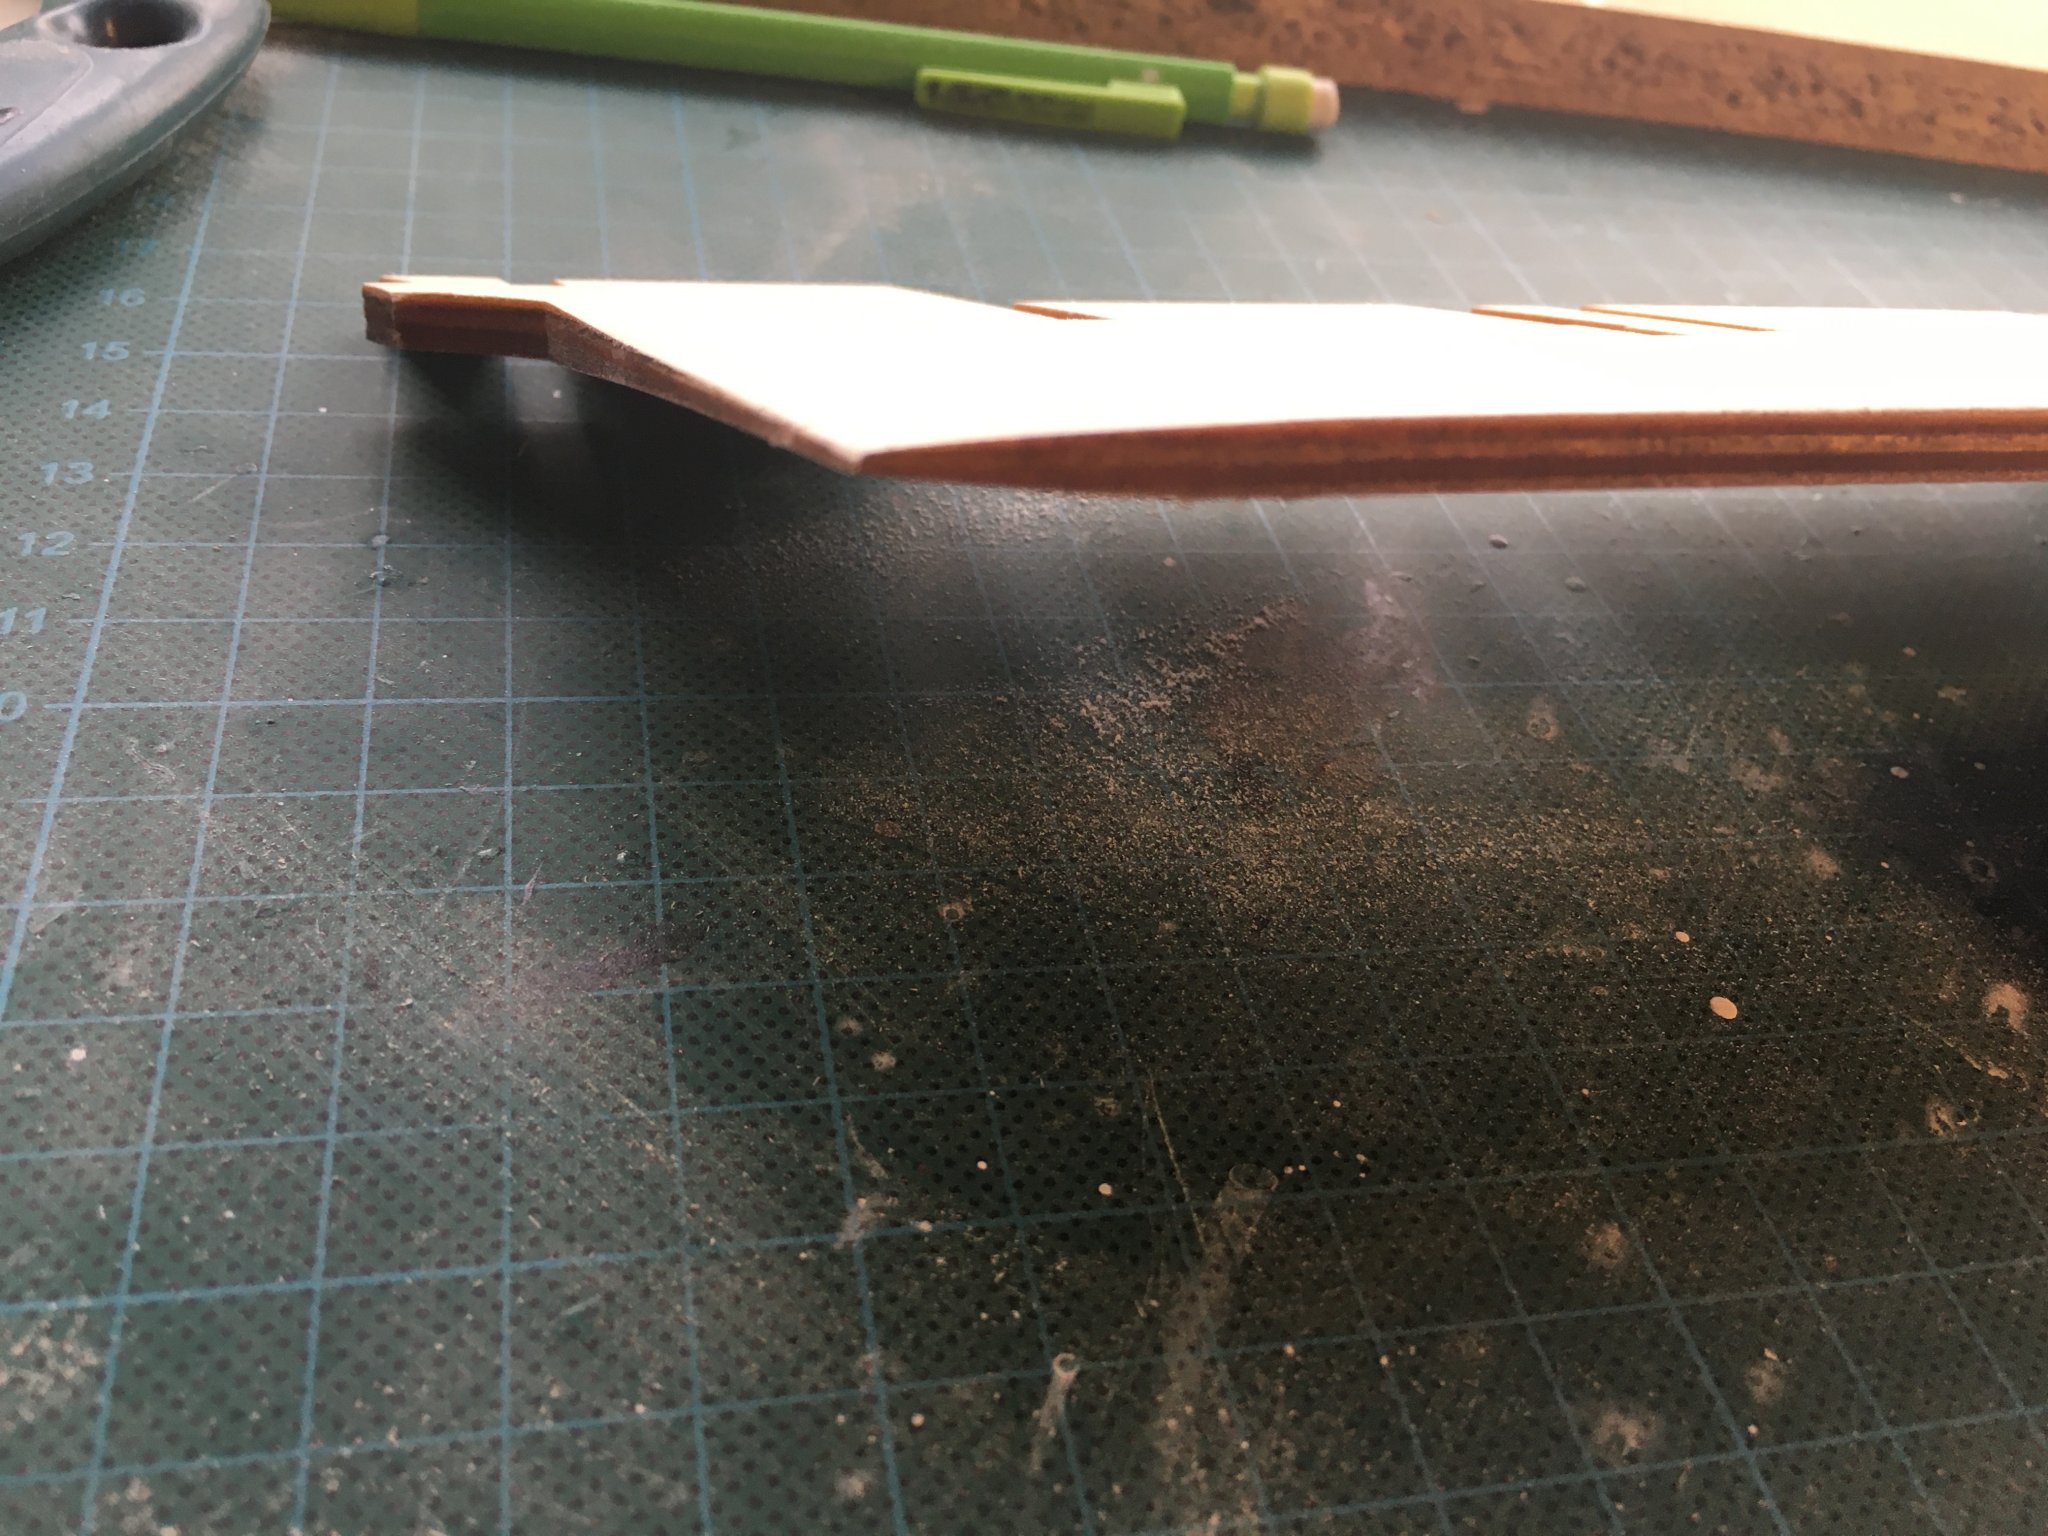
Lesson learned from Terror, part 1: sand the deadwood before glueing the bulkheads:
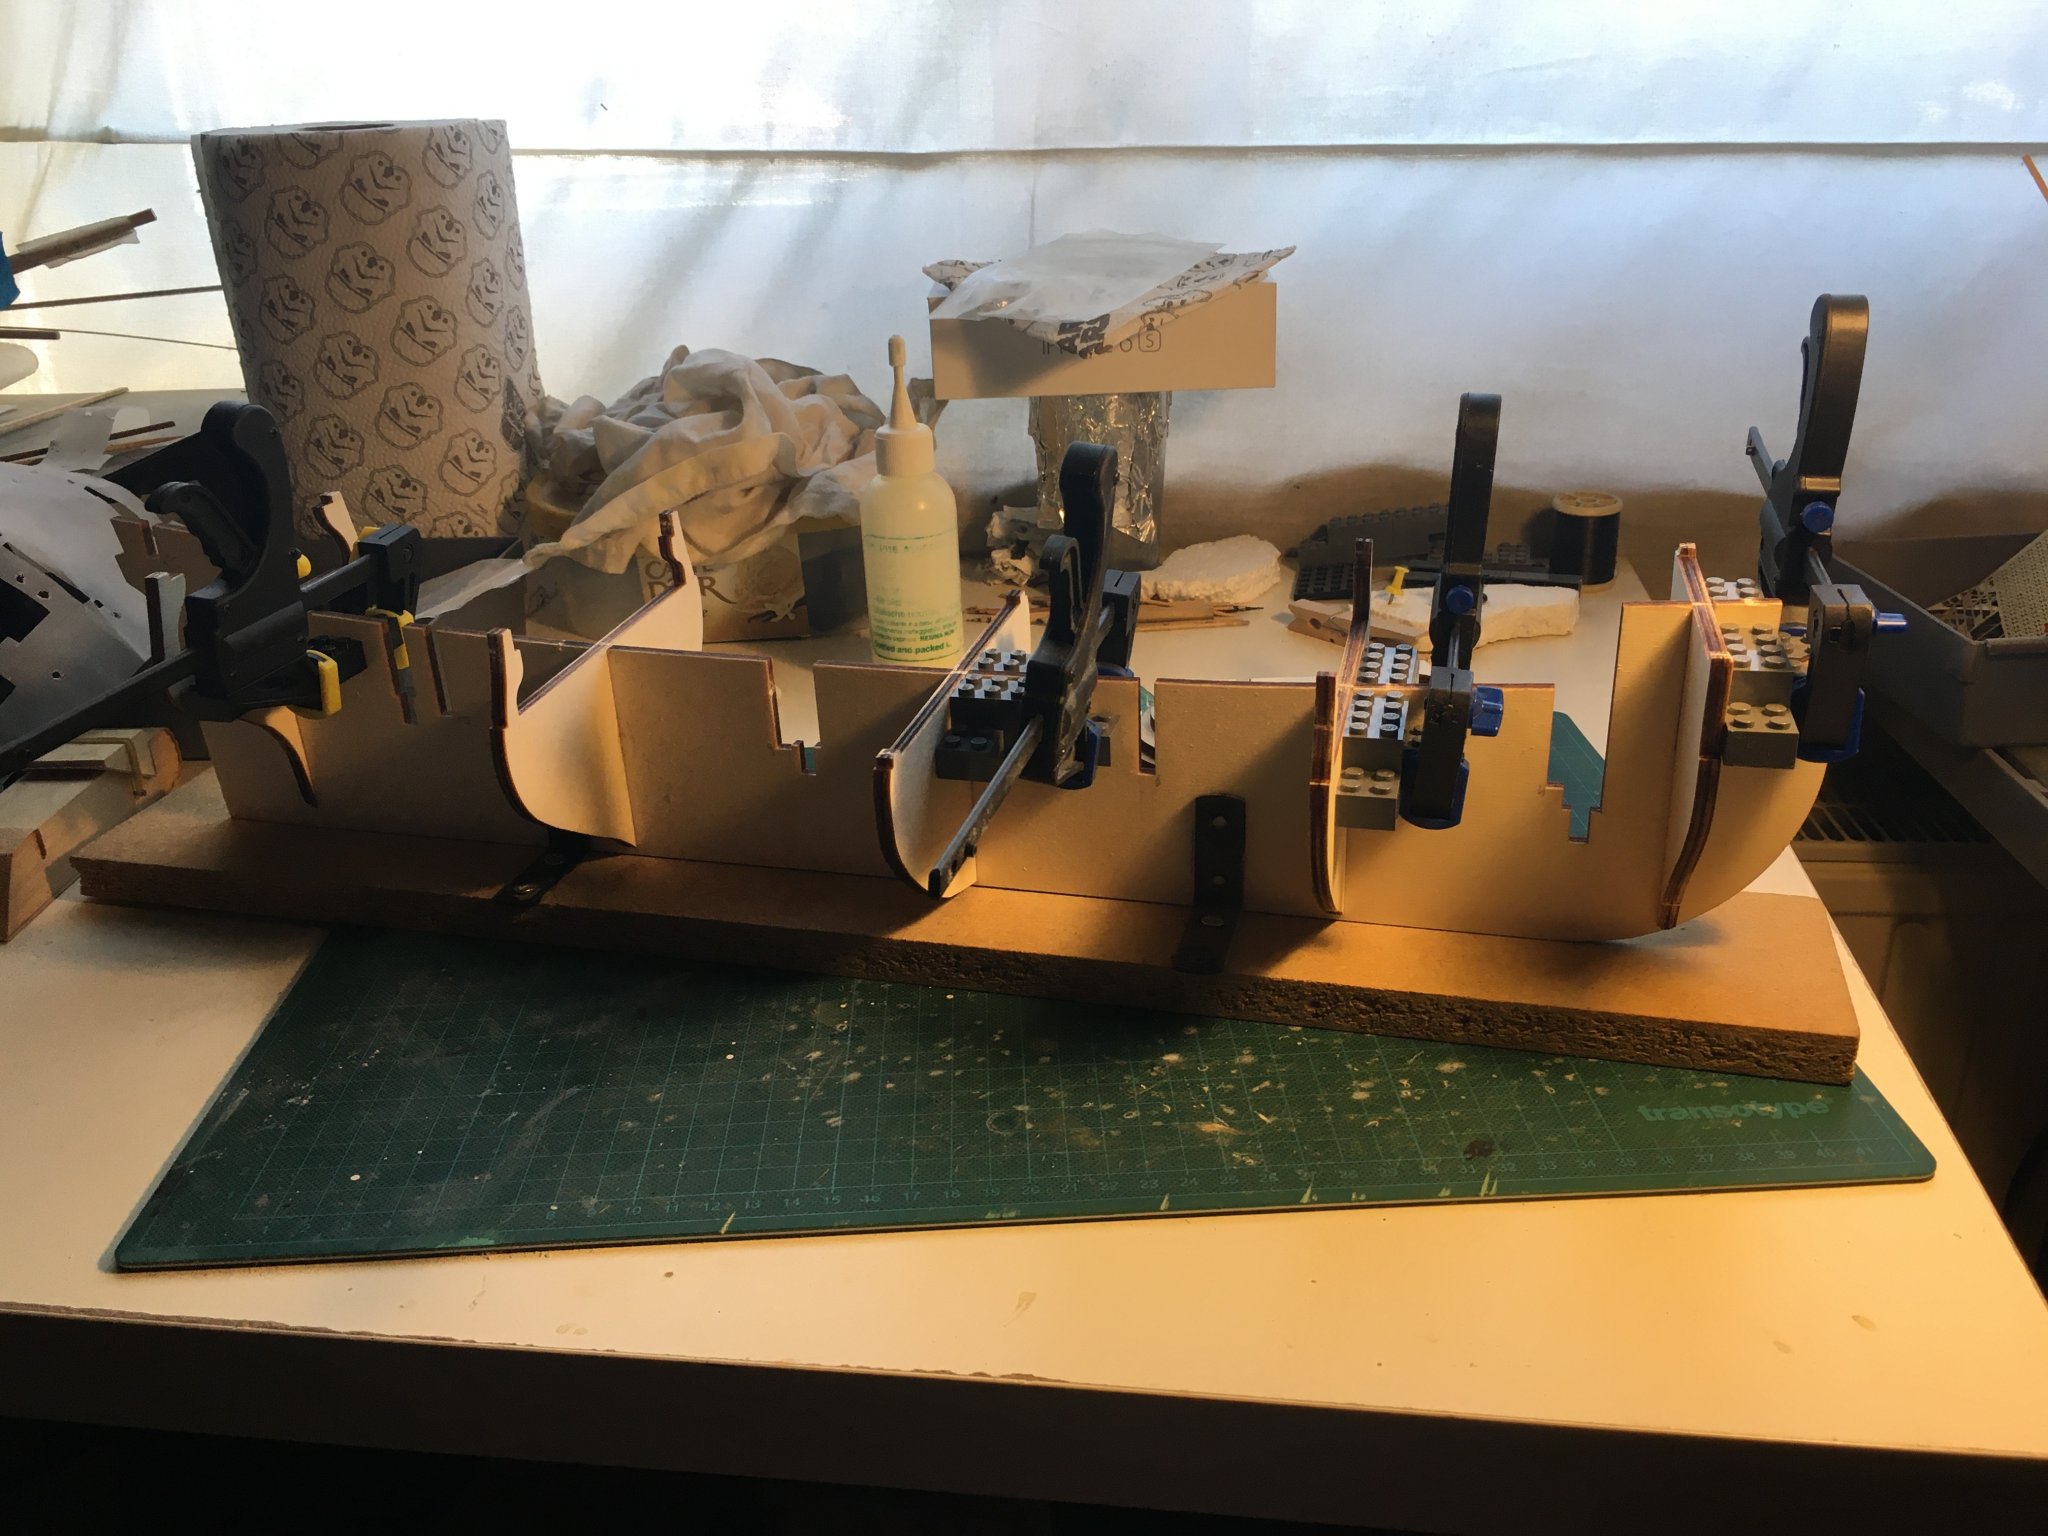
then dry fitting all bulkheads and check for issues. Nothing major, just bulkhead 2 misbehaving a bit, nothing some sanding couldn't fix. Then tried fitting both decks:
Again, no major issues here, fits were spot on or close, no burn marks on the wood. And then, after second inspection, glue half of the bulkheads:

And that's where we are today. Tomorrow the other bulkheads, and then on to deck planking 🙂 .
Thnx for dropping by!
- Baker, Rach10199, Nautical 1 and 5 others
-
8
-
Hi all, probably more of an admin question but: how do I add the word "FINISHED" to the title of this build log? Or can I only claim this after the stand has been painted? 😉
-
-
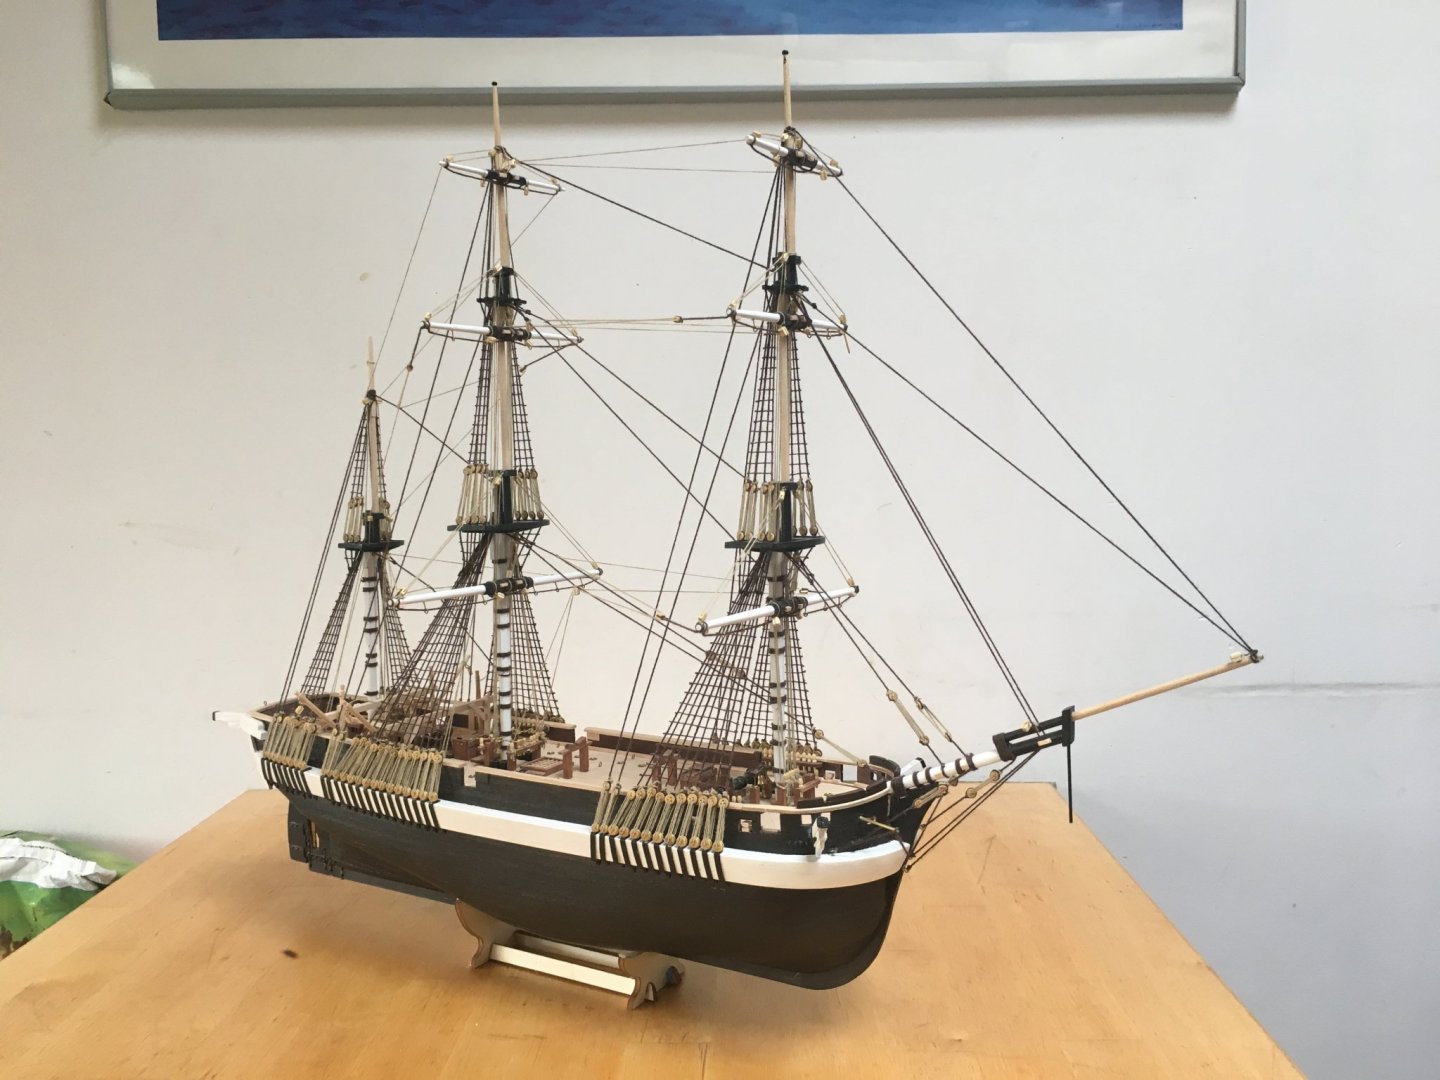
Hi all,
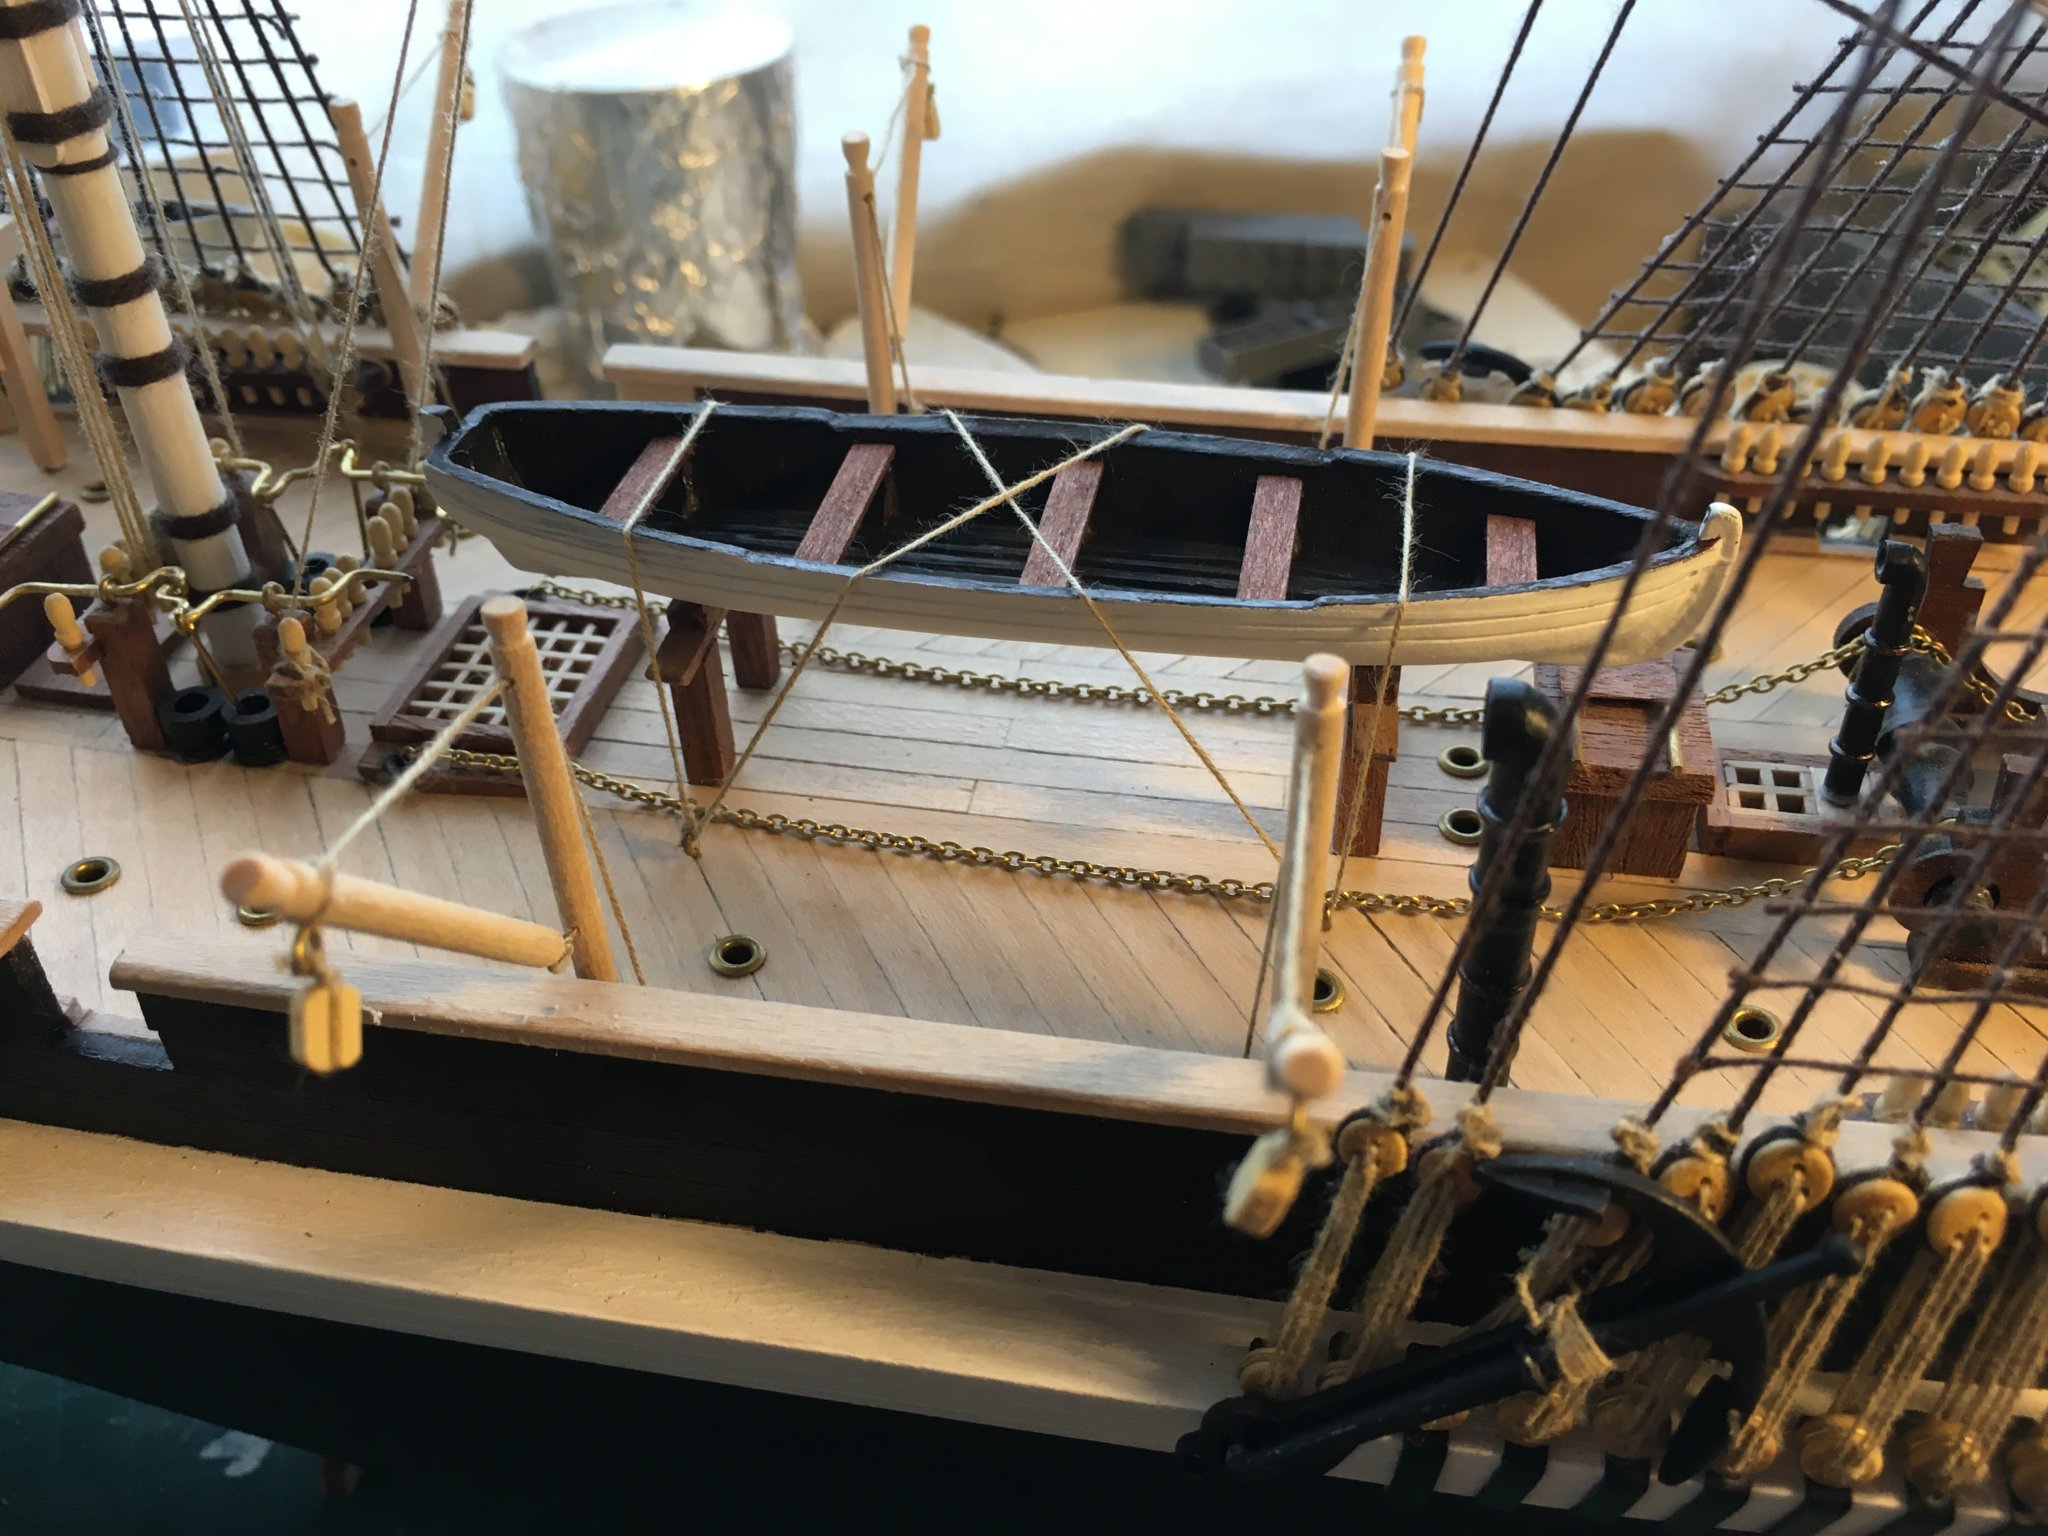
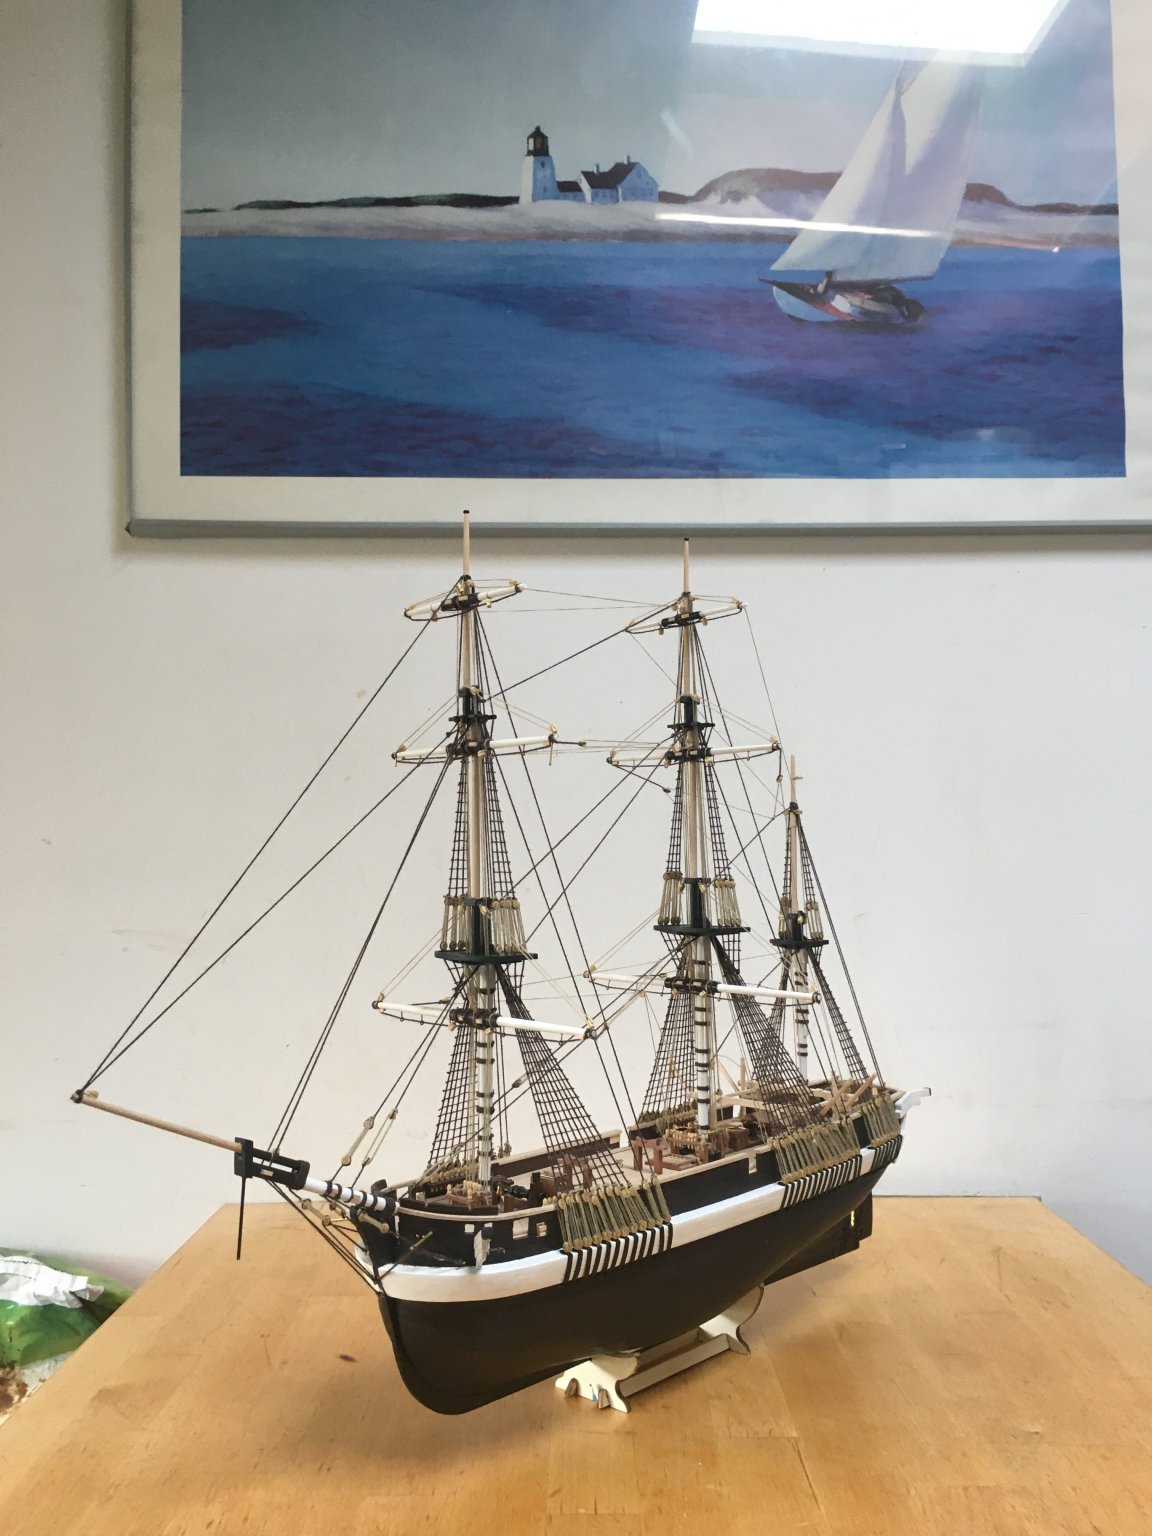
My first build log entry dates to end of january. Now, at the end of july, I installed the last davits on the deck, and HMS Terror is complete 🙂
Finally got some results in painting the sloops I could live with:


And then the chimneys and the davits were installed. Here's the result:
What a ride this was! To say I'm hooked is an understatement. I really enjoyed the entire experience and I learned an enormous amount, although I realise still have a lot to learn. She looks gorgeous though, the only thing left is to paint the support 🙂 .
How do you maintain your finished models in prime condition? I assume a display case of sorts is the best way to keep the dust away. Any tips on this? Was thinking of using a wooden base and plexiglass cover.
Thank you to all the members who chipped in with valuable advice, tips and motivation, you've been an enormous help!
-
Hi all,
Working on the final details for Terror, I managed to rig the boom and the gaff (Sorry Keith S, our activities crossed, as you were posting your message I was finalising the rigging):
The line at the end of the boom is a bit of creative thinking, it seemed the only logical way to ensure the boom stayed up with the connections available. It's probably not historically accurate, but it seems to do the trick.
Anchors in place as well:
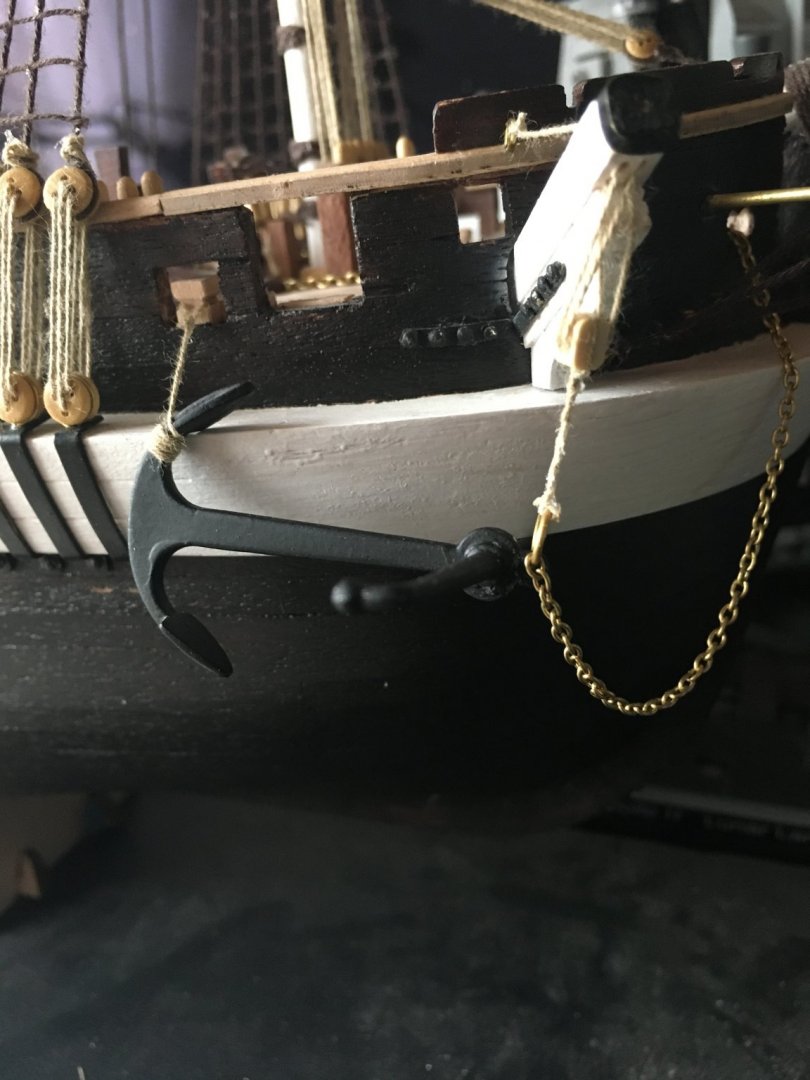
Finalised rigging on the bowsprit, leaving only the remaining davits and the sloops to be finalised. The sloops are a bit of a headache painting-wise: they're cast metal, and after trying to paint them with enamel (with bad results), I applied some Tamiya metal primer on the clean sloops and then applied the enamel (equally bad), I'm experimenting with how to get the correct look.
Meanwhile, the shipyard will not be empty after Terror:

Will start on Di as soon as Terror is finished. Ambitious (too much?), but right now the biggest challenge is to keep the box closed and sealed 🙂
the Admiral being Greek, she had a special request:
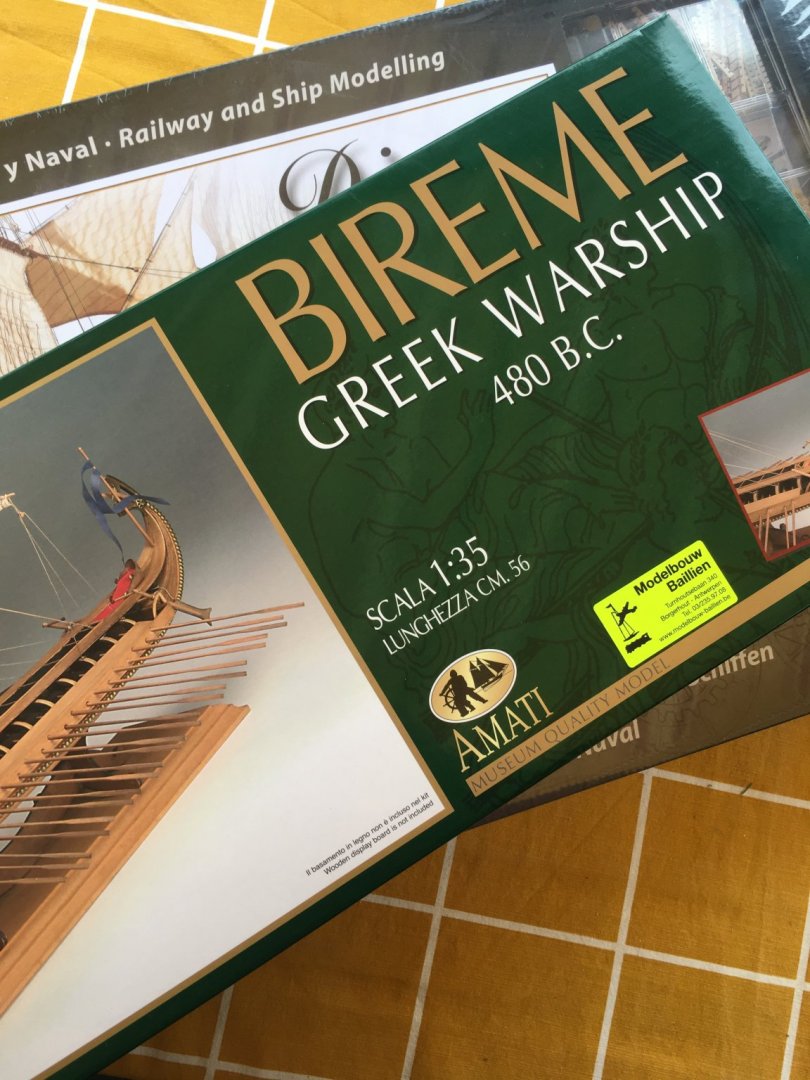
This is really freaking me out: single planking! Found some logs over here that document the builds though, hoping that will help...
Enjoy your weekend!
- Baker, GrandpaPhil and clearway
-
3
-
Hi all, quick question: Finalising Terror, but as you know I decided not to put up sails. Strange thing is I can't find a reference to set up the boom. the Gaff I can figure out, as it's connected to the mizzen mast with some blocks, but the boom only has a boomrest? I know the gaff would not be deployed if there was no sail on it, but how about the boom?
As always, thnx for the help!
-
On 7/17/2020 at 7:52 PM, Wahka_est said:
....and you are almost done, not like me still motivating myself to start with chainplates
")
thnx! One thing I did was to split up between chainplates and masts/yardarms. There's 70 chainplates to be put up, so I divided and worked per mast, fore chainplates, then foremast, etc..
-
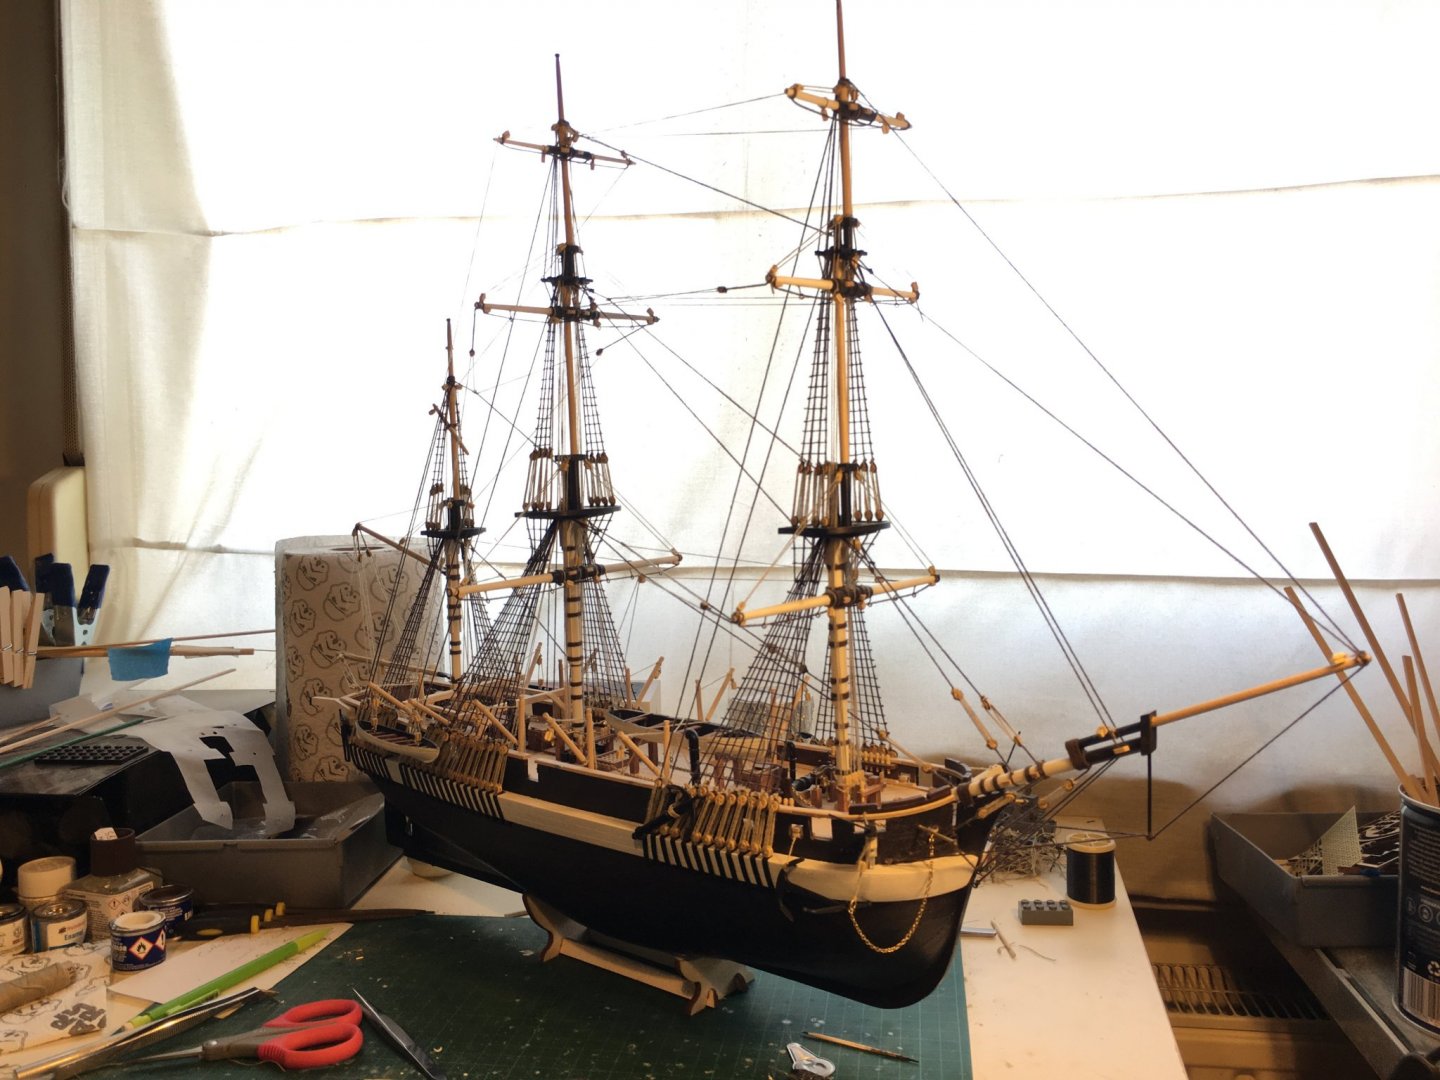
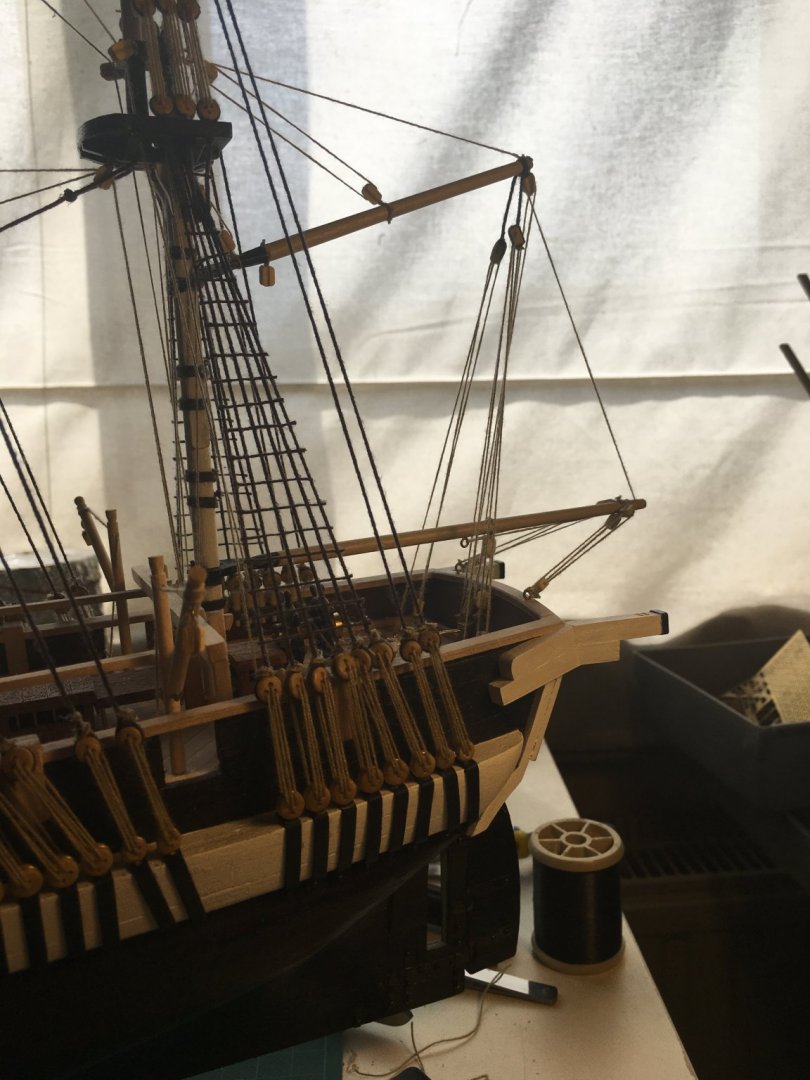
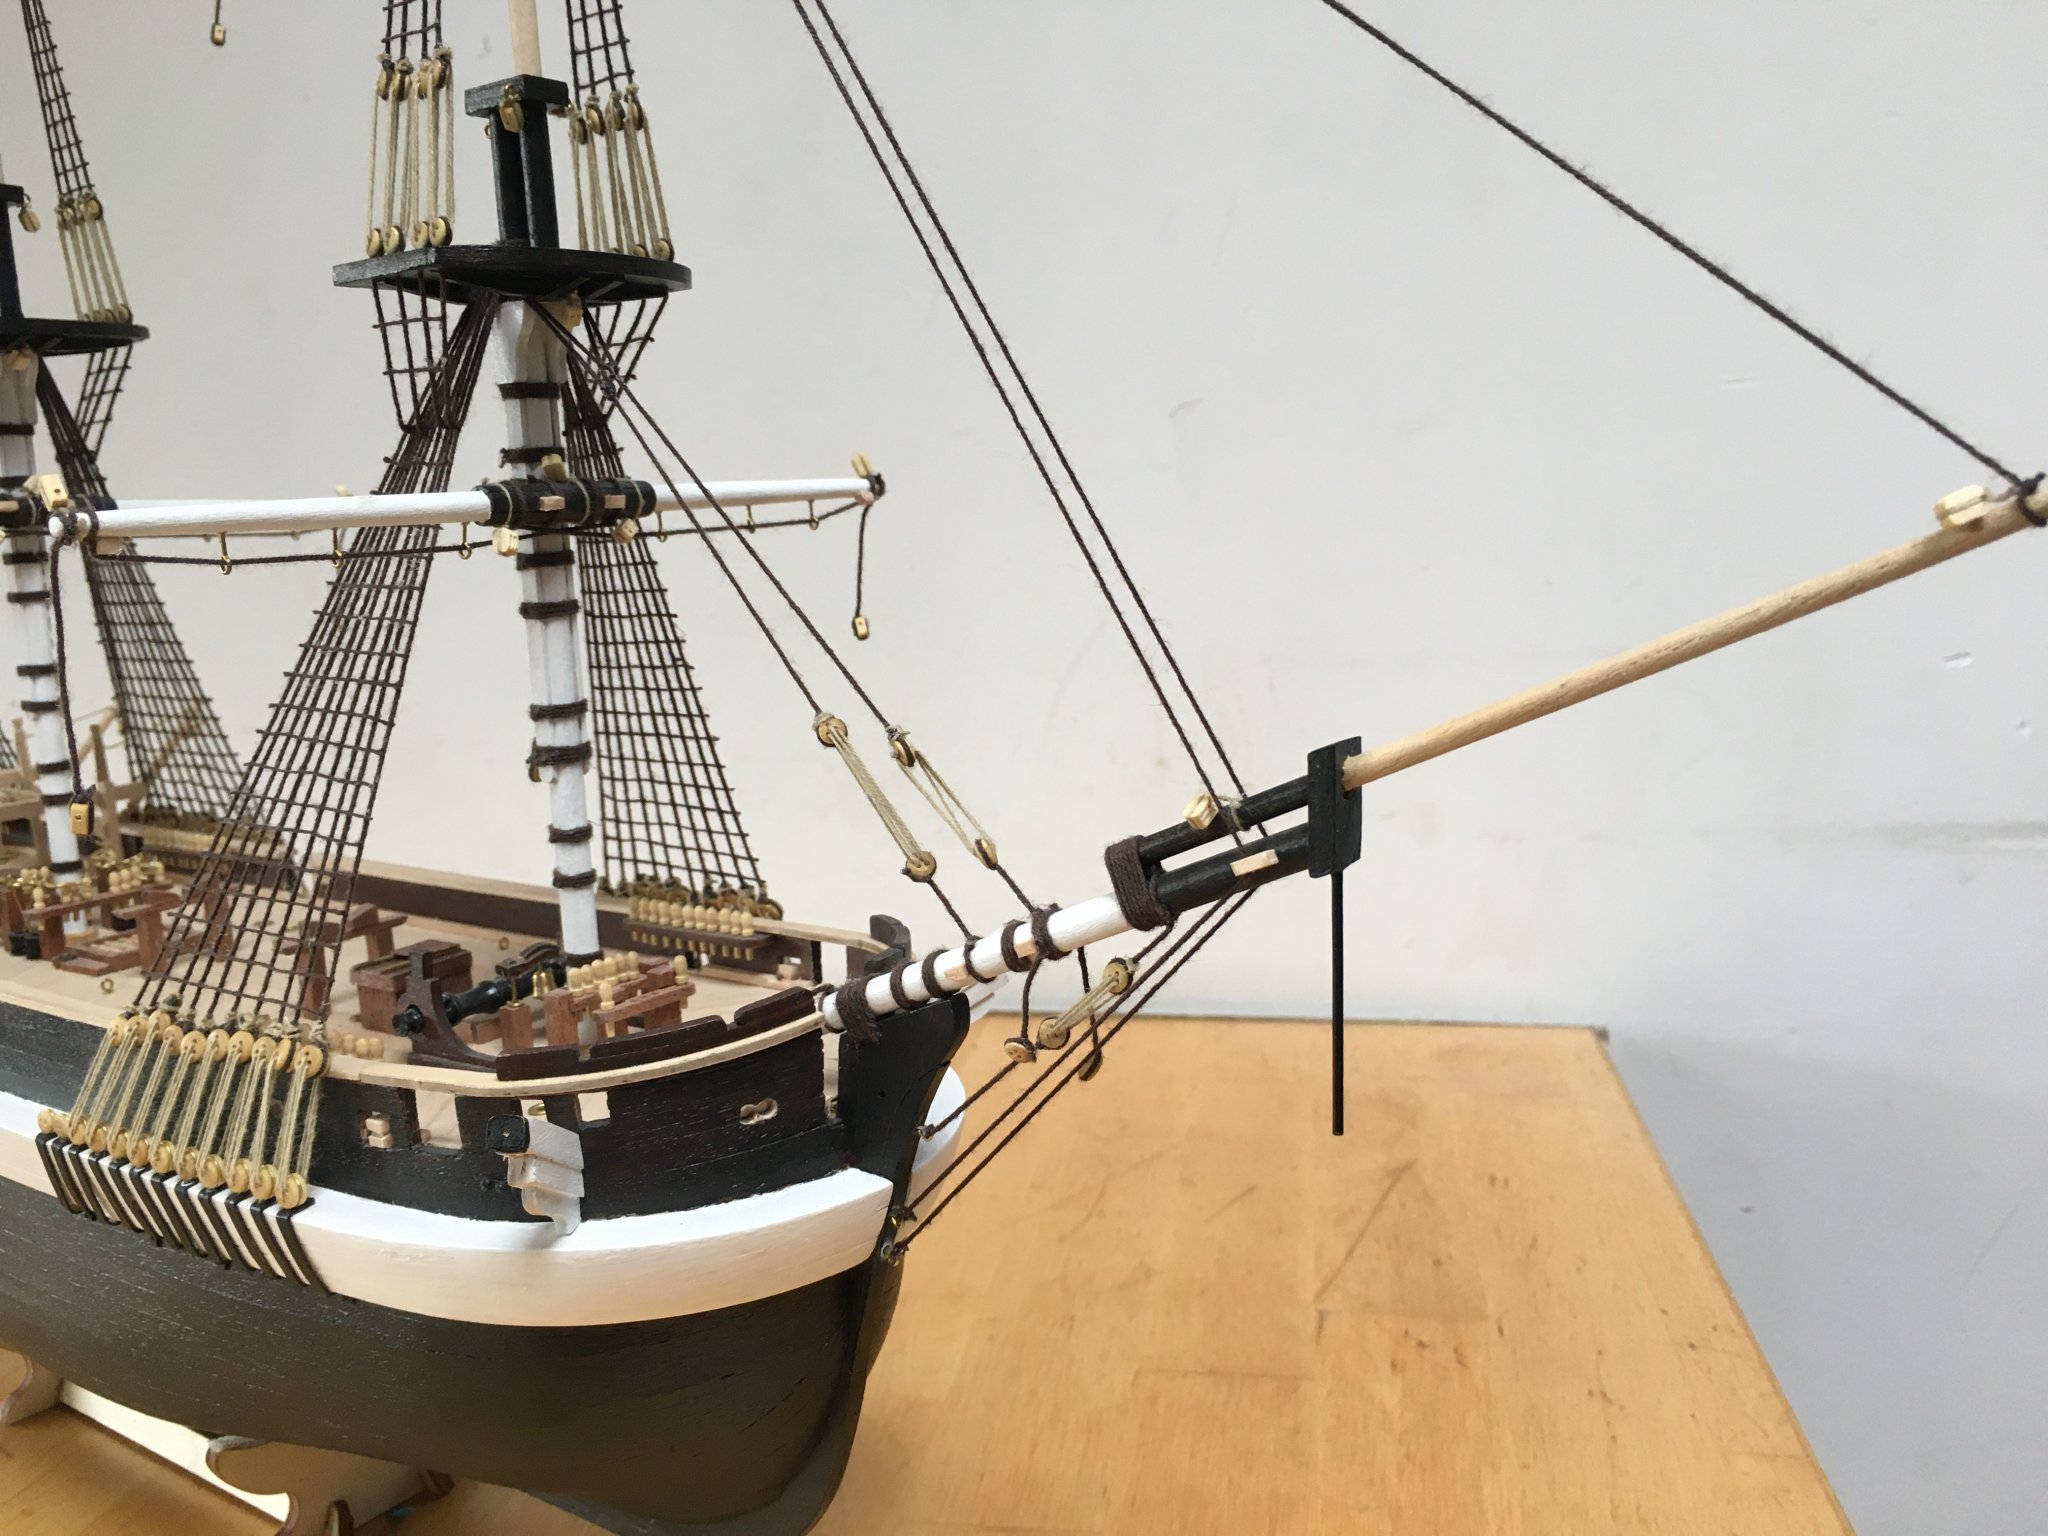
Hi all, thnx for checking in. So after the last update, I got busy: finalised the standing rigging and took care of the running rigging as well:
Halyards were interesting, as most blocks were tucked away between the loops of the standing rigging. The fathoms were even more interesting, took me a while to see that the only way to get them set up correctly is working in pairs, and from the top down, contrary to the standing rigging where I worked from the deck up in order to keep an eye on the ropes staying tensed. Managed to minimise the damage, a good thing I didn't glue the yardarms but tightly knotted them. Oh, could we change the term "Dolphin Striker" to "Shipwright Striker"? Seems to make more sense that way...
Some extra angles:


And a hero shot 🙂

Just realised that port is my wall side, so please be gentle 🙂
After looking at her the way she is now and examining the sails provided in the kit, I decided not to use them. Tried one sail on, makes her look a bit like a toy frankly. Also, up until now the rigging plans were clear, but rigging the sails is still beyond me.
Left to do: rigging the rear mast, sloops, anchors, chimneys, screw, and the remaining davits!
- gieb8688, clearway, GrandpaPhil and 3 others
-
6
-
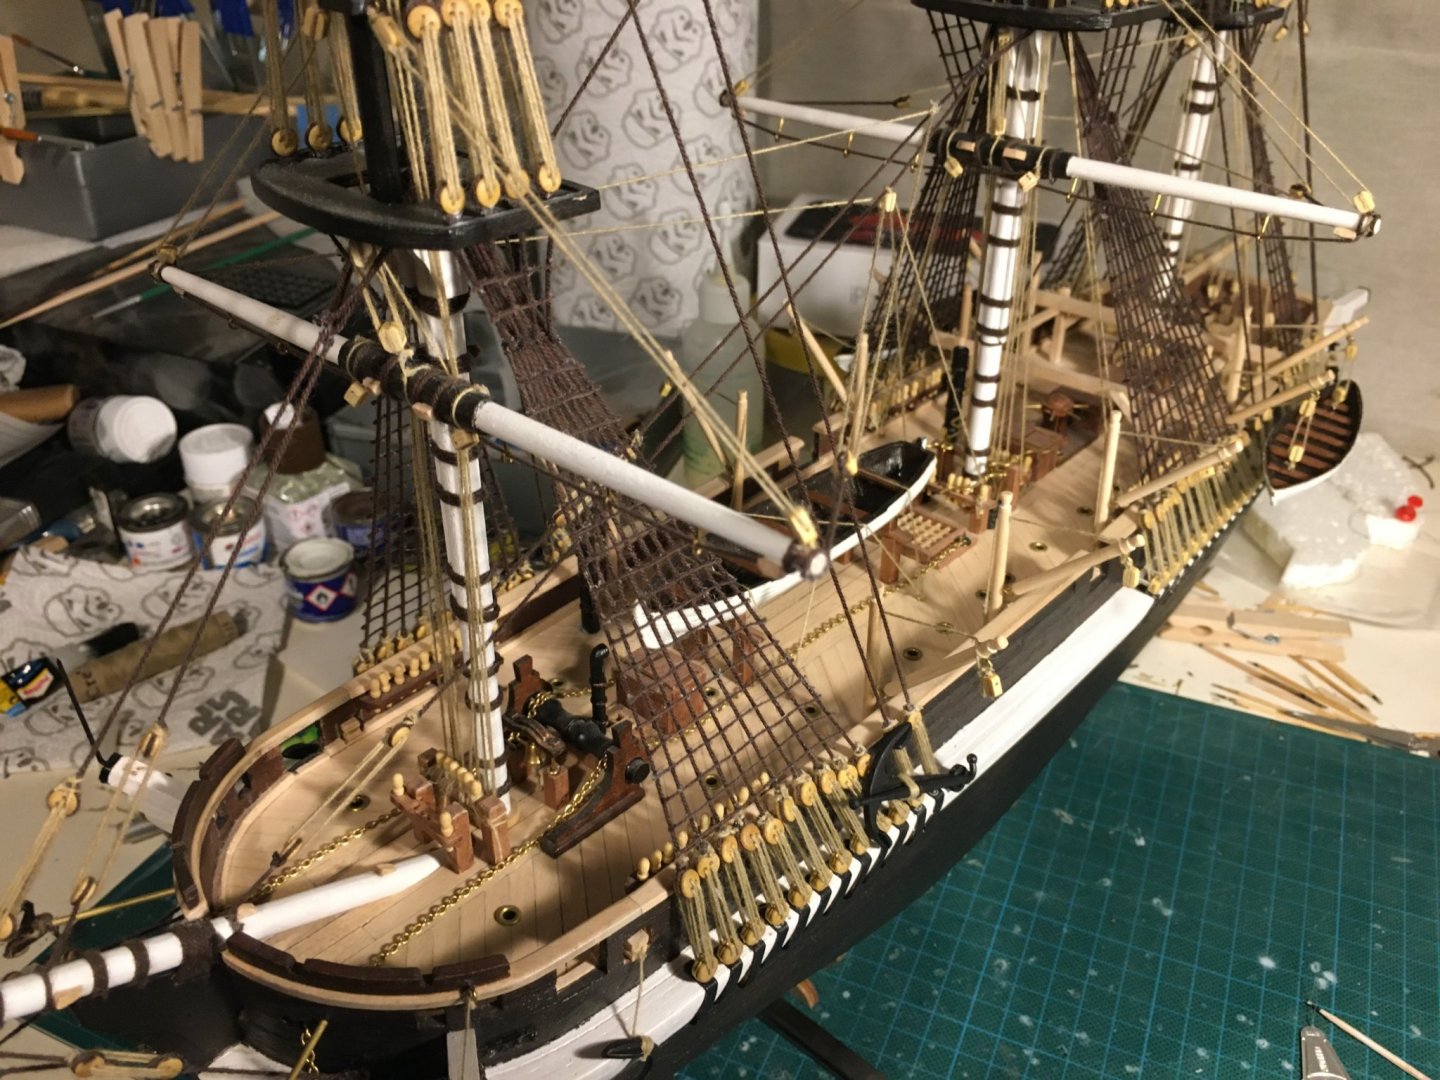
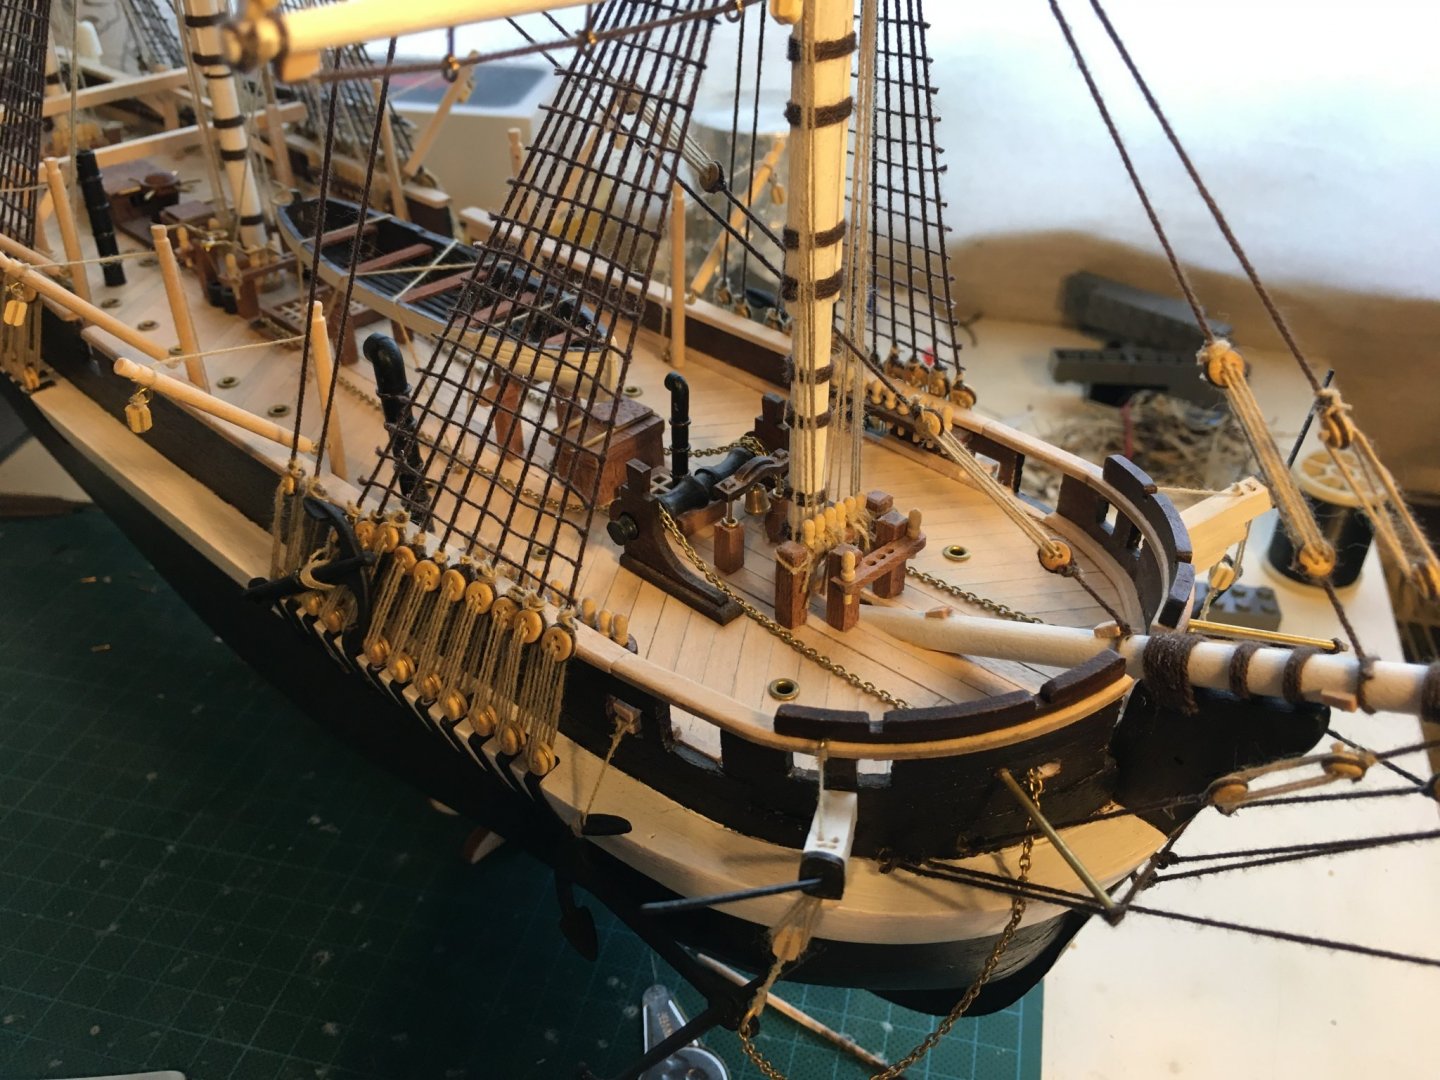
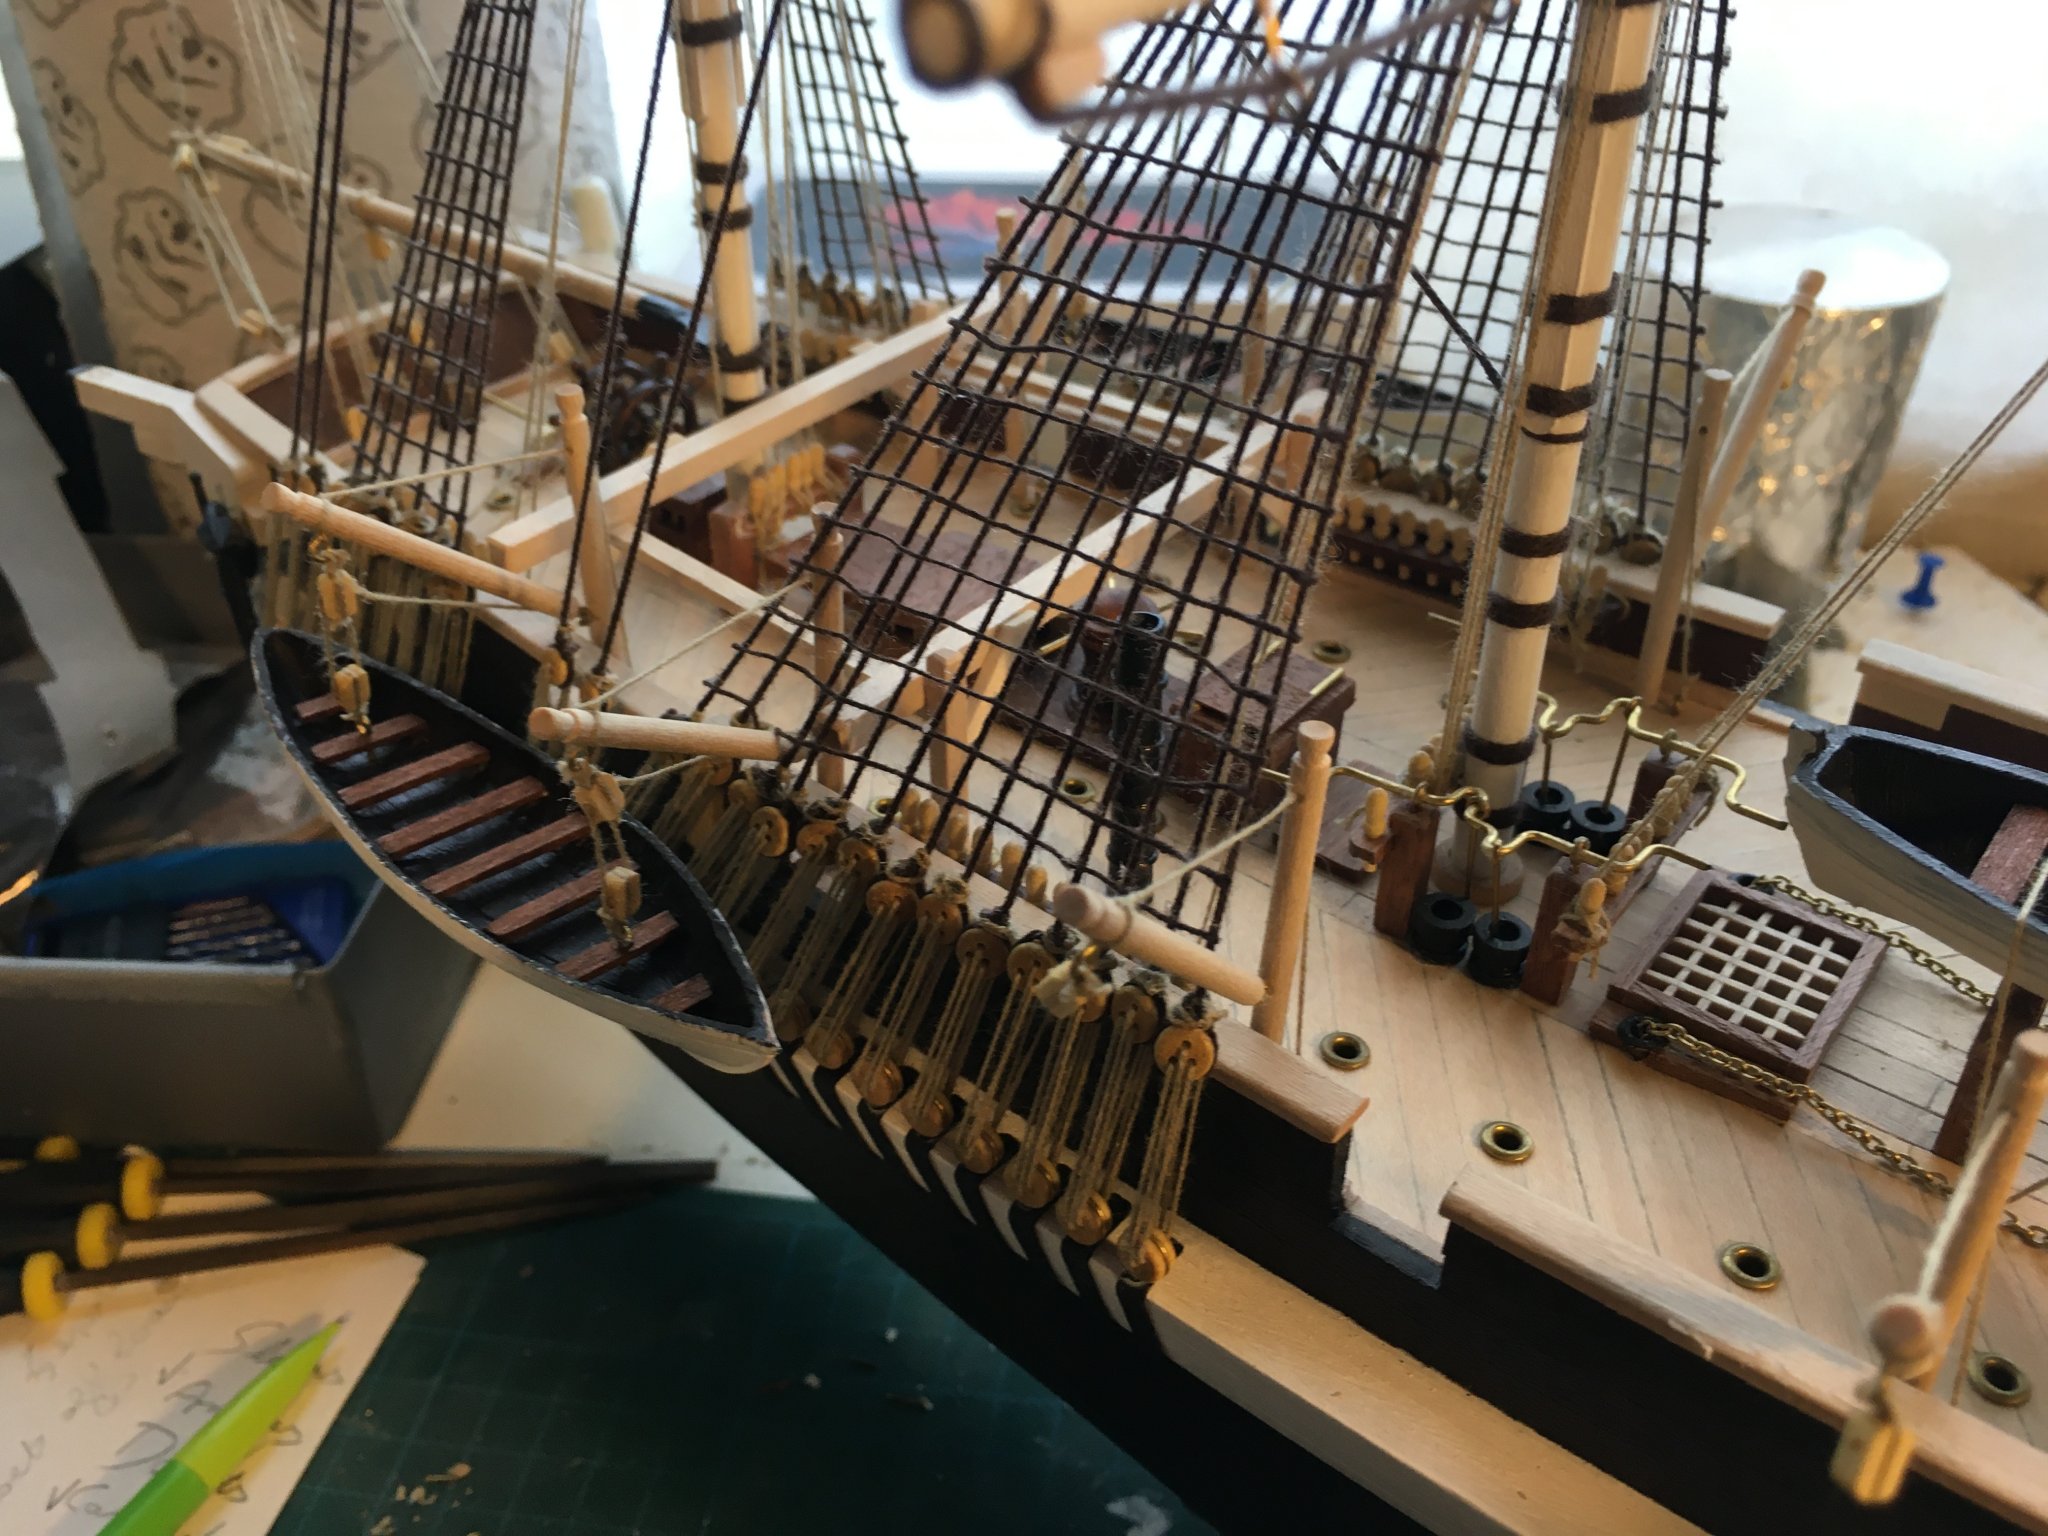
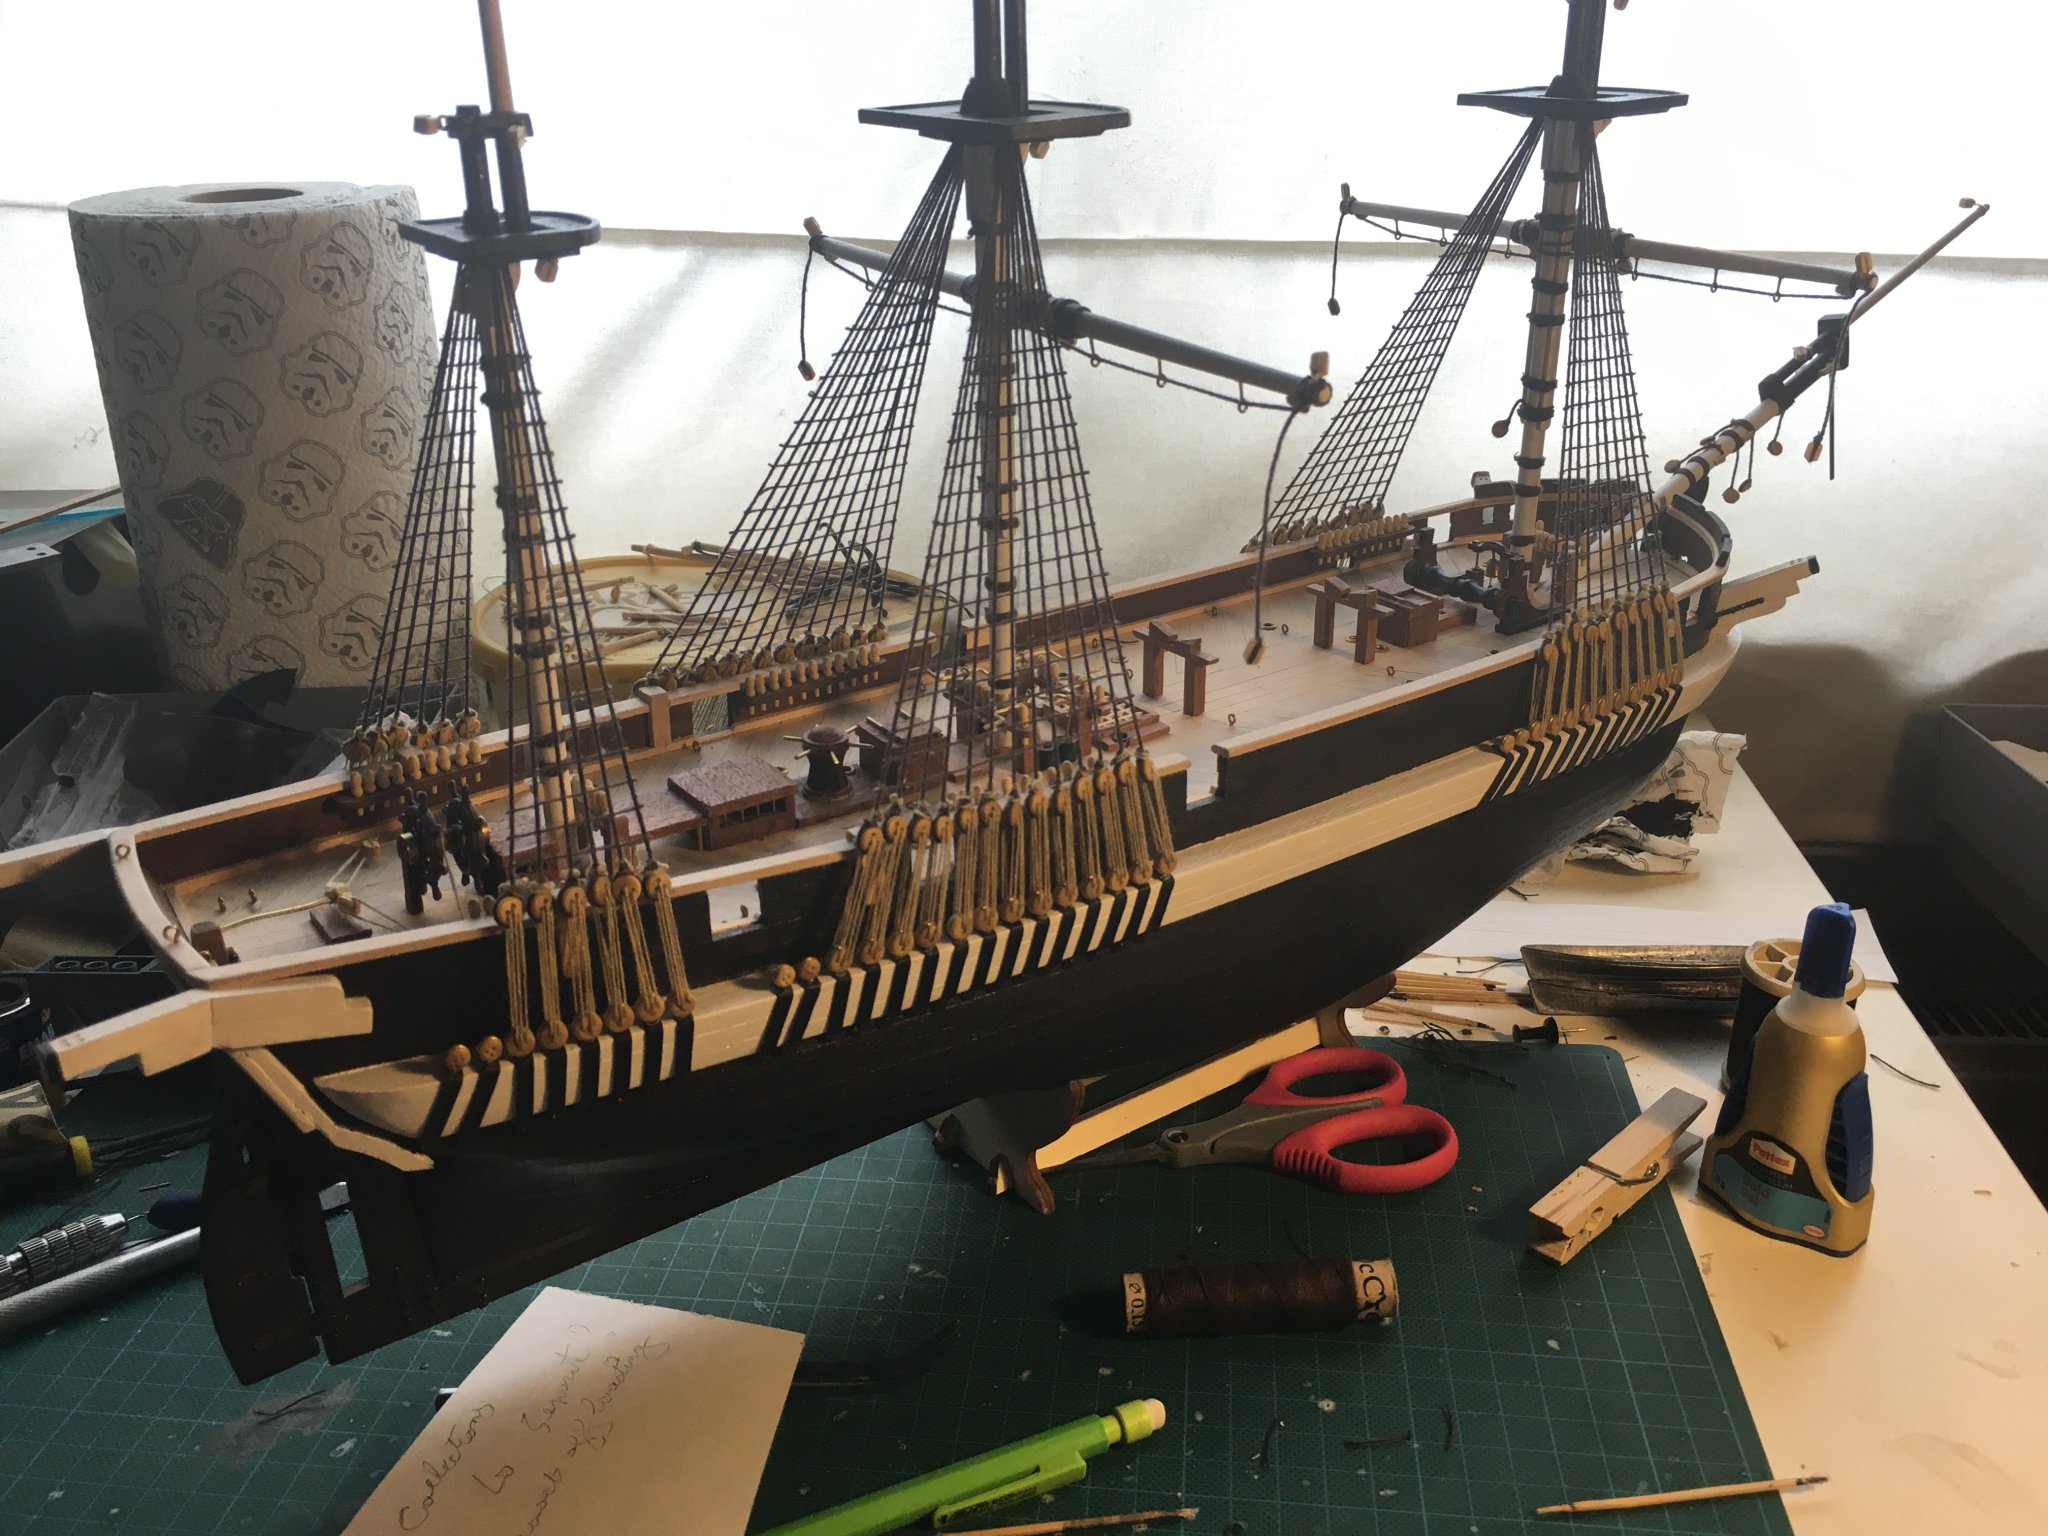
Hi all, thnx for checking in. Big update, it's been quiet, but not at the shipyard. First of all, I finalised the ratlines:

I just love how the lines really flesh out the appearance. Also installed the structure at the stern and 2 davits, as I assumed they would be impossible to get to when all rigging was done:
Then, the big leap: standing rigging. Honestly, the two things I feared most before starting, planking and rigging, are proving to be the most rewarding steps in the build 🙂 I know, I still need to get to the hard bits rigging-wise, but so far I'm having a blast. As the shipyard is getting smaller and smaller by the day (especially after mounting the bowsprit), I took Terror for a little trip to the kitchen to shoot some pictures:


And that's where we are today. Rest of the standing rigging should be ready by next week, then the fun really begins, as that's the part of the rigging schemes I still cannot figure out. The videos help though..
- clearway, Baker, GrandpaPhil and 2 others
-
5
-
On 7/9/2020 at 8:12 PM, Geowolf said:
Confirmed the Diana is not at occremania, only the Terror, the Beagle, easy models. No doubt you can contact occre by mail they're very charm, and remember him you're already customer 😜
Hi F, checked the Occre site, they updated their product pages with a link to the the downloadable instructions. Grabbed both Diana and Beagle. Diana is a challenge, but she looks too good to resist 🙂
-
His all, thnx for checking in. Small update: lower shrouds are rigged:
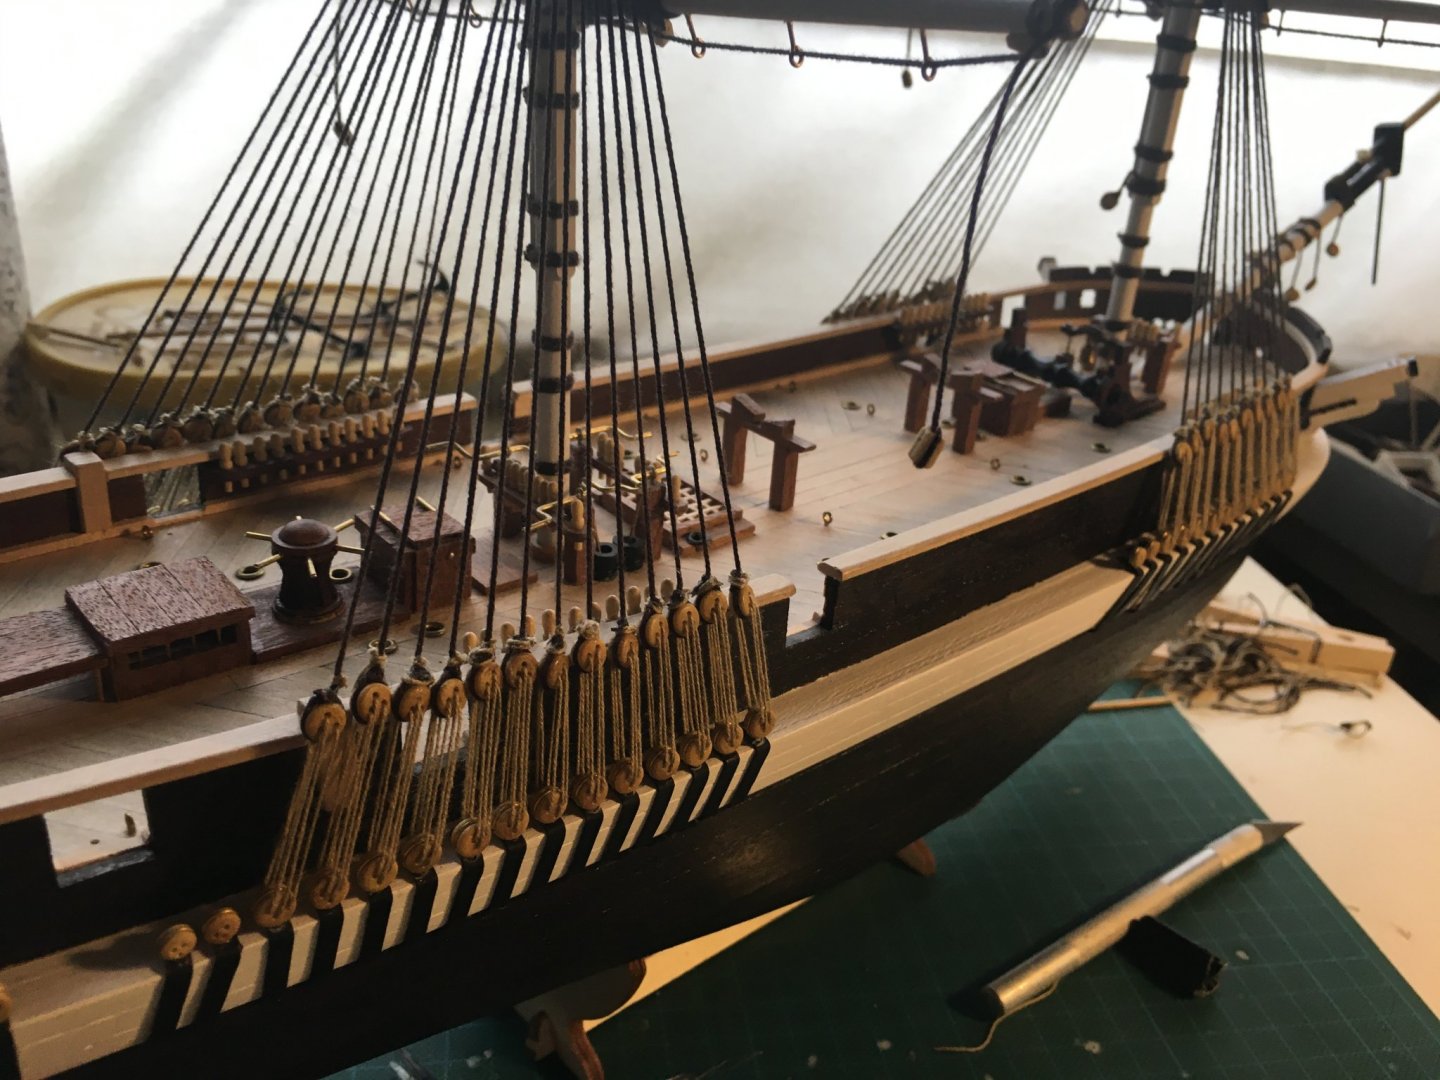

On to the ratlines 🙂 Question: as the instructions don't mention this, what should be the distance between ratlines at 1/75th scale, in millimeters? Did some looking around, numbers vary from 4 to 7 mms, which is quite a margin I think... Thnx for the help!
-
12 hours ago, Wahka_est said:
Really nice!
And you are ahead of me, now i can ask you for advice
.
As you are doing so well do you allready have ideas for next kit?
Thnx! Glad to help if I can, but remember this is my first one, so make sure you check with more experienced builders, I don't want to pass on any bad habits 🙂
I'm eyeing 2 models actually, both from Occre: One is the Beagle:
The other one is the frigate Diana:
I have a slight preference for the second one, but it seems a lot more complex than Terror, so hesitating. Can't find any build logs either, and contrary to Beagle and Terror, Occre doesn't have any instruction videos, so I'll be jumping in at the deep end..
-
-
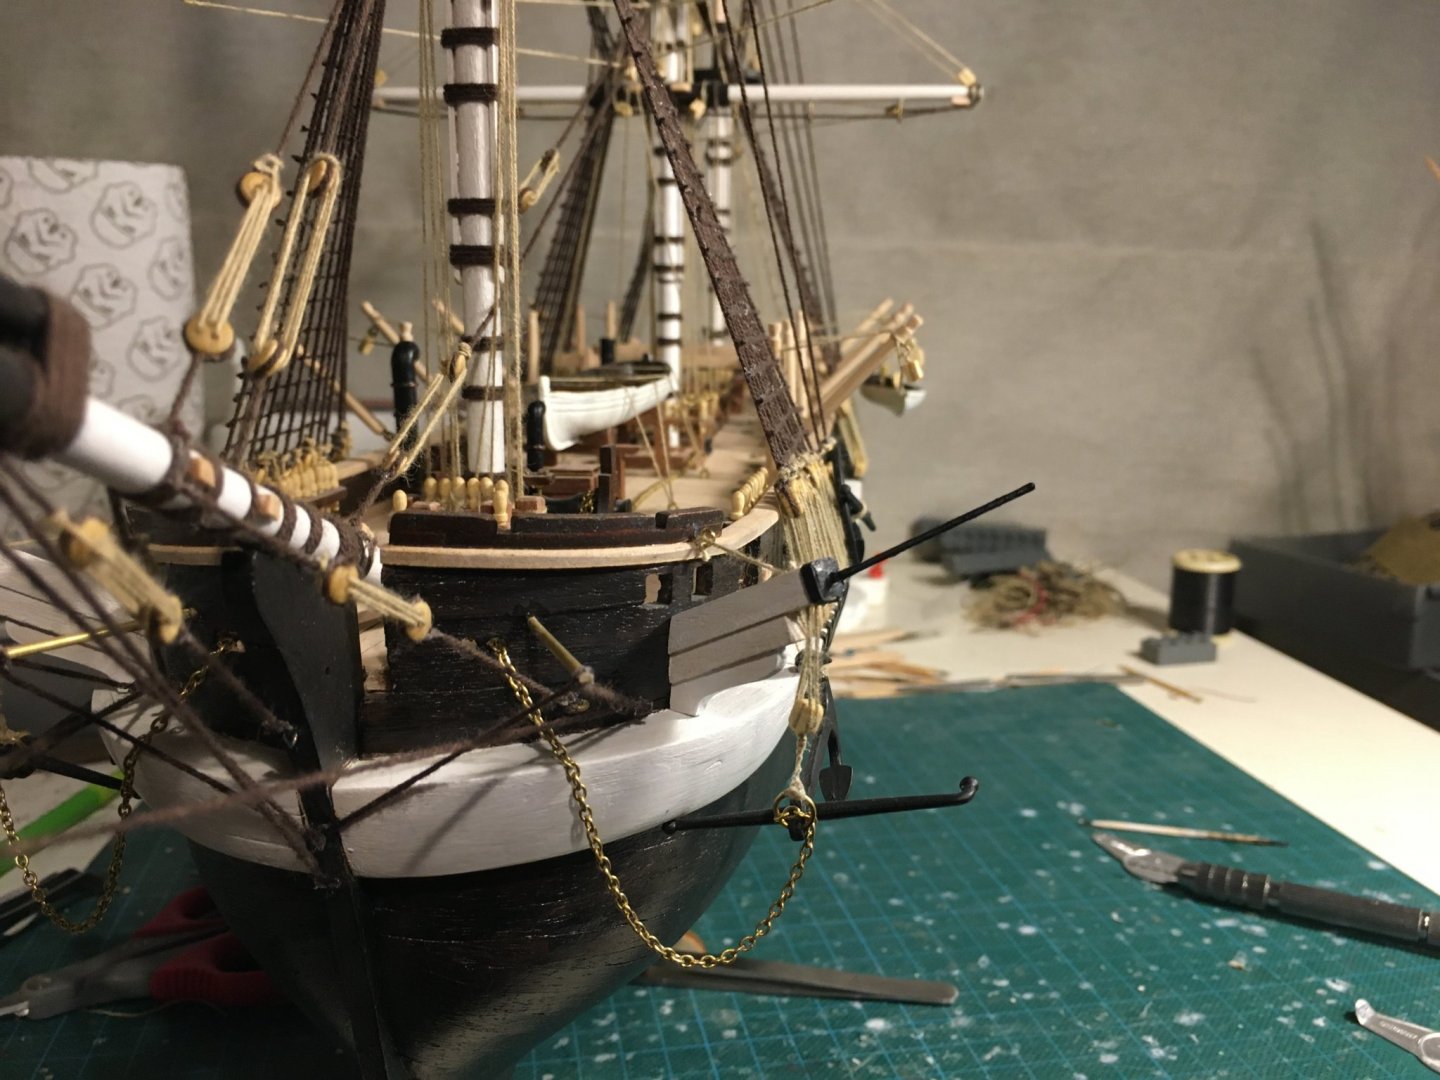
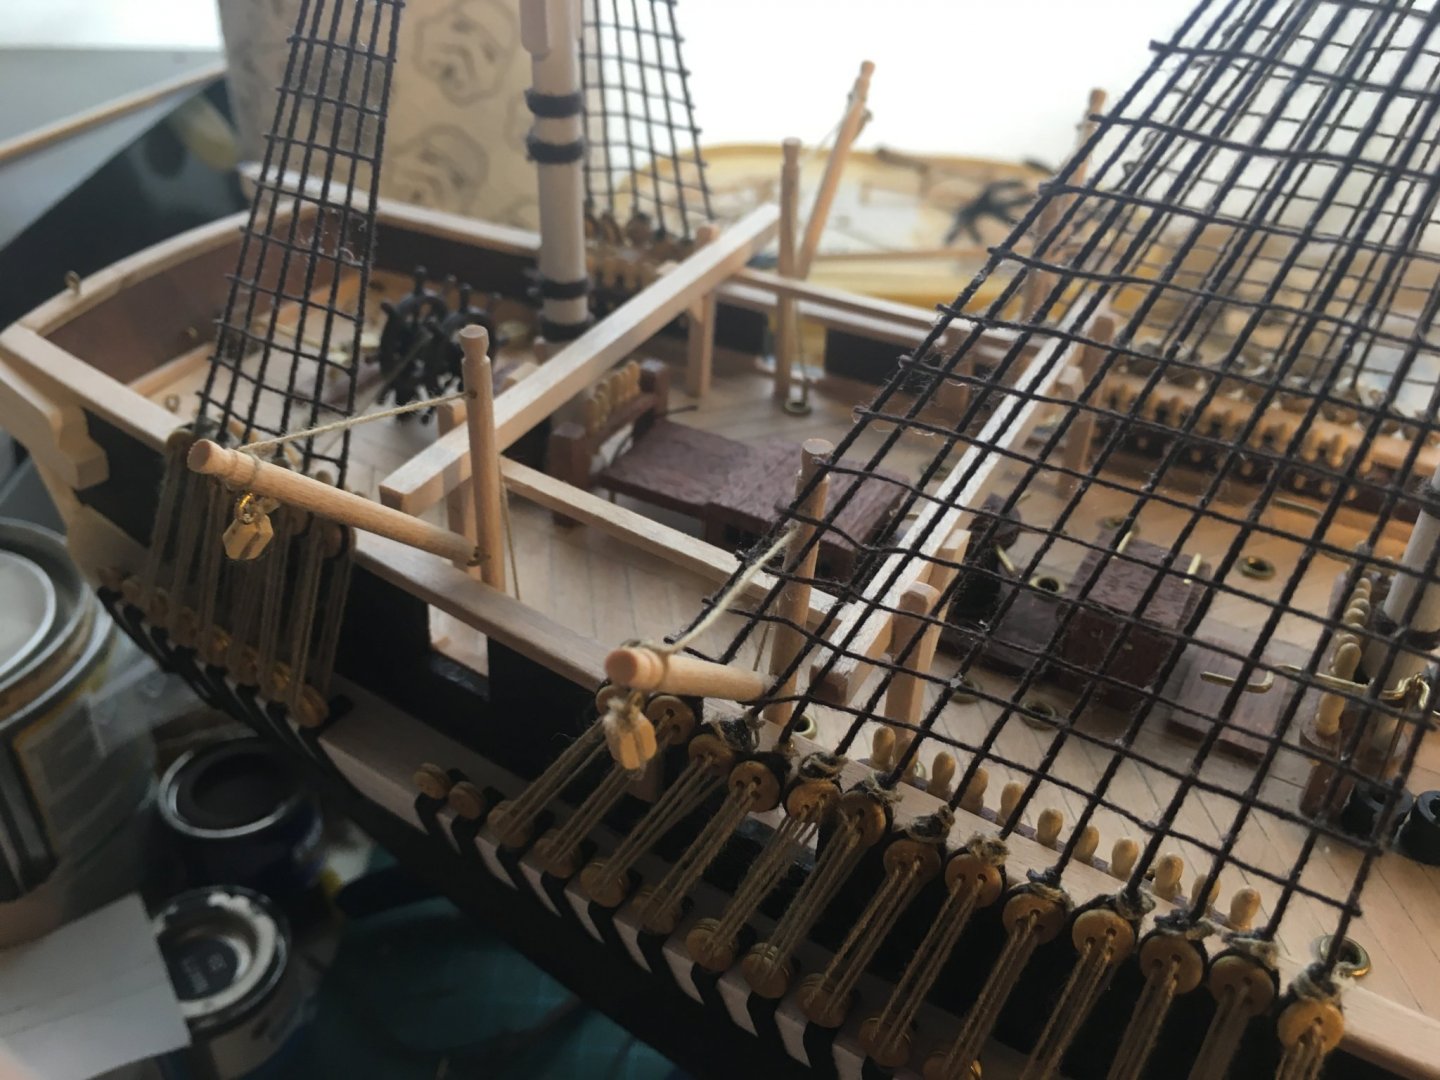
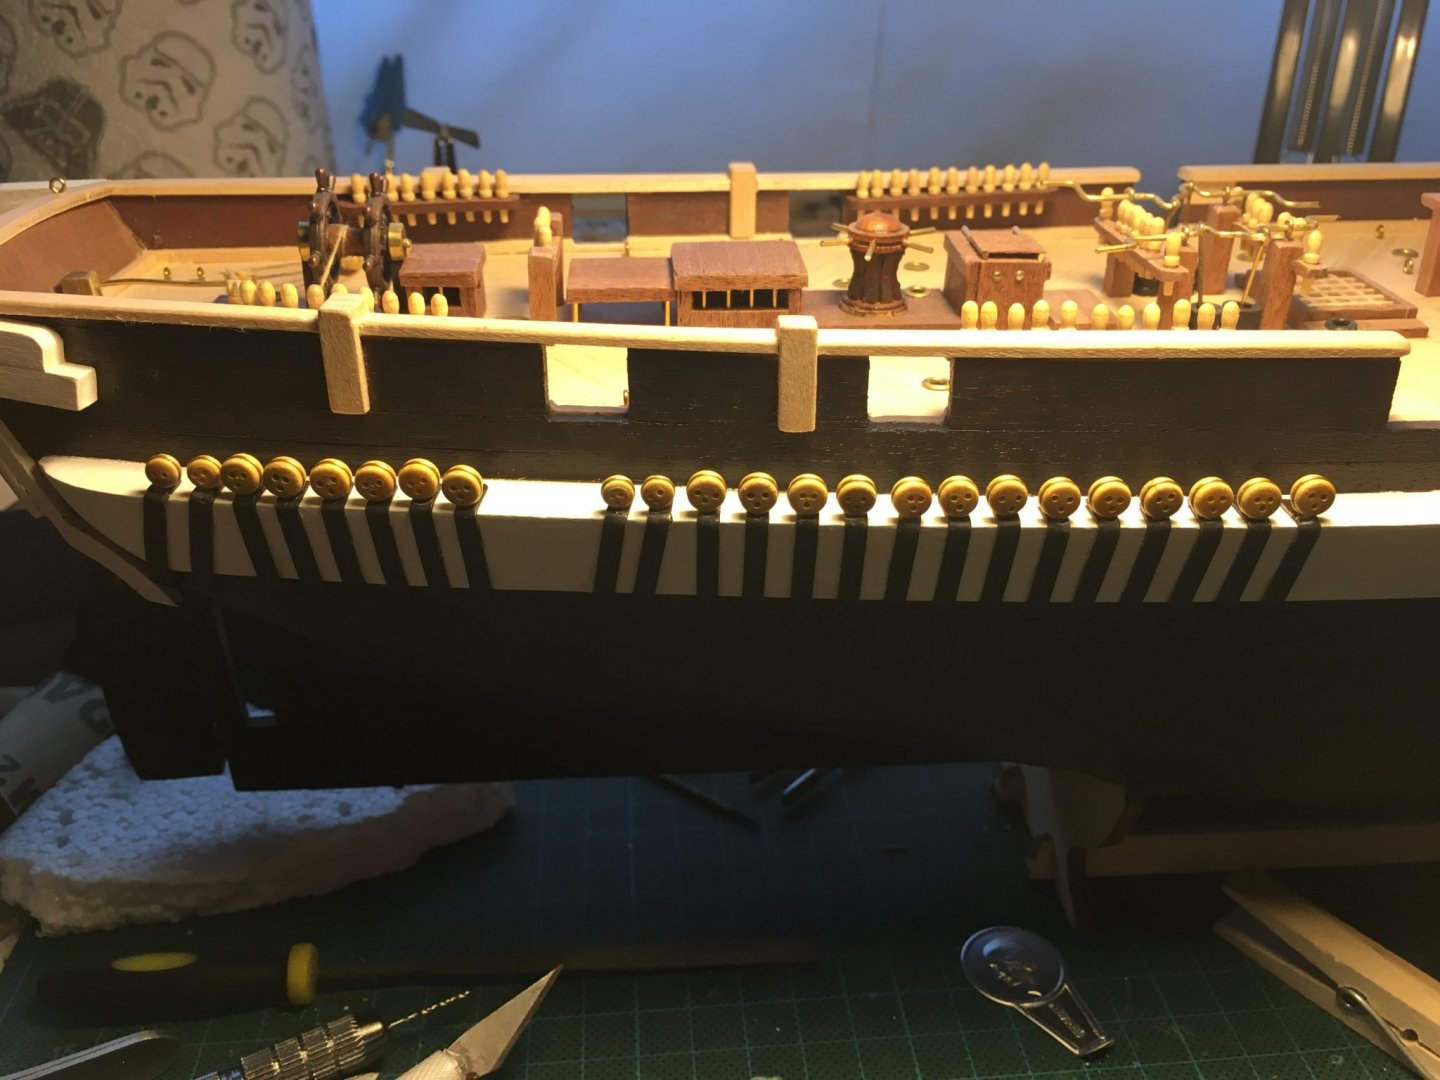
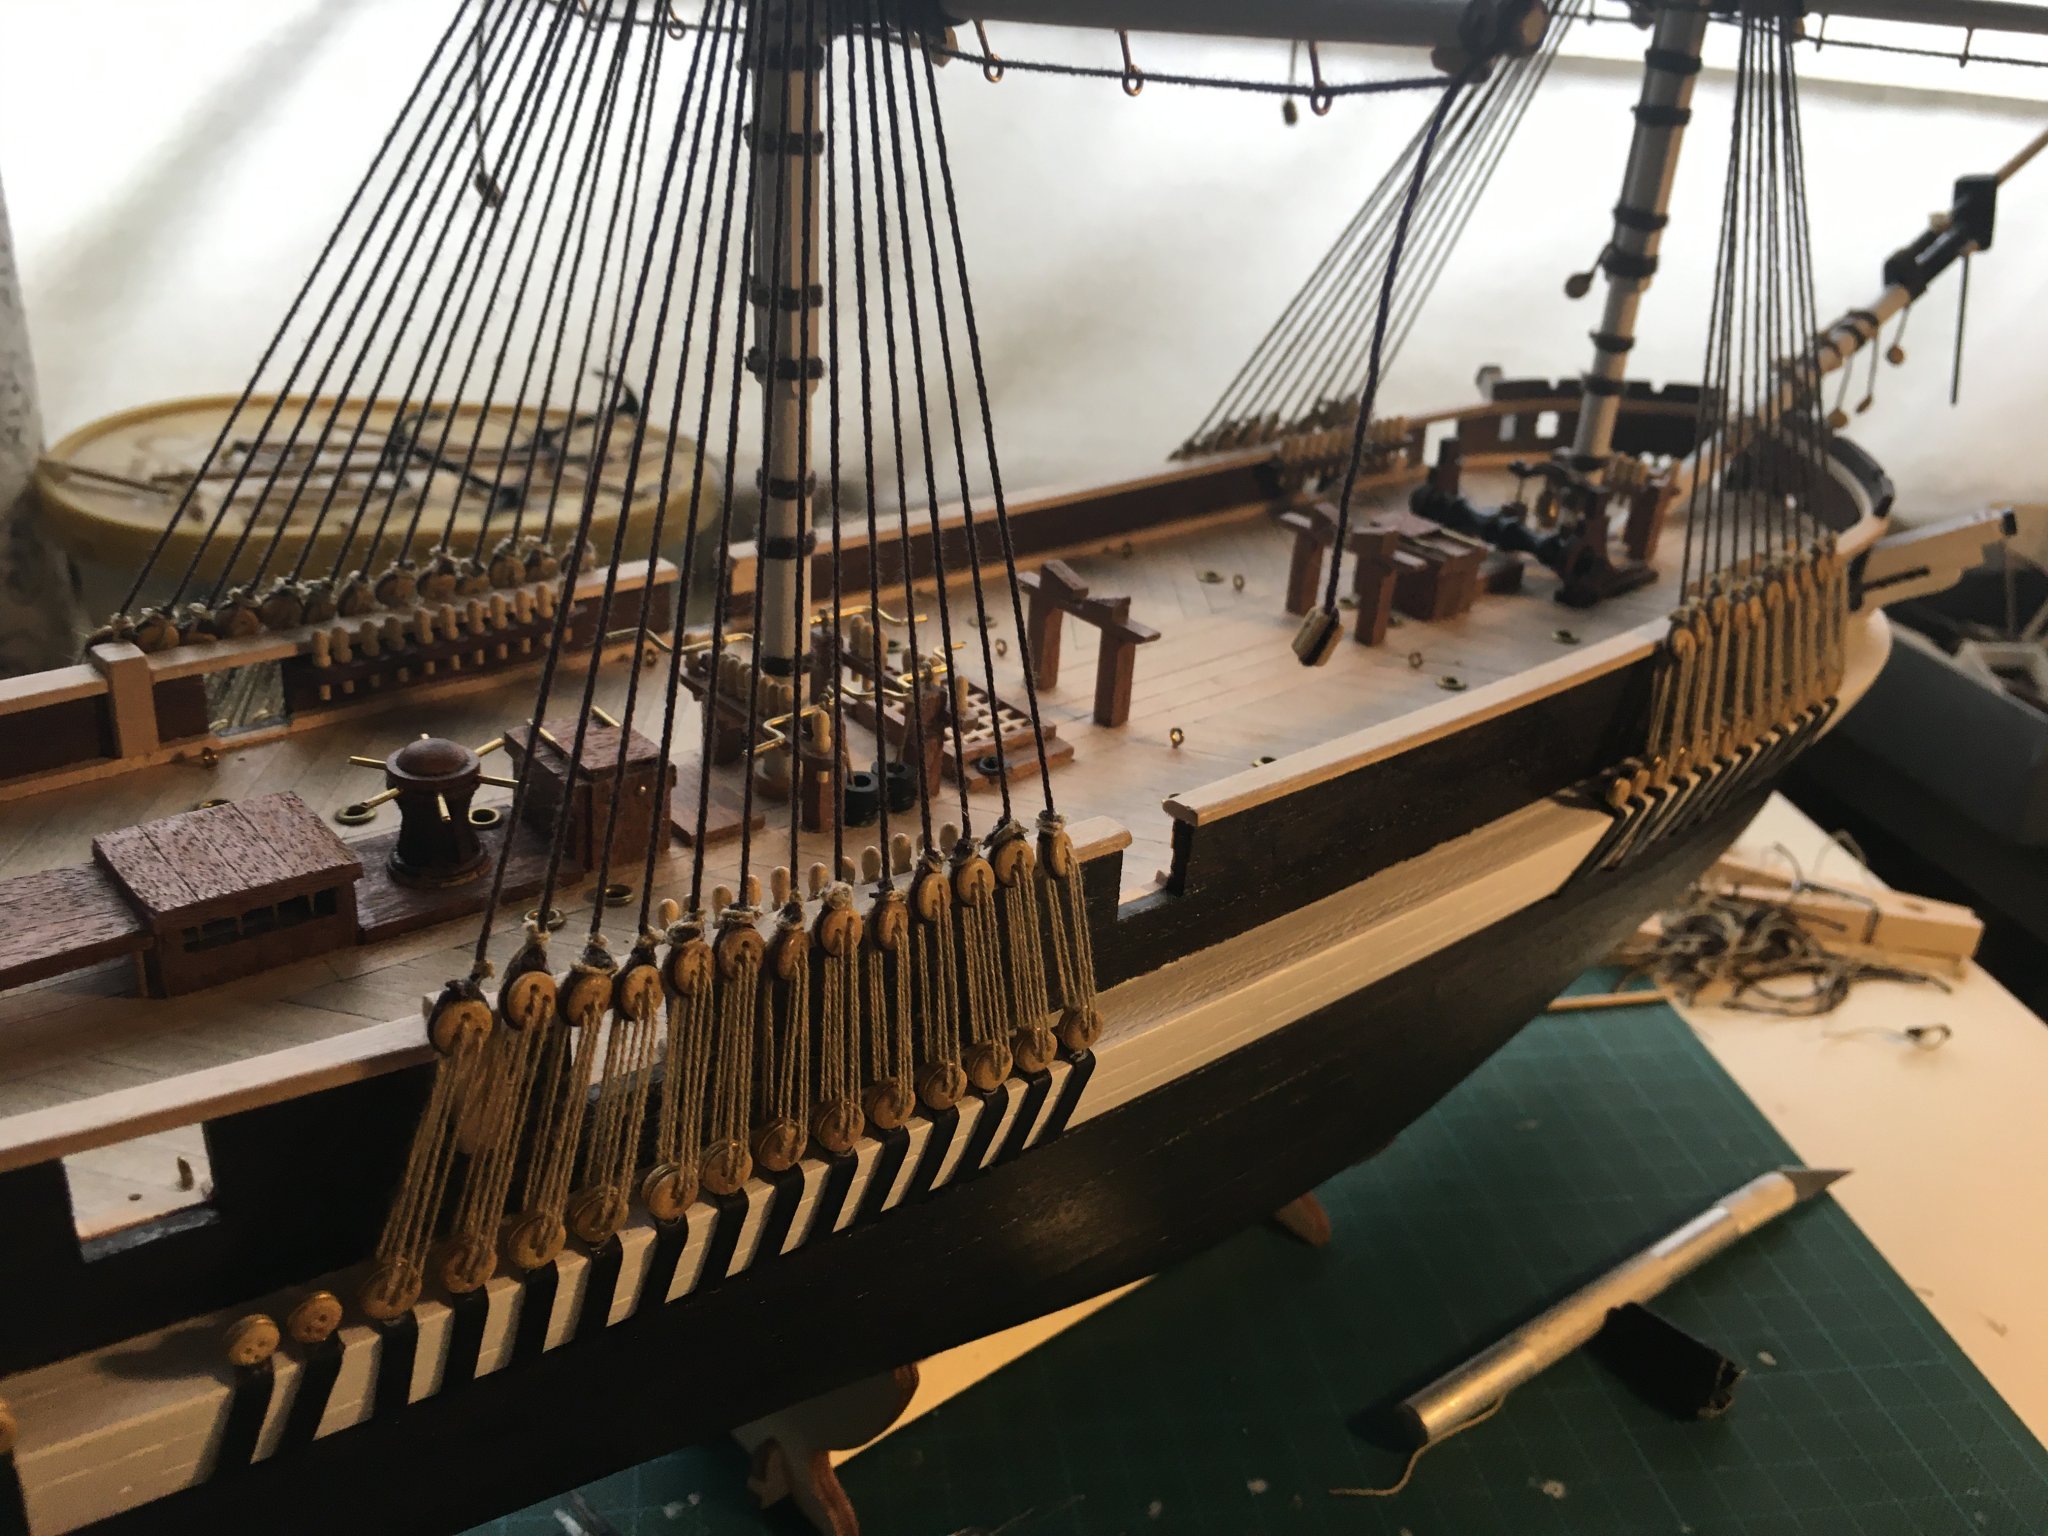
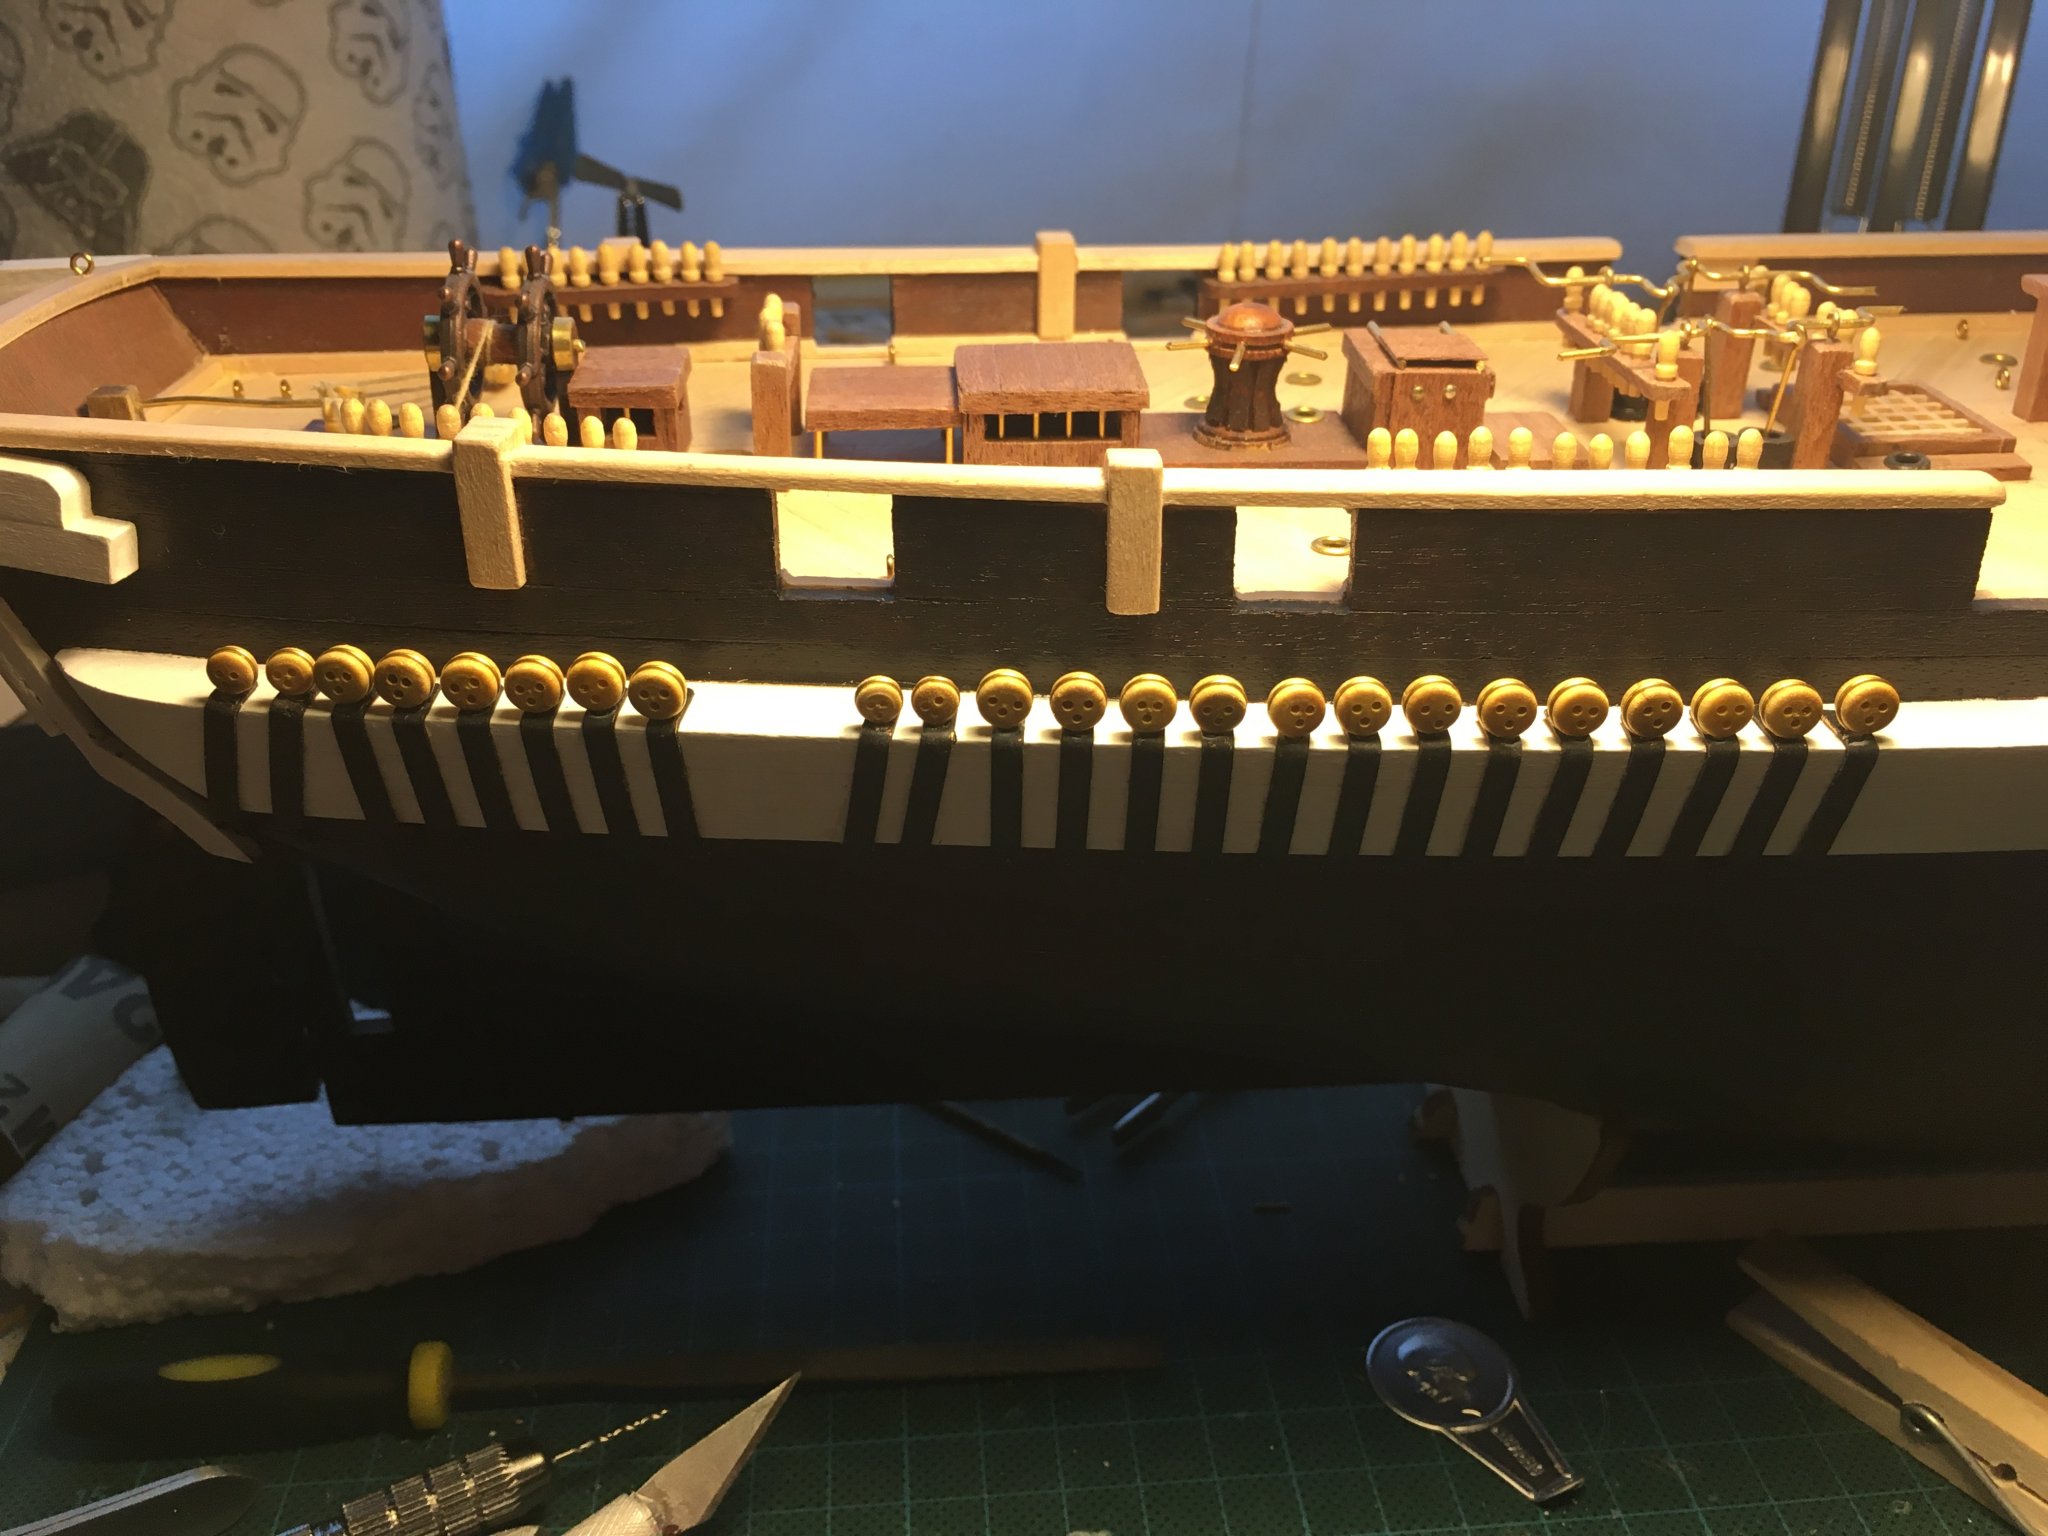
Hi all, thnx for checking in 🙂 Small update, but lots of testing. Channels and deadeyes are now all installed:
As my local store did not have the necessary parts in stock, tried out cornwellmodelboats.co.uk, which I found referenced in several logs here. Ordered Thursday evening, shipped on Friday, in my mailbox next Wednesday. Excellent service!
Attached the catheads:
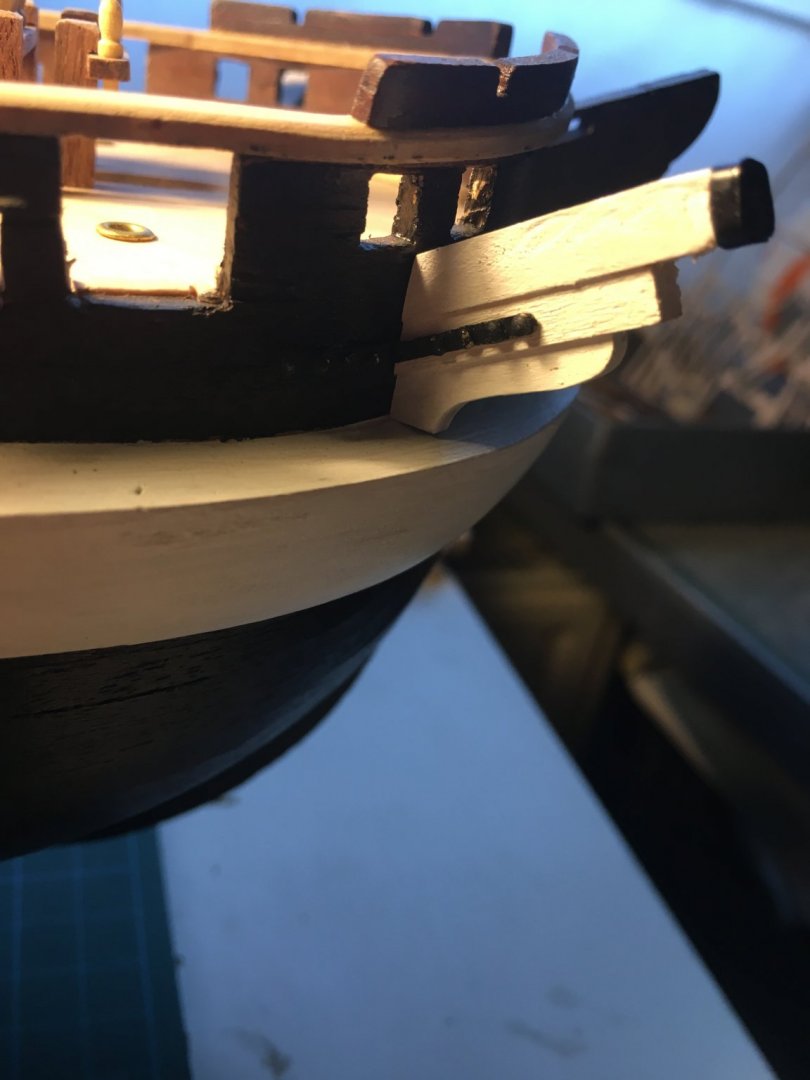
Those rivets will be my undoing... Talk about a test of nerves.
Made some davits as well, and prepped the wooden construction for the deck. Also, started thinking about the shrouds and the way to attach them. Occre's video's just put the rope over the mast, doesn't make much sense to me as I think the shrouds are there for lateral support. John Aliprantis' video series on Santissima Trinidad is pairing up the lines, starting from the middle and then working their way out to the end deadeyes, but from what I saw all lines are attached for one side (port) and then the other, which didn't make much sense either to me. Mastini's book brought some much needed explanation, as in how to attach while switching from port to starboard.
In the end I tried out a variation. As this is my first model, I really don't have any spares, so I tried it out on Terror herself, without glueing anything. Basically the idea is to follow Mastini's guidelines, but tie the rope around the mast with a knot. Then glue the two ends together at the base of the knot, and proceed with the deadeyes at the bottom. Tried this out:
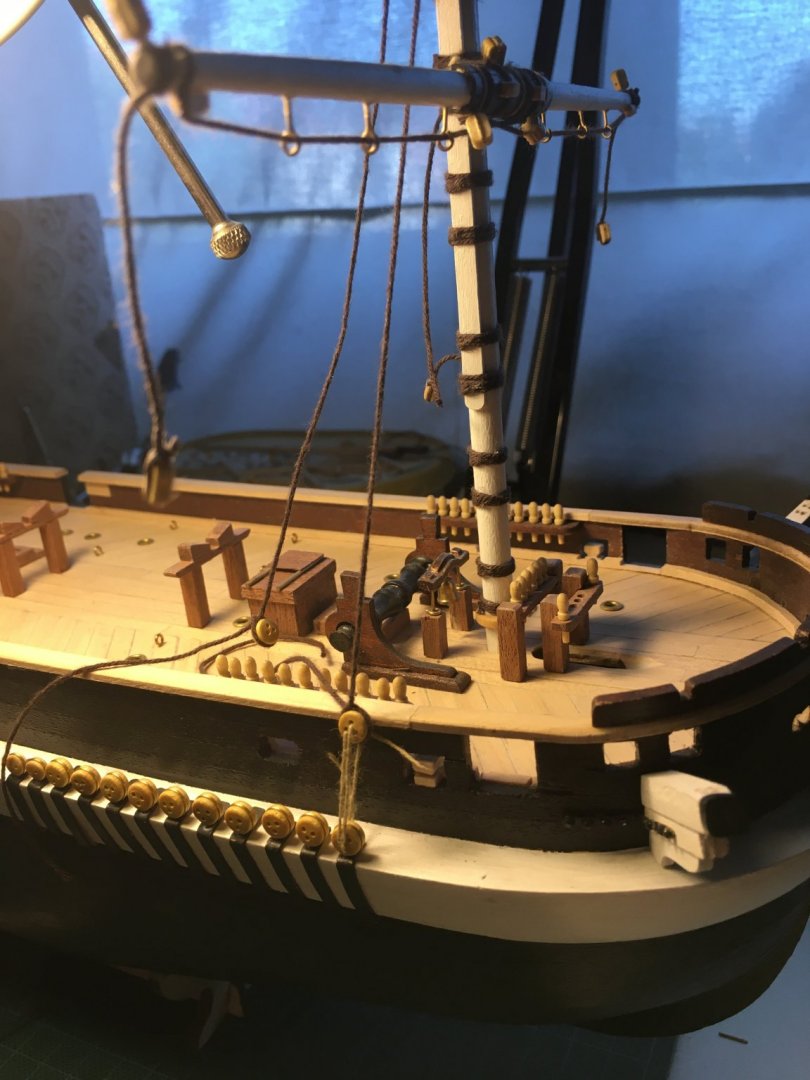

Again, nothing glues and just used some ends of spare ropes, but I think it does the trick. So two lines to port, two lines to starboard, and work my way from the stem to the stern. An thoughts on this? Am I missing something vital? I saw Mastini is tying the line together at the top, might be a way to go as well...
As always, thnx for the advice!
-
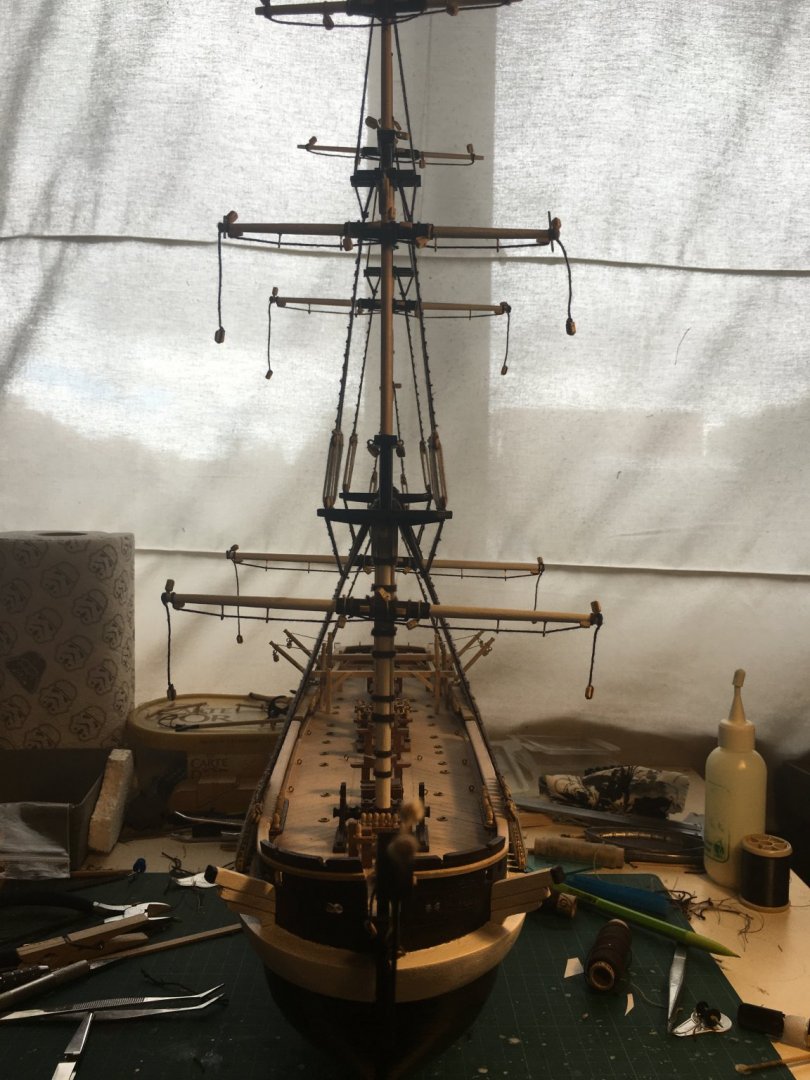
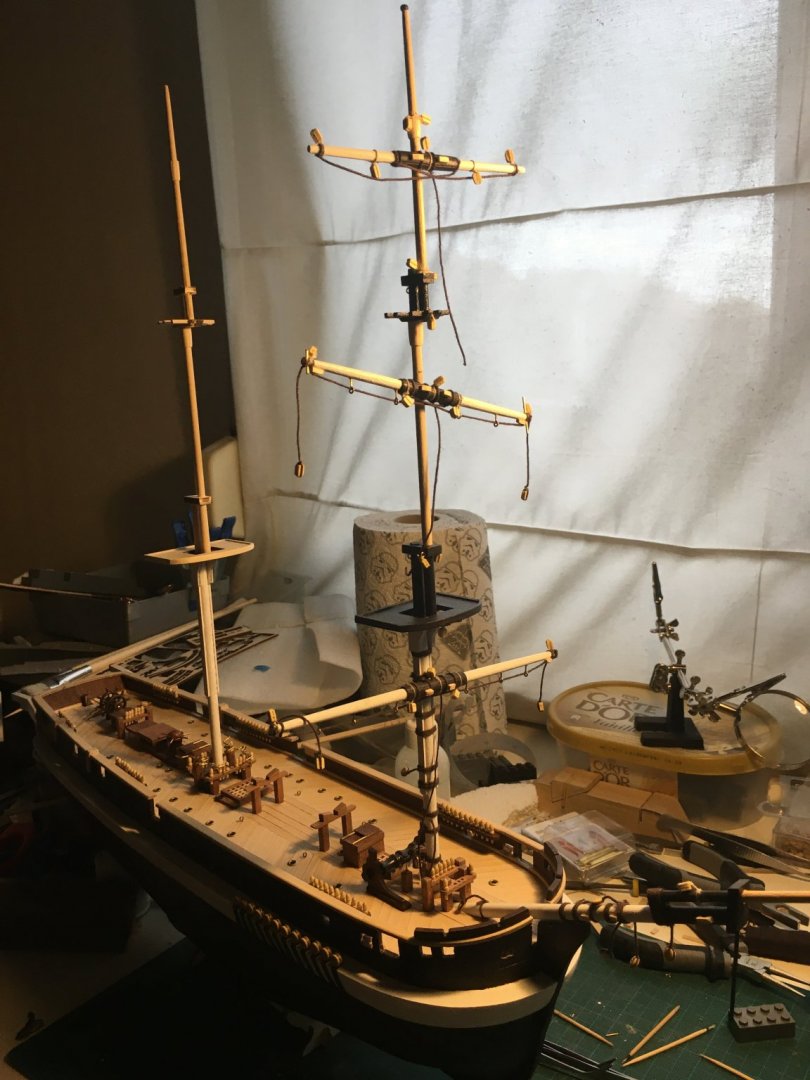
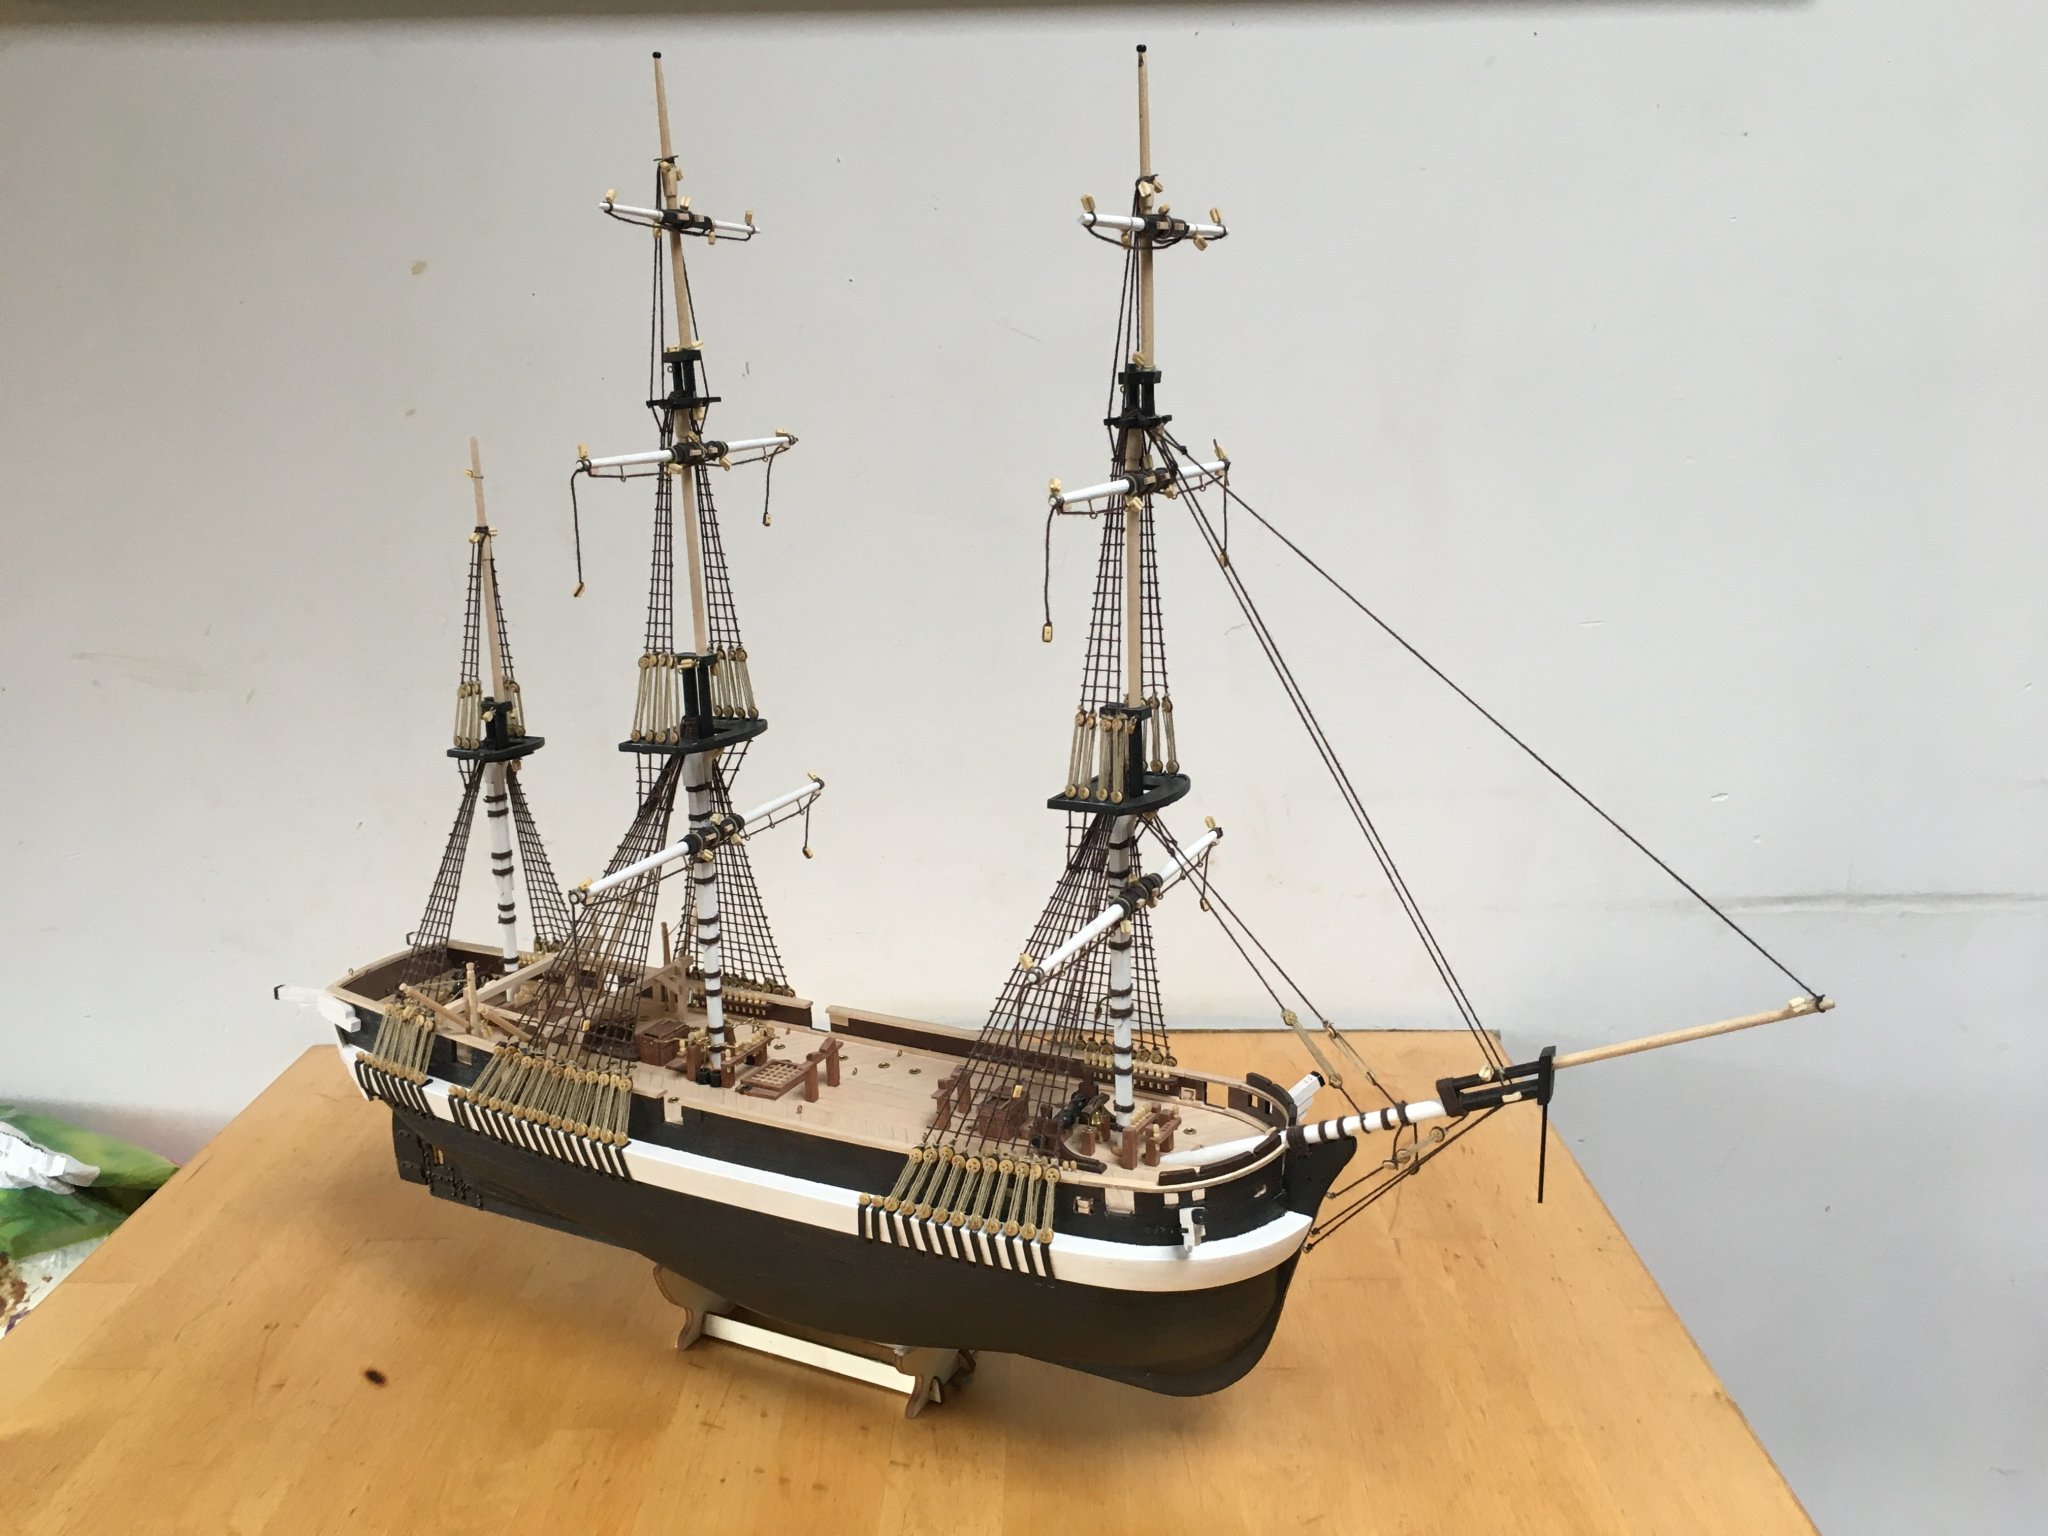
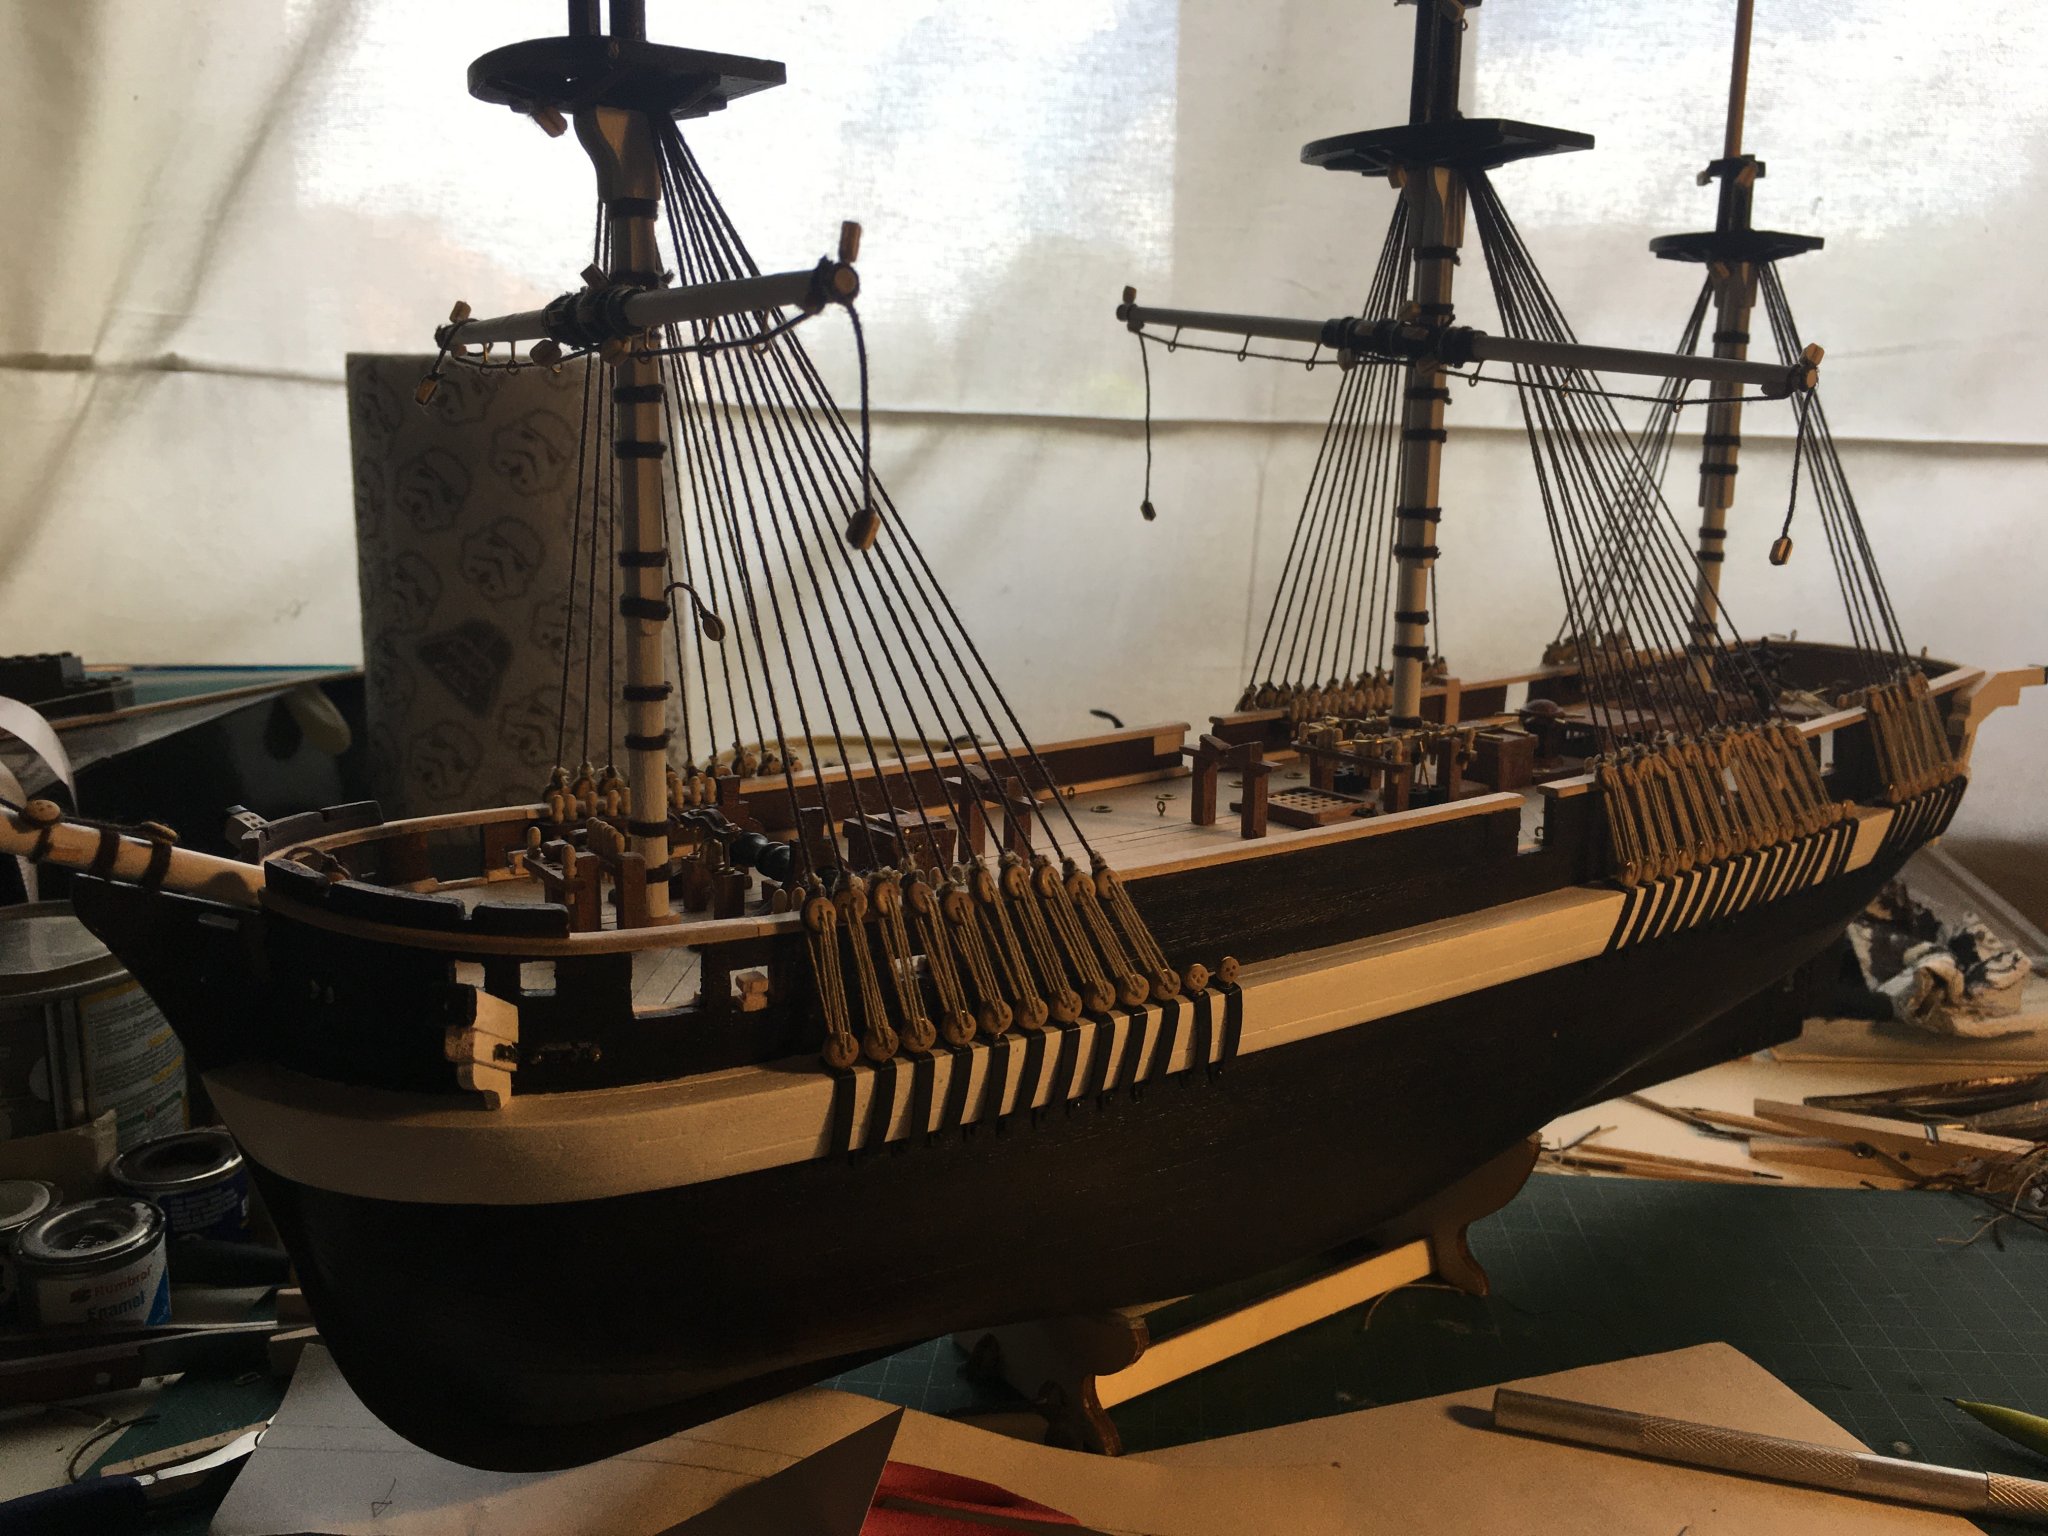
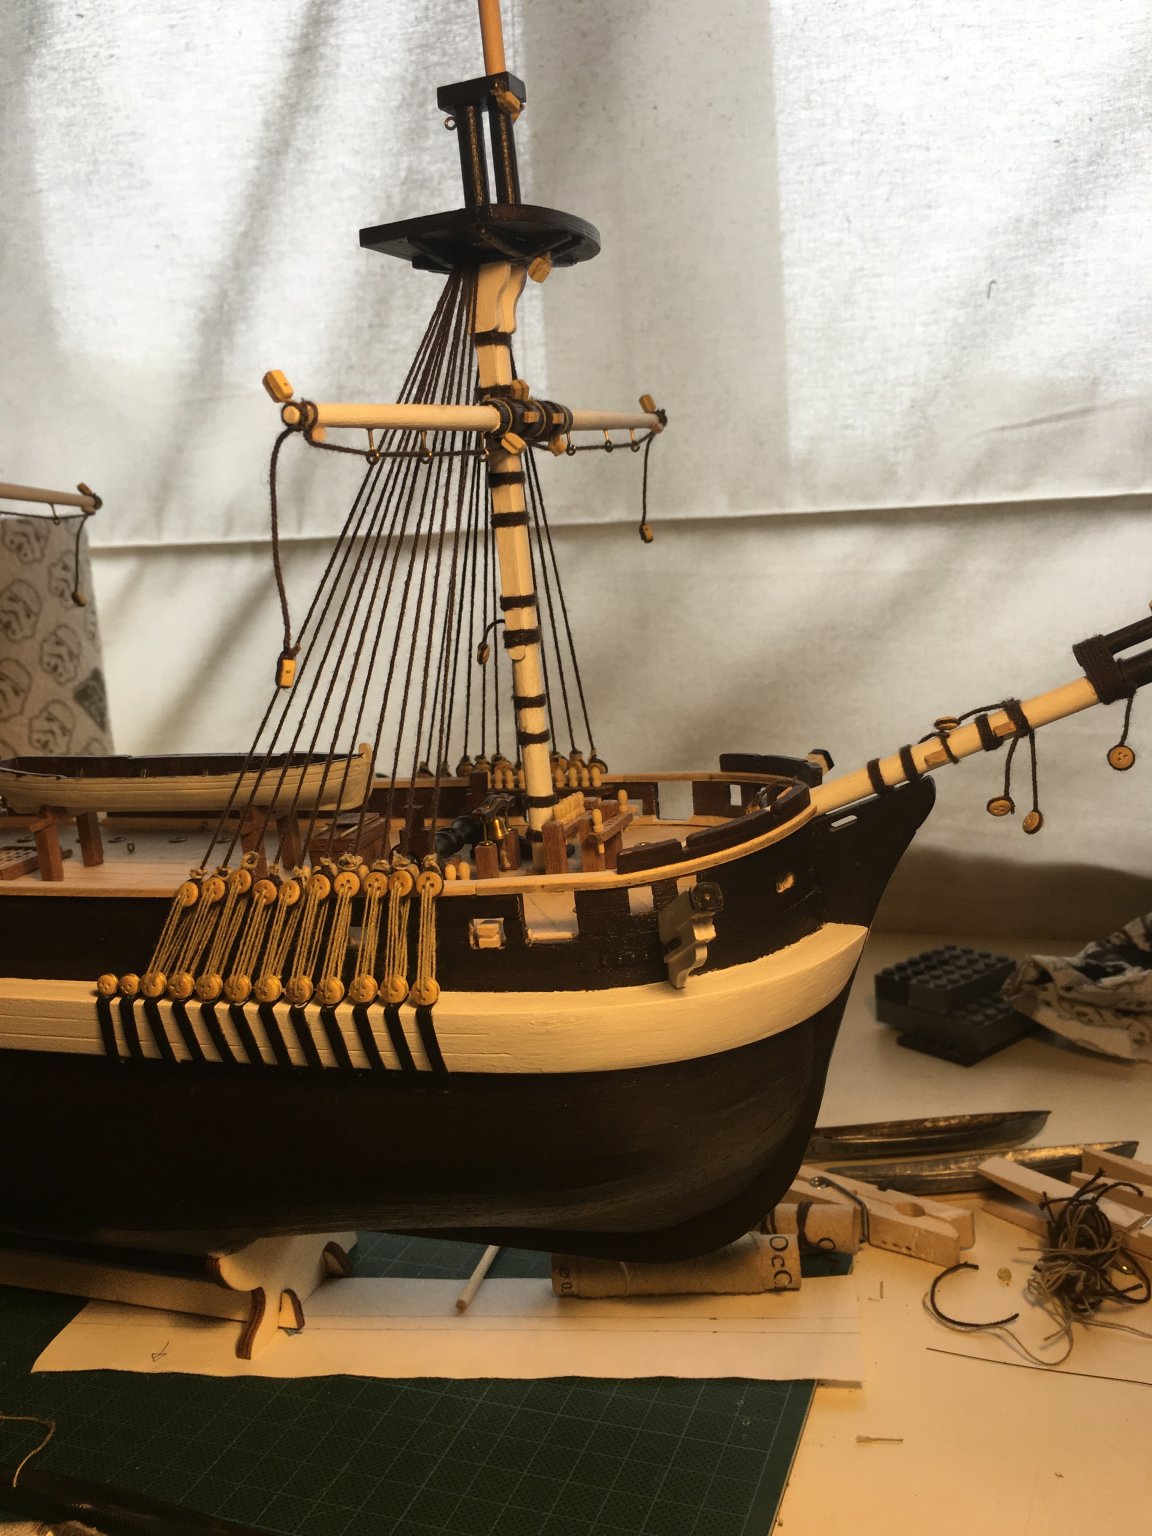
Small update: All the masts are up:
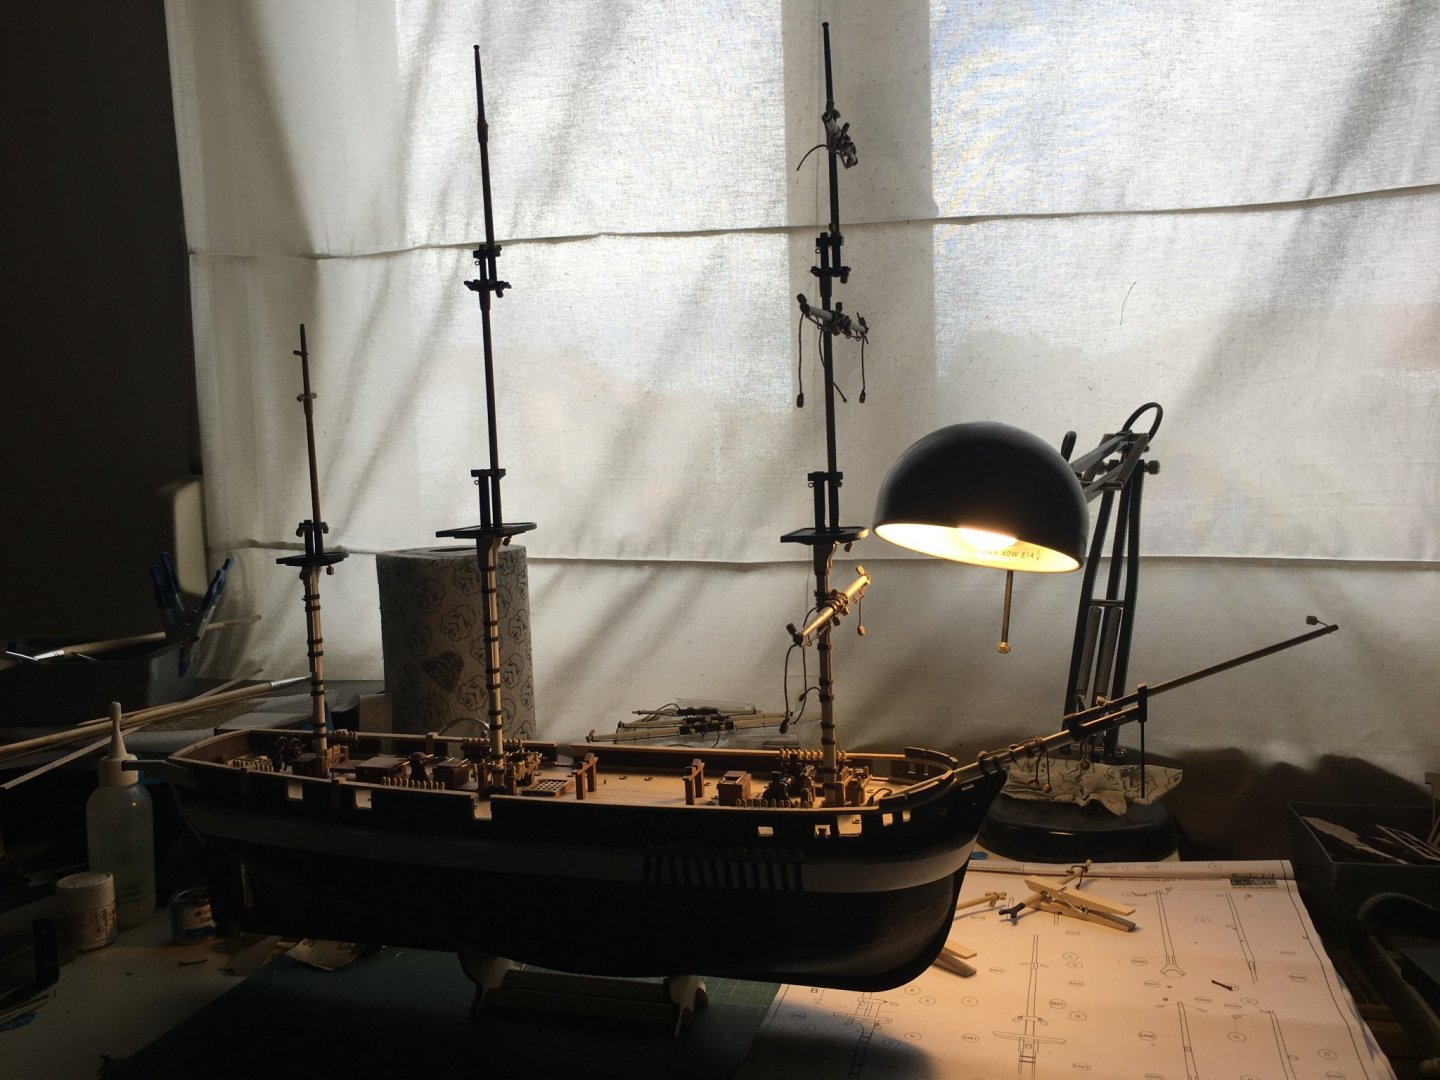
I really have to find another location to take pictures of her, she's outgrowing my workbench 🙂
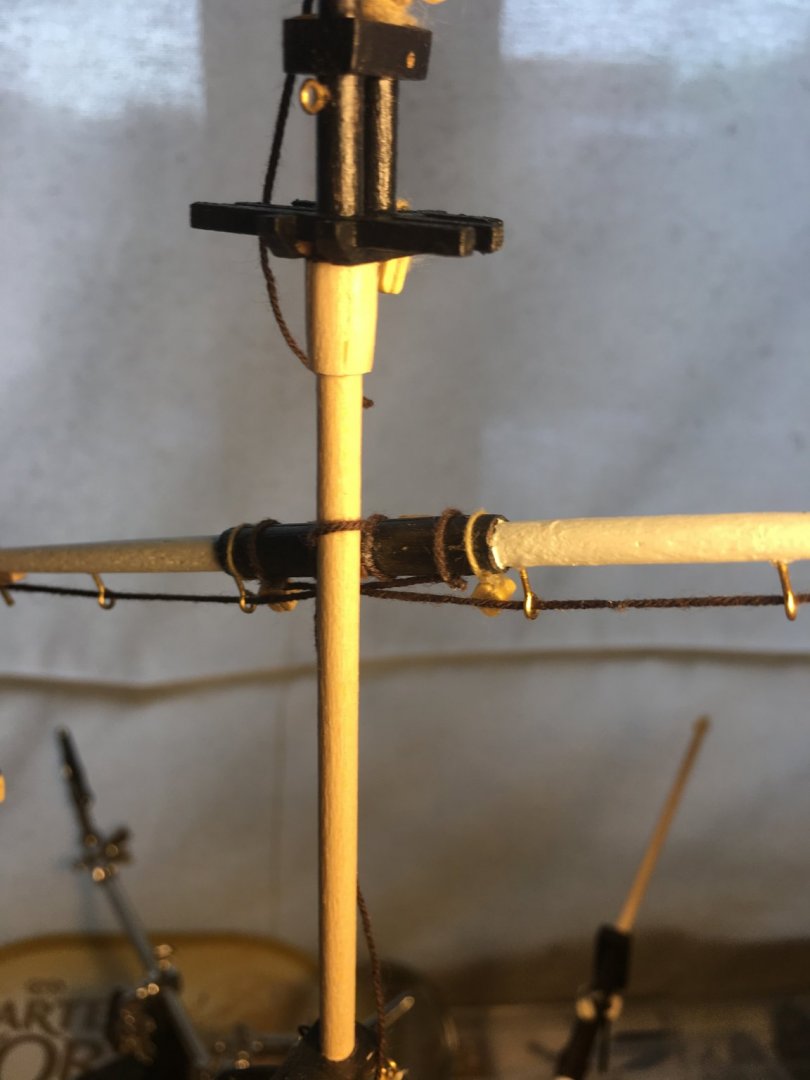
No masts or yards are attached, still waiting for the parts to make the channels. Thought it made more sense to move the hull around without all the masts glued to it. Following some good advice from my fellow builders Clearway and Wahka, I've been experimenting with the yards:

Seems a bit more robust, but I'm still not done testing.
Meanwhile, rigging seems to come closer and closer.From the different sources I found, the sequence doesn't seem to be set: Occre video's start with the shrouds, then the standing rigging, then the running rigging, then the sails. Mastini's book recommends doing the top shrouds before the masts are even mounted! What is your experience sequence-wise, what works best for you?
- GrandpaPhil, Wahka_est and clearway
-
3
-
Hi all,
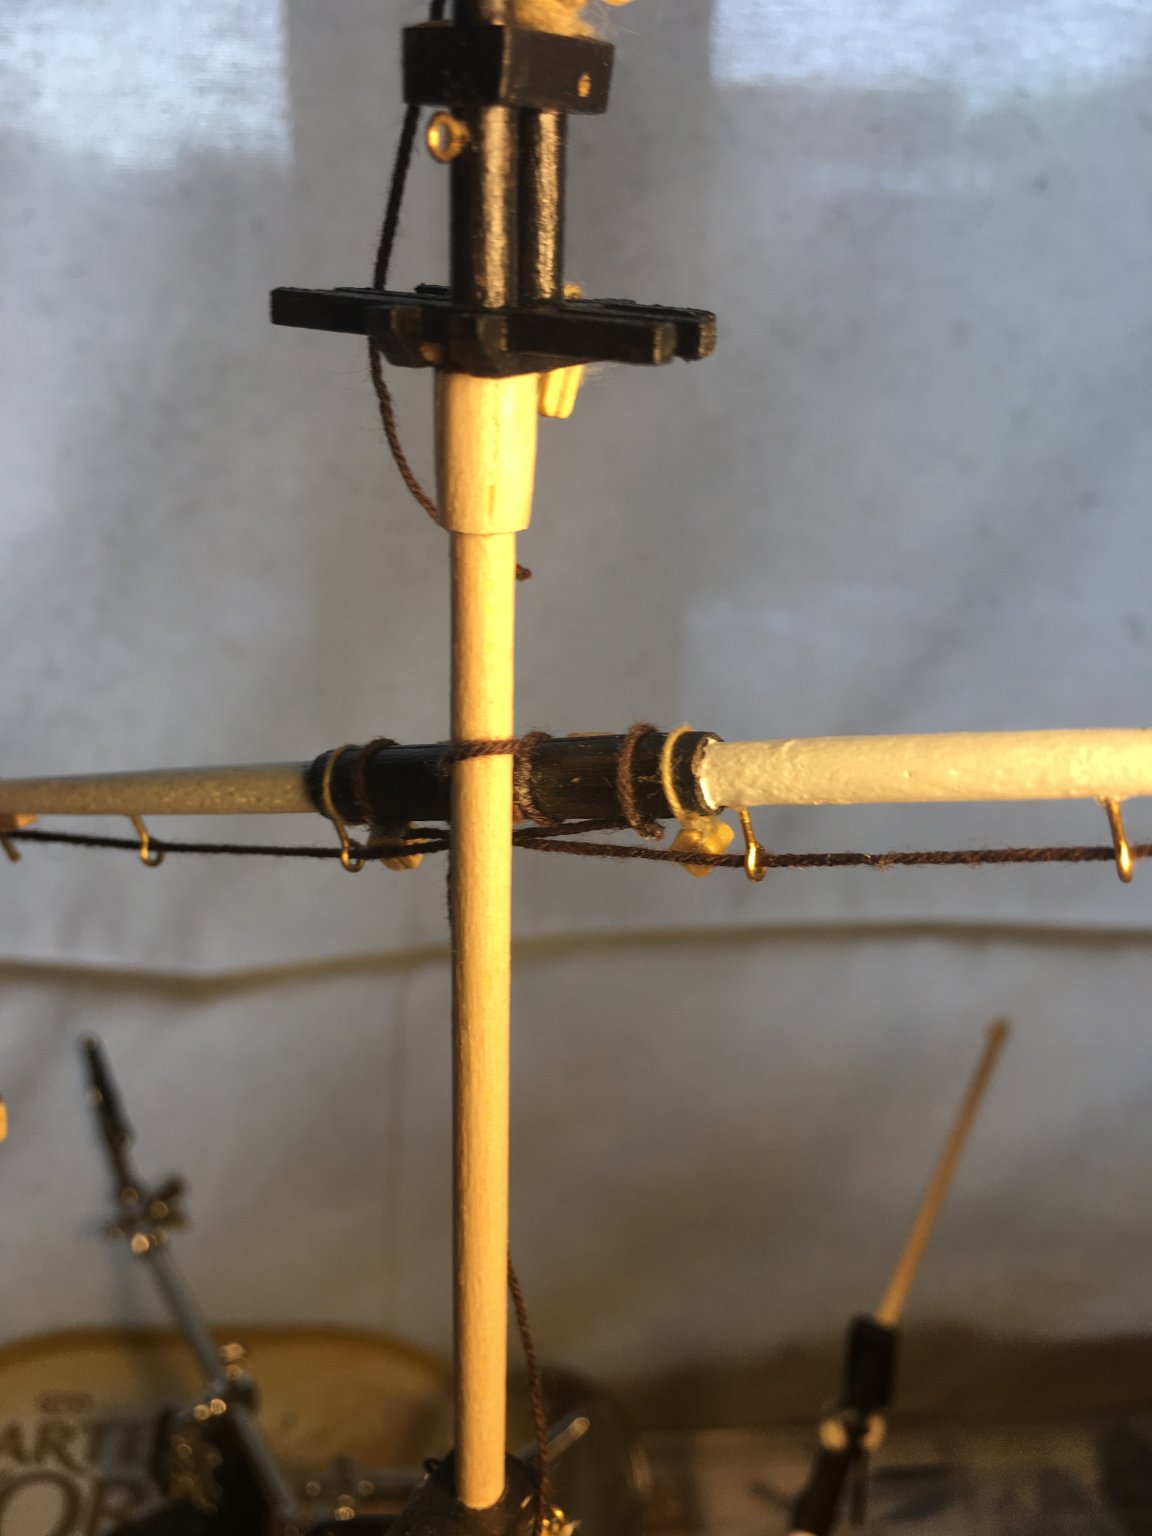
Quick question: Main mast is coming along, tried rigging the yardarms to the foremast:
Used the technique as described in the Occre videos, but did not glue. as the yardarms themselves are just about everywhere, I assume I DO NOT GLUE the yardarm to the mast, only secure the knot, and let the rigging sort out the alignment of the yardarms? Or am I making things too complicated? Will try out a couple more things to ensure a more robust connection with the ropes (Thnx Wahka and Clearway), not sure I have the experience to try this out, I guess we'll have to see.
The set-up so far:
As always, thnx for your advice and support 🙂
- GrandpaPhil and gieb8688
-
2
-
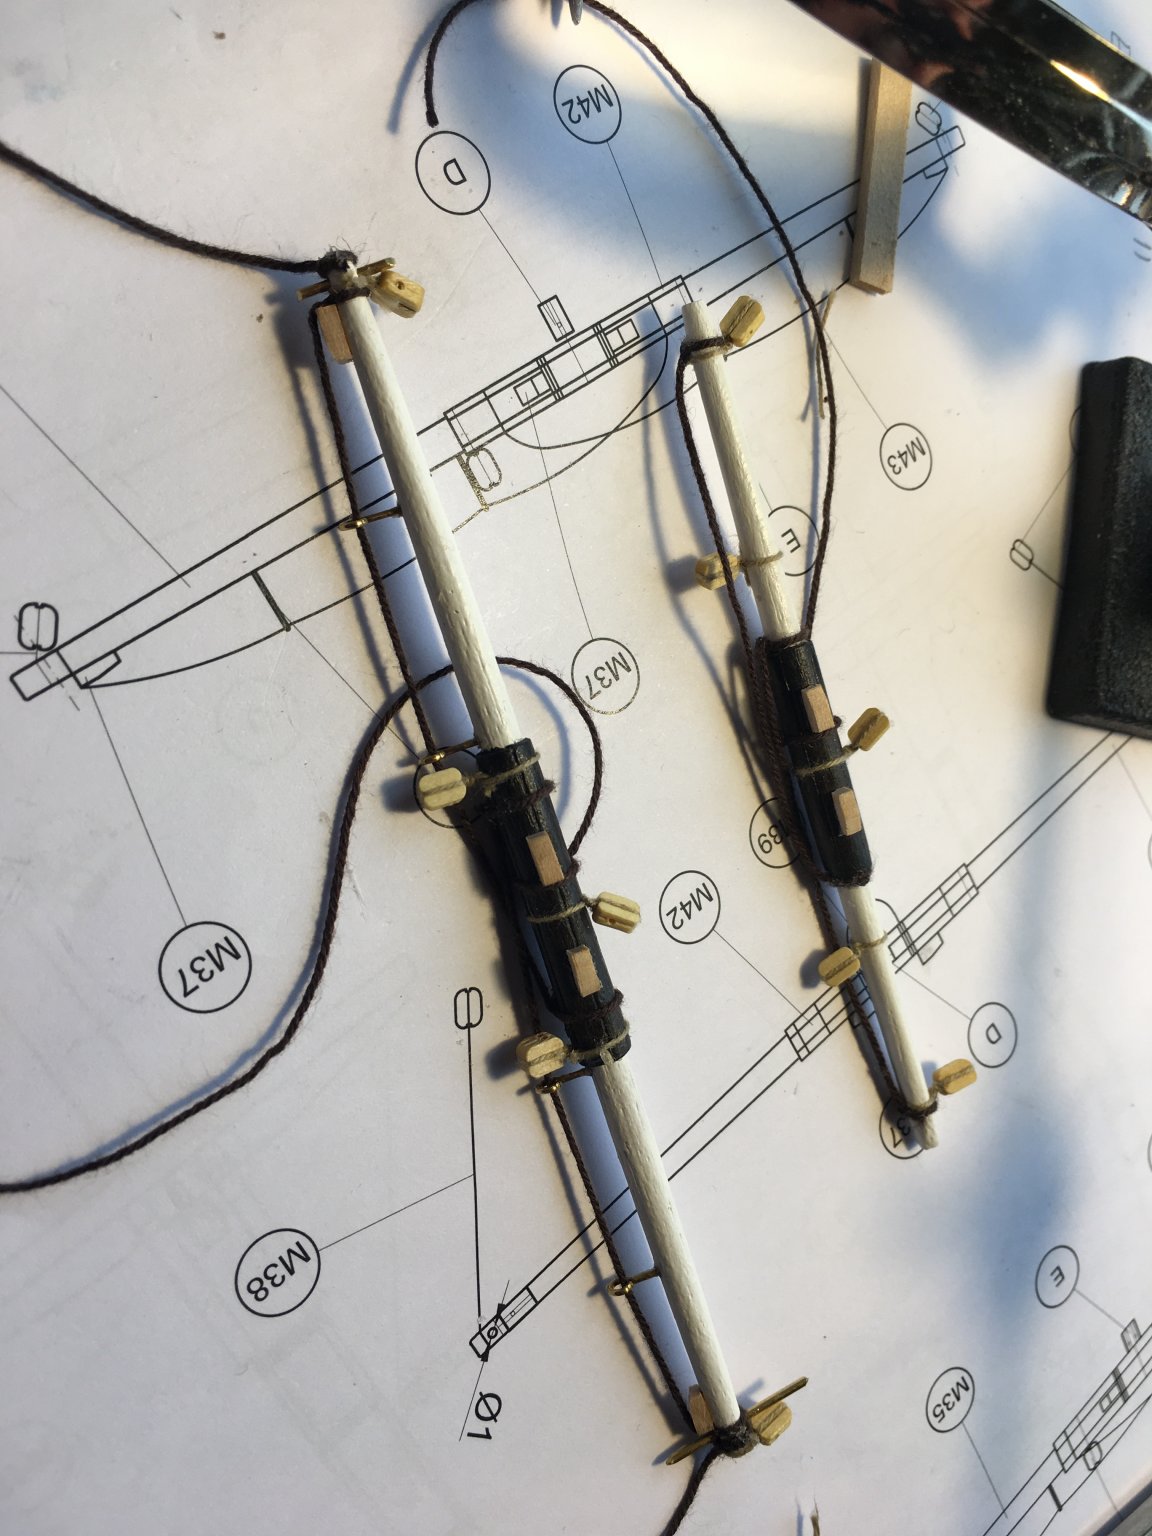
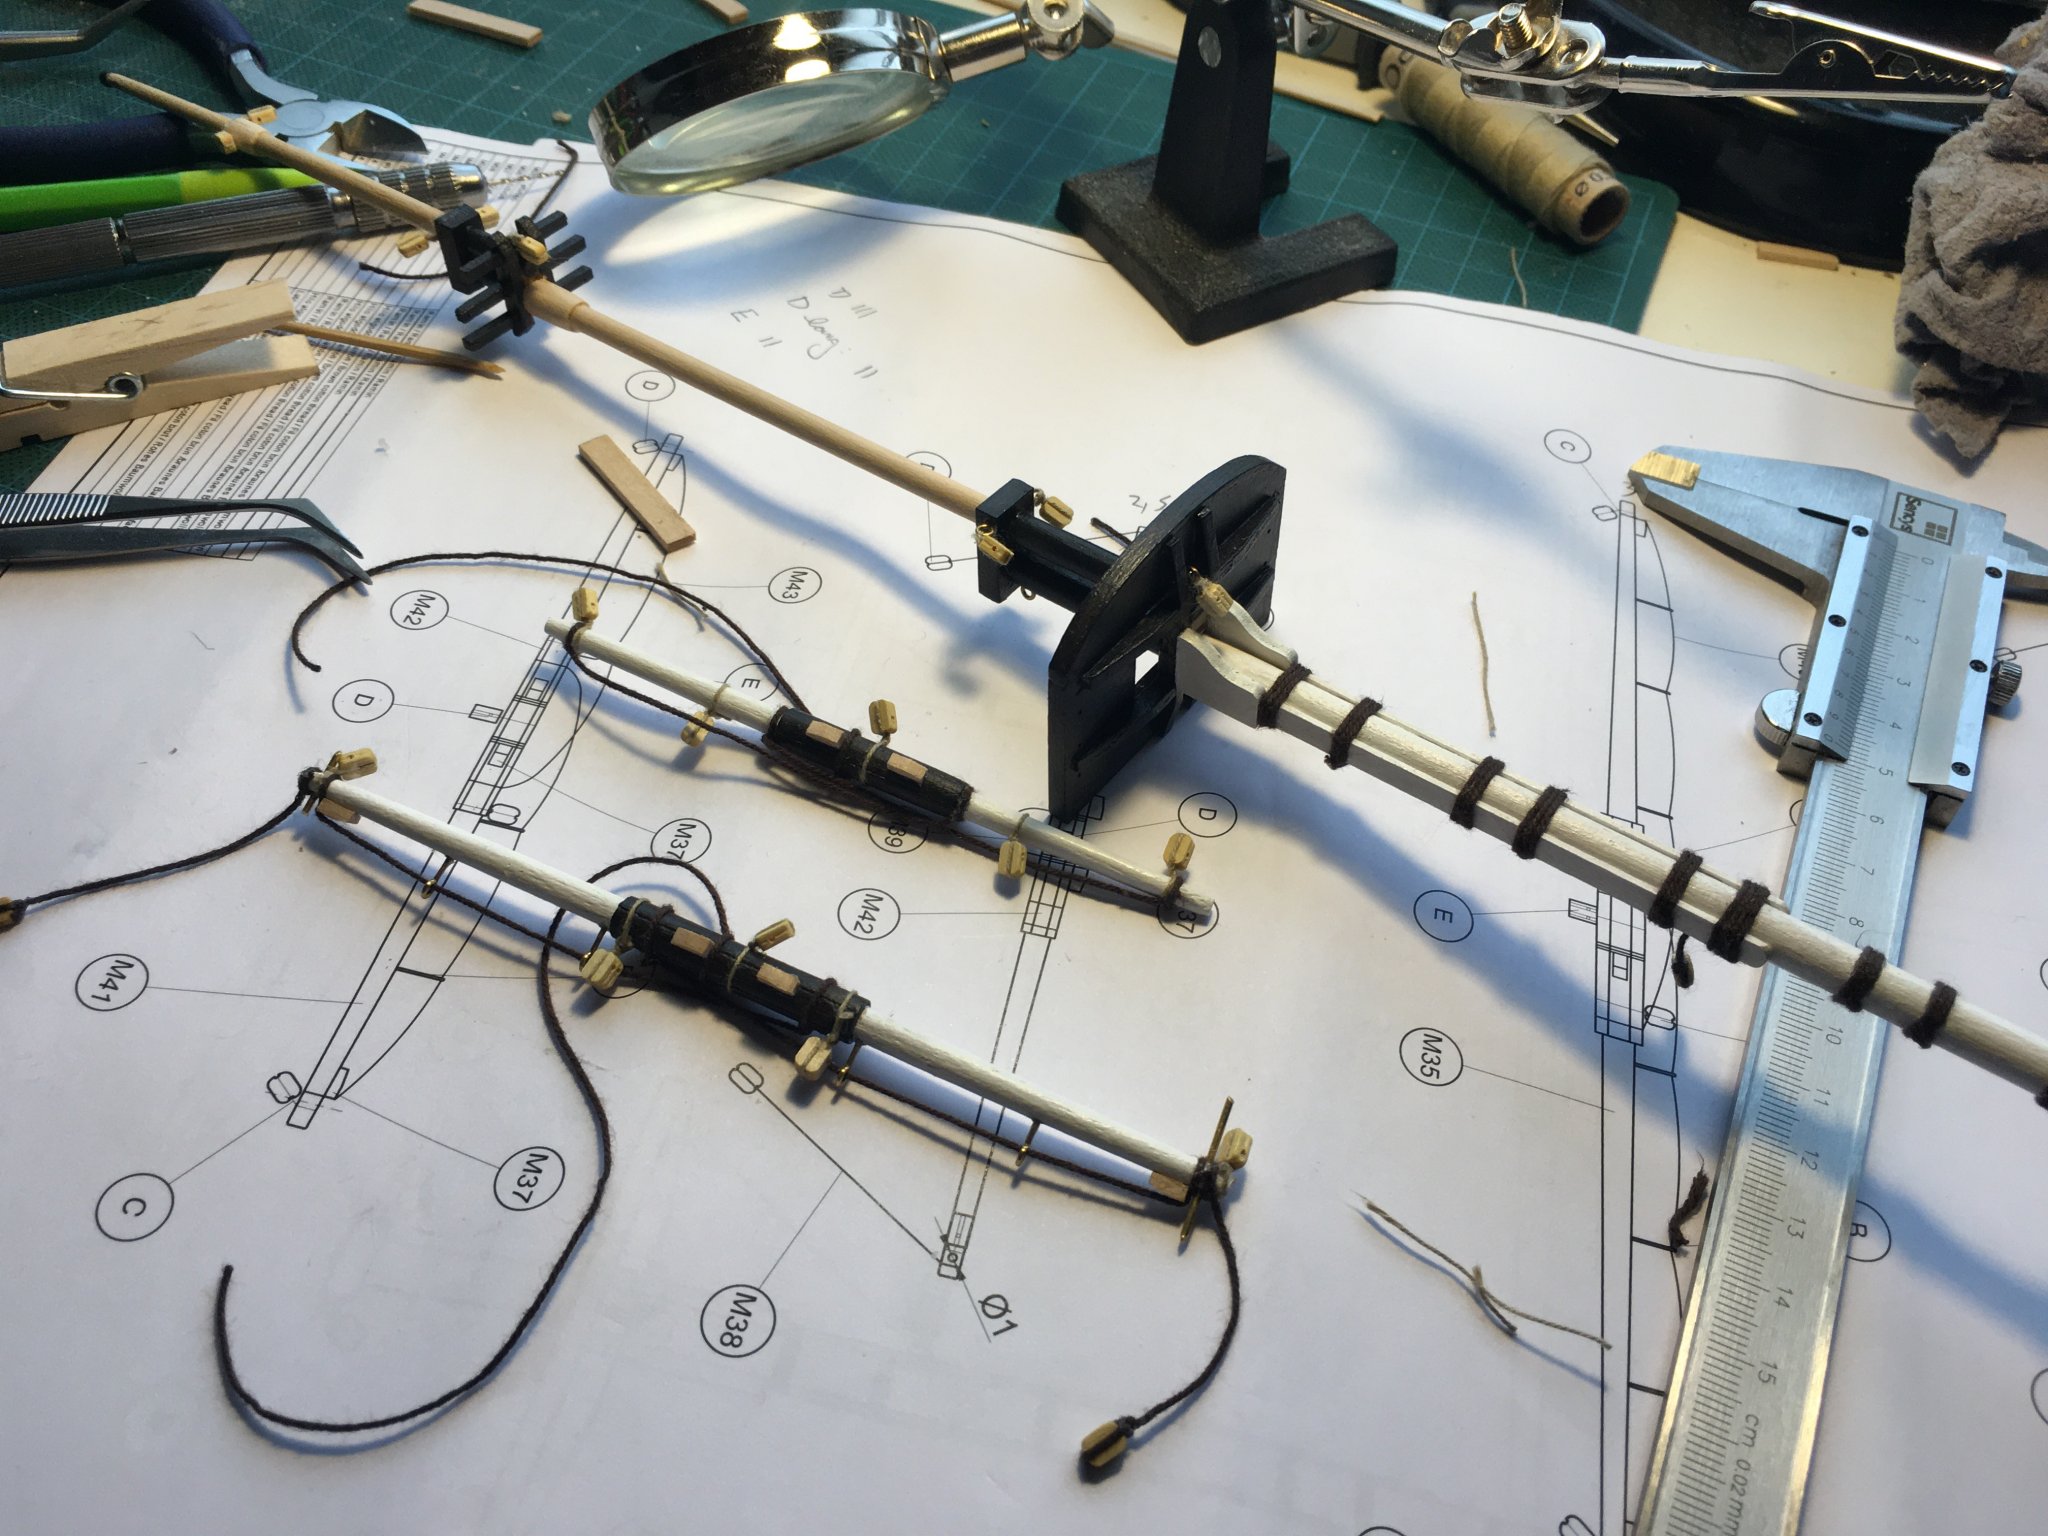
While waiting for the rest of the chainplate elements to arrive, started on the masts. Foremast is done, rigging the yardarms is ongoing:

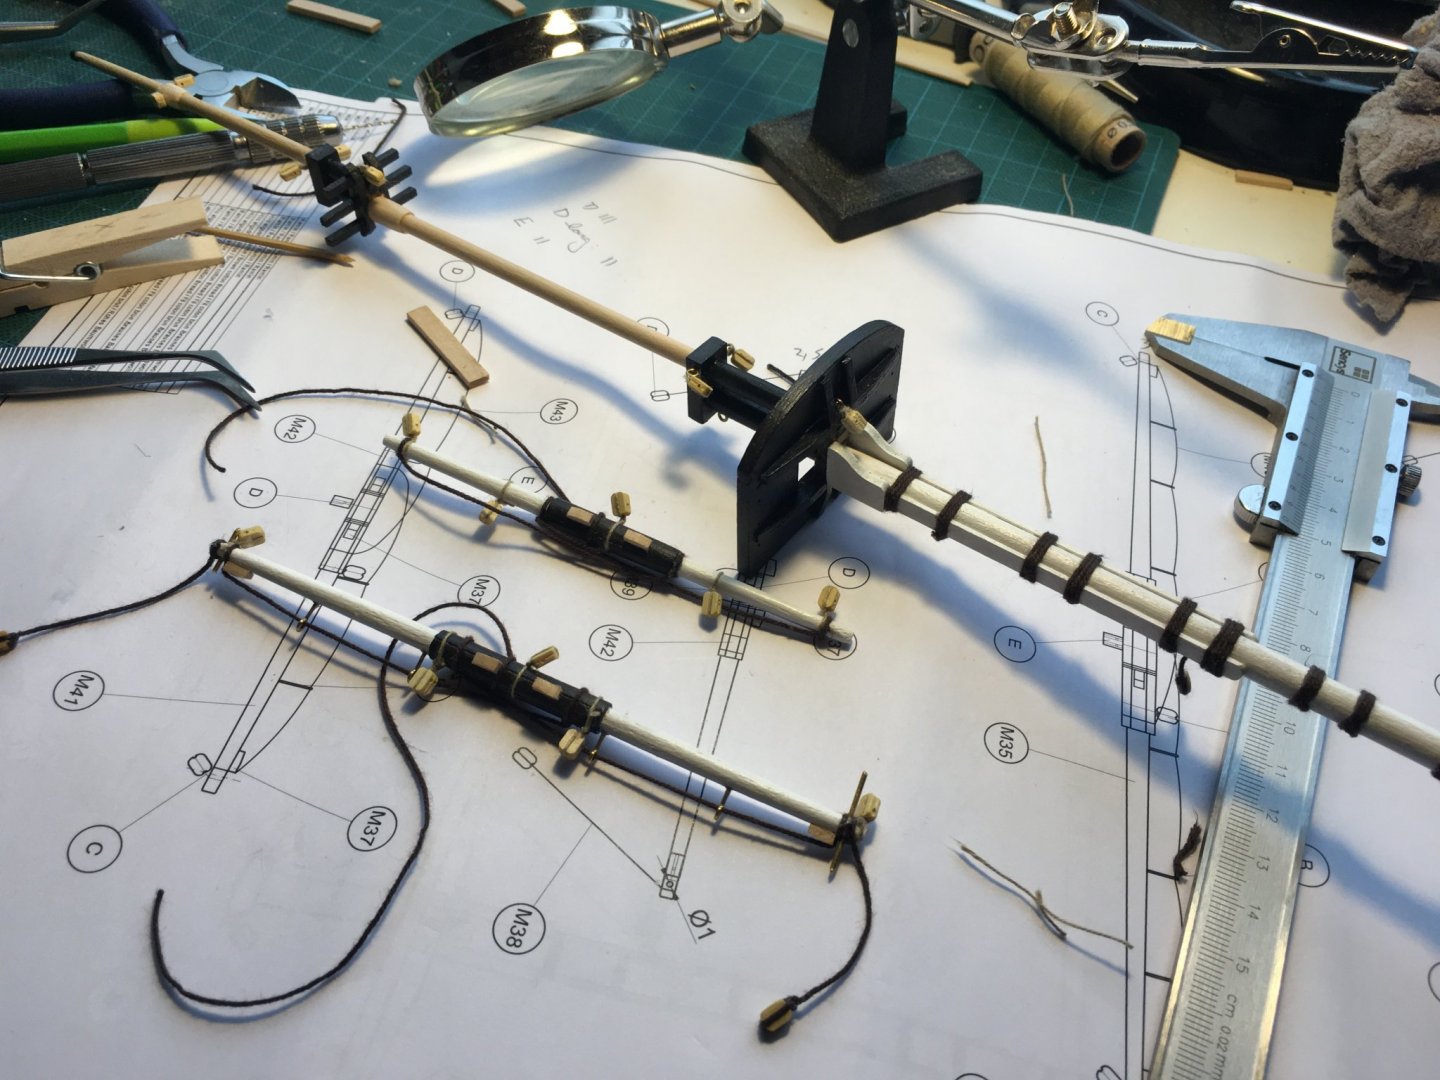
Surprised at how delicate and at the same time how enjoyable this activity is. Used some 1mm messing to ensure the holes I drilled in the yardarm stay open when I tie the various ropes at the tips, and learned how to tie knots with tweezers 🙂
On to the last yardarm for the foremast, then mounting them. Occre's video's are not too clear on this, it seems a single turn of the rope around the mast and some CA glue is enough... Any thoughts on this? How did you mount your yardarms?
- Henke, GrandpaPhil, Keith S and 3 others
-
6
-
-
-
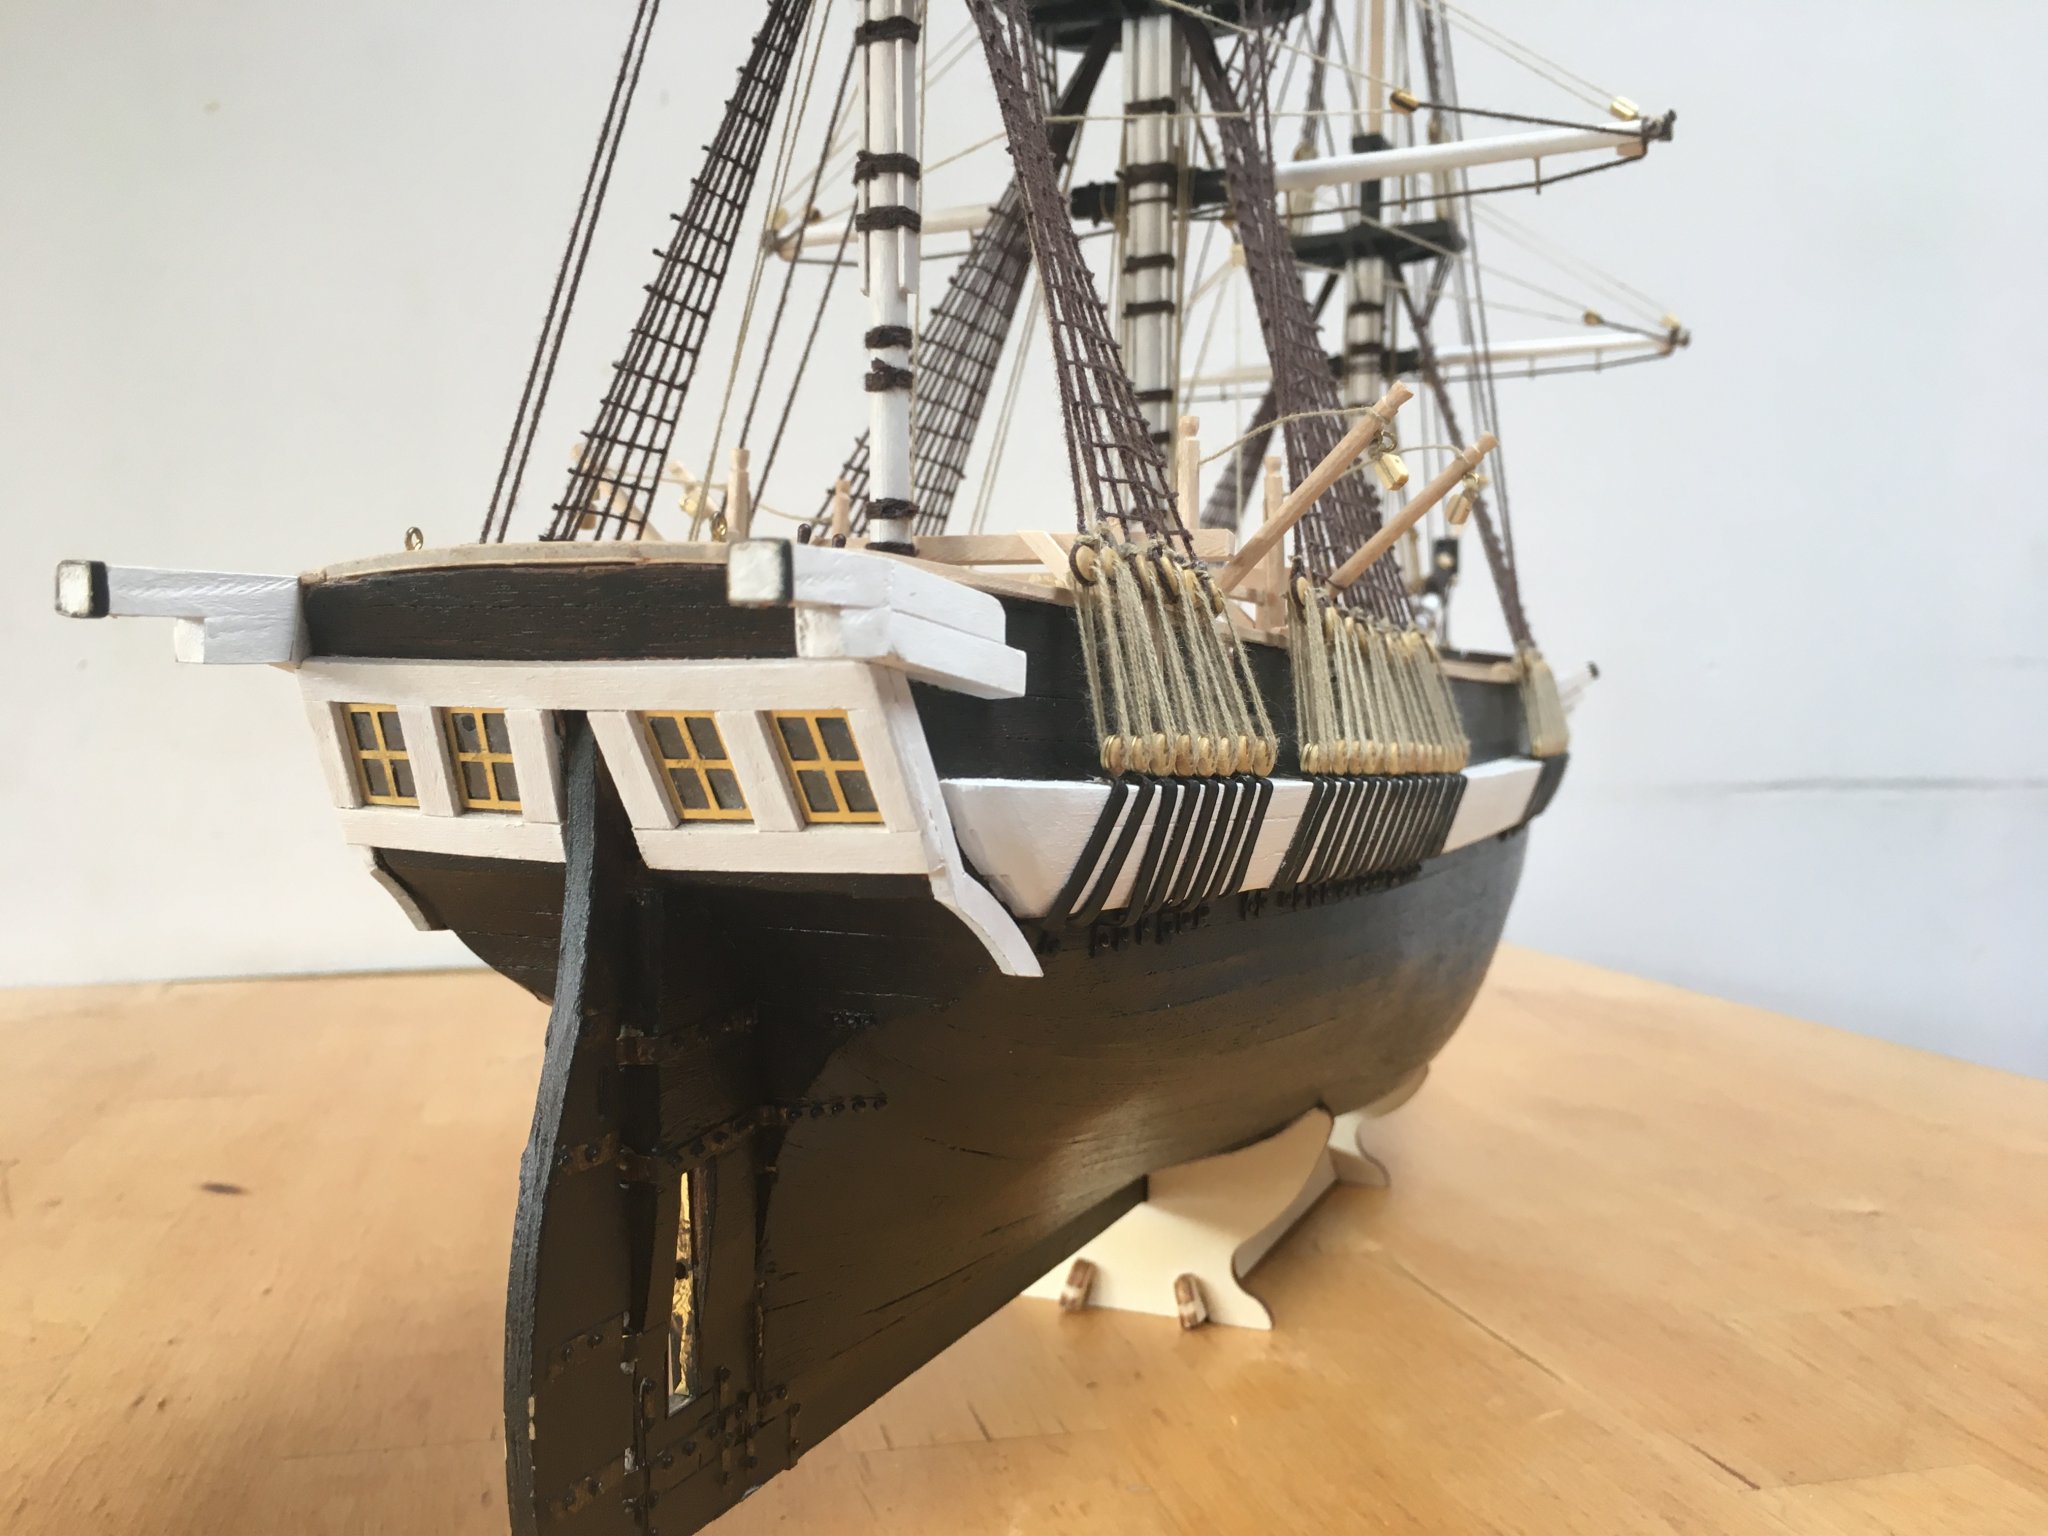
12 minutes ago, Wahka_est said:
Nice paintwork!
Whose paints dod uou use? Did you dilutate those? Asking cause wood texture is coming trough really nice.
Thnx! I actually used black furniture varnish. Due to the fact a number of stores were closed, andI couldn't get any advice, I improvised 🙂 Tested with both varnish and paint, and I chose the varnish for exactly the reason you mentioned: texture is still visible. Check one of my previous posts, you can see the test results.


Batavia by drobinson02199 - FINISHED - Kolderstok - Scale 1:72
in - Kit build logs for subjects built from 1501 - 1750
Posted
Excellent tip, I'll try this one as well when I get to my deadeyes. Thnx for sharing!