DONATION DRIVE - SUPPORT MSW - DO YOUR PART TO KEEP THIS GREAT FORUM GOING!
×


jaerschen
-
Posts
274 -
Joined
-
Last visited
Content Type
Profiles
Forums
Gallery
Events
Everything posted by jaerschen
-
Congrats to this milestone Mark. I believe about your skill the planking will be easy for you.
-
Hi Sambini, It's nice to see a further build. I wish you all the best. To get file access you must post an advice there. http://modelshipworld.com/index.php/topic/116-keel-drawing-first-drawing-for-trition-cross-section-and-access-request/page-3
-
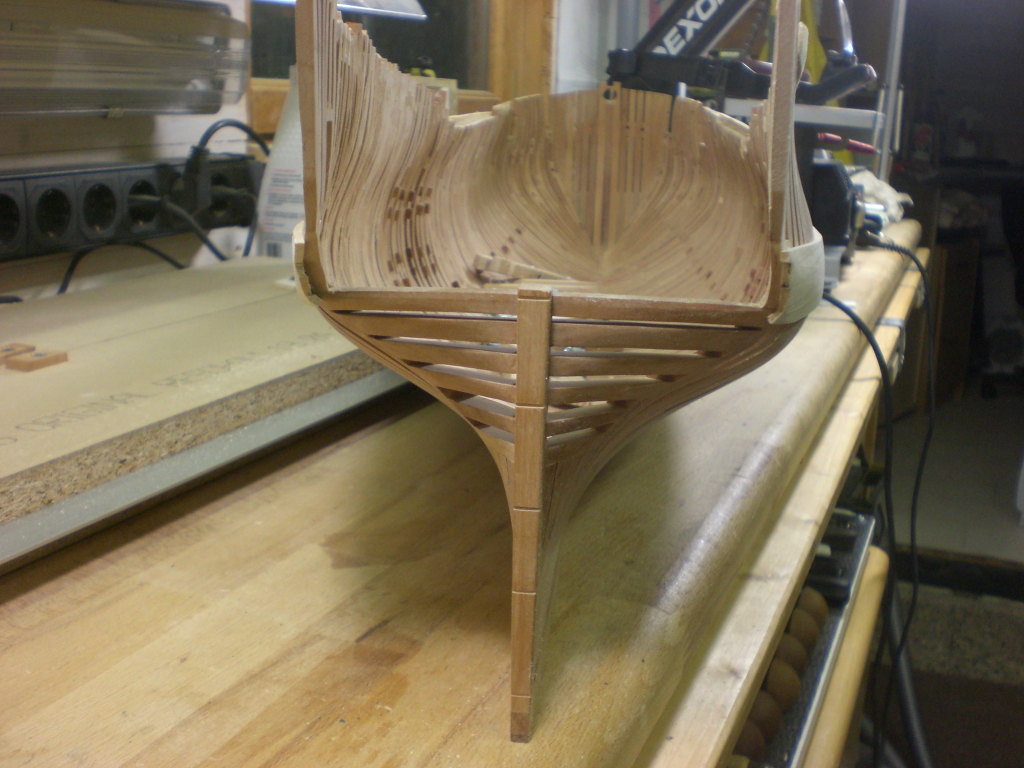
Hello, thanks very much Mick, Allan and Nils That's good to know Mick and Allan. Now I can sleep soundly again. @Nils I would like to show a bit of everything at the outside. The Main-Wale and below of it 4 rows with shifting planks. Then the 1st futtock- and the floorhead -ribbands and the garboard strake. Above the black-strake I will also plank only a part of the frames but in any case the complete sheer strake. Both sides will be similar. So the theory.
-
Thanks very much Mick, but I must also learning so much. You have no reason to hide behind others. You are working on a high level.
-
Hi Mick I love your very clean work. It's looking great.
-
Thanks very much Mark I don't no why, but I have this feeling that you are a little bit dishonestly about this
-
Hm Nigel, I can't believe this little scale, the tweezer must have a lenght of 15" or so. But seriously, outstanding work.
-
Hello Rob, Christian and Richard Thanks very much for your comments and also for all the likes You are completely right Richard. Now let's going on to the next mistake
-
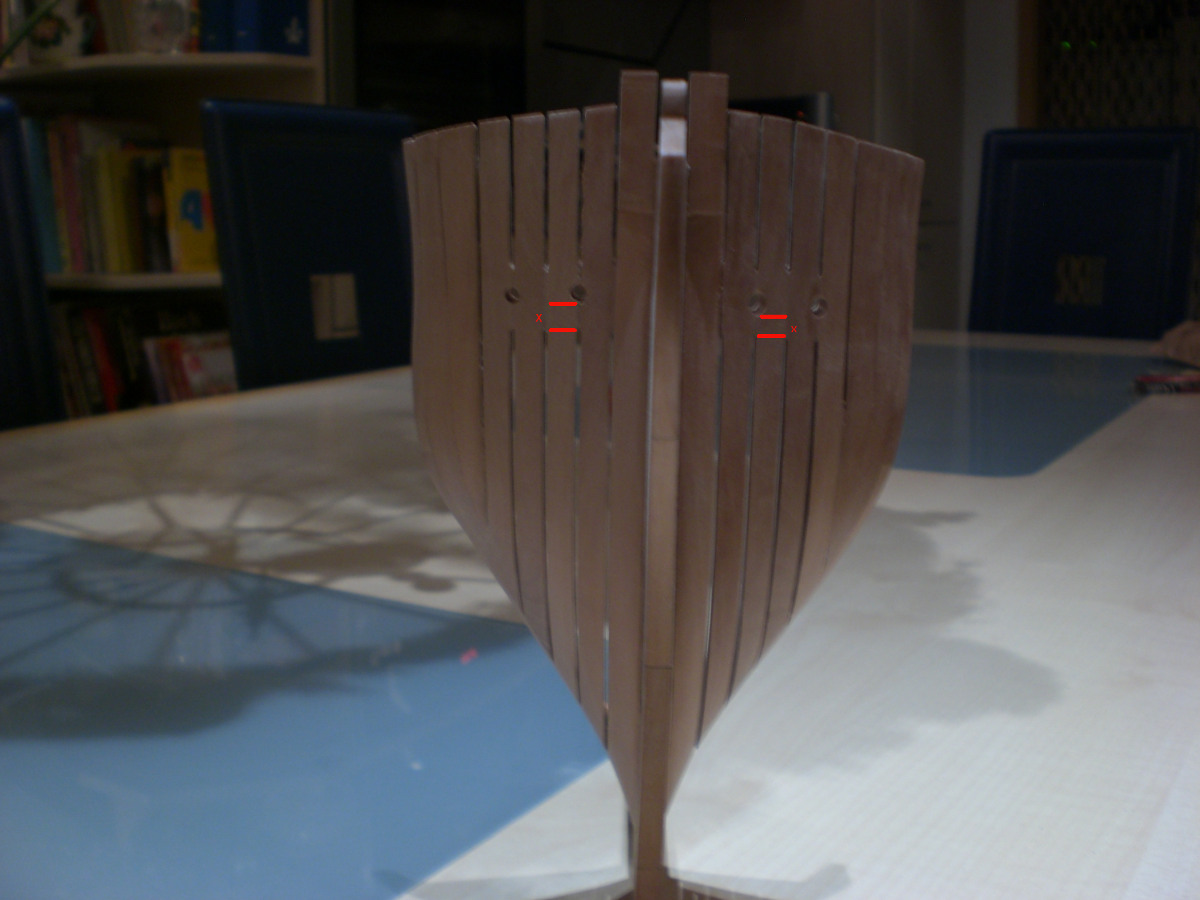
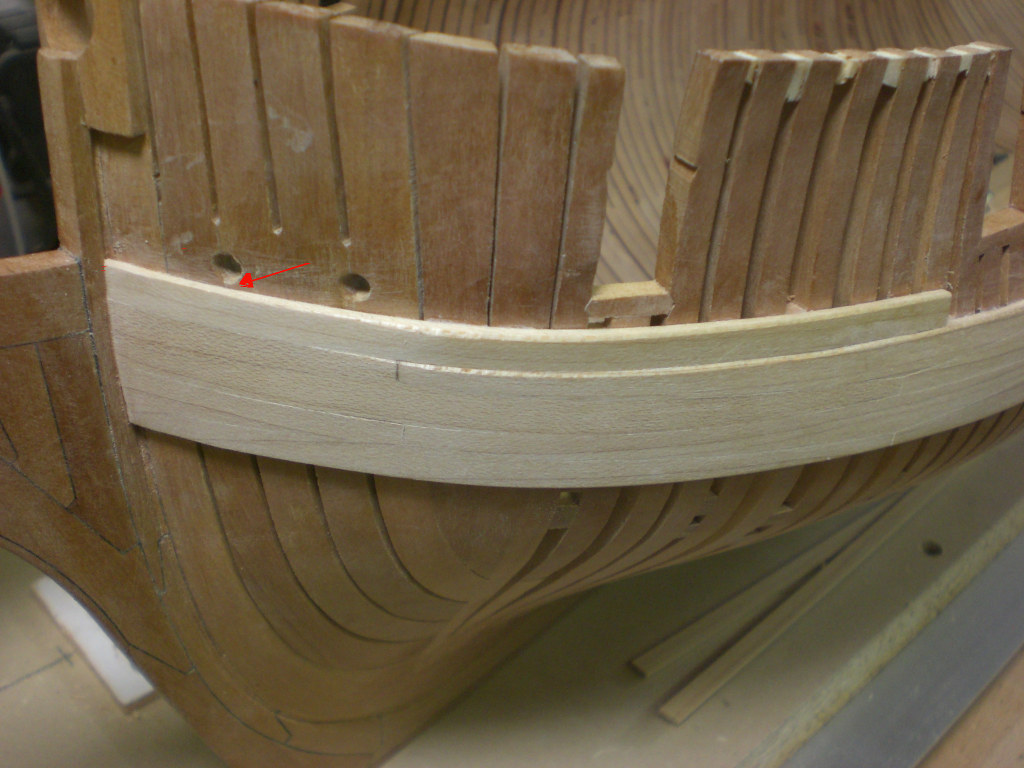
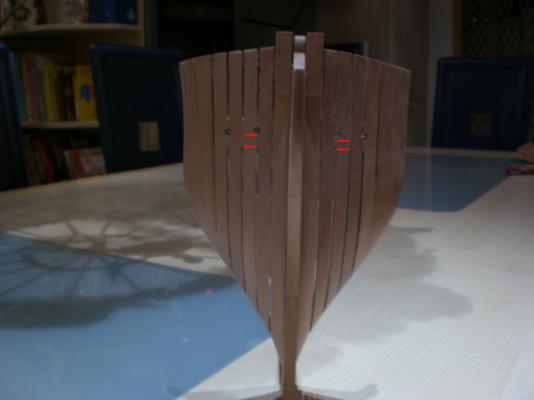
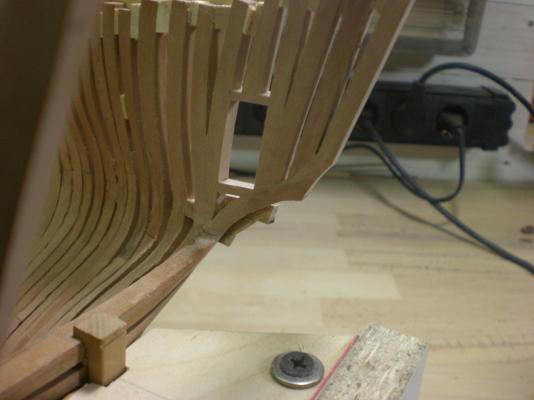
I do not understand why, but one side of the hawseholes were not similar to the other. I had wrong measured, that's absolutely certain for me because I have made one side some day's earlier than the other. Here's a pic there you can see the variety of height. The level of the holes at the starboard side is correct. So I closed the holes at the portside and drilled new ones as the same level as of the starboard side.


-
Thanks very much for your help druxey. You are absolutely right, the holes are a bit to low. It's maple that I use Christian.
-
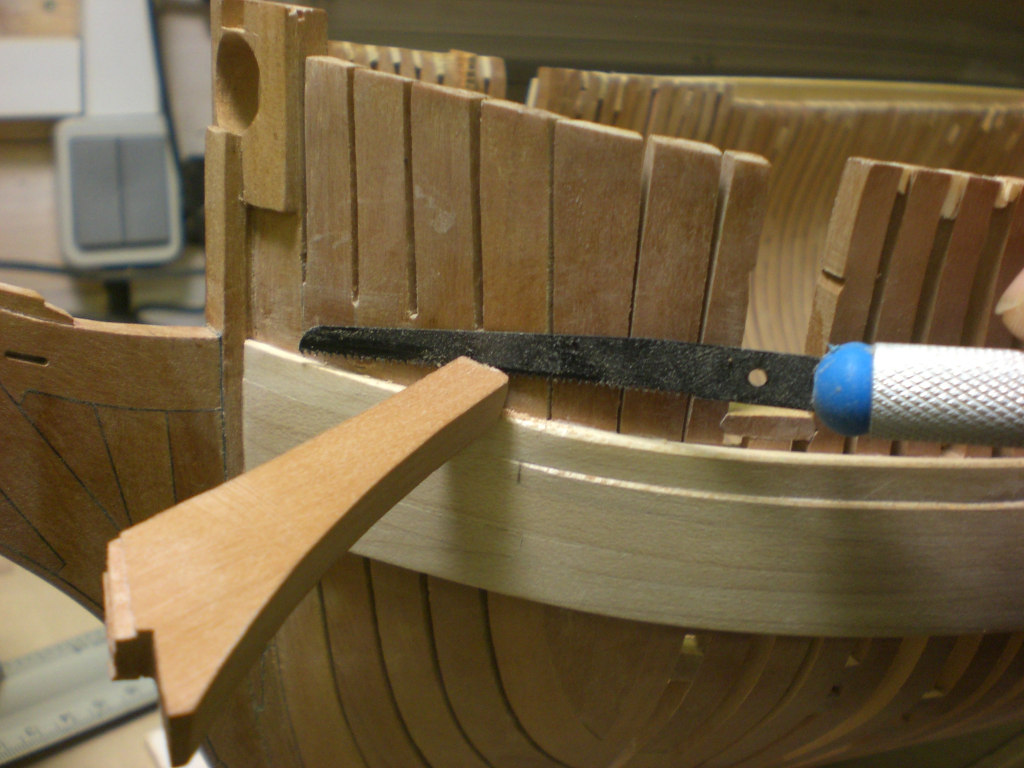
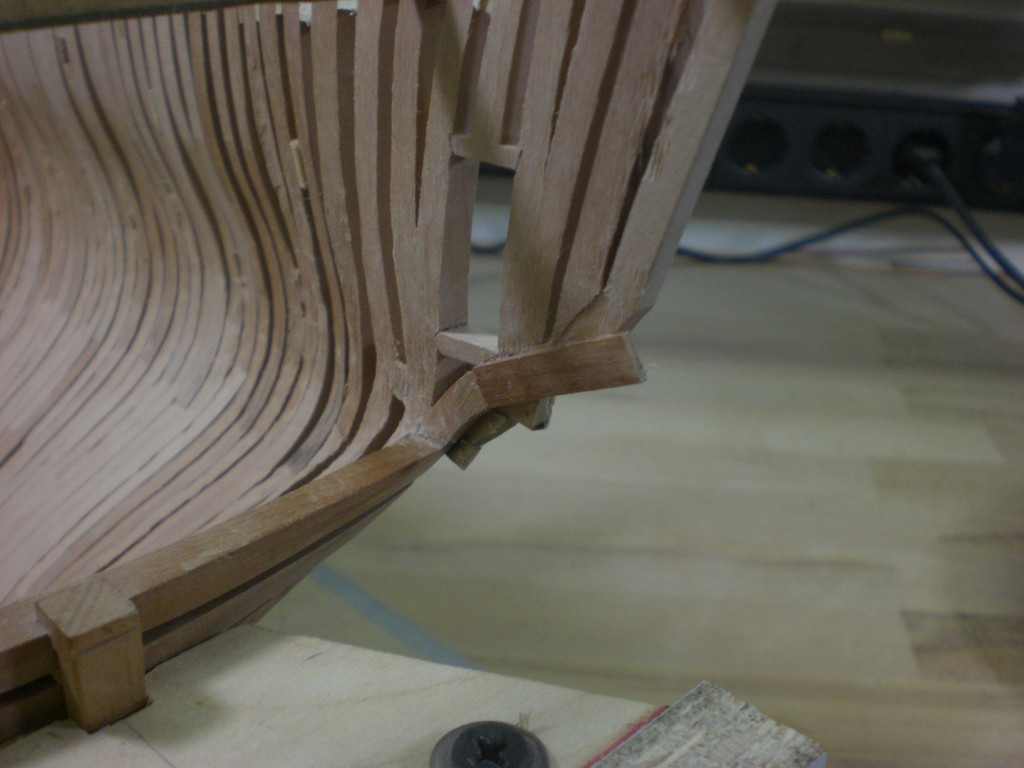
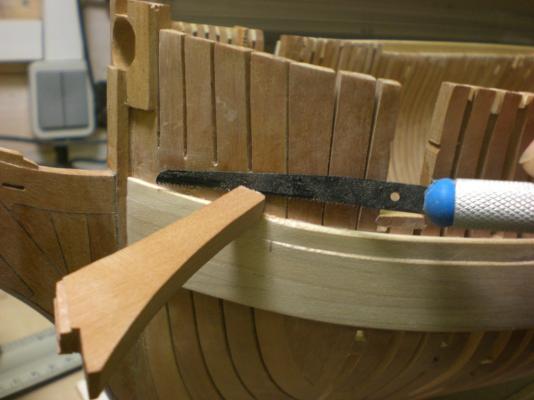
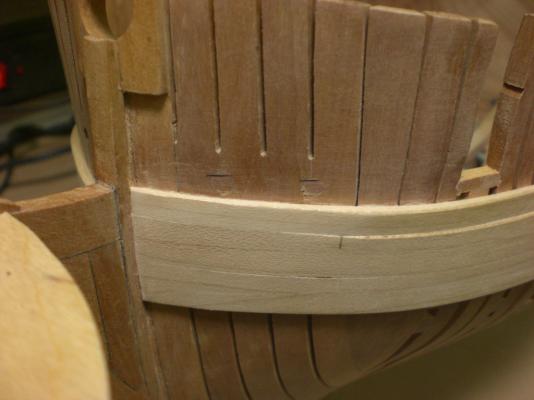
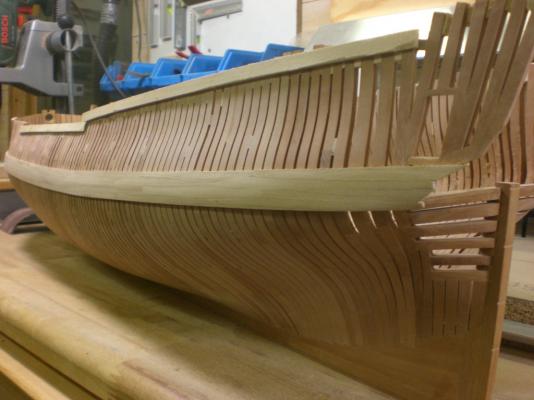
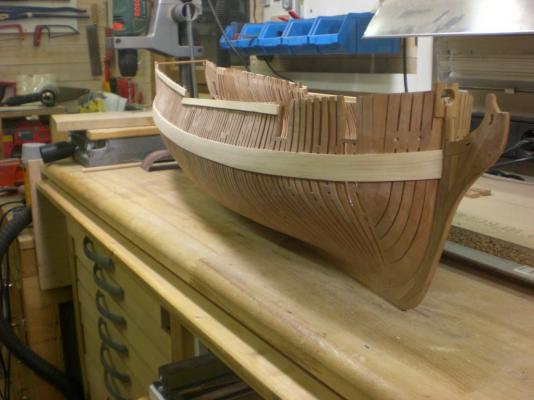
Hello again The fitting of the black strake is started and the next problem is coming. Therefore the following photo There isn't enough space between the left haws-hole and strake. Must be the altitude of the strake reduced for fitting the boxing? I admit to be a bit douptful about this. Oh, by the way, the wale is now tapered and also the strake a bit. In hindsight I believe it's better to do this before the ledges are fitted. Learning by doing.

-
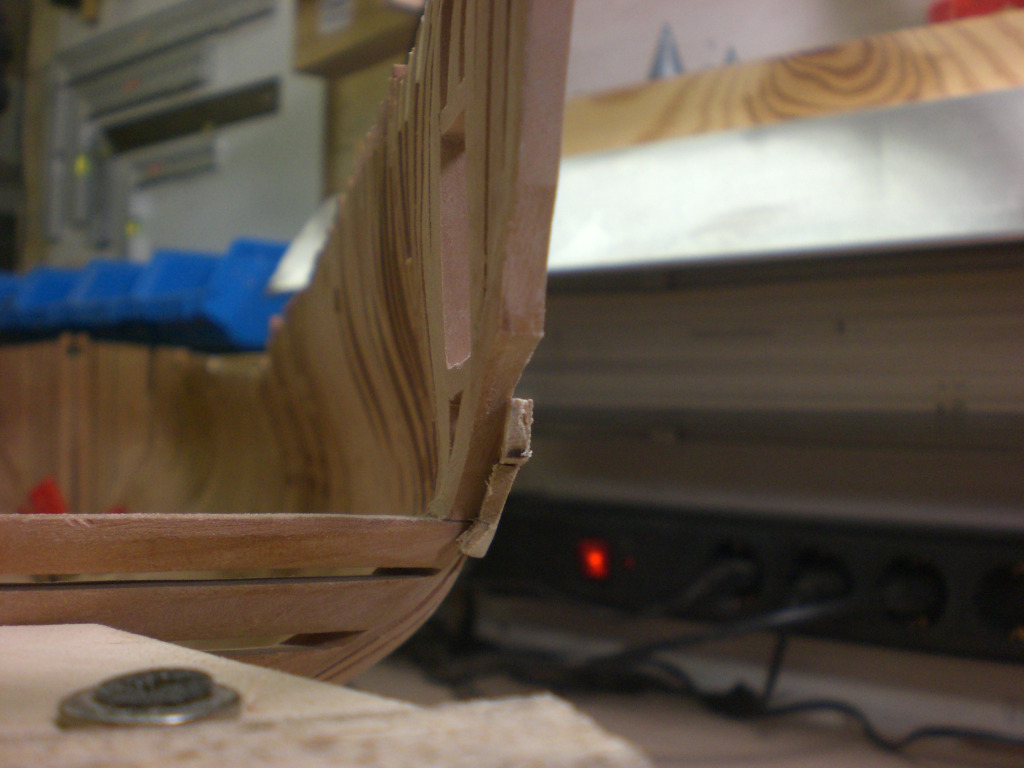
Hello druxey and Richard Much thanks for your answers. I must confess to my shame, I didn't have added Chuck's interested build to my following list. Now it's done. Oh, there are so many build's and information’s here on MSW. Very nice photo that is showing this detail, such photos are not often to find. I found this advice to tapper the wale in Vol 2 of the swan series too (I have only 1 +2) but could not imagine this. At the searching in other build's I found a photo from Dan of the Vulture. But It's not to see if the wale going in the rabbet or flush to the stem. At my Triton it's going flush to the stem because it's never to see if the black strake and the blanks below are fitted.
-
Hello druxey Your question have make me think about my approach. It would be interested to know what other model maker are doing.
-
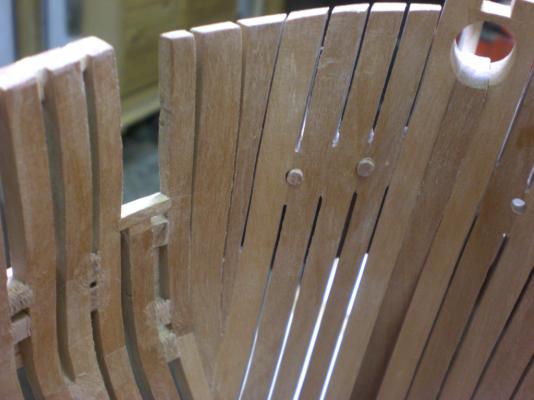
Much thanks also for all the likes at first Hi druxey Sometimes I'm to be to hasty but I give my best to have more patience. I would like to taper the thickness of the wale when the black strake is fitted. I thought it's easier to get the right shape at this way. The wale isn't ending in the rabbit. The black strake and the lower blanking will be ending in the rabbet so you can't see this (so the theory).
-
She's looking good Richard. It seems Cap't Buddy can't wait to sail with it
-
Hello Thanks so much Nigel, Marc and druxey. Your comments are a great help for me because I had my doubts to leave it. Thanks very much for the advice druxey, I was temped to doing this.
-
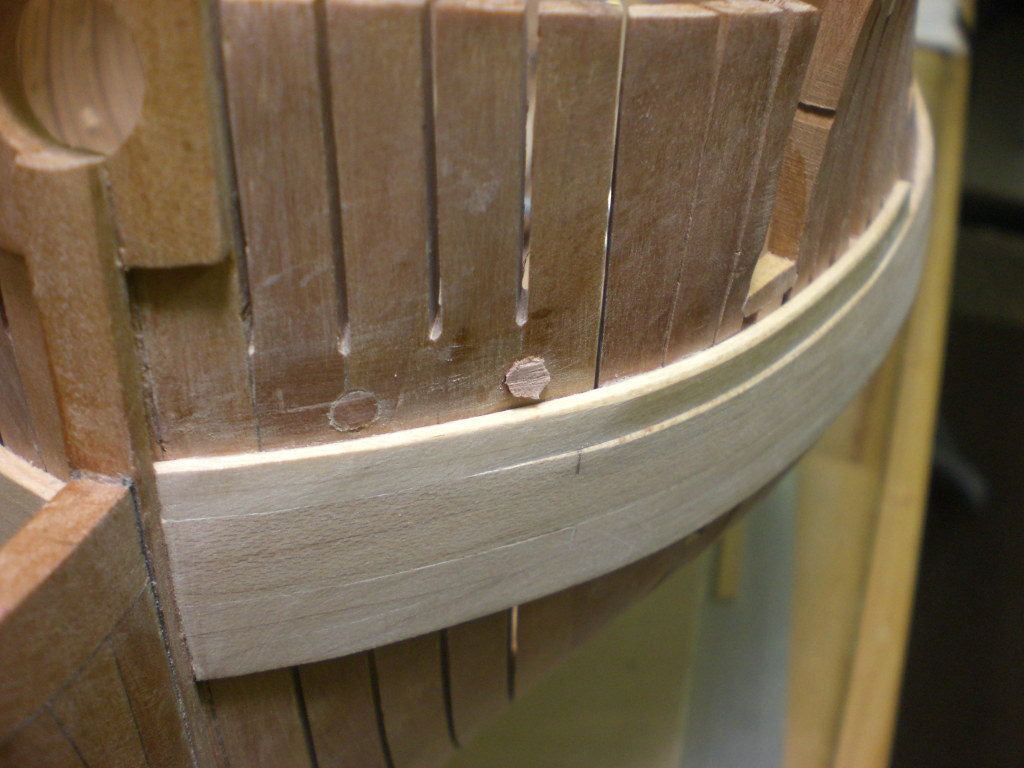
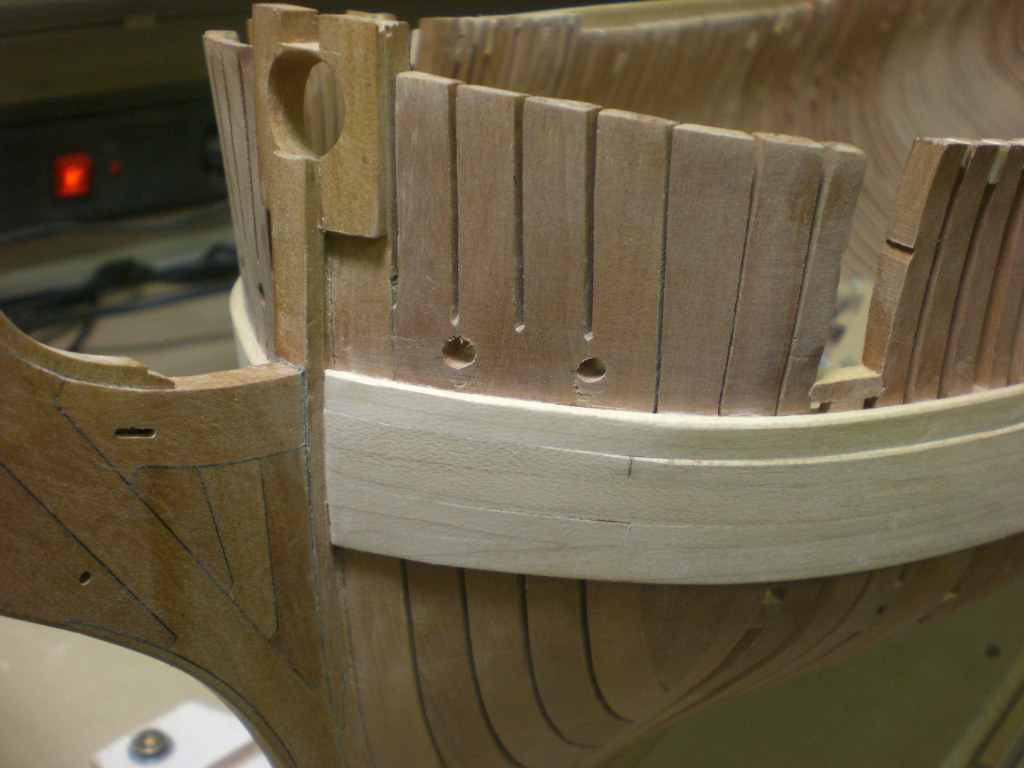
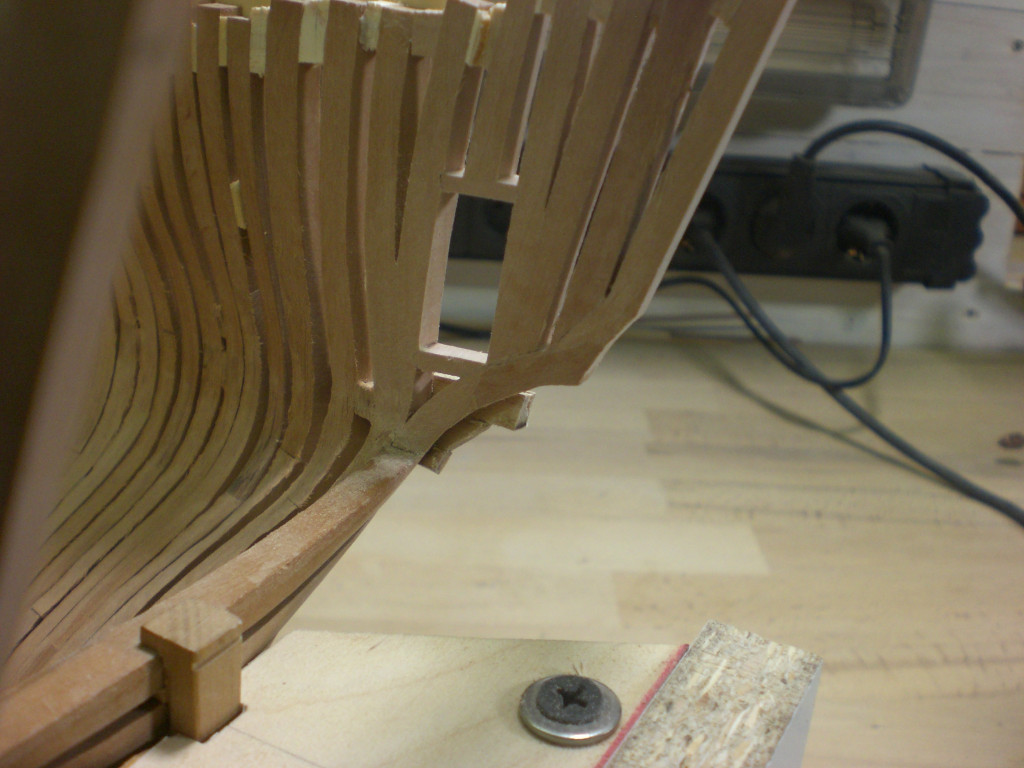
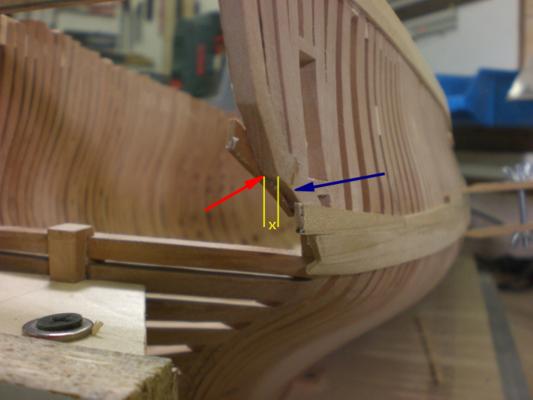
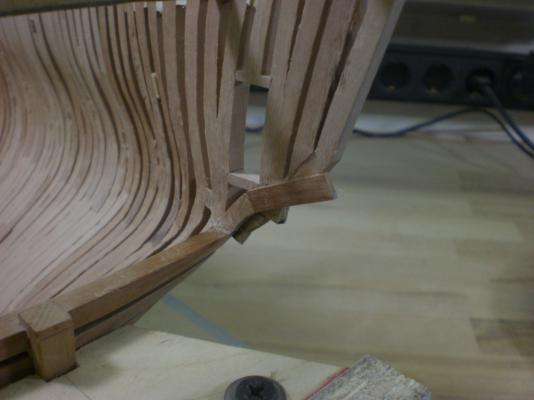
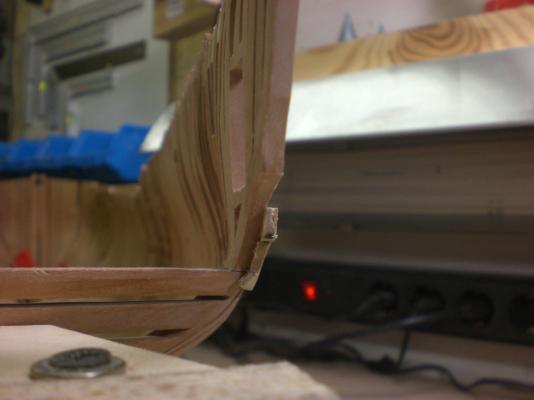
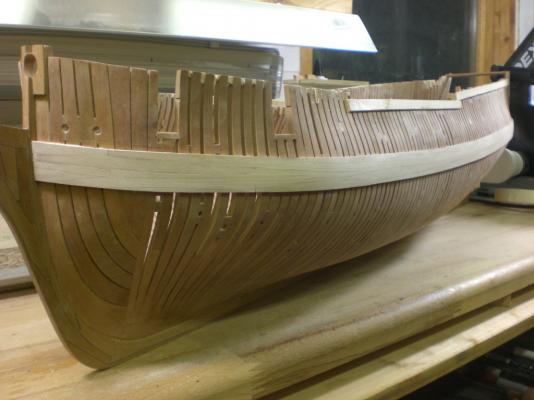
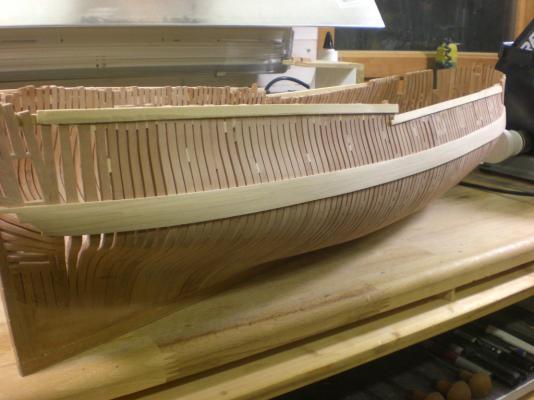
Hello, the next step is done and the Main Wale is fitted. I had I little mistake nearing completion. The following photo should be a little help to declare it. For fitting the last ledge of the Main Wale it was necessary to sanding the outside of the side counter timber at starboard side (blue arrow). But there wasn't enough material, the part was to small at this point (yellow x) . I had to many material removed at the inner side (red arrow). The exchange of the part seems like too much effort to me. So I decided to glue a piece of wood to the counter and sanded it down. I believe that must be alright on the finished model. And now some photos of the Main Wale. It's still to do a bit sanding on the port side.

-
Congrats Nigel, very clean work.
-
Much thanks druxey, that is showing what I meant.
-
Hi Antony Ok, I would try to give a description of my opinion. I believe the lines at the sideview are showing the position of the frame at the outer edge and not at the keel. The cant-frames are fixed at the keel a bit forward. I hope it's a bit understandable.
-
Hi Christian, I have sent you a PM about your problem. It's to difficult for me to write this in english. I hope I can help you.
-
Very nice work Jason. I wish you all the best to have more time for your model.