
HOLIDAY DONATION DRIVE - SUPPORT MSW - DO YOUR PART TO KEEP THIS GREAT FORUM GOING! (Only 44 donations so far out of 49,000 members - C'mon guys!)
×


Emmet
-
Posts
401 -
Joined
-
Last visited
Content Type
Profiles
Forums
Gallery
Events
Everything posted by Emmet
-
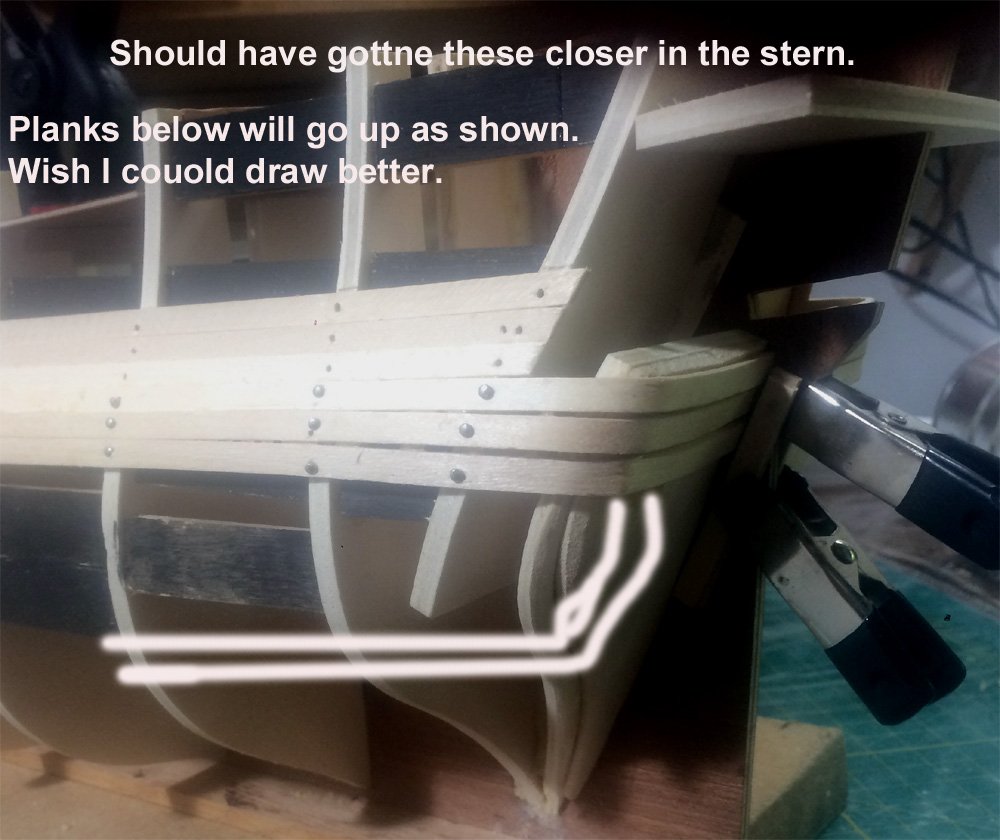
Thaks Keith, I think I understand. I have portrayed what I think will be done when I get lower on the hull.
-
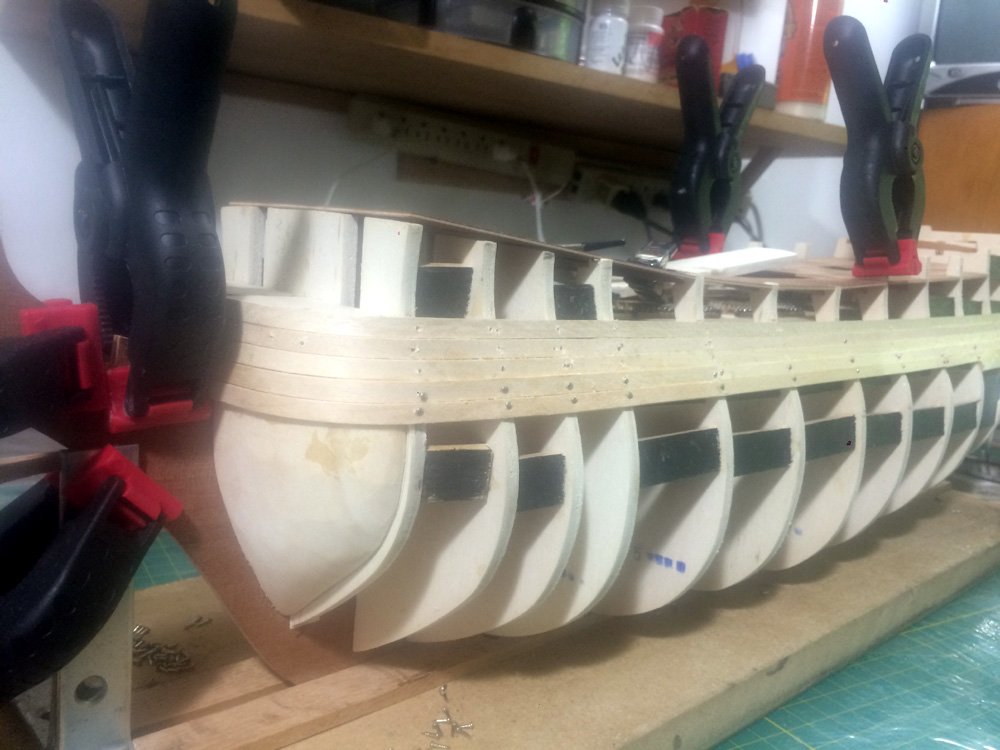
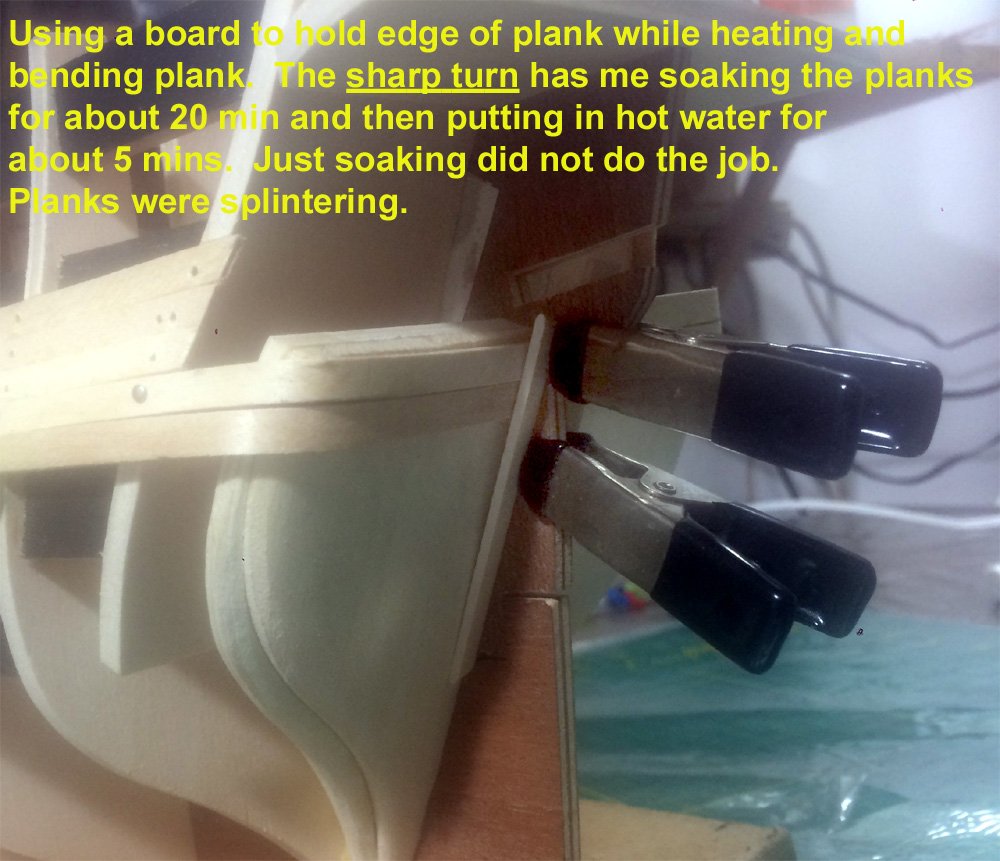
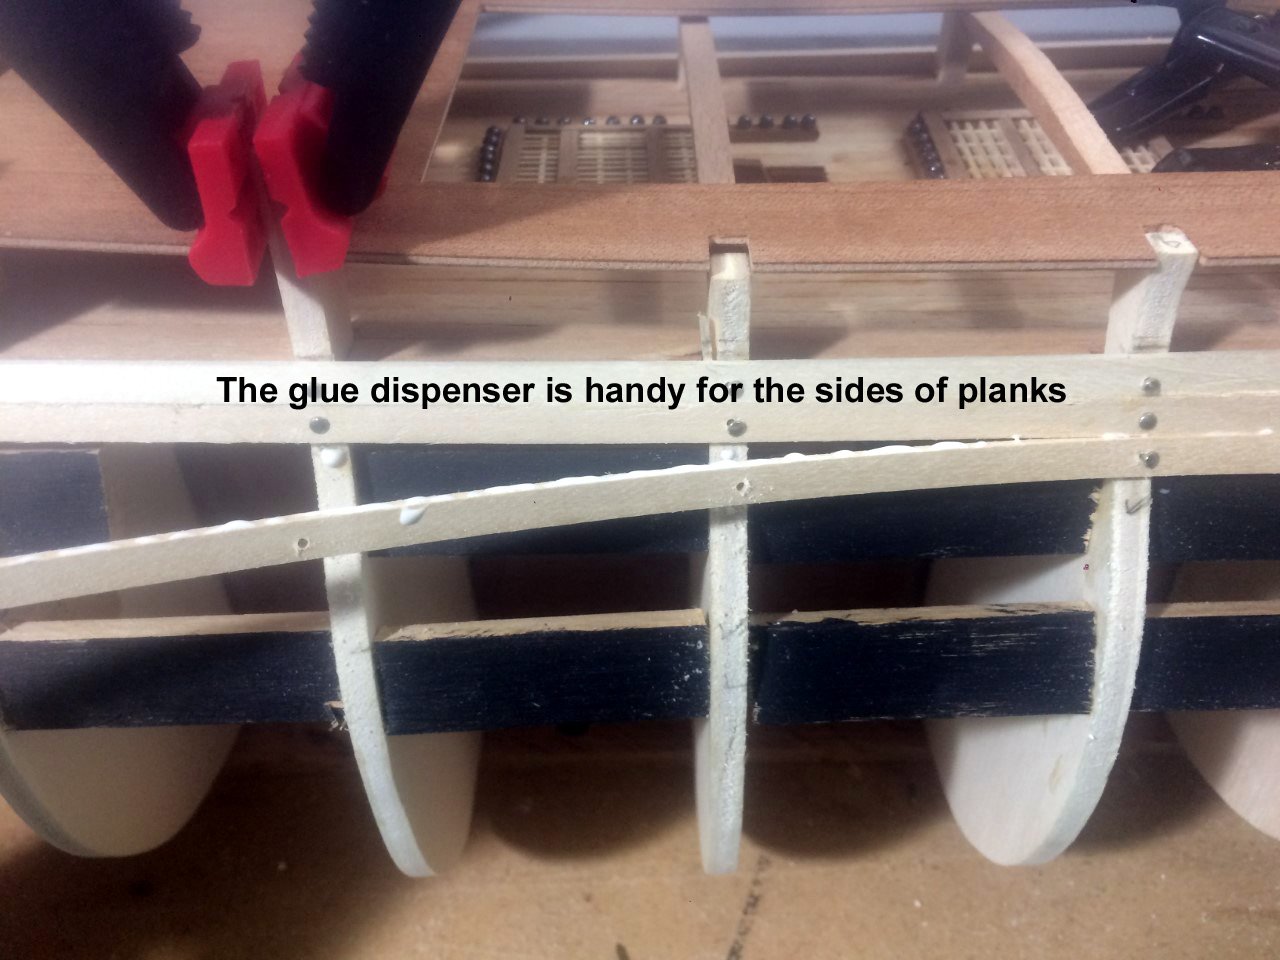
Just working on bending around stern. Bow bending is fairly simple. The lime wood bends without a problem. I am using the plank heater just to hold the bend and dry the wood at that point.
-
I looked at your victory for the counters but your 1st page shows her at an advanced stage of building. Your terror build is the same. Let me check on main wale and it appears to me that until you get down below the lower guns there is no taper. After that yes.
-
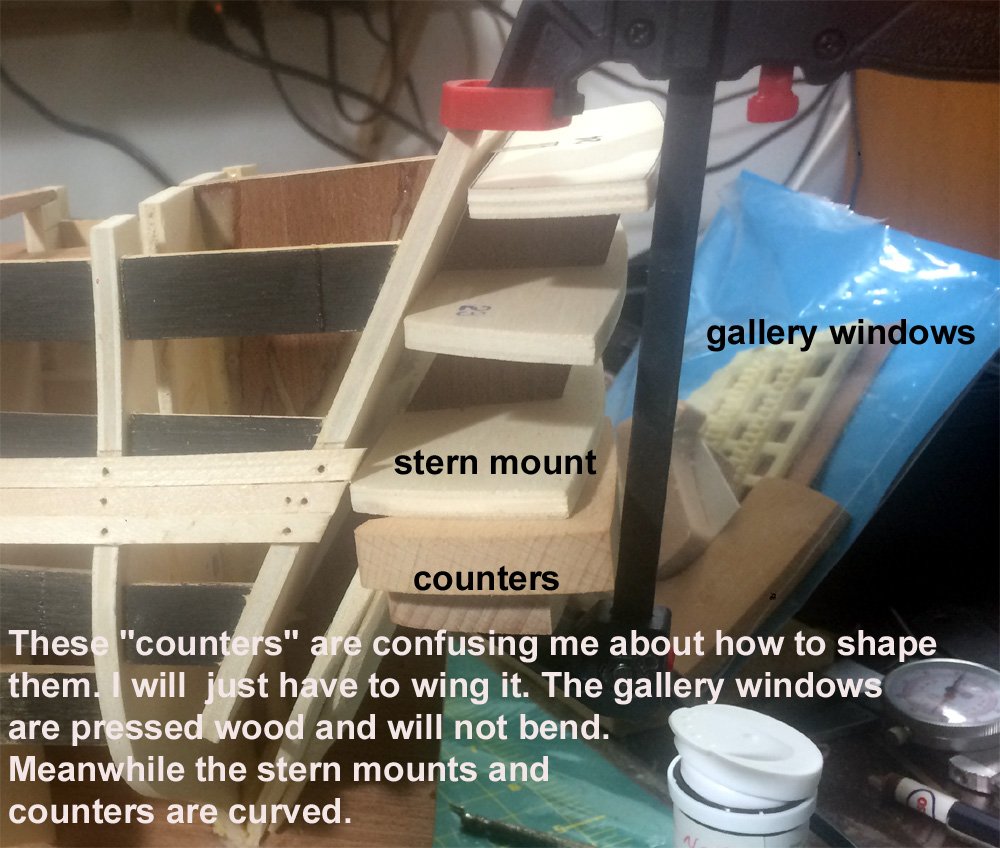
Ever changing techniques for planking. Before I can proceed further I have to figure out how the stern galleries affect the planking of that area. It is confusing but it will work out.
-
I am not sure you fellows are around but parts 50 and 51 are driving me up the wall. It is the huge size and shape of them including the amount of wood that needs to be taken away that truly puzzles me. If you can suggest a place to see this area more clearly I would appreciate it. I am now beginning to plank and need to understand how the stern is put together. https://modelshipworld.com/topic/24080-hms-victory-by-emmet-corel-198-as-she-appeared-after-trafalgar-in-1805-second-wooden-ship-build/page/2/#comments Emmet
-
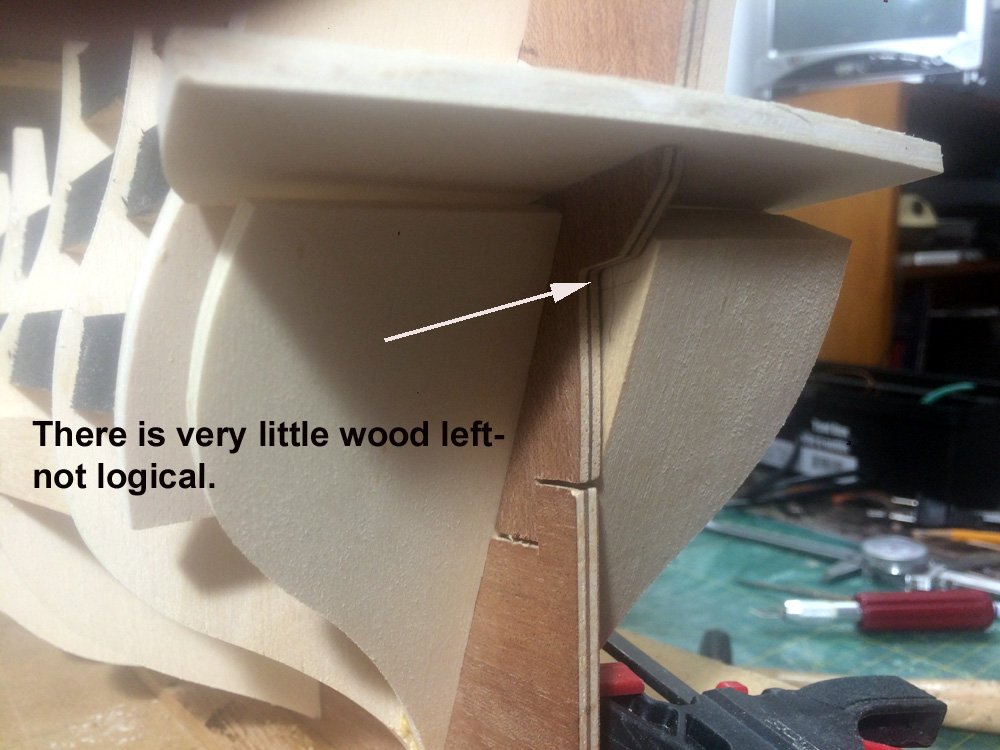
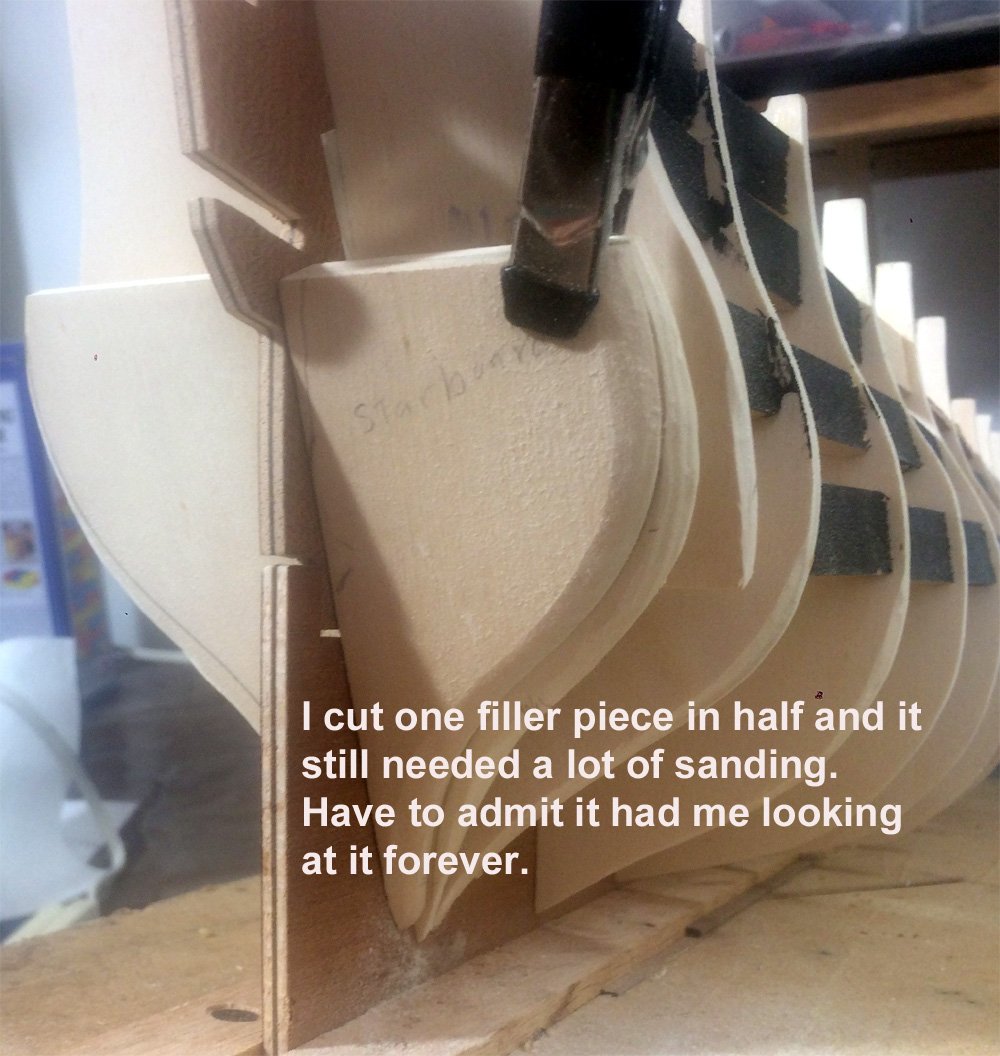
Hi Keith the worst part of the stern fillers is the lack of instructions. then to boot they give you these massive hunks of balsa which really through me for a loop. It was difficult to realize how thin these things had to be.
-
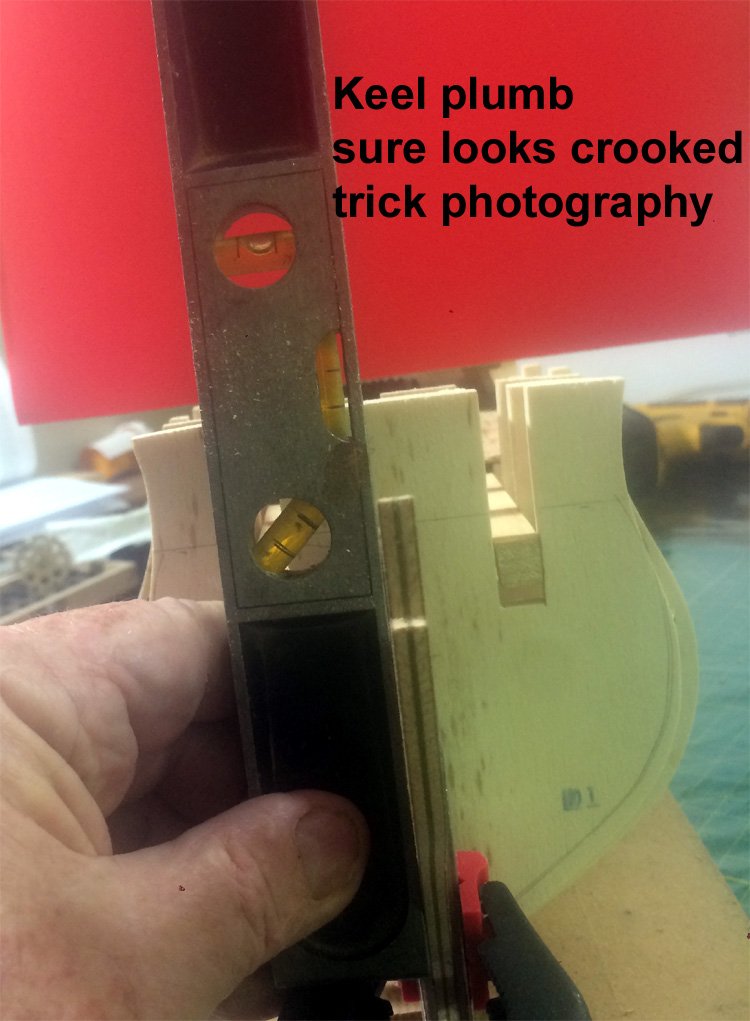
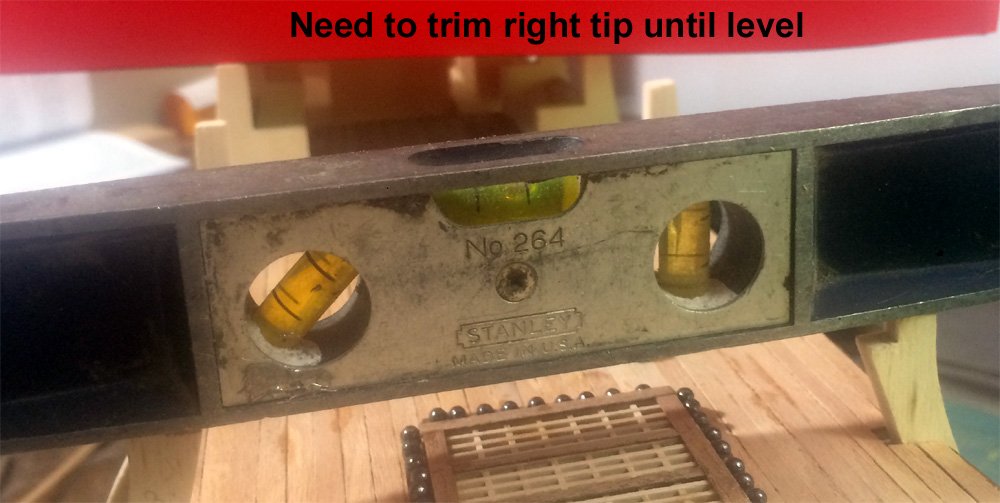
Working on a few things to understand jobs ahead. I used angle irons to make ship keel plumb. I needed to make sure that tips of frames were level. I am not going to install the upper deck now. But I am going to put the deck beams in as I think it will strengthen the structure.
-
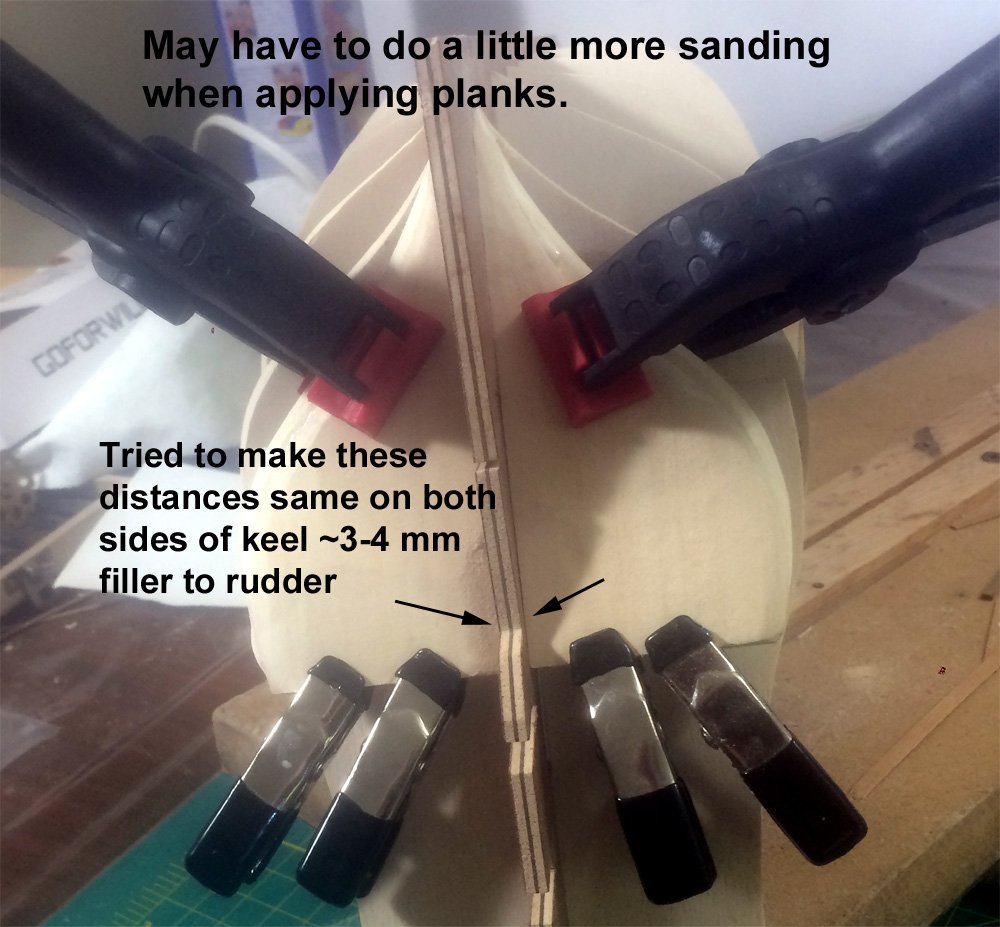
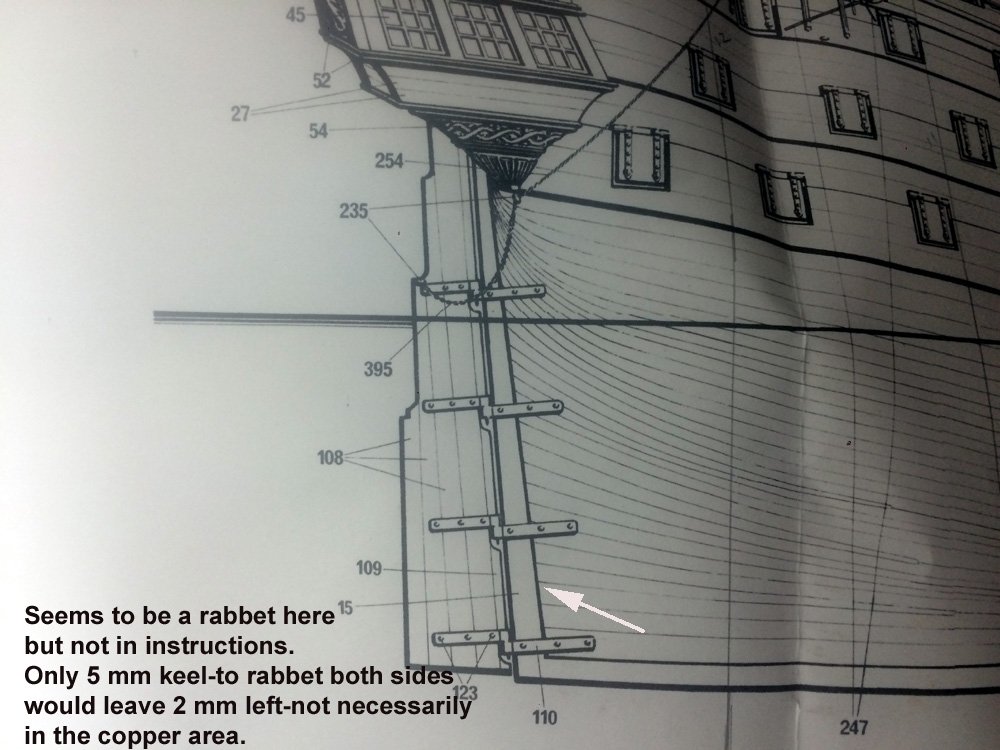
Stern filler blocks supplied made me quite confused. I wound up cutting one of them in half. Wondering if I should make a rabbet cut. It does not look like there is enough material-Maybe a little rabbet and thinning of plank?
-
With regard to lighting I meant to say I use two 150 watt daylight bulbs which use 14 watts each. They are expensive but they provide a lot of light. I have to admit that I also use a miner's light along with 2.5 glasses for situations that call for it.
-
Sounds like a good tip on the beakhead area -thanks for that tip.
-
Glad to have you back. Remember putting masking tape on the frame tips when doing the La Nina. Maybe applying some heat to the plank near the tip will loosen the glue.
-
Yes I was looking at that-terminology is important. I meant to say the bow area looks neat-what no easy seats?
-
The pictures ar great and help me understand many things. Don't the jeers go somewhere near the parells? Great work.
-
I'll be darned. I have a surfoam and did not know it. It is with all of my planes. I forget why I bought it. A garage is something I do not have when I go south for the Winter. That is one reason for the Santa Maria. I have a question to ask you about the stern fillers. the block they gave me seems huge compared to what is needed. I will let you now tomorrow. I go to bed at Nine. Tht is 2 a.m. for you.
-
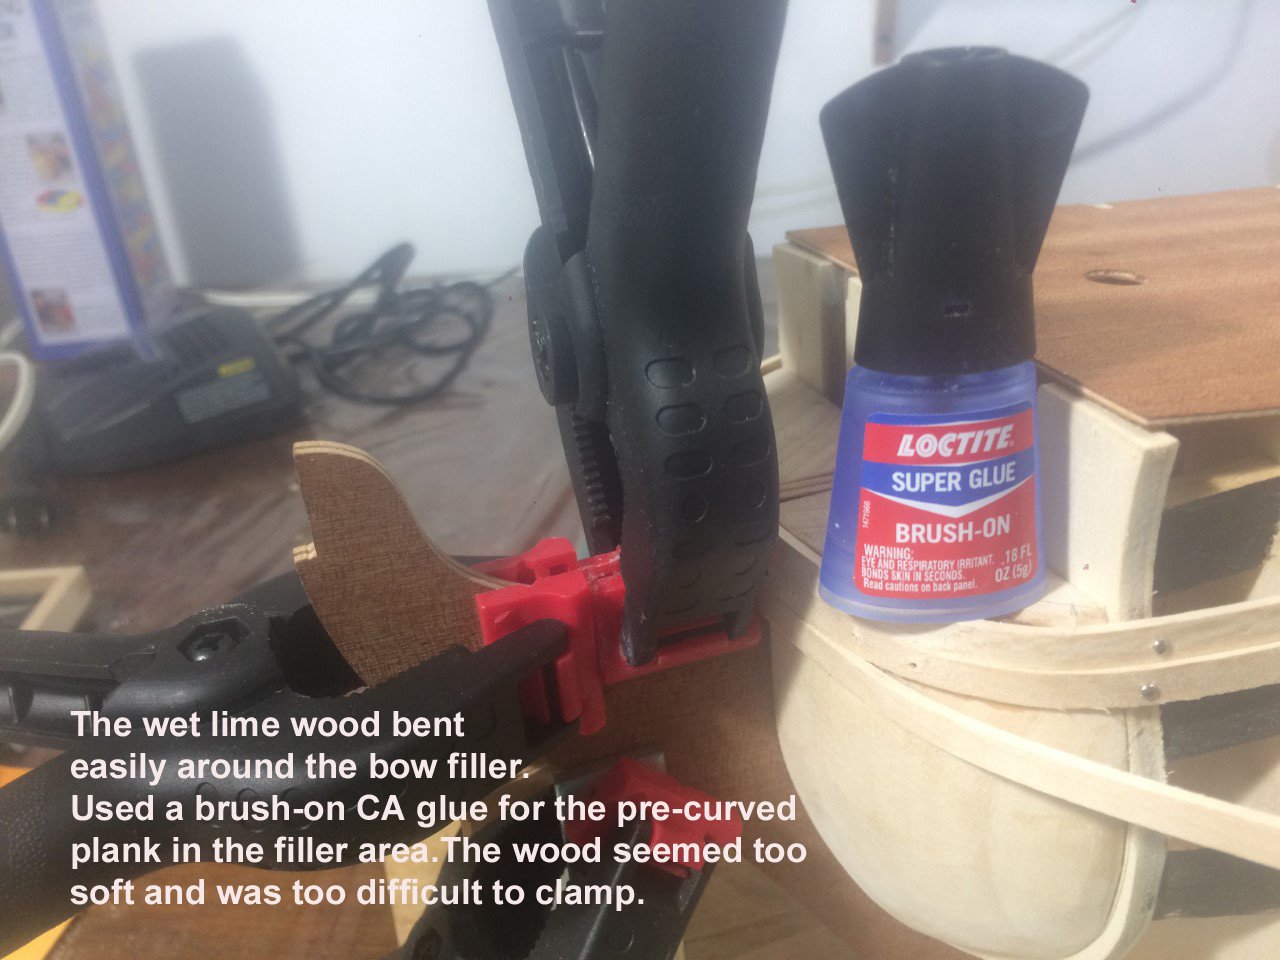
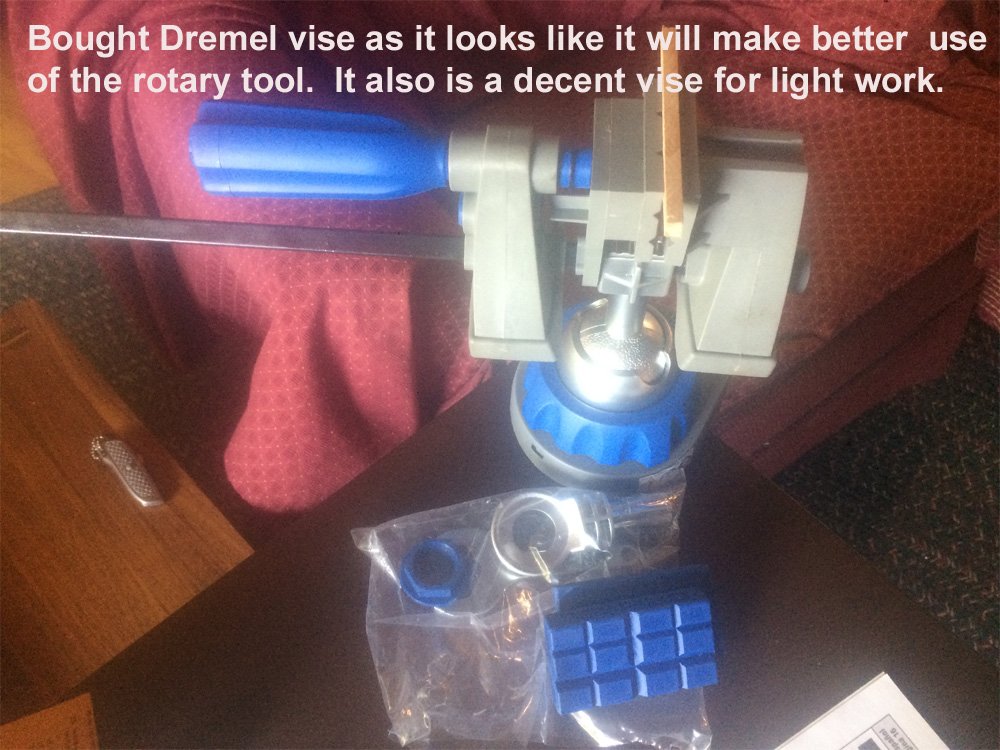
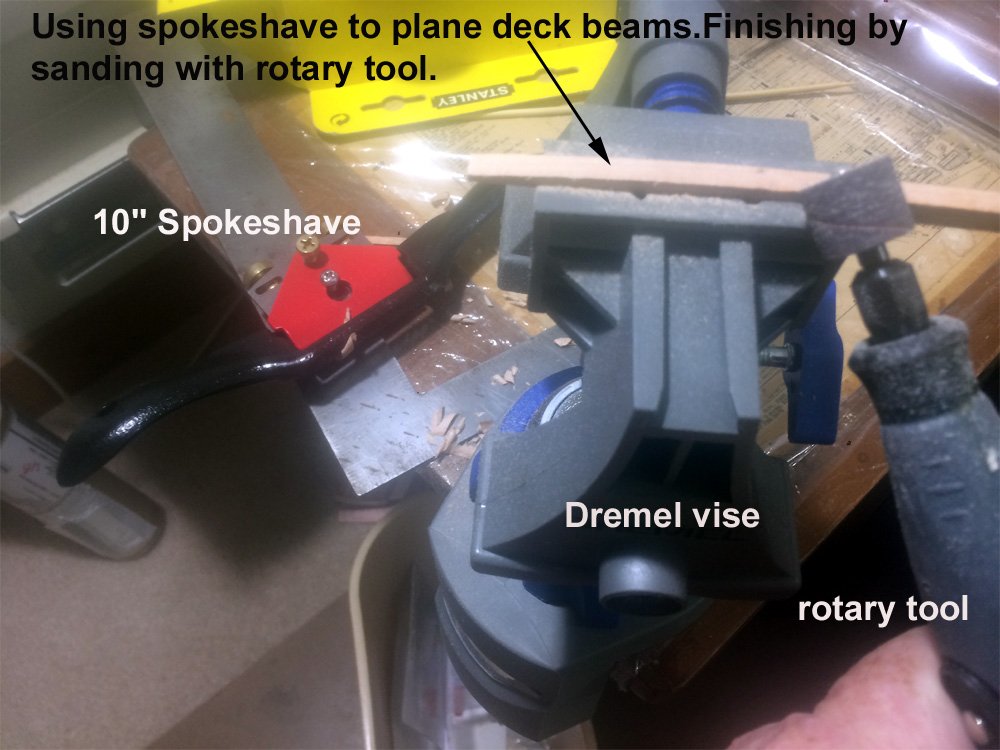
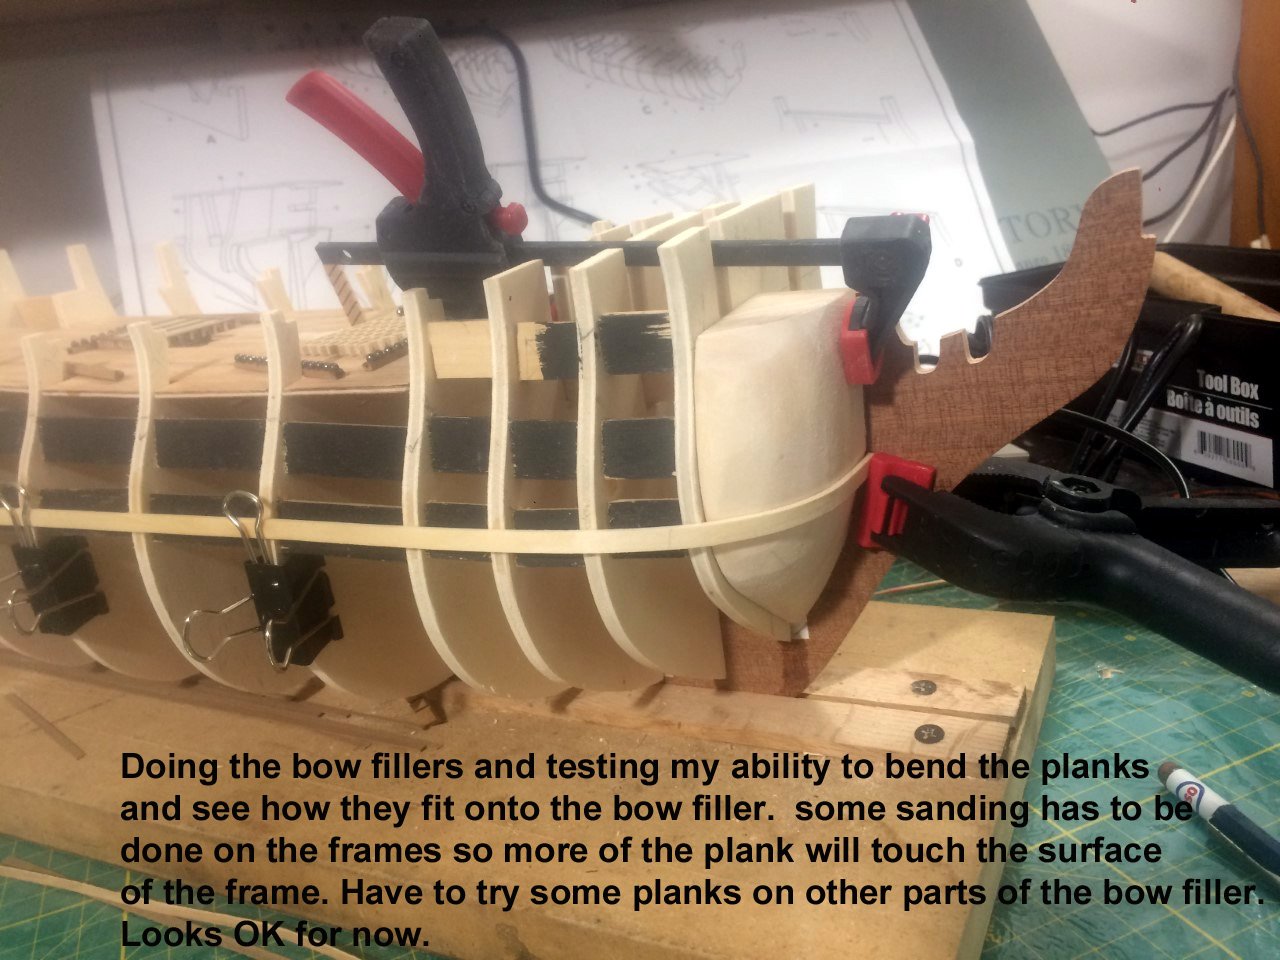
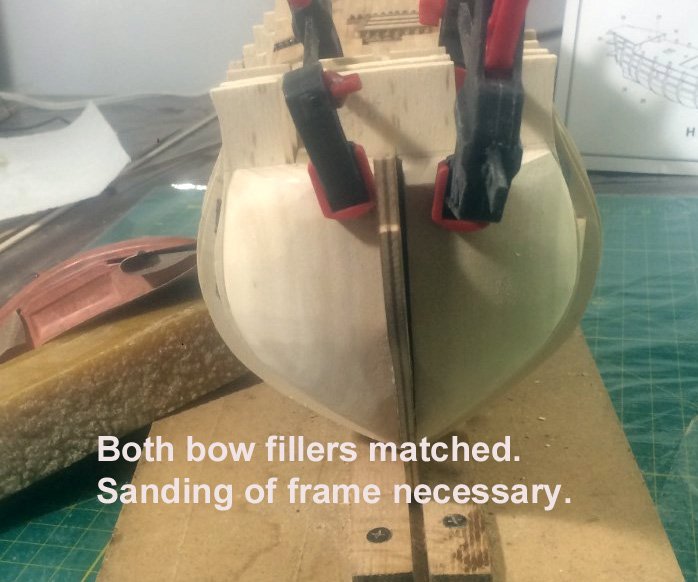
While I am still busy with some lower deck work I went ahead and did the bow fillers. I am waiting for a Dremel vise I hope will help with certain jobs. I saw where Jpett was hesitant about power sanding so I as a bit cautious. I did buy some 4x4 balsa for mistakes I might make but so far my only planned use is for making a little boat for the La Nian and the Santa Maria. At any rate I realized I could use my belt sander after some fiddling around with a plane and using some curve instruments I have. I did some hand sanding with 150 to finish. I gave my son my table sander and wondered if I would ever use the belt sander again. But here I am in the shipyard. I should say that I did the sanding in my garage and the belt sander has a good vacuum.
-
Hahaha-So my ship has no place to go-I guess over the side. Thanks for the good info. It is clear that this ship leads to a great deal of learning.
-
That helps. The seats of ease are not shown in my diagram. I assume that the sails are tied off to the knightheads. I wonder if the bowsprit is tied off to the seats of ease. a couple of these bridge timbers (or perhaps all) I have seem to be for that purpose. Thanks for the input. It will come together.
-
Sorry, I did realize it was for Matthew after the fact but I still mean it that way. As for getting attention it is not happening these days. and yes I am thinking all the way through many things. While beginning work on the bow fillers I am trying to figure out how all the parts fit together around the breakhead bulkhead. The bridge timbers are mystifying me along with the shape of the Keel in that area. I see where the bowsprit will be tied off through the Breakhead piece but cannot, from the drawings, see how the bridge timbers fit in. I was just now looking for a log that might give me a clue. I chucked the timbers in there for clarity-duh.

-
I have a Santa Maria kit but plan on using it when we go South in October. I appreciate your advice but to tell the truth, if I am not able to see a cardiologist soon for my heart tests, my sons may have to finish it. I think I can handle the first planking. To be honest this looks easier than the La Nina. Actually what bothers me is not doing some other things correctly that i will not be able to fix after planking. E. G. I am hesitant about doing upper deck as it may get in my way not to mention the directions about the poop are a reflection of the word itself. Thanks for being a friend and giving me your ideas.
-
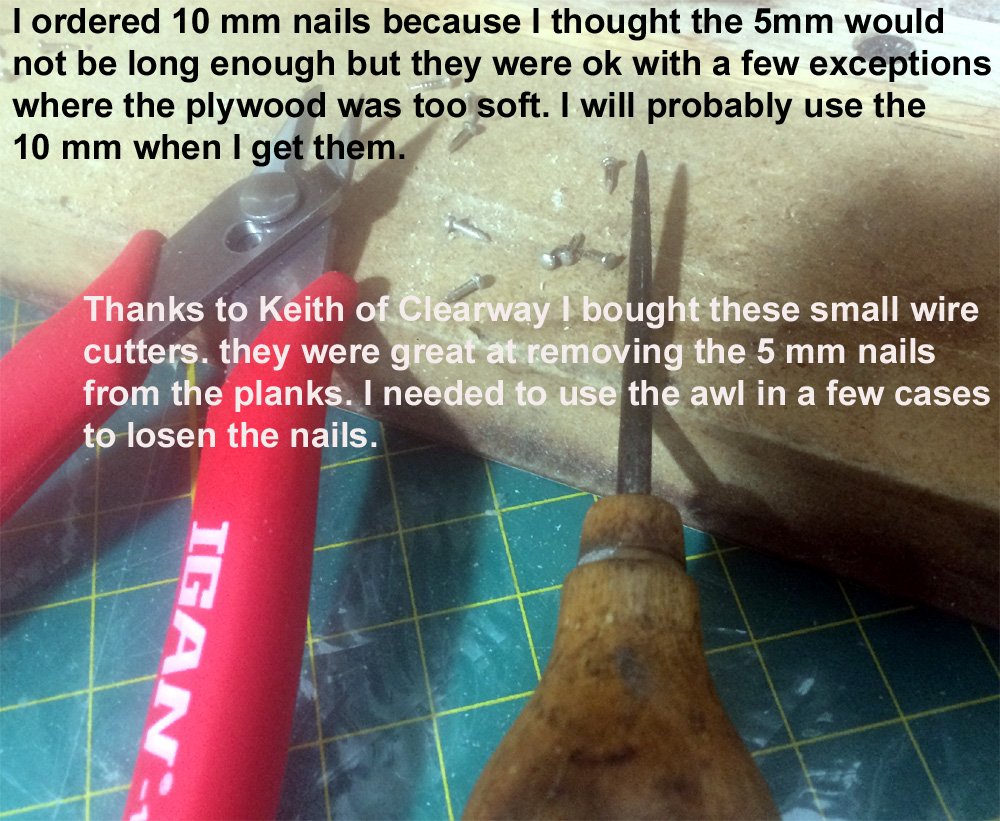
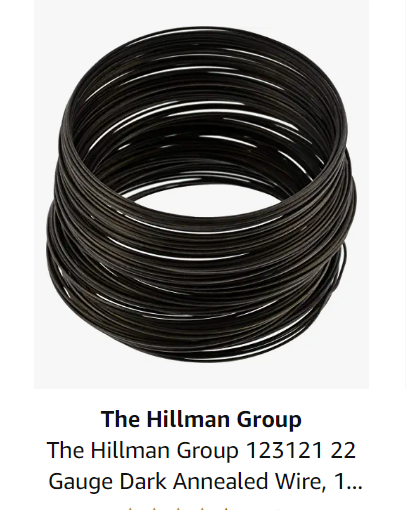
I like the idea of doing things like that. The pressed wood stuff is depressing looking. I hope I can figure a way around using it. I guess it may be OK for a few applications. Thanks for showing me how you use the wire. Annealed wire is quite strong. I have used heavy stuff in the past. I remember fixing a steel porch table with it.
-
I am currently thinking card stock. I can shape it to the way I want the stairs and it is easy to glue but I was thinking about a little deck as well. Glad you mentioned it.
-
Is this what you mean? It is 22 gauge. Is this wire around the blocks in the above pics? No. I see copper wire is used for deadeyes but do not understand where this wire is used.
-
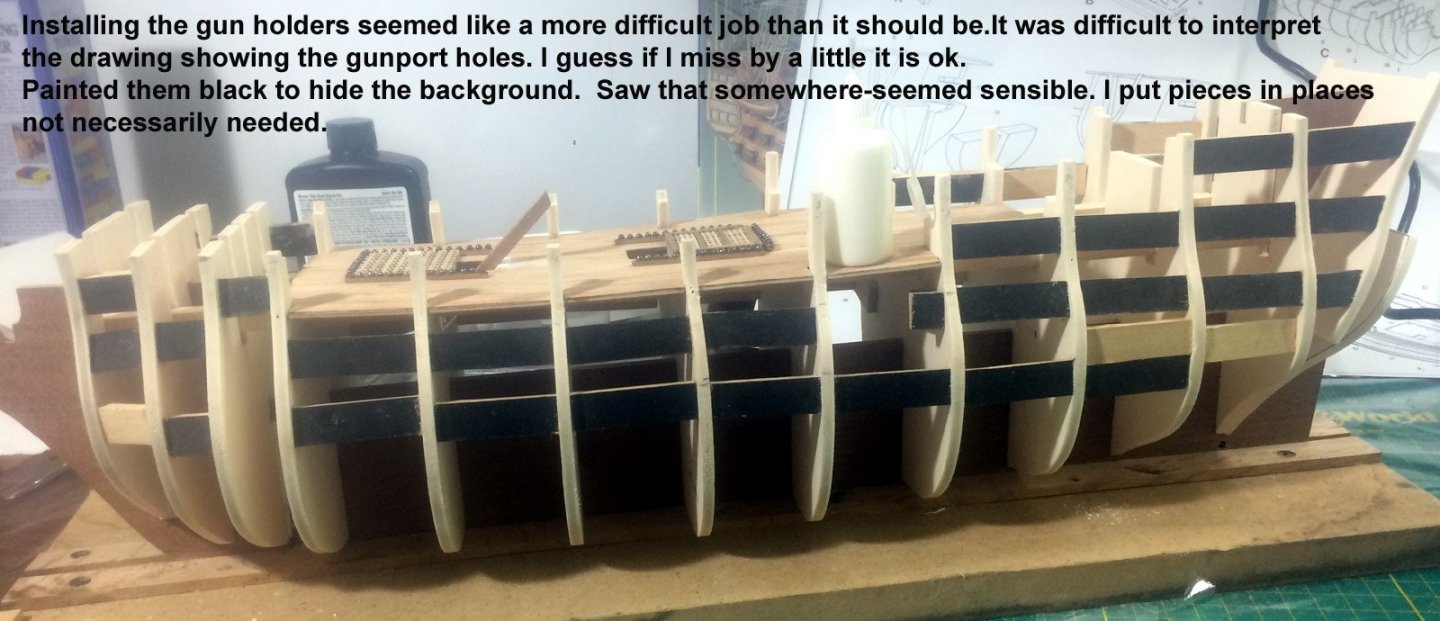
Dd the 1/2 gun holders. The lack of a profile of them in the drawings made it difficult to figure out how deep they should go so I set them back 1/8" or 3-4 mm
-
Nice to see the details. Back on La Nina I did similar but found that I had to glue the strops to the block for them to stay. Time will come when I will be doing more of it and it will be something to remember. I also put bees wax on the strops before tying to the blocks.
-
Accents are great! The West Virginia accent here is awesome. While similar to other Southern accents it just has a special ring to it. I remember a Kentucky acquaintance we had told my young son to "get the fol Bob".Bob was stumped. she got the foil and hit hi on the head with it. Often when we watch English movies we need closed cap to know what is being said. Unfortunately here in the States only a NY accent is permitted on tv-such a shame. I will look for Heriott-"If having a soul means being able to feel love and loyalty and gratitude, then animals are better off than a lot of humans". It seems PBS carries it but with us living in a rural area, public tv cannot afford for us to watch it. Anyway back to finishing cannon holders and gratings.

