Mirabell61
-
Posts
7,282 -
Joined
-
Last visited
Content Type
Profiles
Forums
Gallery
Events
Everything posted by Mirabell61
-
 Thank you John I`m glad that you like it Nils
 -
Thank you John Nils
-
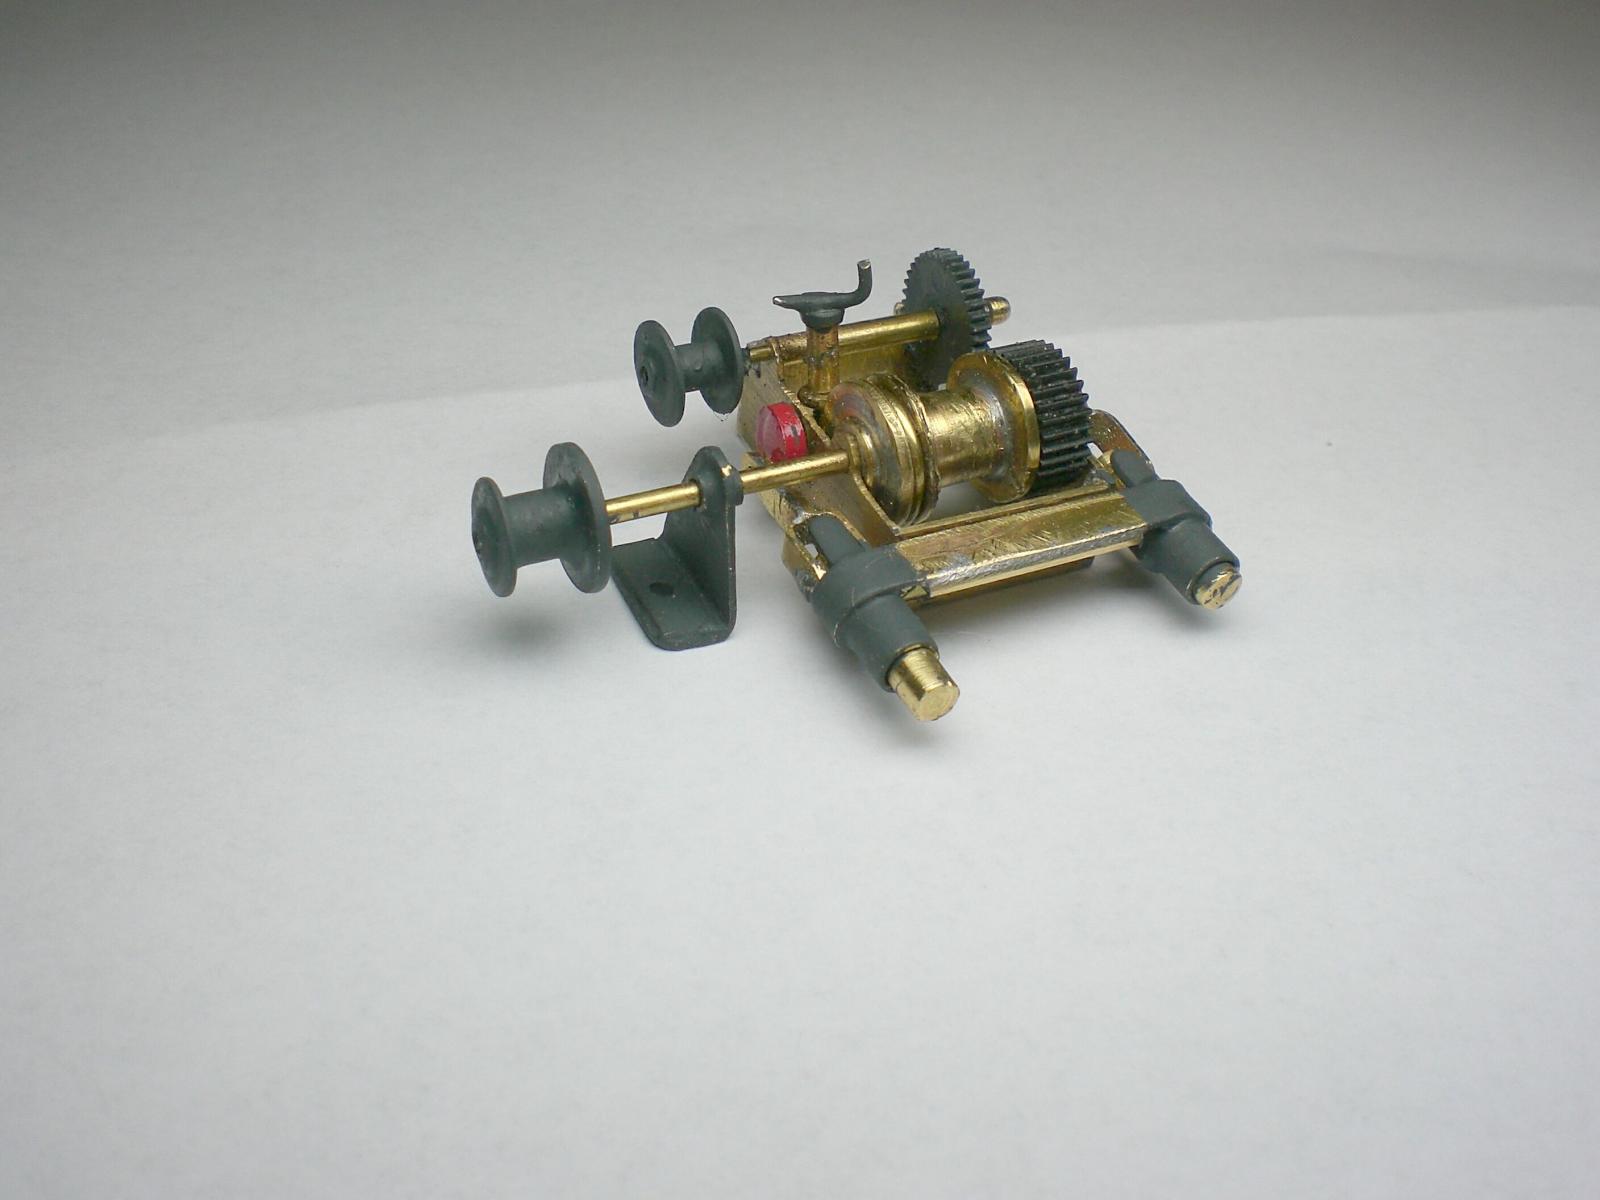
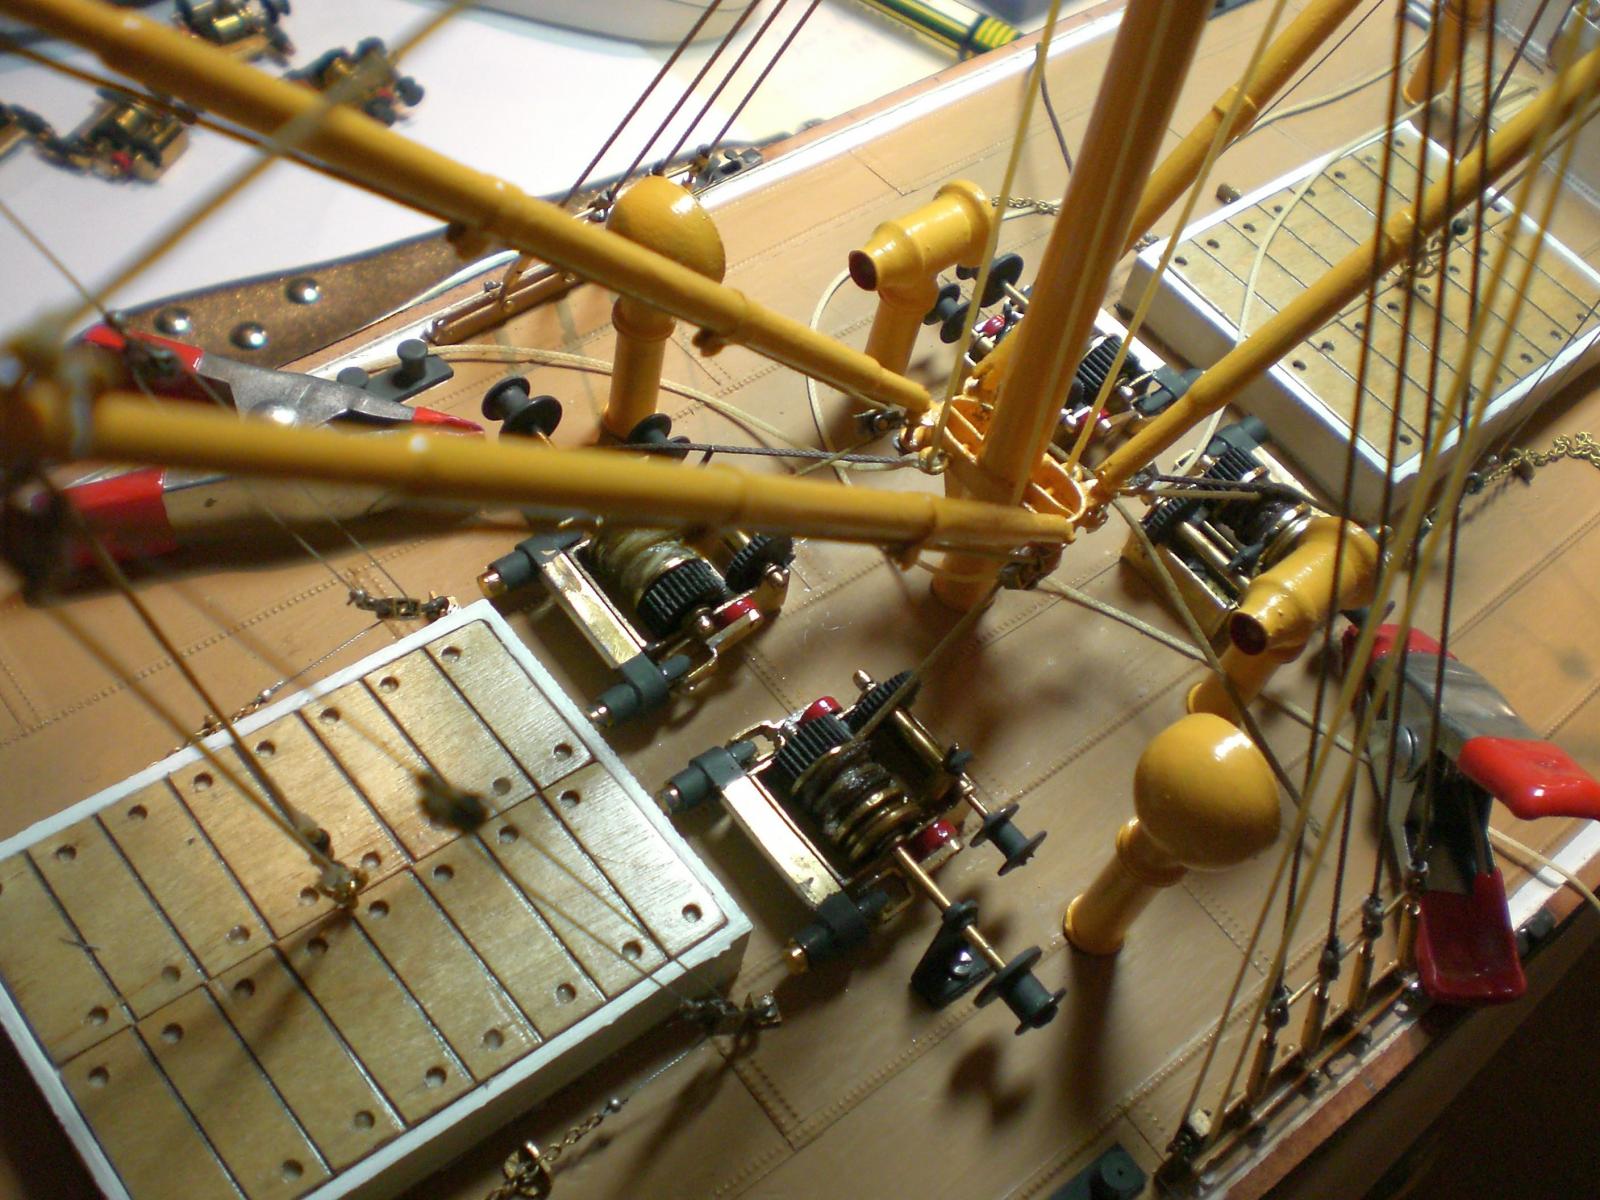
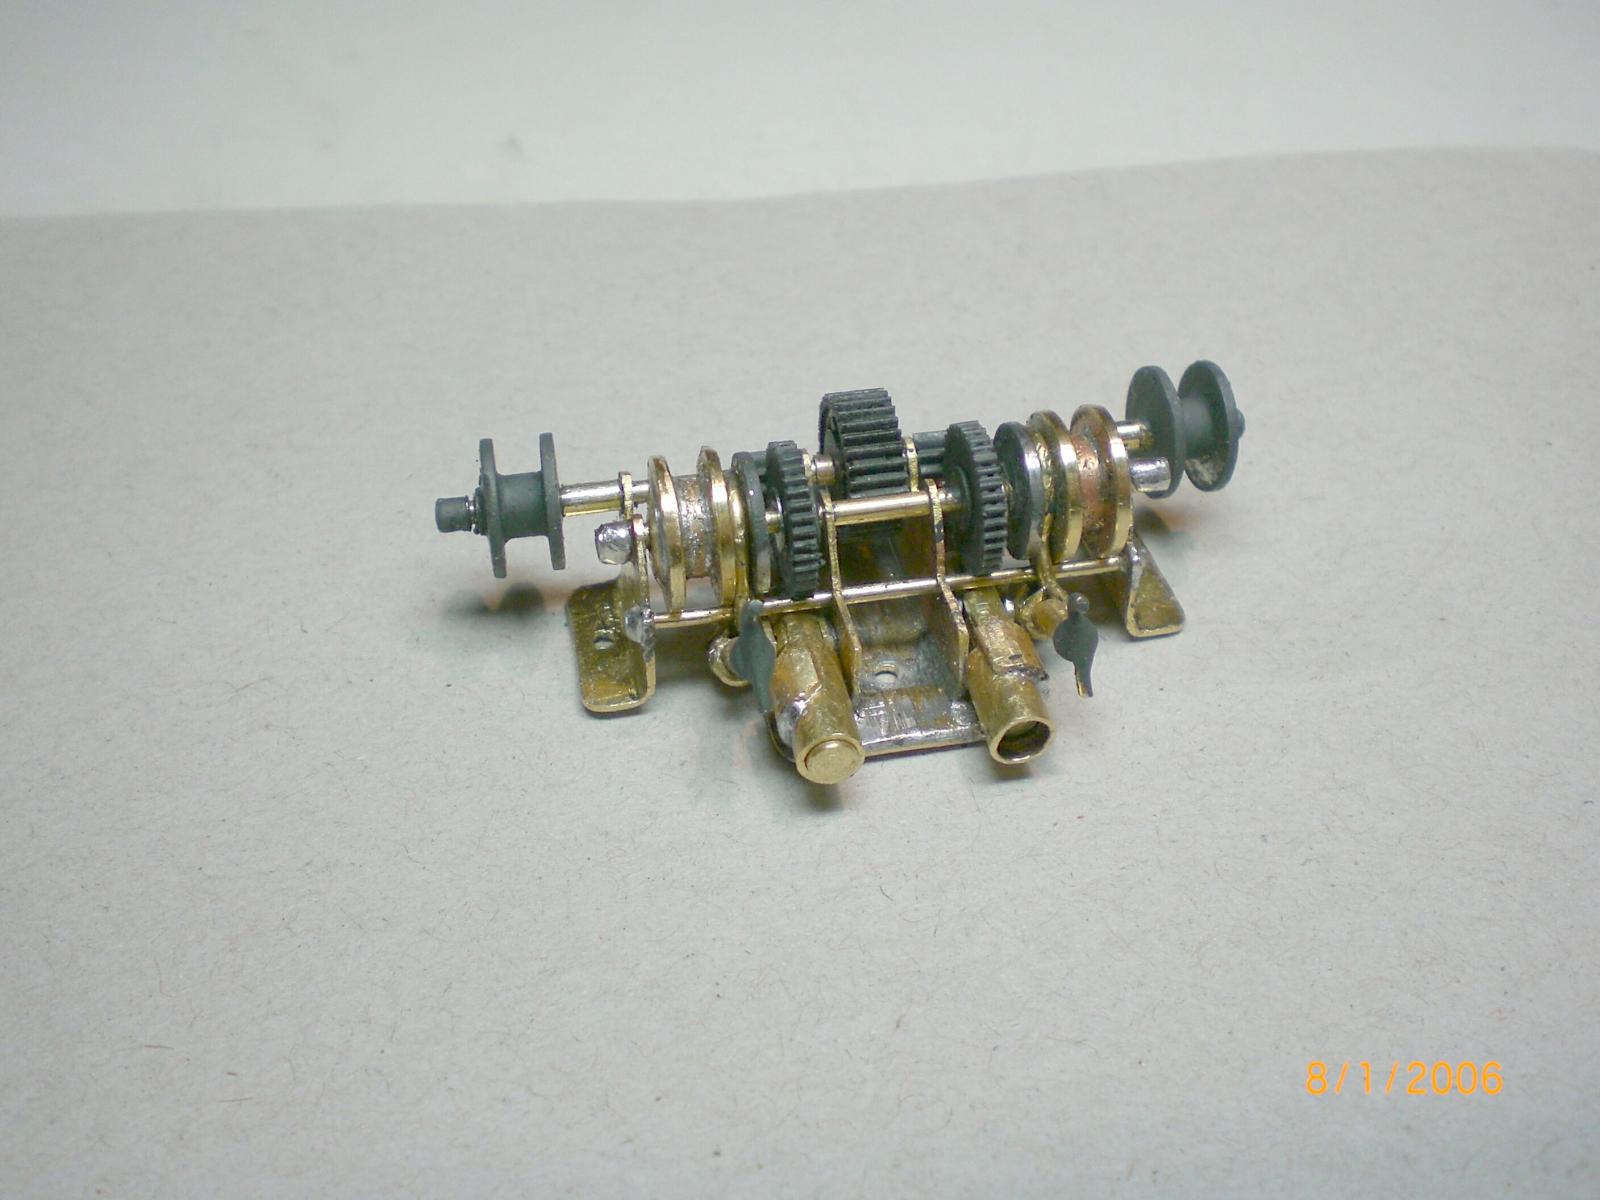
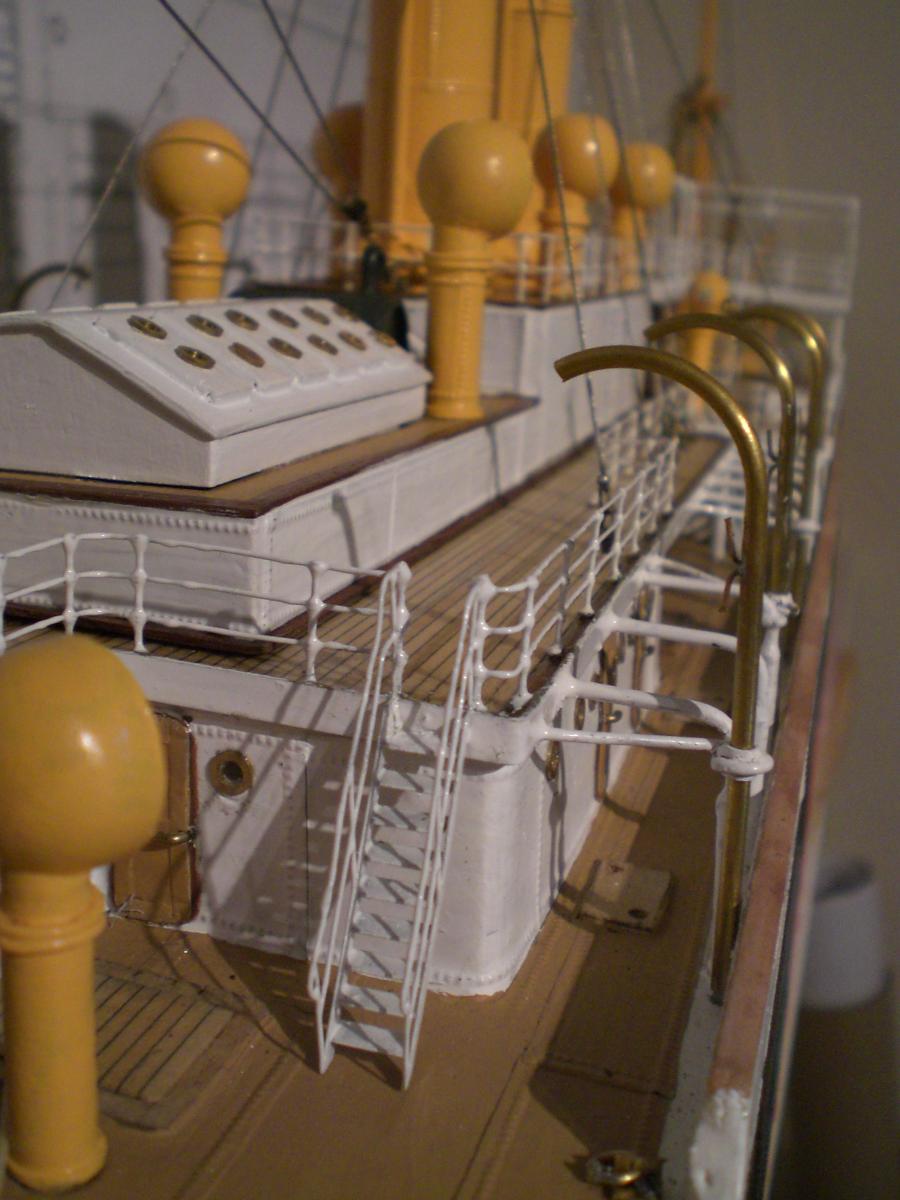
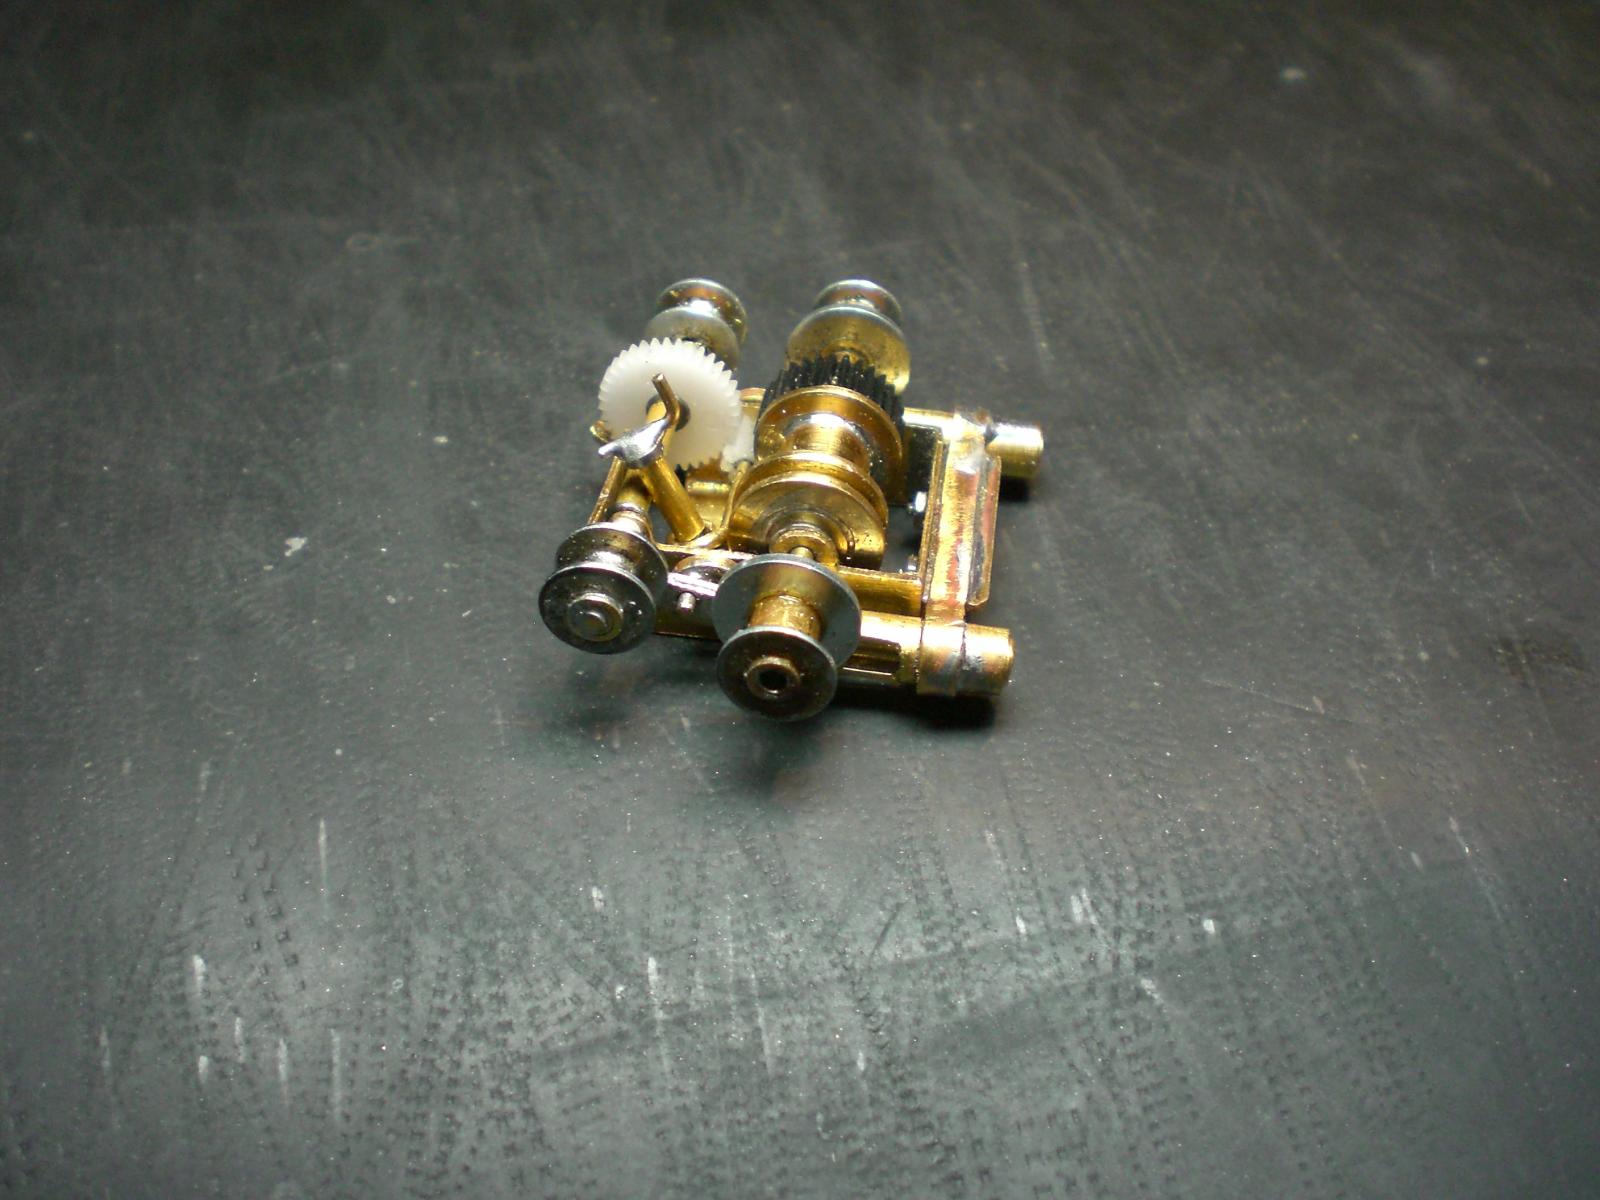
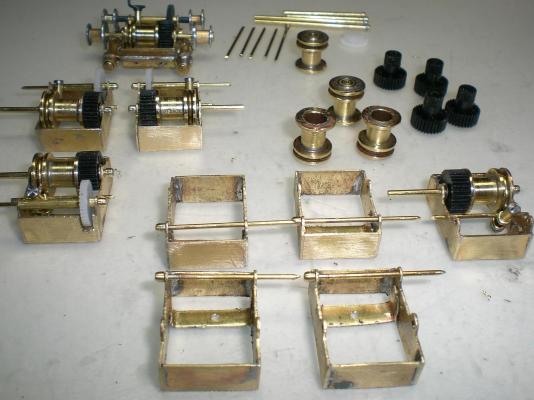
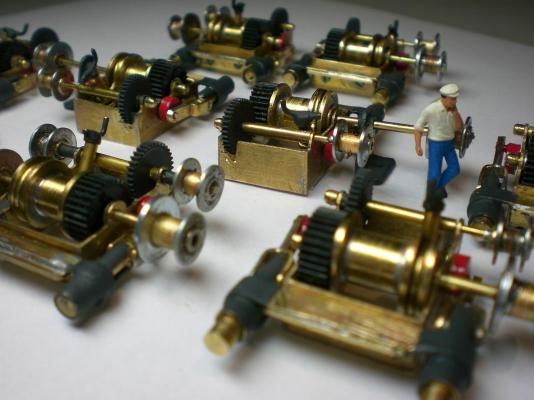
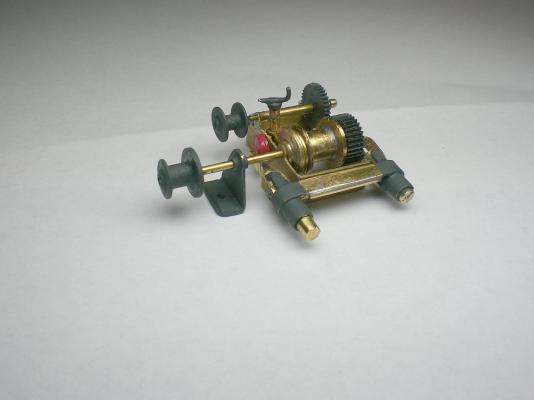
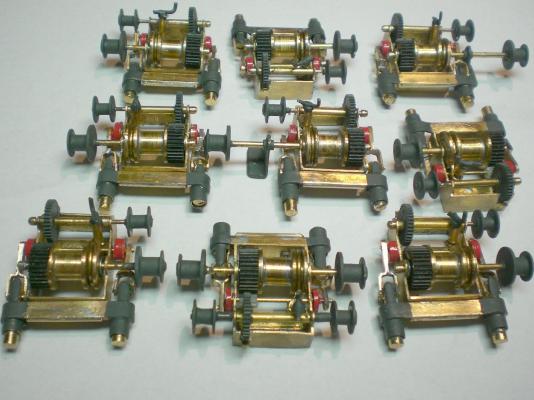
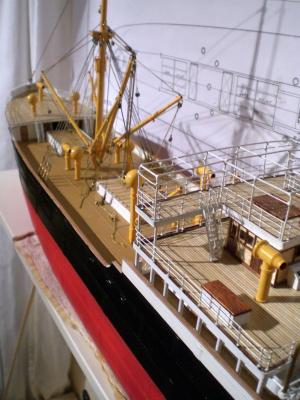
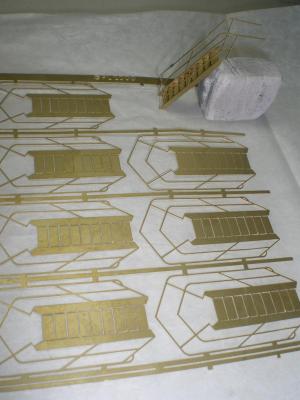
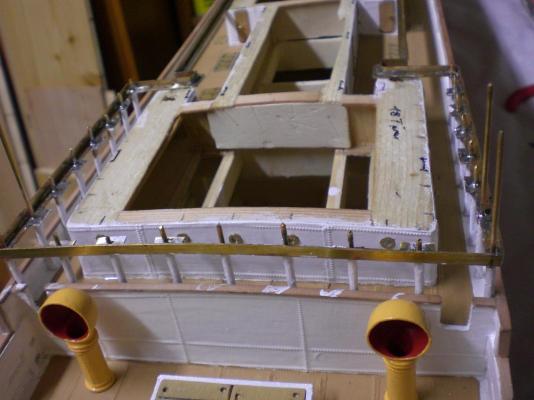
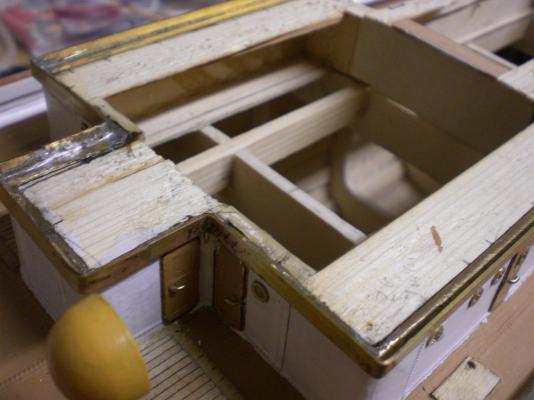
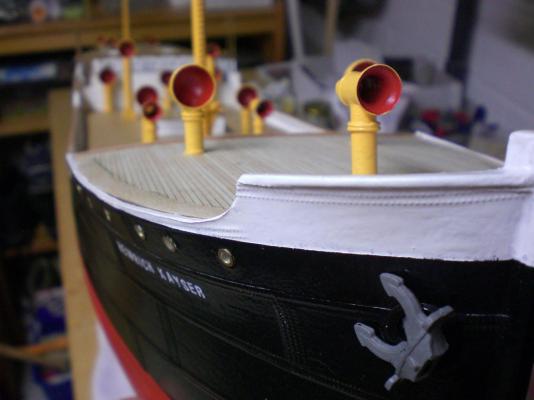
Build log part 14 now quite a lot of metal has work to be done.... that gives the Feeling Henry Ford must have had with early factory production, many repeating parts and assemblies... winches-windlasses all in scale 1:96 a Little painting, but I wanted the brass to be visible for nostagalgic appeal well, here they are rowed up infront of the factory yard and then fitted at the loading stations another birds view on the auxillary rudderstand 3 views of the twin steam-cylinder forecastle anchorchain windlass These two chain-spoolwinder-drums with slide guide are connected port / starboard to the steam-rudderchain engine in the (not visable) aft deckhousing compartment. Build log part 15 to follow....


- 113 replies
-
- 8
-

-
- heinrich kayser
- steamship
- (and 1 more)
-
Thank you Robin your words of a fellow Senior member are very much appreciated Nils
-
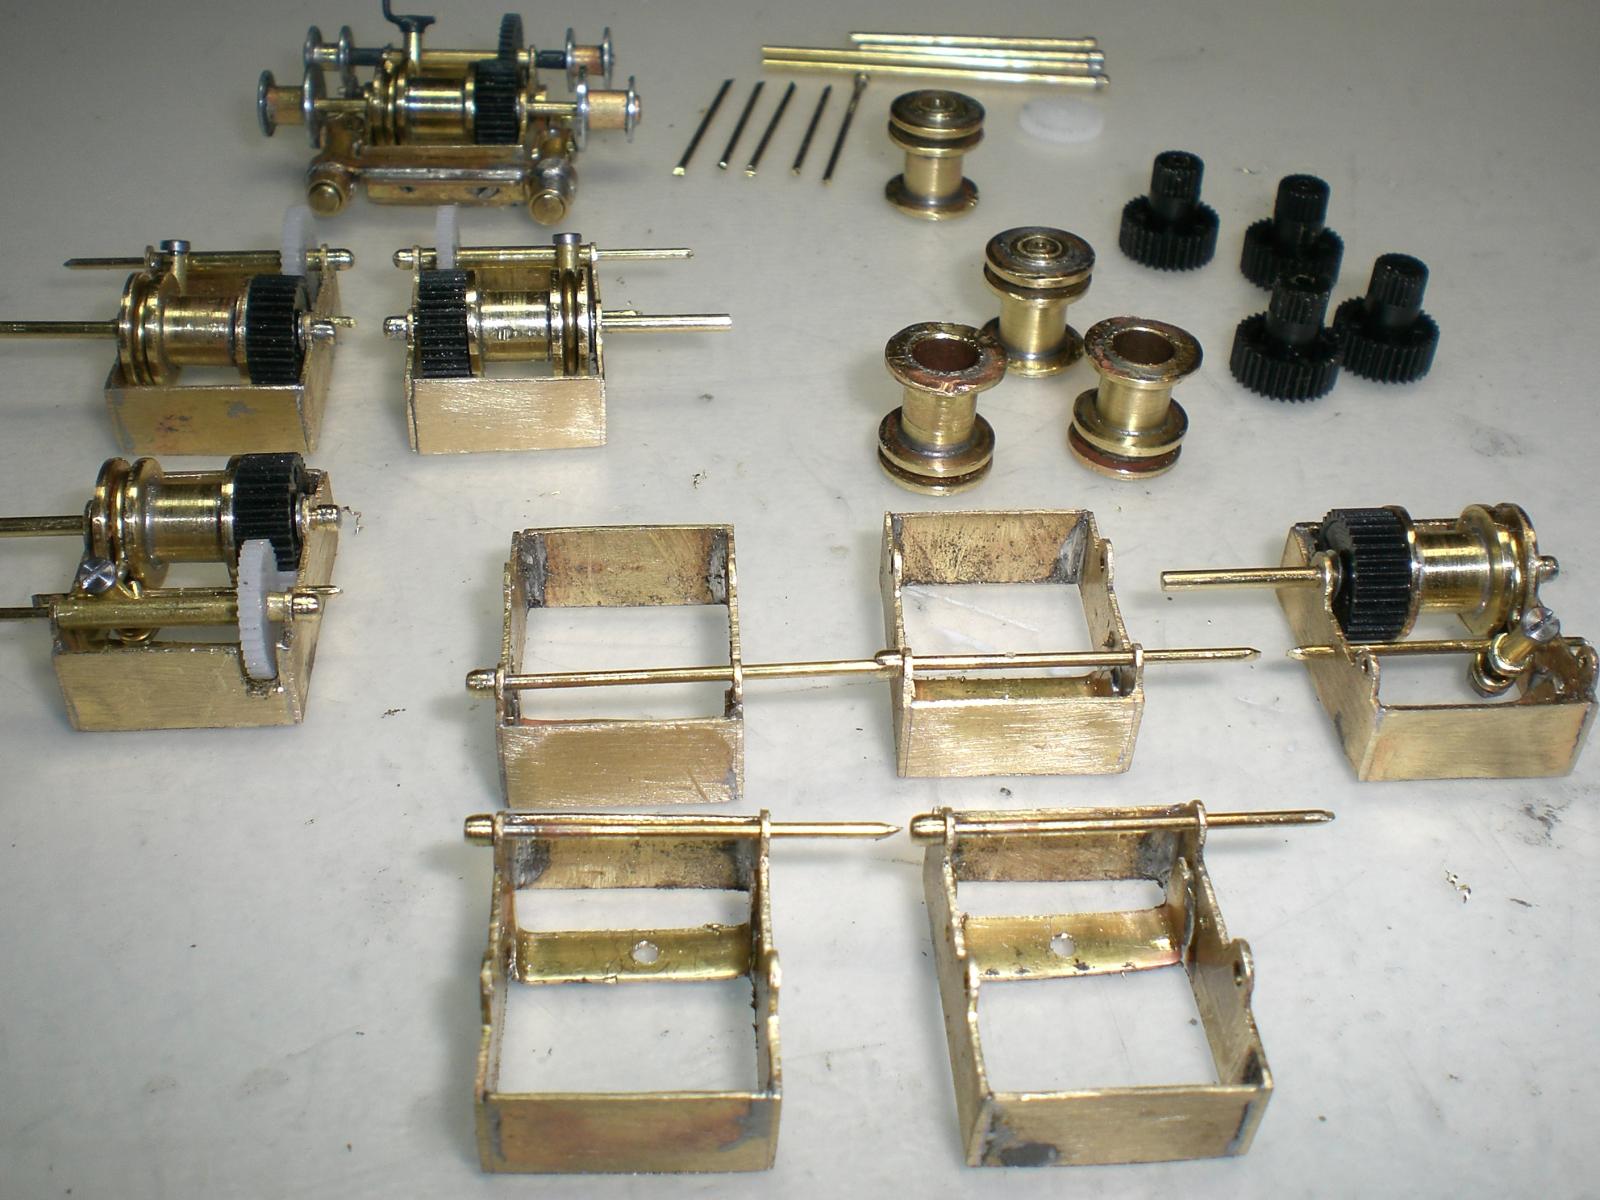
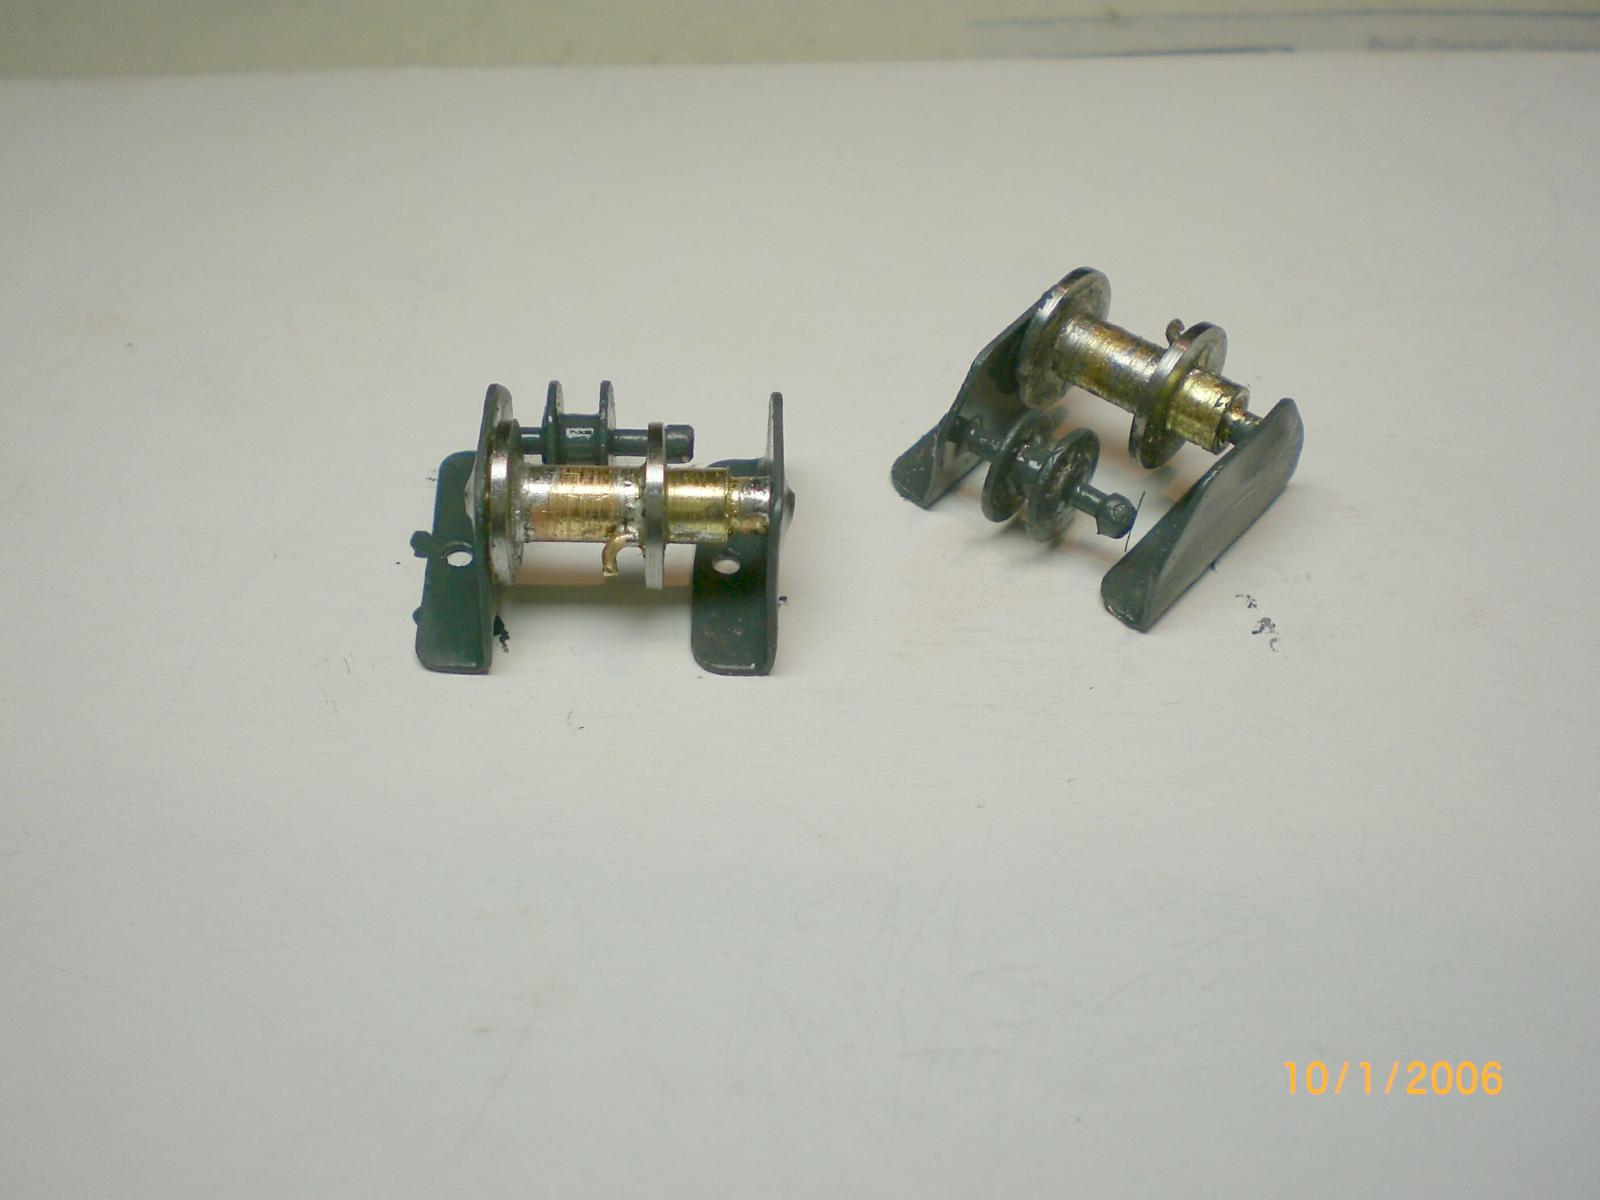
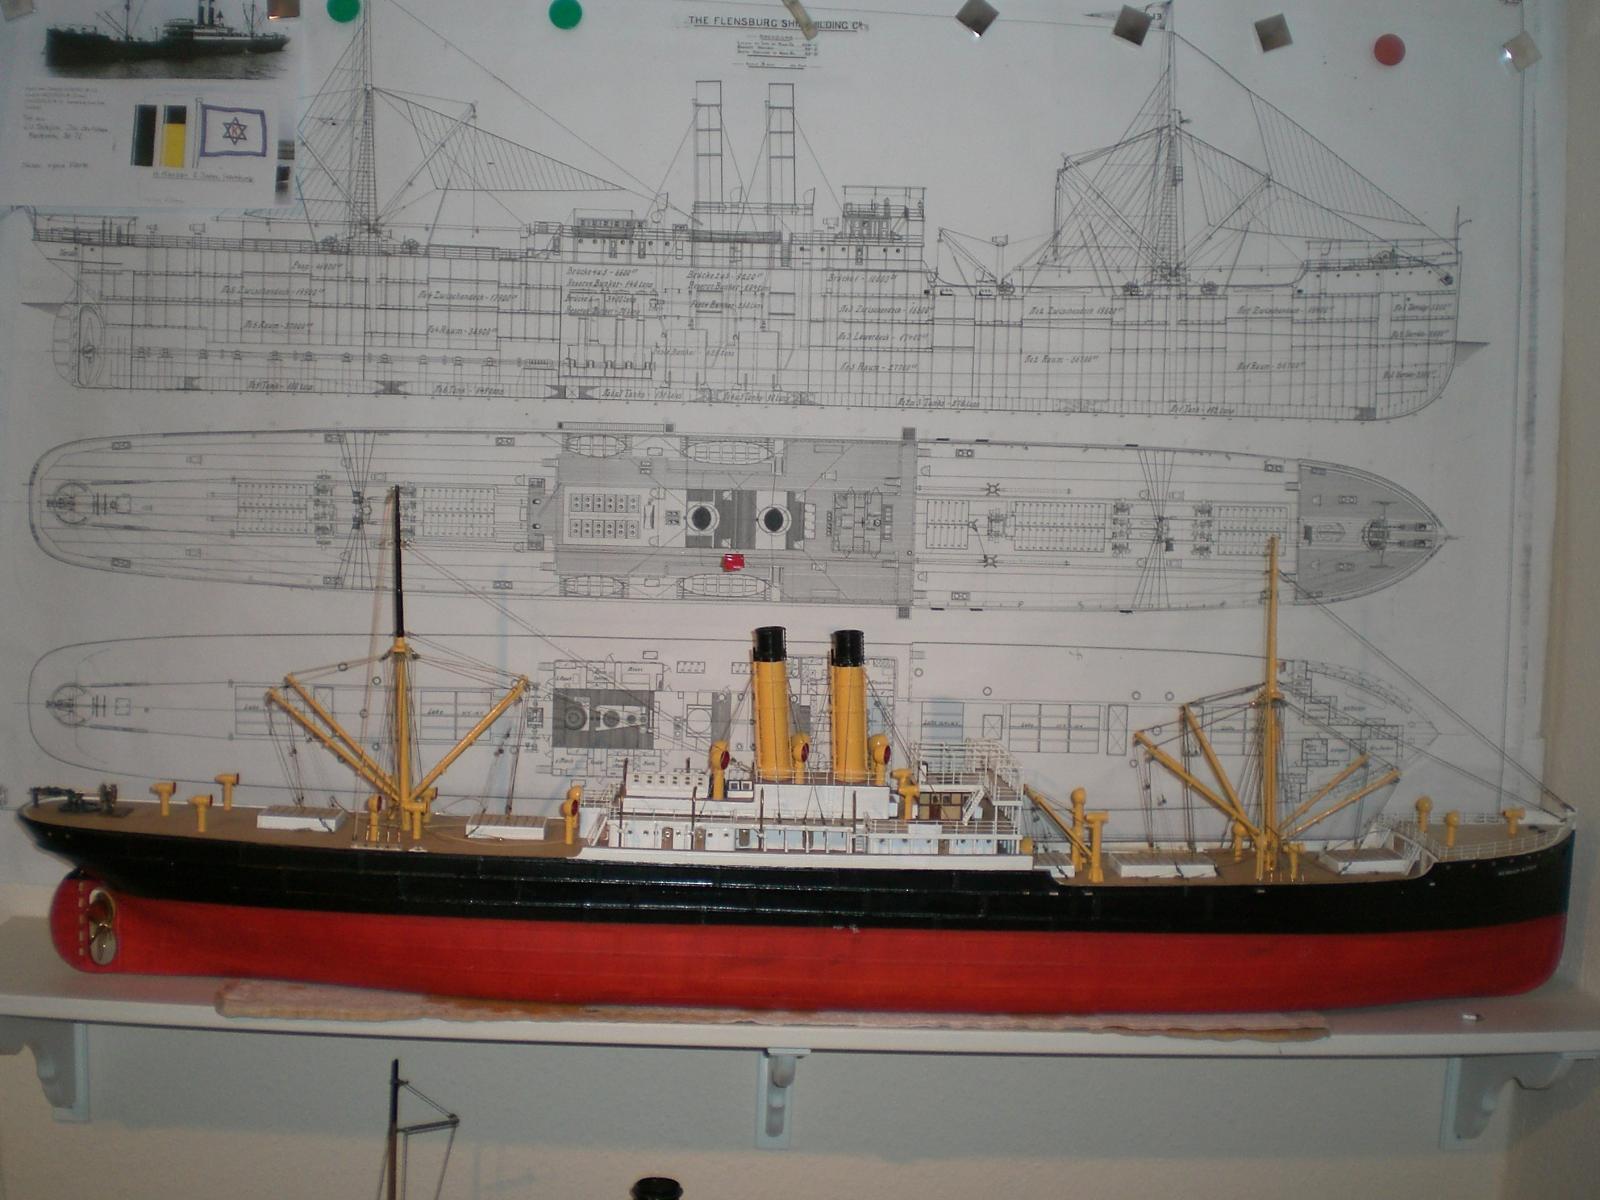
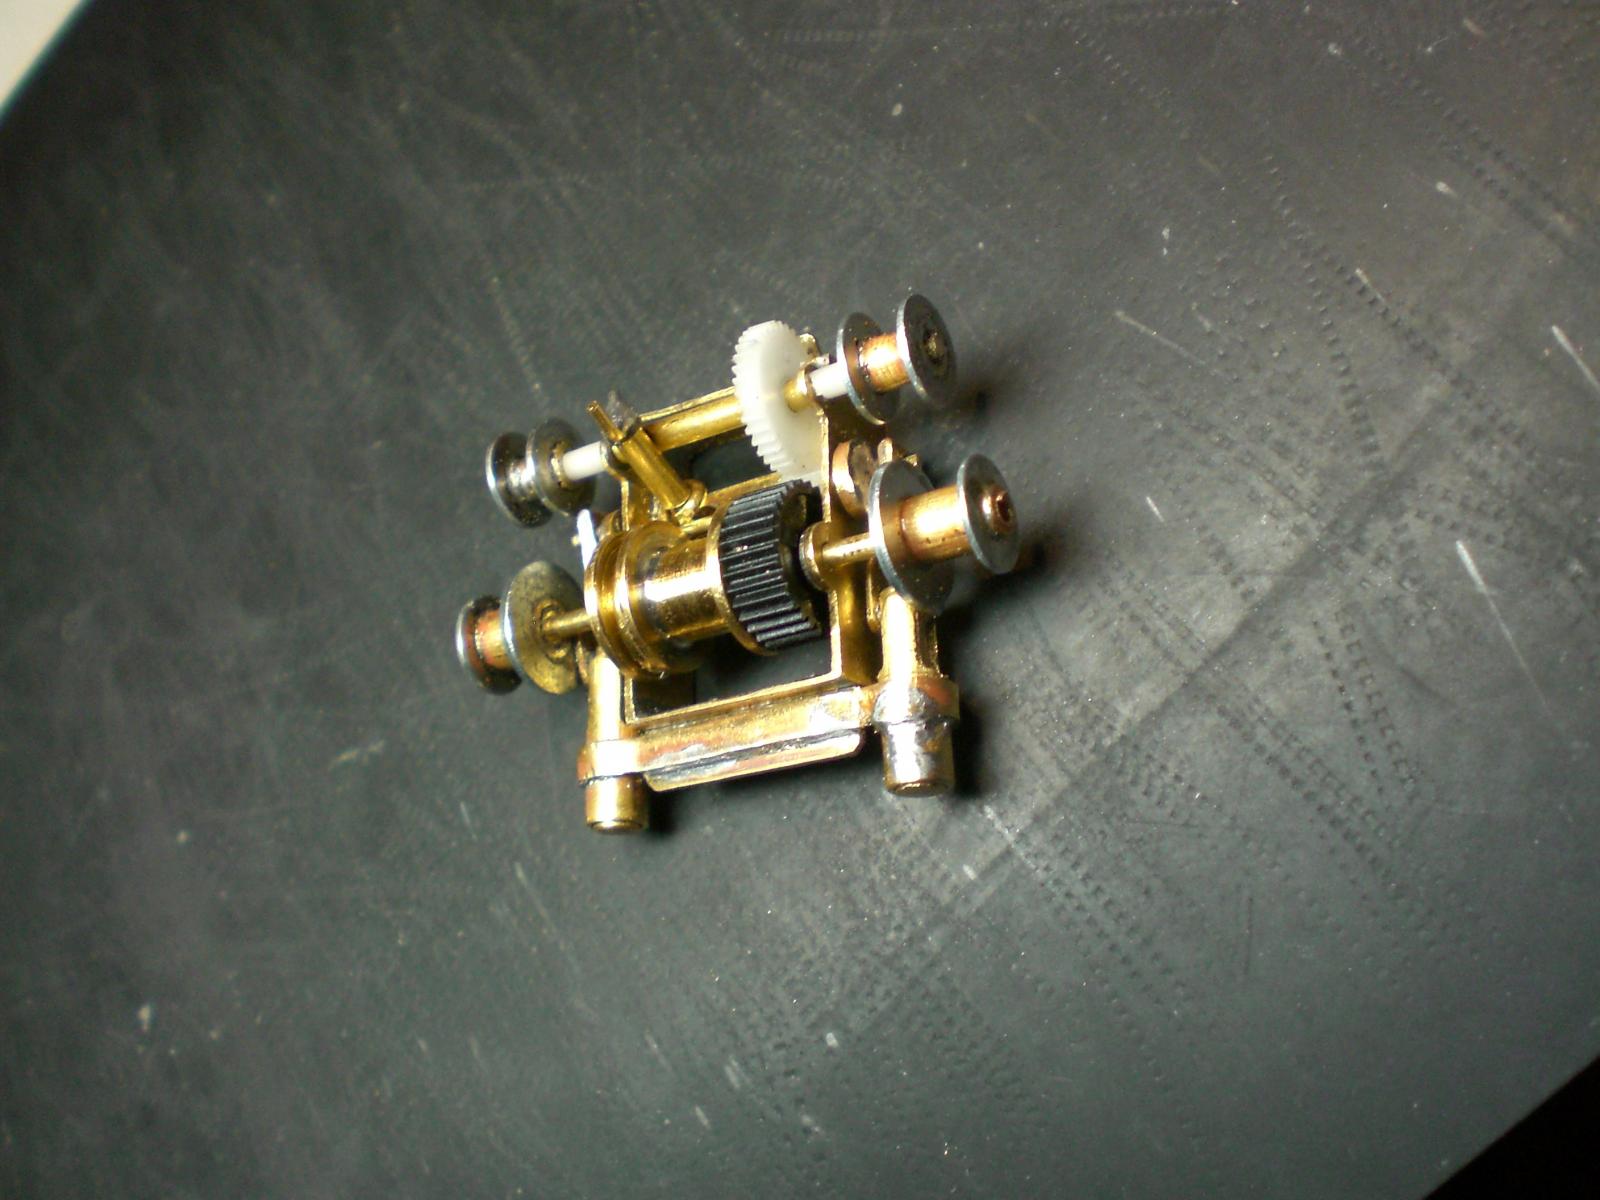
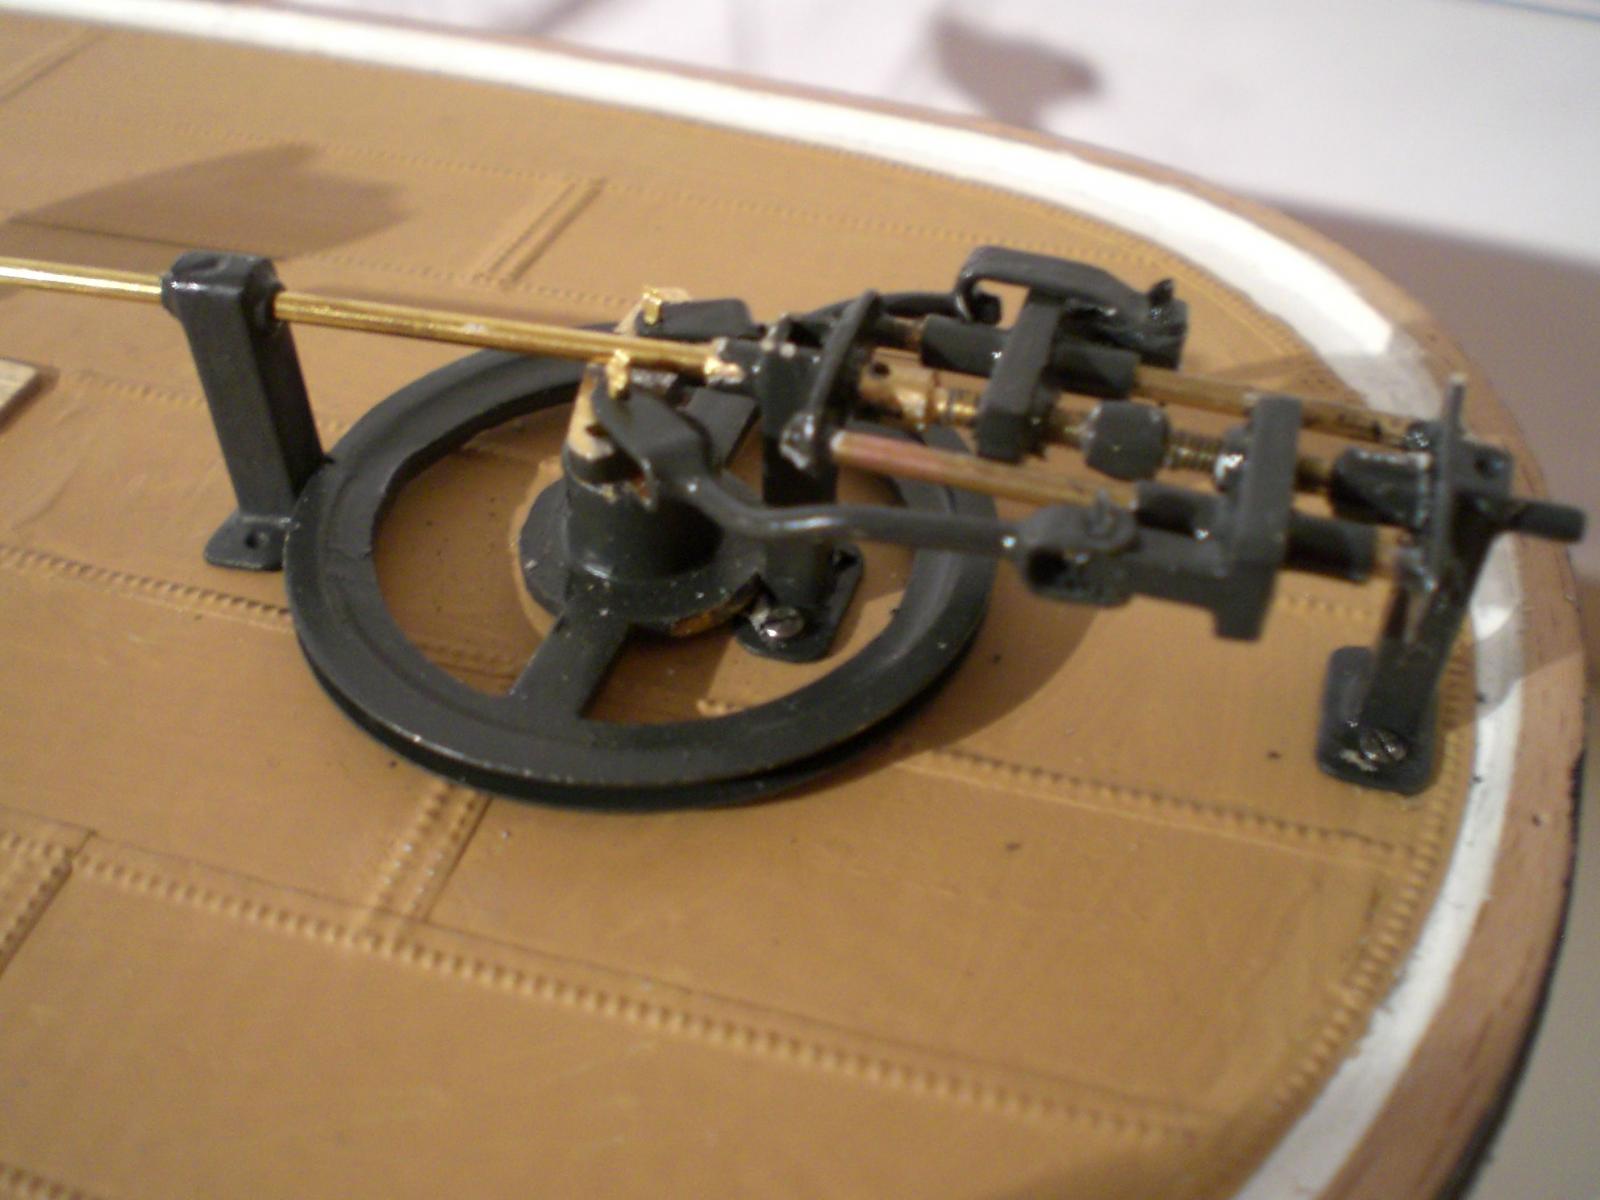
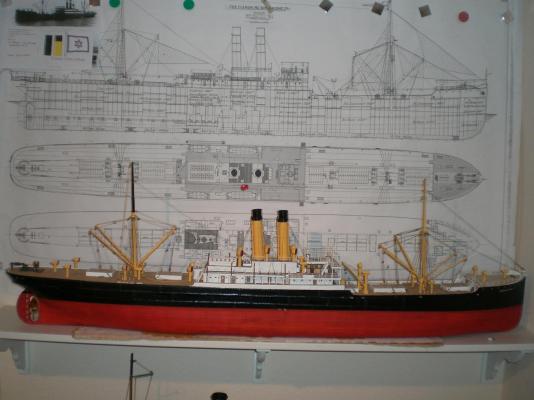
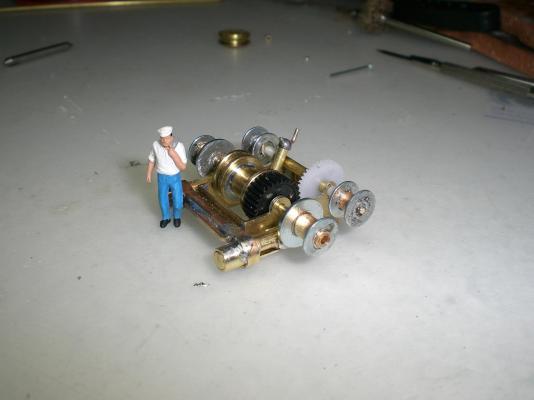
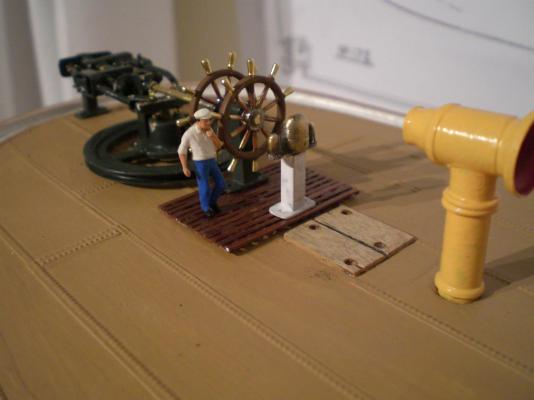
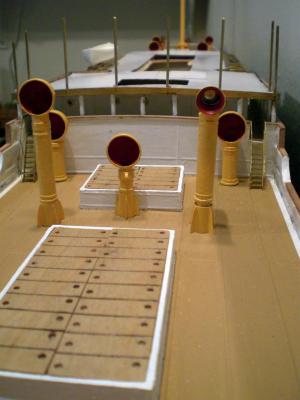
Building log part 13 now ist time to do some more Details..., there are 11 steam-winches / windlasses in different types and in coilspool- and gear Arrangement to be made in scale 1:96 Here beginning with one of the loadbeam winches...with each two steam cylinder attachments working on the fast crankshaft rod, and with spindle opperated drum band-brake auxillary rudder stand upper Bridge rudder stand and machine telemotor. The Bridge steering was remote conrolling steamvalves of the steamsupply to an seperate steam engine situated in horizontal Position in the aftside of the mid-deckhousing. The prelonged crankshaftends sticked out to port and starbord side and connected to the opposite turning chainwinderes of the steering chain. It was that steering chain that broke and caused the unmanouverability of the ship. Probably in the heavy washing sea with flooded decks the auxillary rudderstand could not be maned.The ship was sowith doomed to ist fate... funnel stays mounted building log part 14 to follow.....


- 113 replies
-
- 9
-
-
- heinrich kayser
- steamship
- (and 1 more)
-
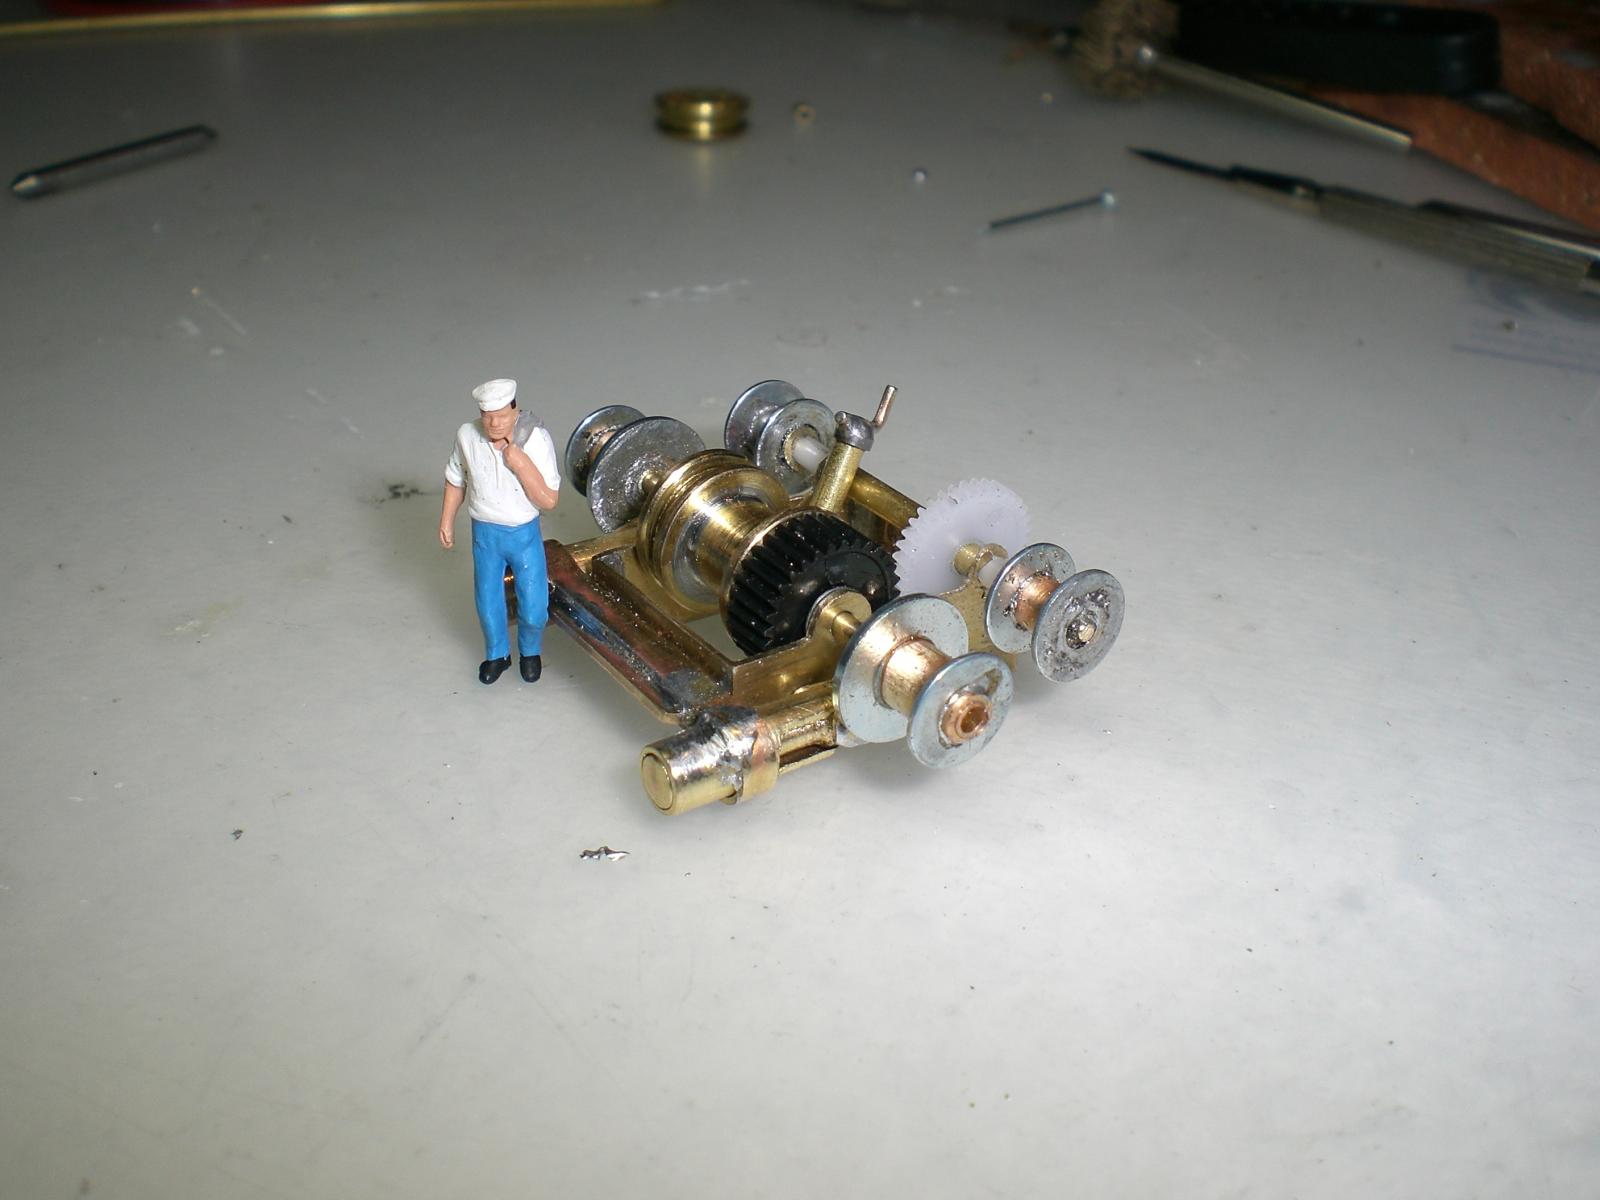
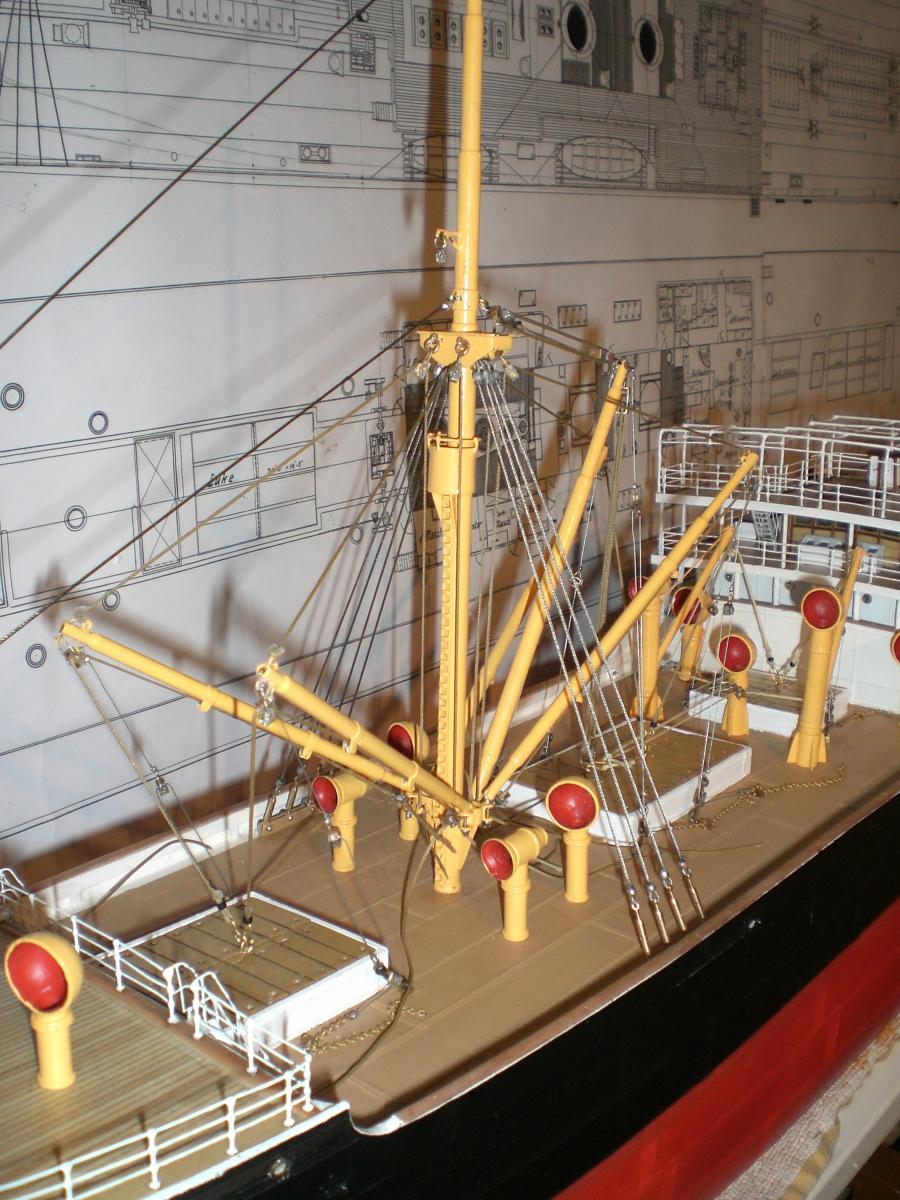
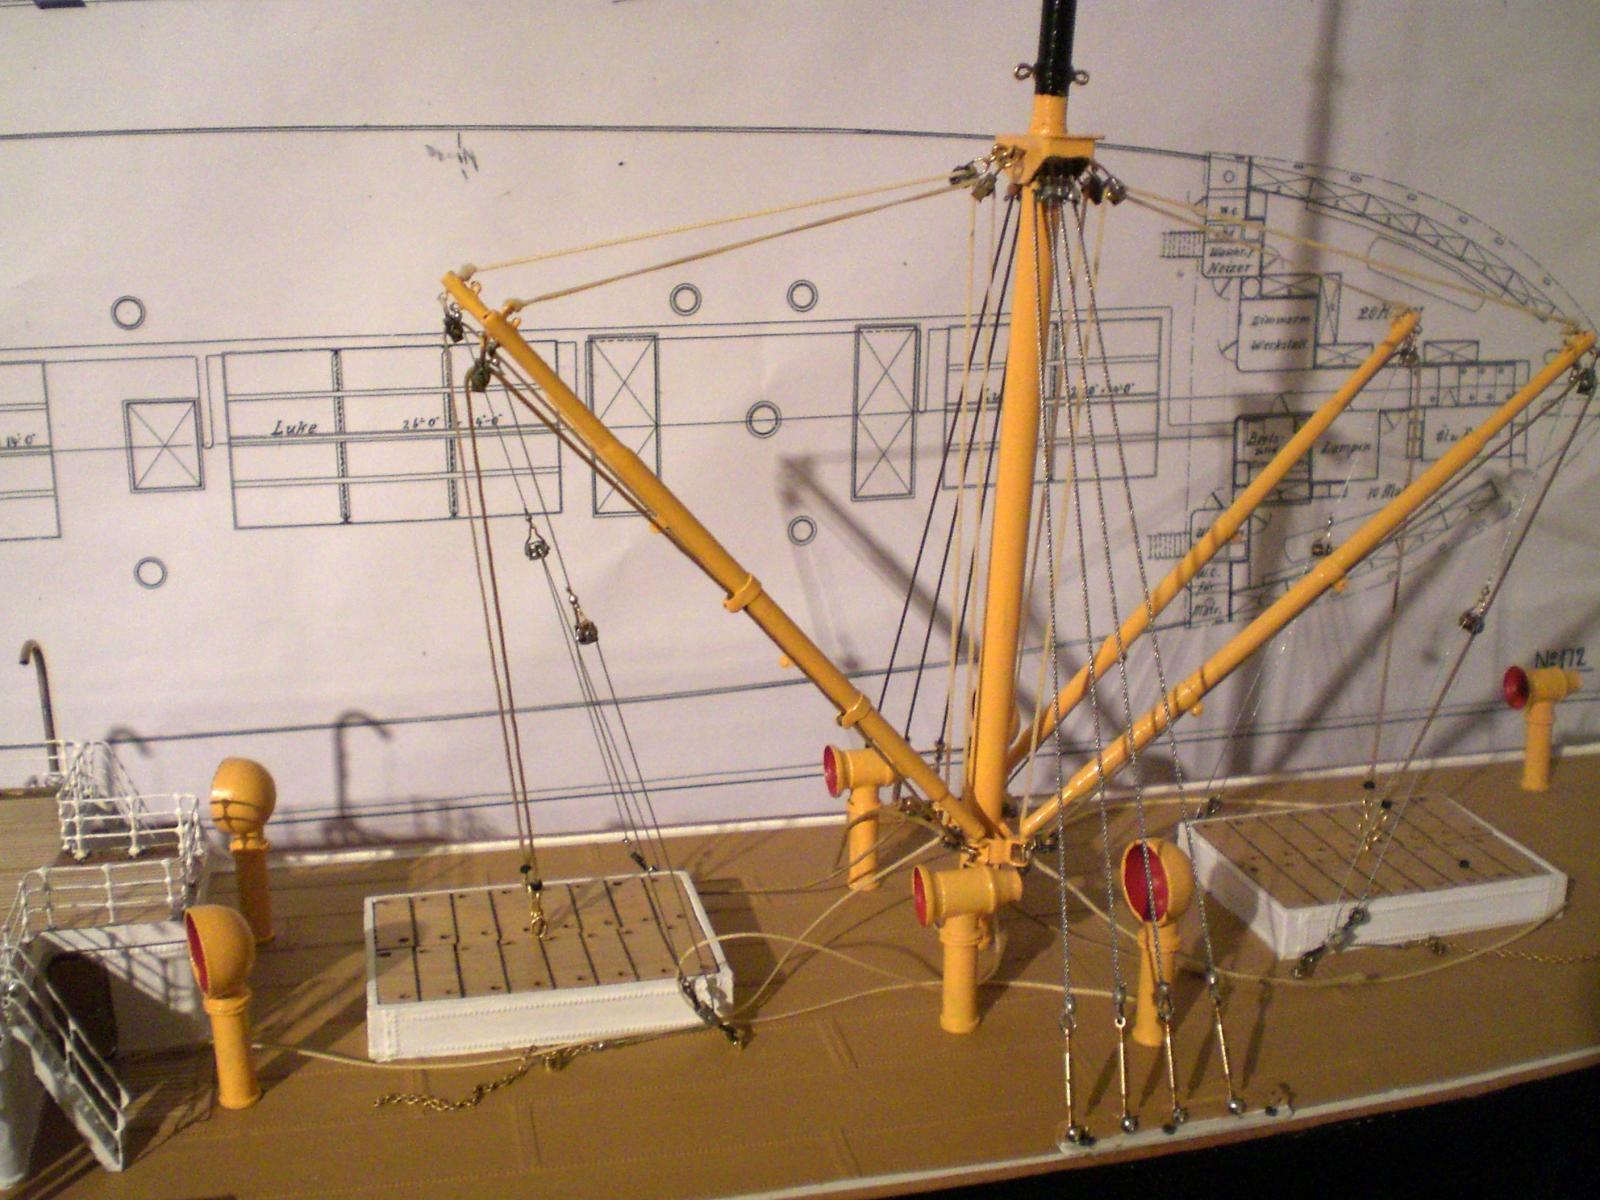
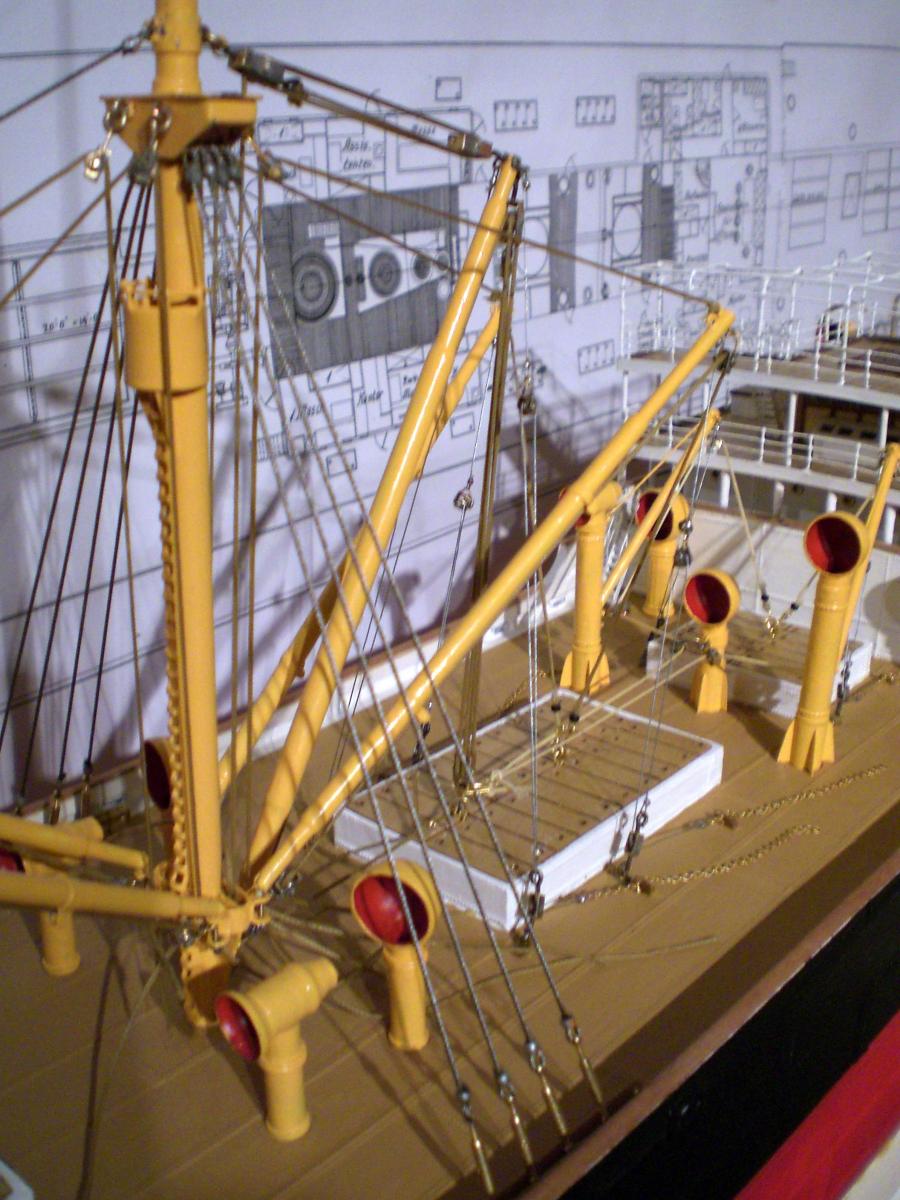
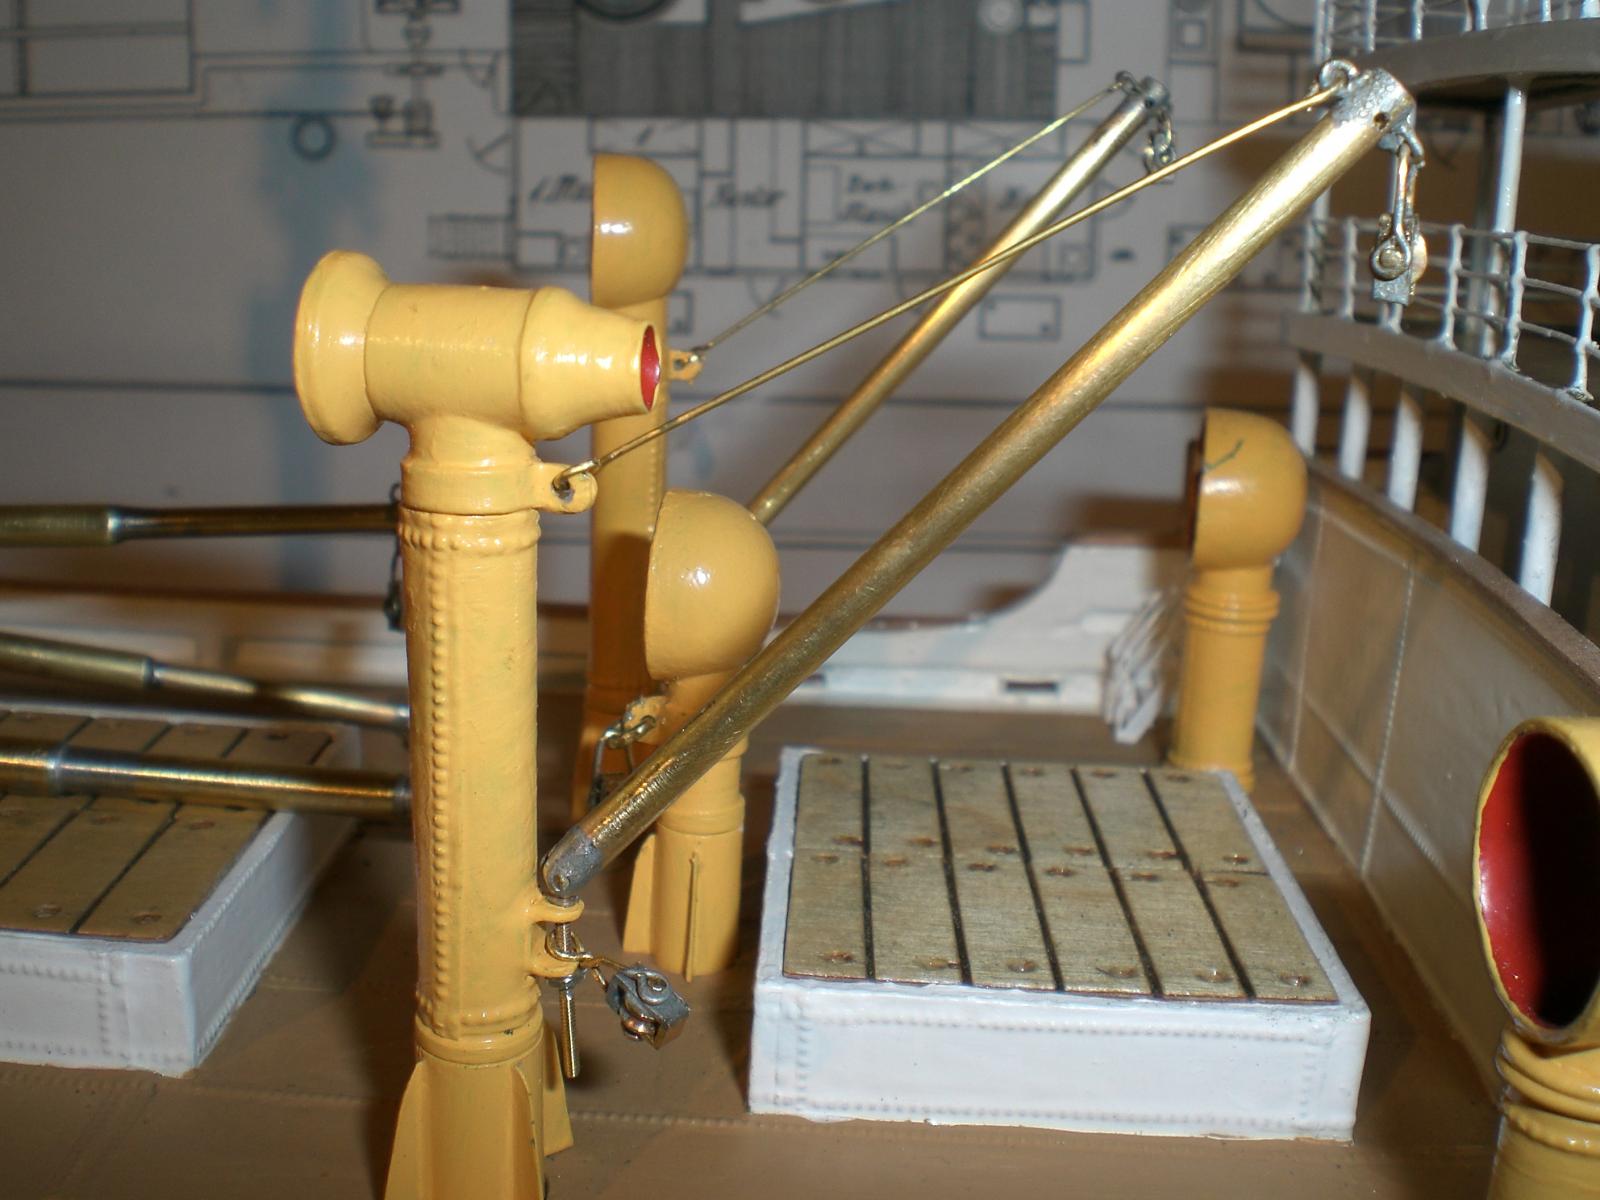
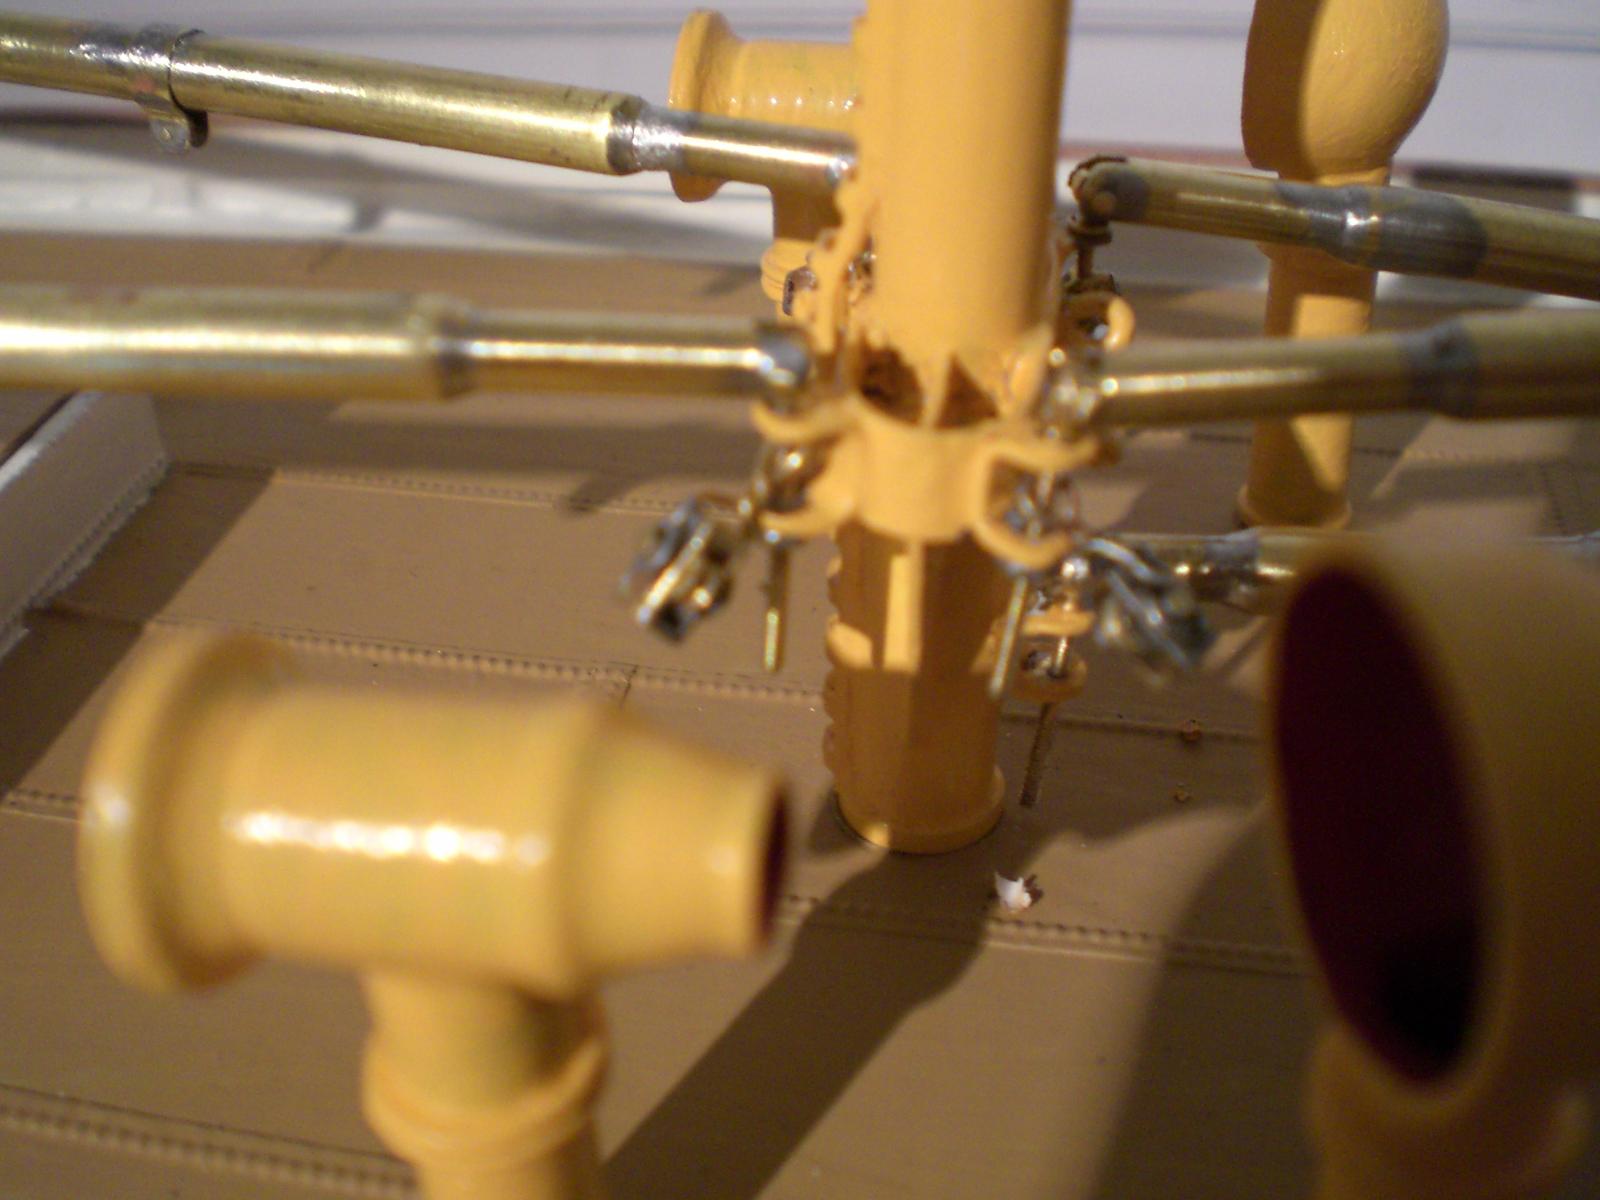
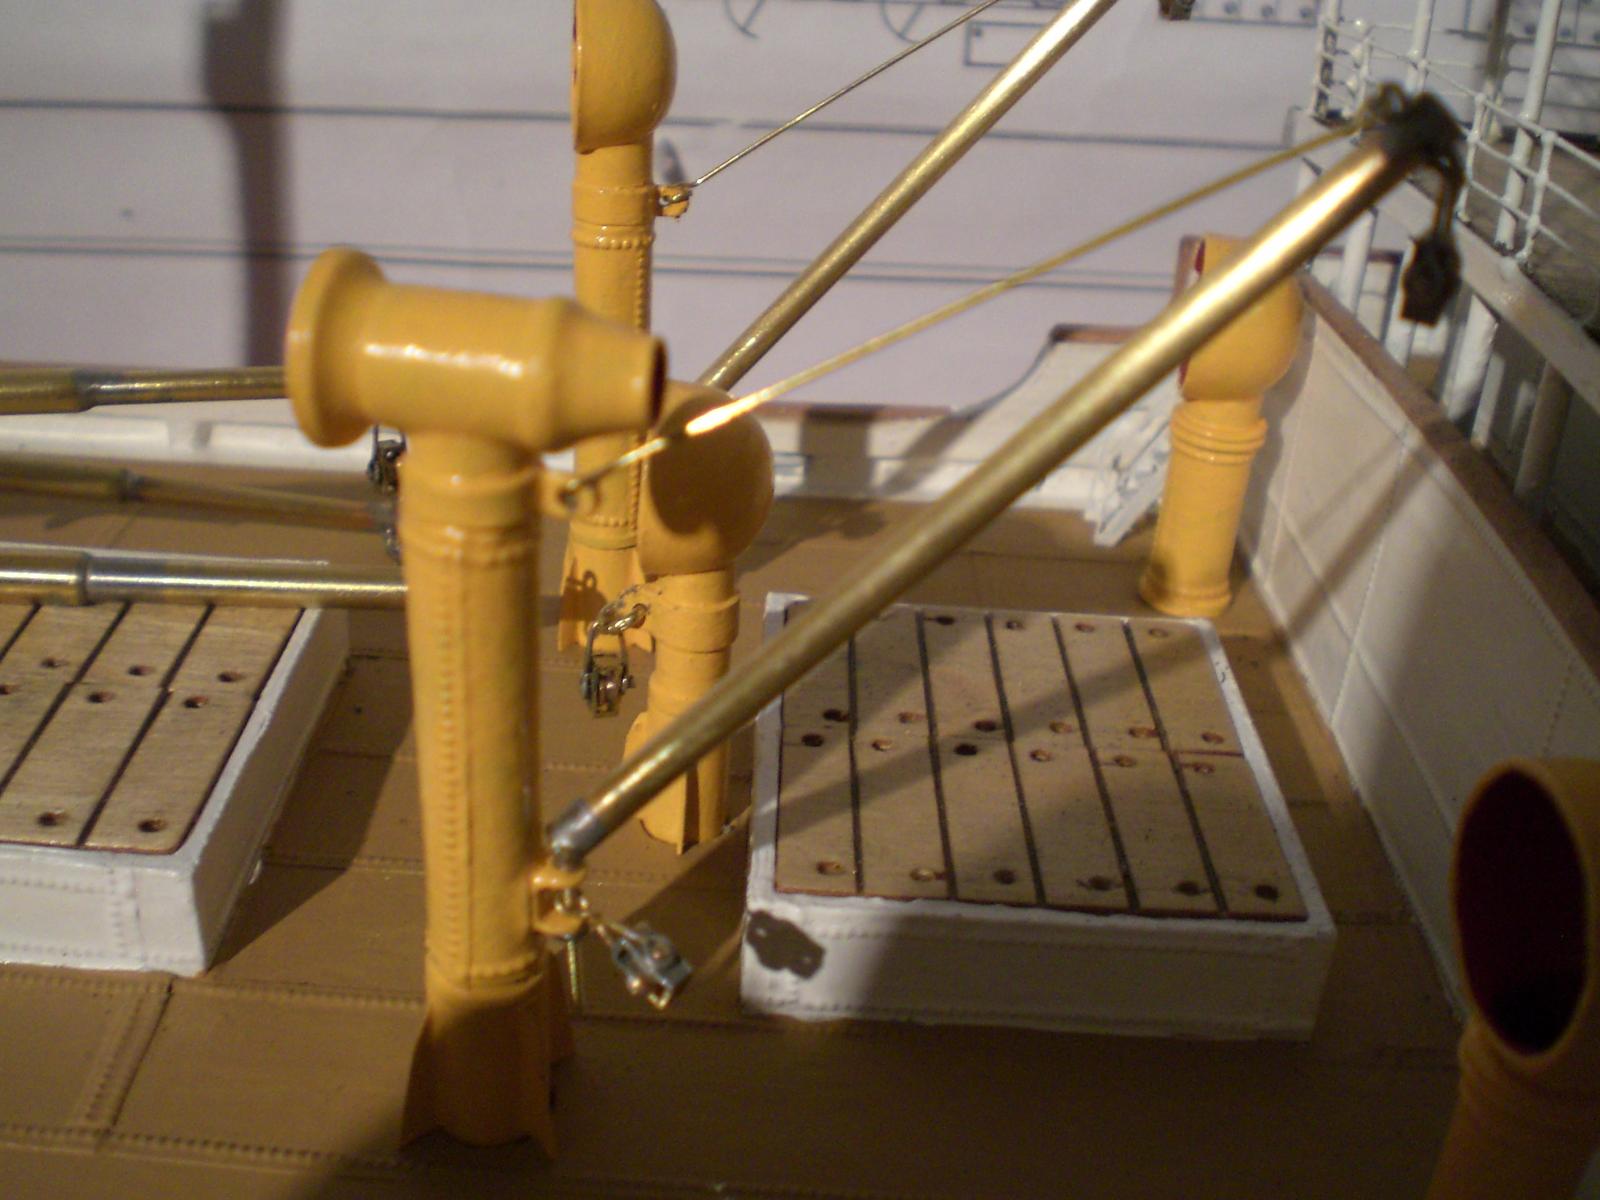
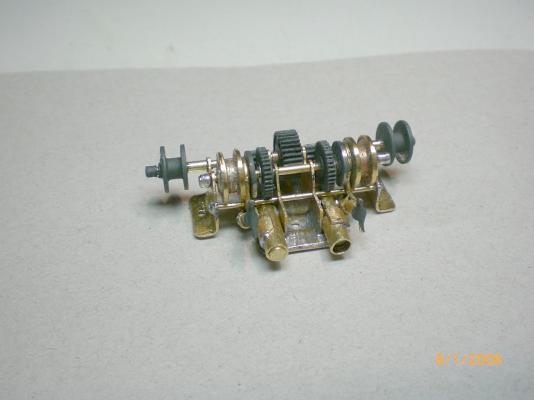
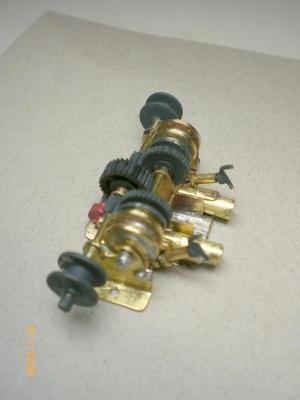
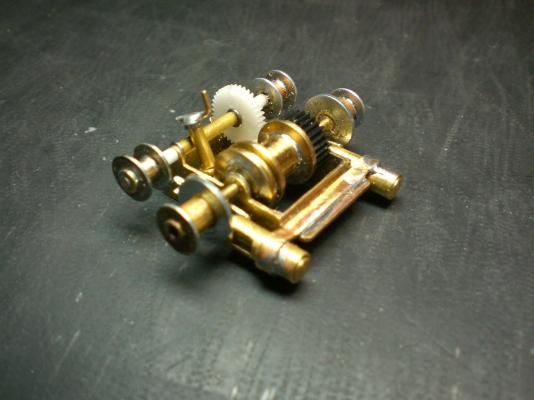
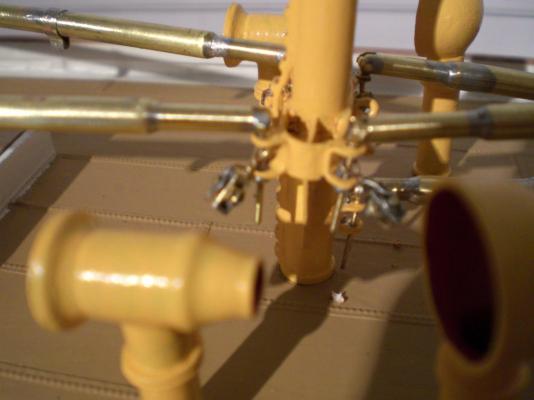
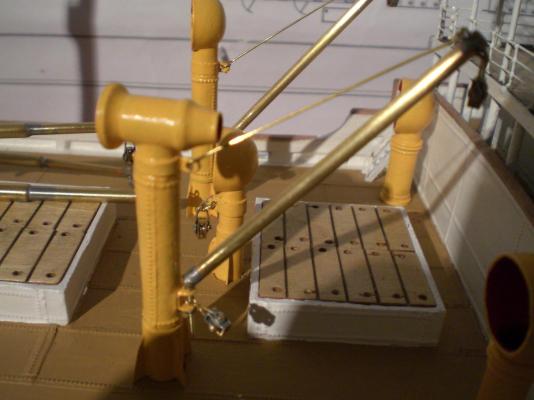
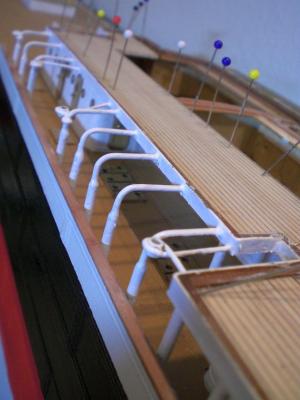
Build log part 12 starting with the rigging, stays, shrouds and loadbeam tackle I began in using stainless steel wire chords, but that caused too much Trouble in soldering,although Special alloy solder and Special flux was used. Swapped to using tin galvanized steel chords (exellent soldering possible wih the old experienced way !) The great functional shroud and stay spanners (source : RB Models)allow strumming, you can Play bassguitar on. This Feature was addopted with good success to my tallship models as well The heavy (Center placed to the Forward mast)beam gets a Special tackle here we have the kinematic components of the auxillary, emergency rudder device. The horizontal spindle Left + right thread allows real fuctional Operation, when clutched in to rudder shaft, disabling the normal chain remote steering. now nearly ready for the poopdeck railing to be fitted Build log part 13 to follow....


- 113 replies
-
- 9
-
-
- heinrich kayser
- steamship
- (and 1 more)
-
B.E. Thank you for your Kind words Nils
-
Crackers, many thanks for your appreciative and encouraging words, I`ll have your Suggestion in mind for the day when (if) I Need to give it in other than family Hands. Question: do you as a Senior model builder have any personal relation to Bremerhaven? You are correct, the Shipping Company Kayser & Son was based at Bremerhaven before the ship had been transfered to their Hamburg subsiduary, but that is only known to very few People..... The fate of that shipping Company owner Family really shocked me and was very much touching, sad to say. Nils
-
Thank you Ray, Thank you John regards Nils
-
Bob you shall make me very happy if you go on pleasing your mind (thought), and very welcome to the stoker gang, who really knows in our days of gas turbine and atomic operated ship powerplants, what a stephenson reverse device is Cheers Nils
-
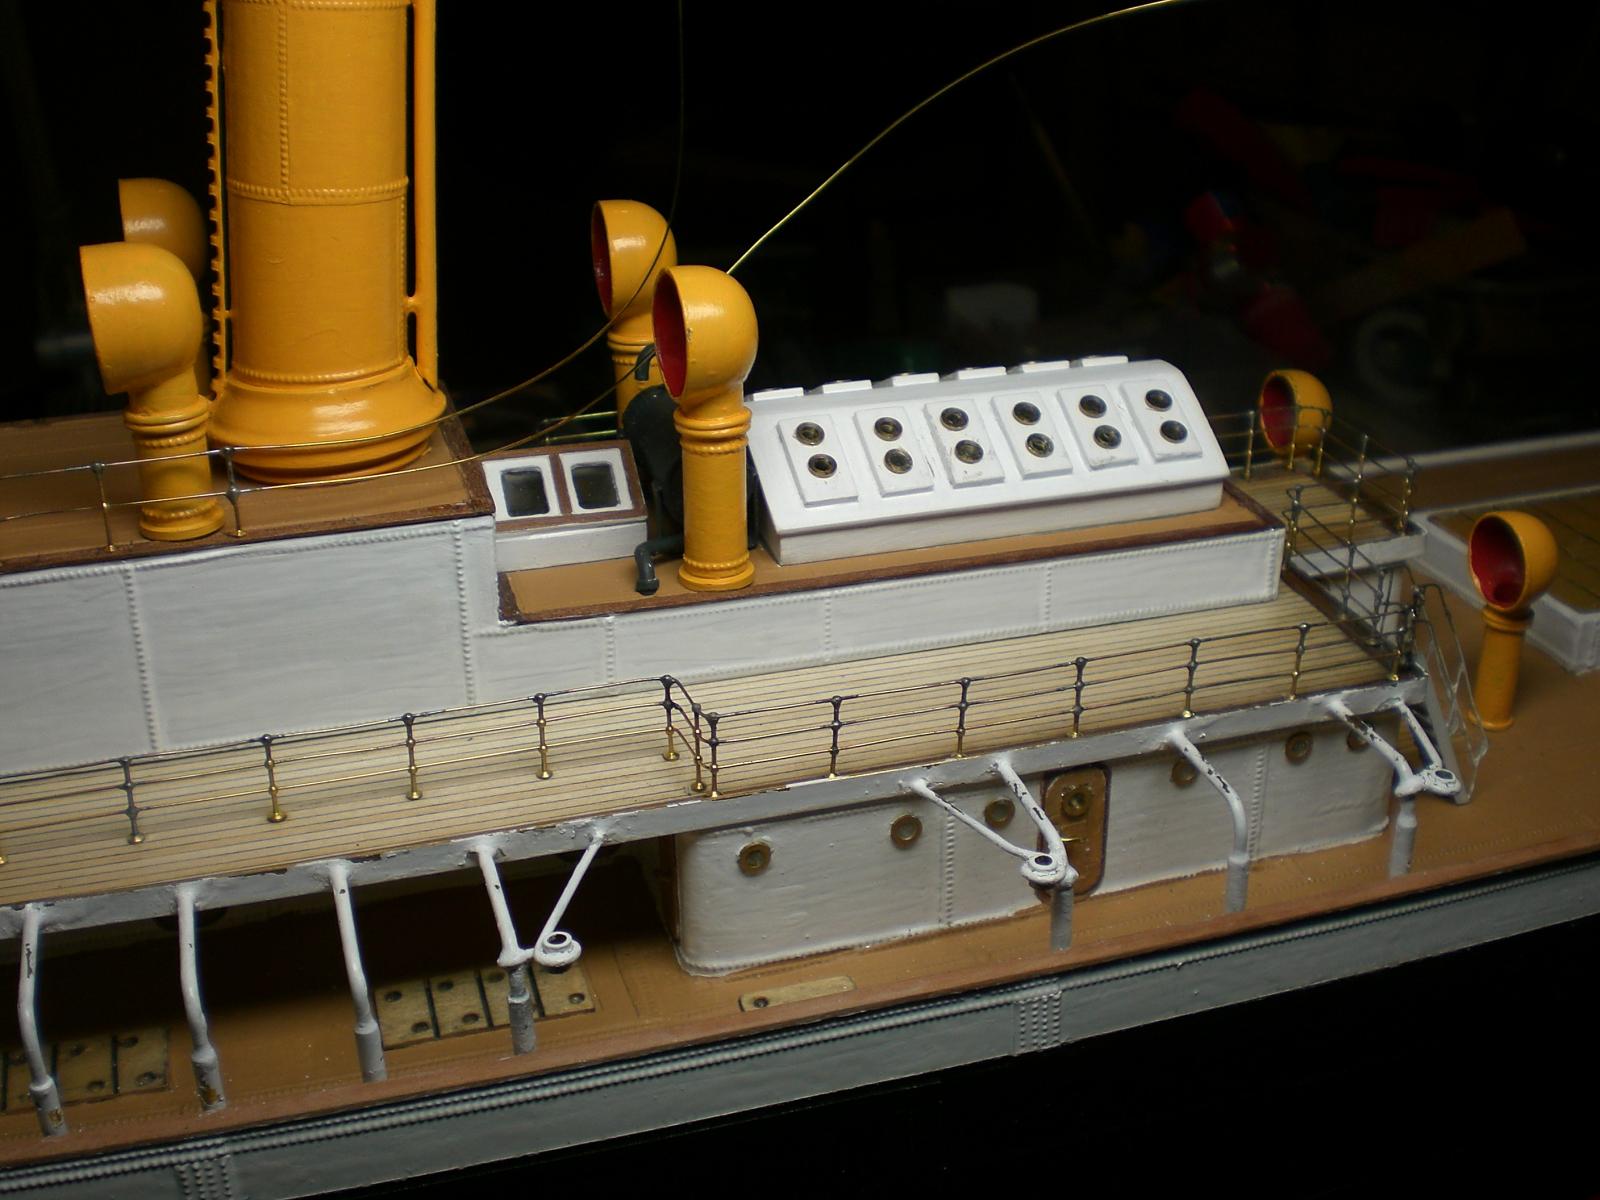
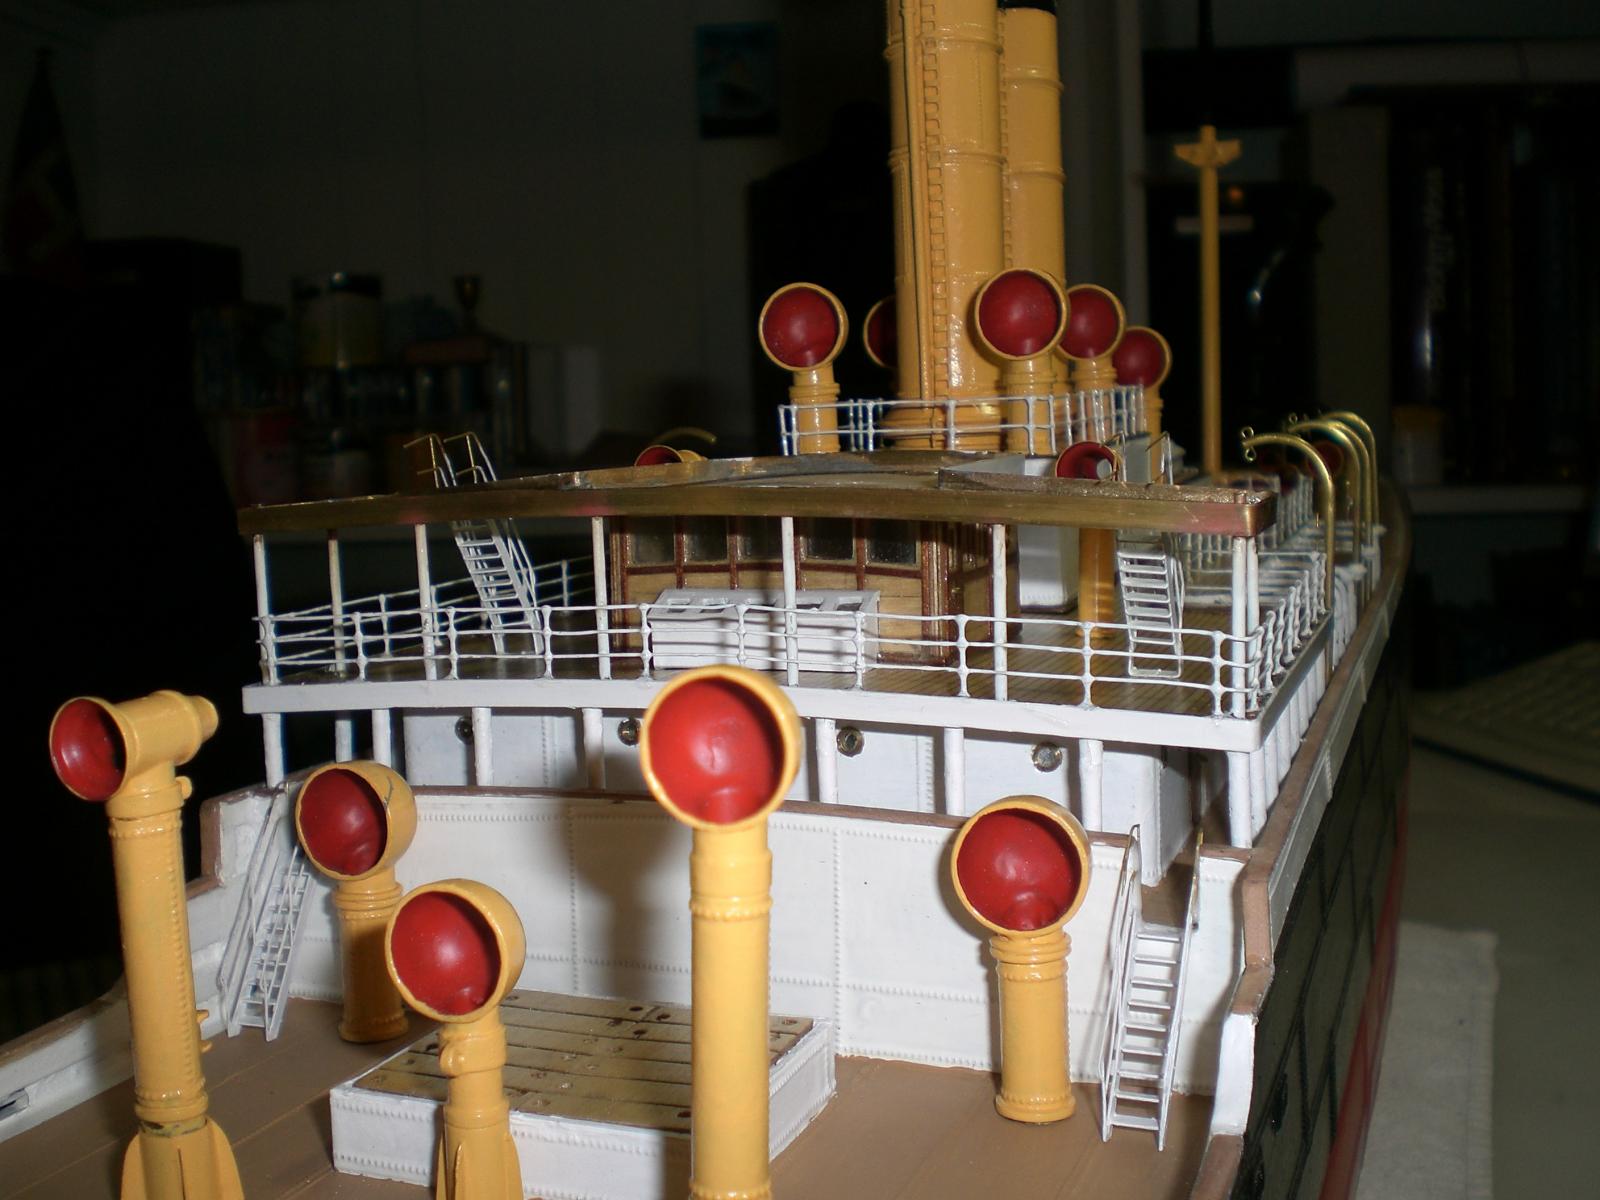
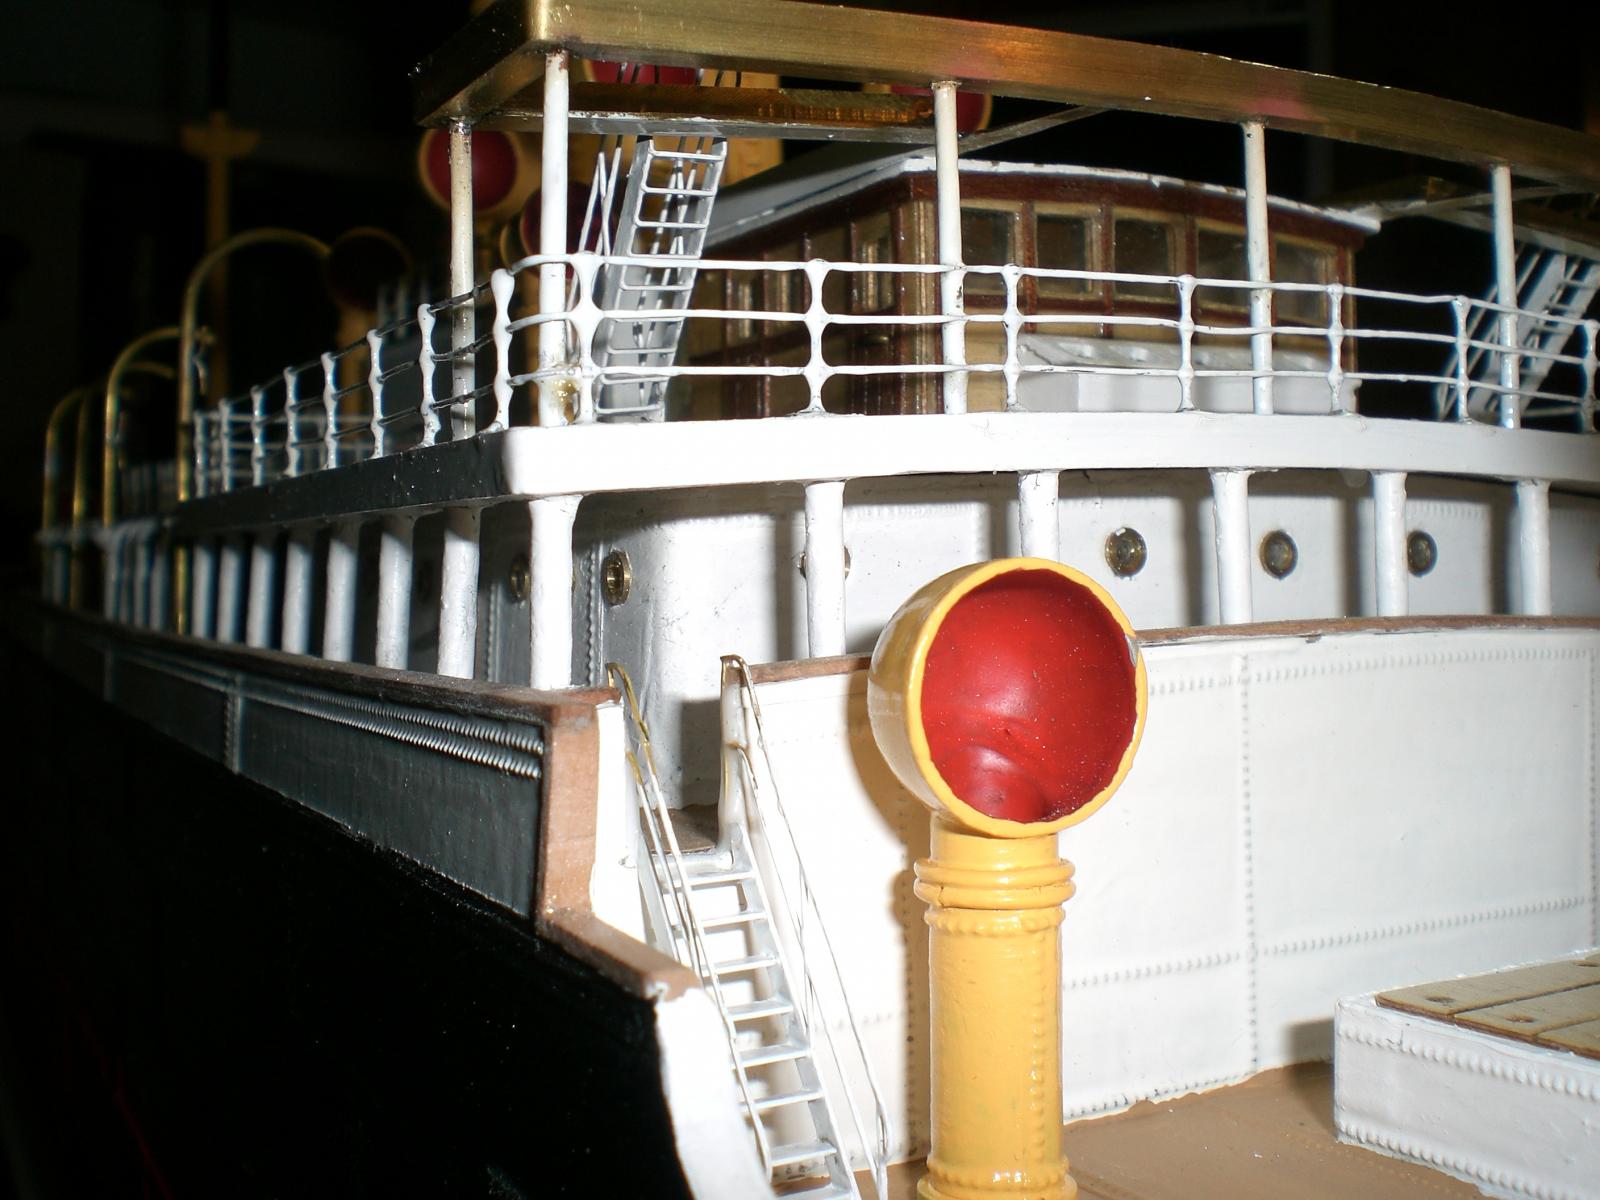
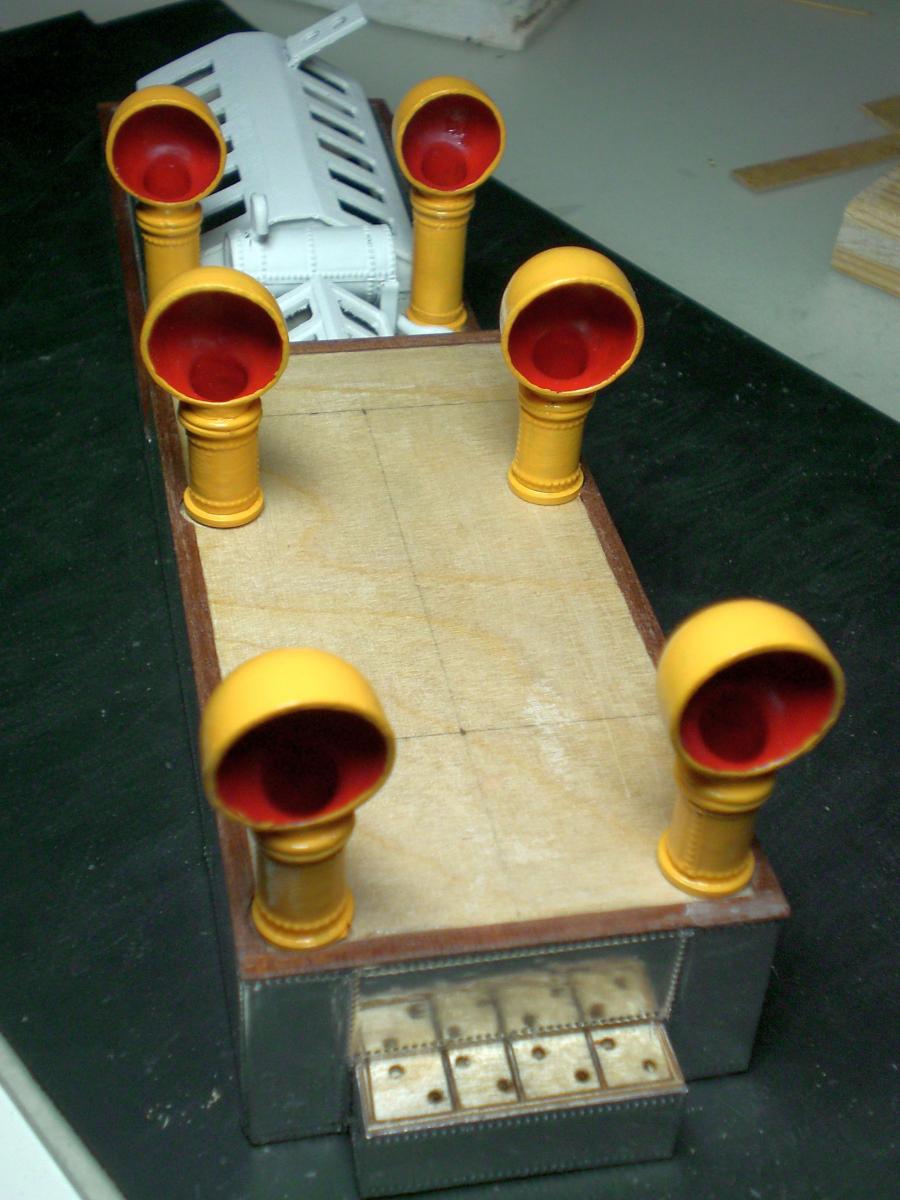
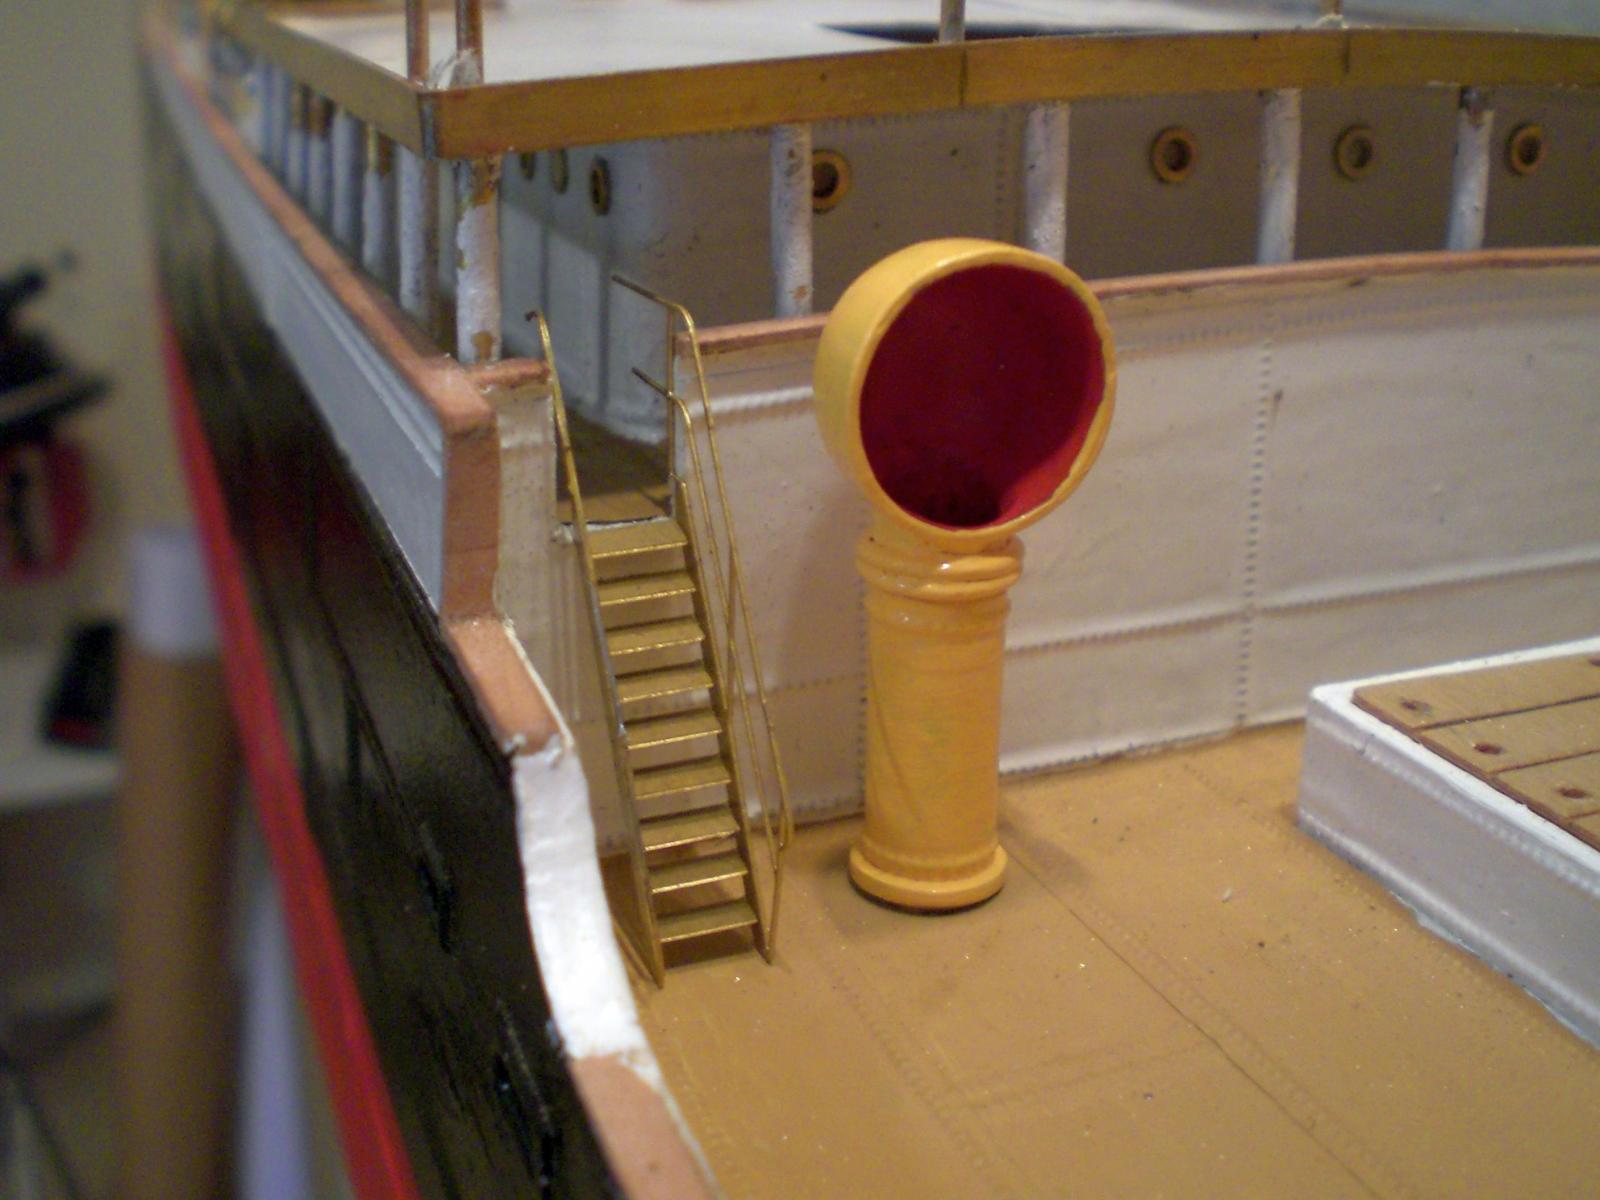
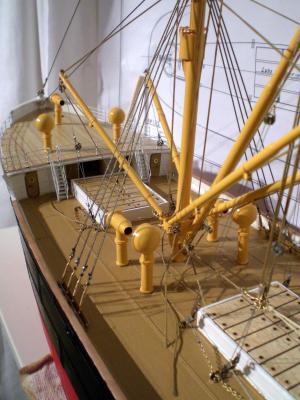
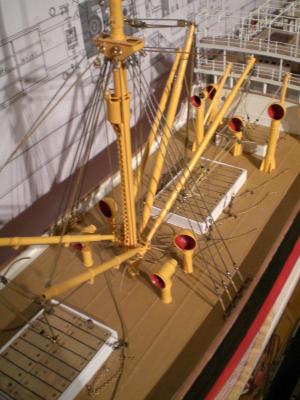
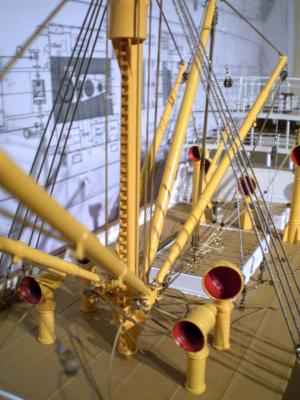
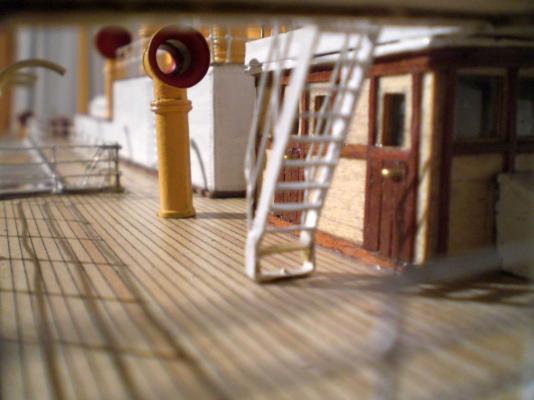
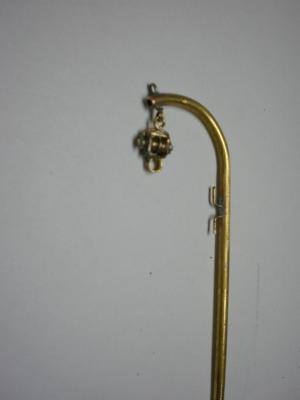
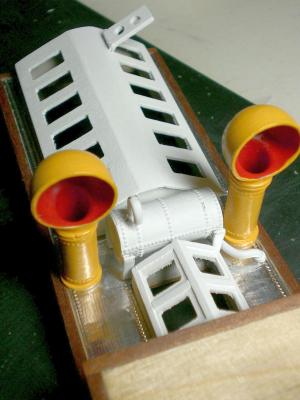
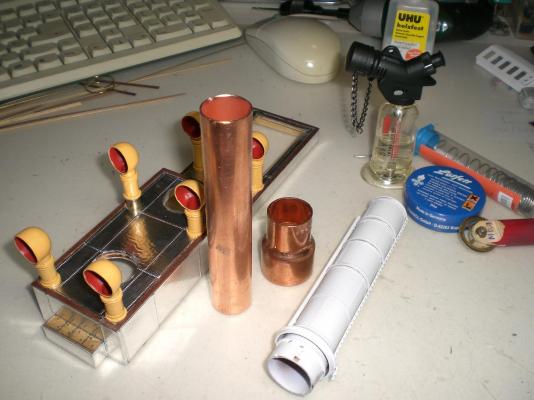
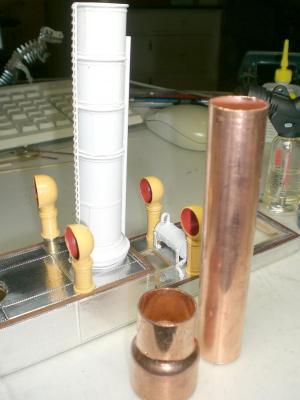
Hi, trust you are reflecting to the outlet (suction mode) vents... well, the longer vertical tube is cut to fit soldering a small short cross-tube on top, an then for the parts of the intake side and for the discharge side I cut these off the Ends of small steel-brassplated mini Christmas Jingle bells In case you mean the spheric bowl typ, this is shown earlier in part 4 of my build log Hope this serves your question Nils
-
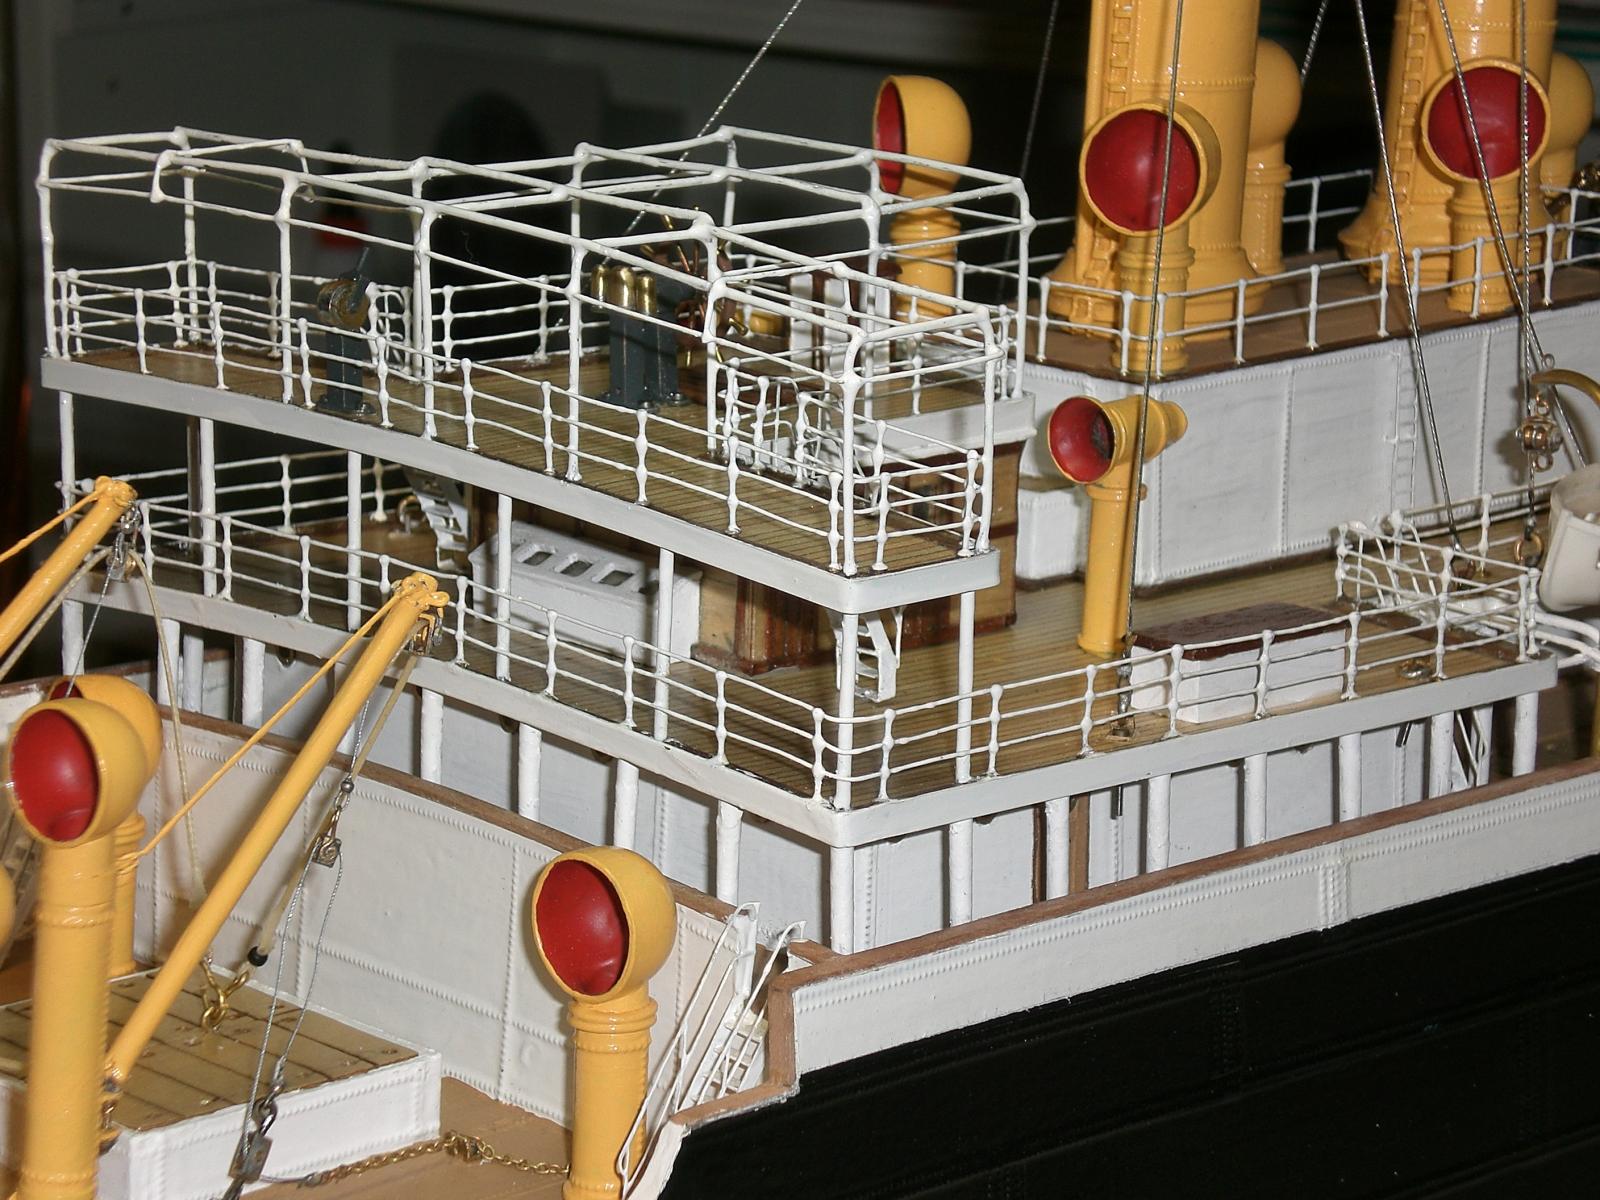
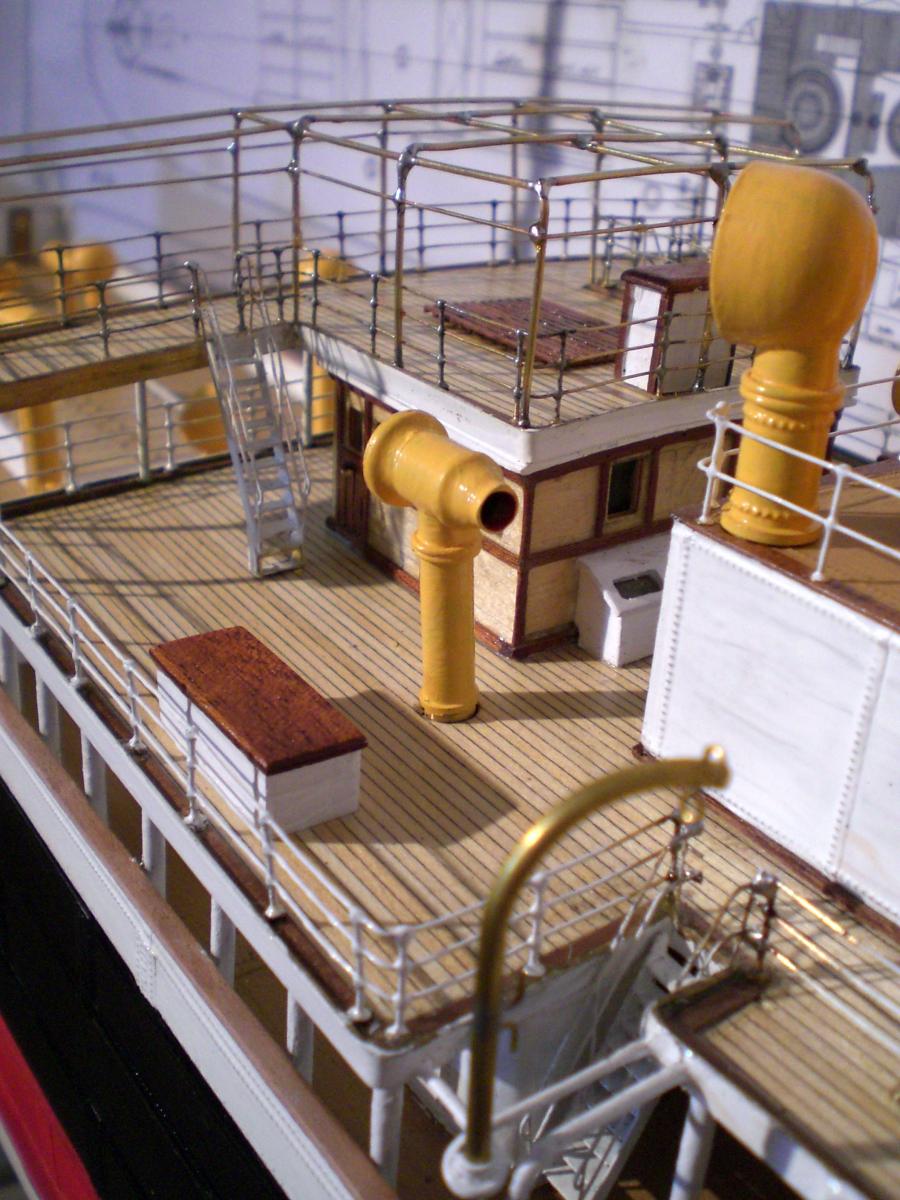
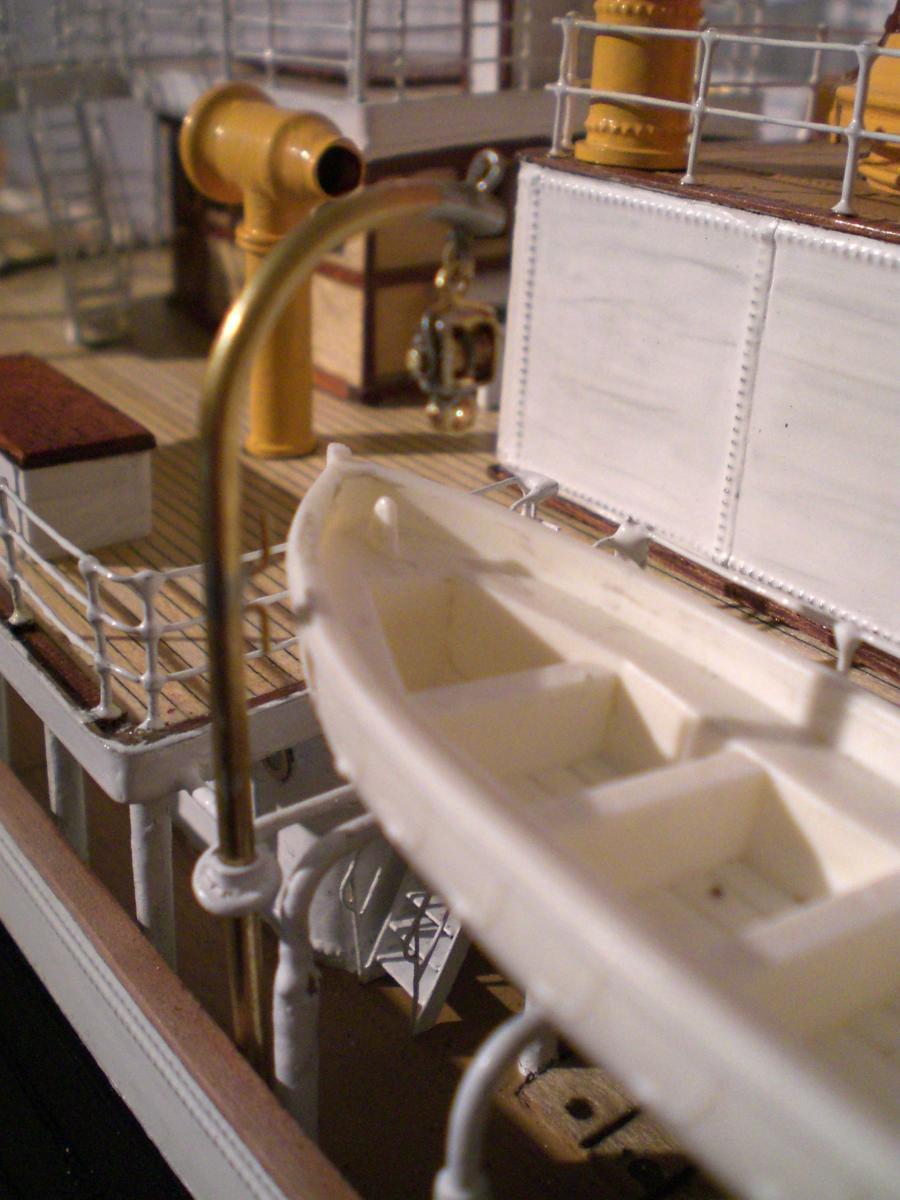
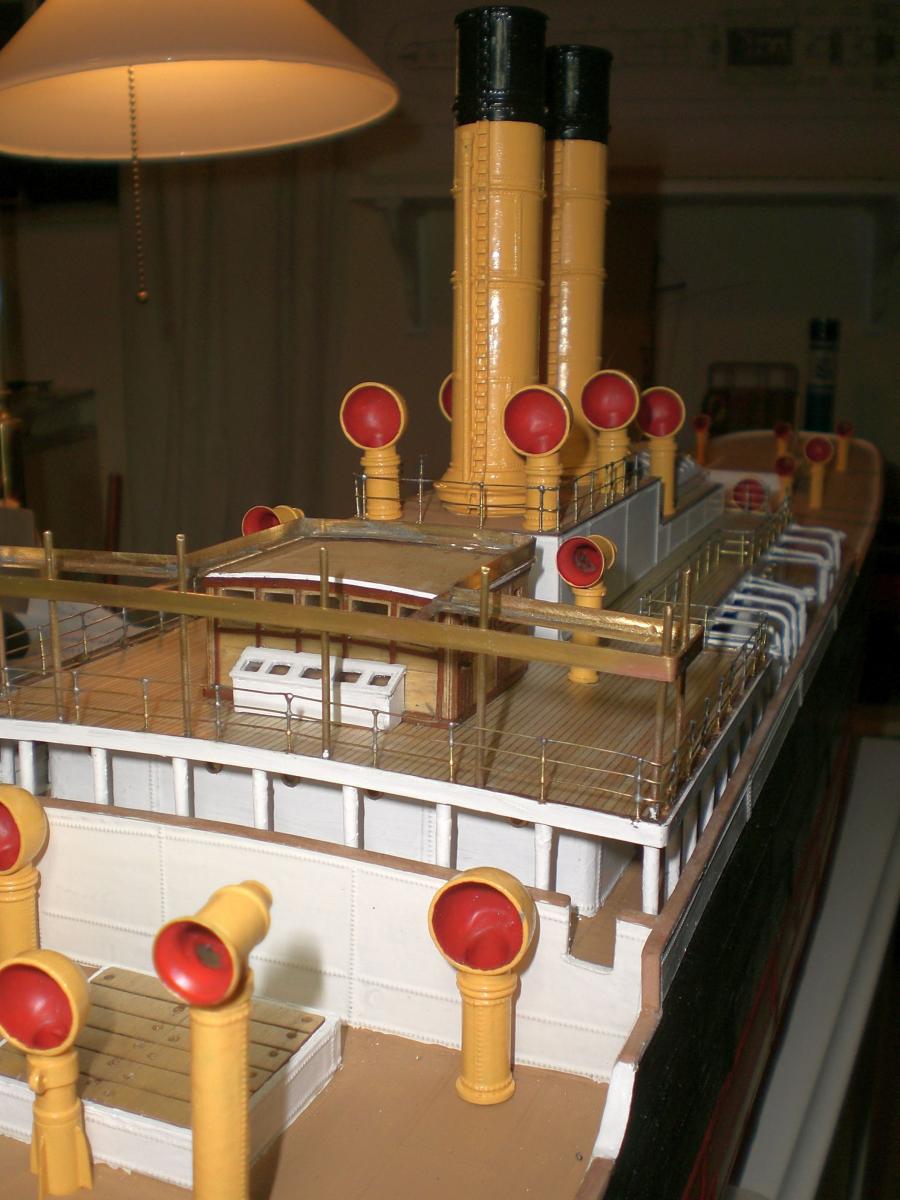
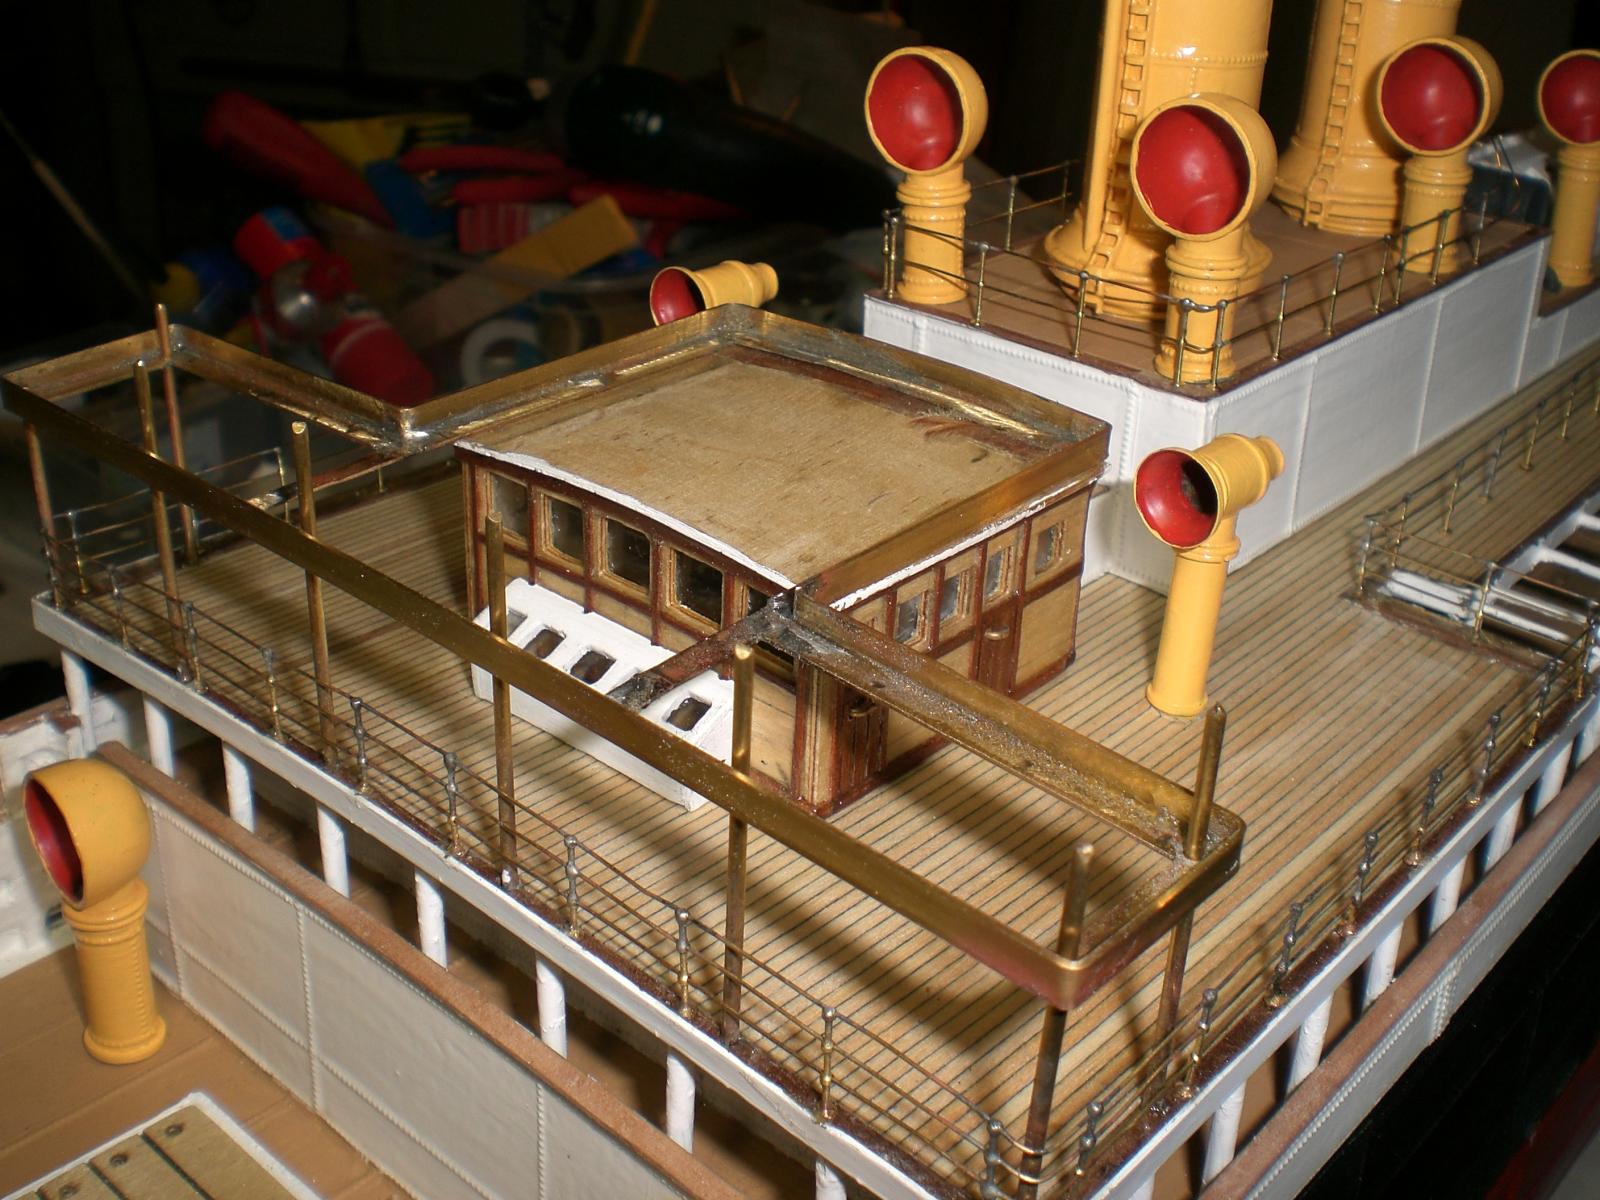
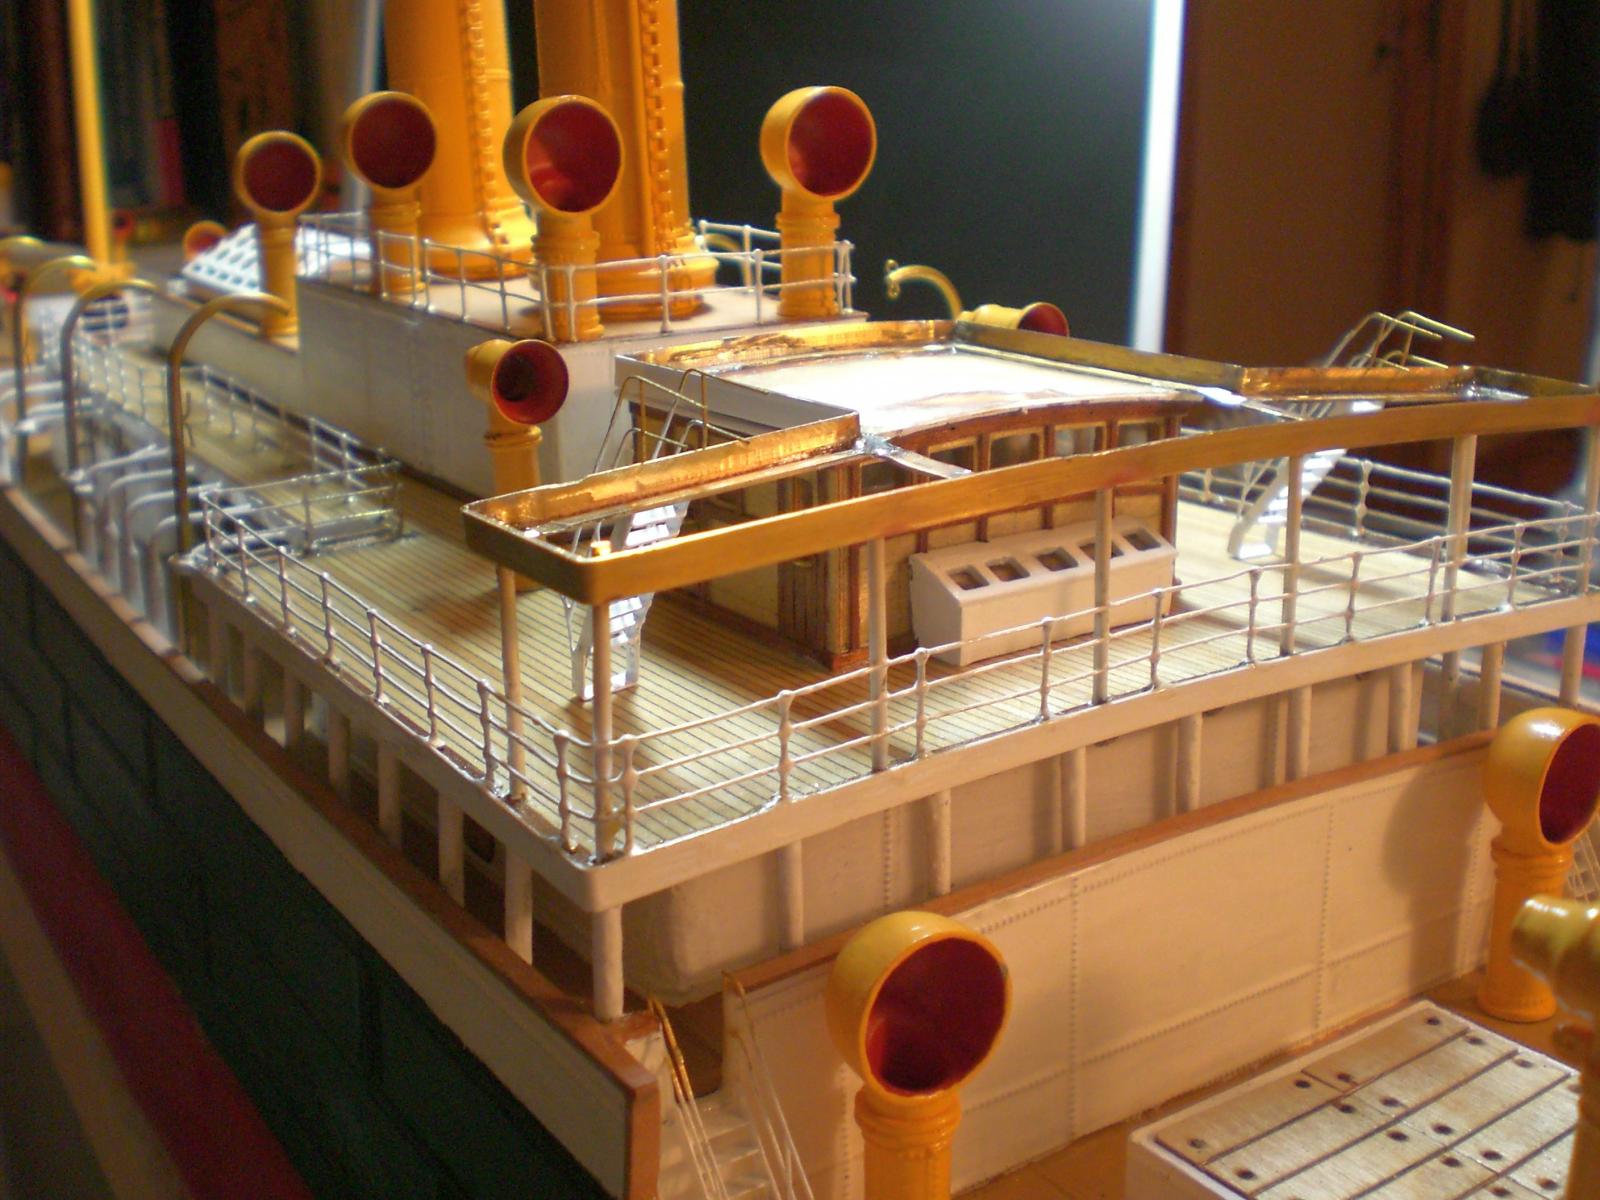
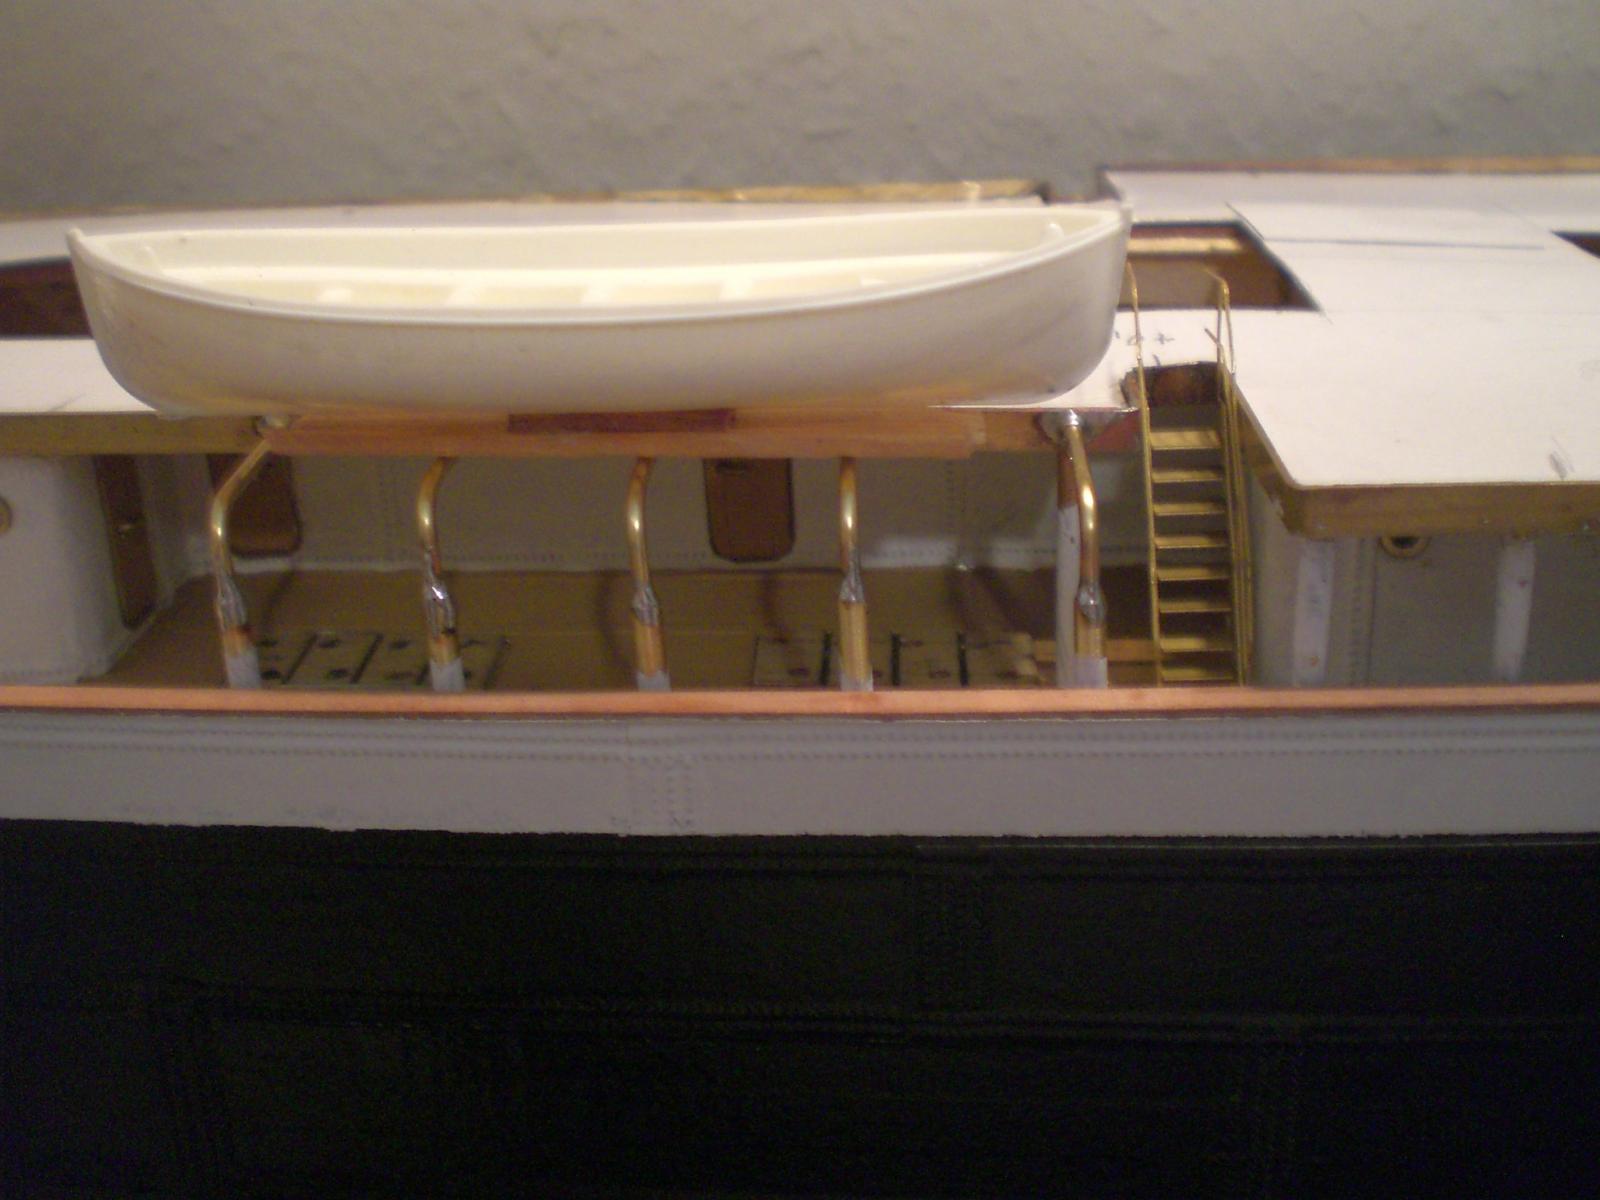
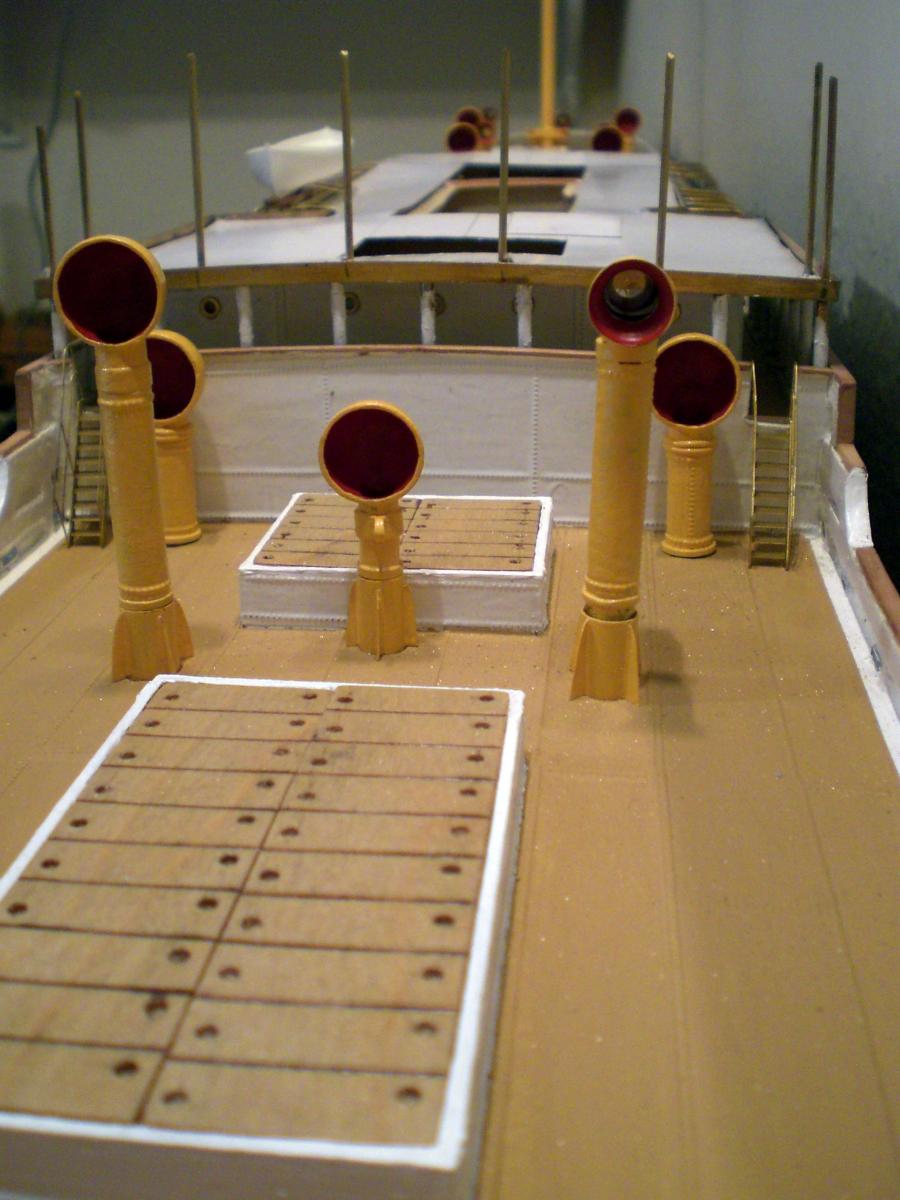
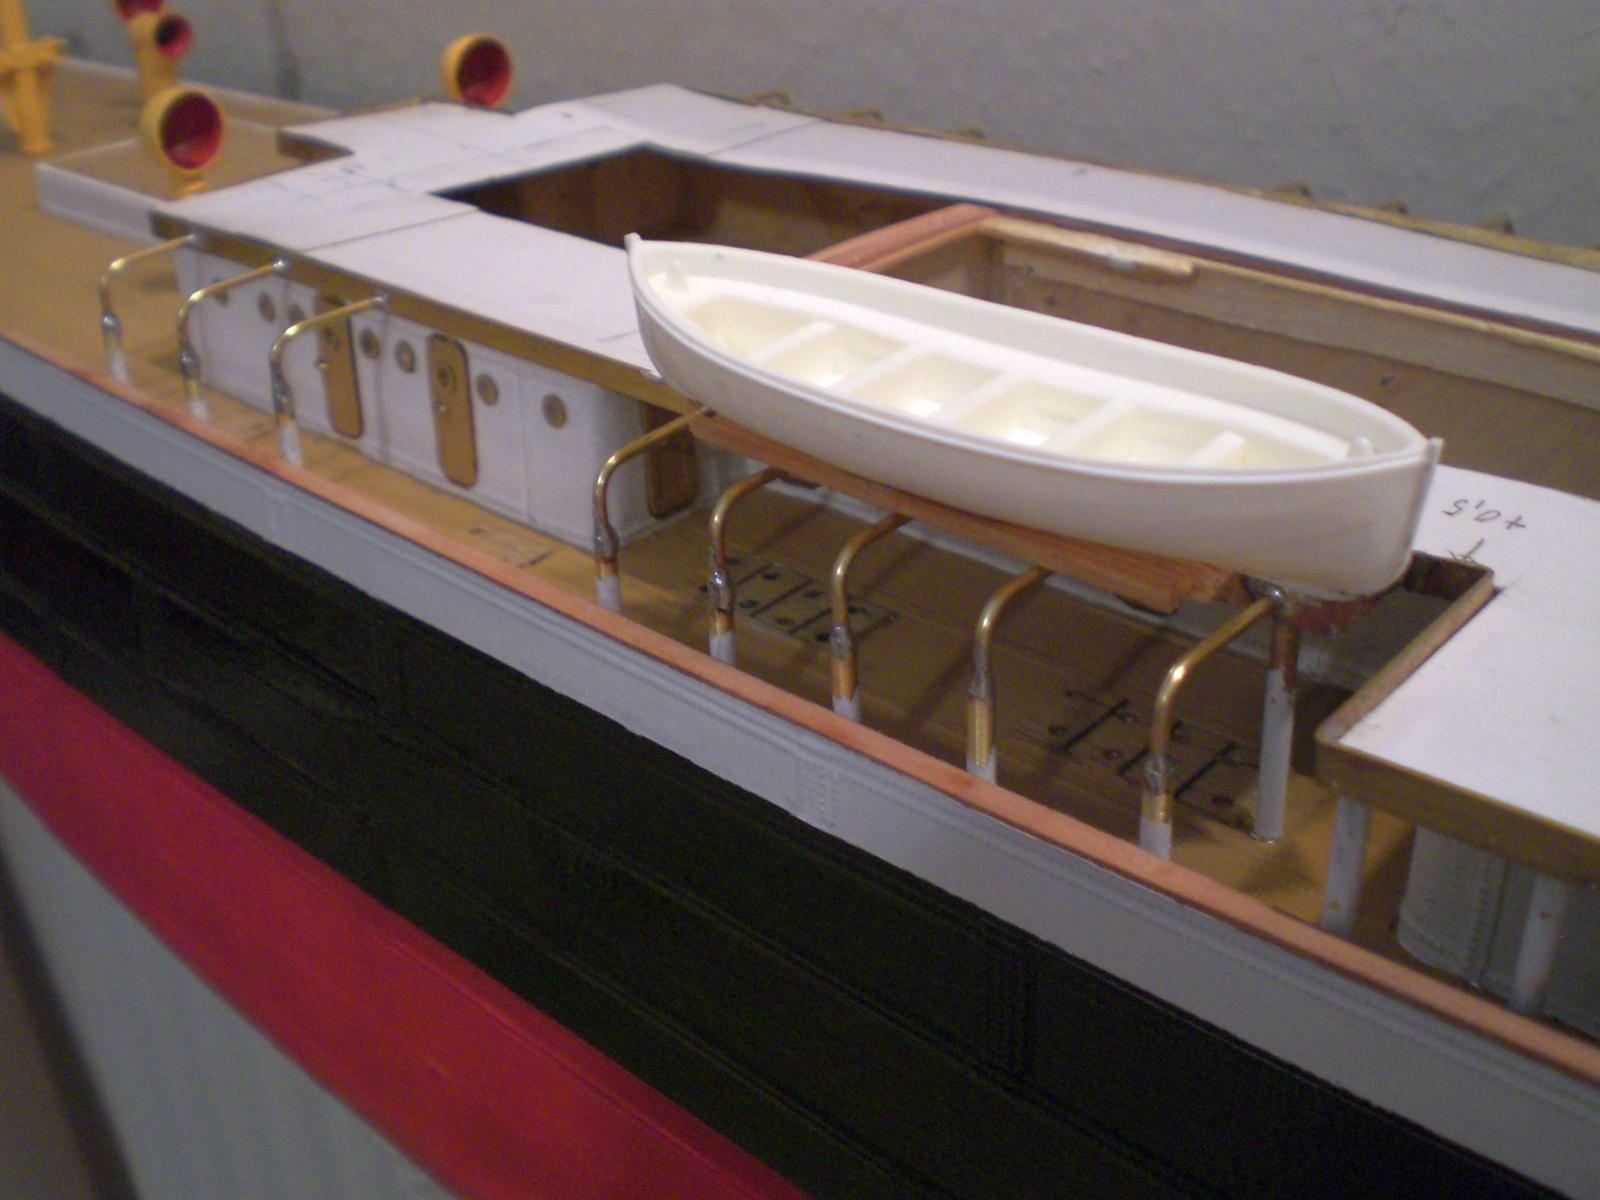
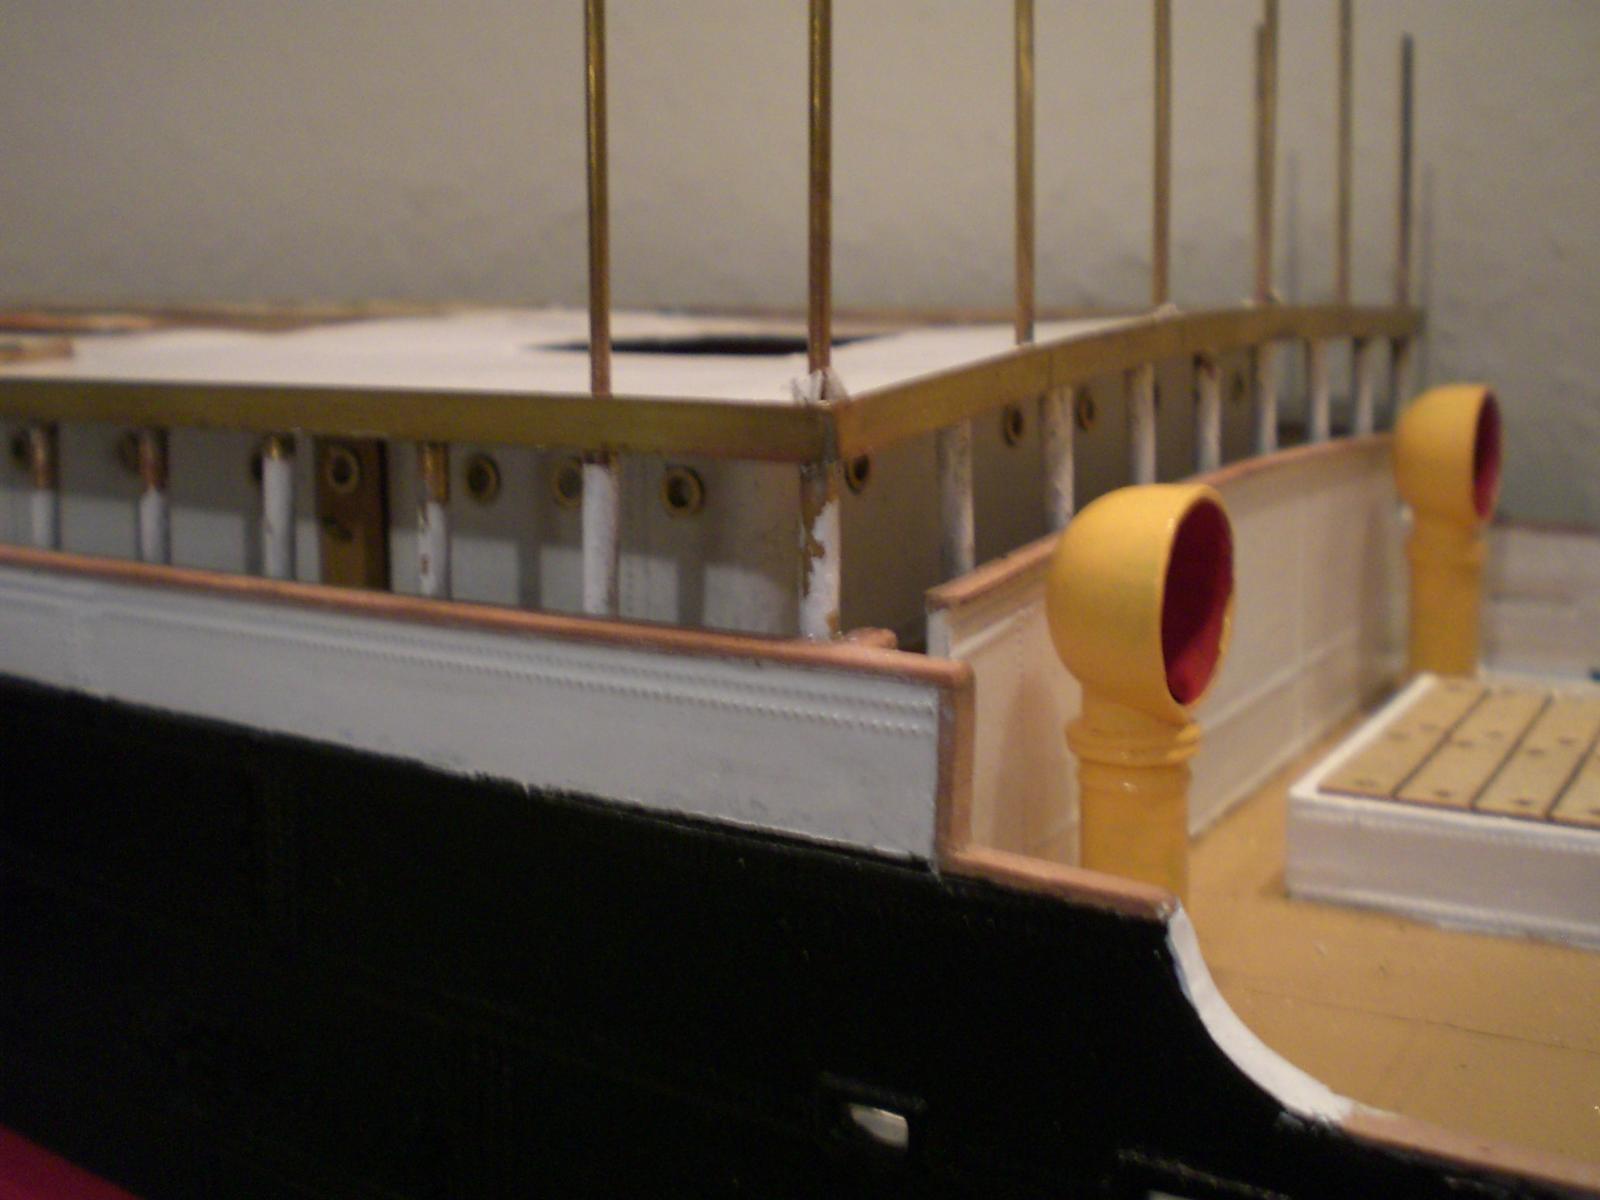
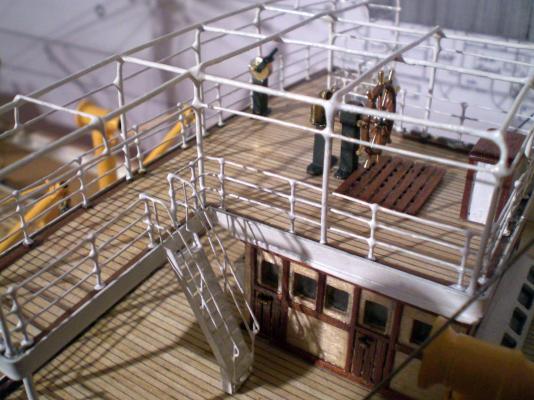
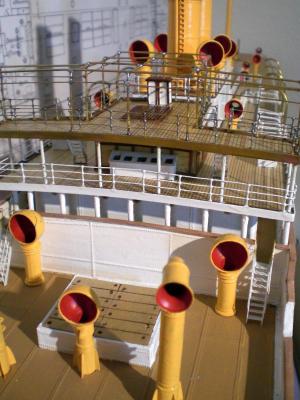
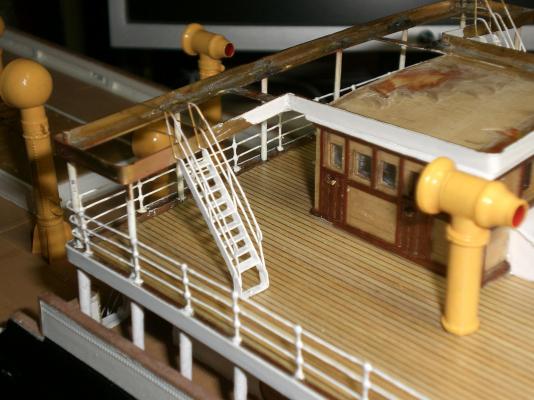
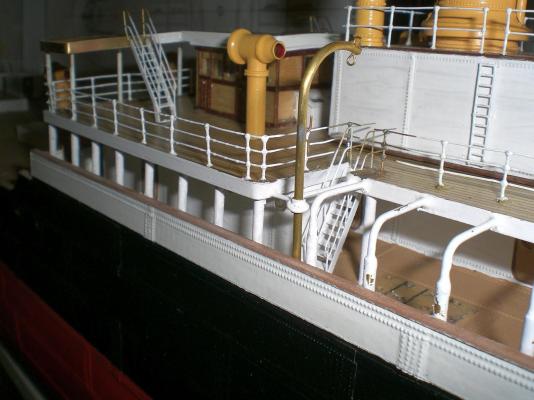
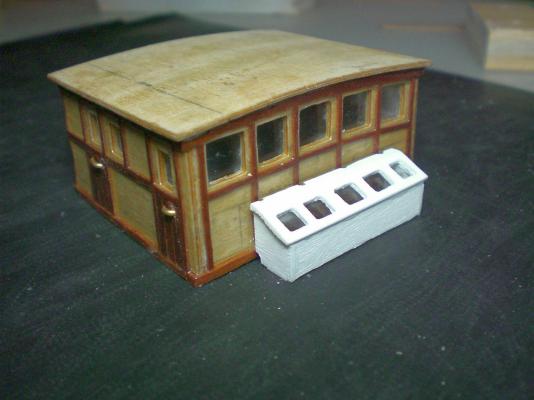
Build log part 11 be invited for a walk on the boatsdeck and on the poop working deck flag tabernakel and grating on the upper bridge lifejacket Containment on the Forward portside boatsdeck Fitting of load beams Fitting beams to mast bearings (sorry for pic Quality) Tackling davit checking Position of Davit-block to boat upper Bridge Cage completed build log part 12 to follow....


- 113 replies
-
- 10
-
-
- heinrich kayser
- steamship
- (and 1 more)
-
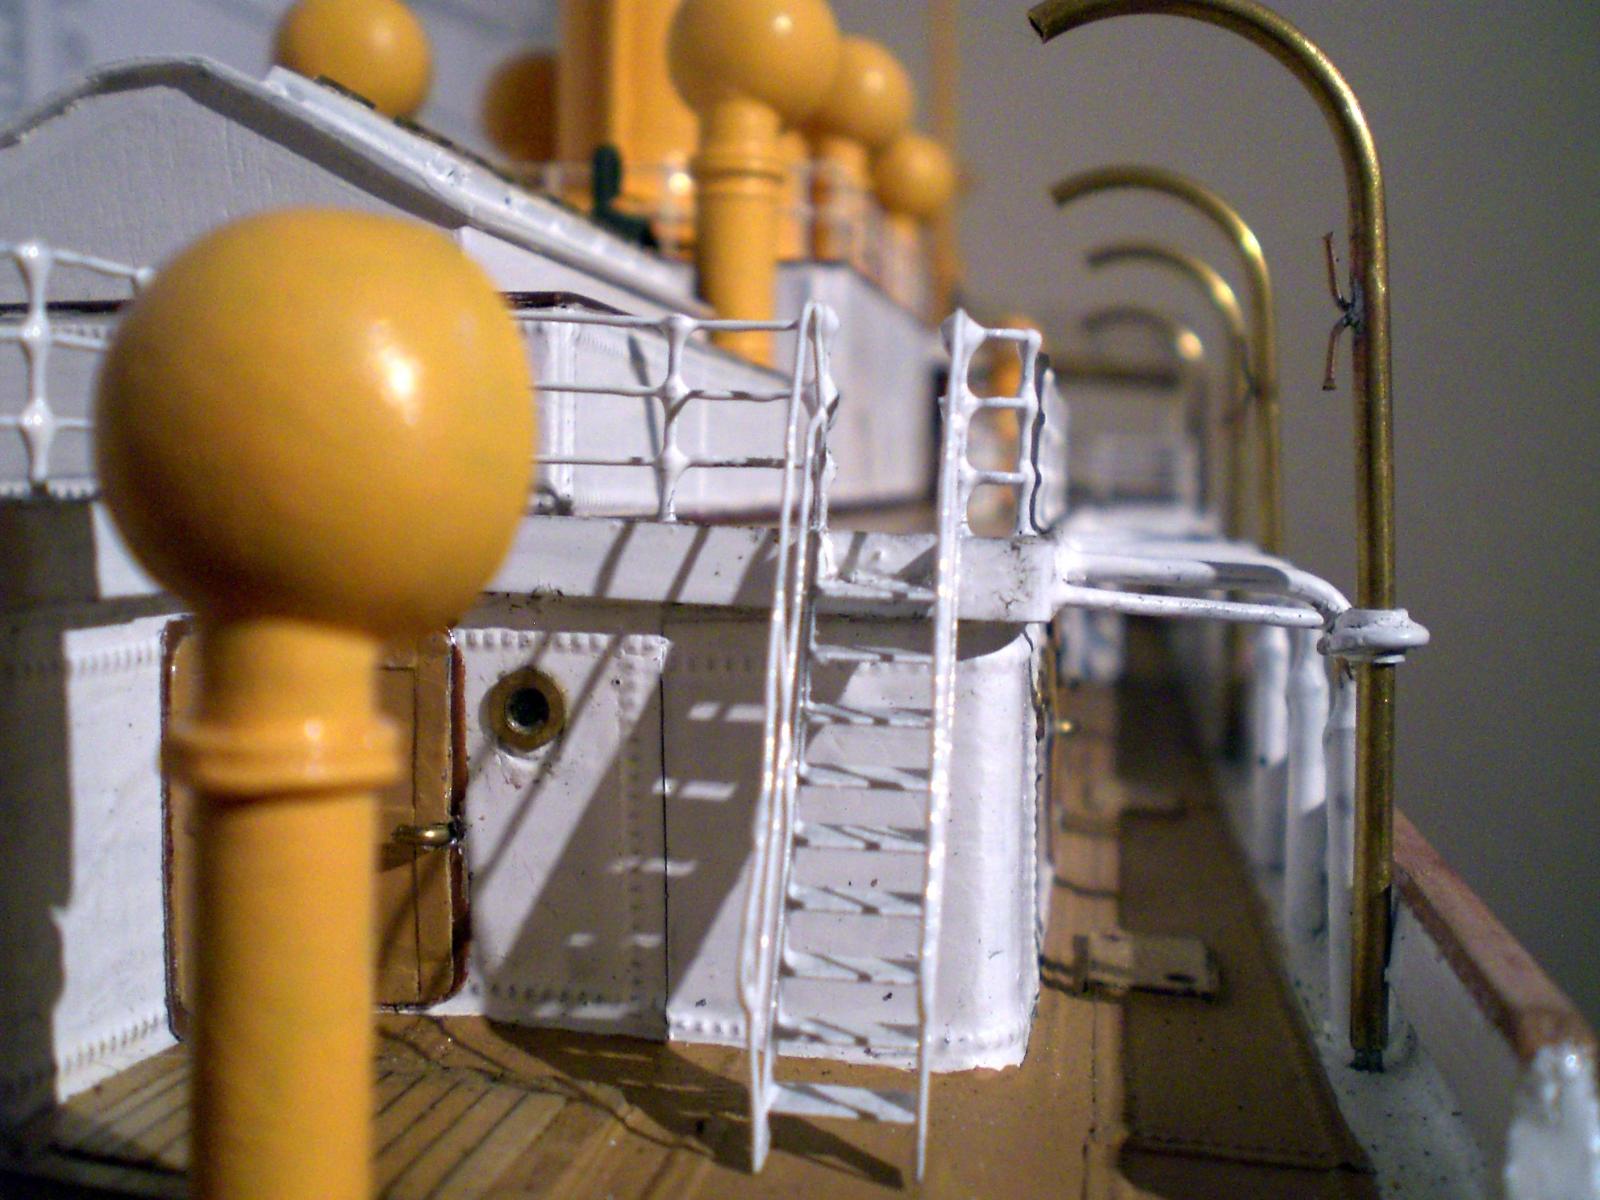
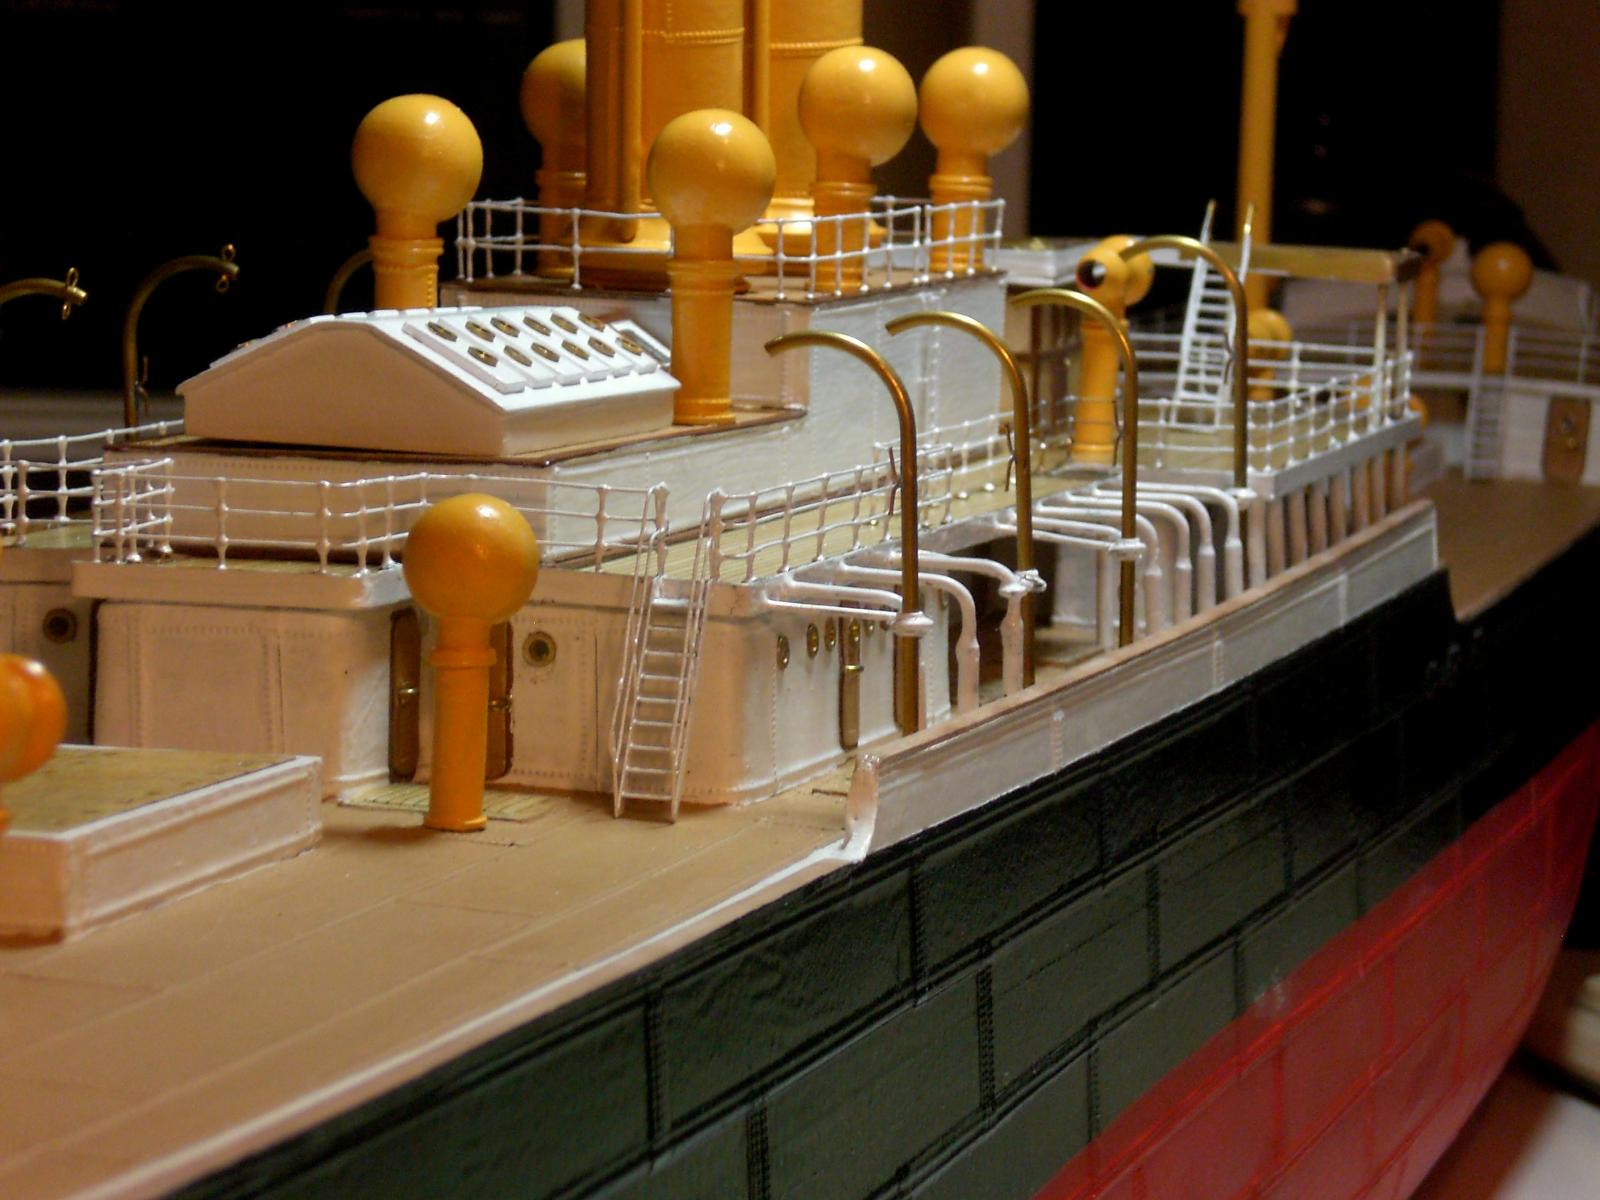
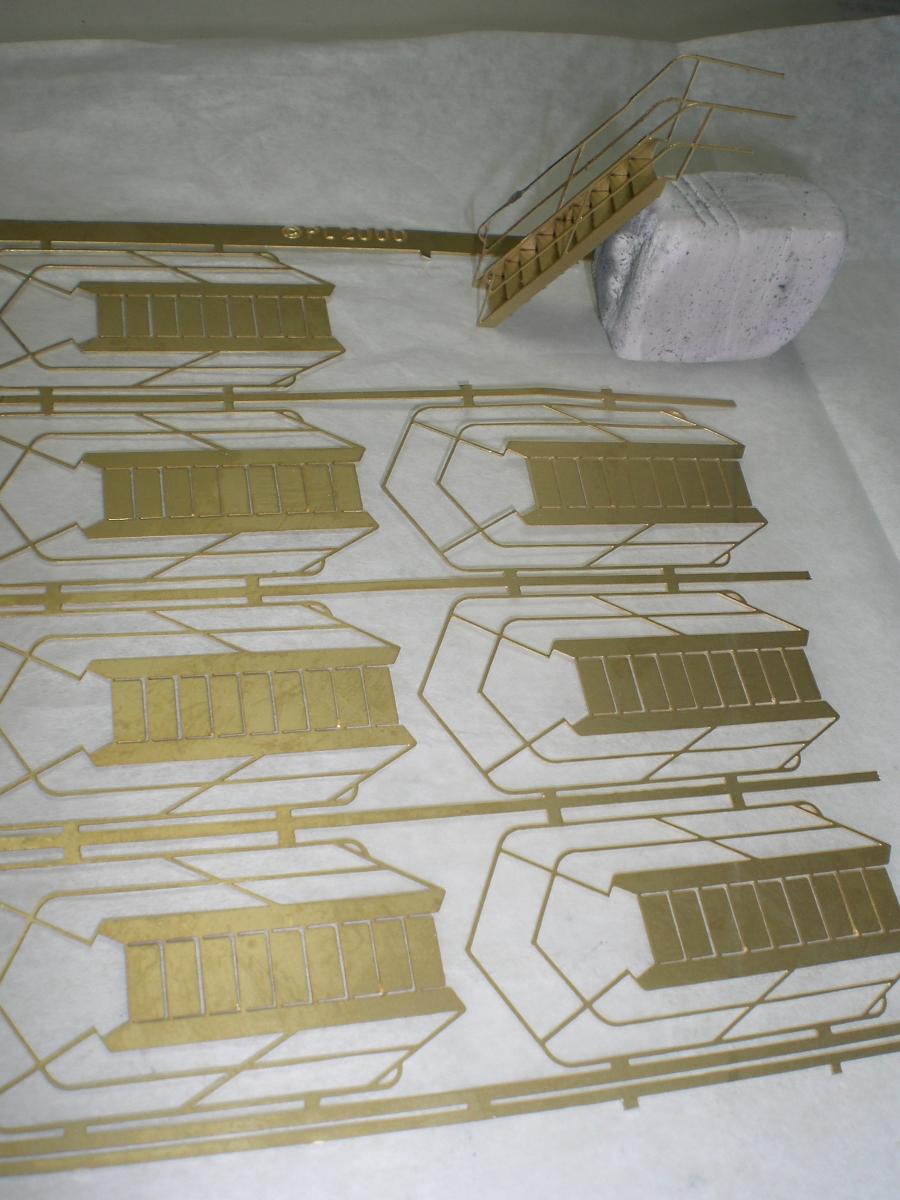
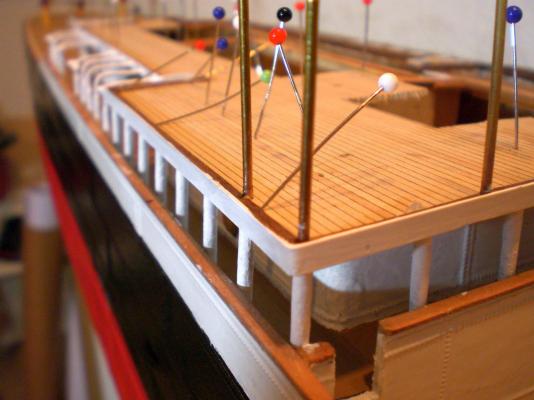
Building log part 10 machine well Skylights done, railings on boatsdeck and started on funneldeck forecastle railing fixed this and next Picture railings fixed railings, pillars for boatsdeck and upper Bridge stachions painted white stairs to upper Bridge fitted and all stairs painted upper Bridge rim completed prefitting for davits outer Bridge rim White (except for soldering area of stair) attaching middle wires of stairs to boatsdeck and railing Build log part 11 to follow.....


- 113 replies
-
- 11
-
-
- heinrich kayser
- steamship
- (and 1 more)
-
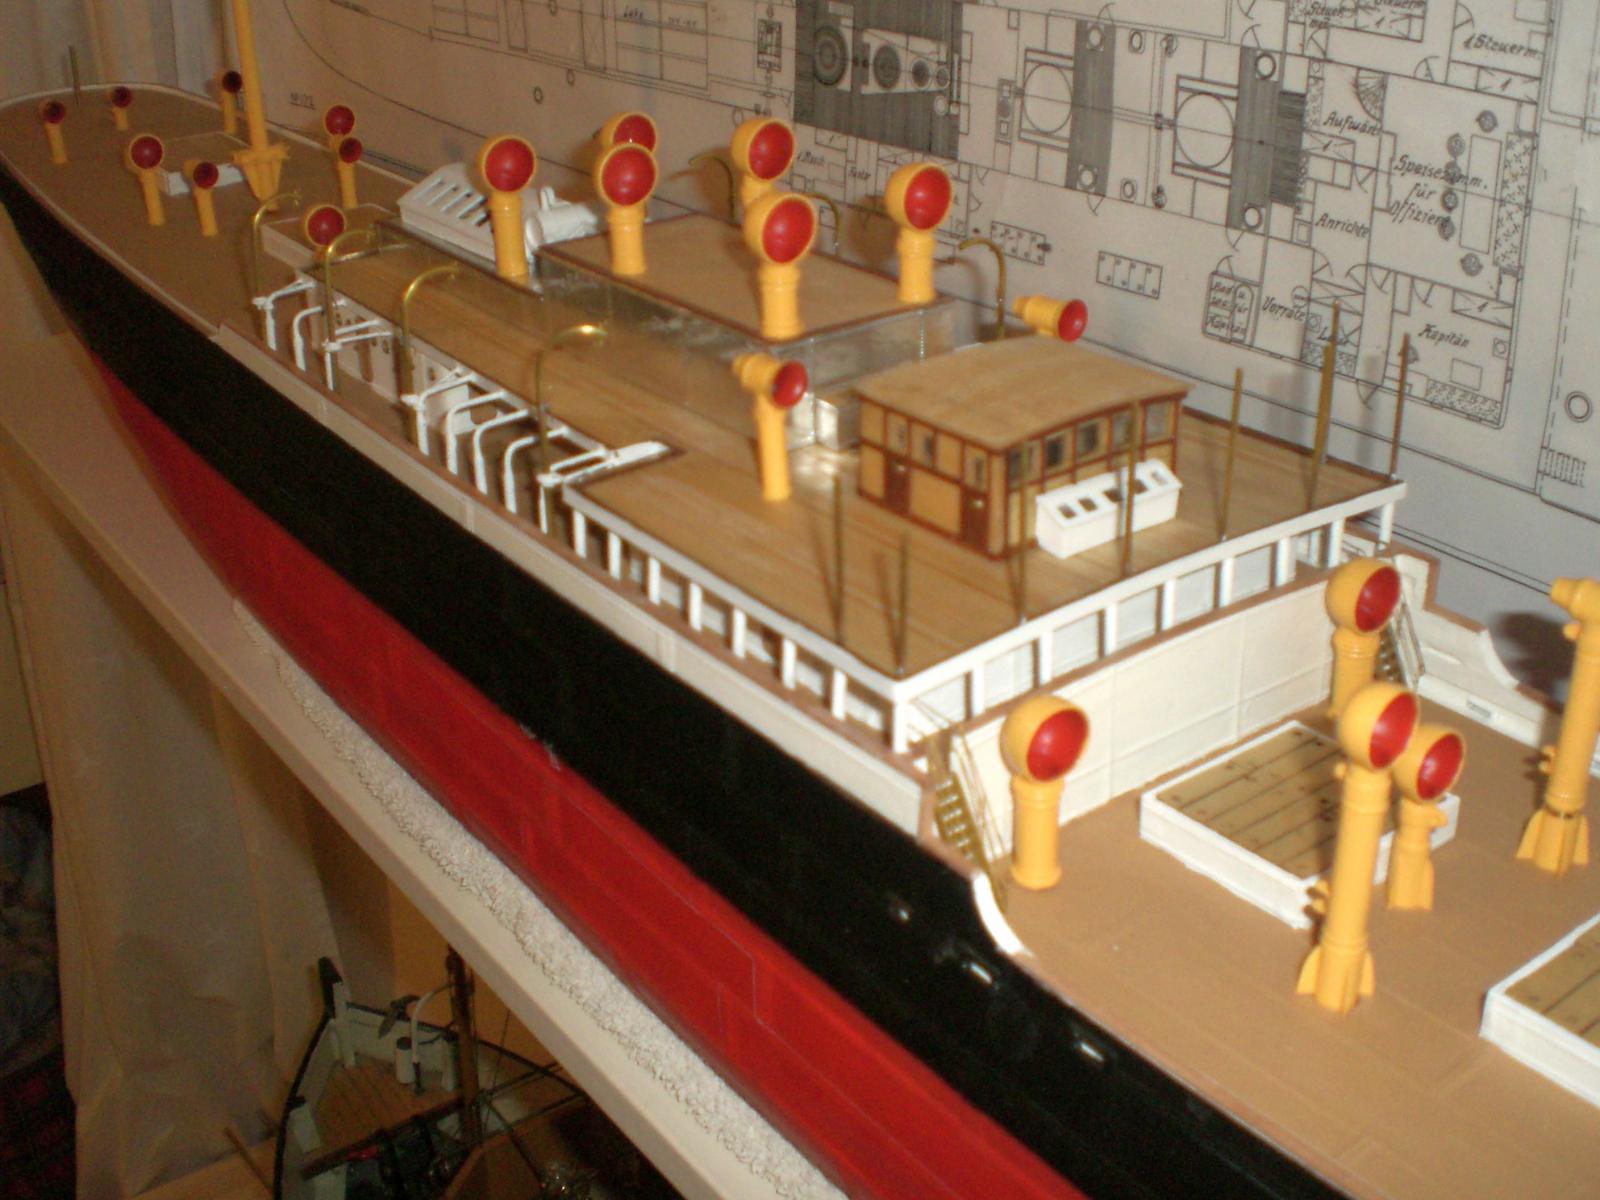
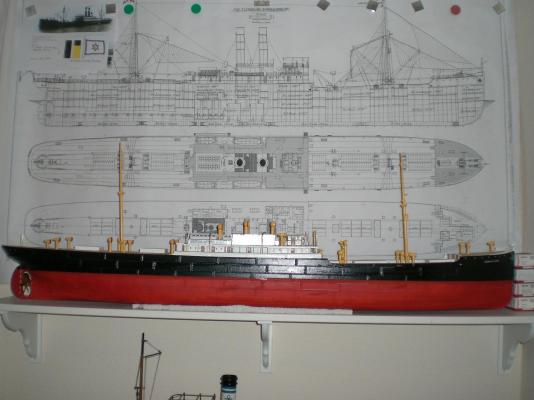
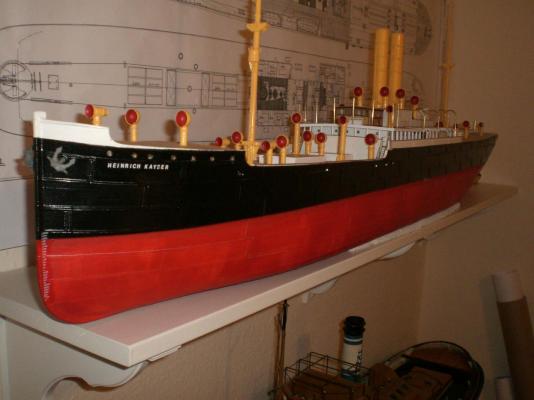
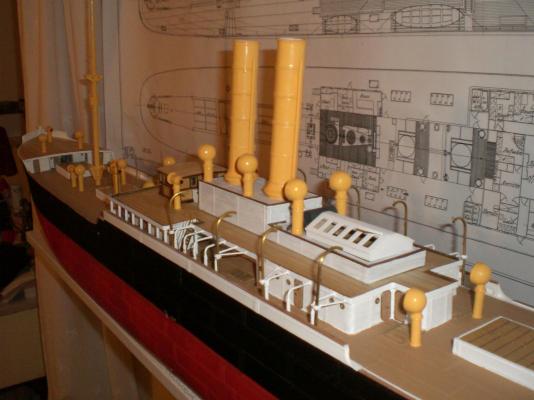
Build log part 9 different size vents machine room skylights ongoing Fitting out cross check with plan starting to look like the Heinrich Kayser copper Fittings from the crafters used for Basic funnel construction, have to do some cutting though angle of funnels match mast angle Building log part 10 to follow


- 113 replies
-
- 13
-
-
- heinrich kayser
- steamship
- (and 1 more)
-
Bob you are right, I feel the same, and have therefore gathered quite some experience in soldering (solderable metals) with either small gastourch or with soldering iron Nils
-
Crackers, that idea is not completely out of this world, because I`m running out of space in my Hobby Office right now, I am 66 years old and I hope that they might find an honorable anchoring place in my childrens homes one day. Right now I have 2 steamships, two Tallships, and the uncompleted scratchbuilt 18th century Pegasus in Progress. Besides that you might know or have experienced yourself, that the modelers fingers start itching when one gets mind-pregnant with the next "Project", at least the ideas Keep on sparkling... It is since I had retired from my work that I again have time to go after this Hobby. Cheers Nils
-
Paul, thanks for sharing your soldering excellent tutorial Nils
-
Danny I`m absolutely with Adam... As you probably recognized, I`m taking a Little pause on my own P.Sue build, but seeing your fabulous work in process really encourages me....to get further going on it again Nils
-
Hi S. Coleman, Tom and Daniel, thank you for your appreciative words, I`m preparing to post Log parts 9 + 10 tomorrow morning, stay tuned Nils
-
Michiel your build is a delight to follow, I had an eye on the "Prins Willem" plan before I decided to go for the Pegasus. Neat and tidy build, as well as splendid Quality, and handcraftship, shall follow this one further on Nils
-
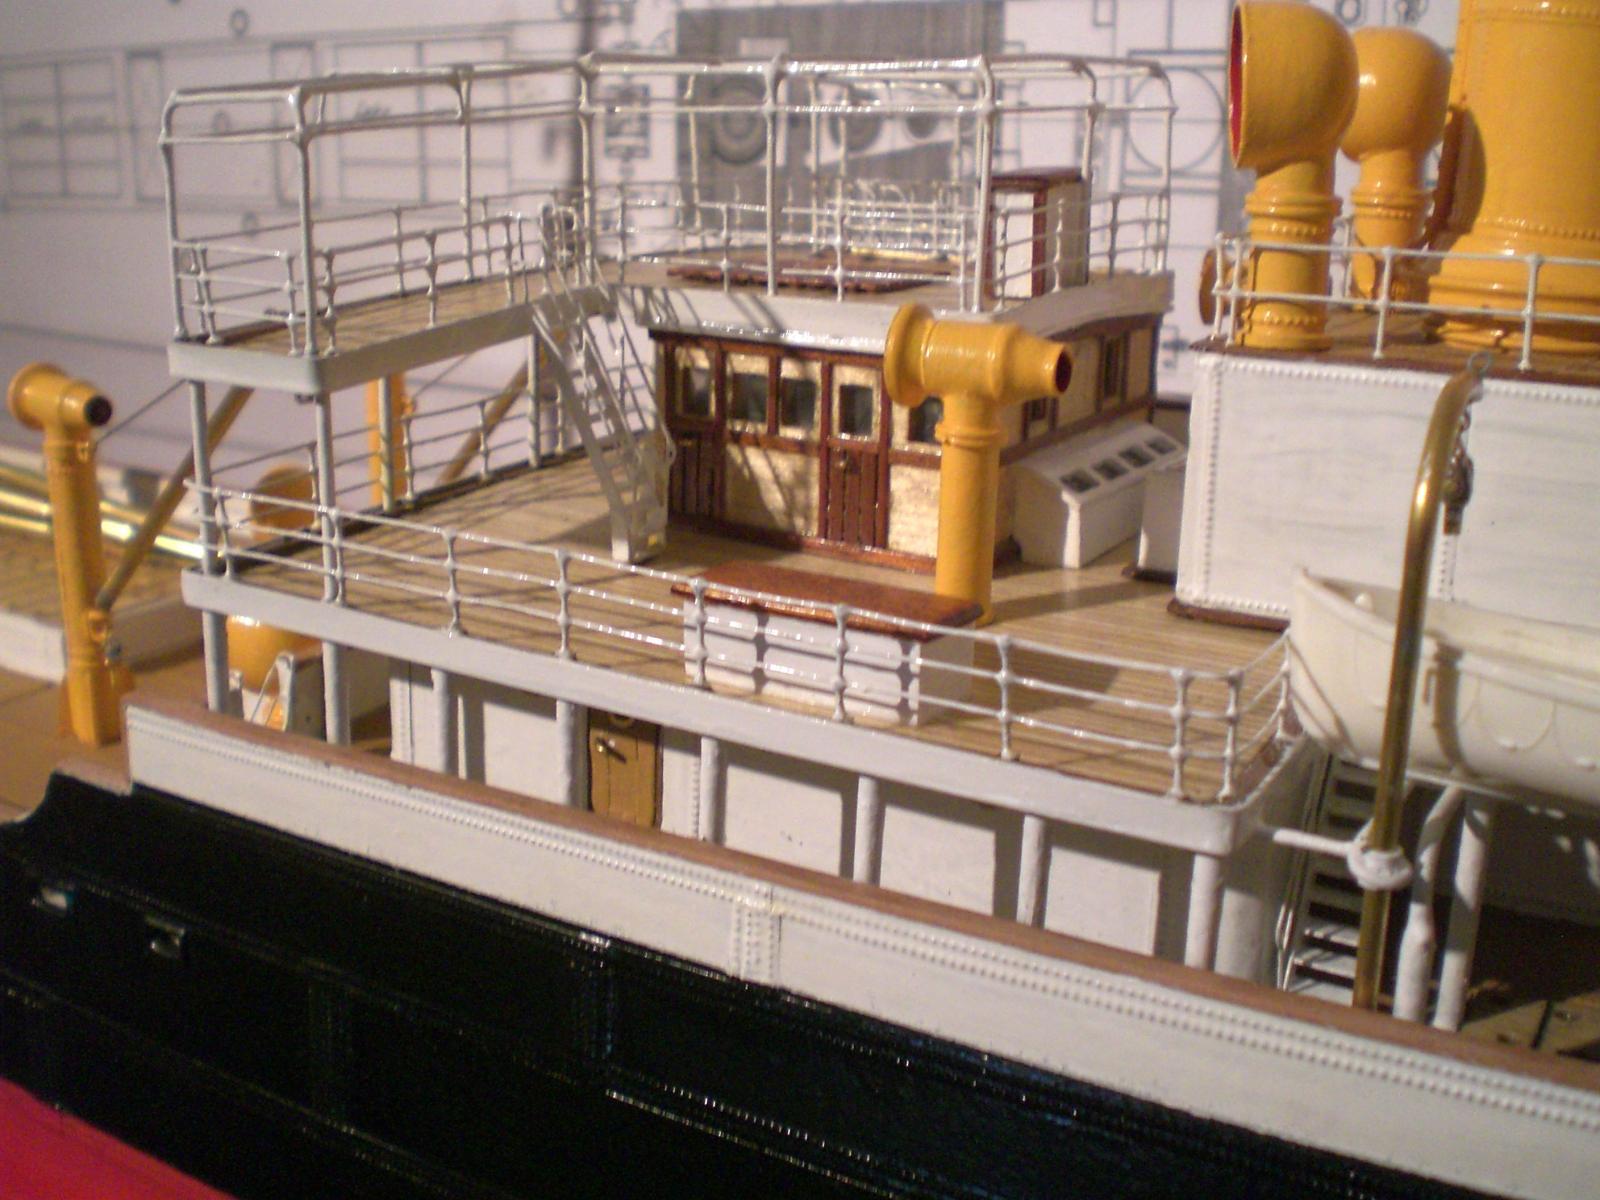
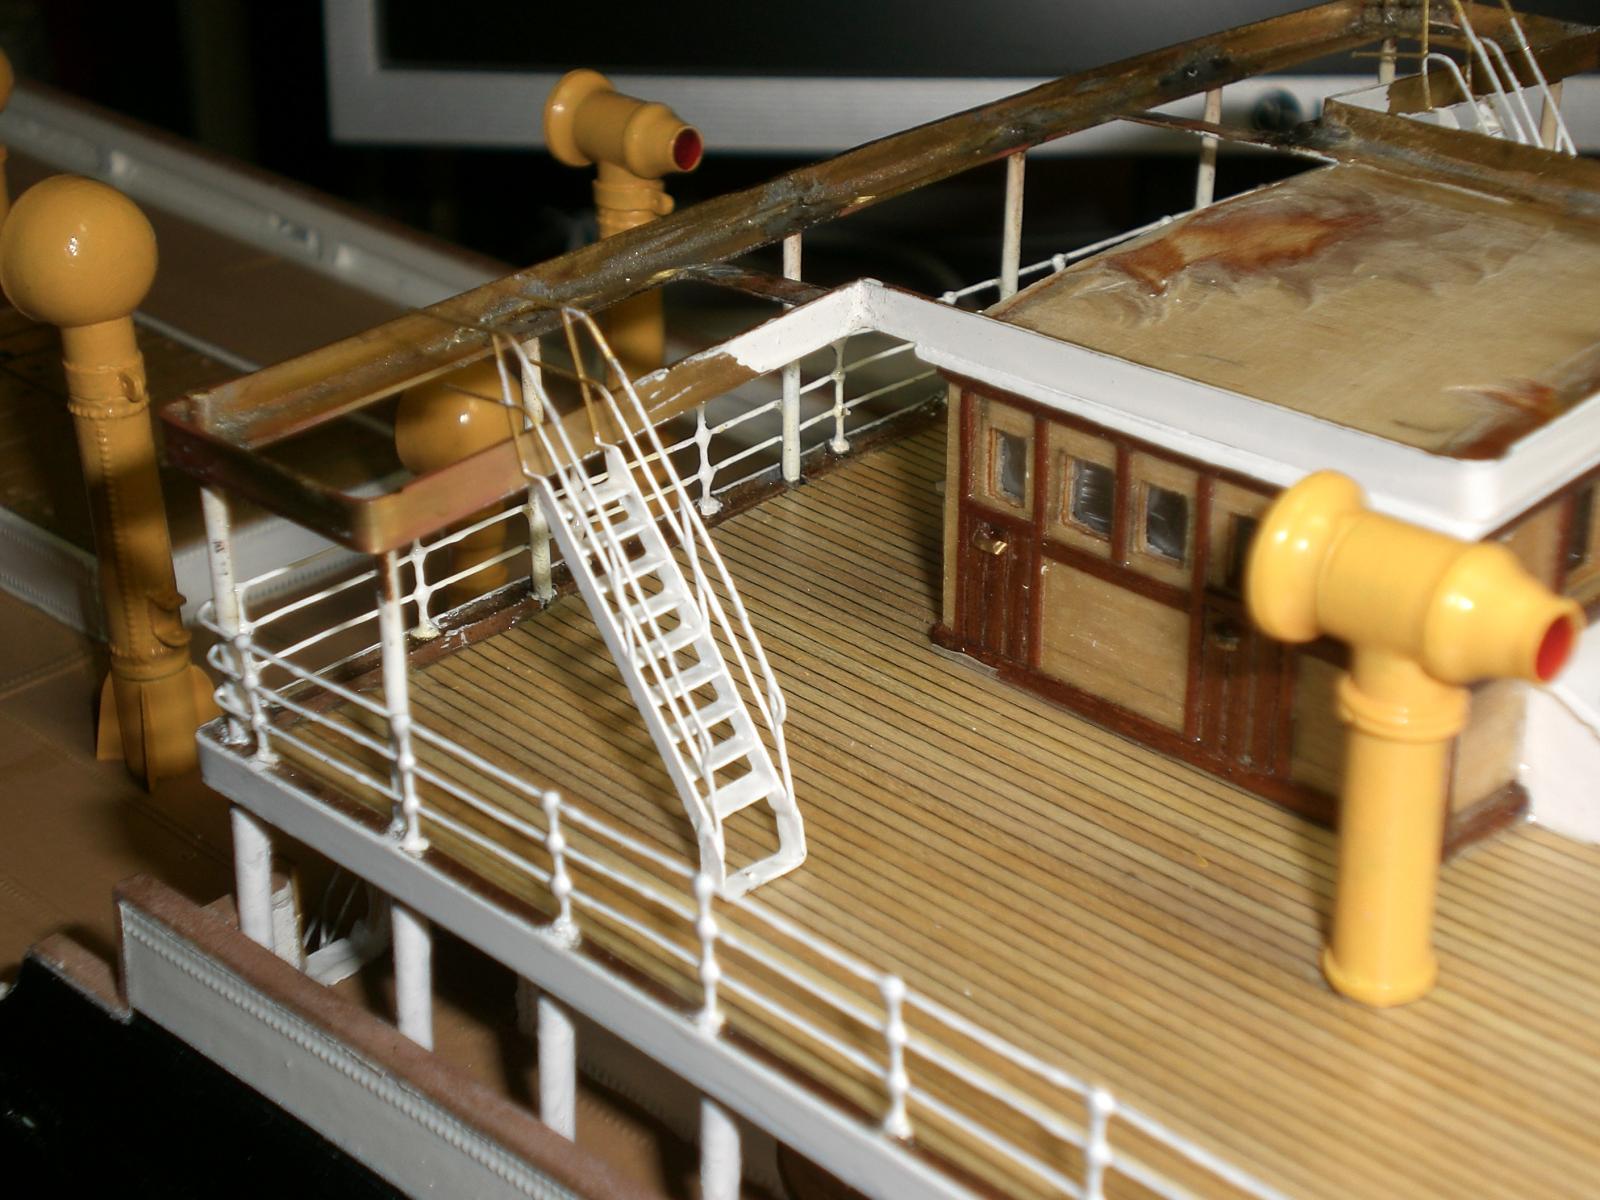
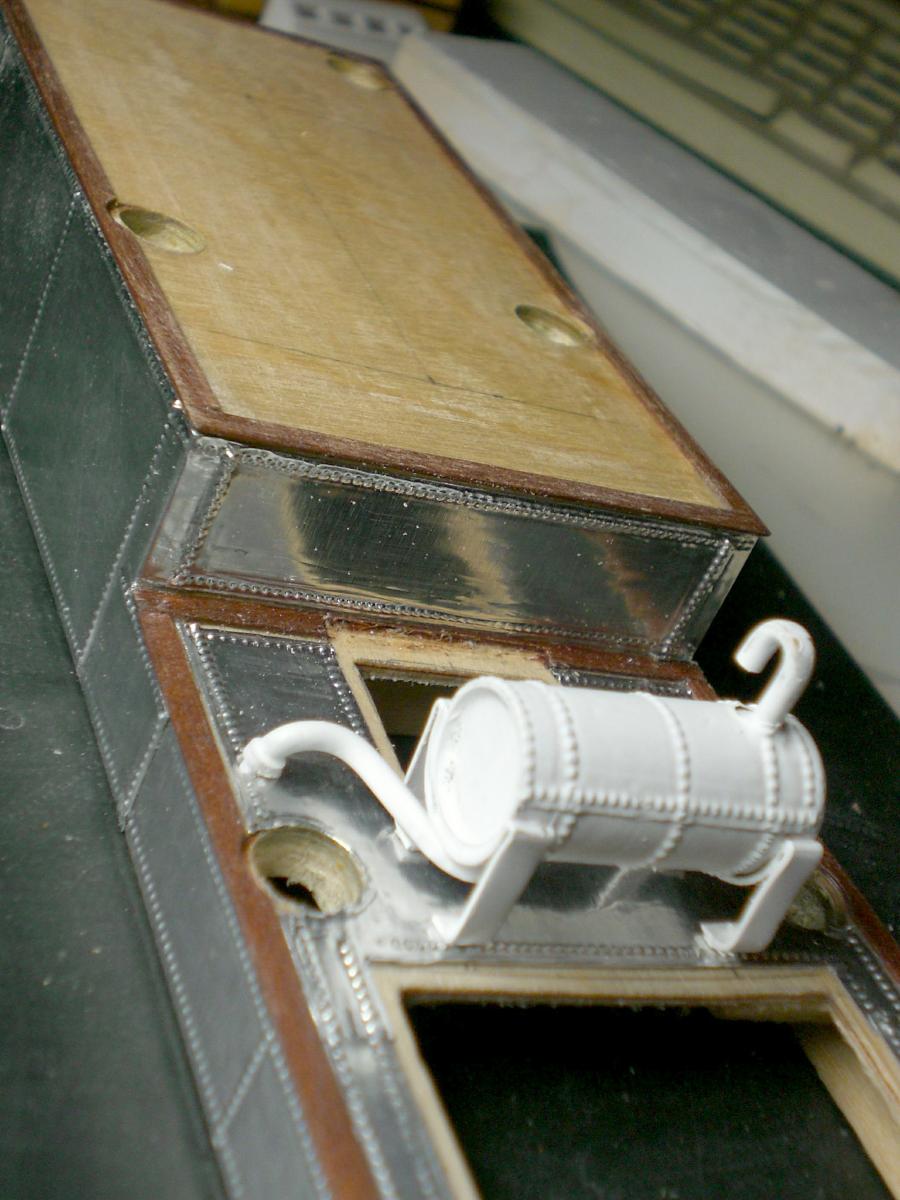
Build log part 8 template topview for boatdeck checking Position of midship stairs down to Forward working deck deckhouse stairs to boatstations aftstair from boatdeck to working poopdeck view backwards at this building stage wooden planking of boatsdeck, here also the bearing Support-sleeves for taking up the Davits already mounted main wheelhouse, Navigation room and officers duty station freshwater storage tank with vent on top Build log part 9 to follow....


- 113 replies
-
- 11
-
-
- heinrich kayser
- steamship
- (and 1 more)
-
well done Bob ! beautiful work, a pleasure to look at Nils
-
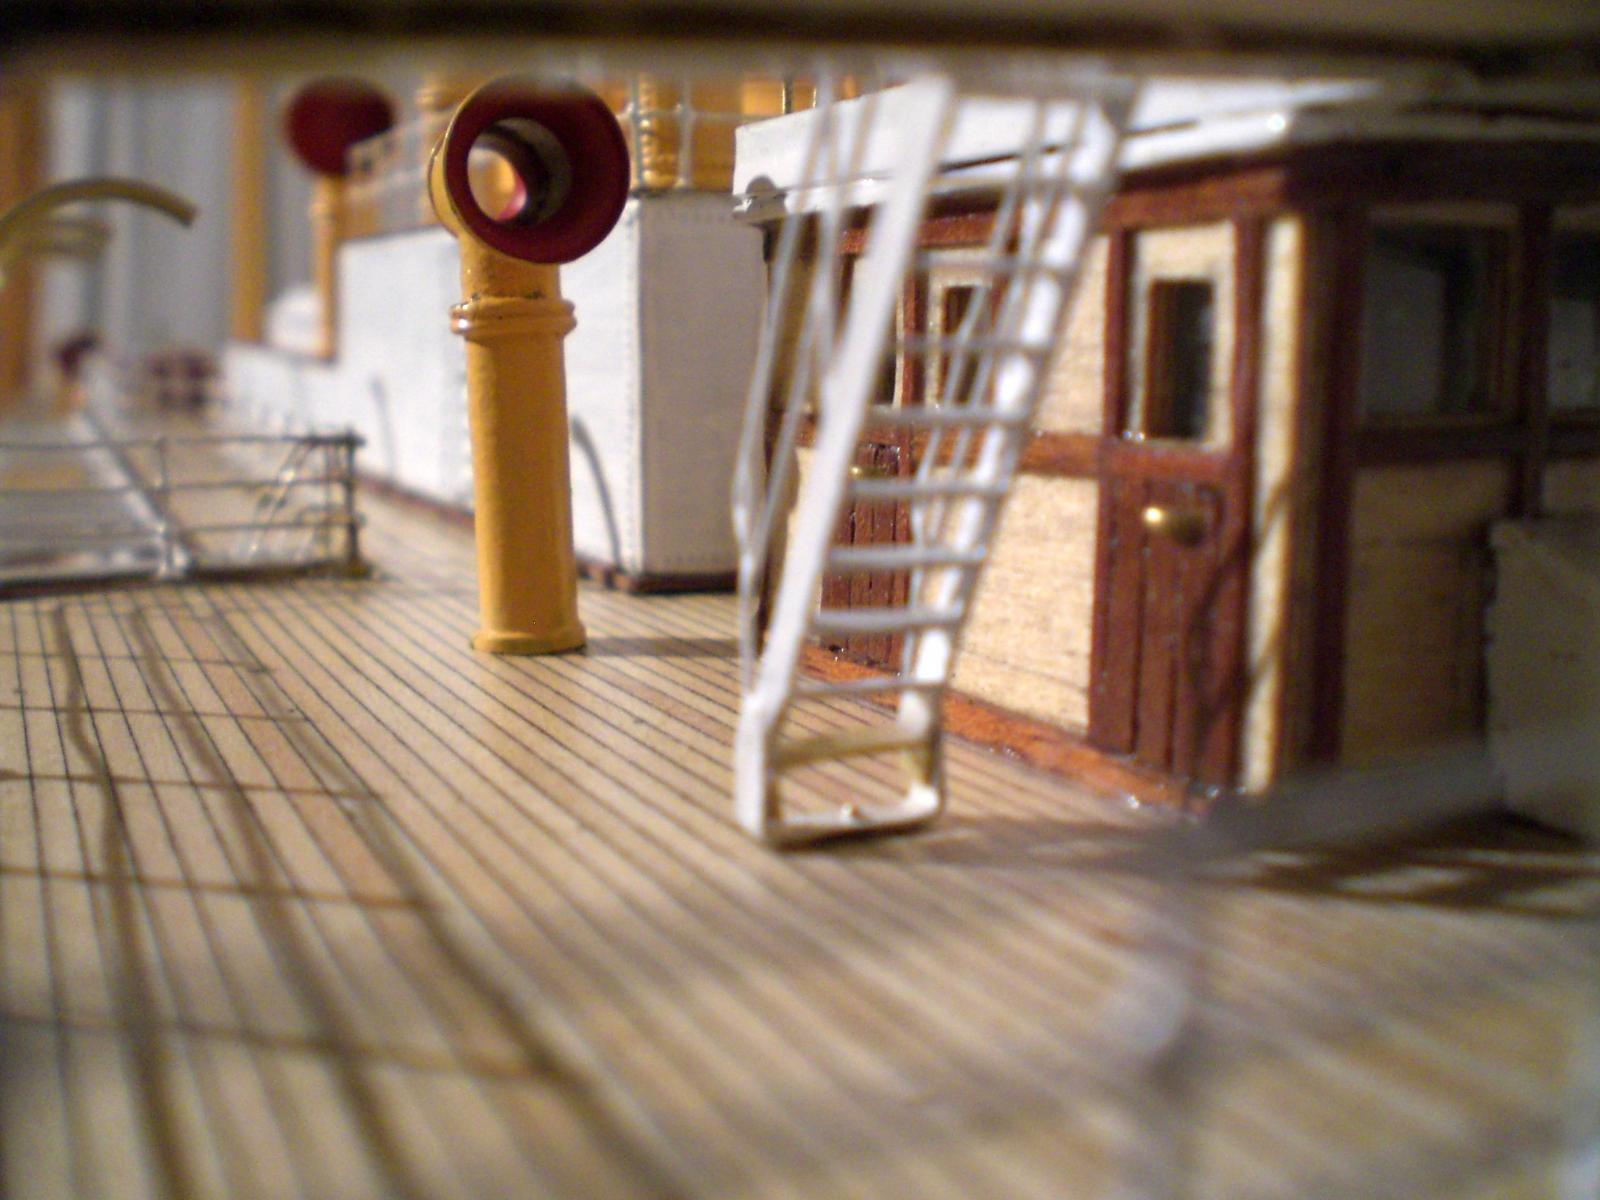
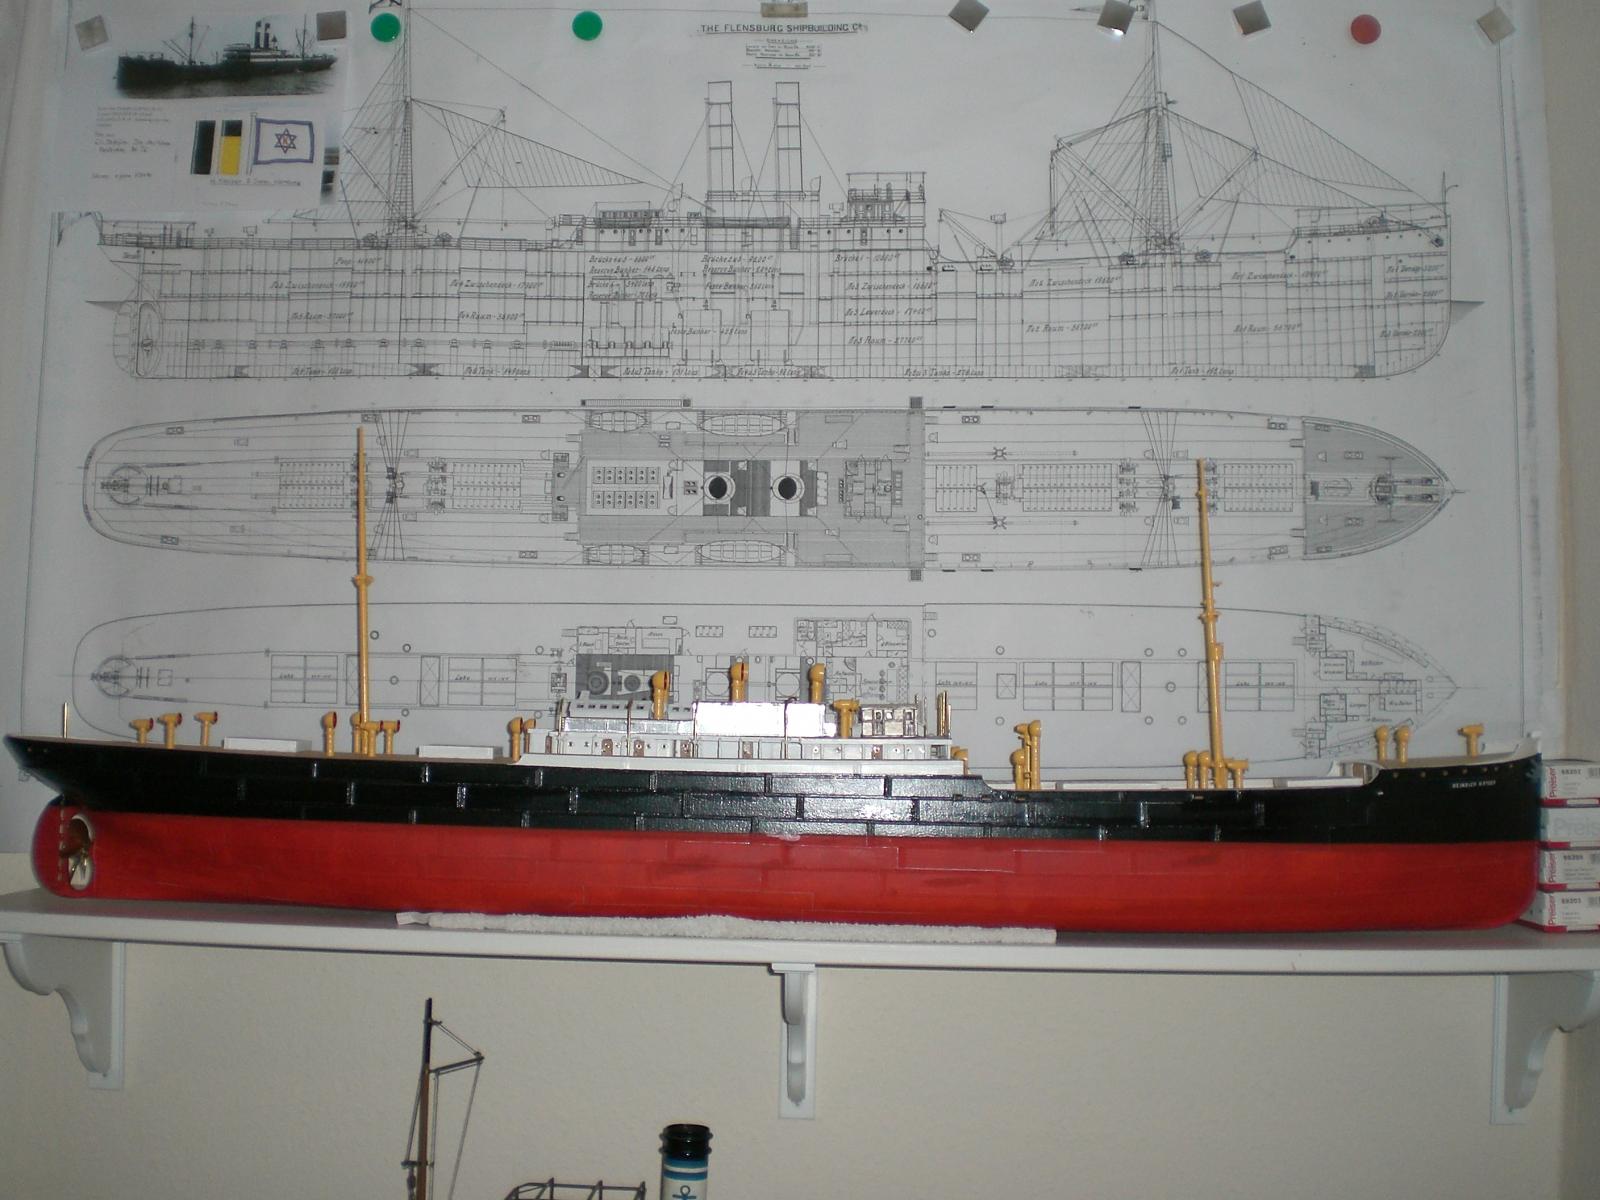
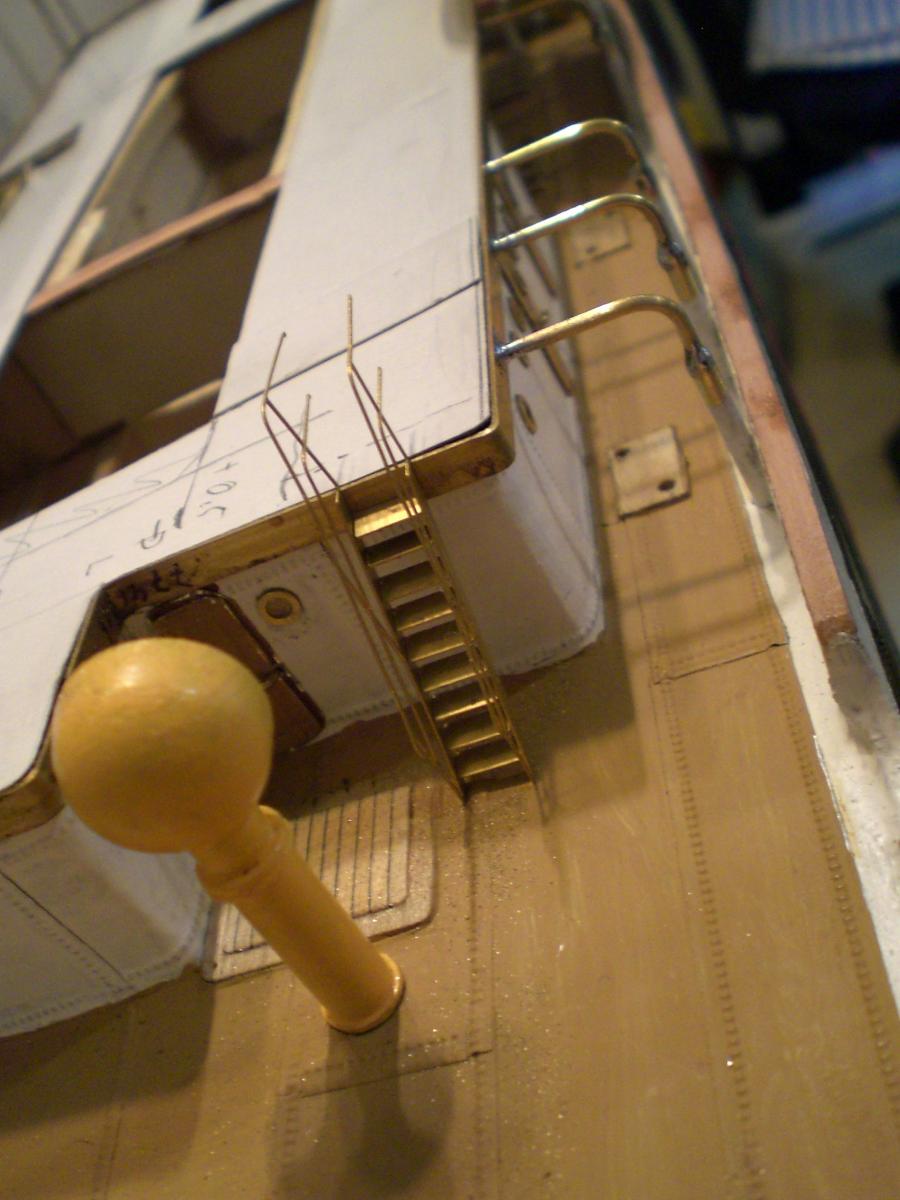
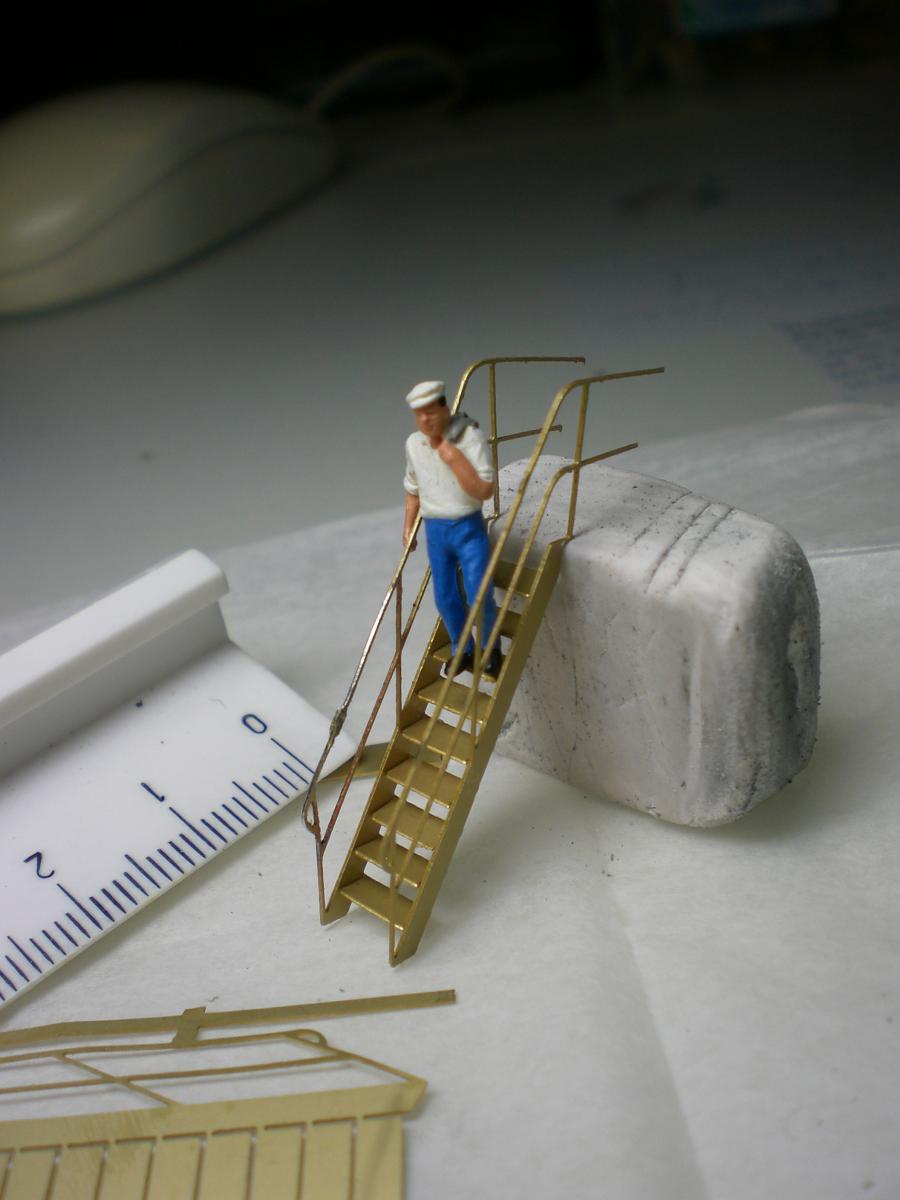
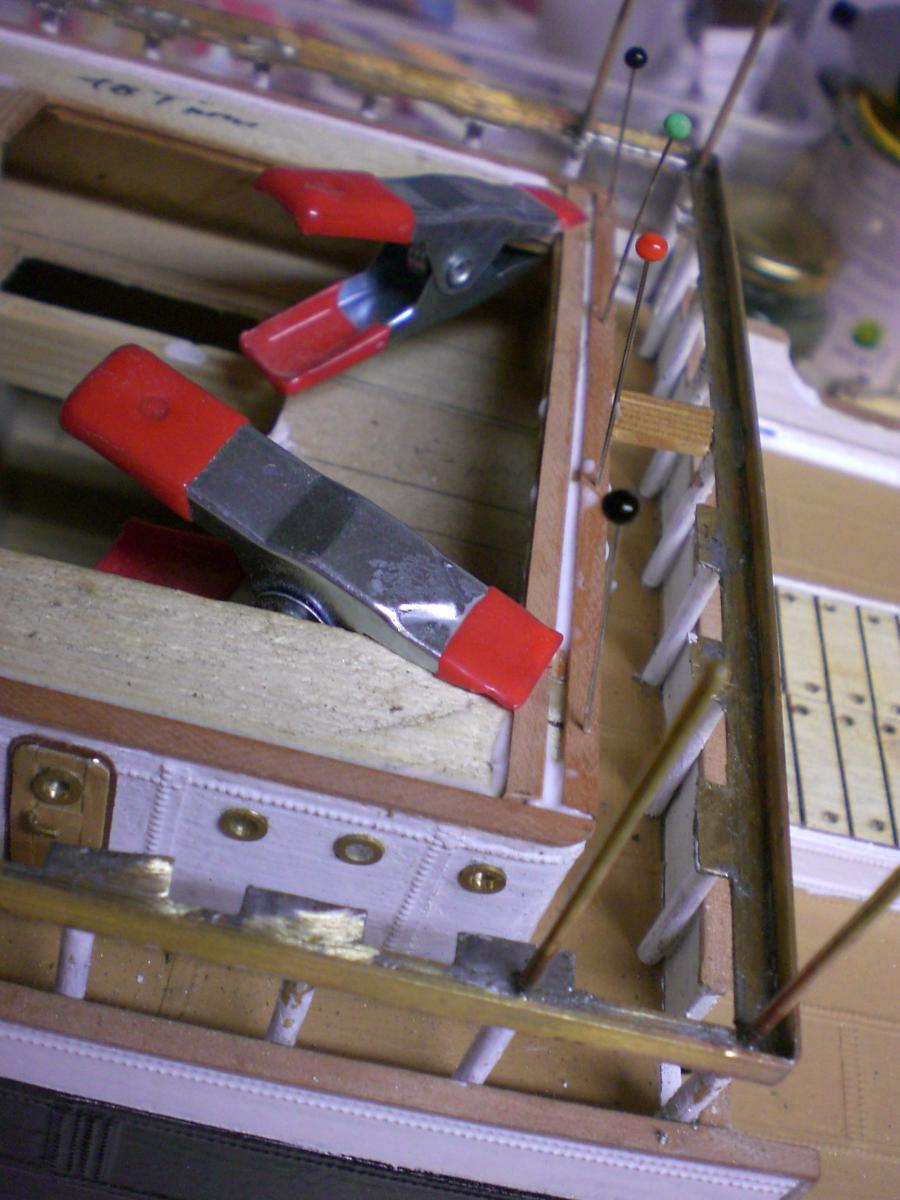
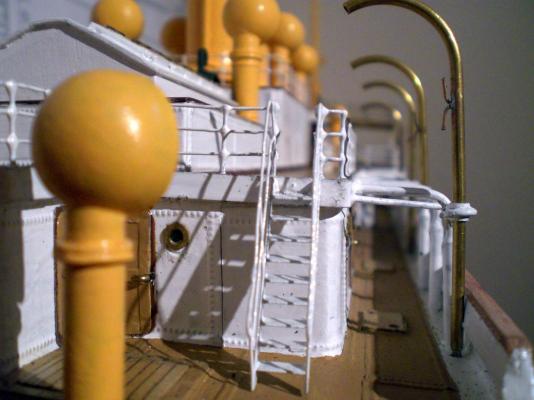
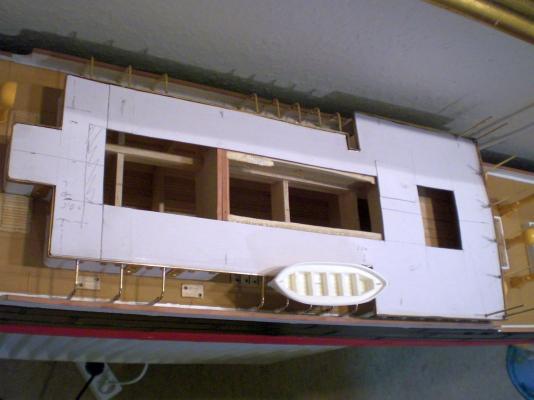
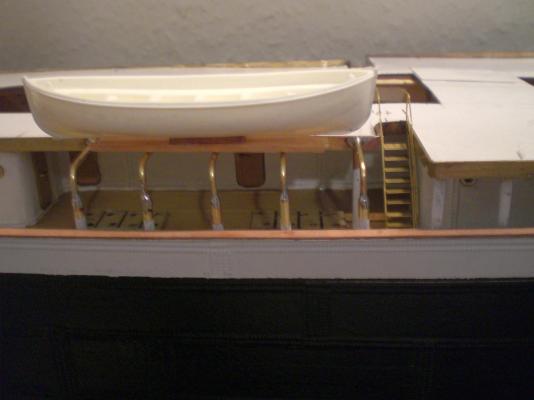
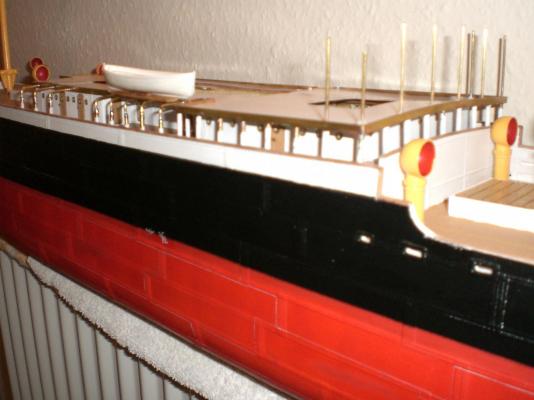
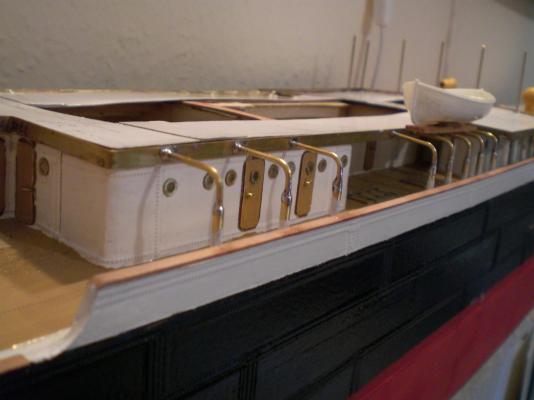
Build log part 7 ship is now tugged out alongside the Fitting out quay of the yard etched brass stairs check, fit to scale approved OK brass rim fitted to lower deckhousing, all around the boatsdeck self explaining in opposite to the workdecks the forecastle deck is Wood planked the soldering Task gets a Little tricky here (too much heat in one place loostens the already tight neighbour ones again) checking with plan, space requirements for boats, Davits and boat Access platforms cardboard template for complete boat deck base stanchions for upper Bridge fixed and soldered note the workdecks are painted tan, "earthbrown" self explaining... Build log part 8 to follow....


- 113 replies
-
- 10
-
-
- heinrich kayser
- steamship
- (and 1 more)