HOLIDAY DONATION DRIVE - SUPPORT MSW - DO YOUR PART TO KEEP THIS GREAT FORUM GOING! (89 donations so far out of 49,000 members - C'mon guys!)
×


Mirabell61
-
Posts
7,409 -
Joined
-
Last visited
Content Type
Profiles
Forums
Gallery
Events
Everything posted by Mirabell61
-
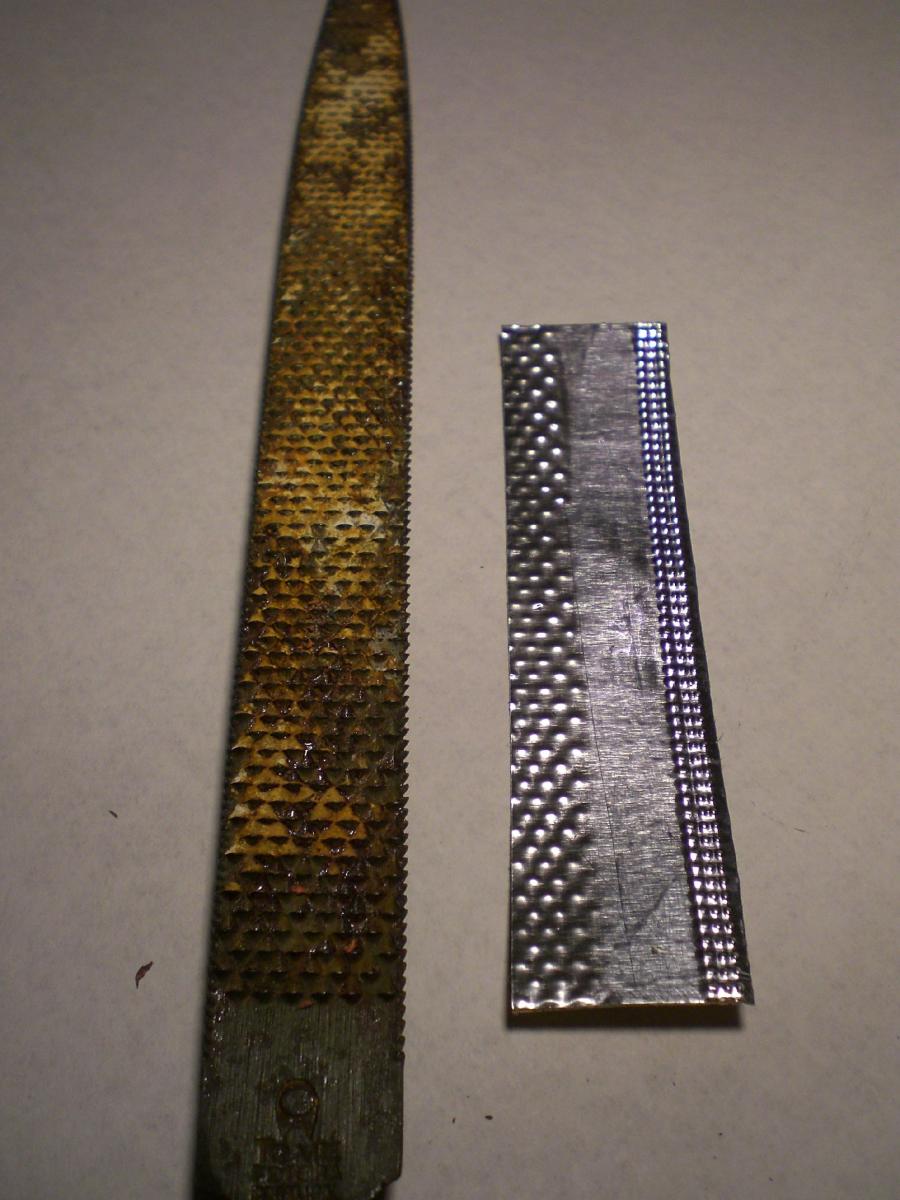
 Mauro, I see things are moving on the "tape side plating".... I found your solution so nice that I had itching fingers to give it a Trial myself. Here the result made with an old Wood file. Put alu or copper tape (shiny side up) partially on it and rubbed it down and over with a rubber erasor, I must say, very good idea of yours.. Nils
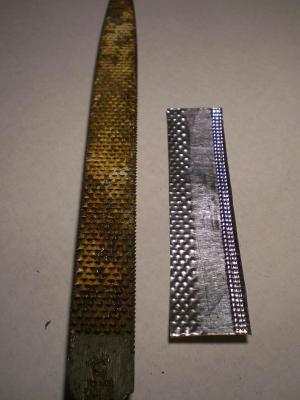
-
Thank you Bedford, I am very happy that this model found so much Attention from fellow modellers Nils
-
Nice looking coppering Bob, are those tiles ponced by yourself ? (using tape) Nils
-
David, the relaunch of the Pamir in 1957 Version took two years, from keellaying to browsing down the slipway Nils
-
Hello fellow members, this is not against anyone who likes or purchased this probably nice DVD, but I have a Little bad tast on my toungue when seeing Promotion being made for taking Money for things that should gladly be free to members on MSW. In my opinion it is against the Spirit of this wonderful MSW Forum. I invite the authors of the DVD to join in to this comunity and to participate in this great international Web-site Nils
-
Yeah.. good Idea Nenad prost, we`ll have a nice glass together Thank you Nils
-
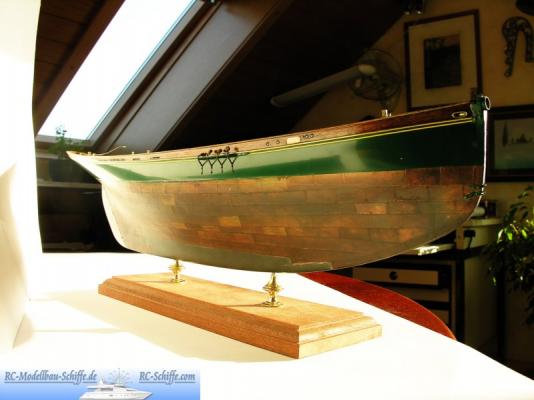
Build log part 49 This now last part of my build rounds up the posted Build log before the model goes into its glasss case and is now situated on a shelf behind my work desc. I would like here to thank all fellow MSW mates for dropping in, and who showed interest for this model and who expressed their likes by clicking the appropriate button, and even more for all those lovely appreciative comments, encouragements and suggetions along with the build sequences. If there should be any postbuild questions adressed to my behalf, please feel free to do so, I shall be pleased to answer asap. Regards Nils Auf wiedersehen Nils

- 269 replies
-
- 13
-

-
ROYAL CAROLINE 1749 by Doris - 1:40 - CARD
Mirabell61 replied to DORIS's topic in - Build logs for subjects built 1501 - 1750
Doris, is that nice tail wagging ships-dog also related to an actual Family pet? Wonderful modelled guns !! Nils- 883 replies
-
- 1
-
-
- royal caroline
- ship of the line
- (and 1 more)
-
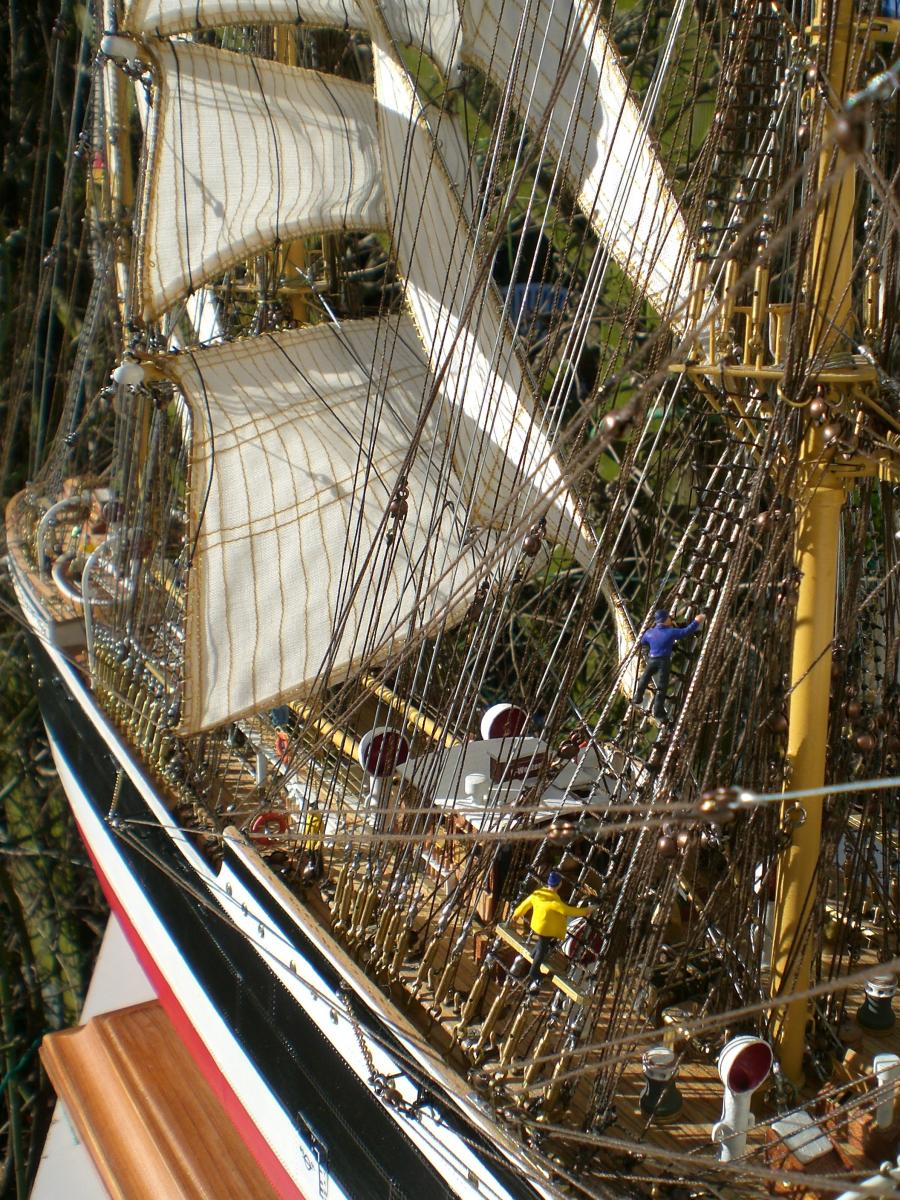
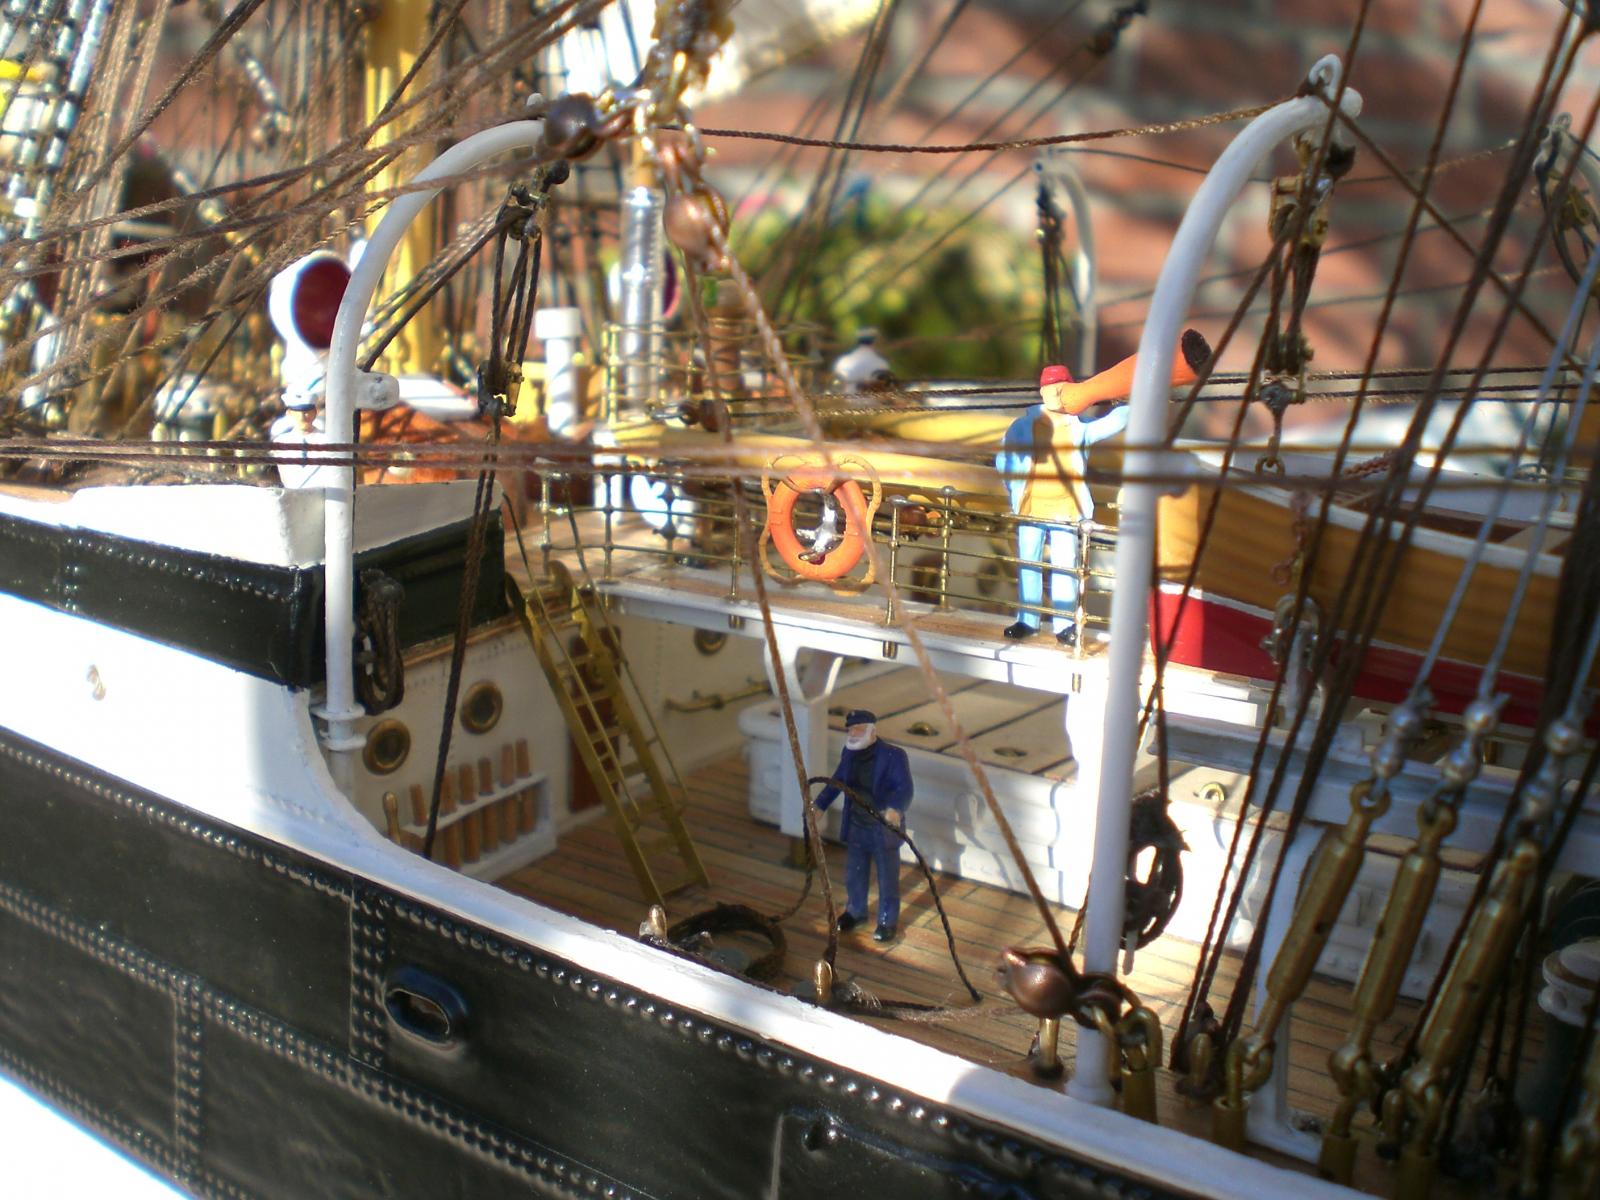
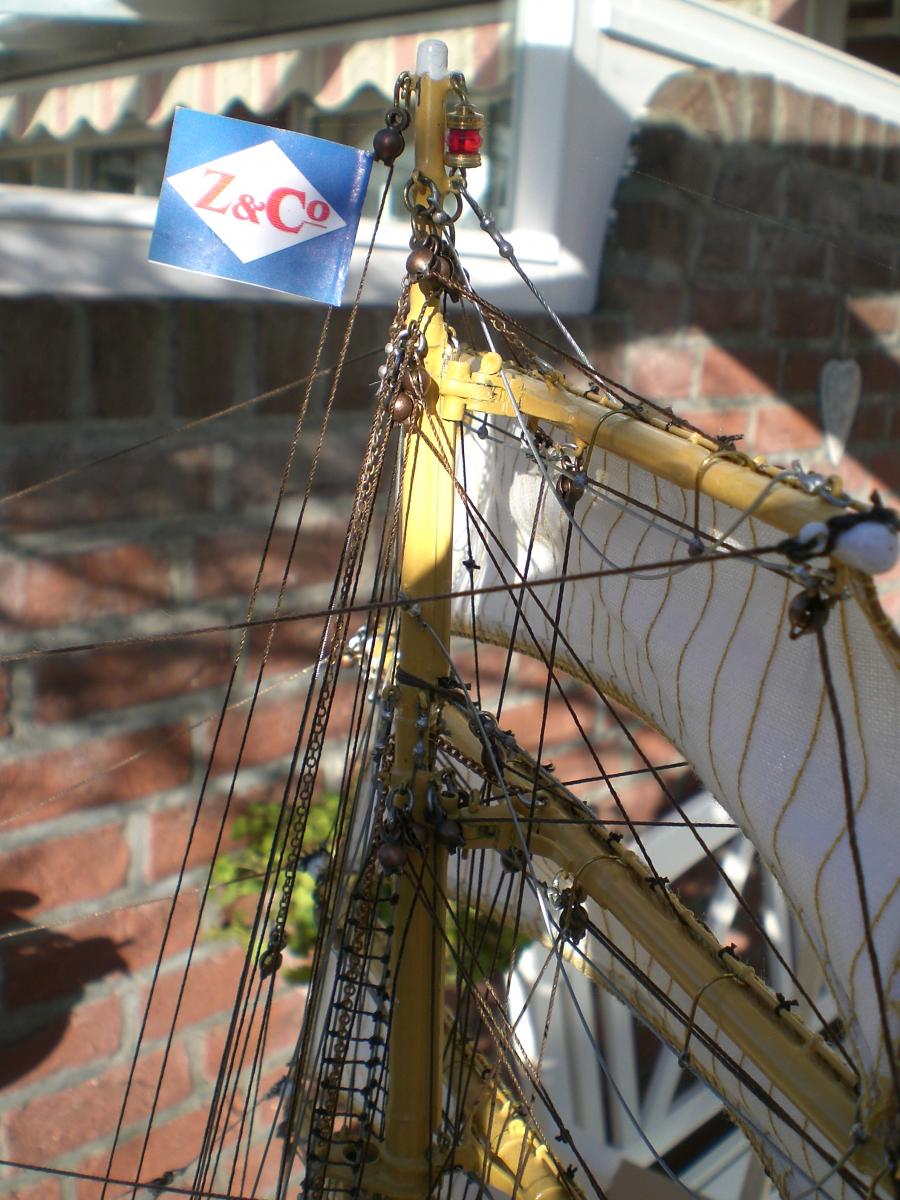
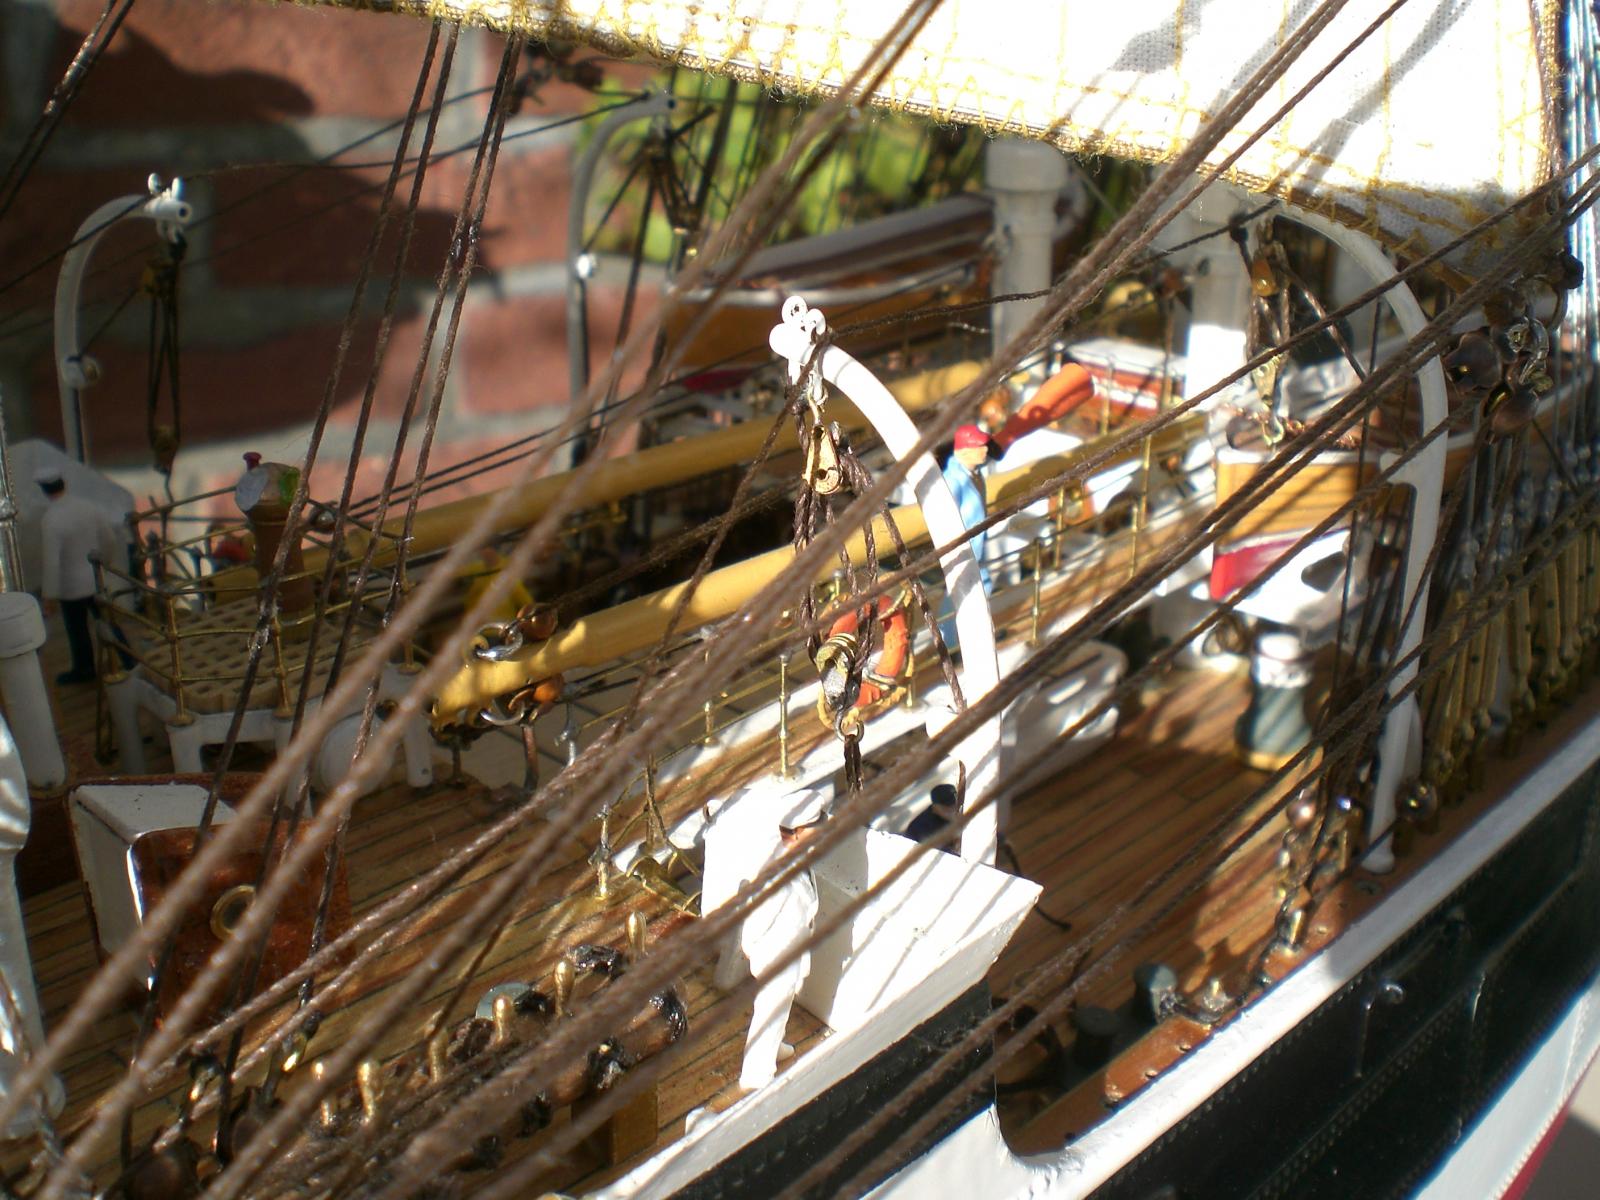
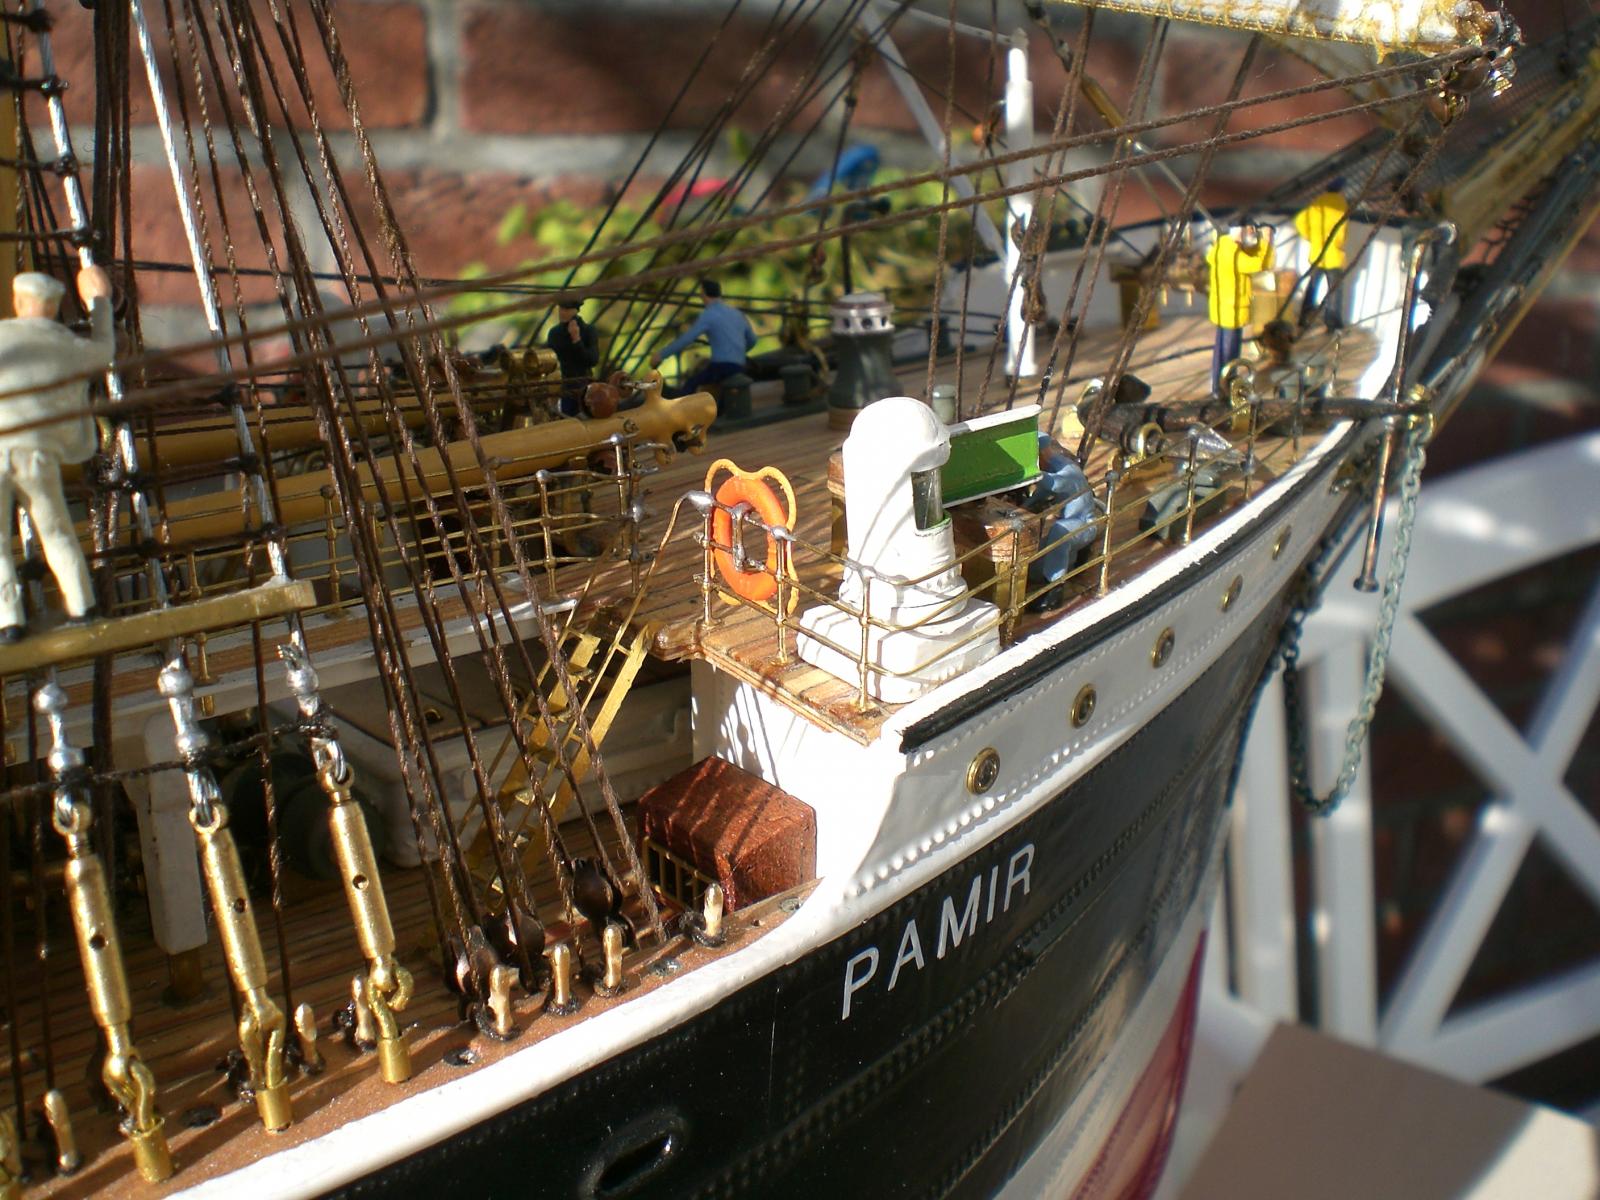
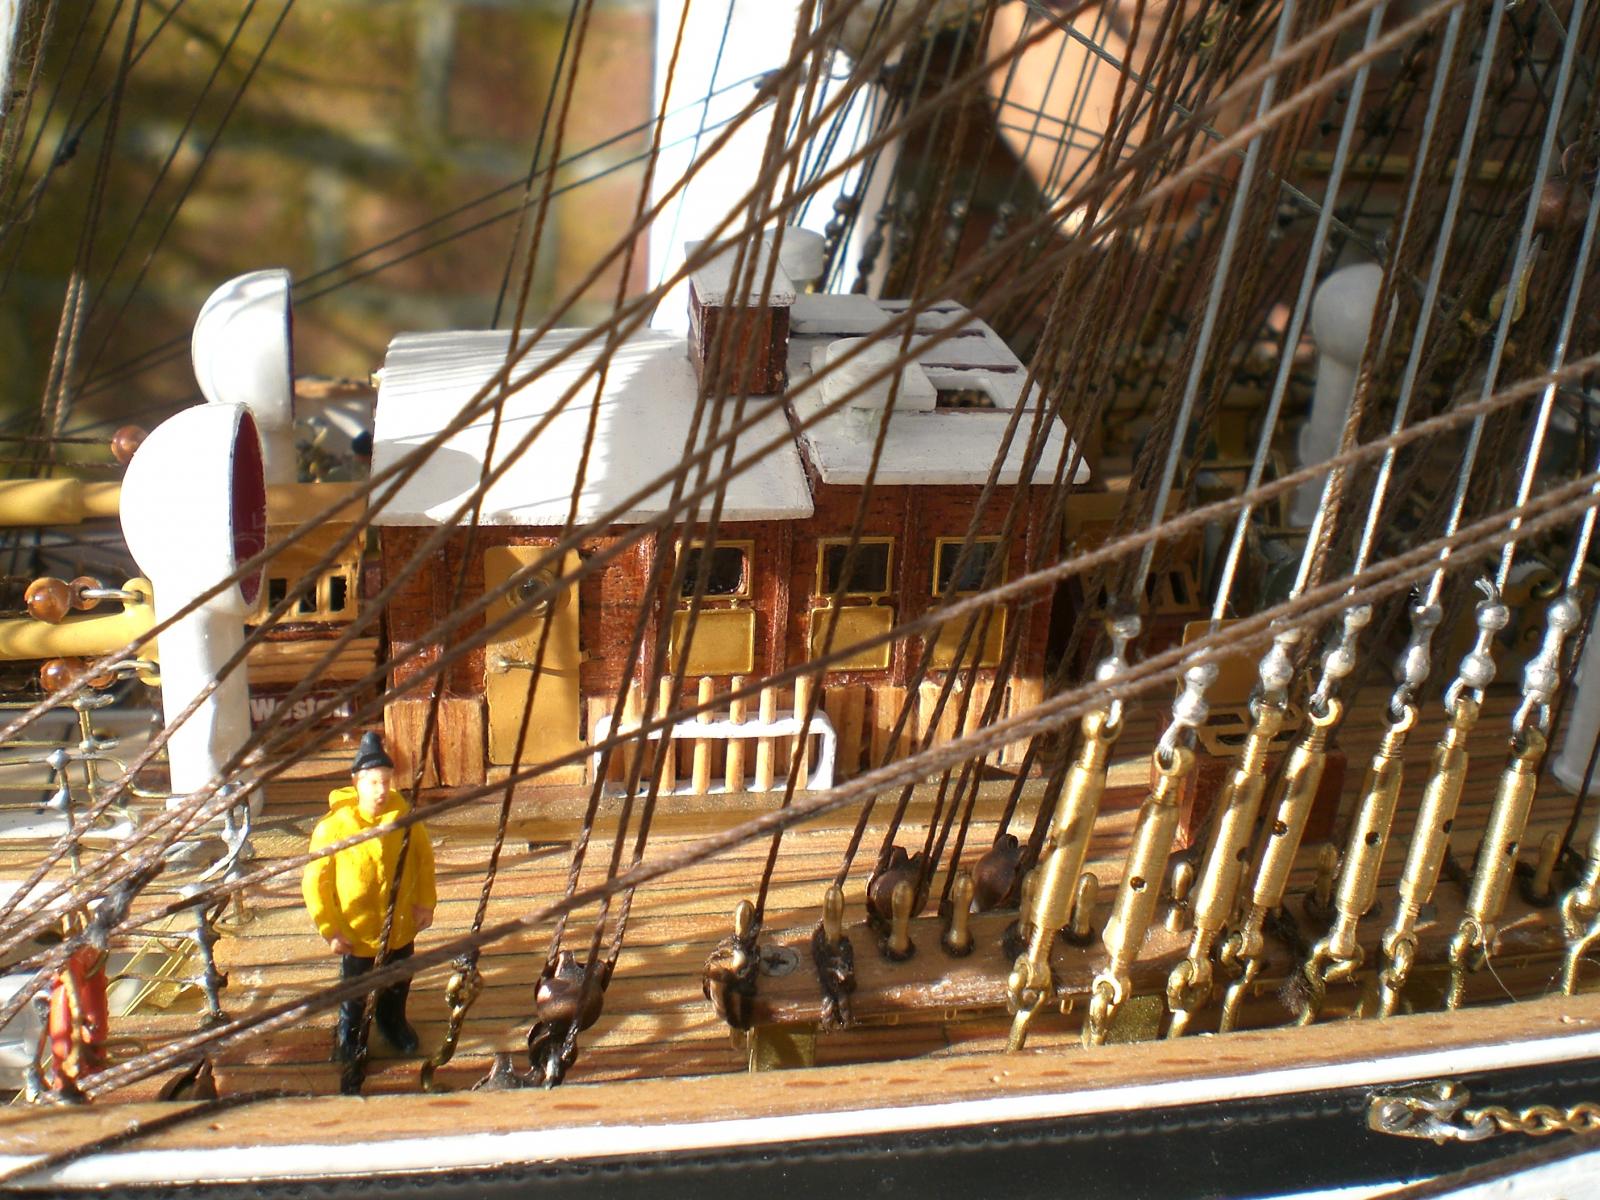
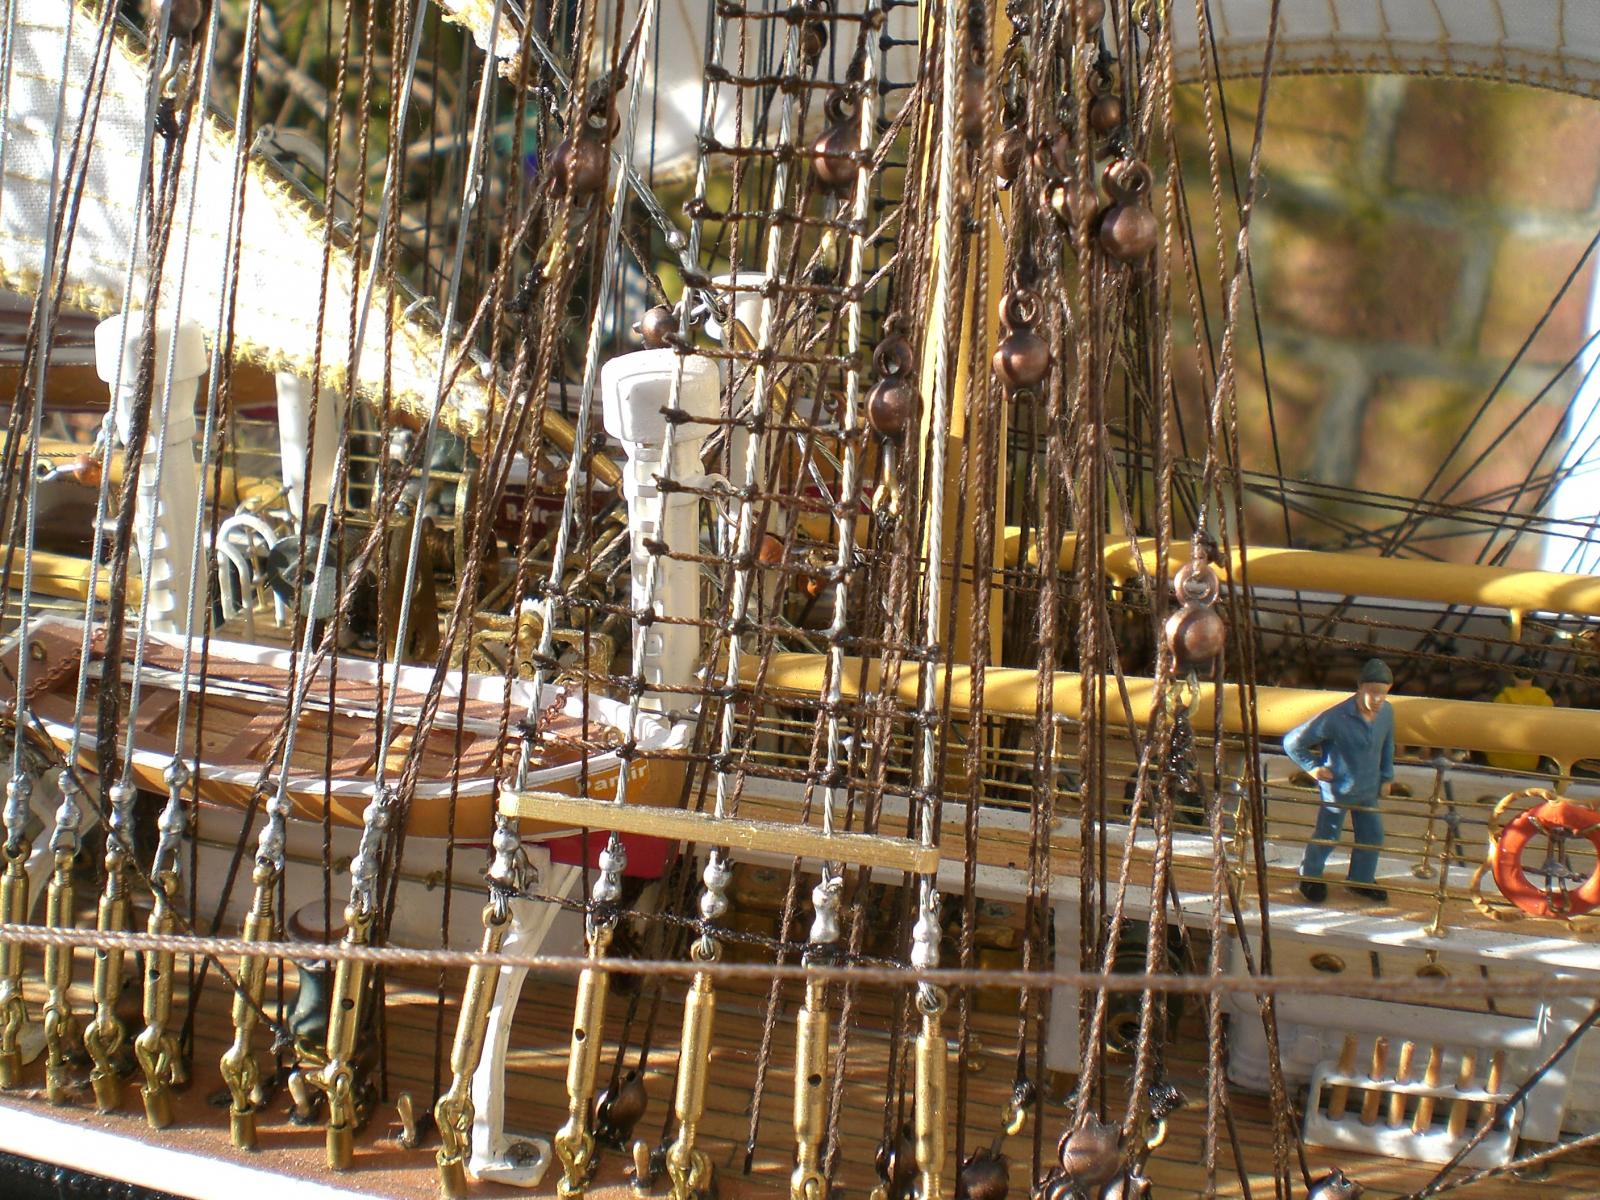
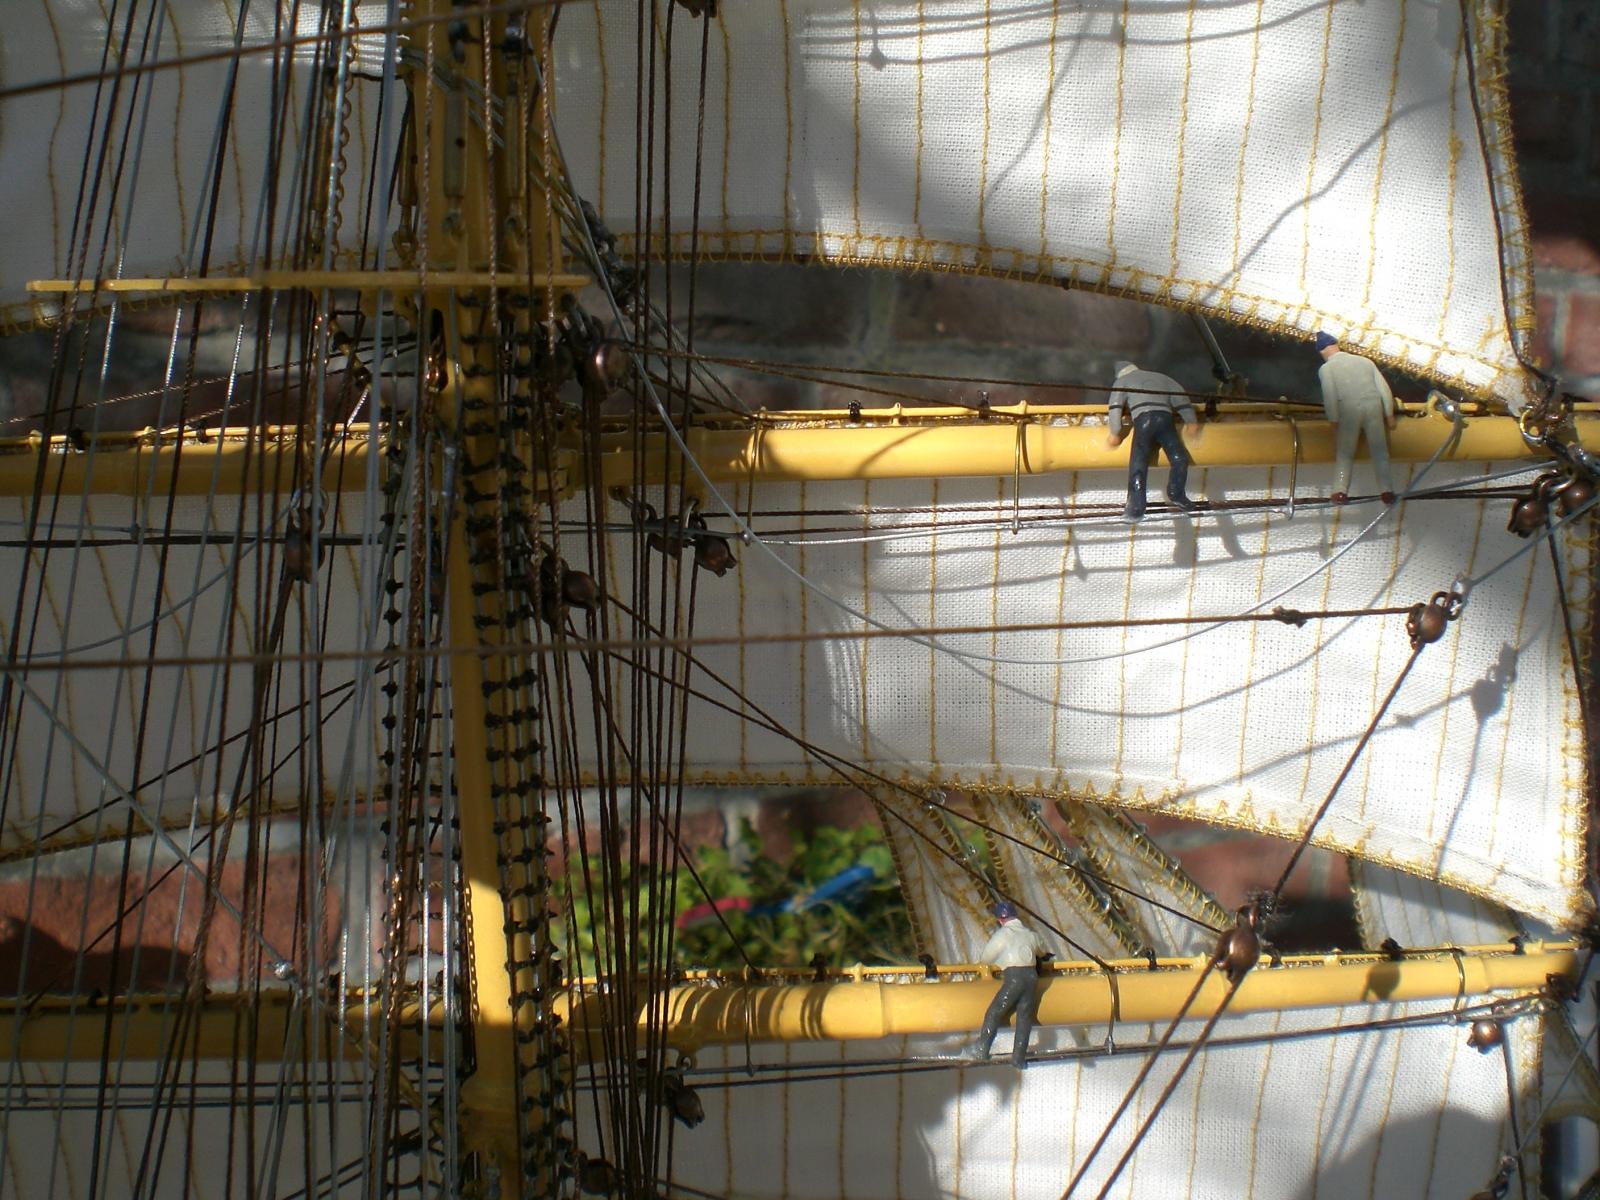
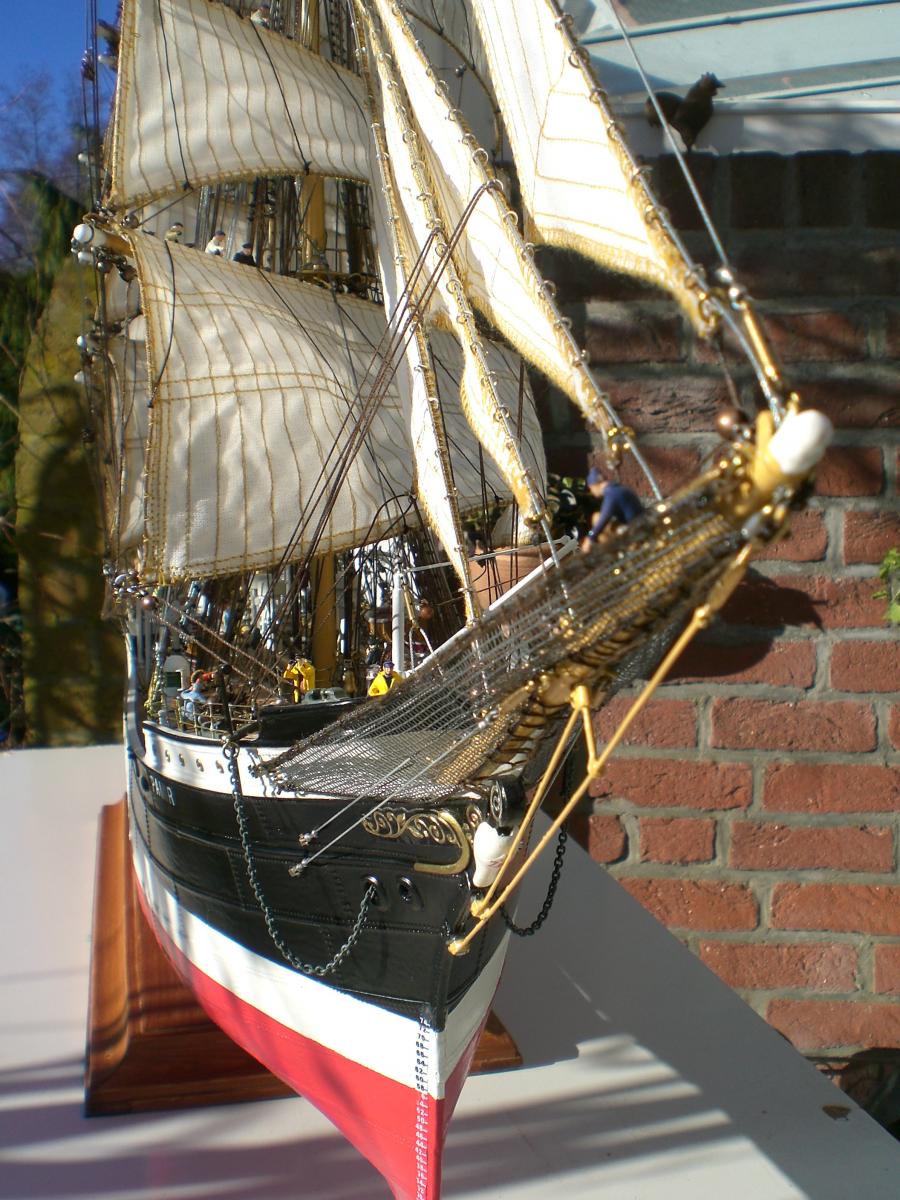
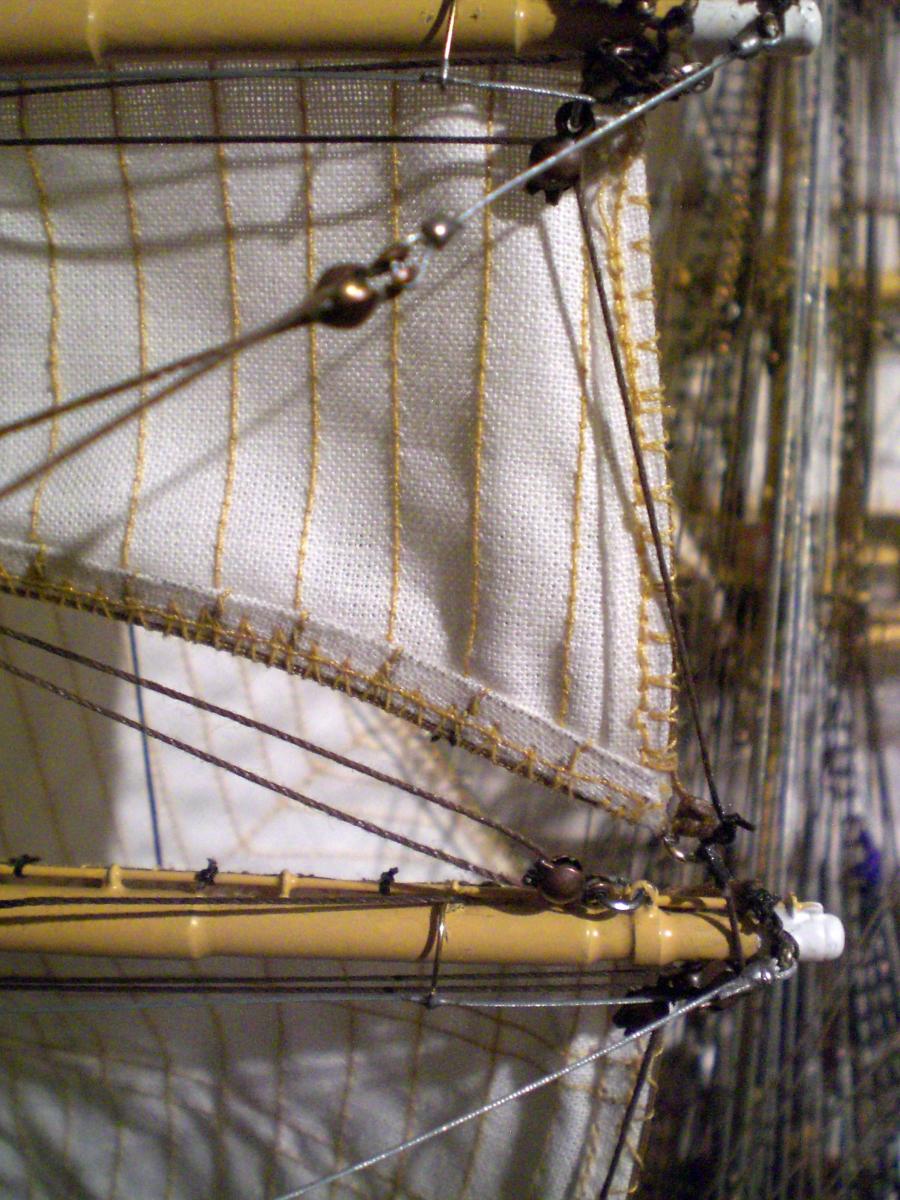
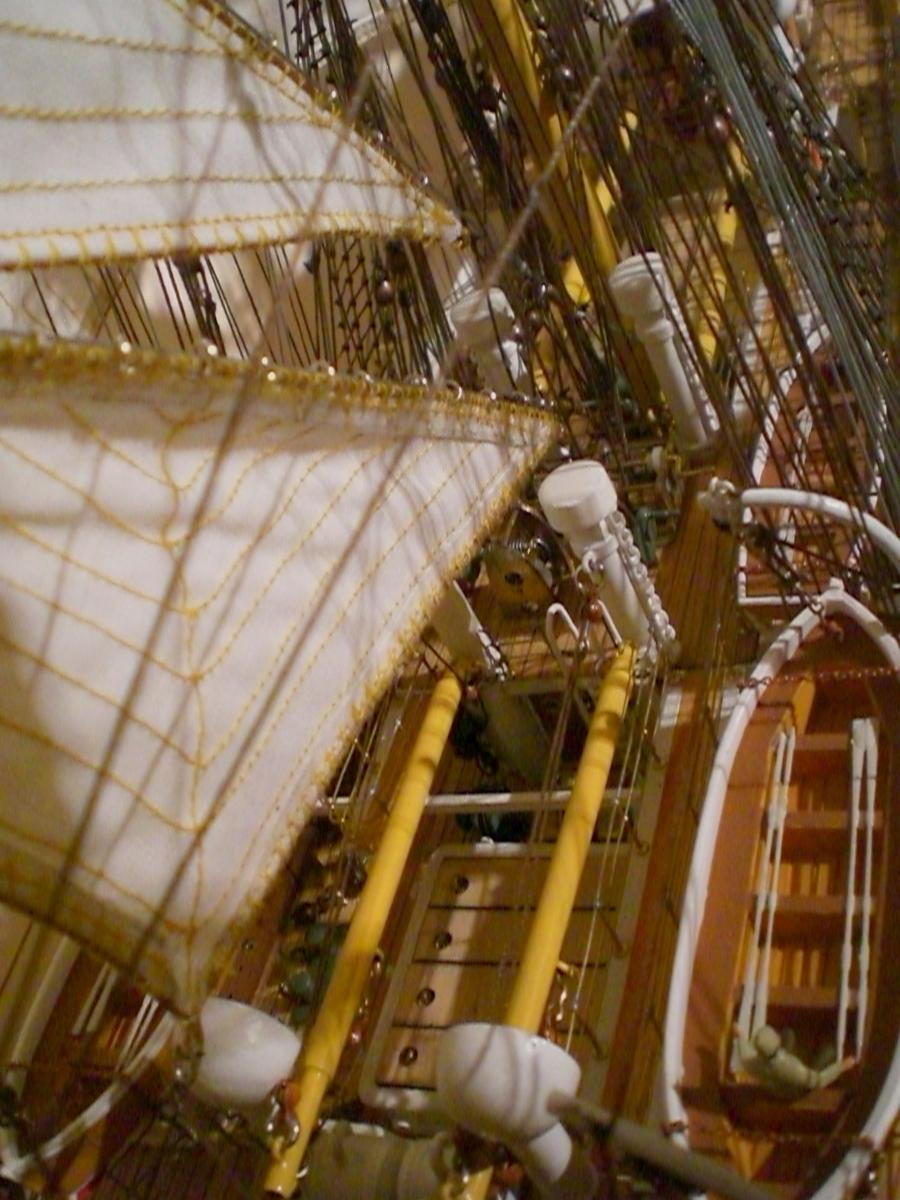
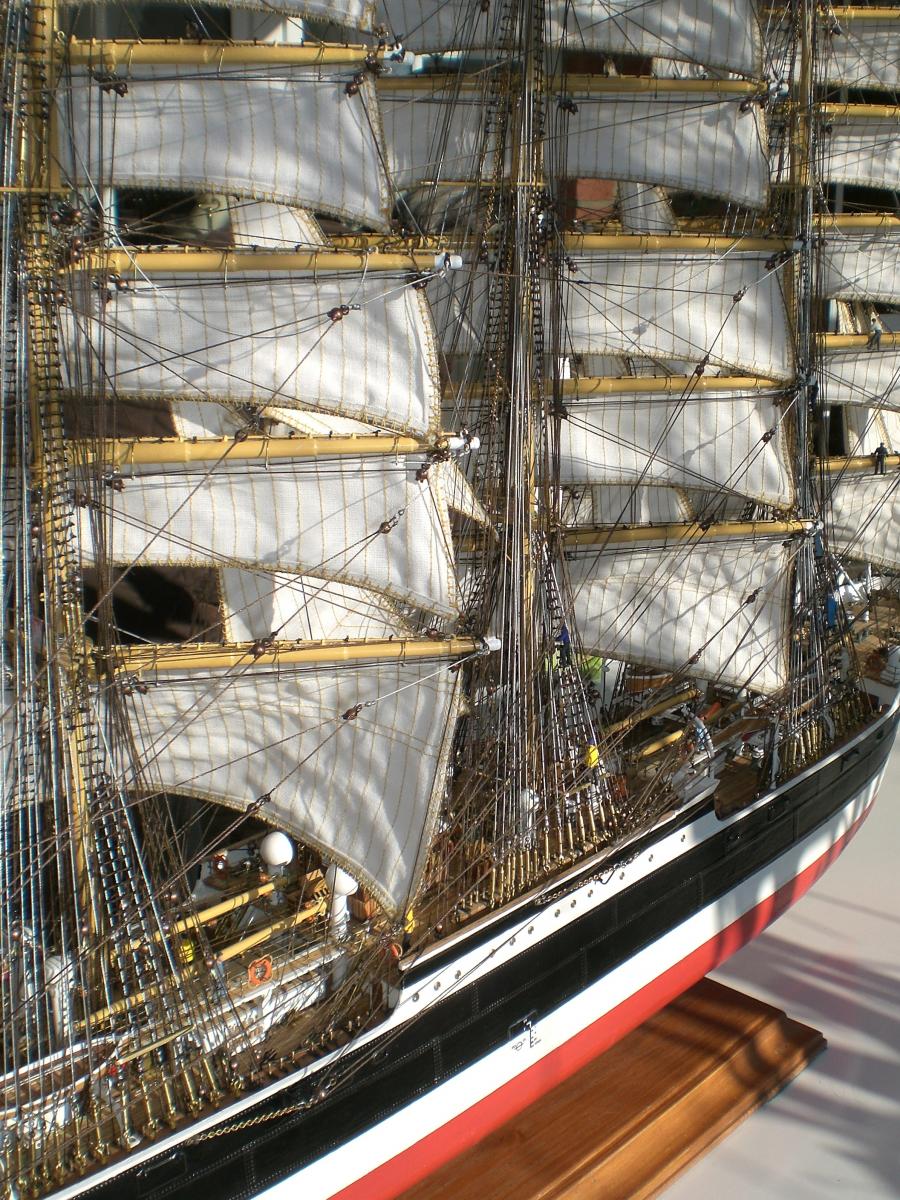
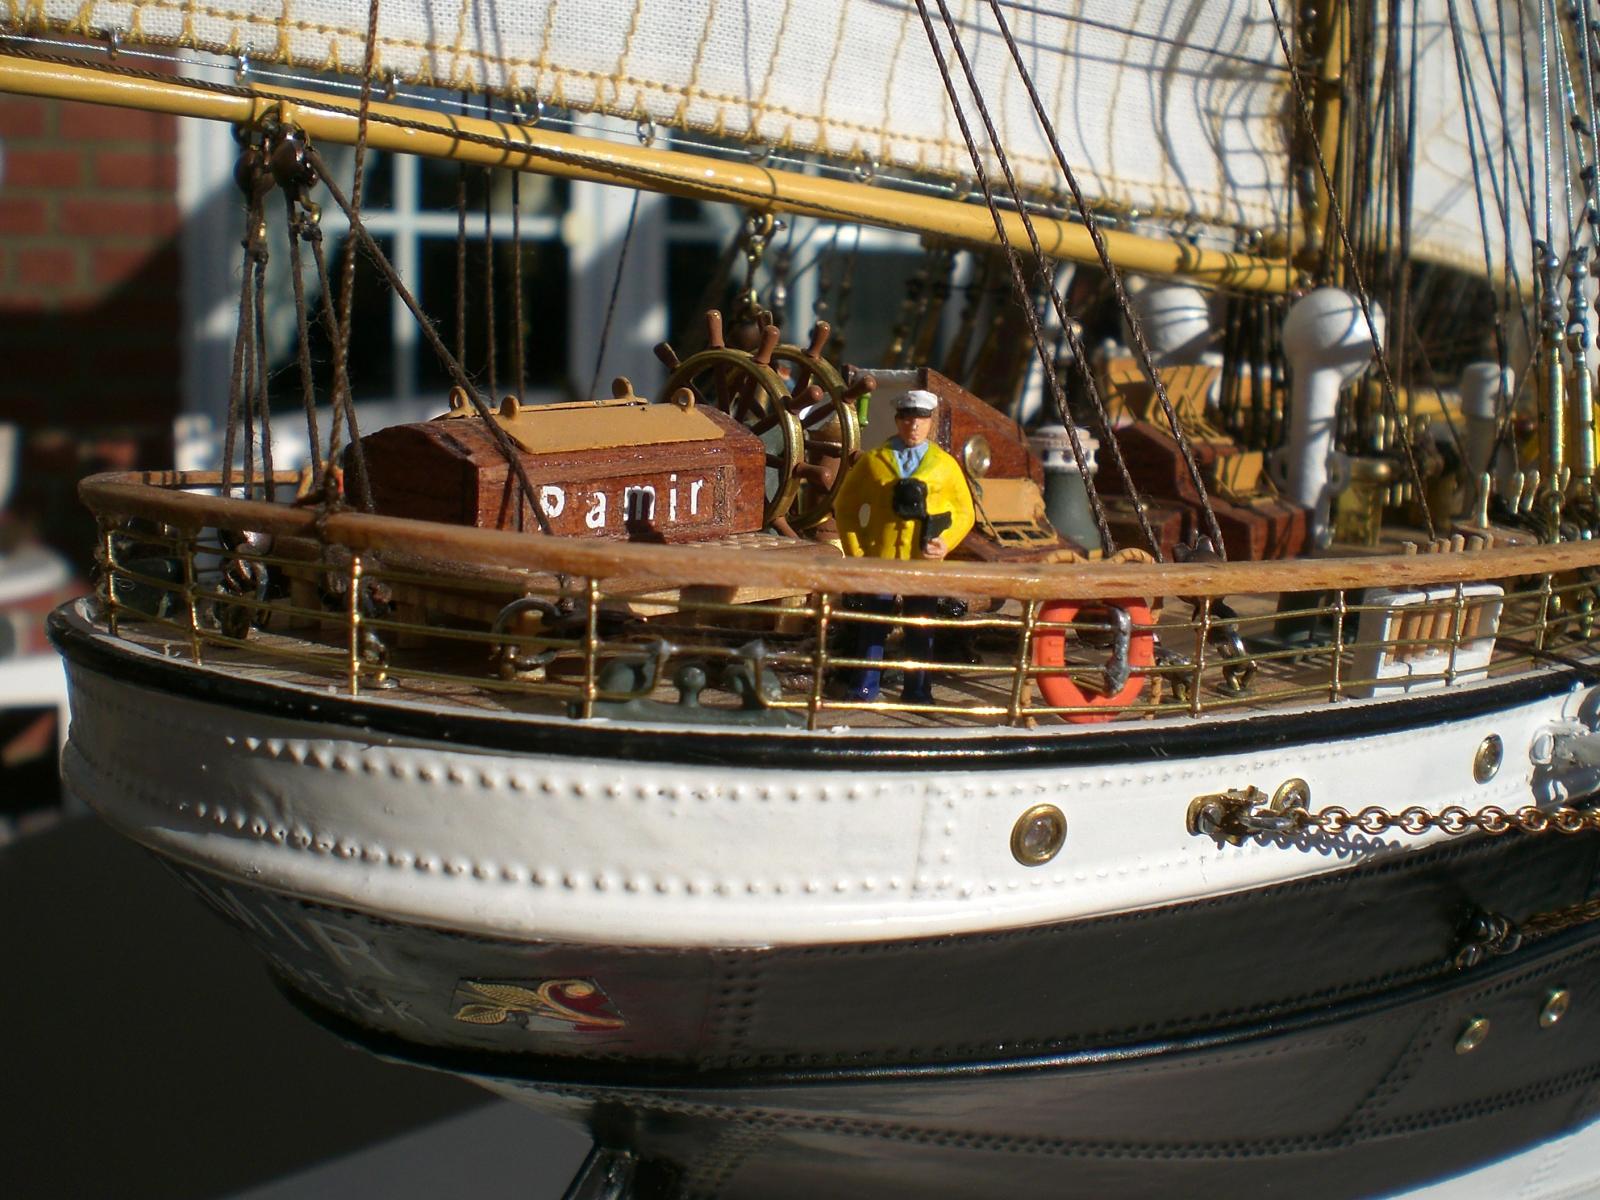
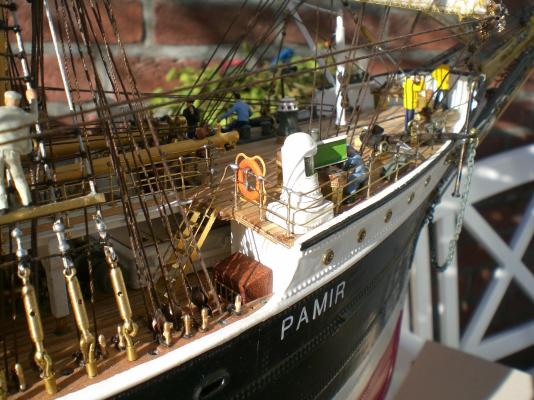
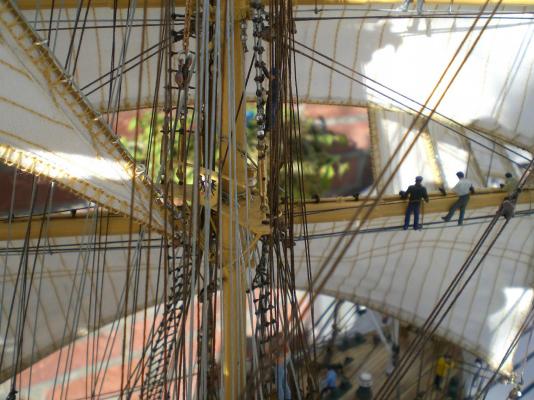
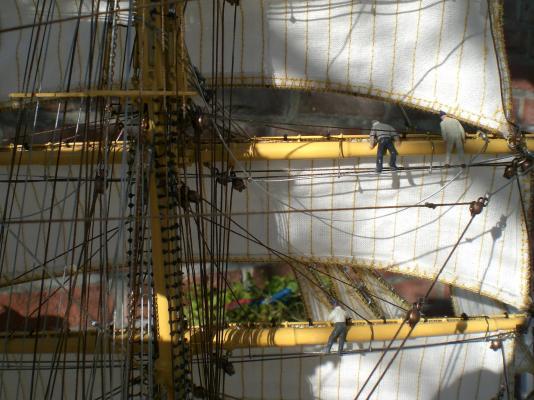
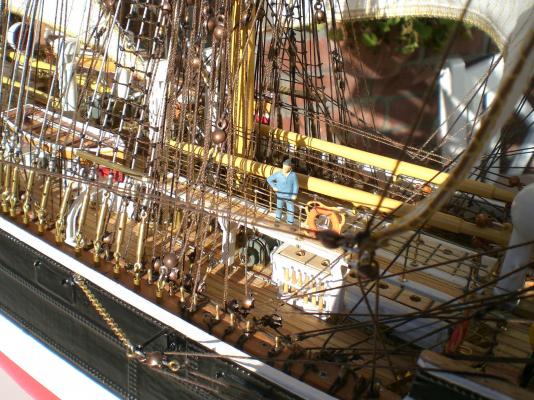
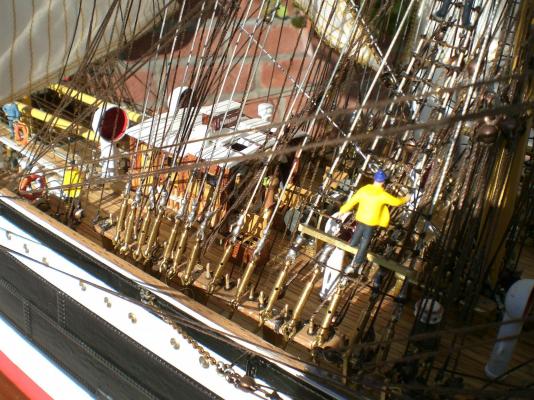
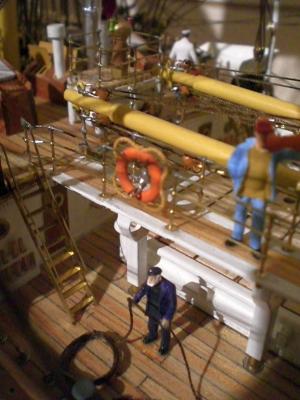
Build log part 48 starboard foreward boatstation, the boat to be pushed backwards under the Davits when required flying the flag ( owner Administrator then 1957) of Zerssen & Co view on third mast shrouds, backstays, Yard operating tackles, and sail ropes view through the bracing ropework from starboard outside foreward section aft highdeck section spanners, shrouds, ratlines busy Crew on the lowest yard some stories higher as well Build log part 49 to follow.... Nils


- 269 replies
-
- 12
-
-
Micheal, I love the lines of your cutter, it has a Little bit of the classic famous "gothic" style, narrow and deep what they called "plank on edge" and one of my favourites would be the "Genesta". here a pic from the web. Like B.E. I also am very fond of your lovely Workshop... Nils
-
David, you must tell me what you shall be seeing clearly in about a week (mmmmh.. I probably got it wrong or... ?) Nils
-
Marc, Thank you, those were very nice words, and it encourages and honours me very much. Let me answer your questions as follows.... All metal work (winches etc.), is from scratch, except for the wire spanners, and the smallest portholes. I also liked the appeal of the Pitchpine deck Woods, it Looks realistic and gives such a lovely warm tone. In my career it was common to use handscetches for quick explainations within Meetings etc.. My Background is Maschinenbau-Ingenieur and Schweissfachingenieur. (mechanical Engineering) Some do`nt like figures on models, but I feel they can bring some life to the model. The fabric is thin fine cottoncloth "Nesselstoff" I found at IKEA. No Problem with sewing at all. As Long as the space Problem in my home does not get worse, The Pamir shall decorate my Hobby Office, for the time after that I have`nt made up my mind yet. Marc, enjoy the coming two last parts, to be issued probably for tomorrow Nils
-
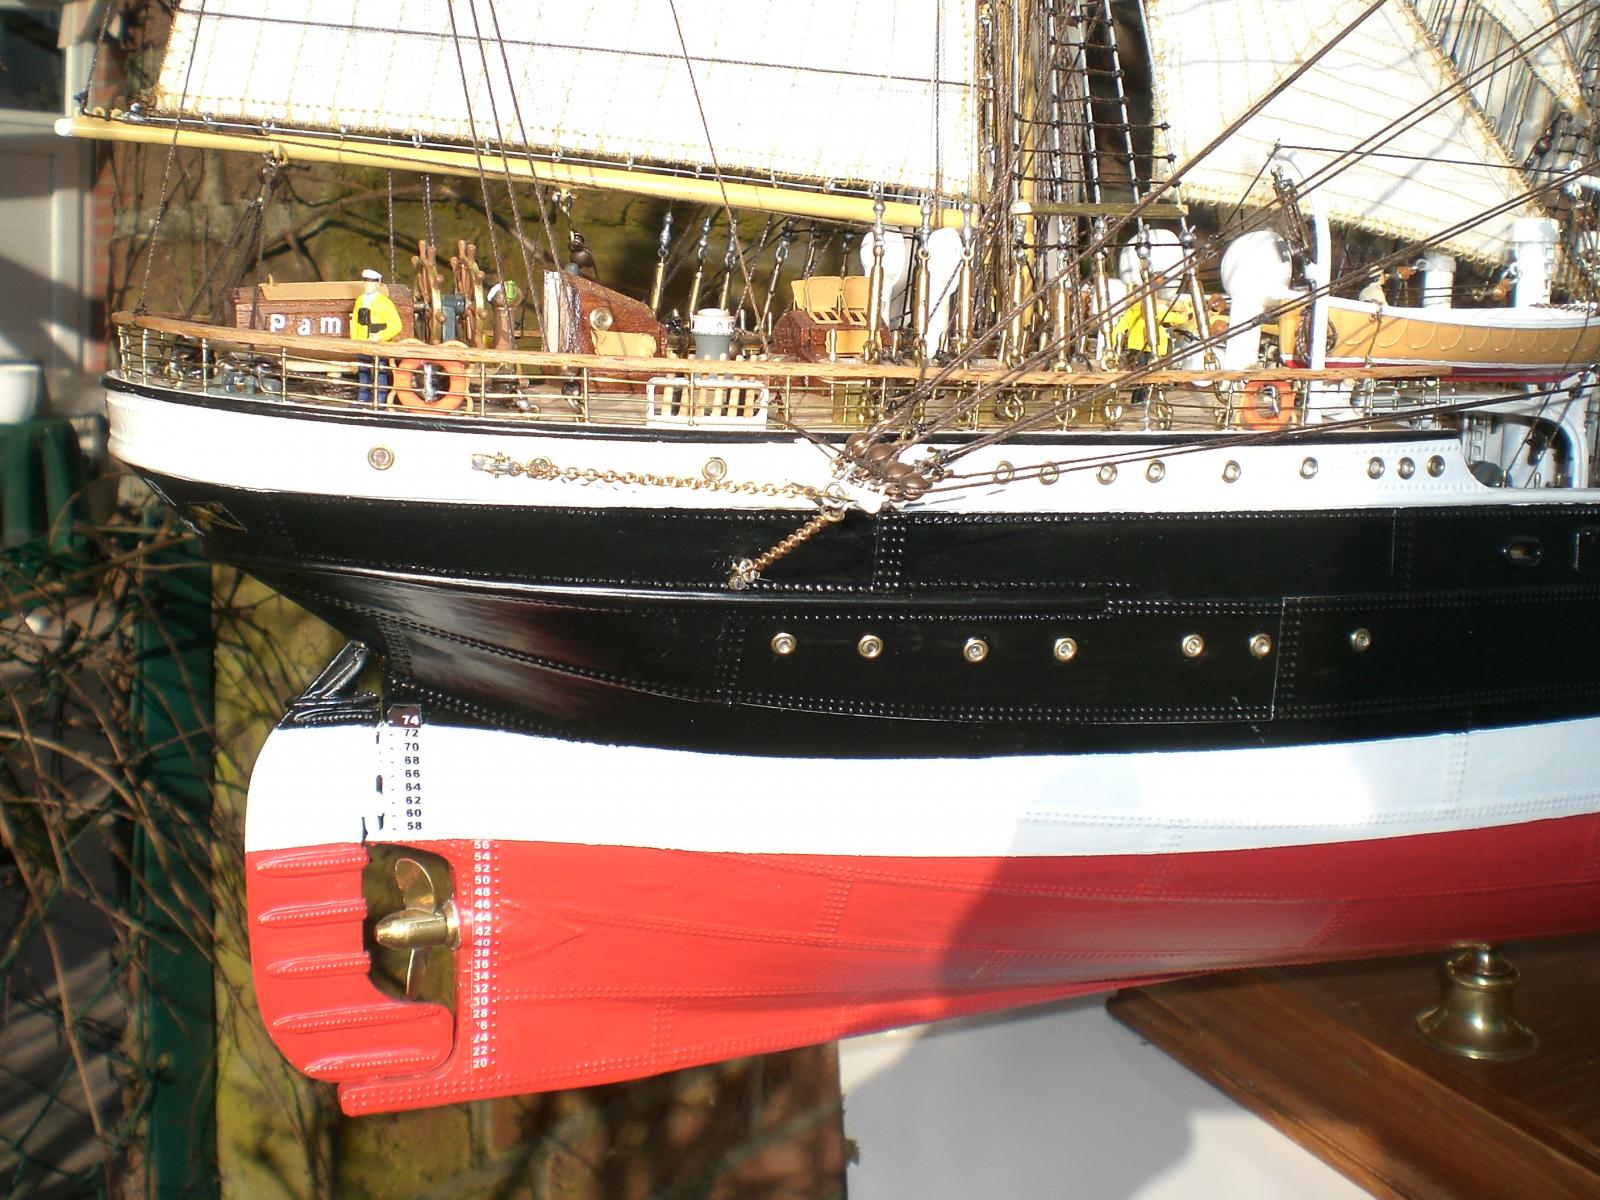
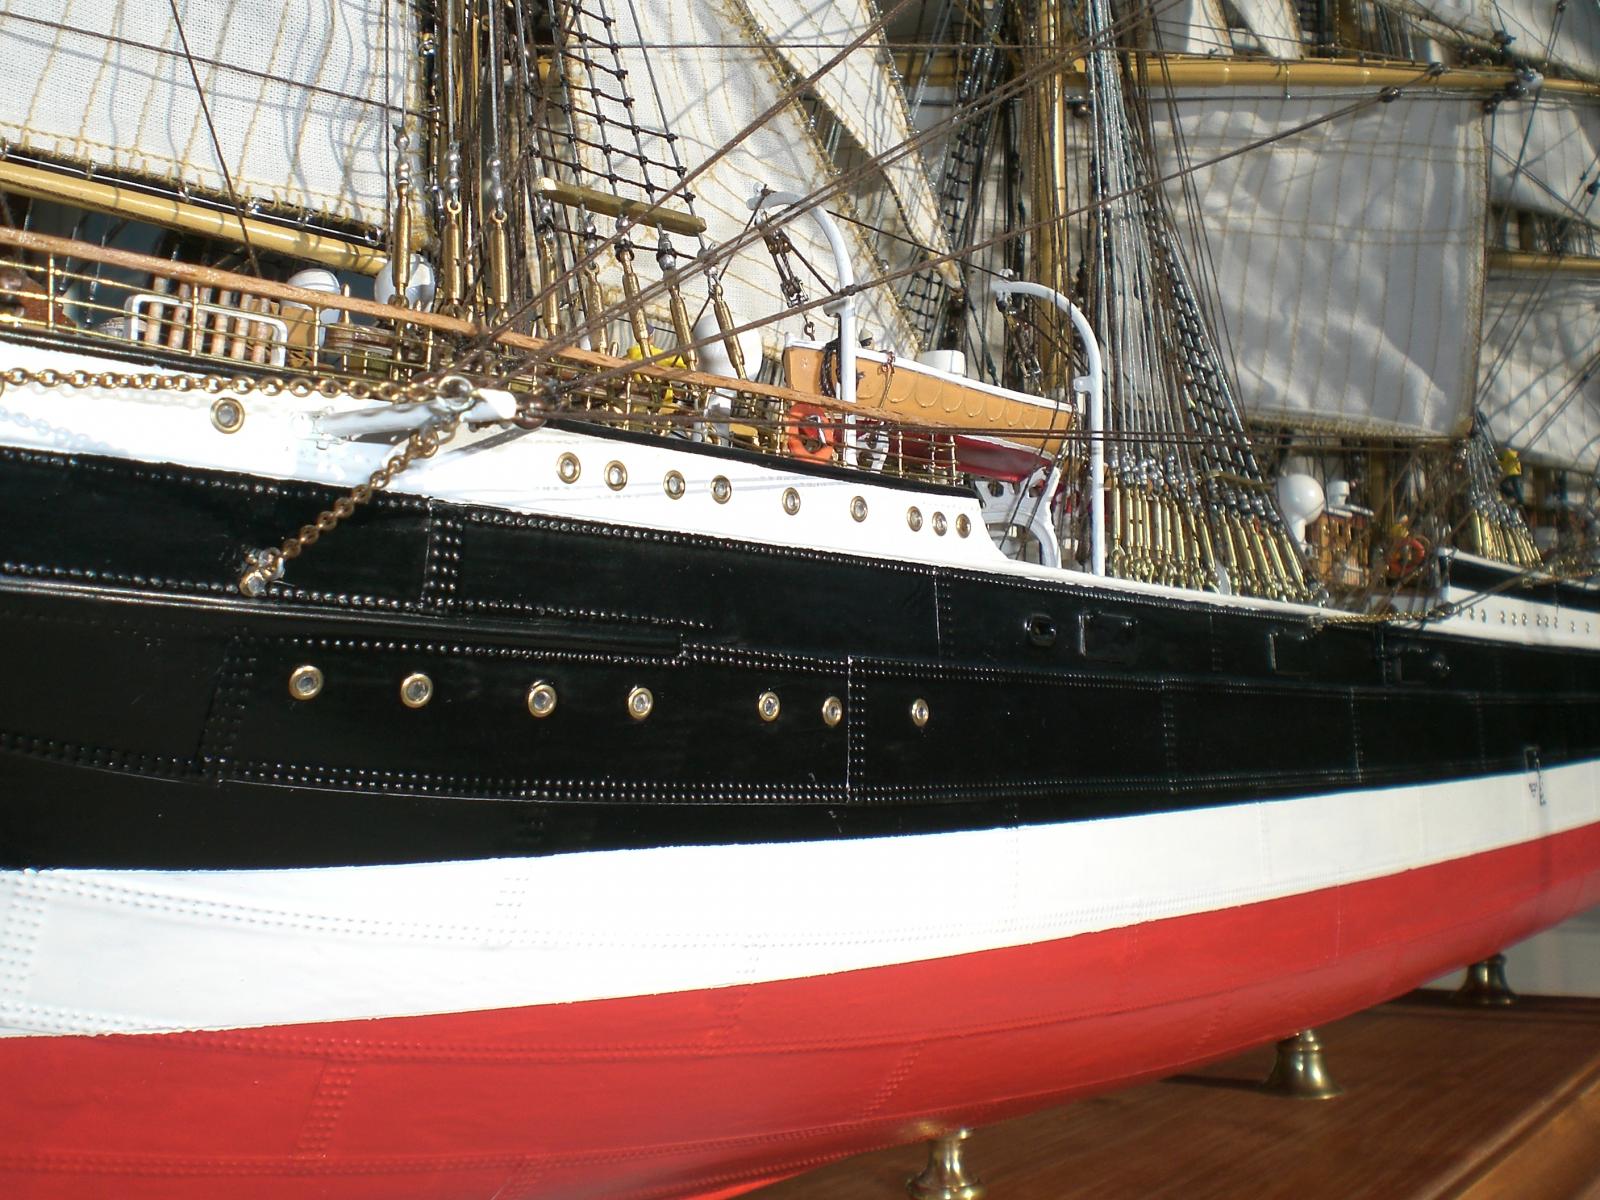
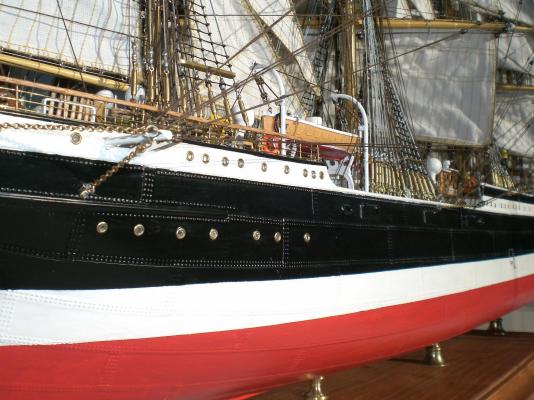
Bob, Thank you for your appreciative words, it took me about 1950 manhours spread over 2 years, many of the Trials done to get certain techniques pushed on I could share with my tallship model of the "Gorch Fock 2", the riveted plating was already experianced on The "Heinrich Kayser steamship" and transferred to both tallships, otherwise it would have probably taken additional 2-3 months Nils
-
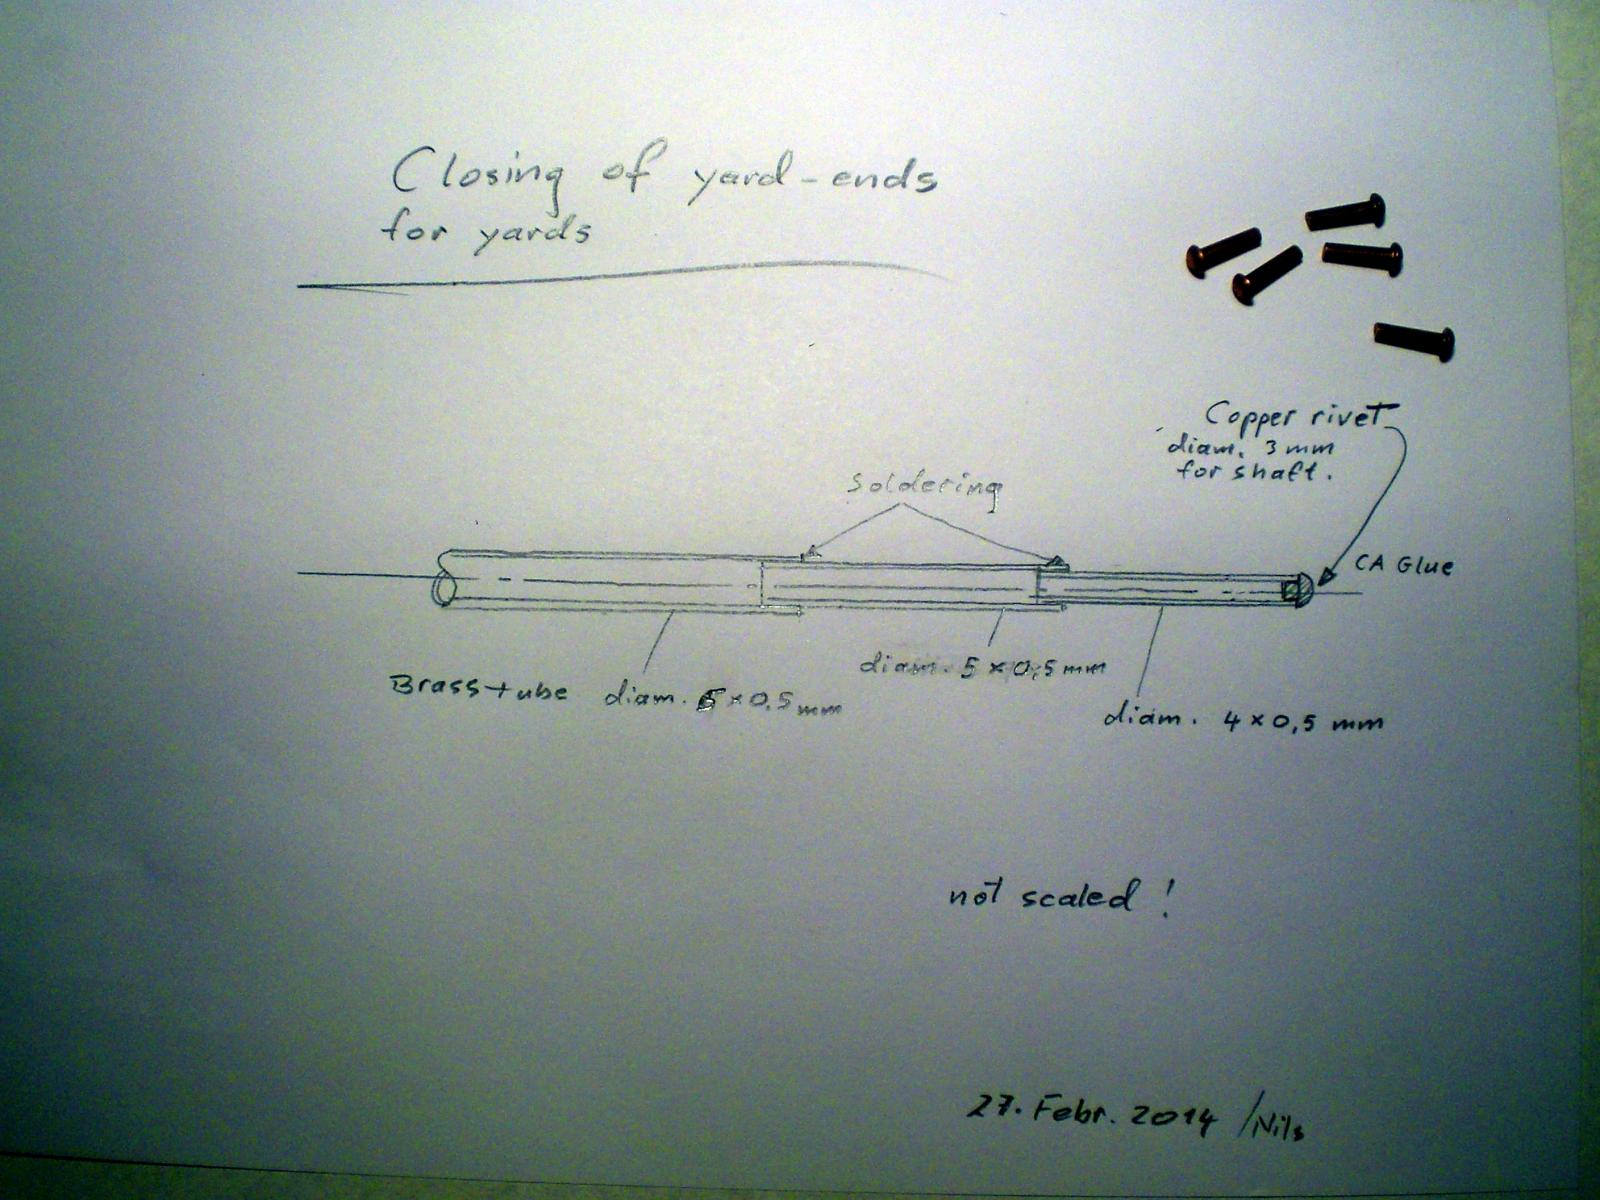
Here is a scetch I forgot to bring in before.... Closing the hollow Ends of the Yards Nils

-
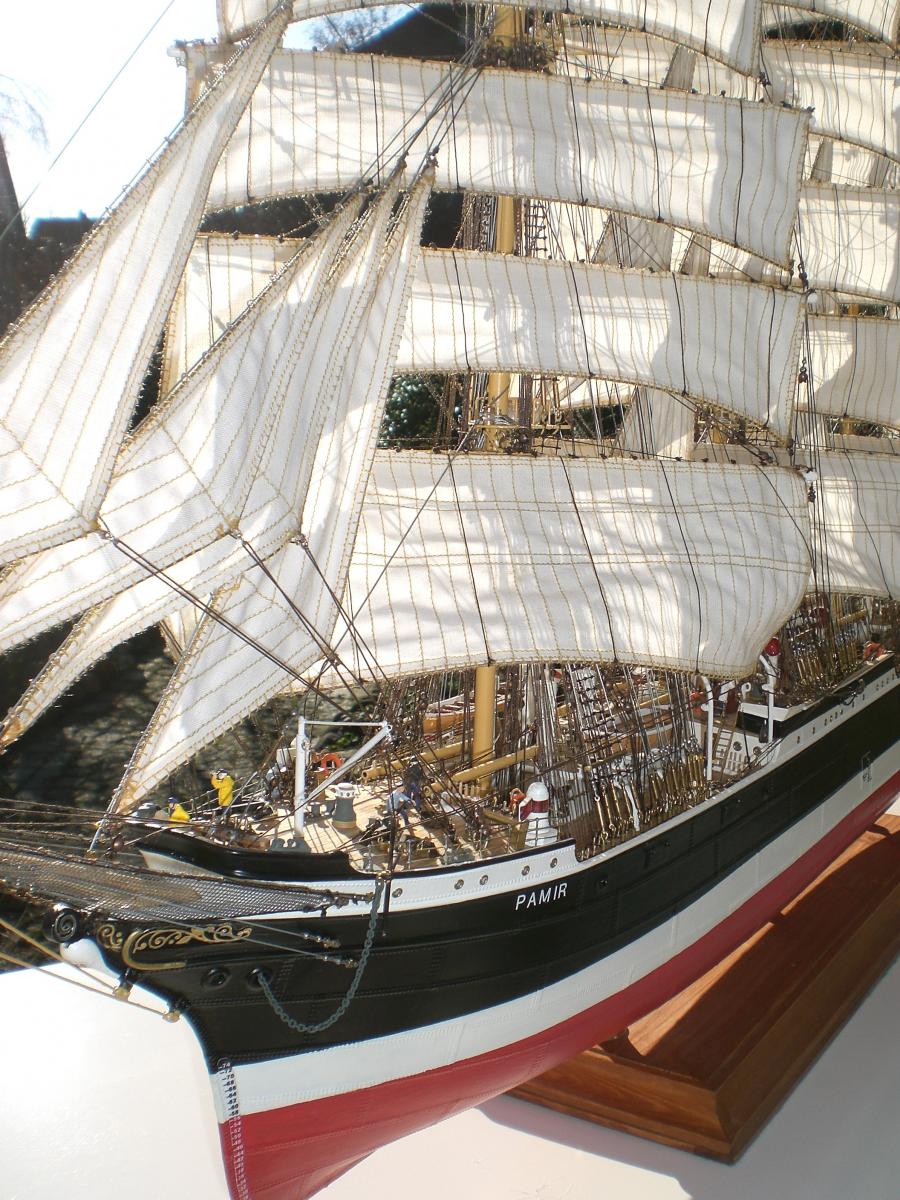
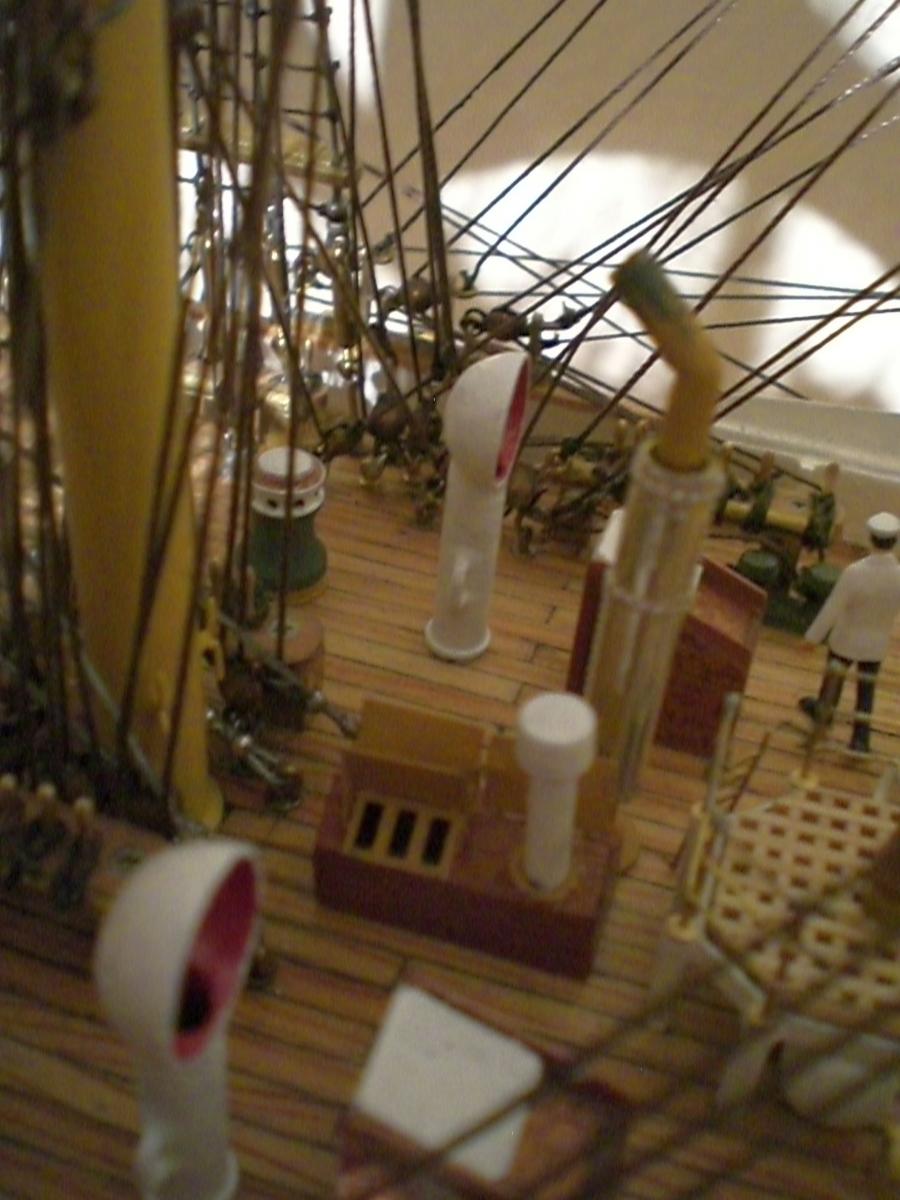
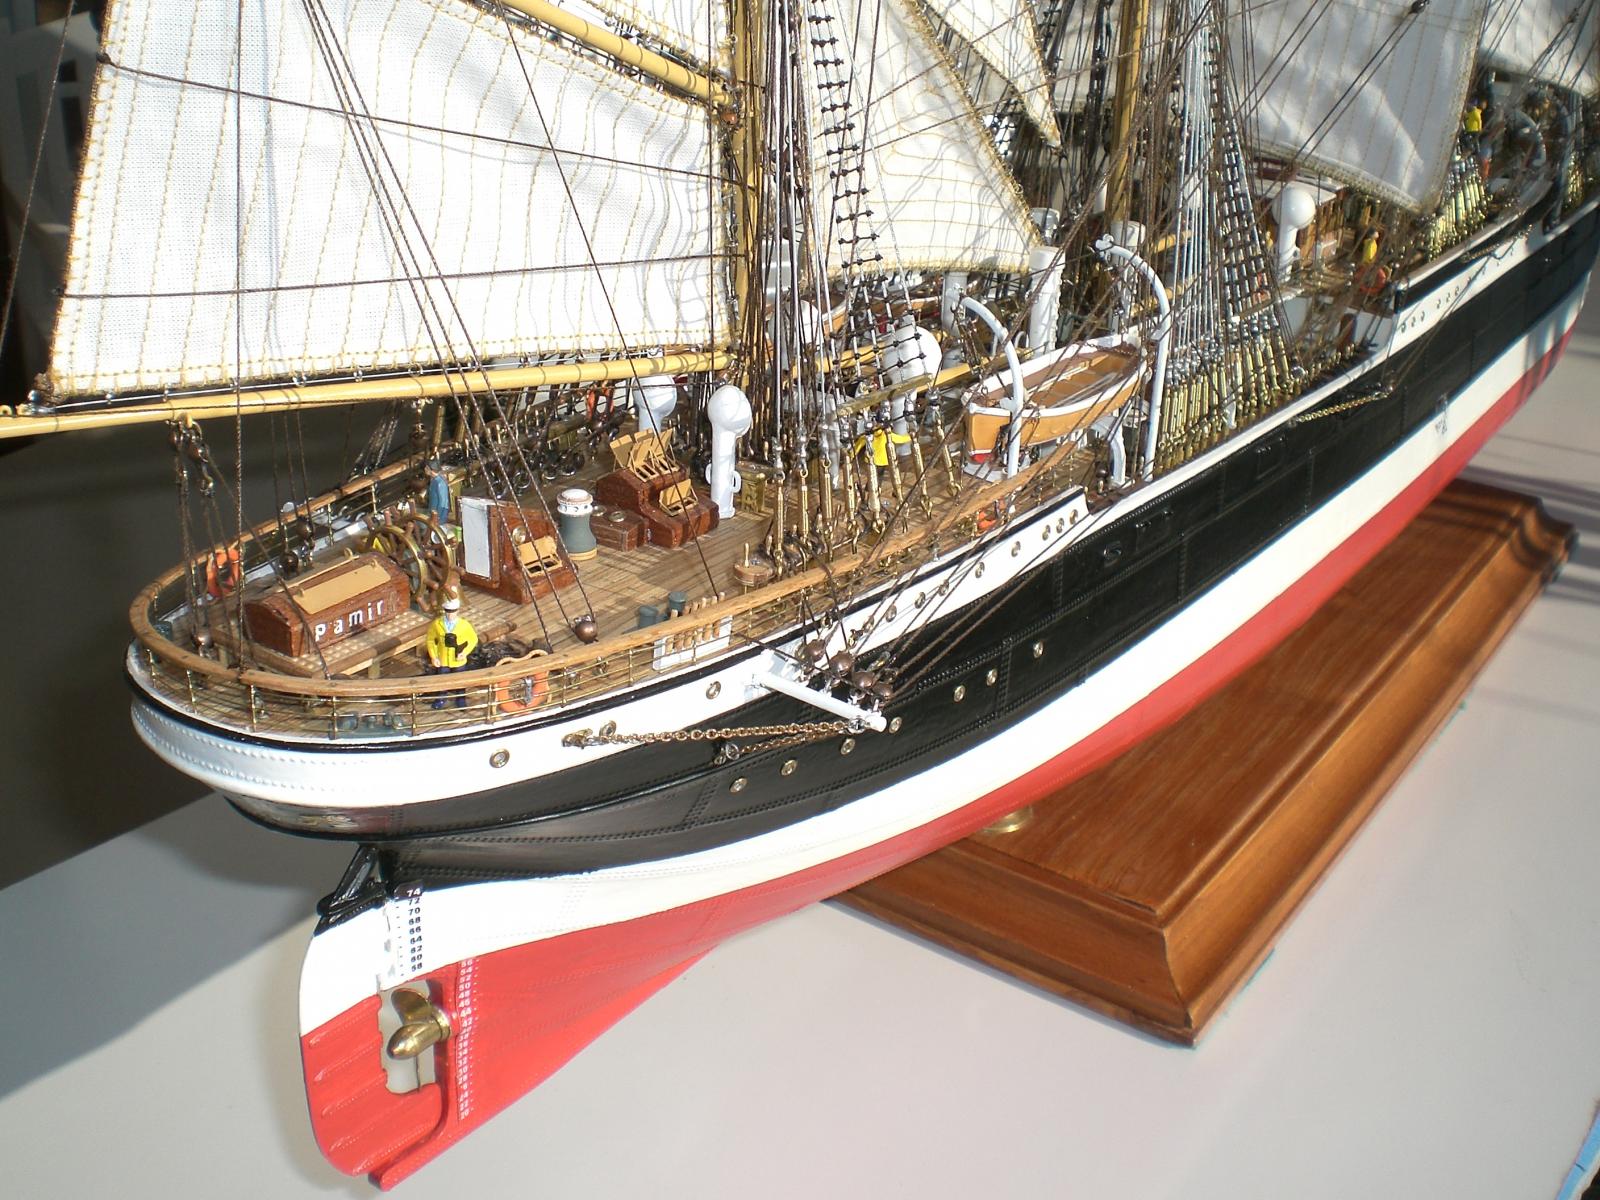
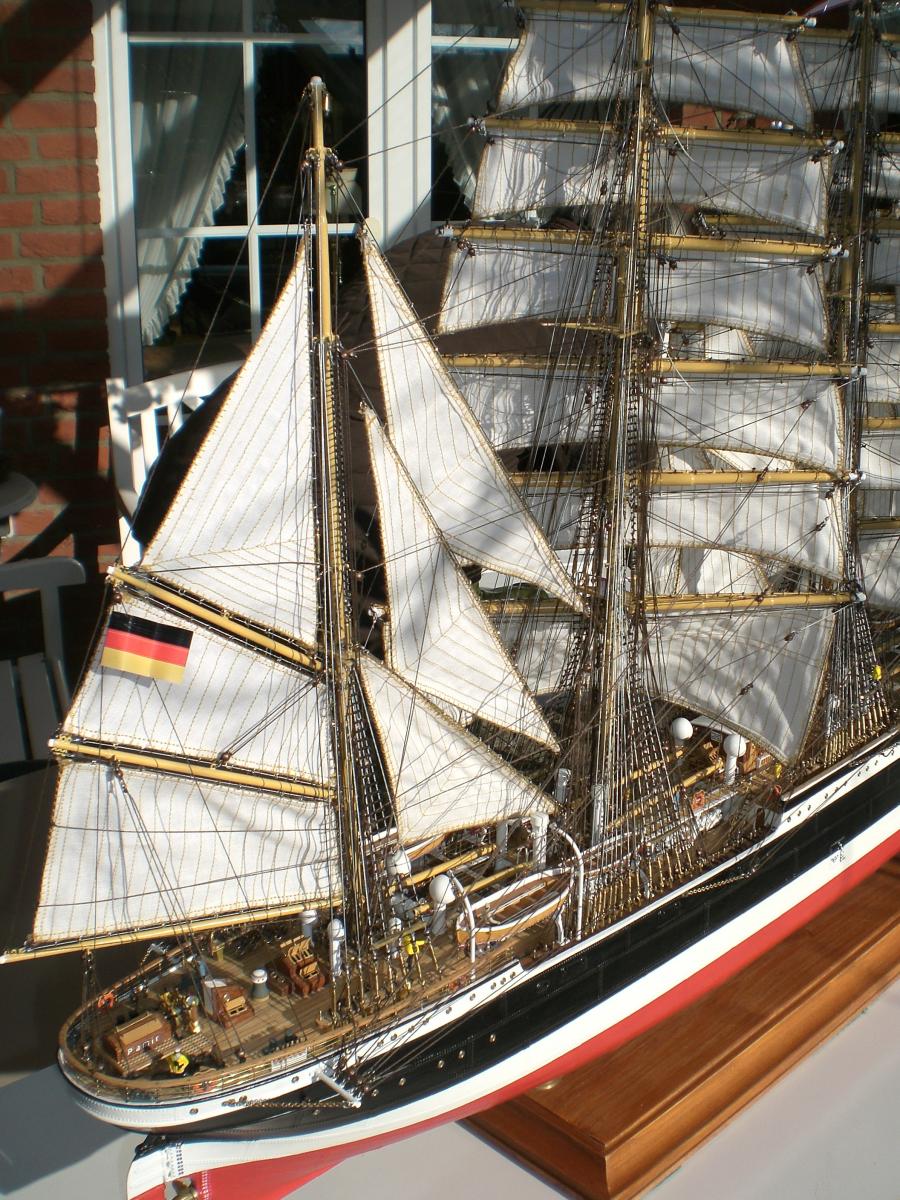
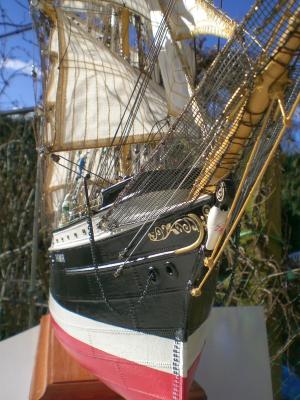
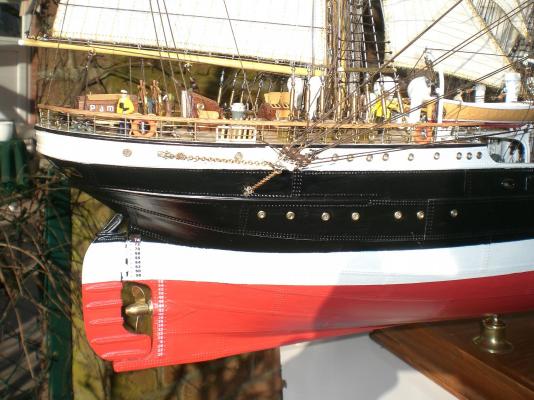
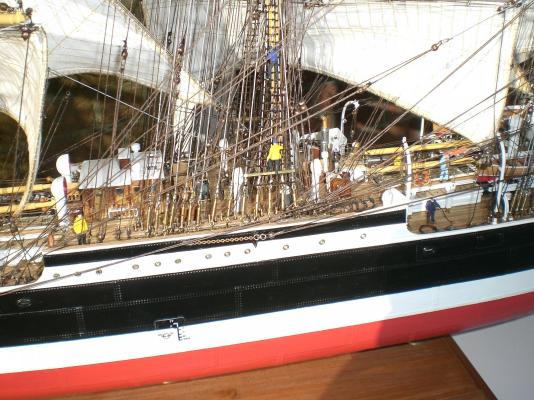
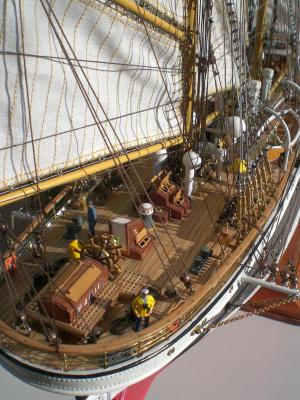
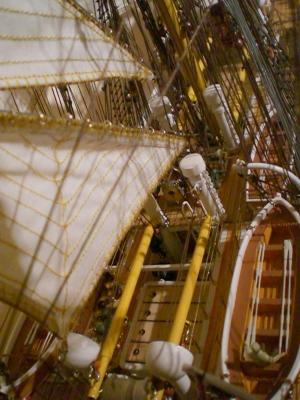
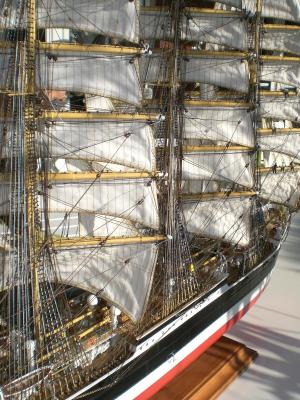
Build log part 47 Pictures of completed model, part 2 of 4 Clearing the ropework on Forward welldeck view from the lower yard aft boatstation Outlook watching traffic in the english channel Build log part 48 to follow..... Nils


- 269 replies
-
- 13
-
-
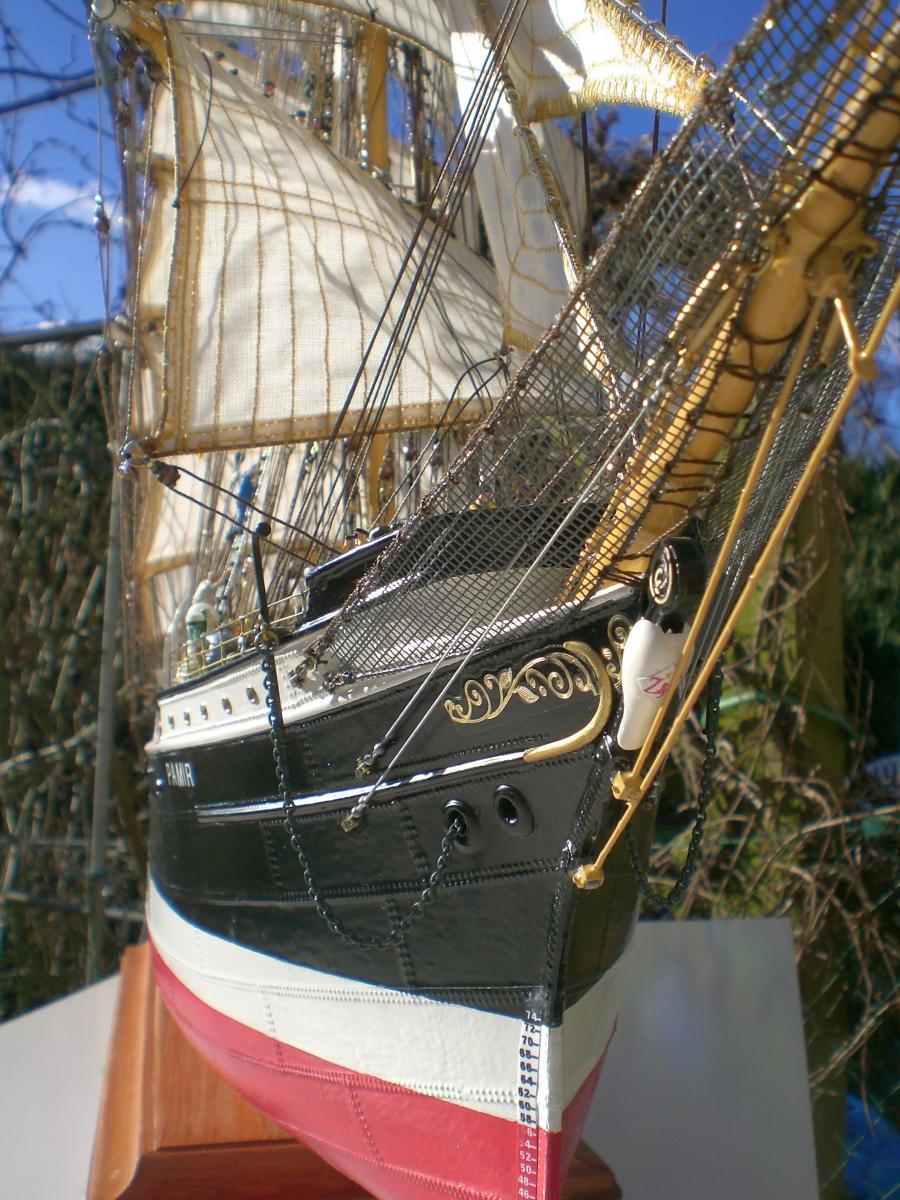
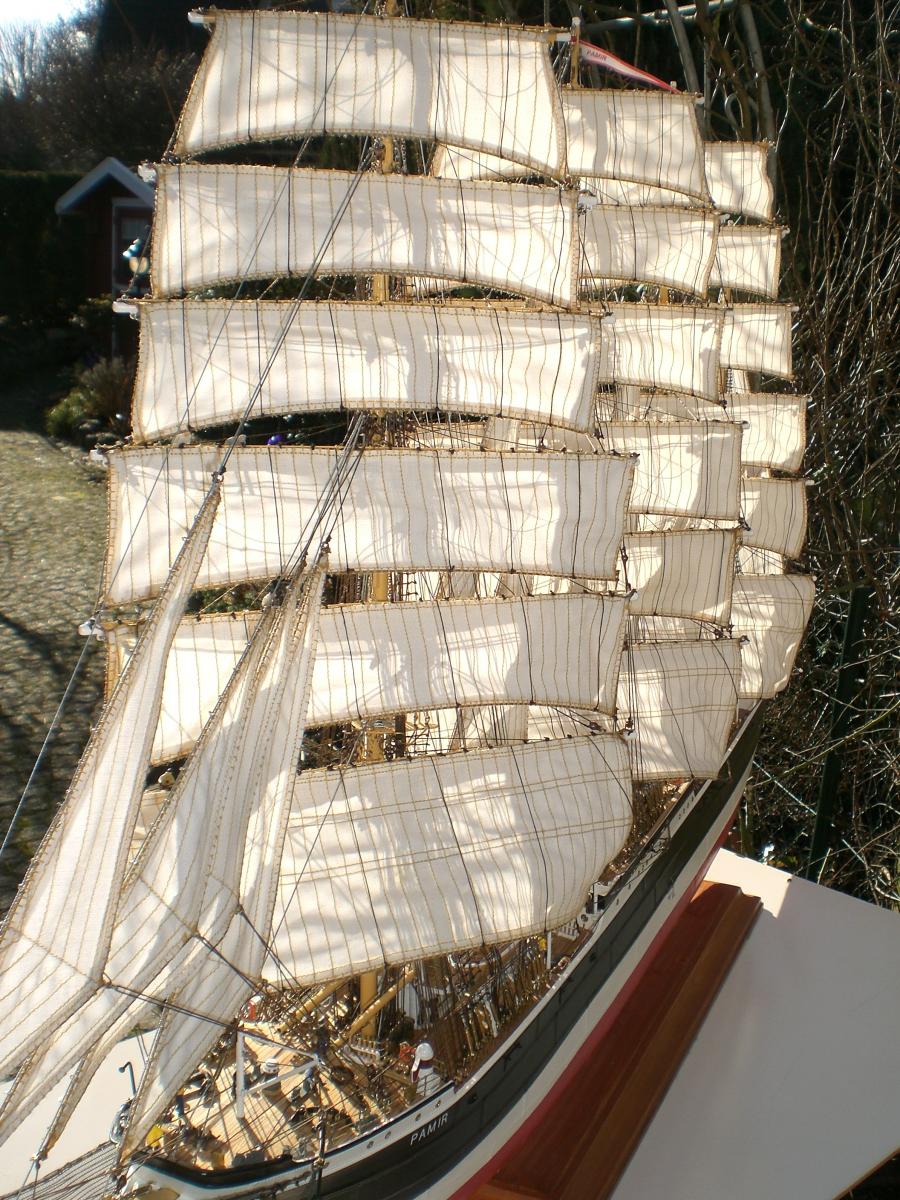
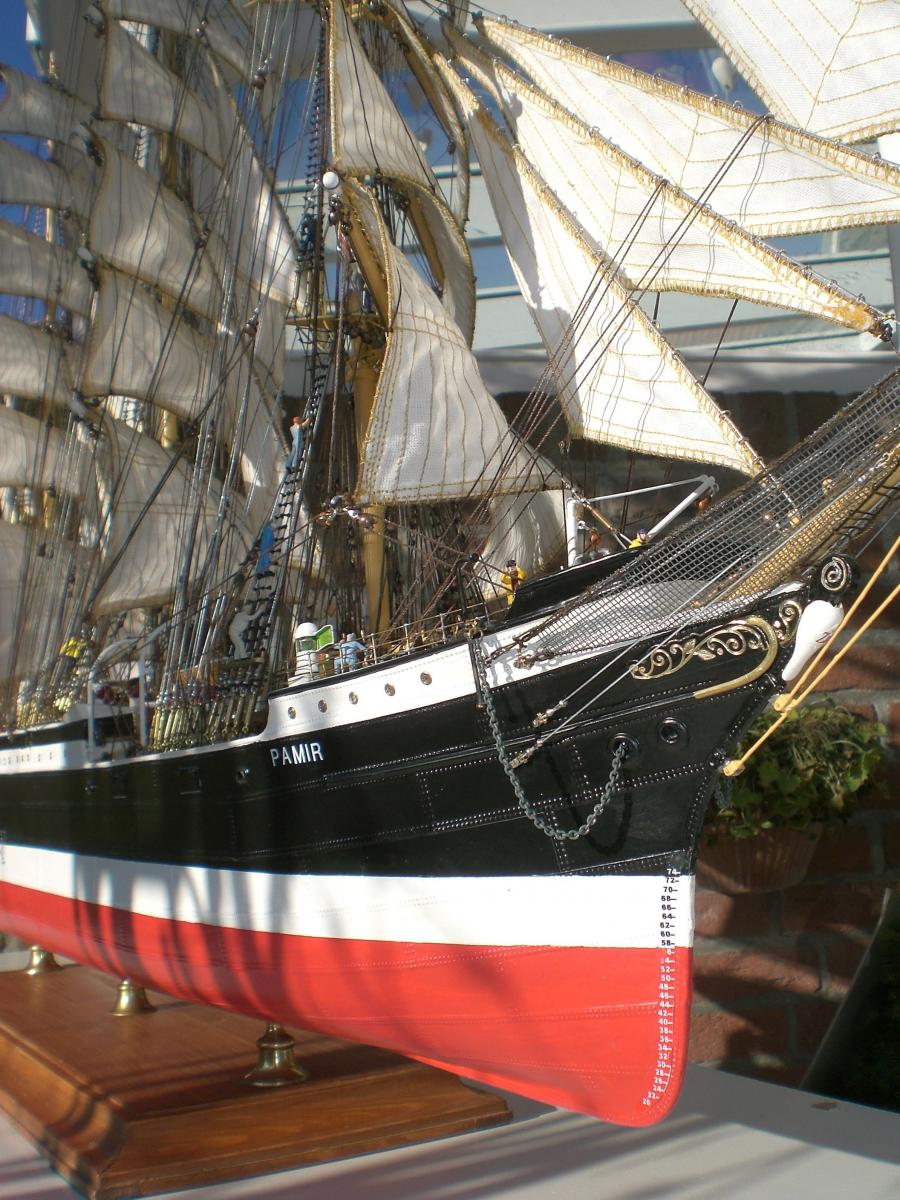
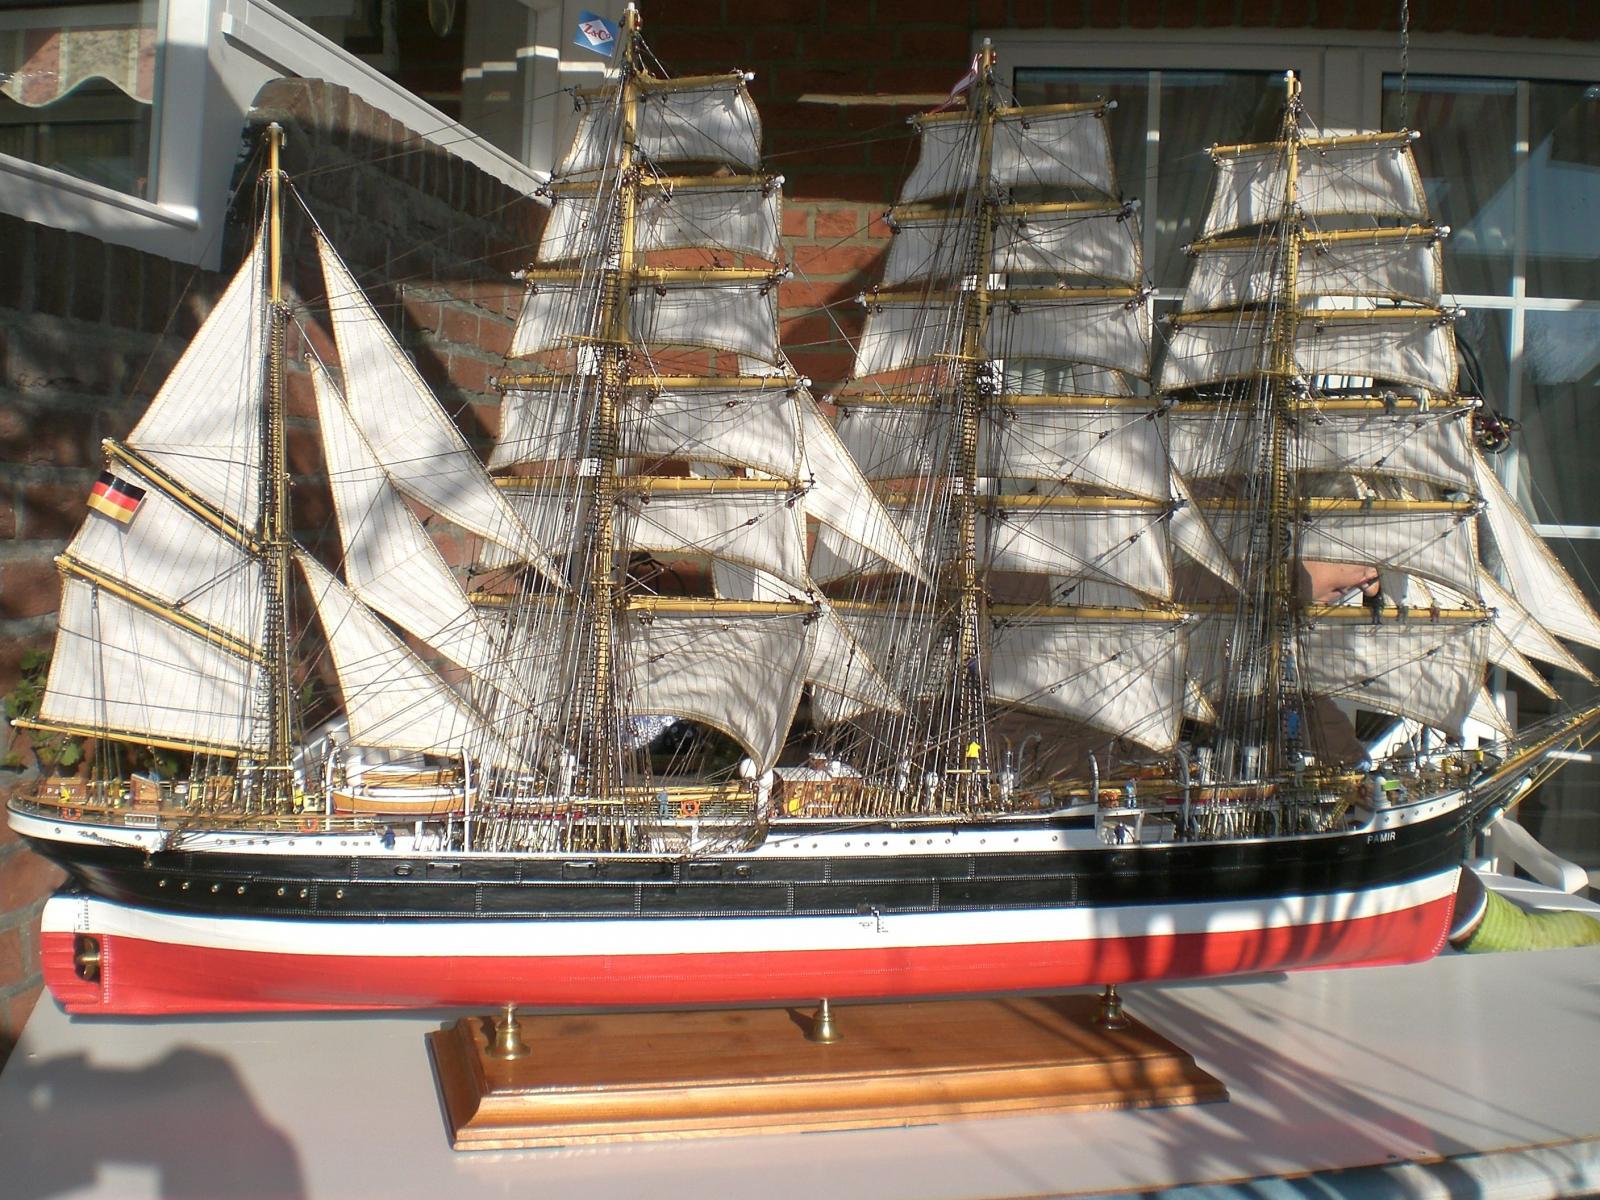
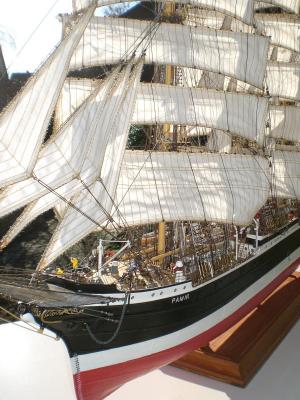
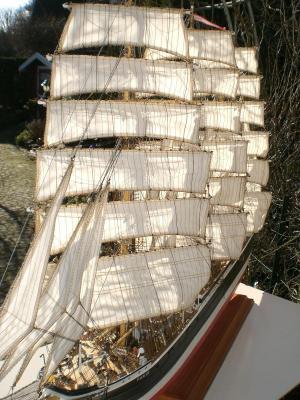
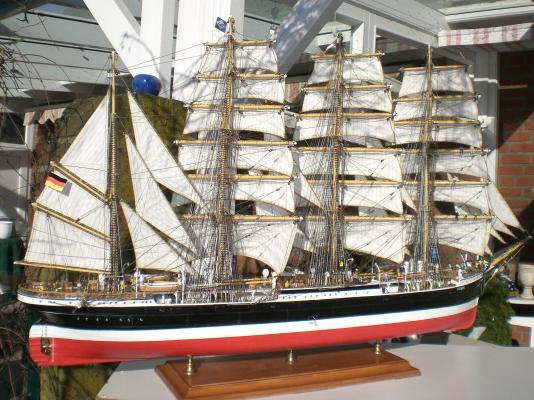
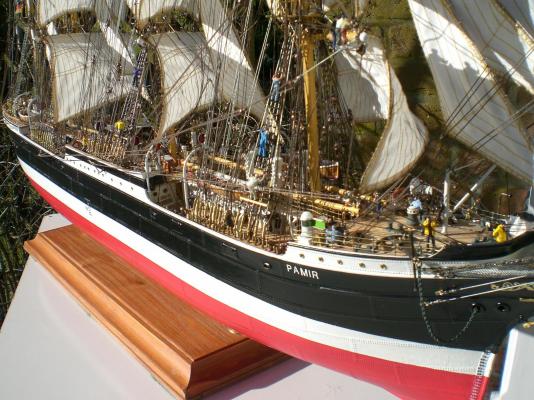
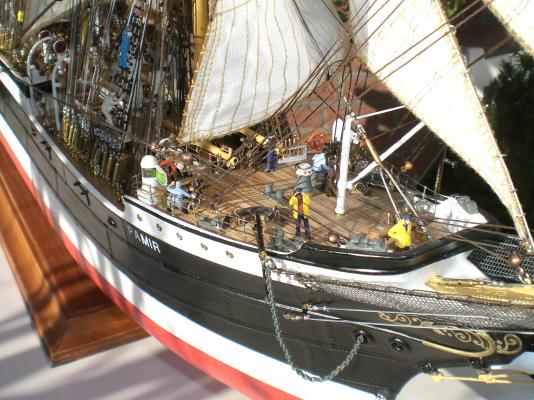
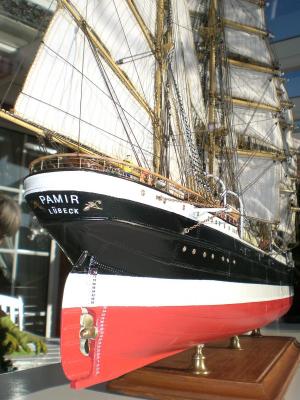
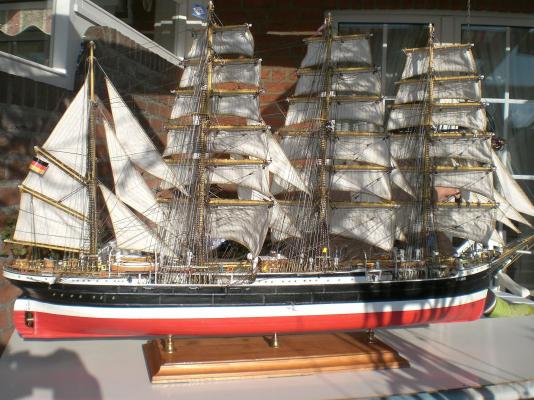
Build log part 46 Pictures of completed model (after two years of work ), part 1 of 4 ship in the Version of 1957 (the year of the actual ships loss) busy on forecastle deck nice steady tradewind allows Setting of full suit of brand new sails Pamir has just passed by in Close-up distance look-out mate watching the ships after wake Build log part 47 to follow.... Nils


- 269 replies
-
- 11
-
-
John, thank you very much for your nice comment Nils
-
Dankeschön Crackers, "that goes down like oil", as we say here, your "prima" comments...., very nice words.. slowly now the build is coming to its end, and I shall be presenting some pics of the final model in the last 4 Build log parts starting tomorrow Nils
-
Thank you Bob, I was a bit unsure in the beginning if I can do these sails,(as a first time sail-project) because I neighther operated a sewing machine before, nor did I realize what a lot of extra rigging would be involved along with that. My main doubt was, if the boltropes can be sewed on per machine at all. I found no instructions for doing so, and having some idea in mind I began Trials. Many Trial results went to the bin, but then suddenly the solution was found. One could call it "learn by doing". I thought I should share this with others as well, and hope it is understandable to whom it concerns. Nils