Mirabell61
-
Posts
7,406 -
Joined
-
Last visited
Content Type
Profiles
Forums
Gallery
Events
Everything posted by Mirabell61
-
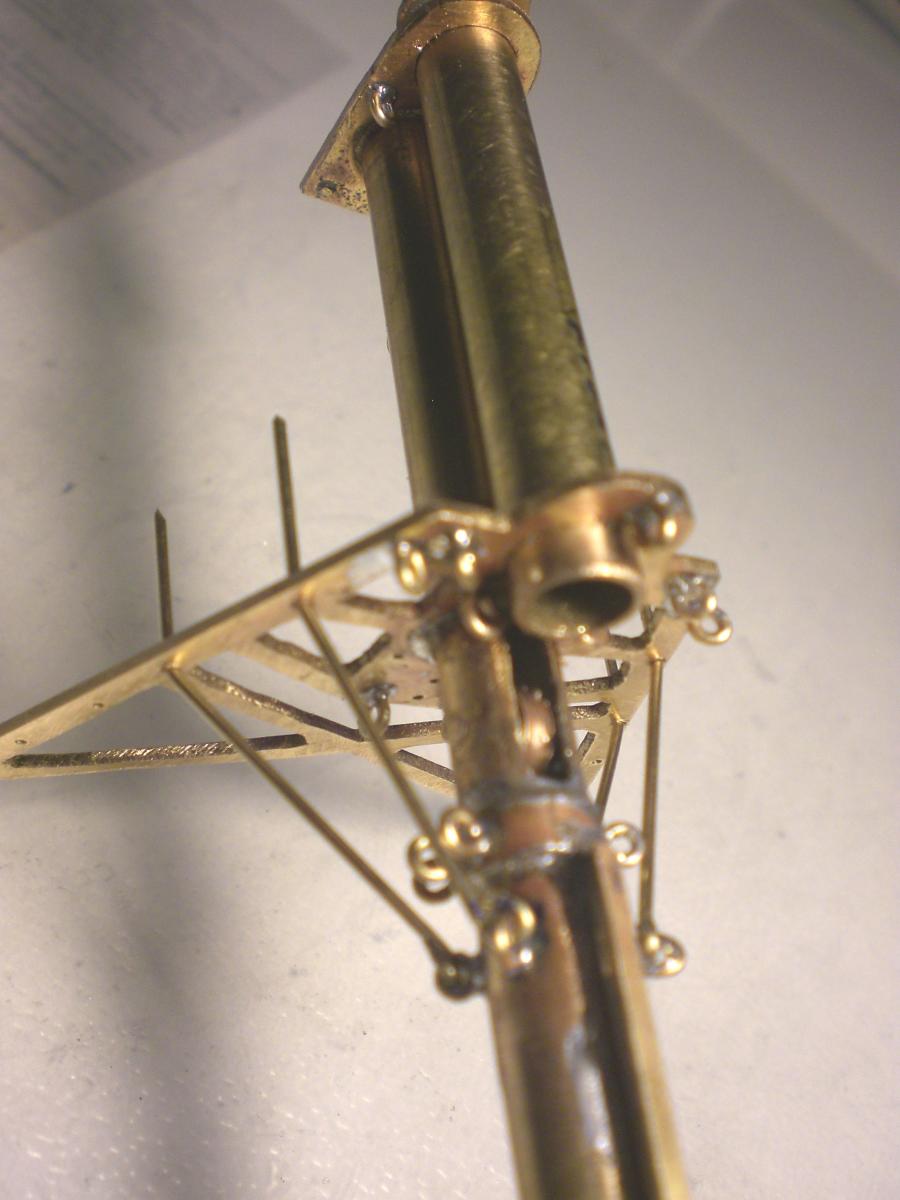
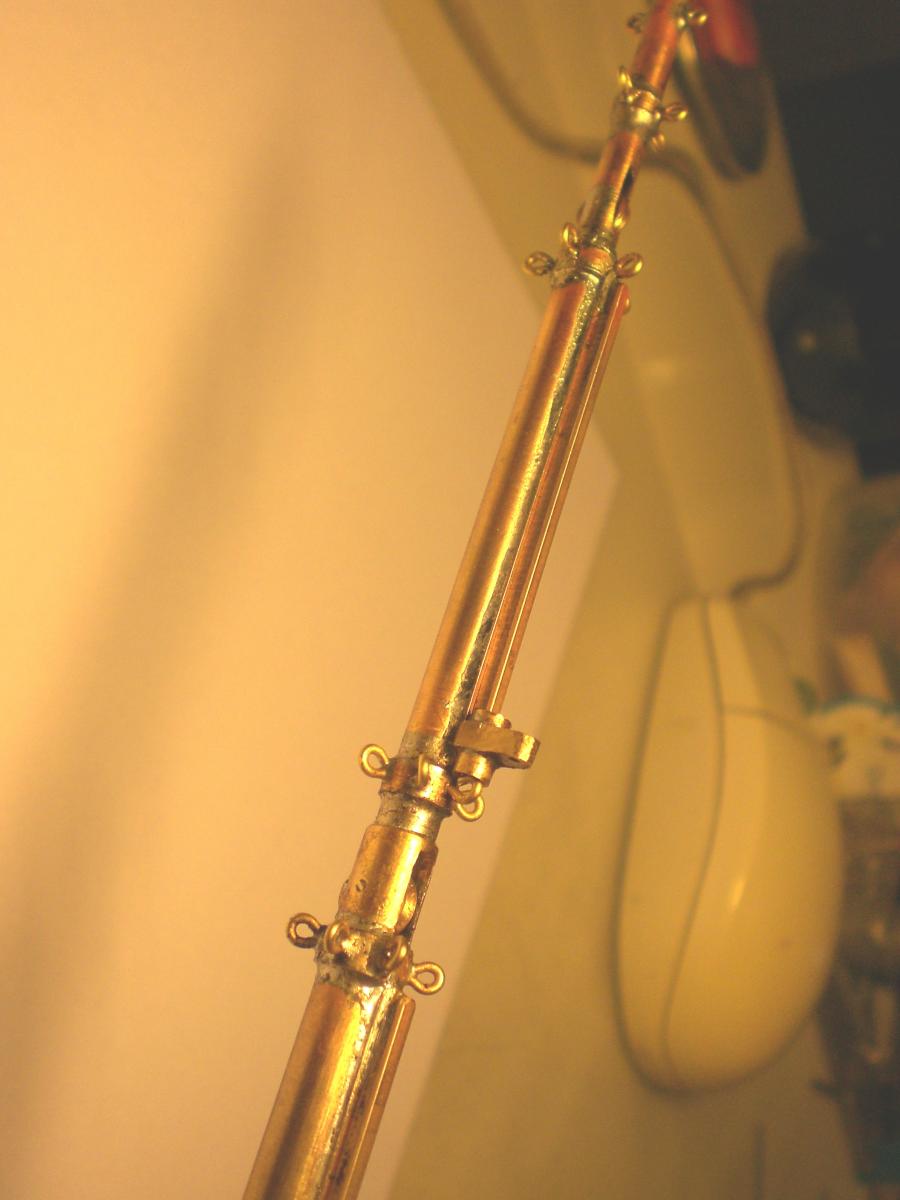
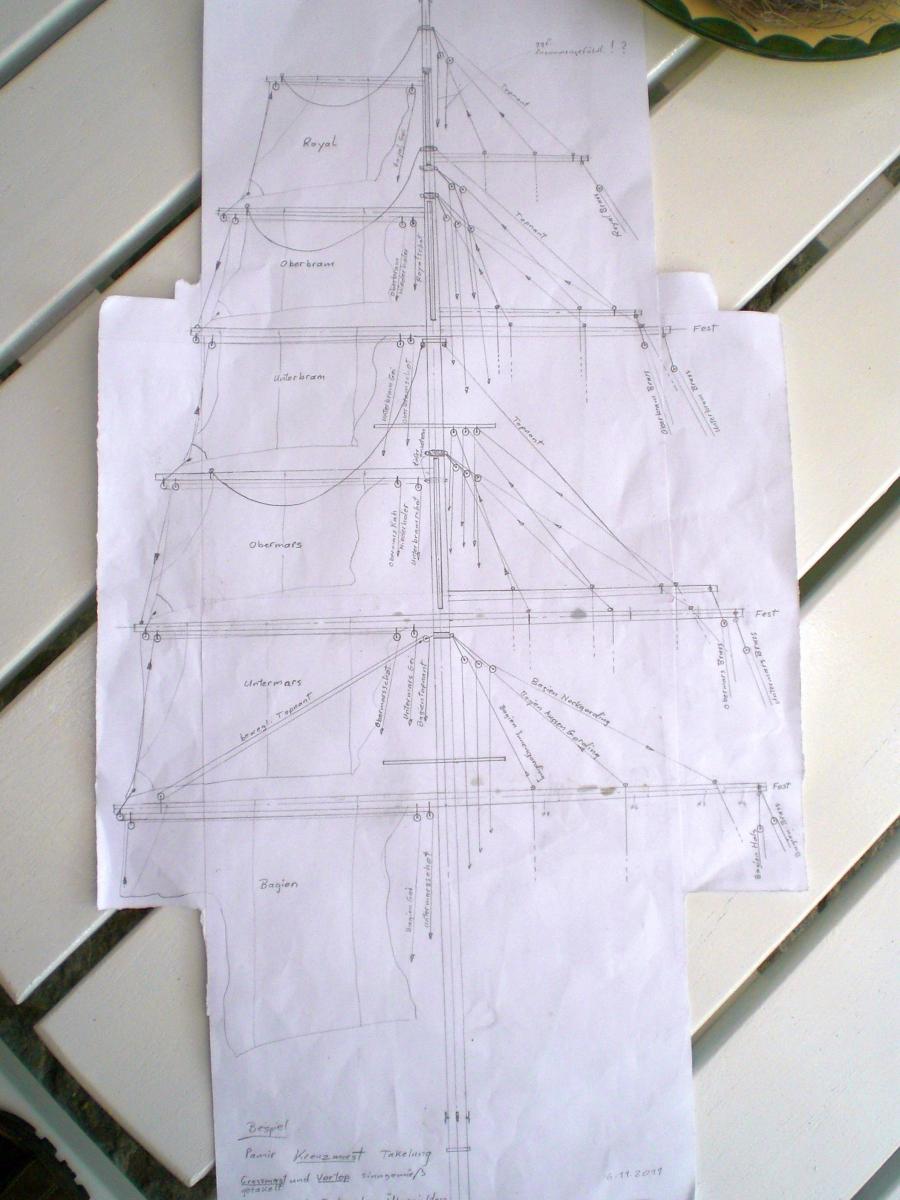
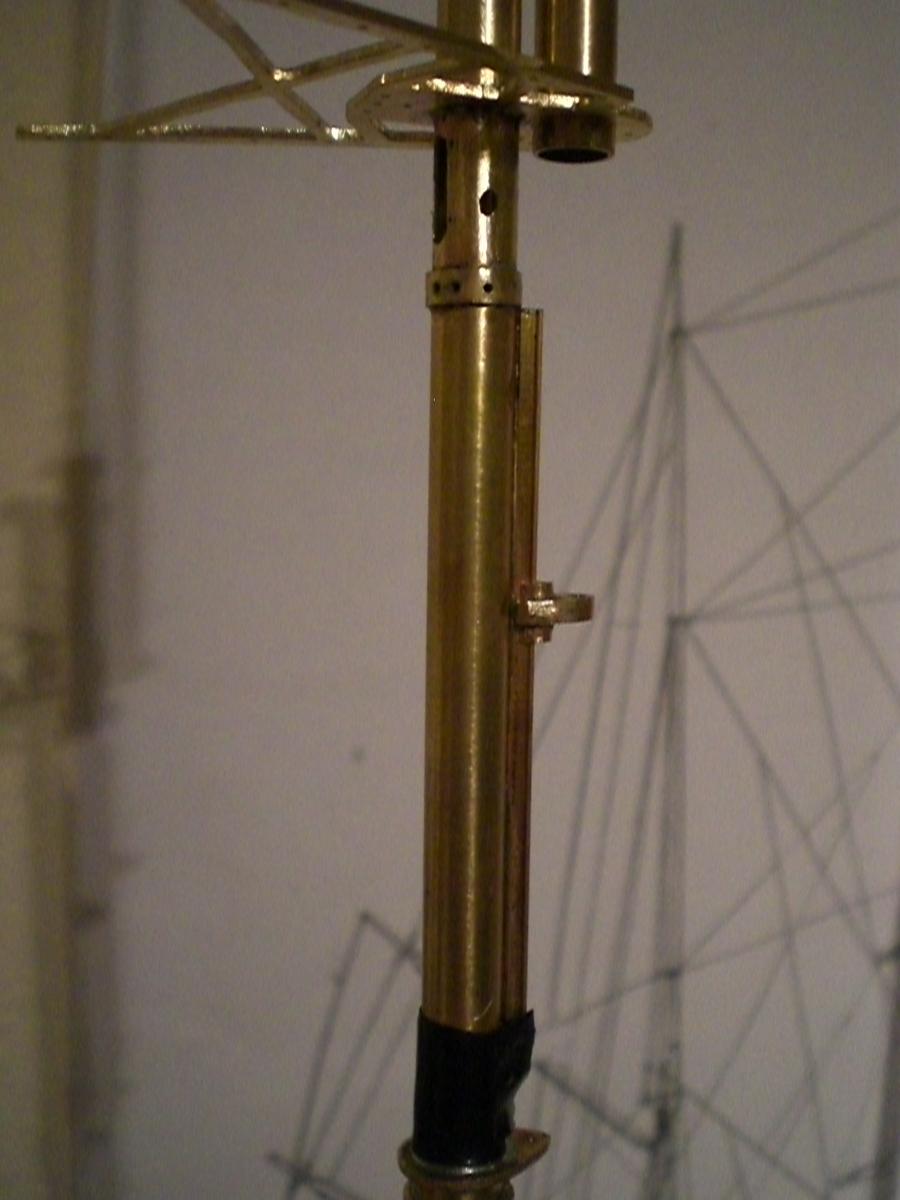
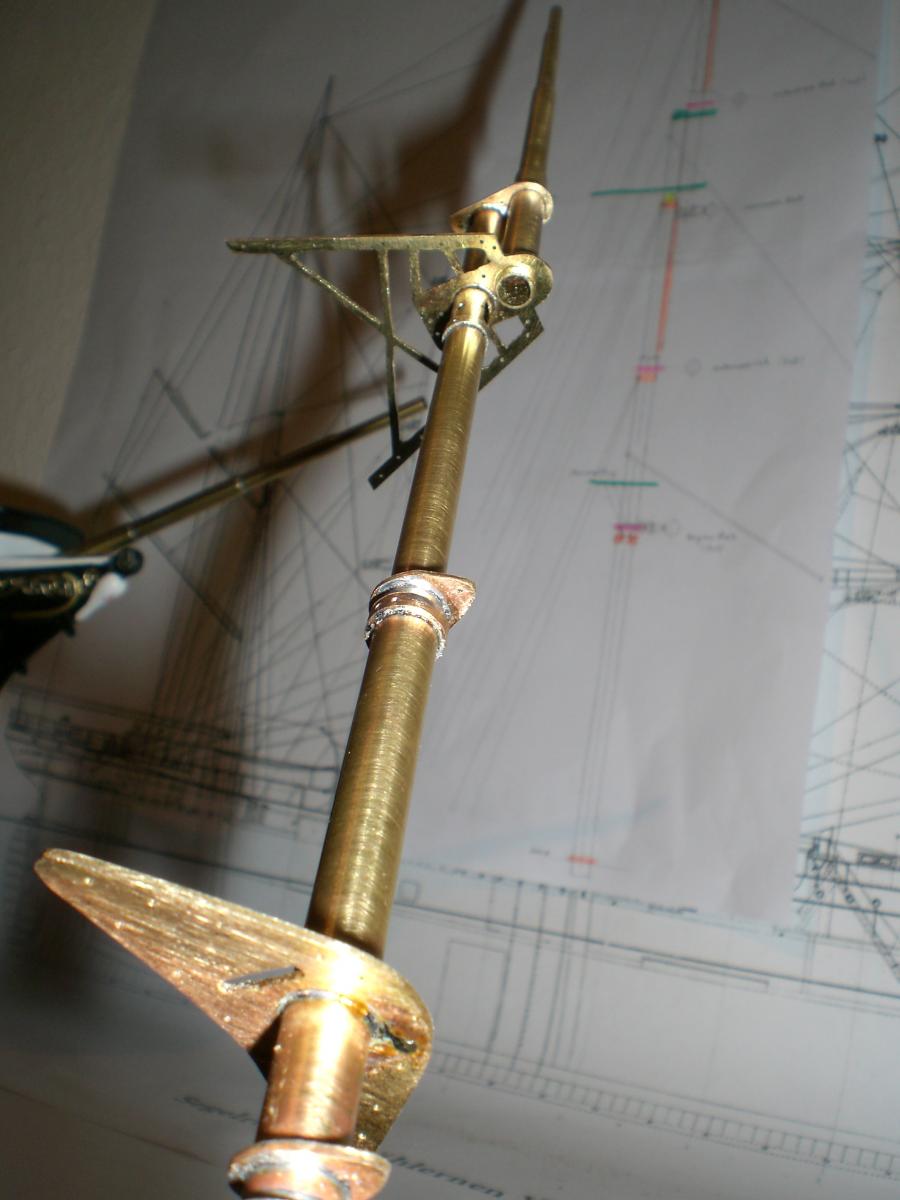
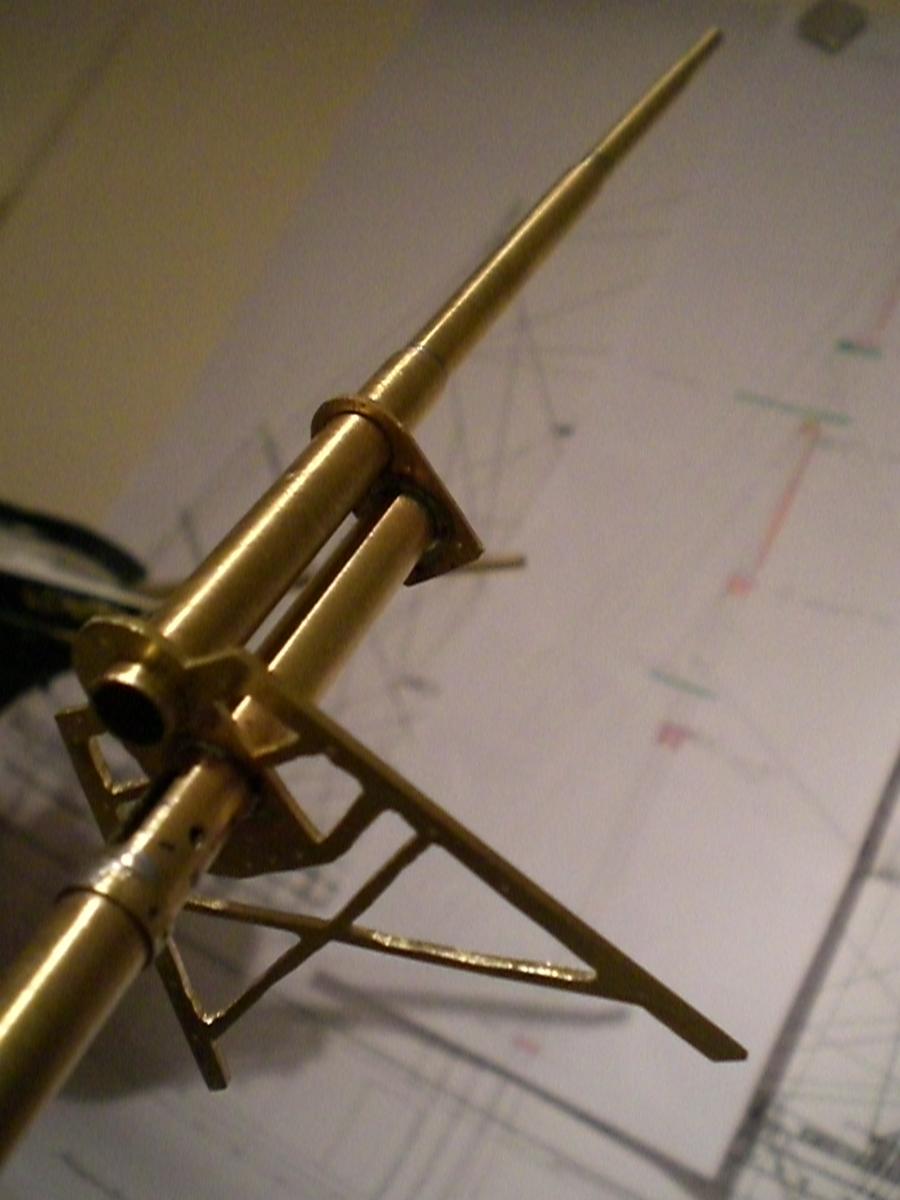
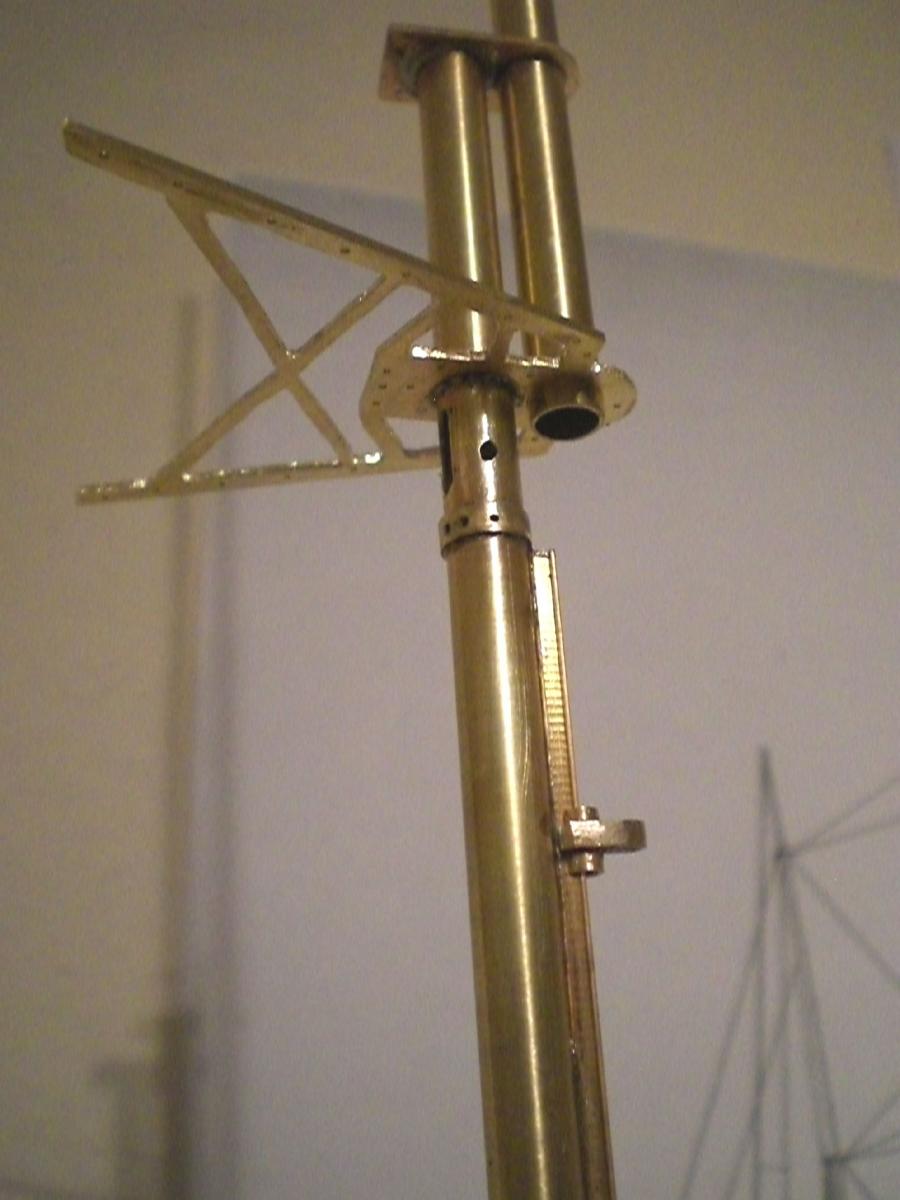
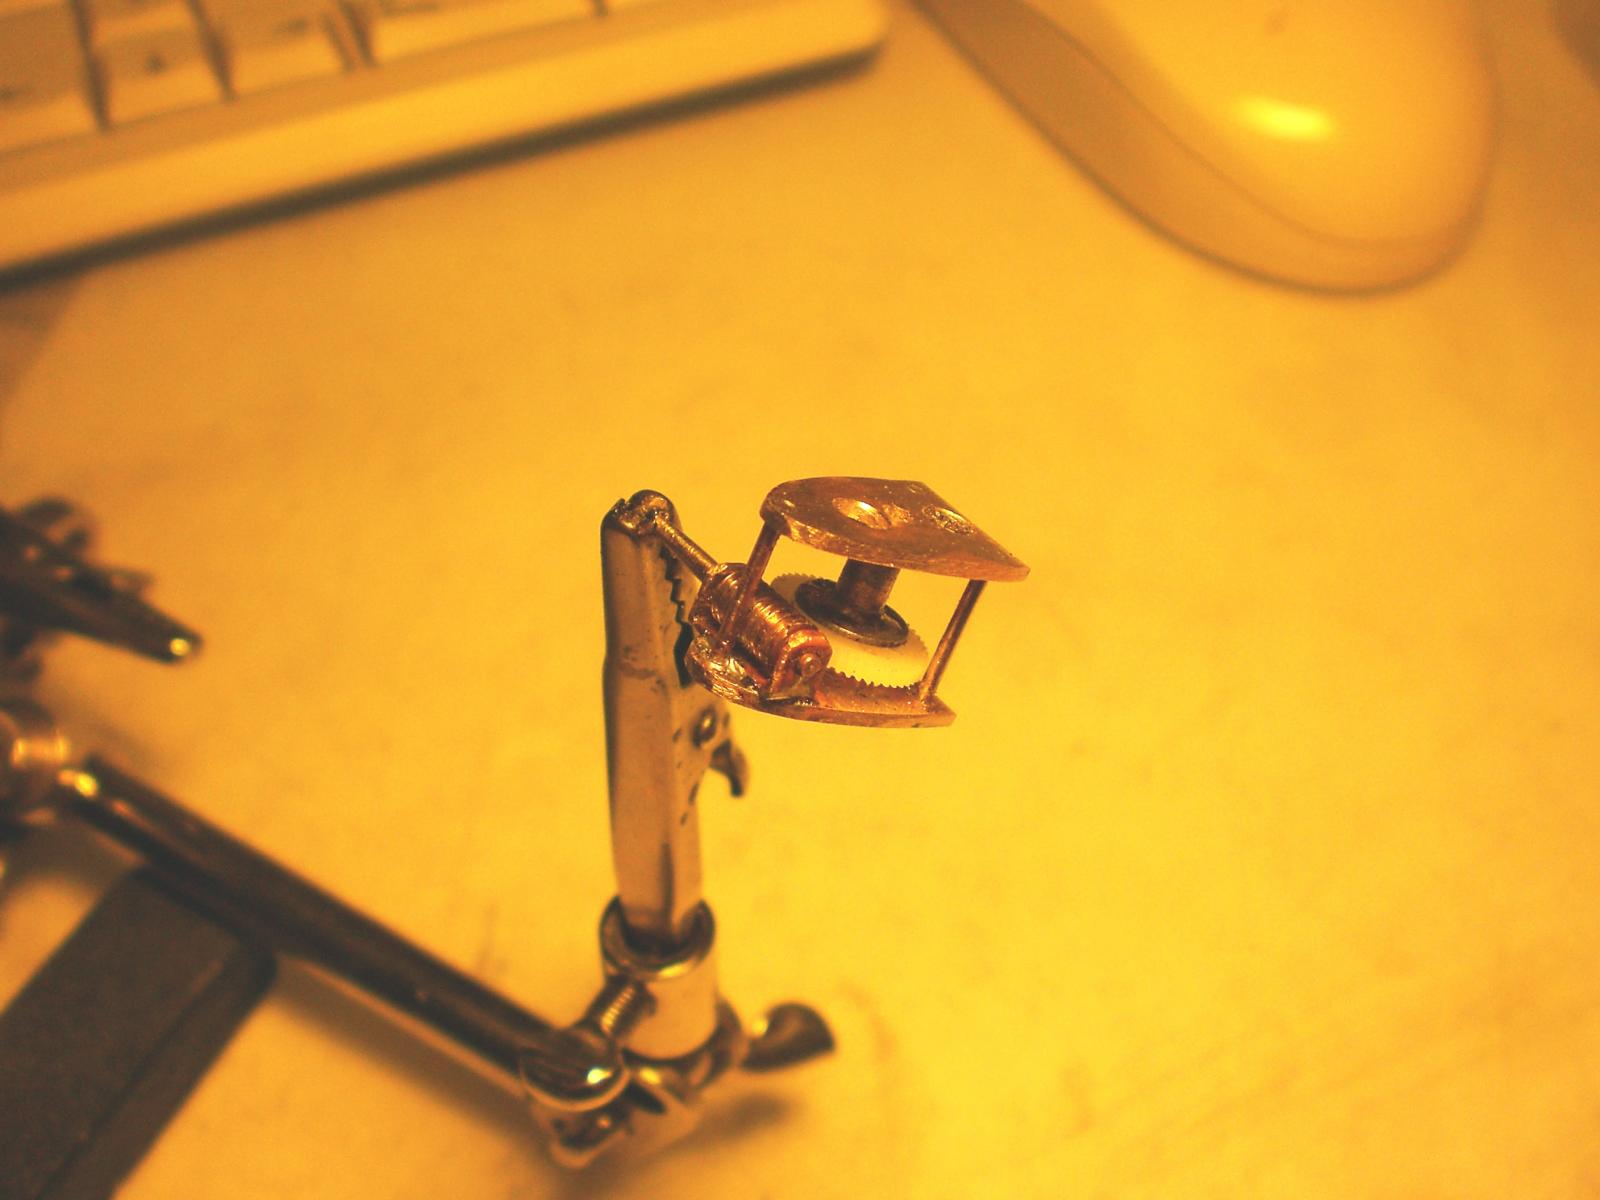
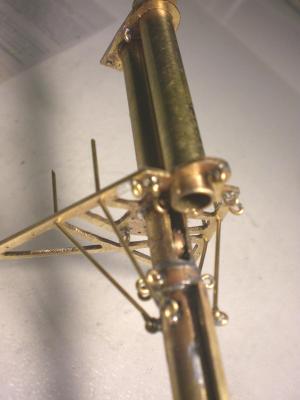
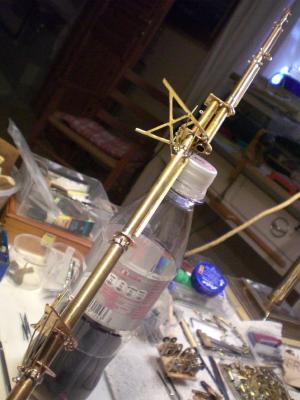
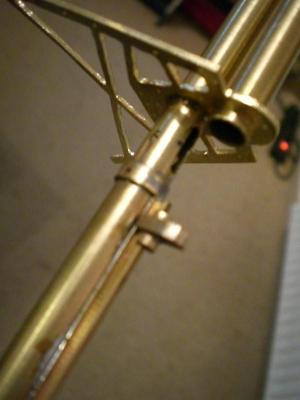
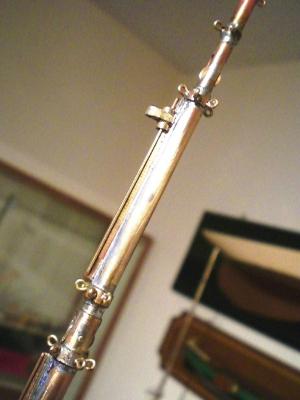
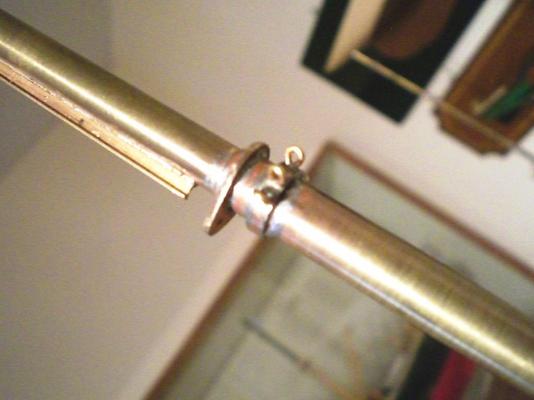
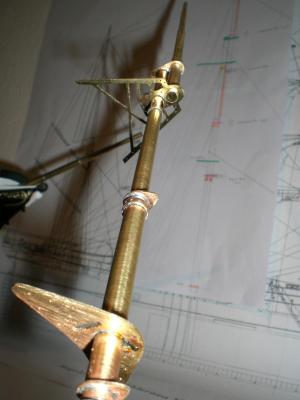
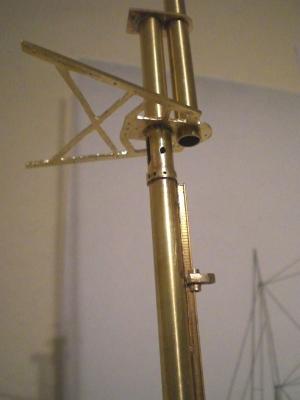
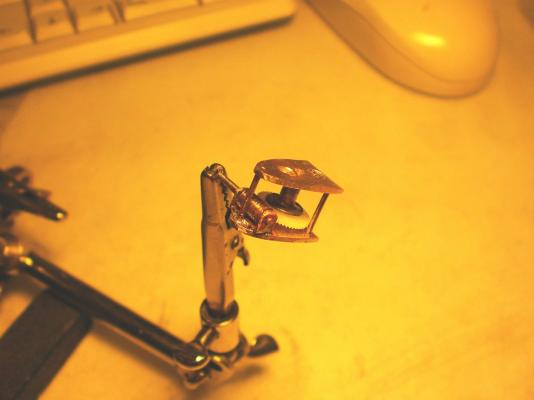
 Build log part 22 I should have trimmed the topgallant platform a bit more neatly, or should not have brought this pic.. here the roller in the mast can be seen the diate coke just came Handy... I find working in metal Comes easier than with Wood for mast rigging again one of those Little scetches of mine that accompany through the build, and where I bring my thoughts to paper before the semi metal is cut.., there remains enough for the bin anyhow I think I should post a couple of samples for These scetches for those who are interested in these Looks like I must have a brass-mine somewhere raw Yard with its rack is attached to the mast, that Little string is only a preliminary hold Build log part 23 to follow.... Nils


-
David Thank you David where there is the challange, it finds away, or so...somehow is the saying... it is probably a bit like the Little Boy who goes down to the Creek with a simple bamboo fishing stick, afterwards going home with his trouts for the families supper meal, whilst others are still sitting patiently at the river (do`nt take it seriously mate, smile... ) Nils
-
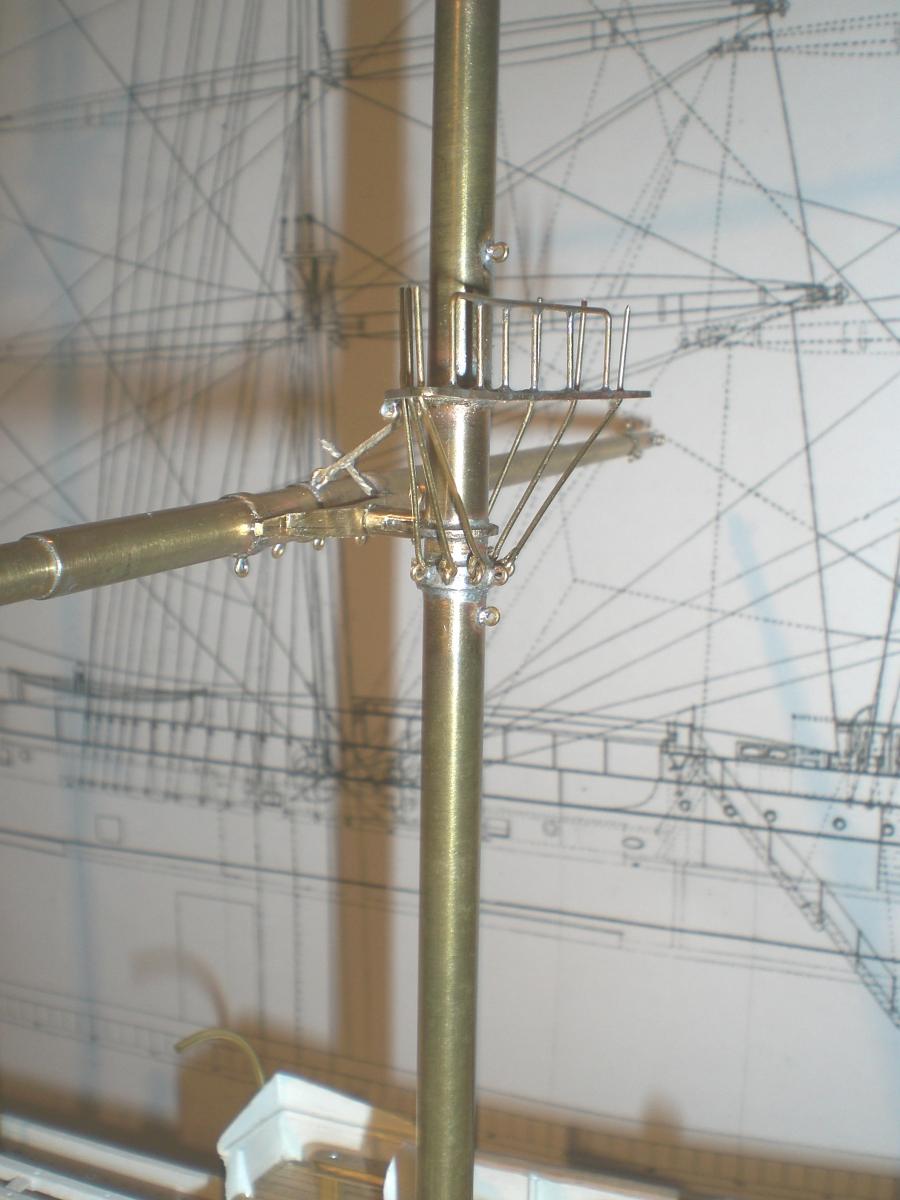
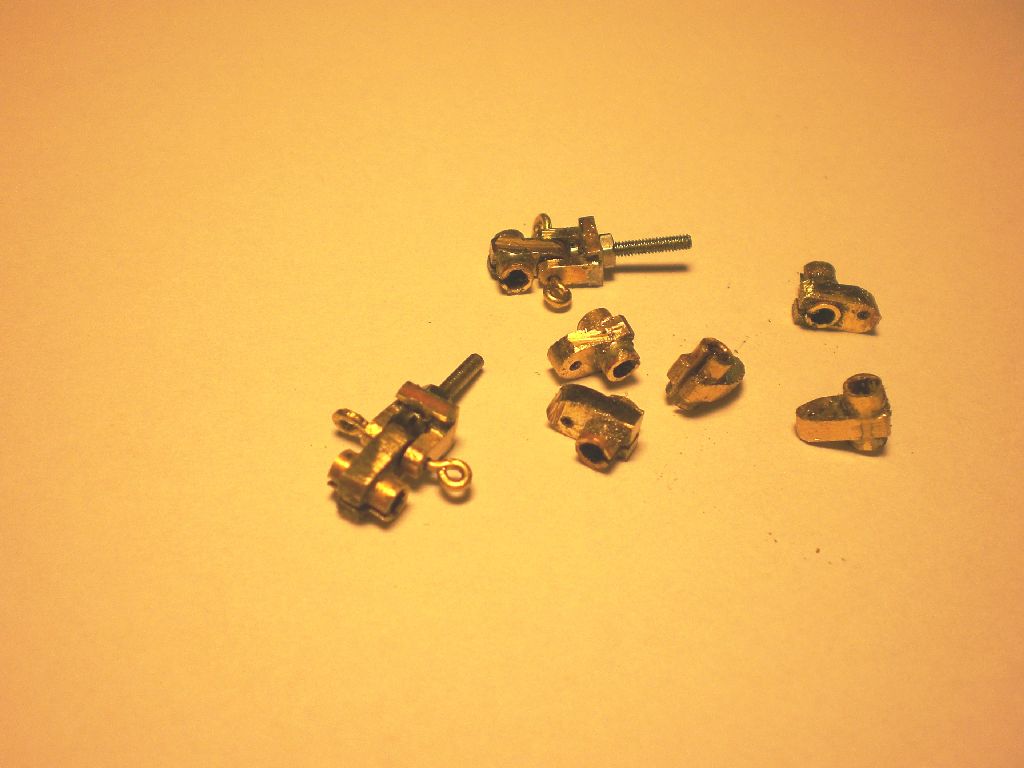
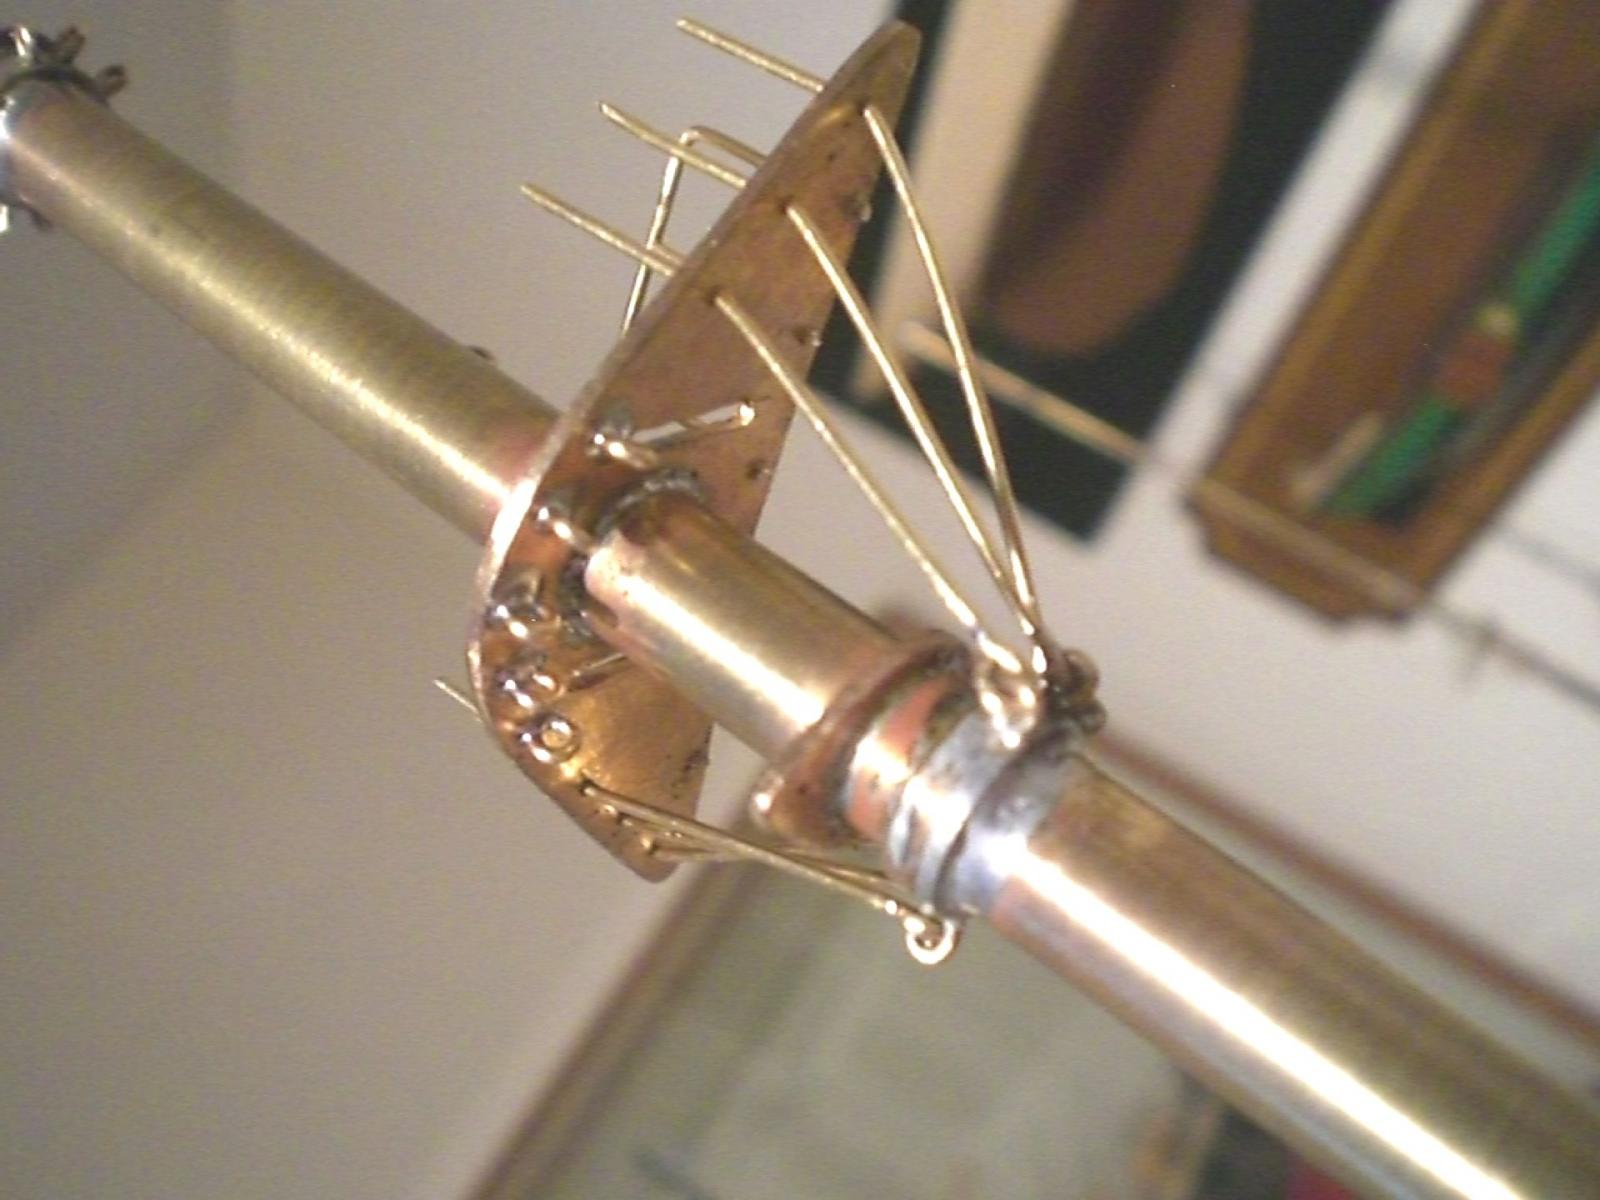
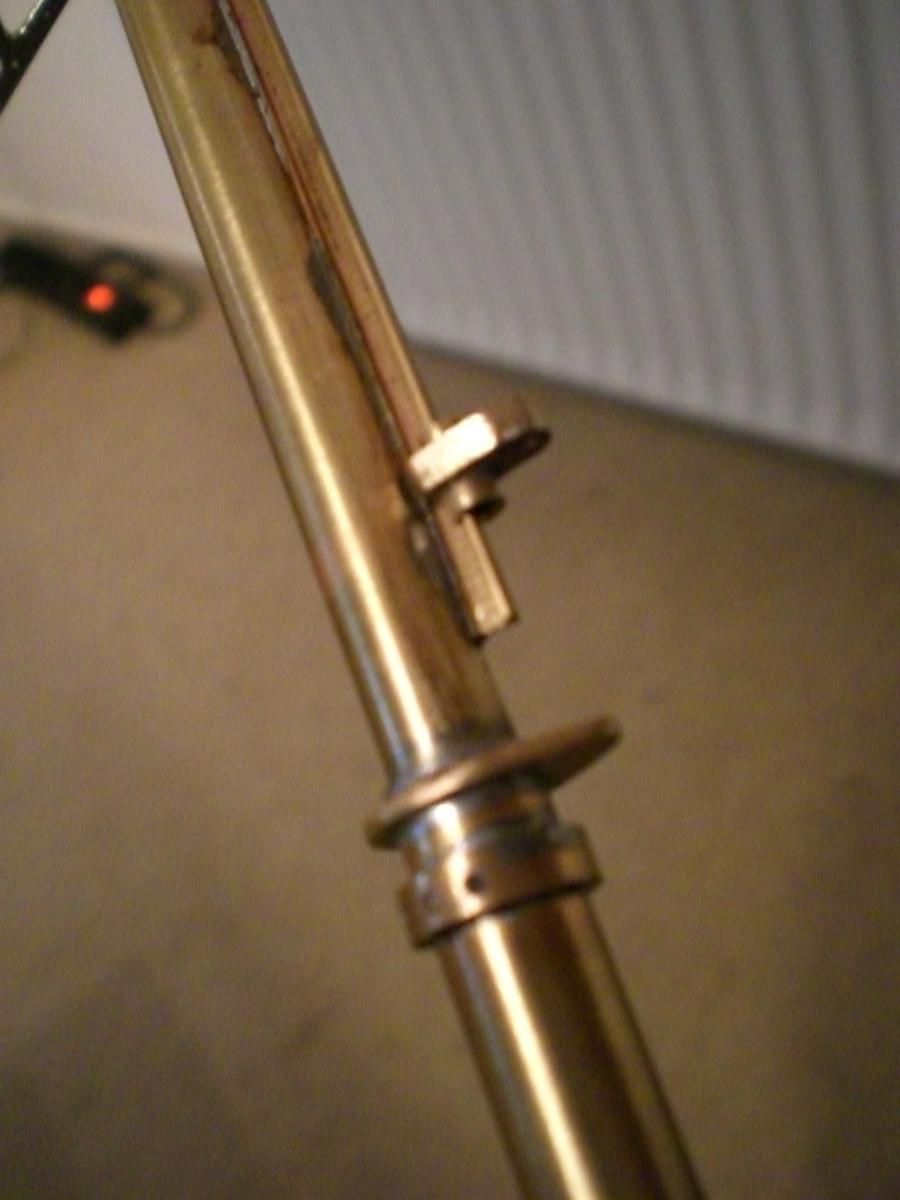
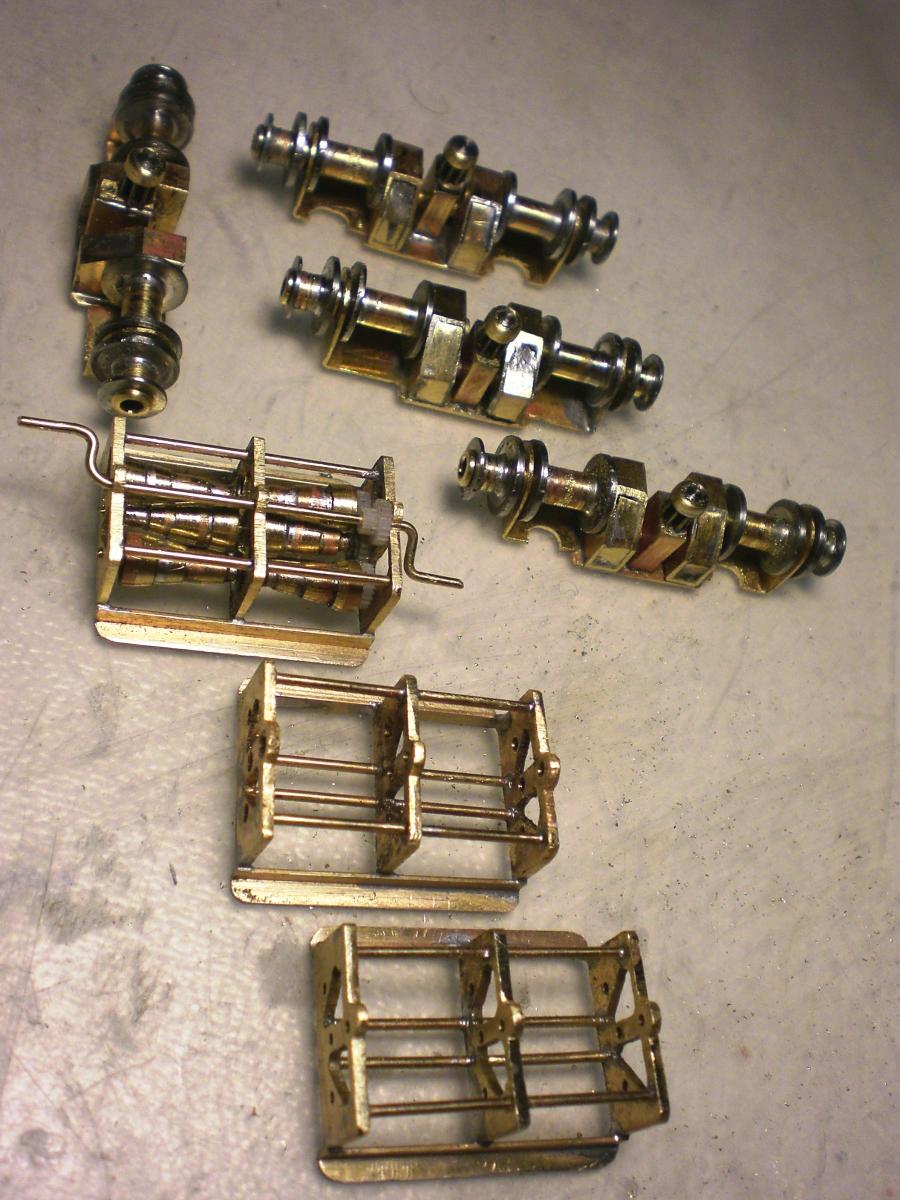
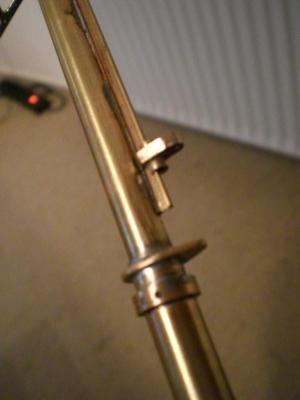
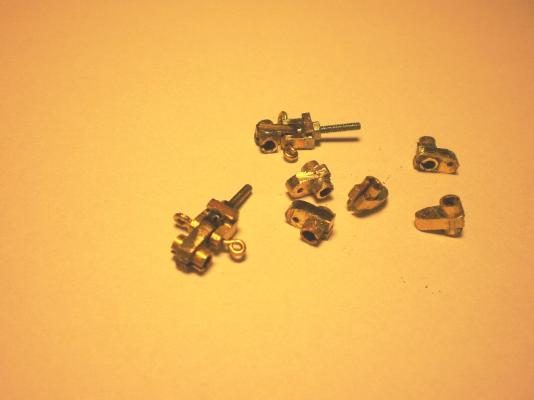
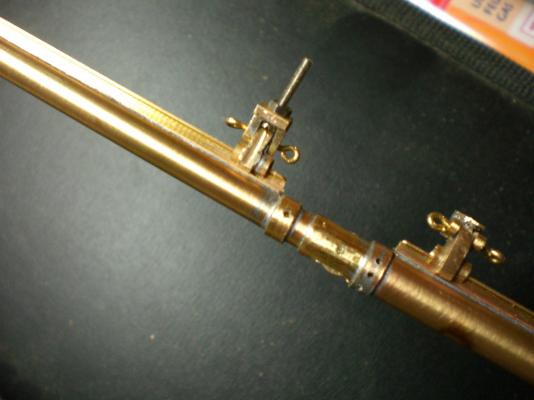
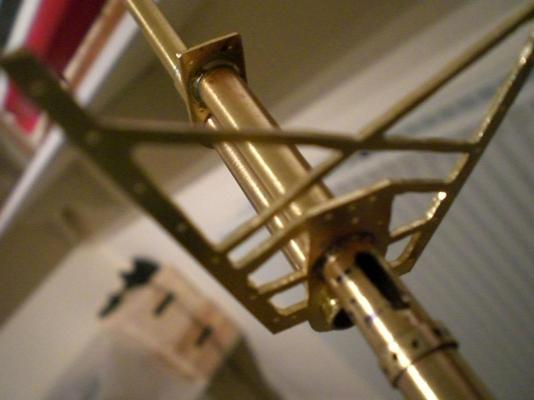
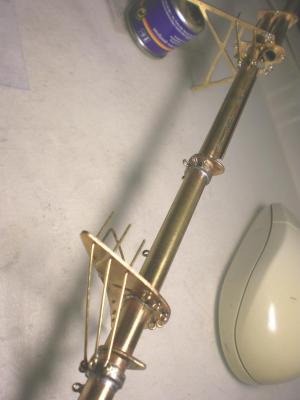
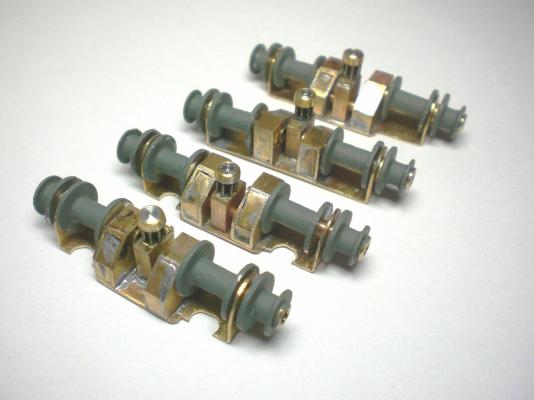
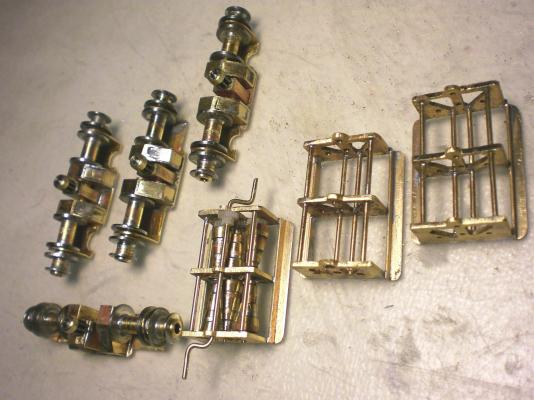
Build log part 21 most of the mainmast-work can be done tripple wise These are the slide shoes for mounting the yardracks to (enabling 3D movement of the Yards) all soldering is done with the gastourch here in order to have sufficient heat These eyelets have to be soldered ver thorrowly, due to the tensile stresses of the stays all elevations and distances in hight have to be crosschecked several times in order to get the sails later rigged in the appropriate hoisted and / lowered position mars top Build log part 22 to follow.... Nils


-
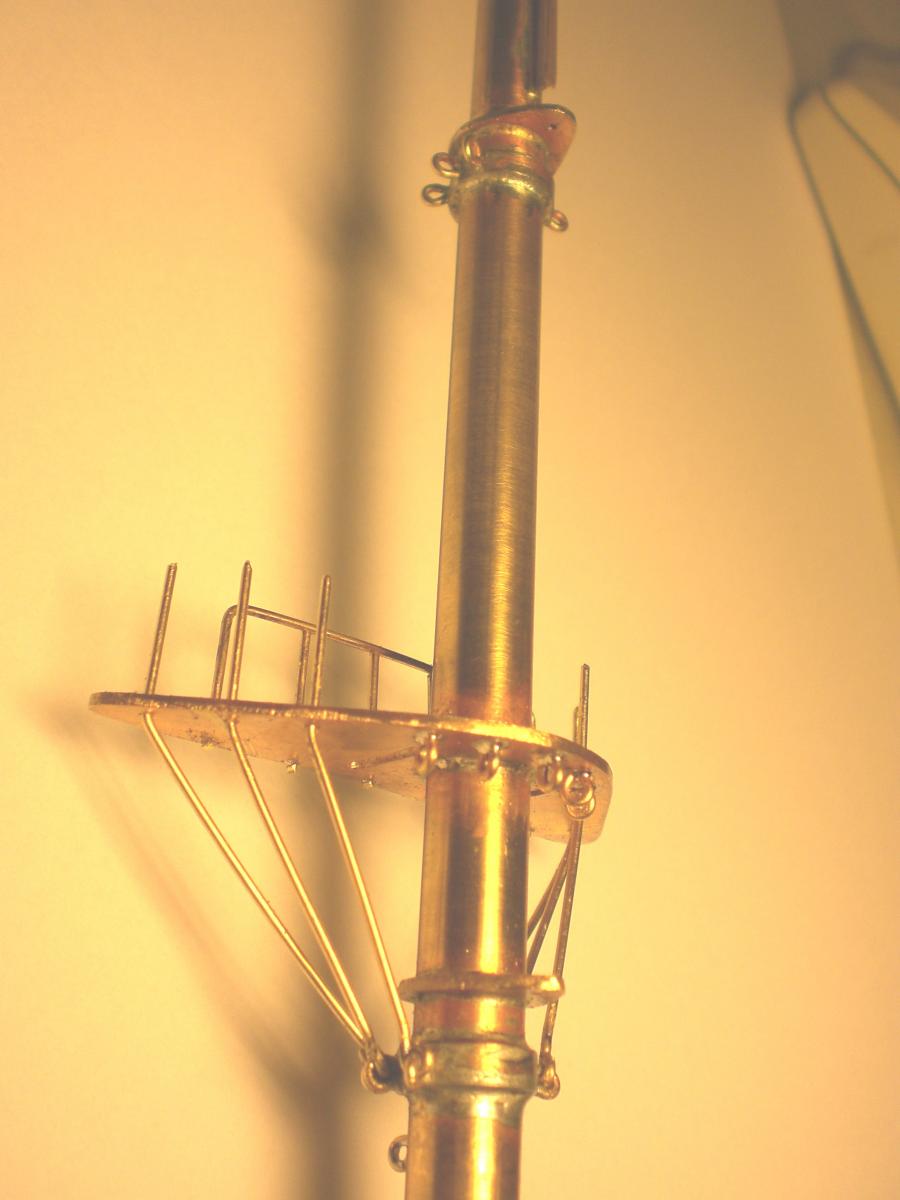
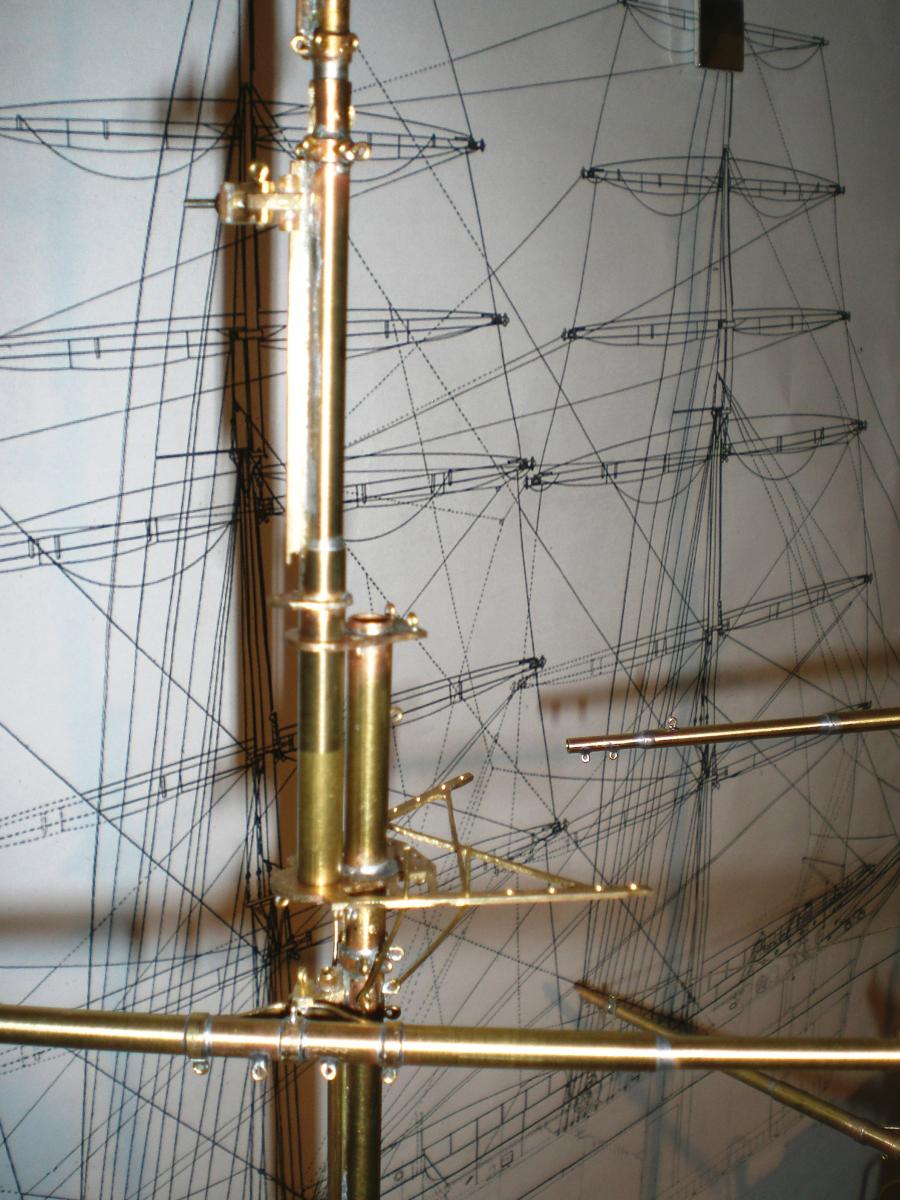
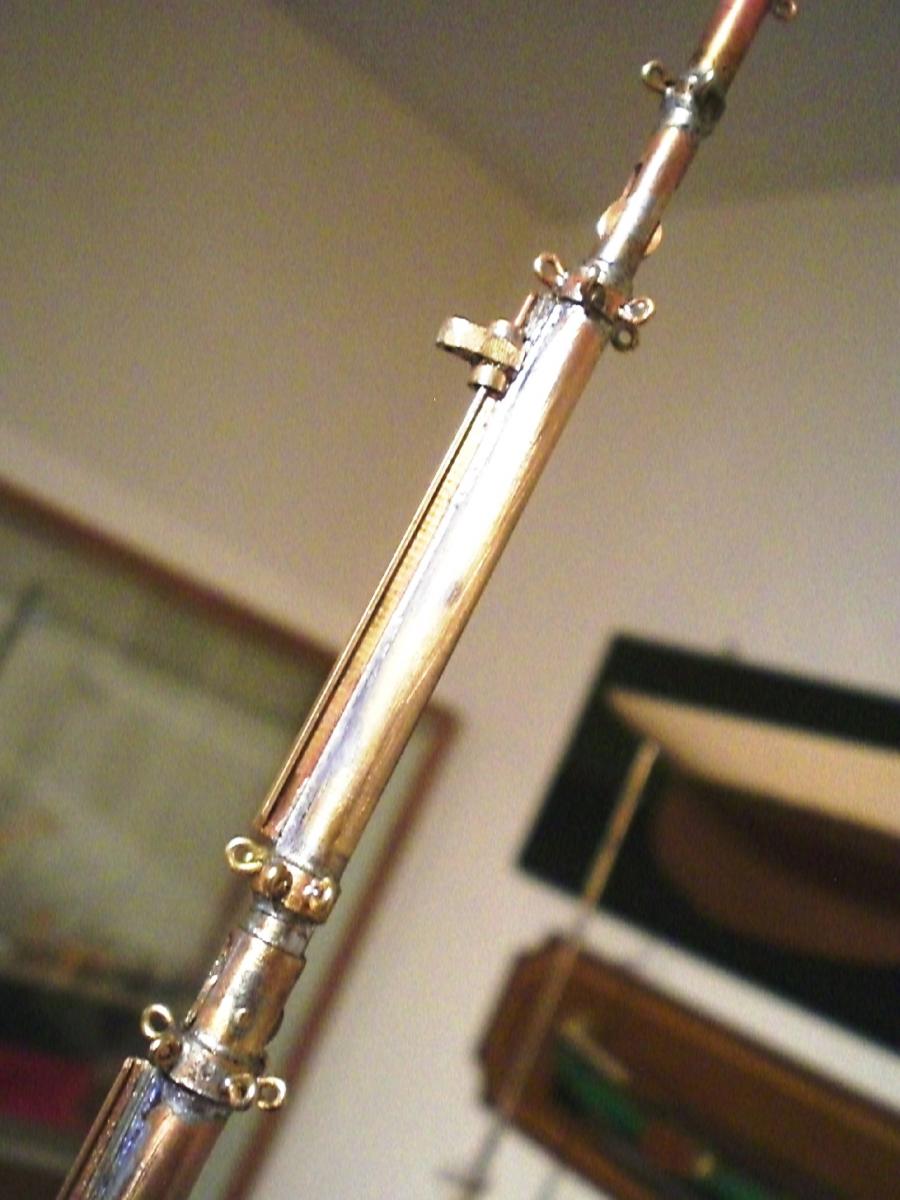
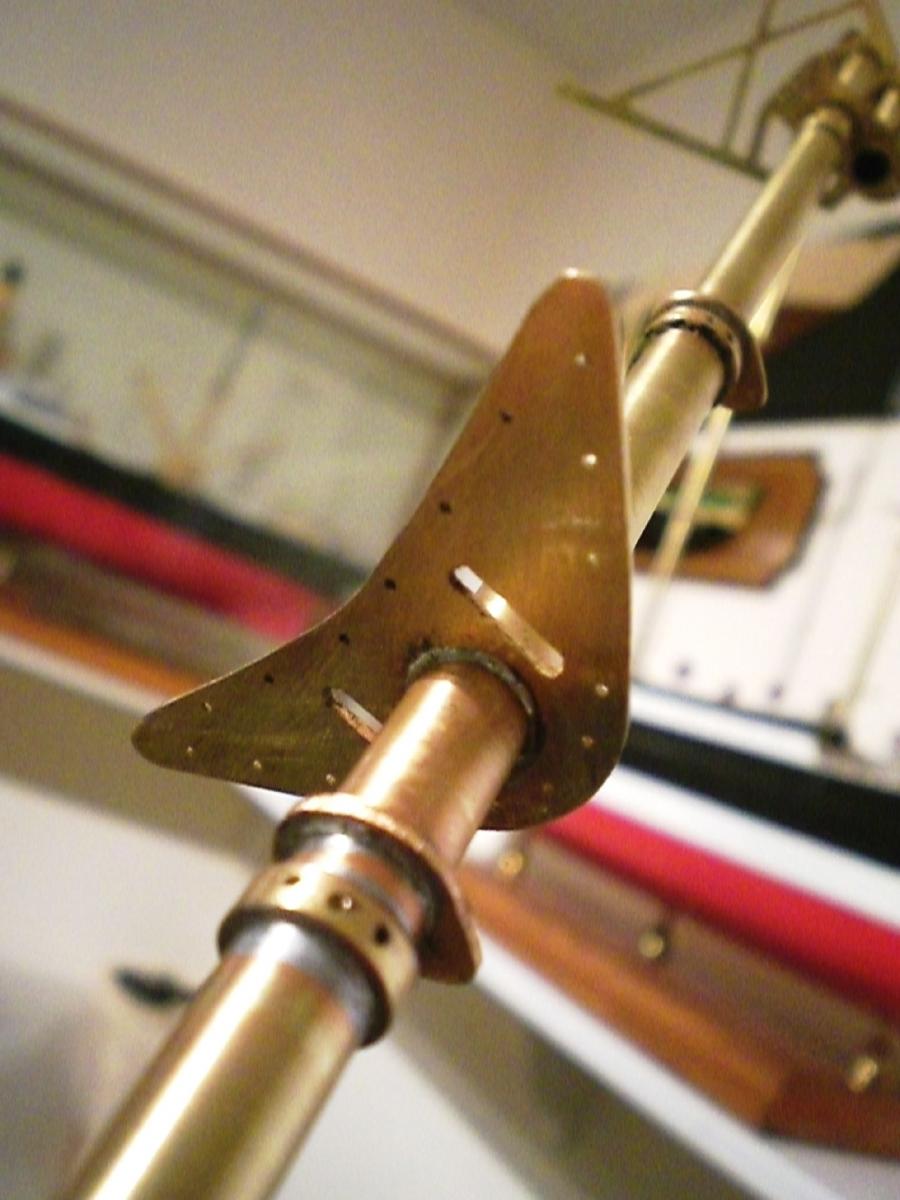
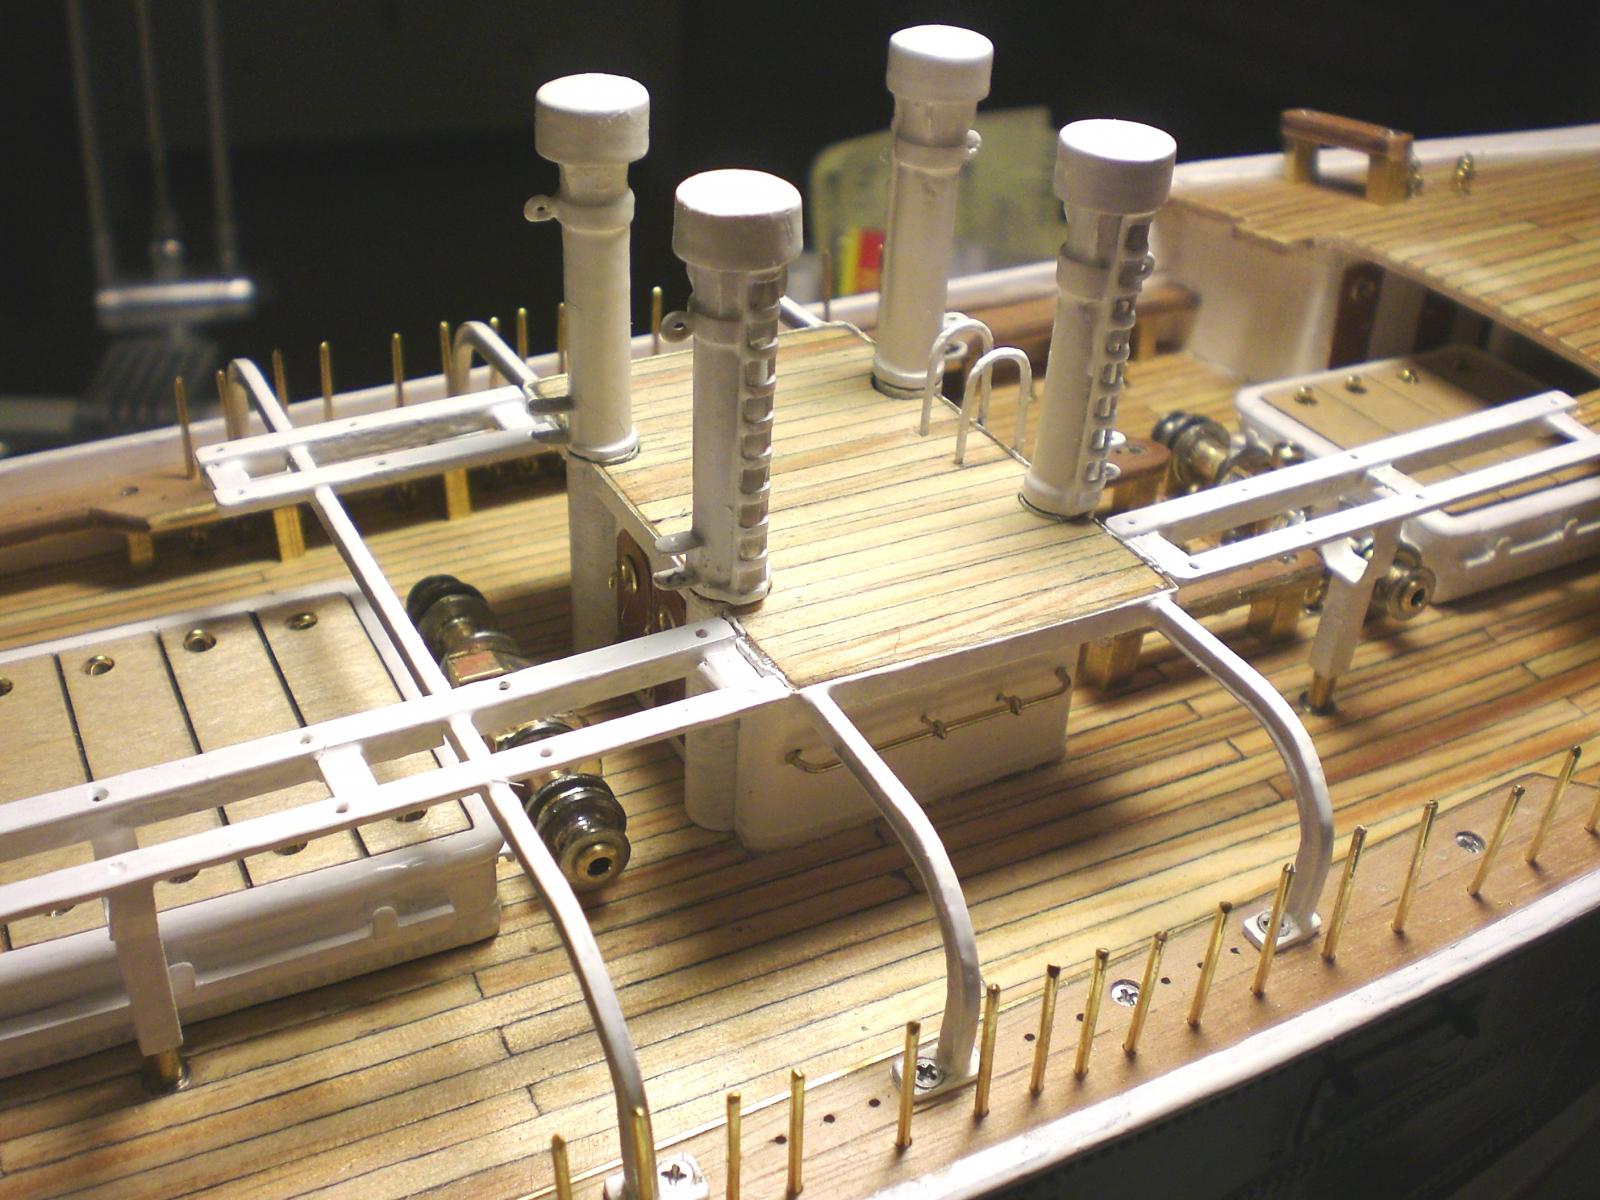
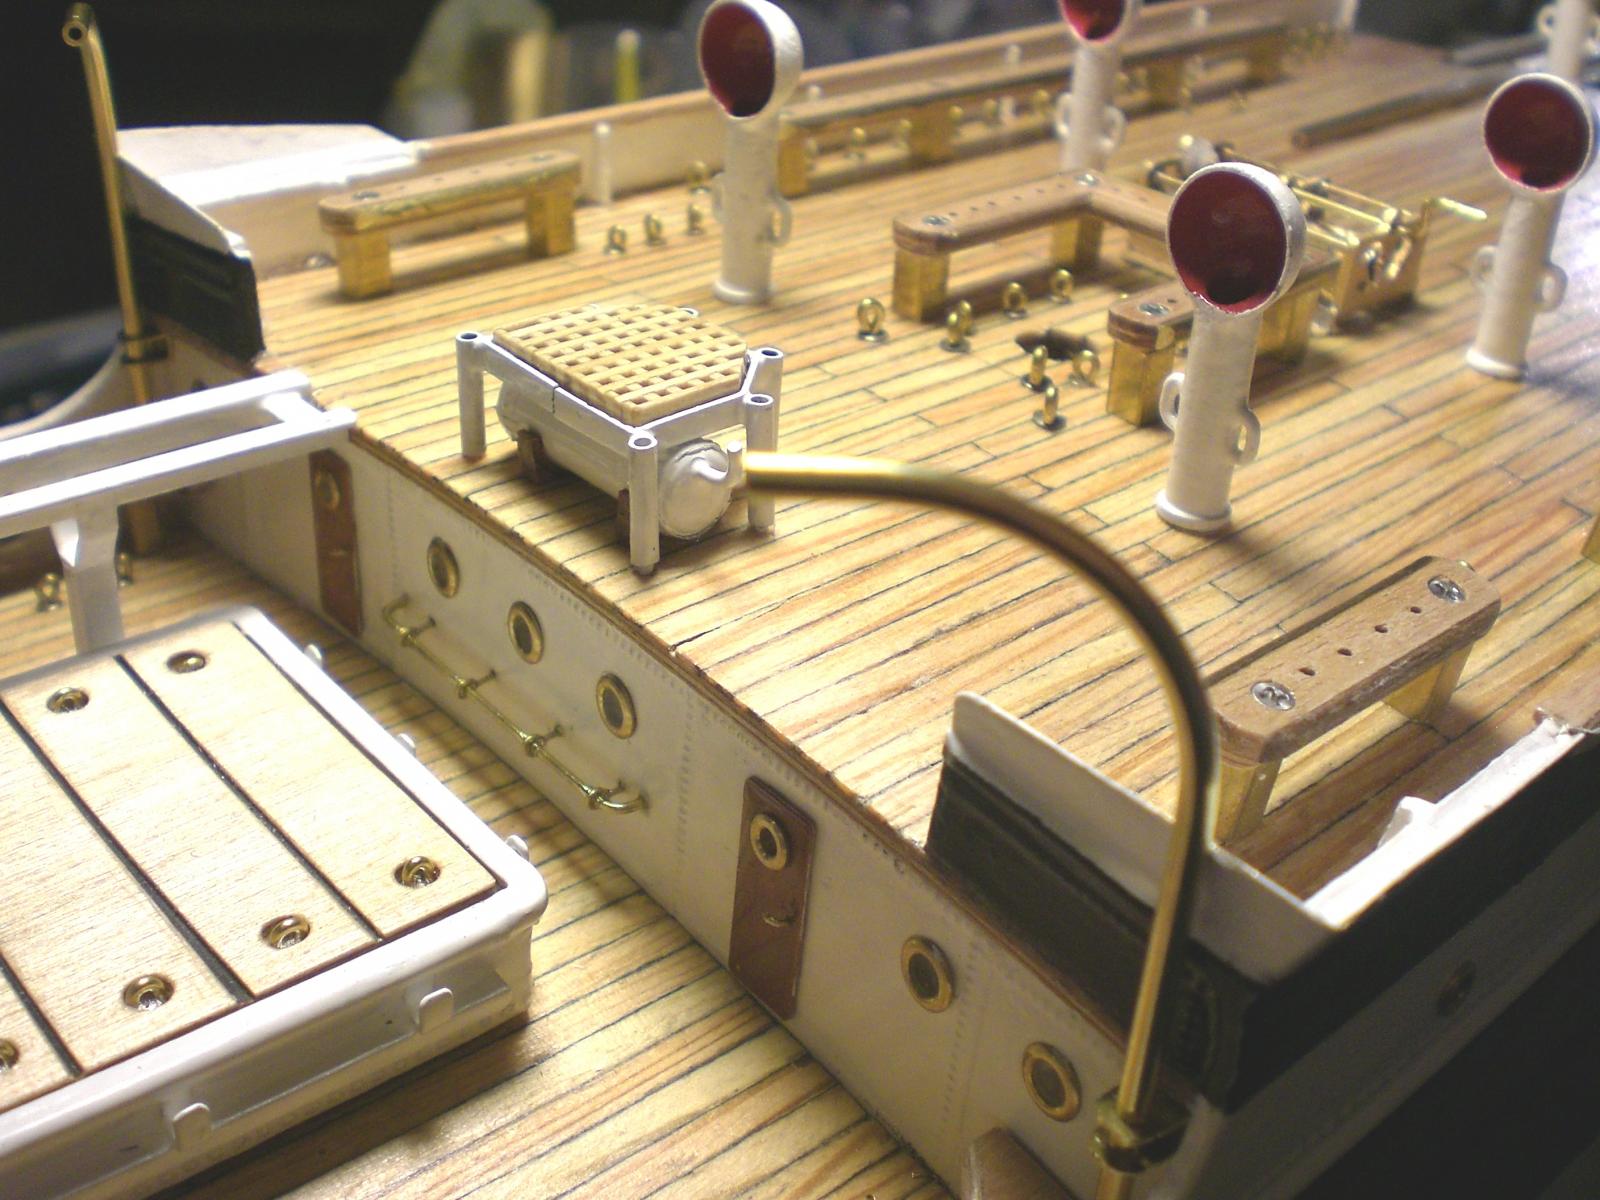
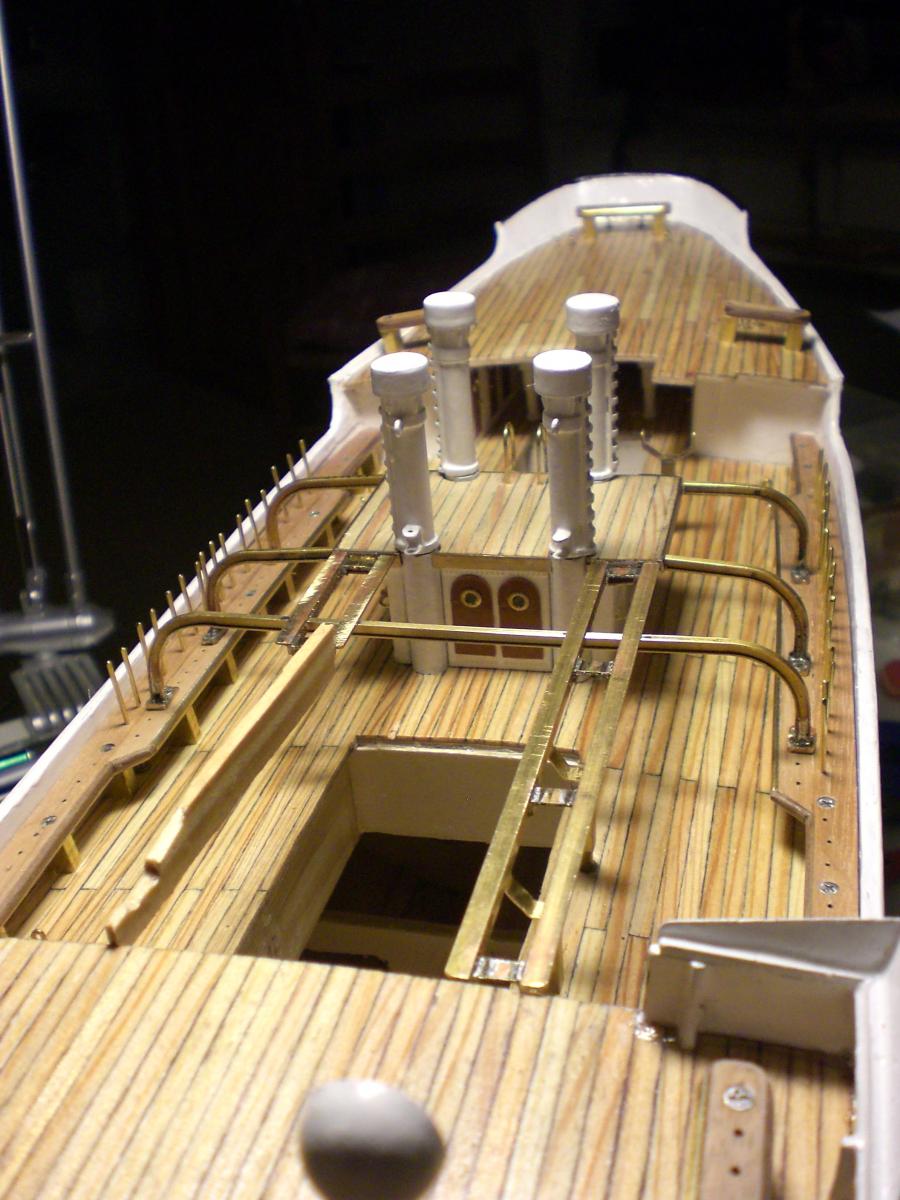
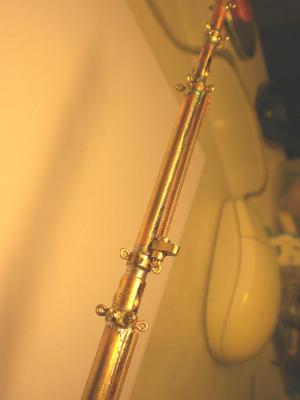
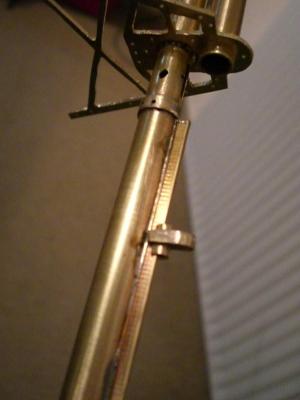
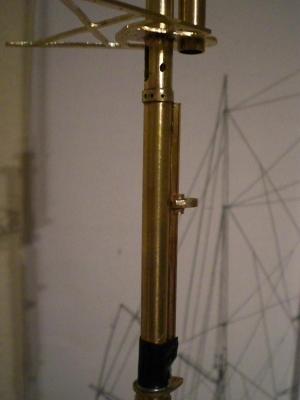
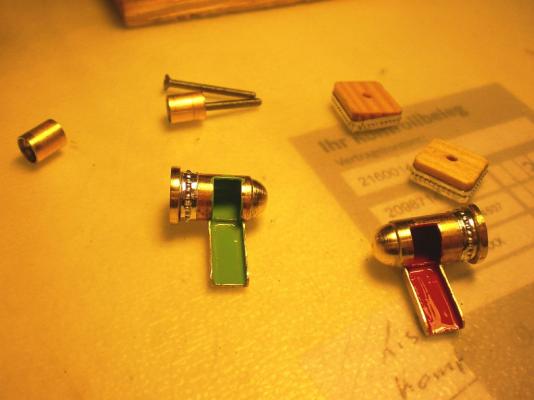
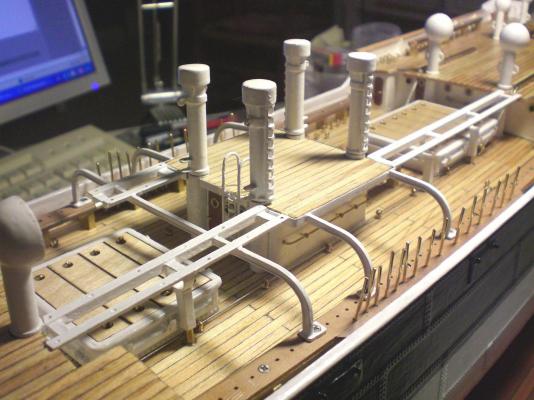
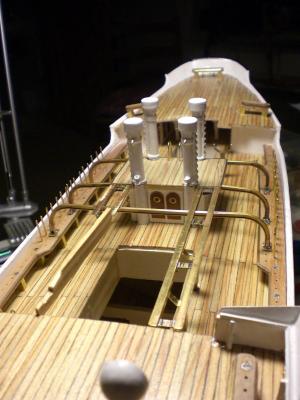
Build log part 20 here starts some of the work on masts, Yards,bow sprit, bumpkins, made of brass, etc... all These parts of the actual Pamir were hollow steel tubes made from round bent and riveted steel plates starting with the fourth (mizzen) mast the third main mast (tapering by shafting different diam. tubes), Topgallant platform lower mars top platform the oval breakthrough in the mast, below the topgallant platform takes the rollerwheel for the Yard hoist chain the vertical moveable yardracks are later mounted to These slide shoe devices (movable Yards) there are 3 vertical moveable Yards on each mainmast, the other three are only swivable, fixed to horizontal and tiltable movement Basic fastening anchoring for the lower top shrouds. Started to attach the hundreds of eyelets by soldering to their required positions Build log part 21 to follow Nils


-
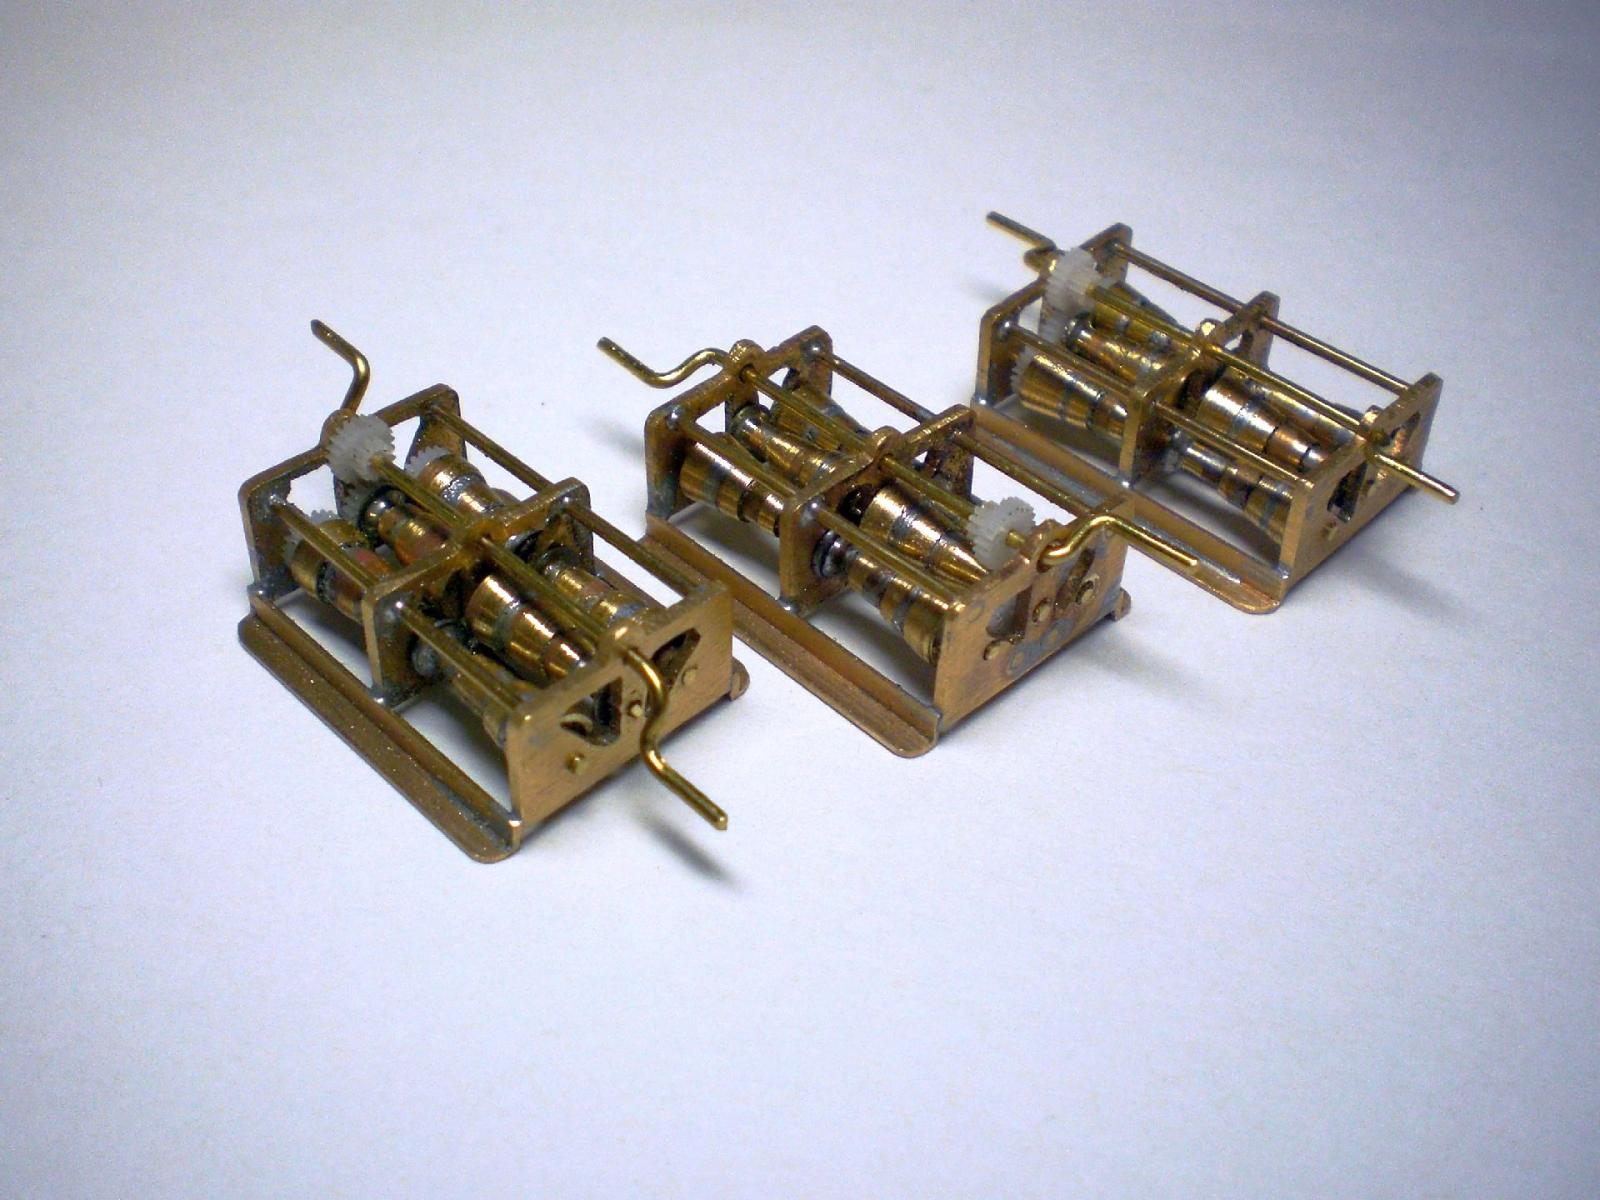
Thank you John, I thought they would look best by making them from individual metal components and functional. An alternative would have been metal cast winches, but I find they always look "casty" and are much too expensive in appropriate Quality and scale Nils
-
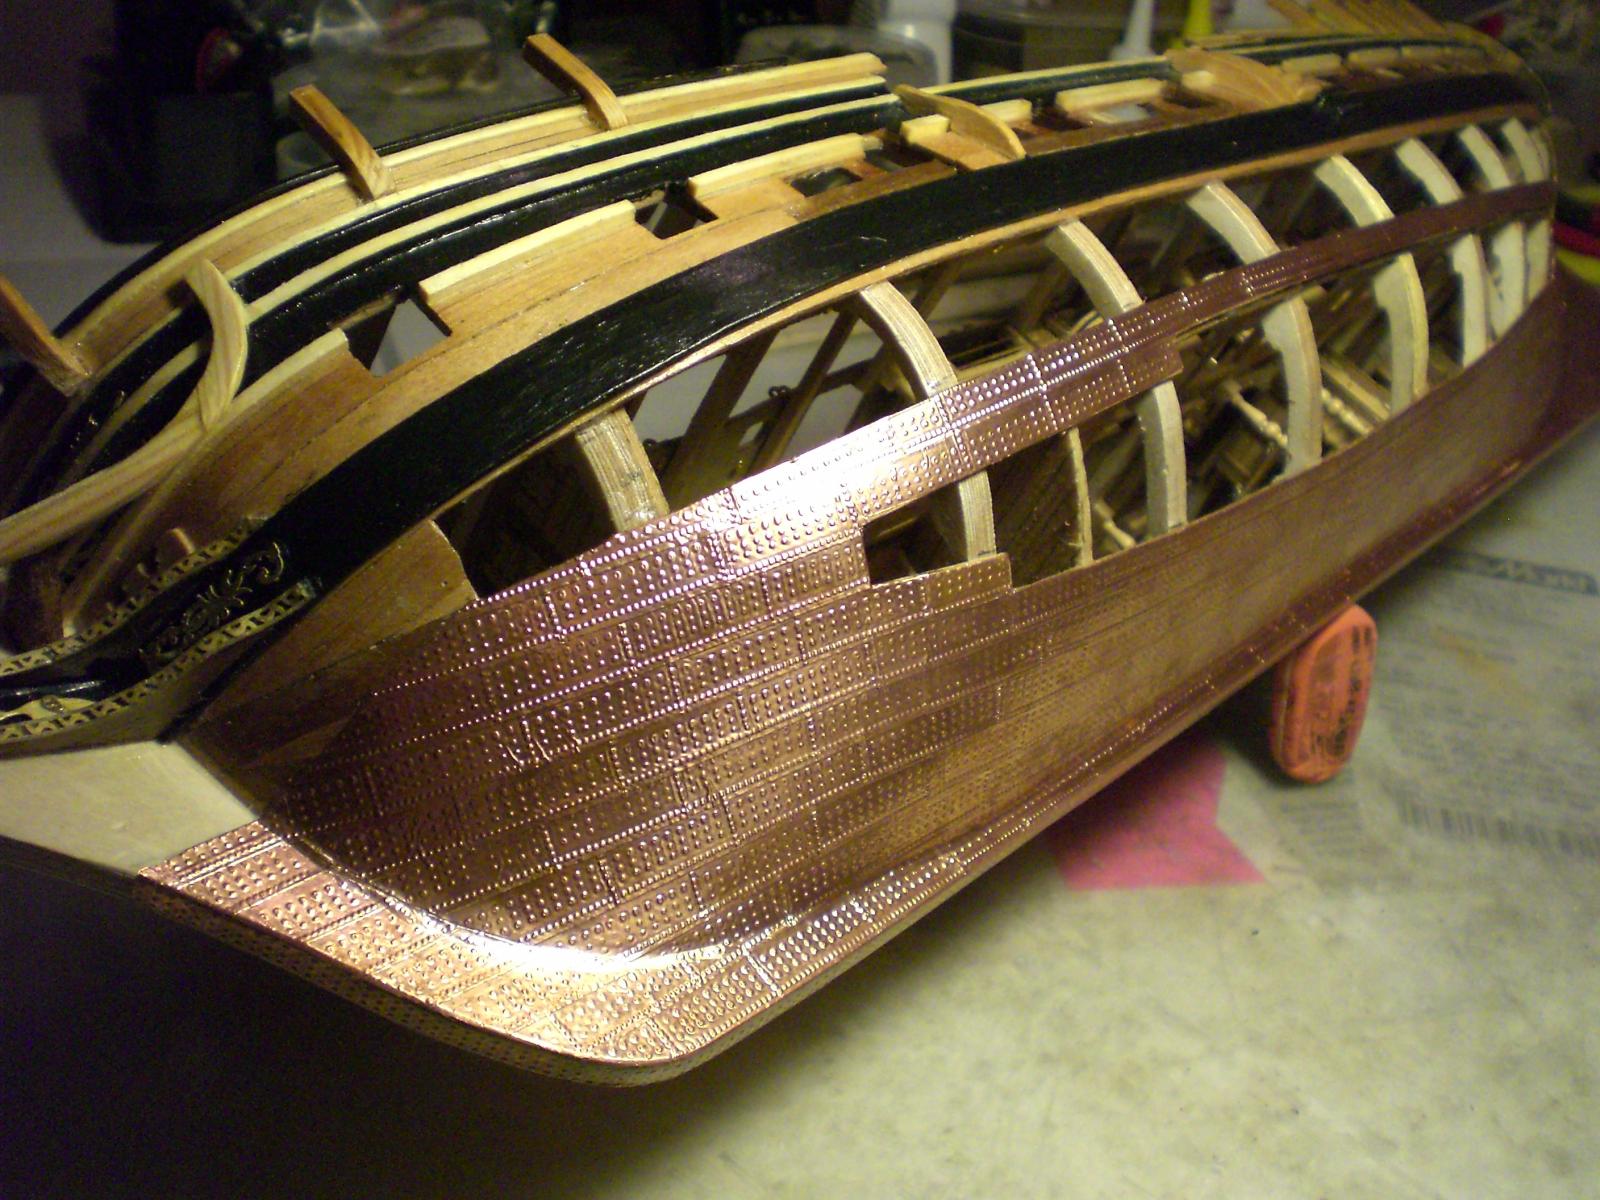
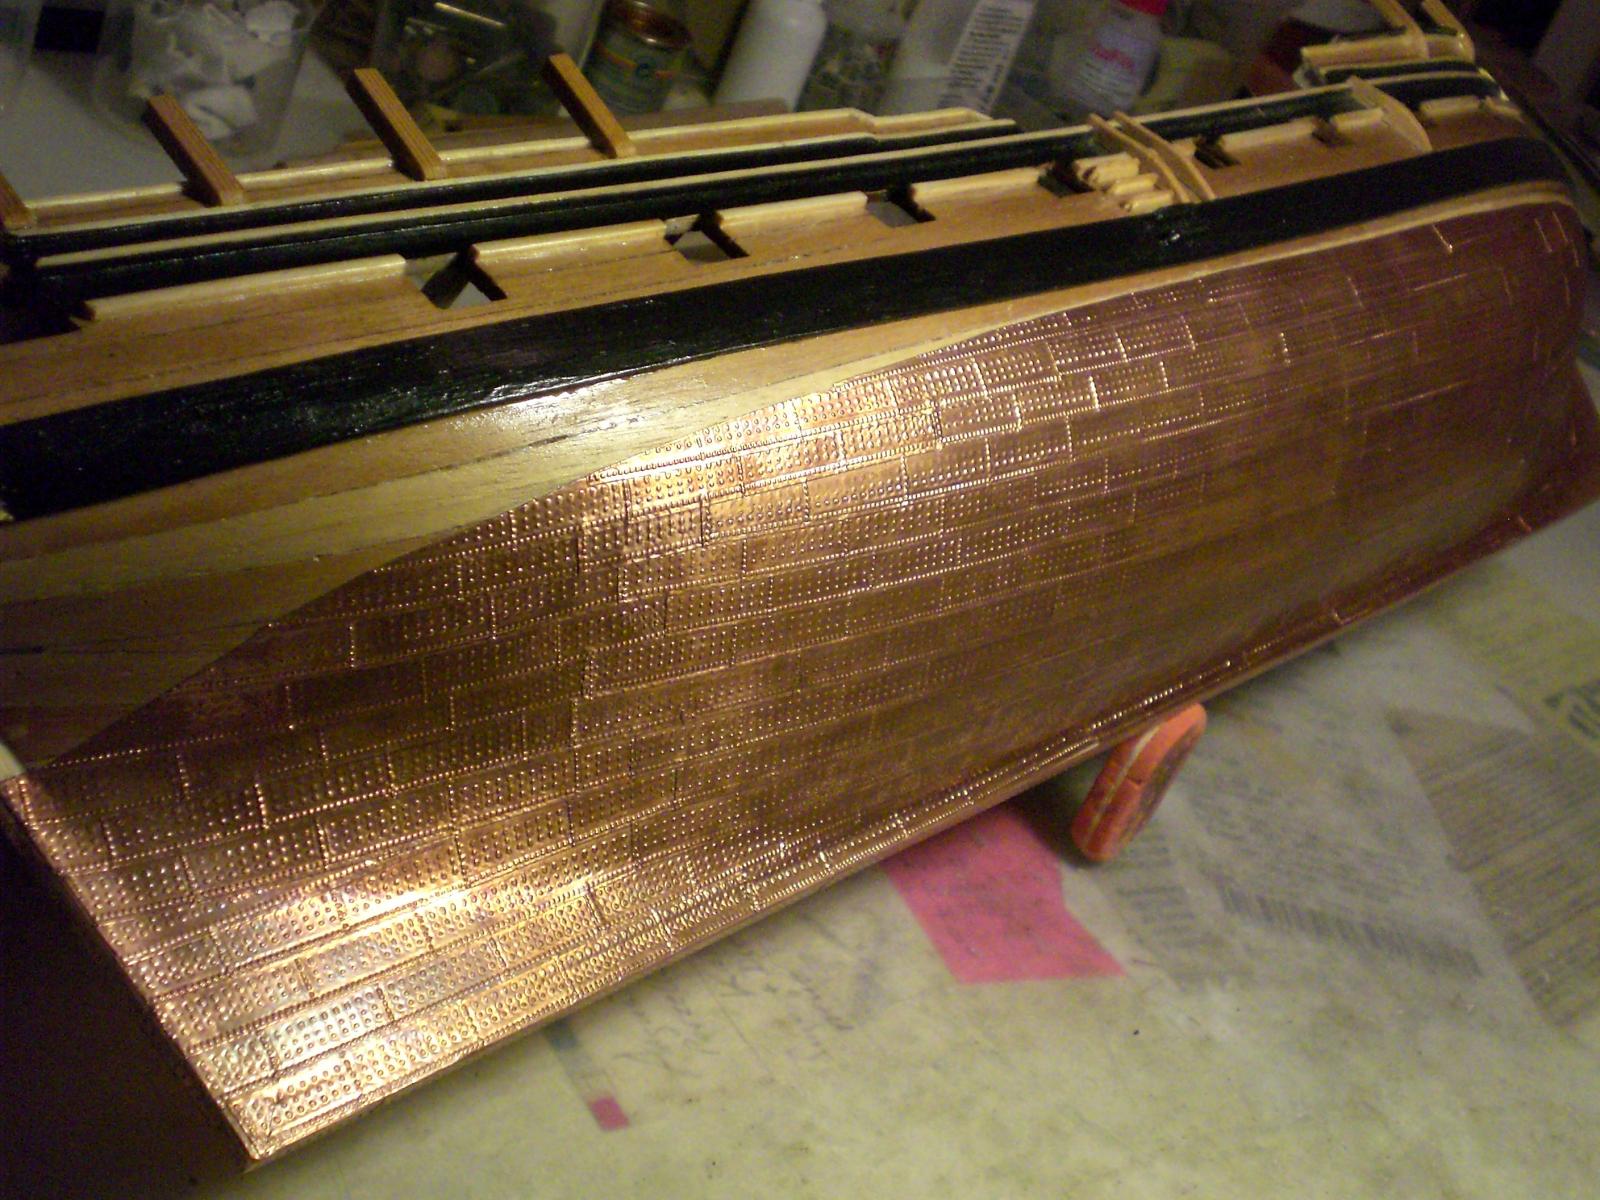
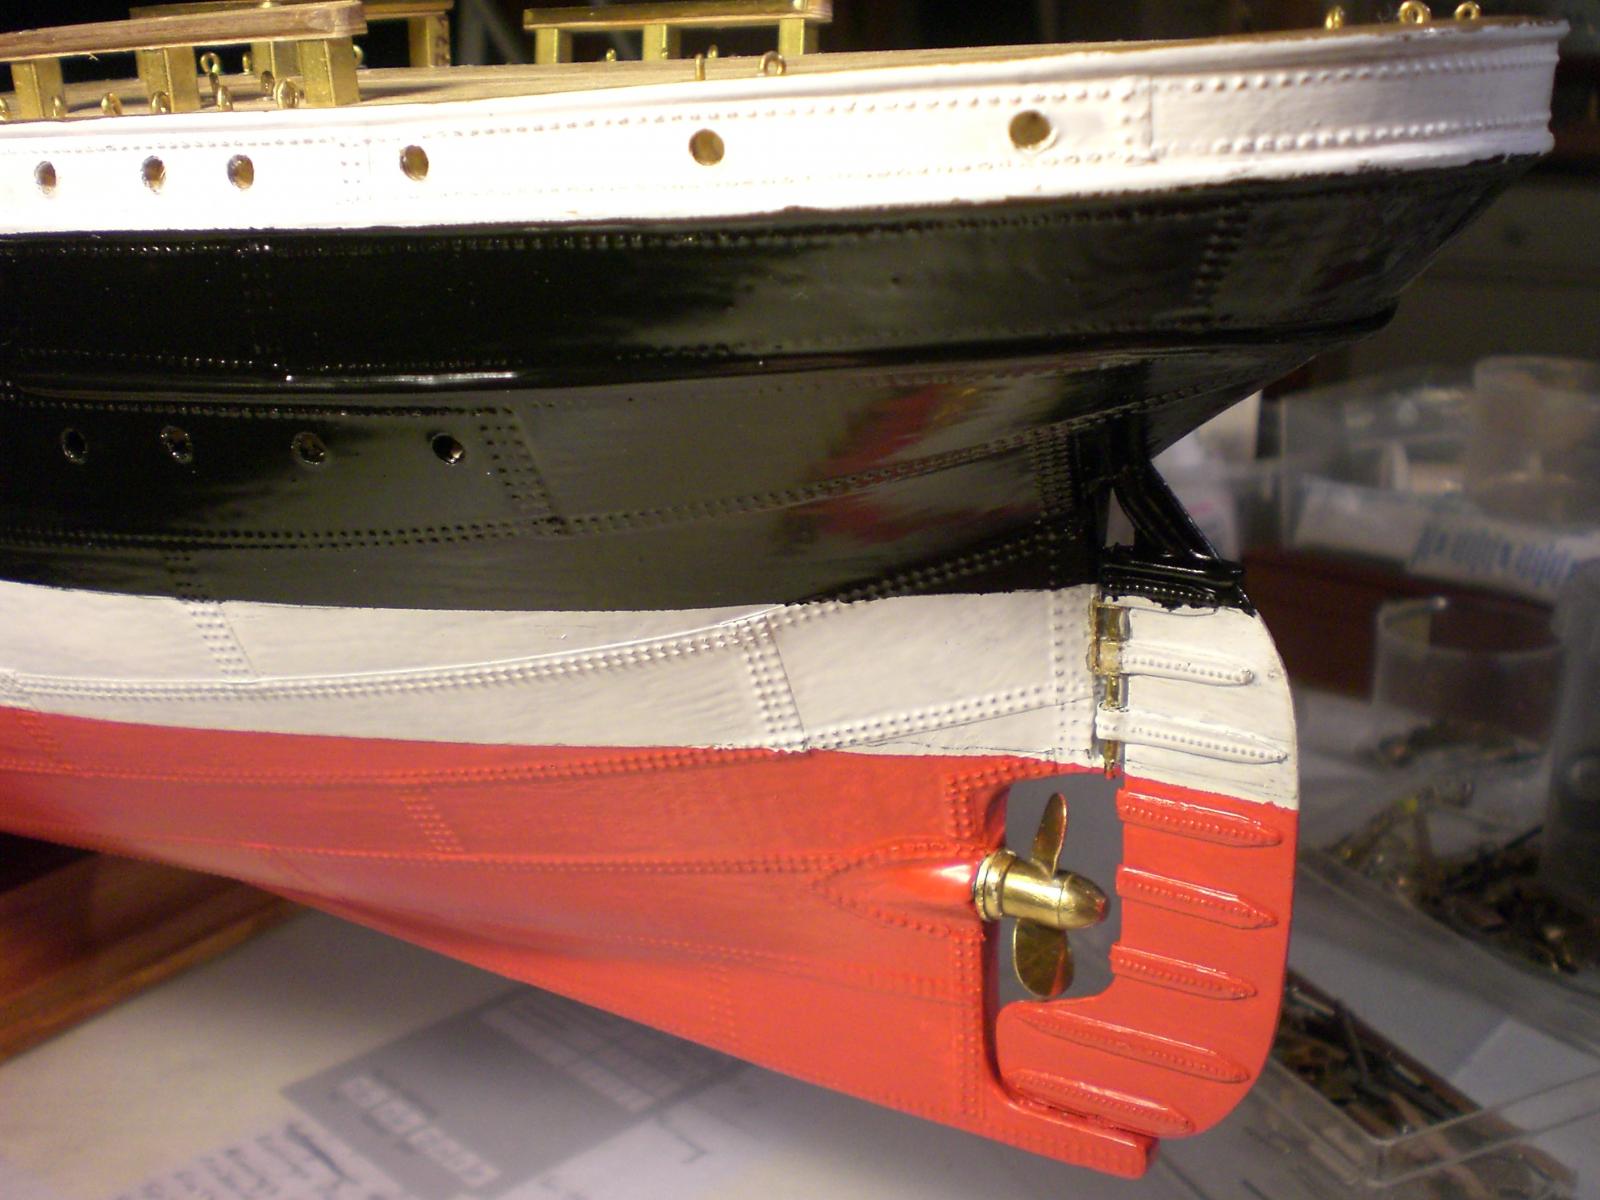
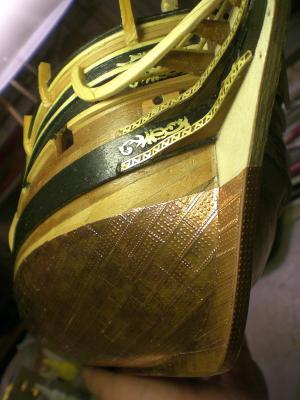
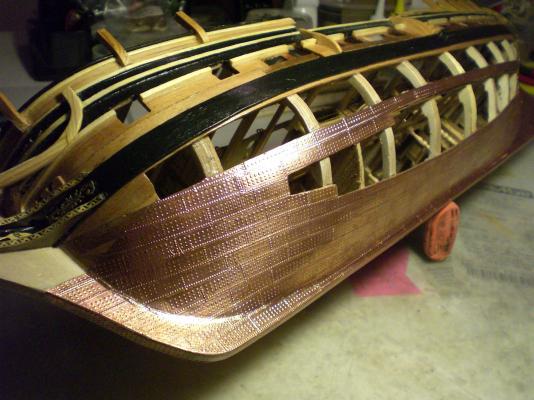
Glenn I have made quite good experience in using copper-tape as David is describing, and using a poncewheel as you mentioned, and it conforms to the hulls curves very well. If you do the copper stripes in a way of e.g. 4 or 5 "resembled plates" at a time. (length of stripes) you should be finished before you are old. And a Major Advantage is you are not Messing around with CA, ruining your fingertips...., because of well sticking tape instead. The ponced copper surface can be flattend off a bit afterwards, before the tape strips are put on. Have a look below and see what I mean Nils

- 31 replies
-
- 14
-

-
OK, see what I can do about it..., David,hope you`ll enjoy These logs just as well as they come in... Nils
-
David, please help me along.... why must that poor animal? (glotton) be punished, smile..., I probably did`nt quite get it, I know I need punishment sometimes but thats a different Story... Nils
-
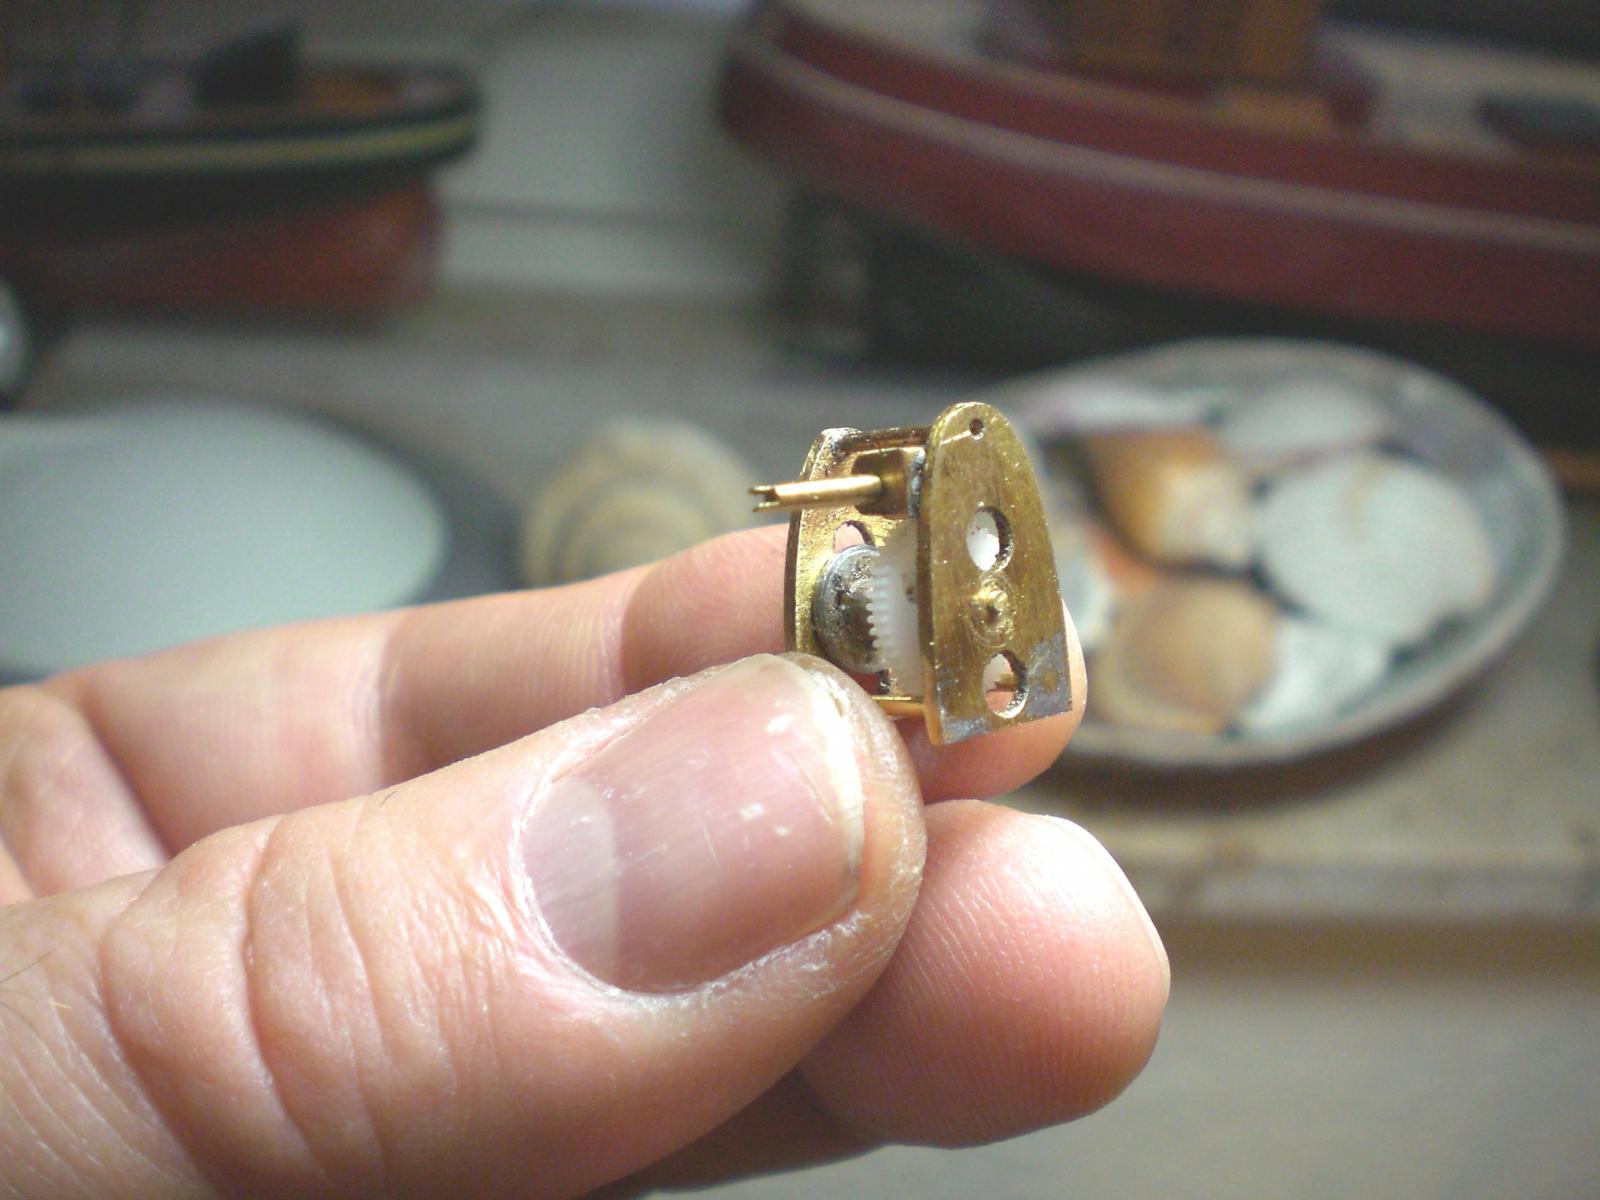
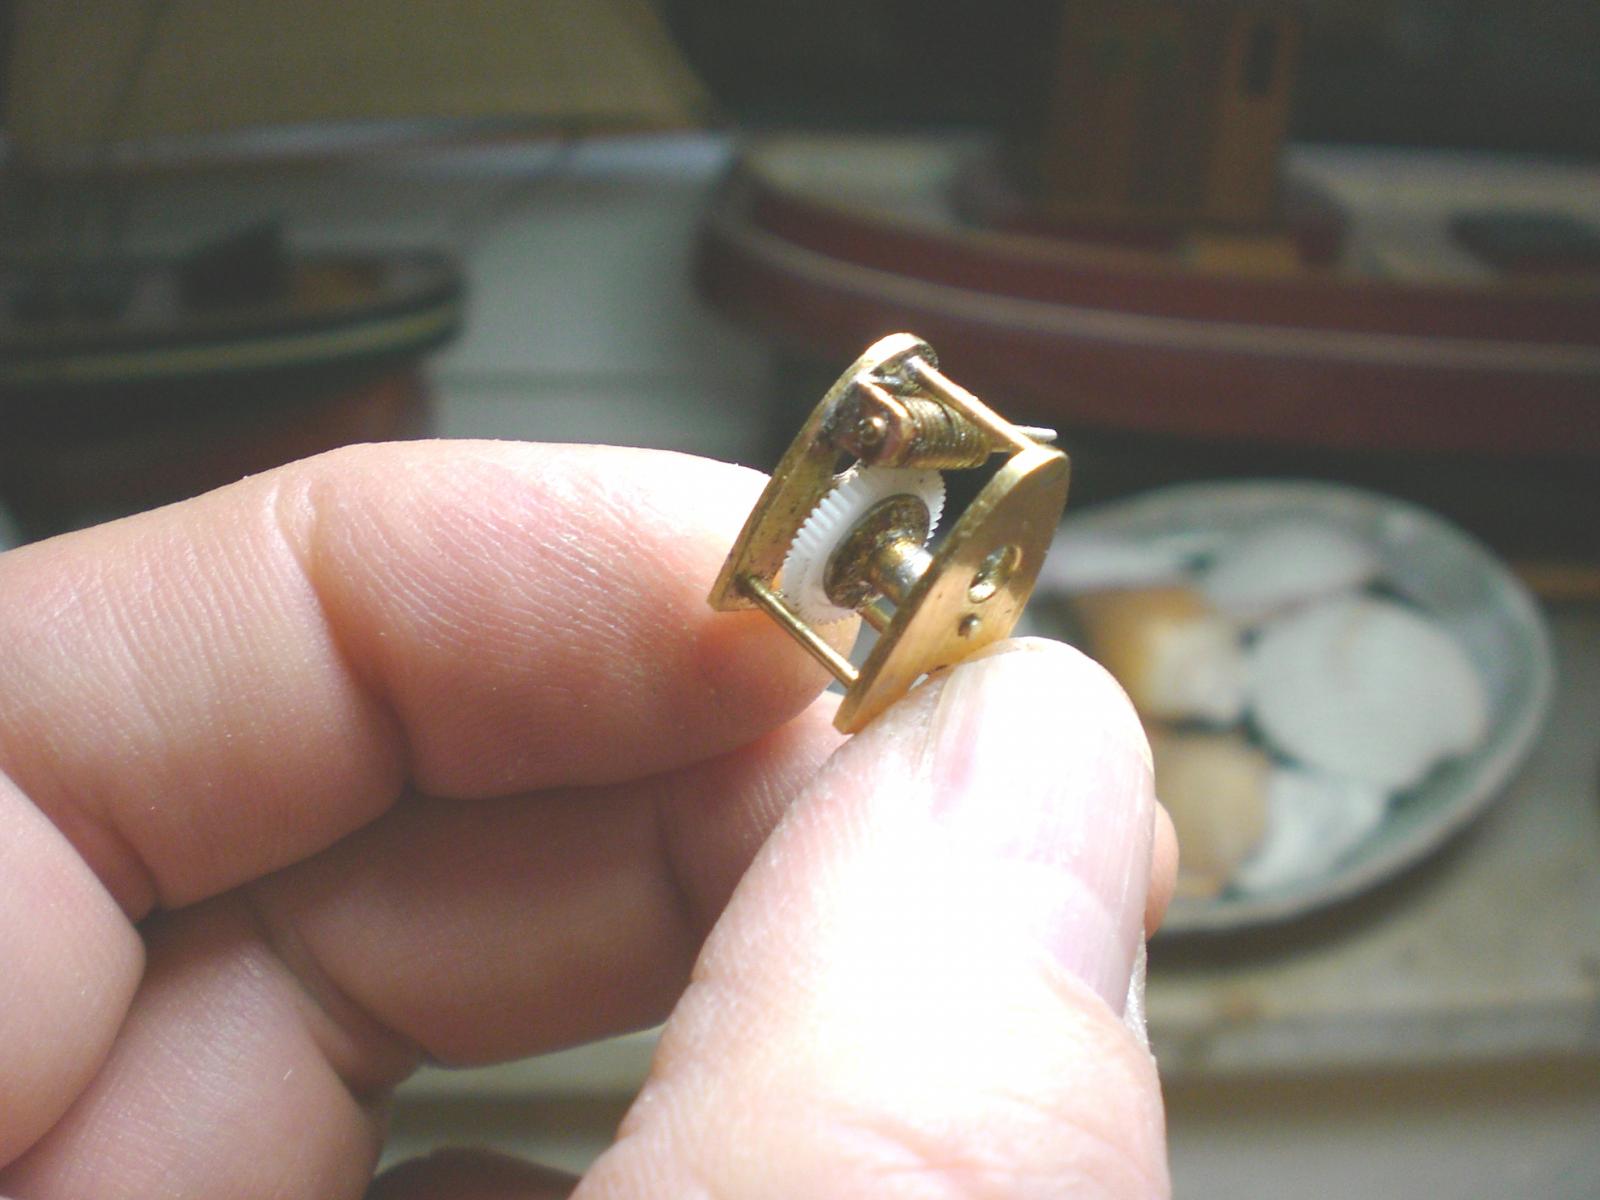
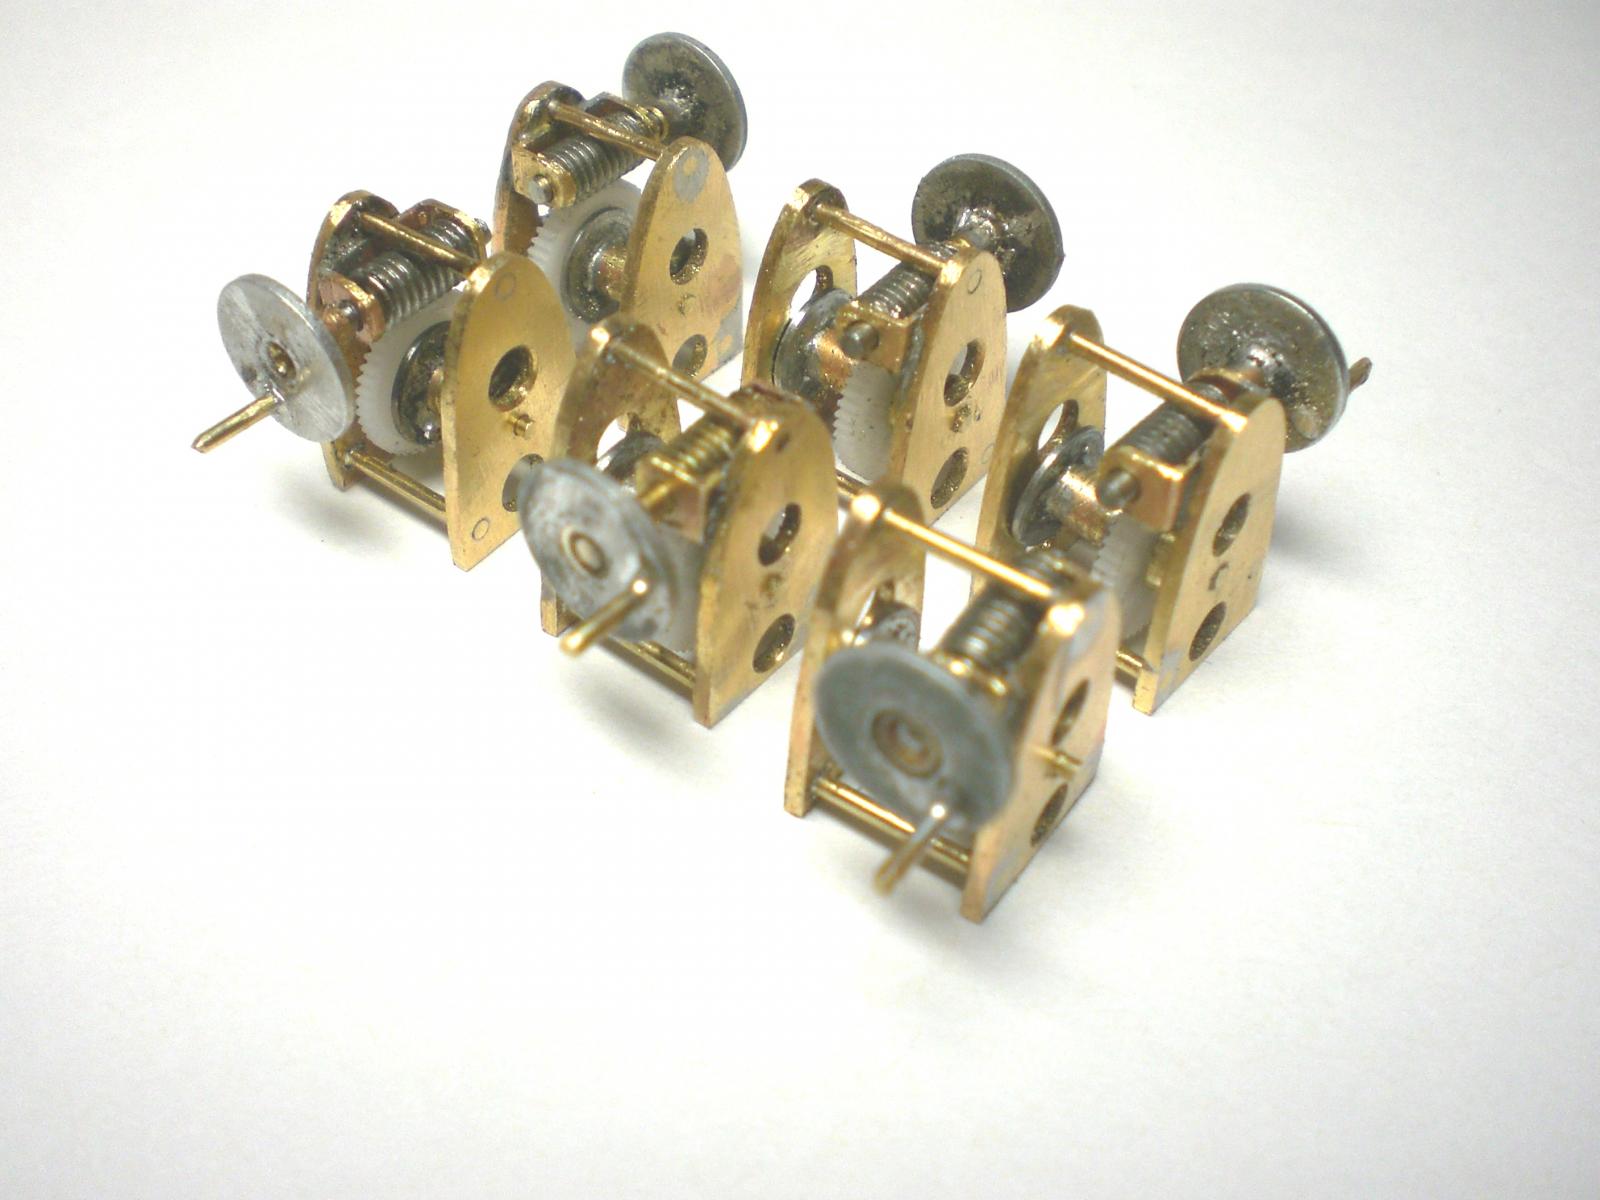
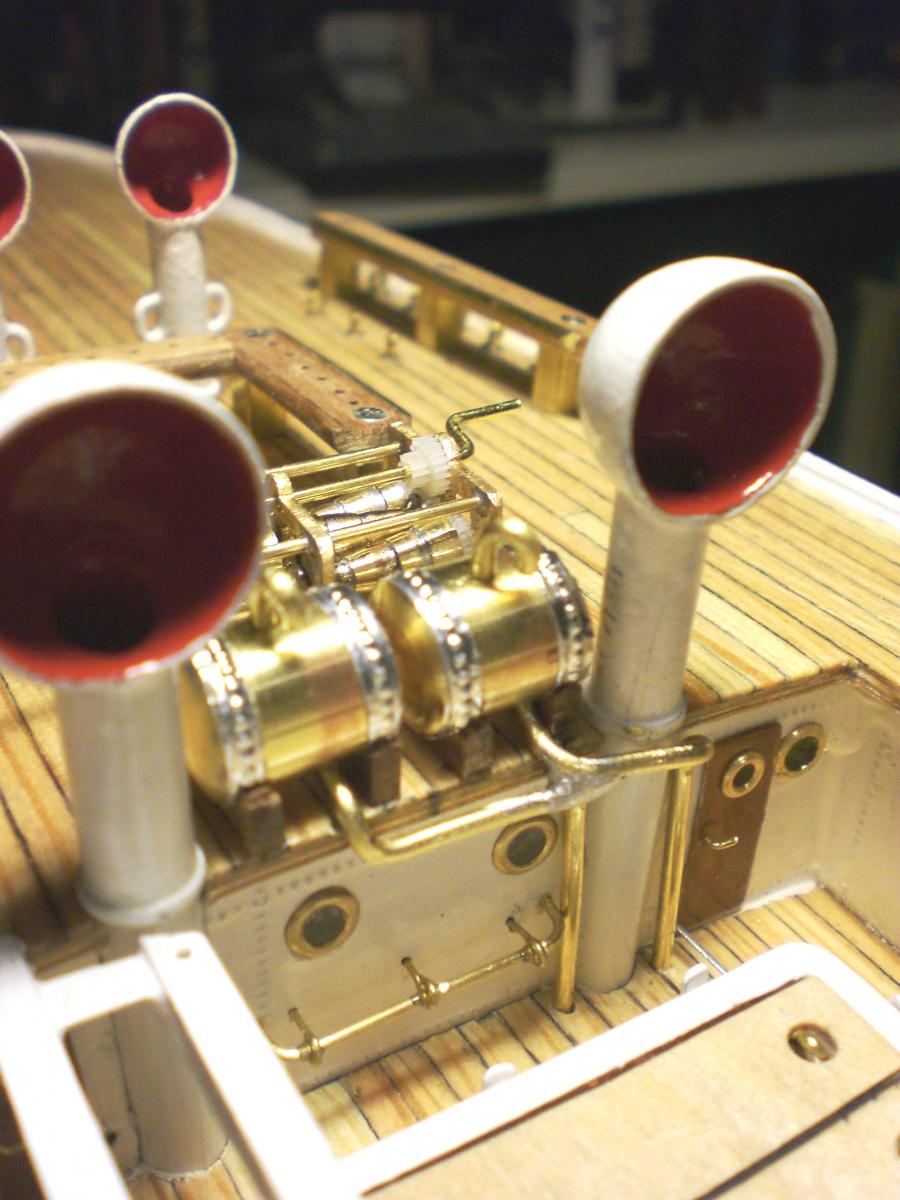
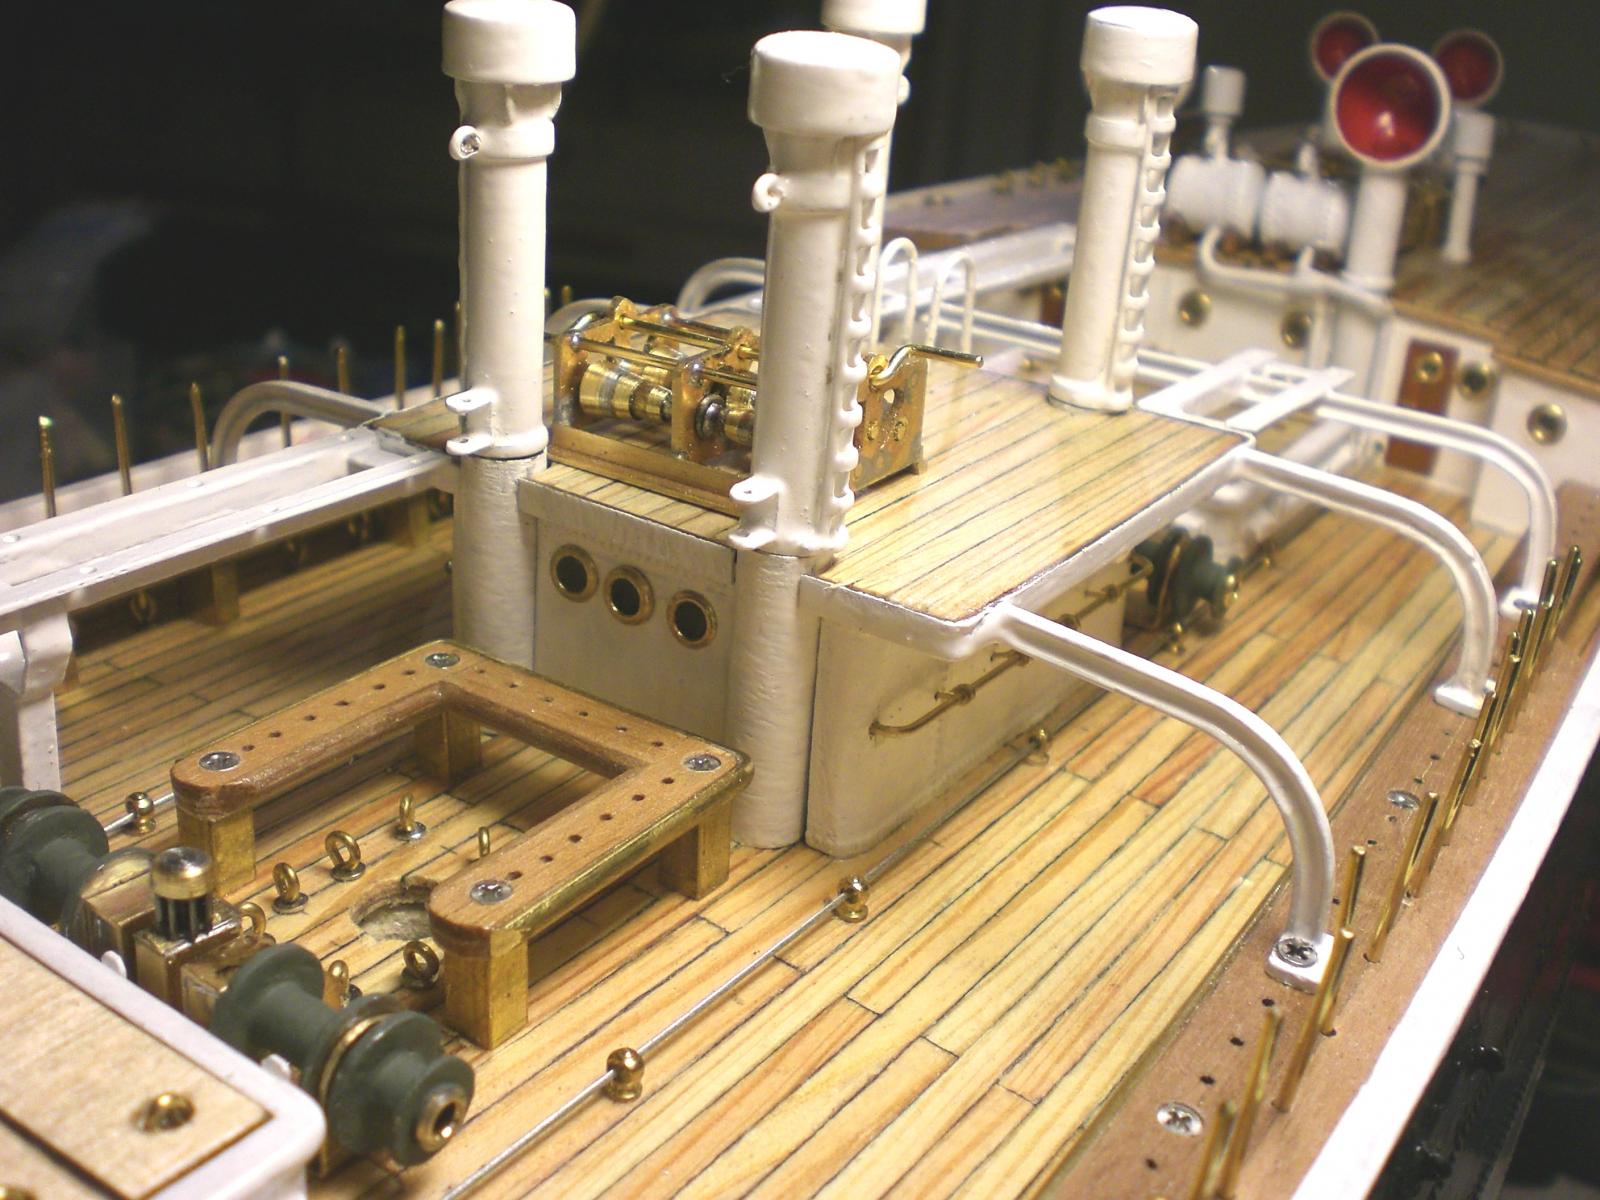
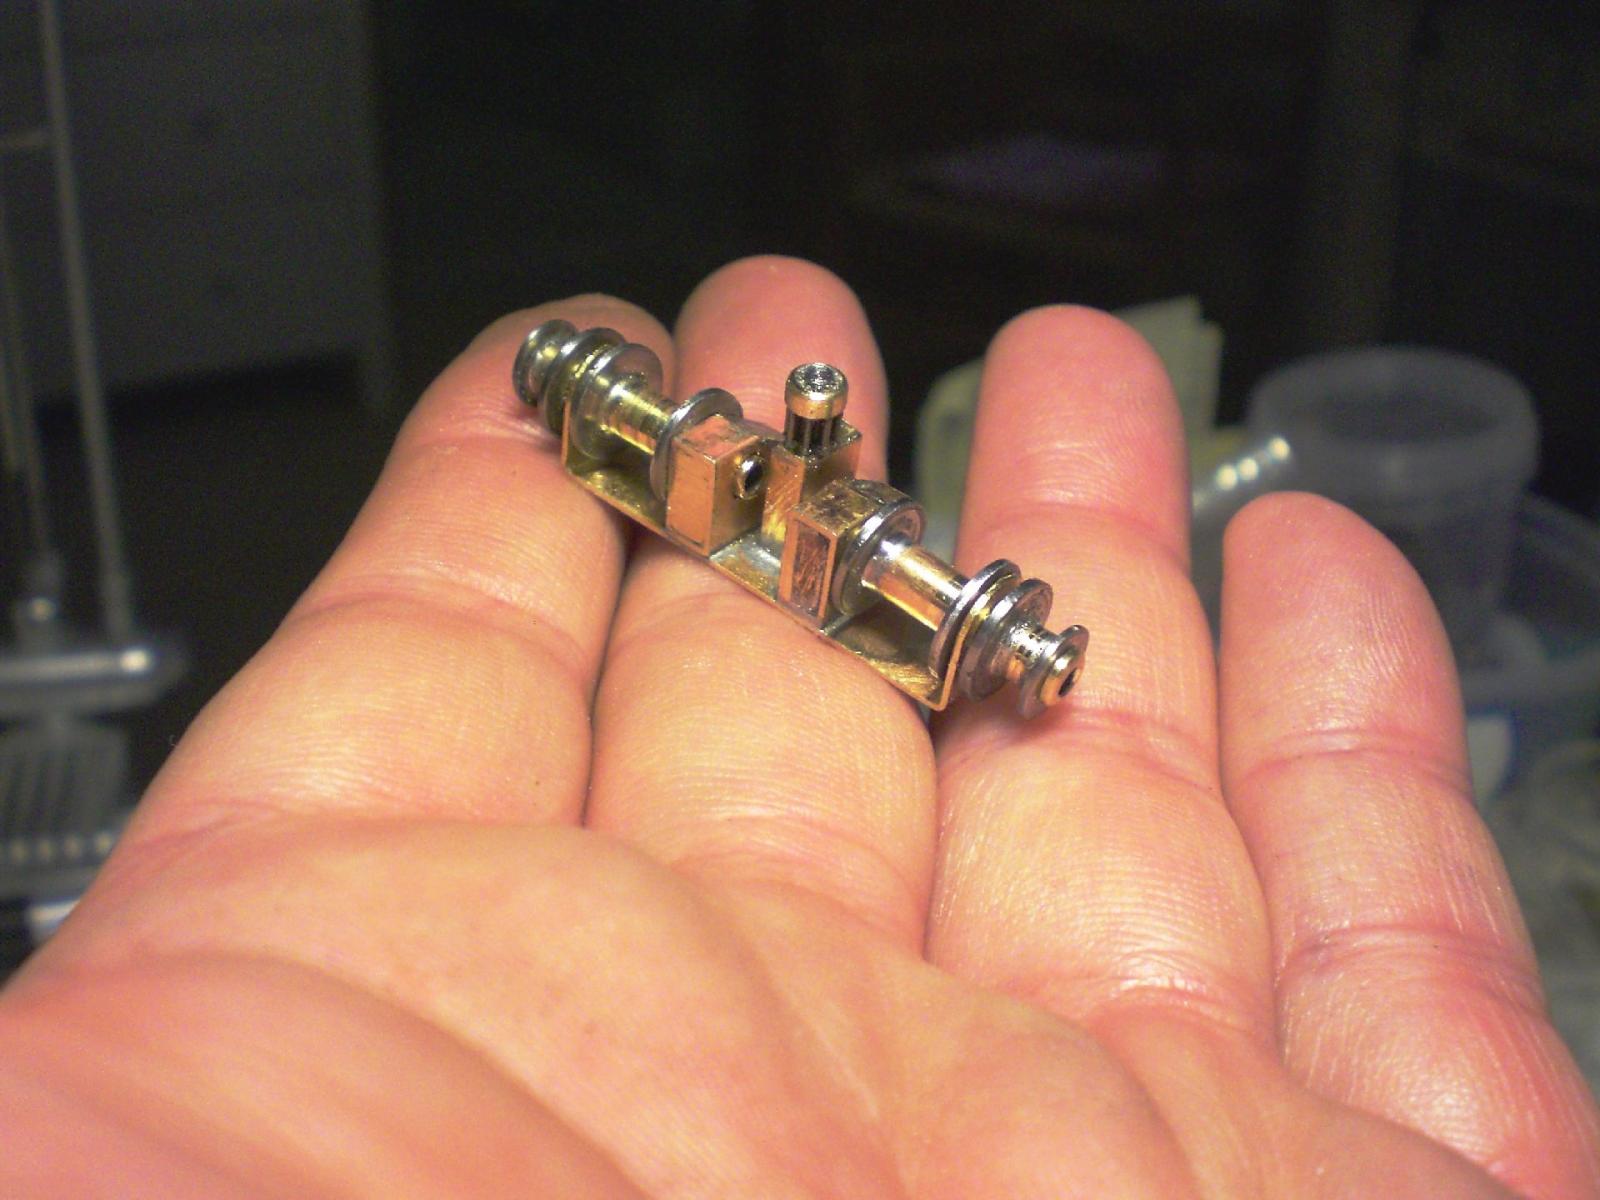
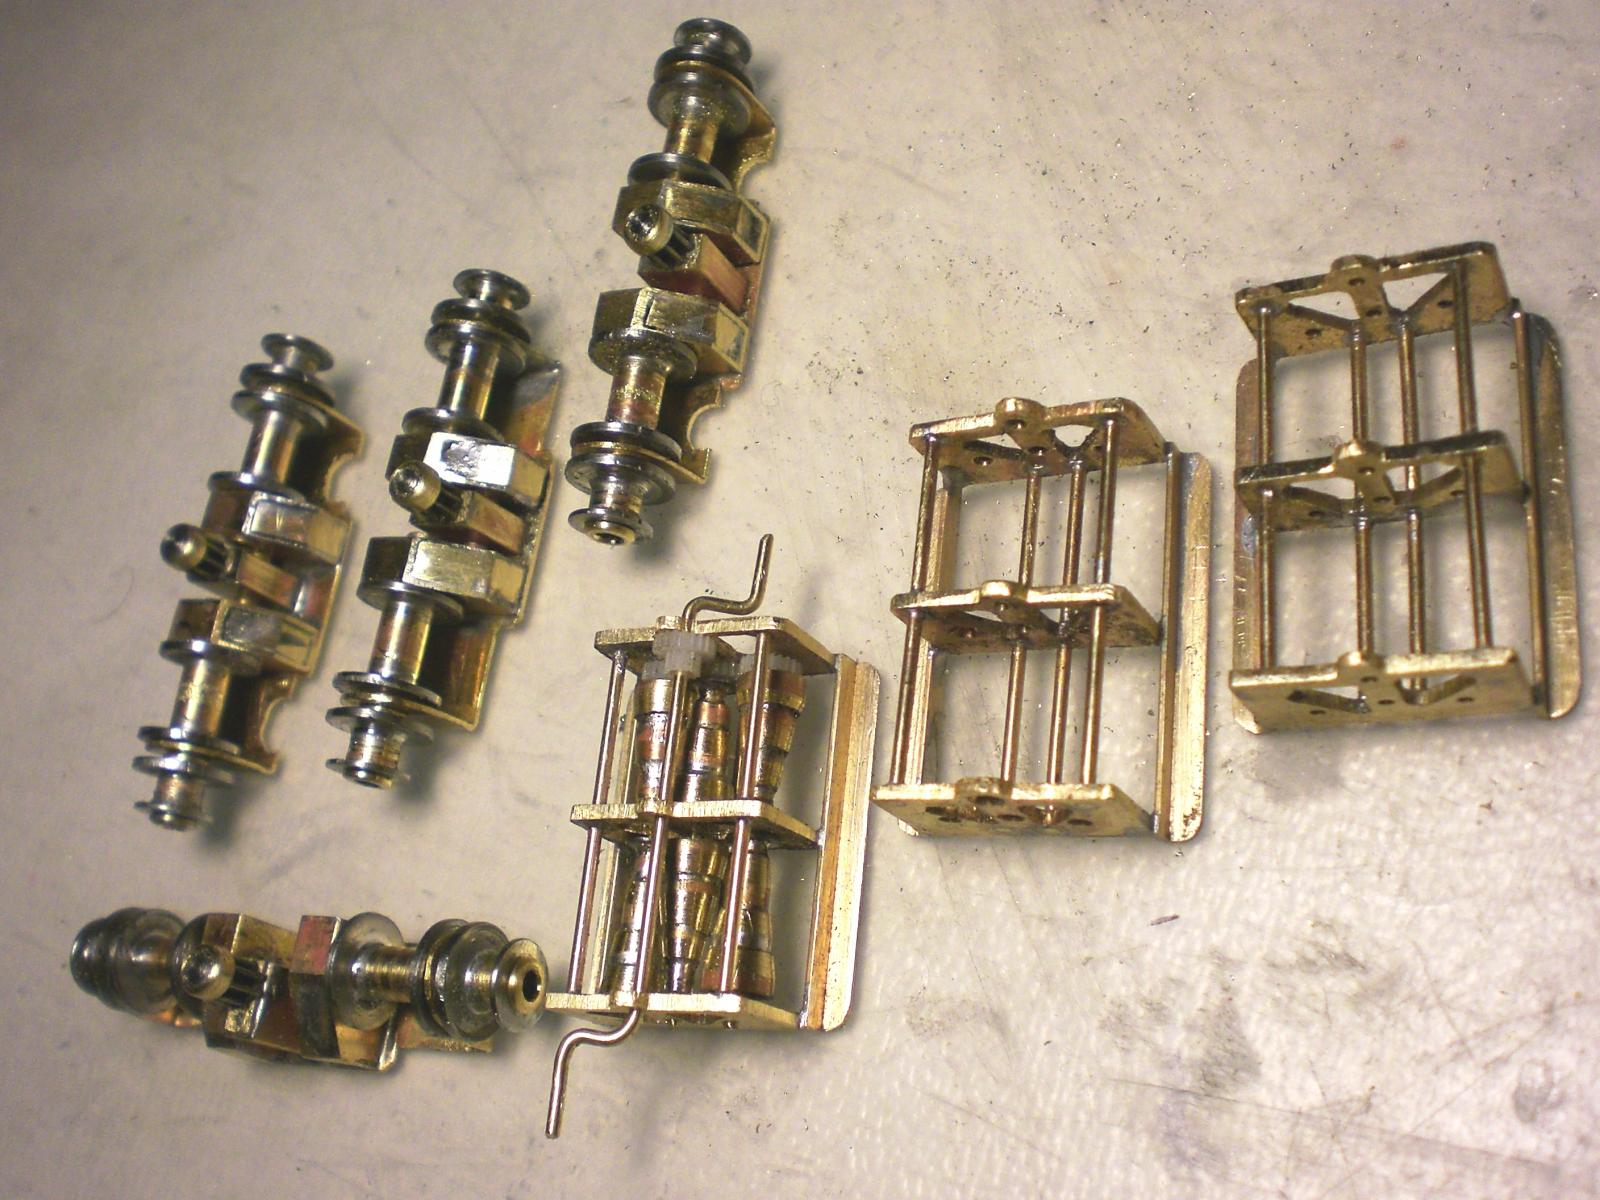
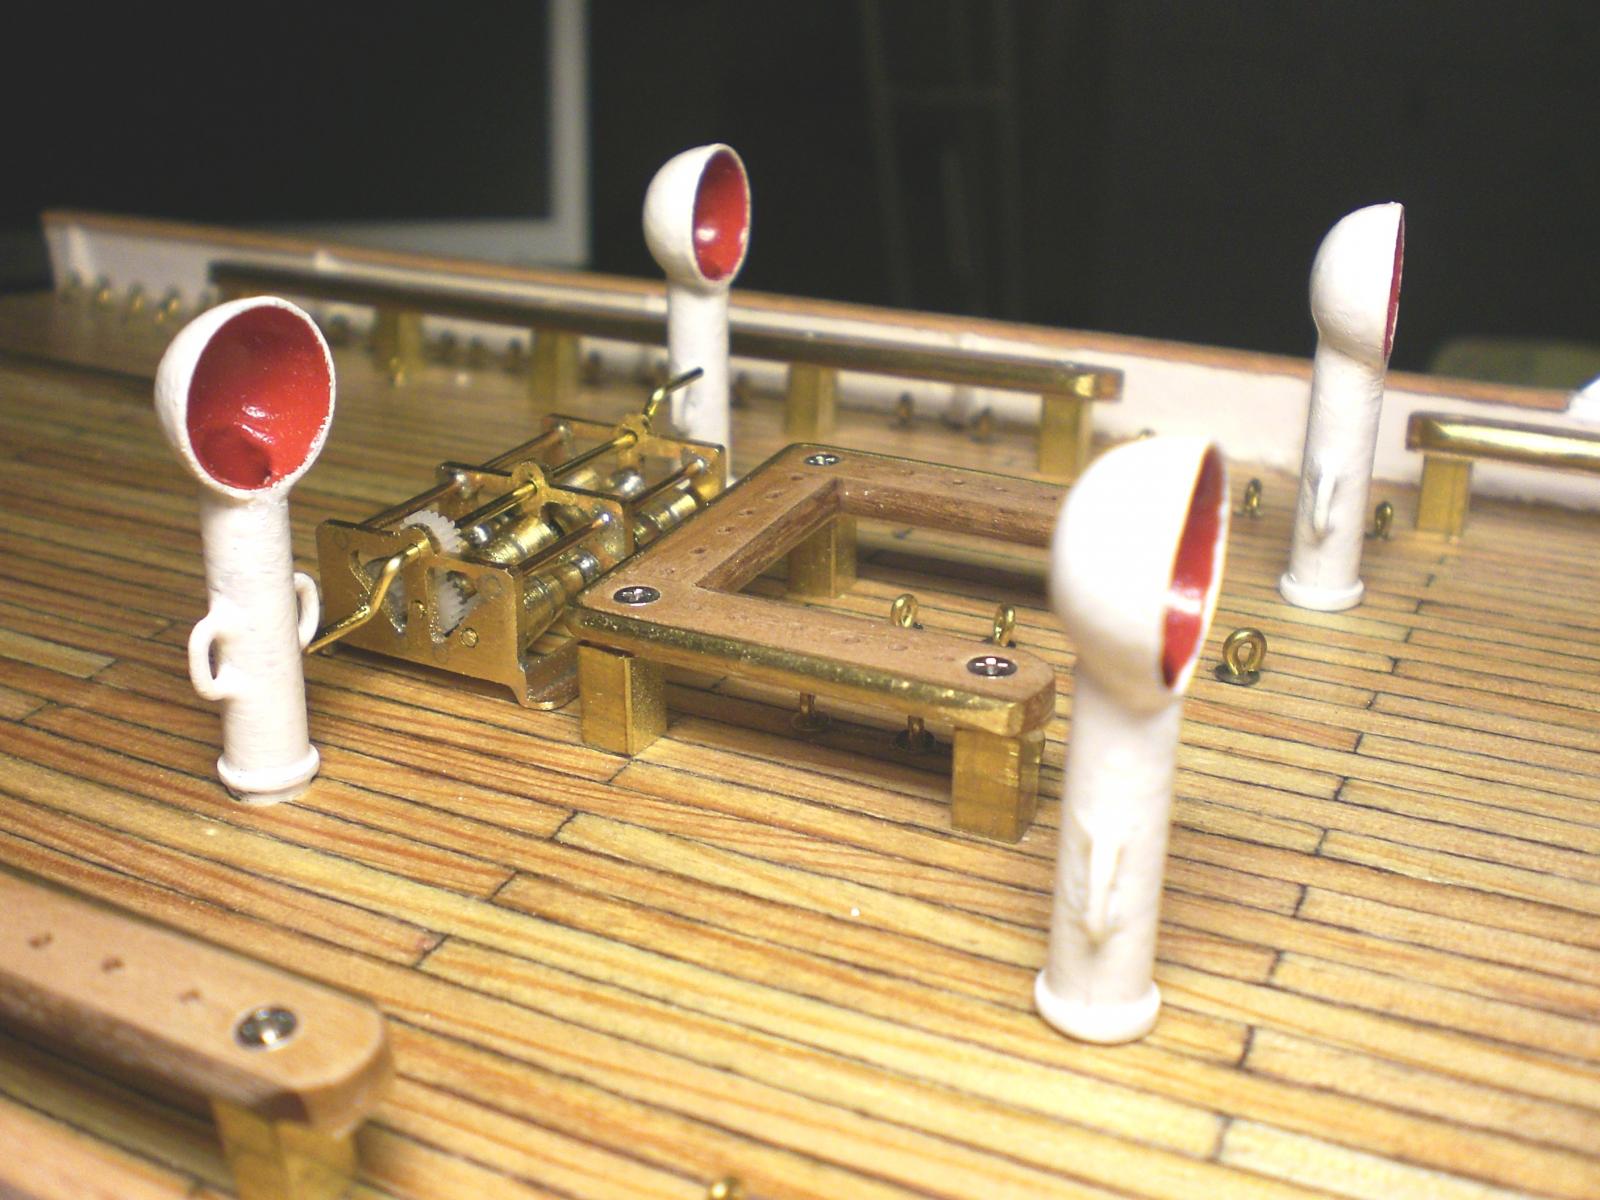
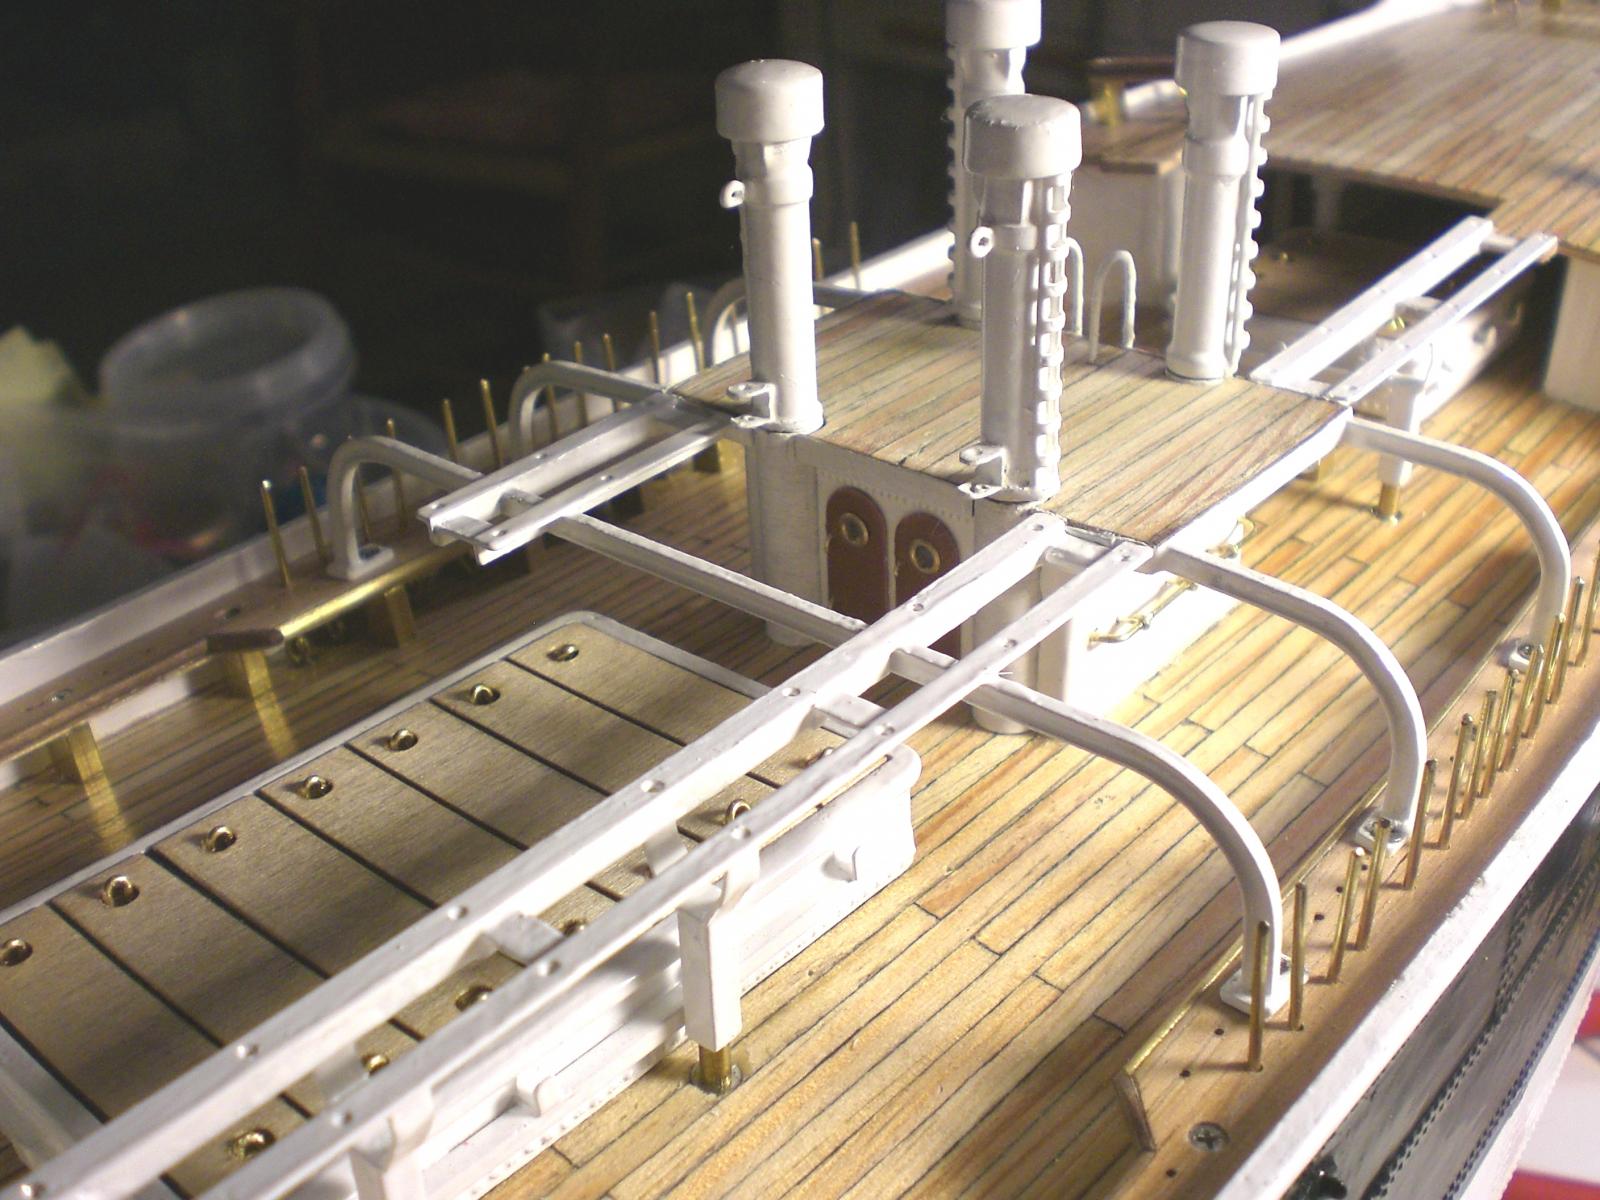
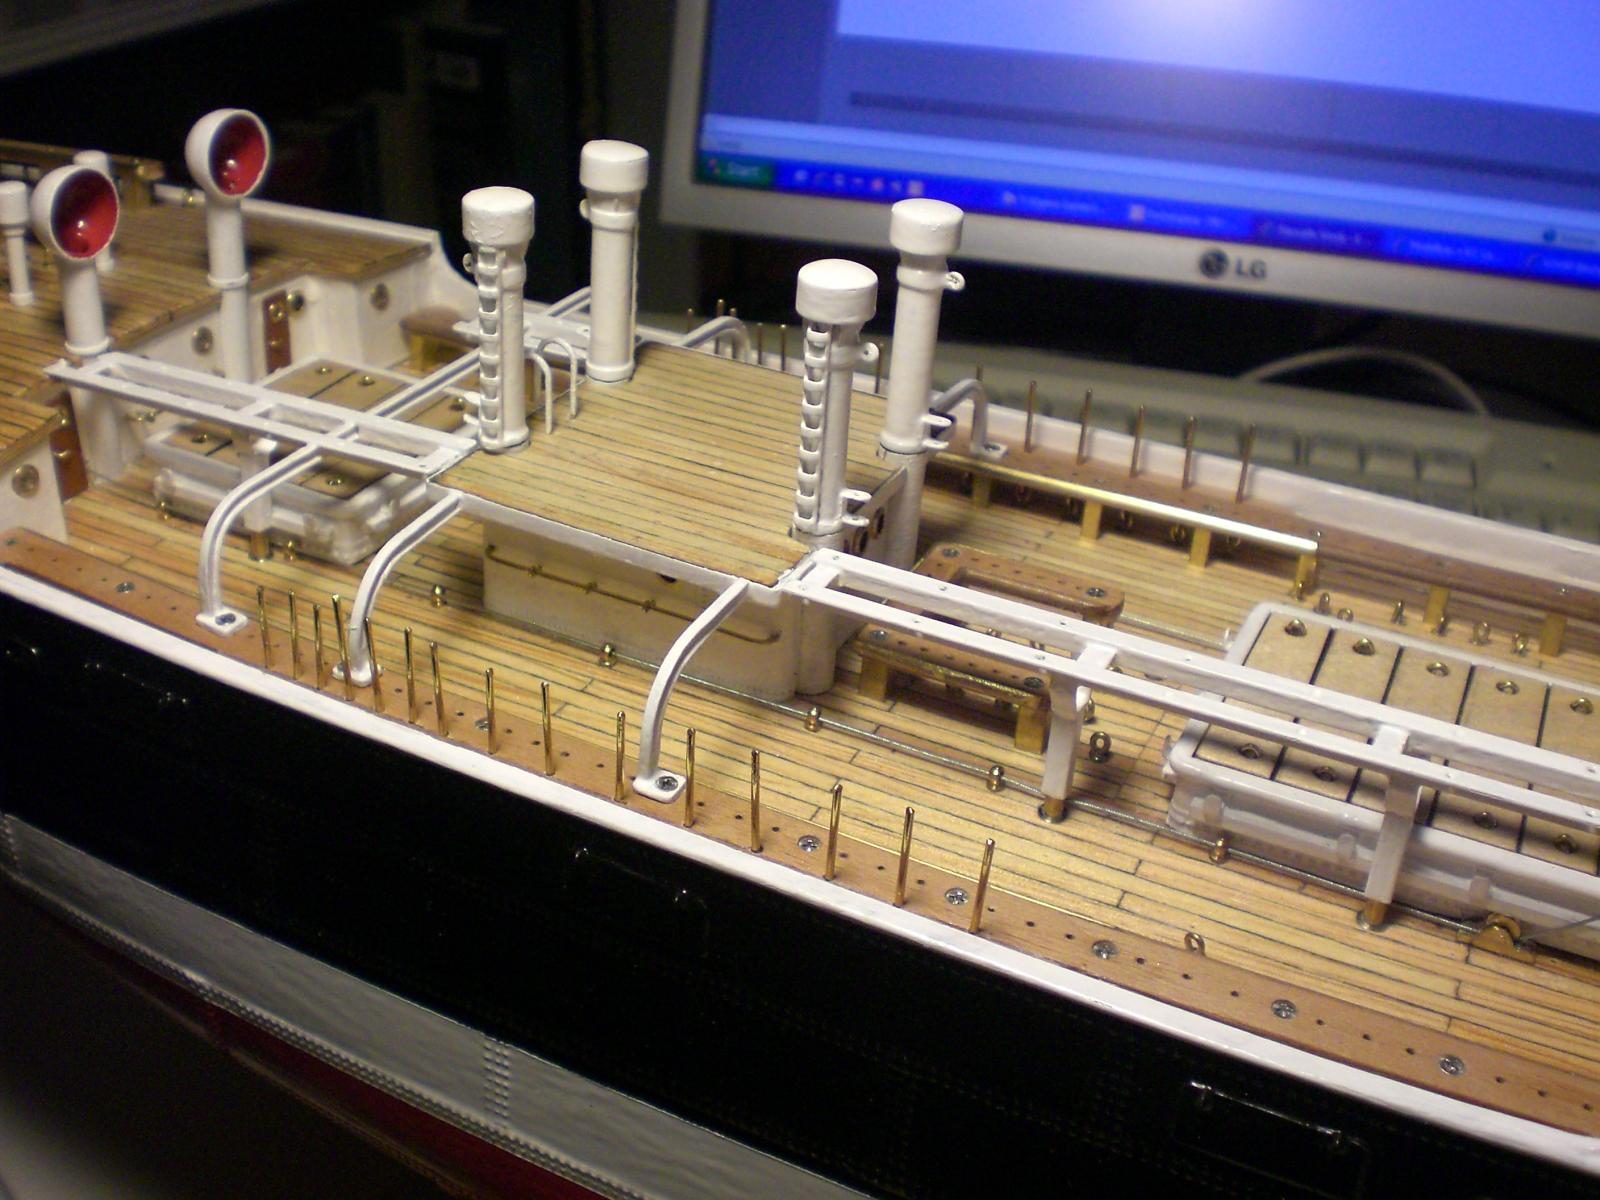
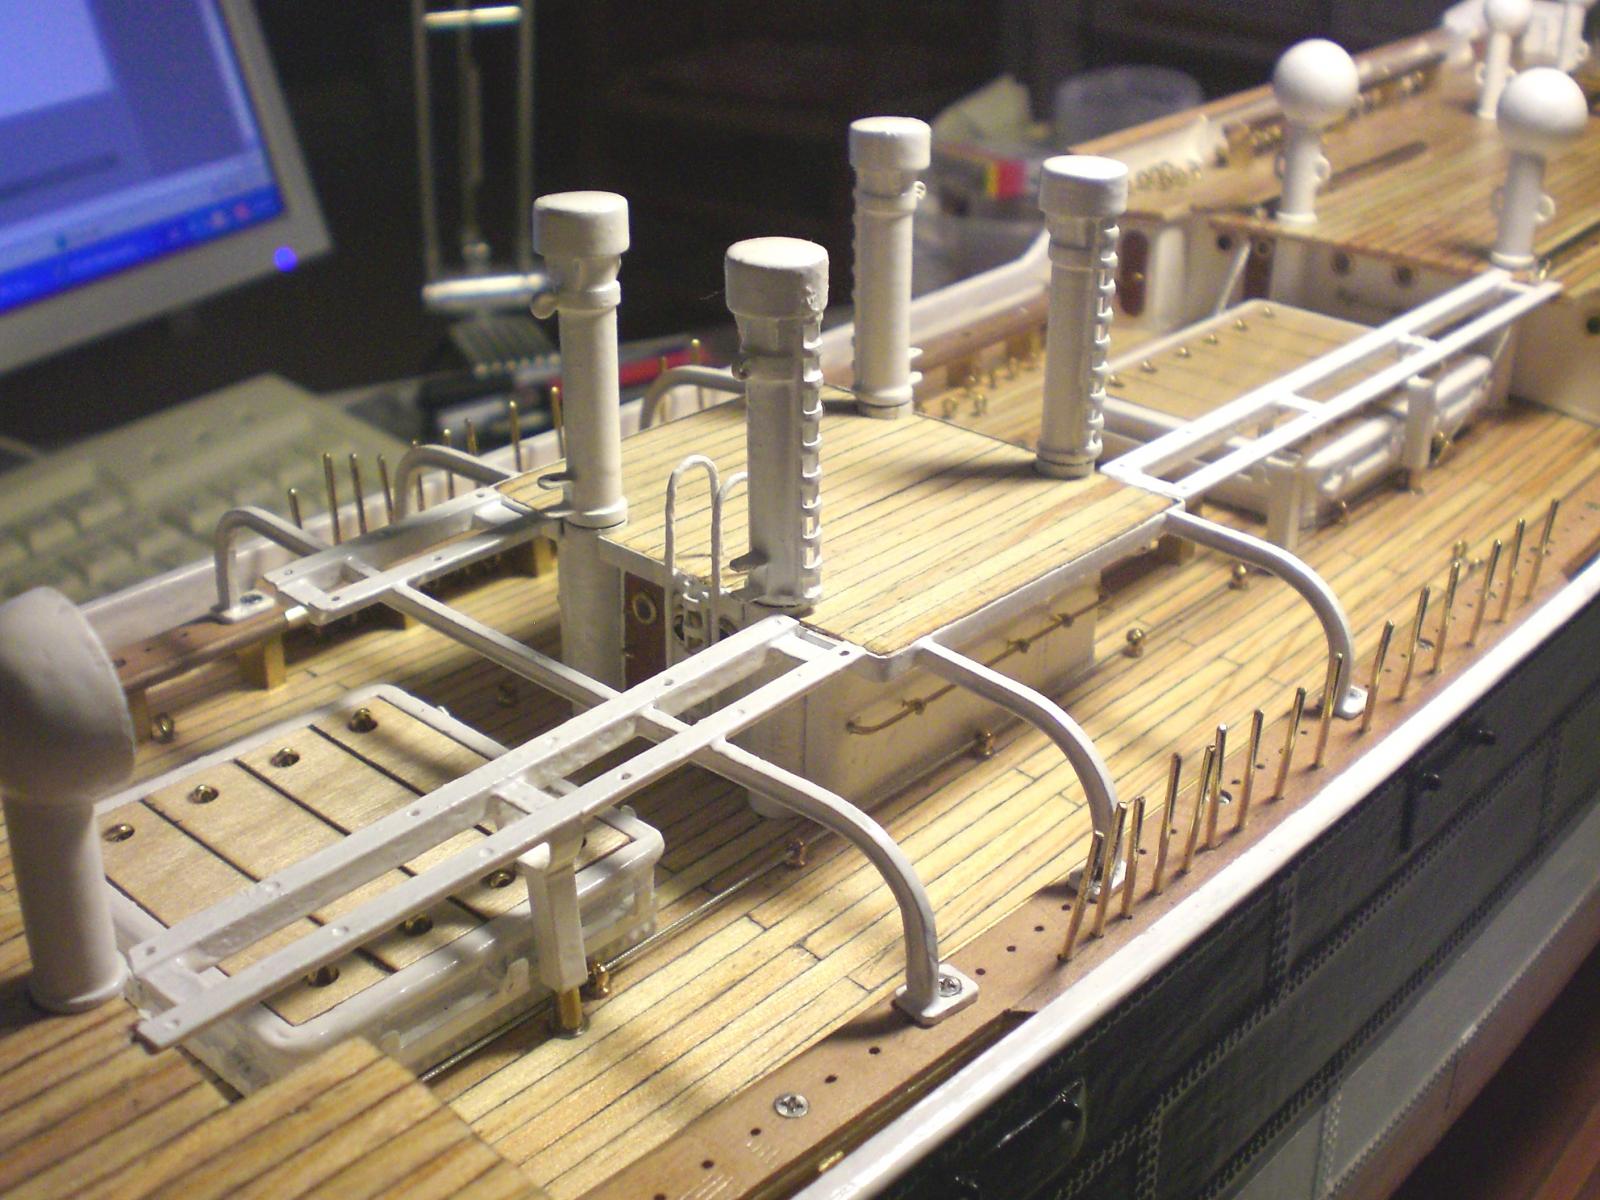
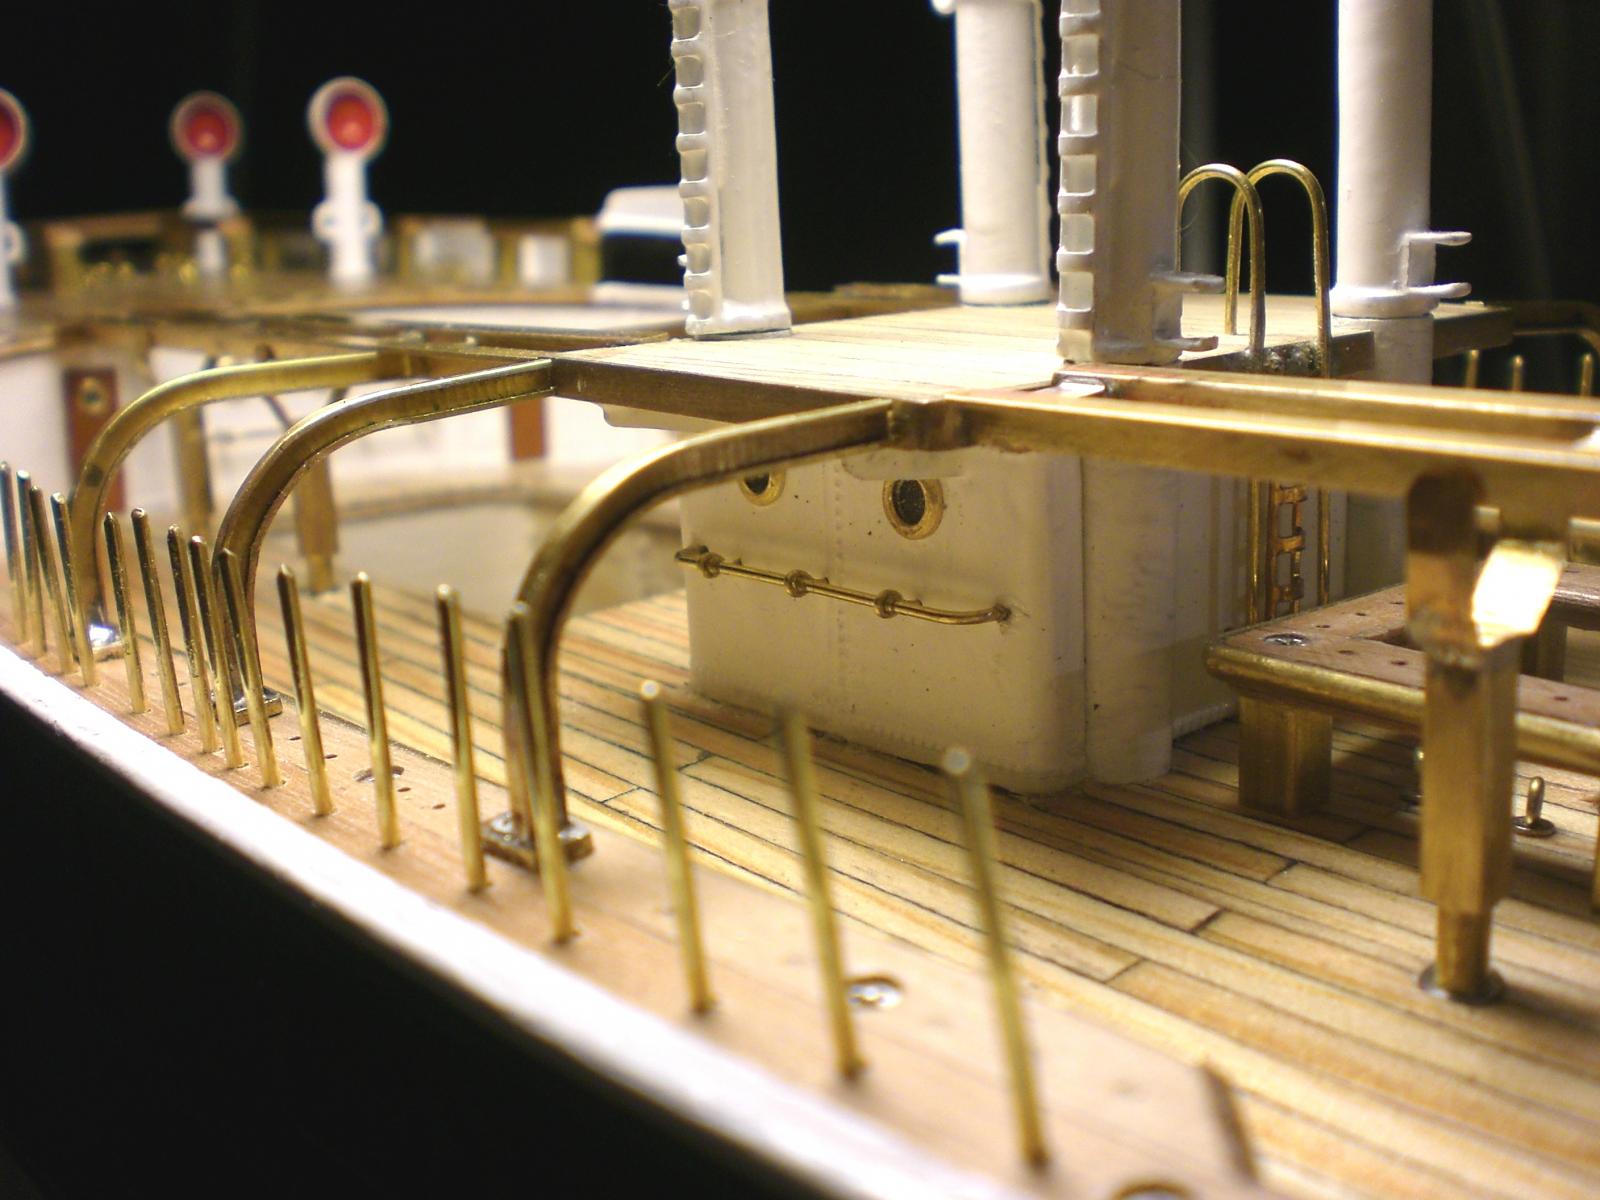
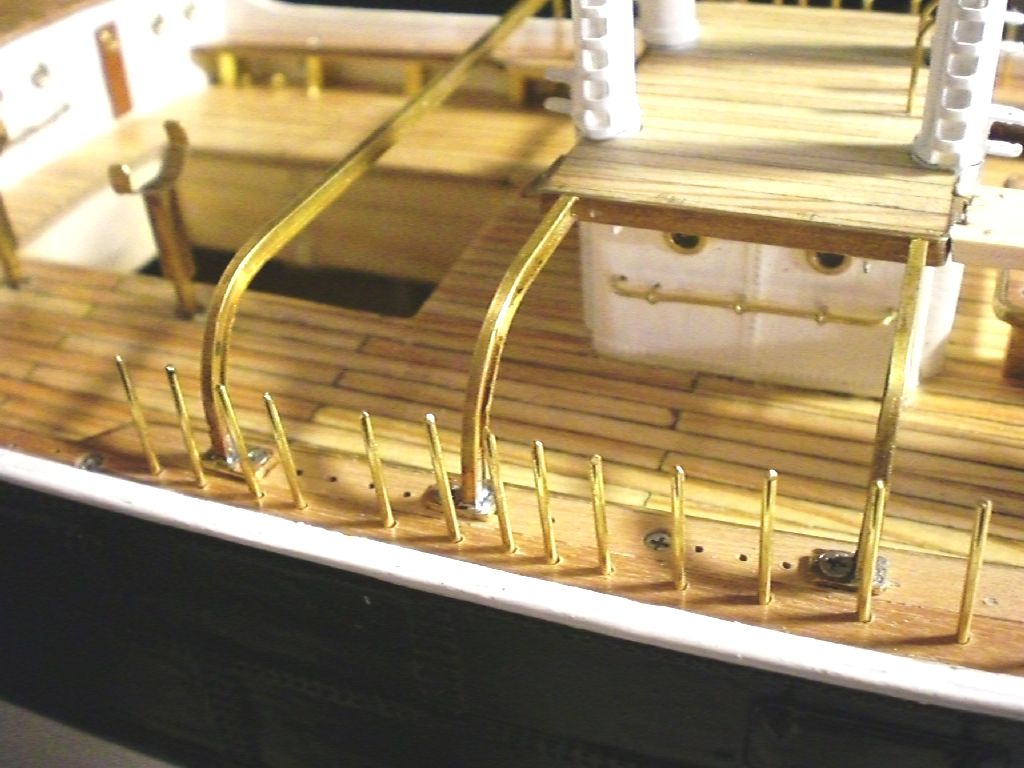
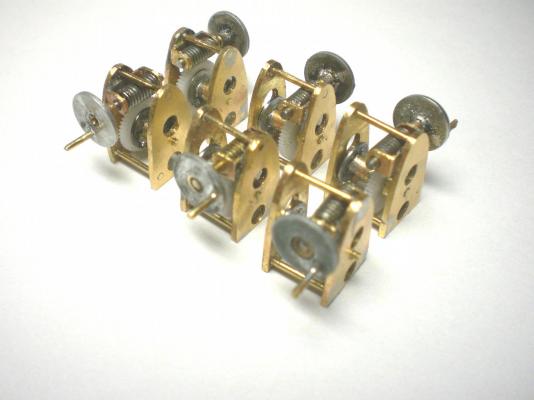
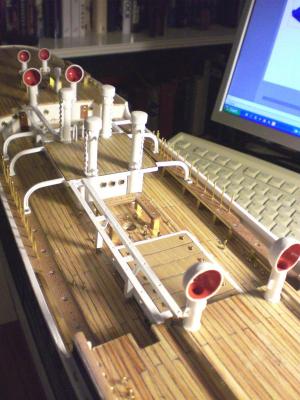
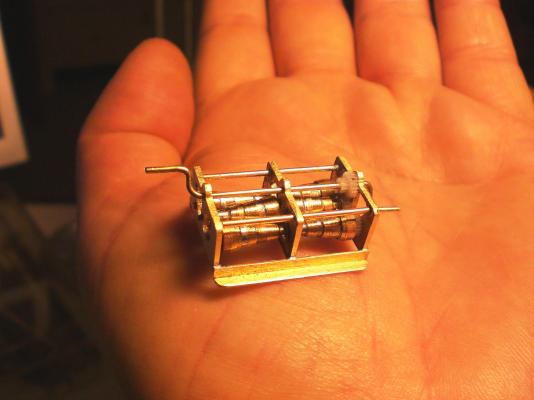
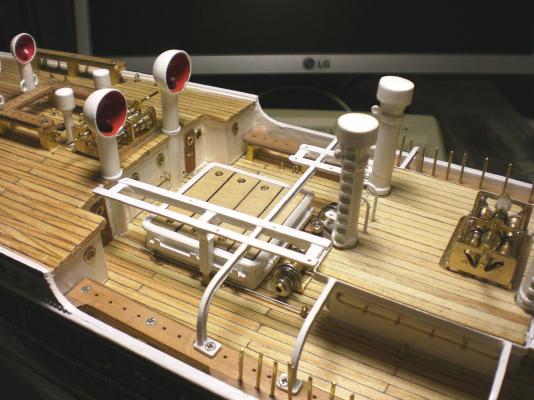
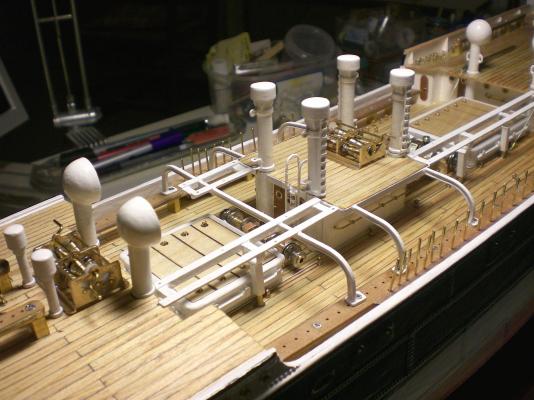
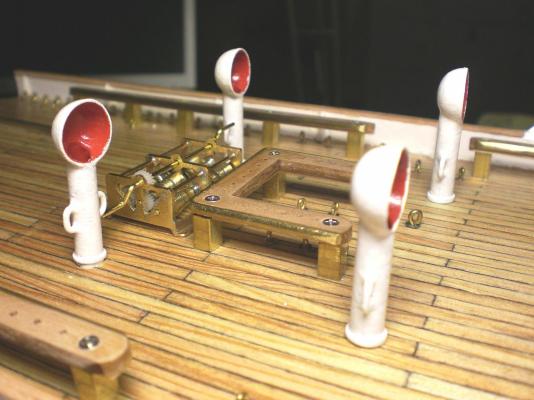
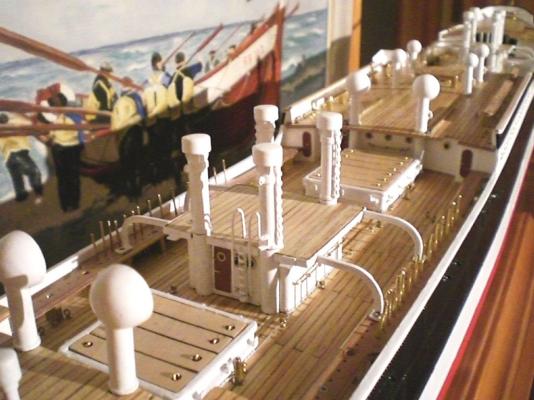
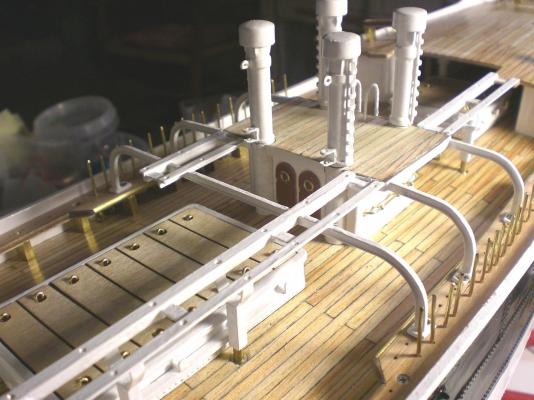
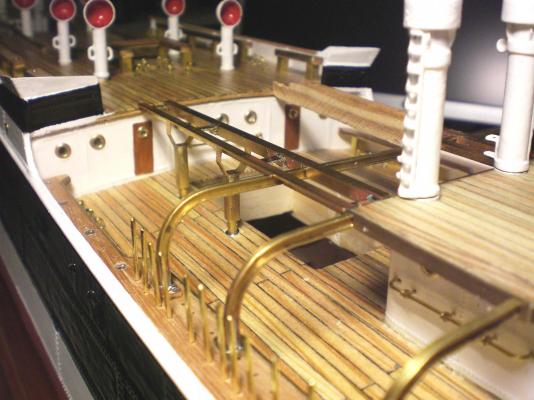
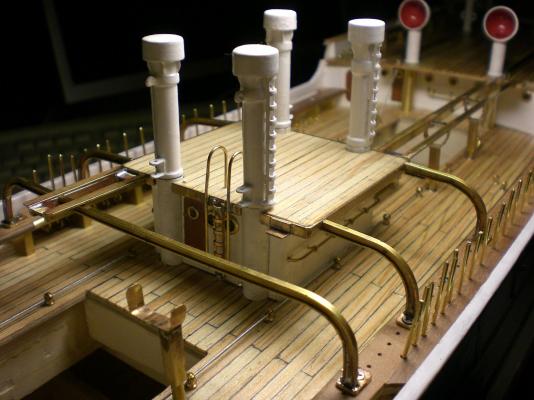
Build log part 19 time to think about the booat cradles Navigation light Towers mounted the rear Davits (front boat Davit) are mounted to the highdeck bulkhead and go through the welldeck pinrack looking foreward from above view here come the self braking wormgear winches for Yard hoisting and lowering six of those wormgear required, here handwheels mounted, the wormshaft made from a screw with the same pitch as the toothwheel has. Gear reduction 40:1 again the three Jarvis winches and the Motor winches I shall probably post the work beginning with the masts and Yards next.... Build log part 20 to follow


-
Am using neighther the one or the other David, all "lathing" cutting and symetrical shaping to the centerline is done with rotating electronic Speed controlled Handdrill,clamped for horizontal mounting, and a small metal blade handsaw and several differnt shaped files. All cutting out of brass sheet and -plate is done with my good old jig saw, and for all the remaining I use simple key-files, drills and sanding paper. I know it Sounds a Little oldfashioned, but it worked well on all the models I made to date. Nils
-
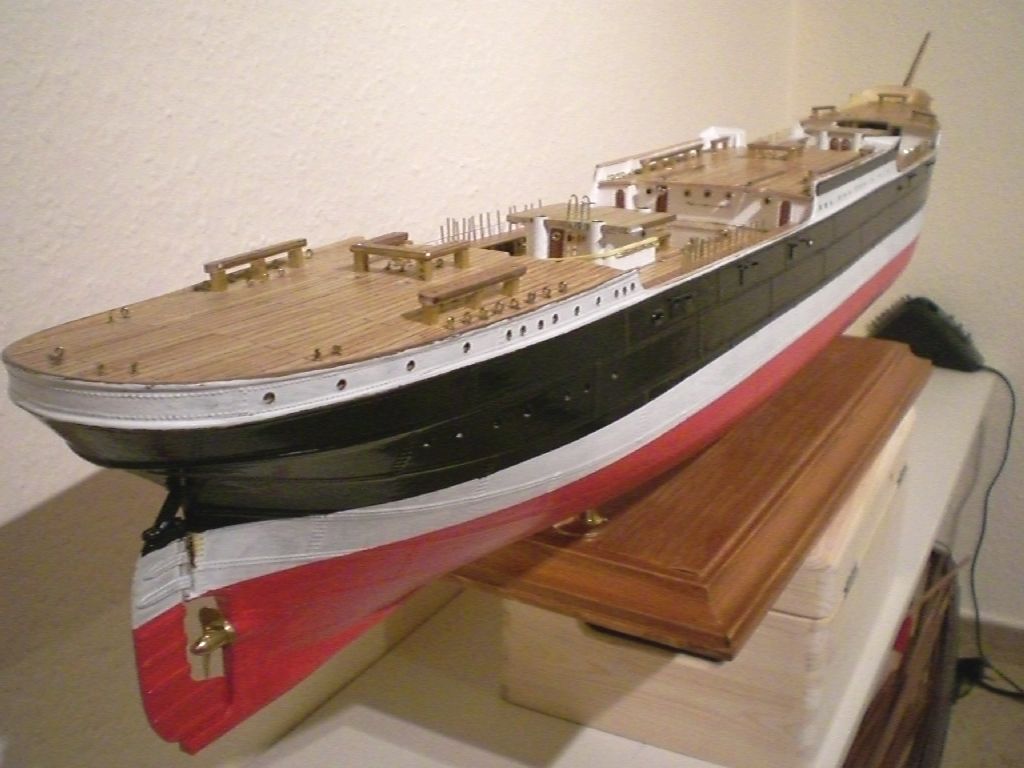
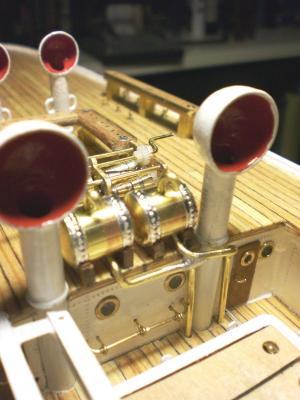
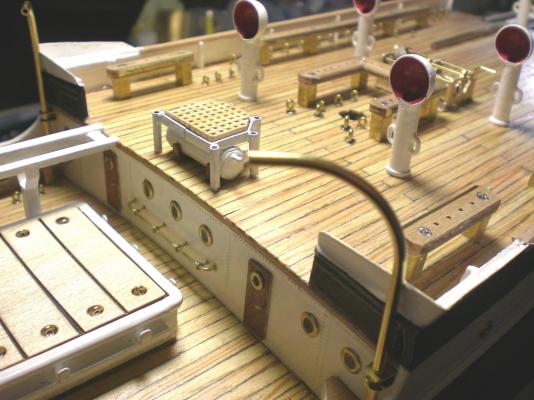
Build log part 18 eletric Motor cooling ribs made from a small gear pinion one can already imagine how "crowded" the deck became after the changes in 1951 set of winches (the three hoisting / lowering wormgear winches to verticaly move the Yards follow a bit later on) here the tanks for cold fresh water and warm water with connected discharge pipes poopdeck tanks painted Forward welldeck Davit bearings, pantry`s watertank and compas platform mounted Nav. light Towers that go to the forecastle deck Build log part 19 to follow.... Nils


-
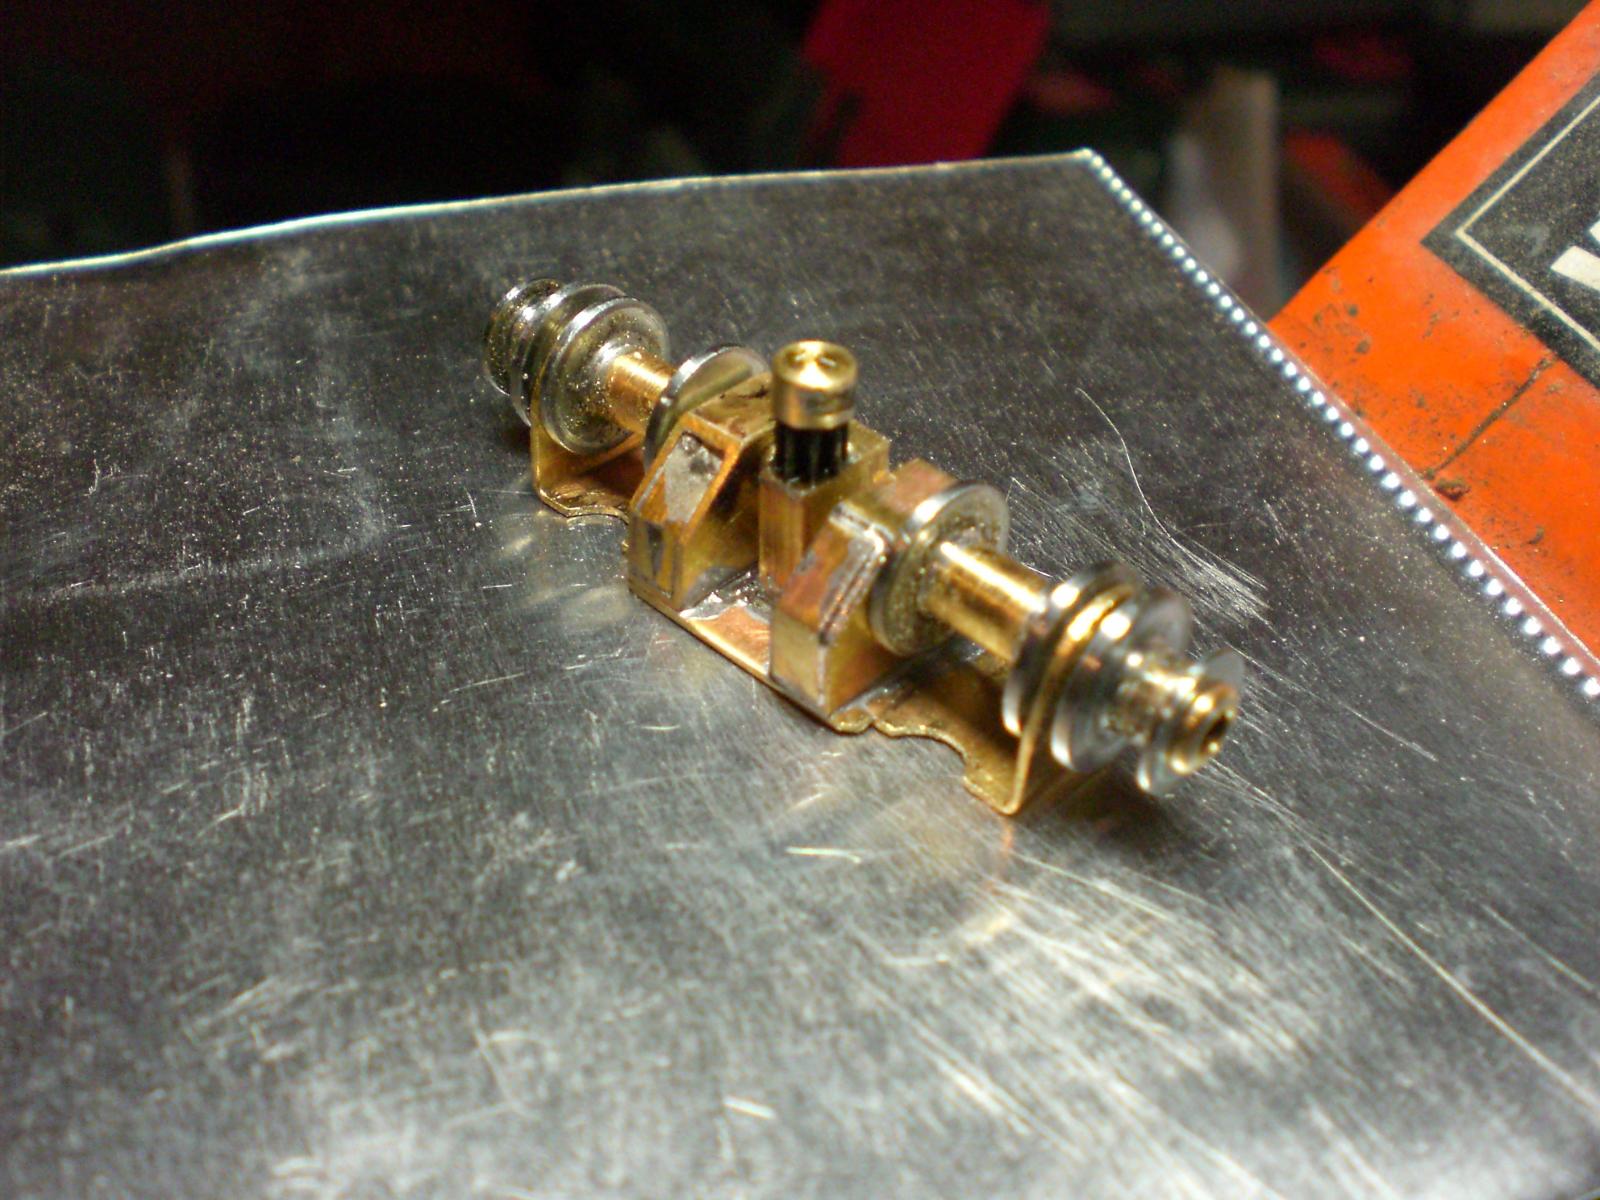
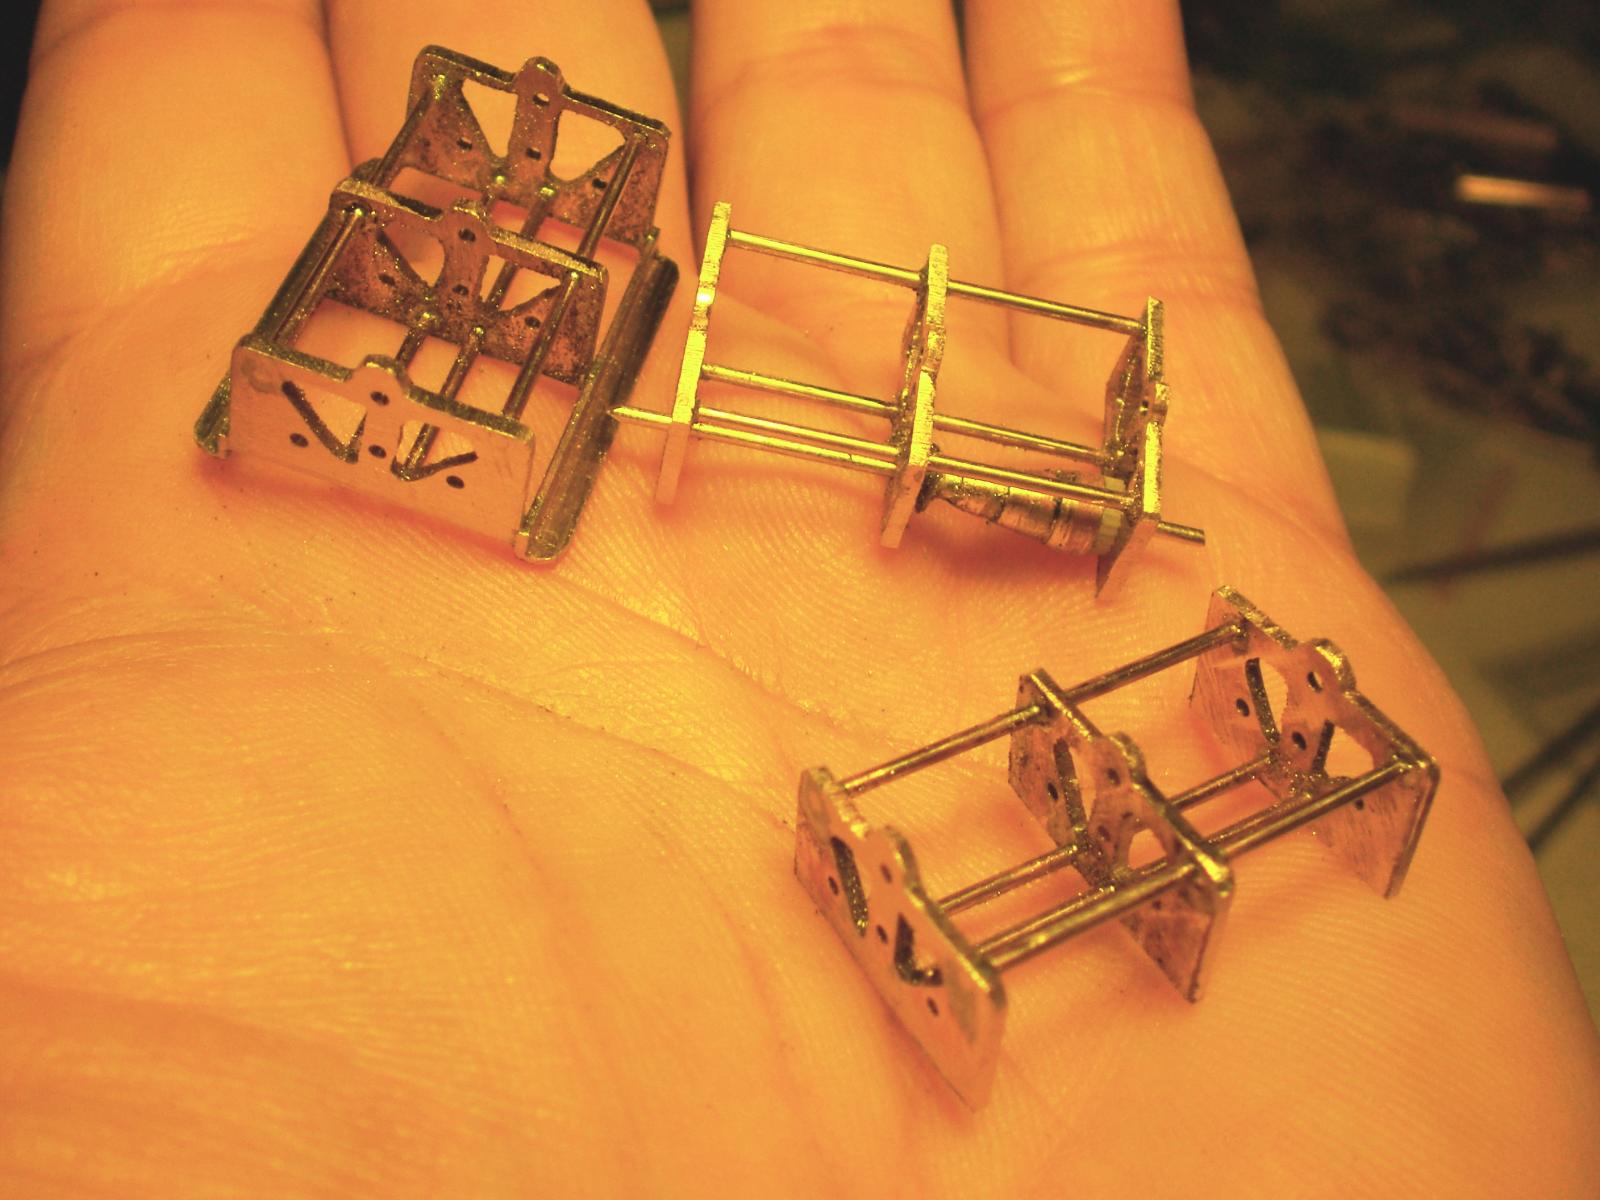
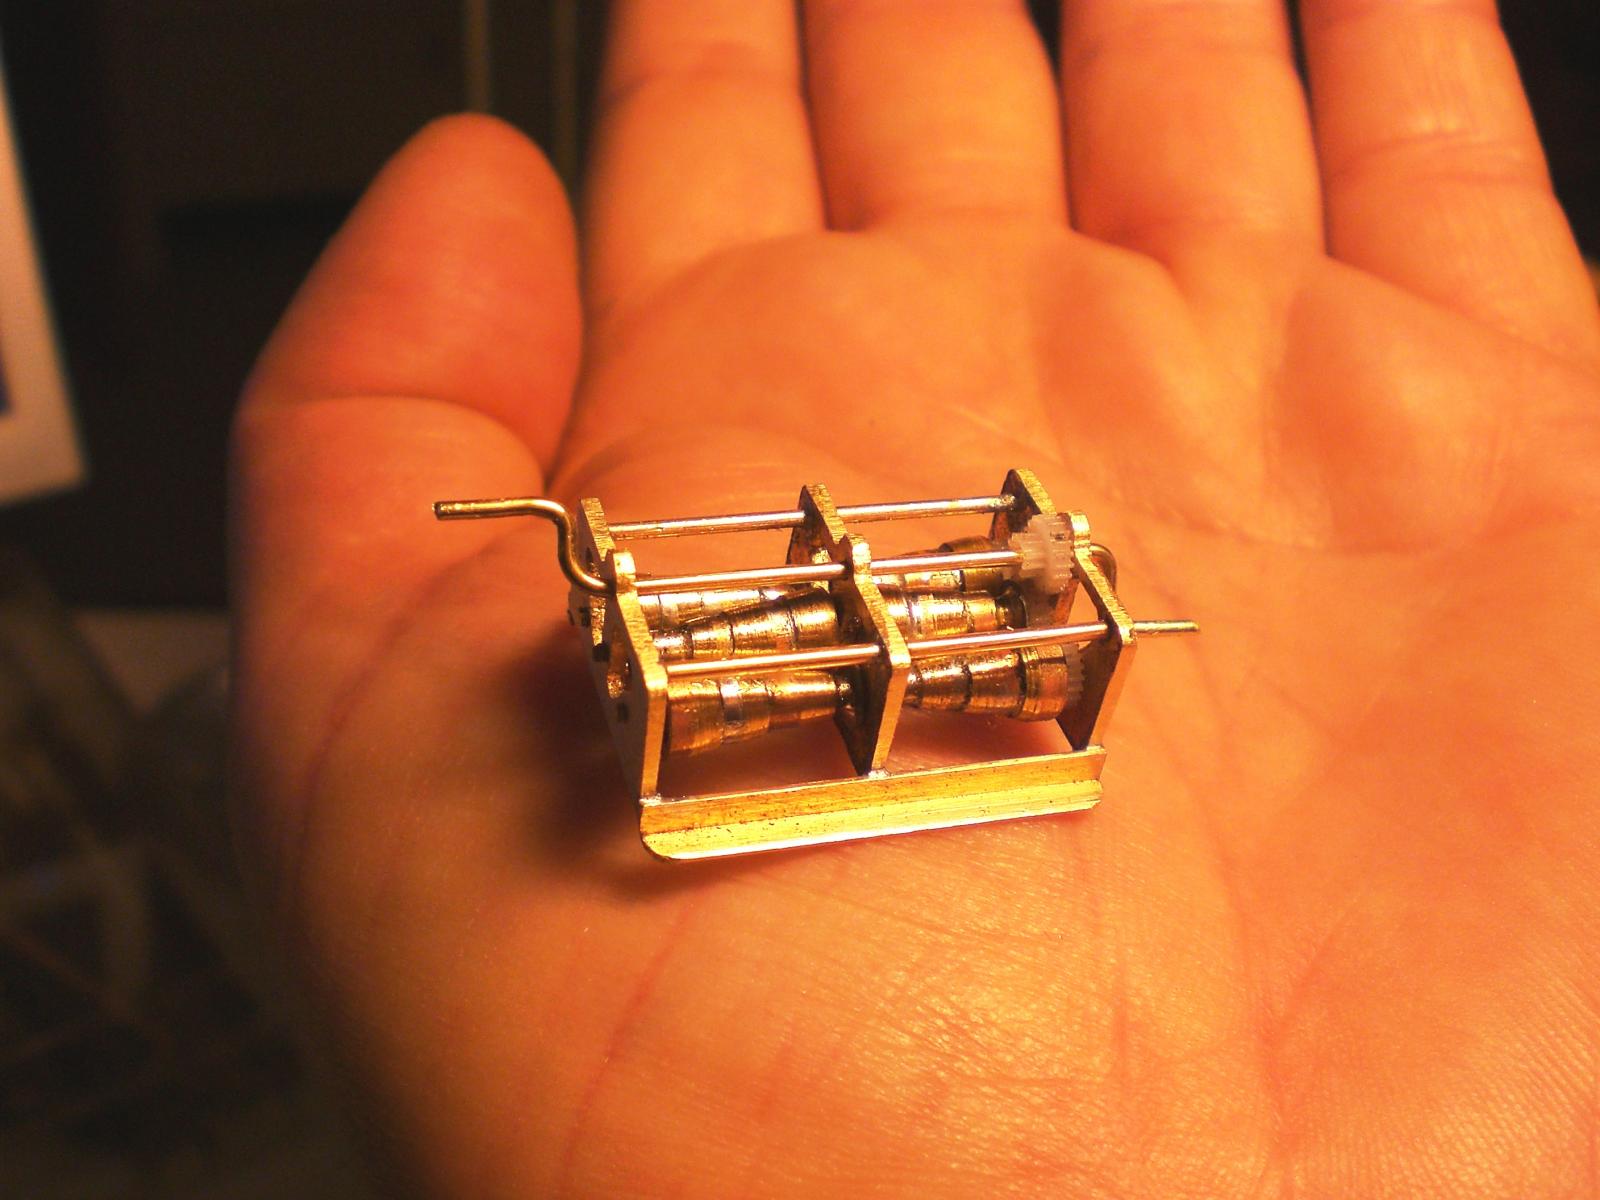
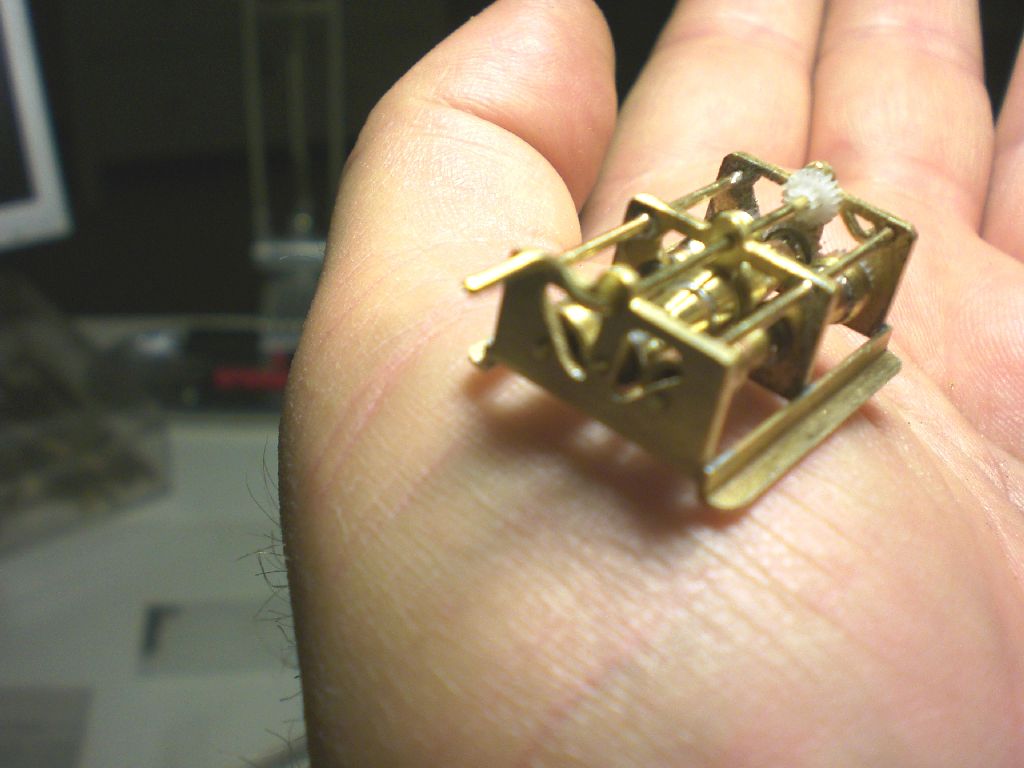
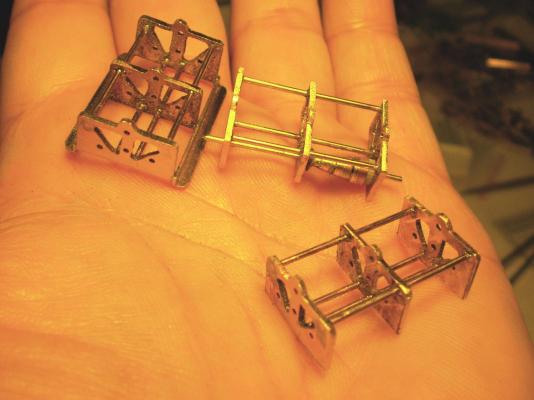
Build log part 17 time to do some winches in scale 1:96 some further painting work done first prototype of the four electric Motor driven gear-winches (equipped since 1951) These brass Frames shall be turned into the 3 Jarvis bracing 6-drum-winches size of two fingers breadth a few days later... complete Manual operated bracing winch checking space requirements for the winches the poopdeck brace winch has to be shifted to the aft a bit, in order to place 2 watertanks in front of it. For doing so the two small vents also have to be moved a bit This one fits well Build log part 18 to follow.... Nils


-
John Thanks for clarifying that one... Cheers Nils
-
Great Remco, really great, one really wants to step aboard to watch the shipbuilders do their joining work, carefully tapping from beam to beam, watching out not to slip and fall a deck or two below. Wonderful work !! Nils
-
ROYAL CAROLINE 1749 by Doris - 1:40 - CARD
Mirabell61 replied to DORIS's topic in - Build logs for subjects built 1501 - 1750
Doris, I ca`nt stop admiring your Talent, your eye for the capture of the time in history for naval shipbuilding, and of course those lovely personal-related figures, simply wonderful, congrats, what a fine example of modeling art ! Nils- 883 replies
-
- 2
-
-
- royal caroline
- ship of the line
- (and 1 more)
-
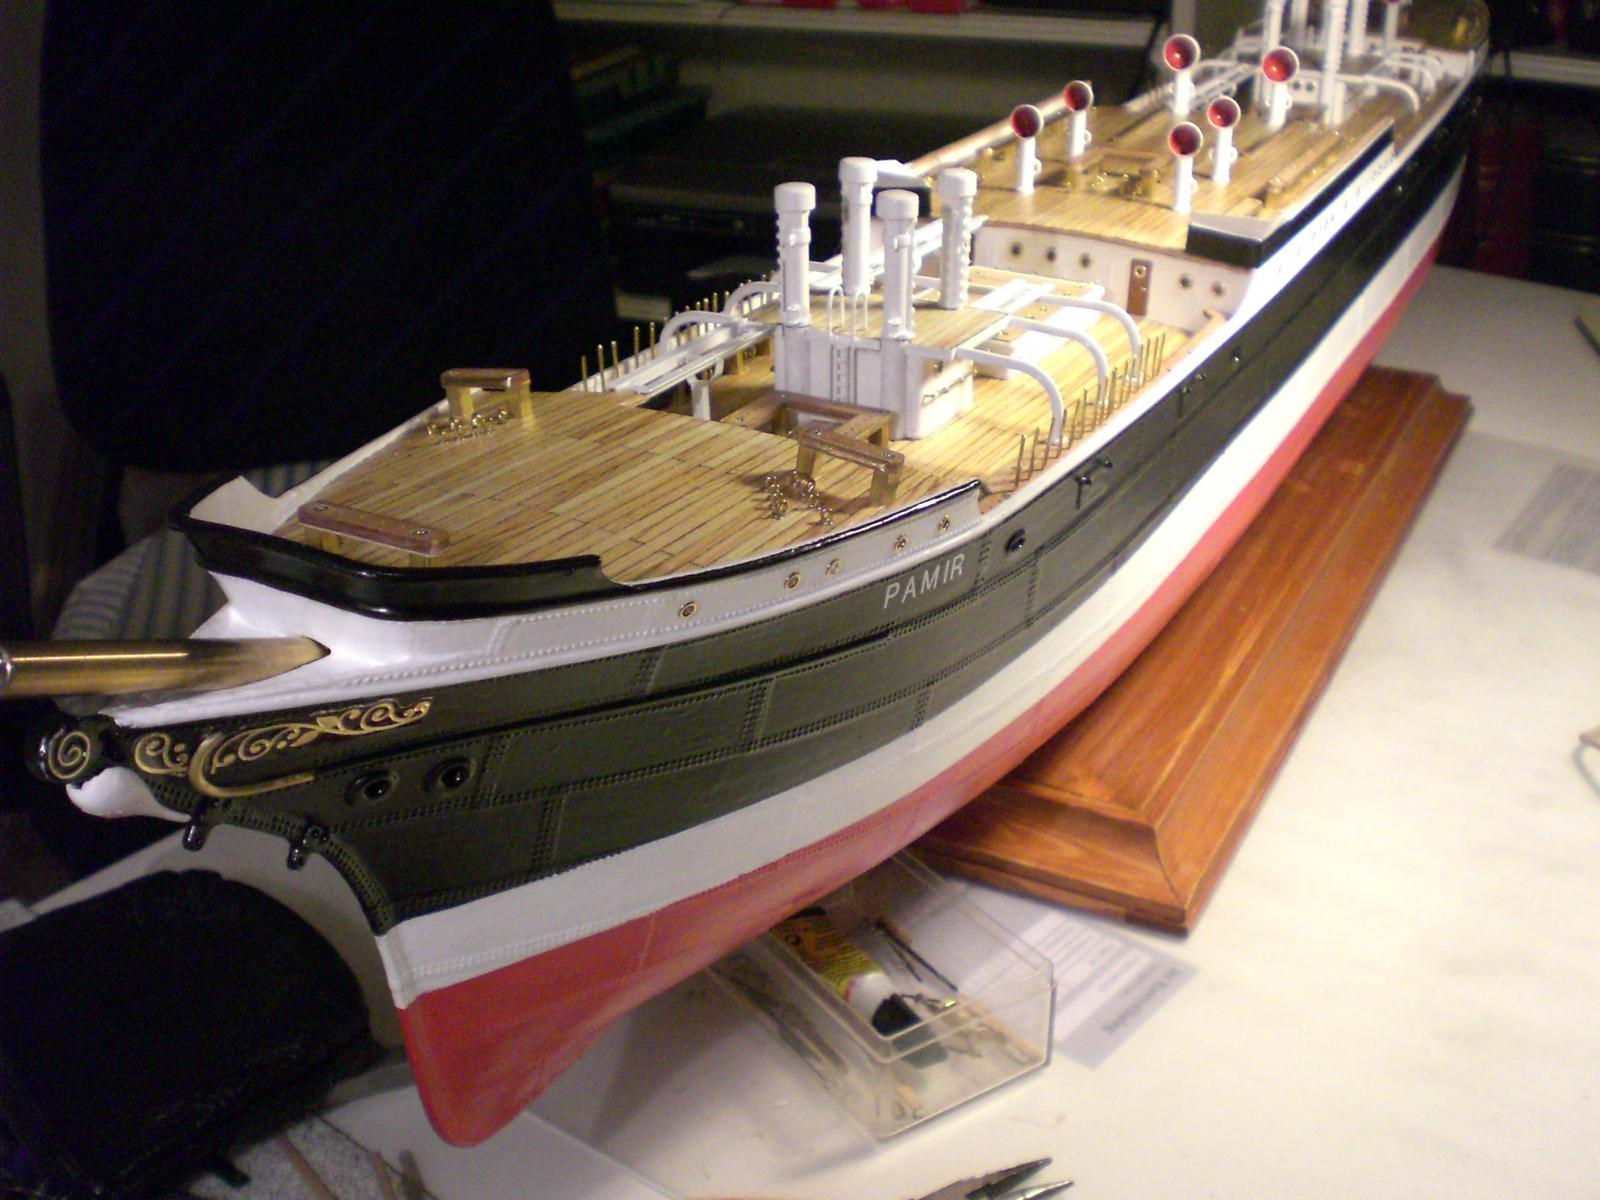
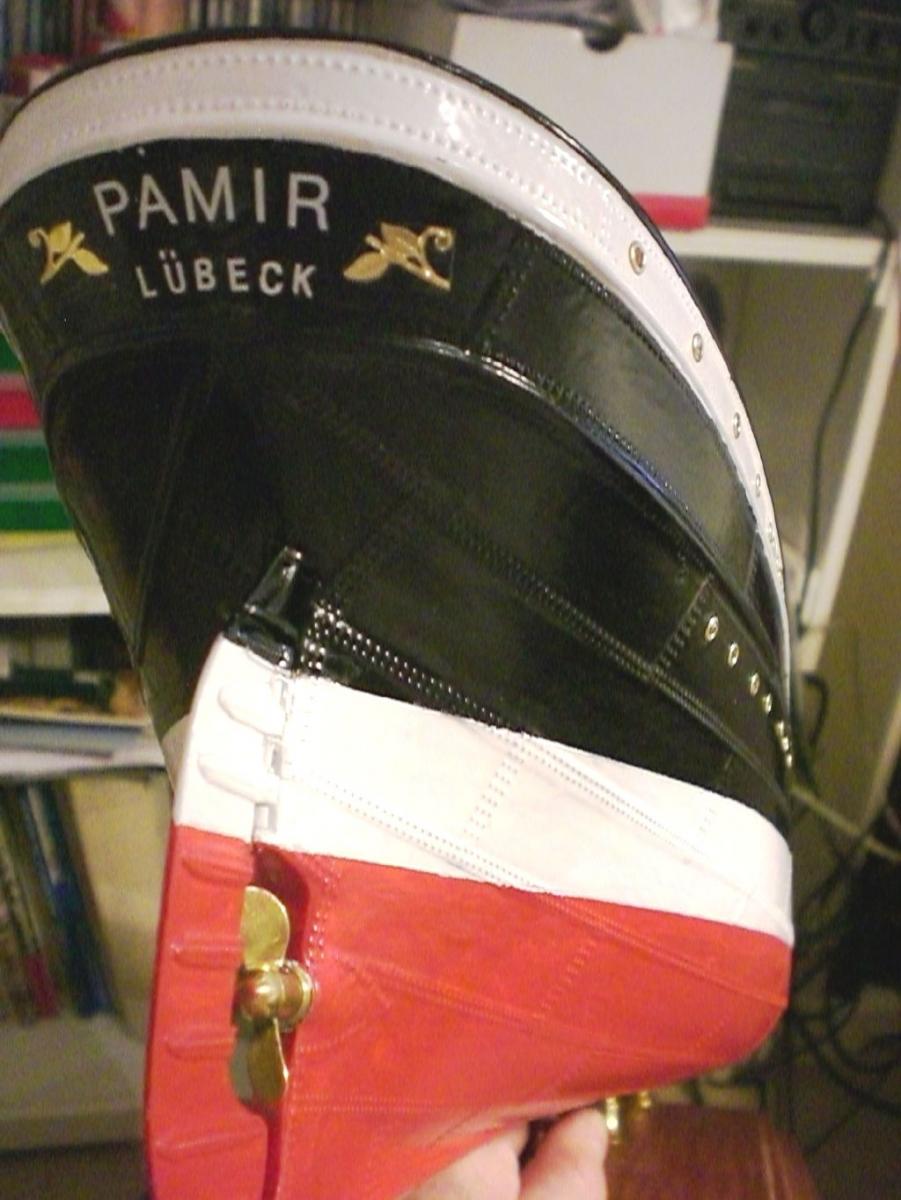
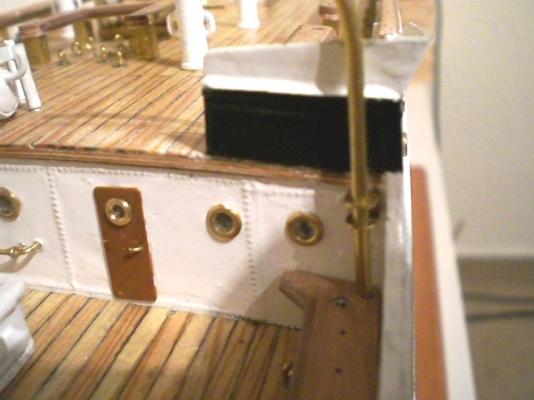
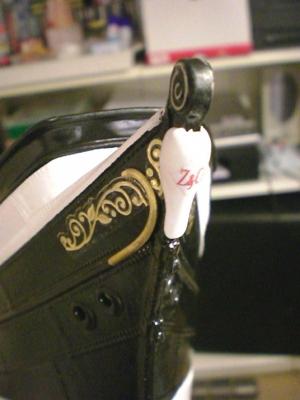
Hey Crackers, thats great, thanks for your nice Research on this Topic, wonderfull picture, it is excactly what I was looking for, so that White coloured bottle shaped item belongs to Pamir`s "Billet head", learned something new again.... Nils
-
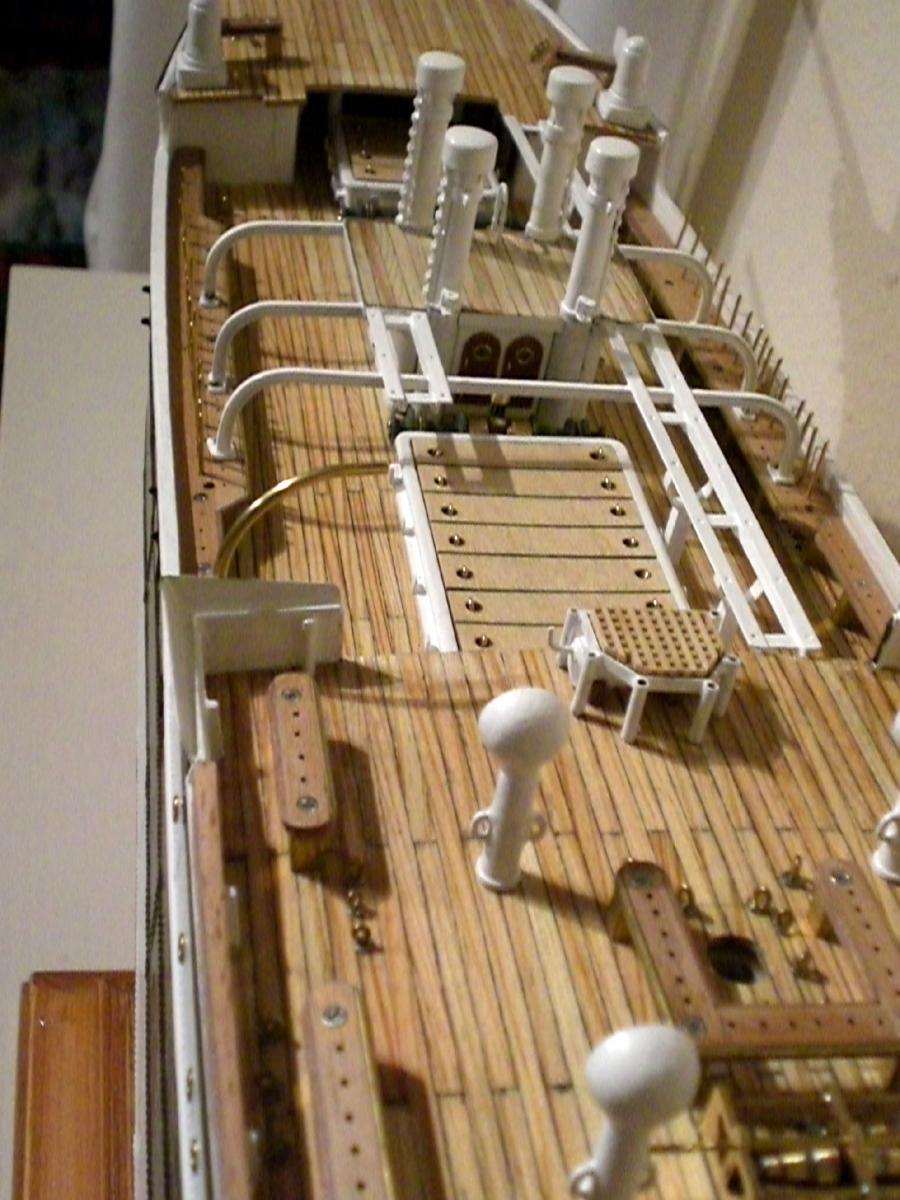
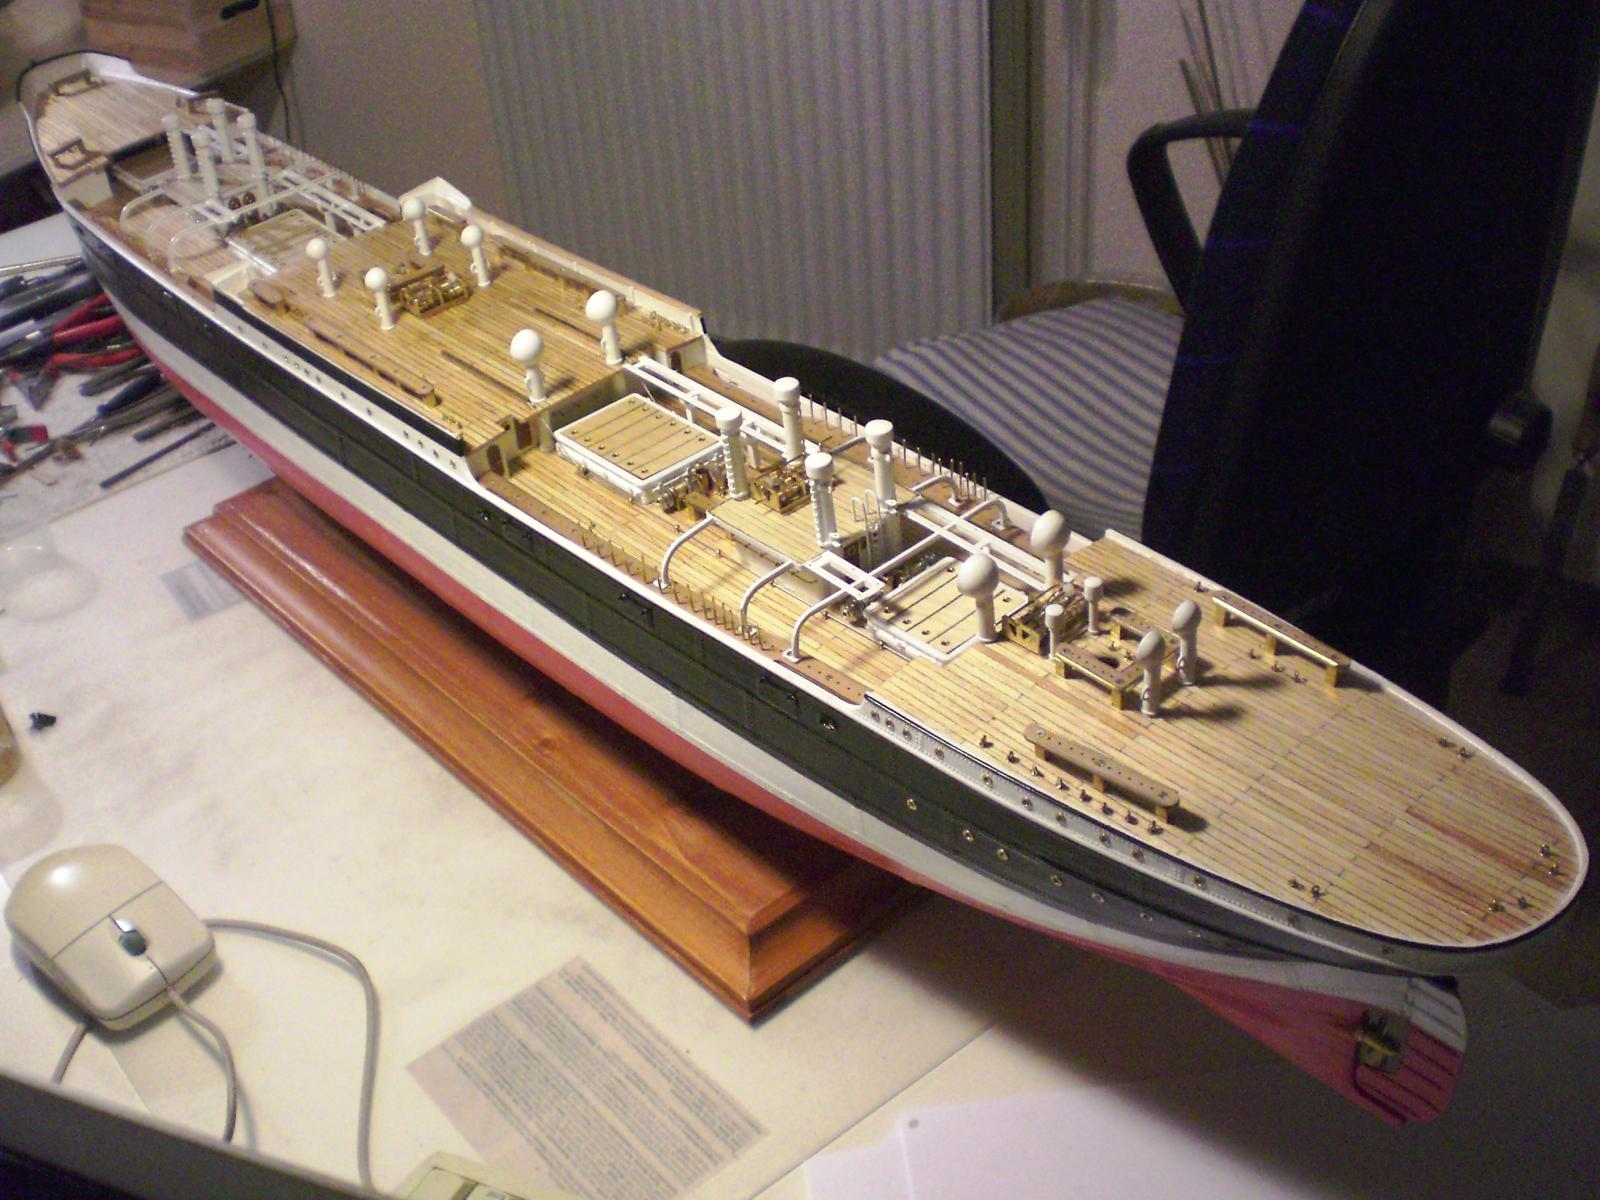
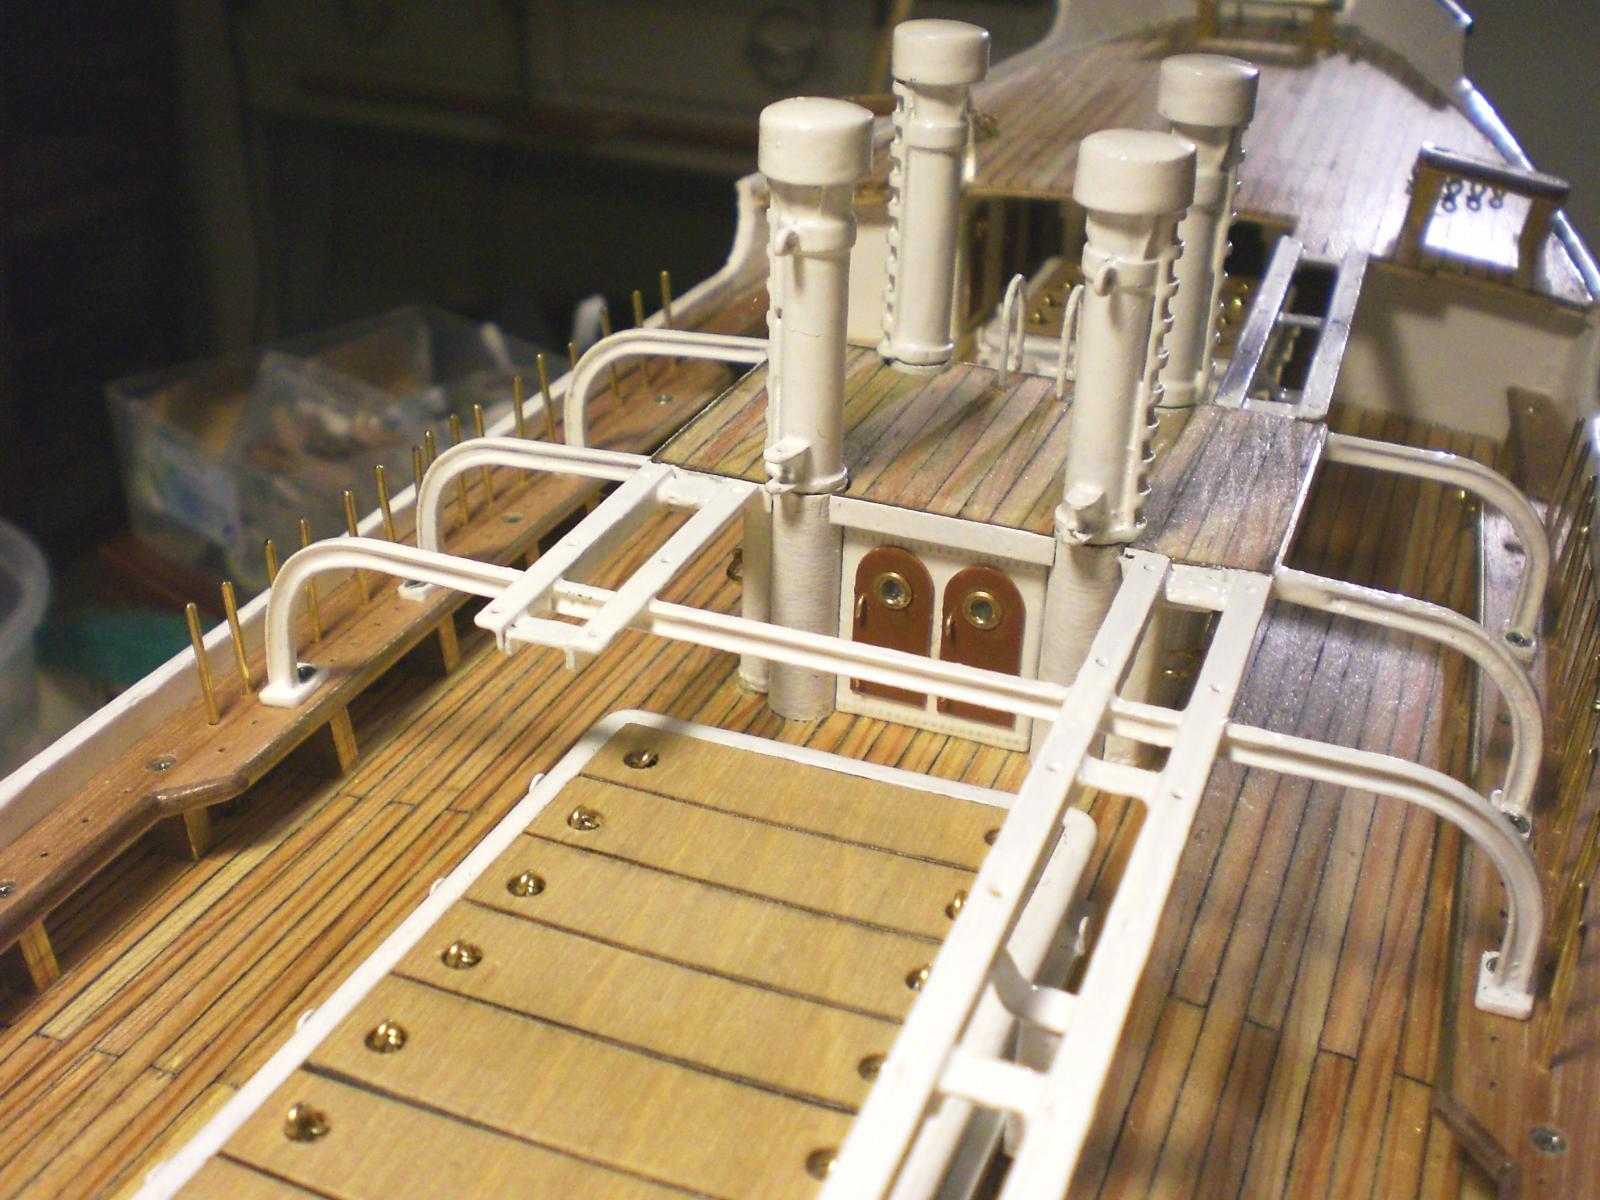
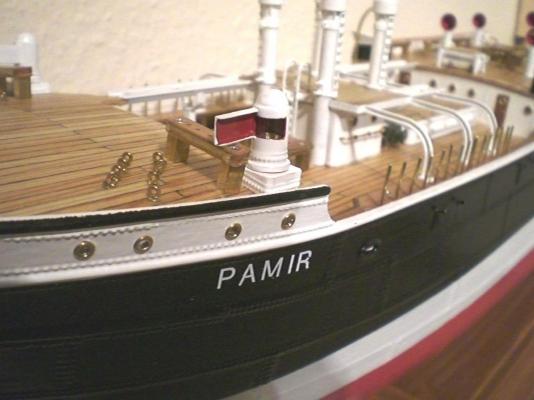
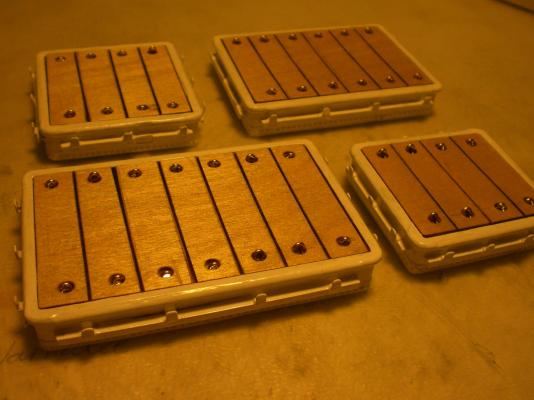
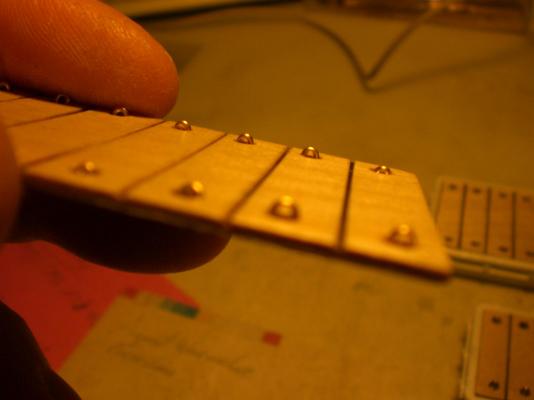
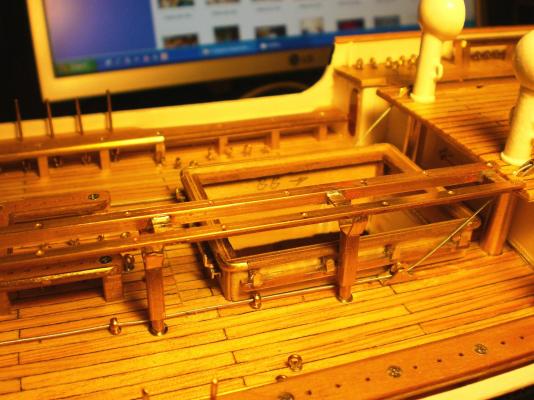
Build log part 16 This is just a reminder : In order to avoid anyone in thinking that this build is "online"...., as I already pointed out in my intoduction, the ship is already complete, and put into my Album in Topic "Gallery of completed scratch built models" (the actual building time was full 2 years). I am gladly postsharing these documented build log sequences with all those mates who are interested in this Tallship and its build Nils set auf hatches with removeable covers Hatchcover with hoisting-eyelets some white paint put on nearly time to start doing the boats upper portions of bow- and highdeck bulwarks paited black The electric powered winches for Position checking Build log Part 17 to follow... Nils


-
Beautiful lines Garry Nils
-
I like it Garry, she`s coming on fine... Nils
-
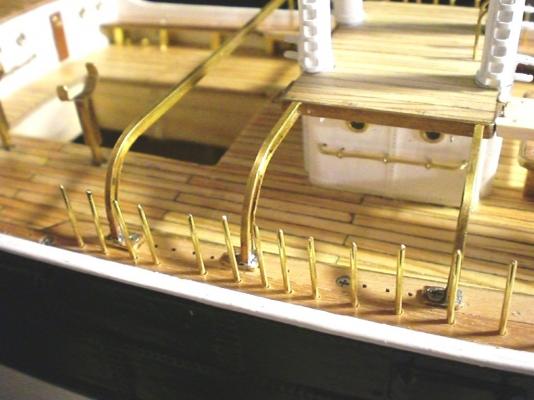
Build log part 15 portholes not inserted yet portholes not inserted yet portholes attached working on the catwalks here can be seen how the hight adjustable supports are fixed ready for soldering soldering started, hatch #2 rims (before the highdeck bulkhead)position check the same with hatch #3 (after the highdeck bulkhead) hatch rim Build log part 16 to follow..... Nils


-
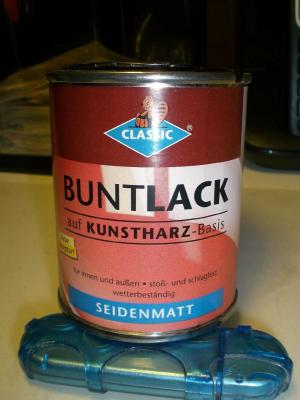
David the paint I use is from the german crafter chain "OBI-Markt" These come in 300 gram tins, are of satin type dull-gloss, and in many desired RAL colours. They work out very well covering, dry off to a wonderfull smooth finish within 2 hours and can be applied easily with a regular soft paintbrush (like used for watercolour painting) The paint is one component resin base solution with detergent, already preset for use. Store closed tin upside down. Trust this helps.... Nils
-
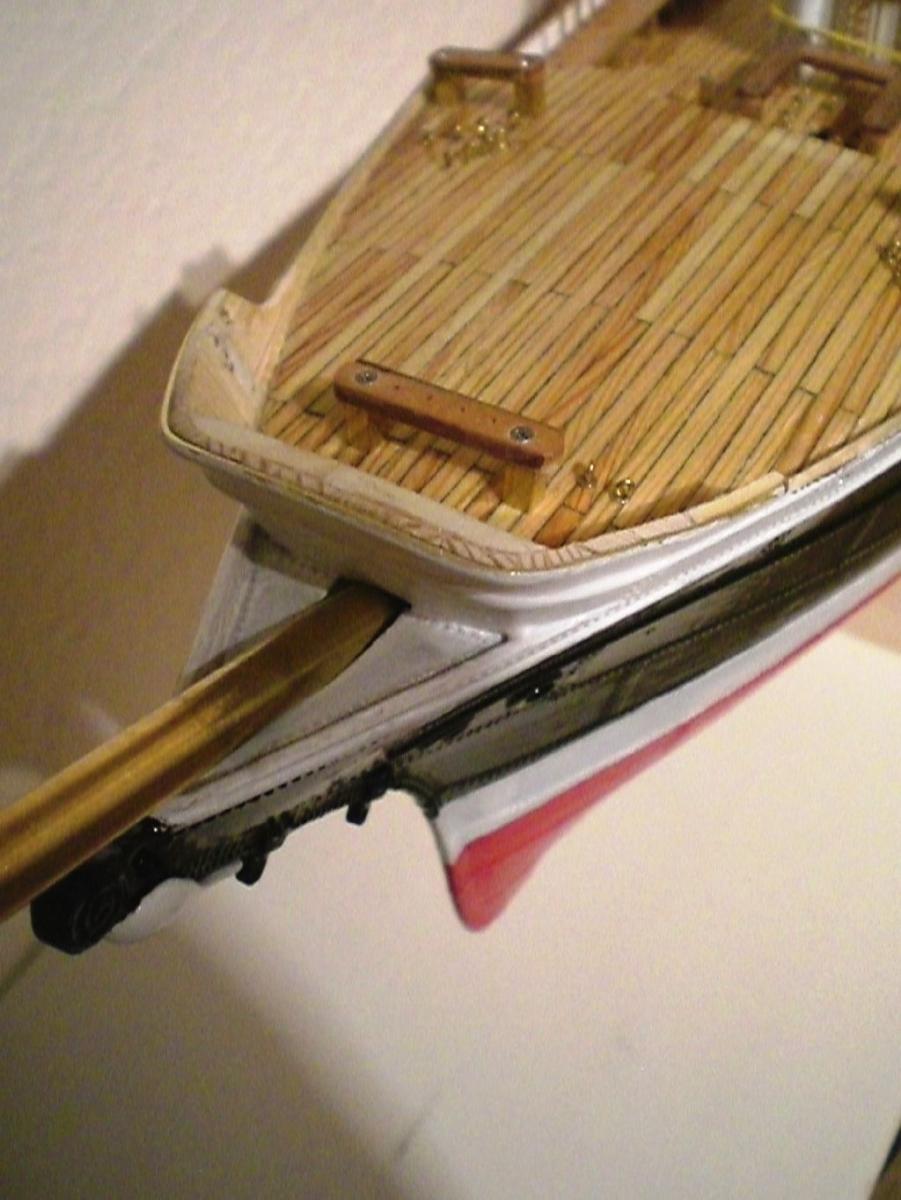
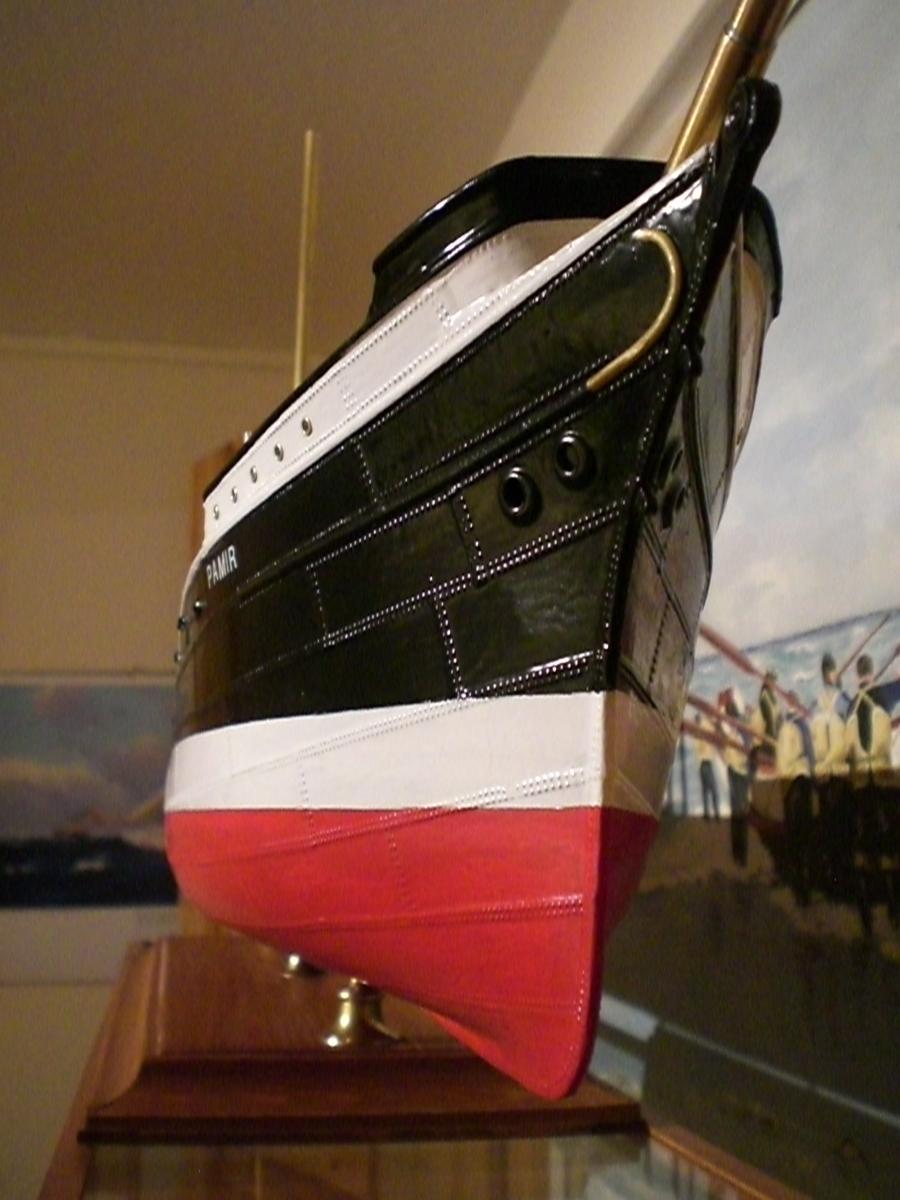
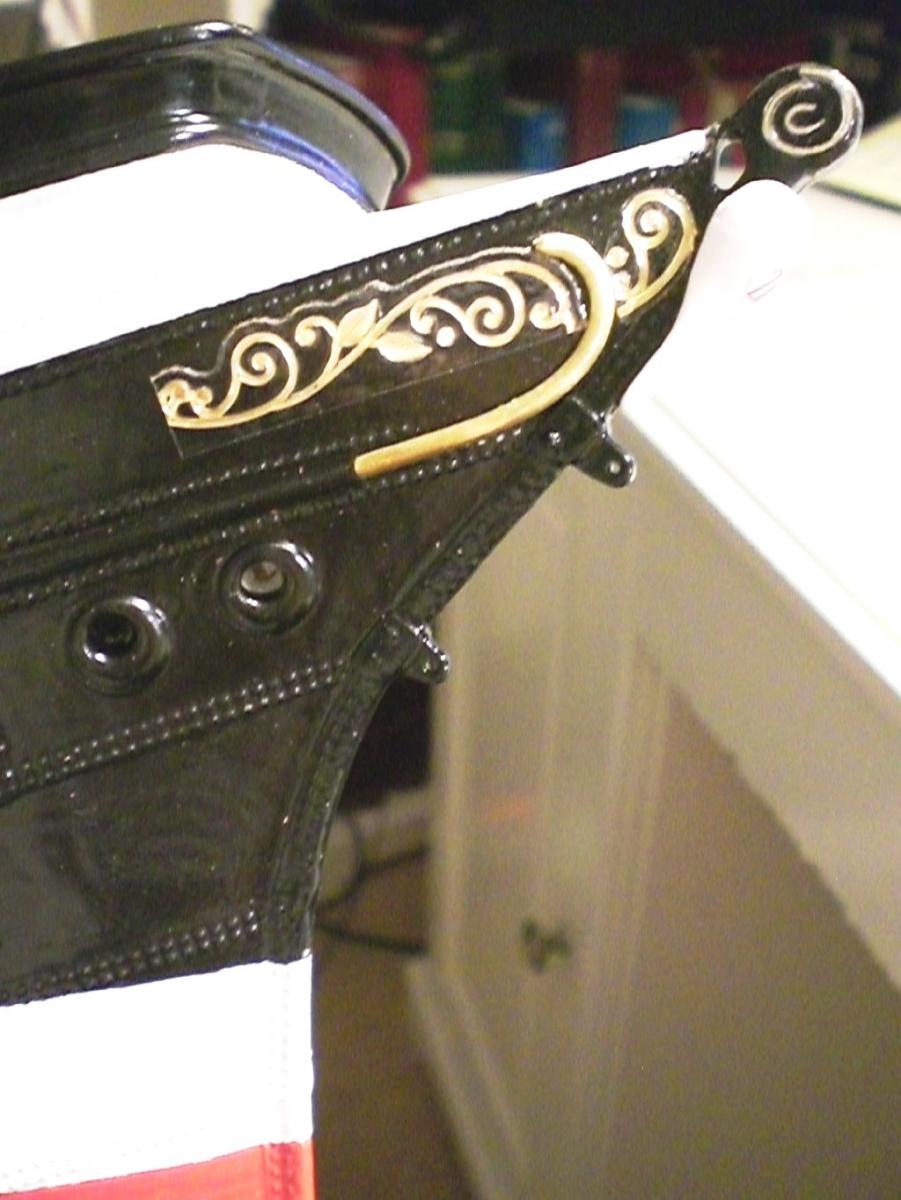
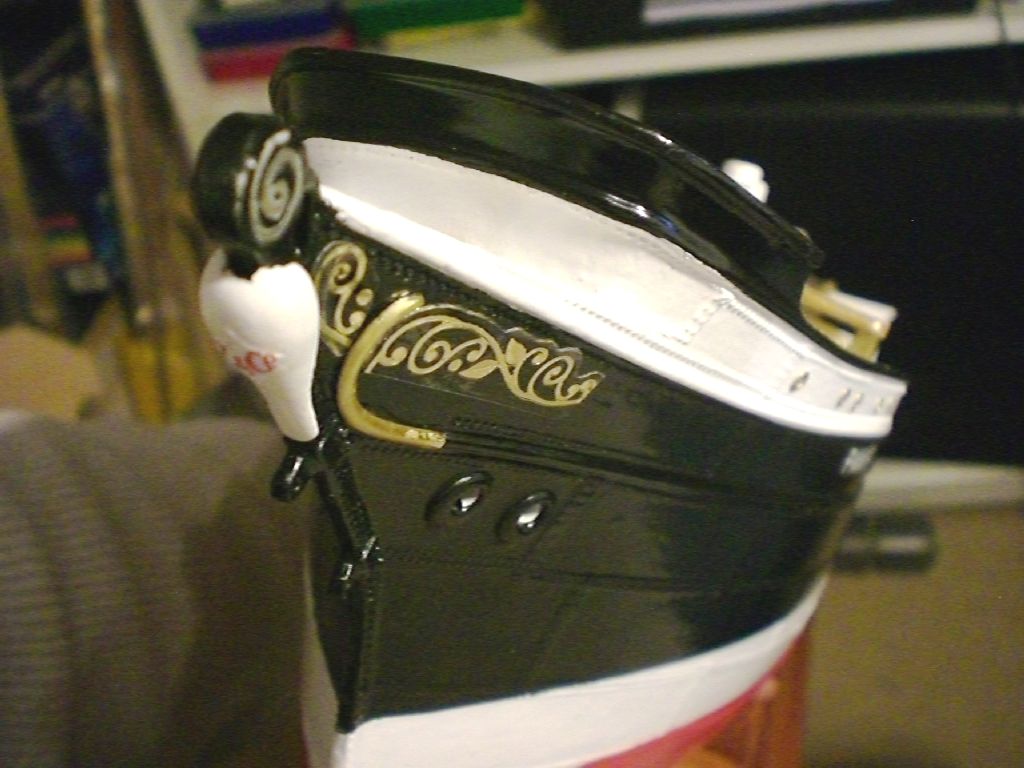
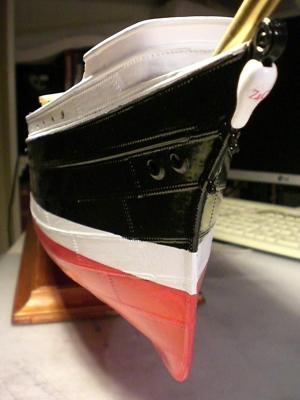
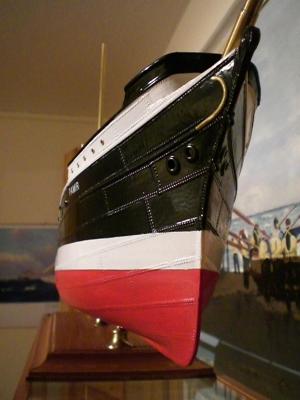
Build log part 14 bow bulwark done before painting it after paint touchups Fitting supports for the aft boatracks bow decor aft decor Bow views replacing dummy catwalks with metal ones aft welldeck deckhouse with supports Build log part 15 to follow.... Nils


-
Richard and Popeye thank you both for your appreciative words Nils
-
Thank you B.E. of course it differs (typewise) from the beautifull historic Swan Class you are doing, but one could say at least also a riveted younger Oldtimer, now also having its place in history Regards, Nils