Wahka_est
-
Posts
522 -
Joined
-
Last visited
Content Type
Profiles
Forums
Gallery
Events
Everything posted by Wahka_est
-
Maybe it is quick-i used to work every evening. Usually from 22pm until 1-2 am. 4-5 hour sleep and off to work. Cause i have 2 y old son then its impossible to build something when he is awake I really hopw to finish it bu summer but taken into account i also starter Caldercraft Hms Cruiser then it wont probably happen....unless im secretly master rigger :D.
-
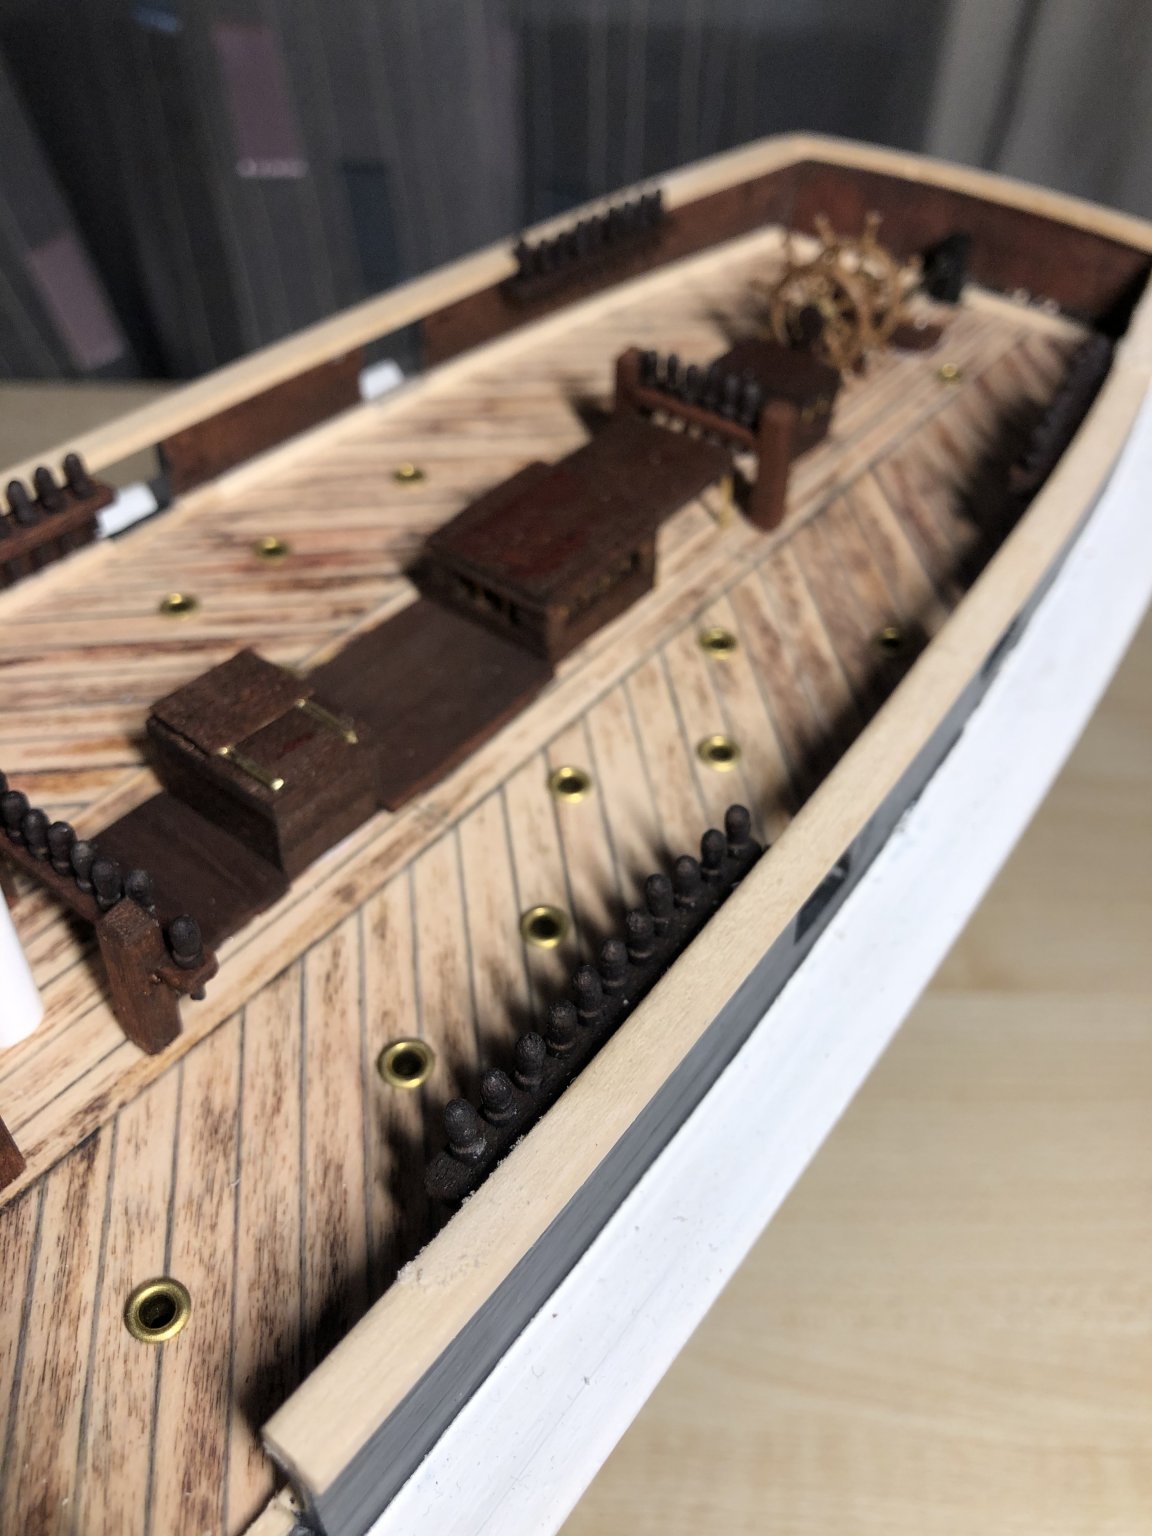
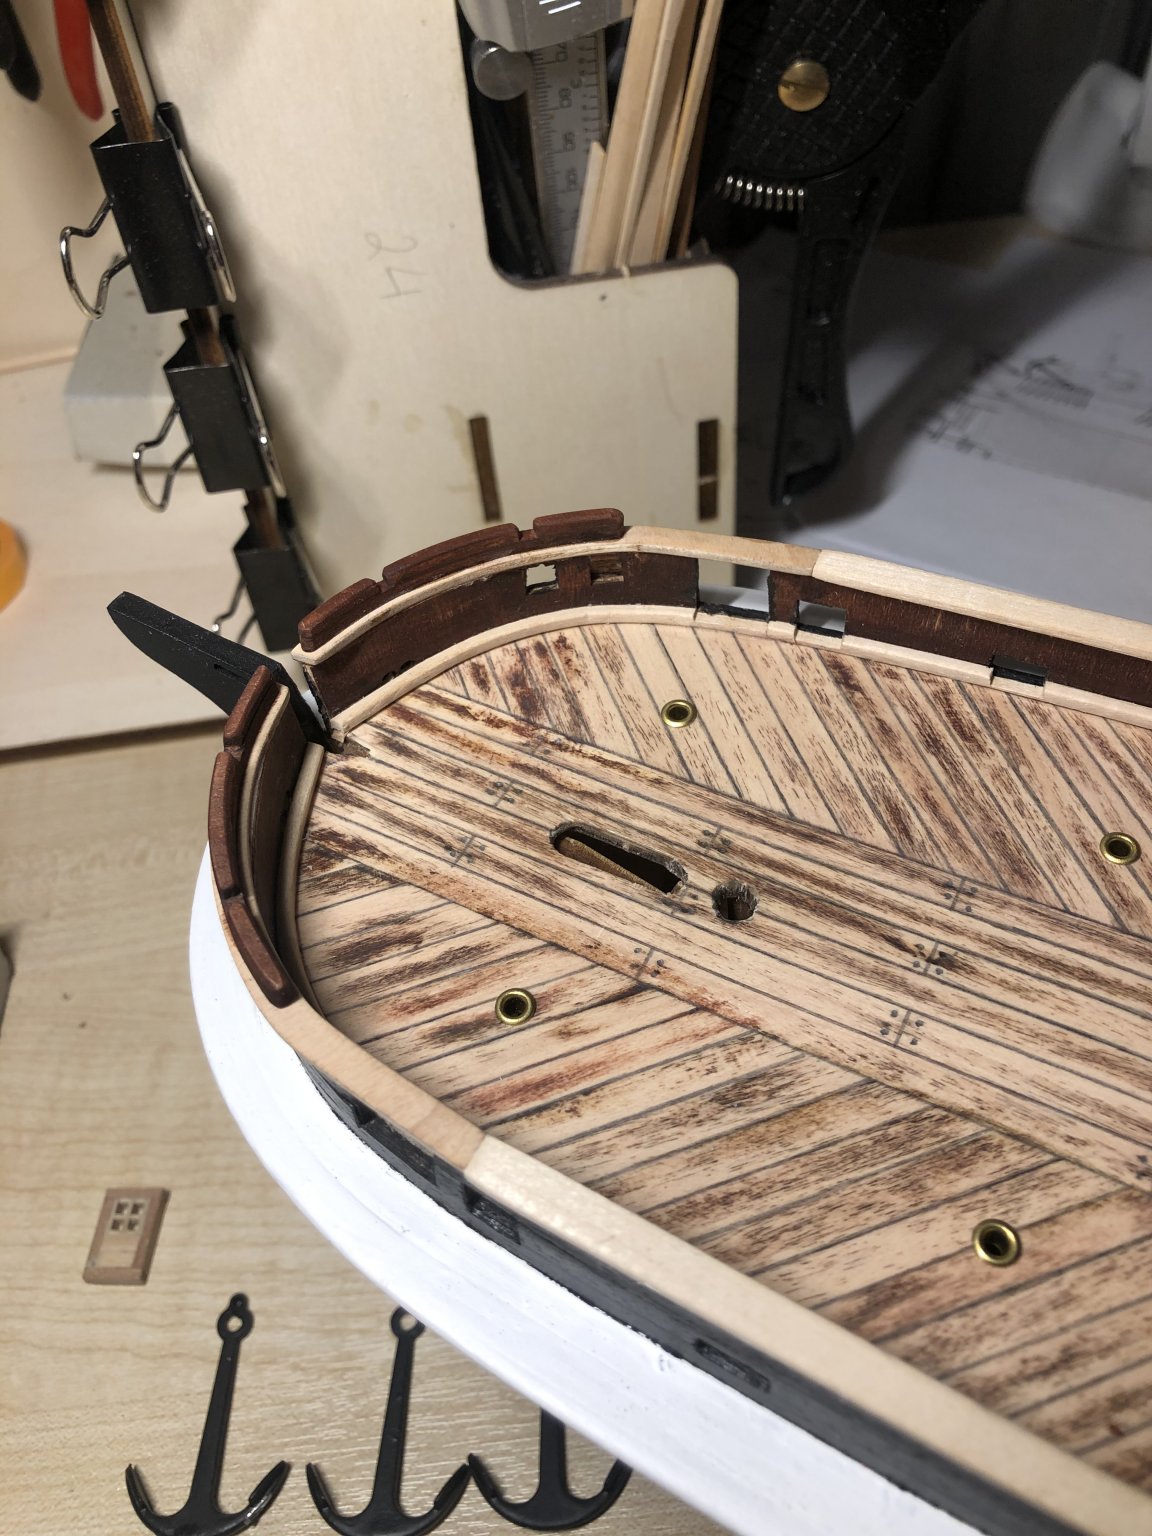
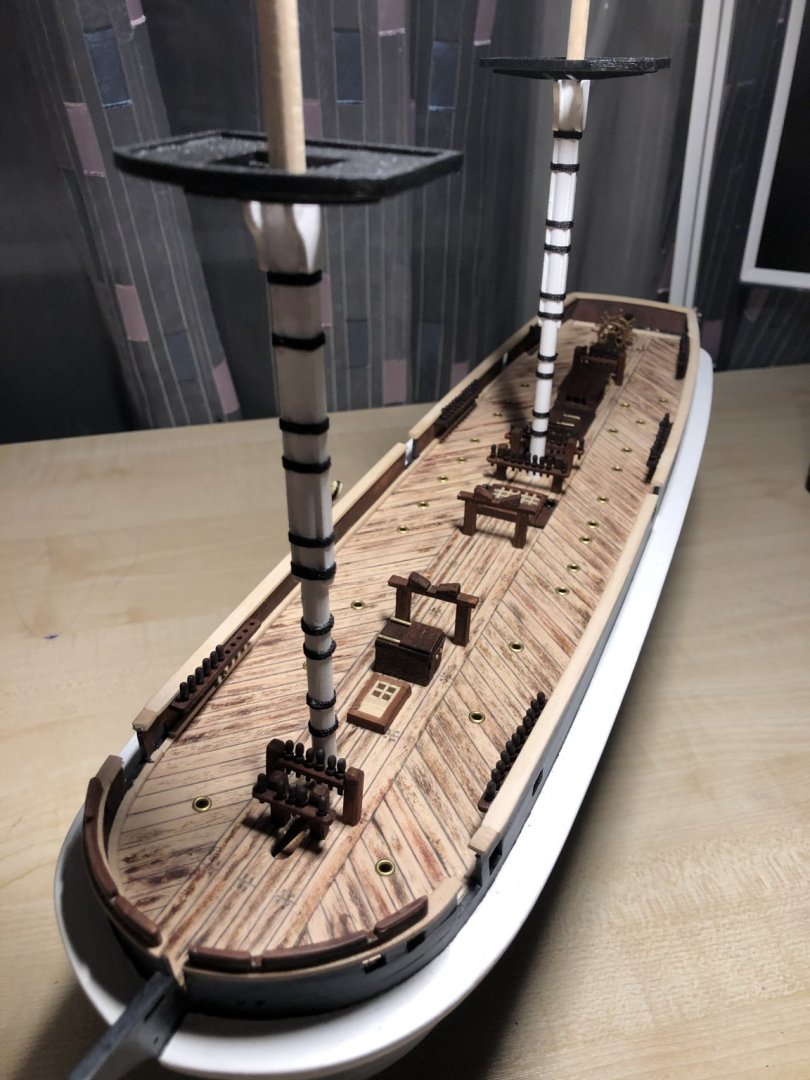
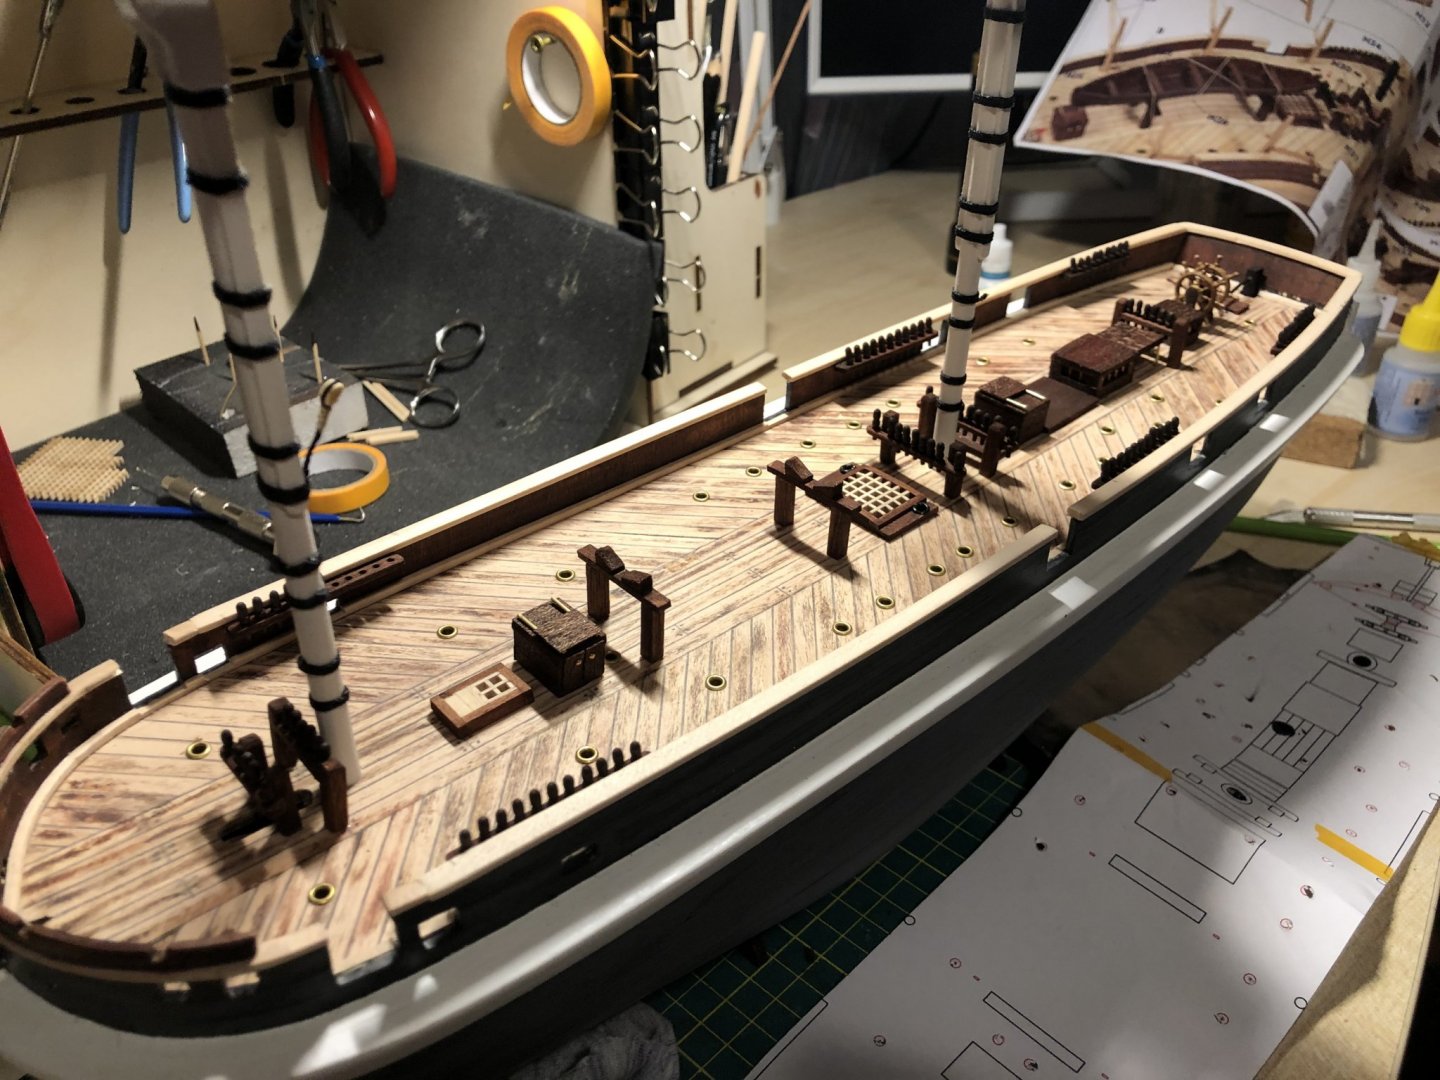
Hi all. Got some more details done on deck. Cause is installed railing a little offset(instructions didnt show how it mish be placed) then had to add 2x2 exta wood behind the pins at railing. Deck details are so small, have to find a way to do them better in future builds. Occre photo instructions are nice but there are so many blind corners and beck plan does not have any other instructions but location of pieces. Every night i find some new small detail that has to be installed that i have missed. Easier would be to donit according to packing list and cross down whats installed-maybe everyone else is doing it like that?


-
Thank you! Nice to have some audience watching:). i know its not even close to the craftmenship of other builder but like i have said before-not bad for first time. Read a quote yesterday here, was something like “first build is all about learning”.
-
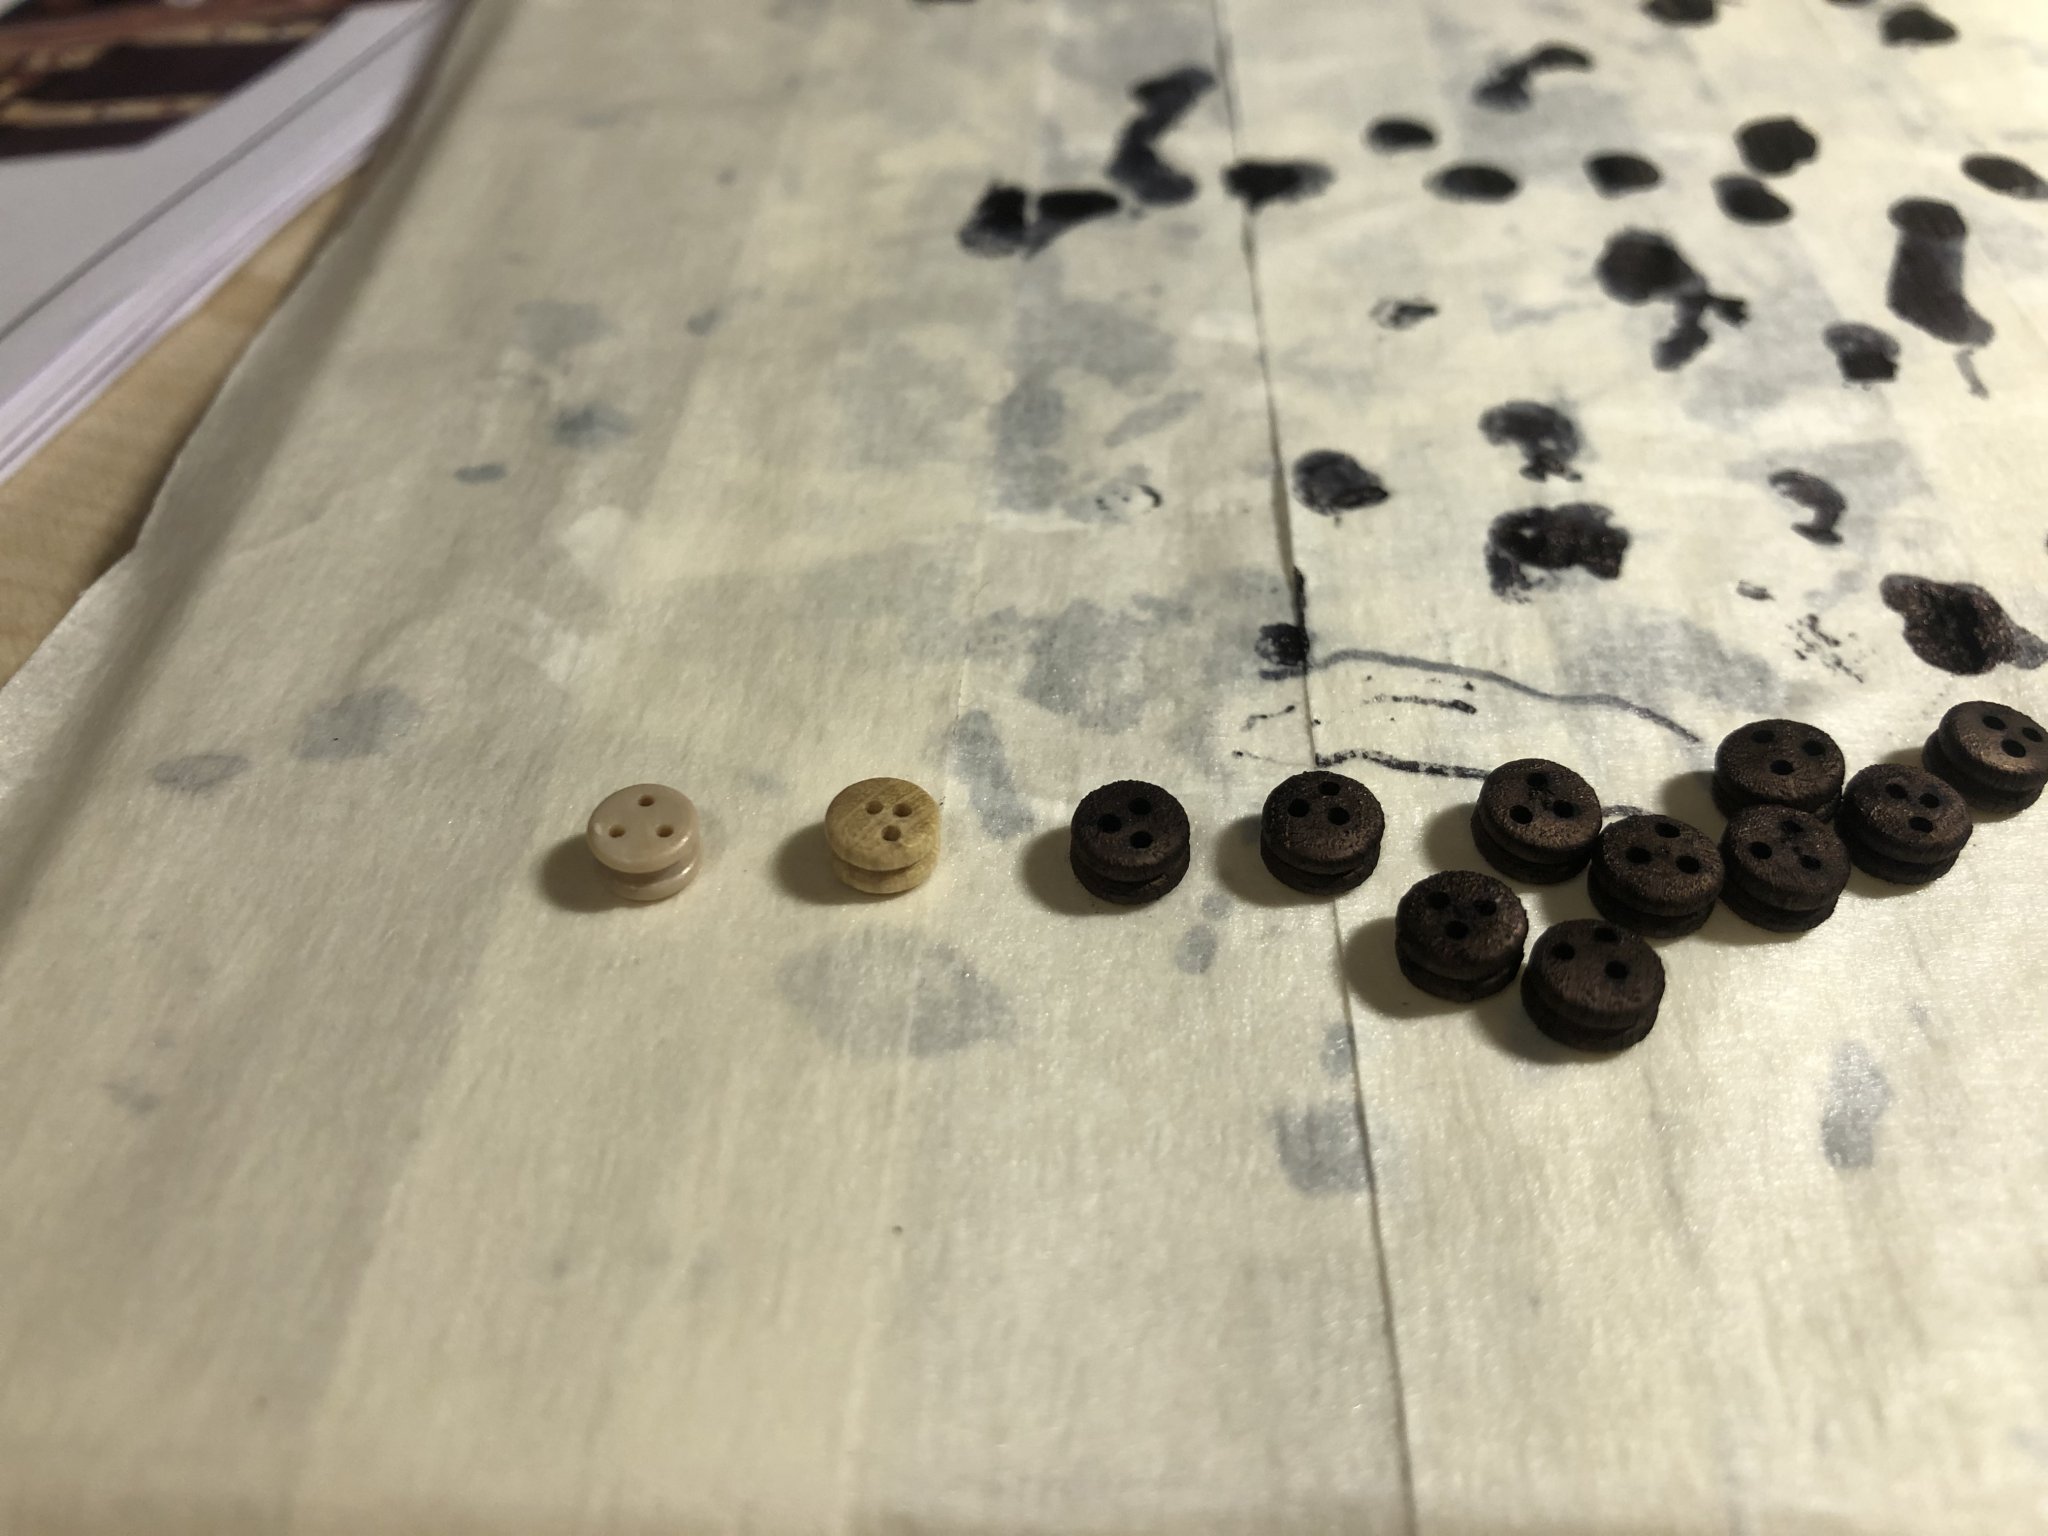
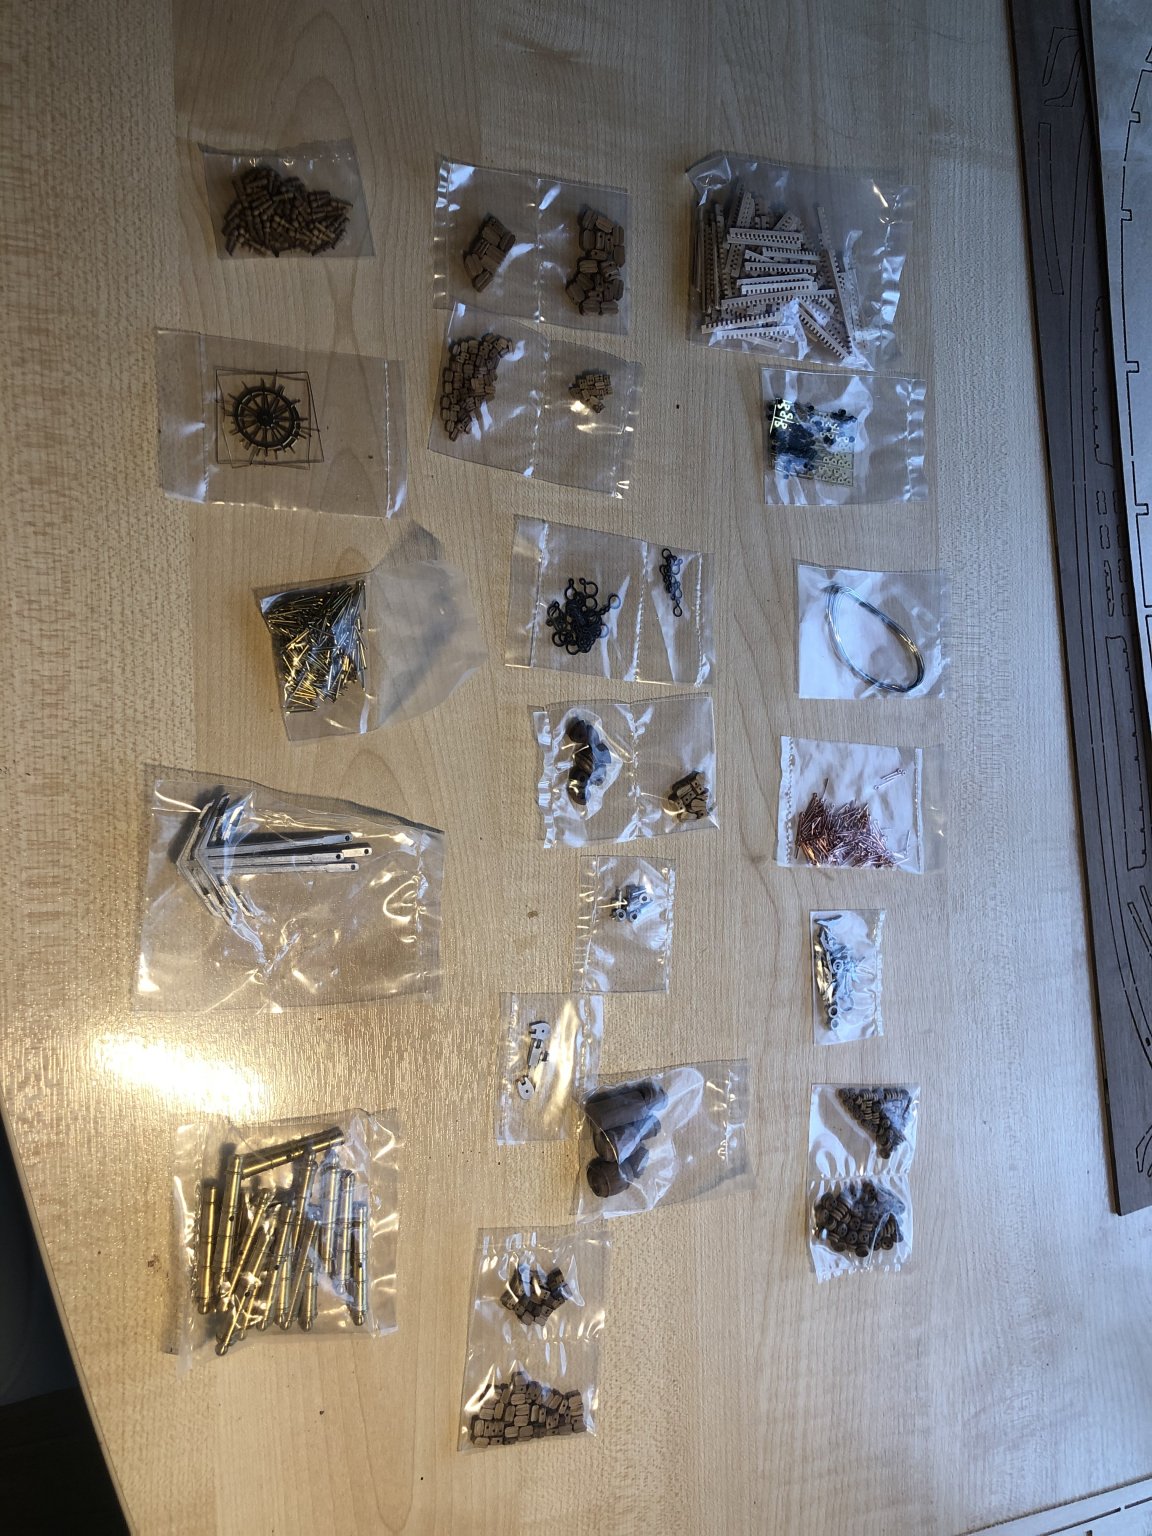
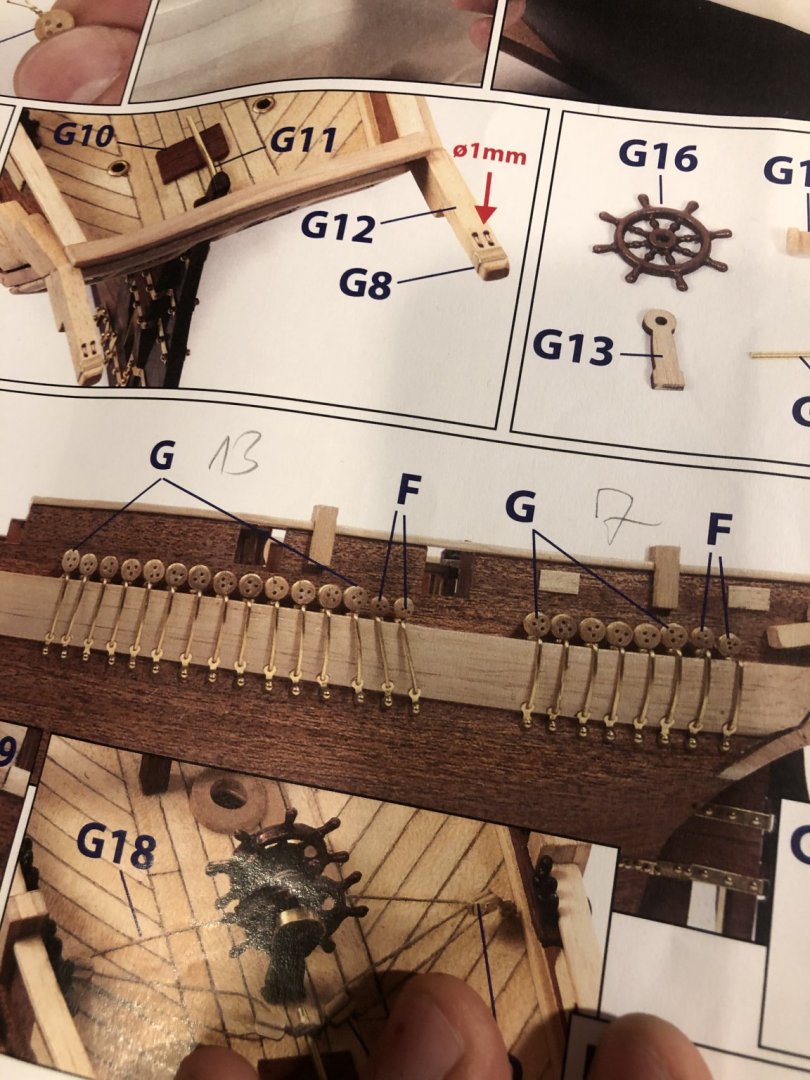
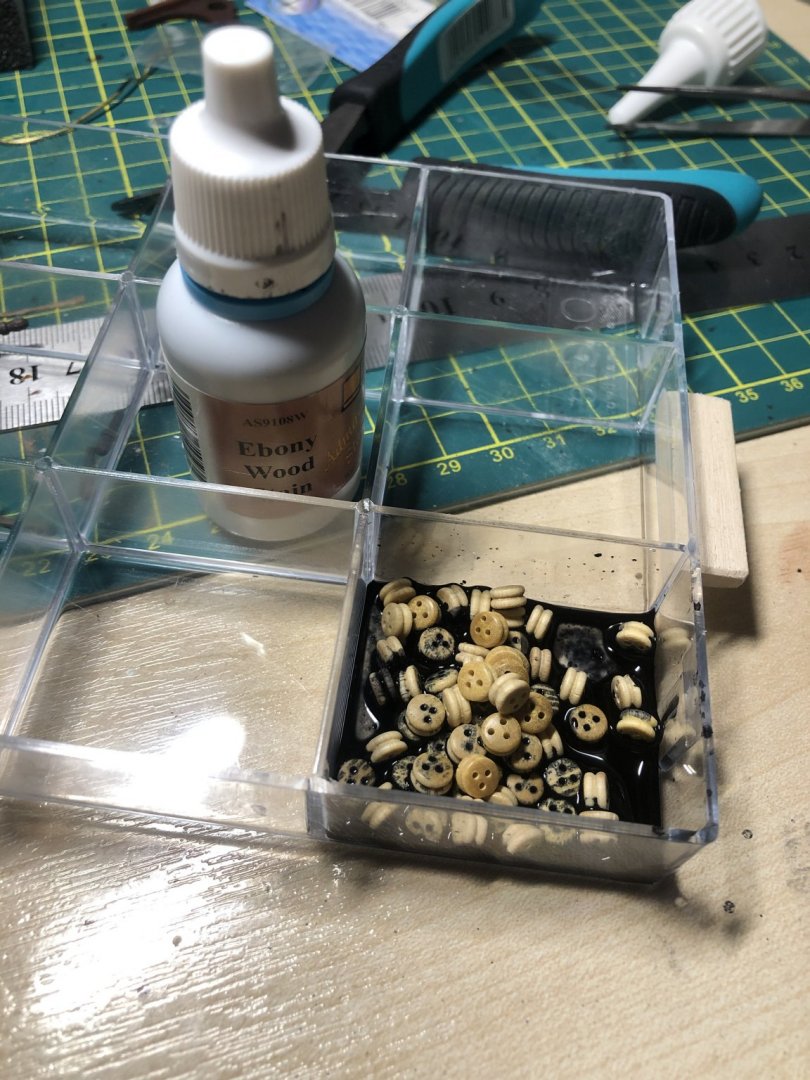
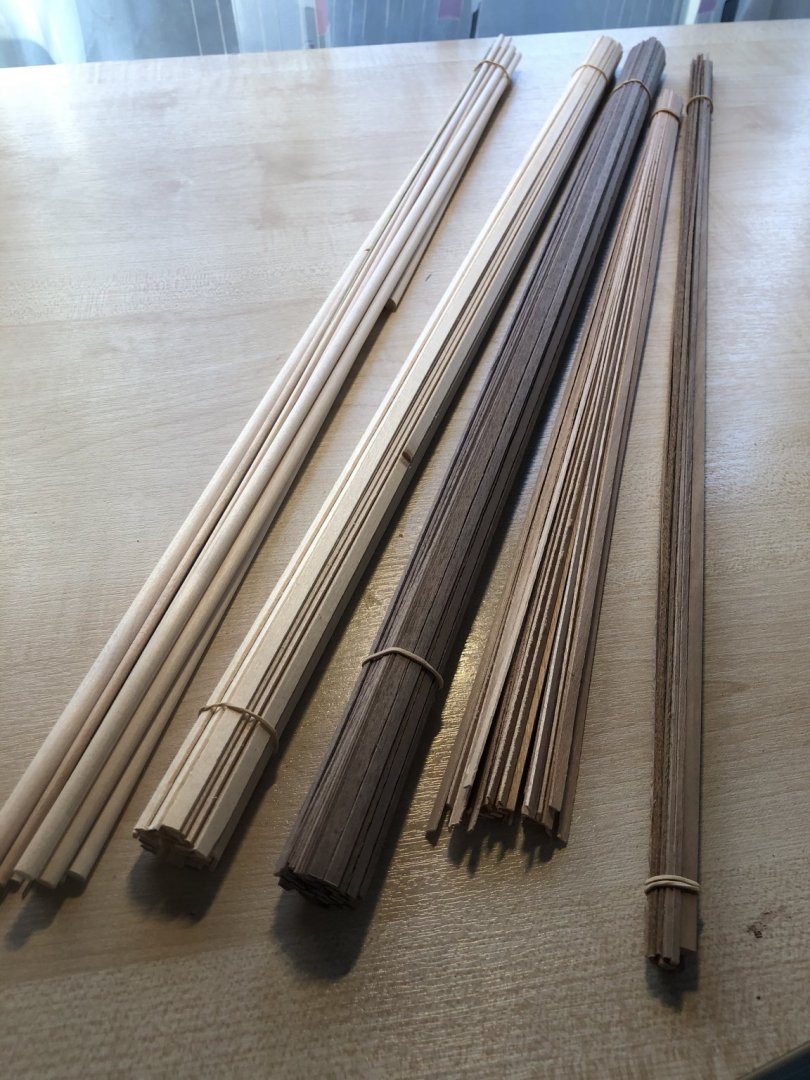
Started also second blong for Caldercraft Hms Cruiser. Will get that more going also soon-negotiations with Admiral are ongoing at the moment regarding sanding... she suggested balcony....its winter... Recived package from Cornwall. Really nice deadeyes compared to Occres plastic ones. picture shows left Occre, middle Caldercraft and right Caldercraft that are stained with ebony(also Caldercraft). Occres instructions are missleading. Saying most of deadeyes are 4mm but on photo they have clearly most 5mm ones. Received Birchwood brass black today and did some testing on metal parts. Outcome isnt what i hoped for but i thinknits me cause other members are getting beautiful results. So its more testing until outcome is right. Other than that build in going nicely. Some reason sapelly wood is out so i have to use wood from other kits to finish last deck fittings. Last fitting to be done and installed on deck. Then i varnish it all. Question-do you varnish ropes or only that part that is on wood and gets covered by brush. Do you cover ropes with something at all?

-
Hi, Not bad for first time planking. I felt my nails half out so i could remove them. If your gluing is good then remove the nails. Much easier on the sanding. Wahka
-
Dont worry - myst first build Occre Terror that is ongoing has a lot of mistakes. Also i have one hole in deck that i dont know how to fix. ONly thought that i have is to order some barrels and just put those on top of it - then its just deck furniture covering it :). Either way you have done a really good job. The feeling that you get when pile of wood is turned into something beautiful by you - thats w really good feeling and you can be proud of outcome. Really looking for you next build where im pretty sure the quality will make a huge jump. How i see is that first build basicly is learing. Many of us arent woodworkers so we will learn about varnishes, paints, staints etc + tools.
-
Hi, Really nice job for the first build. Is it possible that you have made a mistake here..... and it should be planked?

-
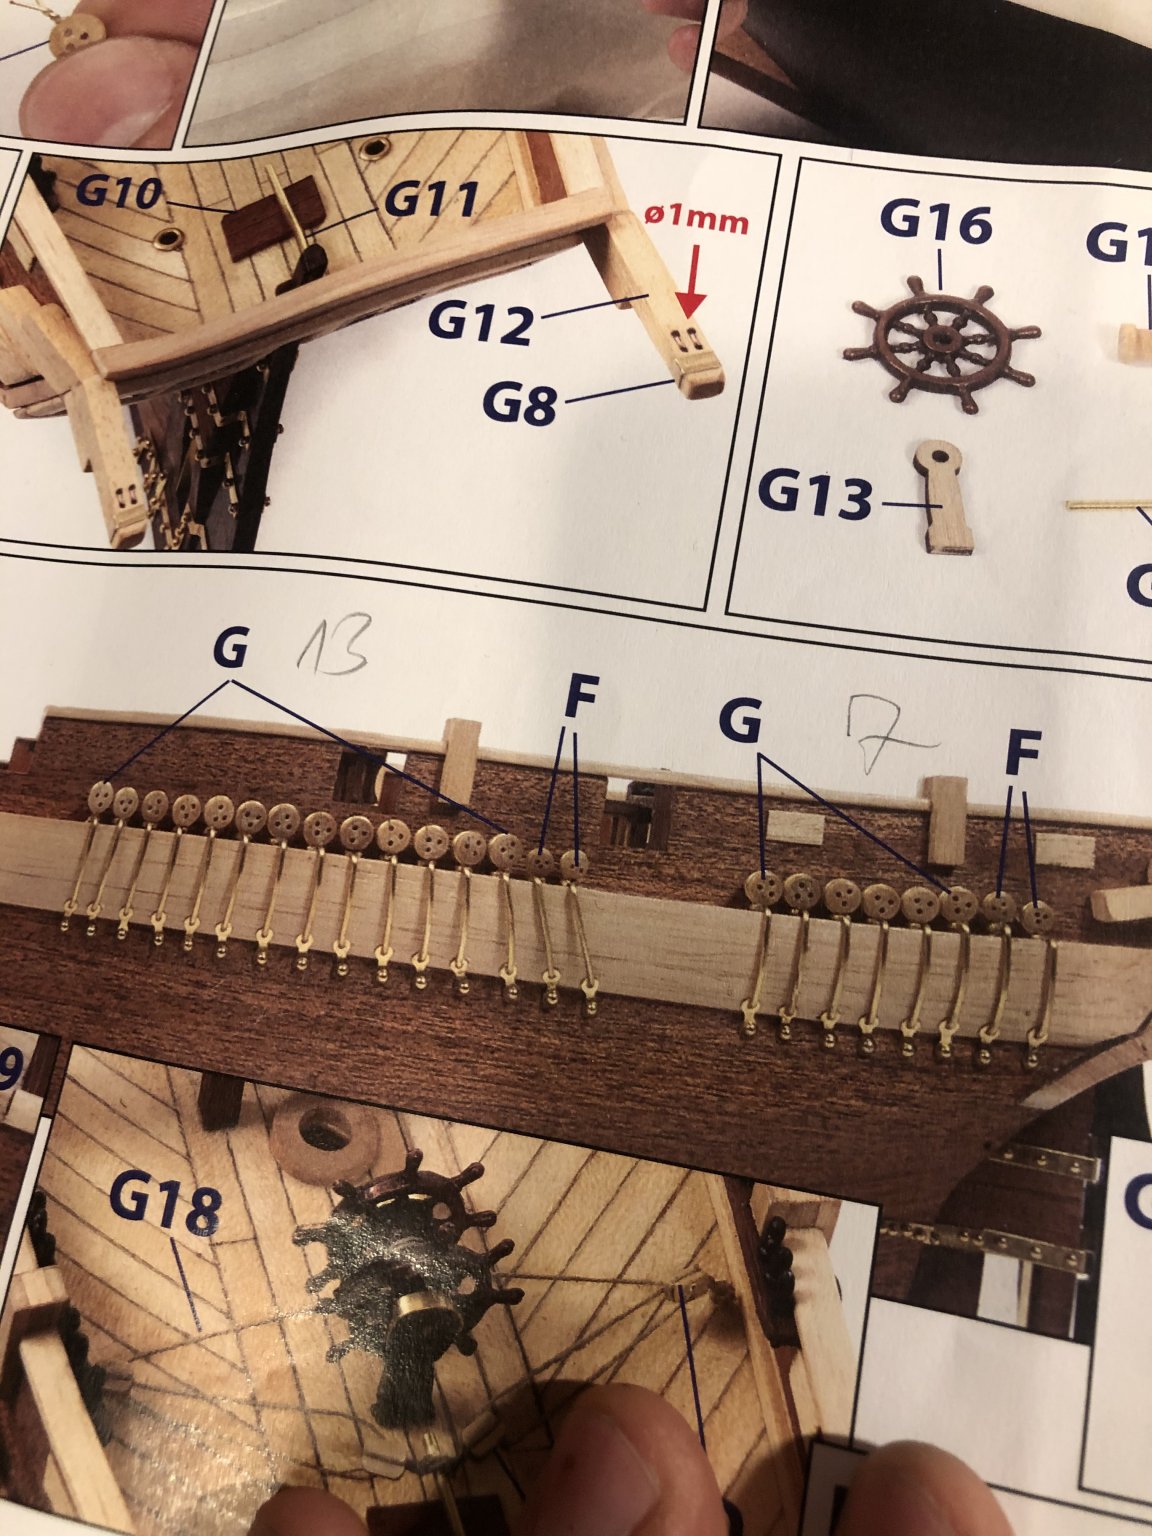
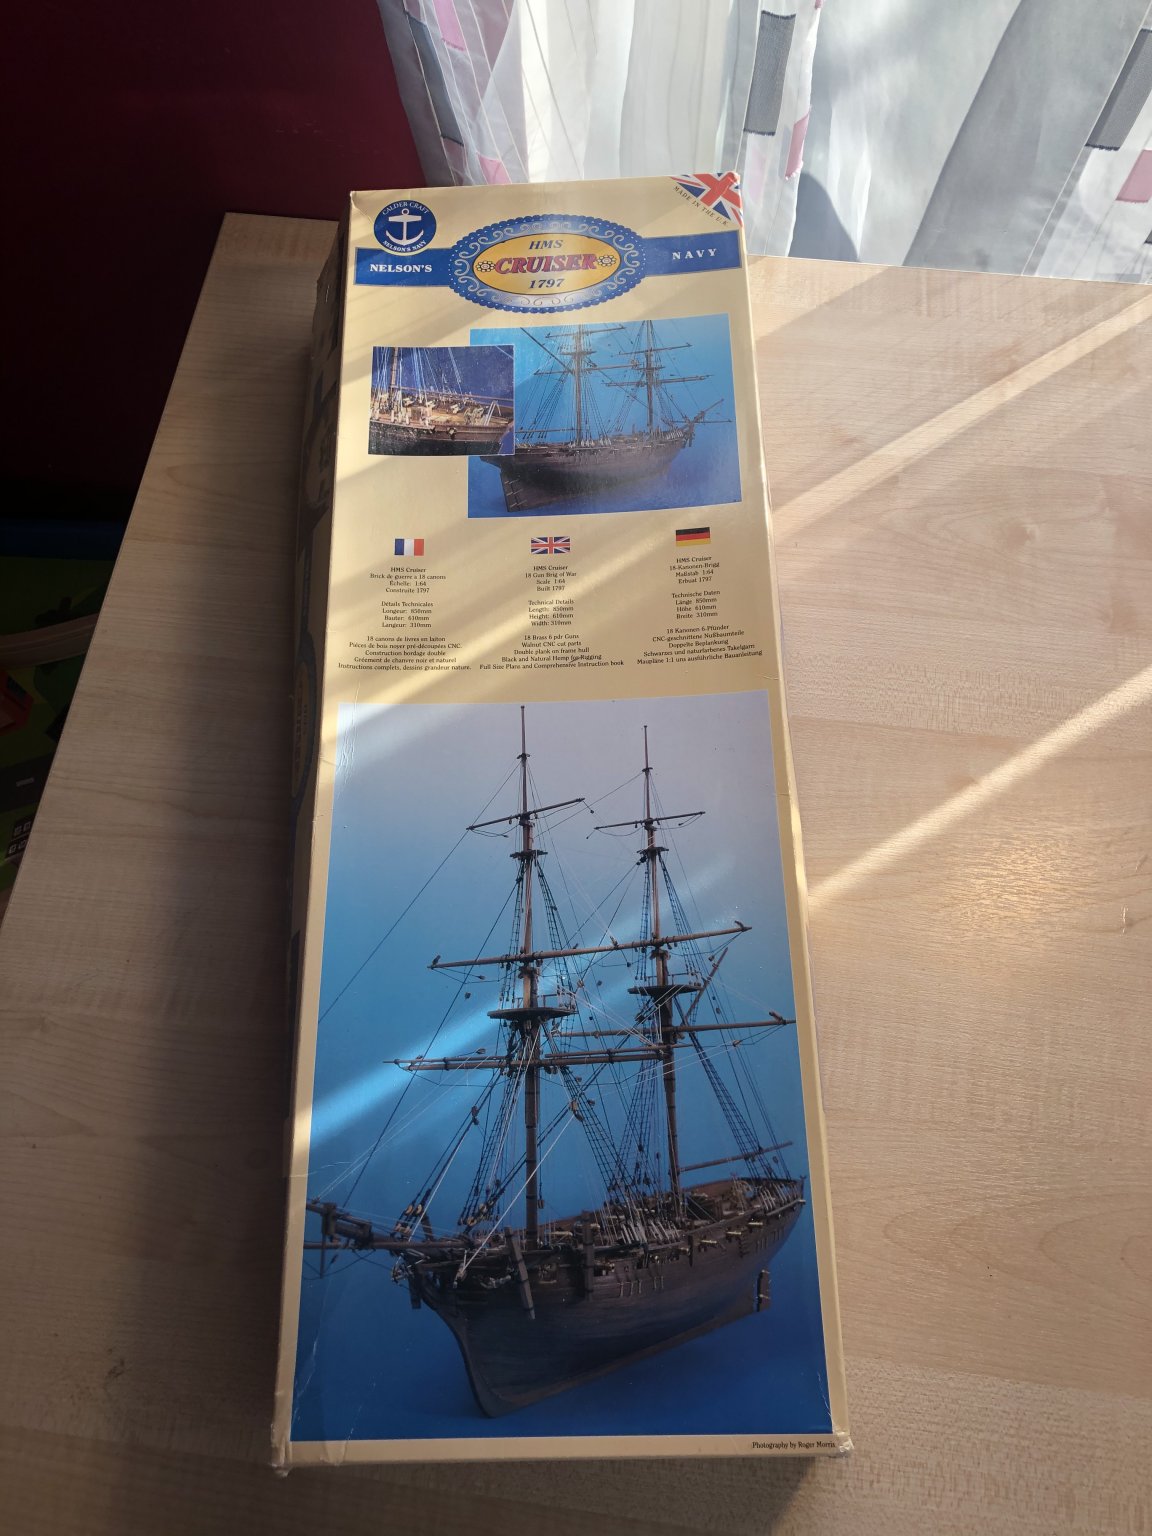
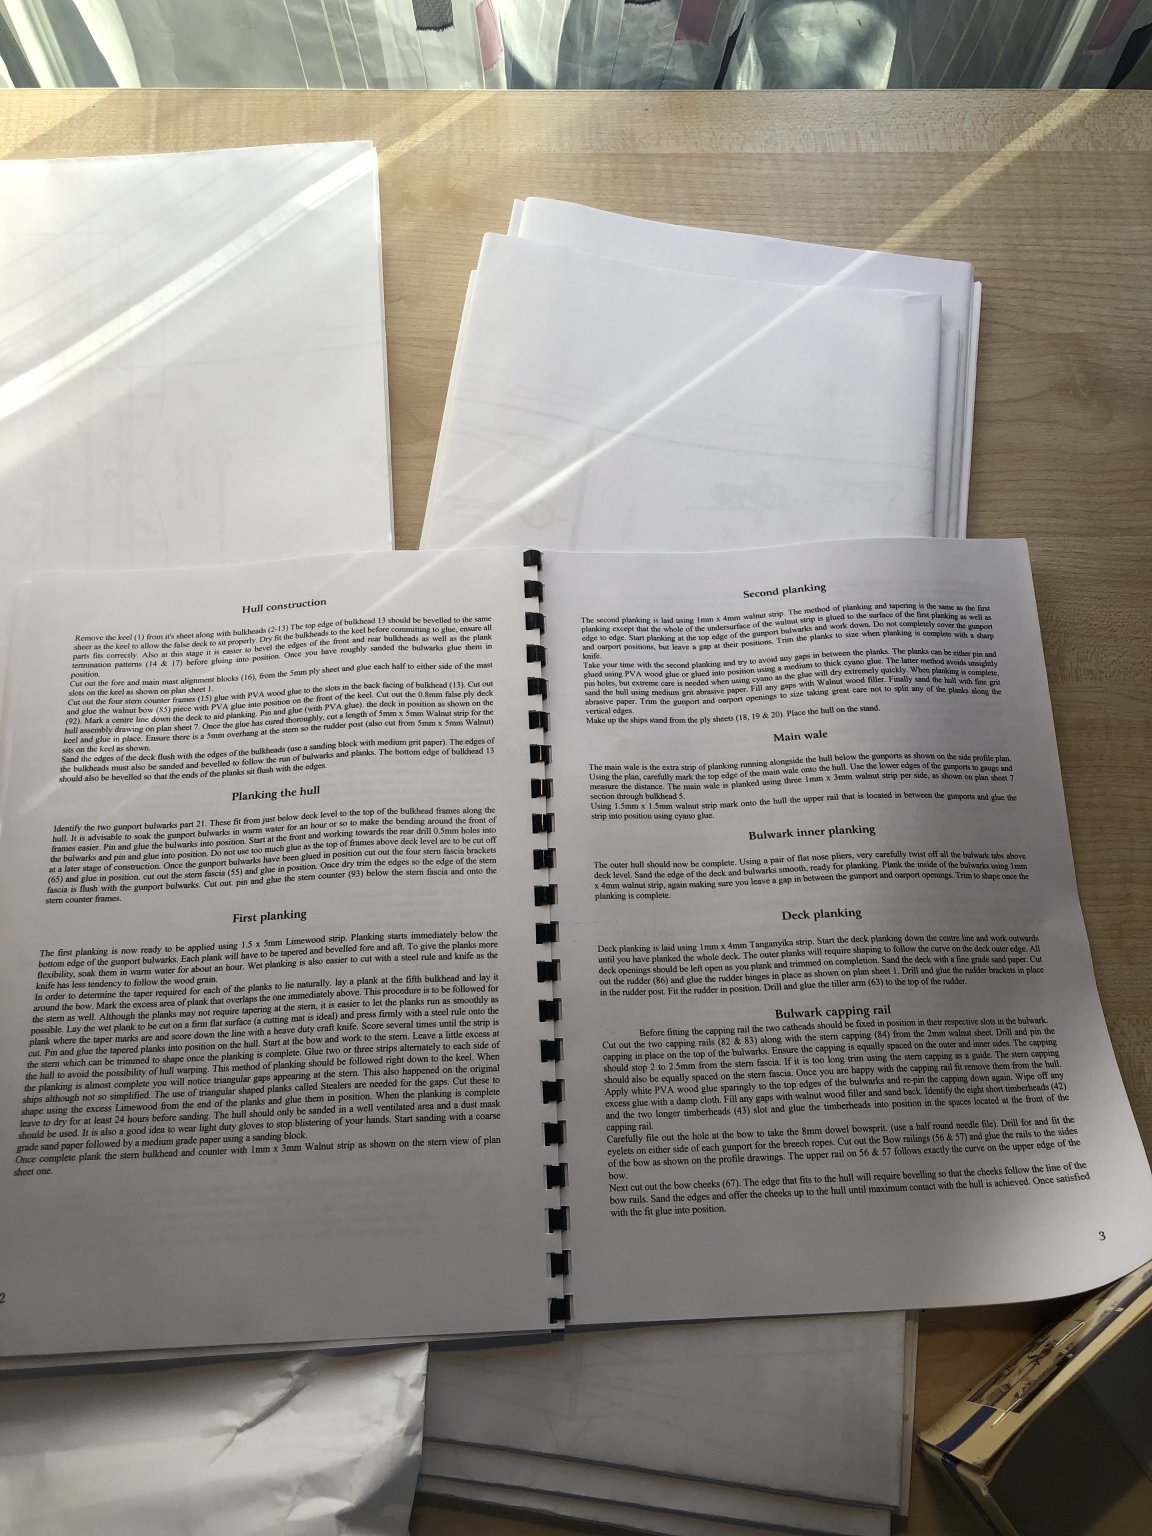
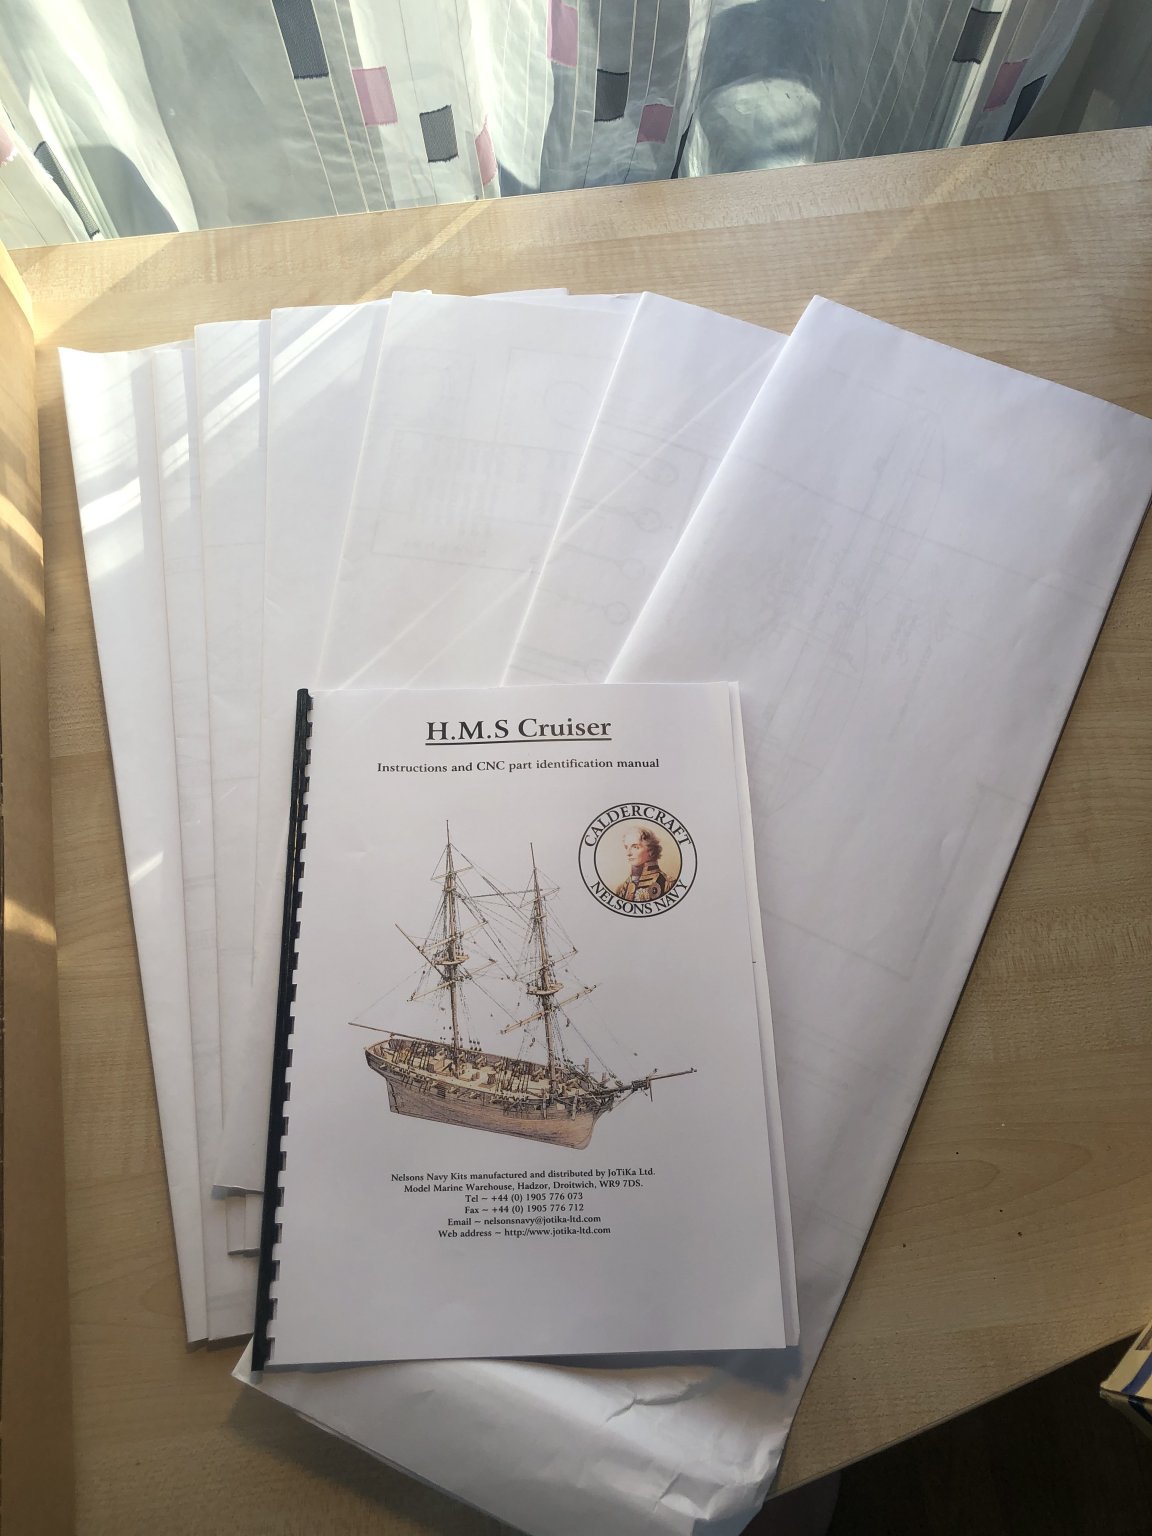
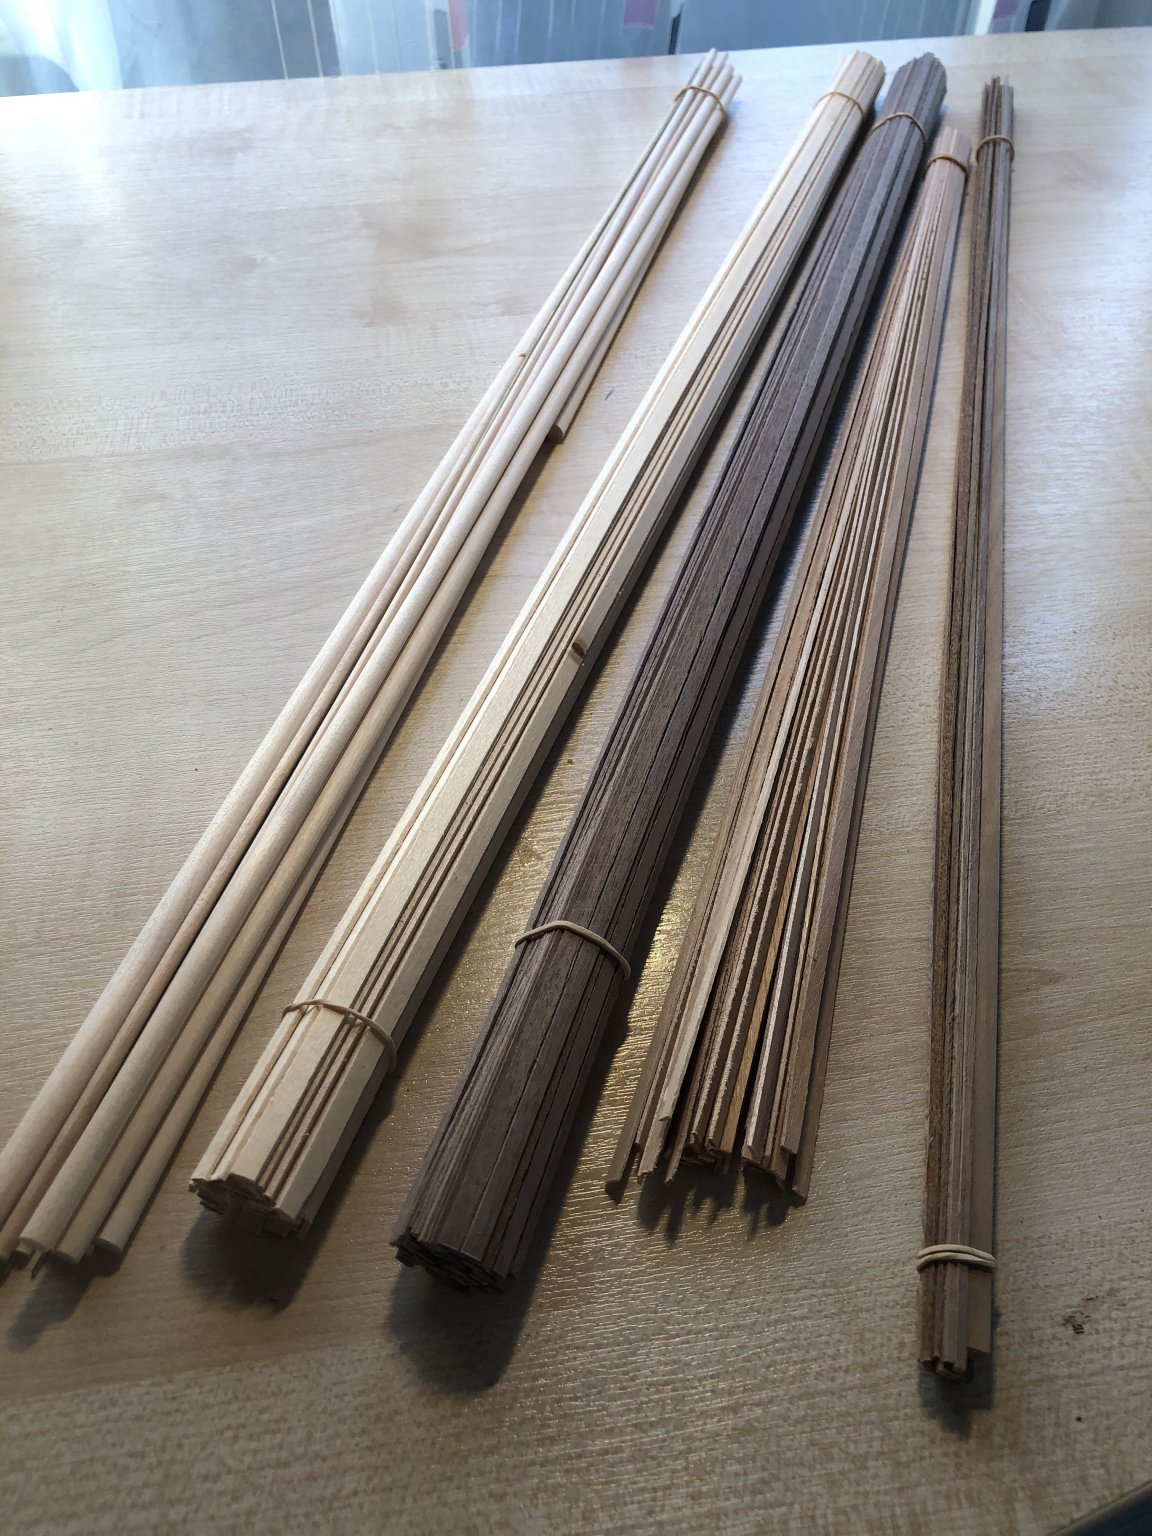
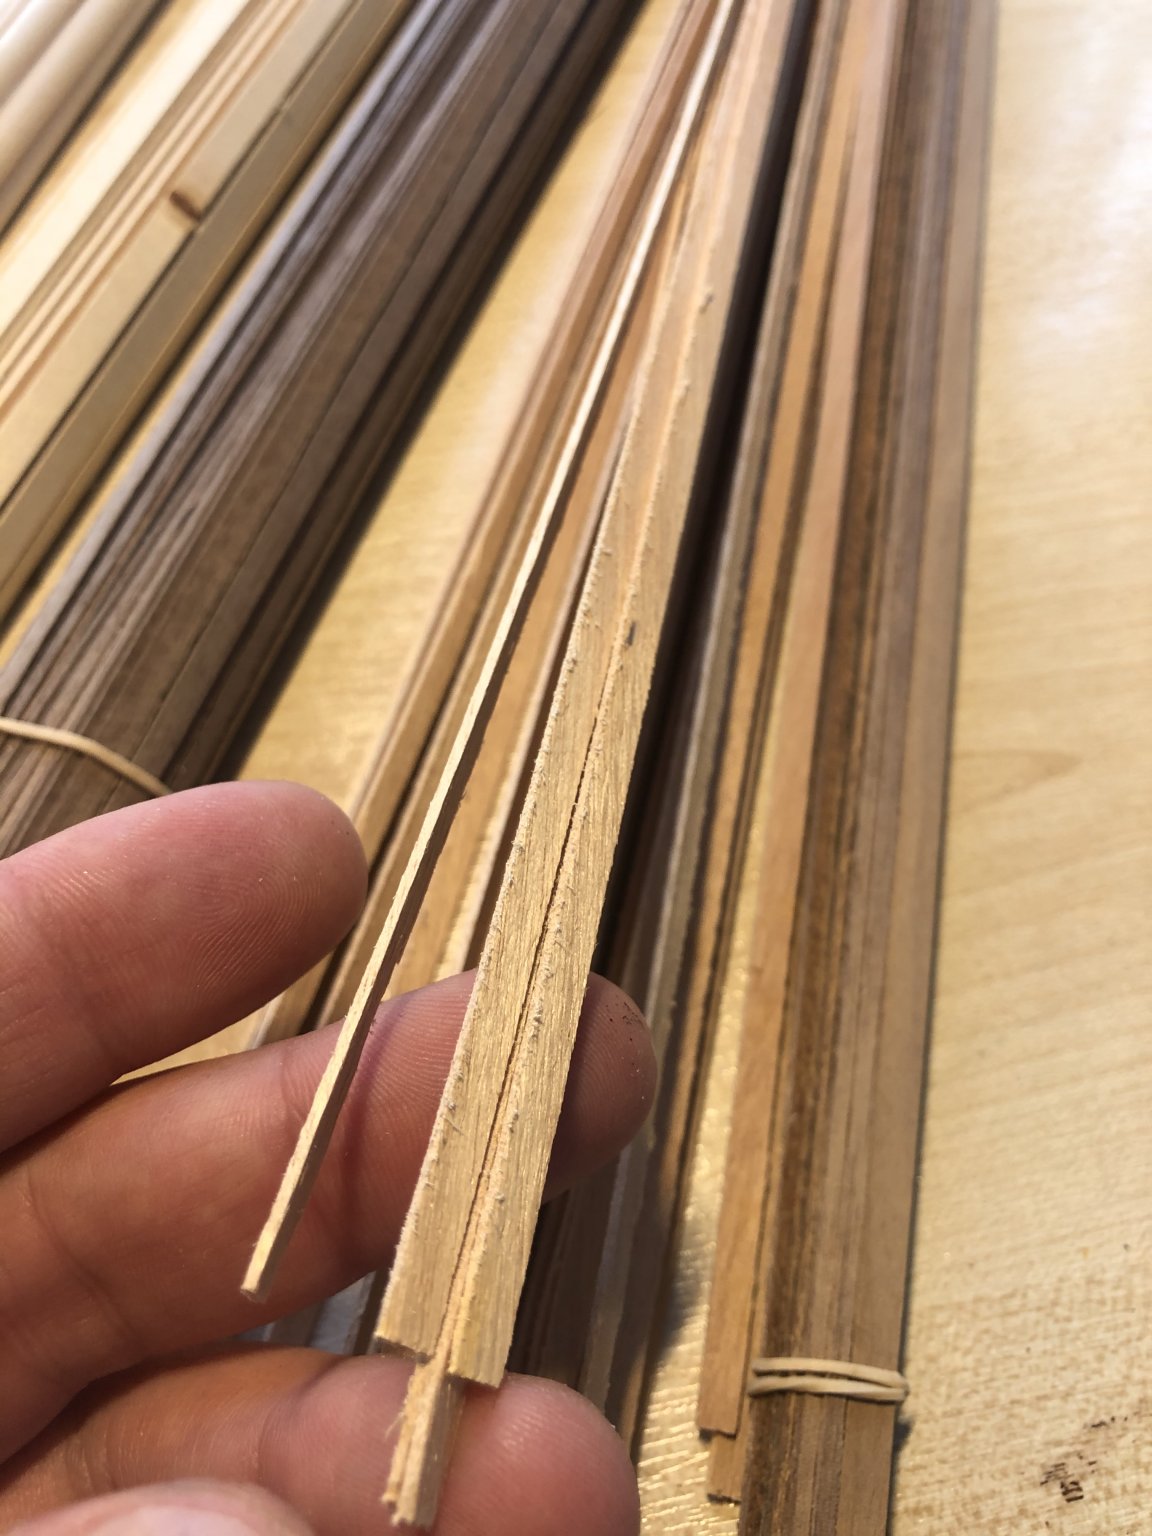
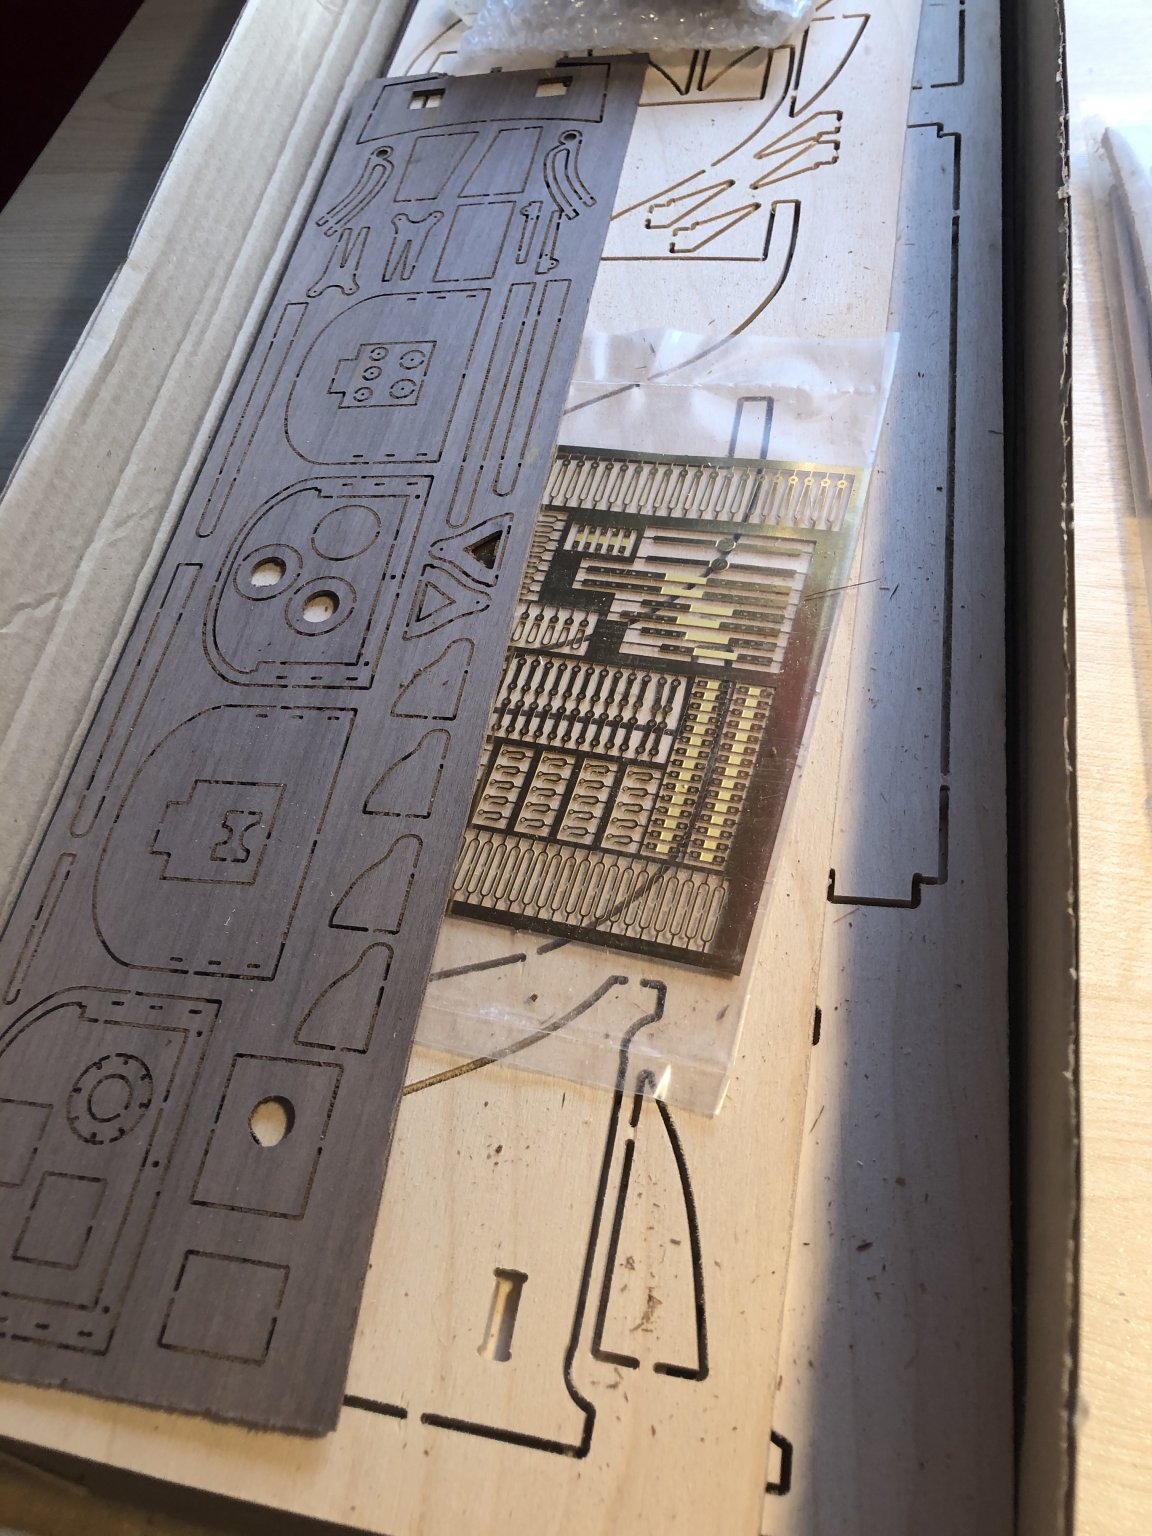
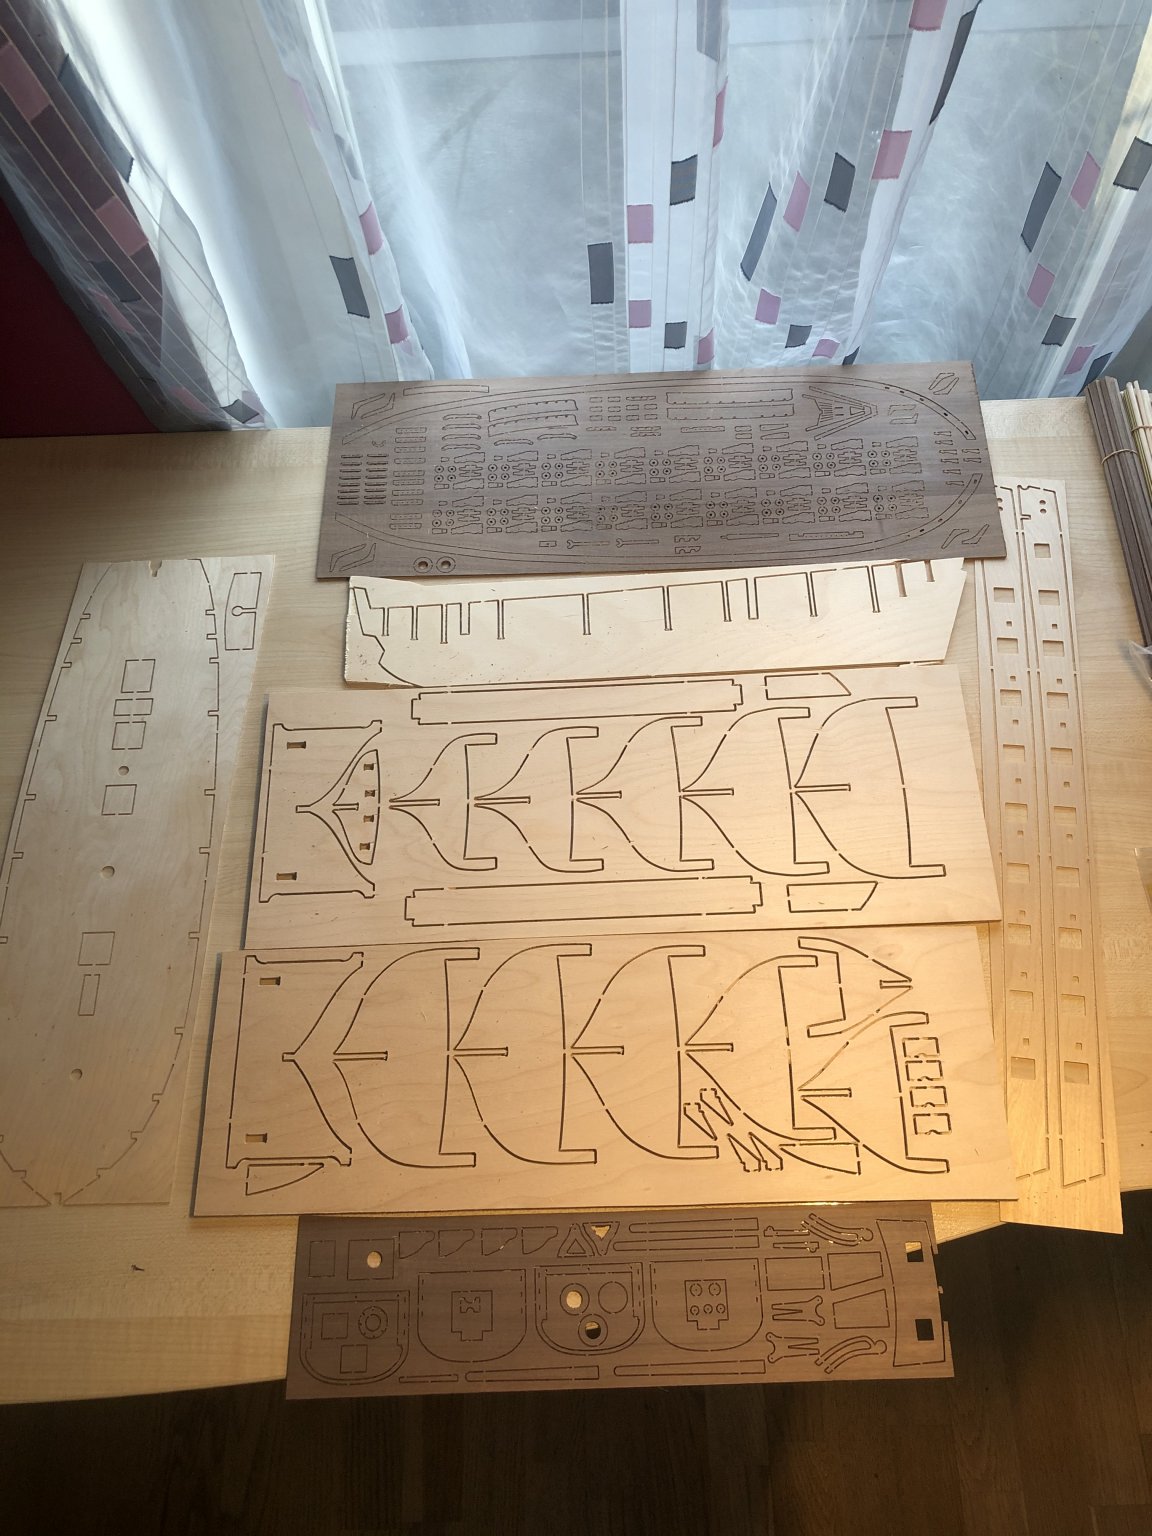
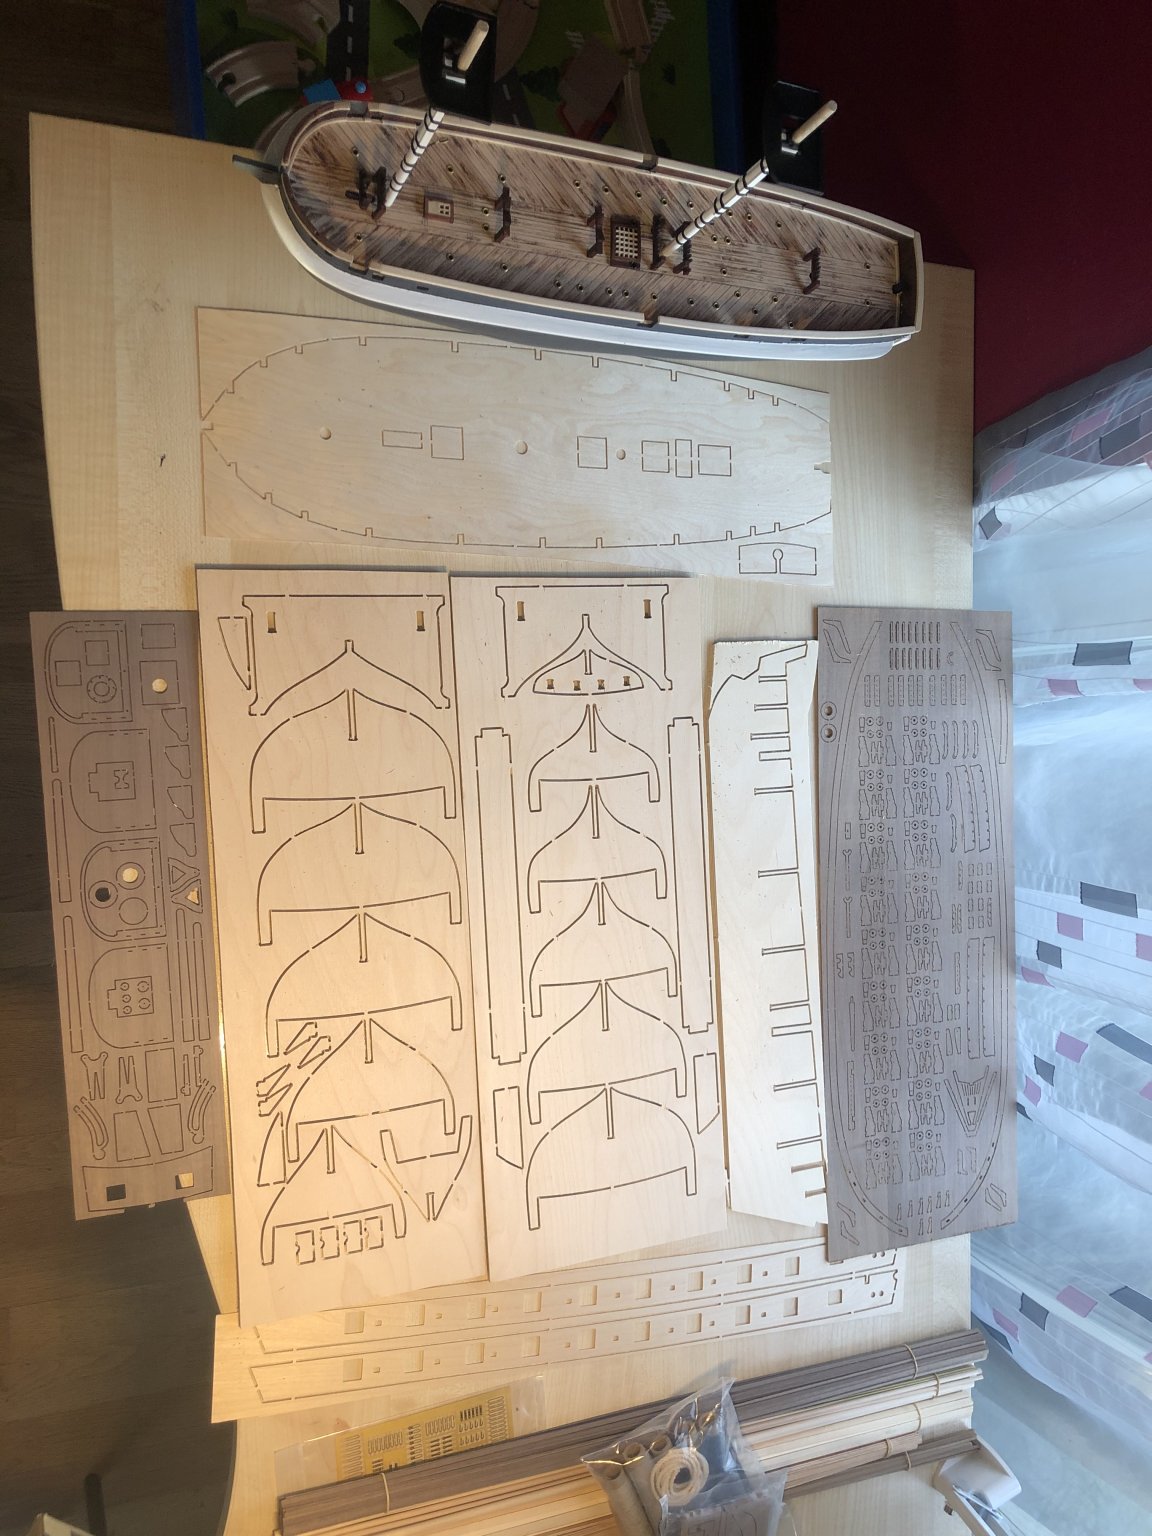
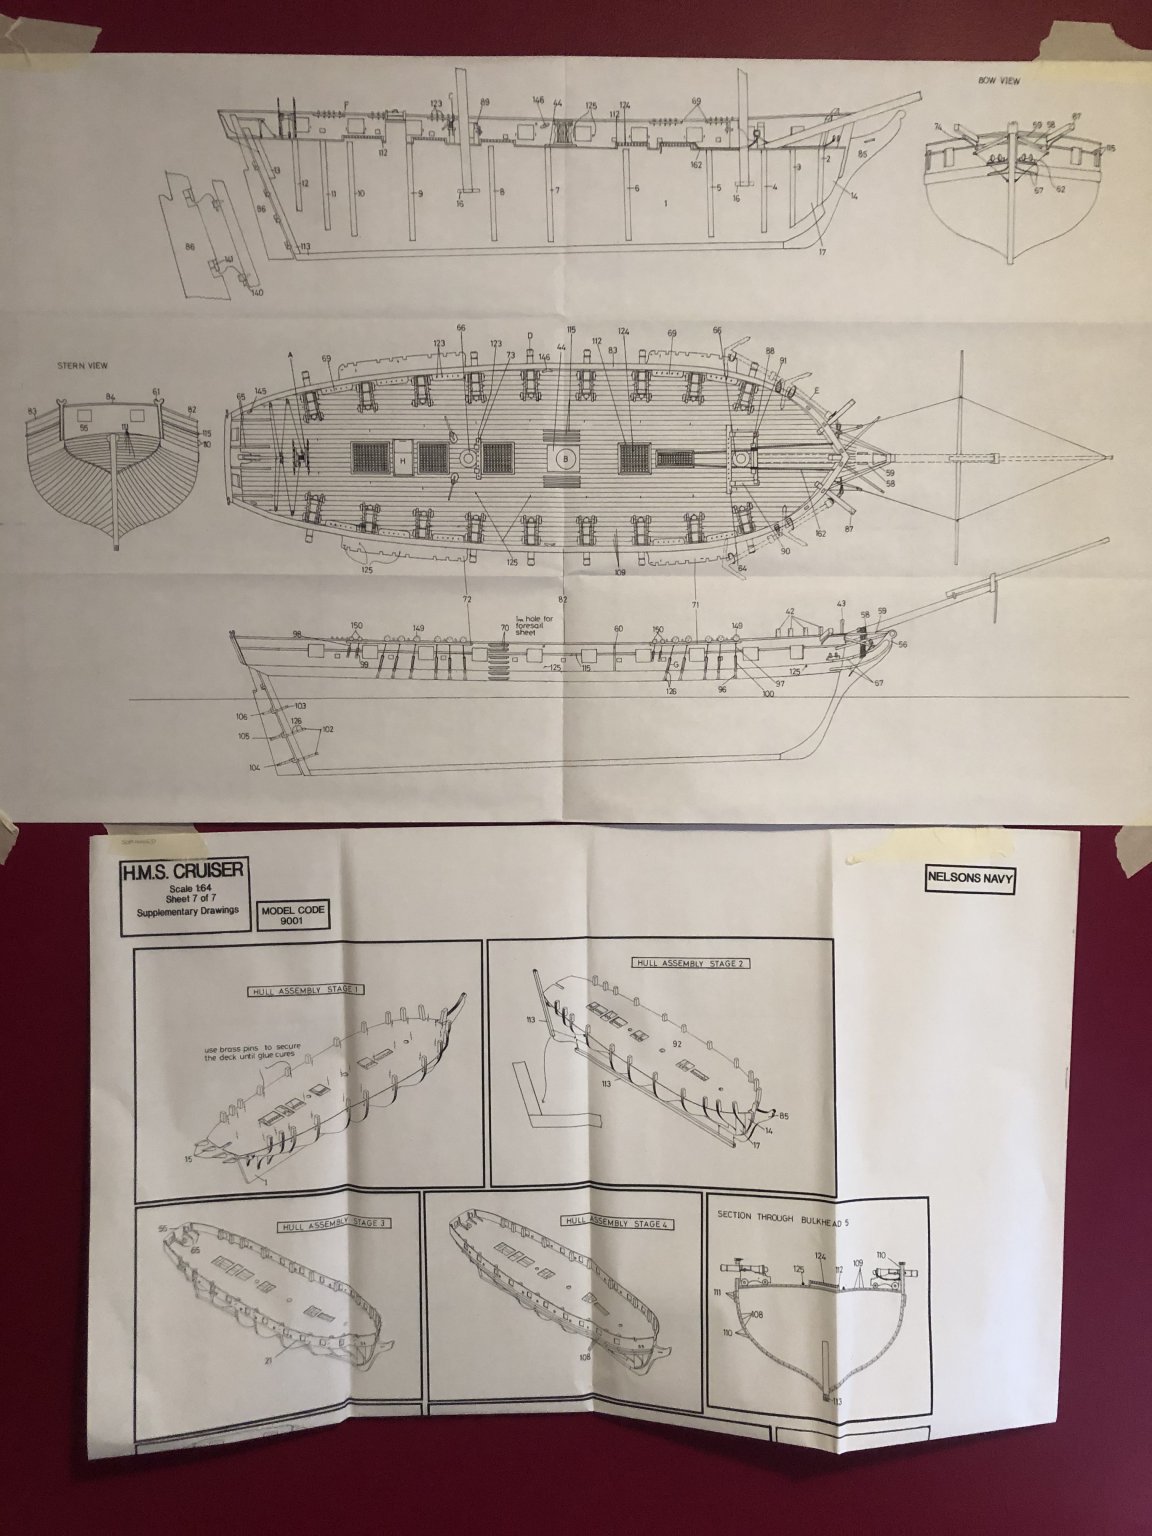
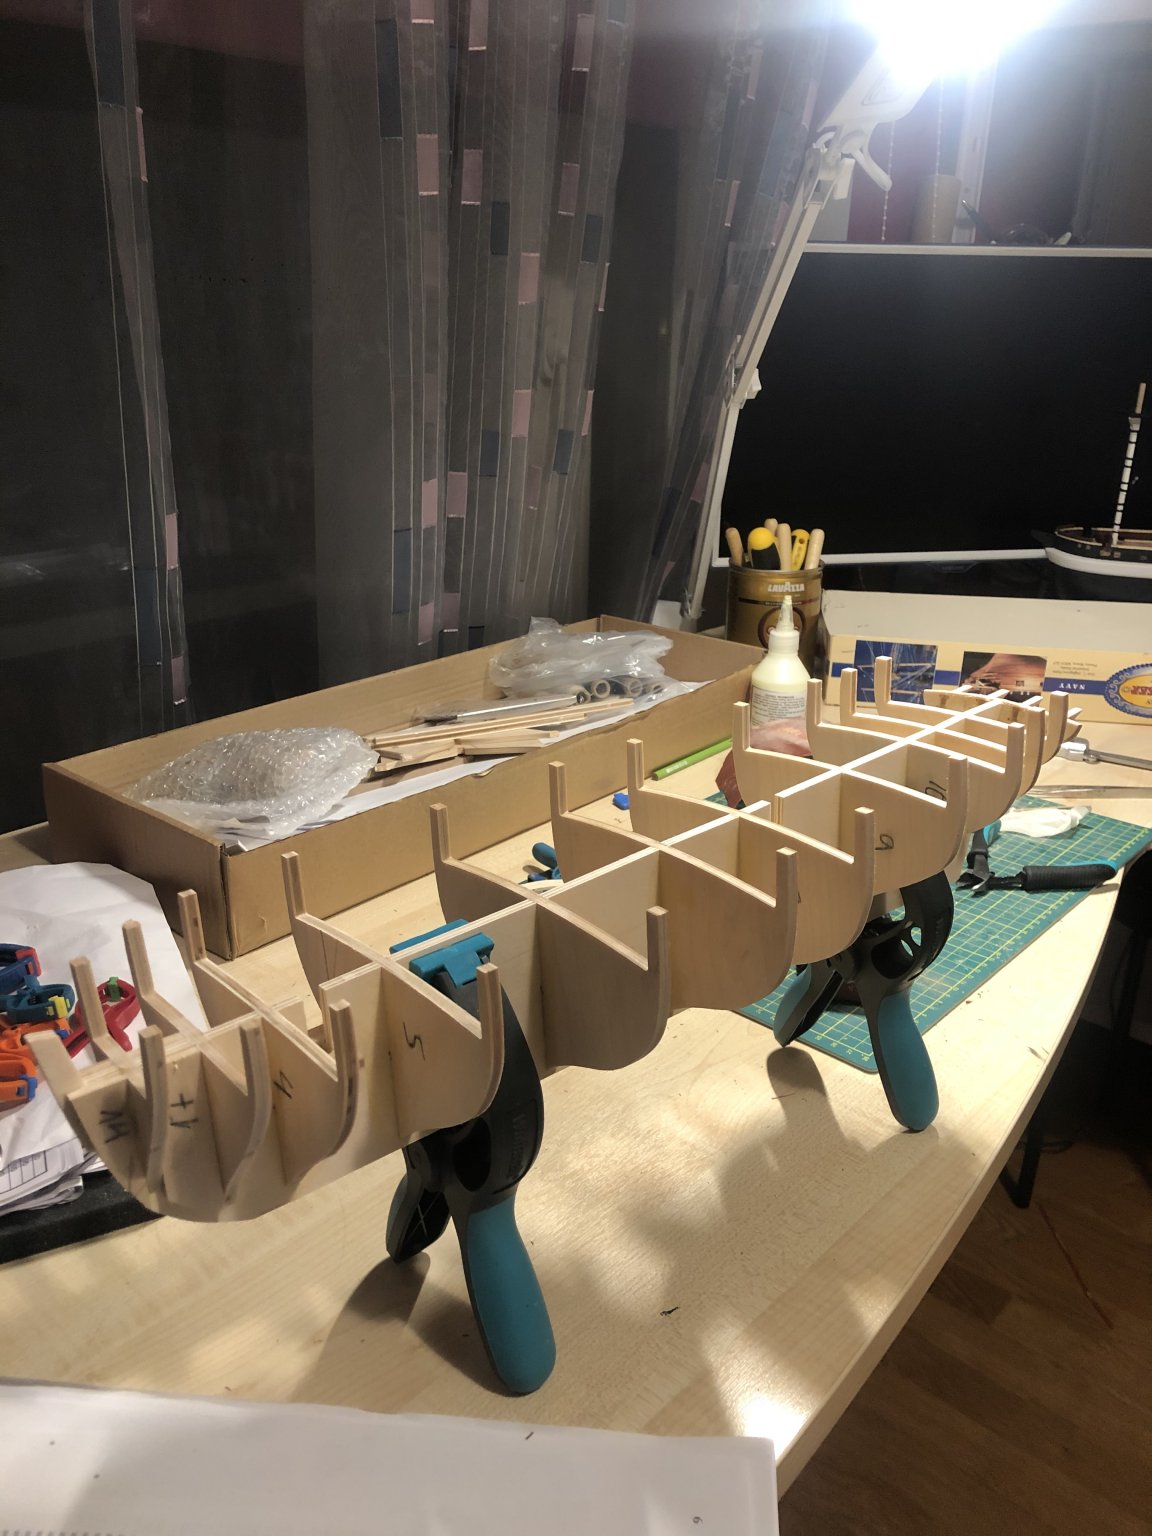
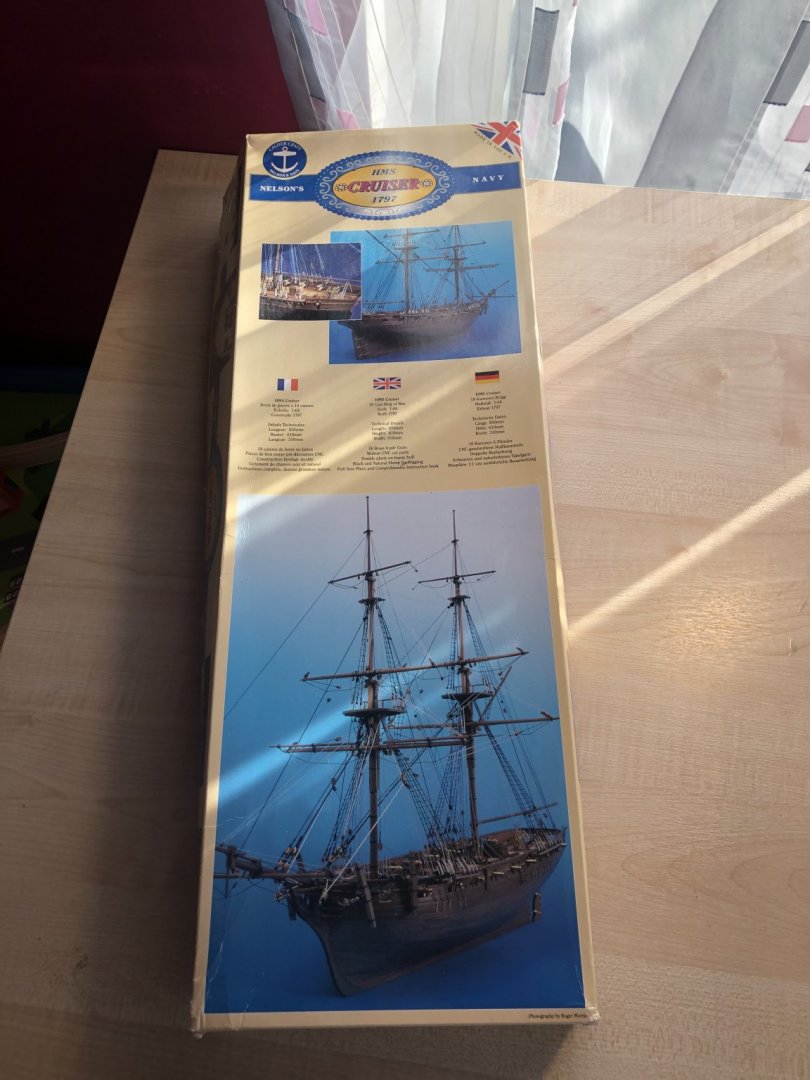
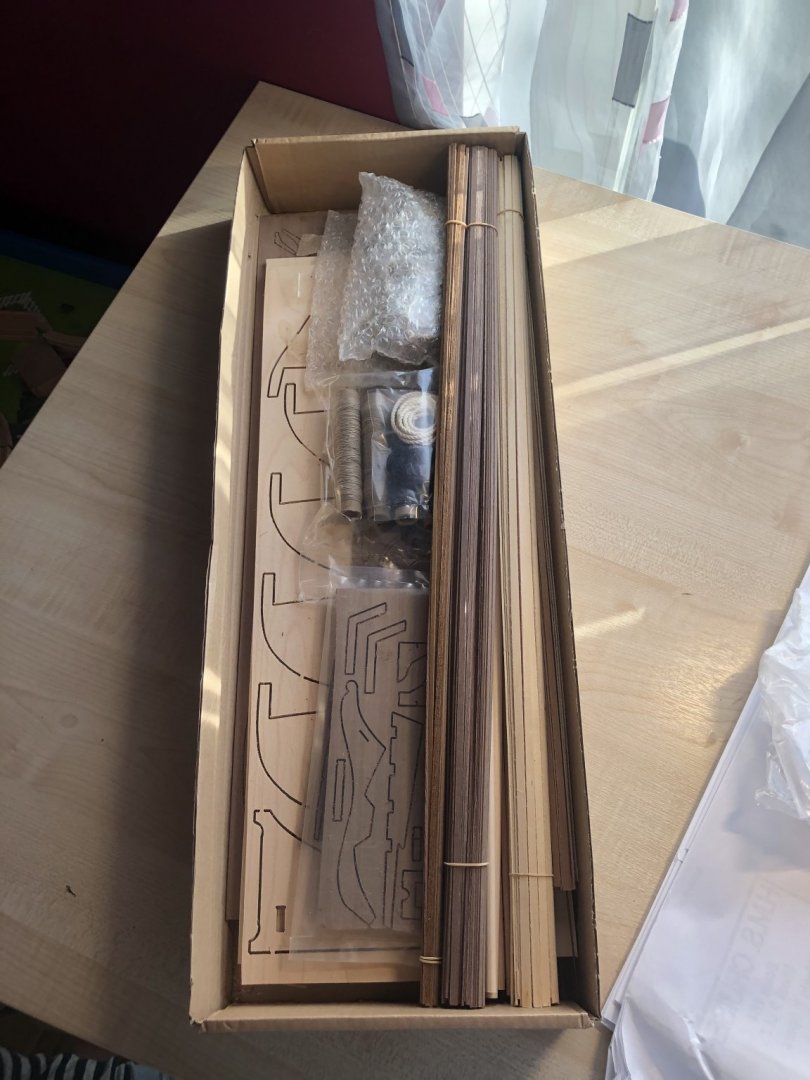
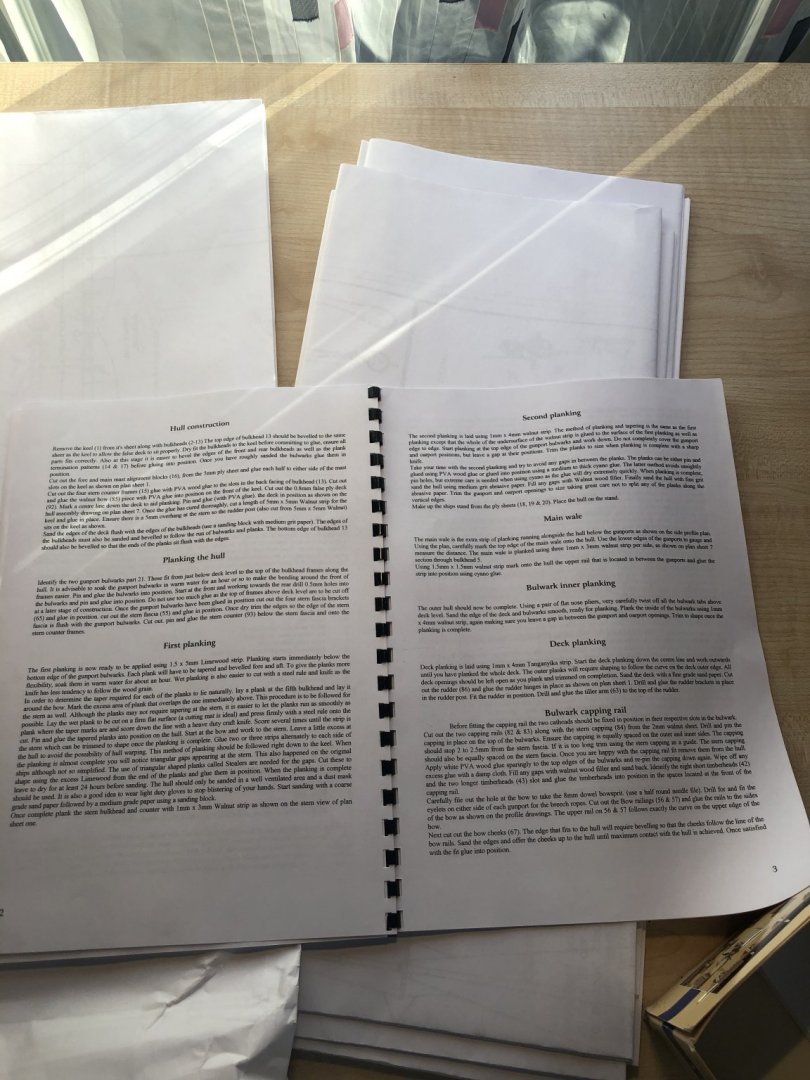
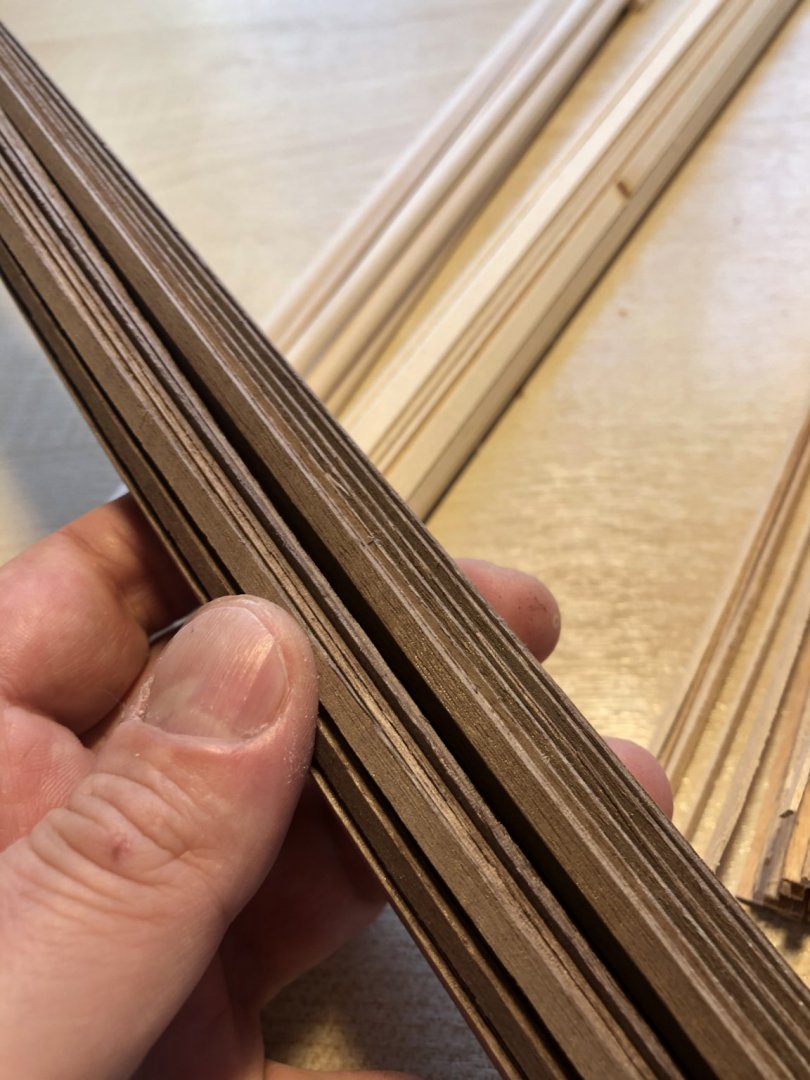
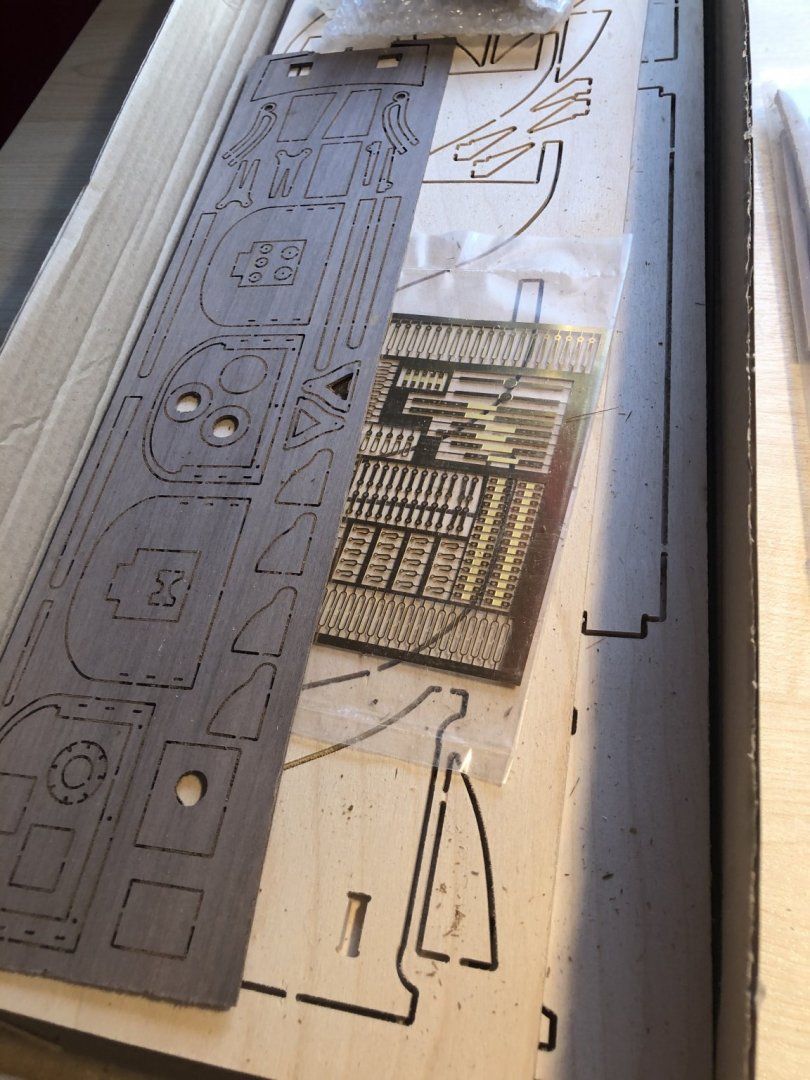
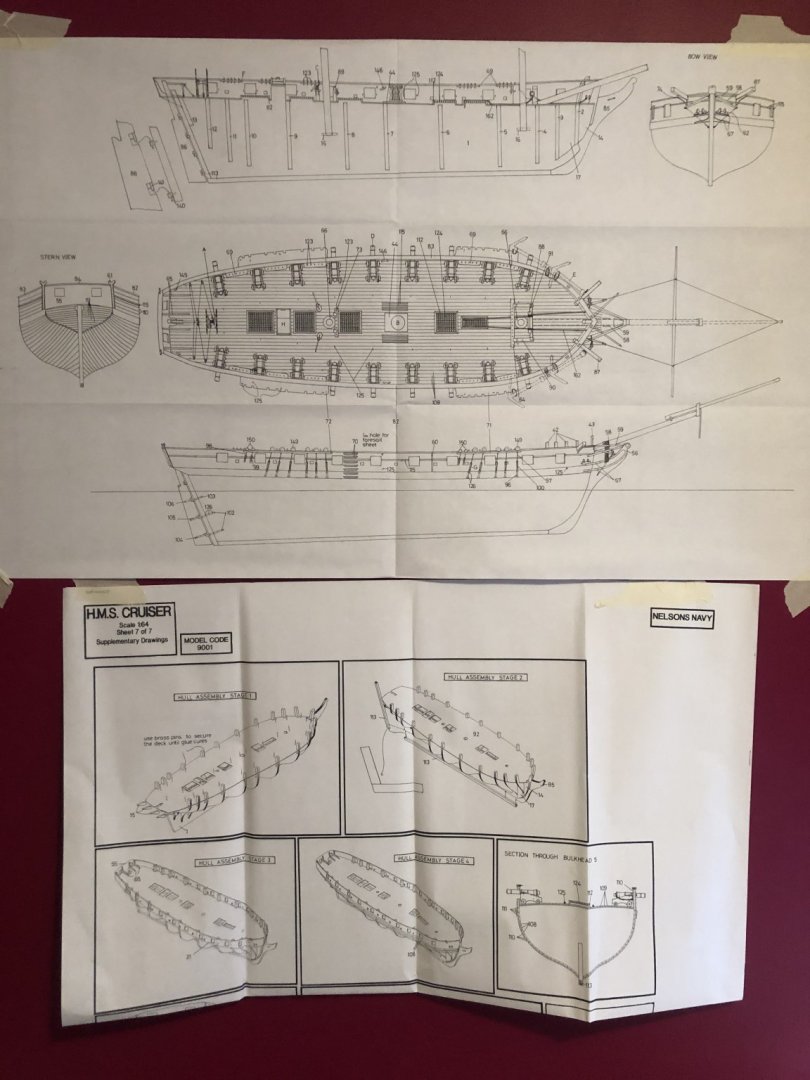
Hi all Got HMS Cruiser from stock clearance sale few weeks ago with really good peice (excuse for Admiral). It has been standing there for weeks now and decided to start with it. My first build was(still ongoing) Terror by Occre. Somehow Cruiser cought my eye with natural finish apperance-i really liked it. Also its advertised as so called simple build, so would be hopefully simple and fast build. So plan is to just sand and varnish it. Maybe paint or stain cannons cause plywood edges are visible. One other reason why i like it is that i seems big. Its little longer than Terror but a lot more wider. About the kit. Box is nice but inside is full of wood bust from cnc. Also the lines are still full of dust. First thing i used vacuum to clean most of it but eouting lines are now hardened and wont come out easily. Cnc part are nicely cut, didnt notice any errors so far. Fitting seem a lot better than Occre. Wood is good quality except planks-some quanitu has quite “hairy” edges after cutting. With little sanding it should come off. Instructions at first seem scary-7 sheets of drawings and few pages of text. Photo instructions make it mich easier. BUT taken into account experience with Terror and also im civil engineer then after checking i realised that drawings have much more info than photo instructions. Only problem is that they are so big-hard to keep them anywhere when you dont have workshop(like me). One problem with instructions is that none of the fittings have markings so it takes some time to find exact one and always double check to be sure. This build will be easier and also harder than Terror. Easier cause not so kany deck fitting but harder vause there isnt finished detail build log. About the start. Dryfitted bulkwarks on keel and they fit like a charm. Very little sanding needed. I also like that its 5mm plywood so it can bare little more handling. Glued bulkwarks to place and used cnc cut deck to position eberything to right place. With the experience from Terror i now look 3-4 step ahead and check how other parts fit also(keels etc). Problems that other builds had havent occured yet.


-
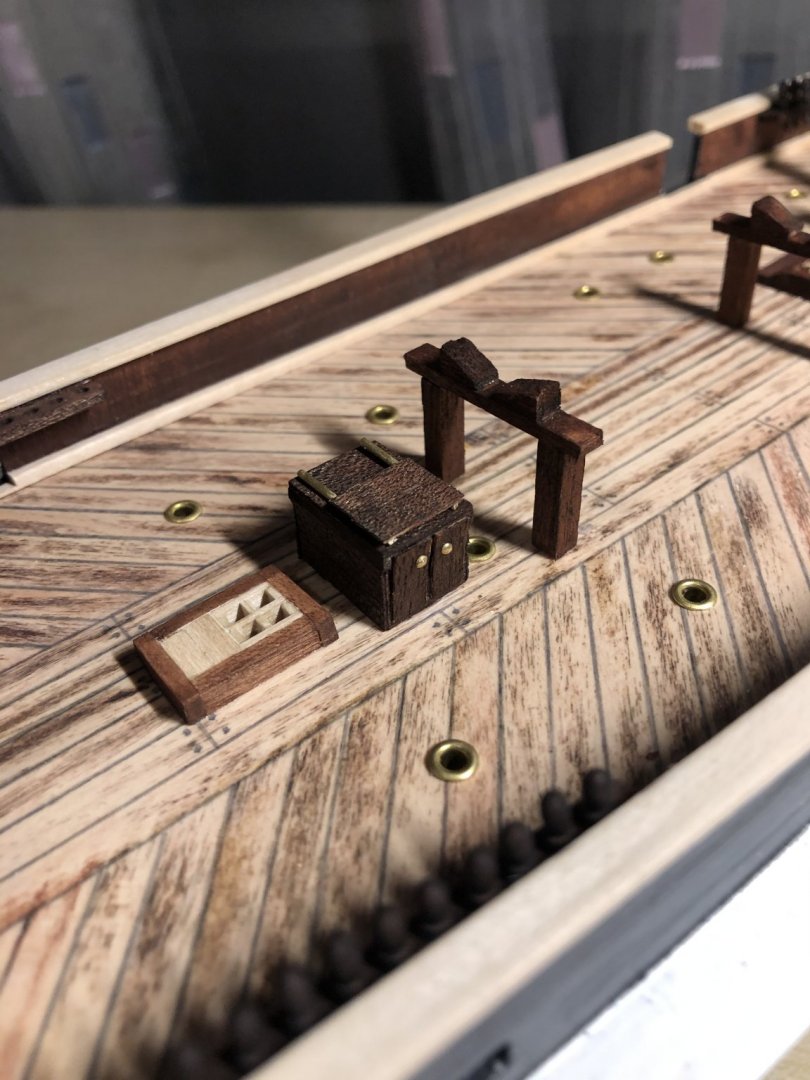
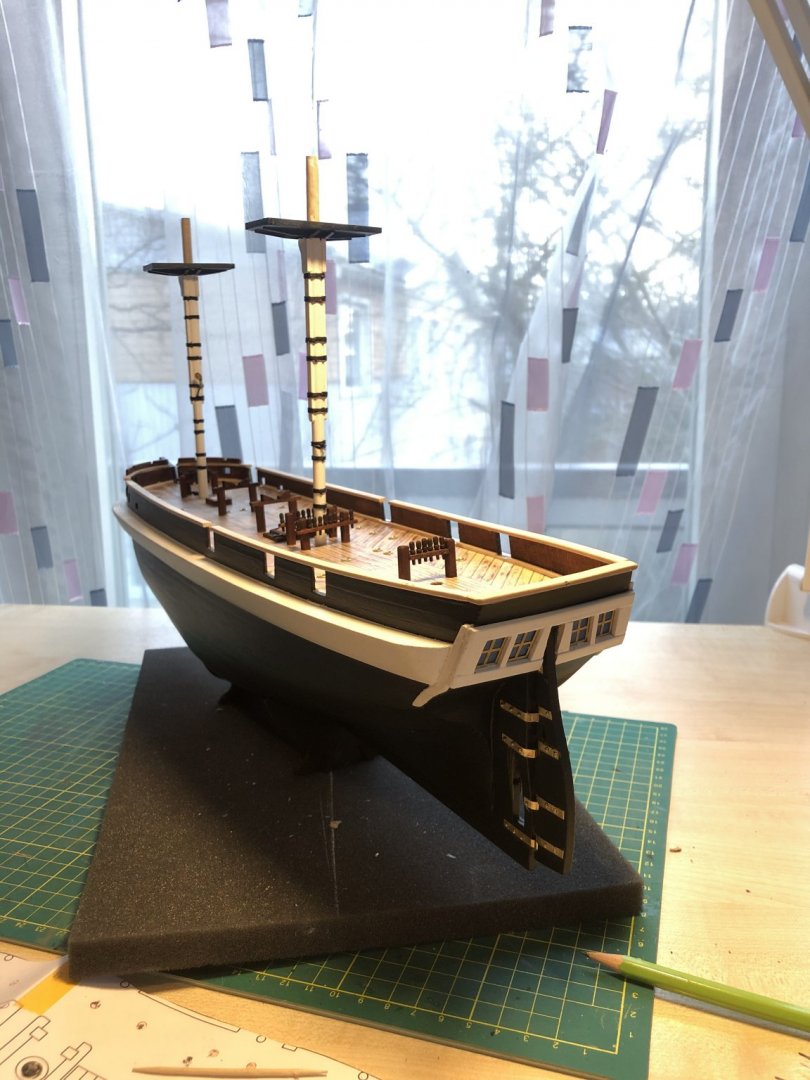
Spent so many nights doing small details. Now installed them in 1 hour-dont remember when been so happy recently with outcome :). Dryfited masts. Keel has sime details missing but not many. Hull is varnished. All stains, paints and varnishes are Admiralty except windows blue thats Revell.


-
Hi, Really nice for the first time. I would suggest to sand it more so that 2nd planking would be smoother. Also what I didnt do is checked how keels fit to hull. I suggest to do that and do some corrections with sanding if needed.
-
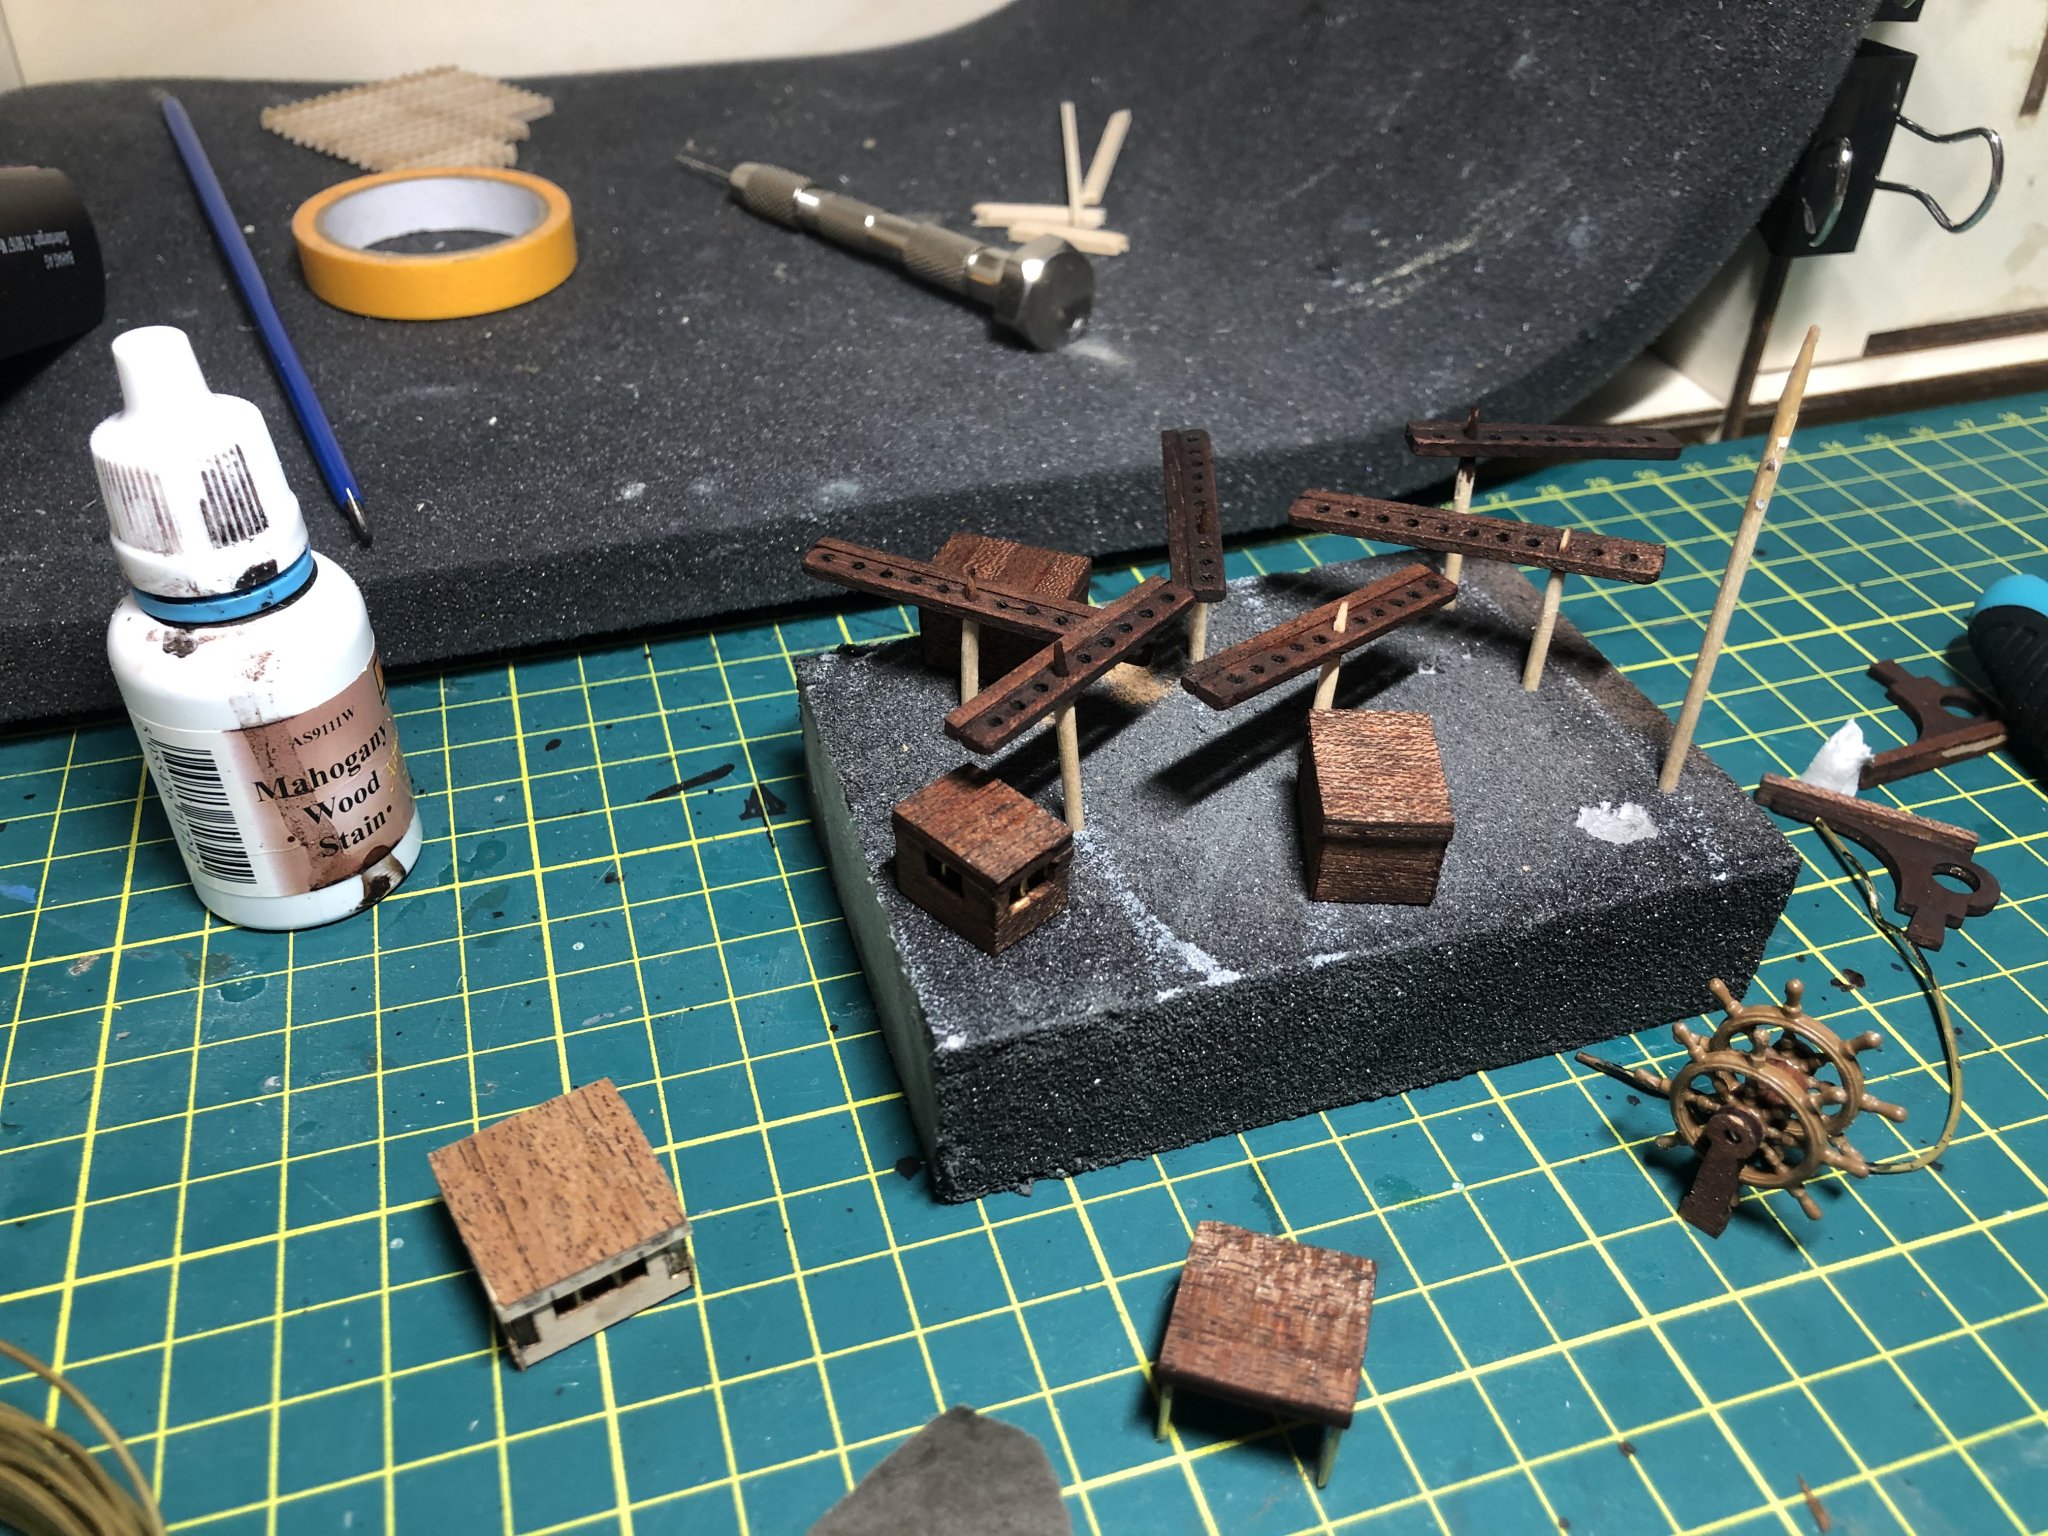
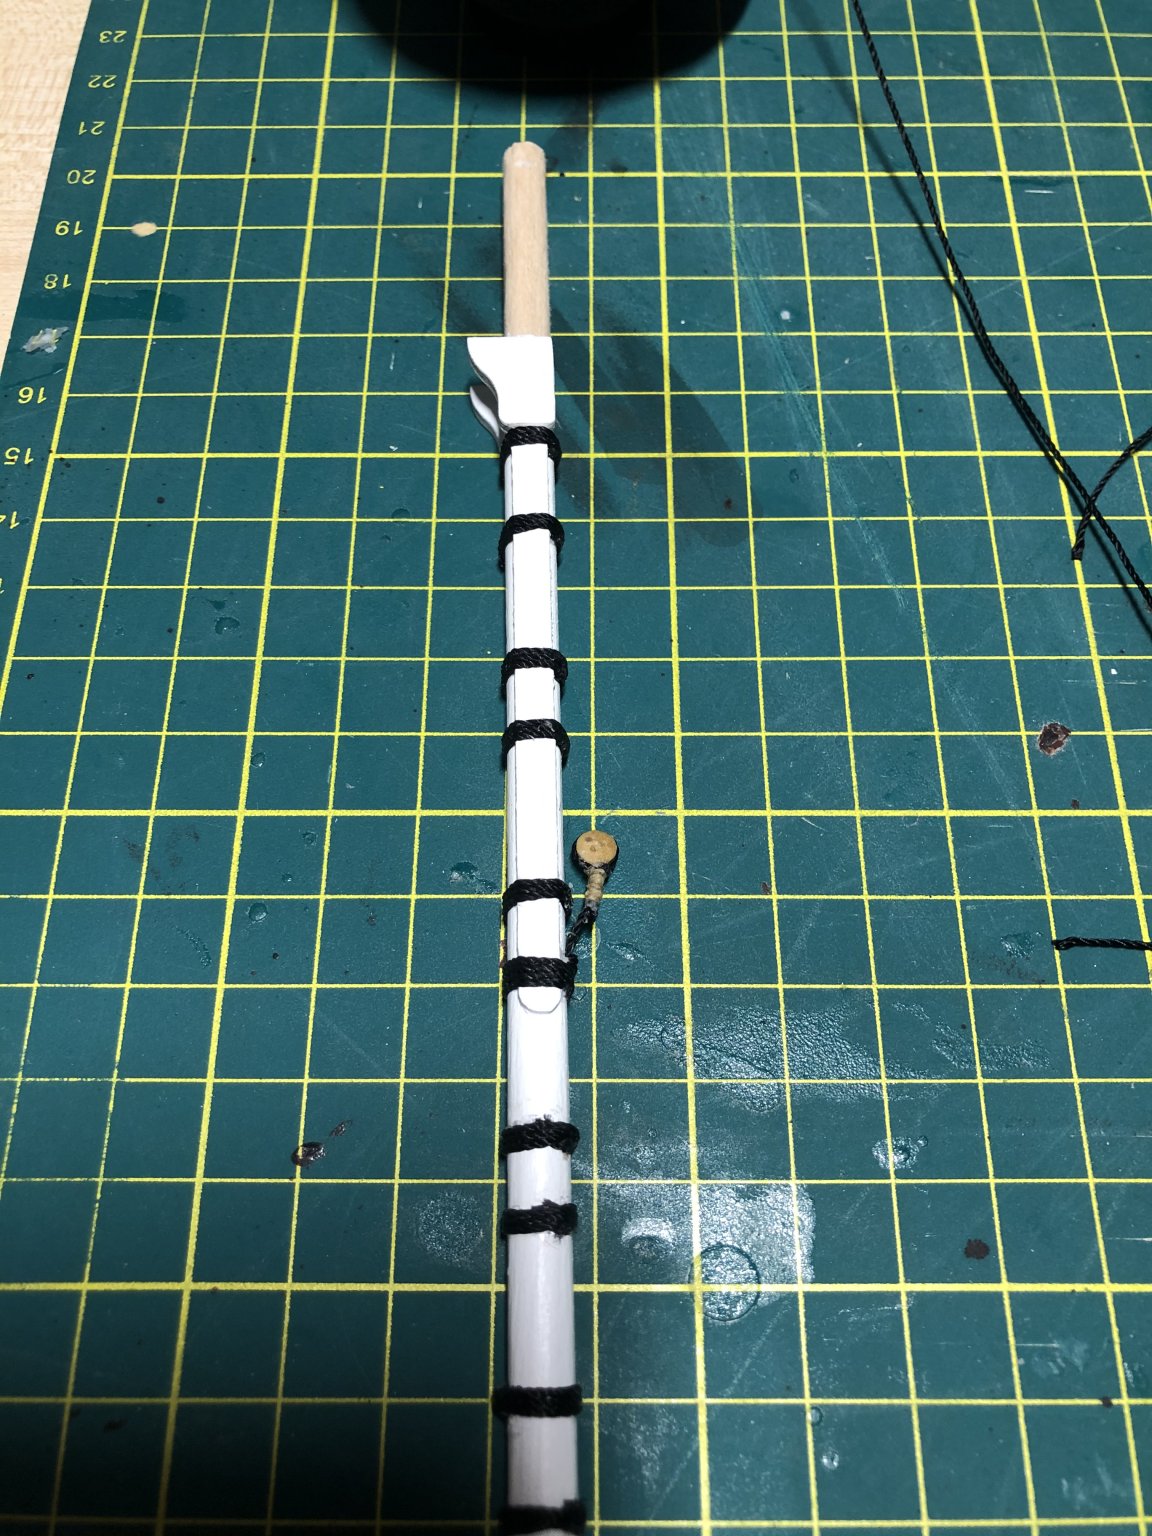
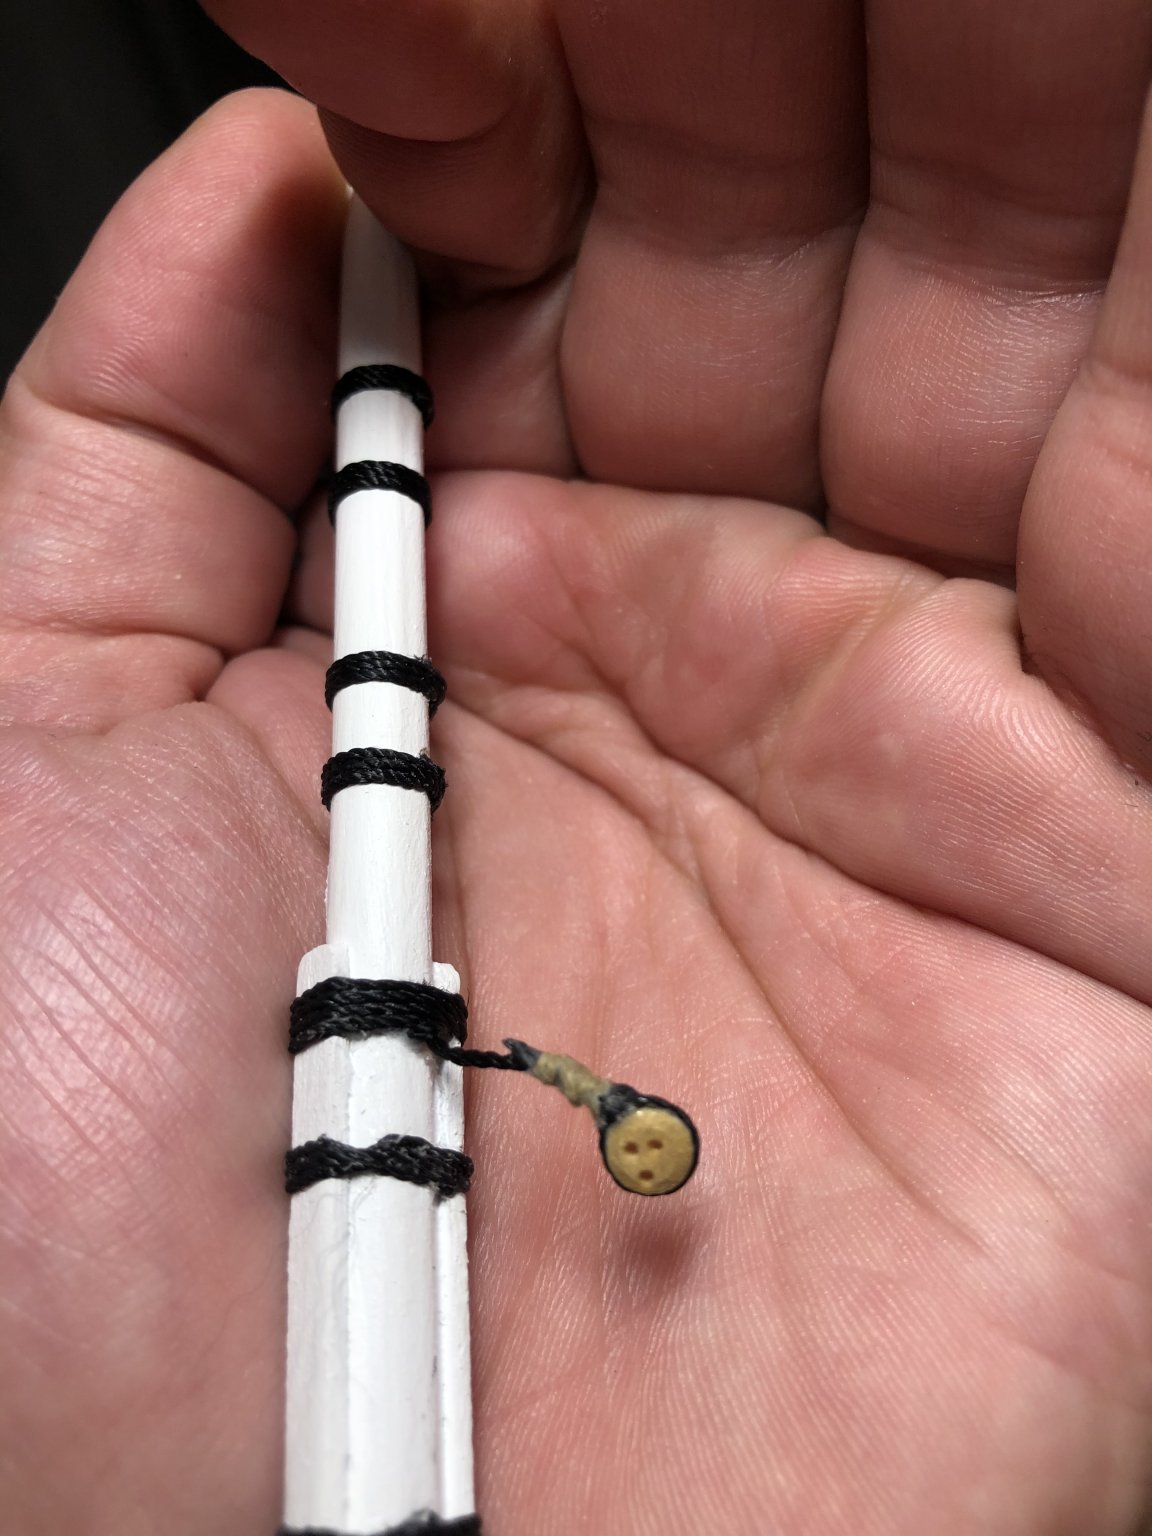
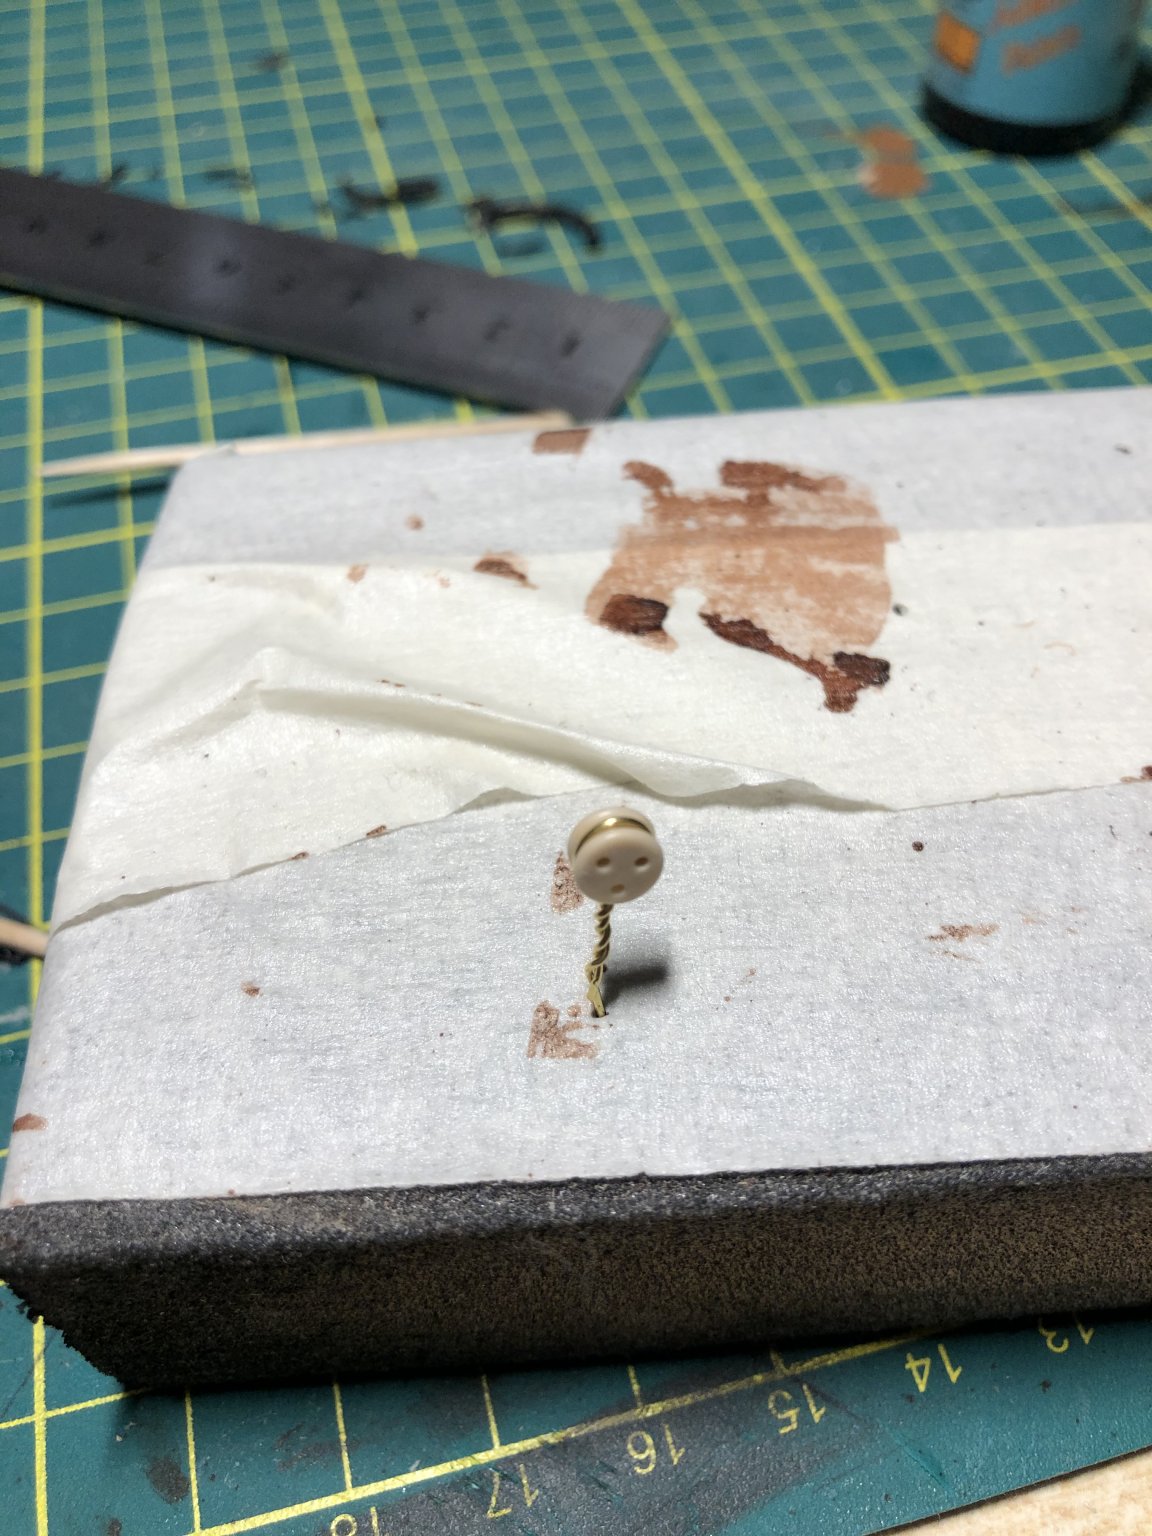
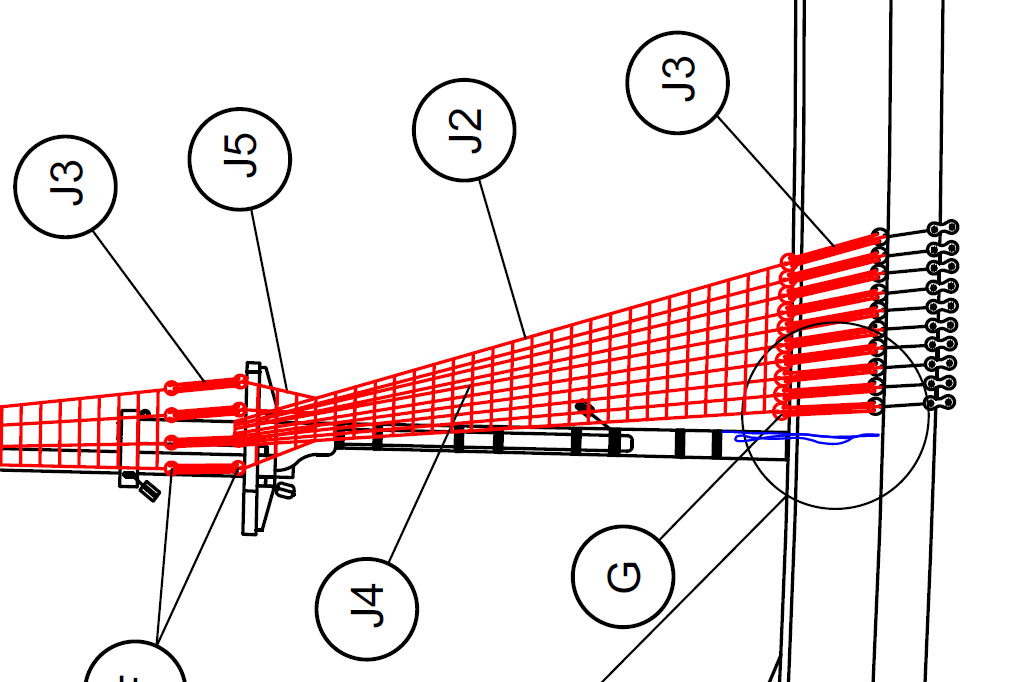
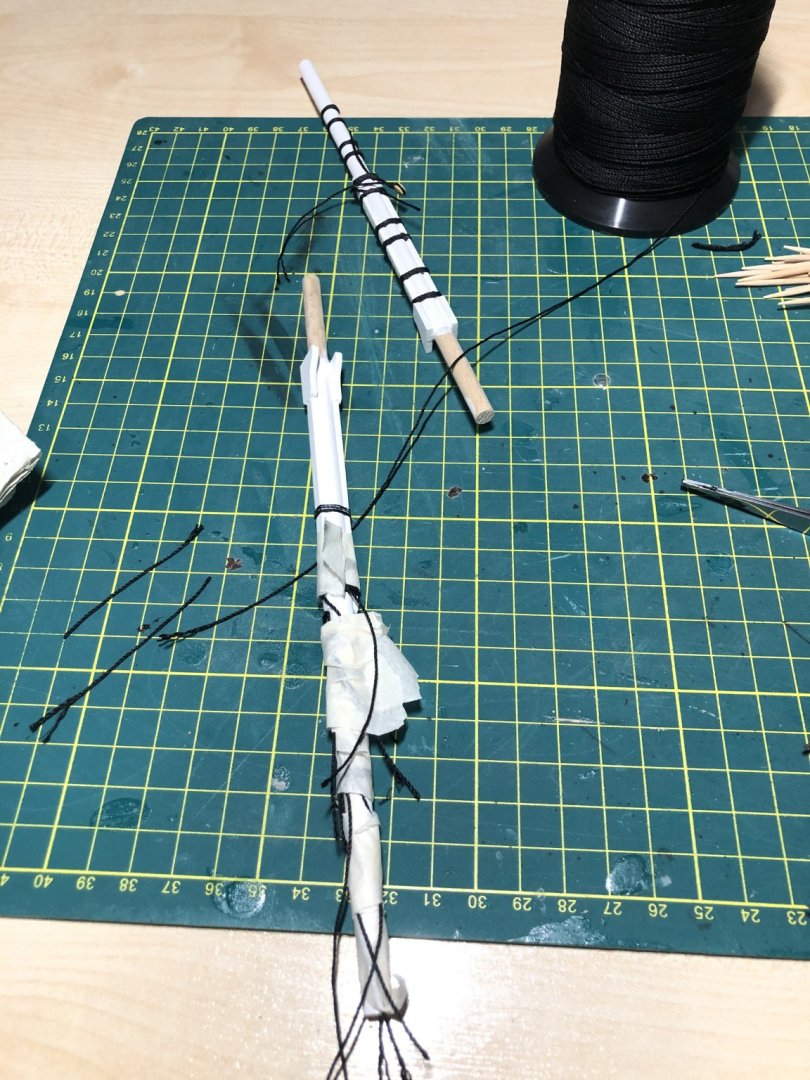
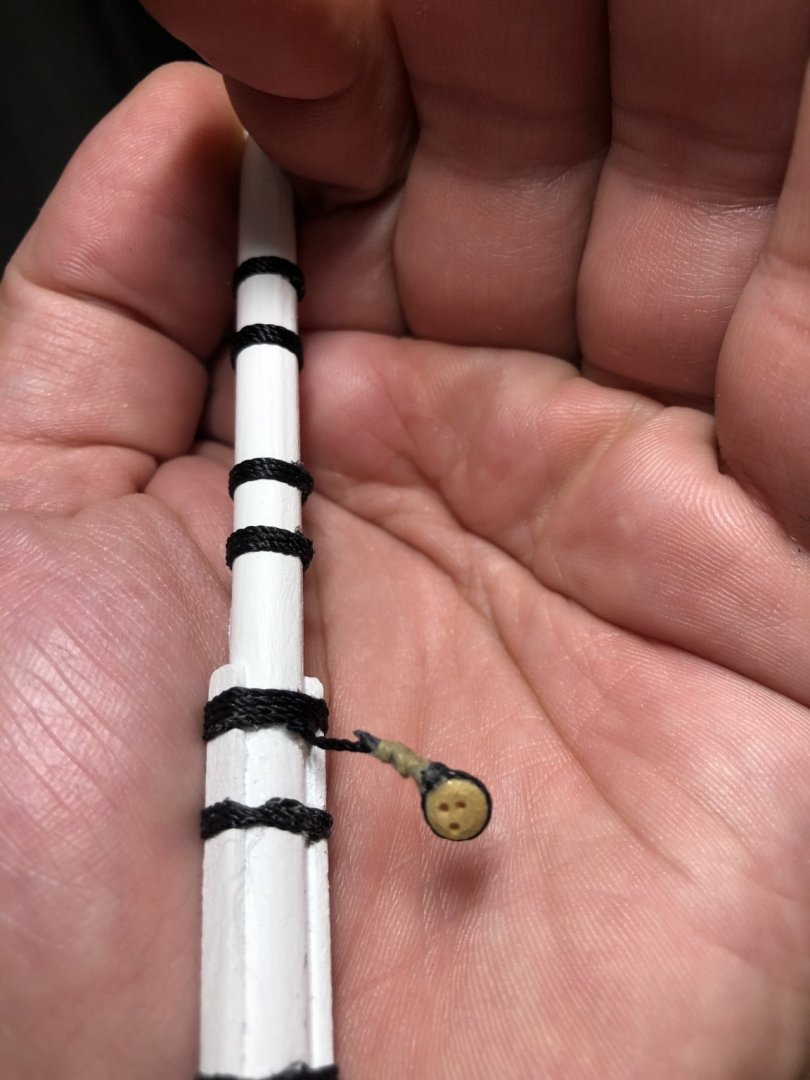
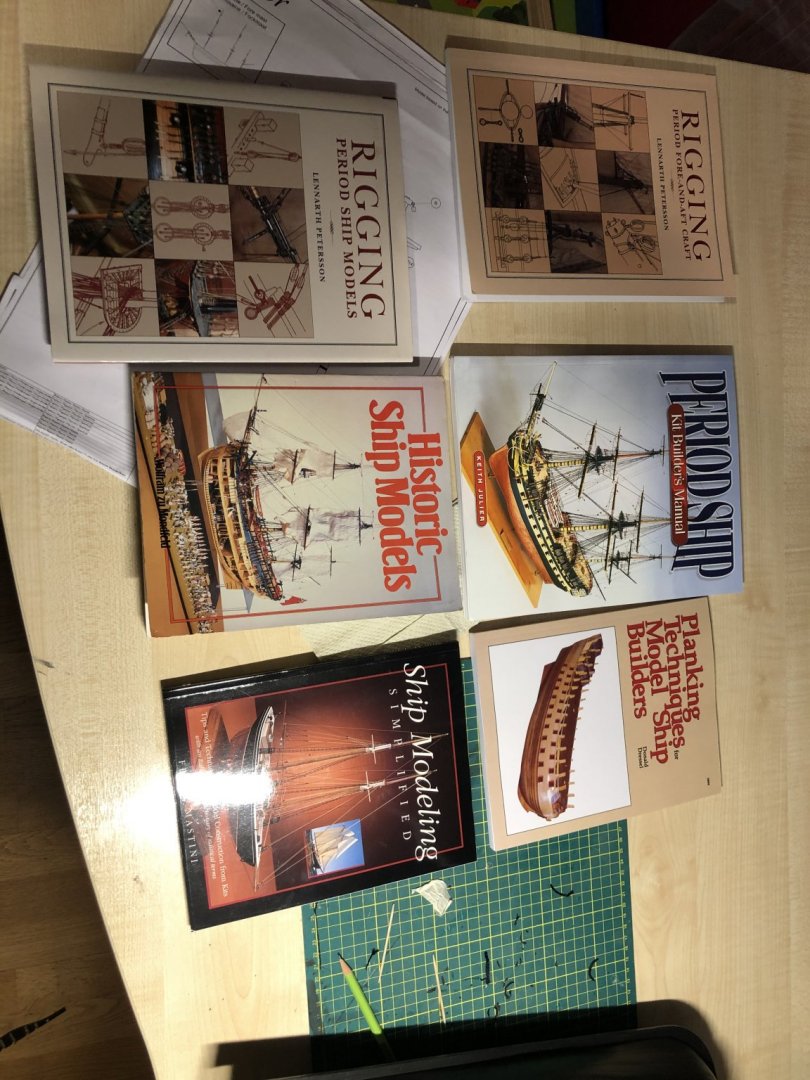
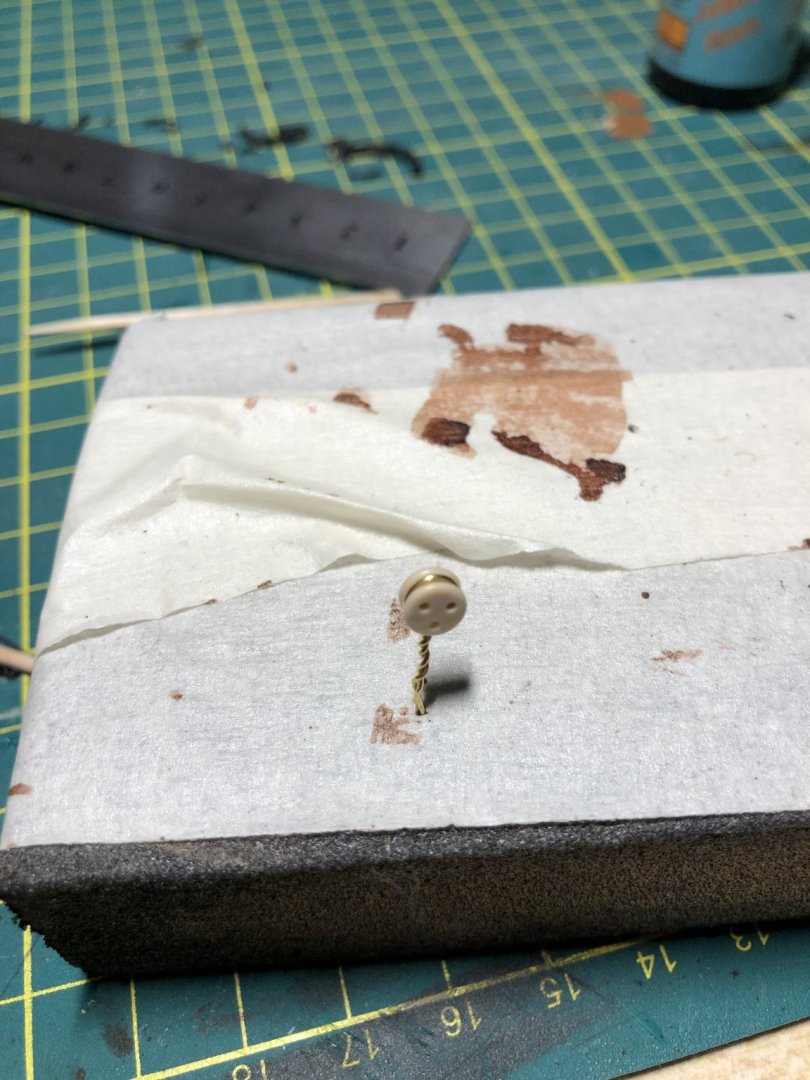
Didnt feel like doing woodwork today so focused on bottom of foremast. I fix the ropes with pva. But i dont cut the ends before its dryed. Also did my first deadeye today. Didnt follow the instruction where rope was put separately on mast and deadeye but left little more rope hanging from mast and then tied it to rope-that was a challenge. Need to do some investment to have that clamp for miniature works with plyers. but im proud of how it looks. Im not sure if i got it right -checked all the books and i think it should be like that. Is it correct? Also started deadeyes for wale(correct term?). Will paint them black and trying different colors how they attatch etc. Issue i see is that they should be wood (smaller are) but those 5mm are plastic. With wood the solution would be ebony stay pluss brass blackening for tread. So probably i might order wooden ones from Cornwall. So investments coming: 1) wooden deadeyes 2) small working clamp with magnifier 3) birchwood brass black(ordered, was hard to get to Europe, gunshops in Estoni said they dont have something similar) 4) plyers for rigging Also allmost all books have now arrived what i have ordered-im so called young oldschool and like to have it on paper instead of articles on computer.

-
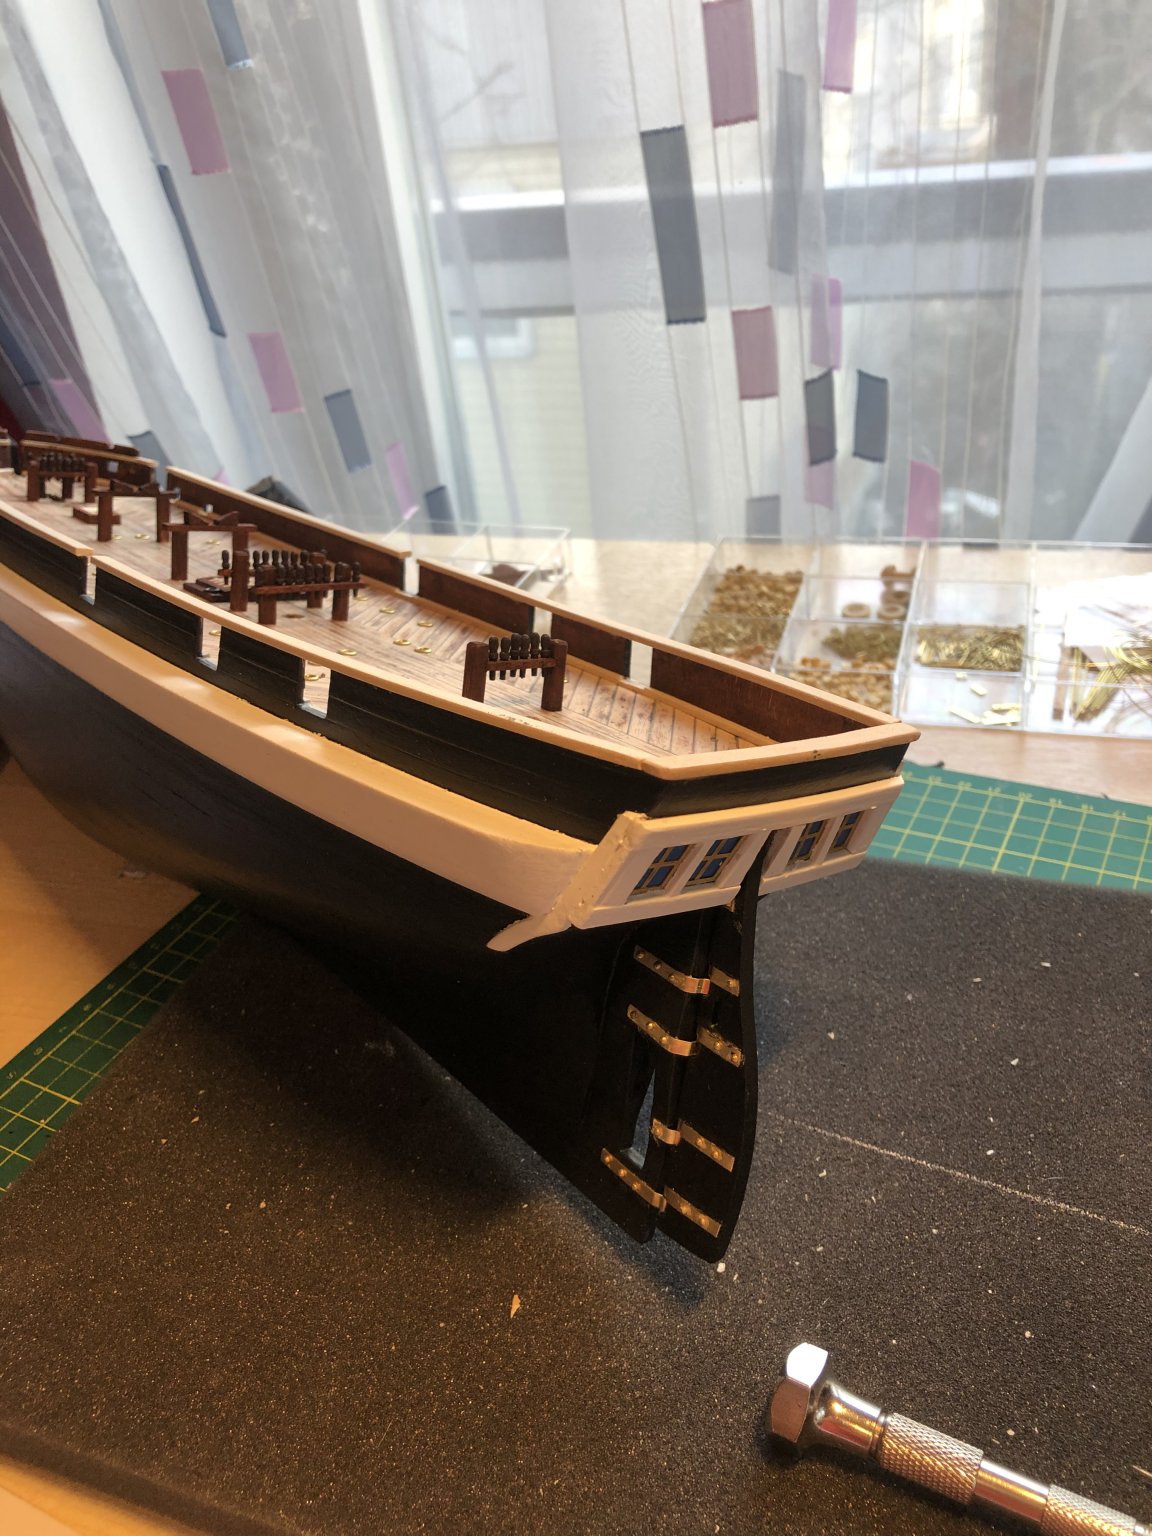
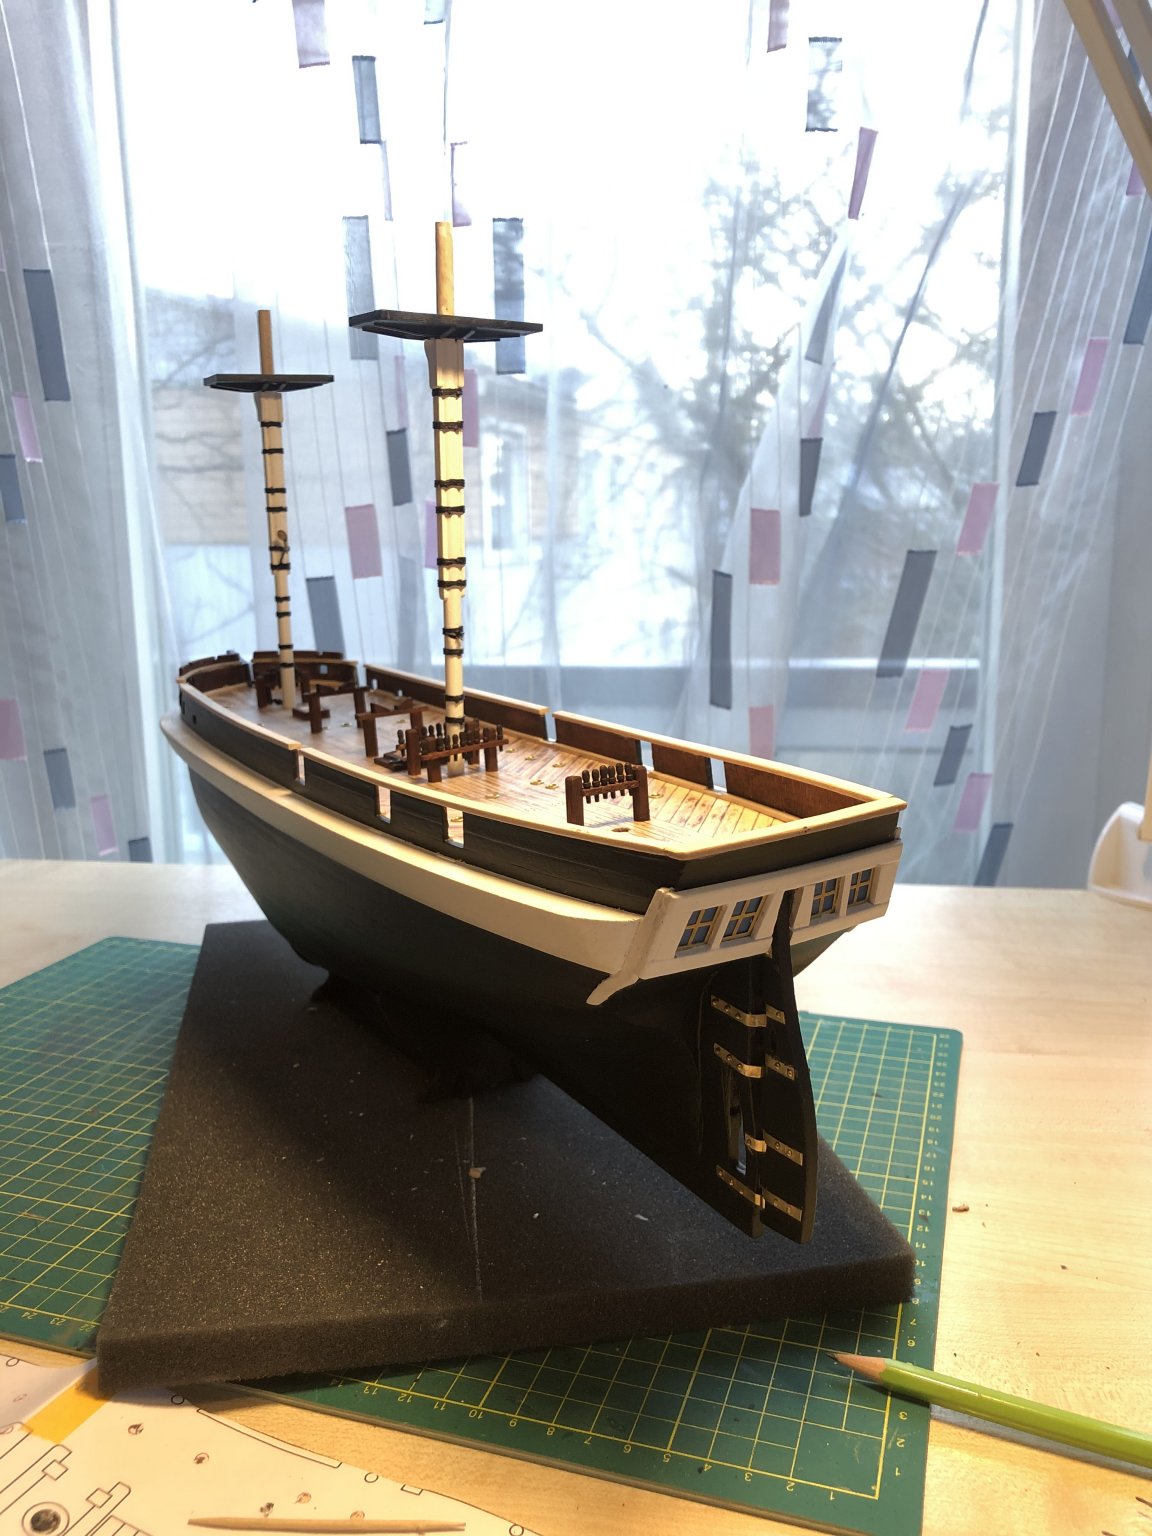
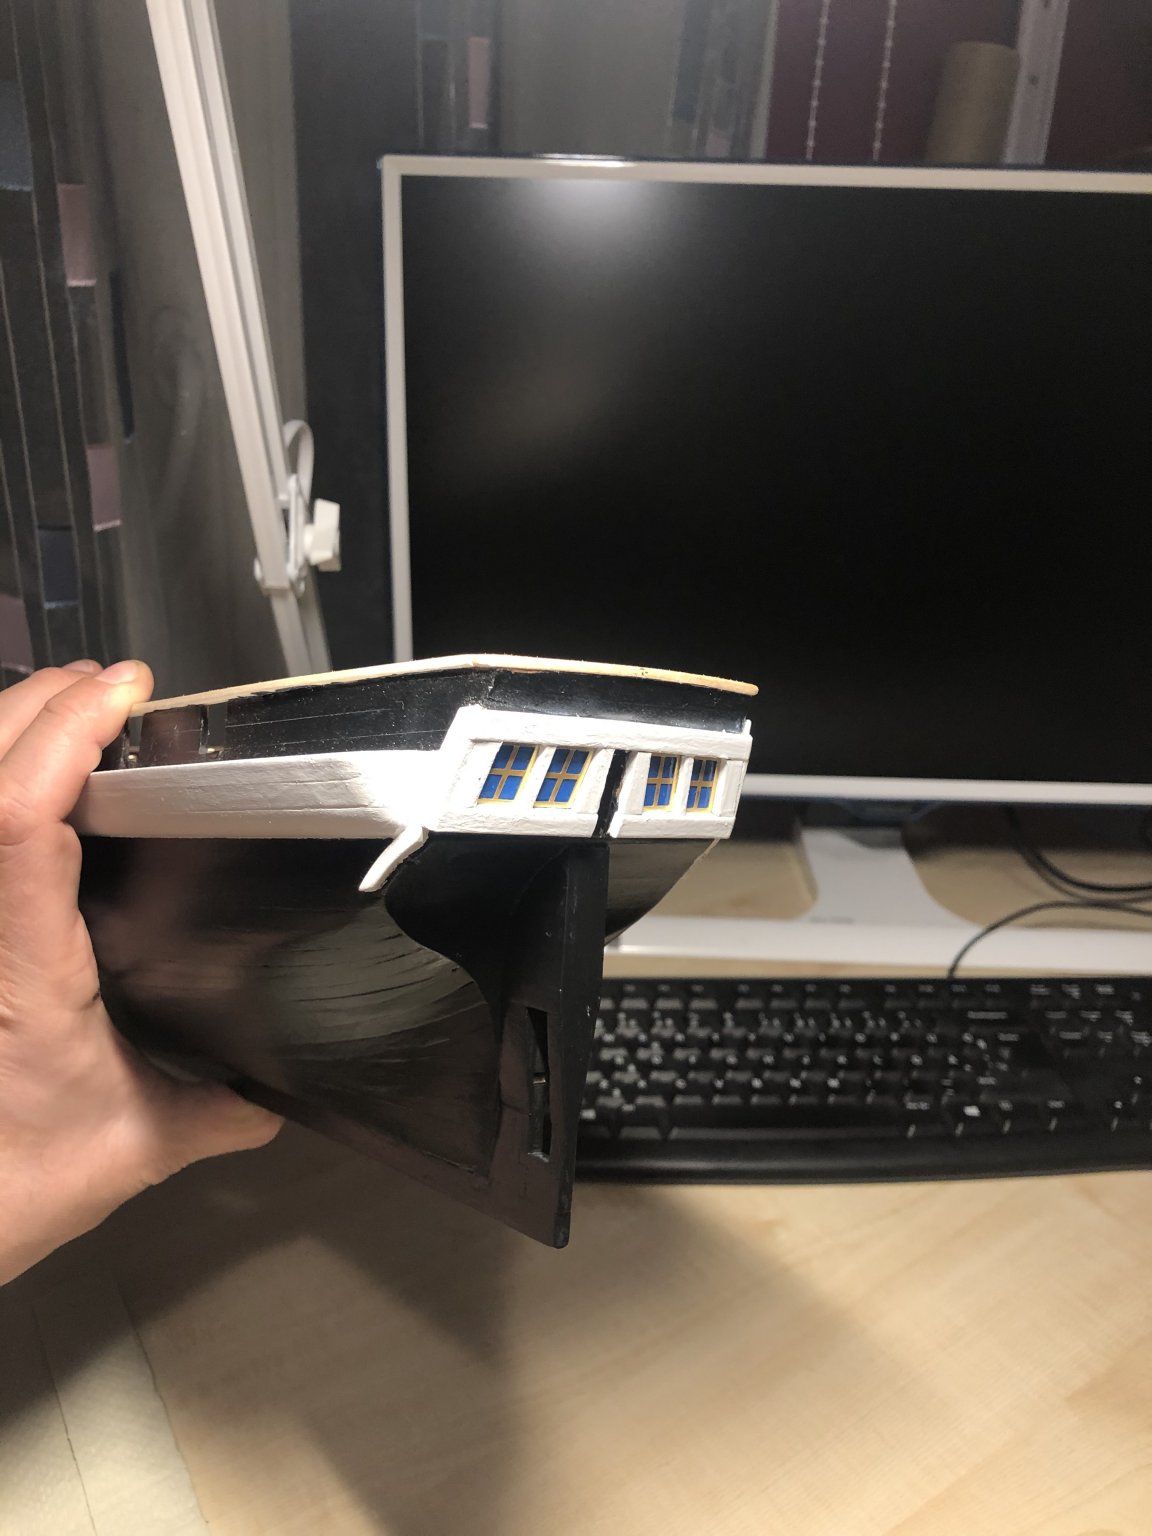
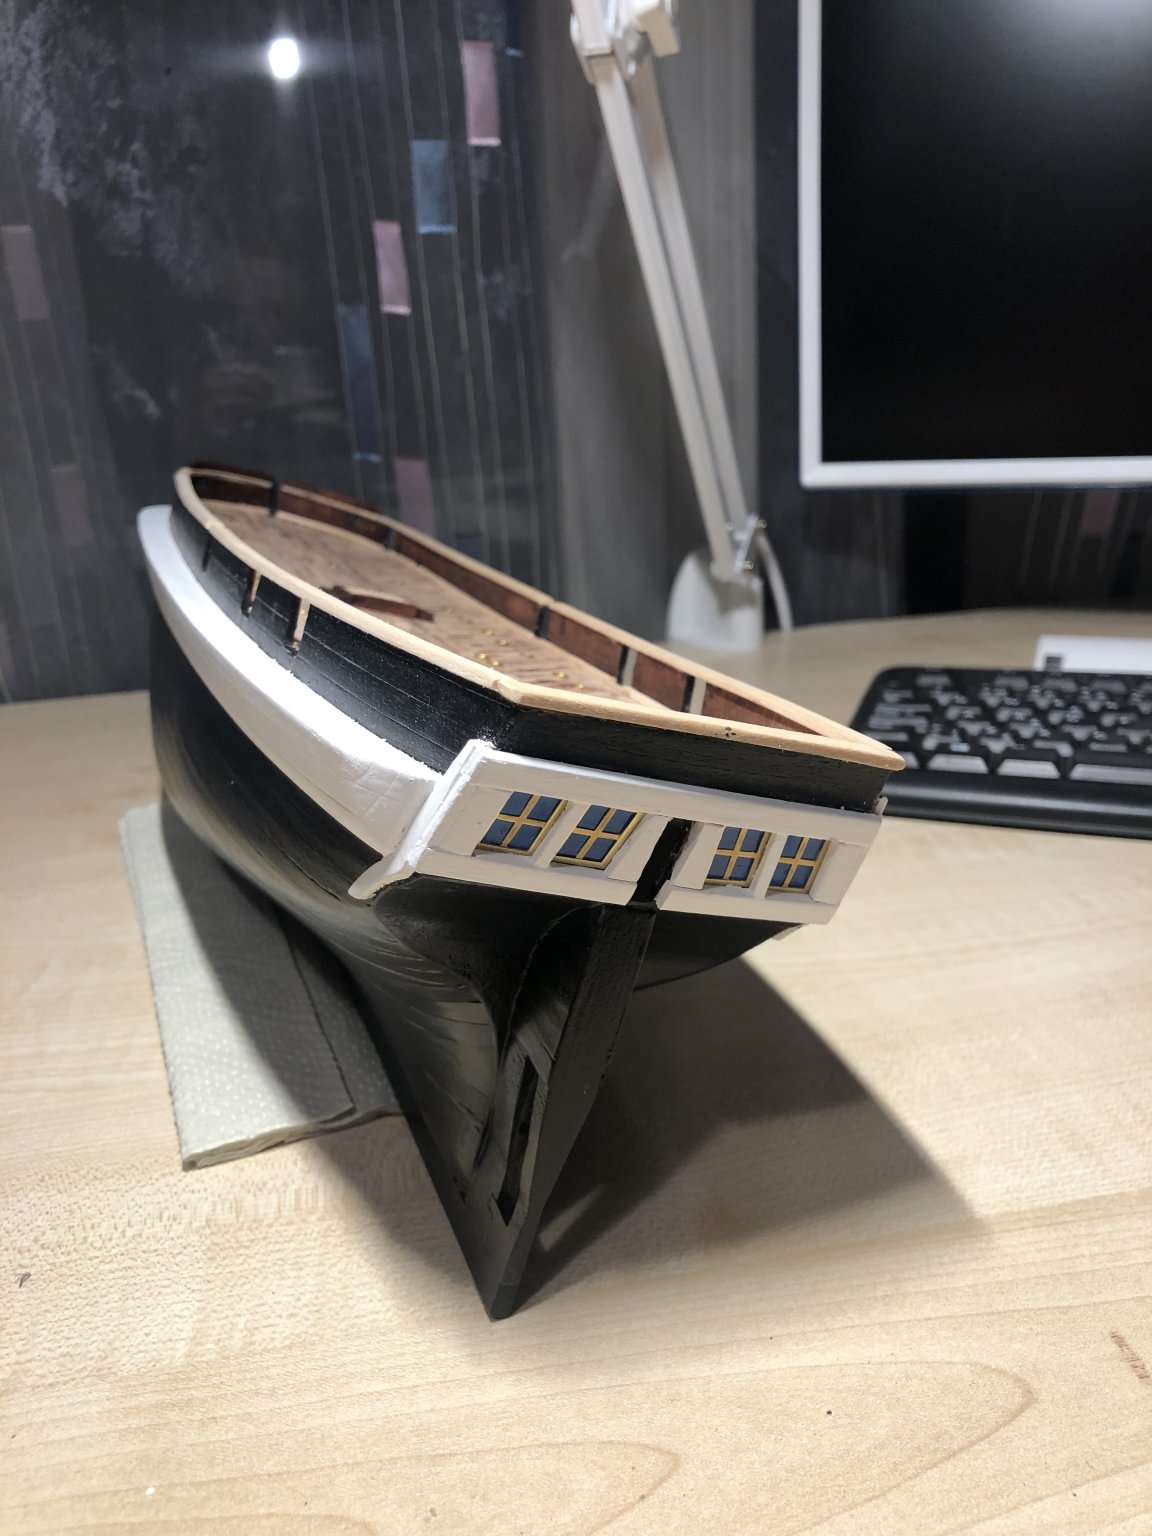
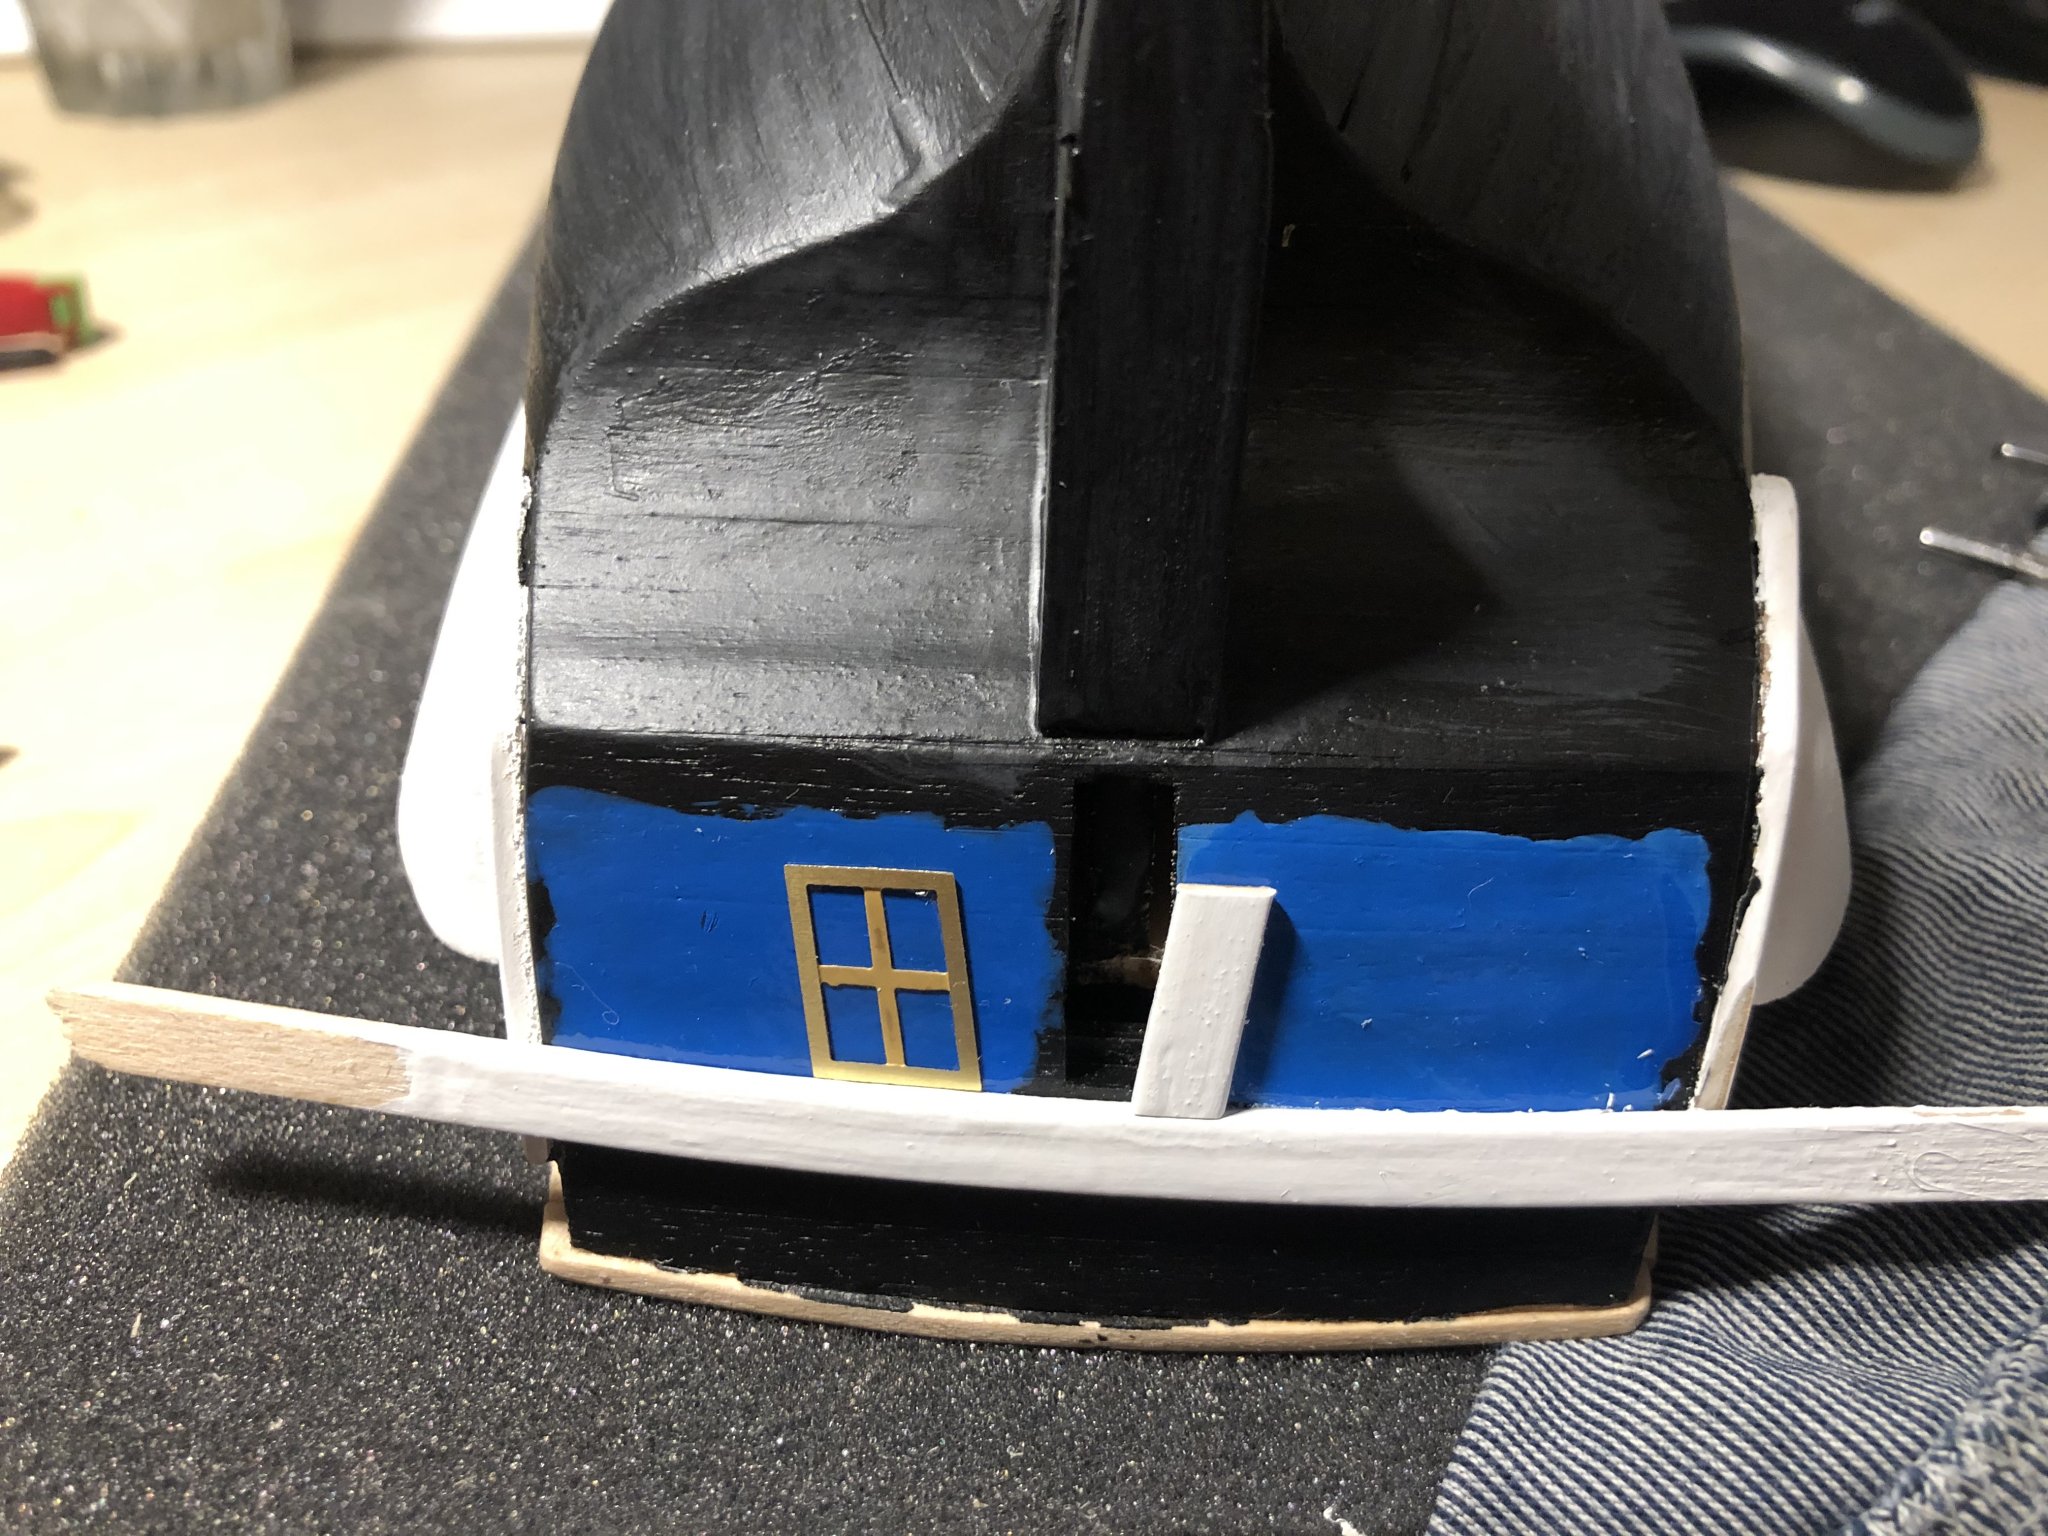
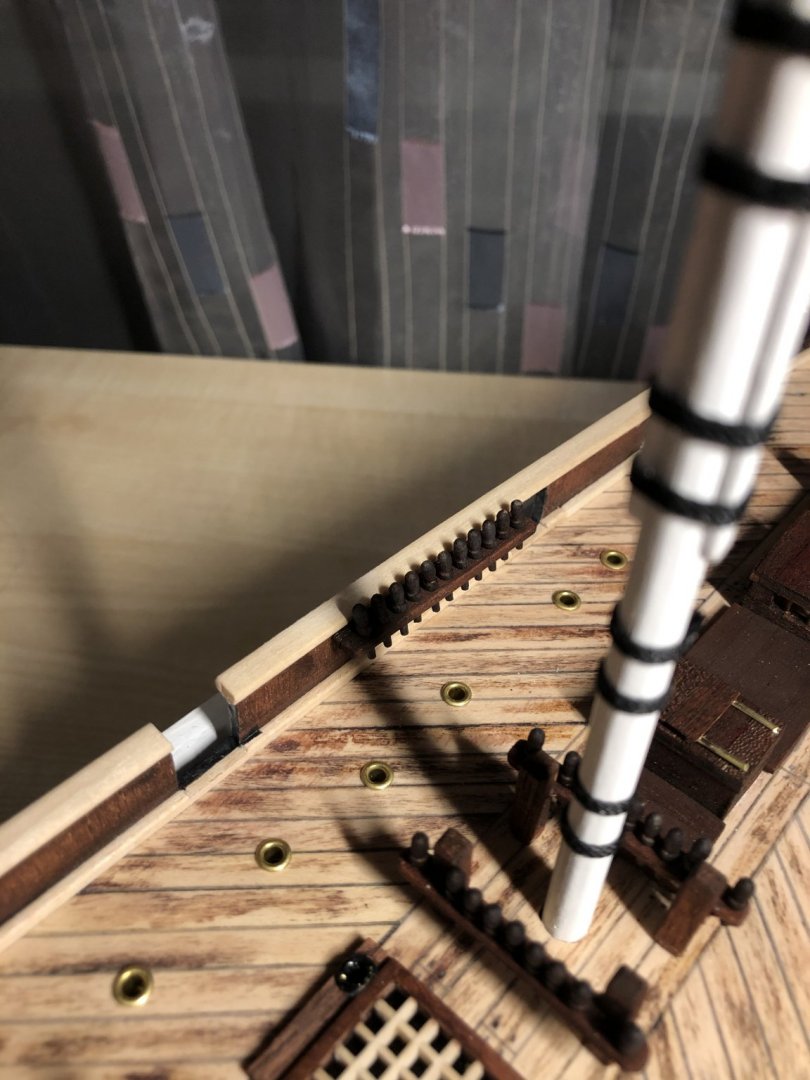
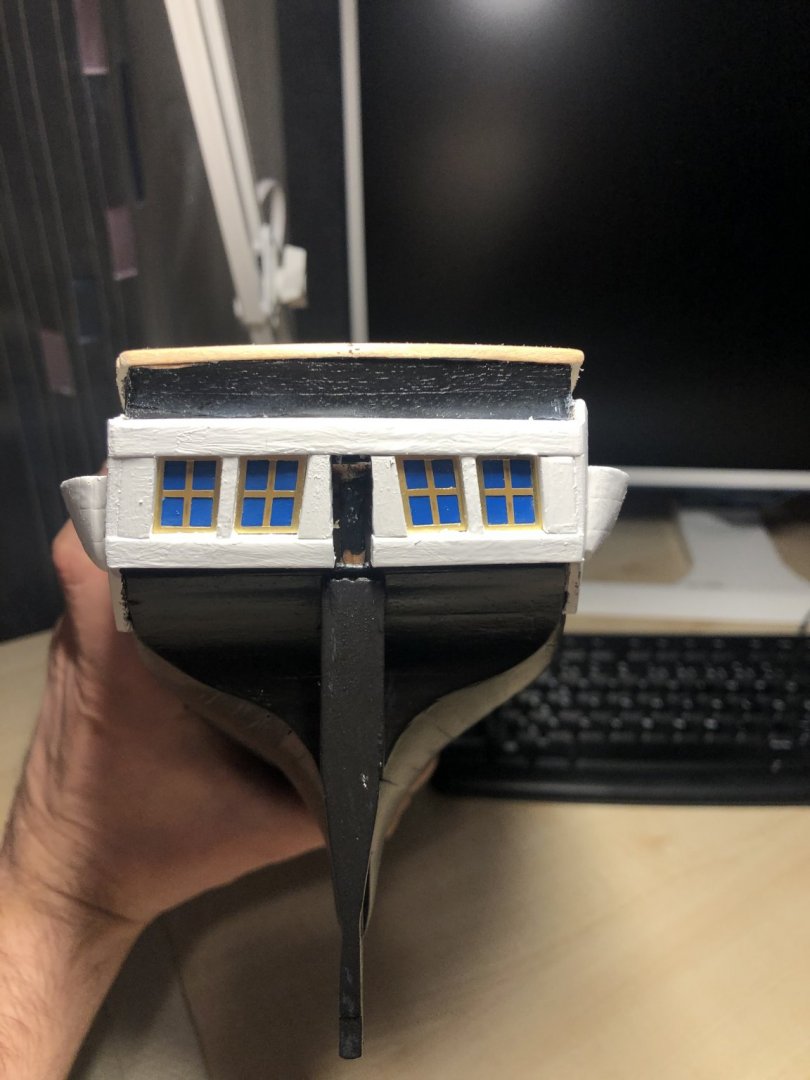
Captains cabin done. Its quite blue but i like it-lets say its dark waters that reflect from window. Now its the keel left, then varnish and off to small details that i have prepared a bit allready. Good thing with deck details is that you see constant progress as the details are getting put to place and that motivates a lot. Same as planking when the ship is taking its form. Not bad for a beginner captain i would say. Even Admiral is pleased allthough i spend most of evening hours behind desk:).


-
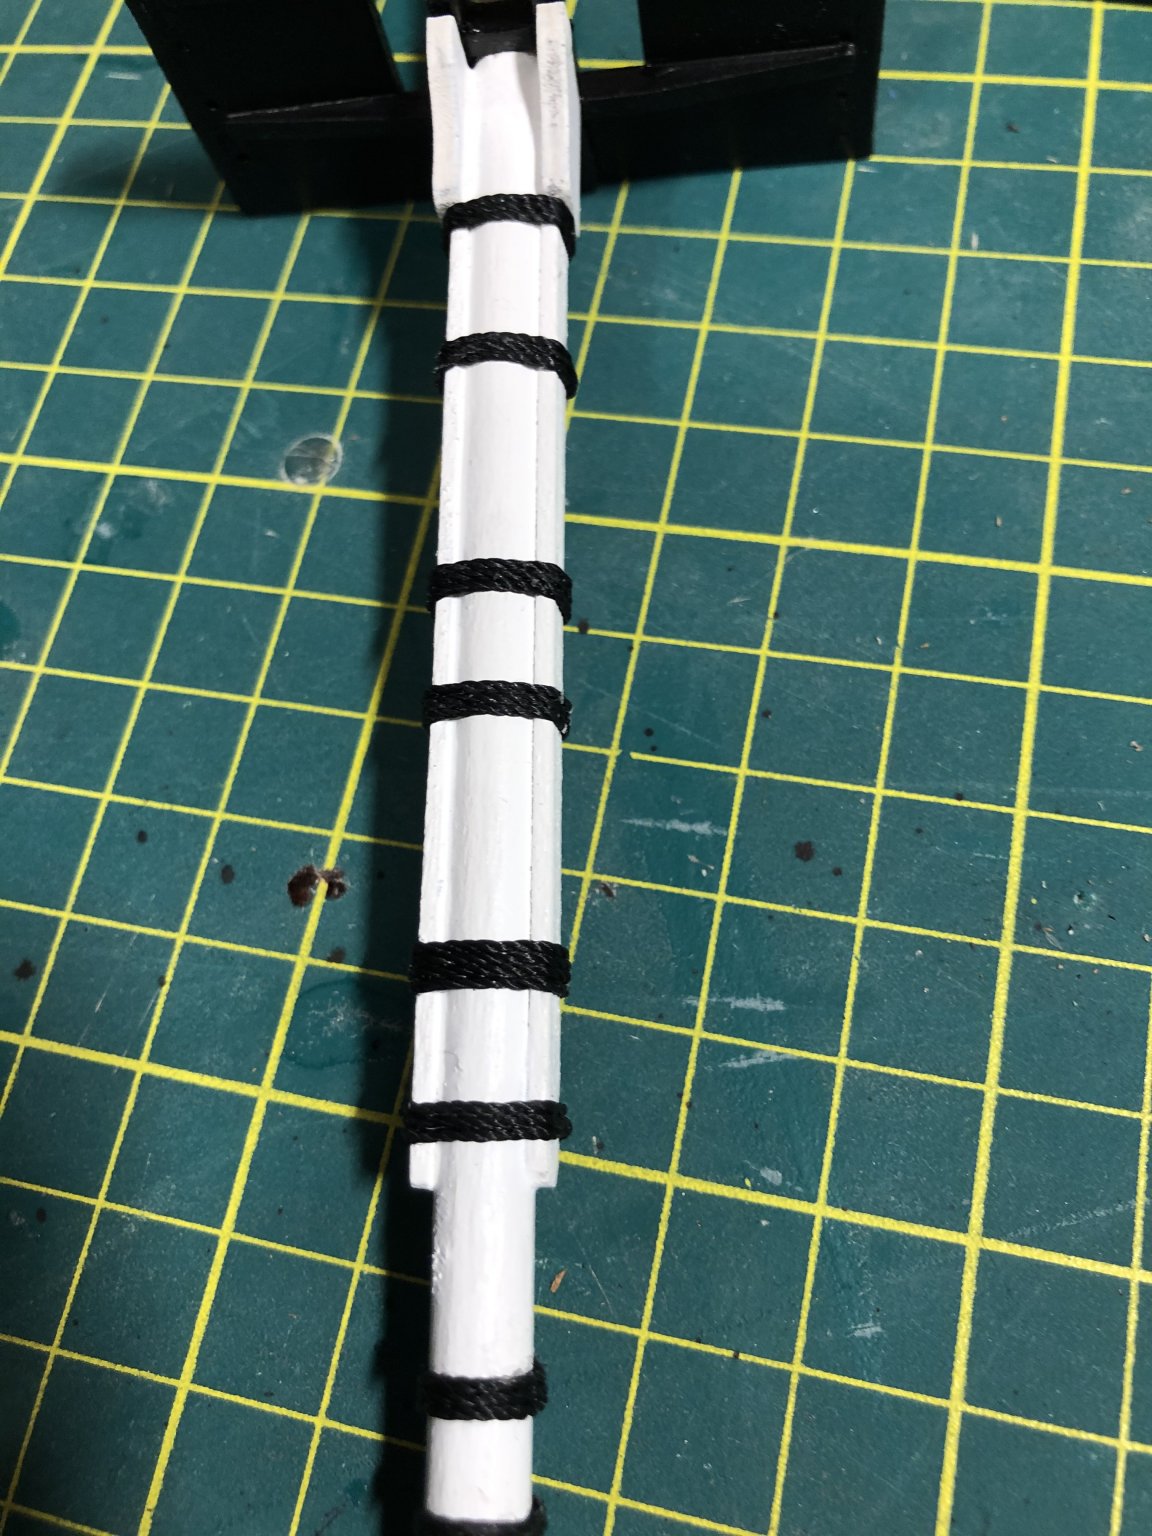
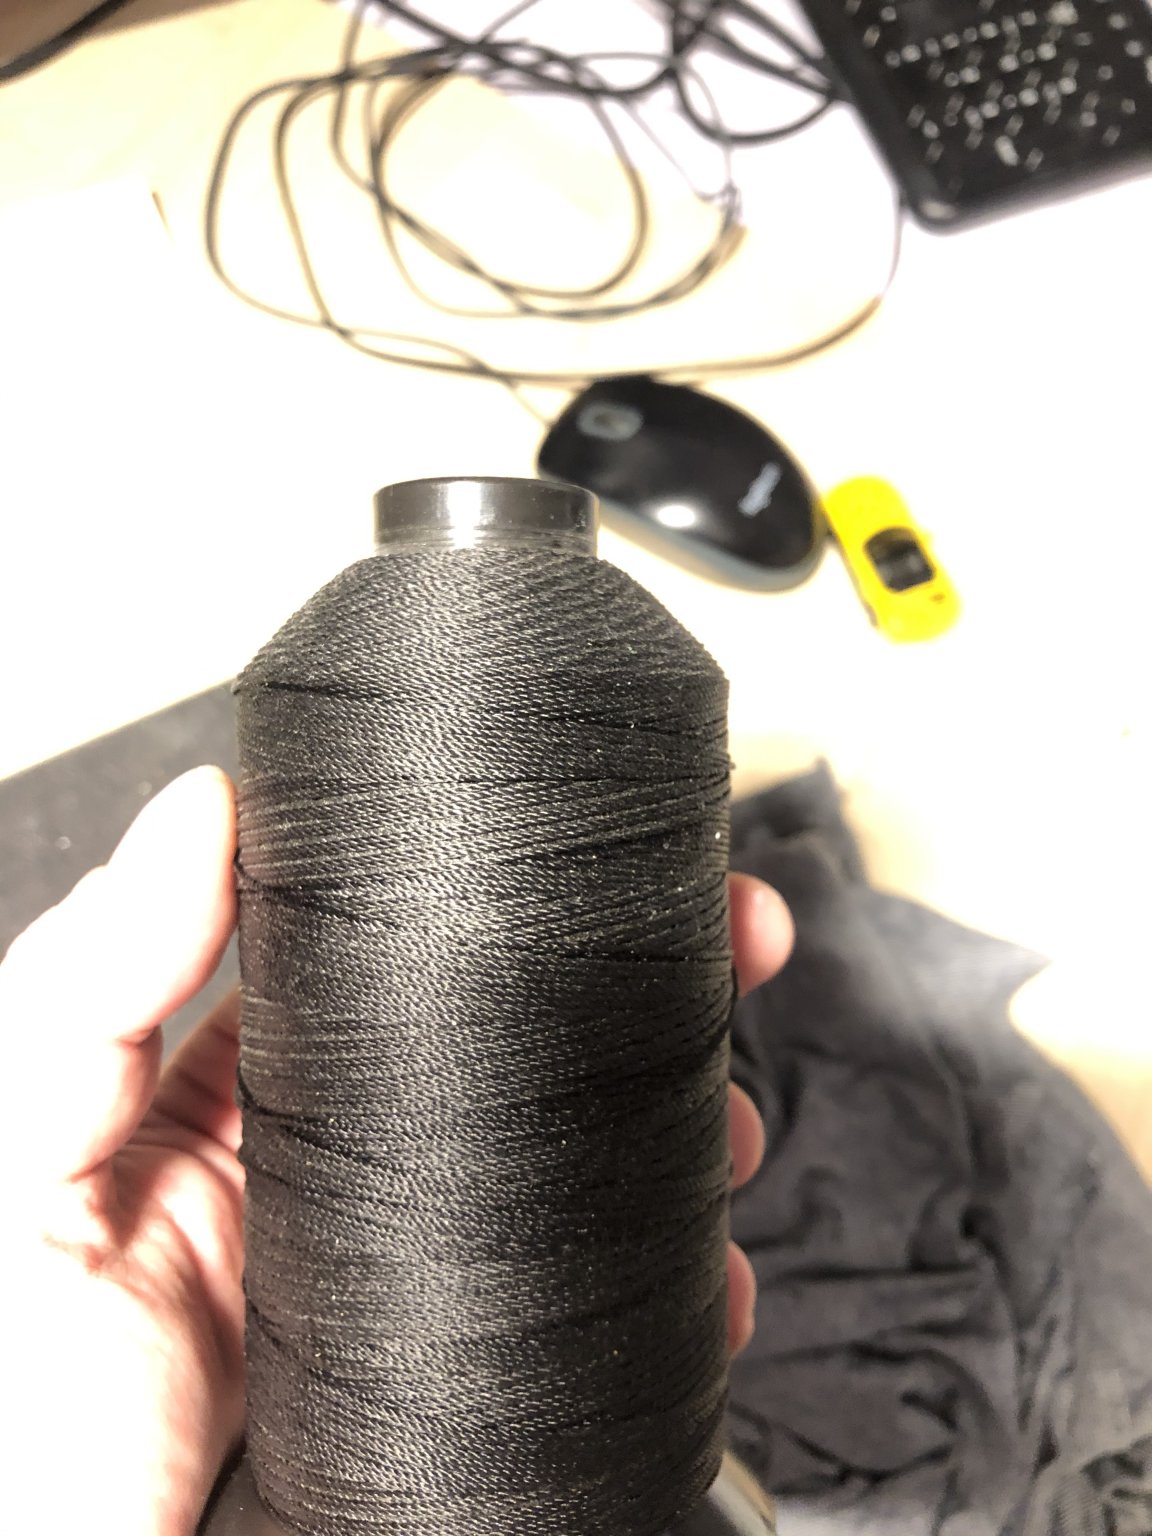
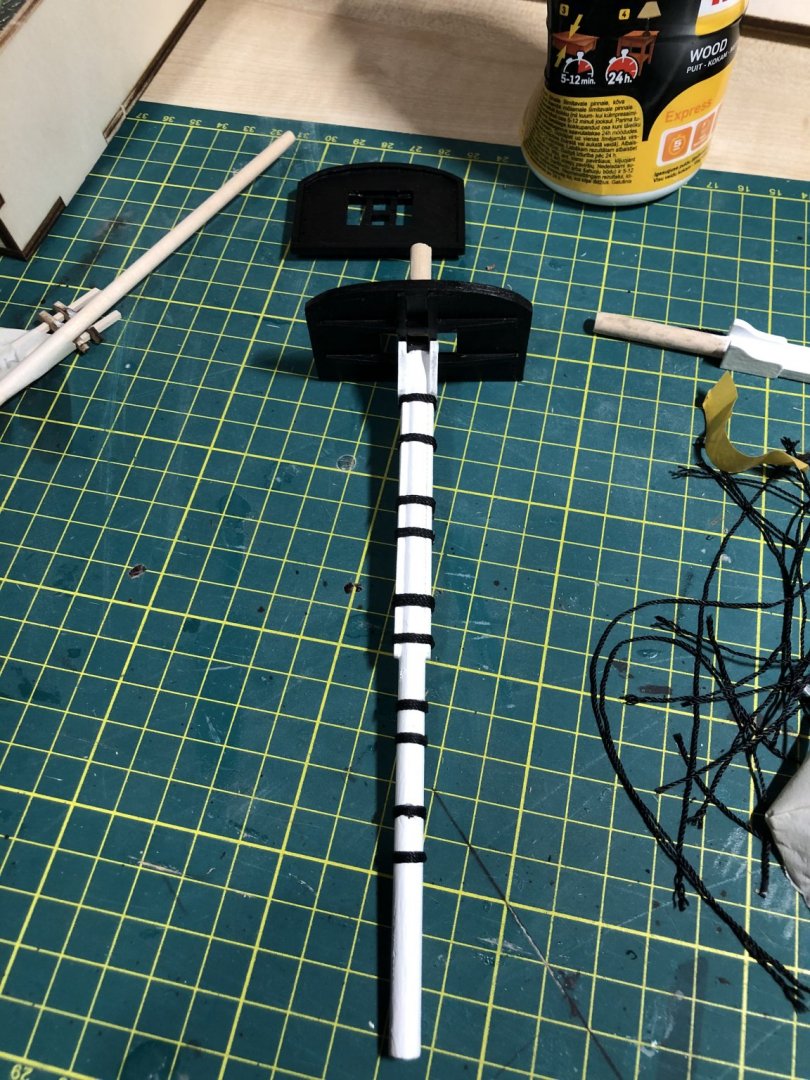
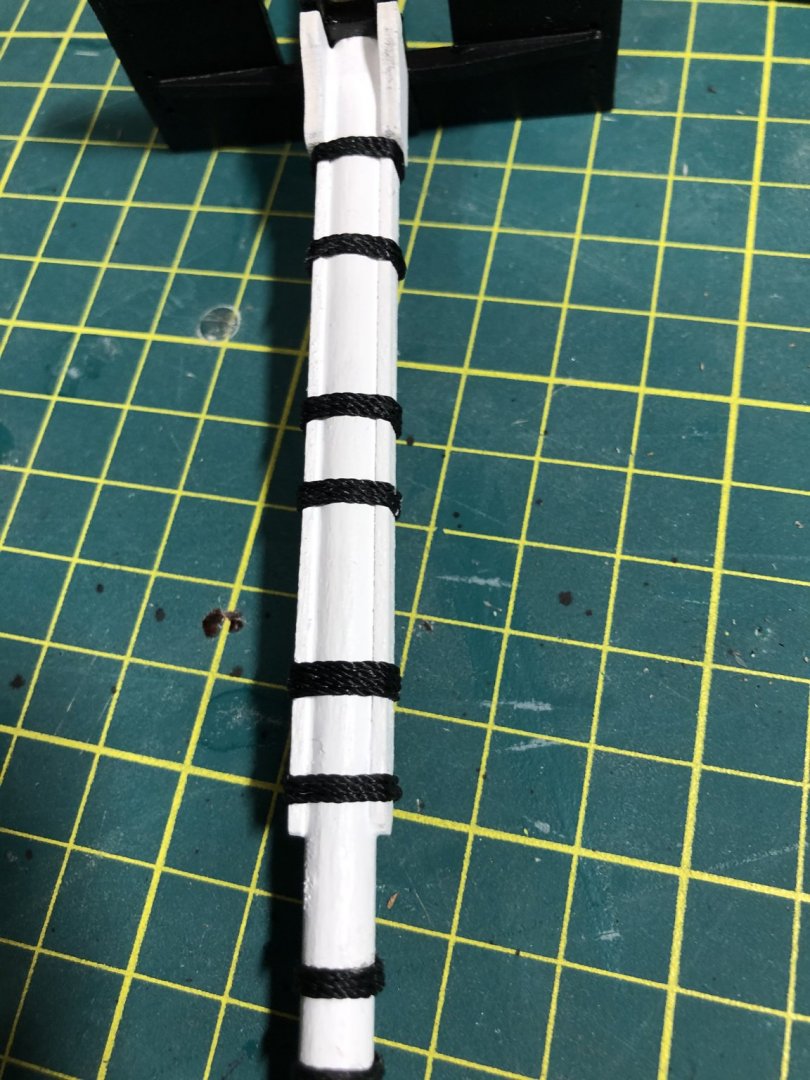
Little progress: 1) allmost done with captains cabin windows. Painted and will remove tapes tomorrow. Probably some minor repairs with paint still to come. Used Revell email color here. First test was much more lighter but i like the shine-creates glass like look. 2) working on main mast. Changed Occre brown ropes to black ones-have some benefits as father has sewing machines company. Ropes look really nice dark black and isnt hairy as Occres. Also accoring to instruction its supposed to be black. 3) varnised some part of hull to see how its looking. Also sanded it with grit 800. Thats the reason why its little gray. 4) keel has brass glued. Apparently CA came loose few times. I think problem was that i didnt sand the surface. After installing keel(probably next time) i can move on to deck.


-
Really nice job. im doing Occre Terror for first build(blog here). Taken into account how good job you are doing for your first build then Terror is easily suitable for next. i ordered Caldercraft Cruiser and Master Korabel Polotsk for second build (havent decided yet which one). Where did you learn the knots?
-
Hi Does it only work on brass or on other cast fitting also?
-
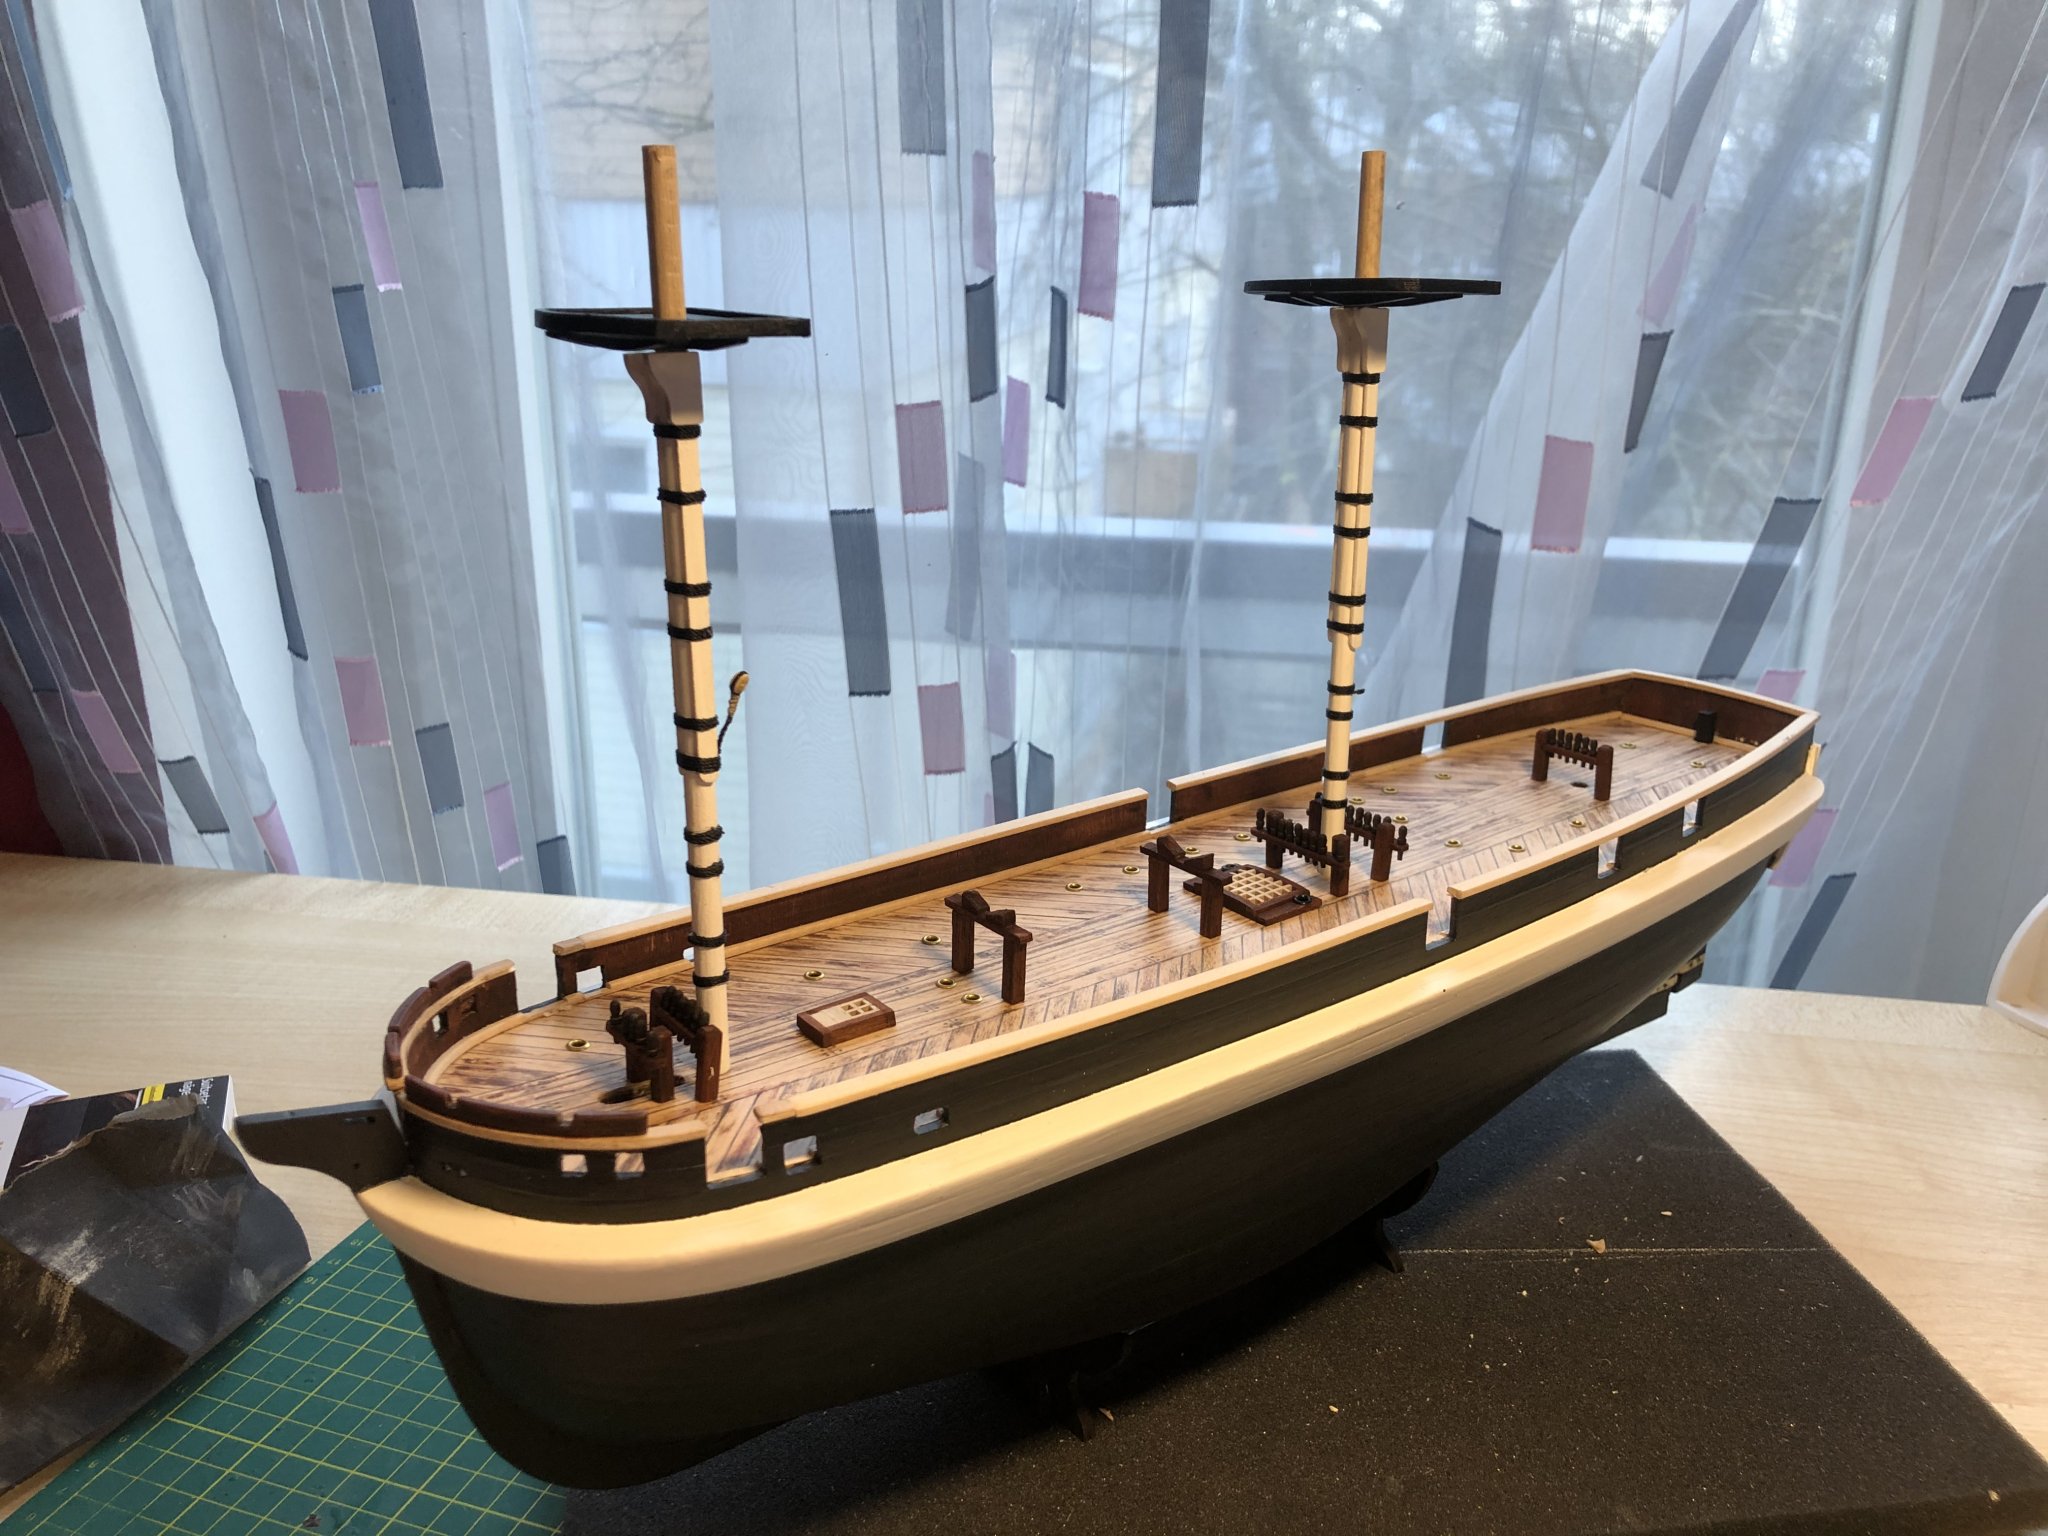
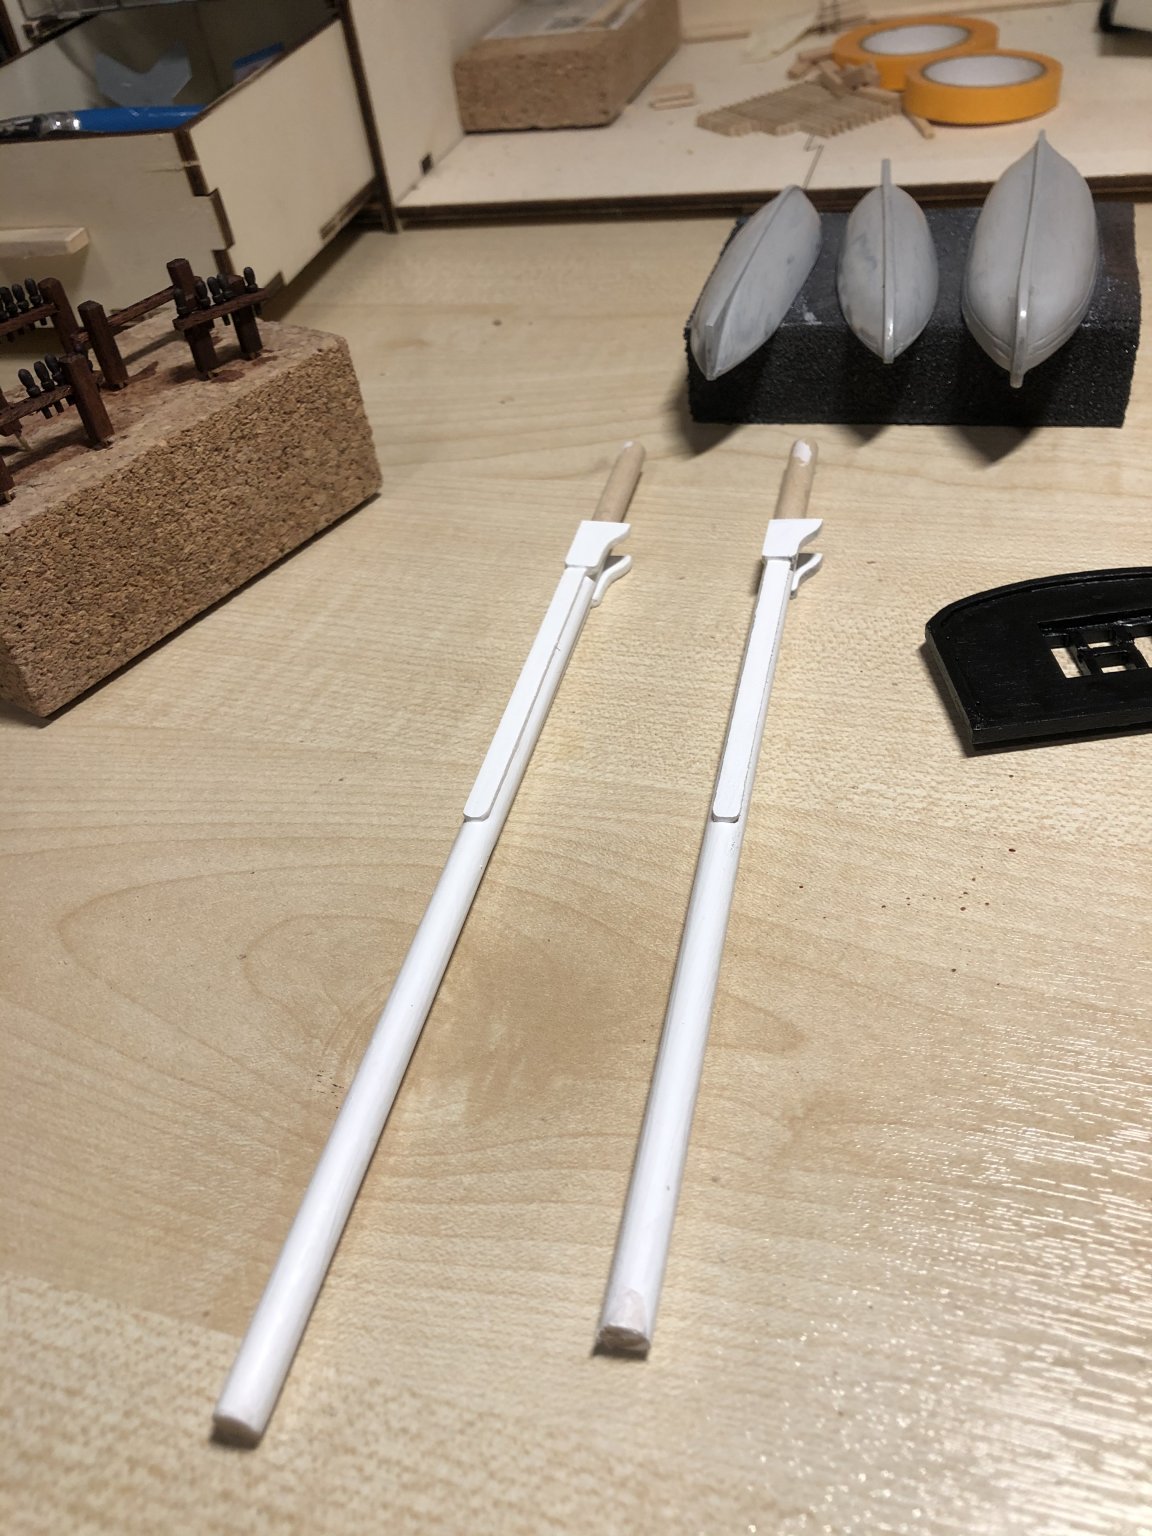
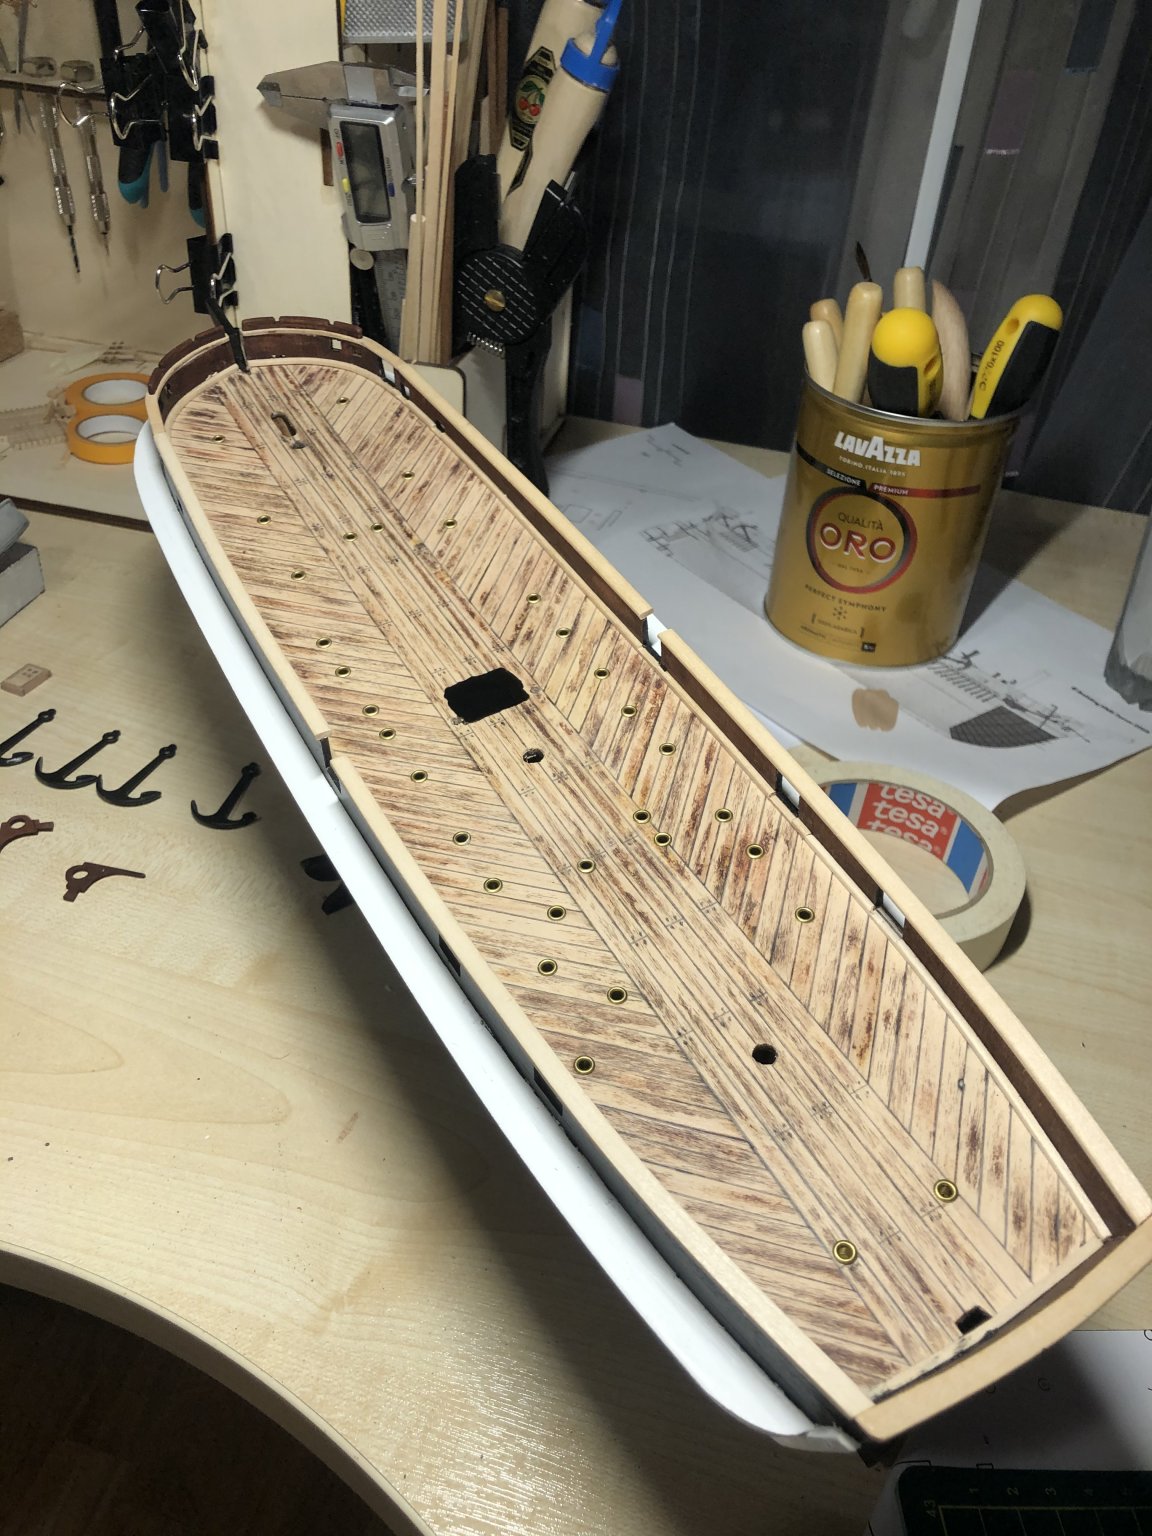
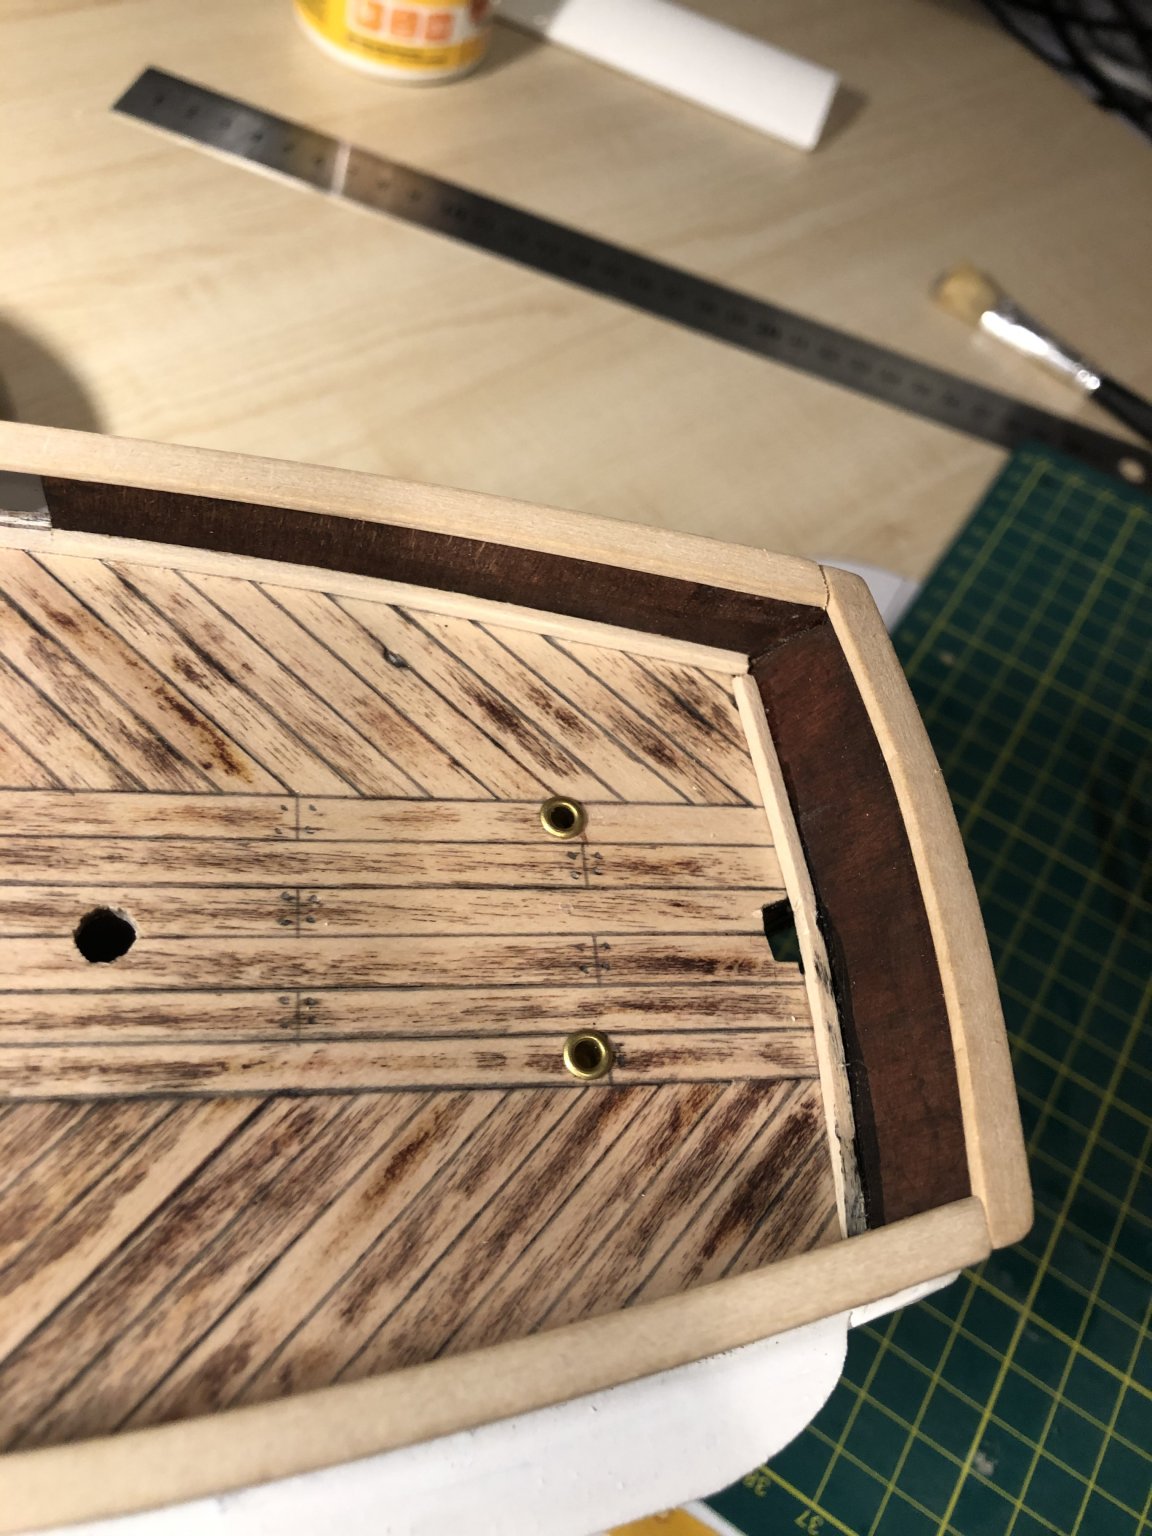
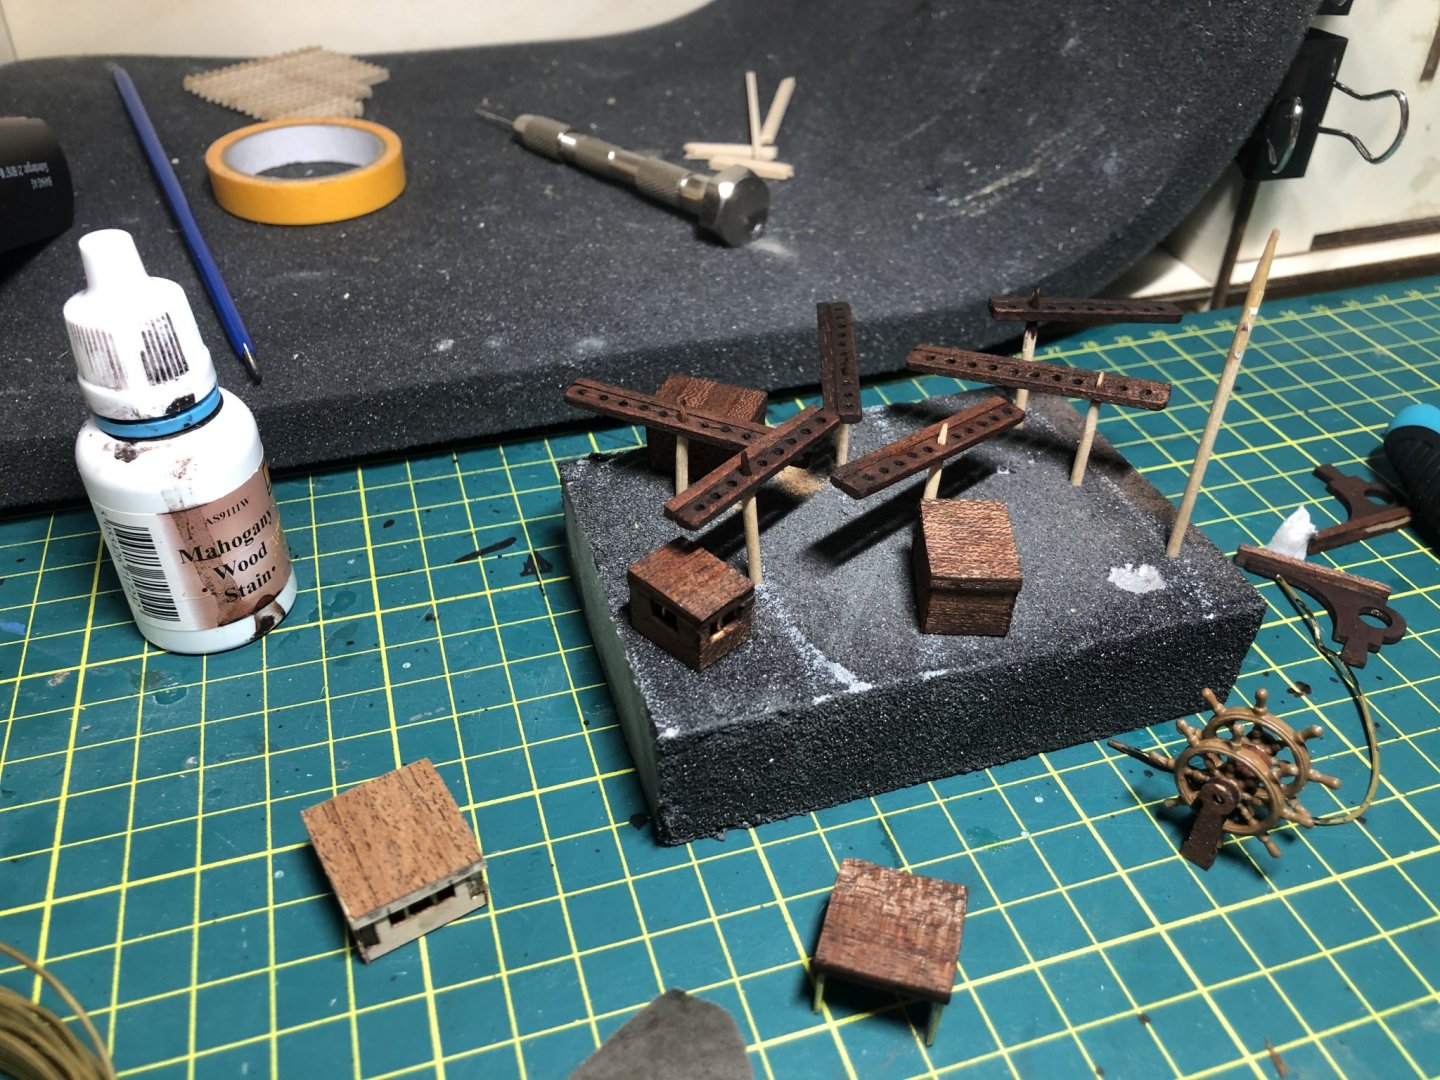
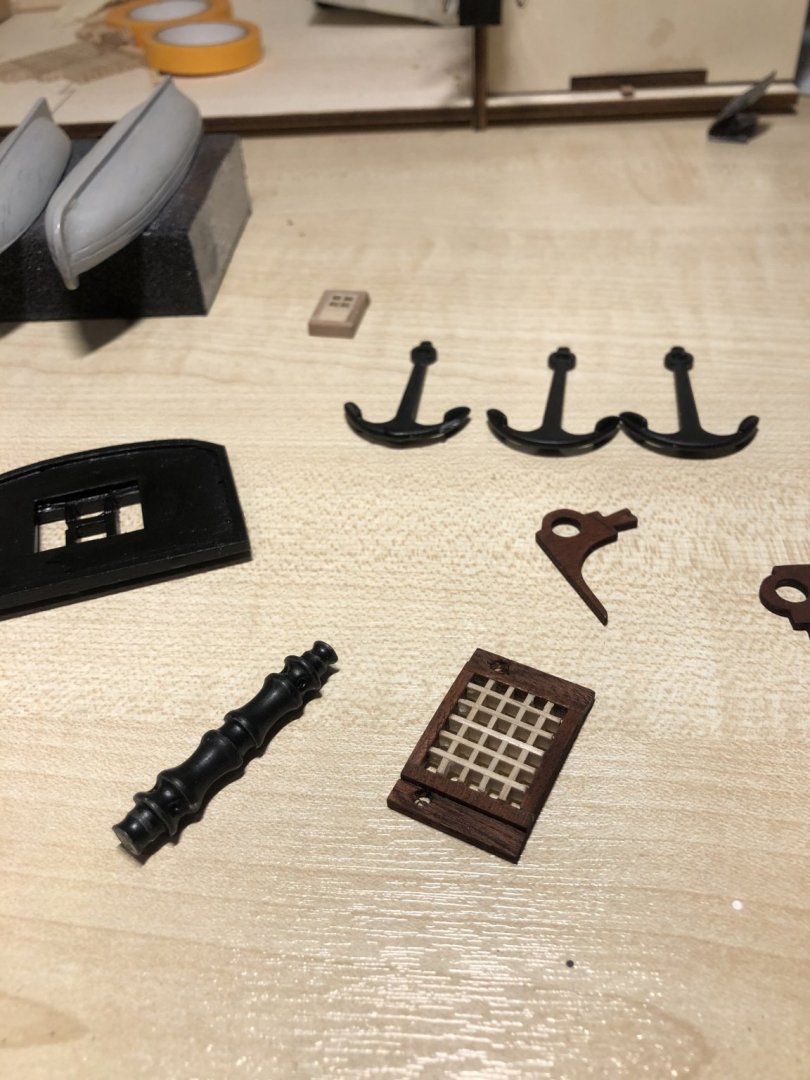
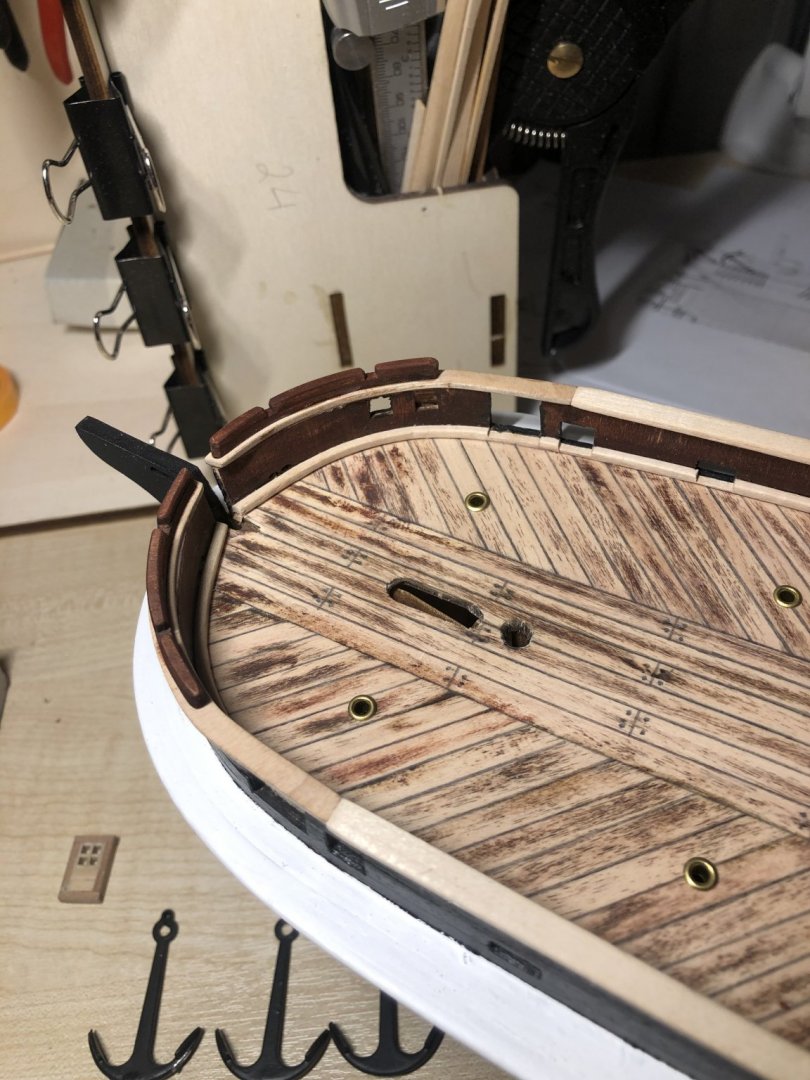
Have been focusing on fittings last couple of nights and also started masts. plannis to prepare them as much as possible and then install them all to get that wow effect to myself. As seen on photos i have some mistakes: 1) hole in the deck at front of the ship. No idea how to repair it. Thought maybe front mast will hide it a bit and put some barrels there or ropes. 2) Back of the ship some part got black and also no idea what to do. Only solution seems to paint it. Or then just leave it as worn out? Pained part of deck black where hatch will be-seemed like a good idea. Progress is slow but im most afraid of the rigging. Have recived few books on that so lets hope for the best. I see that quality for first build isnt the best. Trying to do my best but i accepted it as learning progress. Next ship will be Caldercraft HMS Cruiser of Master Korabel Polotsk.


-
Tnx! Yes to be honest im nit sure if i should do that. I think it might ruin the apperance. Also im not aiming for kit or historical accuracy.
-
Balsa would give more contact surface for the planks and also would follow the hulls curves more. they are not shown in video but are widely used by builders. If you look the video then front of the ship is basicly done like that with plywood. But offcourse its your decision-only sugestion.
-
I would say both are important. You will sand youself nuts later. Its ok it planks go over a bulwark a bit then you have room for sanding and getting it nice. If its same line with bulwark then you might sand bulwark off also too much. You still have a oppertounity to add extra pieces under planks that was suggested before-then you have more contact. regarding nails-try changeing those to pin that i used. And dont install it trough olank but on the sude so it pushes planks together-try it if it suits you(you might not like it.
-
Yesterday i received Caldercrat HMS Cruiser also. Looks like really nice build but with little different apporach than modern kits. No photo instrcutions etc. But litte into the drawings you finally understand how it goes together. Now i have too many (Admirals opinion) kits standing there. My opinion on this is that if i can get it cheap and i can sell it with a little higher price then let it stand there. For next build im between Caldercraft Cruiser and Master Korabel Polotsk.
-
Really nice job! Coming along really good! With planking use the same tin can, seems like perfect for the job :). Bend evening dose of planks overnight. I usually put like 10-15 planks there for overnight. Had electric bender but didnt use that.
-
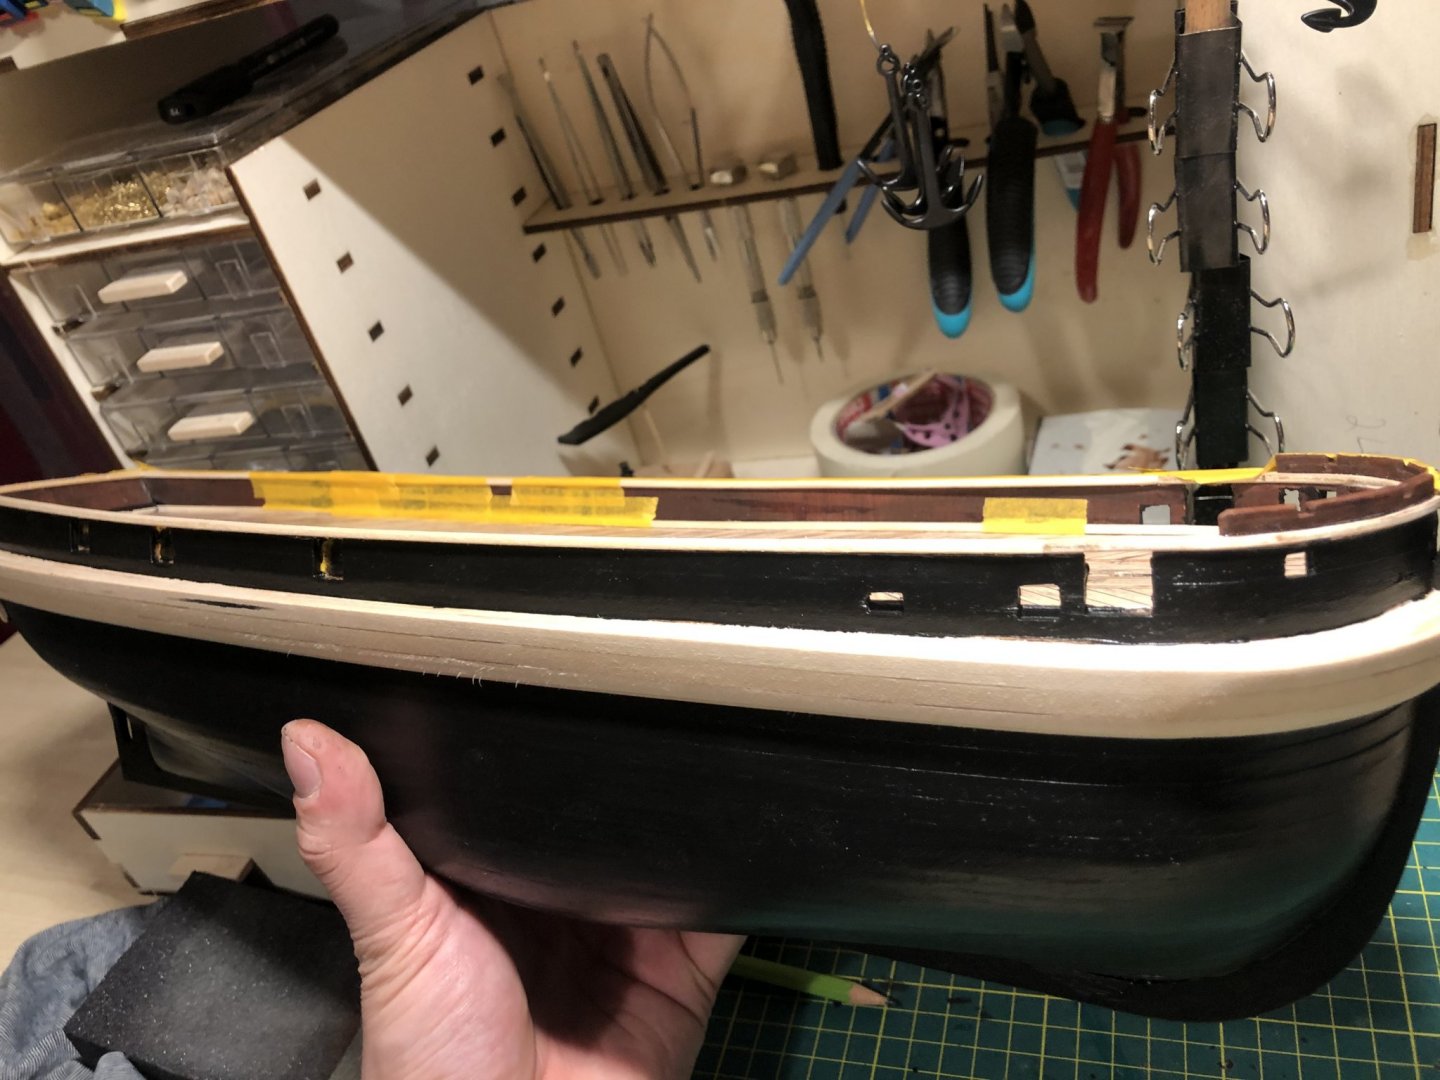
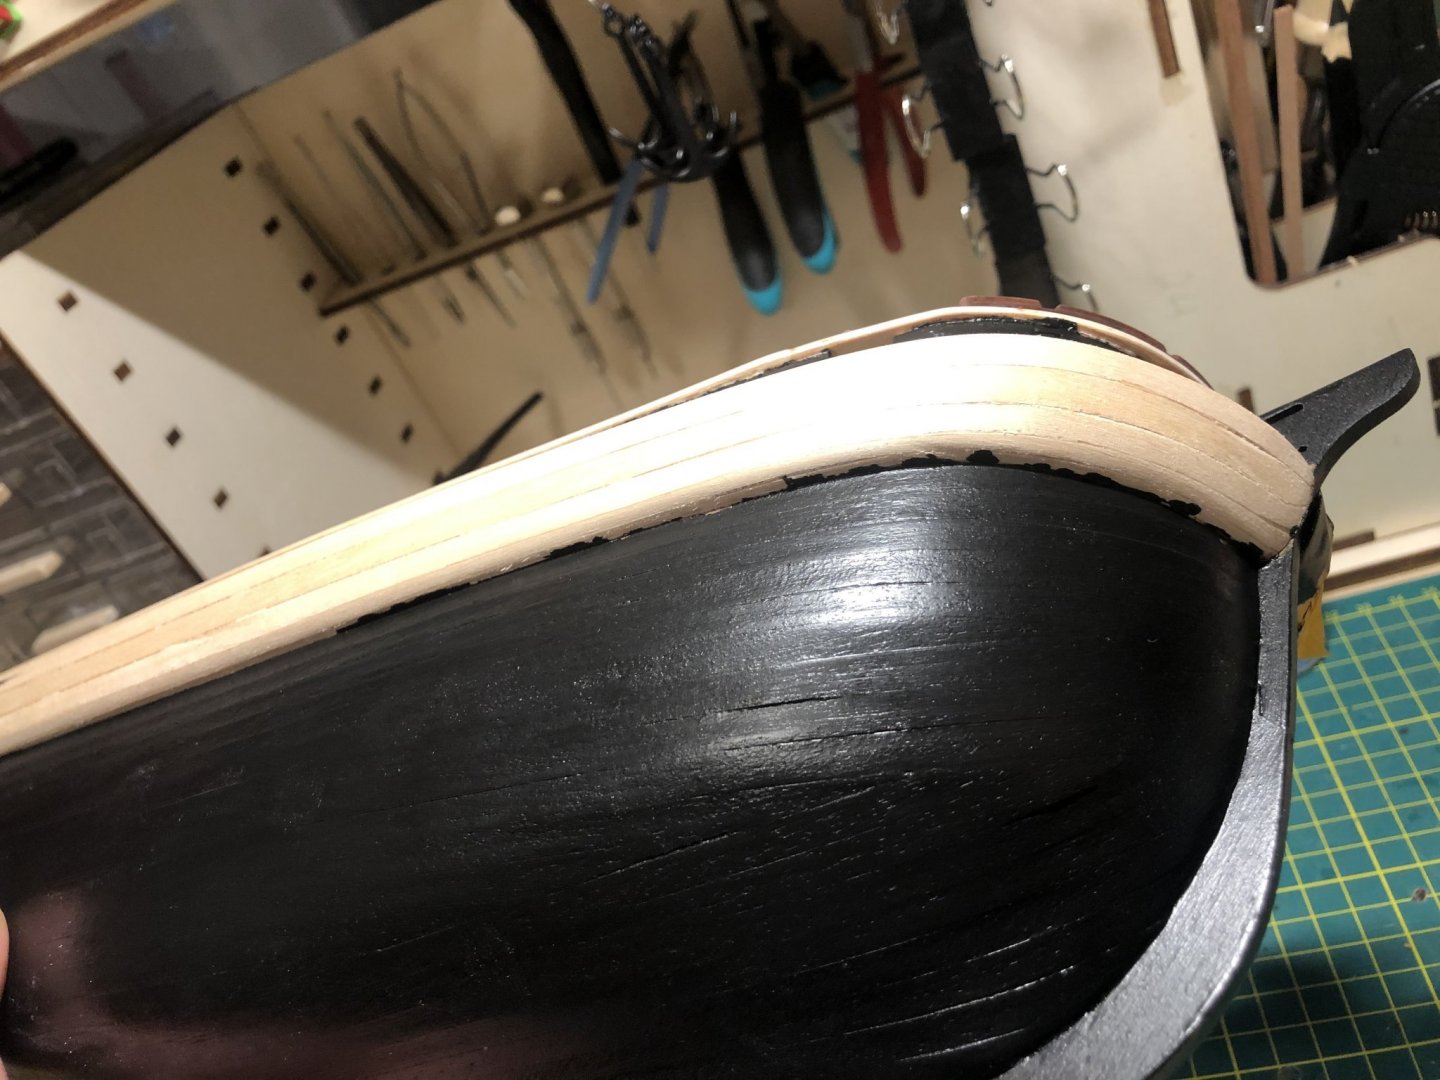
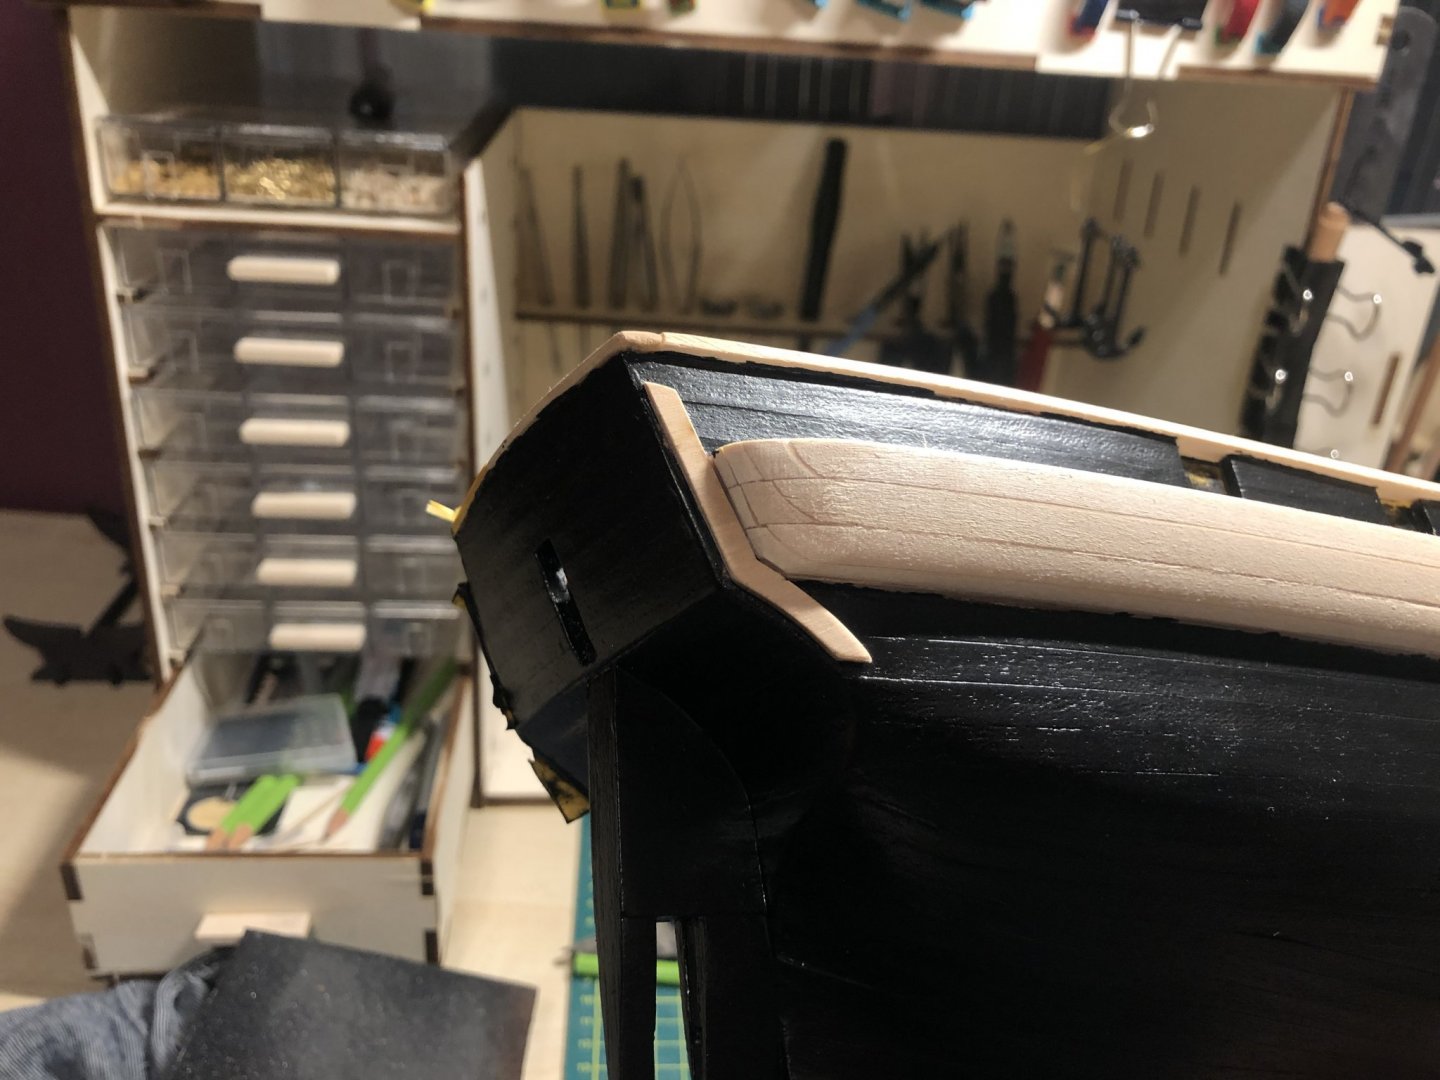
Tnx! Yes plan is to paint wales white and true it covers most parts of black paint. Railings got some black on then also, will have to figure that out.
-
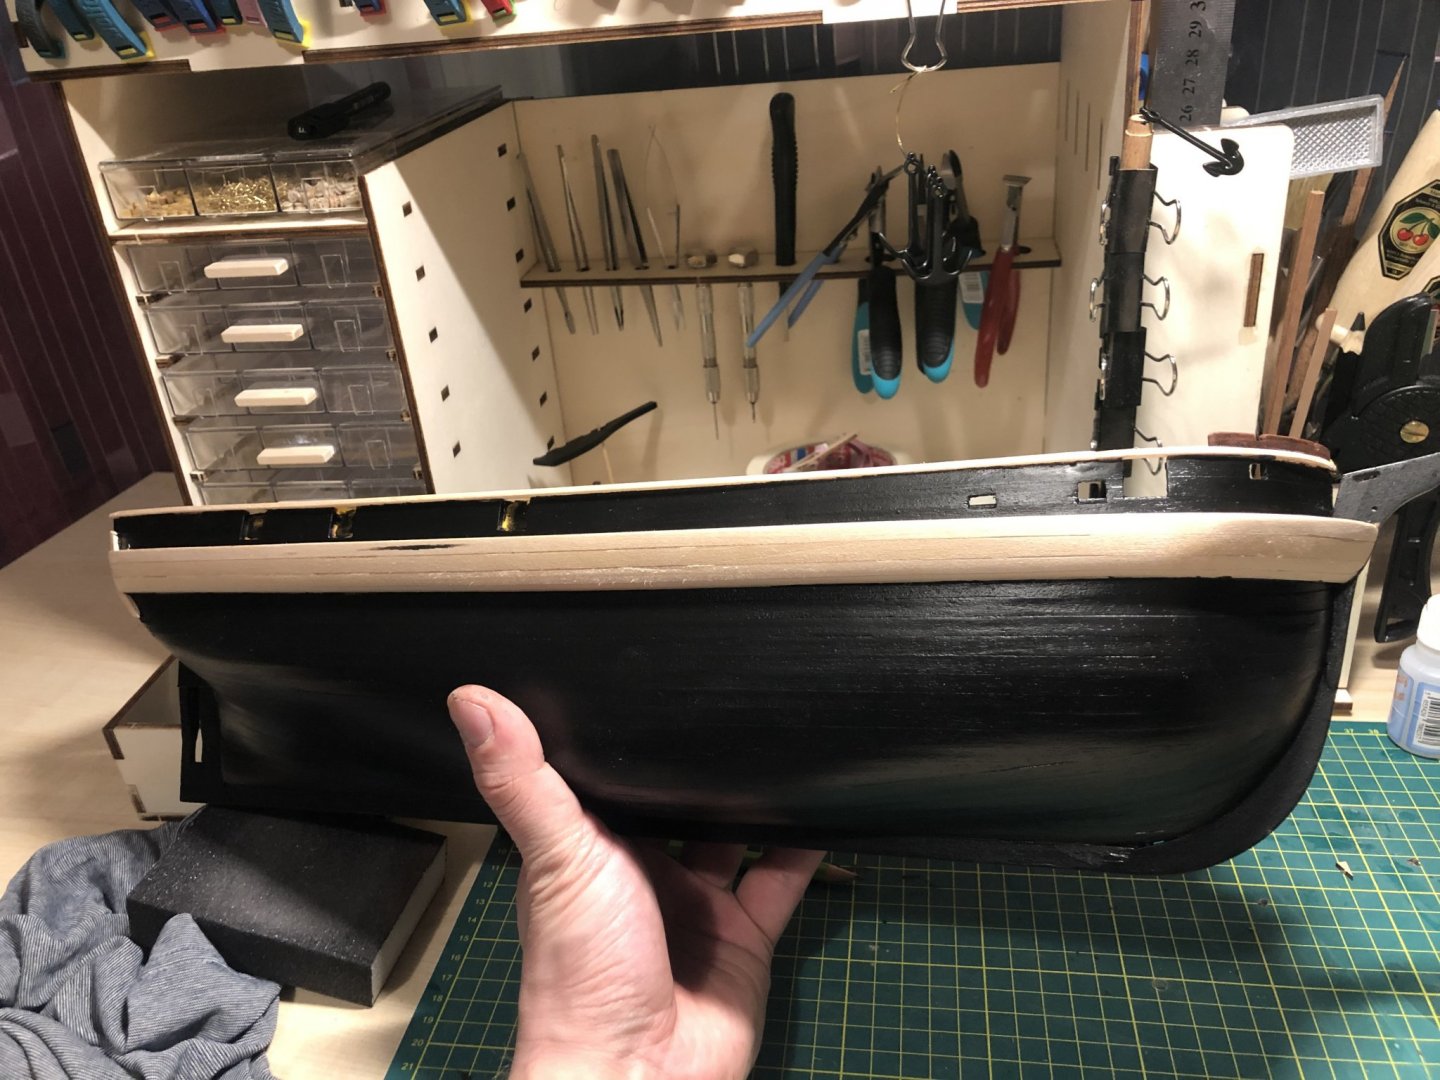
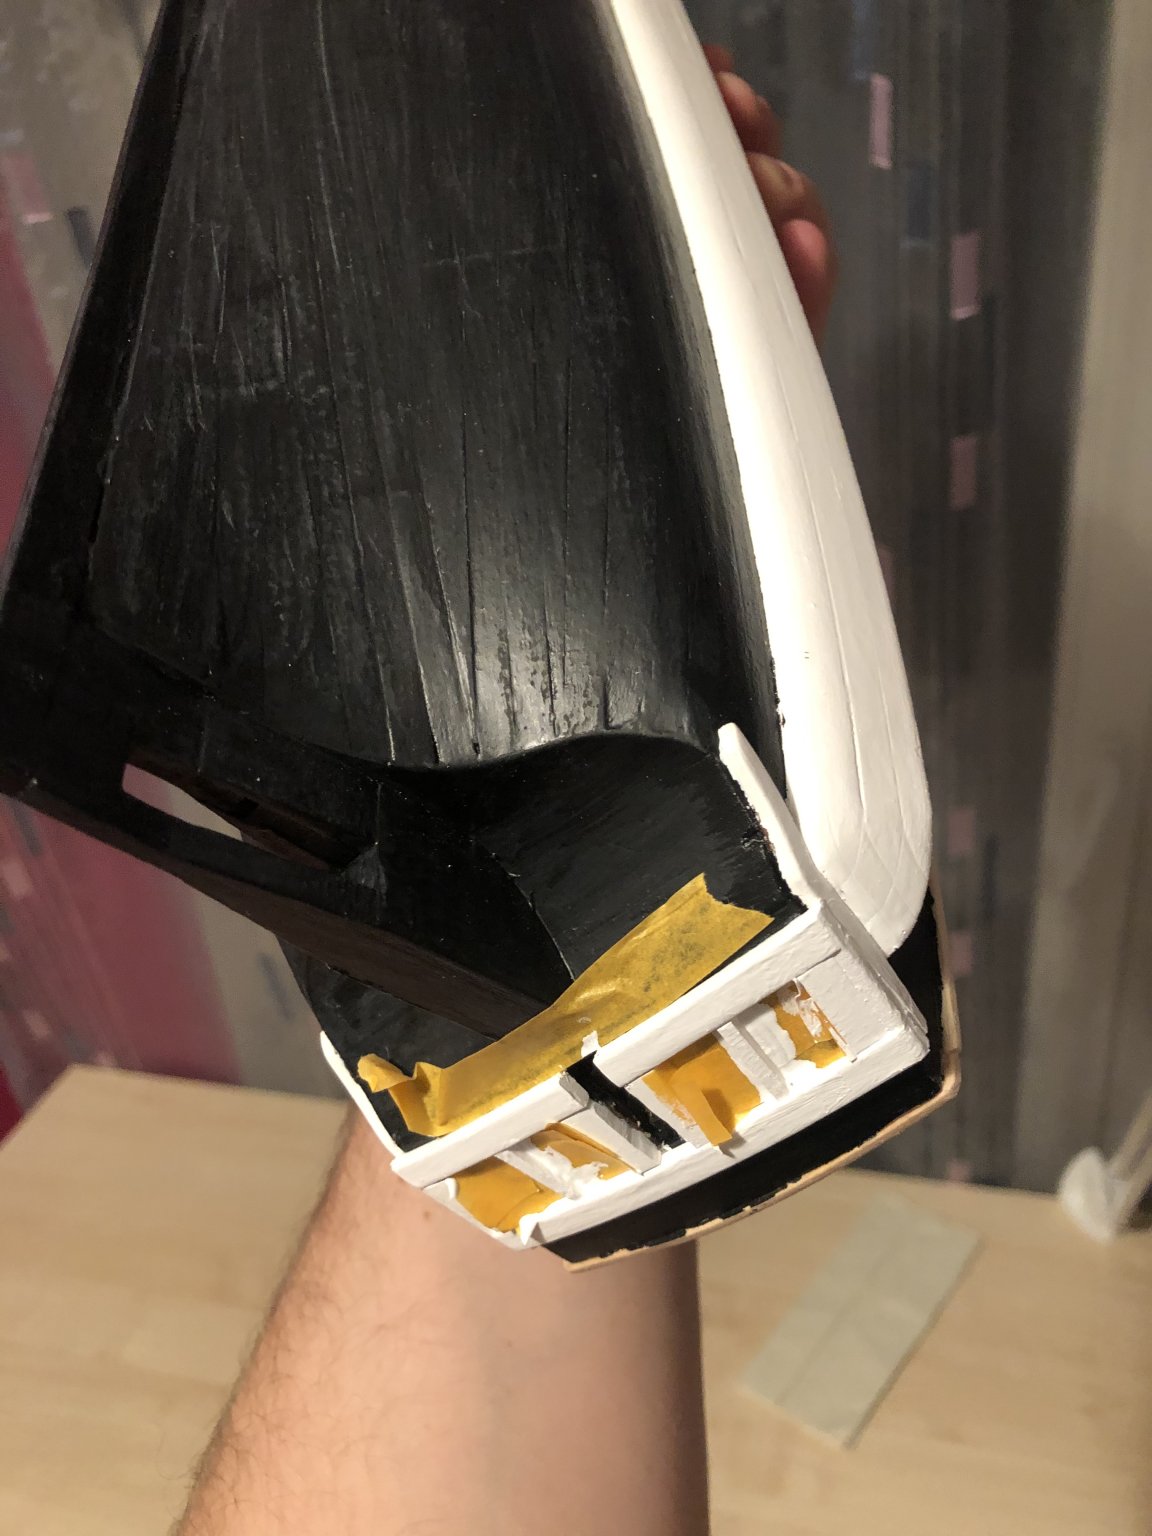
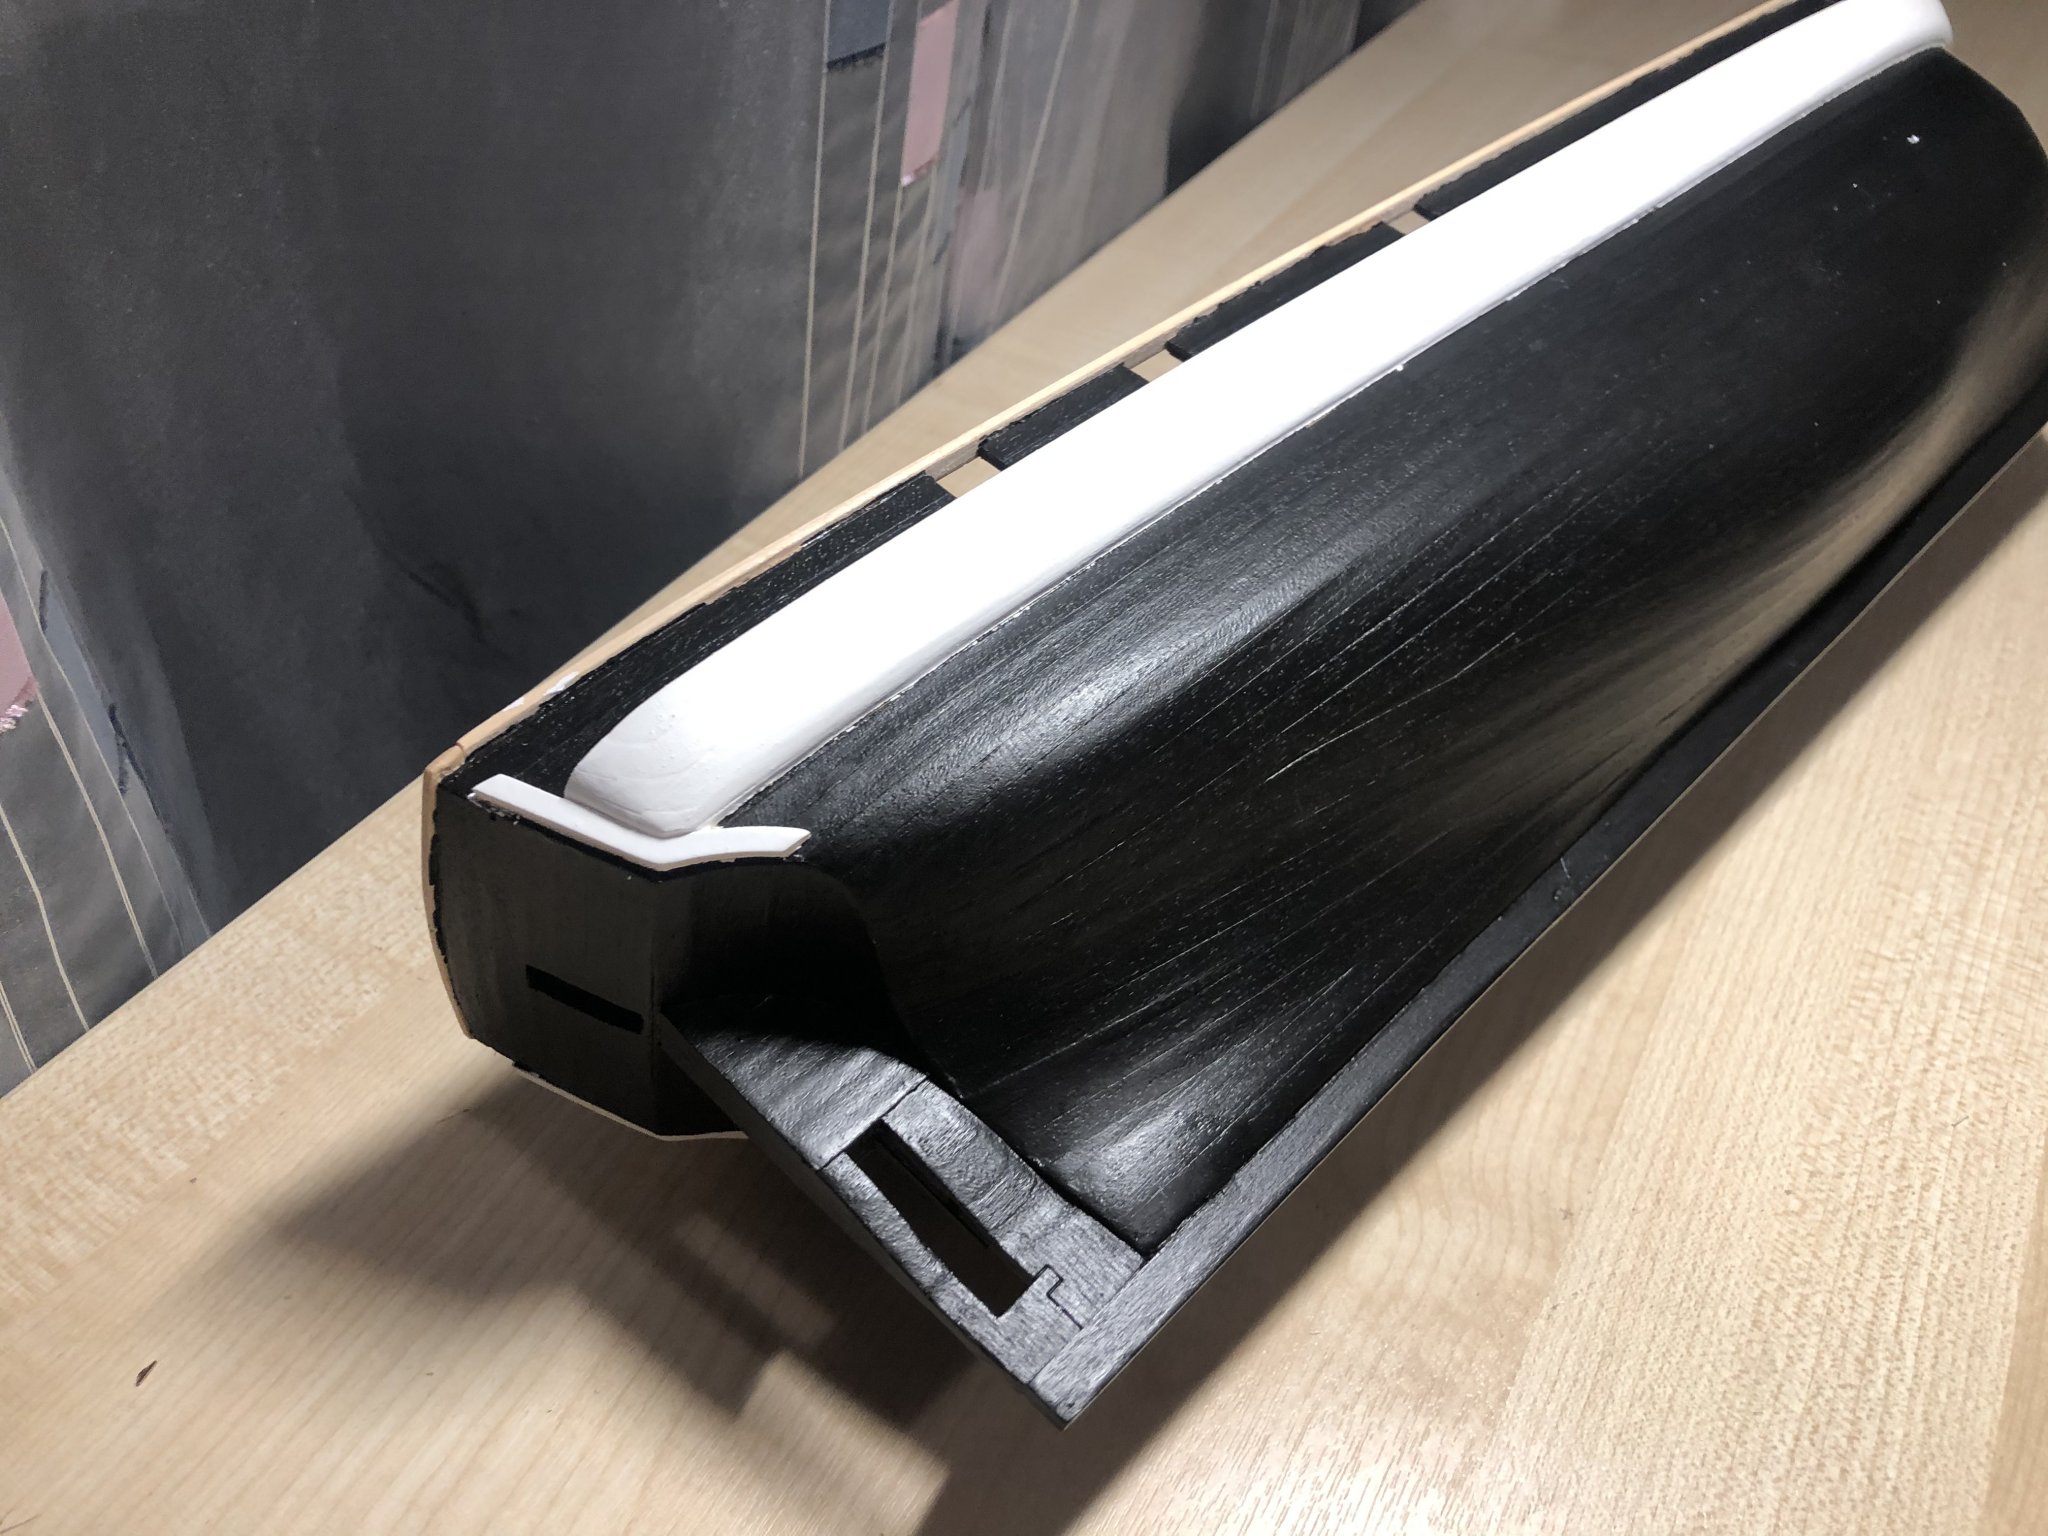
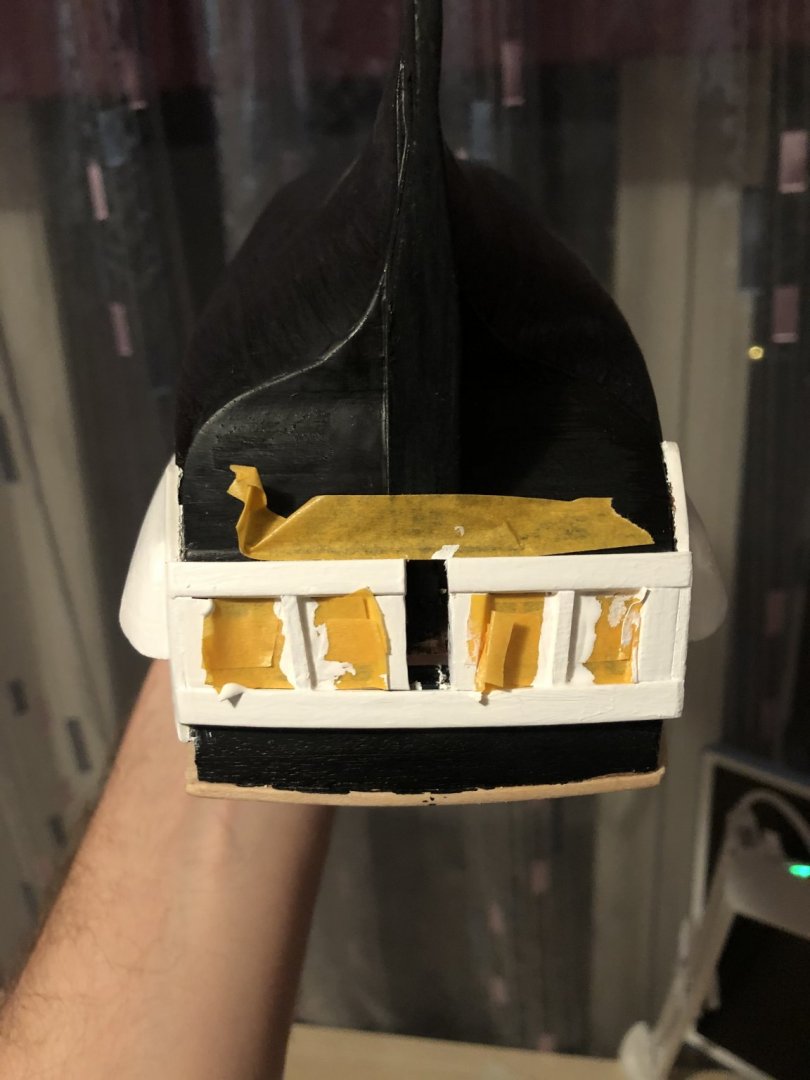
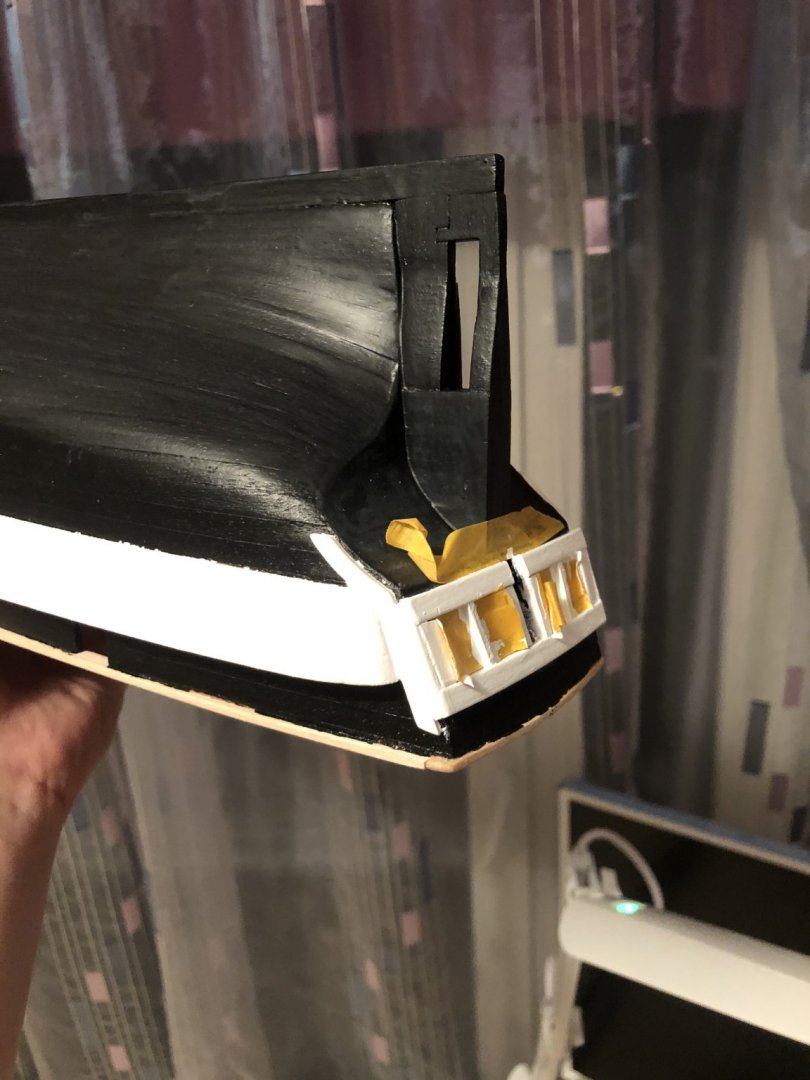
Black coat is done. Overall im happy but masking tape wasnt glued to hull at all locations. So i have to remove color somehow. Will continiue with white paint soon. Its still little shiny but will go more matt by tomorrow. Also started looking into masts. At first it seems like a nightmare but instructions, after getting into them, are quite simple. And offcourse working on small details to put in deck.