Rick310
-
Posts
833 -
Joined
-
Last visited
Content Type
Profiles
Forums
Gallery
Events
Everything posted by Rick310
-
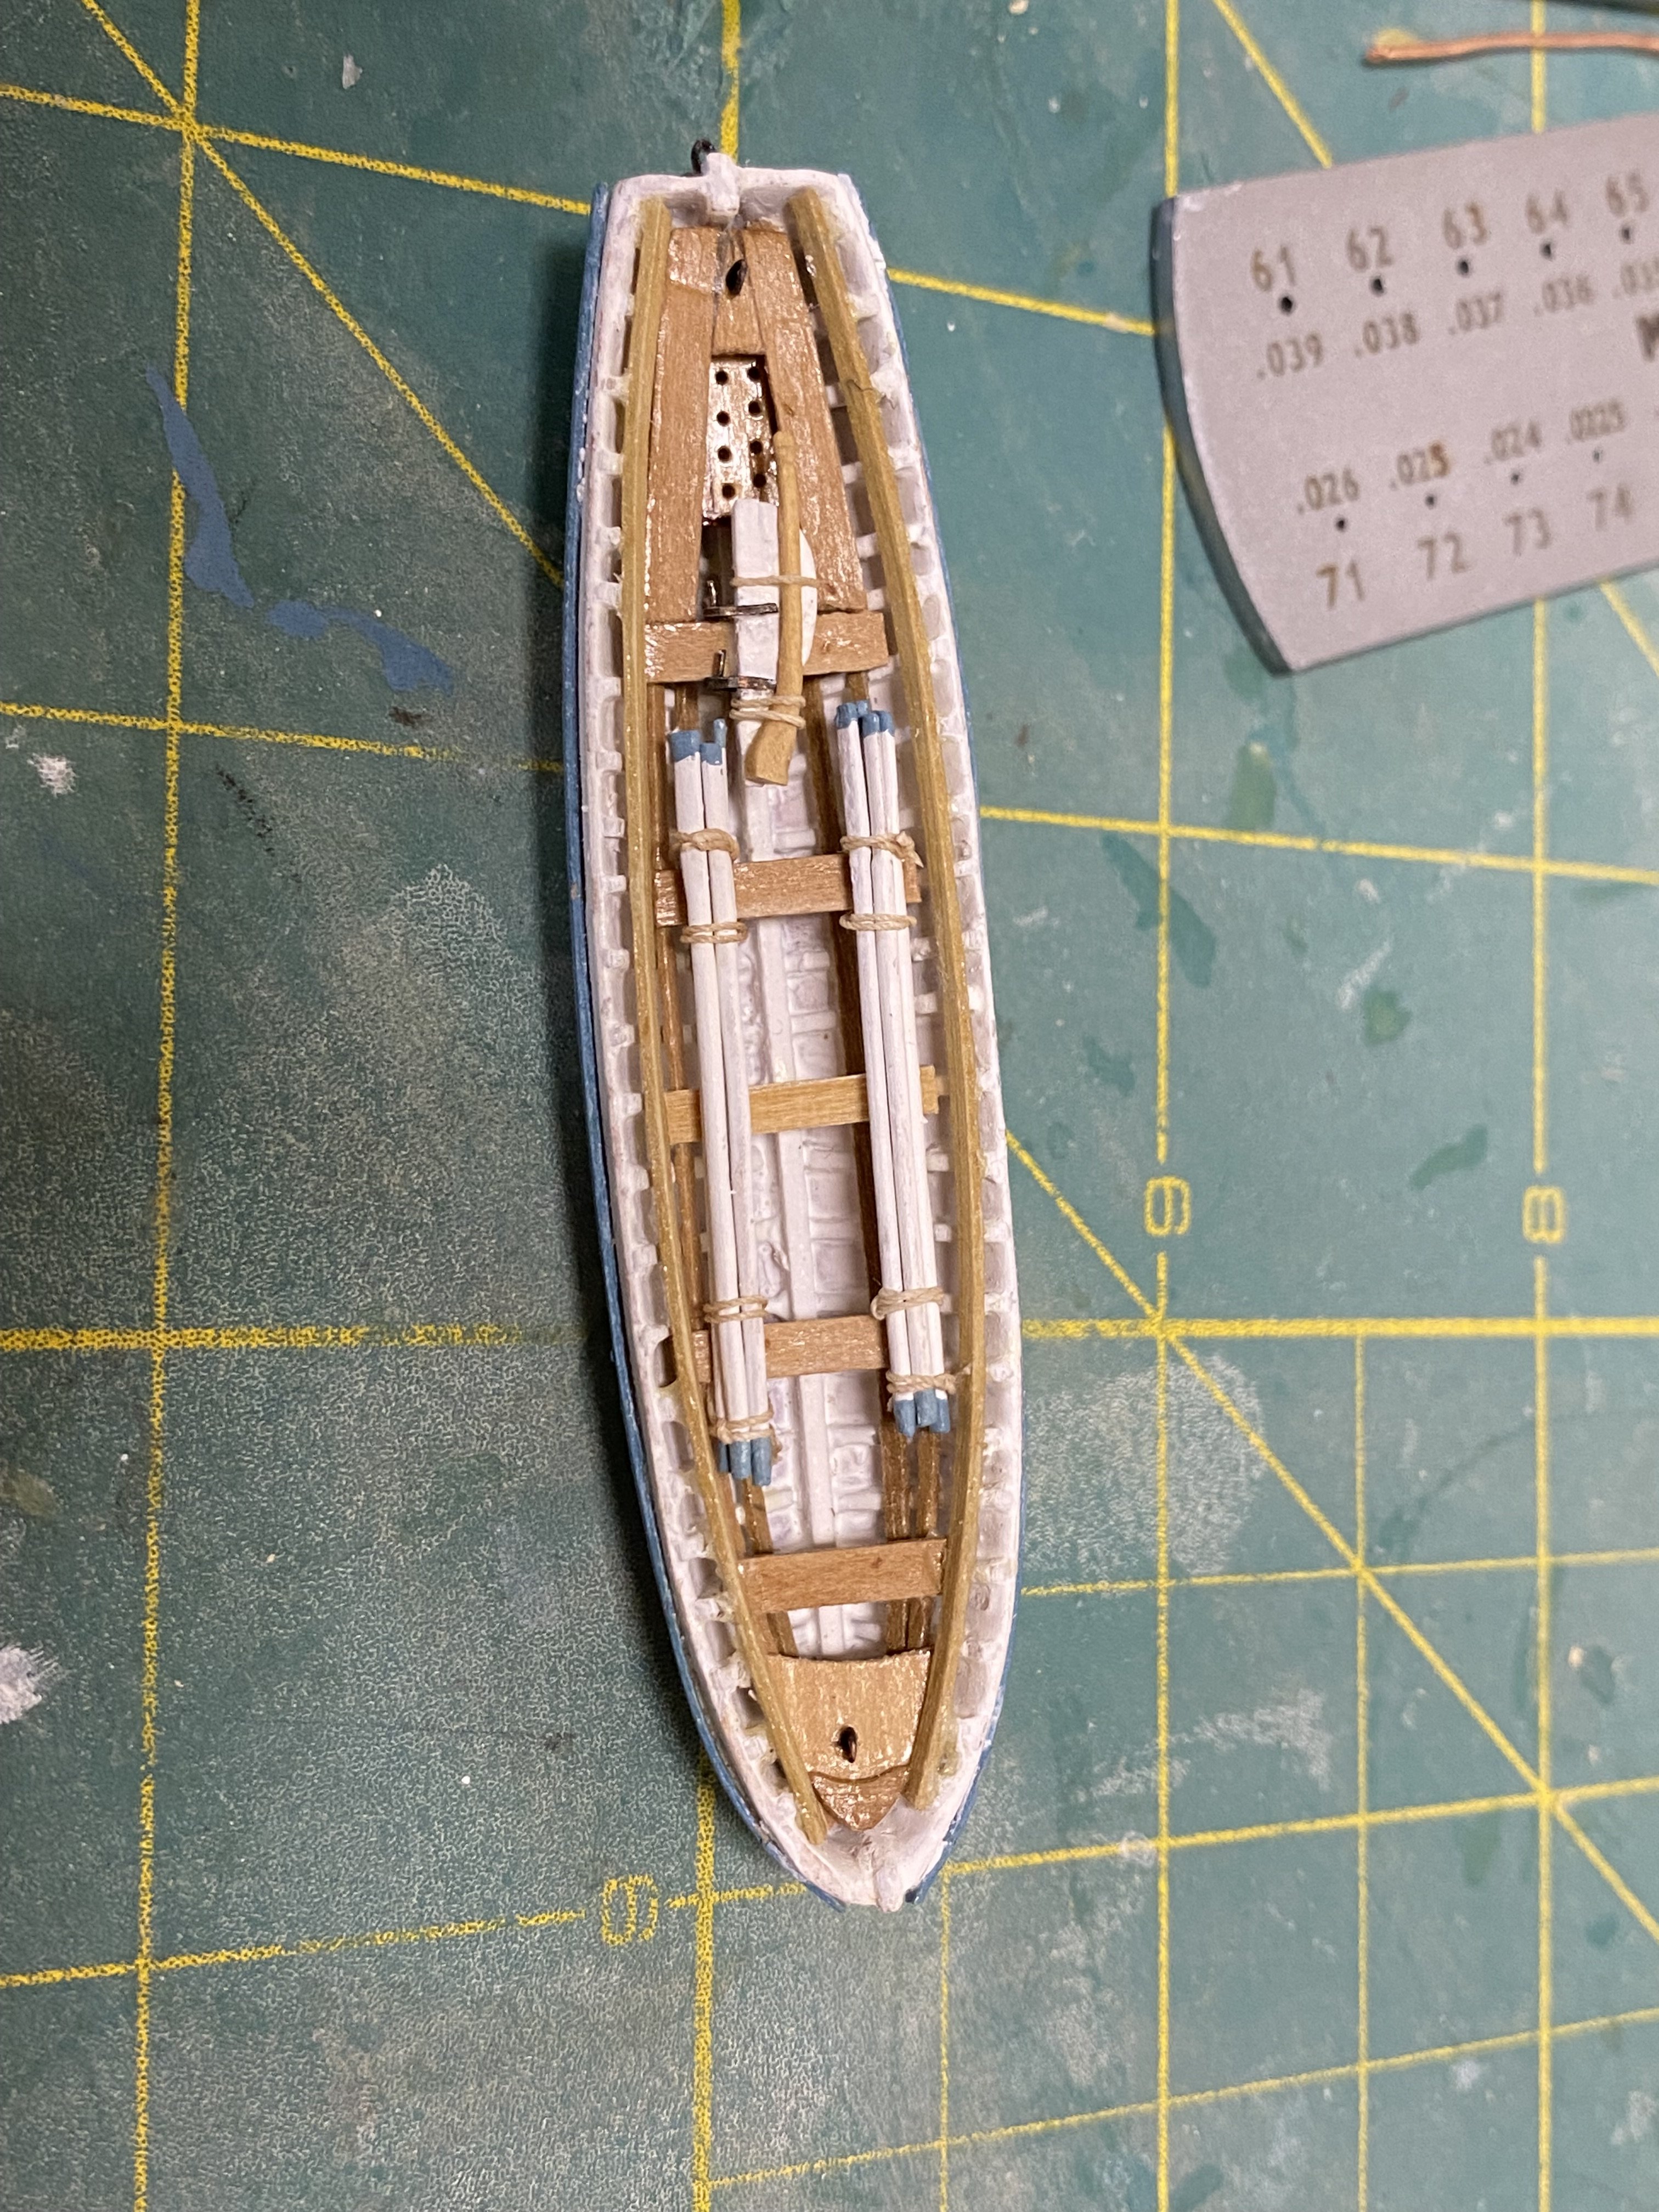
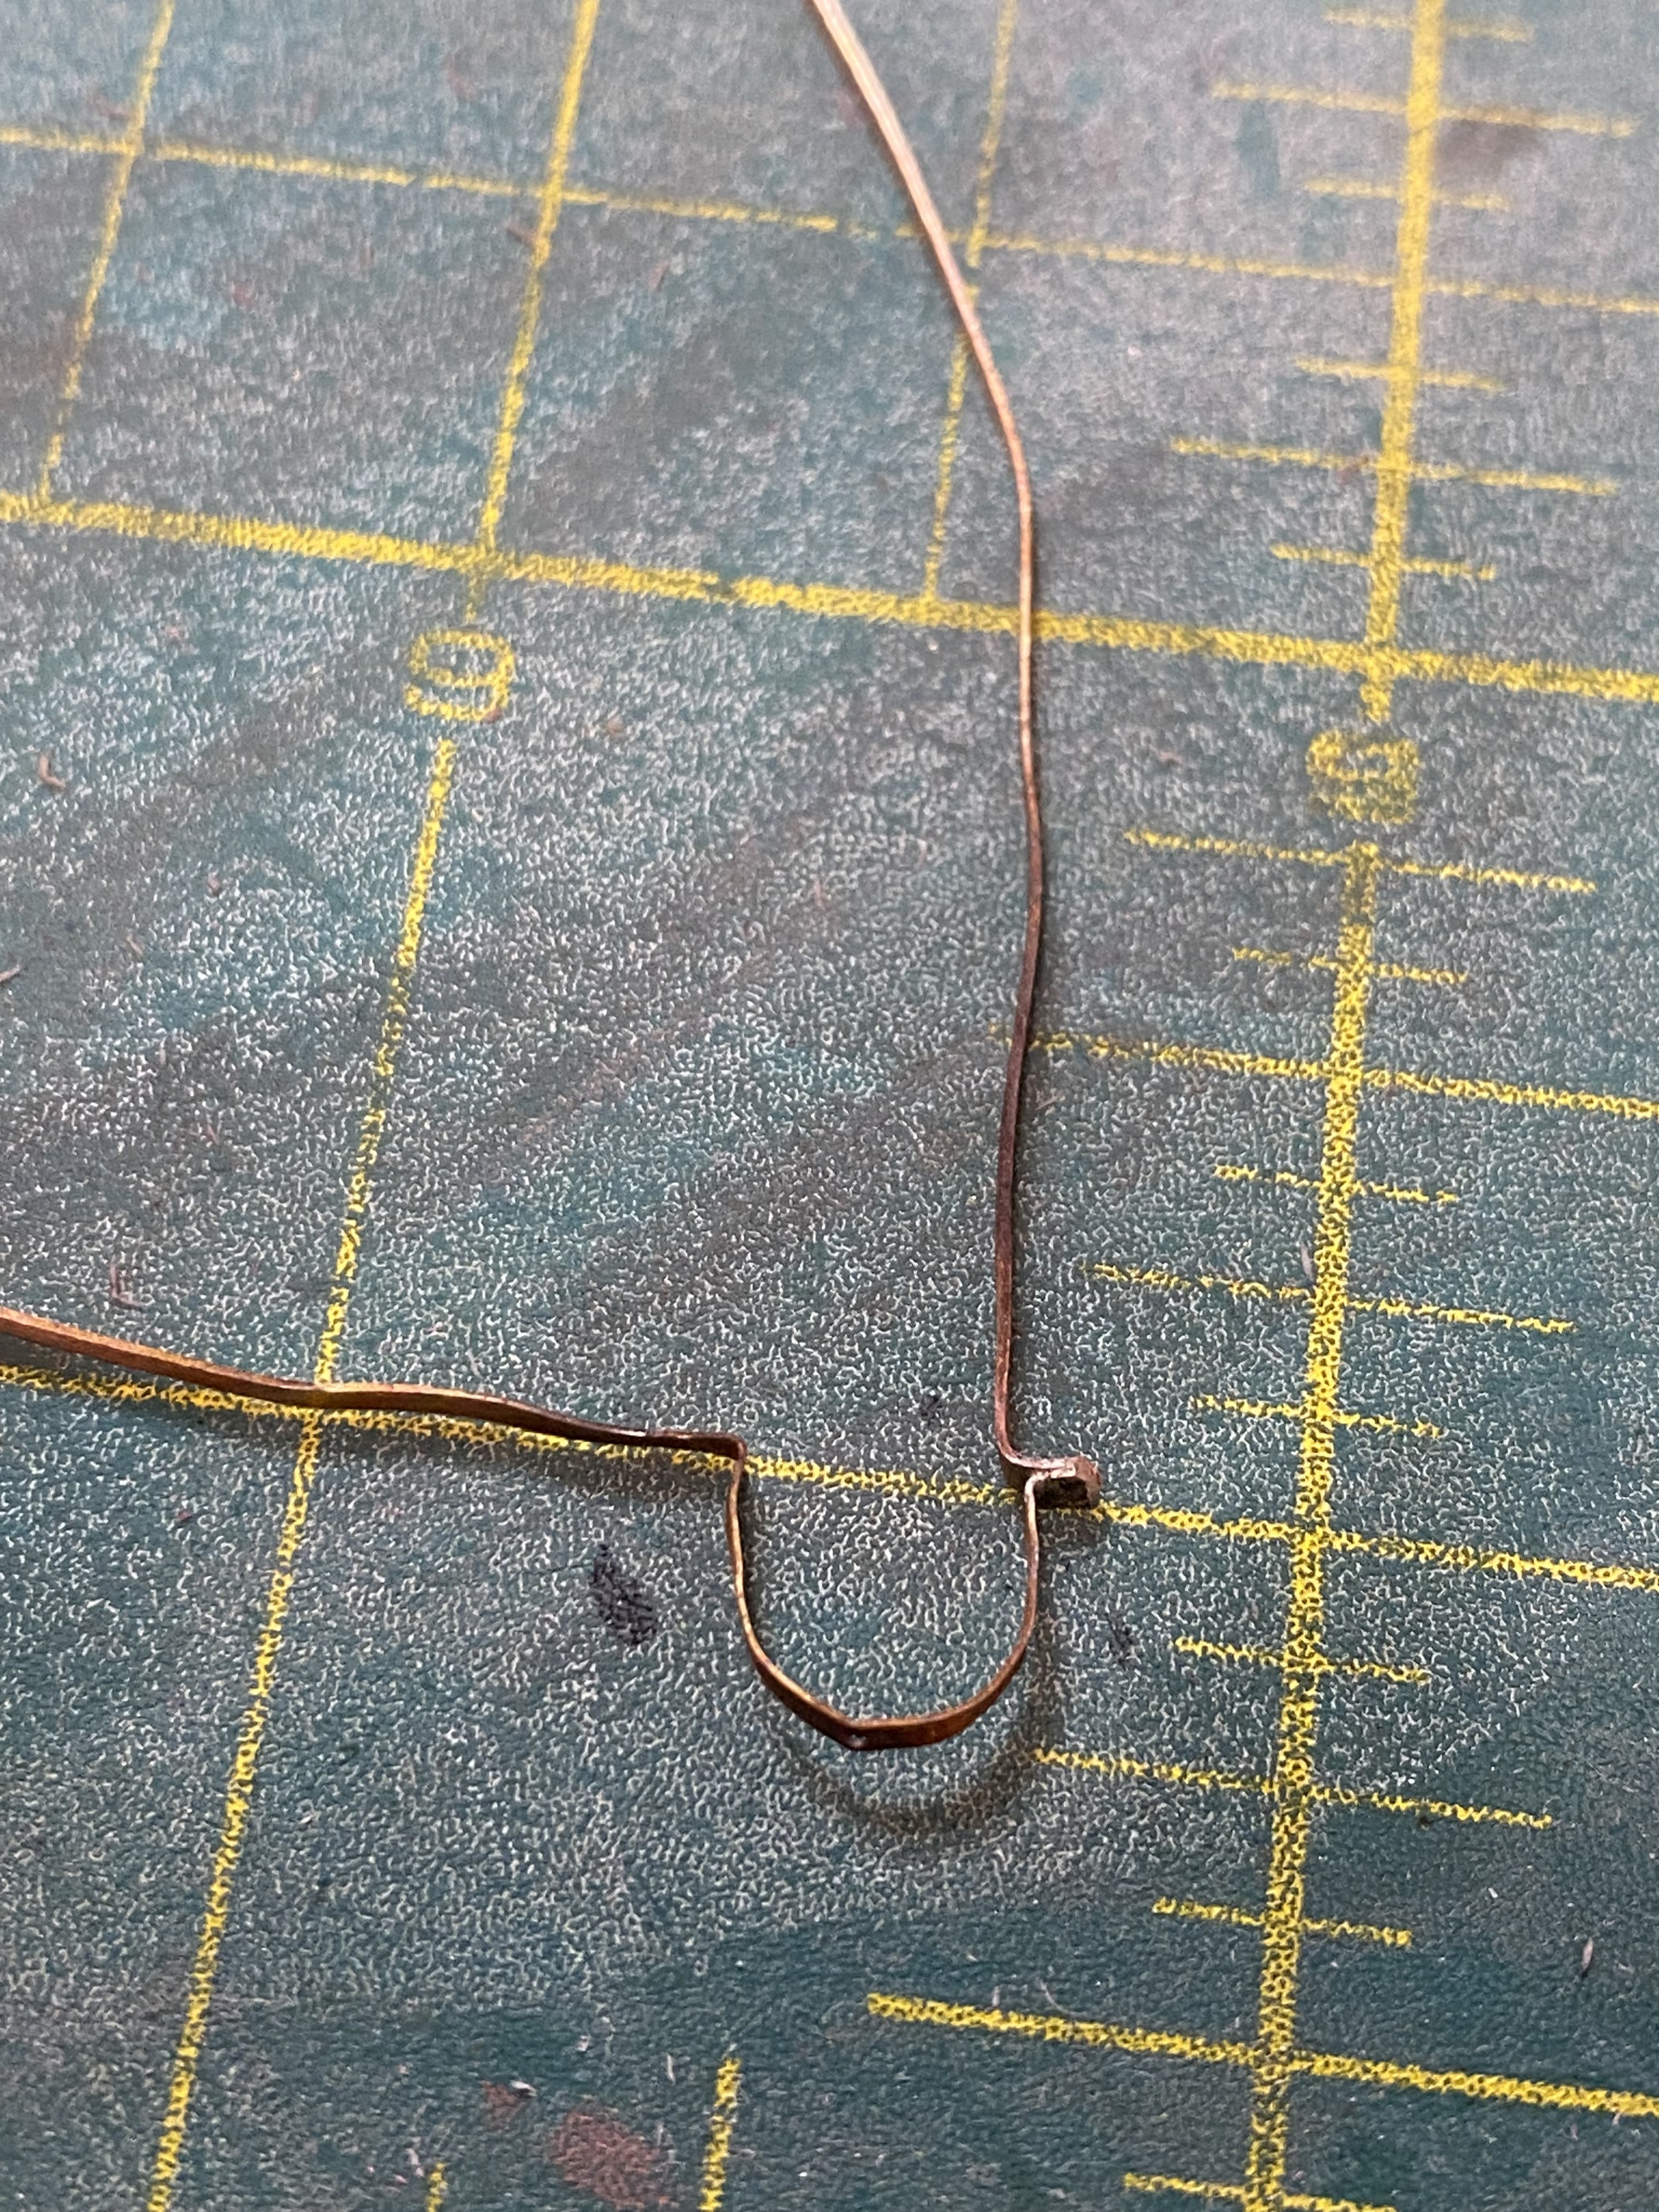
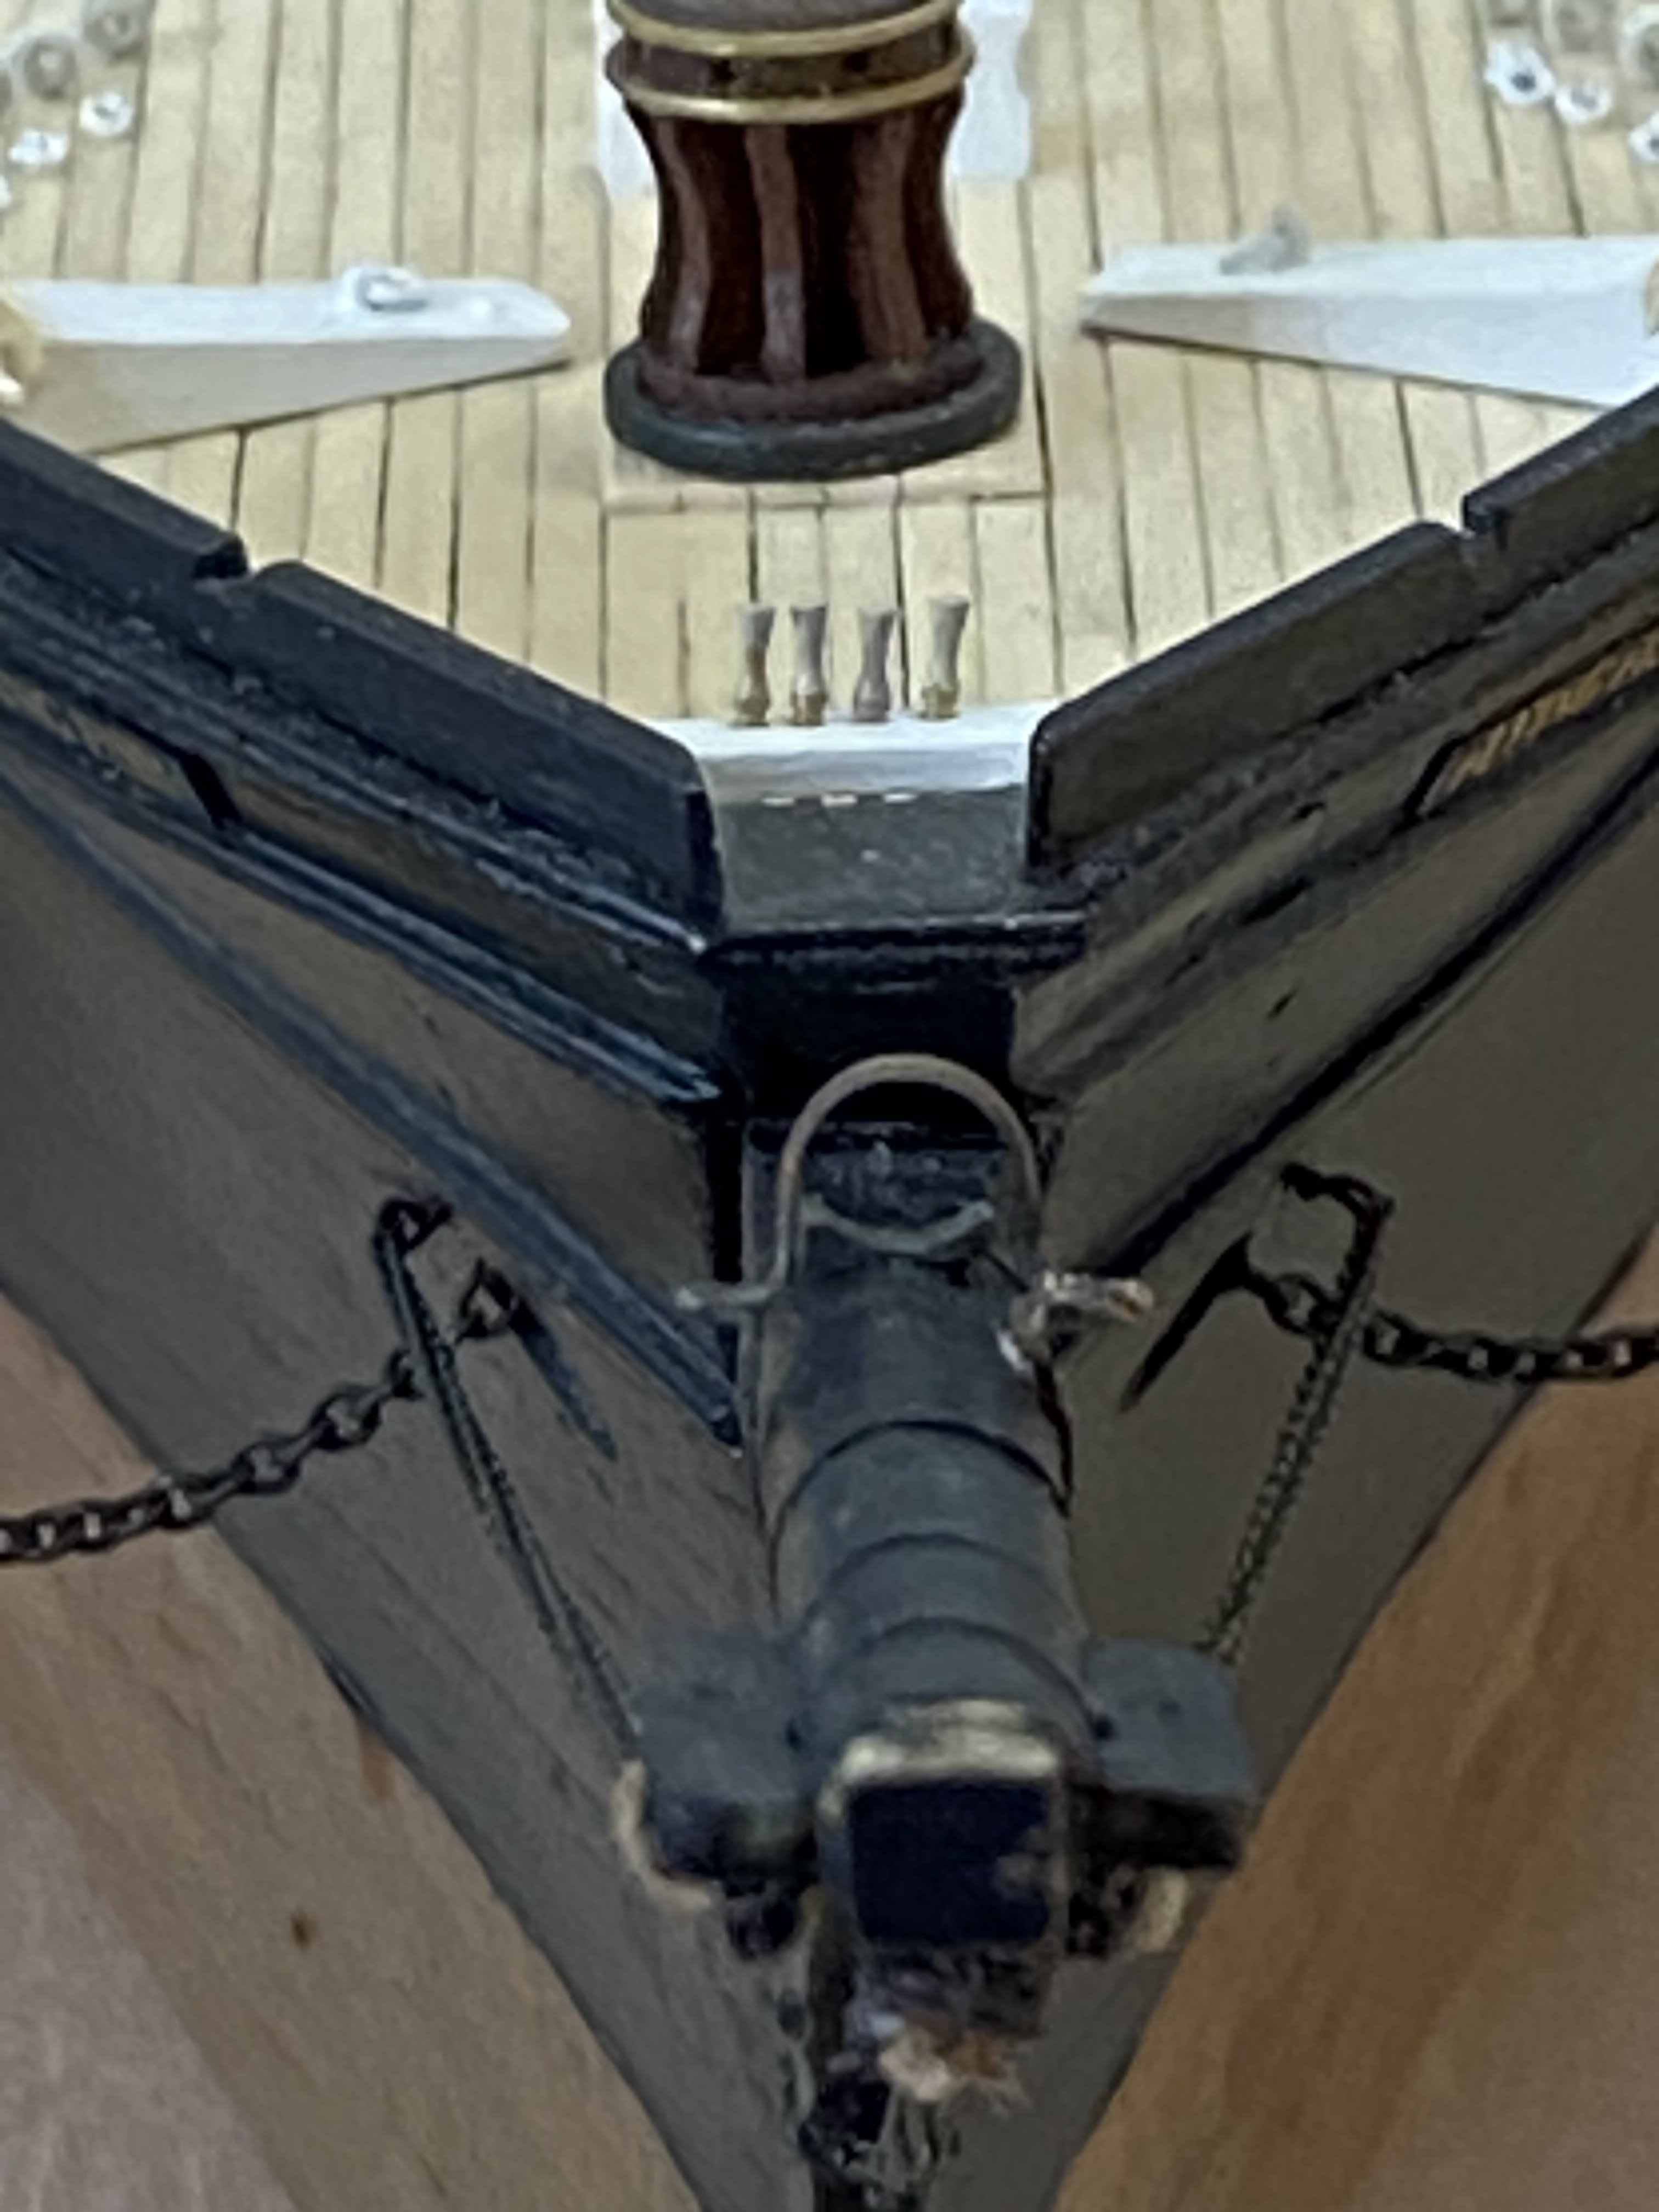
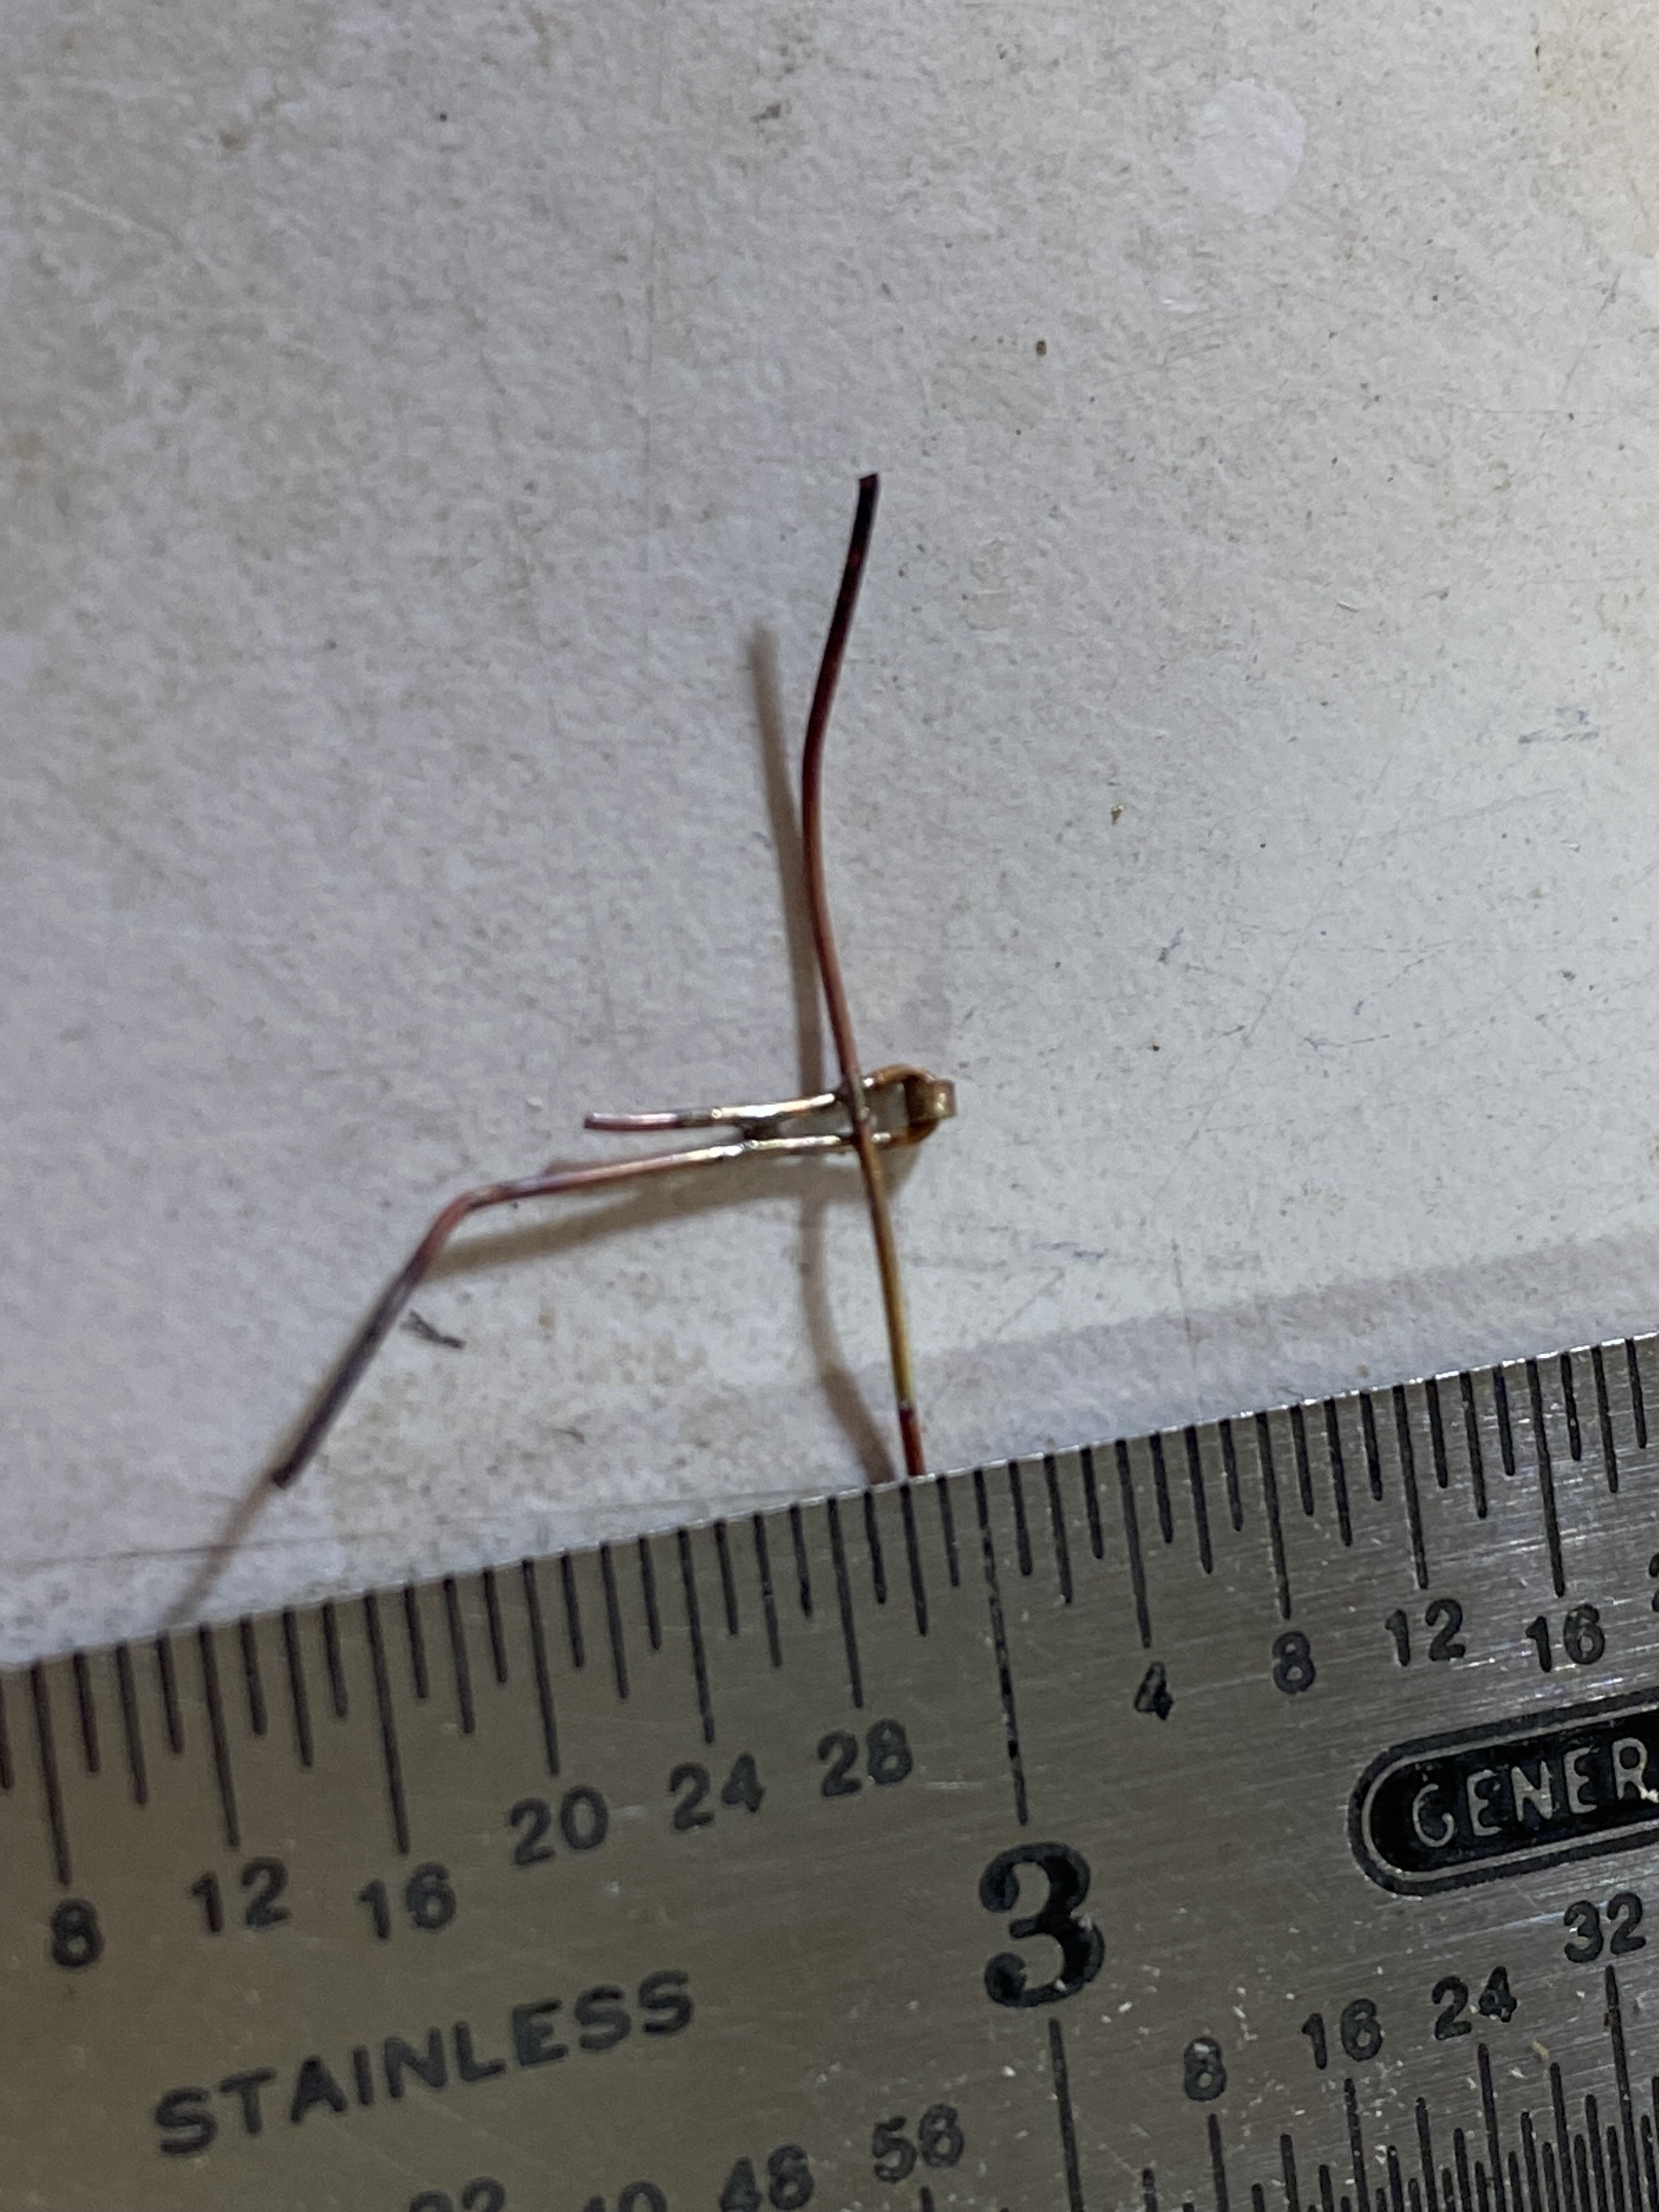
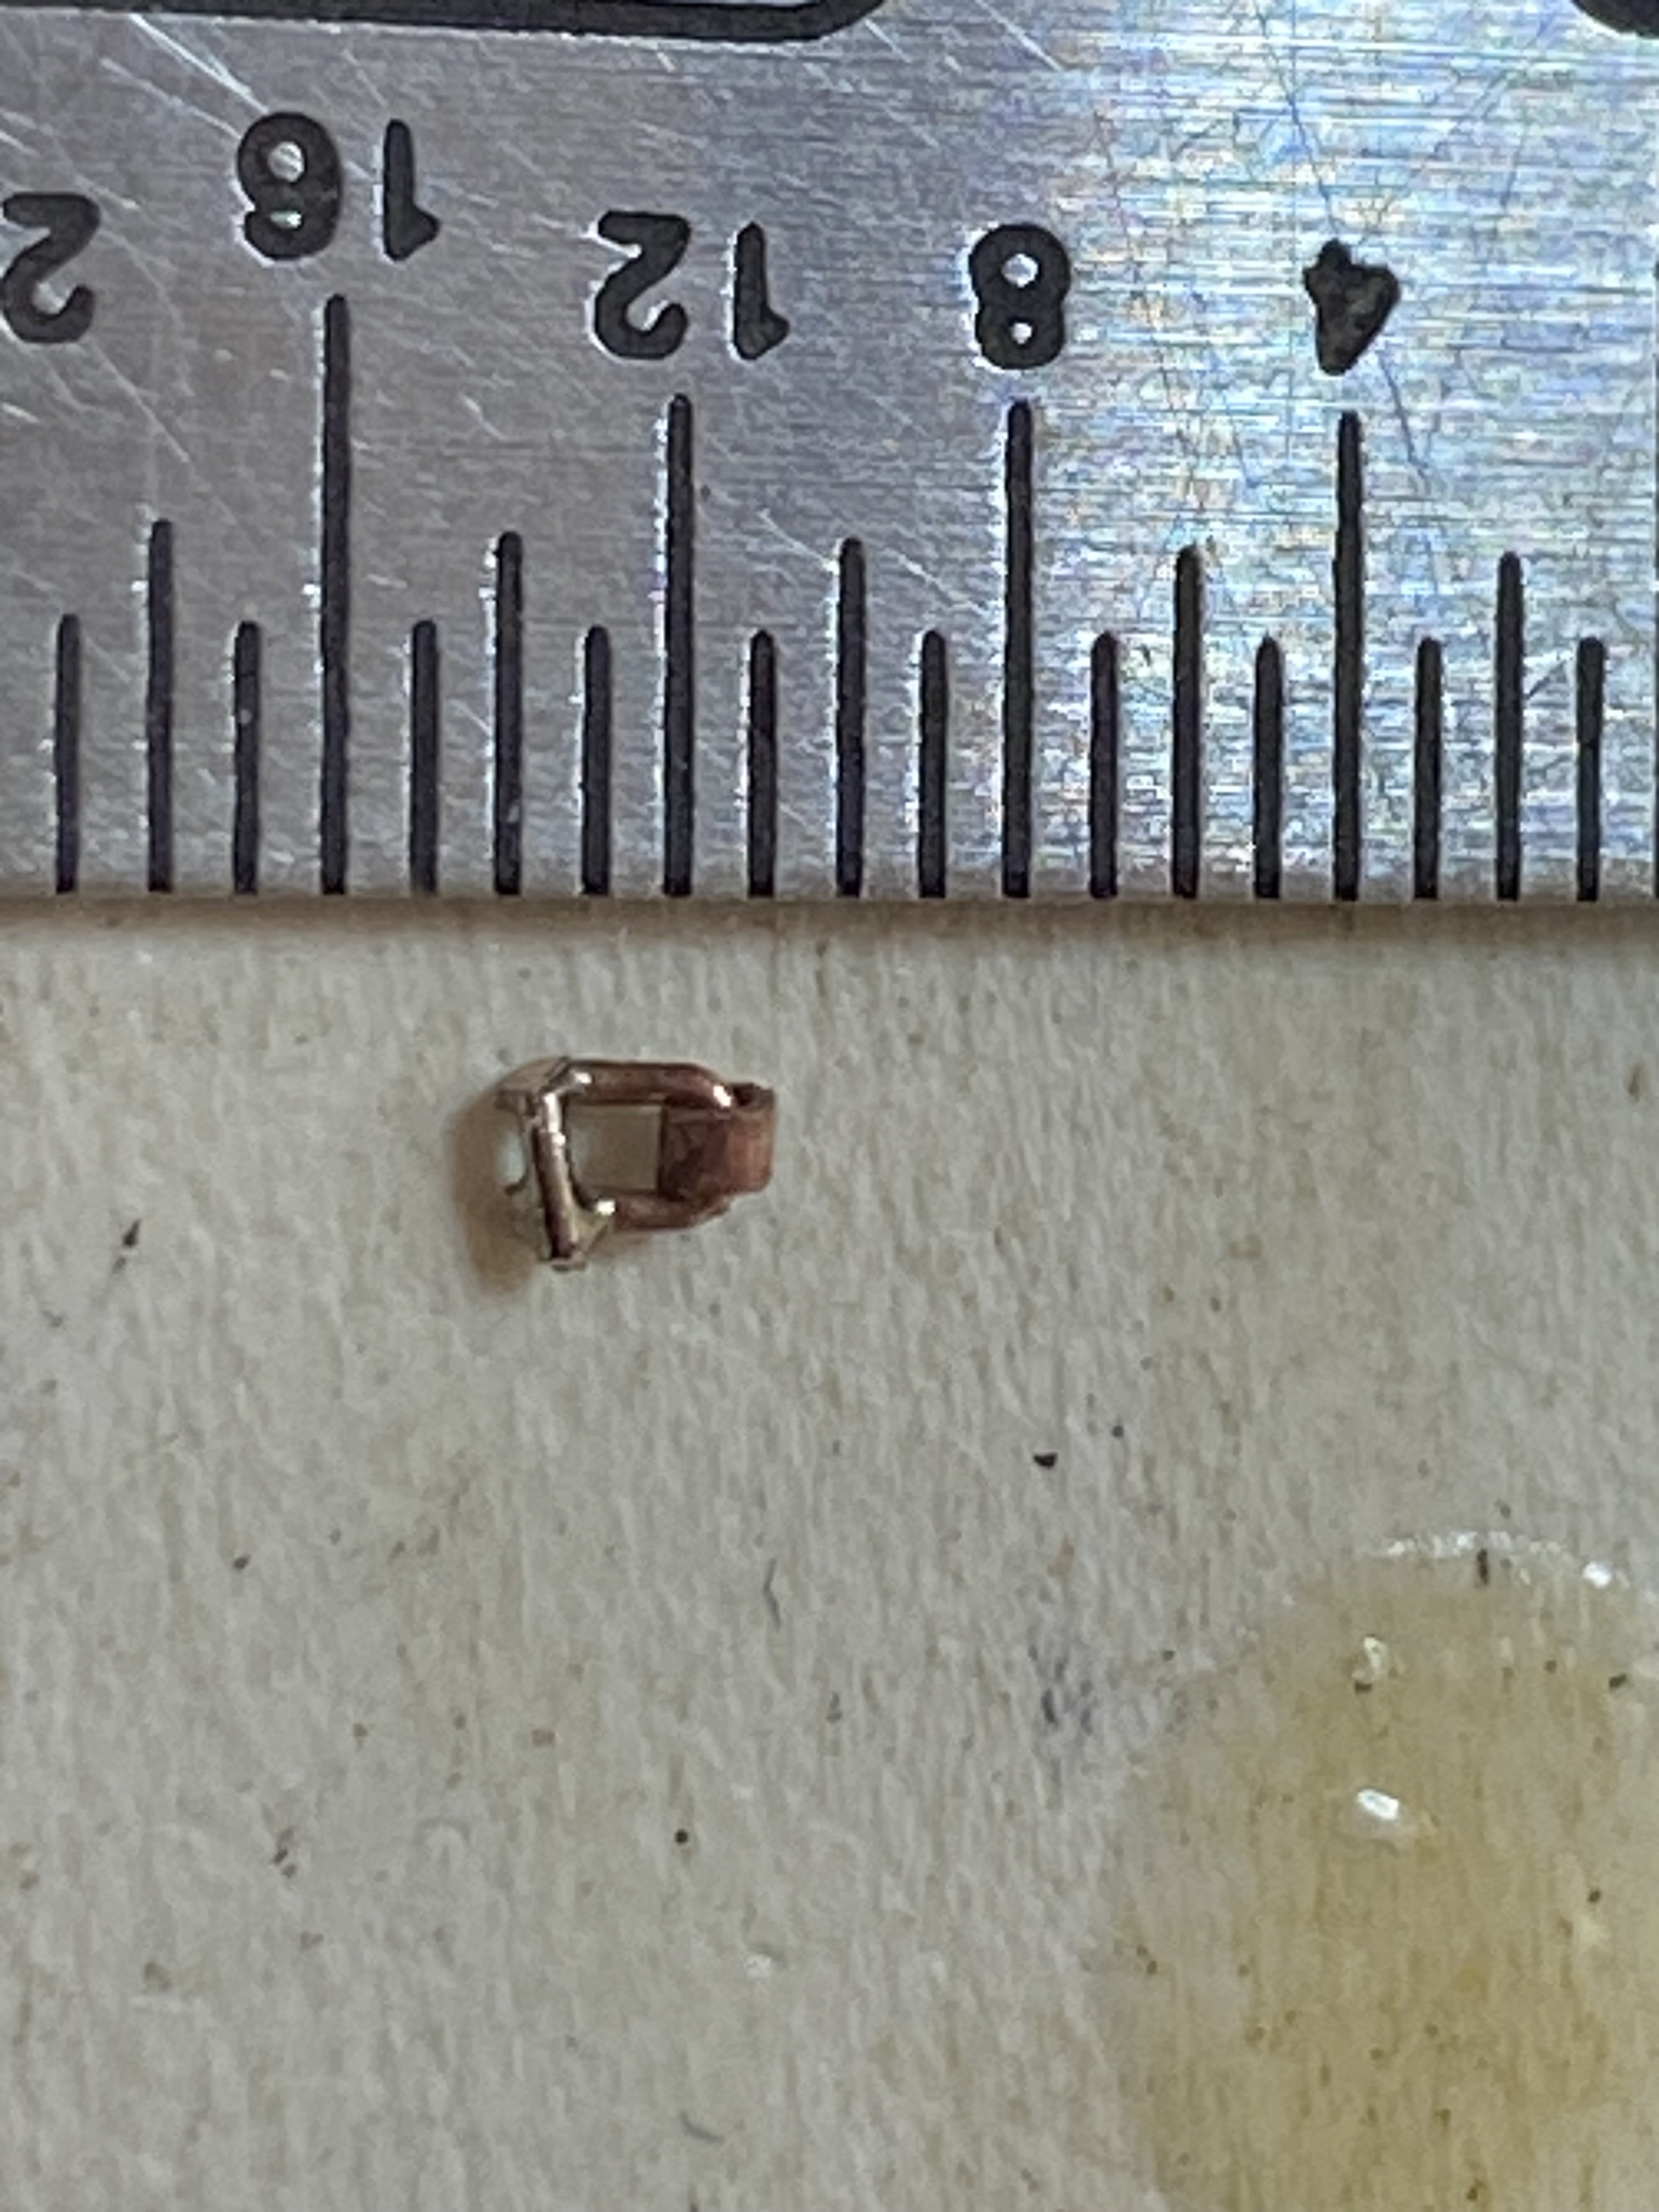
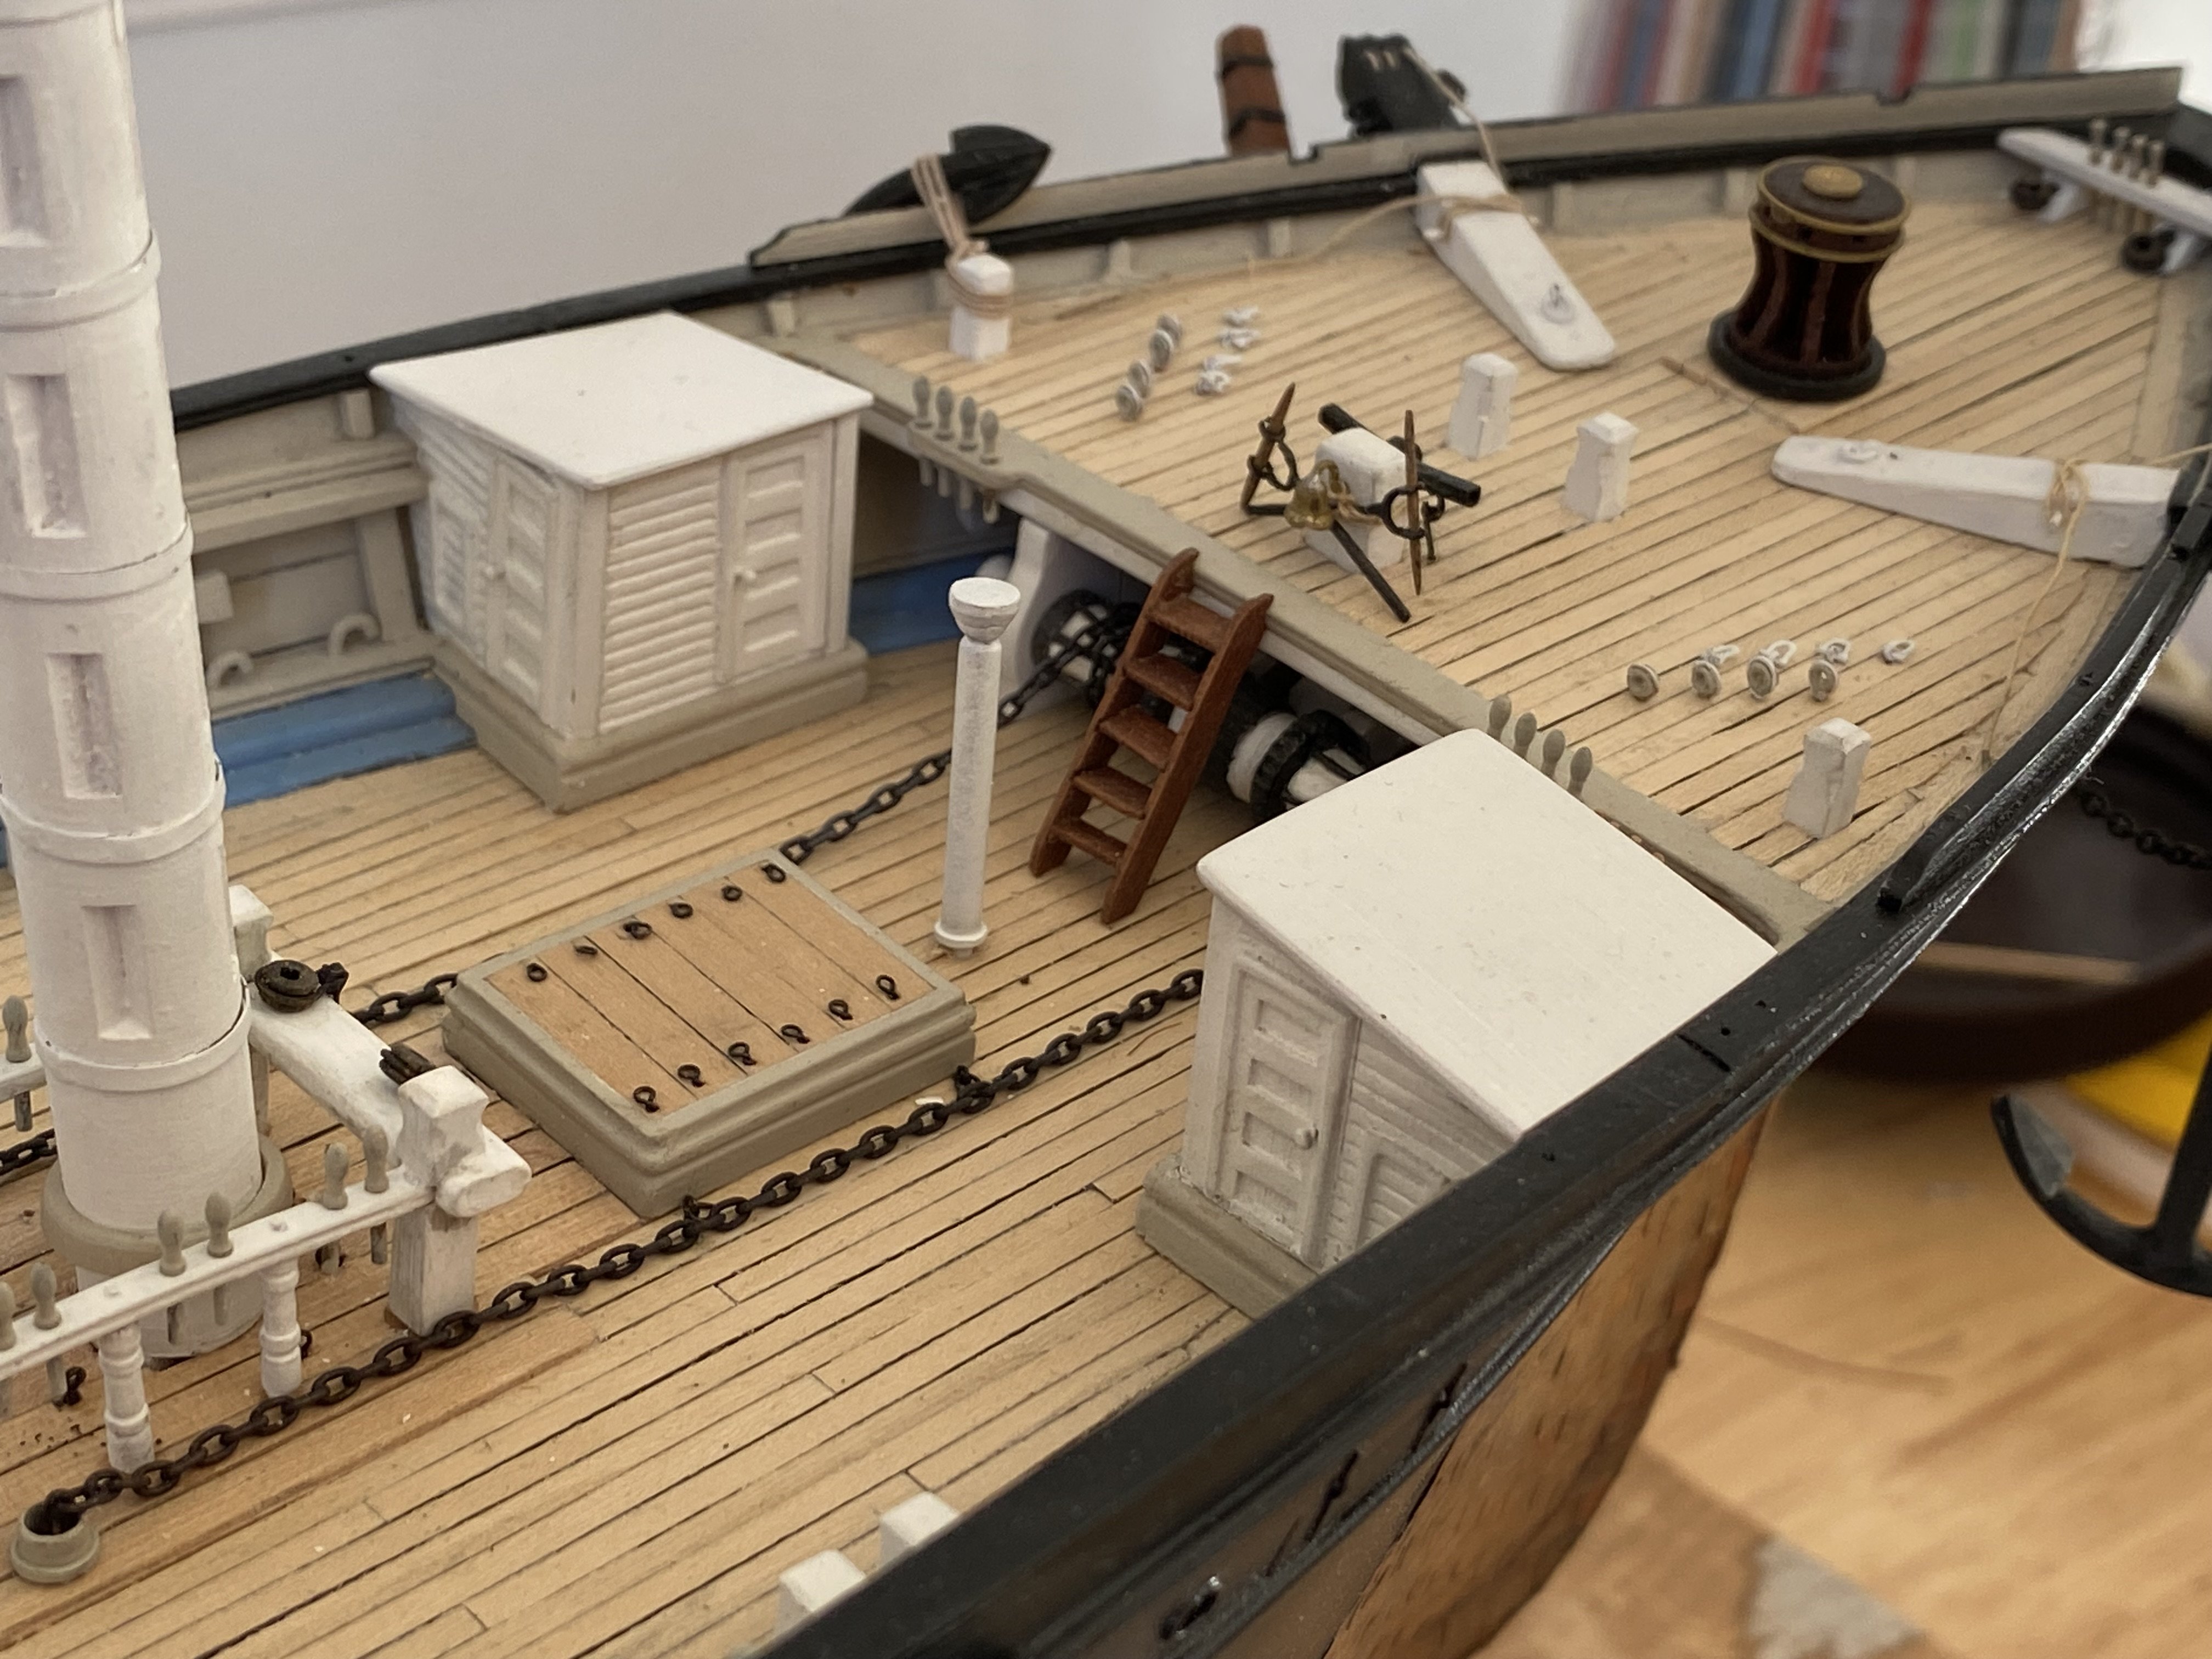
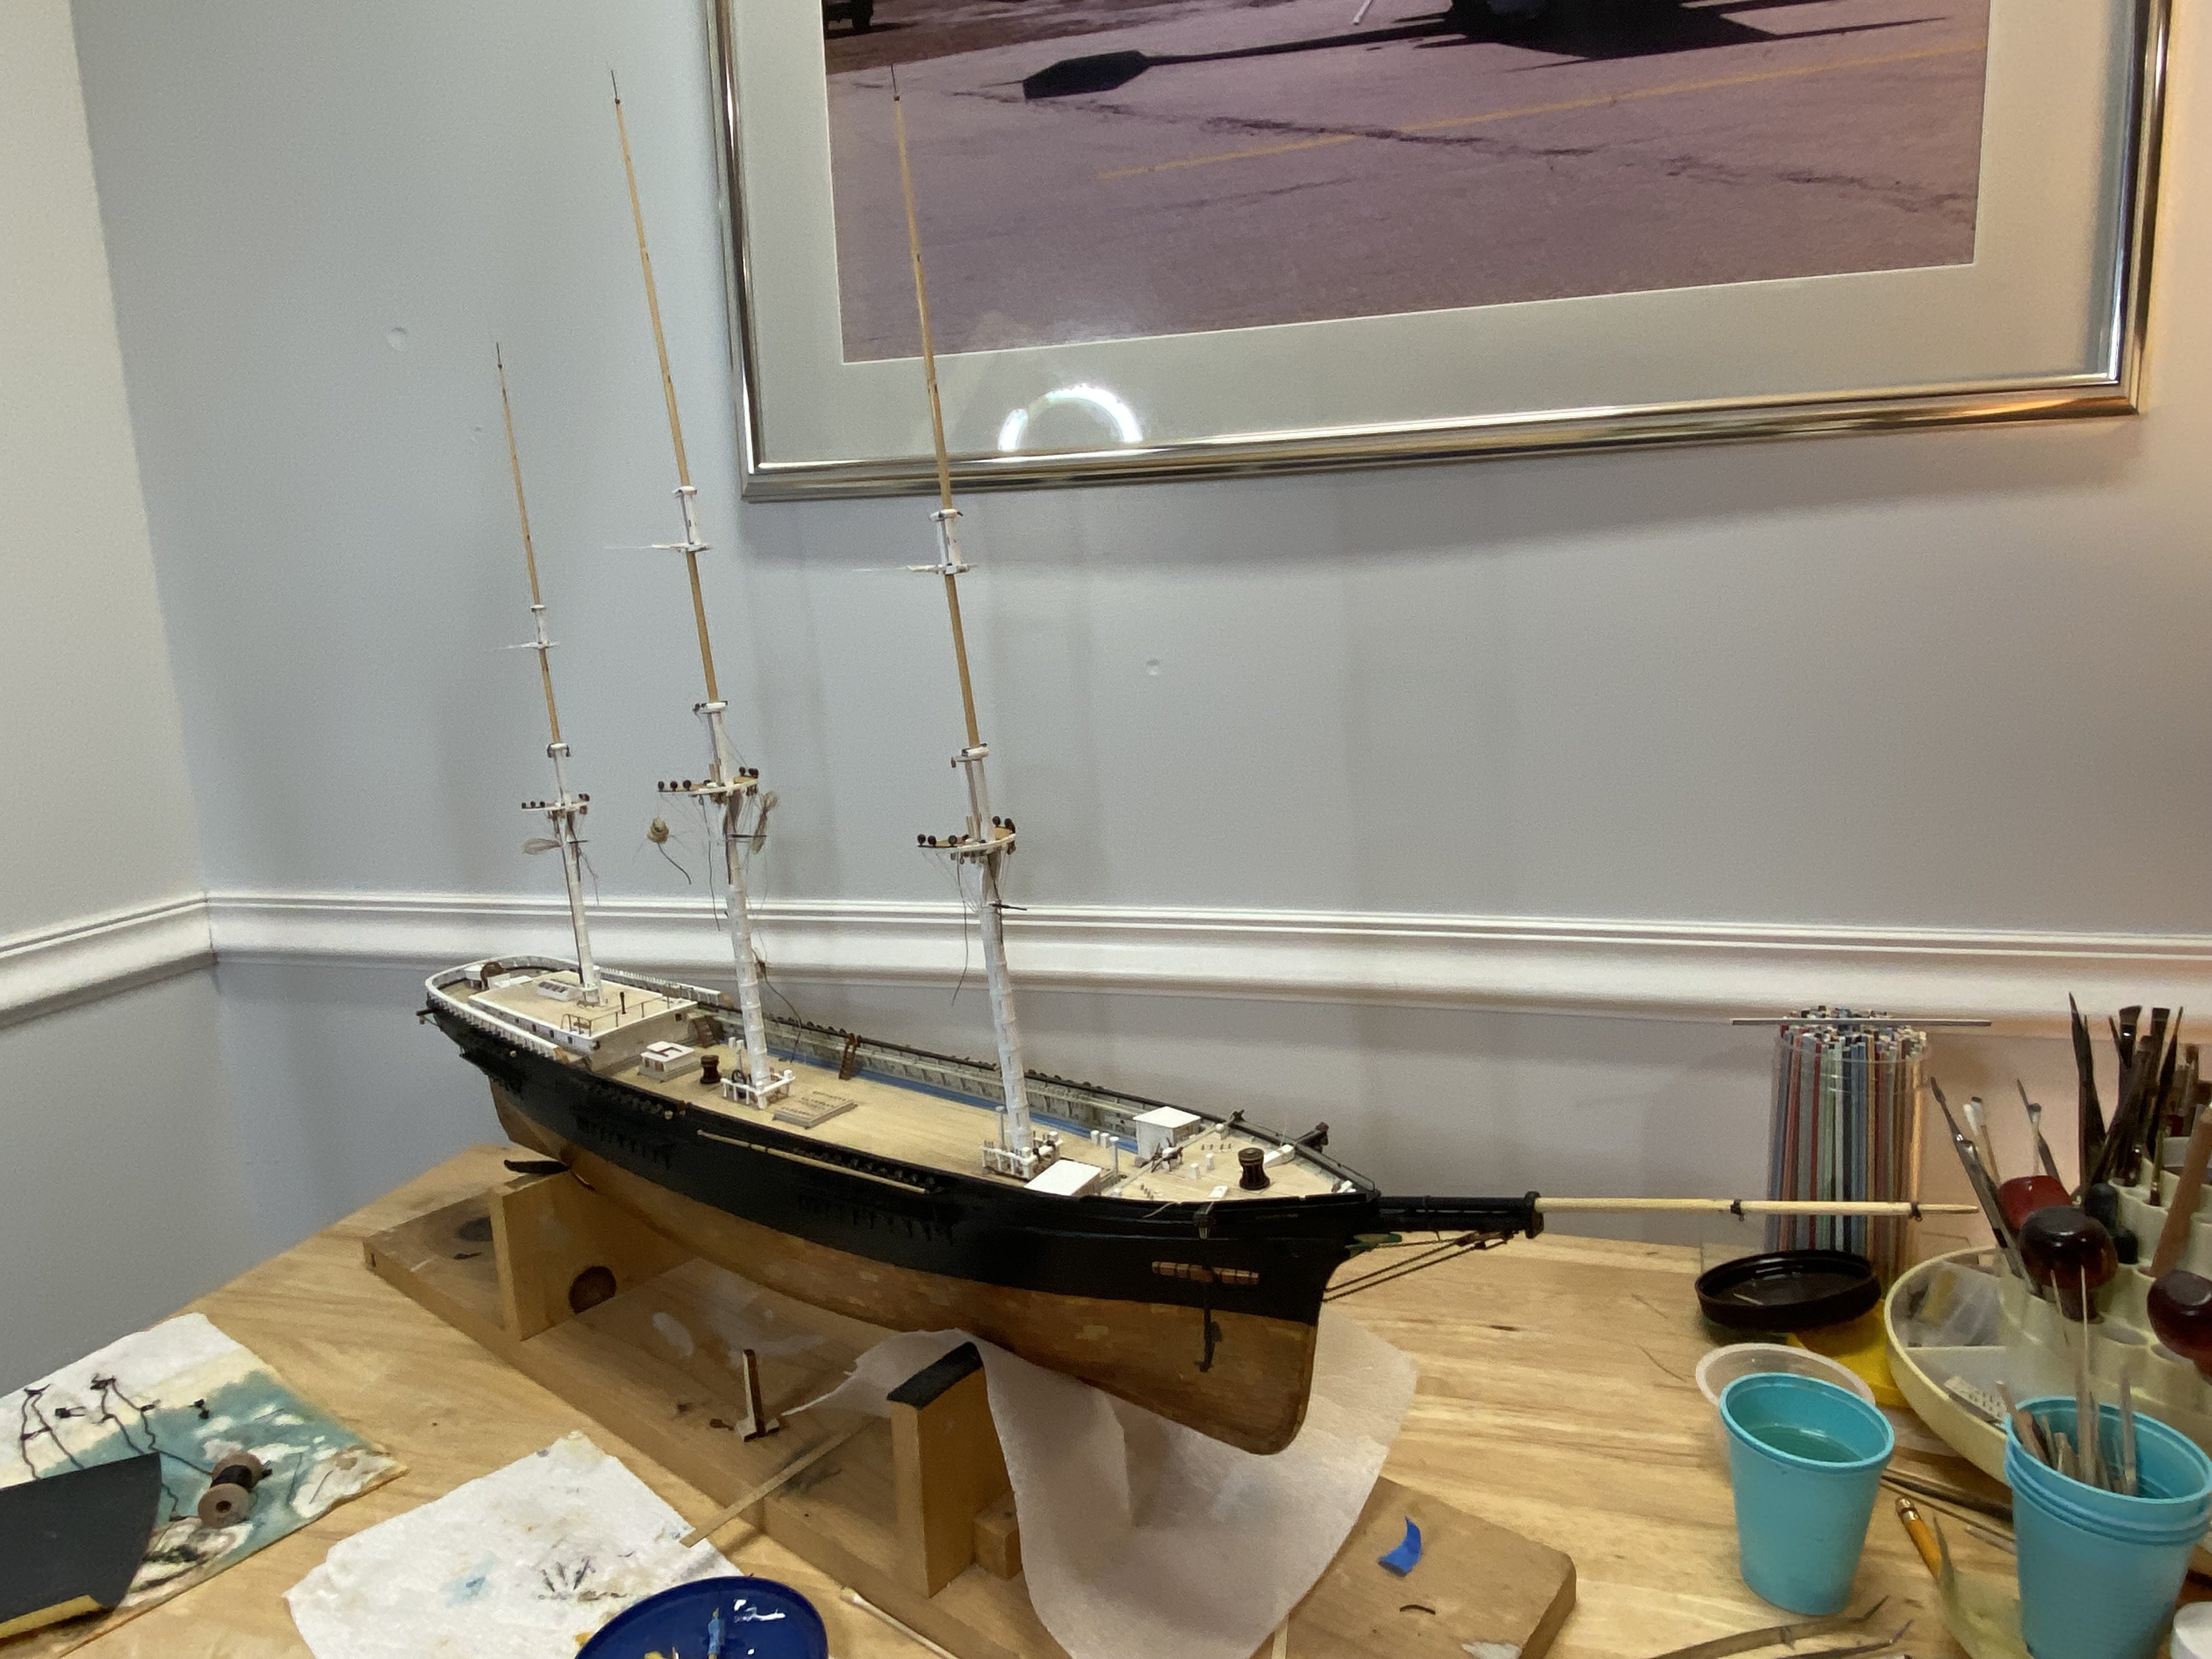
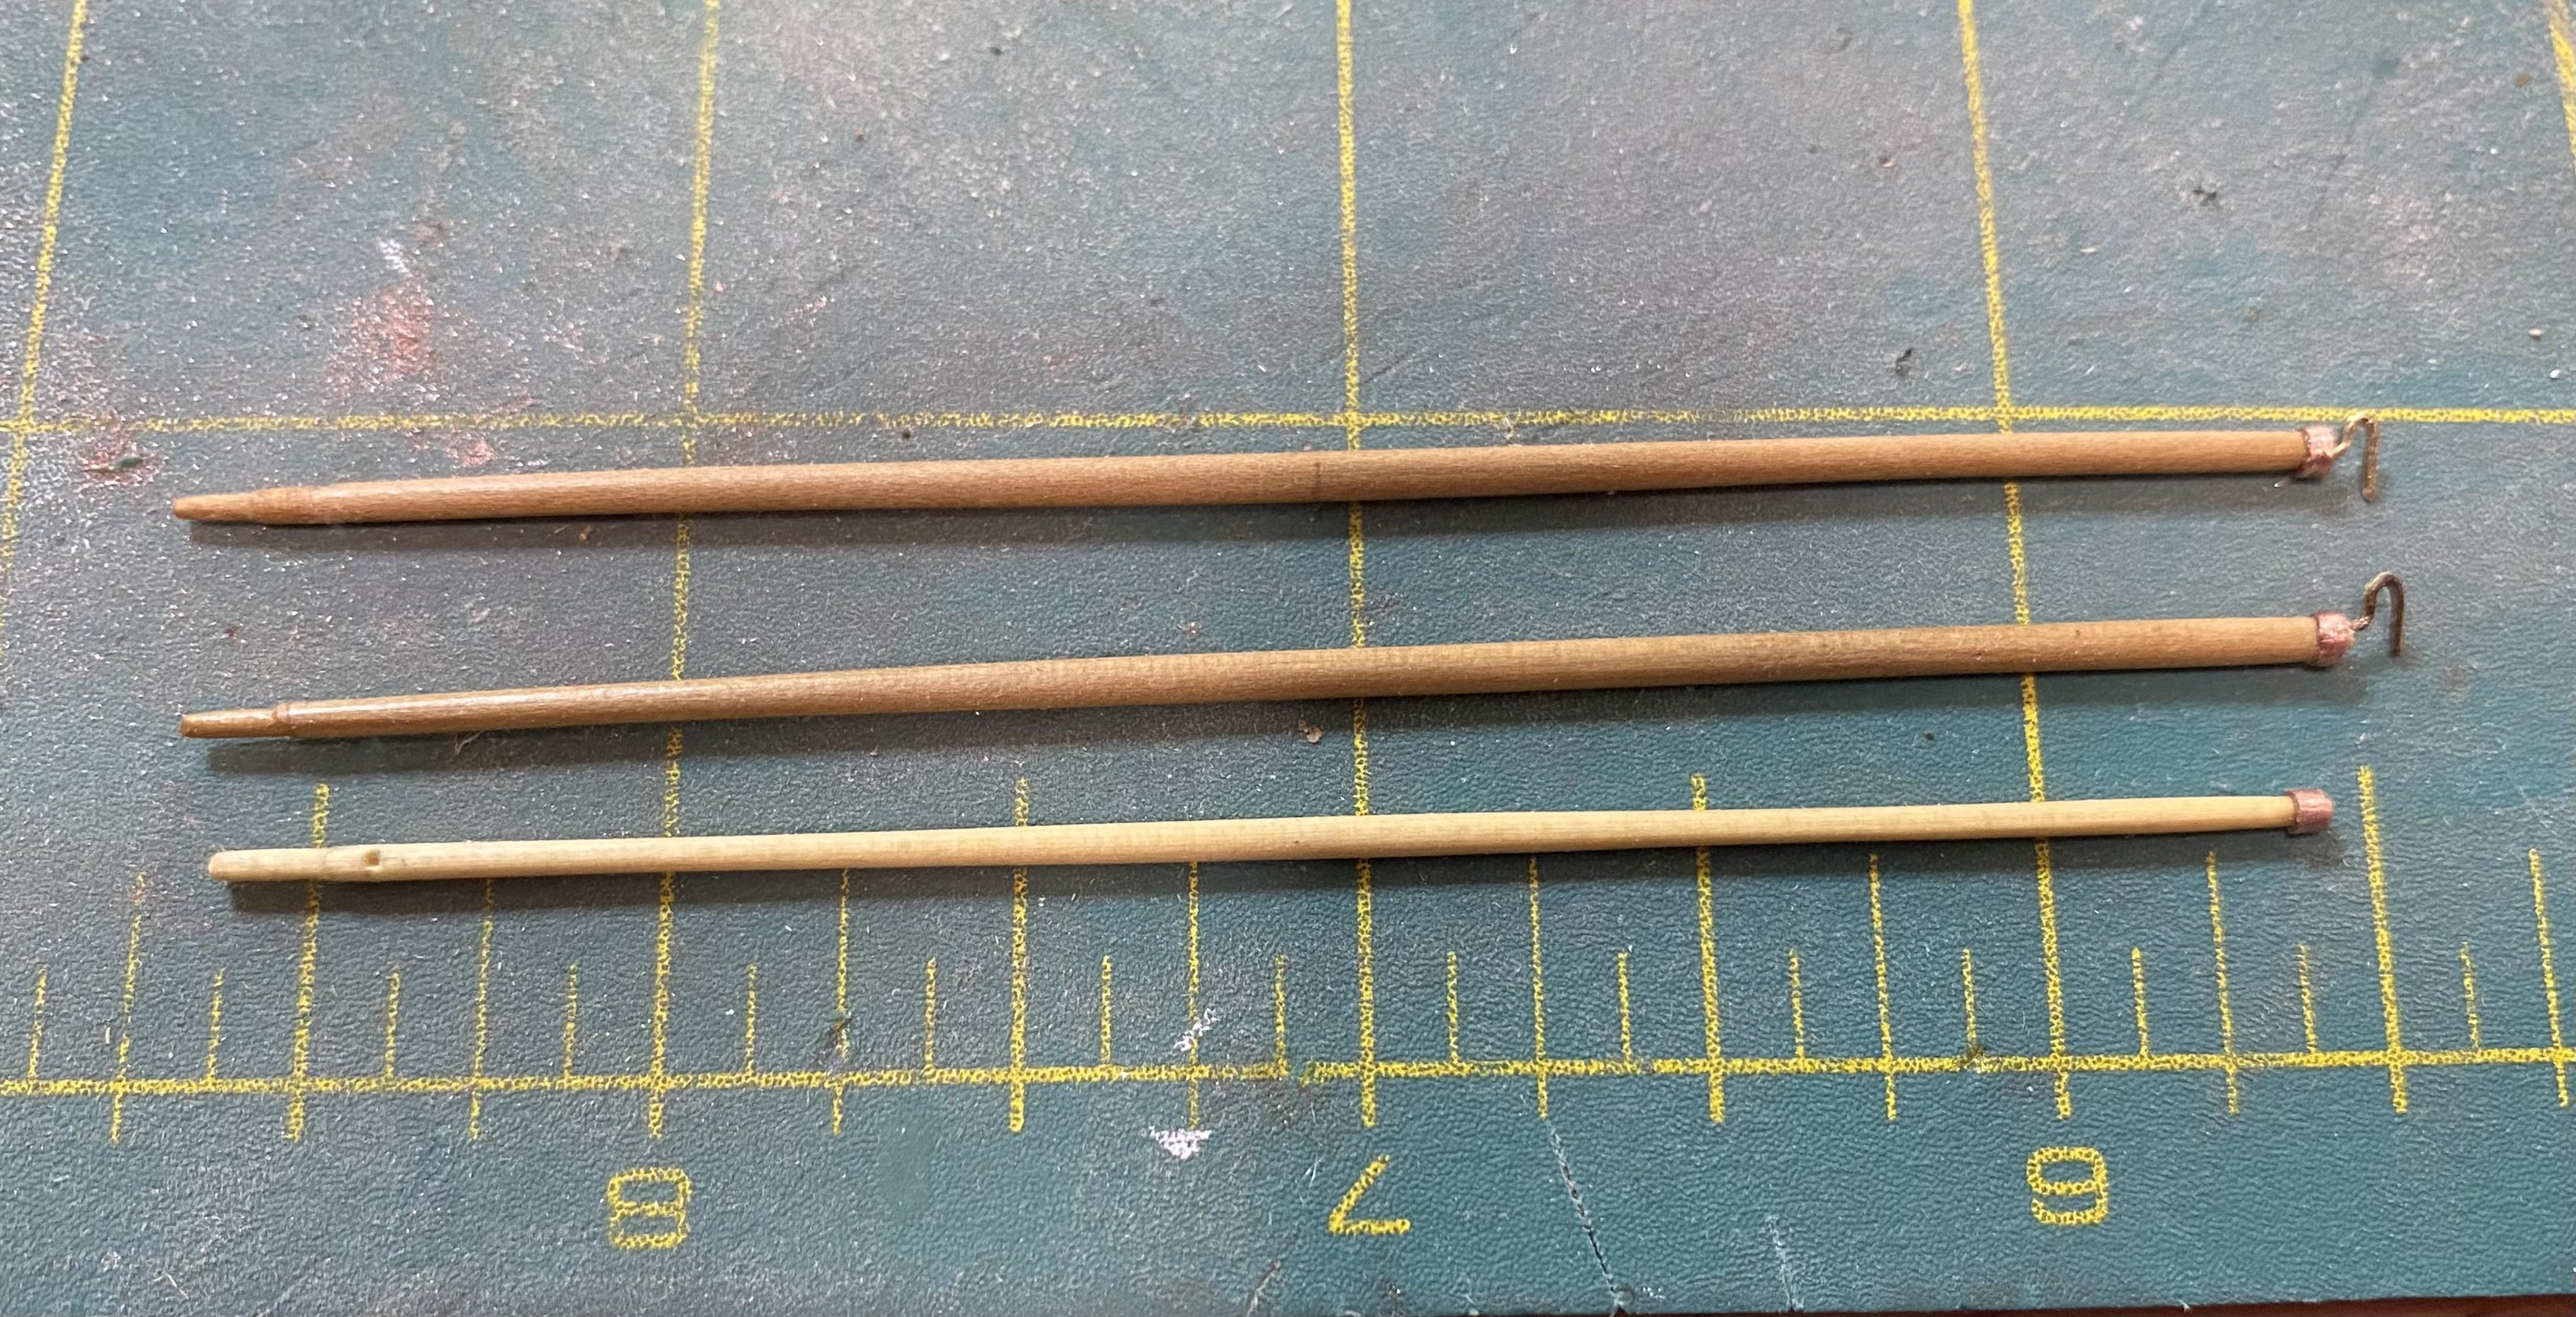
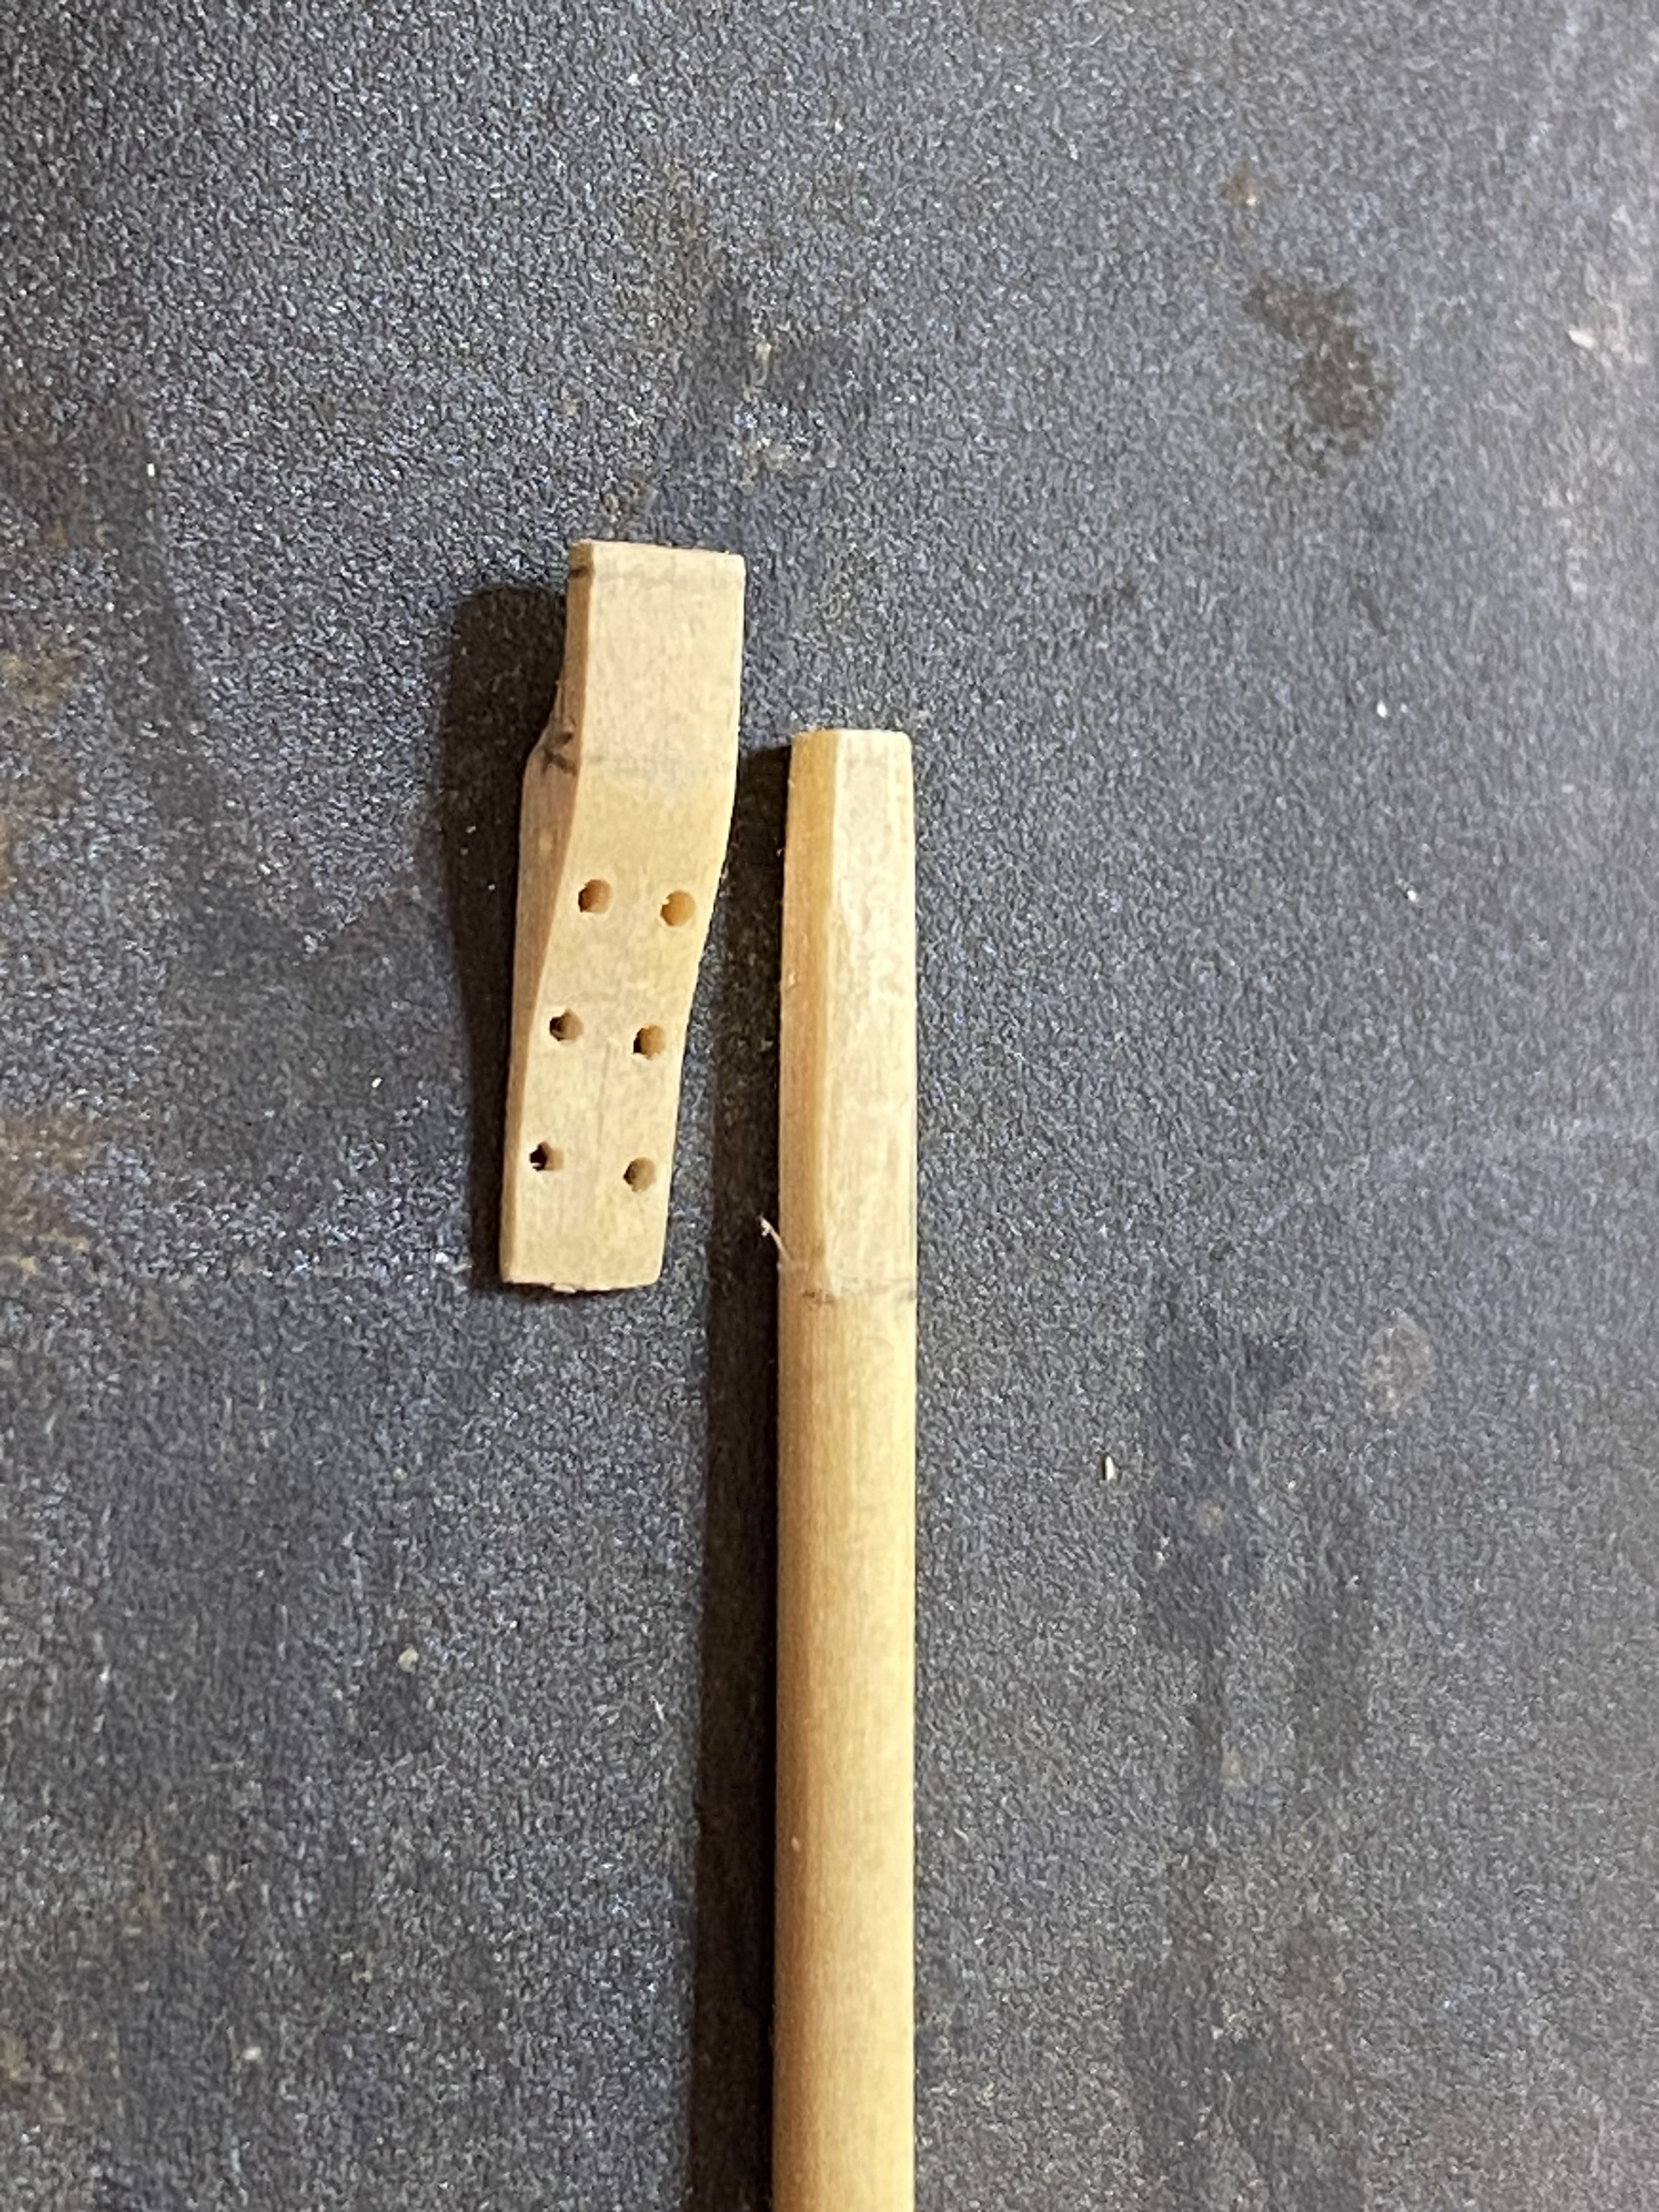
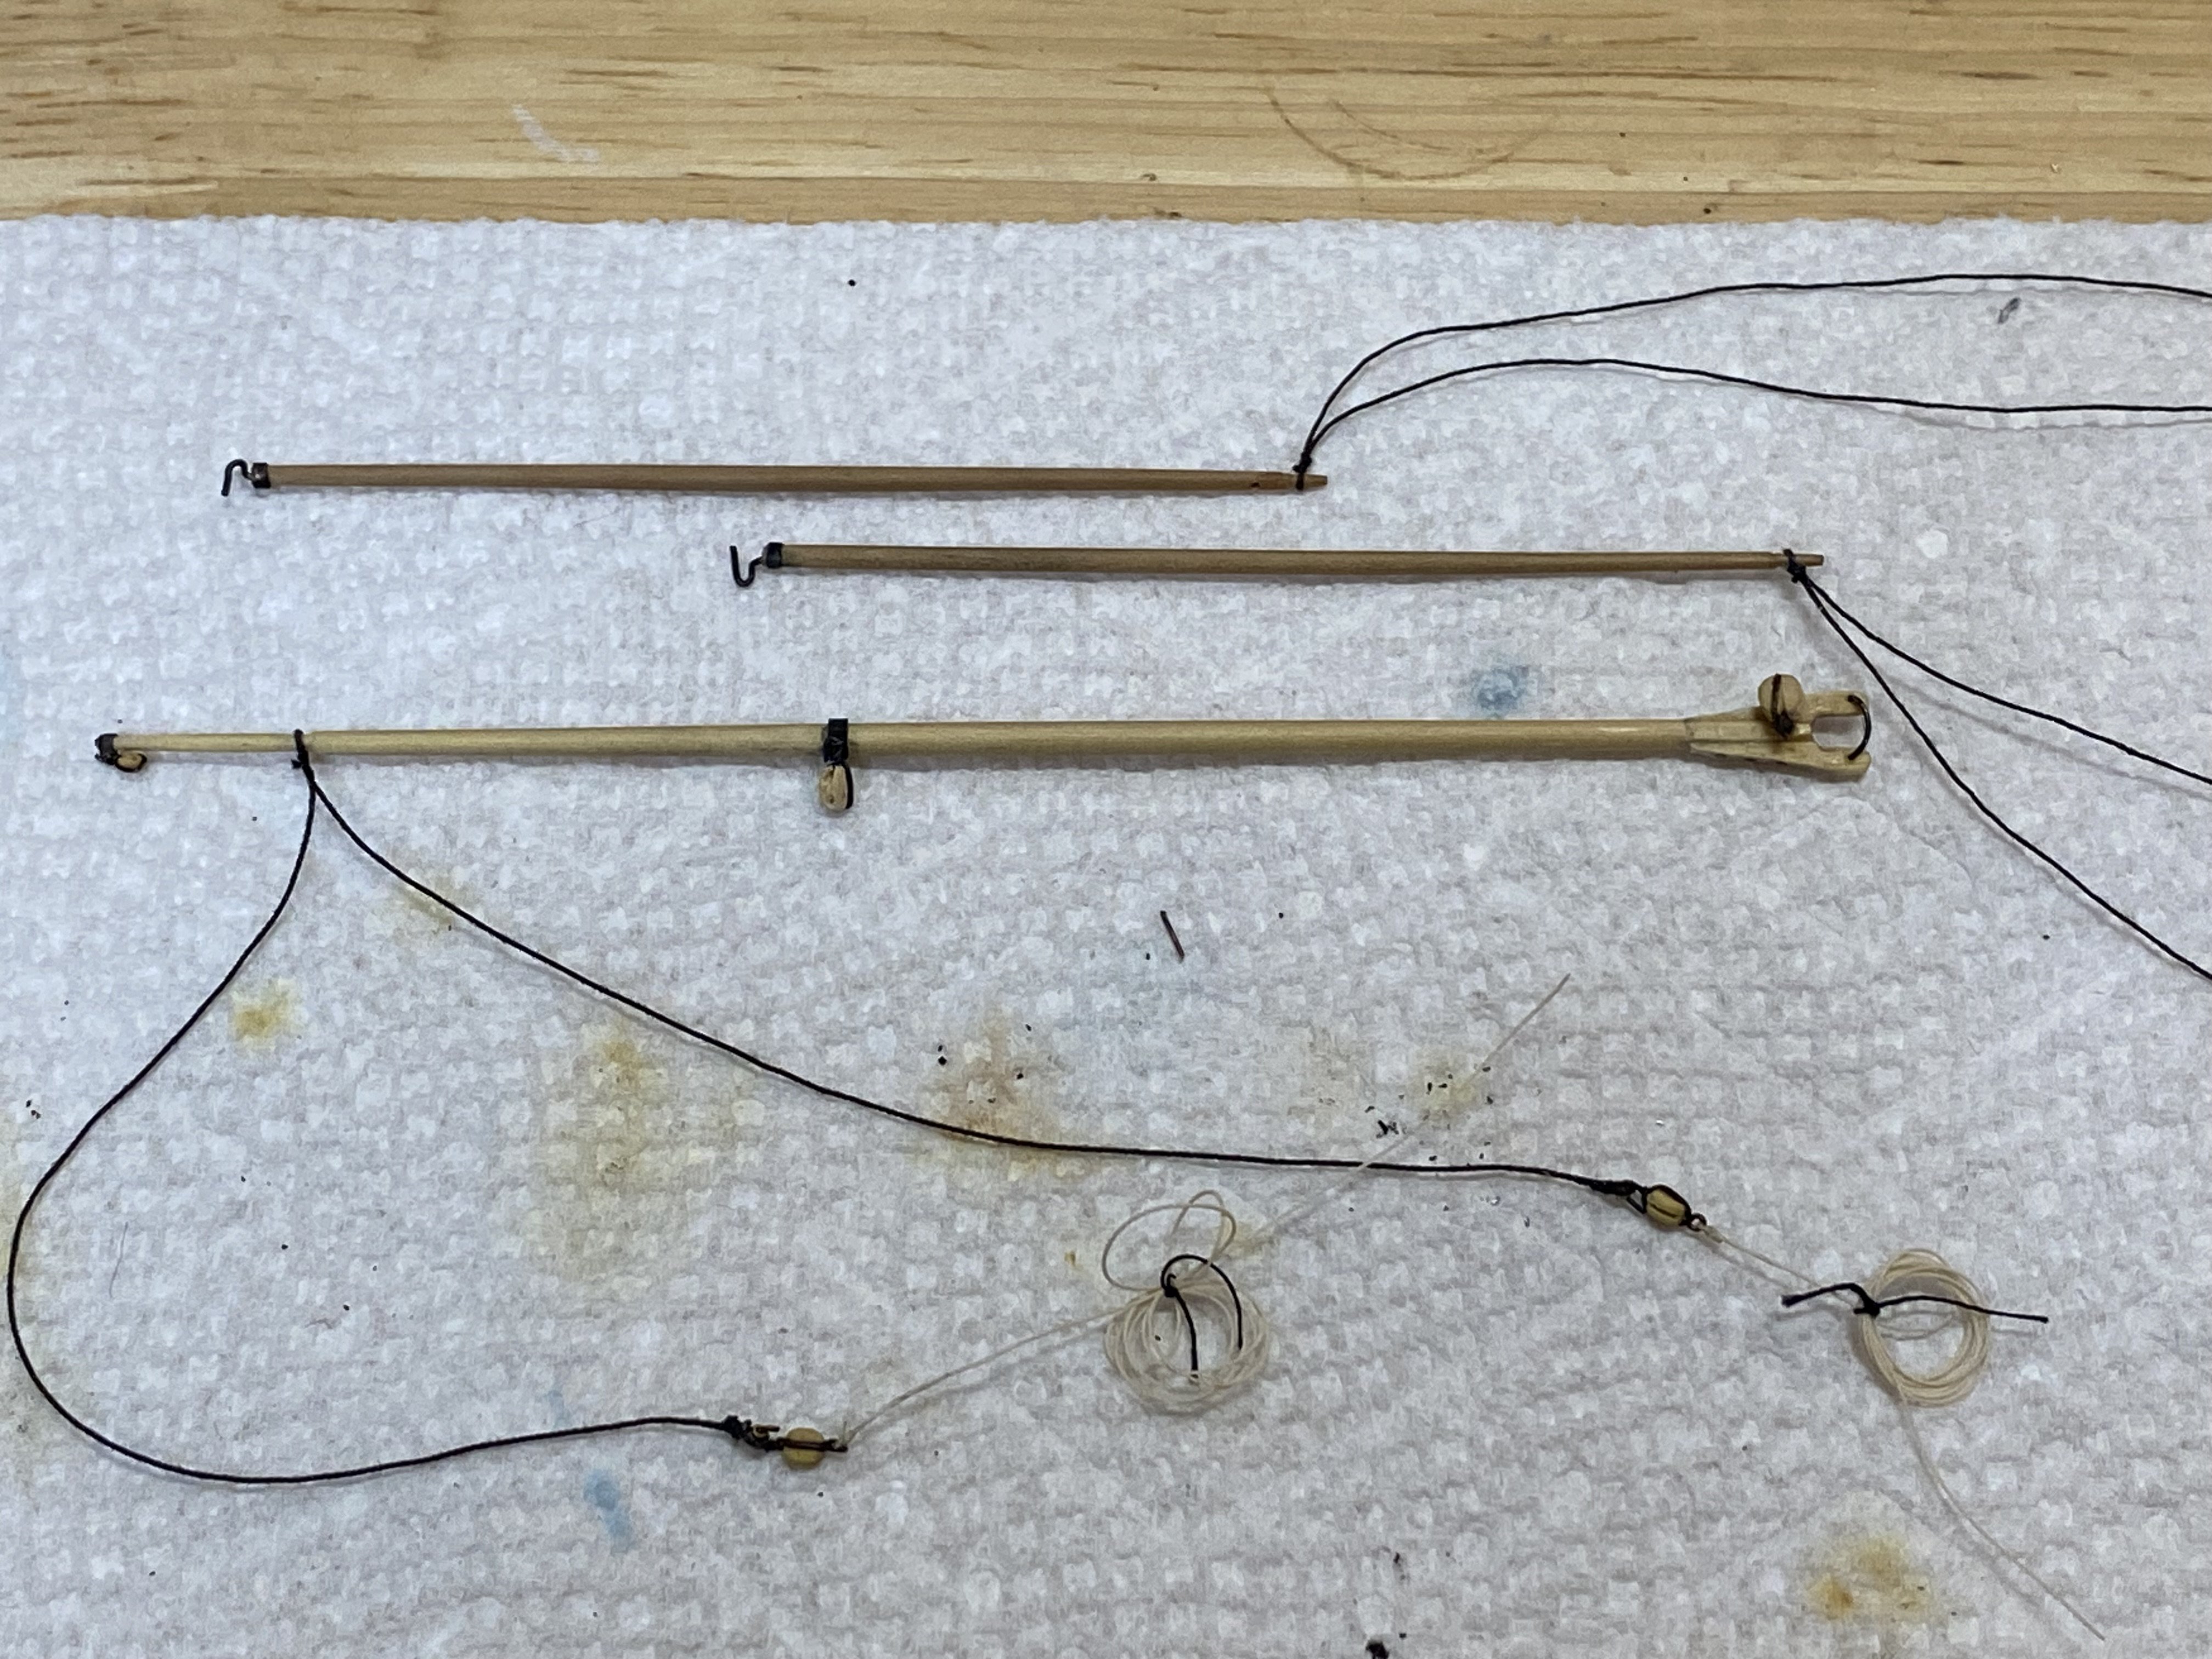
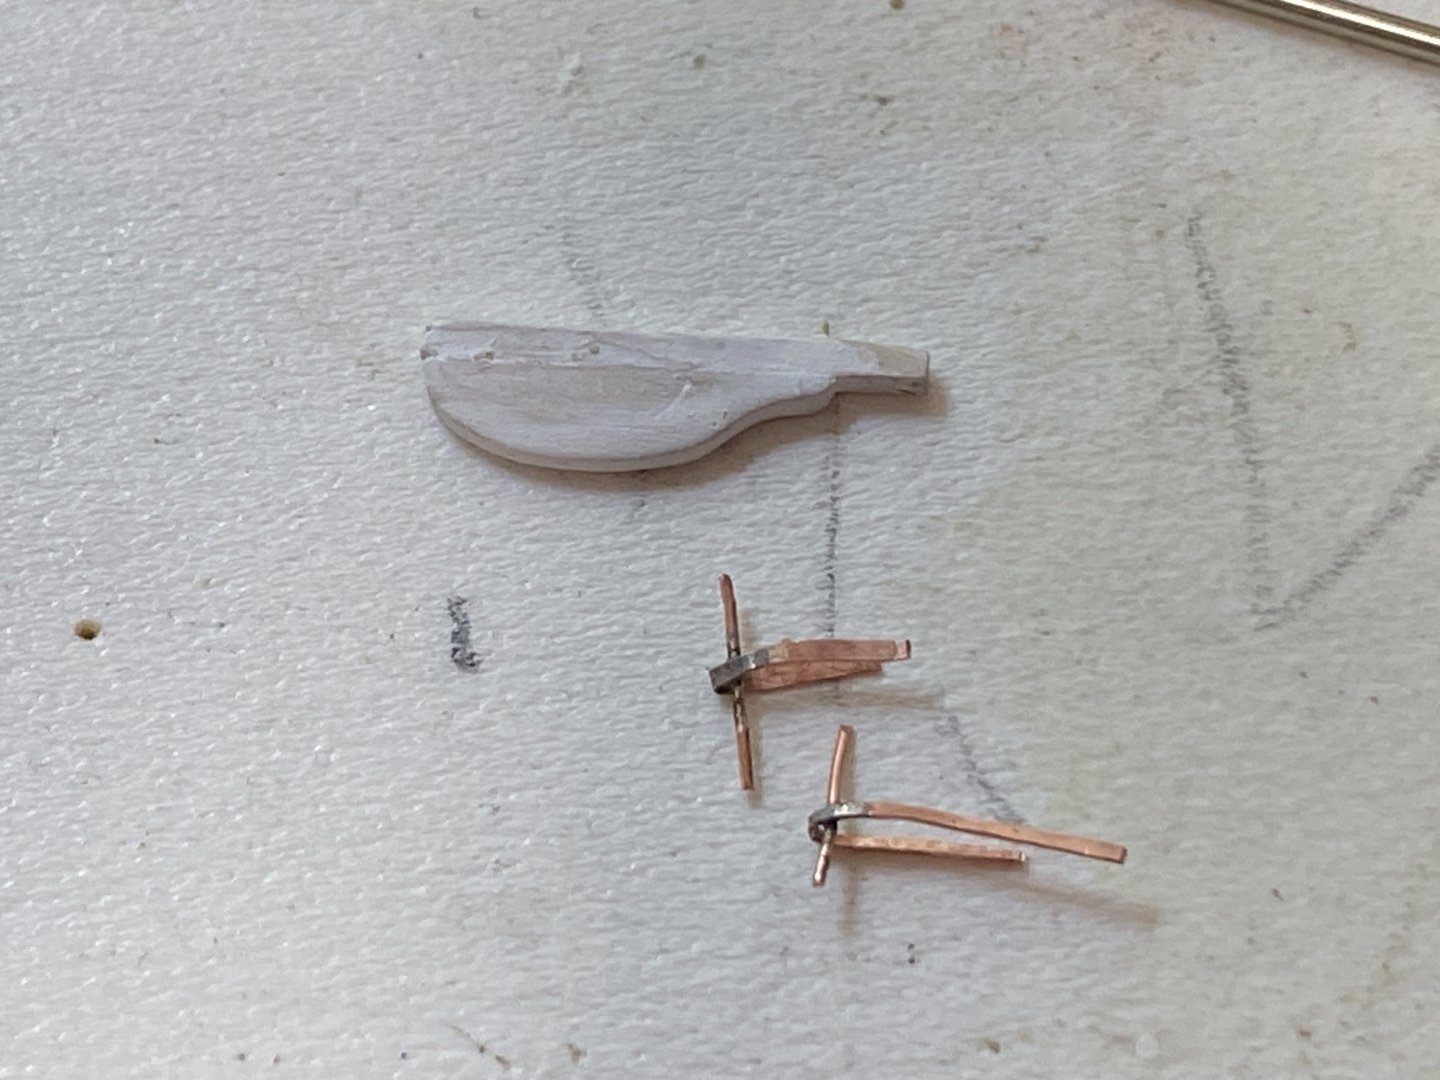
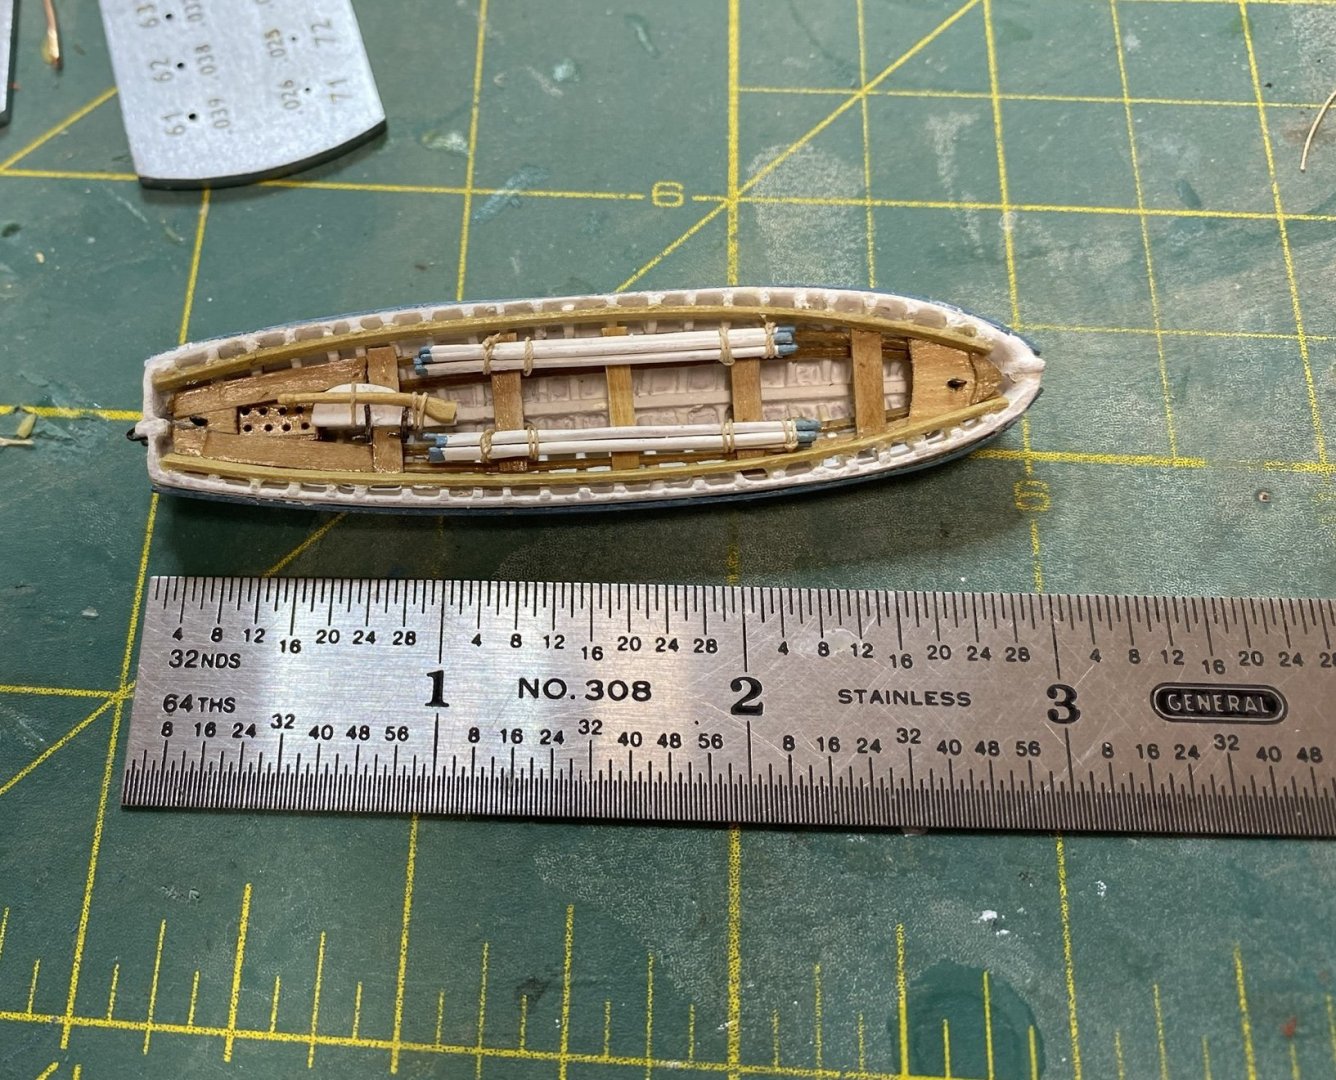
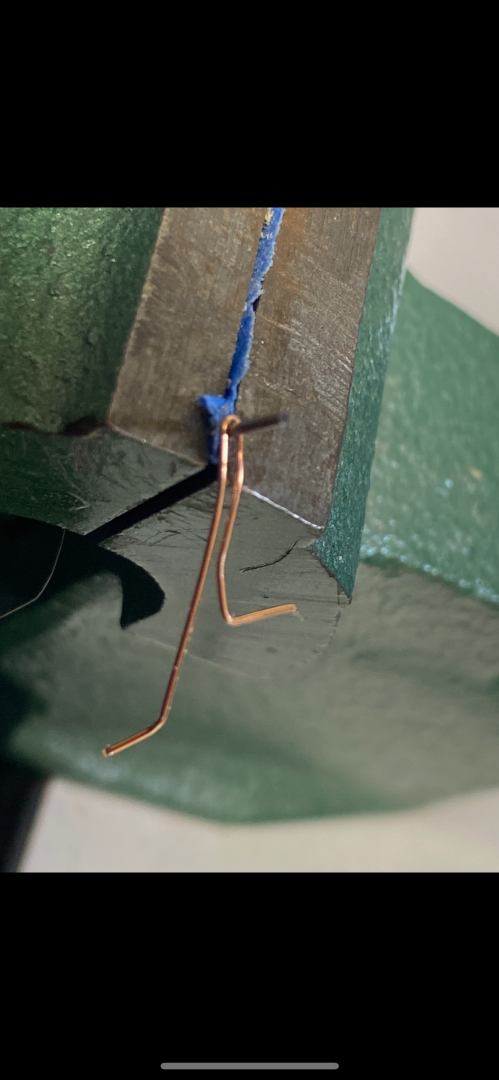
Finished the first quarter boat. The grating was made as before with boxwood and cherry. Not at all happy with the result. The holes and spacing are much too large but opted not to remake it as it’s not very visible. Will do better next time. The rudder and tiller were carved out of boxwood and the oars were made per EdT. Small strips of boxwood were drawn through a draw plate from Byrnes model machines and it worked really well. This was the first time I was able to successfully use a draw plate. The first one I had from Micromark didn’t work at all with wood. I read somewhere that the Byrnes draw plate was made specifically for wood. The last 3 oars were made from AYC , which was much easier to draw and produced straighter oars. I chose a length of 10 feet (1 1/4 inches) for the oars. This looks about right. One end was then marked at 1/4 inches for the blade and squeezed with parallel pliers. This also worked well with no need to soften in hot water first. The blades were then soaked with cyano to stabilize the fibers, filed to shape and painted flat white. The handles will be painted blue-3/32 and the blades- 1/16, again copying EdT’s Young America. Hinges for the rudder were made from 28 ga copper wire hammered flat for the strap with a straight length of 28 ga wire, soldered for the pins. These were bent around the edge of a metal ruler that was the same thickness as the rudder and blackened. The spacing for the davits is 2 1/2 inches based on the spacing of the eyebolts, which is shorter than shown on the plans. This was governed by the quarter boat, where the eyebolts could be placed on the model. The aft davit will be between the first and second deadeyes on the mizzen channel, and the forward davit just aft of the freeing port. Hopefully this will work well and is a compromise between the plans and the paintings. I will make the other quarter boat at another time as I am anxious to get on with the rigging. Finally, the davit brackets were finished and mounted to the hull and the spars for the davits made, again using AYC, drawn through the draw plate, tapered and stained with Ipswich pine and satin wipe on poly. I’m going to attempt to make the padding from some very old silkspan.


- 360 replies
-
- 8
-

-

-
- Flying Fish
- Model Shipways
- (and 1 more)
-
Looks great George!! Very clean!! Rick
-
Keith, the bow decorations are amazing!! I keep hoping one day I’ll actually learn from my mistakes! Rick
-
Beautifully done!! Rick
-
Really coming along nicely Keith Really enjoy following your build!! Rick
- 732 replies
-
- 4
-

-
-
- Lula
- sternwheeler
- (and 1 more)
-
Absolutely beautiful work Keith, hard to tell the model from the real ship! Rick
-
Coming along nicely! Glad you painted the bowsprit black. Rock
-
Amazing detail!! Rick
-
What a great resource! Rick
-
Sorry the trip wasn’t more successful, but these things generally work out the way they should! Your visit to the research institute looks wonderful and I’m sure the information you got will be invaluable to your build! Welcome home friend! Rick
-
Thanks George! I’m using your model as the example for the placement of the davits! Pretty sure I will do the same. Rick
- 360 replies
-
- 1
-
-
- Flying Fish
- Model Shipways
- (and 1 more)
-
Beautiful Keith!! Rick
-
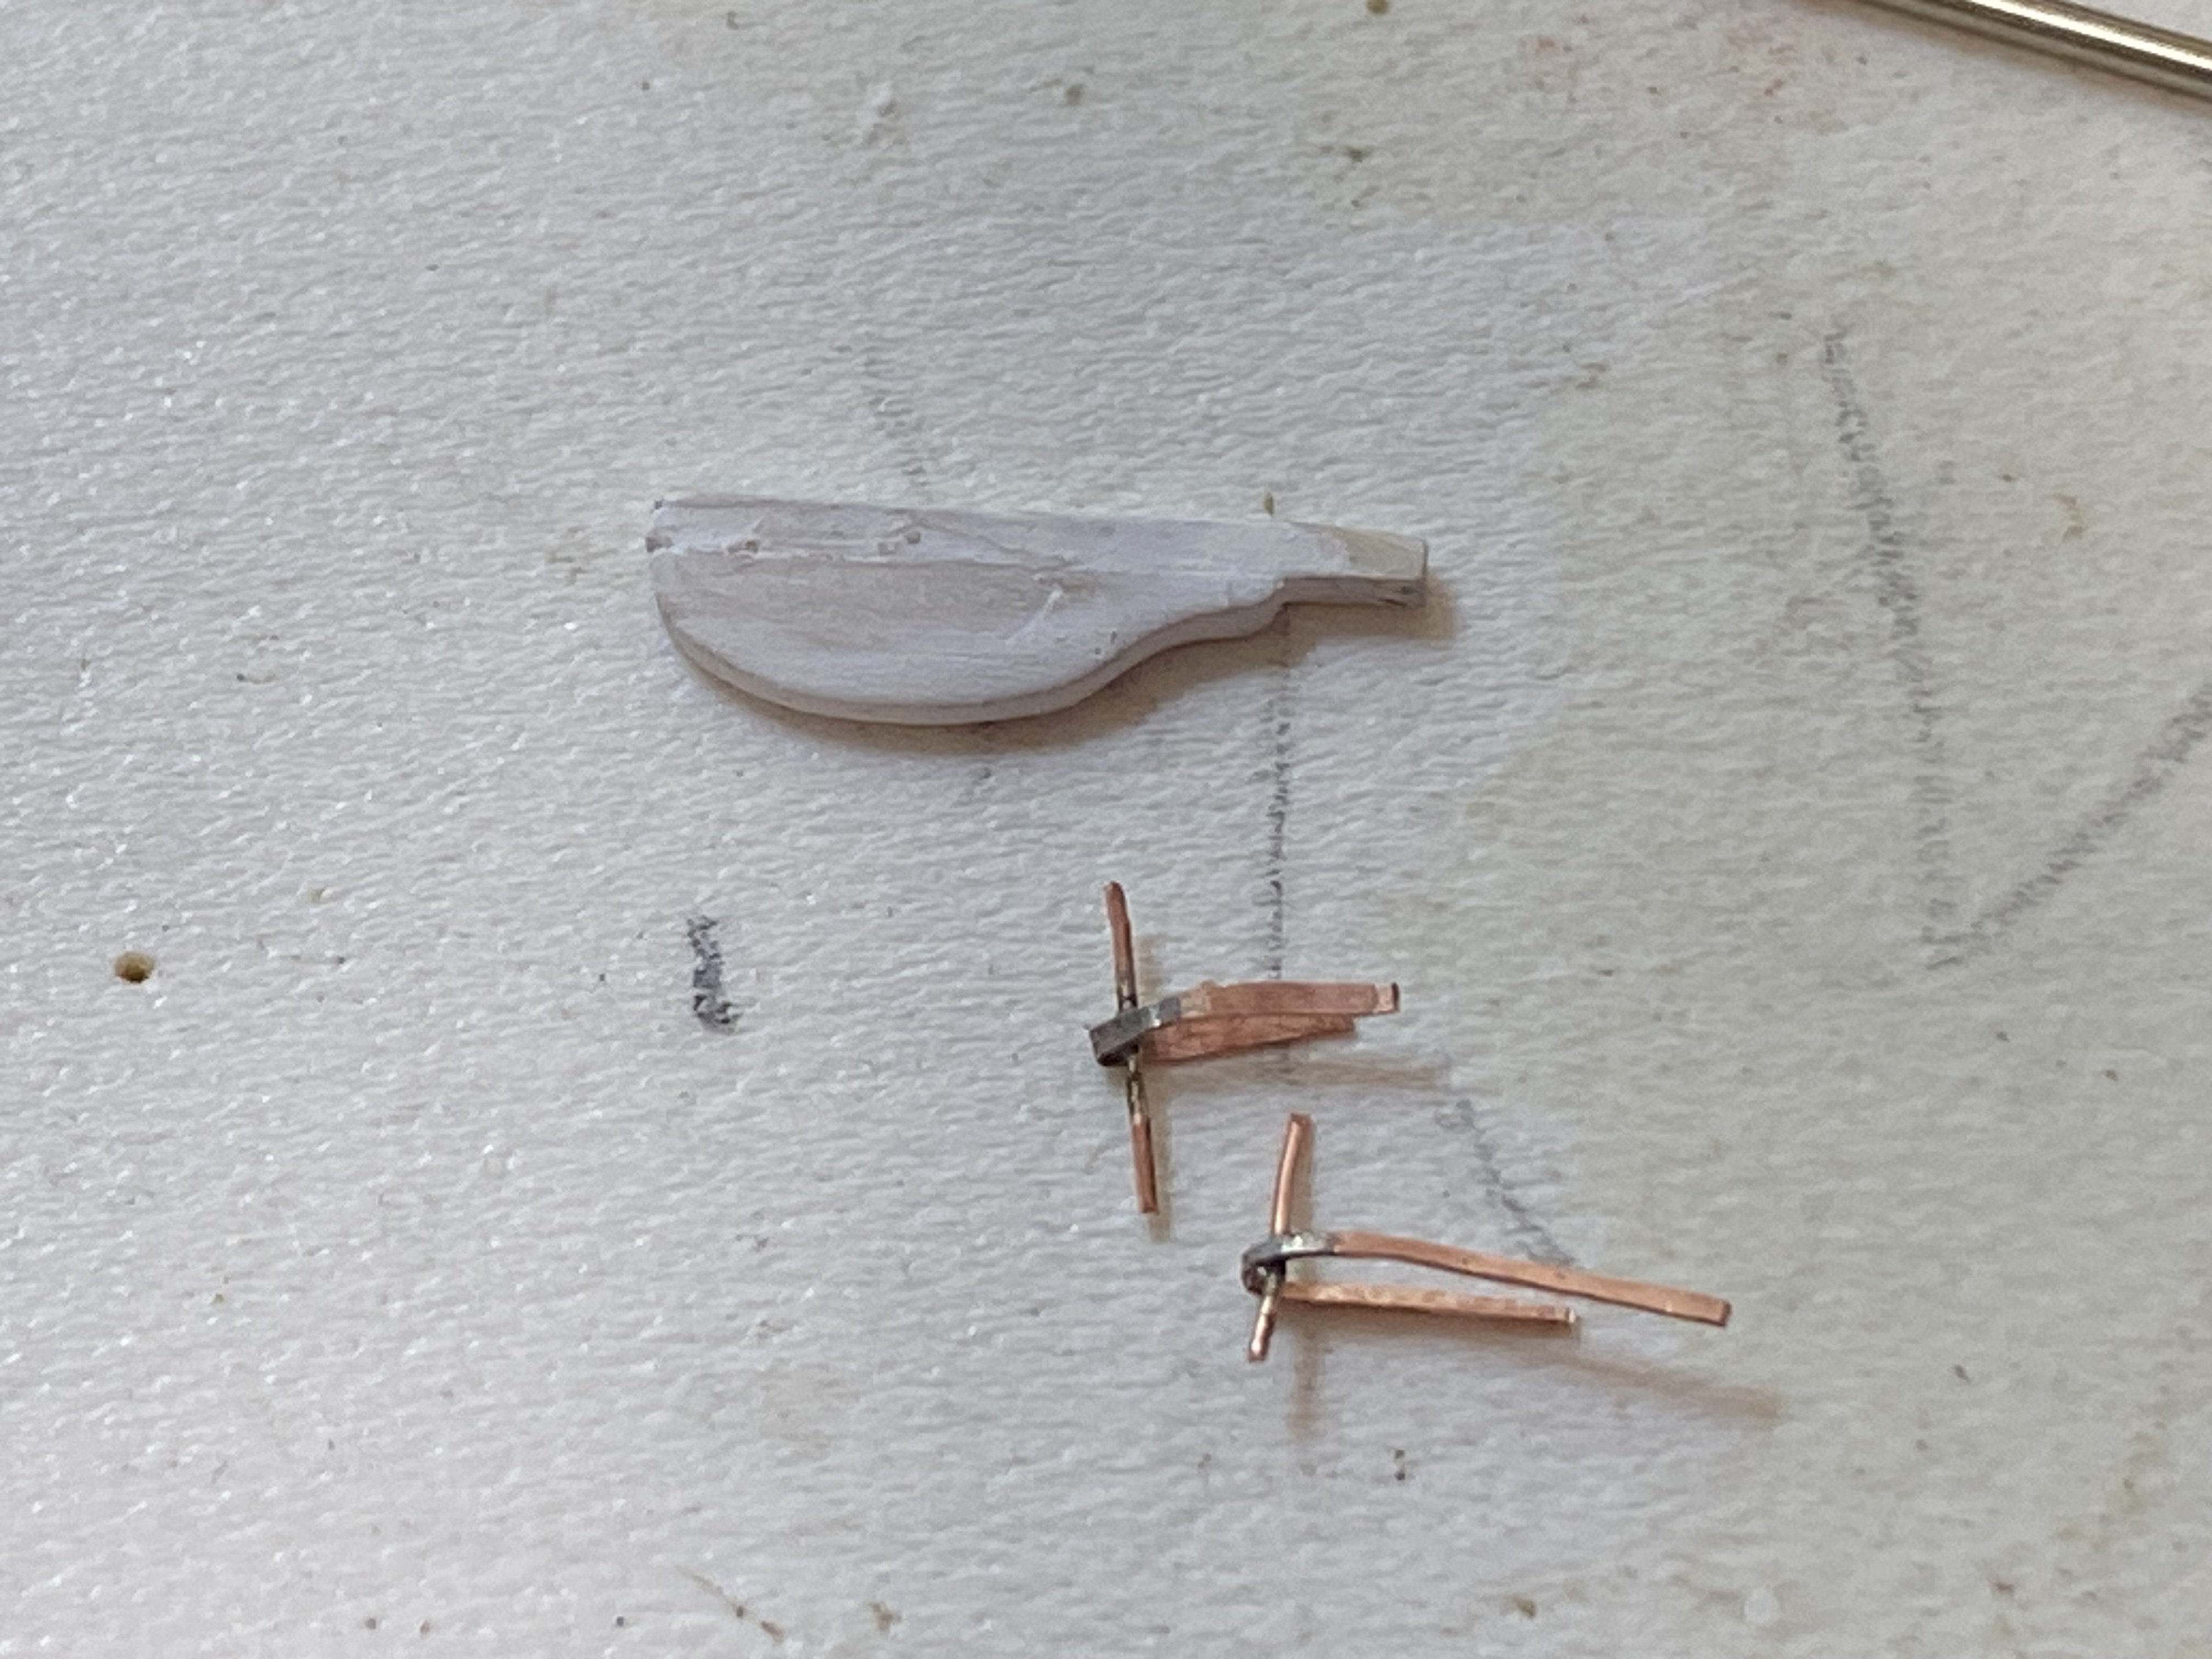
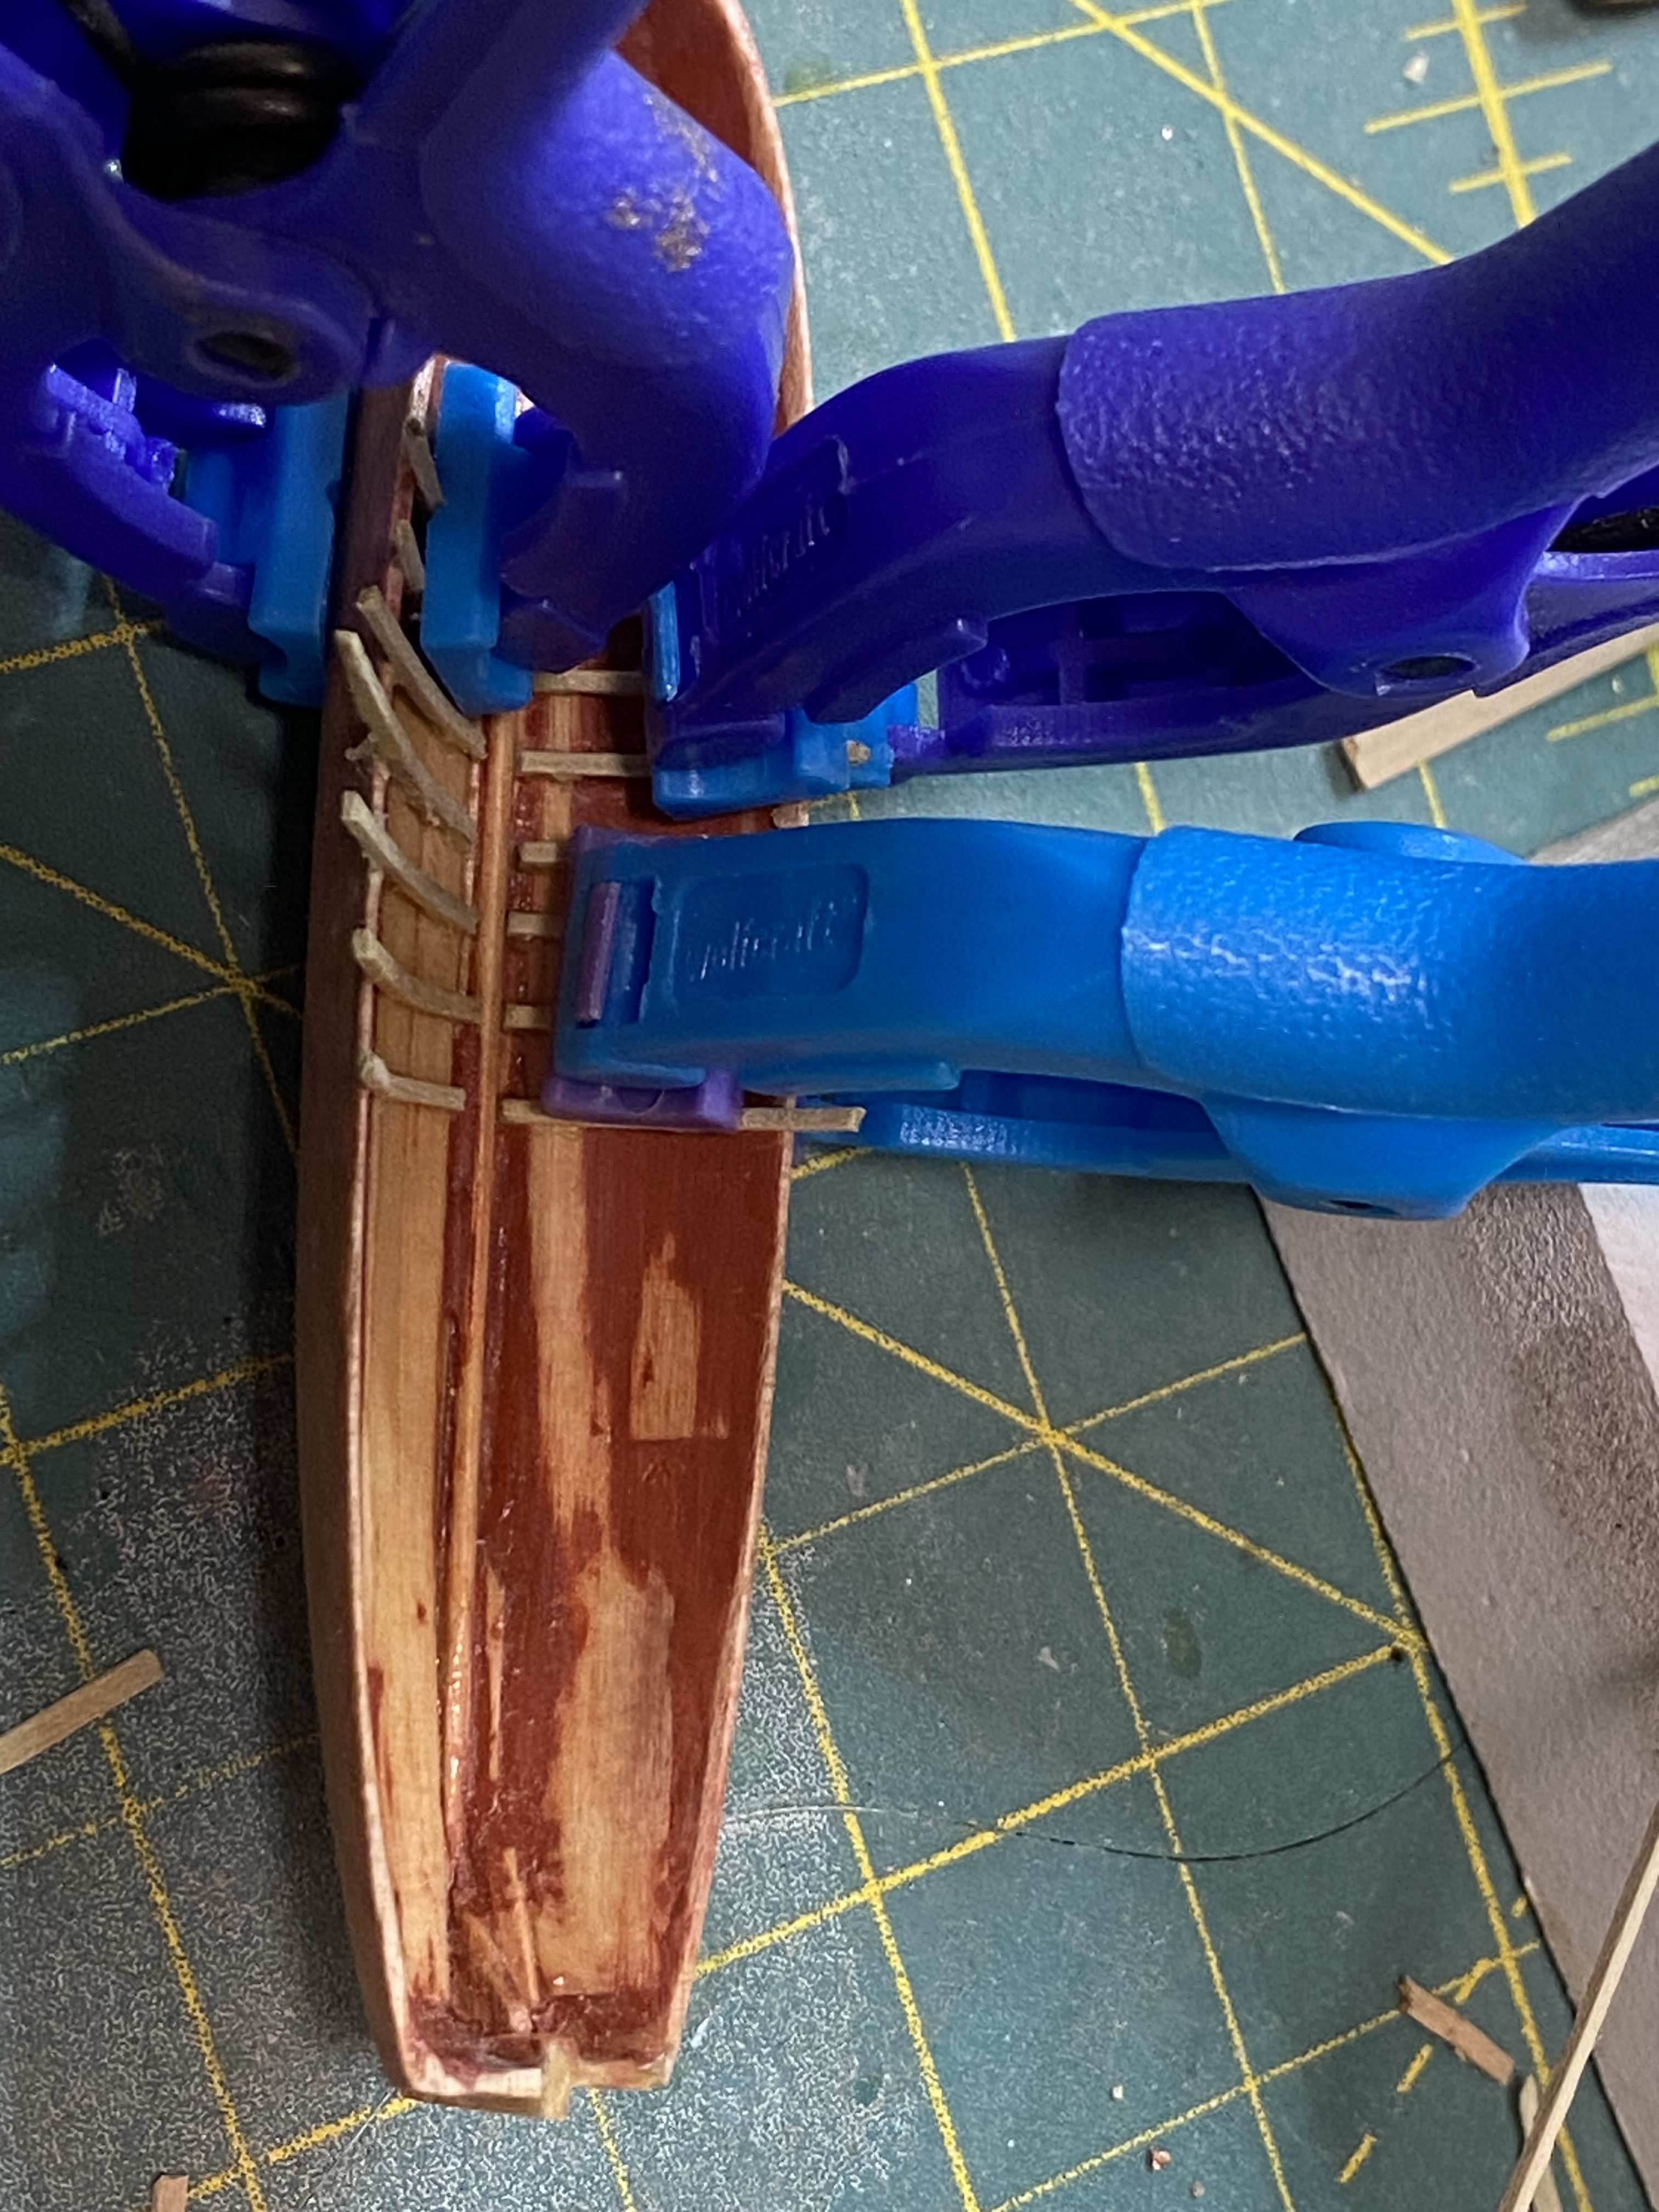
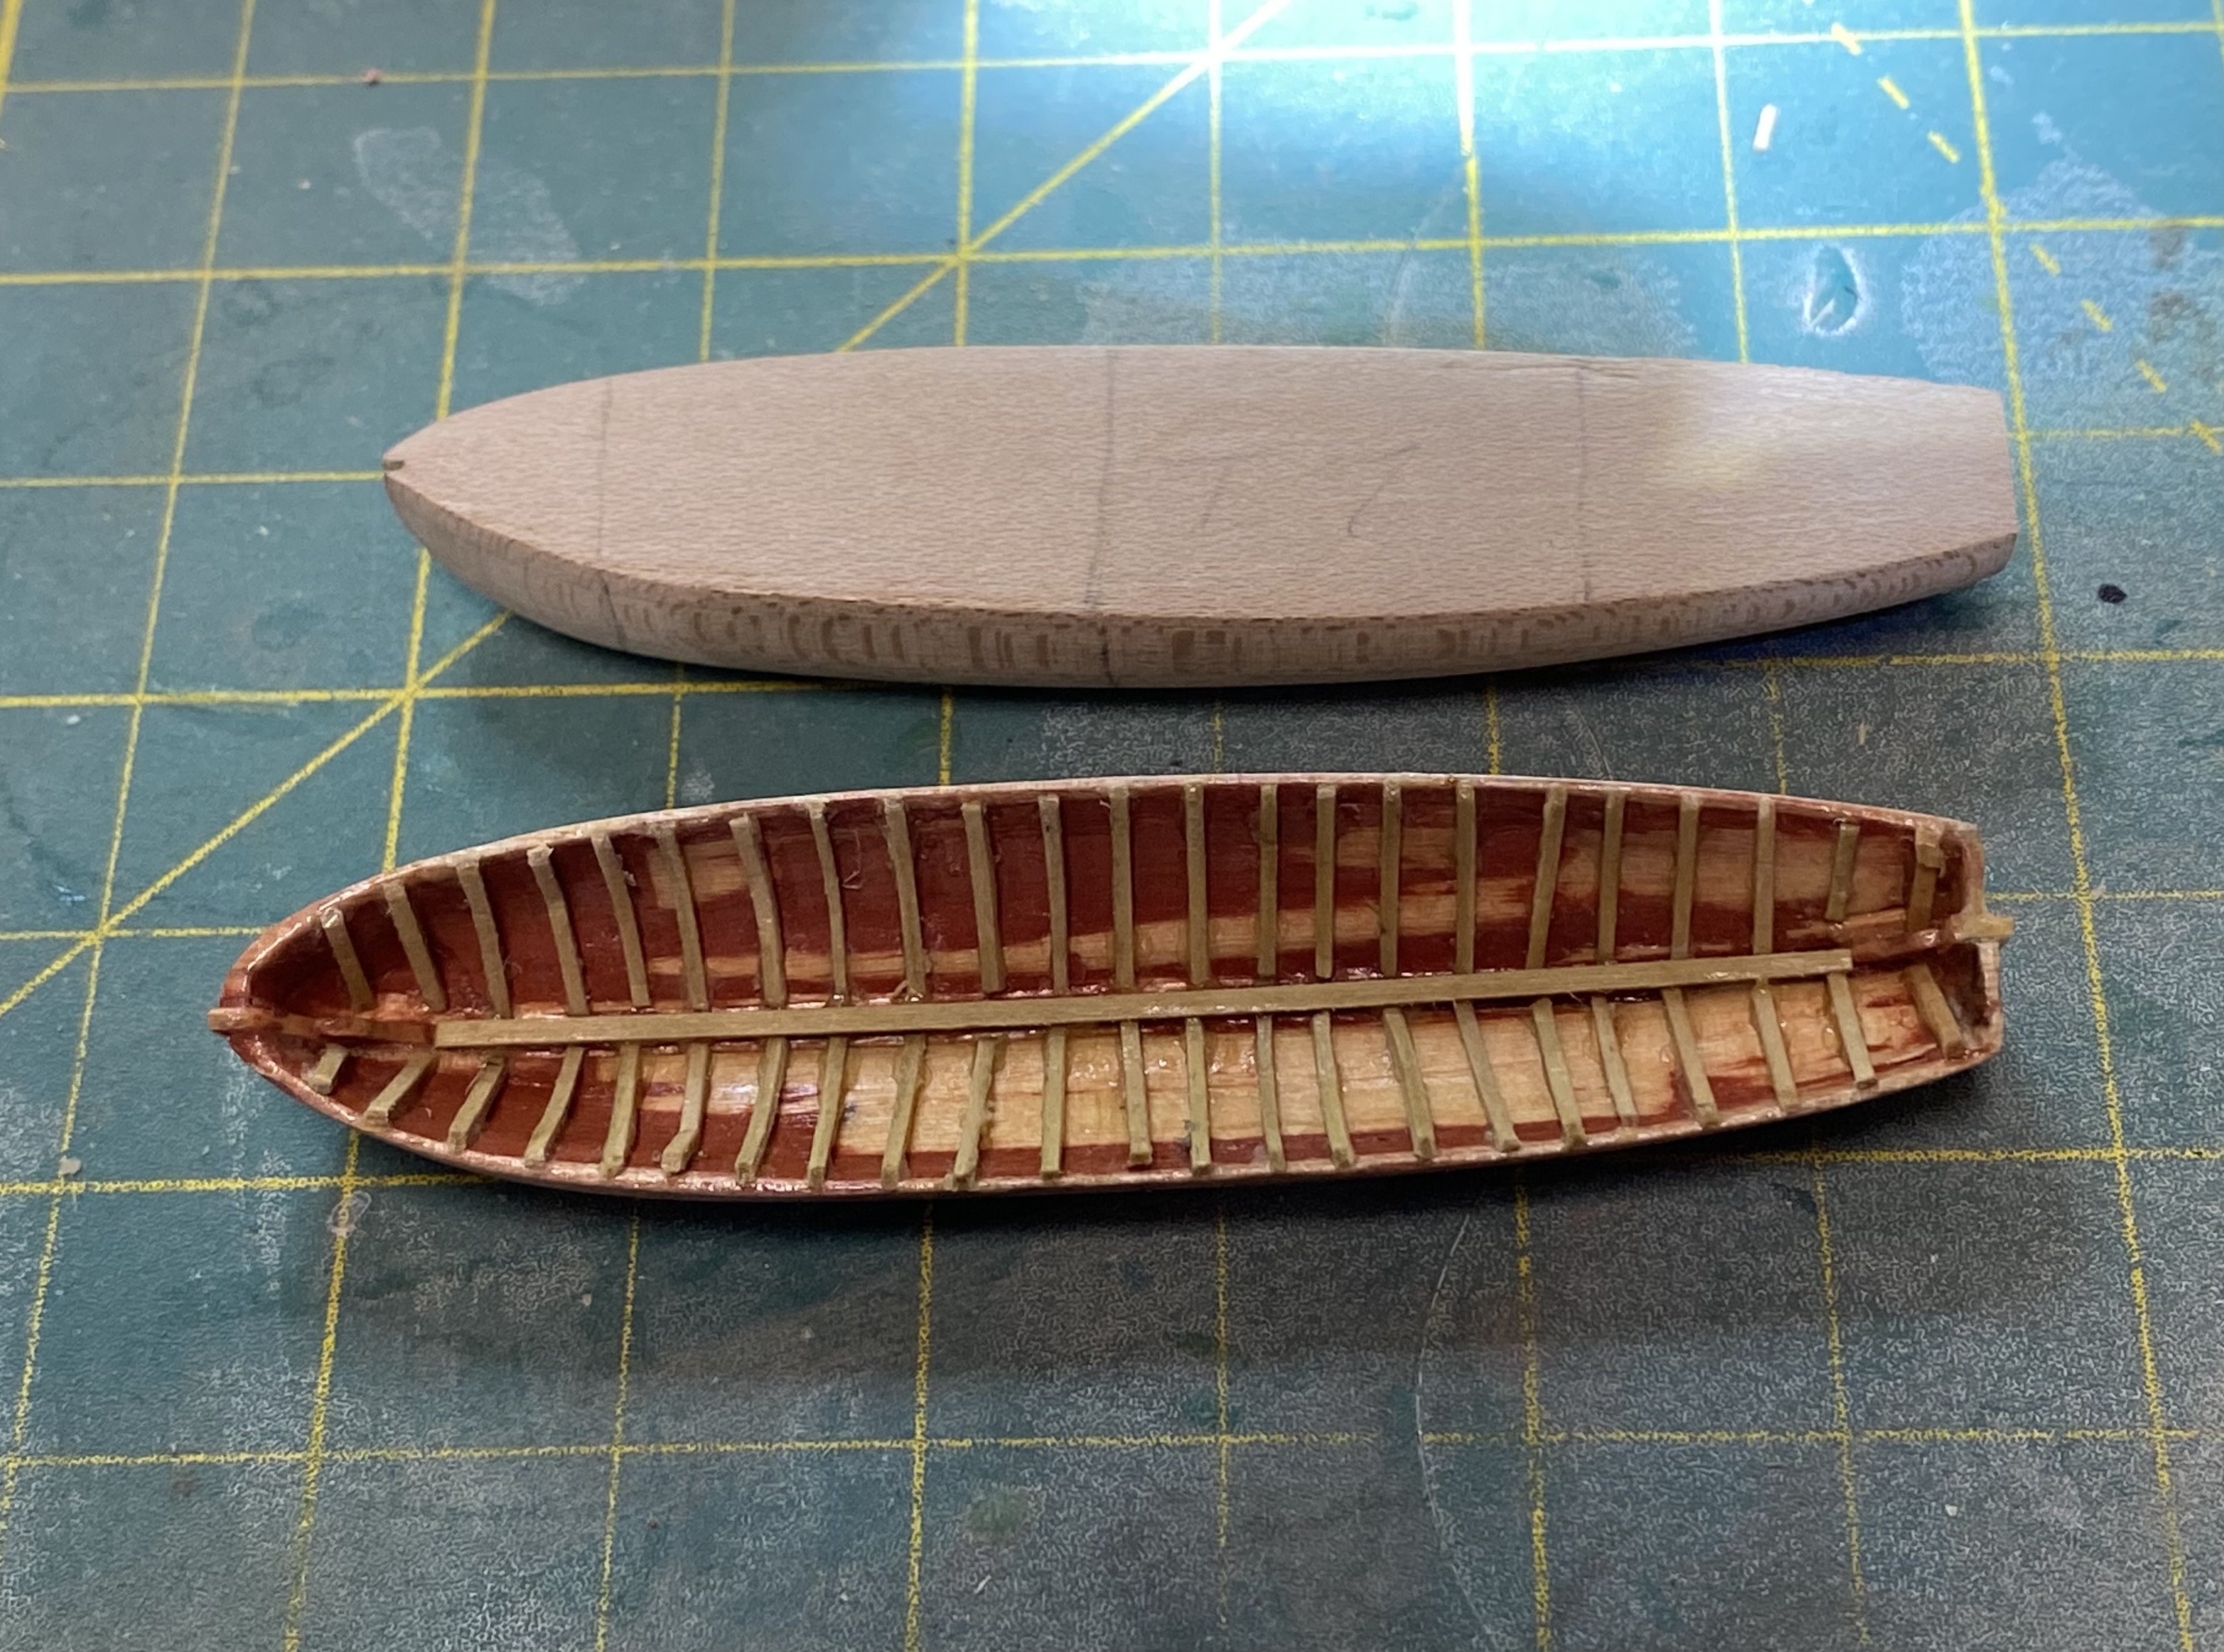
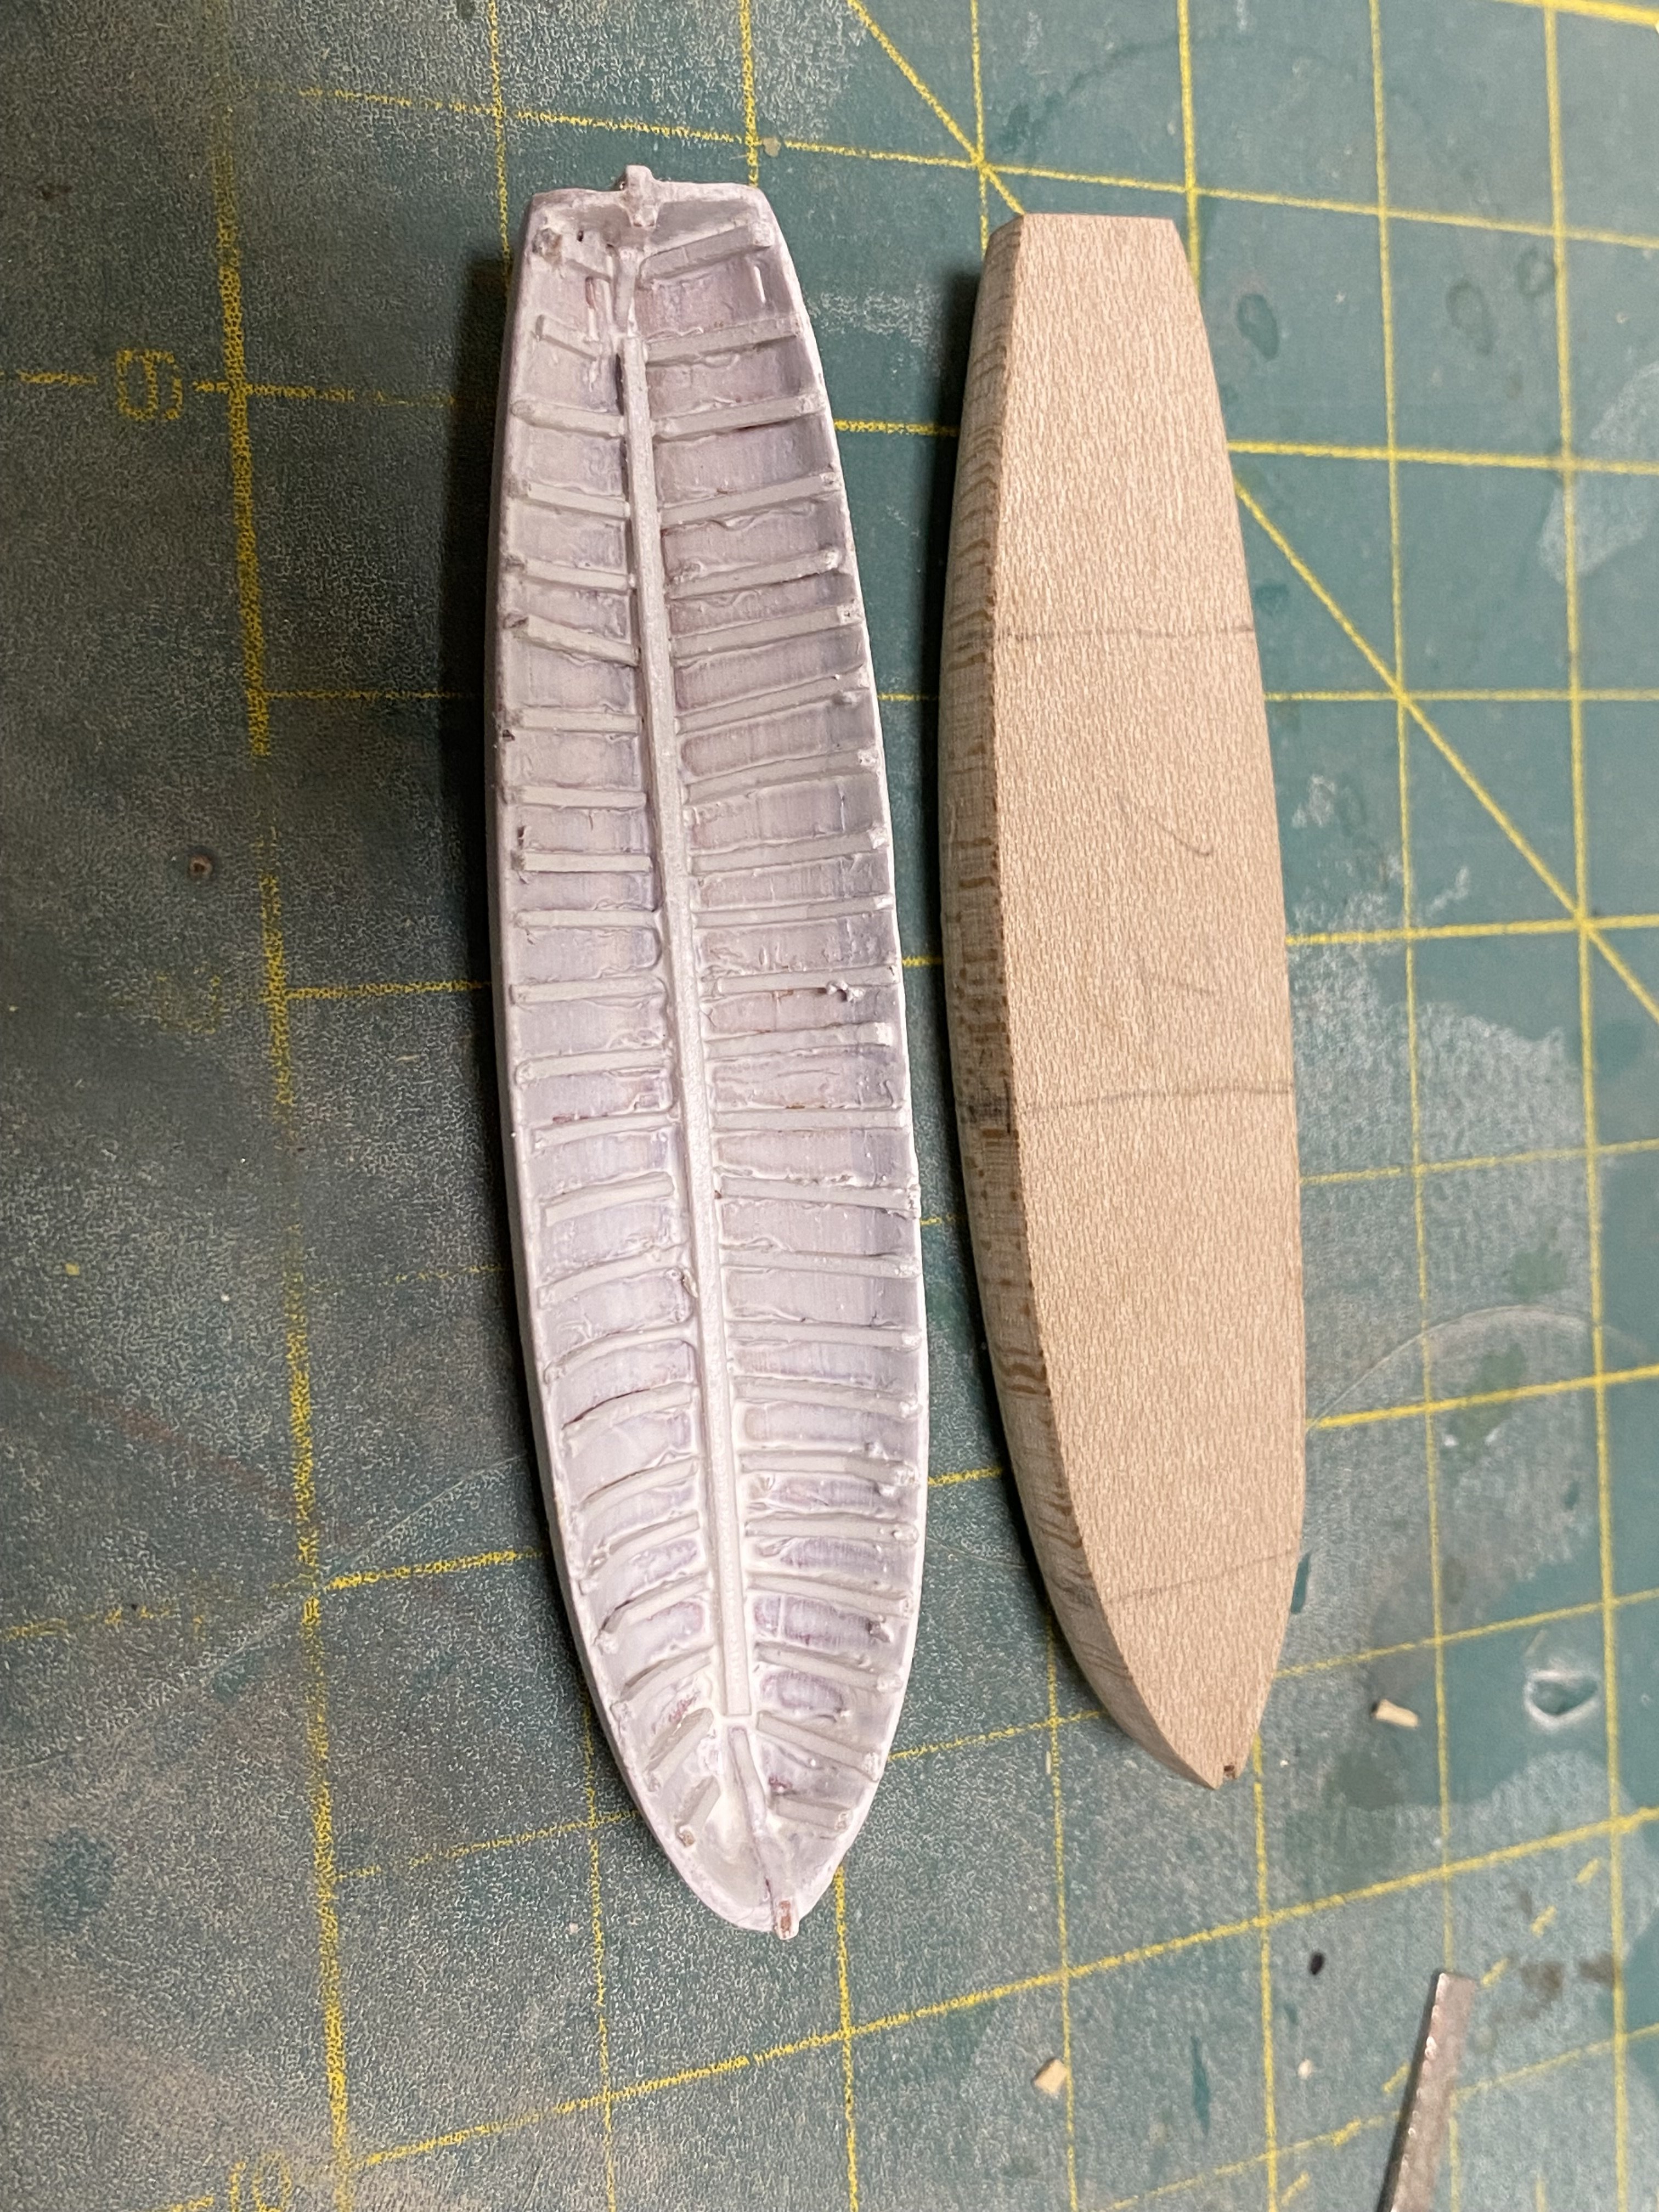
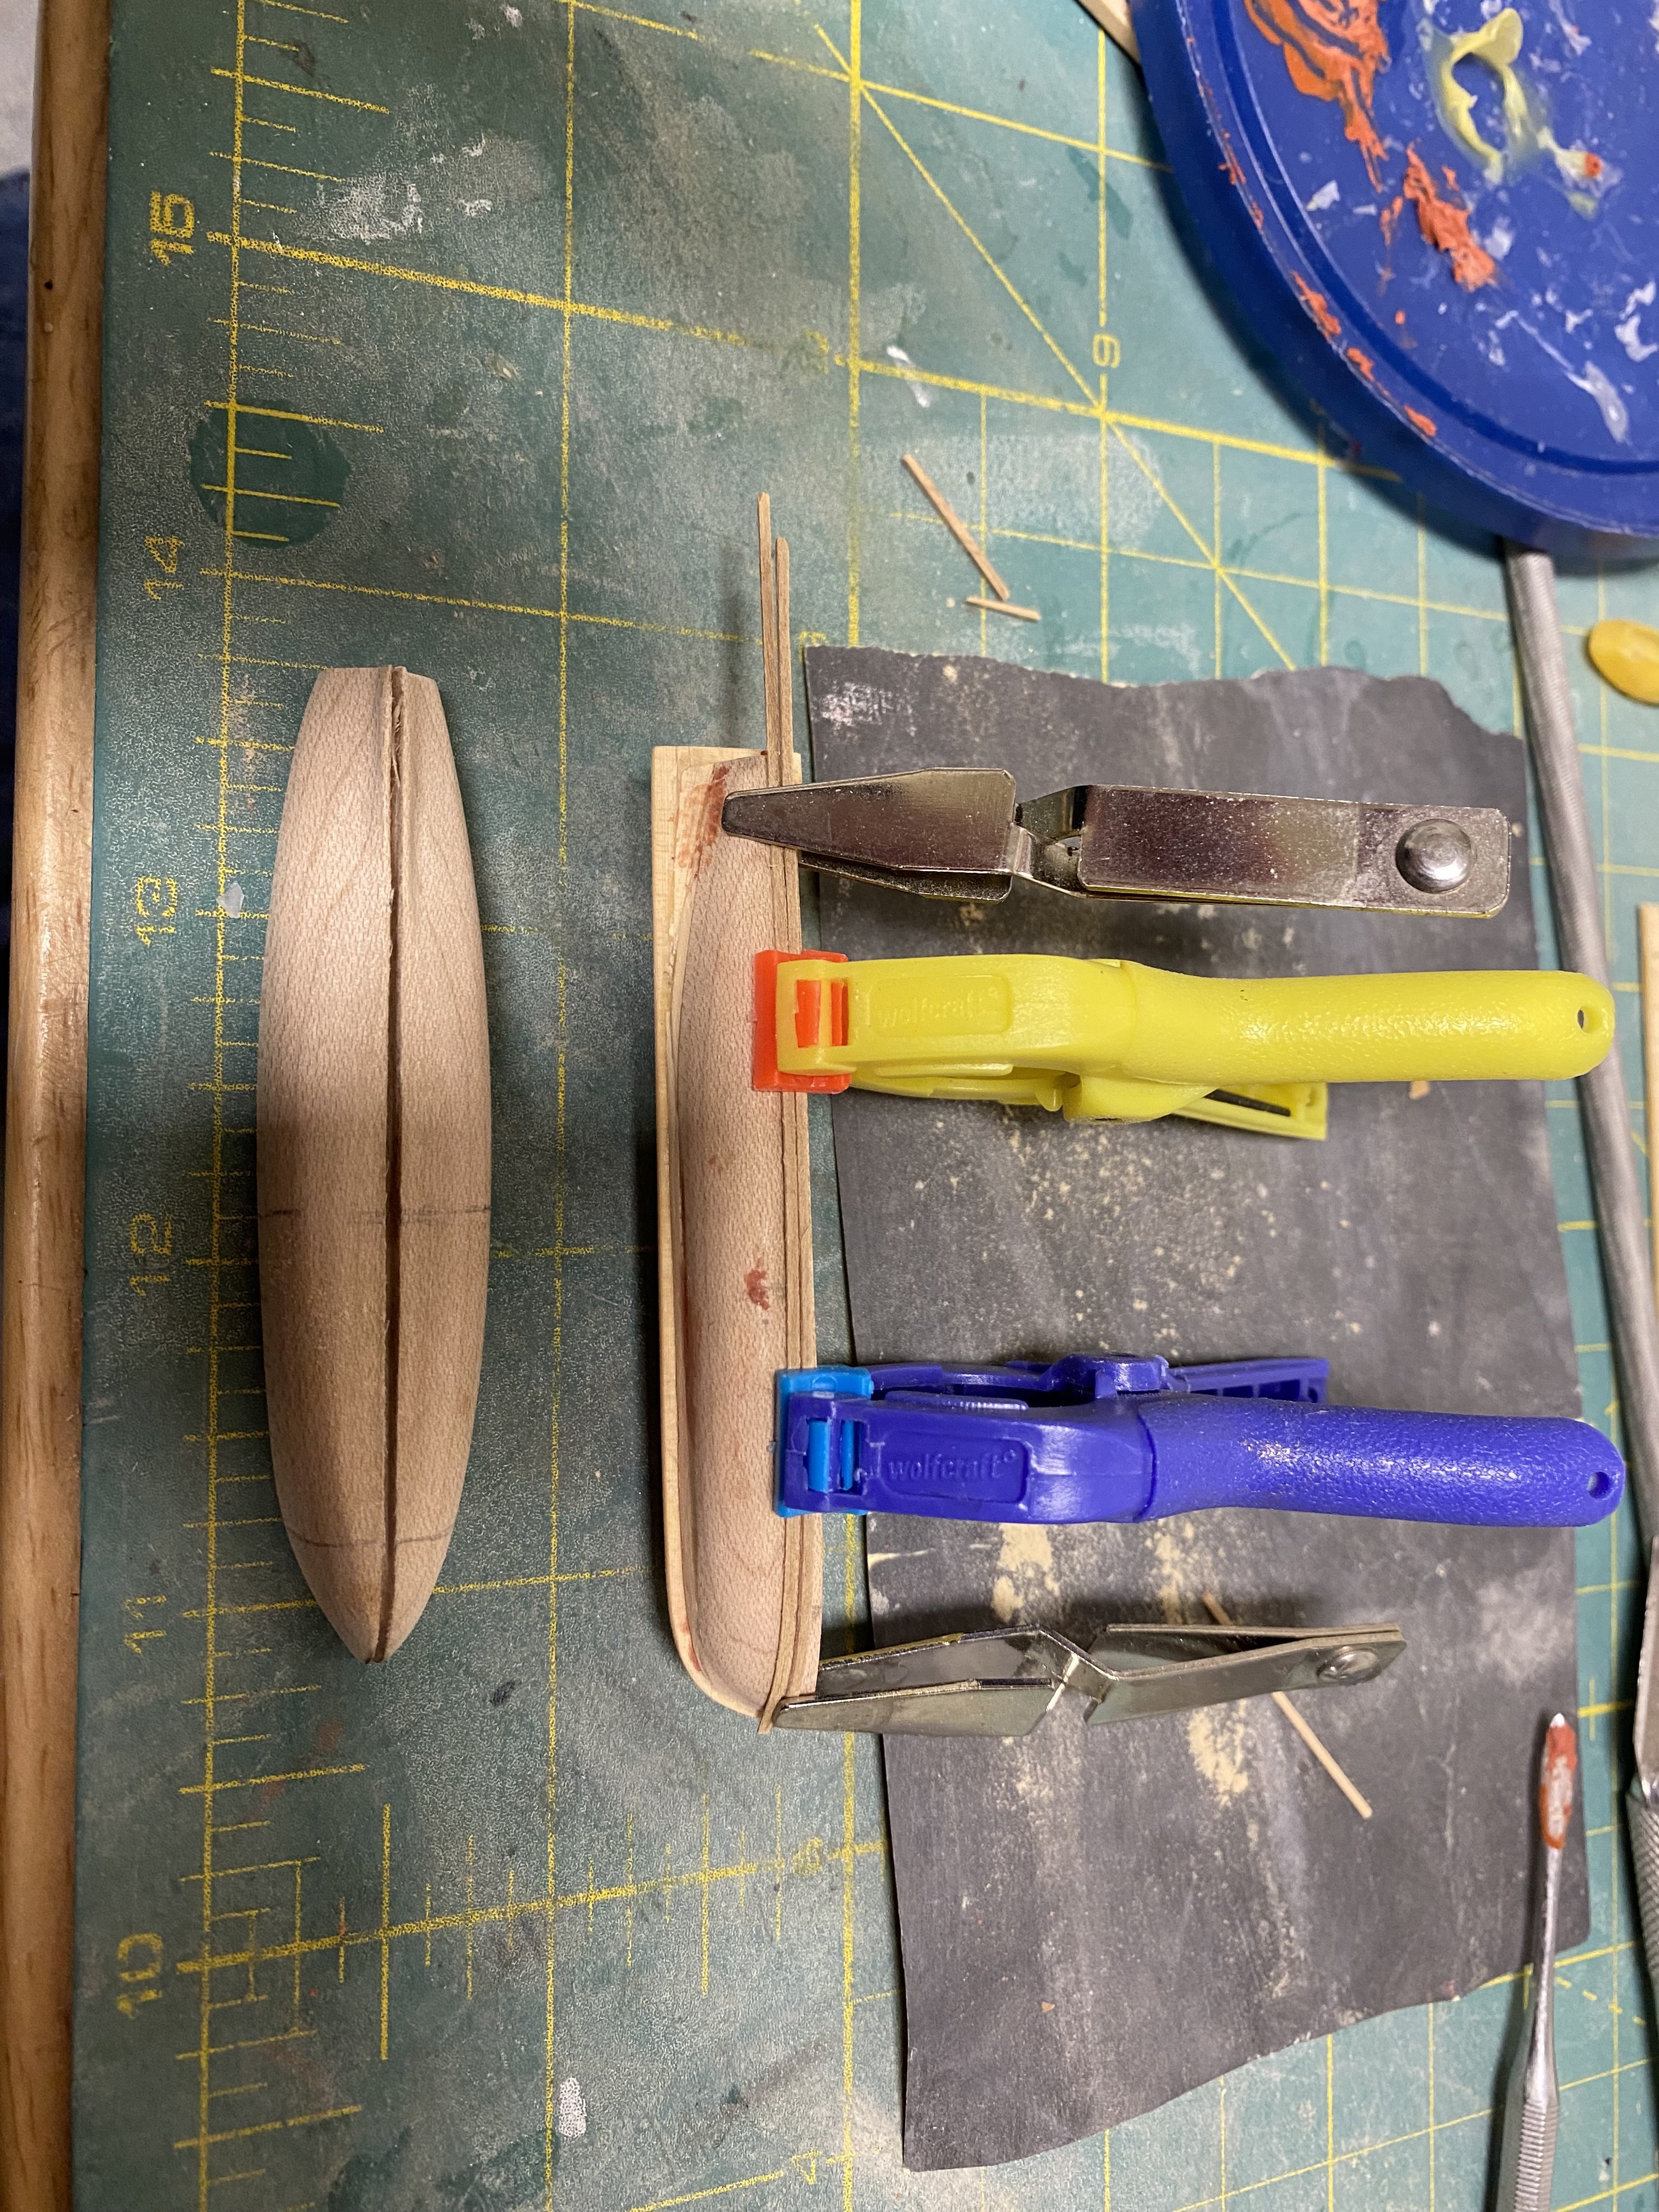
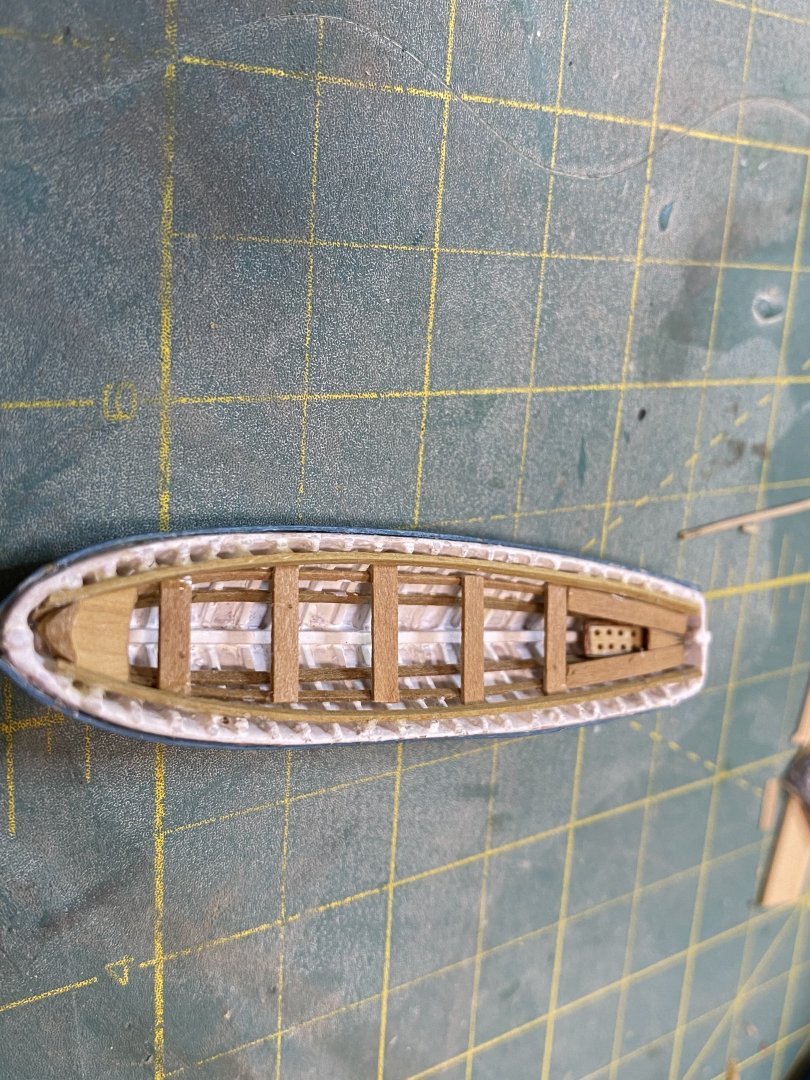
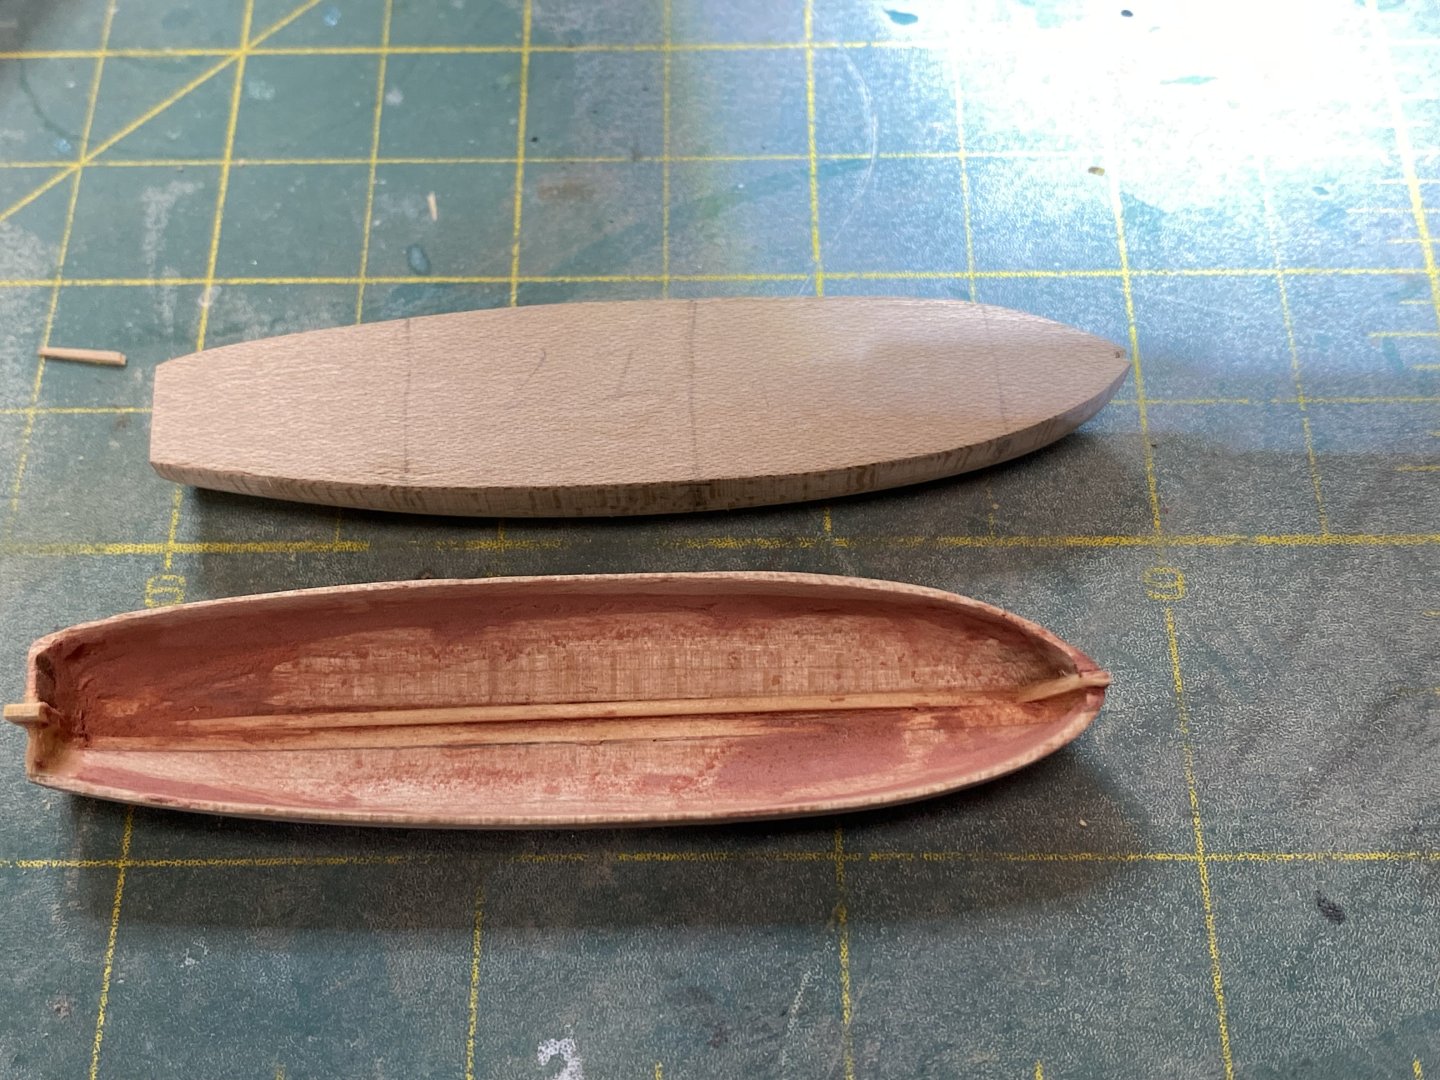
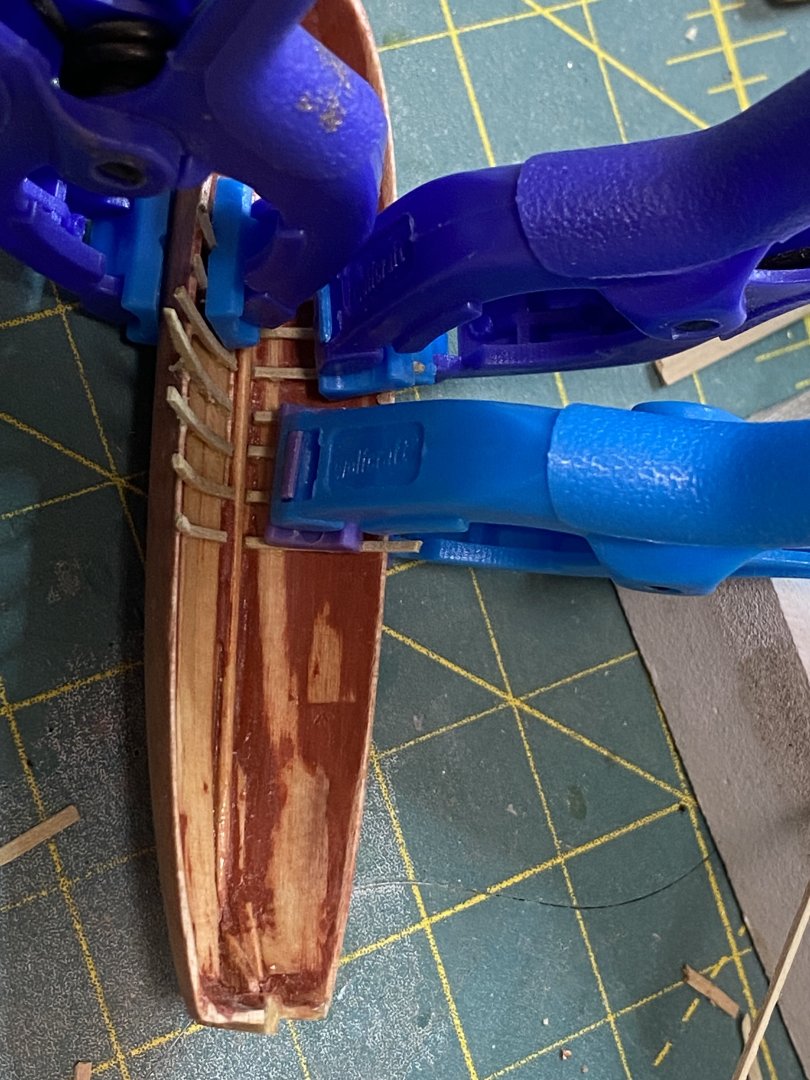
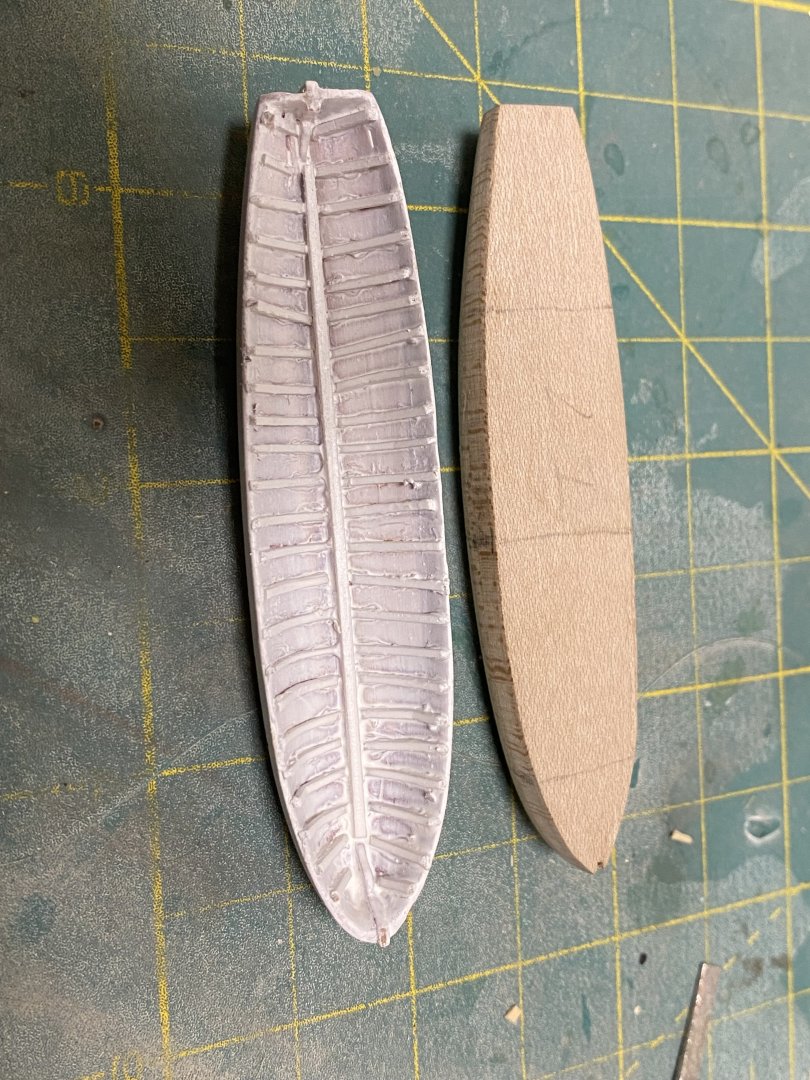
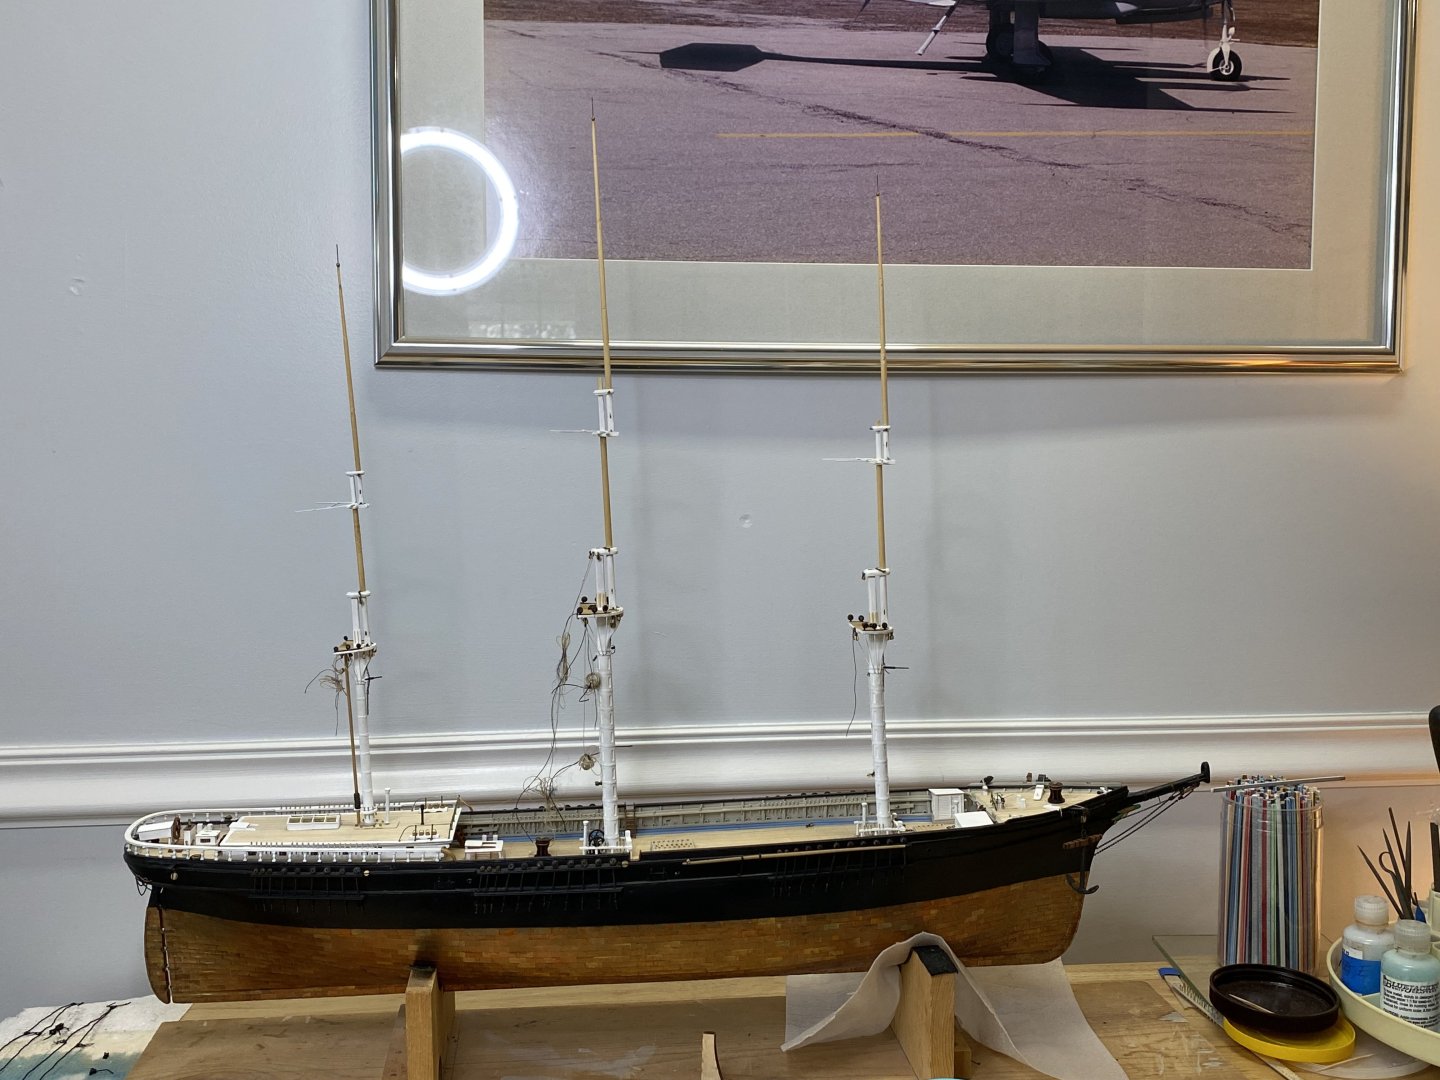
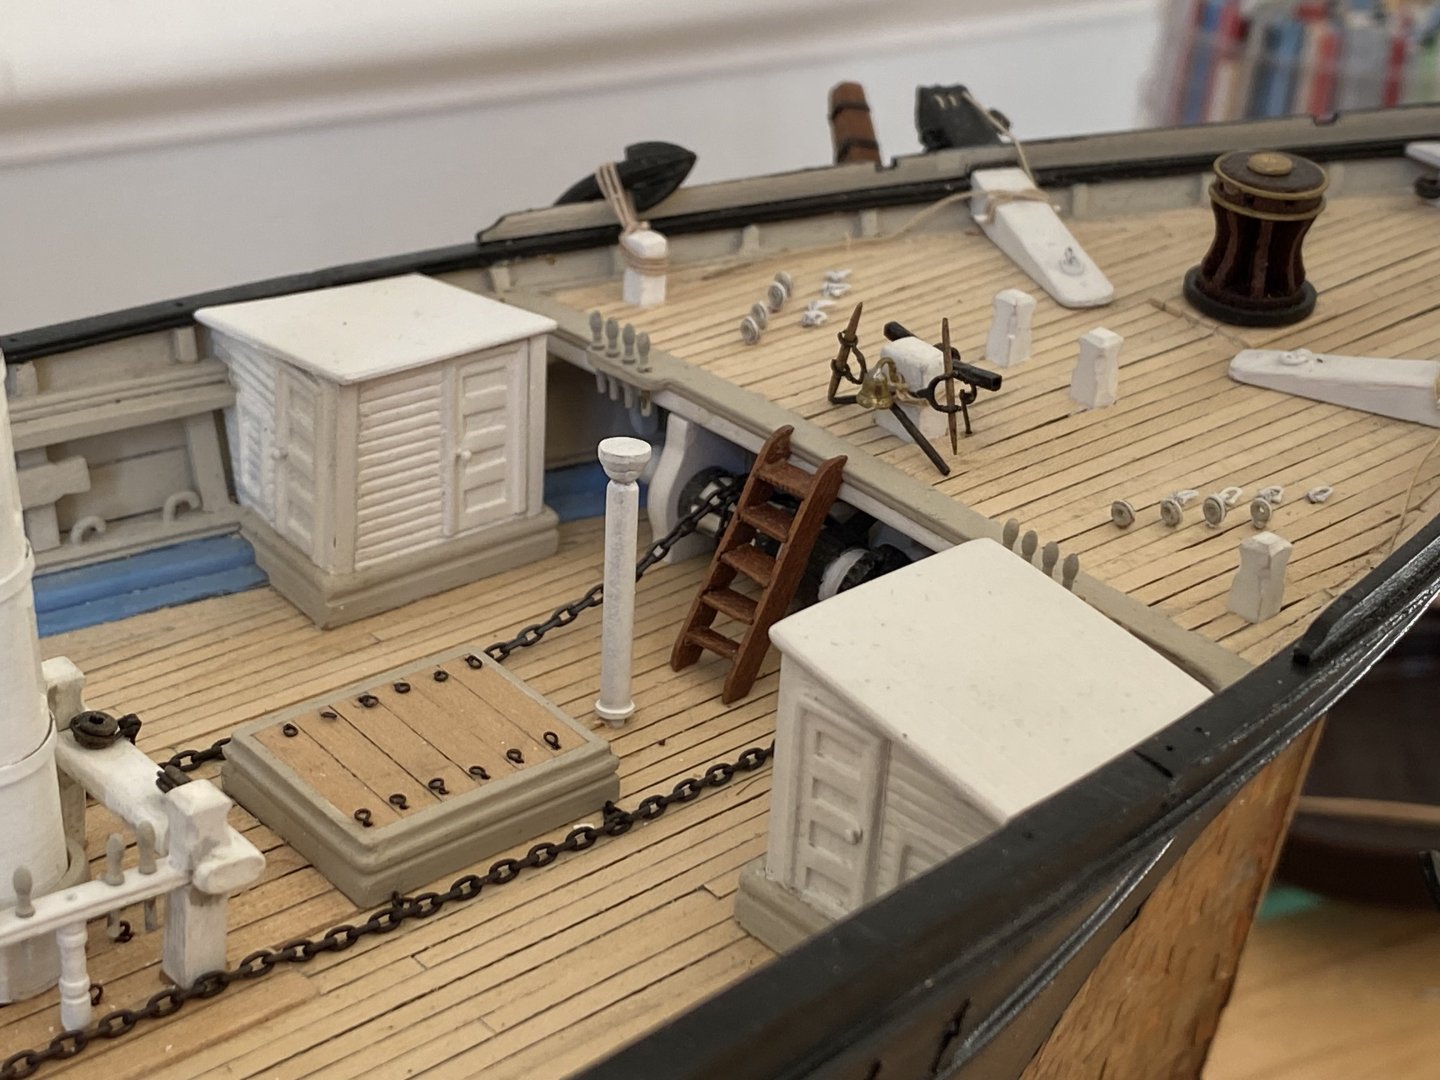
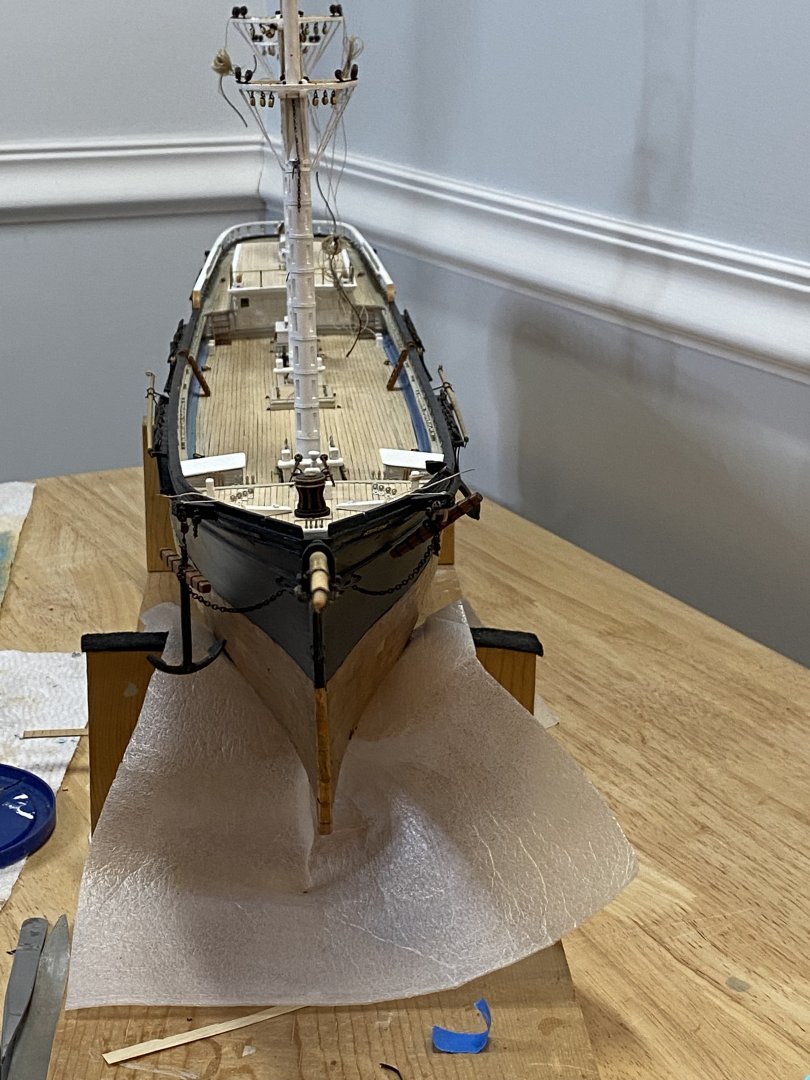
I was just about ready to start rigging the mizzen mast when it occurred to me that I needed to make a decision about where the davits for the quarter boats were going to be located and the brackets installed. My concern is that the davits and the davit guys will interfere with the run of the main topsail brace and the main course sheets. The plans place the davits forward of the mizzen channels and looks to possibly be in conflict with the running rigging. In this position, the davits could be swung inboard, which would allow the quarter boats to be stored inboard. This position is also shown on the Flying Cloud model at the Boston museum of Fine Art, and EdT’s extraordinary model of the Young America. Alternatively, both the Buttersworth painting and the China Trade painting show the aft davit between the 2nd or3rd deadeyes on the mizzen channel. This would obviously prevent the quarter boats from being stored inboard. According to Campbell, in his book the China Tea Clippers, some ships kept the quarter boats on the davits for the voyage, triced up high. In any event, I need to know the exact spacing between the davits to accurately place the forward davit brackets. This meant having a quarter boat to measure from. Therefore I decided to go ahead and make one of these boats now and not wait until the rigging was completed as previously planned. I had already made 5 boats (see prior post), 3 of which were mounted on the foreword deck house roof. The 2 remaining boats are for the quarter boats if I decided to use them. I attempted to cut one of the boats in half on the table saw ( bad idea as it is not symmetrical and the smaller half had to be shimmed). These were then caved out and glued to the keel, stem and stern post. Very small strips of boxwood, for the ribs, approximately 1/32x1/32, were cut on the table saw with absolutely no consistency. These were glued to the inside of the bulwarks and clamped. Note in the pictures the liberal use of Bondo to get curves that would not break the ribs when glued. The boat was then painted flat white. I also made the rubbing strakes which were soaked in water and clamped to the hull and when dry, painted blue to match the other boats. The rest of the interior will be made of boxwood and stained with Ipswich pine. My wife and I are off on a short vacation, which gives me time to decide where to place the davits. Decisions decisions! Does anyone have any thoughts?


- 360 replies
-
- 3
-
-
- Flying Fish
- Model Shipways
- (and 1 more)
-
I hear you on that!!!! My photos show all the defects, model looks much better in person! Beautiful work! Rick
-
Really nice job on the lifeboat!!! I’m trying to carve mine. We’ ll see how that turns out! Did the guys for the davits interfere with the run of the main topmast brace? Rick
-
As always Keith, beautiful work! Still like the idea of a white stripe on the hull where it meets the dark green color of the topsides with the mahogany below! For what it’s worth! Rick
-
Looking really good George! Good luck with the interviews! Rick
-
Nice job on the Flying Fish figurehead! Why the rails on the forecastle, not specified on the plans and not evident on the China Trade and Buttersworth paintings. Tour model is beautiful! Rick
-
Keith, what was the thickness of the brass you used for the trail boards? Rick
-
Glad you’re back Keith, was starting to get a little worried! Cangarda looks magnificent! Rick
-
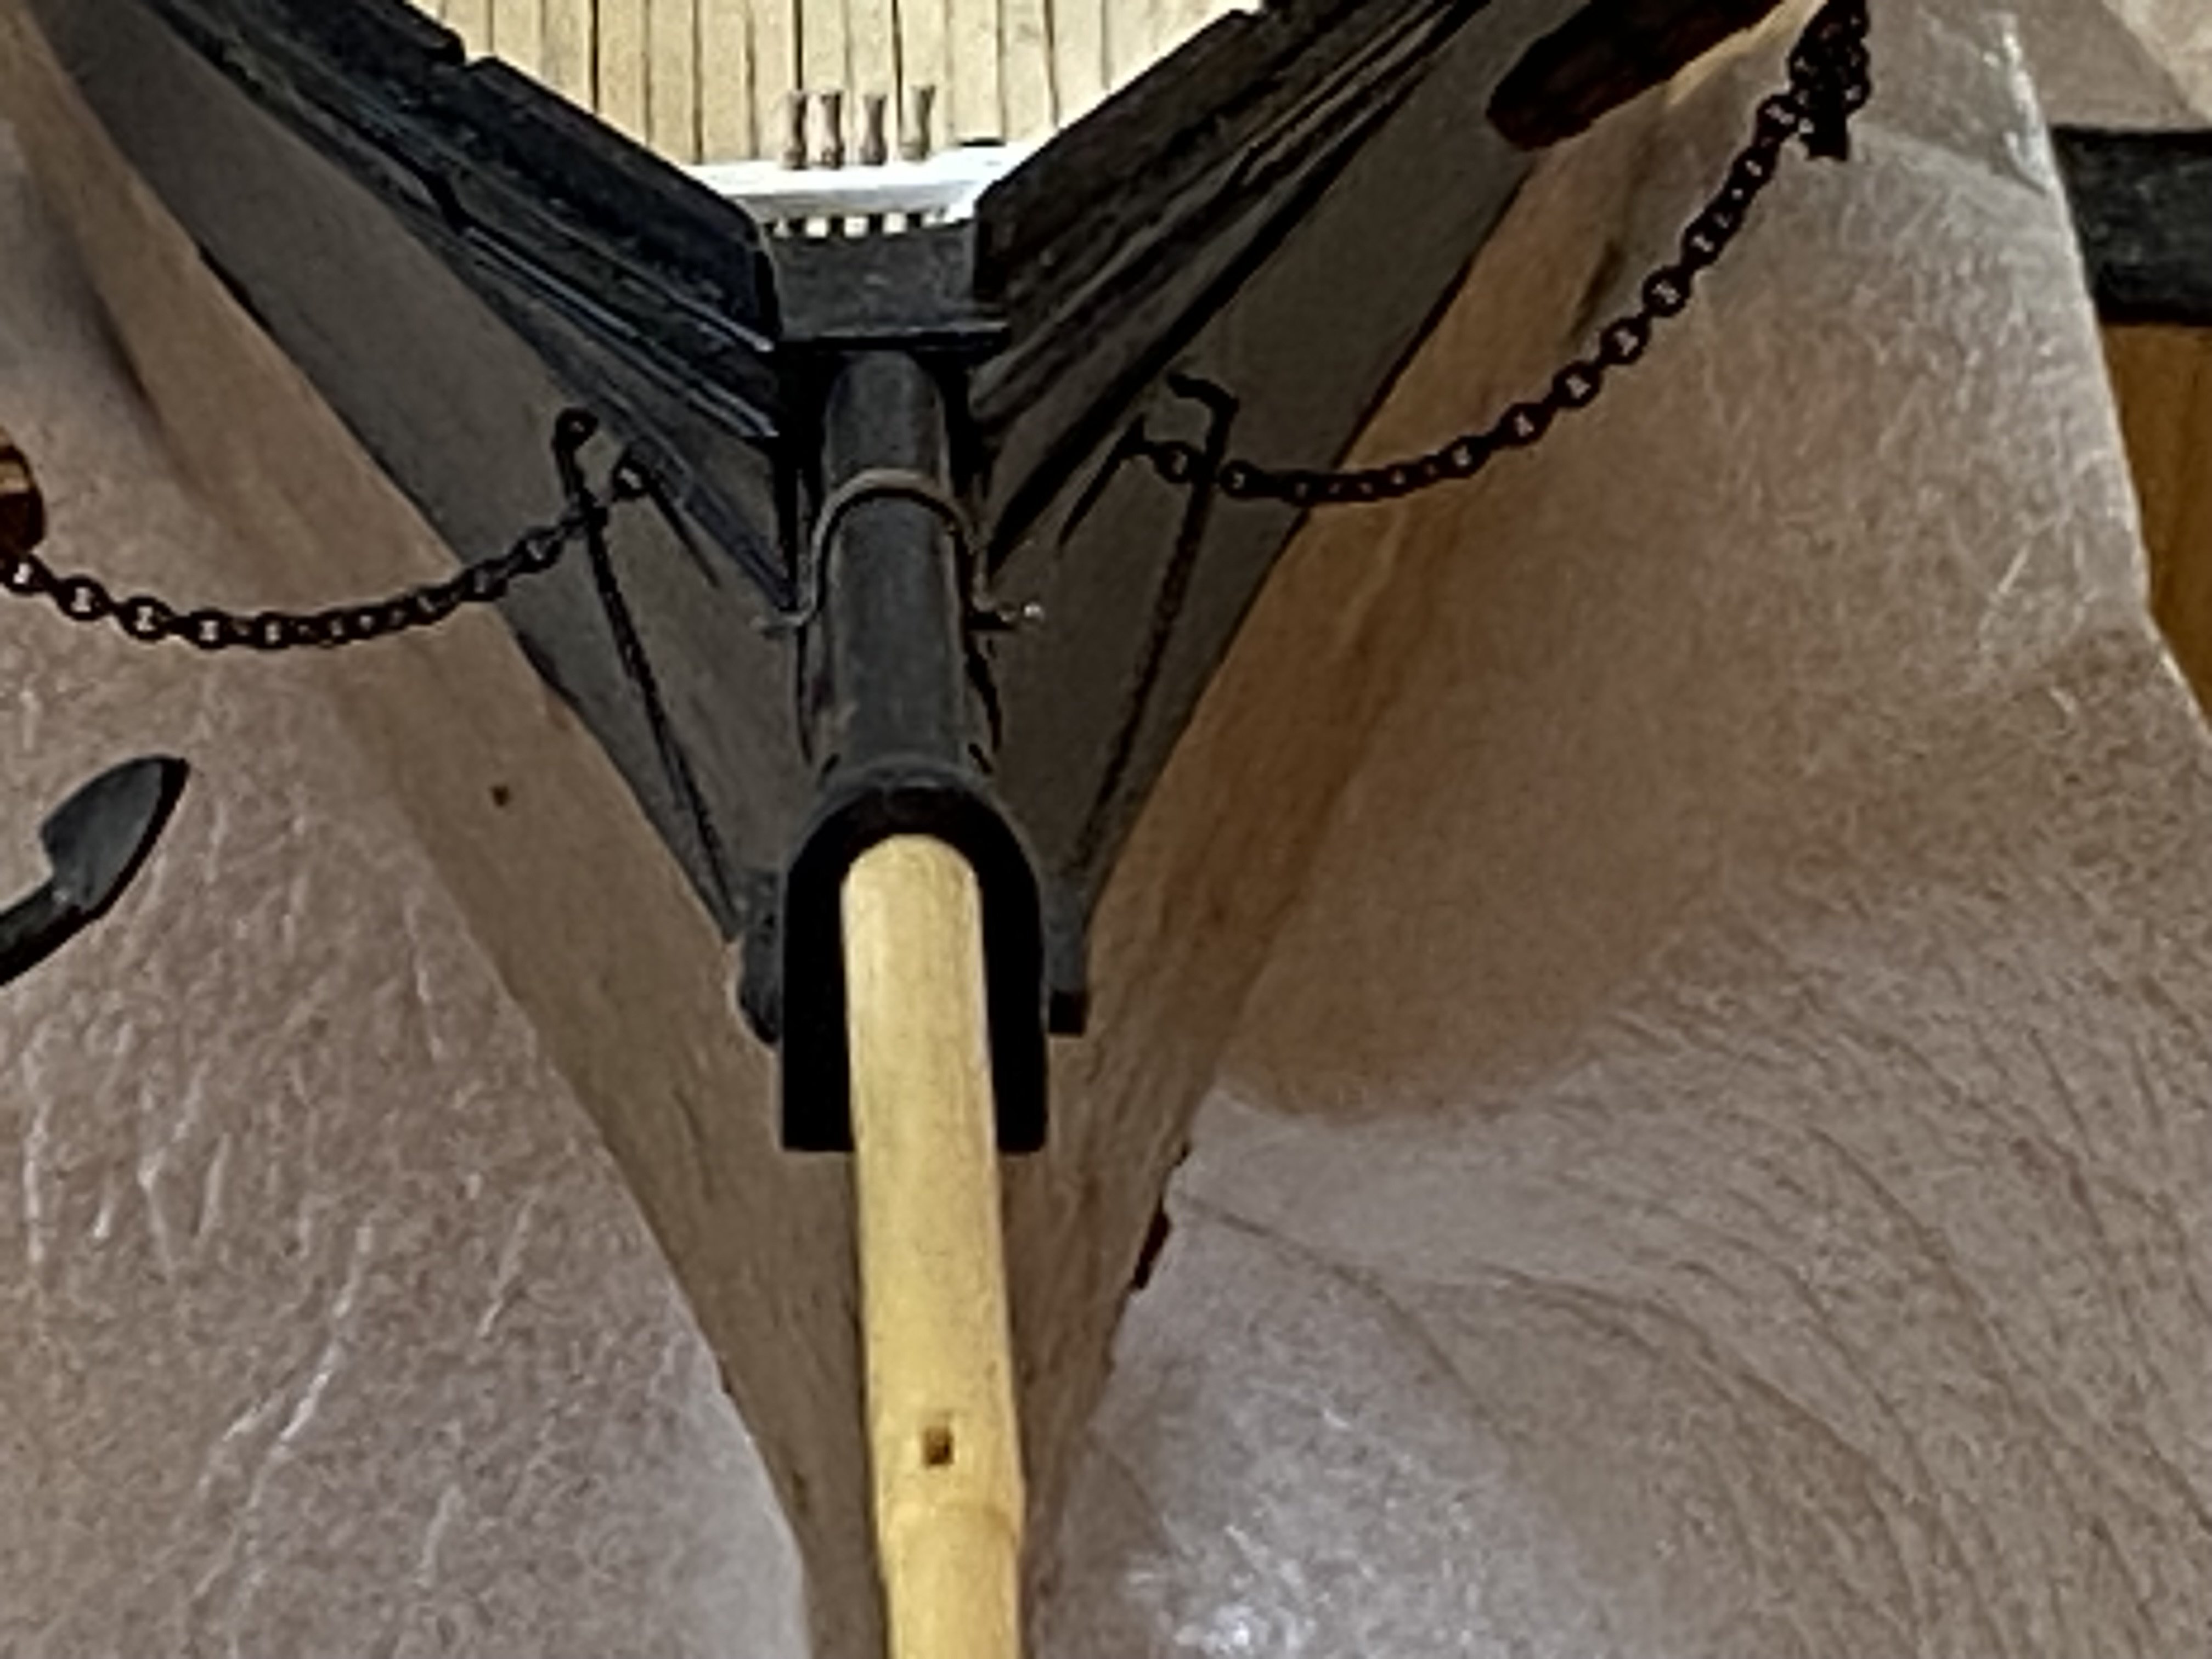
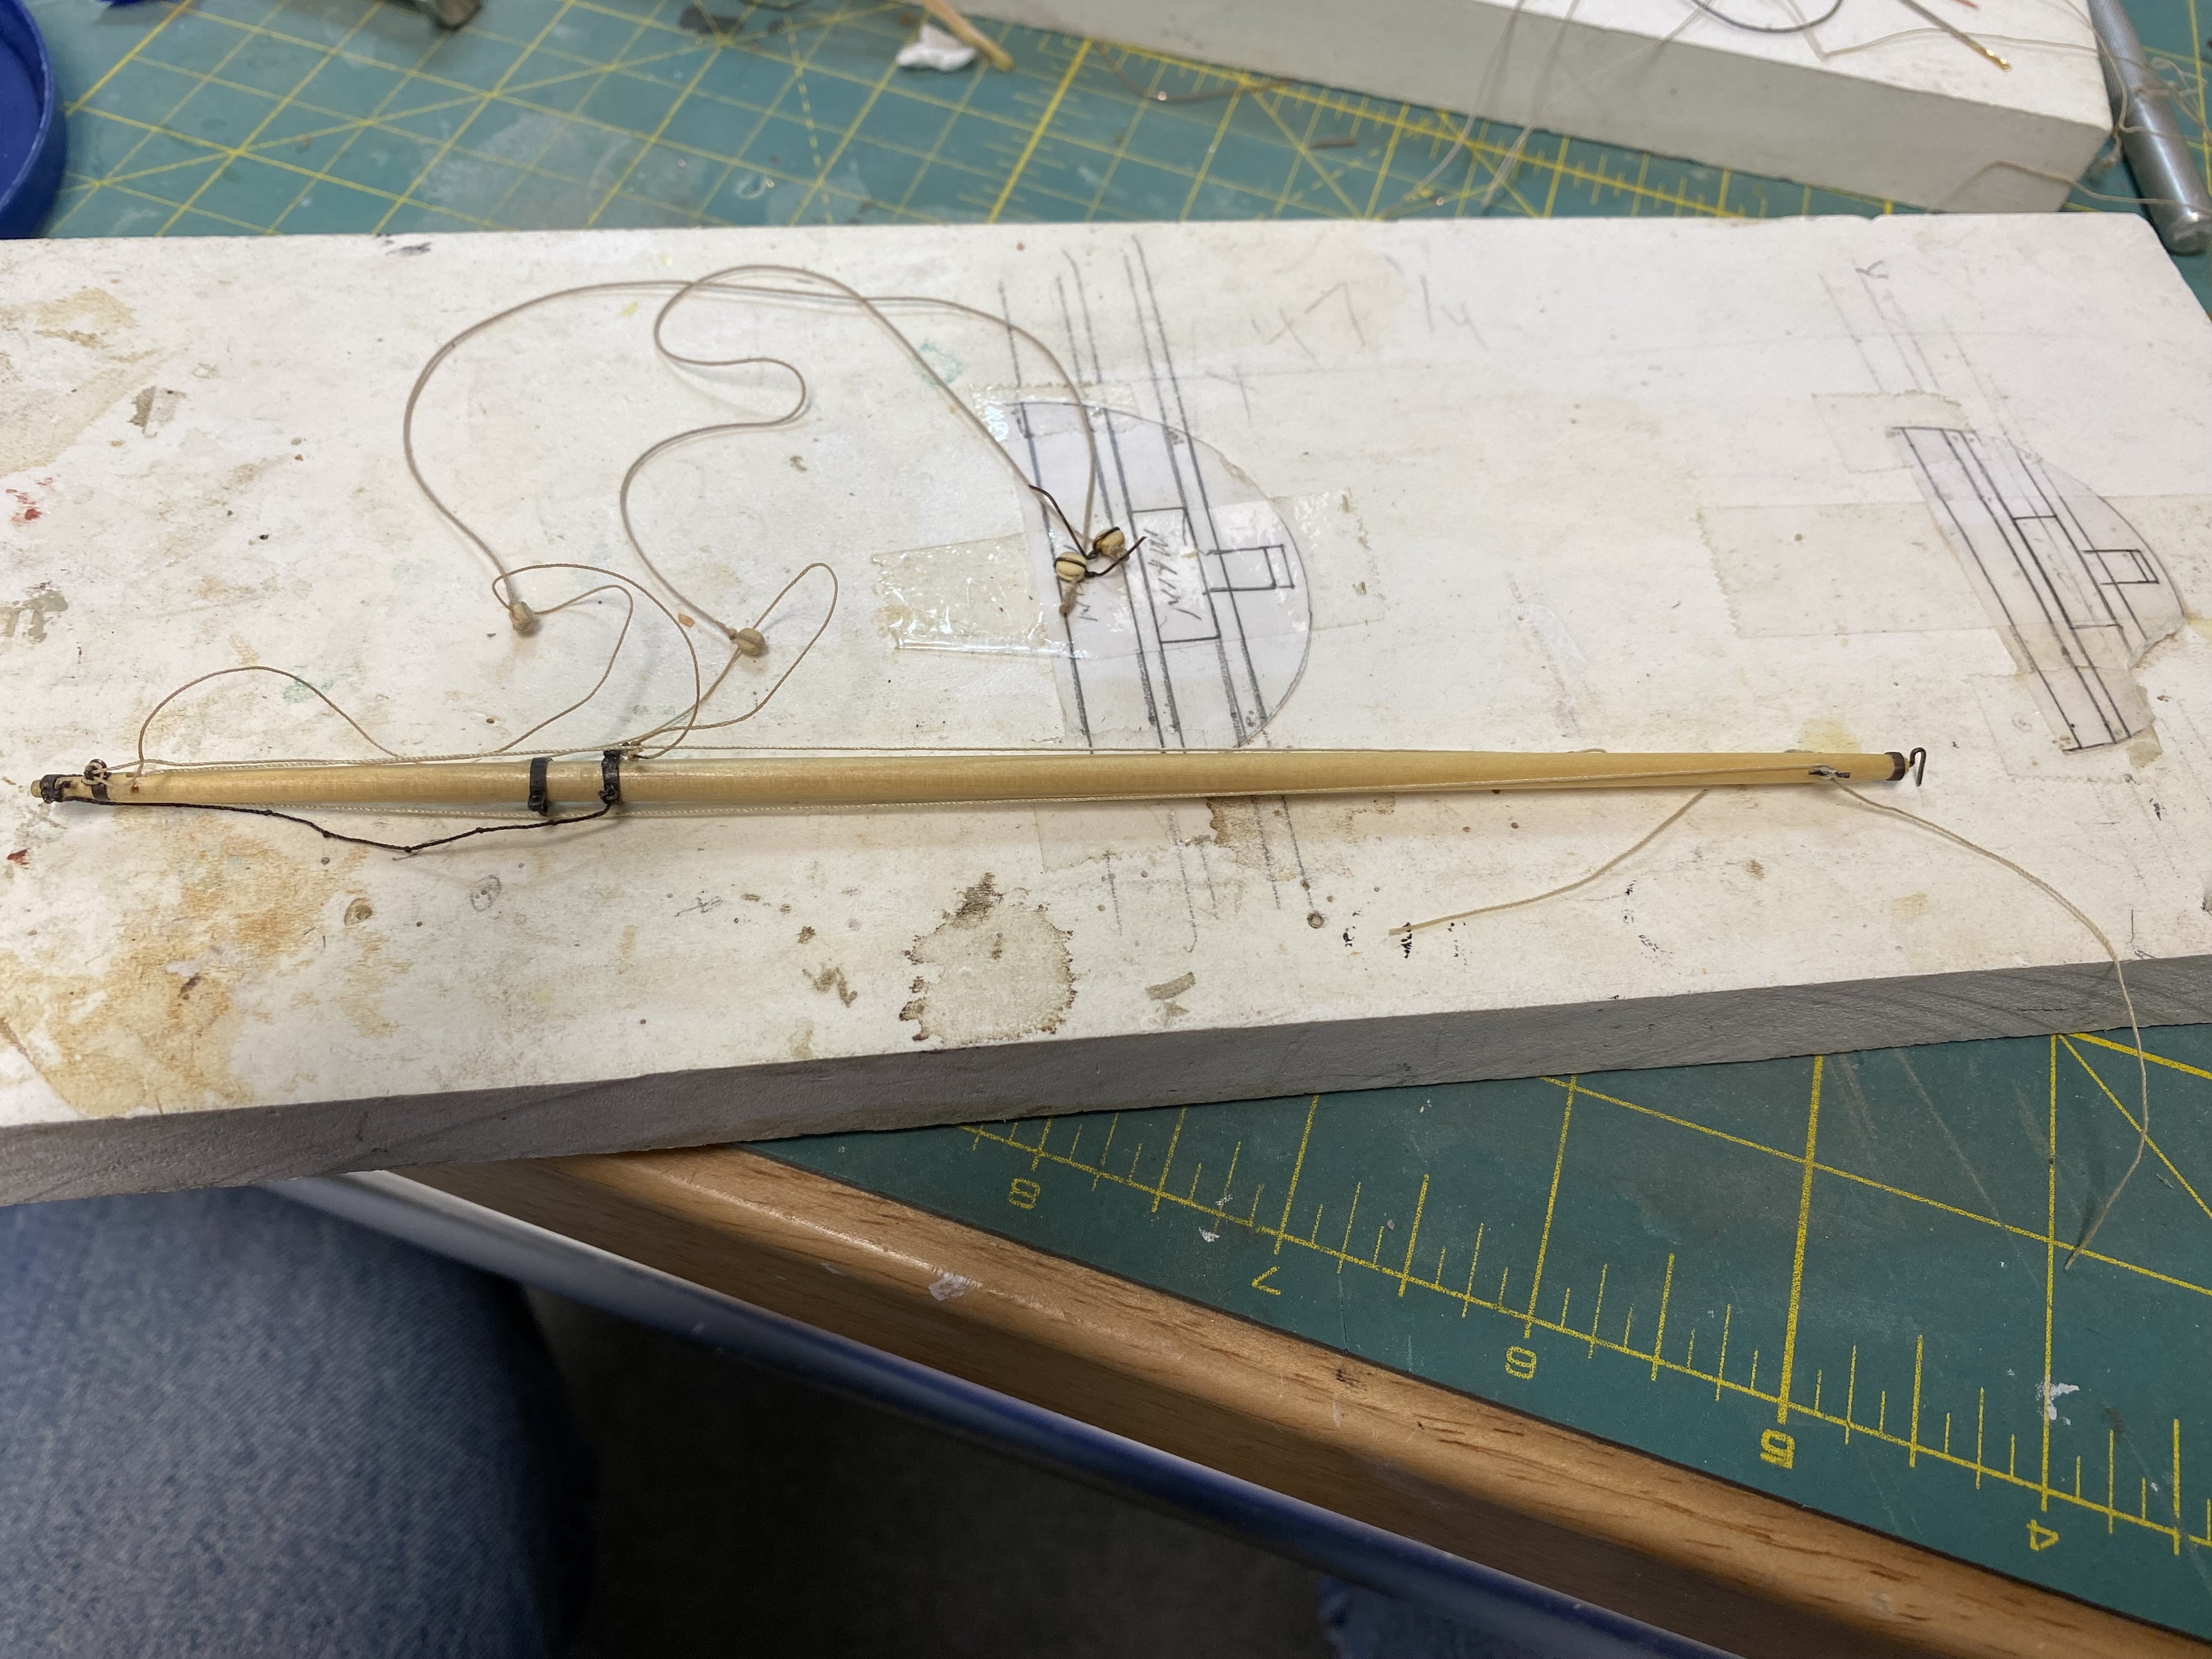
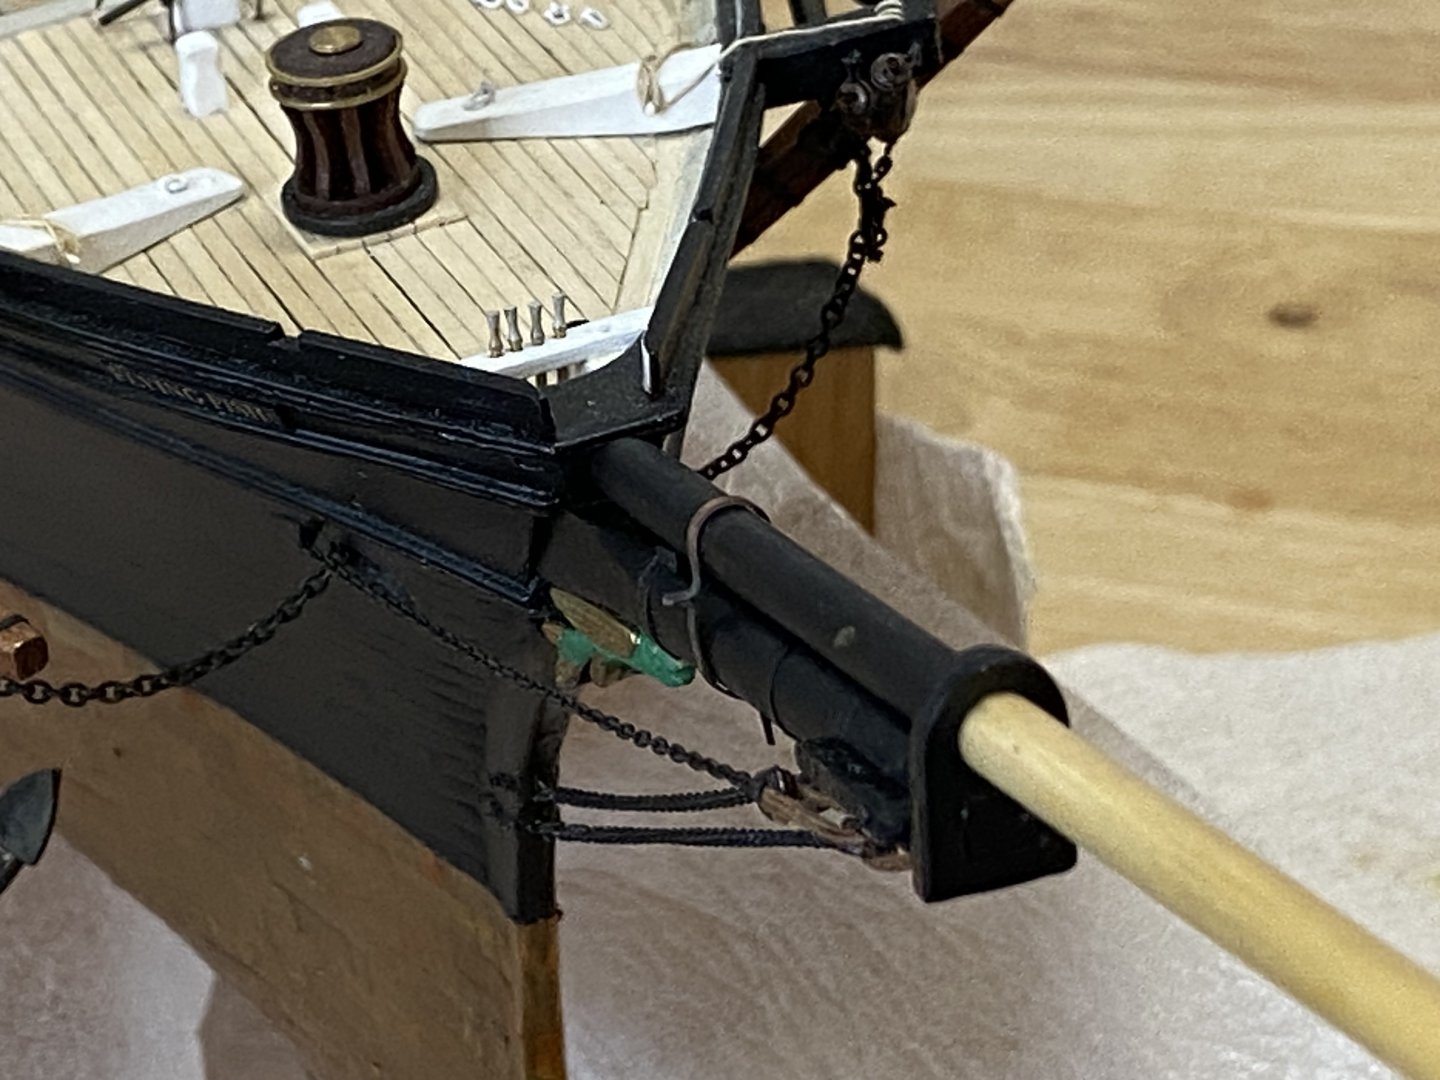
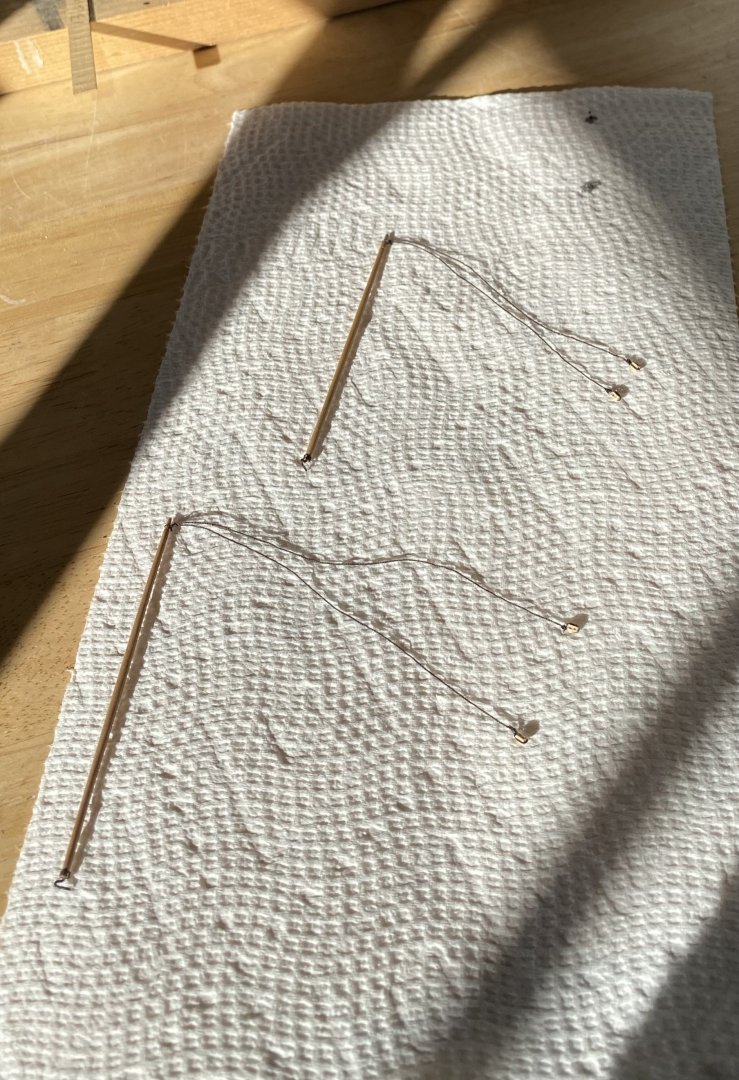
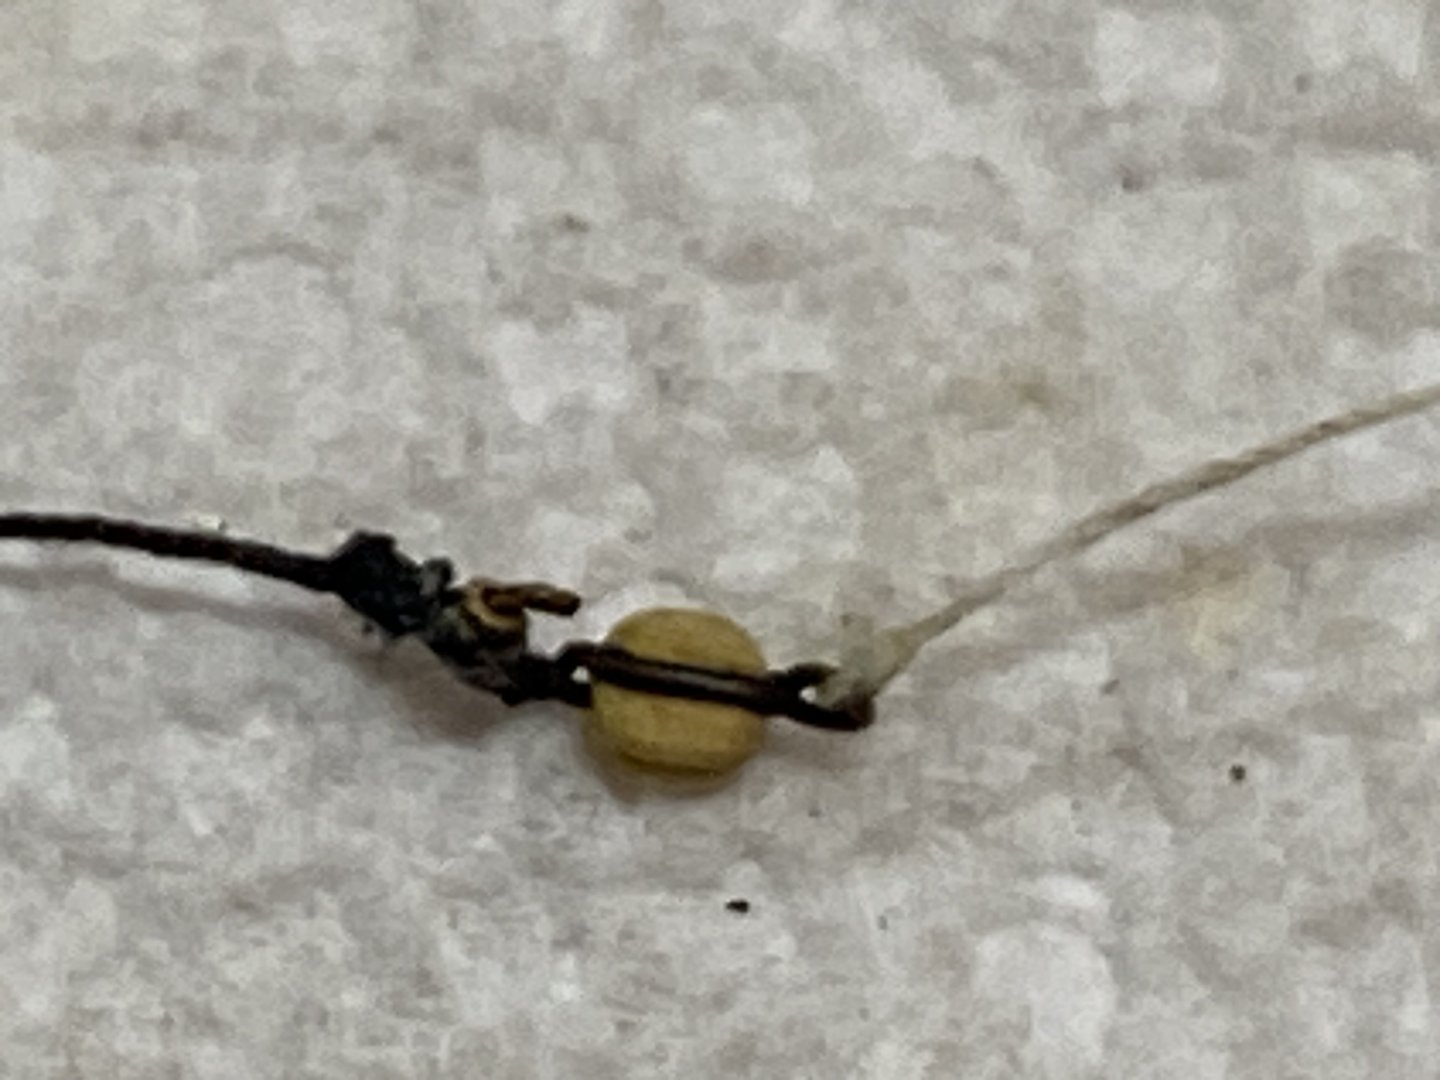
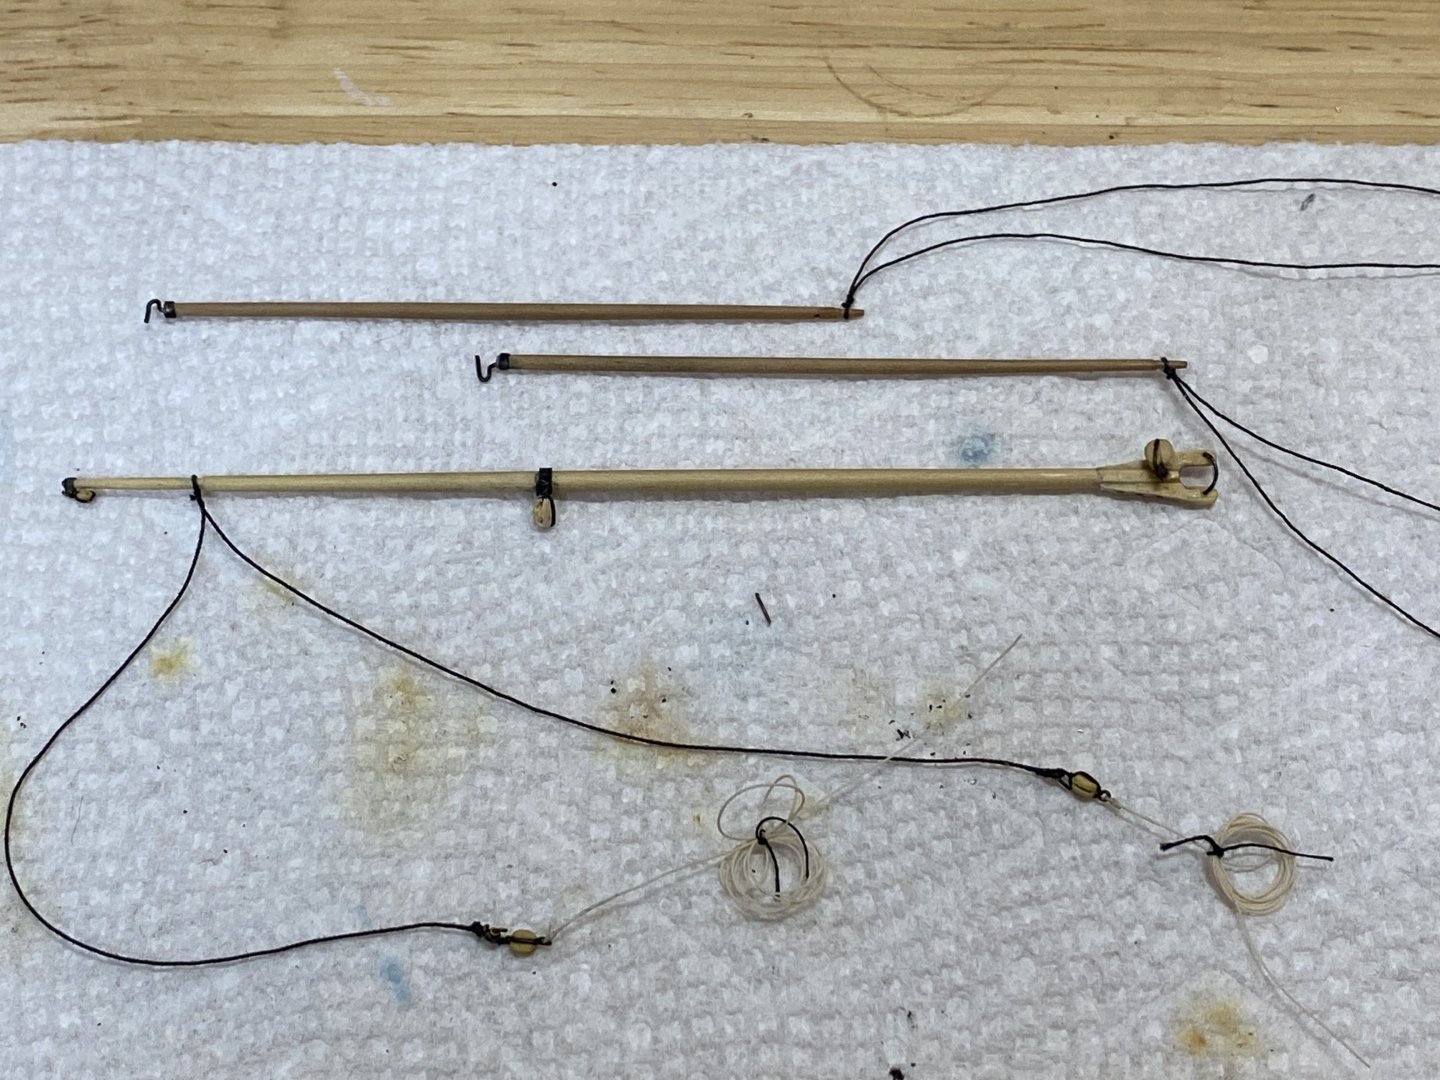
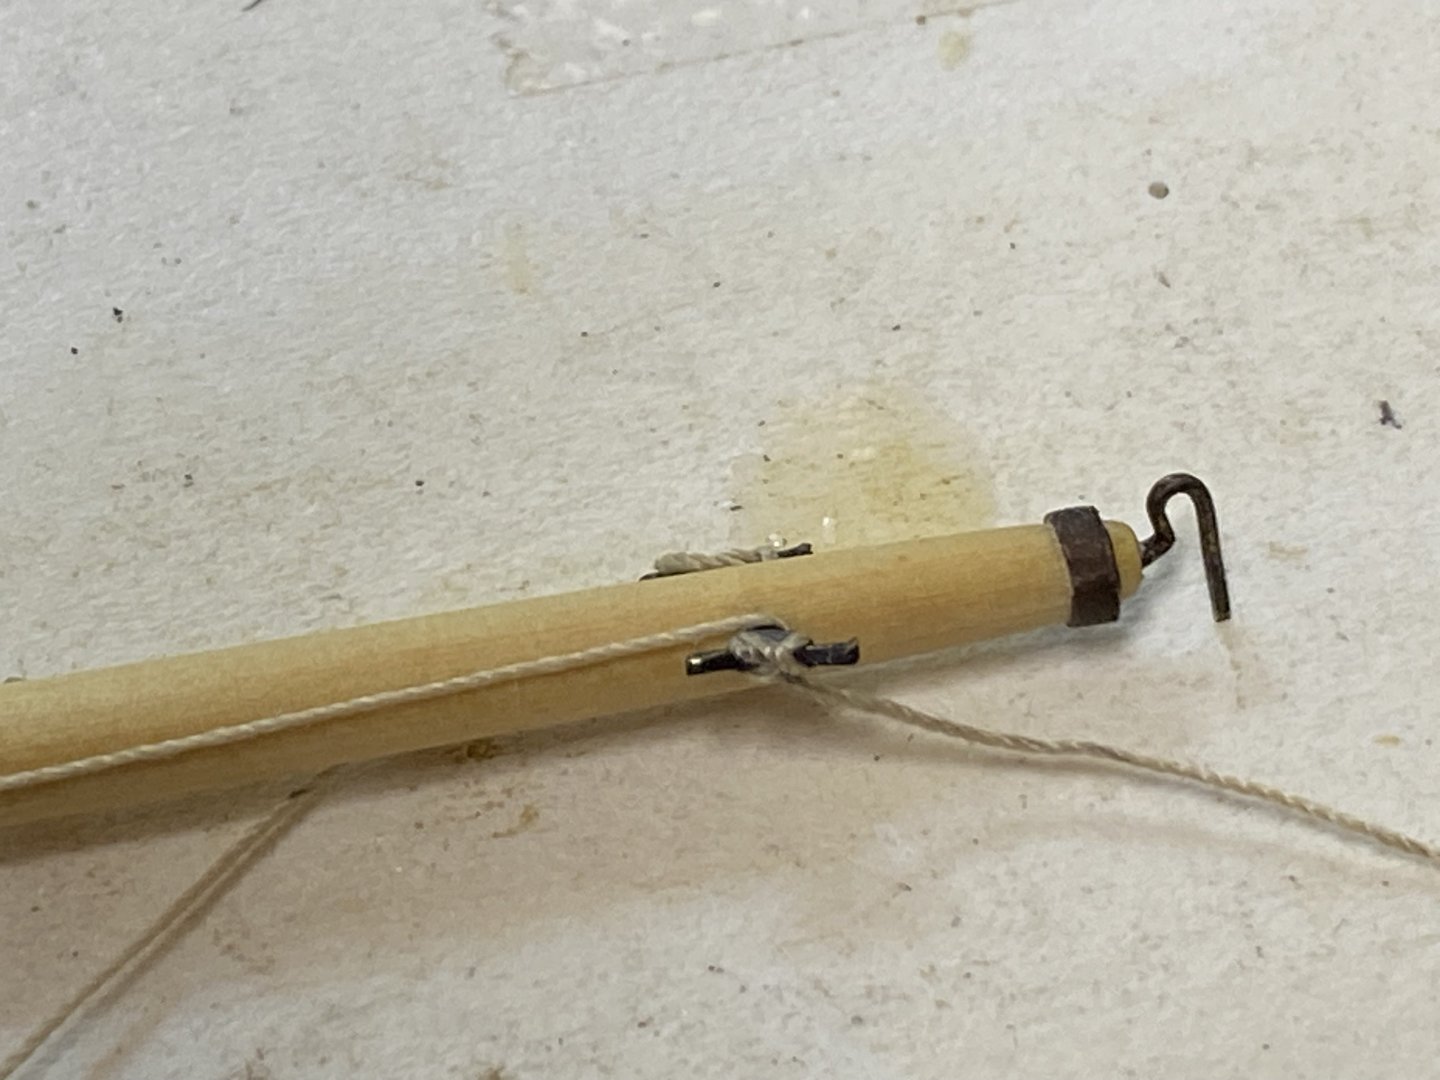
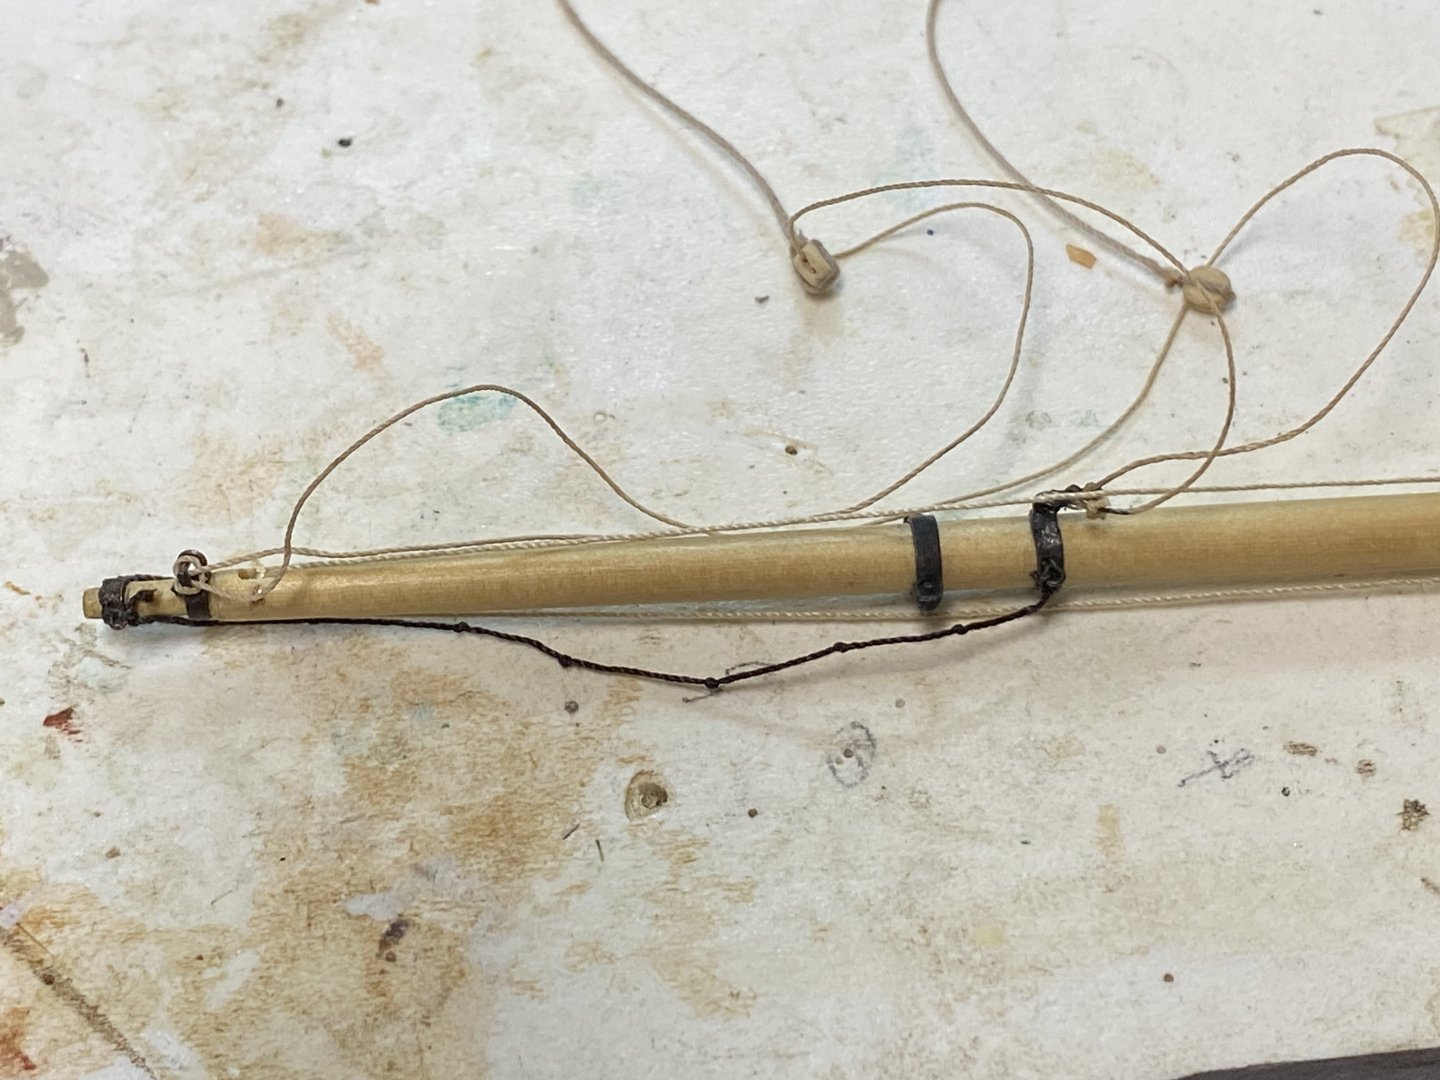
After completing the masts and ensuring that everything fit well and was straight (I don’t intend to glue the mast sections together), I moved on to making the jib boom, the 3 Spencer booms and the spanker. All were made per EdT I started with the jib boom, which was made of AYC. The bands were made of copper tube and strips. For most of the bands, this involved heating and expanding the band on a tapered metal rod until it fit on the boom. The bowsprit band which houses the jib boom was formed with approximately 1/16 inch copper strip that was reduced to.010 inch thickness, the tab on the starboard’s side was first bent to shape and soldered. A #75 hole was drilled in the bottom of the band that placed over a pin in the bottom of the bowsprit to secure the band in location. The ends were then wrapped around the bowsprit and the jib boom and the tab was formed and glued on the port side with cyano. This allowed the jib boom to be held securely in place while allowing it to be removed for safety. I decided to make shackles for the jib boom guys with thimbles made from 1/32 inch brass tube that was cut and filled to approximately 1/32 inch thickness. Trying to solder the eyebolt: shackle combo to the bands was difficult and frustrating because I kept soldering the shackles to the eyebolts as well which kept the shackles from moving freely. After multiple attempts and way too much time, I finally managed to get 2 bands made. Not sure I’m going to try that again. The main and fore Spencer booms were originally made from AYC, but were too fragile and kept breaking where I drilled the hole for the in haul/out haul. I ended up making them from boxwood, which is much stronger, although darker in color but hopefully will not be that noticeable. The mizzen Spencer and spanker were made from AYC , as they are much larger booms. Bands were made per the jib boom with shackles in the eyebolts on the spanker (I found a technique that worked consistently when soldering the eyebolts to the band) The pendants for the Spencer booms were made of black thread (.08 for main and fore booms and .012 for the mizzen). All have brass thimbles for the blocks to attach to. I’m not really happy with the knots around the thimbles as they look too bulky to me. The lines are secured to the thimbles with cyano. I may redo these if I find a better way to do it. The spanker was rigged with the foot ropes and topping lifts. The knots in the foot ropes were made per Nic at Bluejacket. Thanks again Nic!!’ All thread for the running rigging ( smaller than .08, which I buy from Syren) was dyed with walnut dye per EdT, then pulled through a bath of very dilute white glue. The yoke on the inboard end of the mizzen spencer was shaped out of 2 pieces of AYC and drilled for 3 brass bolts of .02 inch brass rod. The parral. was made from22ga copper wire. The cleats were made from brass wire and copper strips, soldered and filled to shape. The in haul/ out haul was also rigged on he spanker and secured on the cleats.


- 360 replies
-
- 7
-
-
- Flying Fish
- Model Shipways
- (and 1 more)