Rick310
-
Posts
835 -
Joined
-
Last visited
Content Type
Profiles
Forums
Gallery
Events
Everything posted by Rick310
-
This guy s a really nice build and you are doing a great job!! Beautiful attention to detail!! Rick
- 105 replies
-
- 1
-

-
- Cutty Sark
- Sergal
- (and 1 more)
-
Thanks Nic! I keep waiting for this to get easier! Rick
- 360 replies
-
- 2
-

-
- Flying Fish
- Model Shipways
- (and 1 more)
-
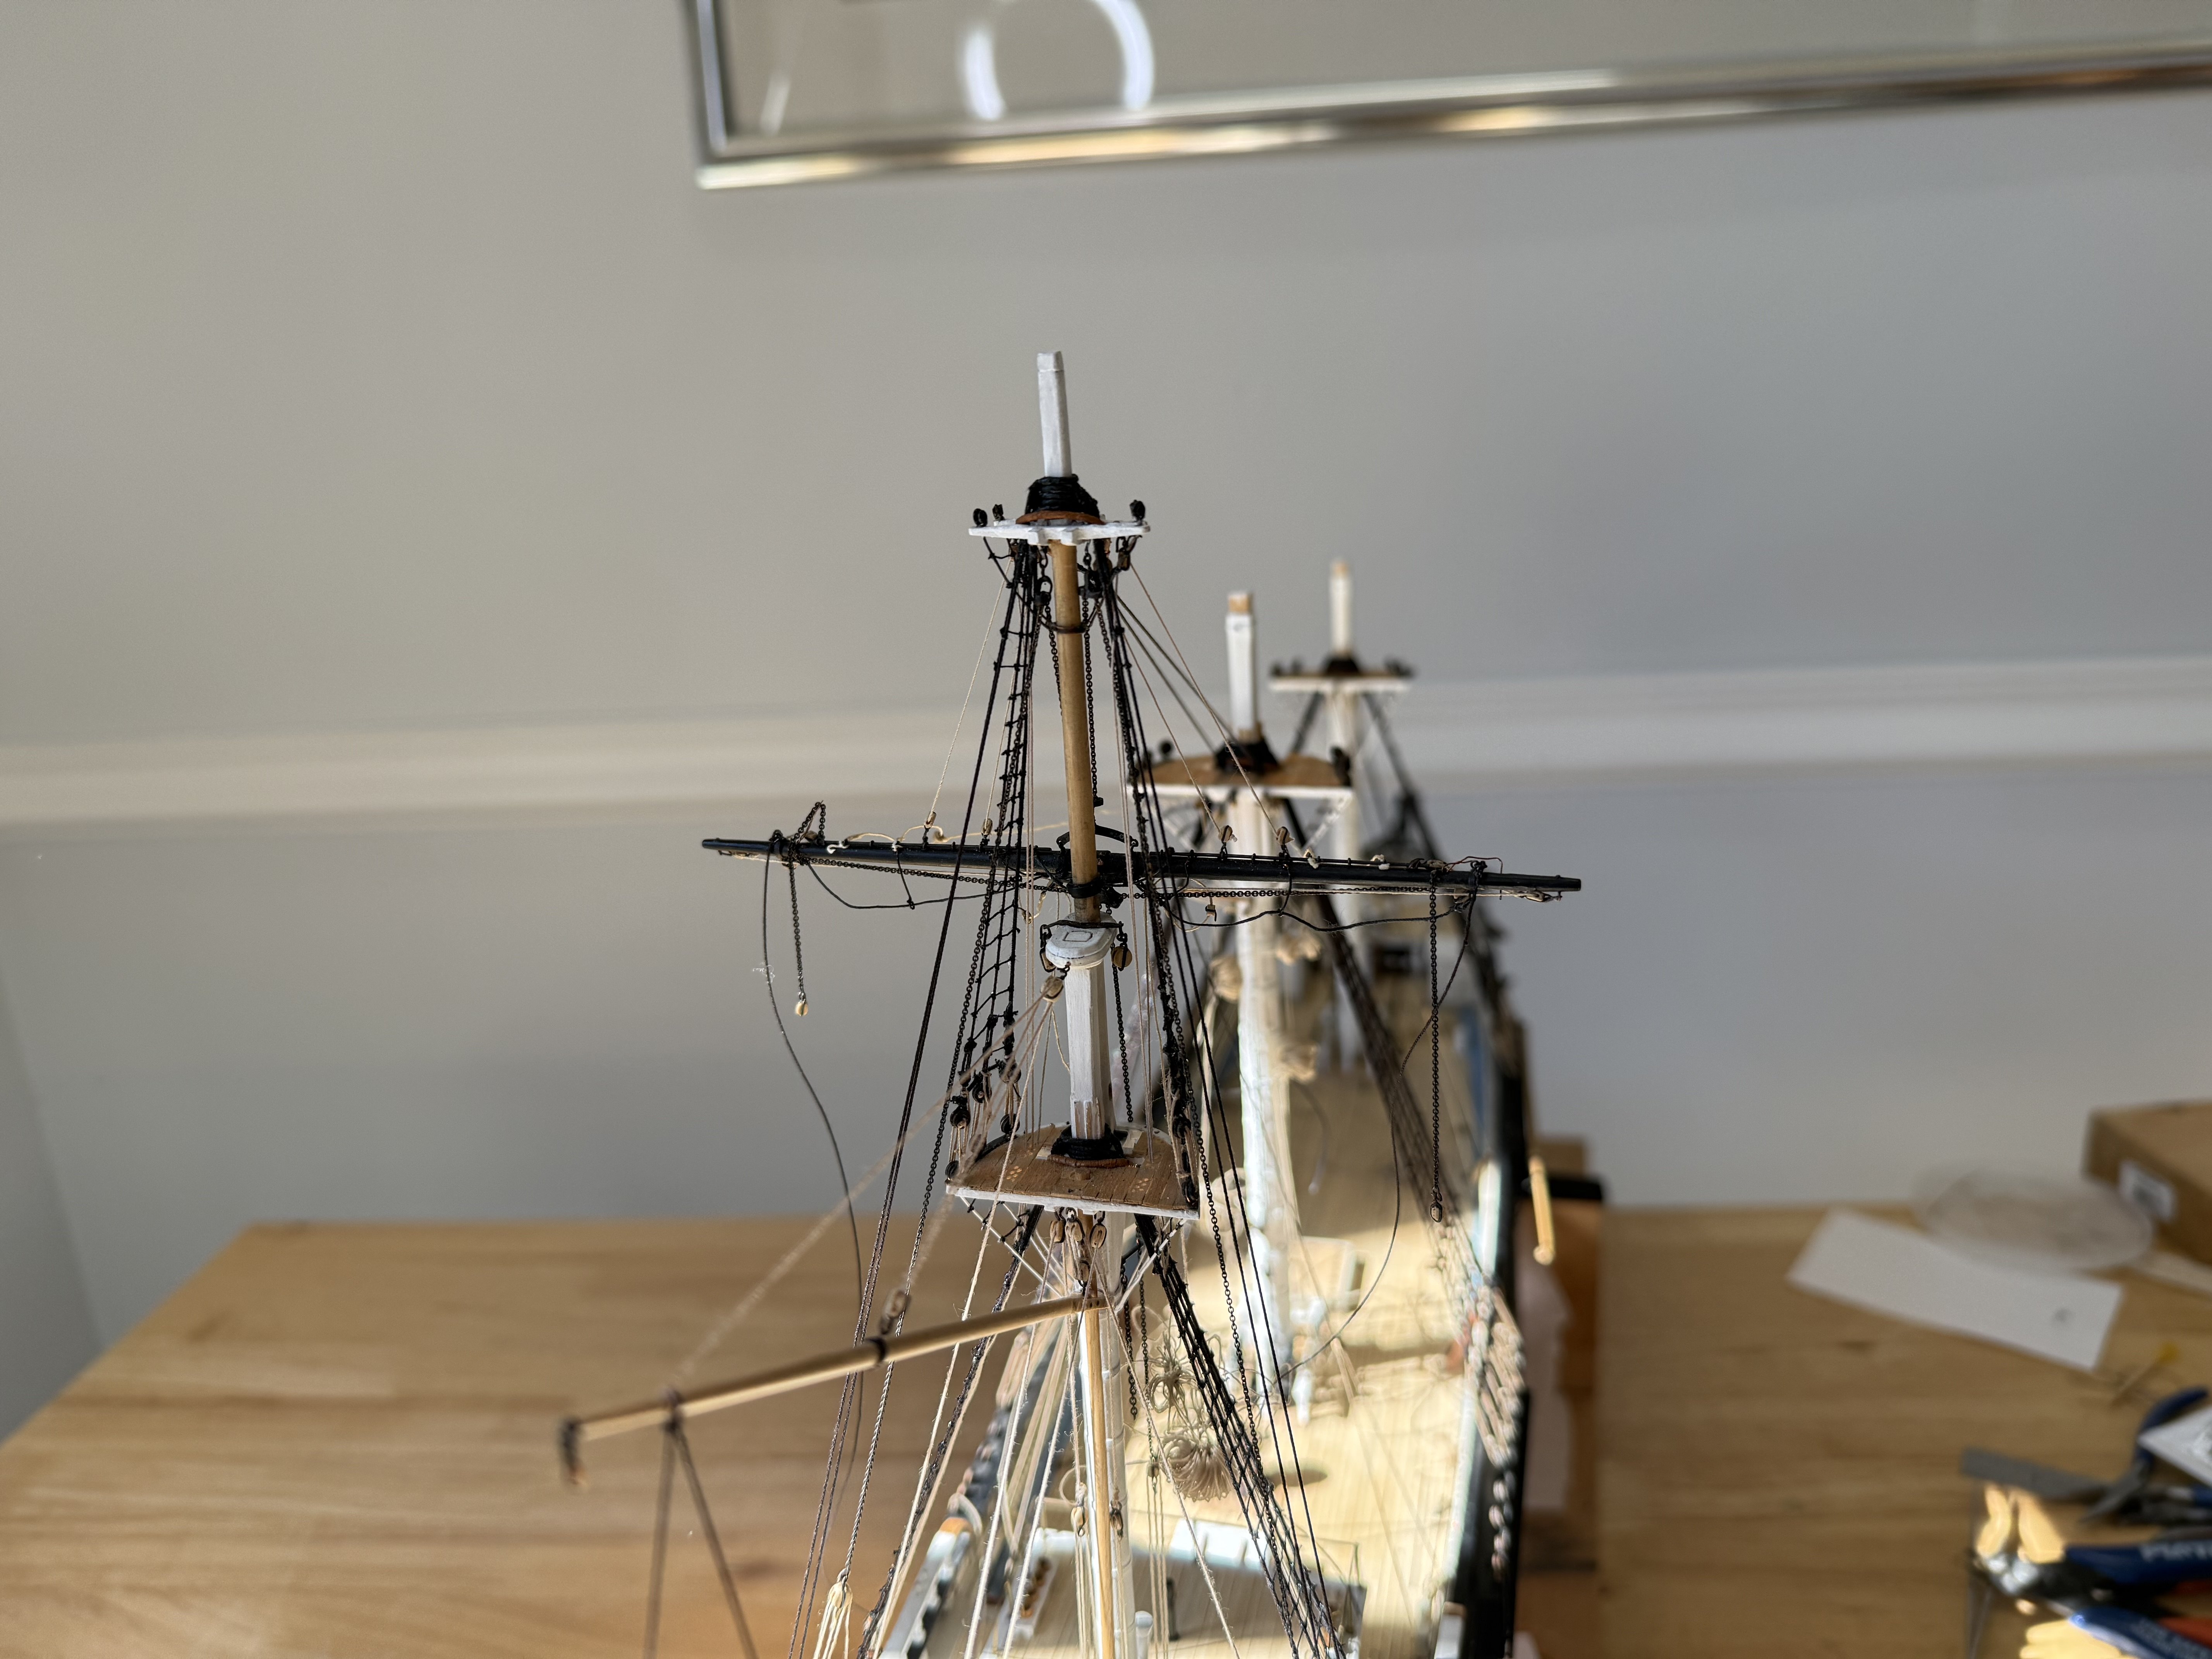
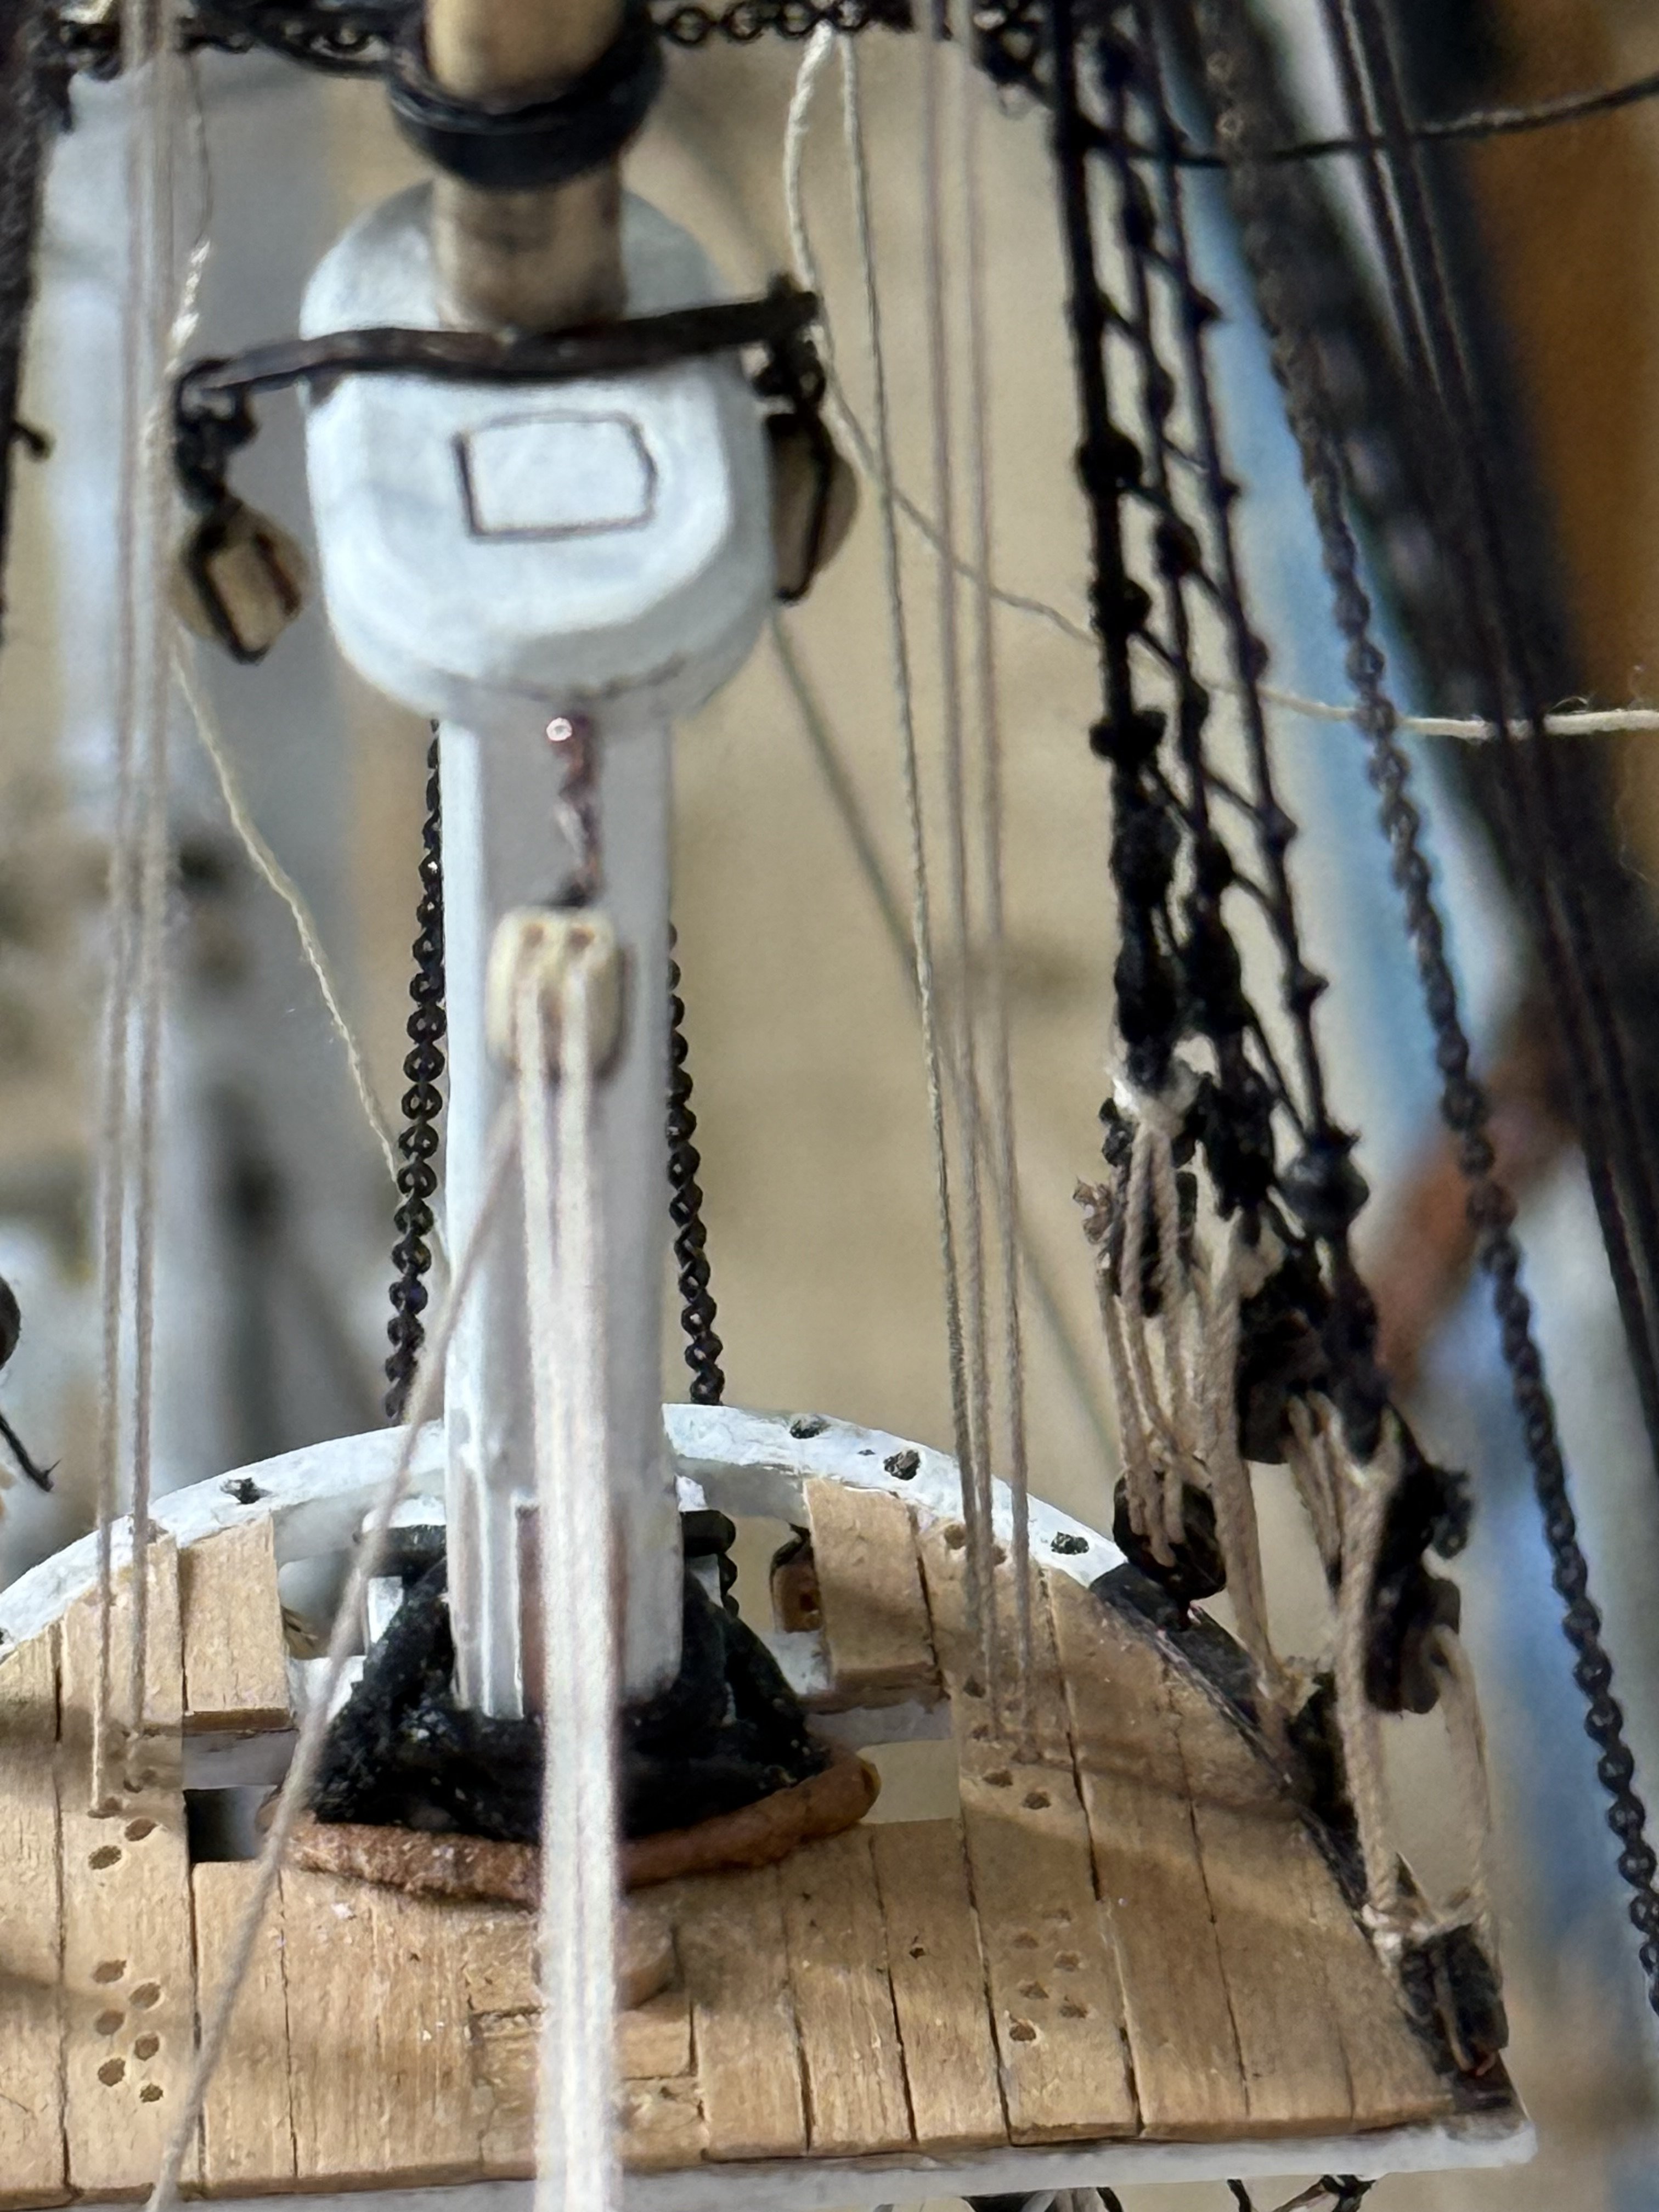
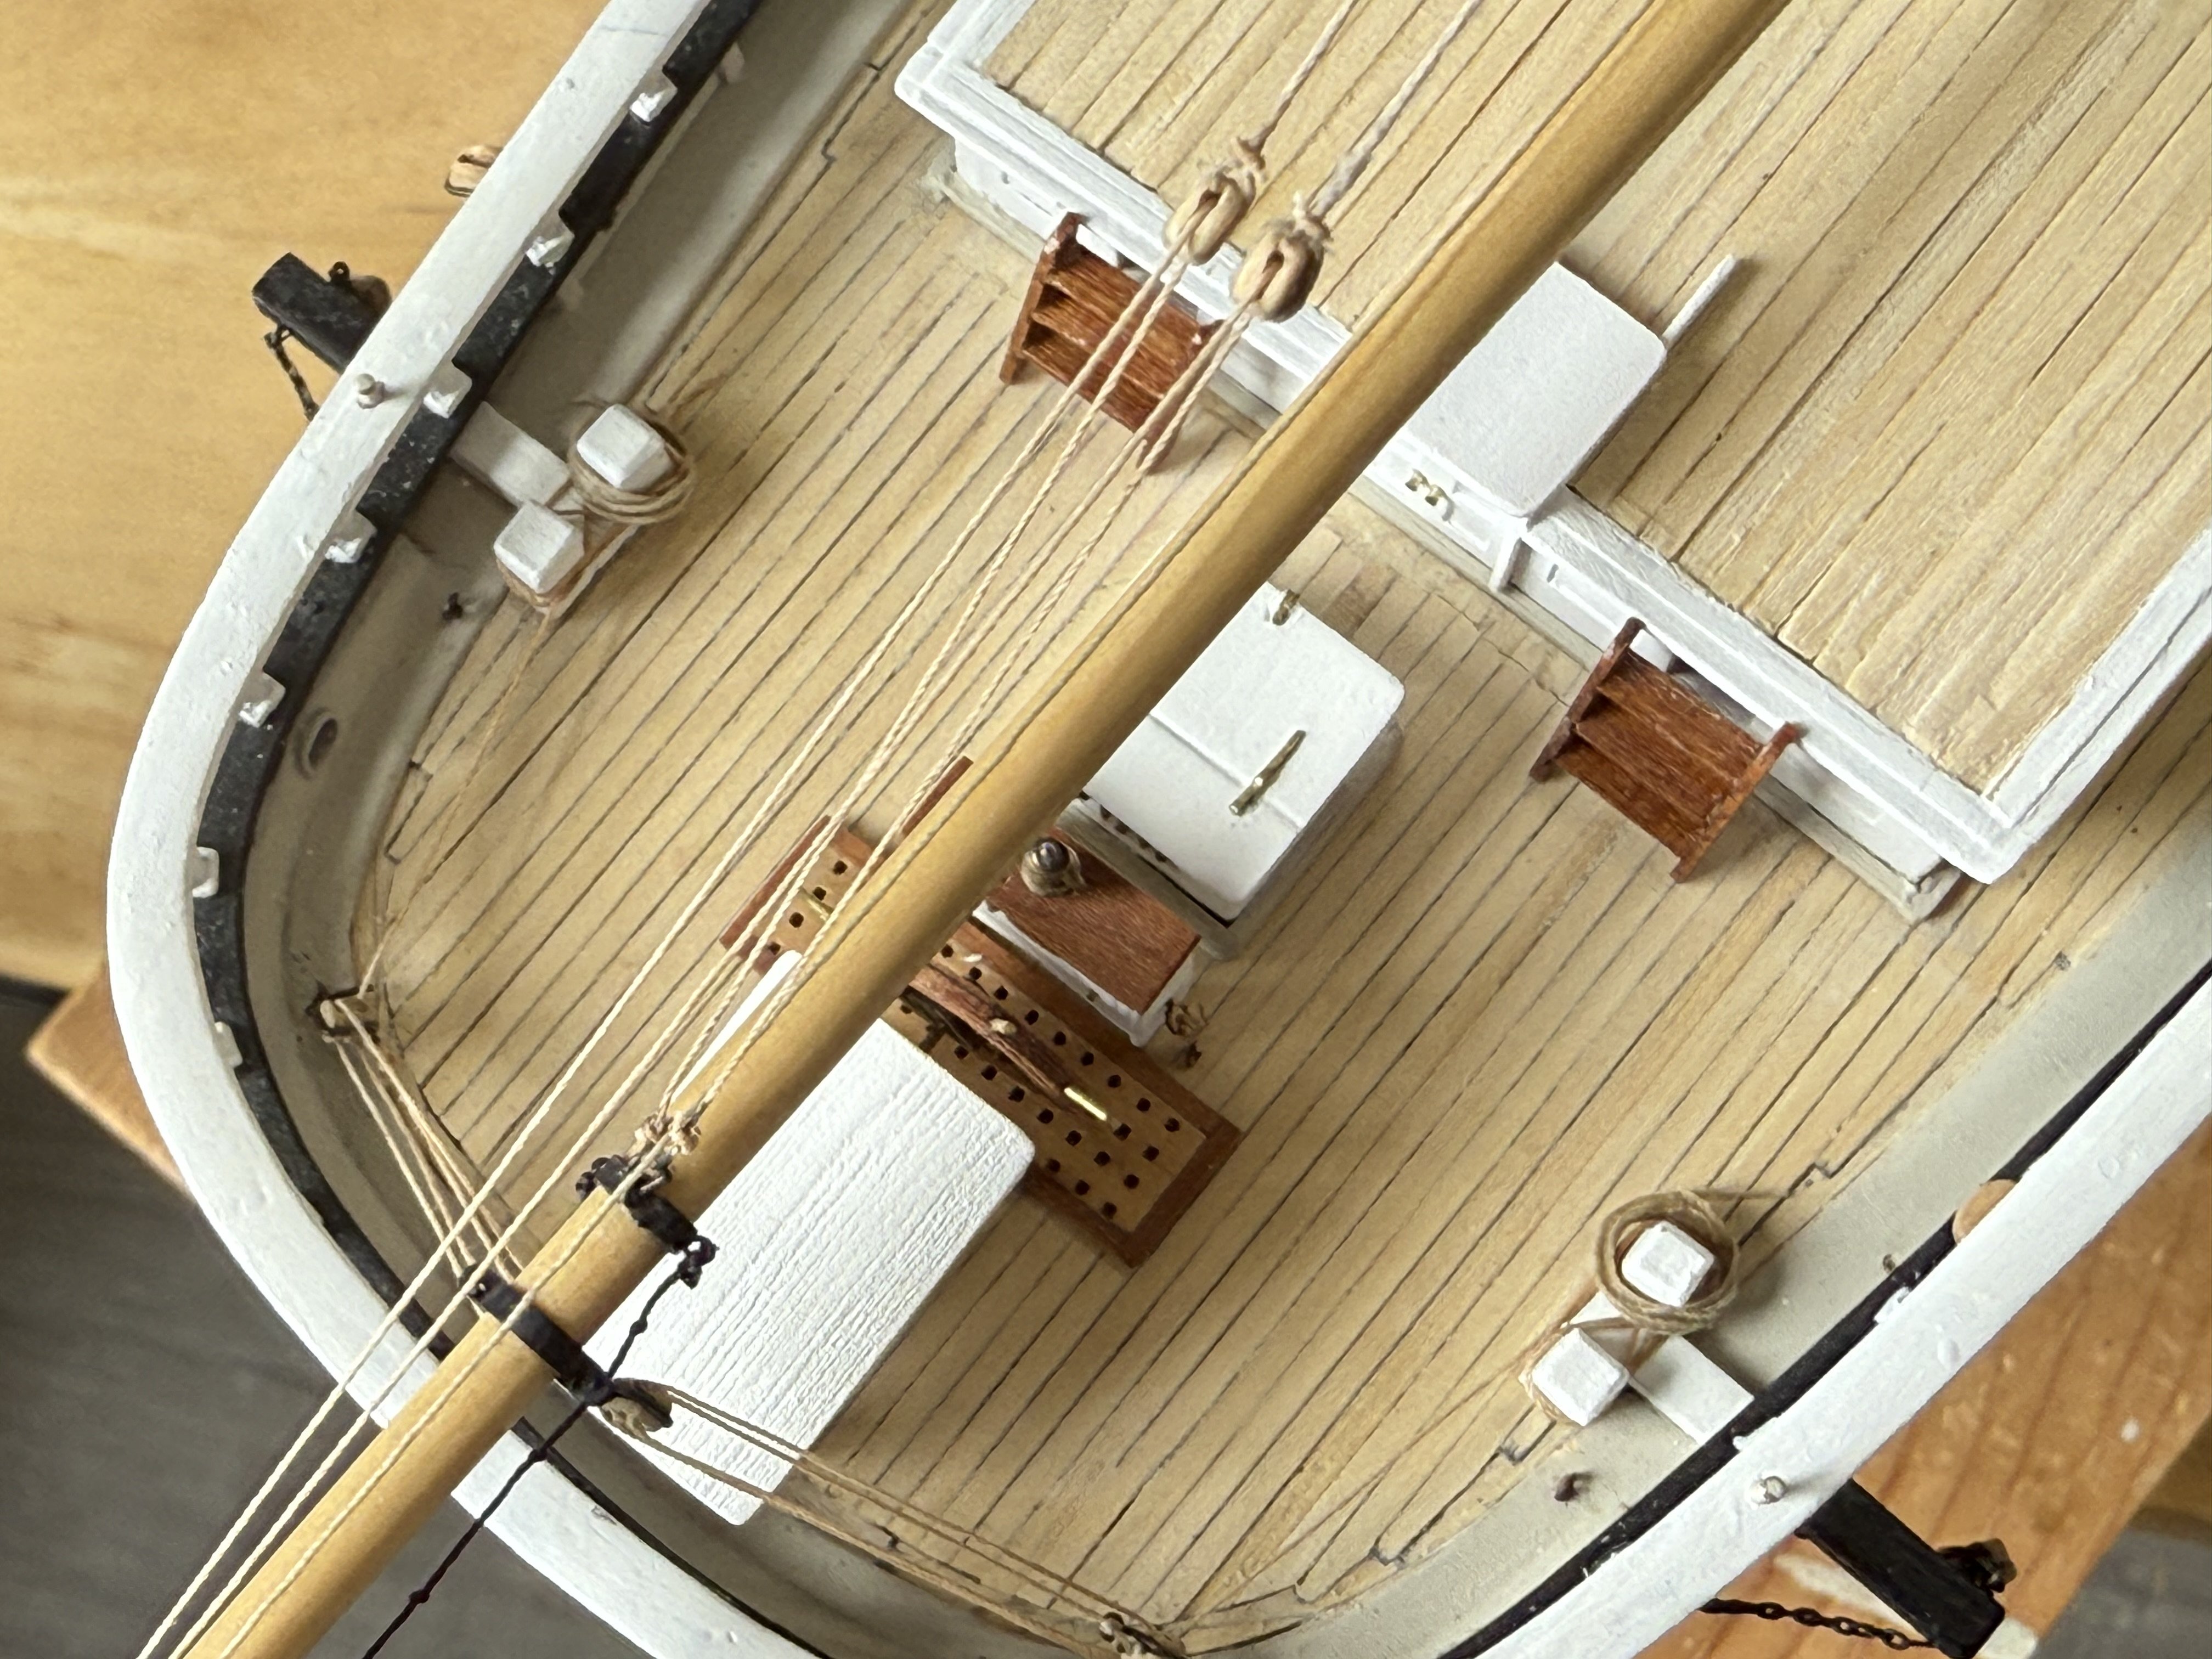
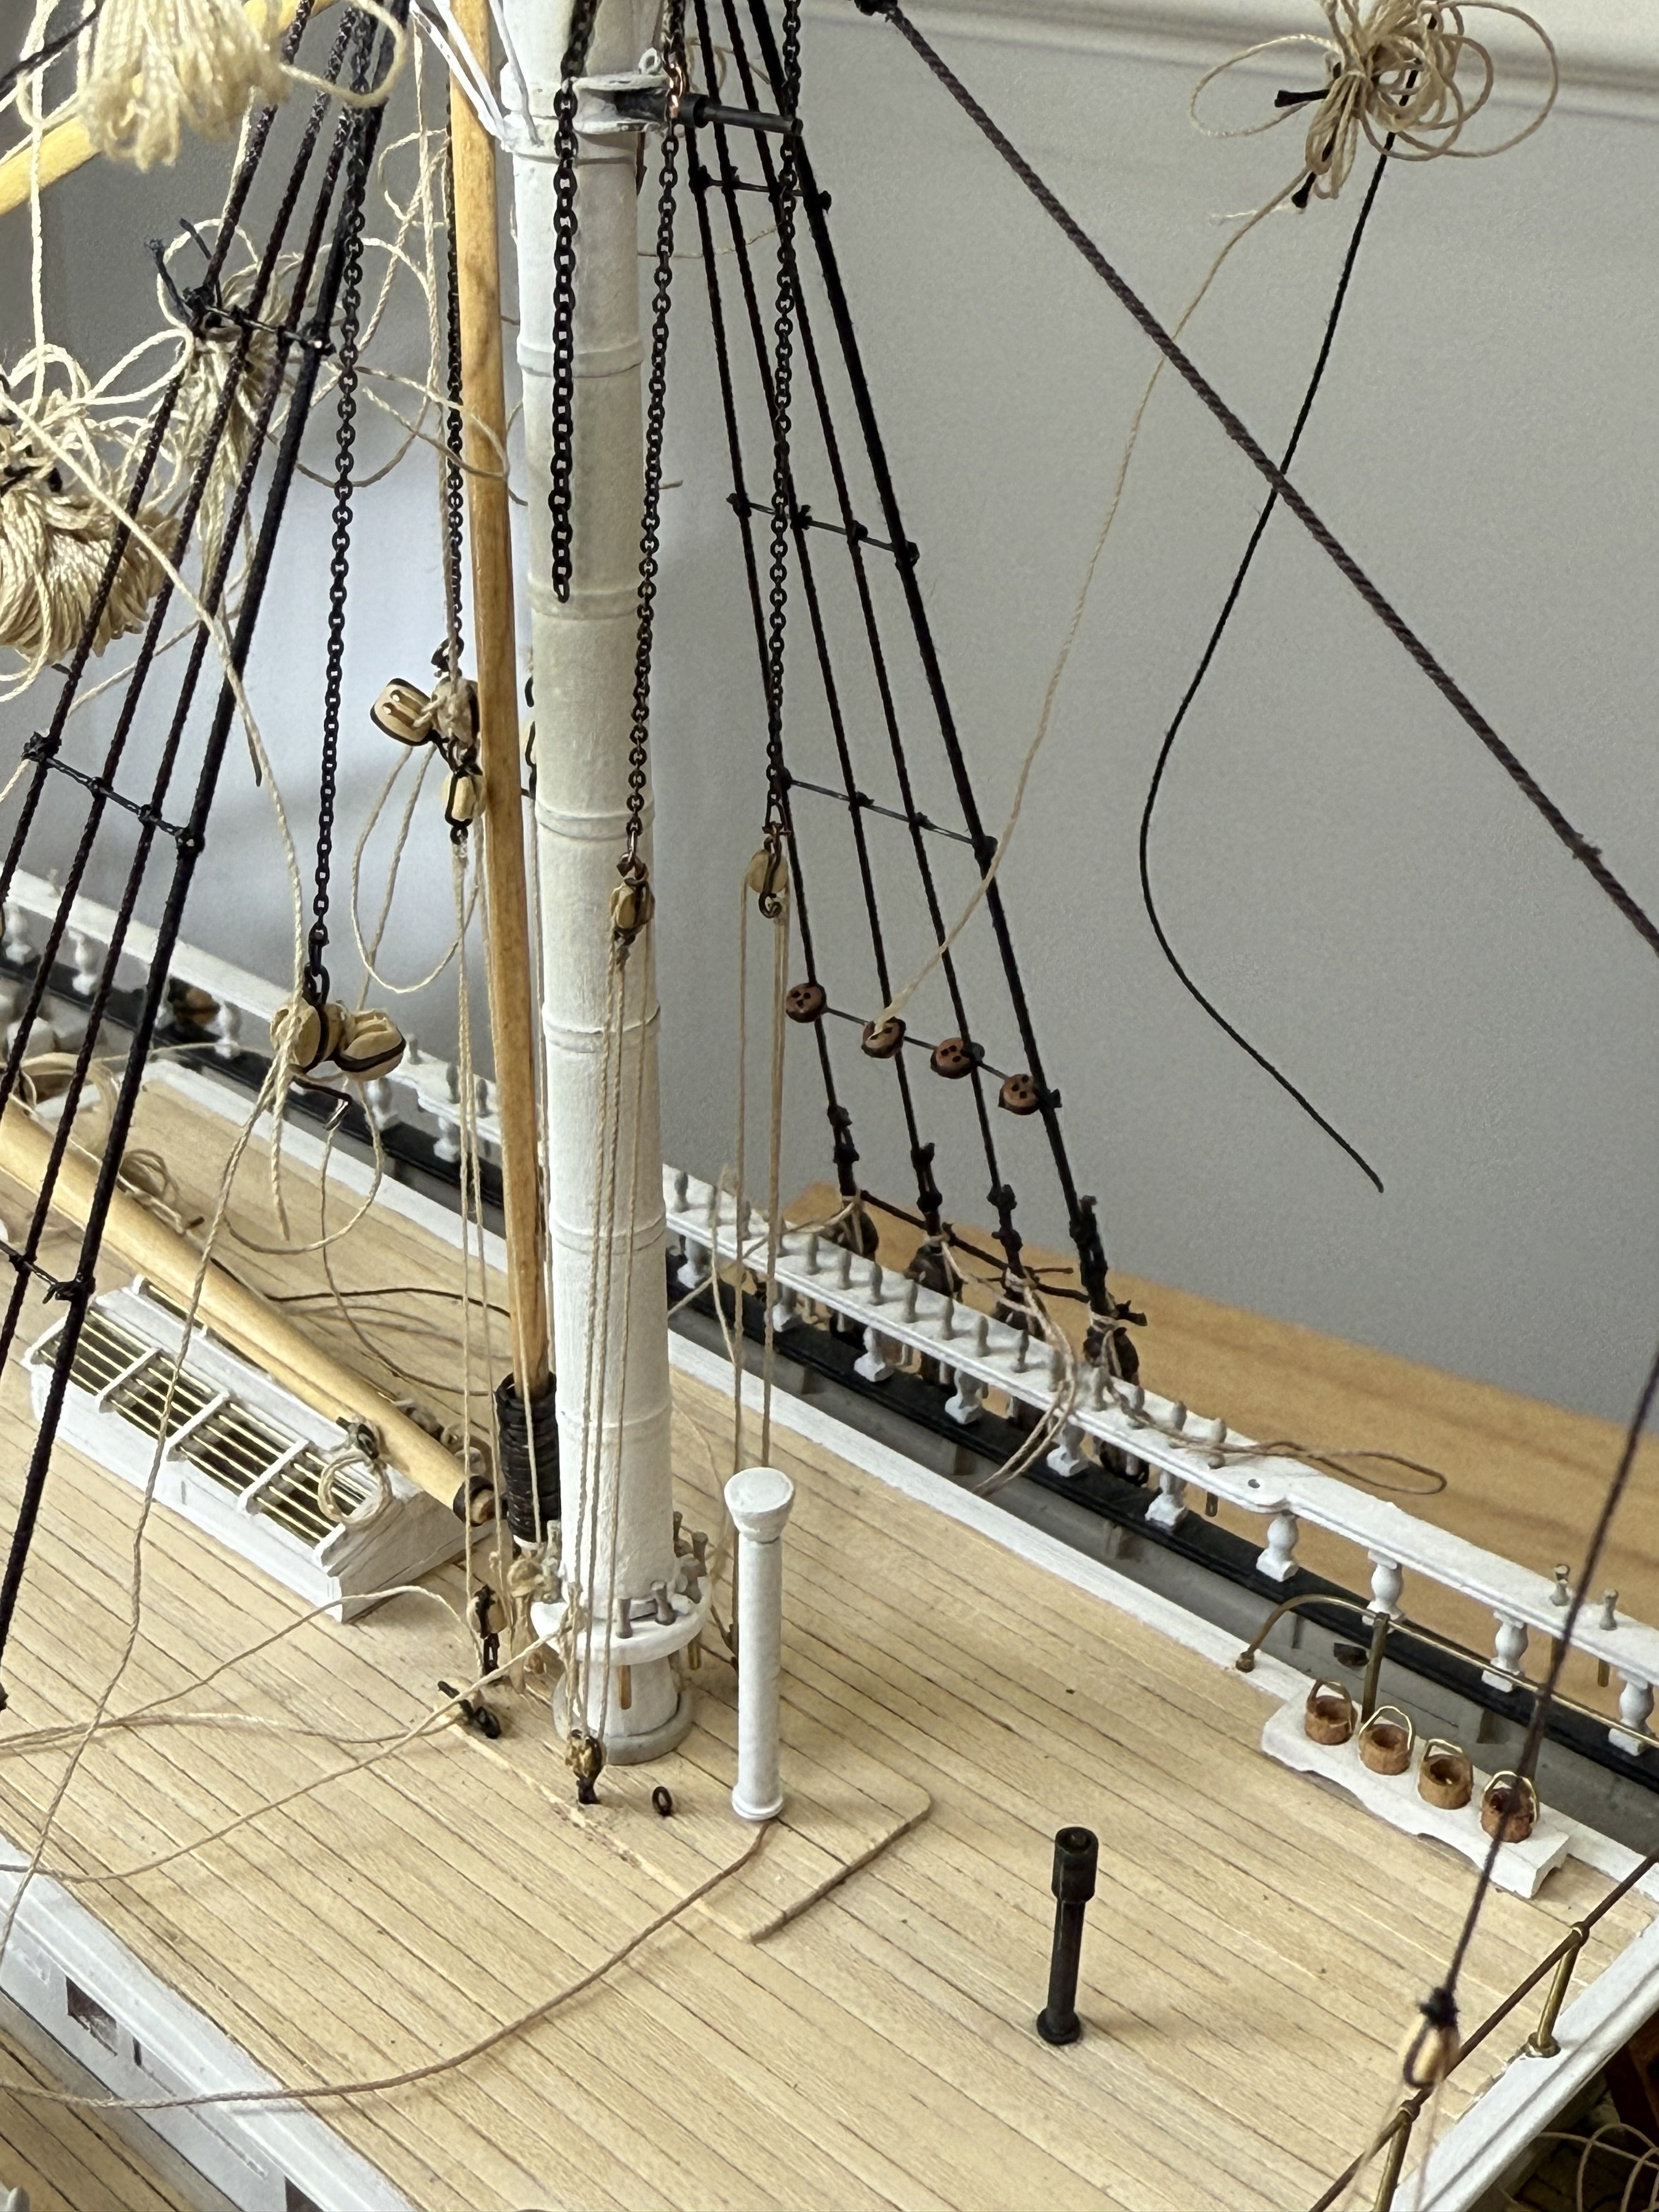
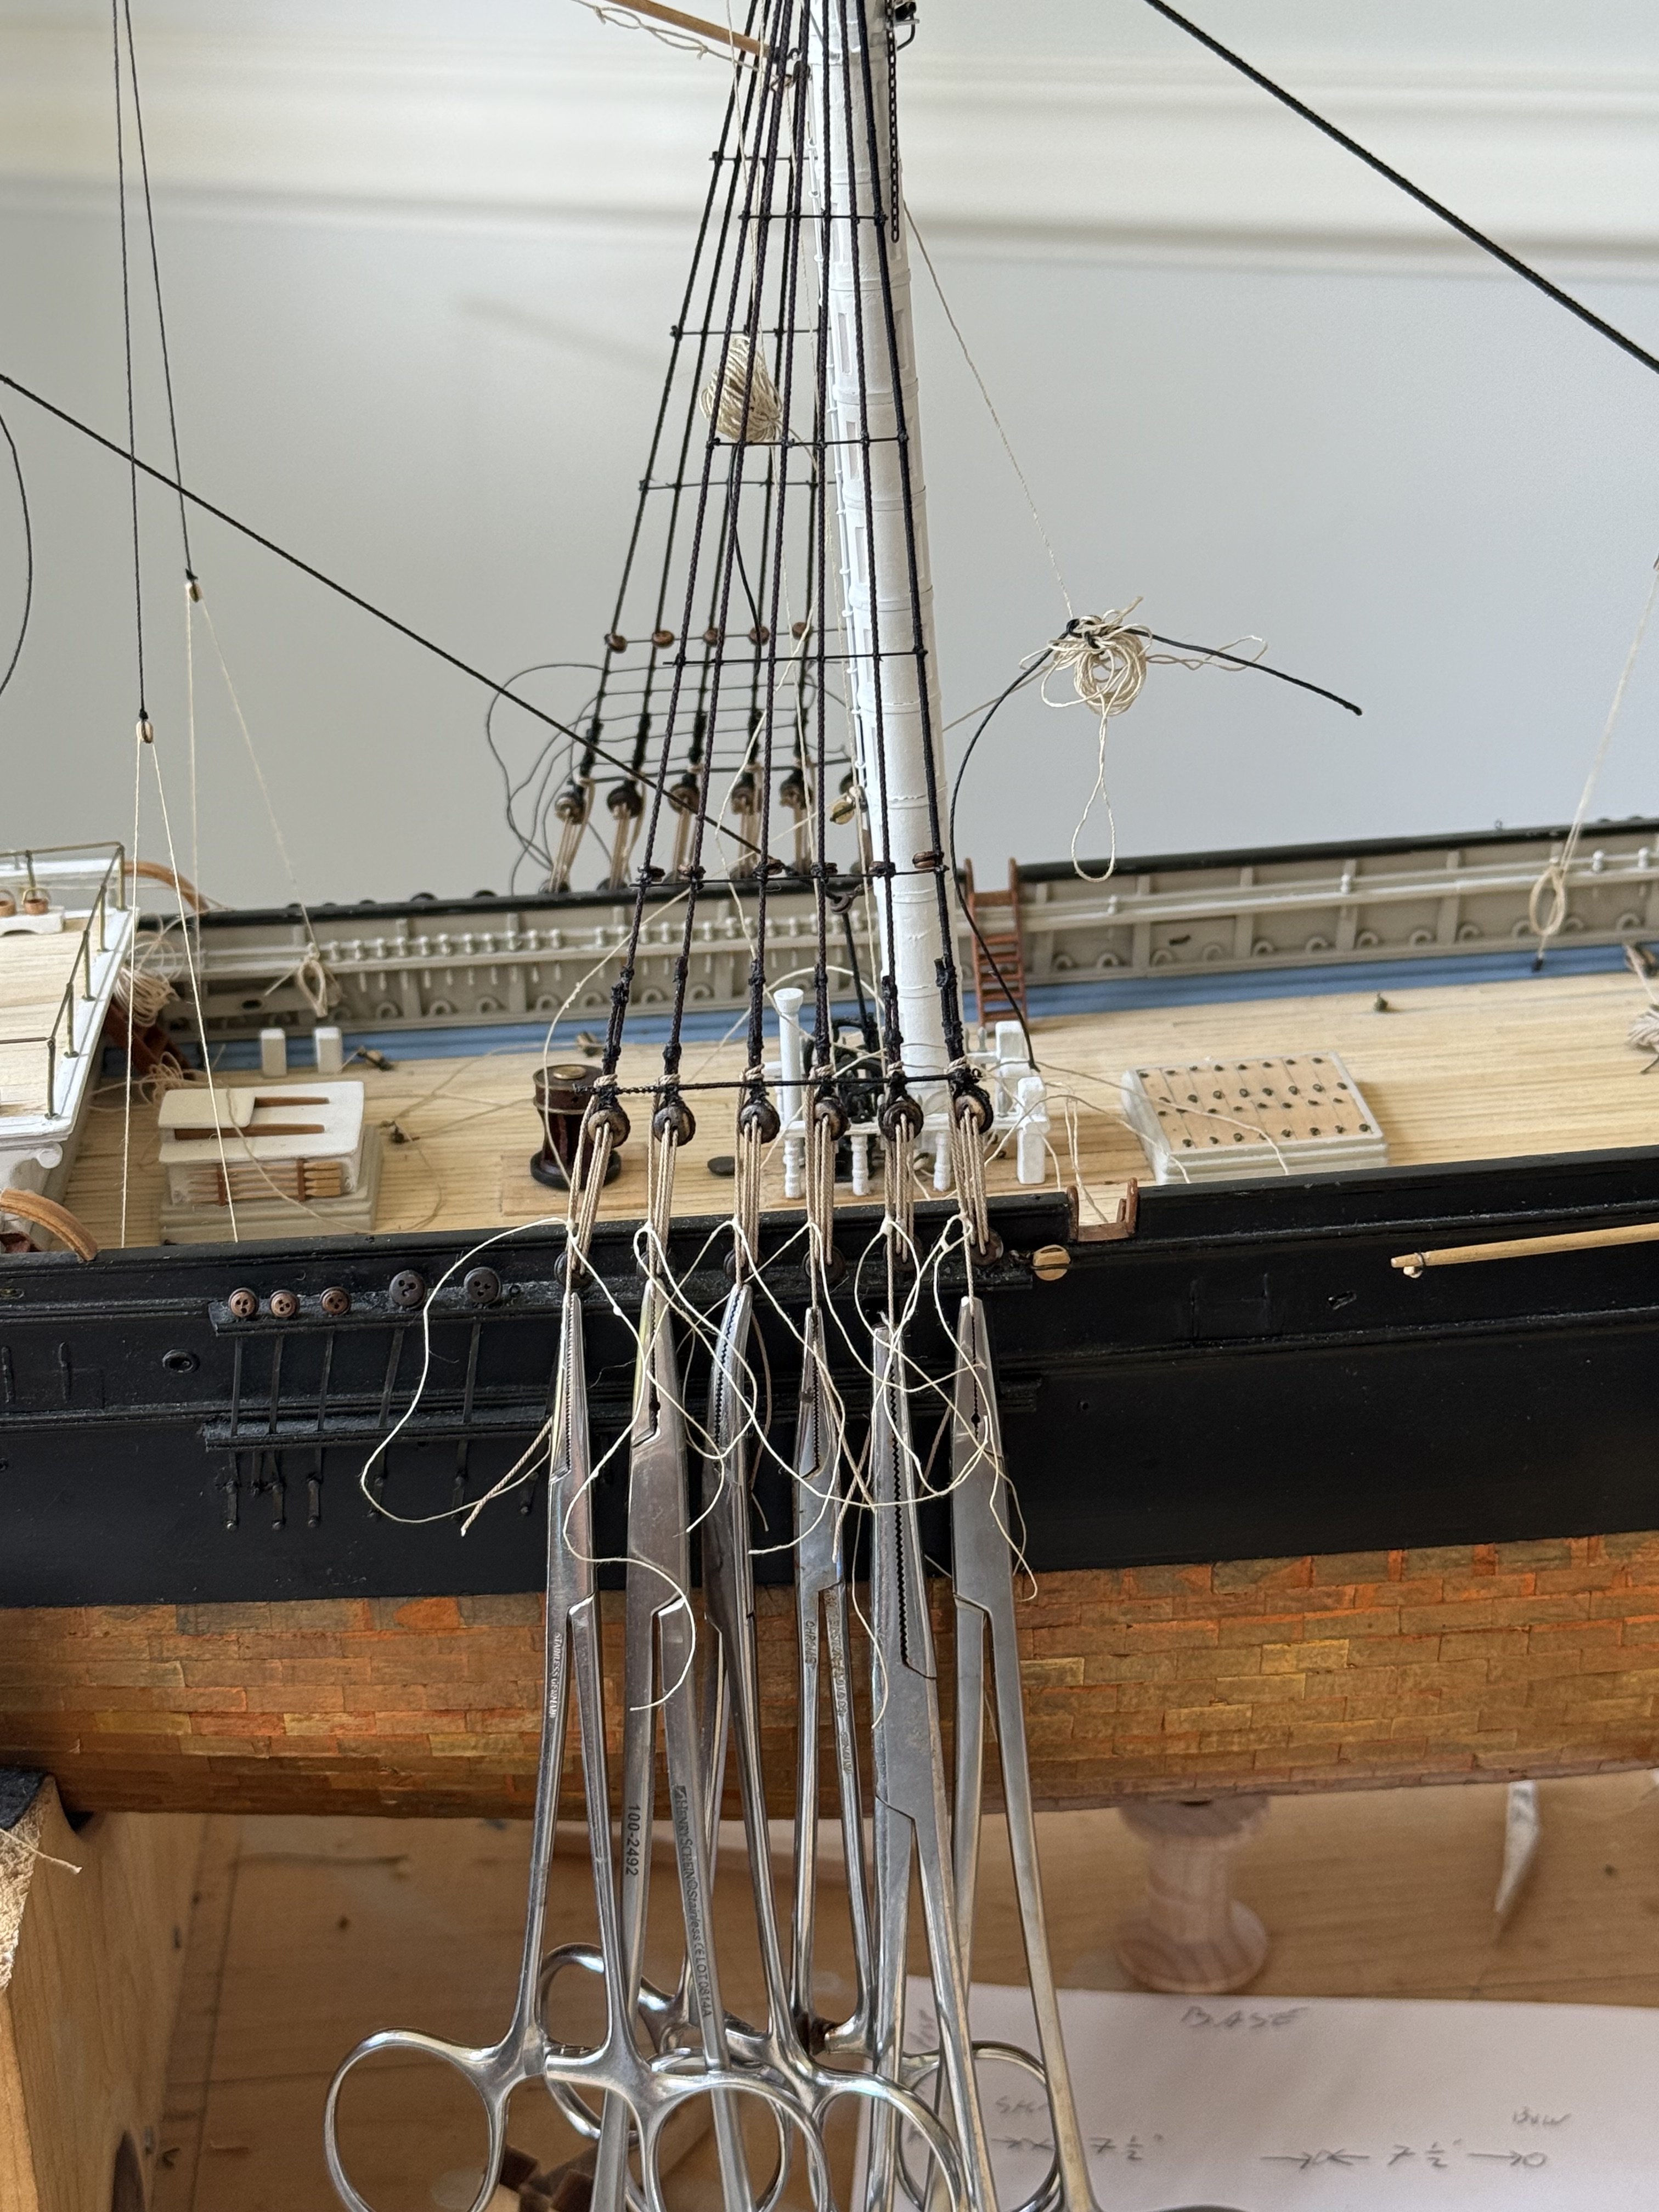
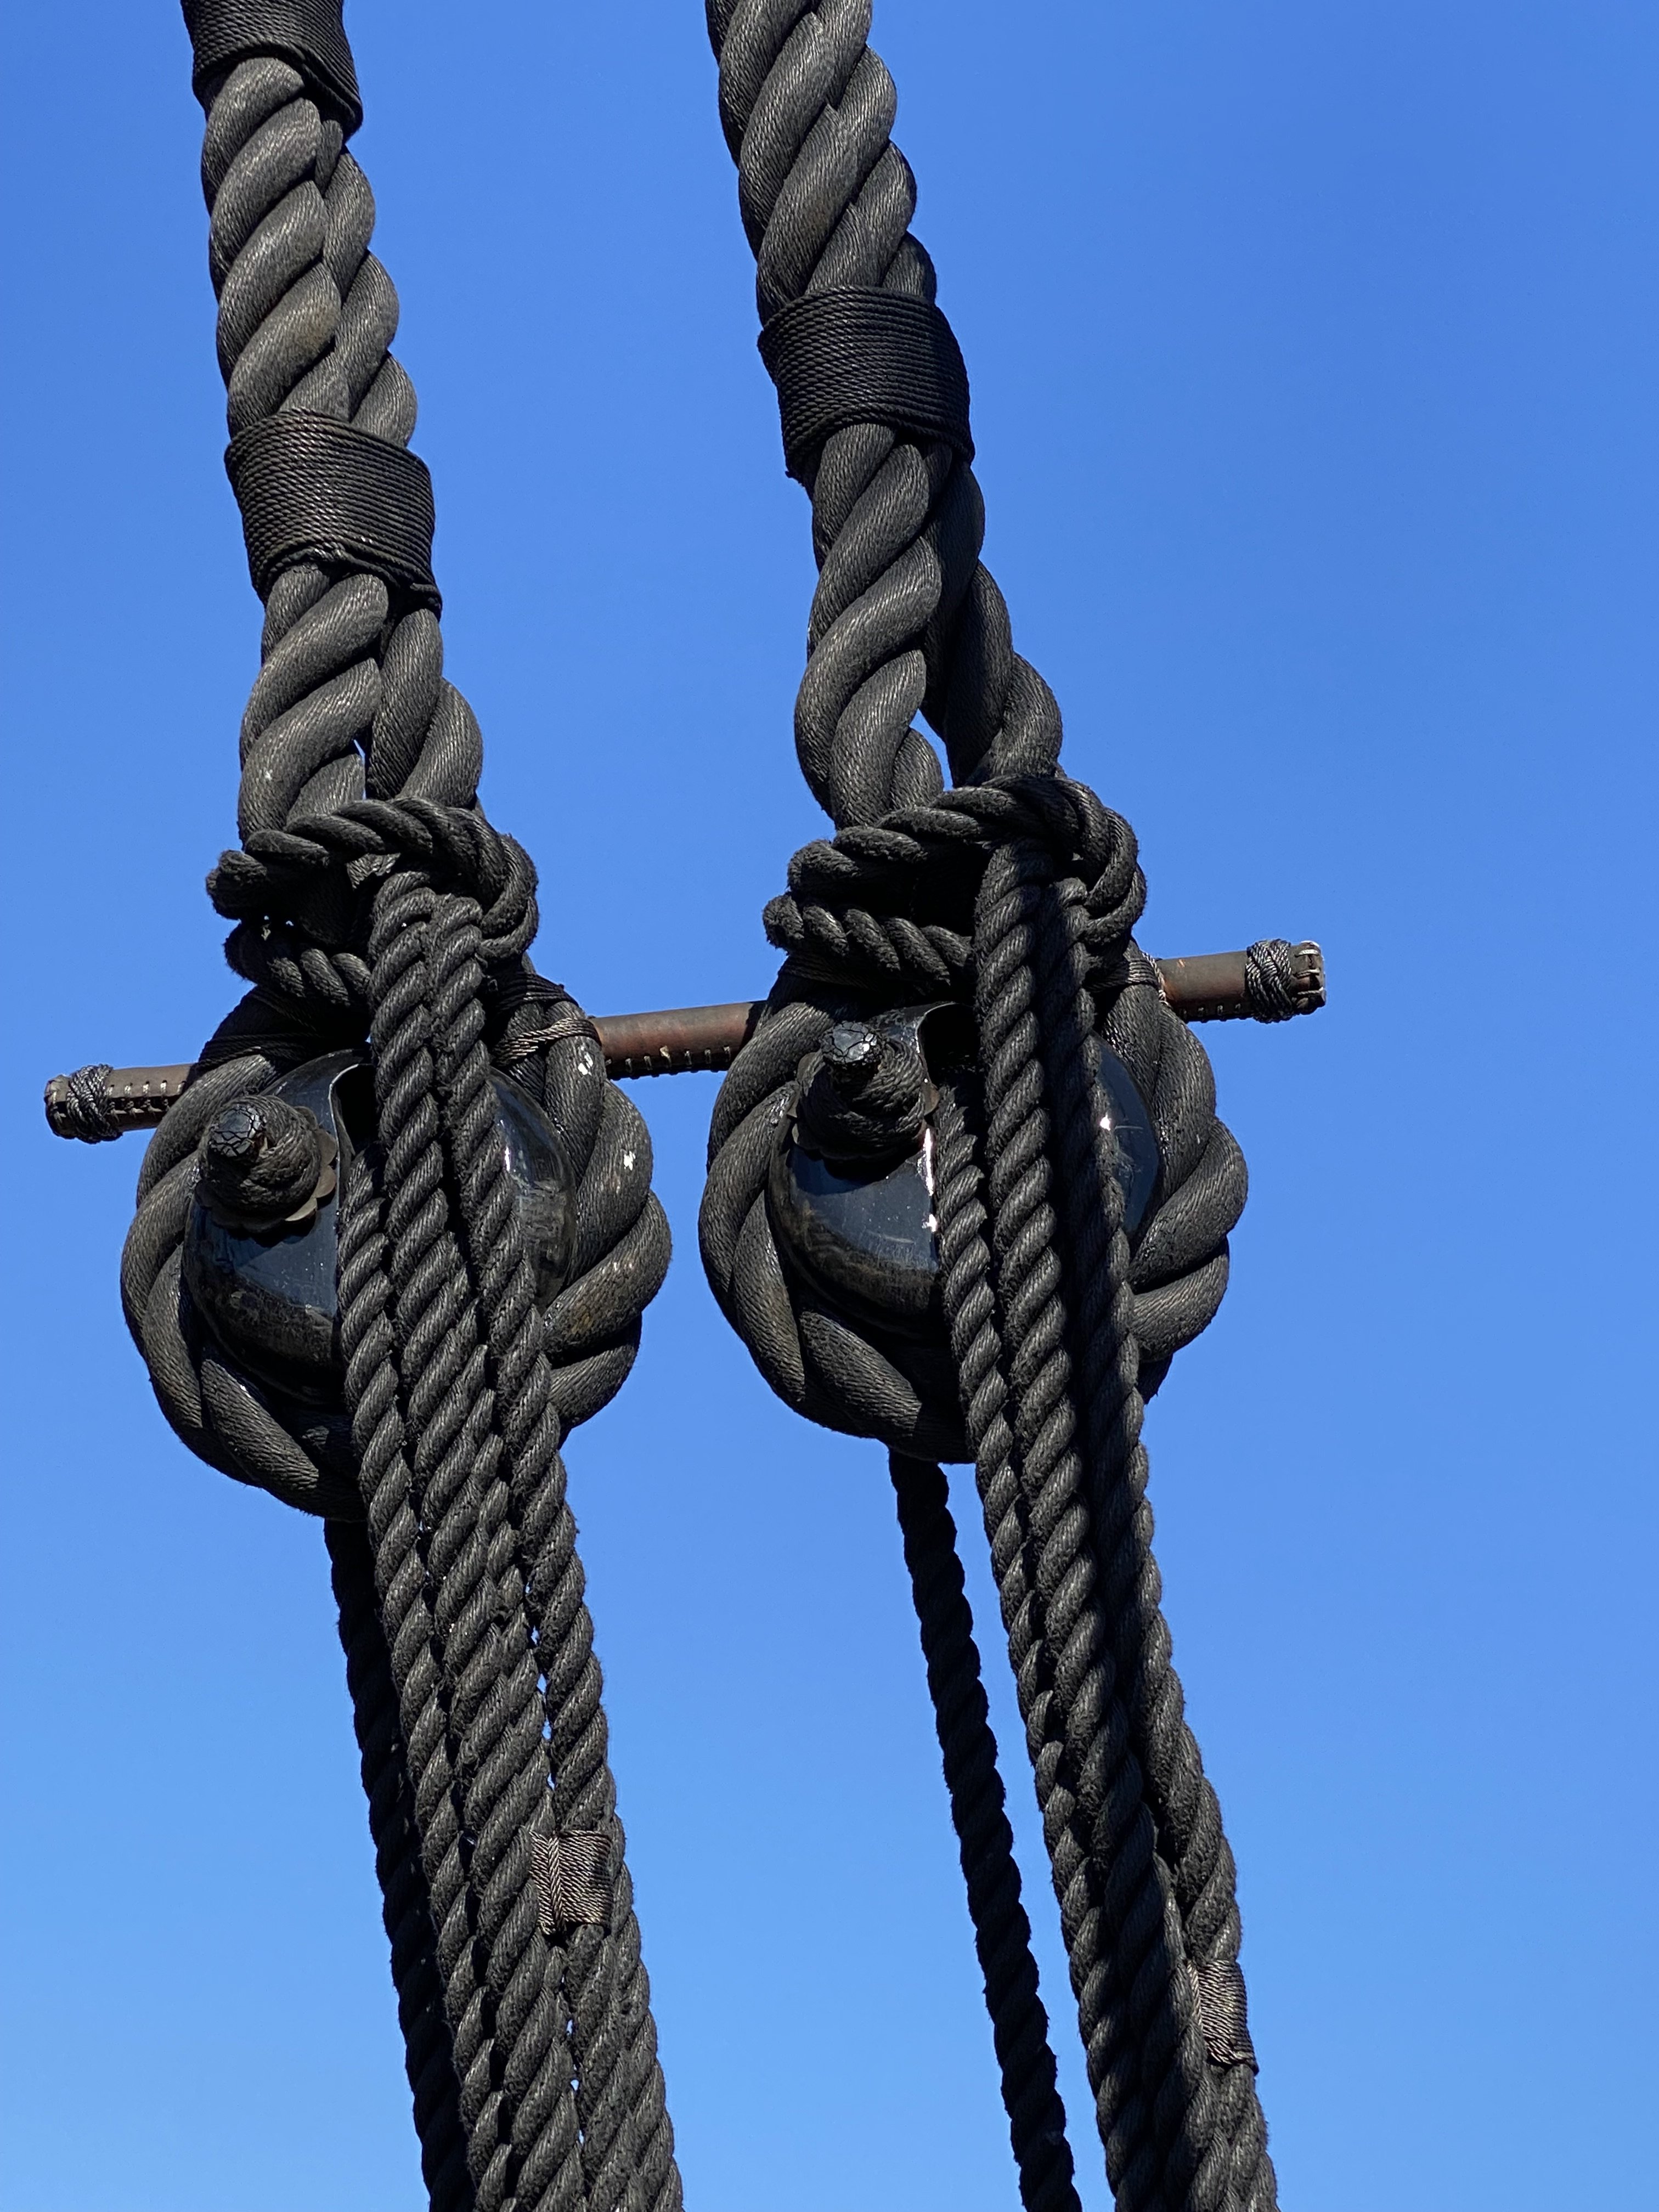
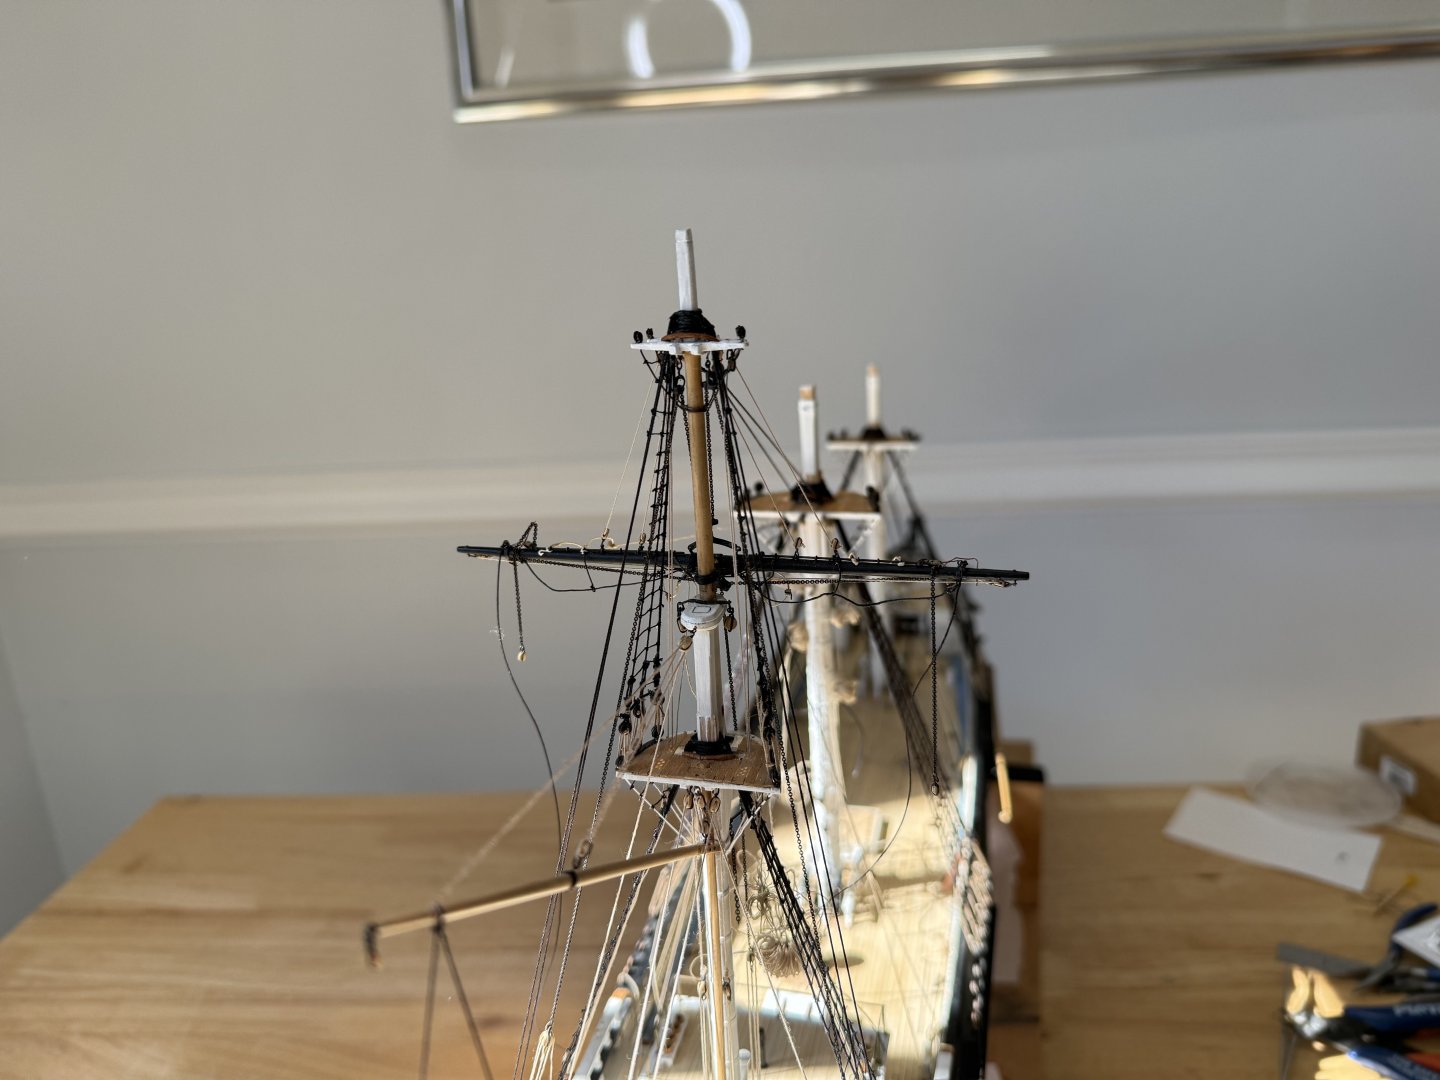
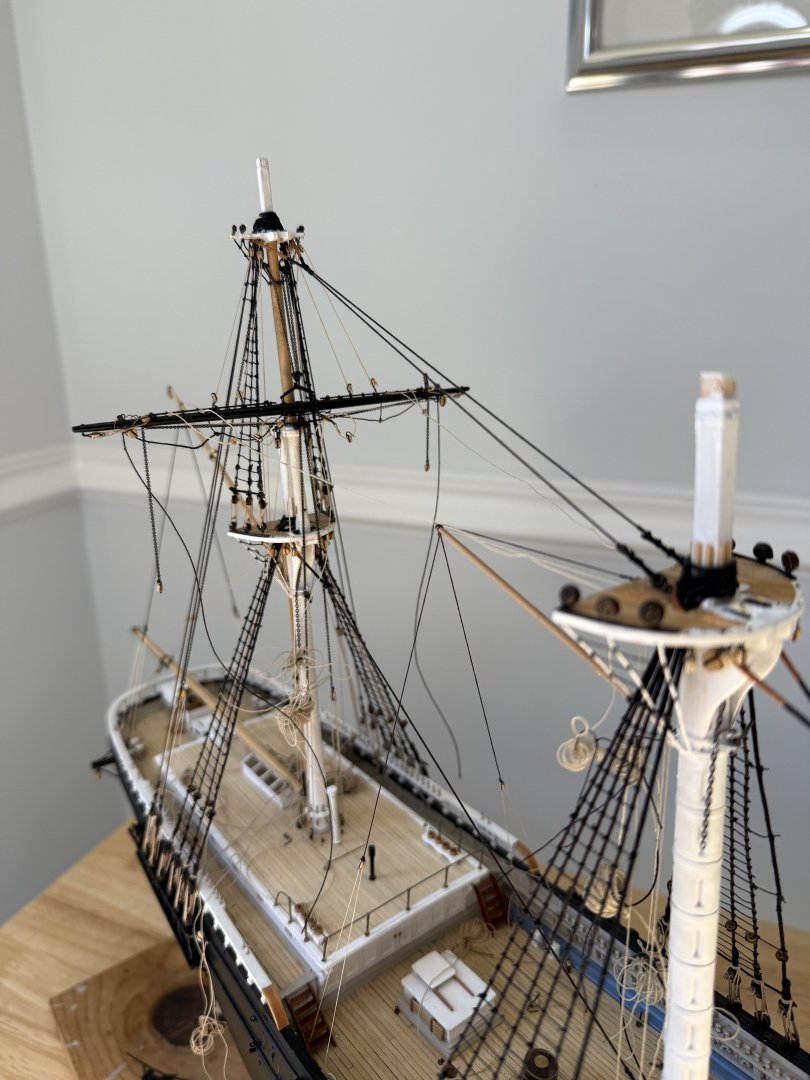
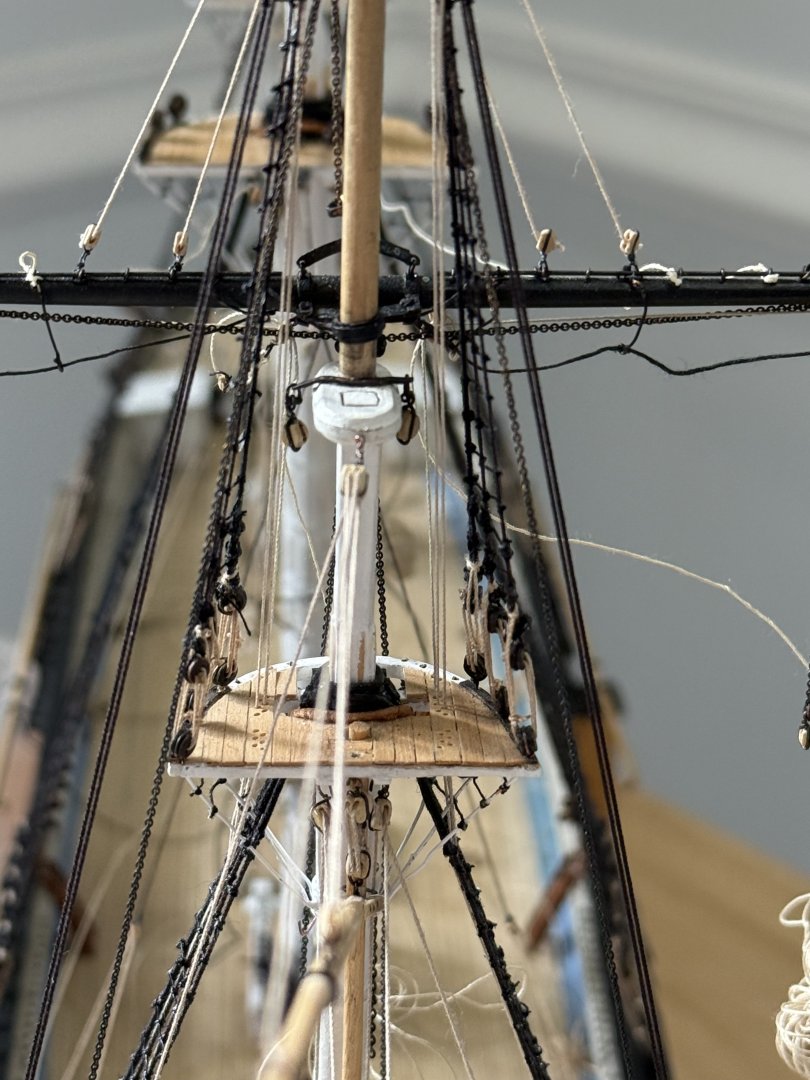
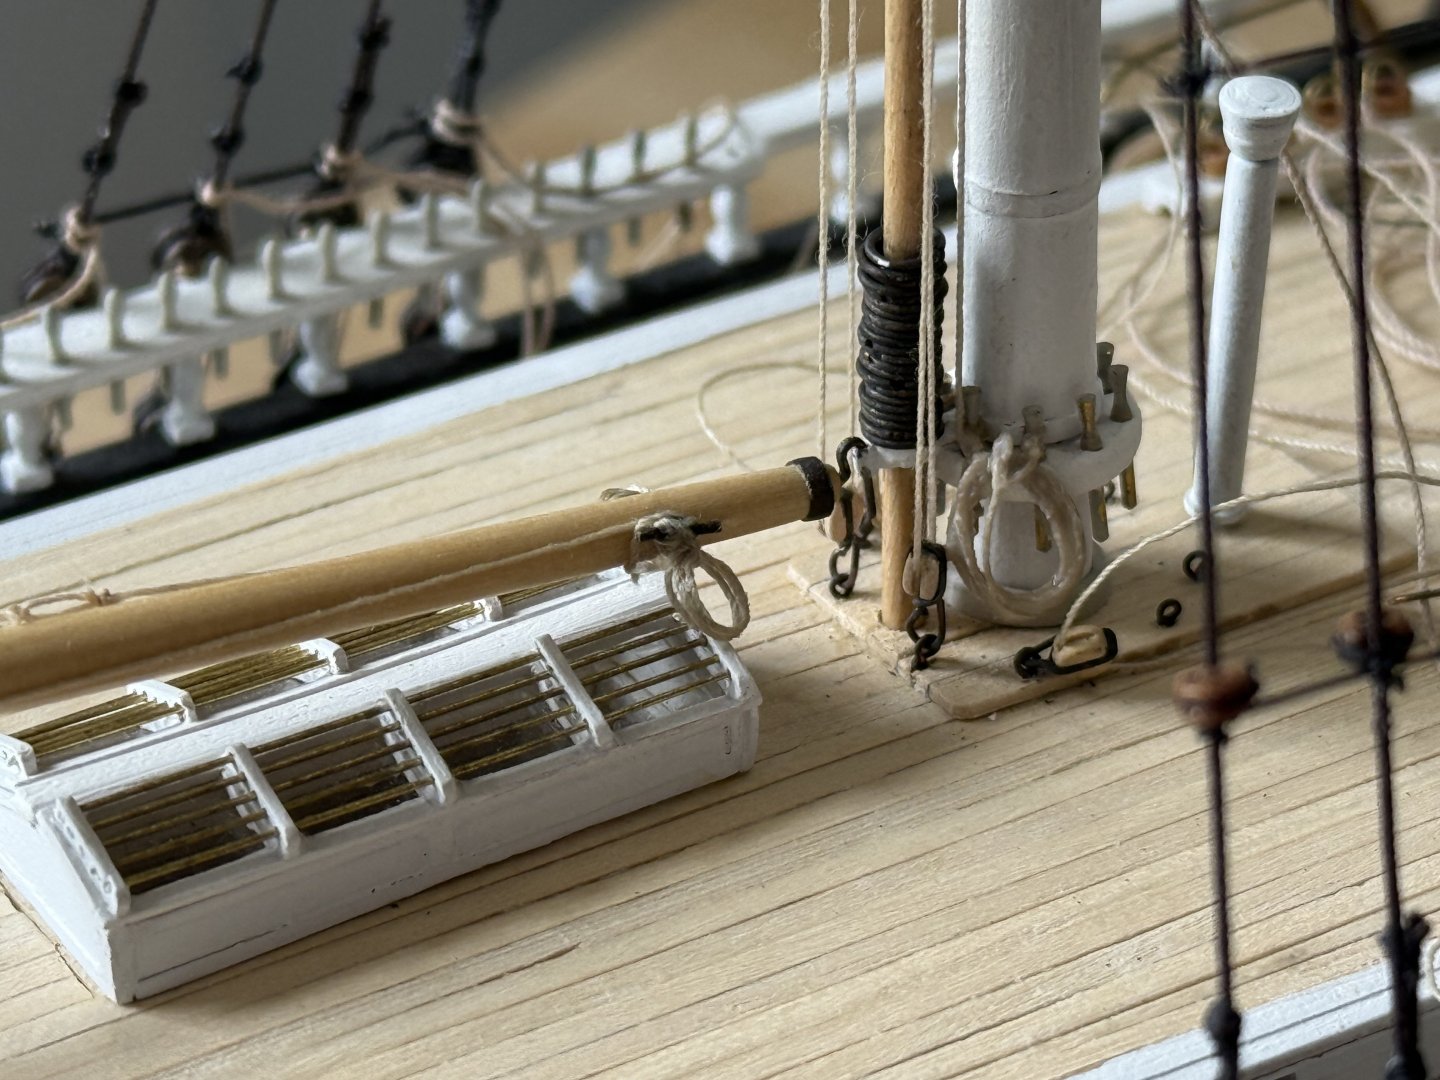
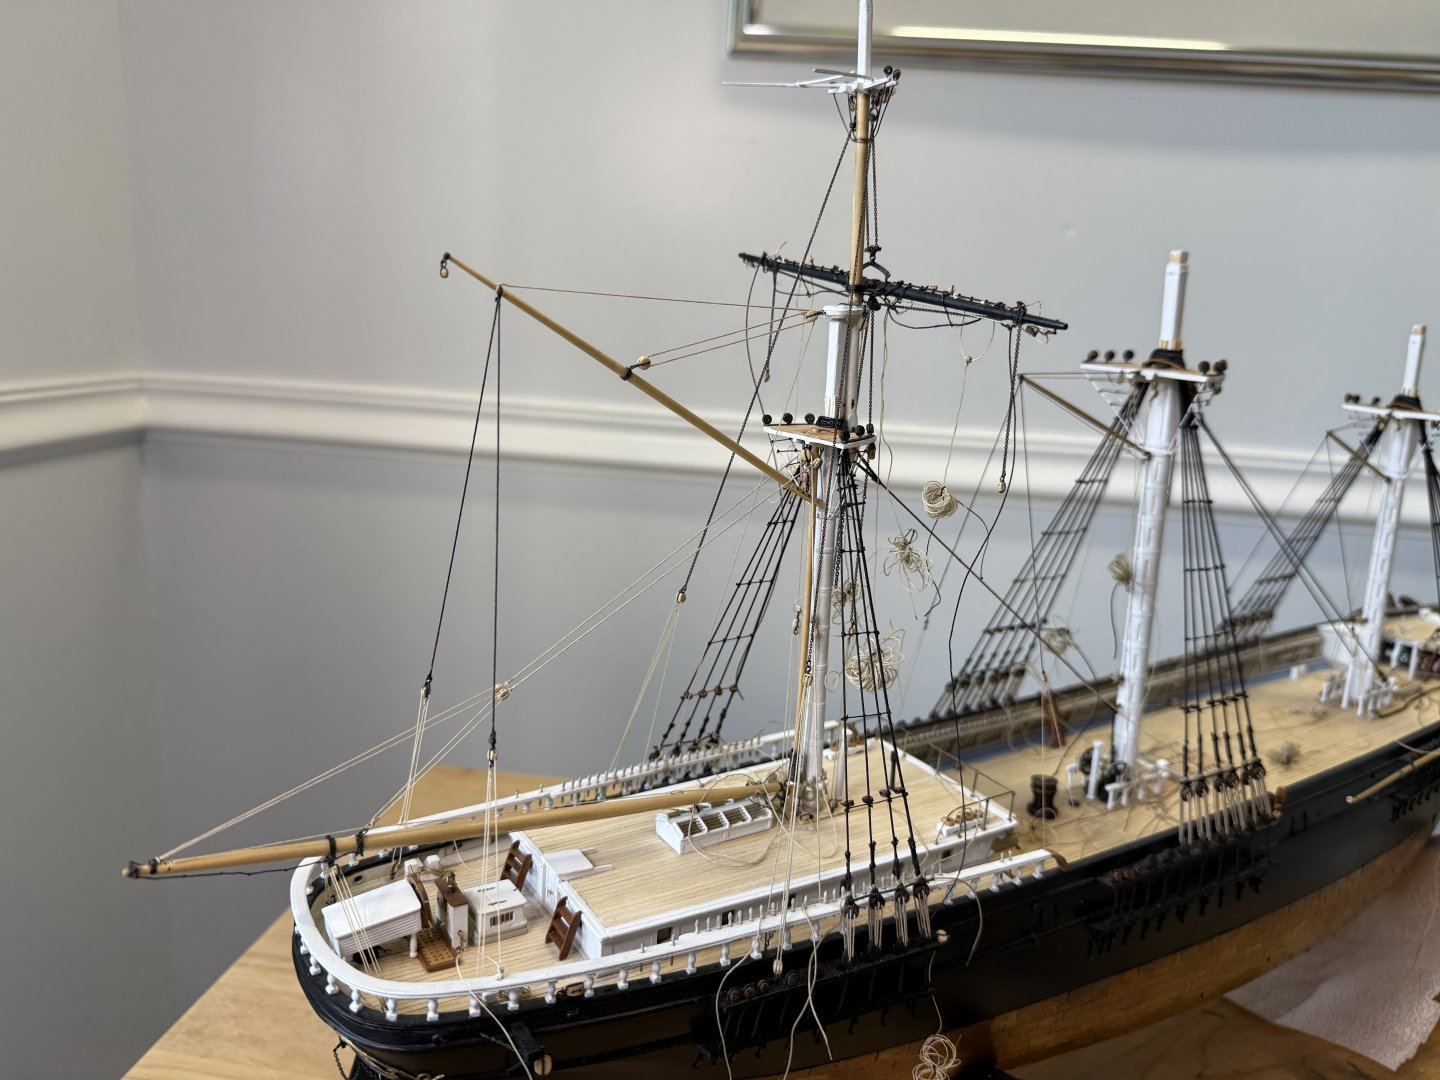
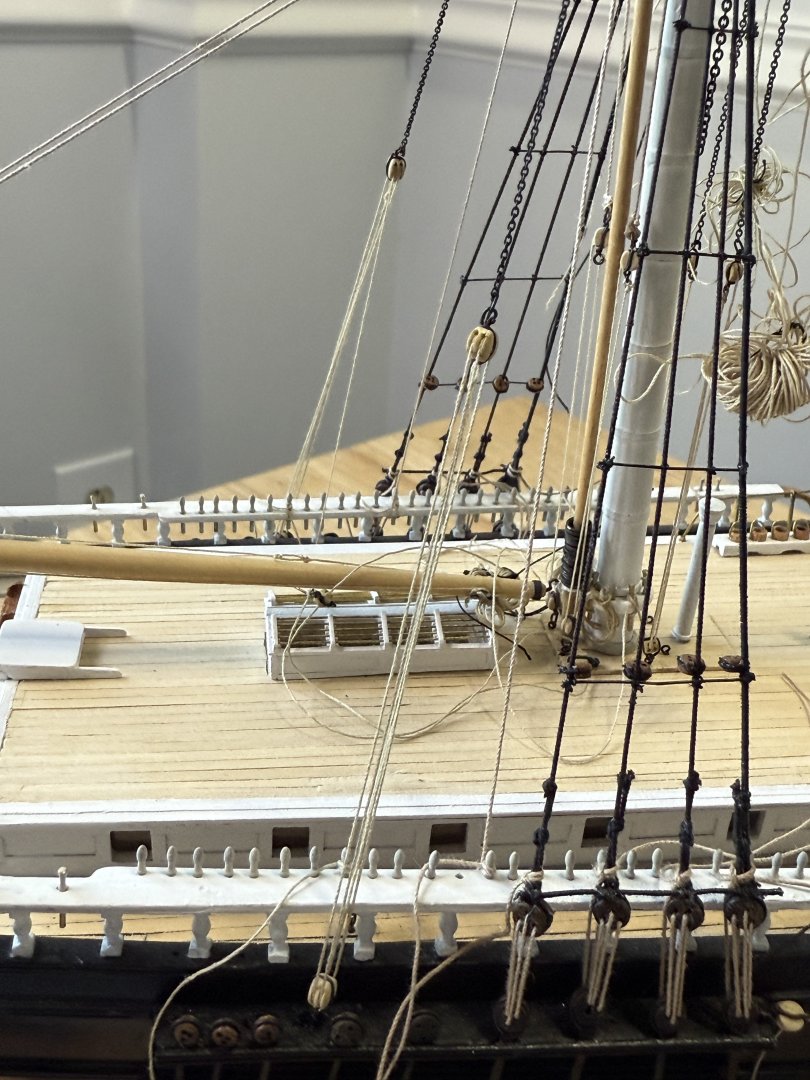
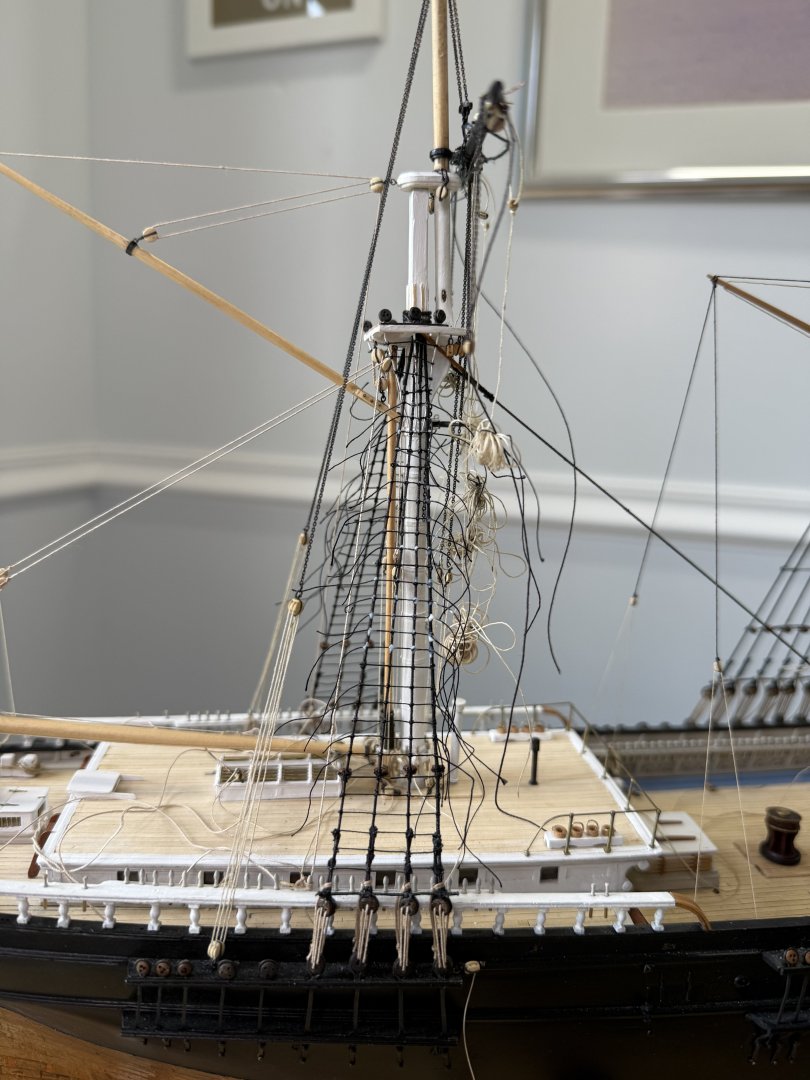
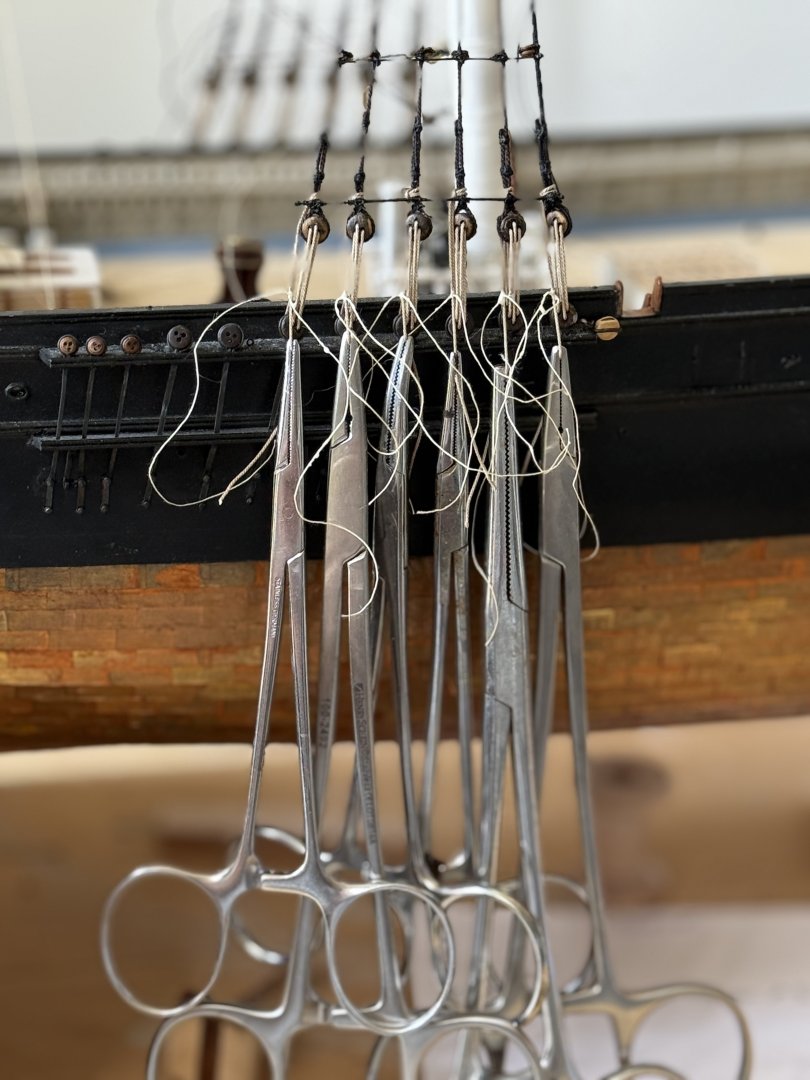
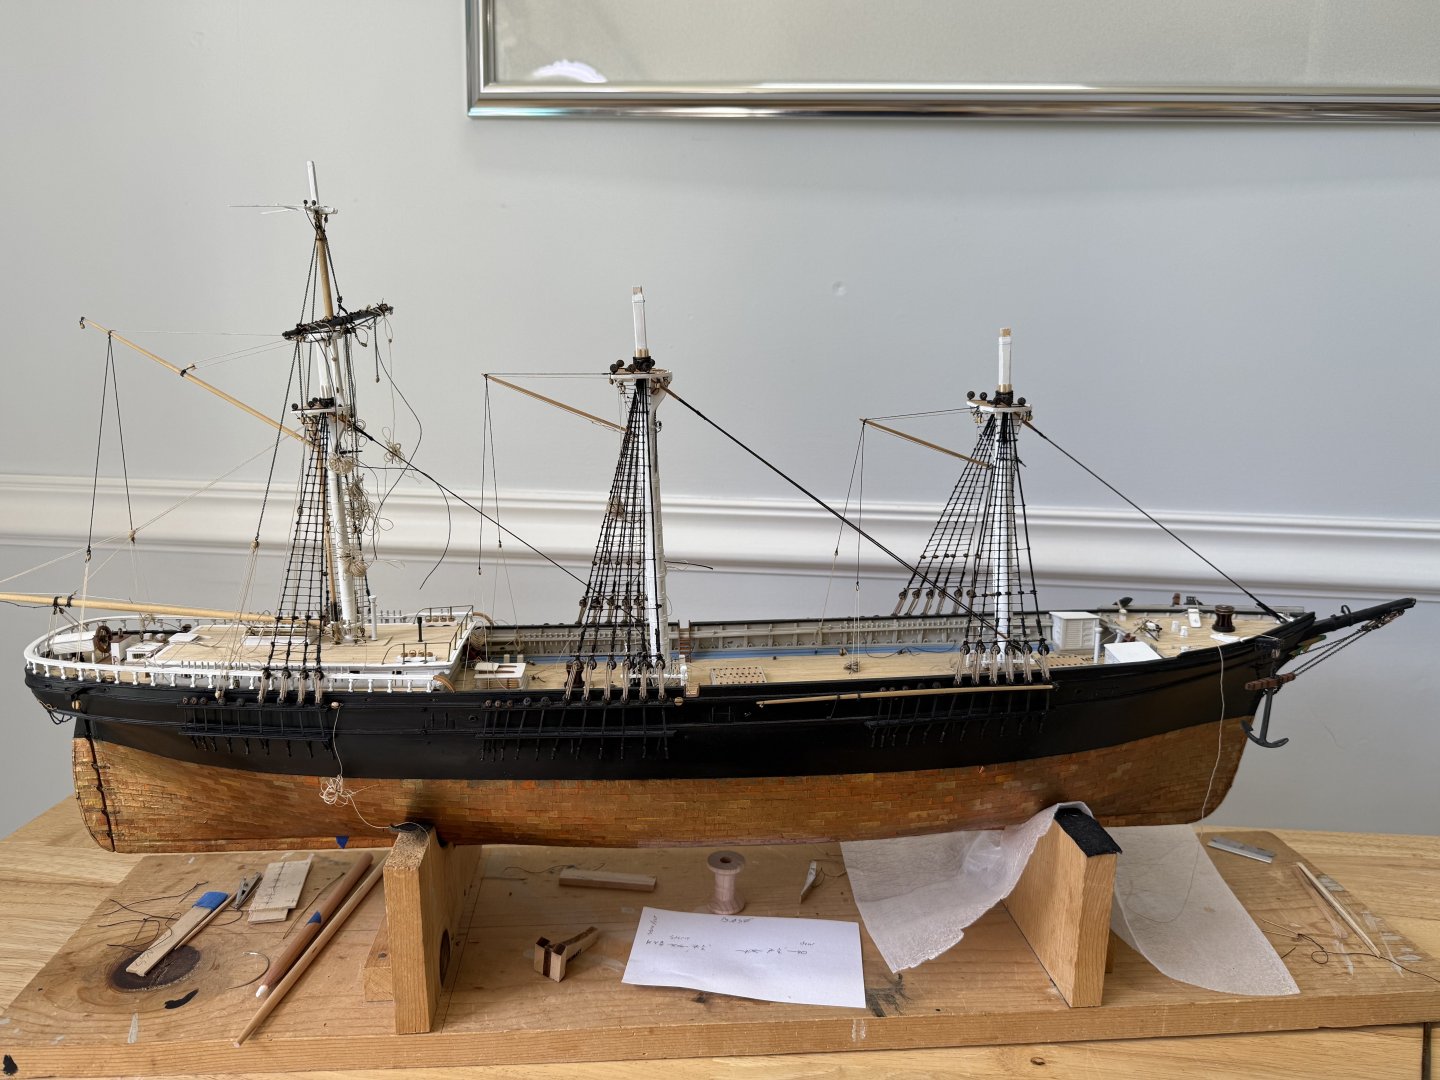
Finally finished rigging the mizzen topmast. This included the shrouds, lanyards, backstays and the ratlines and the mizzen topmast stay. I also finished rigging the mizzen topsail reef line, and the bunt and leech lines. These are not yet permanently secured to their belaying pins. The topsail bowlines were also temporarily run to their blocks on the aft side of the main top to get them out of the way for the time being. One major flaw with the plans, in my opinion, is the lack of information on which lines run through which holes in the fairleads in the top and on the shrouds. Also, the plans fail to show accurately the relationship of the pins in the rack rail to the shrouds. This often results in a specific pin not being as close to the shroud fairlead to insure a straight path. The result is that I have to modify which lines are belaying to which pins. I am not able to follow the belaying diagram which I’m sure was based on accepted practice. This probably explains why I had to run the mizzen peak halyard aft due to interference with the mizzen top. The run of the bowlines are my interpretation base largely on the Flying cloud model at the Boston Fine Art Museum. May be wrong but seem logical to me knowing that the run of the bowlines had to be such that they would not interfere when lowering the yard quickly, same as the braces. If anyone has any thoughts, I would love to hear them!


- 360 replies
-
- 9
-
-

-
- Flying Fish
- Model Shipways
- (and 1 more)
-
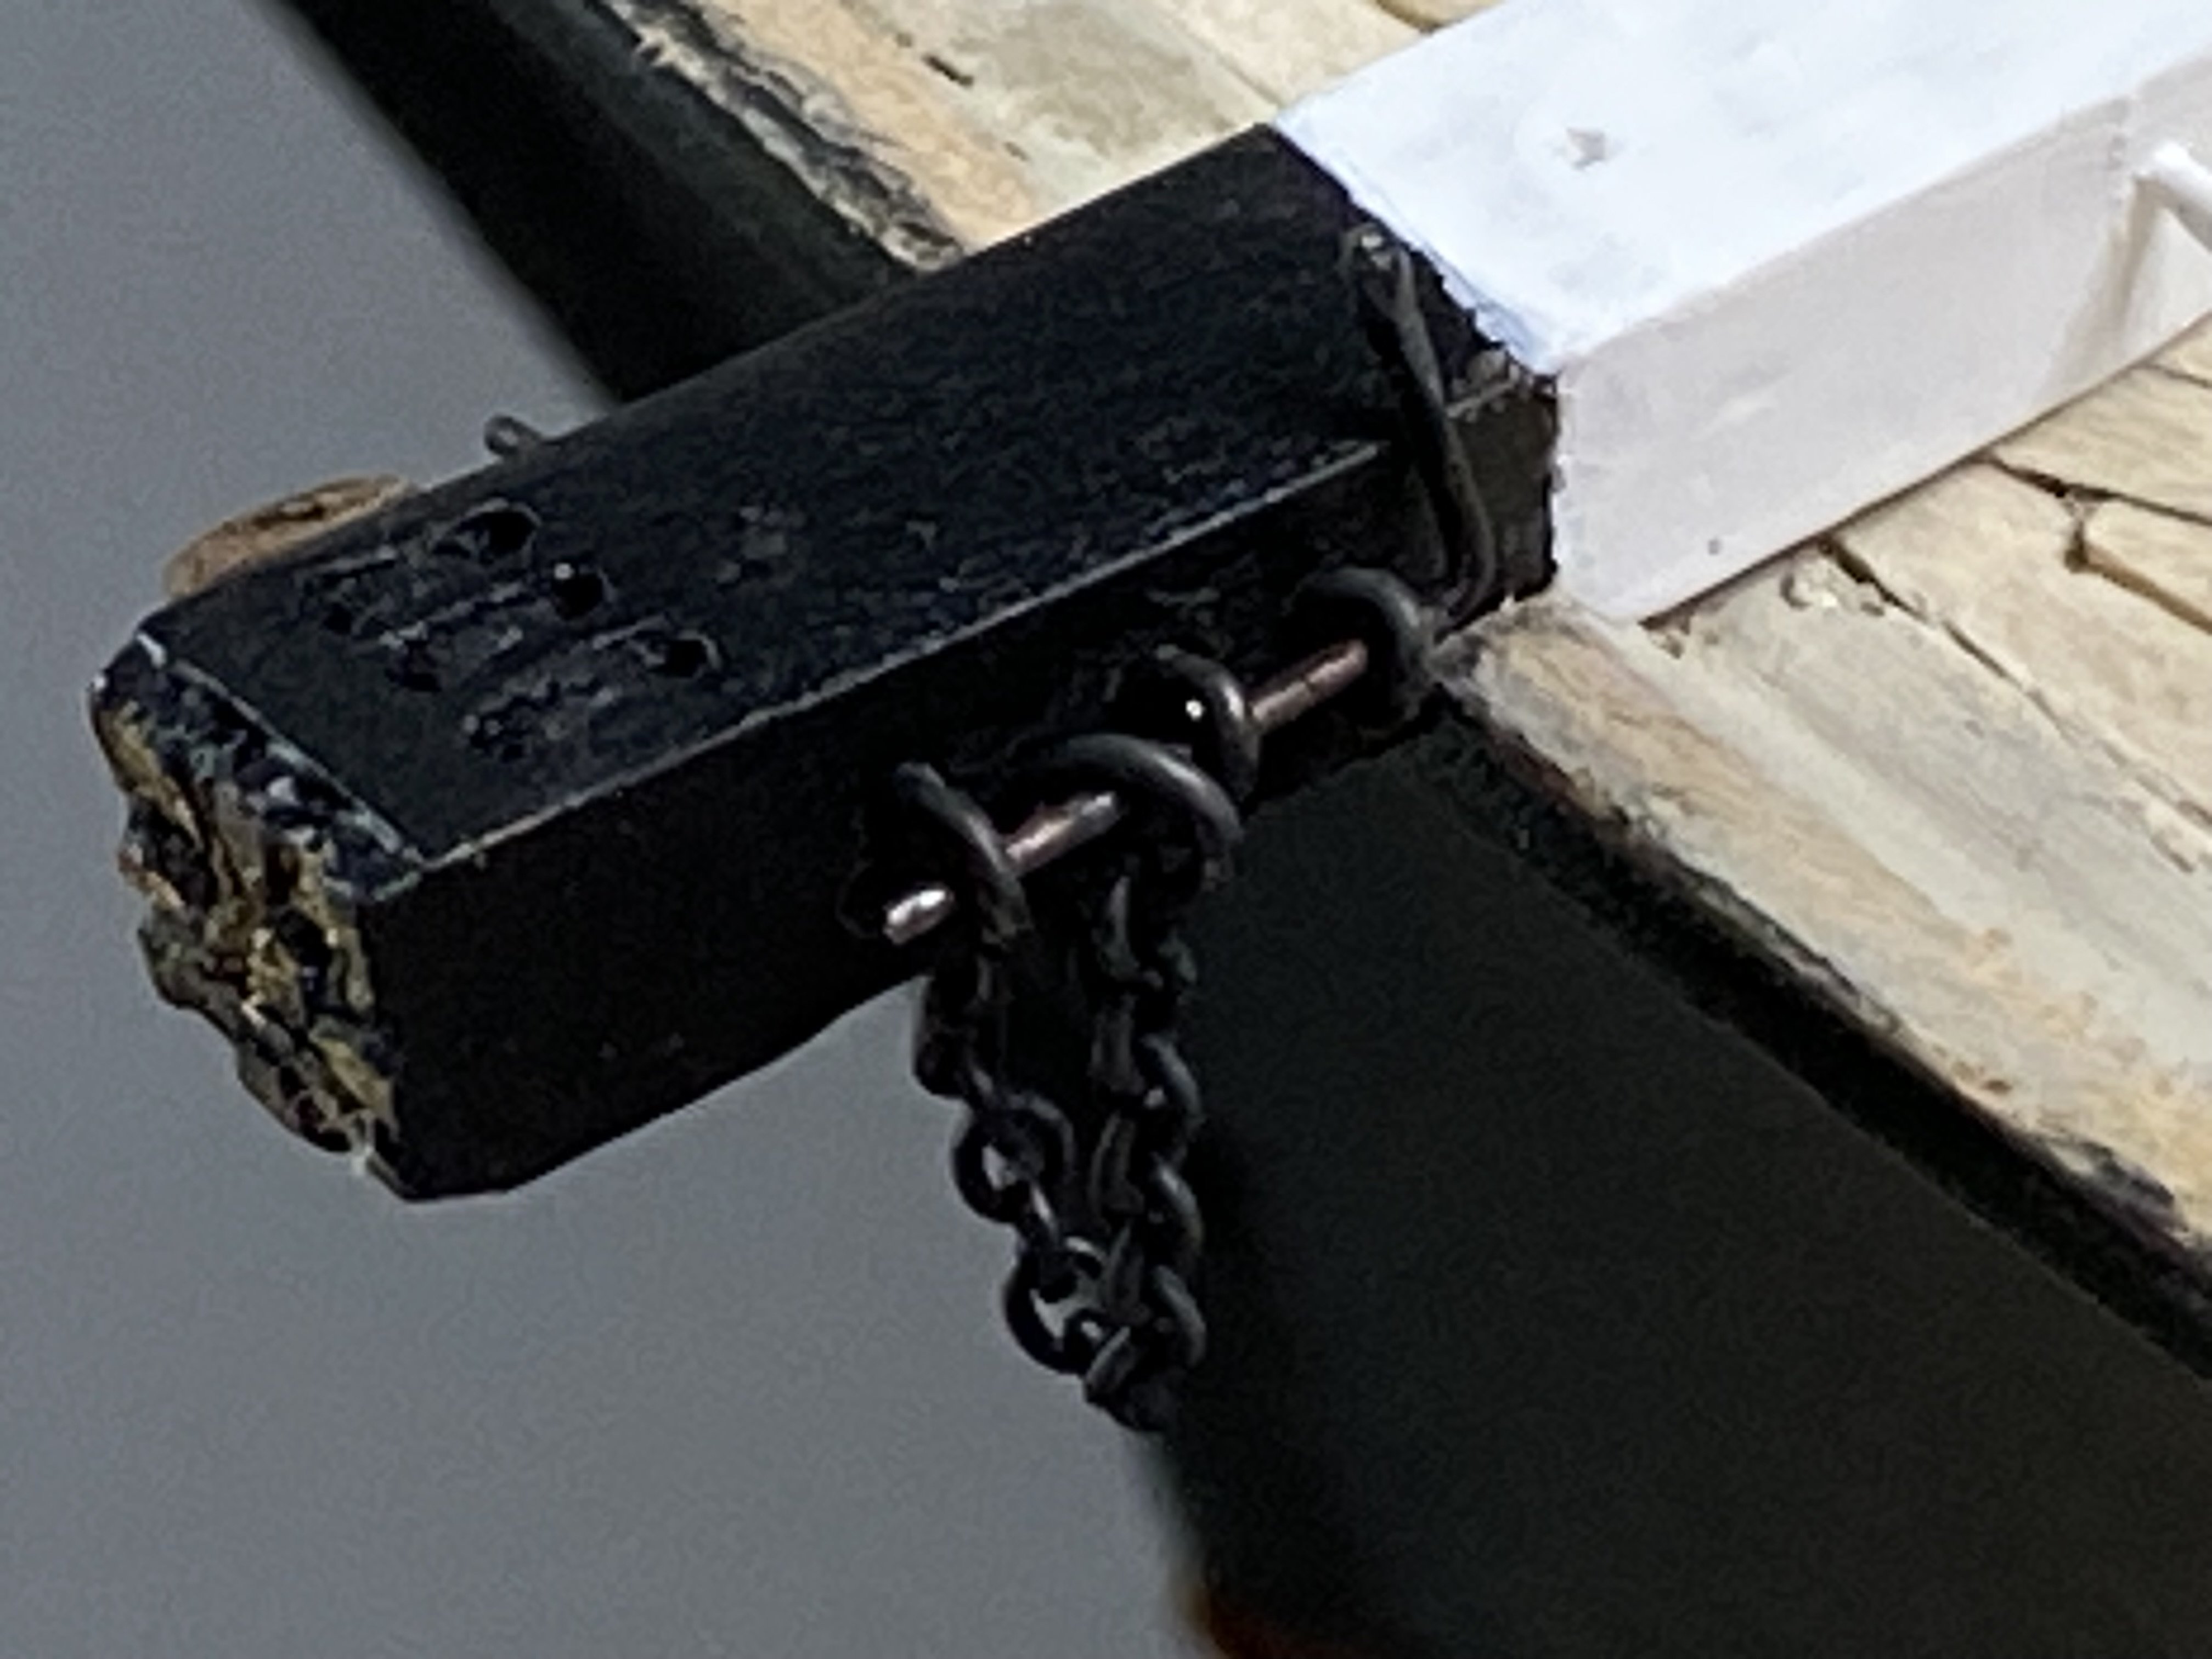
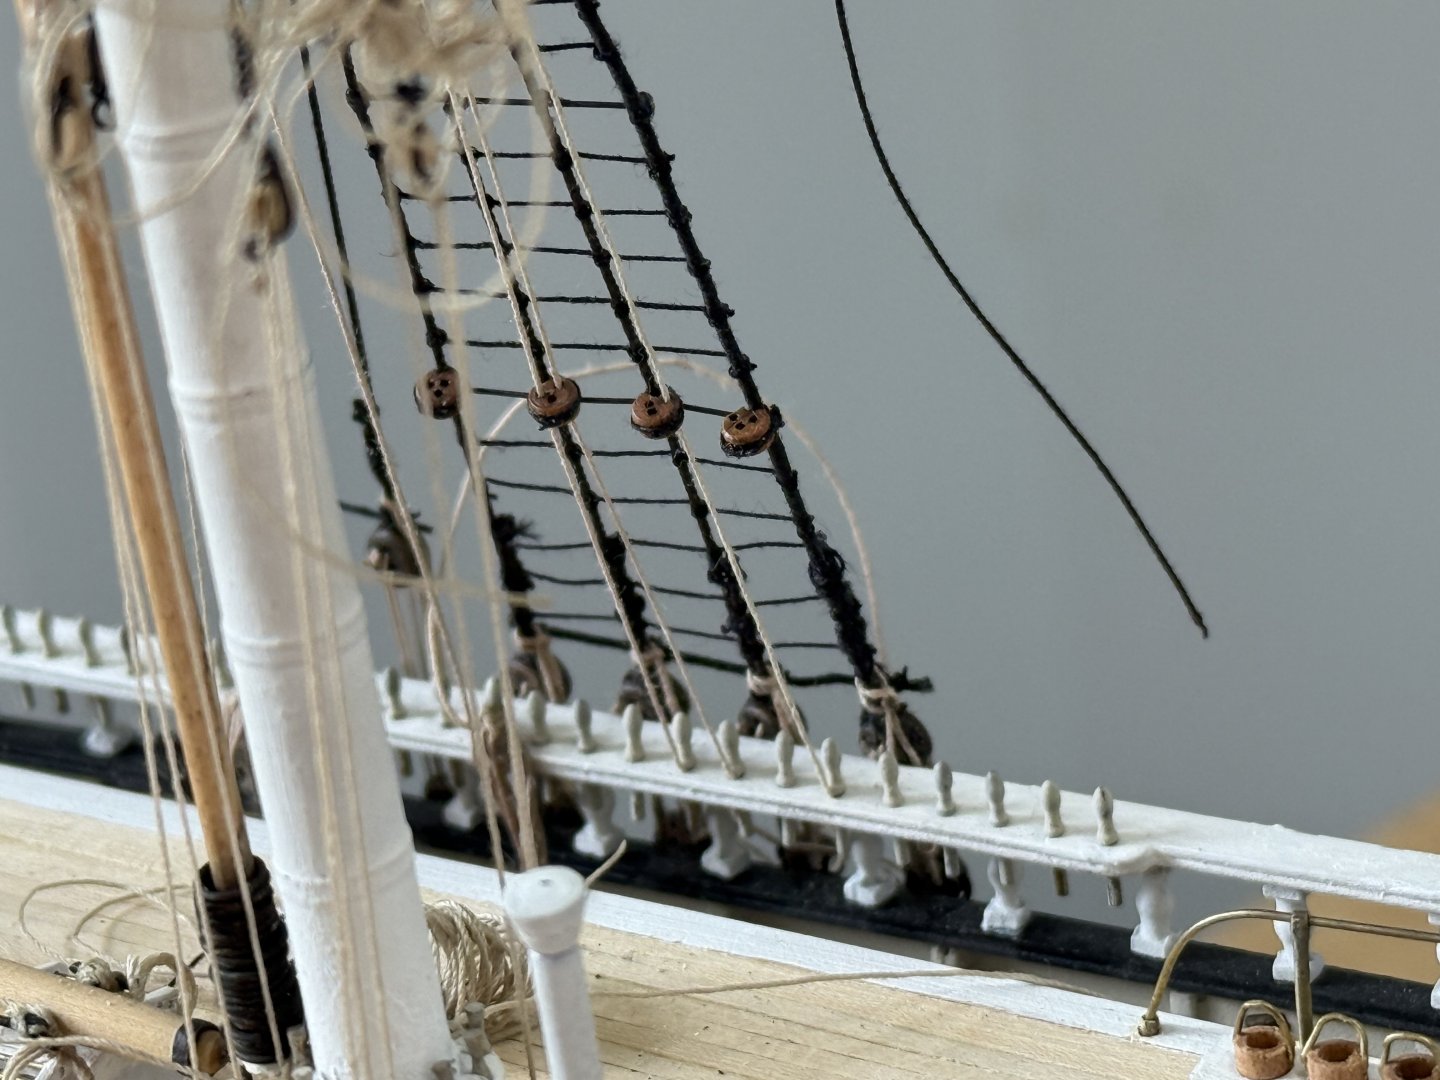
According to the plans for the flying fish, only the fore and main topsail yards, had Flemish horses. Rick
- 203 replies
-
- 1
-
-
- Flying Cloud
- Mamoli
- (and 1 more)
-
Incredibly well done Keith!! Looks superb!! Rick
- 457 replies
-
- 2
-
-
-
- sternwheeler
- Hard Coal Navy
- (and 1 more)
-
Really great!! Rick
-
Looking good!! Rick
-
Actually Rob, I think you are spot on. I believe the discrepancies are with the modeler and not so much the design! I hope to make the connections of the chain blocks much shorter and closer to the yard and top on the main and fore mast, therefore allowing the topsail yard to be raised to its proper height. Rick
-
USS Constitution by mtbediz - 1:76
Rick310 replied to mtbediz's topic in - Build logs for subjects built 1751 - 1800
Very nice!! Rick -
Thanks Rob, yours look great! Will you do the same on Staghound? Rick
-
Rob, look on page 6 , April to May 2024. I attempted to describe with pictures, the pictures, the process. Rick
- 360 replies
-
- 1
-
-
- Flying Fish
- Model Shipways
- (and 1 more)
-
Nice job on the cathead Rob!! Rick
-
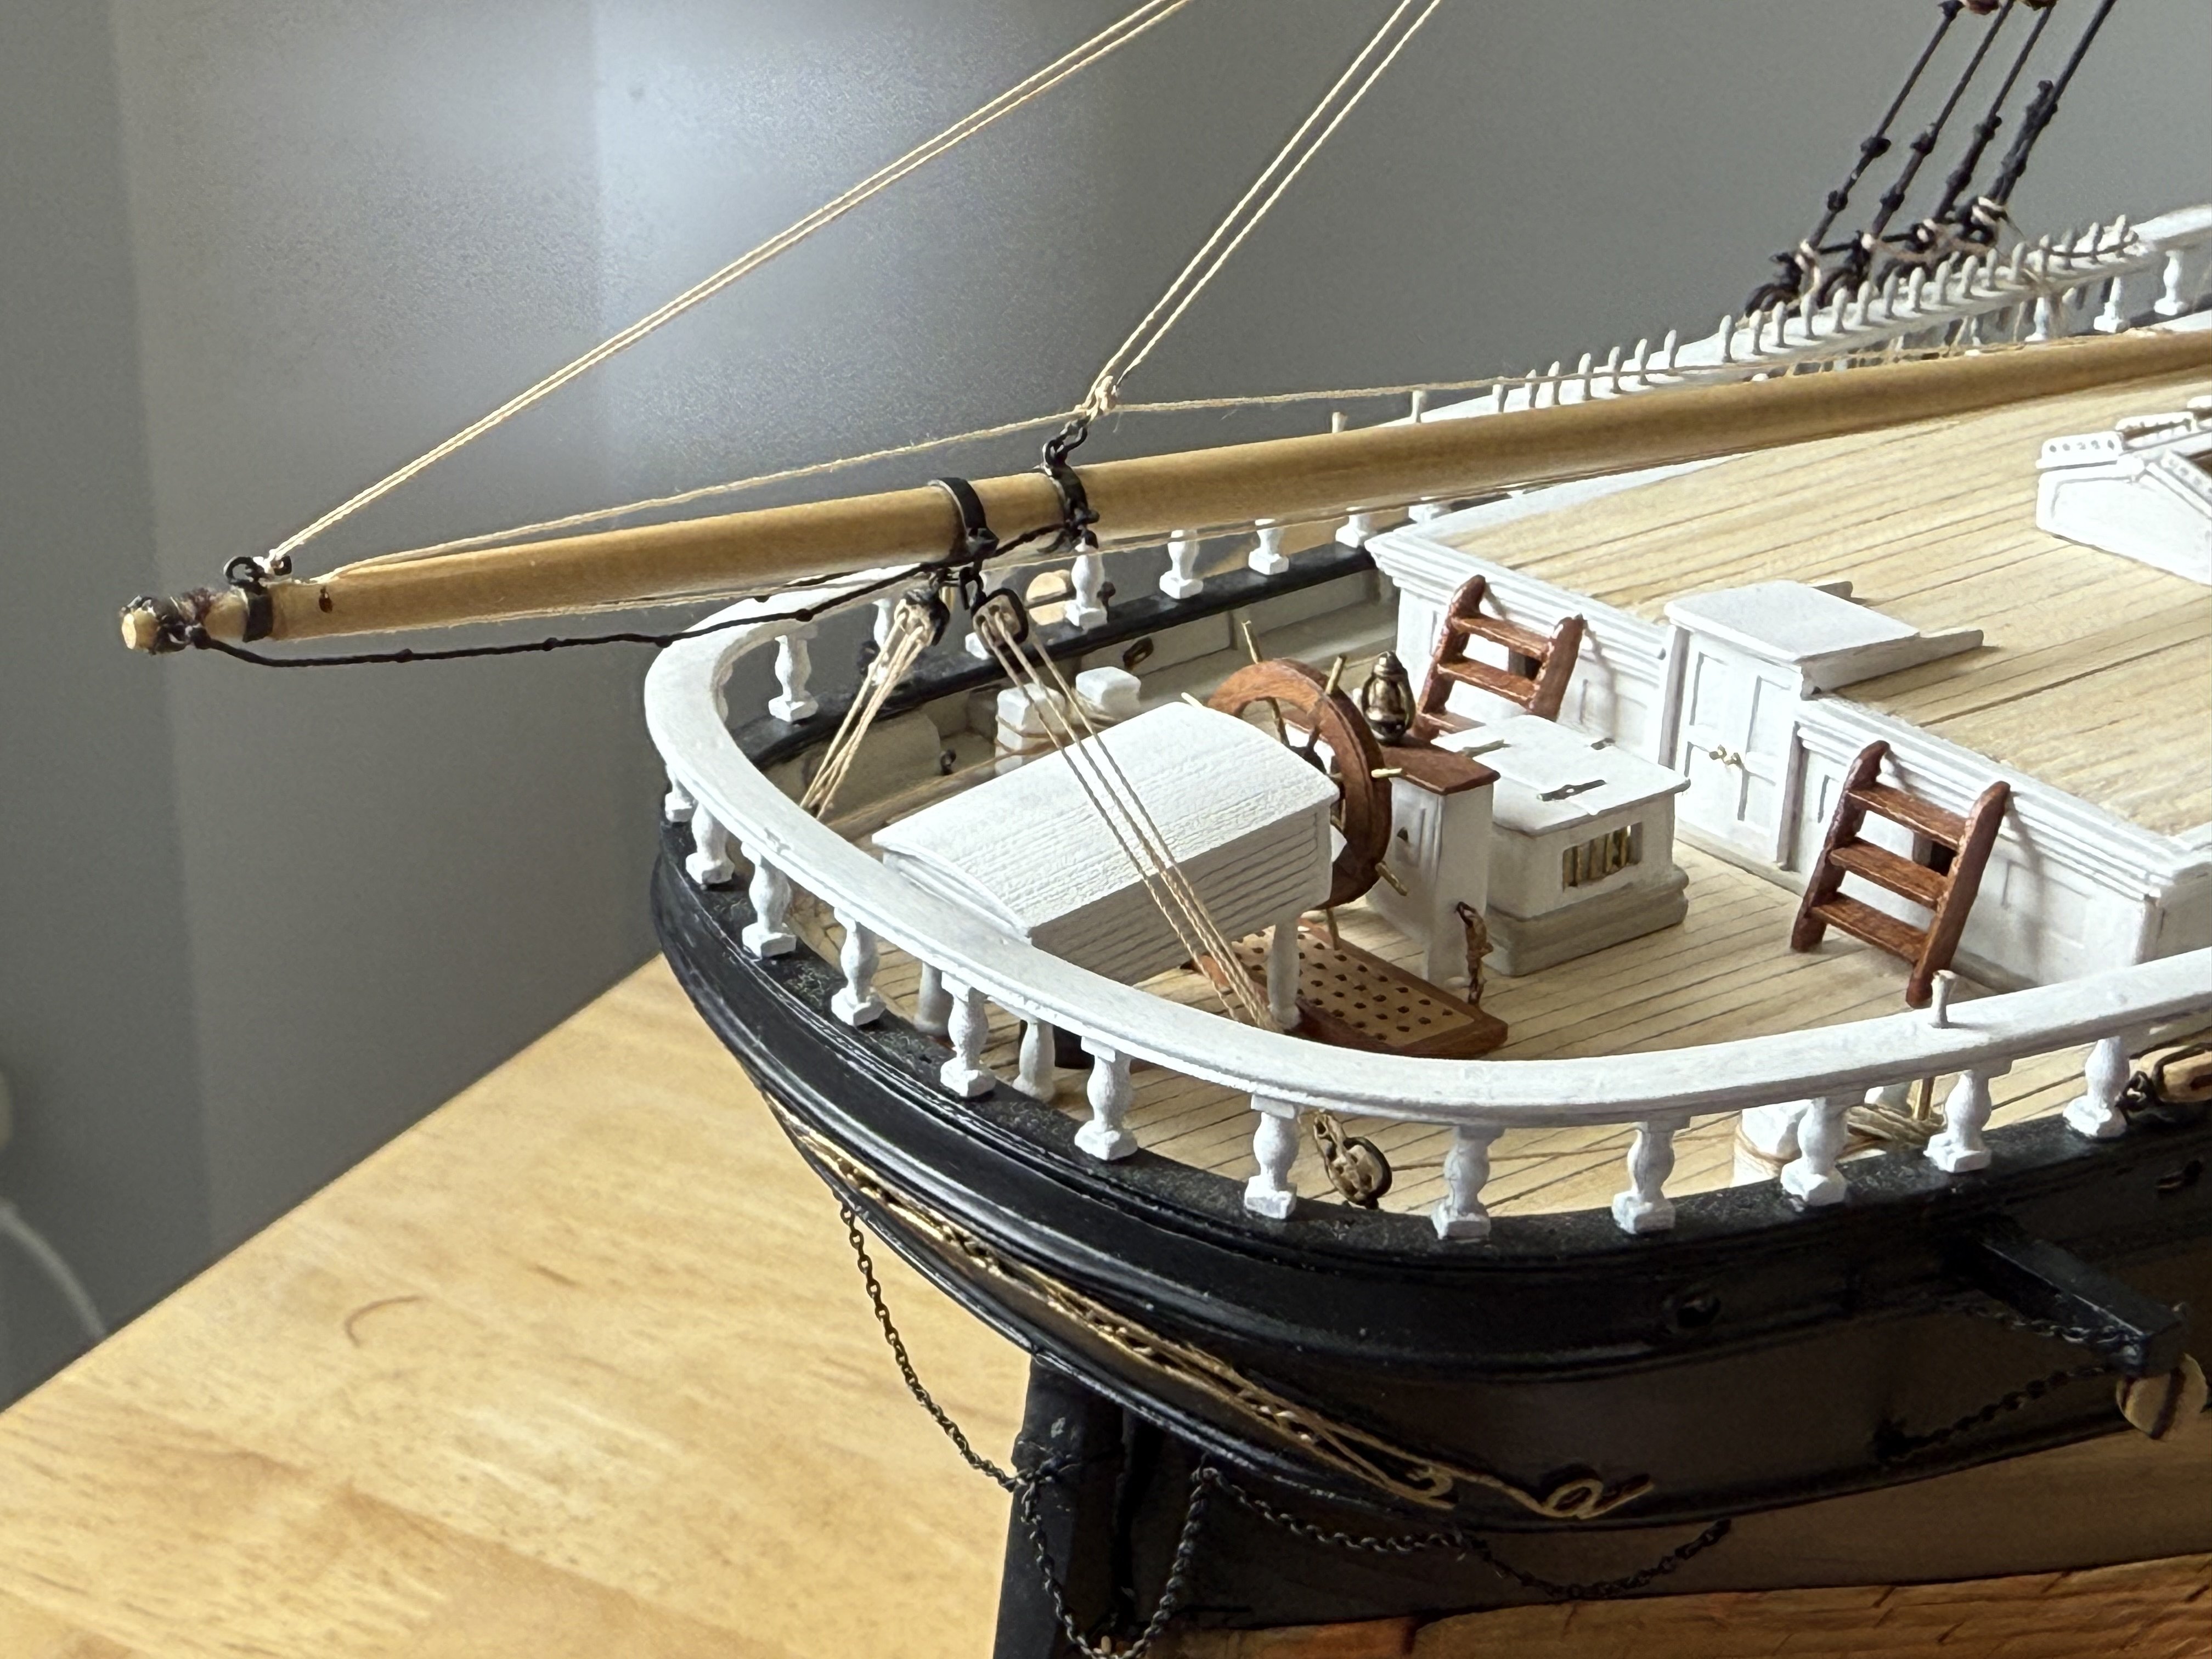
Nice job on the anchor release mechanism! I went with a more simple version, just a bar that could be pulled back to release the chainRick

-
Very nice recovery! Model looks great! Don’t you just love self inflicted wounds! Rick
-
Wonderful job Jared!!! Congratulations on a job well done!! Very nice to see the quarter boats mounted on their davits, I intend to do the same . Now I have a much better idea of what they will look like! Both you and George are to be commended for finishing the build! The pressure is definitely on me now to also finish!! Rick
- 433 replies
-
- 1
-
-
- Flying Fish
- Model Shipways
- (and 2 more)
-
Jared, Peter and Rob, thanks for your kind words and encouragement!! I have certainly taken encouragement and have learned much from your builds!! Your models are beautiful and this has inspired me to try and meet the high standards you have set. Rick
- 360 replies
-
- 1
-
-
- Flying Fish
- Model Shipways
- (and 1 more)
-
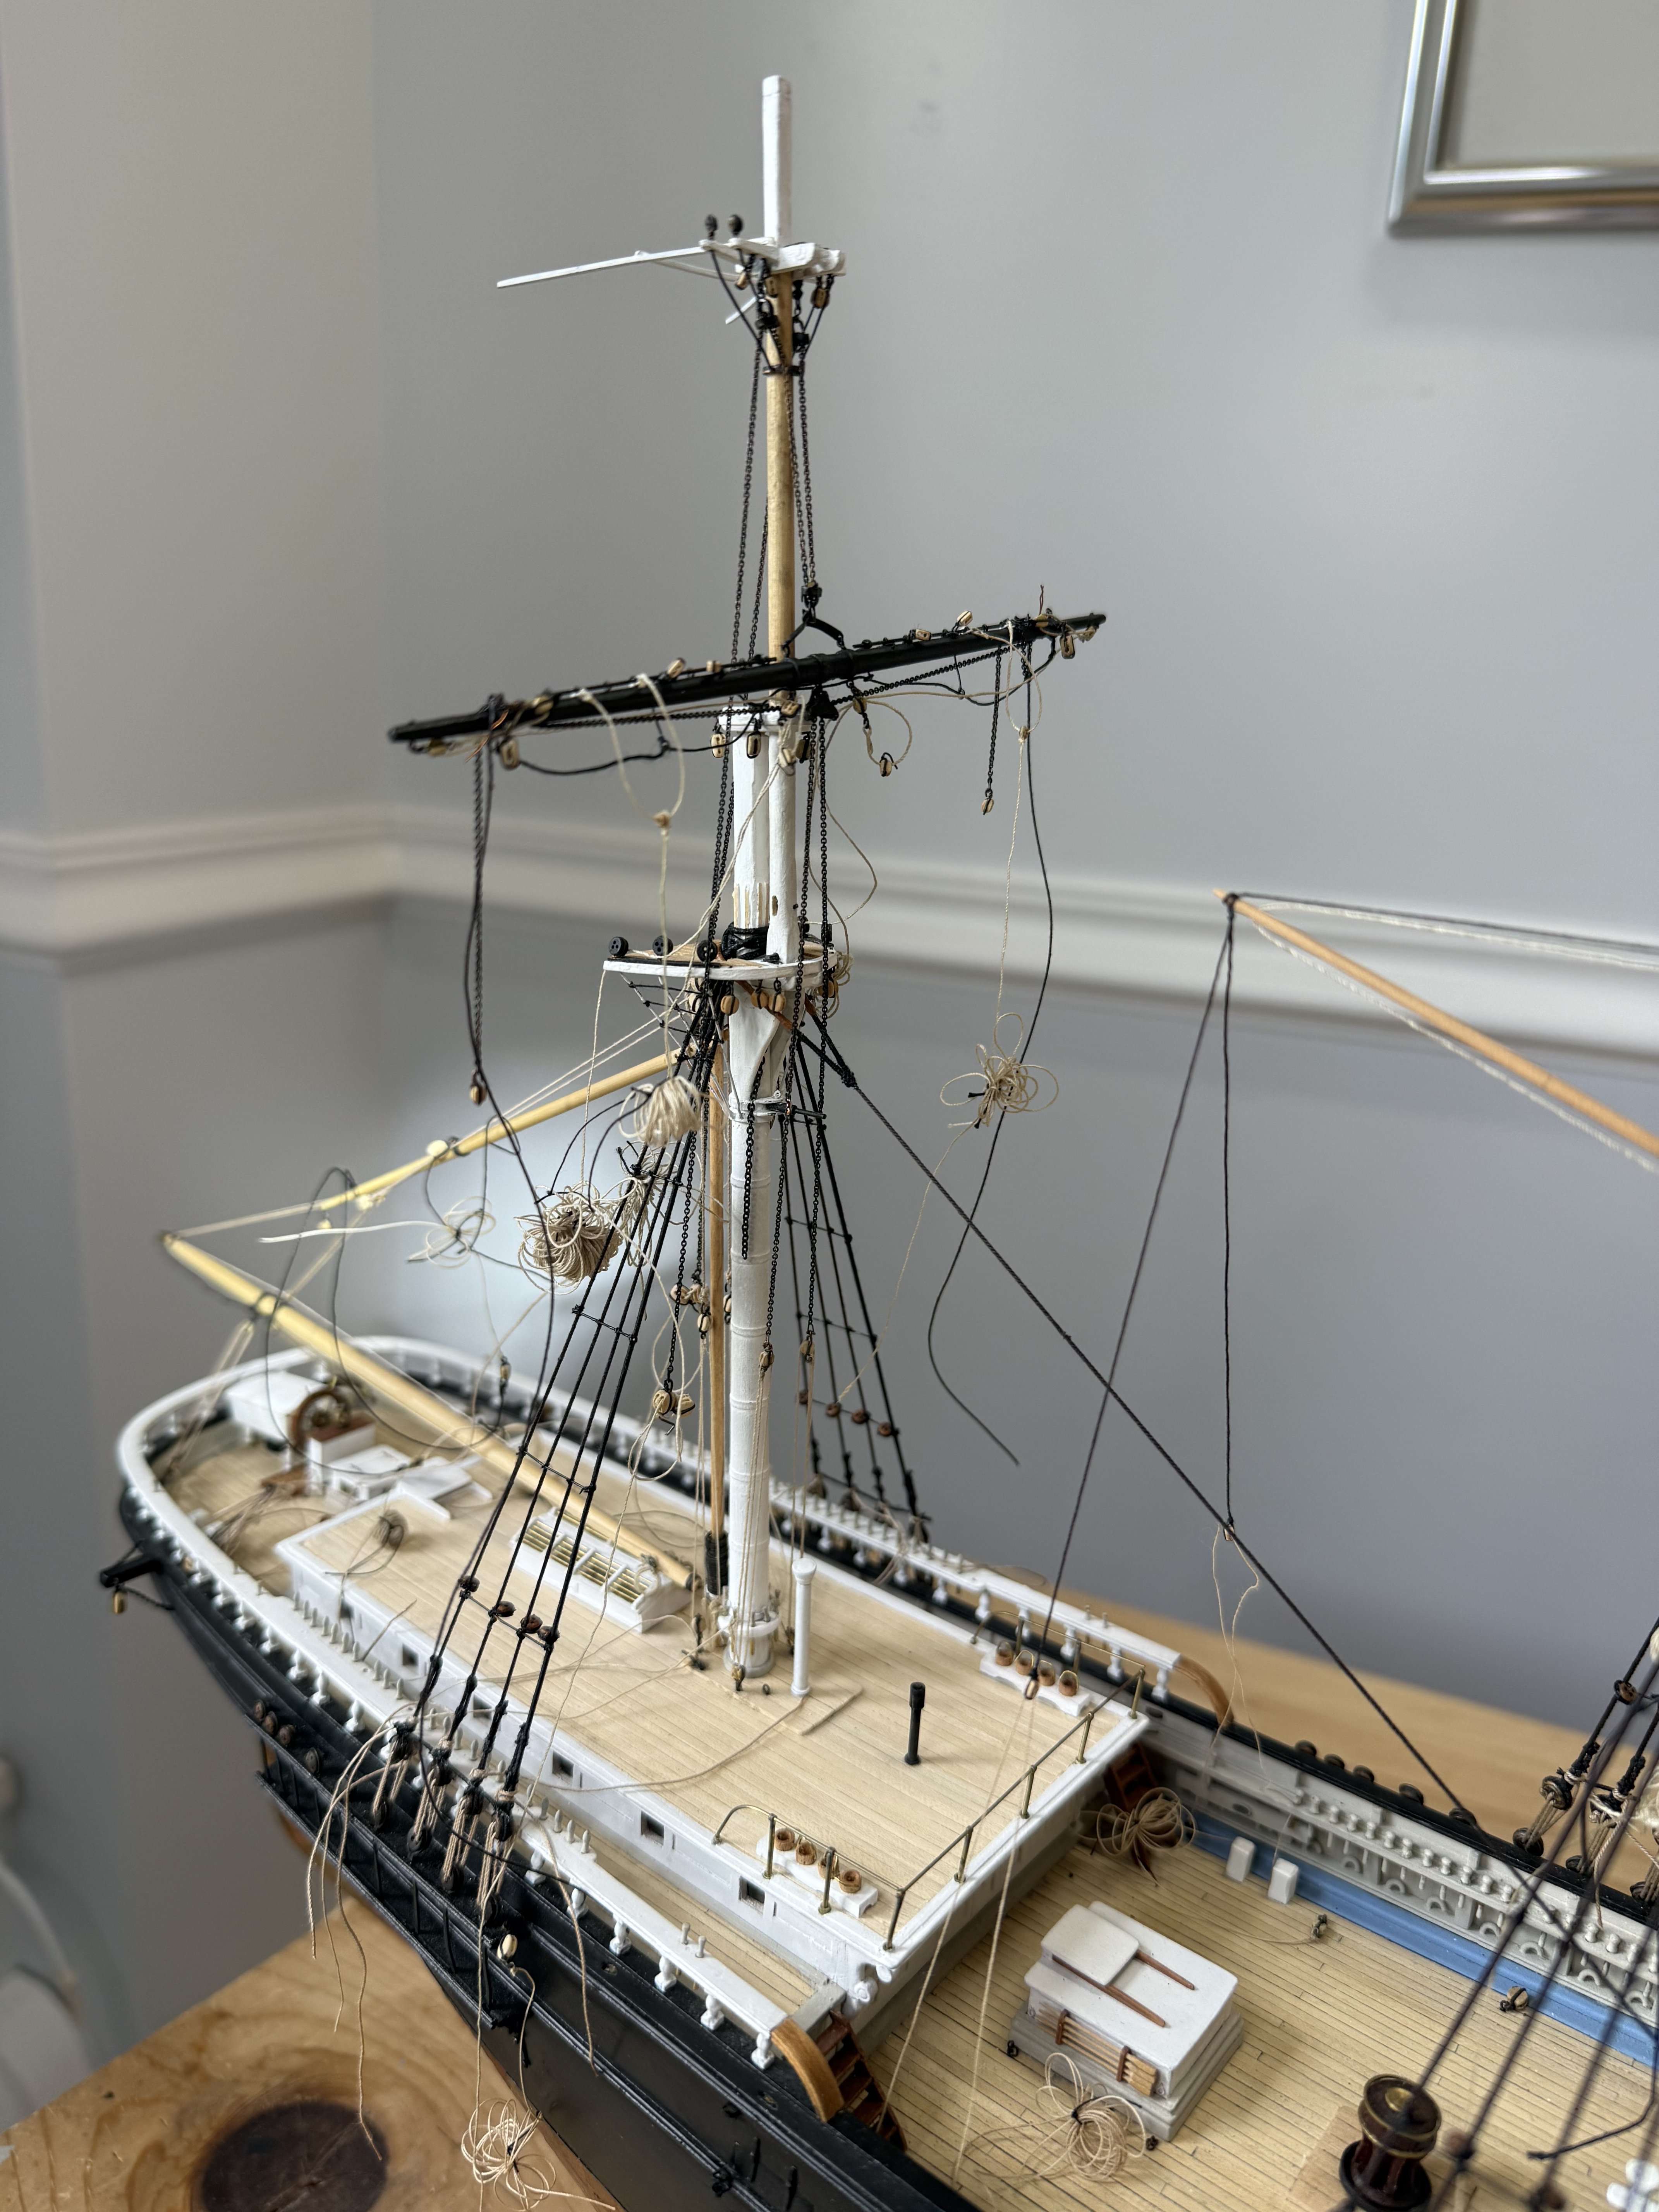
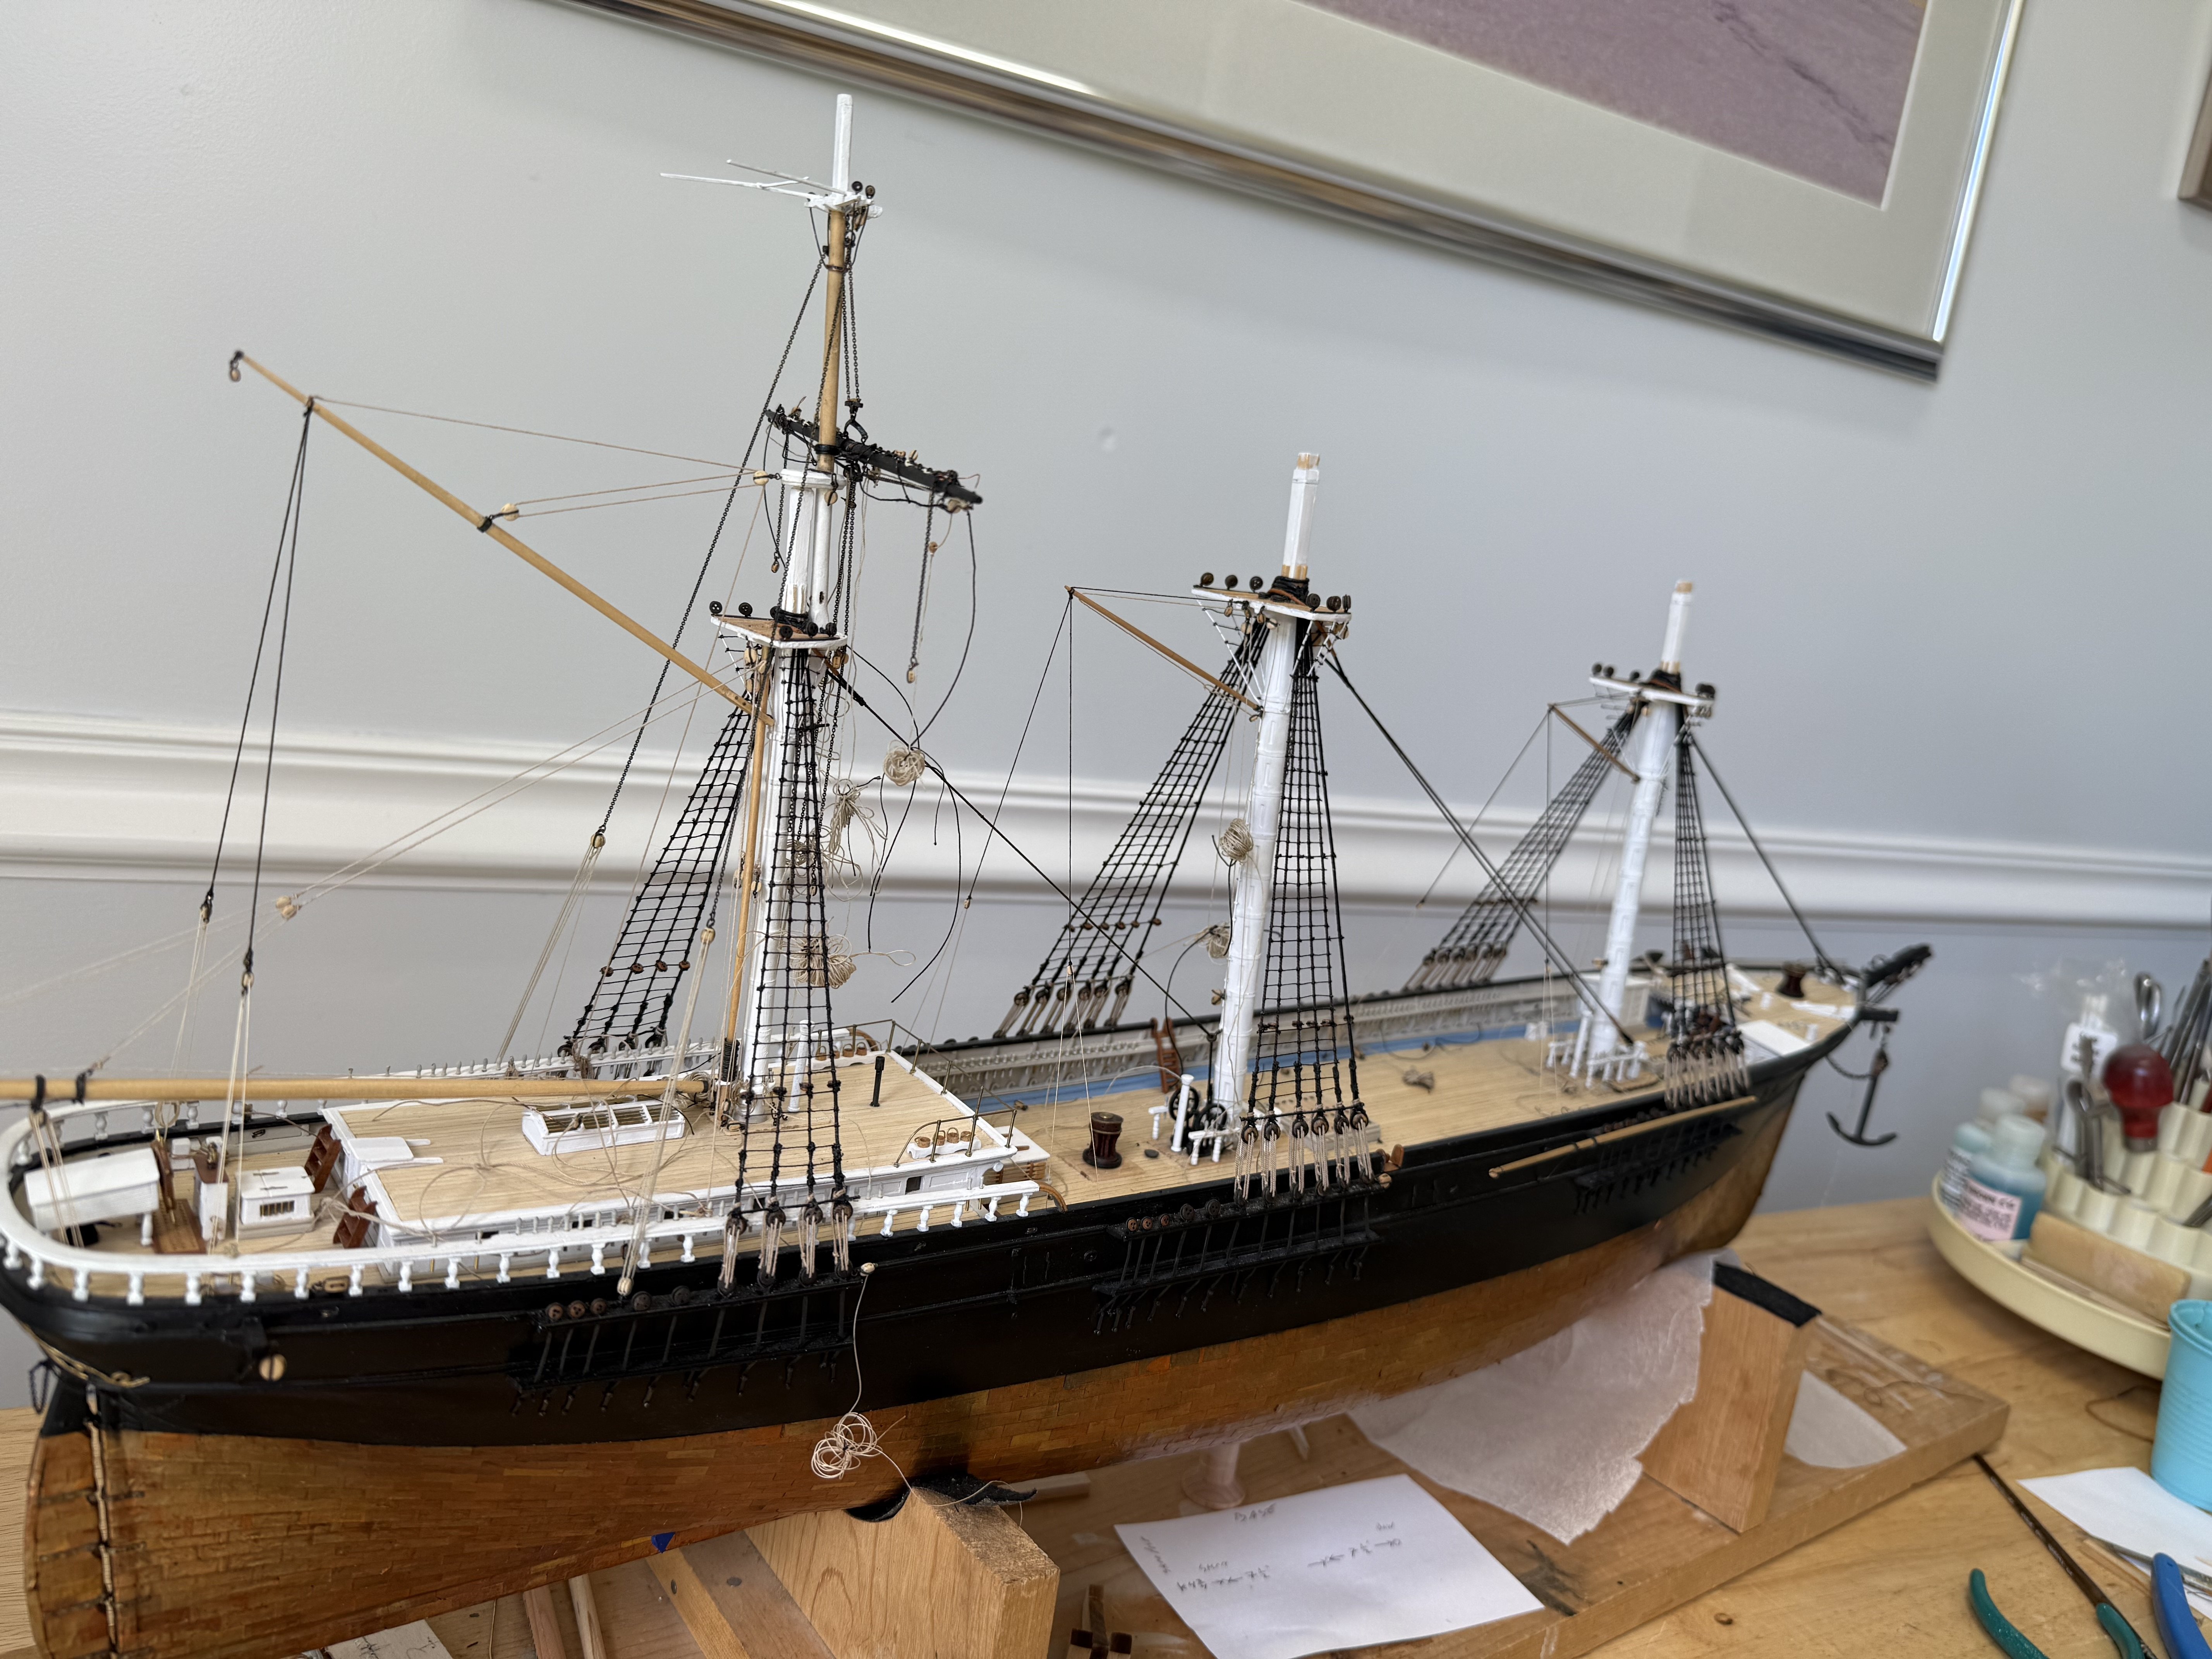
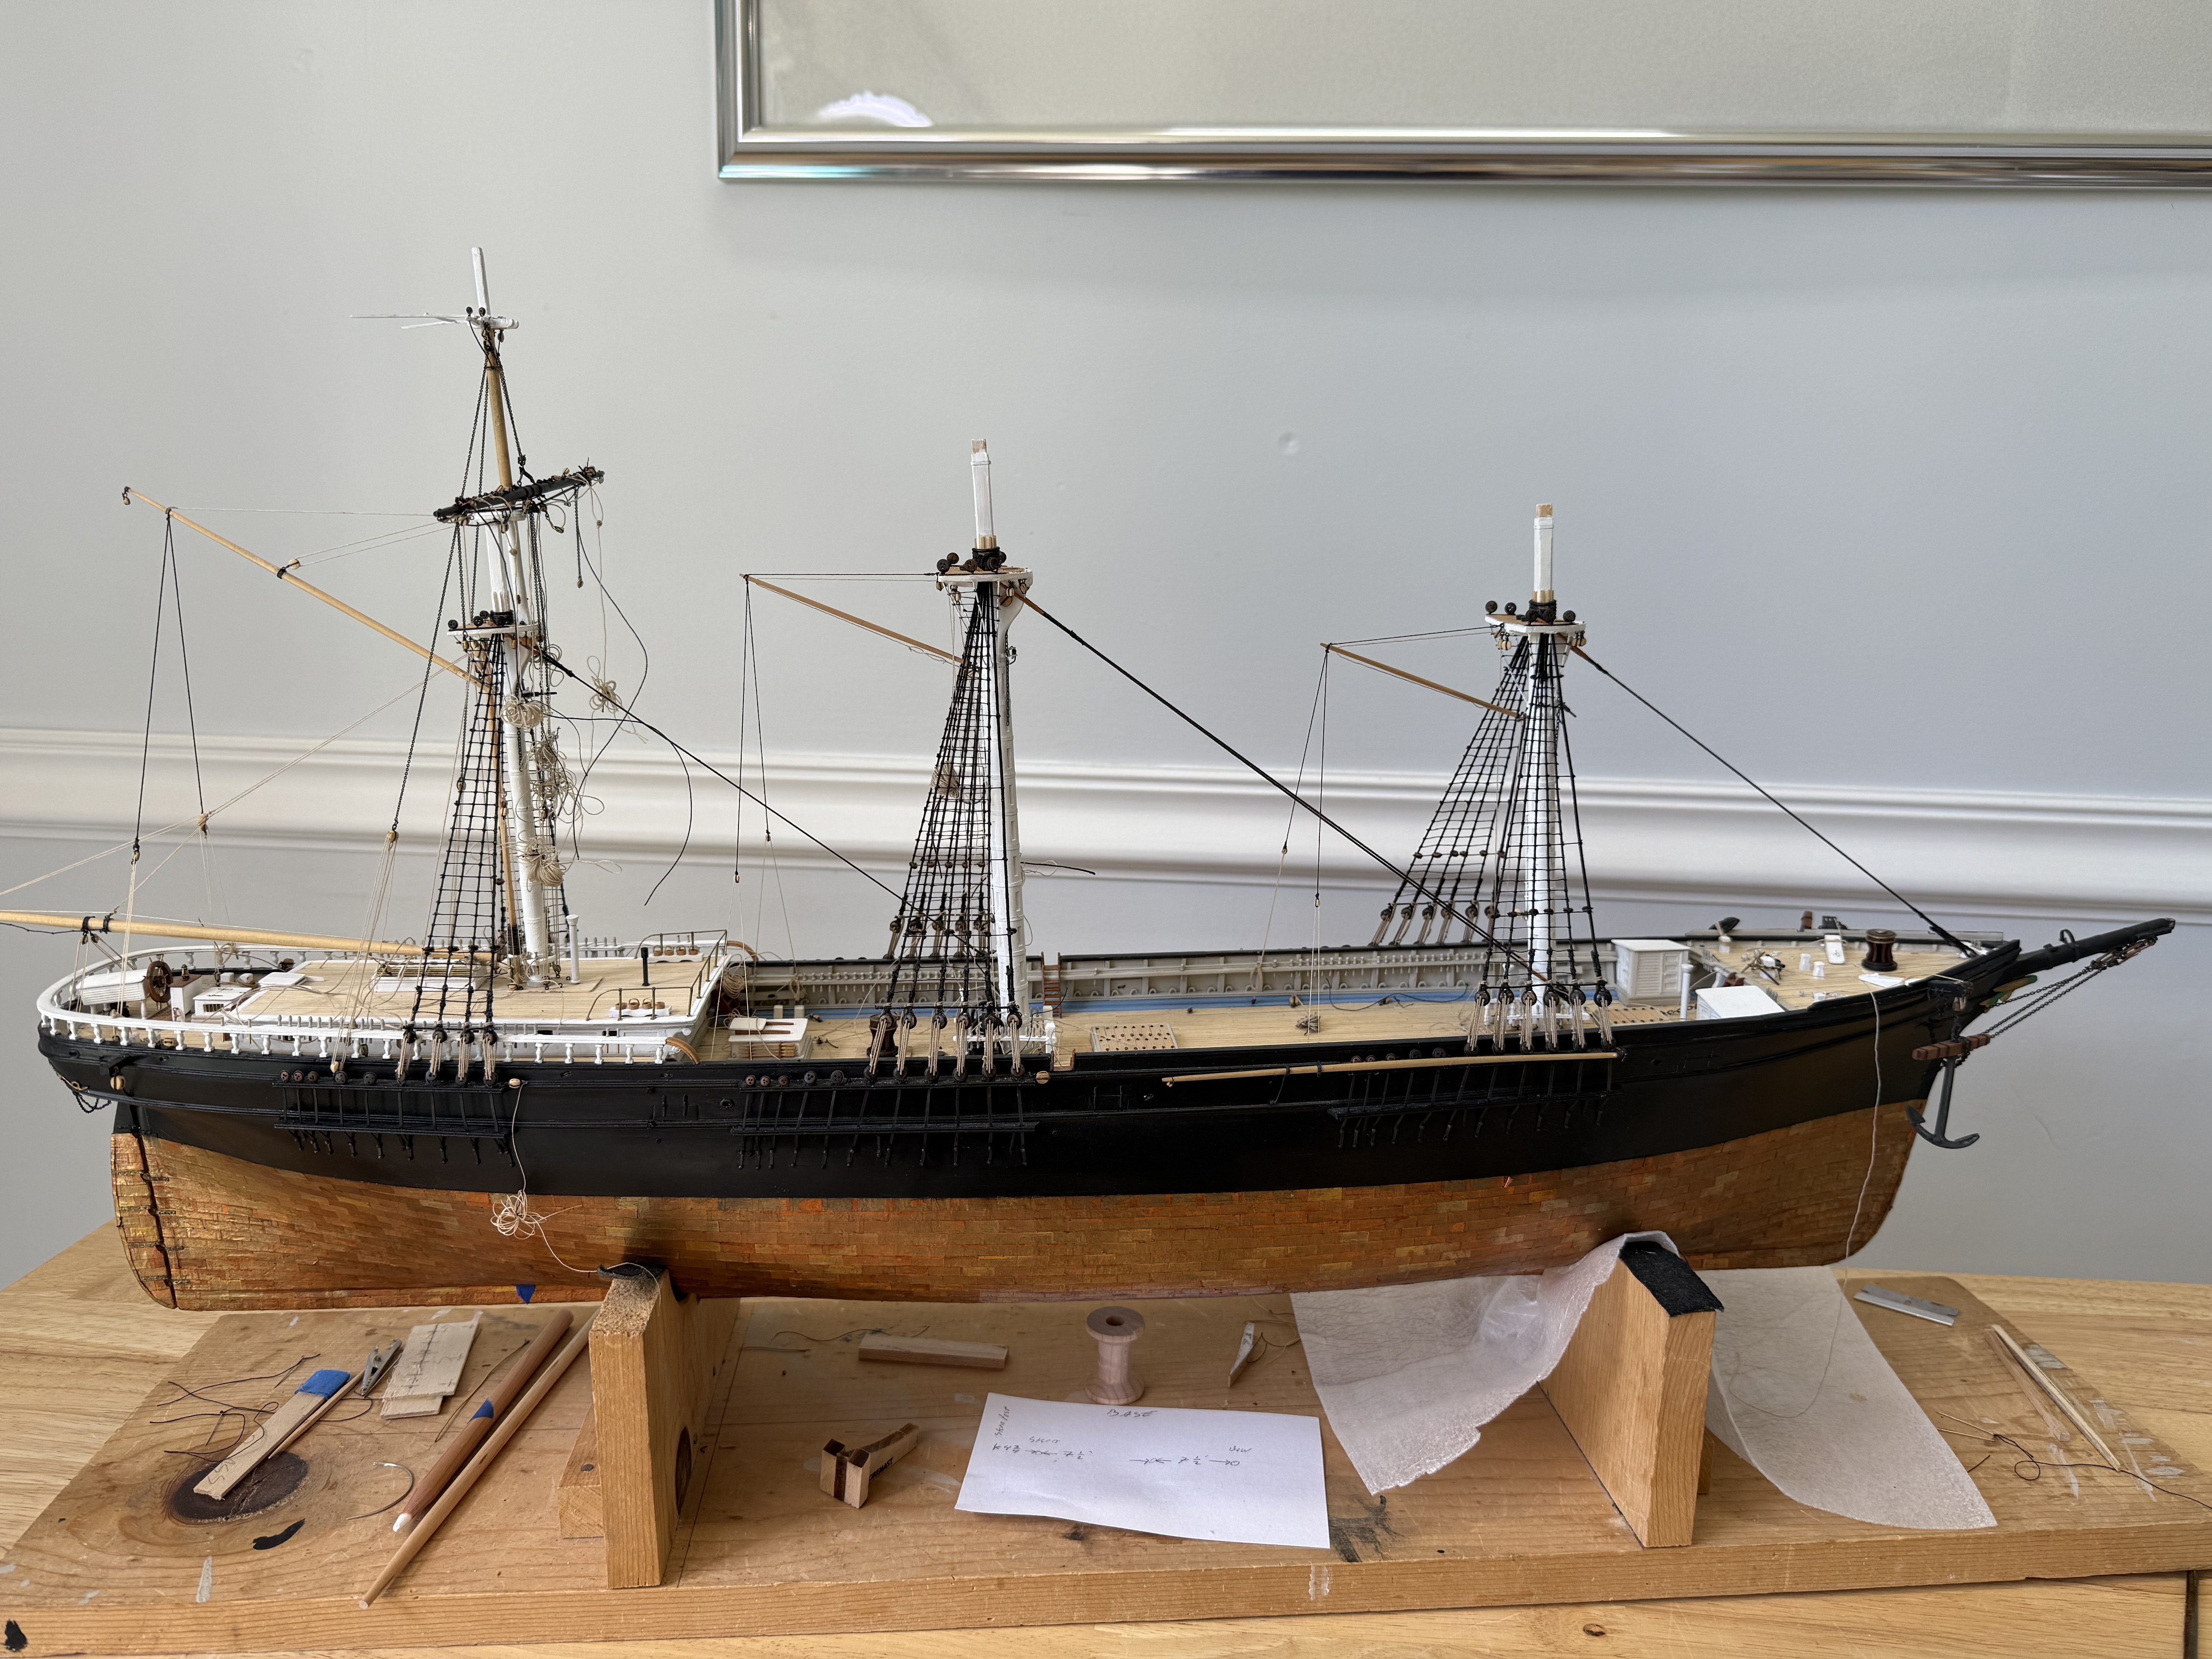
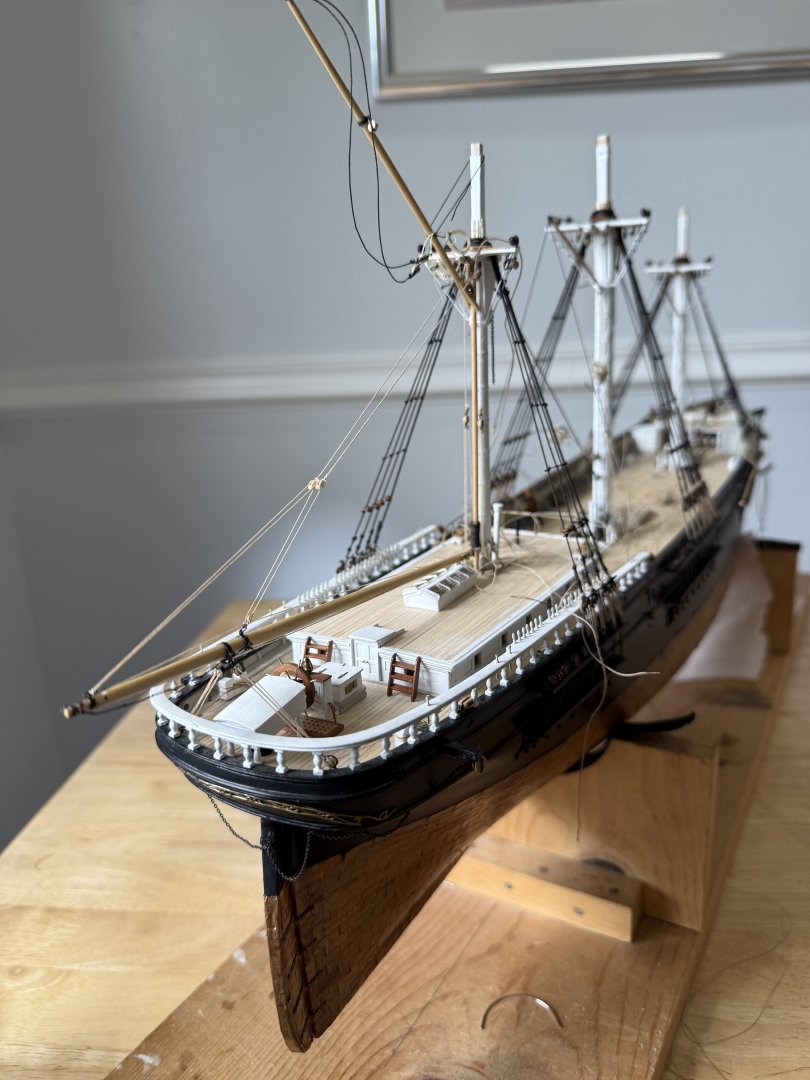
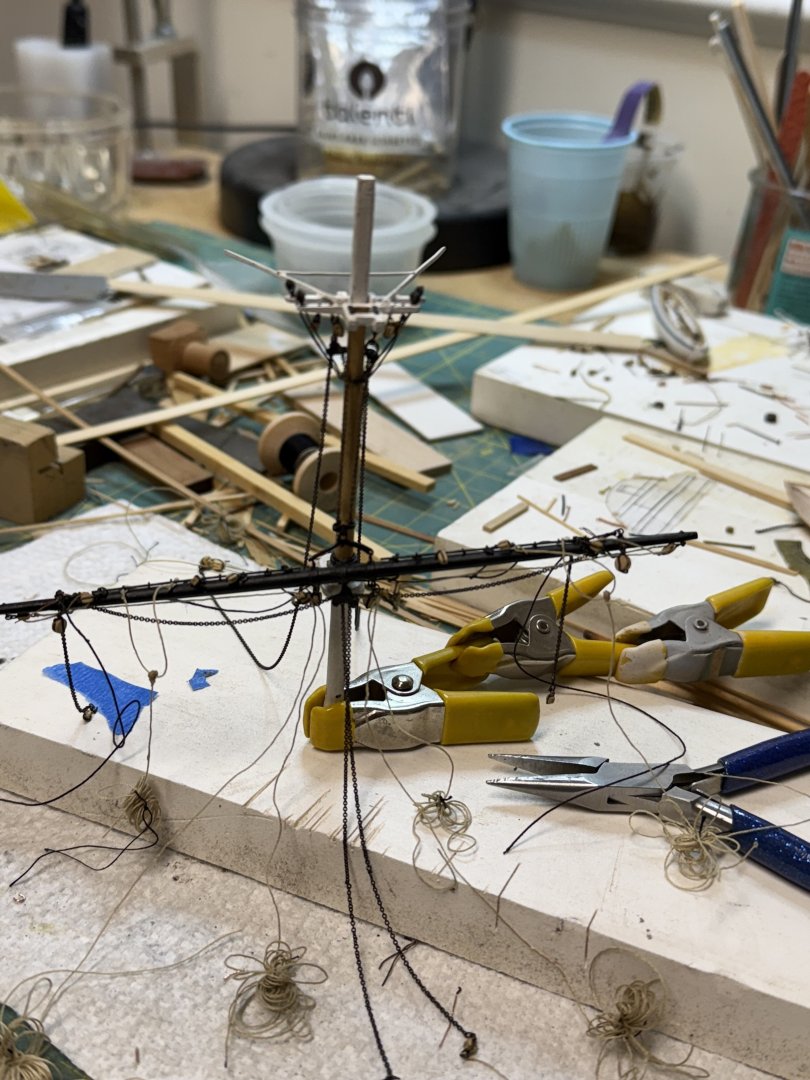
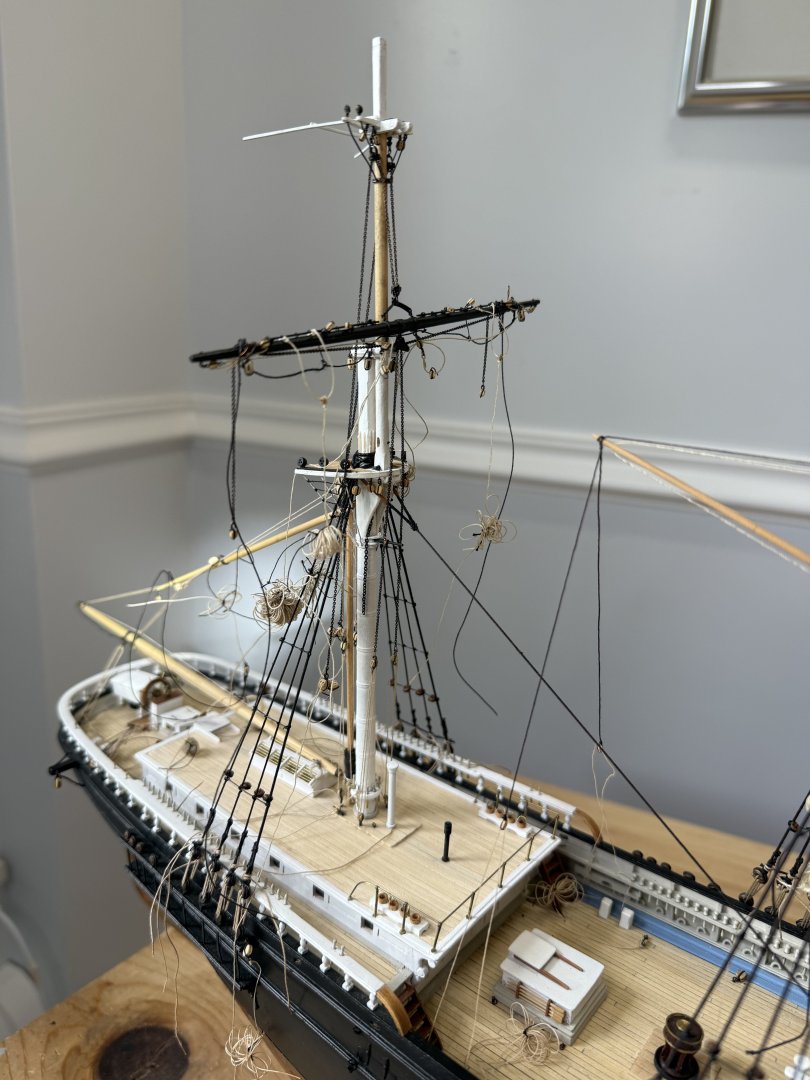
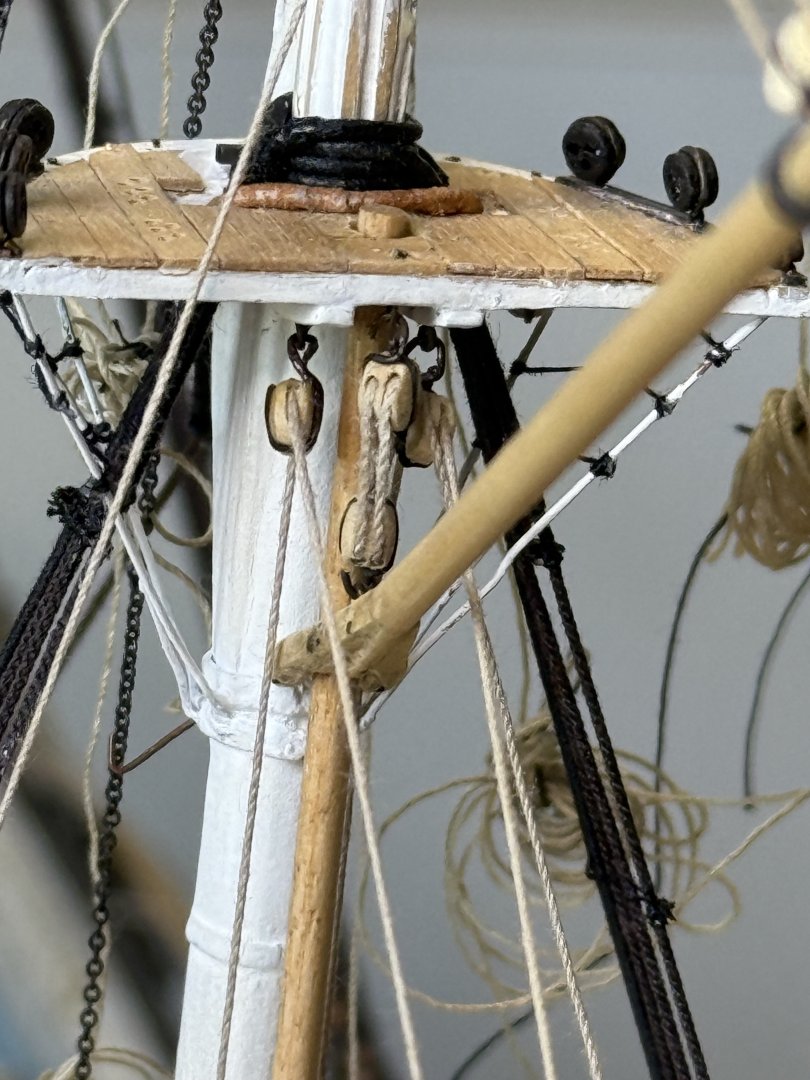
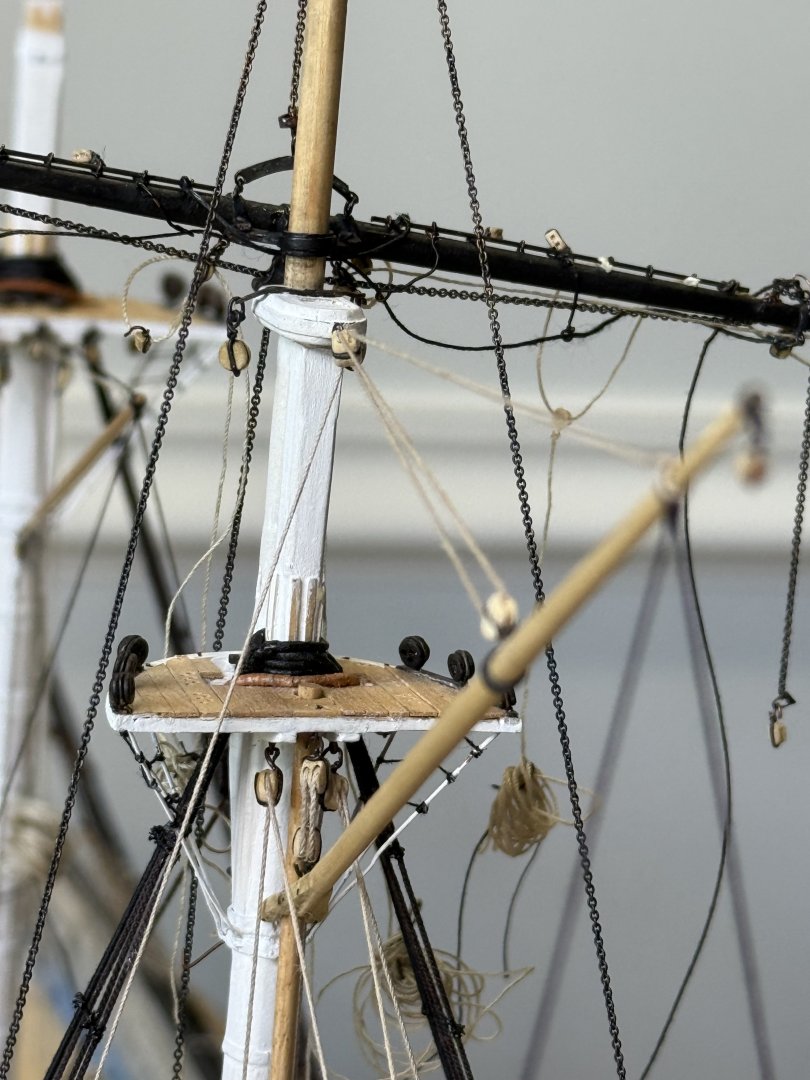
Well, as the end of summer approaches, work on the FF has progressed. I finally rigged the mizzen Spencer and spanker booms. Ran into a problem with the run of the peak halyard as the mizzen top prevents a direct run to the appropriate belaying pin. This necessitated belaying the halyard 8 pins aft. I checked the measurements of the top and they were spot on. I also moved the throat halyard aft to be symmetrical with the peak halyard. The topping lifts were belayed to the spider band, while the spanker sheets were belayed to the mooring bits. I kind of made up the belaying on the bits as I not sure how this was done. Also added some rope coils. The topsail yard was added to the topmast and the topgallant shrouds installed and the topmast placed on the mizzenmast. The topsail yard chain halyards and the topgallant chain sheets were also rigged. The tails of the lanyards were finally secured to the last up leg as per the USS Constitution. Finally, the rat lines were installed on the lower shrouds.


- 360 replies
-
- 6
-
-
- Flying Fish
- Model Shipways
- (and 1 more)
-
Well done!!! looks great!! I will miss reading your updates!! Rick
- 433 replies
-
- 1
-
-
- Flying Fish
- Model Shipways
- (and 2 more)
-
I really enjoy the detail work! looks really good Rob! Rick
-
Well done Rob!! Rick
-
Looks good Rob! Rick
-
Jared, congratulations!! FF looks great!! Well done!! A remarkable achievement, I can only hope to get there someday! Rick
- 433 replies
-
- 1
-
-
- Flying Fish
- Model Shipways
- (and 2 more)
-
Looks great George!! My last office in Mentor was just down the road from Garfield’s house. For 25 years I flew out of Cuyahoga county airport (CGF), just north of Cleveland Hts. your model looks great!! Good luck on your move! Rick