Rick310
-
Posts
833 -
Joined
-
Last visited
Content Type
Profiles
Forums
Gallery
Events
Everything posted by Rick310
-
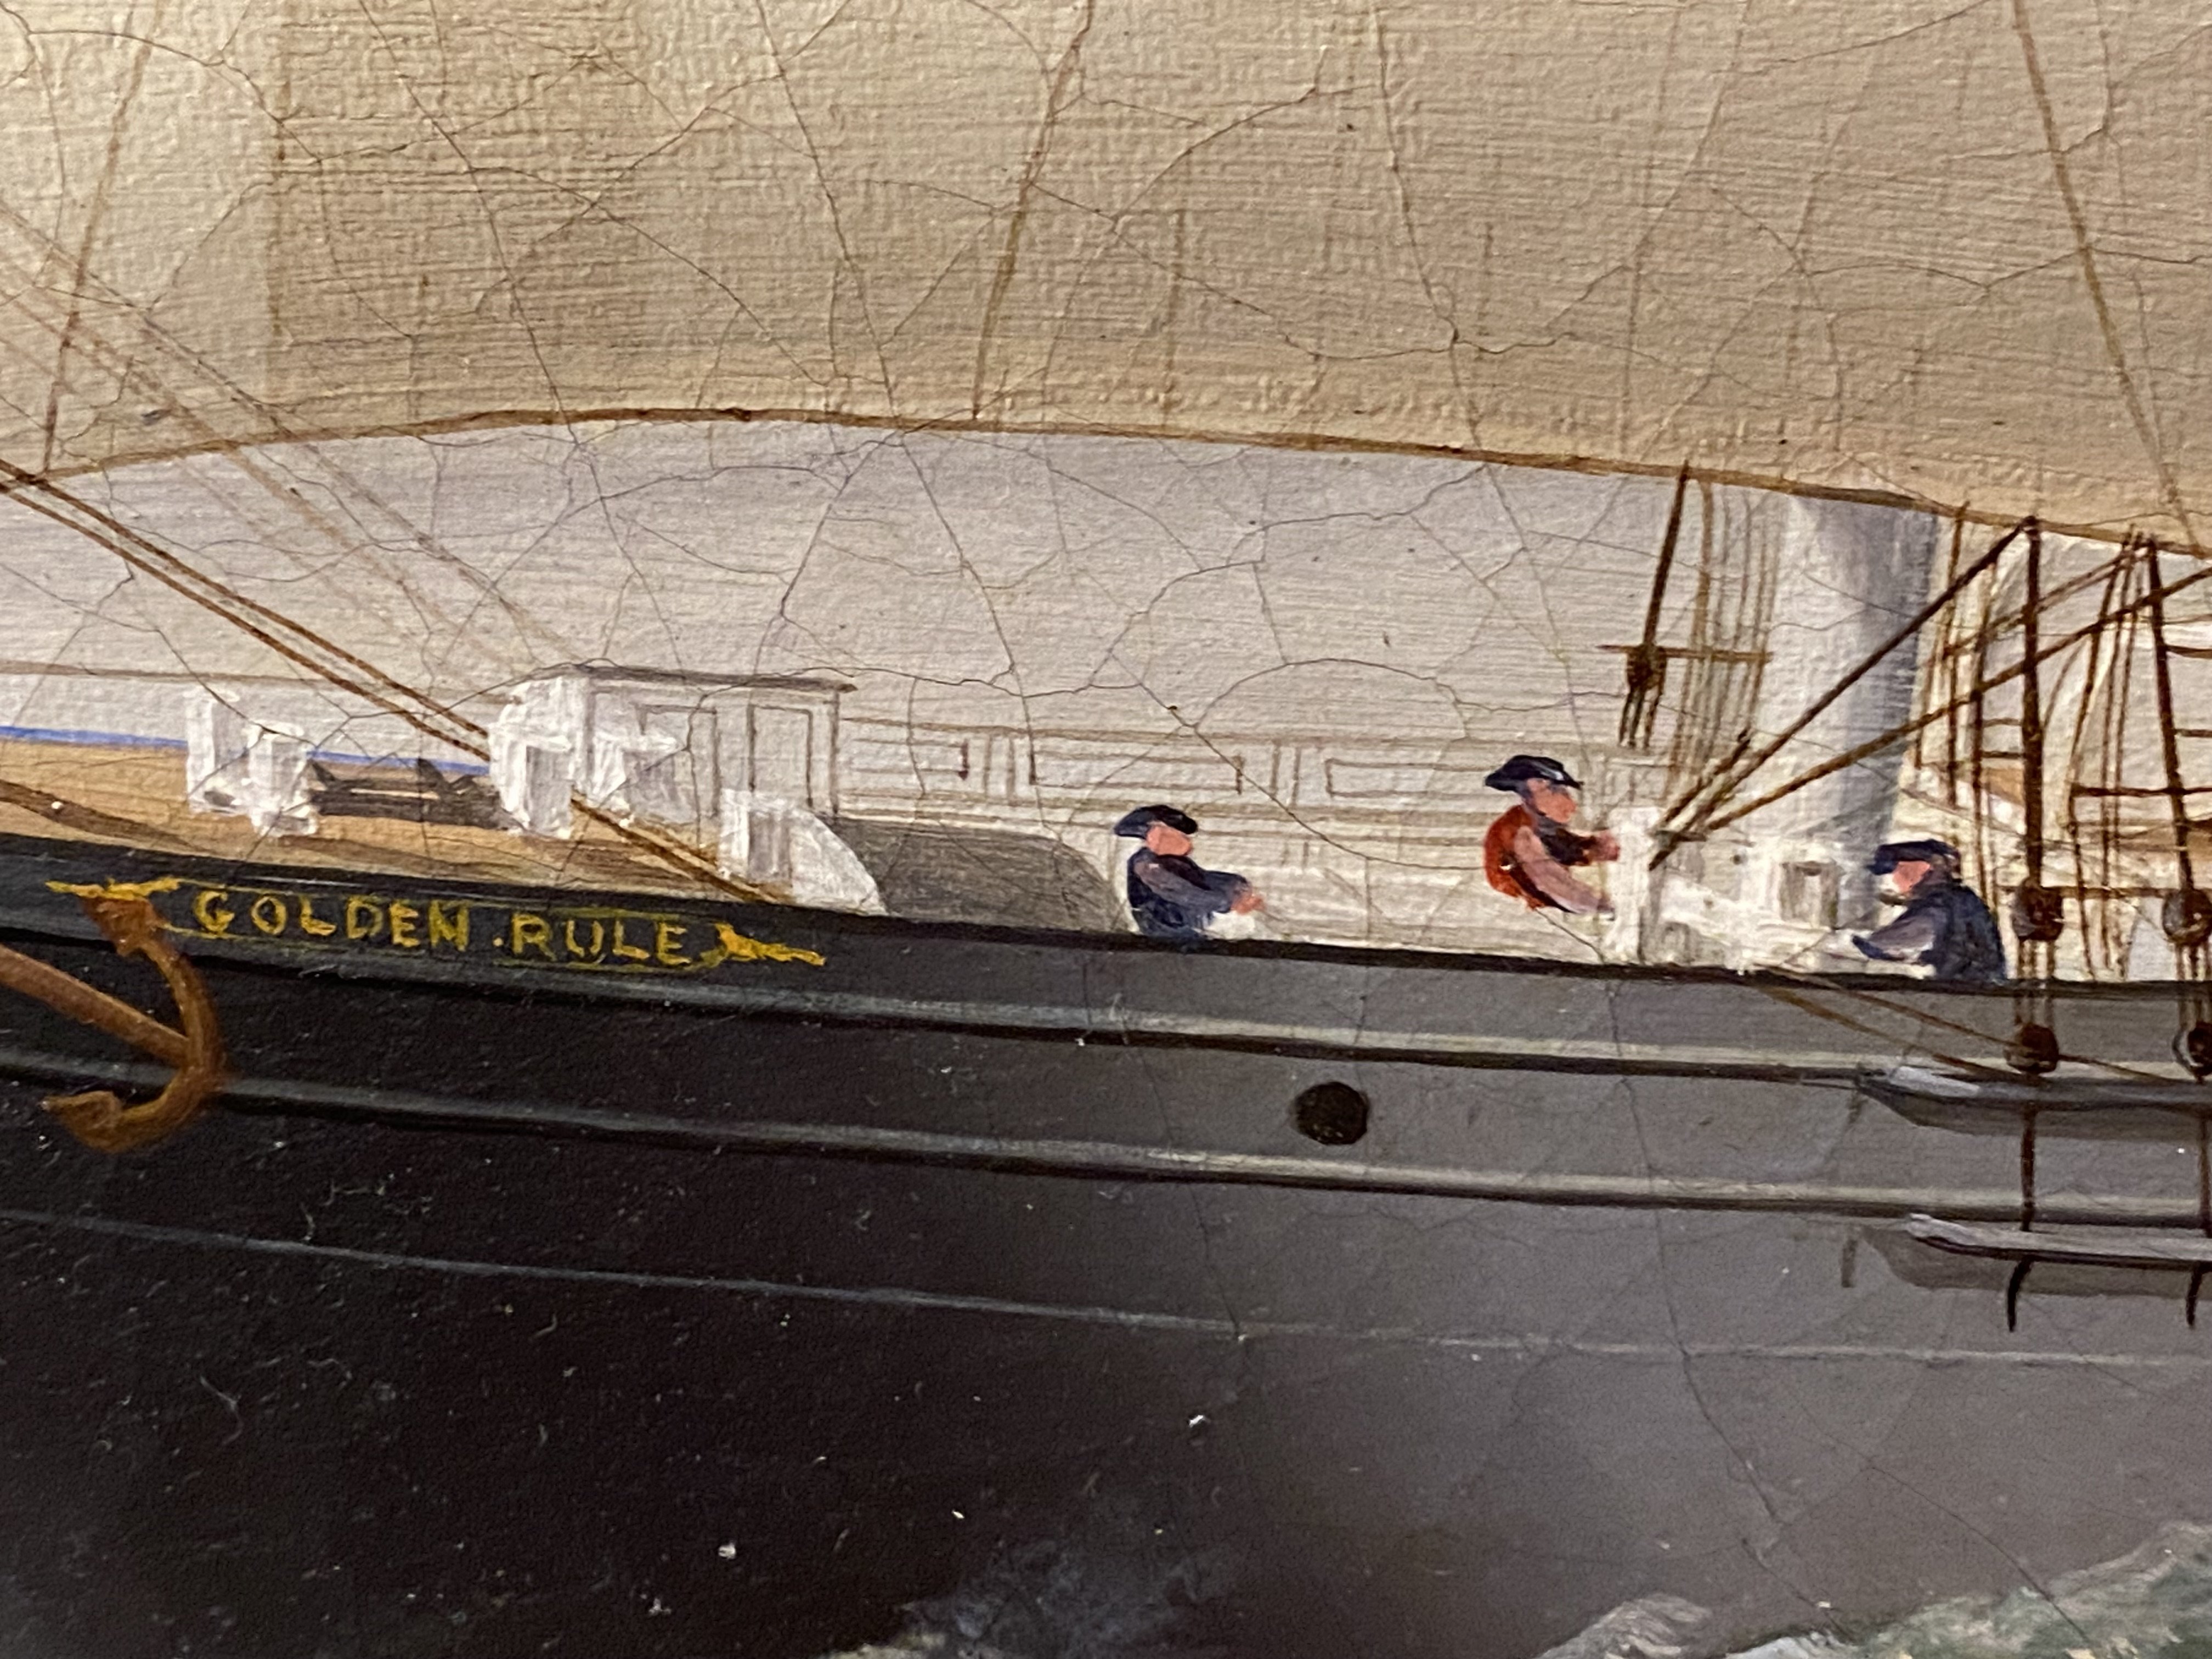
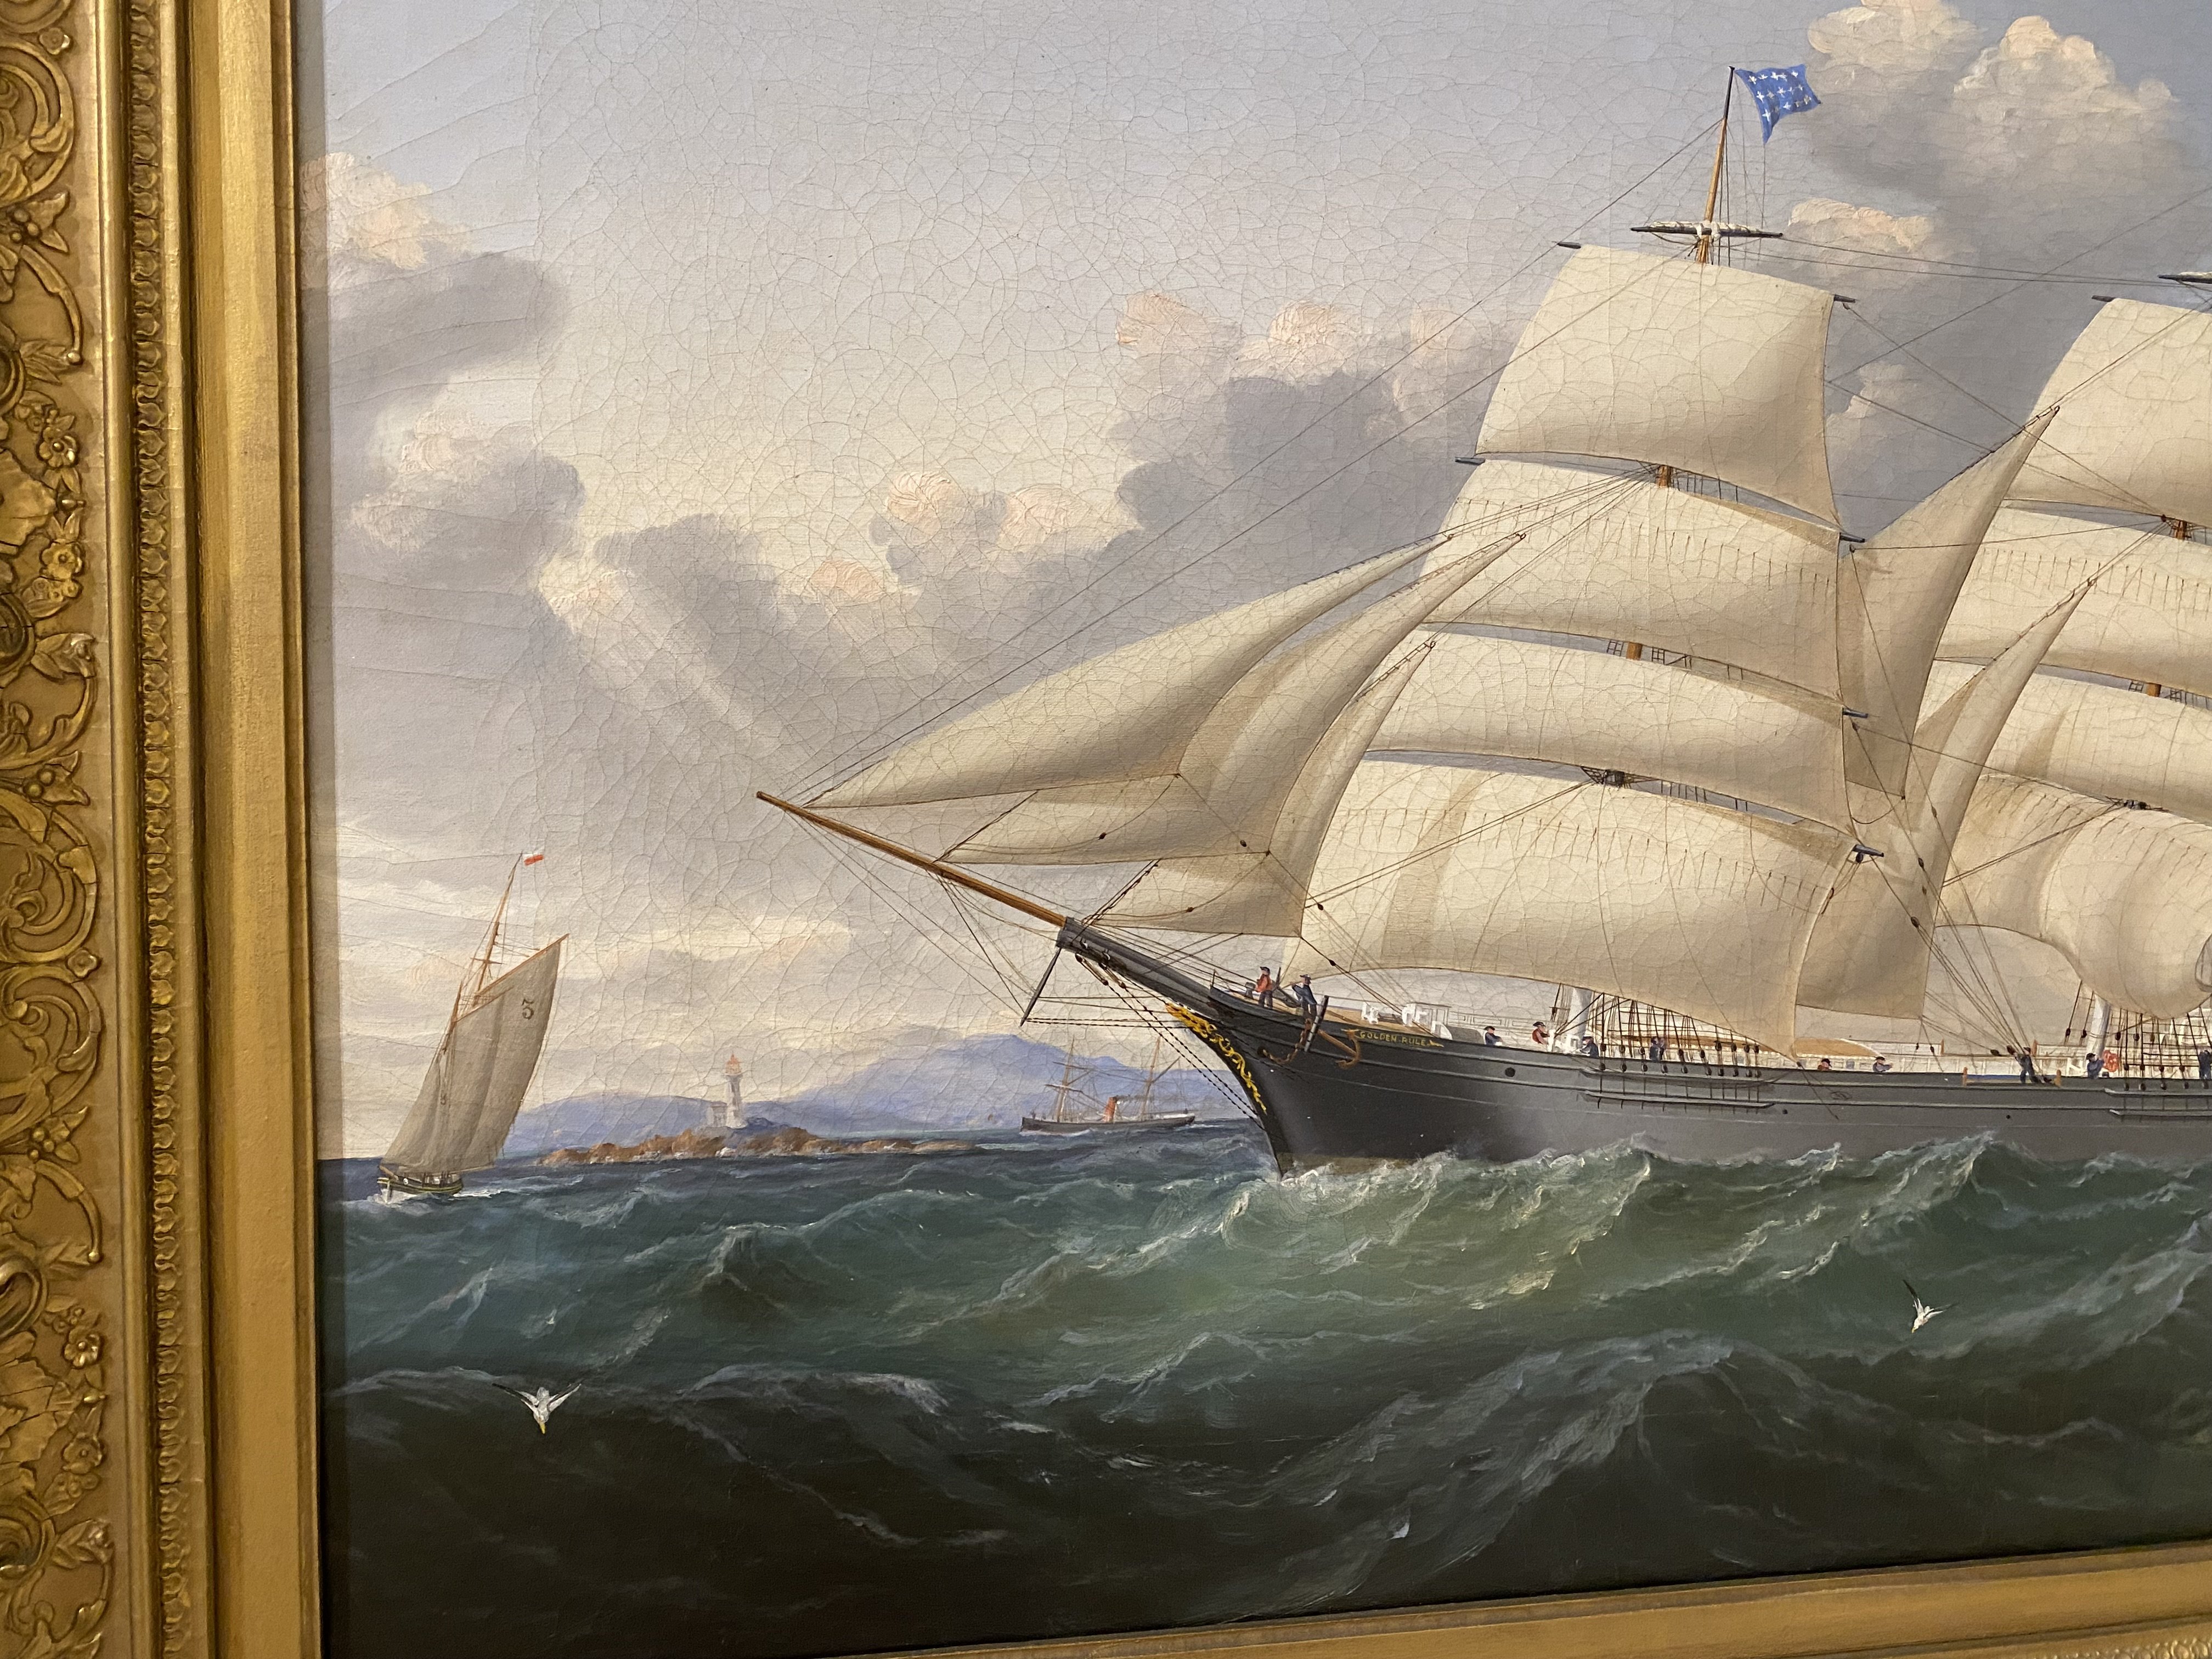
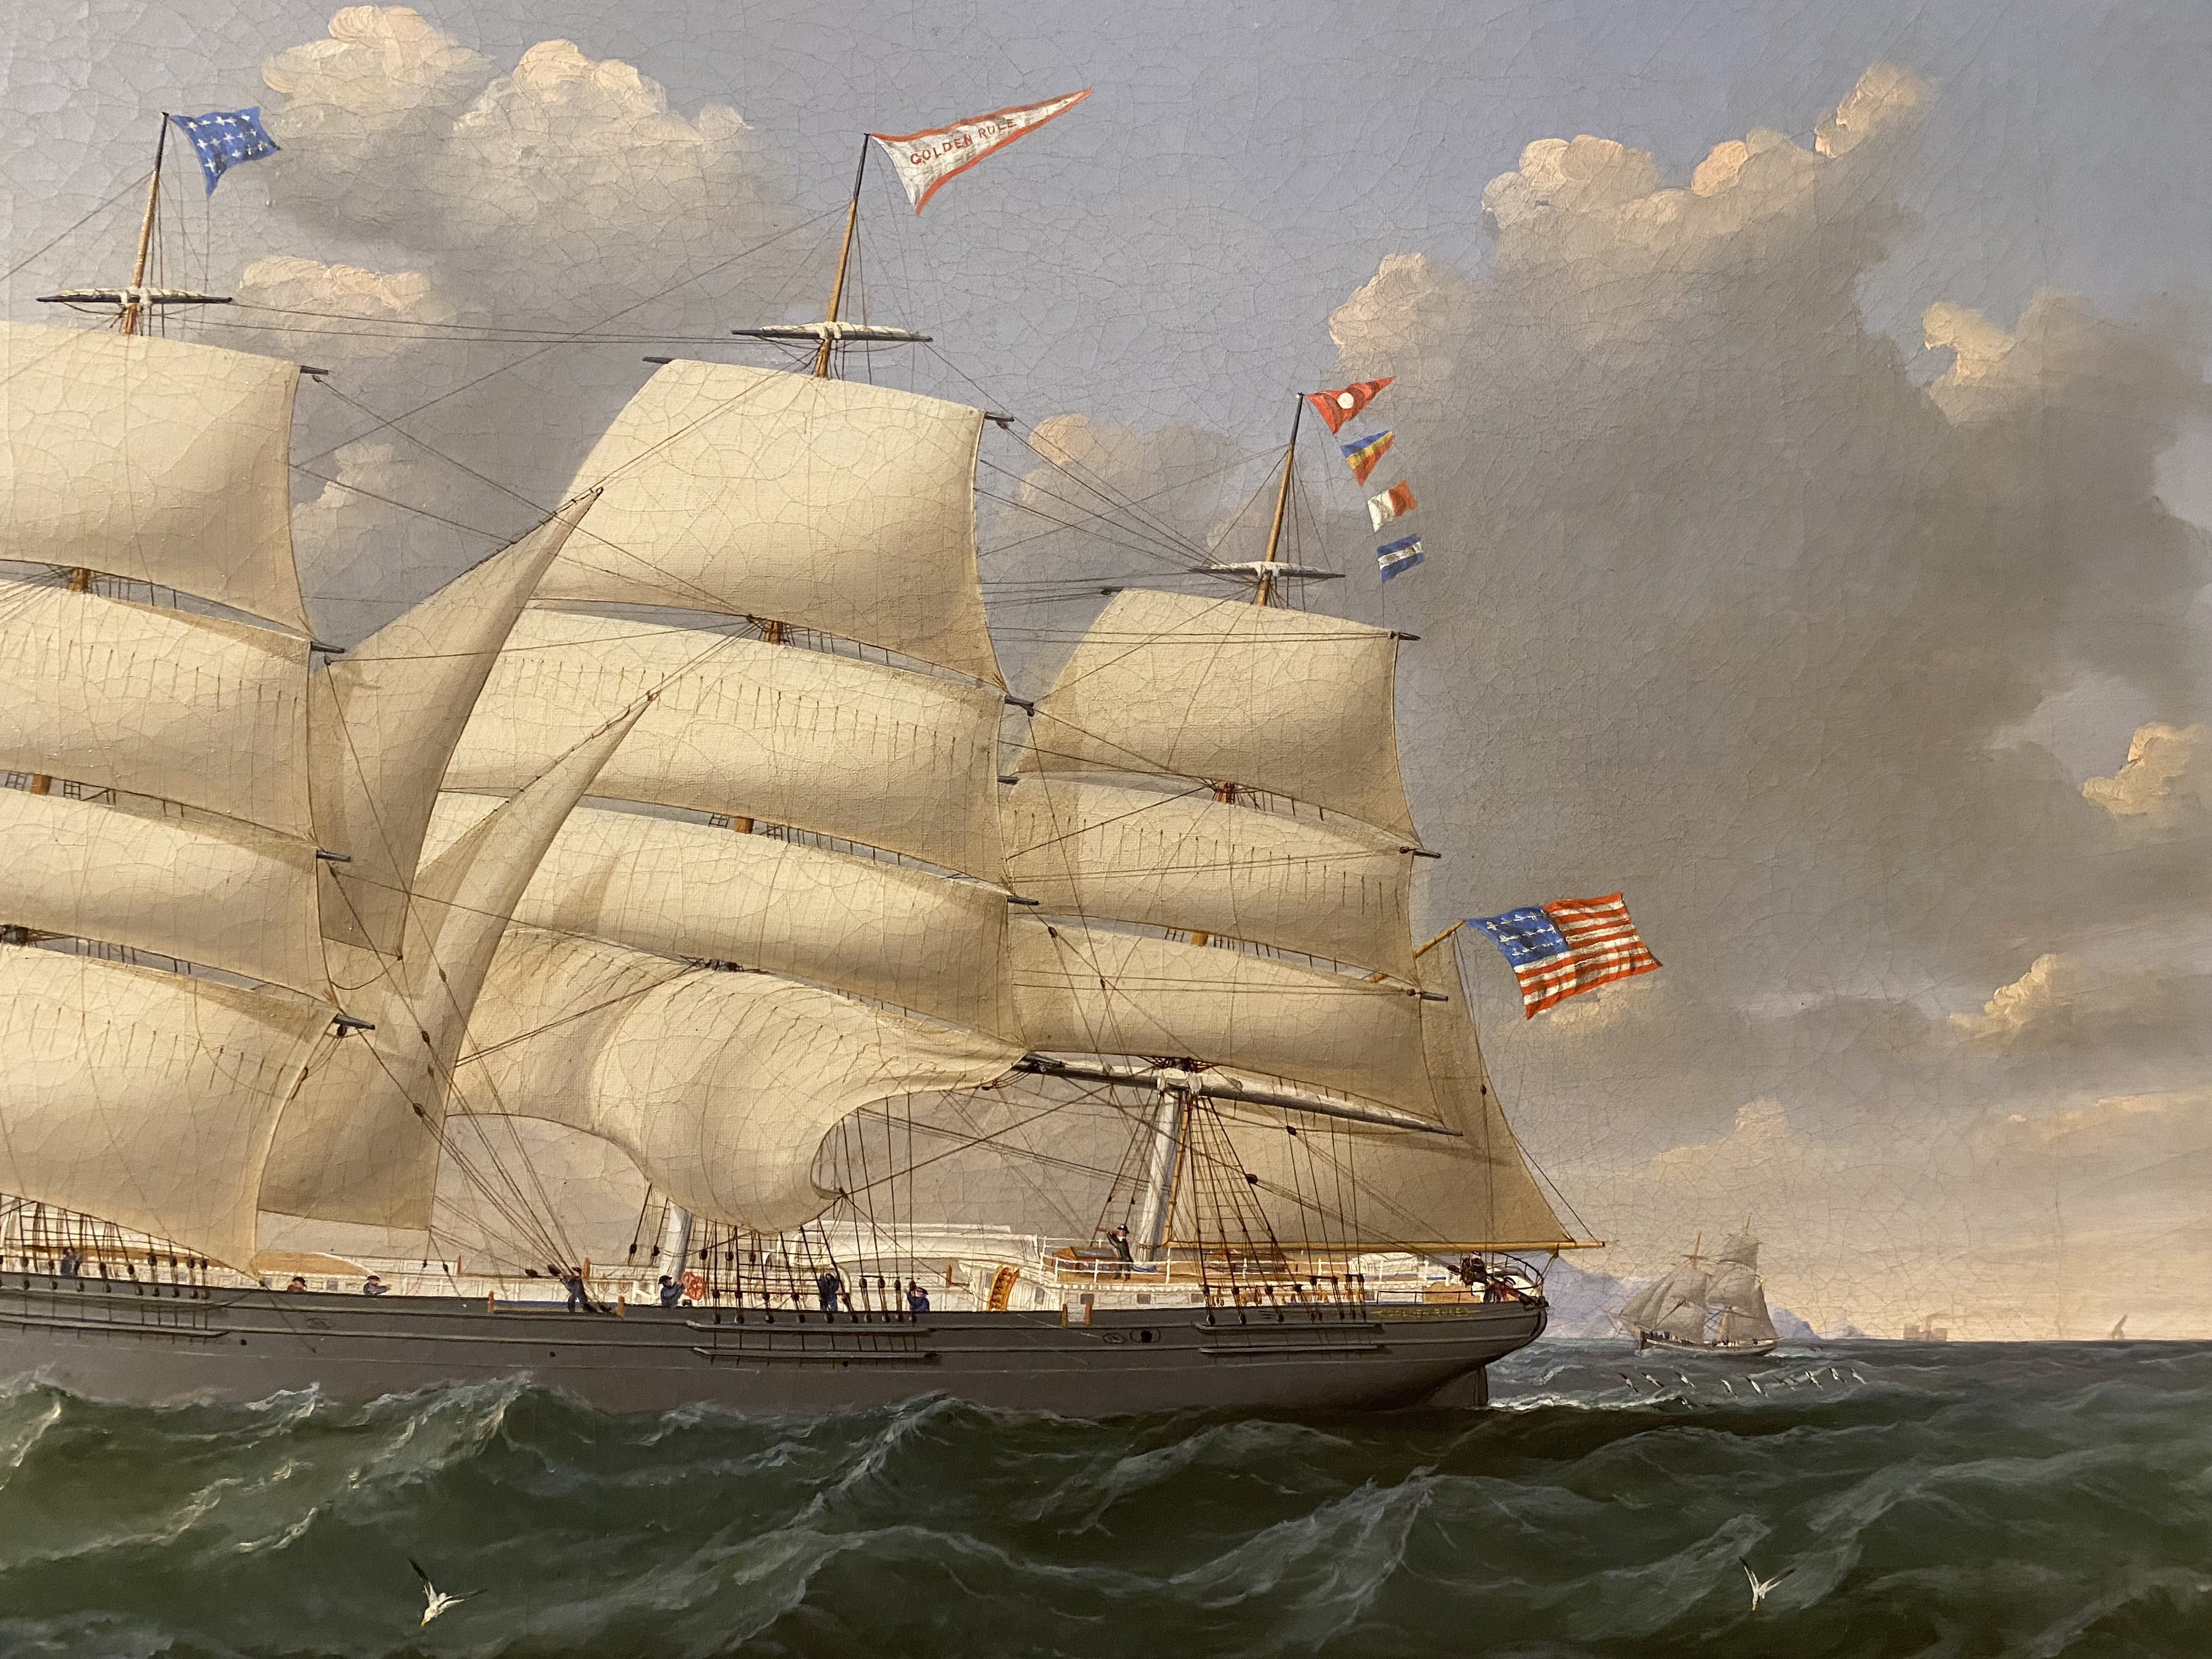
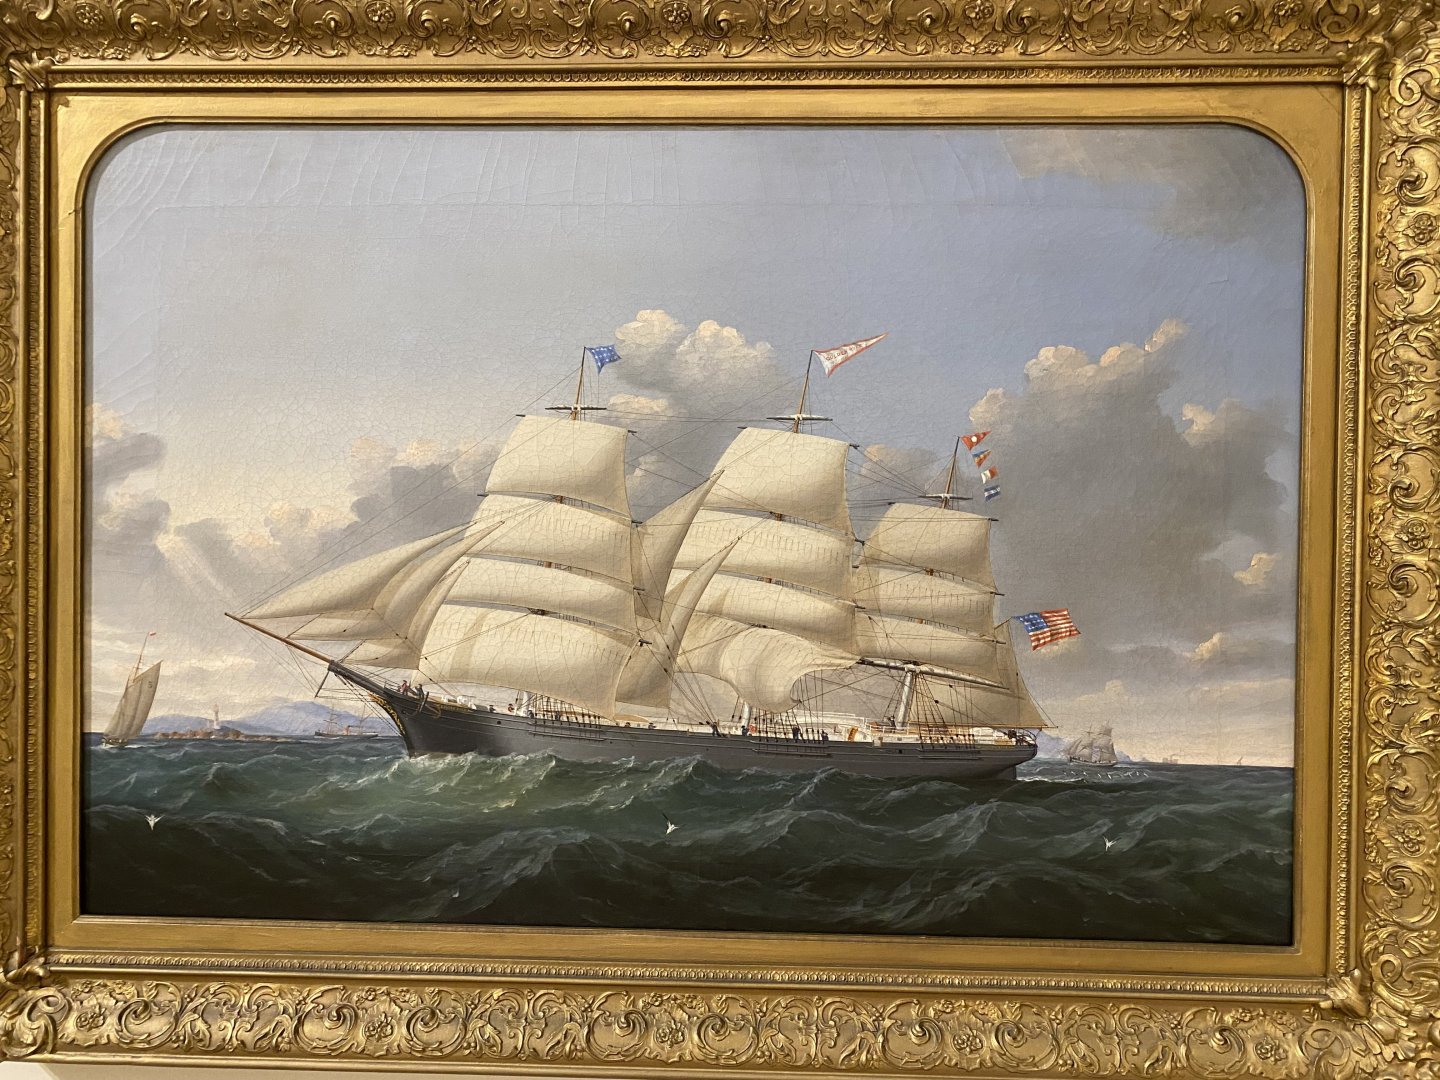
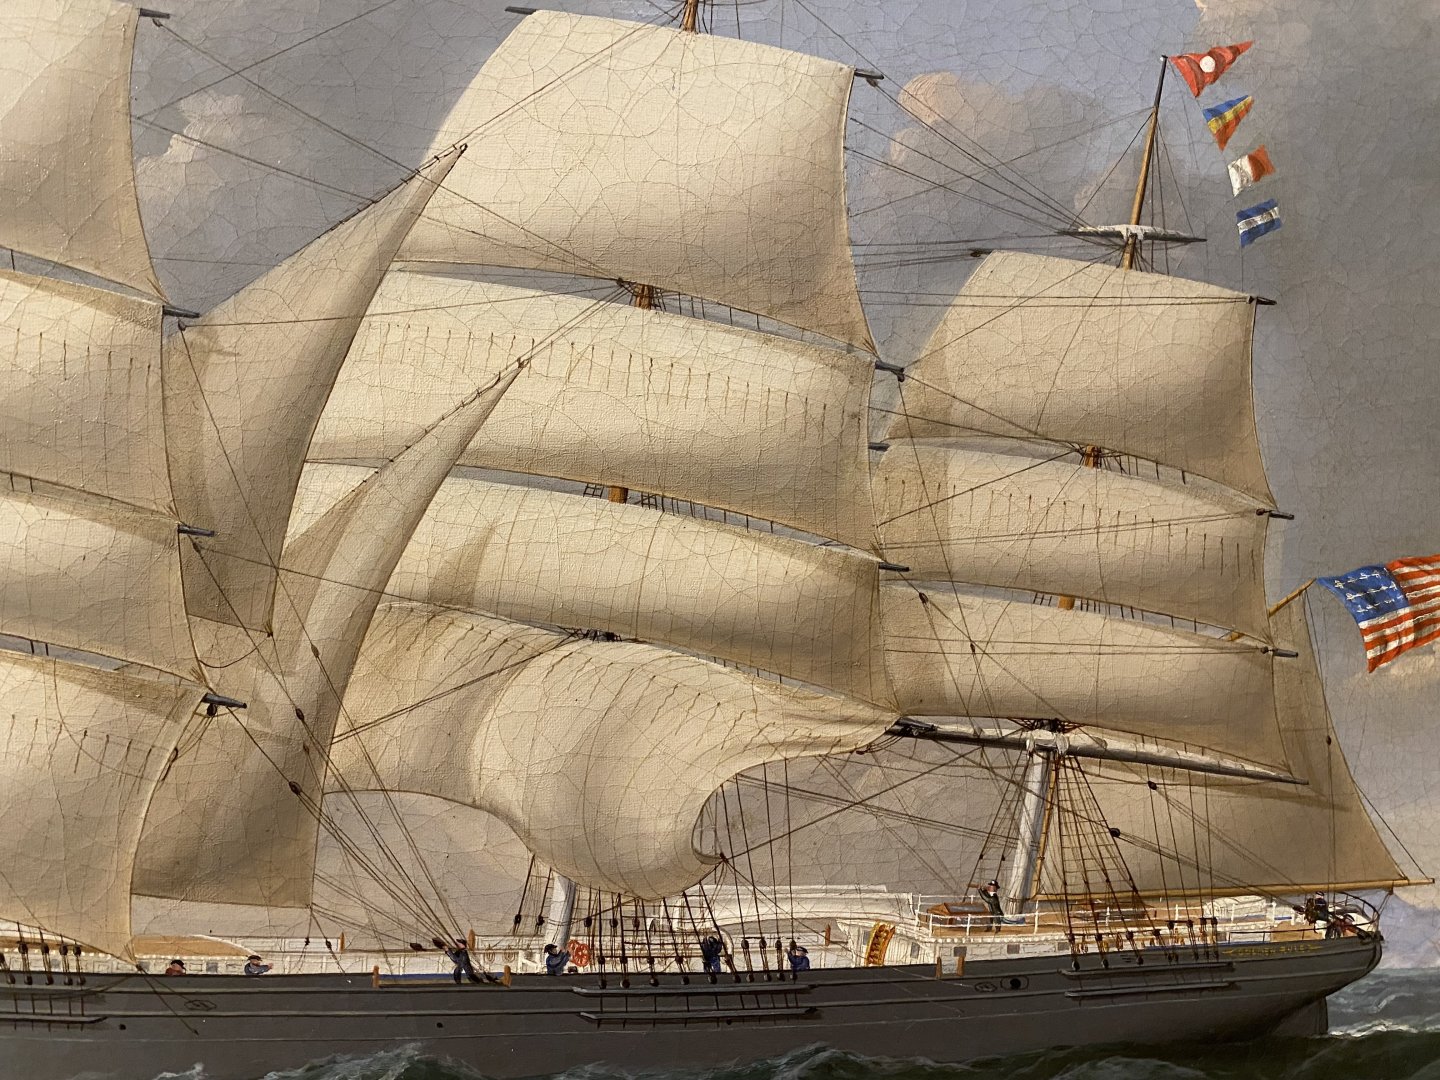
Rich, the Golden Rule was built in Newcastle - Damariscotta, Maine, by Col. Hitchcock in 1854. The painting is attributed to Charles Ogily, a Liverpool artist, known for his paintings of pilot boats.


-
Rob, ClipperFan, Jared, Thank you for your kind words! Still trying to get over the jet lag and get caught up with the yard work ect. The water closet is in front of the companionway entry on the FF plans, both contained in one structure. Water closets on either side of the forecastle seems to be a common place to locate them per Cutty Sark and other contemporary paintings.( see photo of painting of the clipper ship Golden Rule). Ben Langford chose to make the water closet larger with the companionway steps leading below on the aft side . This seems to meet the description by Duncan Mc Lean although it is all conjecture. Interestingly, the Buttersworth painting shows no evidence of them. Omitted or hidden by the rail? Or a forecastle similar to your beautiful design? The anchor windlass you have for Stag Hound seems to me to be a latter and more modern version. Do you have any information when this specific design was produced? ClipperFan, the larger lubber hole on a he CS was all metal, this would be stronger than wood. I don’t see how you could cut the middle cross tree and retain the strength on just 2 full length cross trees. Clipperfan and Rob, thanks for your input. I would love to be able to talk to Donald McKay and see if this model and the plans are accurate to the actual vessel. Both of you have brought up interesting points and another way to interpret the written description! Keep up the great work! Rick Rob, I knew you had a long career in Dentistry, which helps to explain your remarkable modeling skills! Rick

- 360 replies
-
- 1
-

-
- Flying Fish
- Model Shipways
- (and 1 more)
-
Jared, nice recovery on repairing your mast. I too had to repair the top of my mizzen mast , which I snapped off while drilling the holes for the skysail halyard. This seems to be a common theme among us model ship builders! I can only imagine what’s going to happen with the spanker boom and jib boom! I’m already thinking about affixing some kind of a guard for both booms, otherwise it is a certainty that I will snap them off as well!! You continue to do a great job and you are progressing nicely! Rick
-
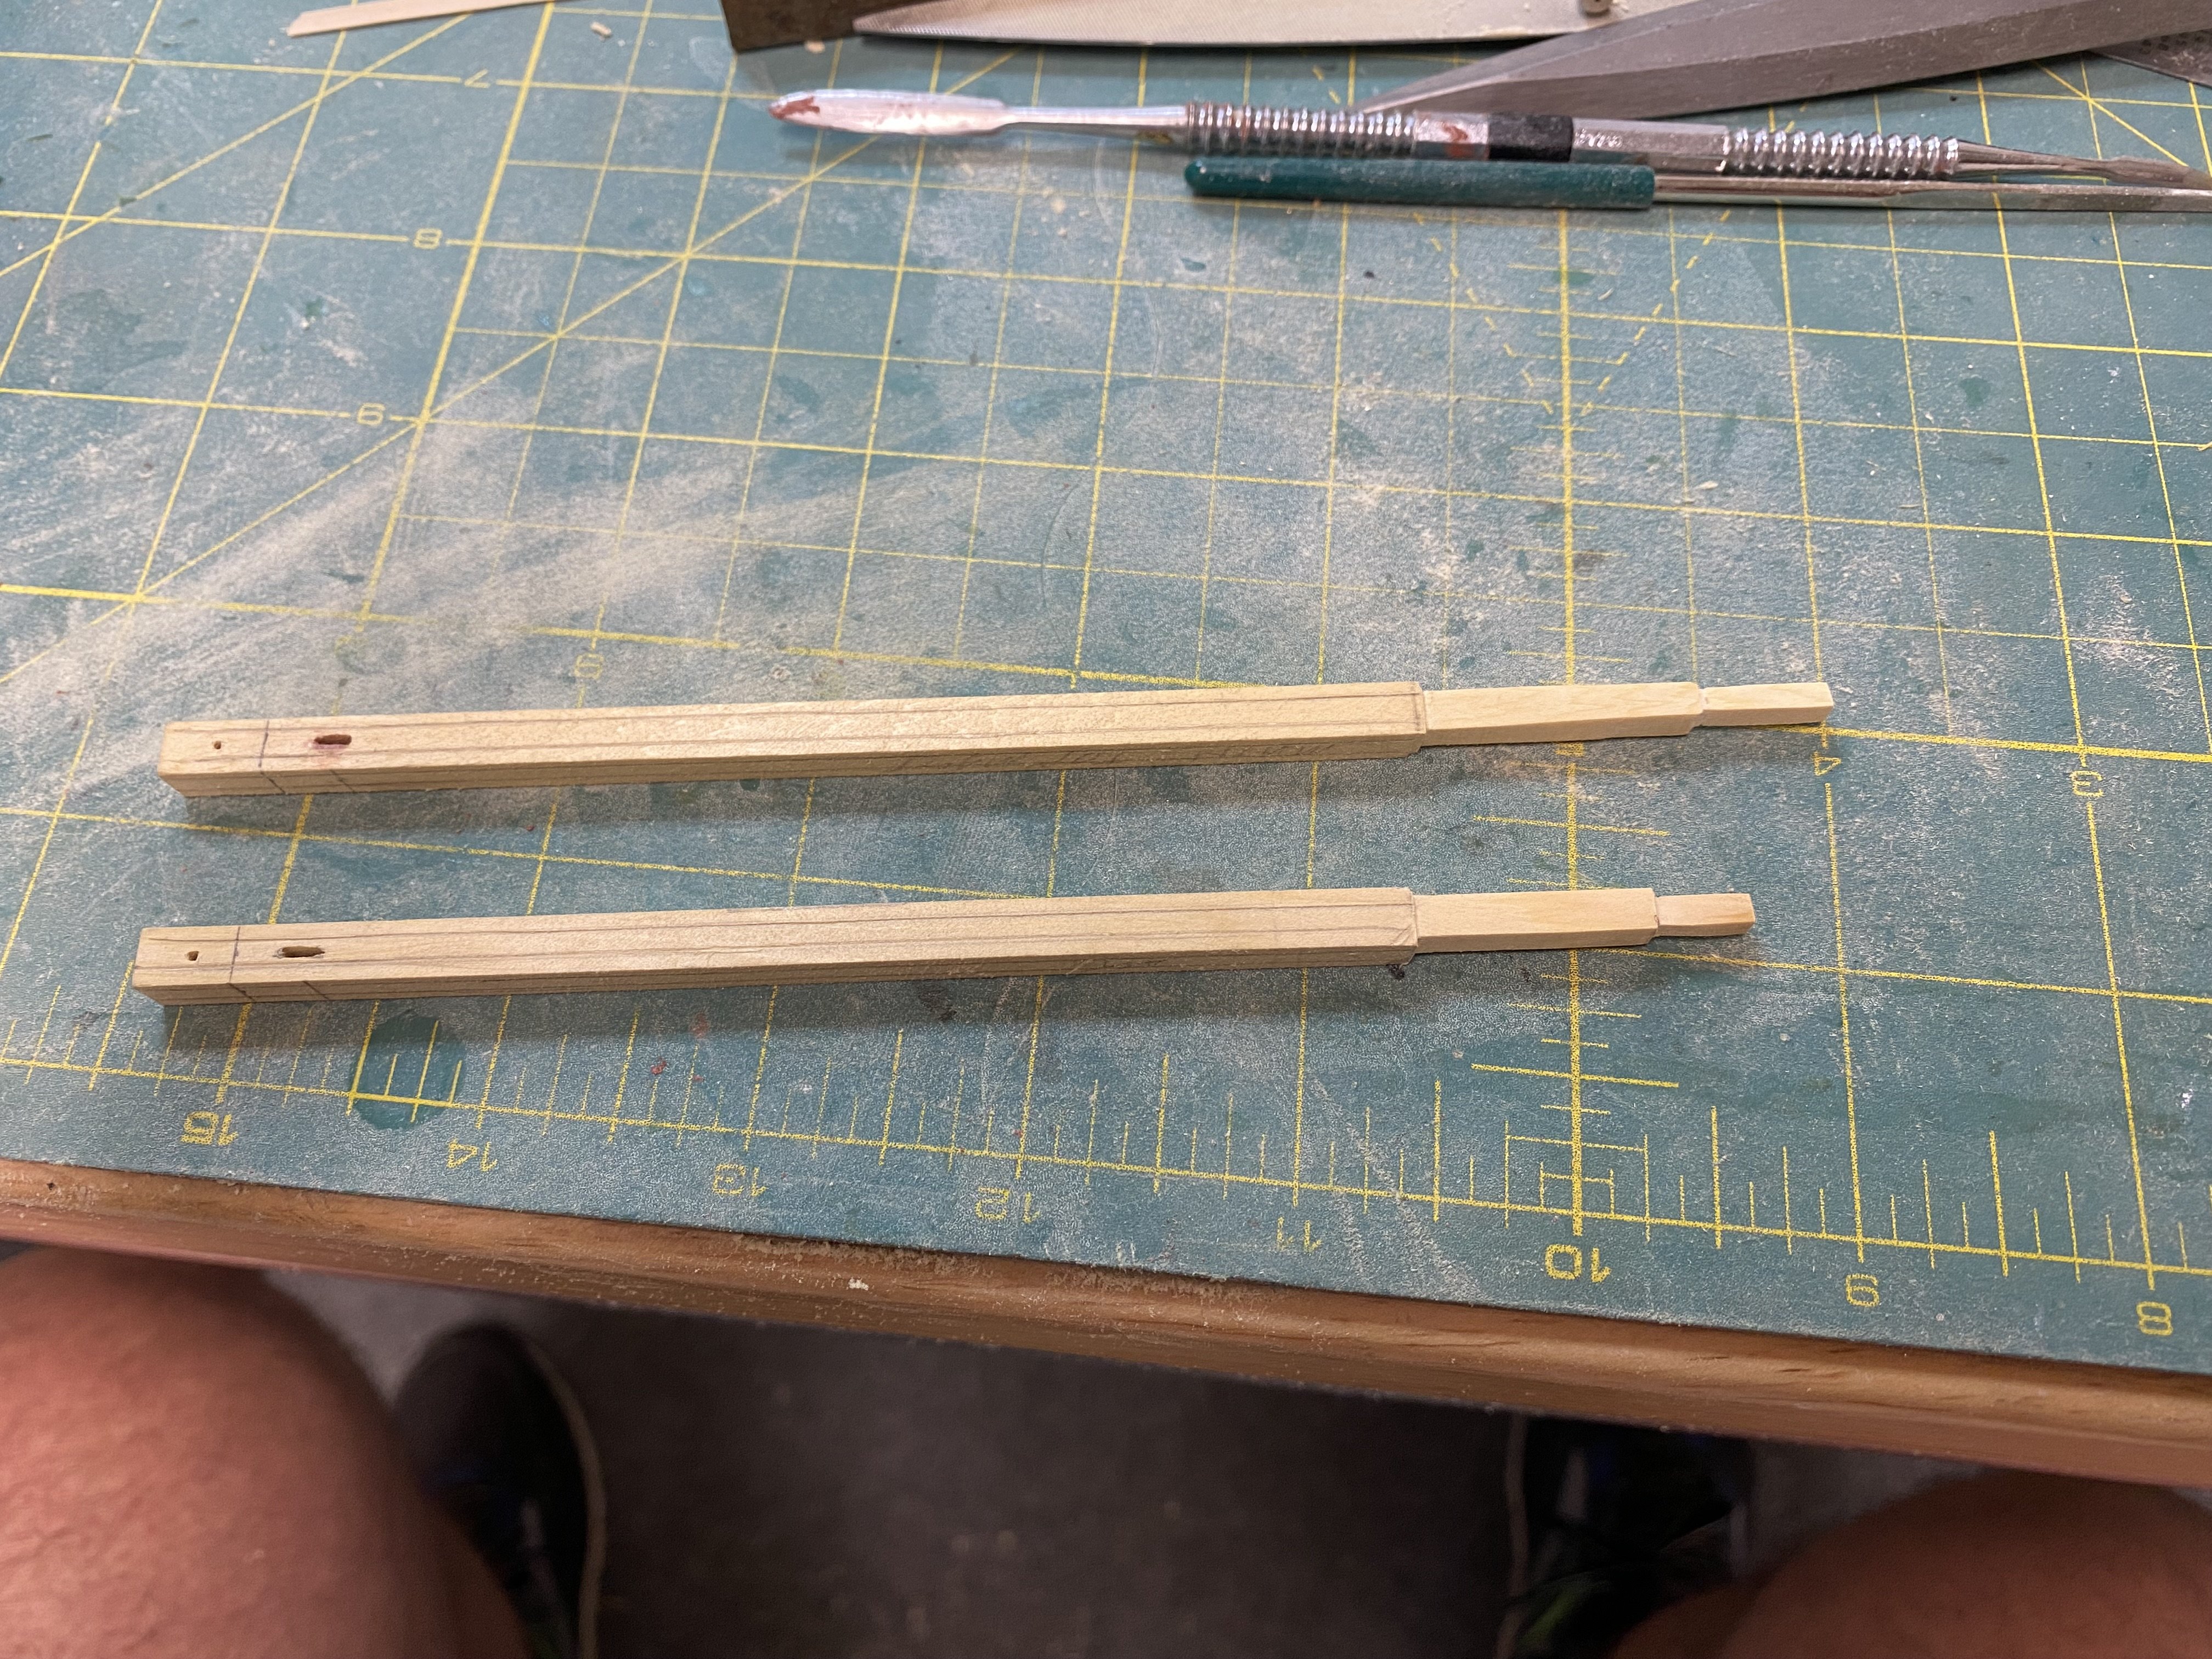
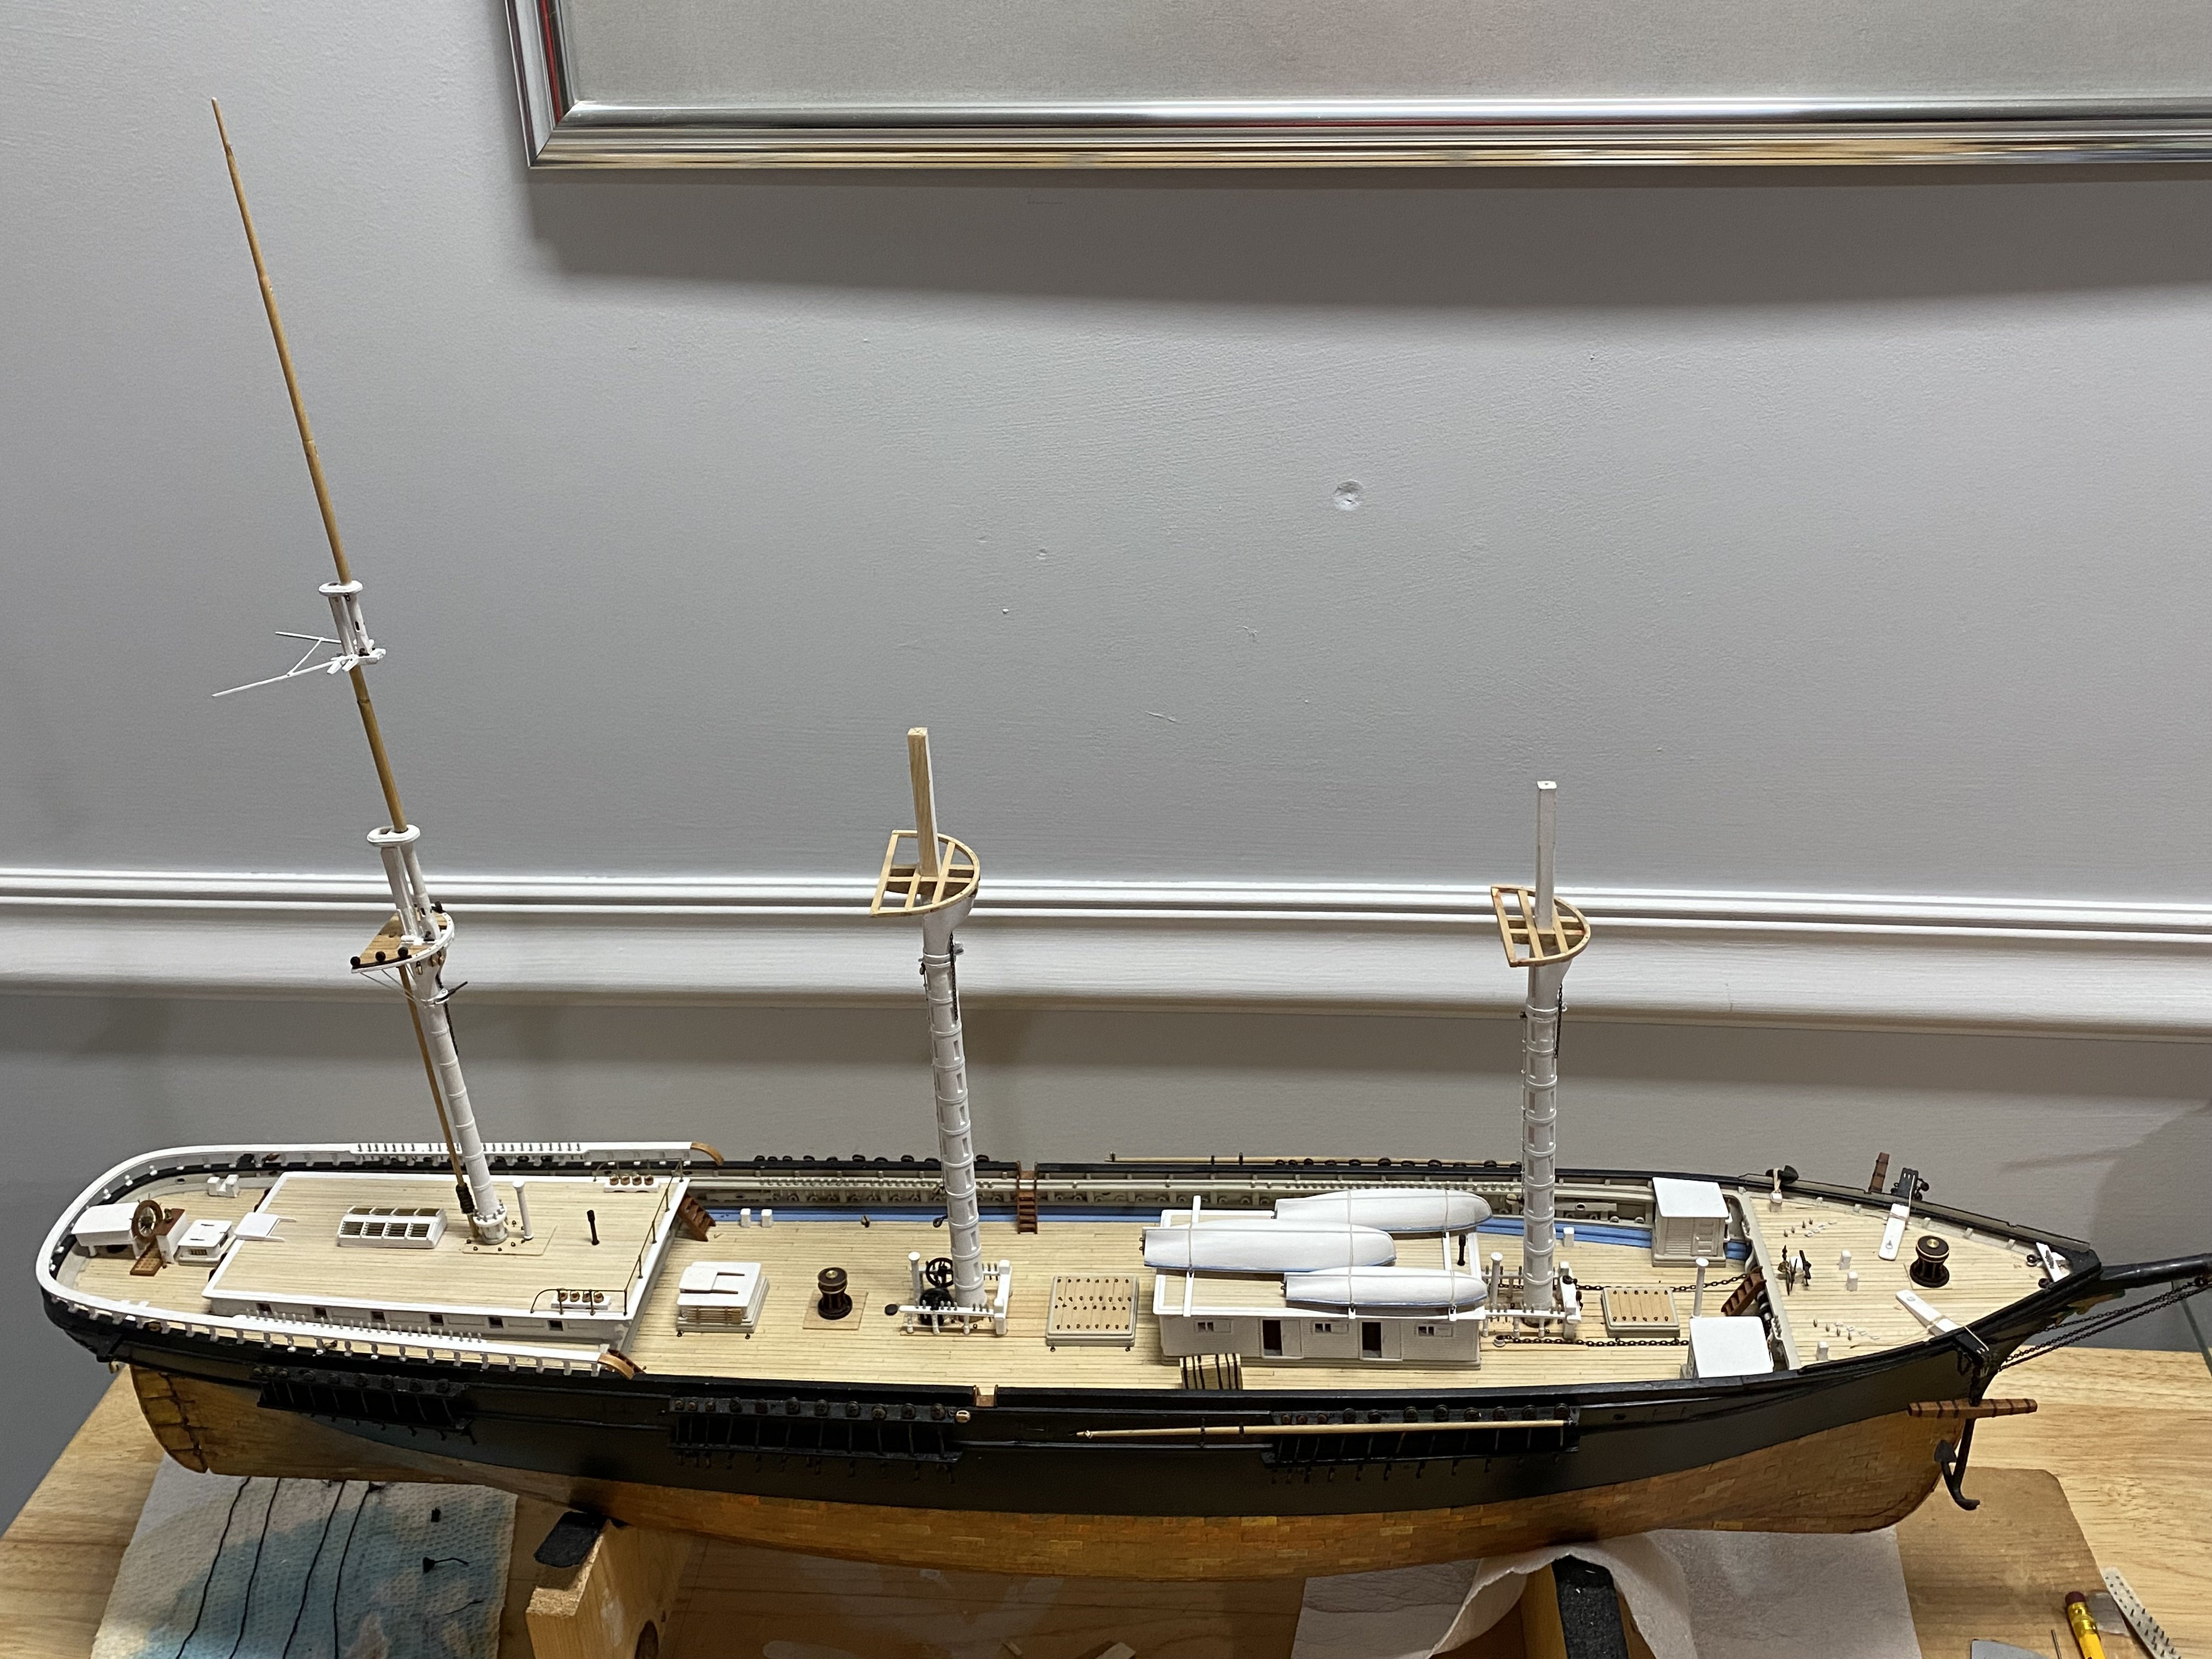
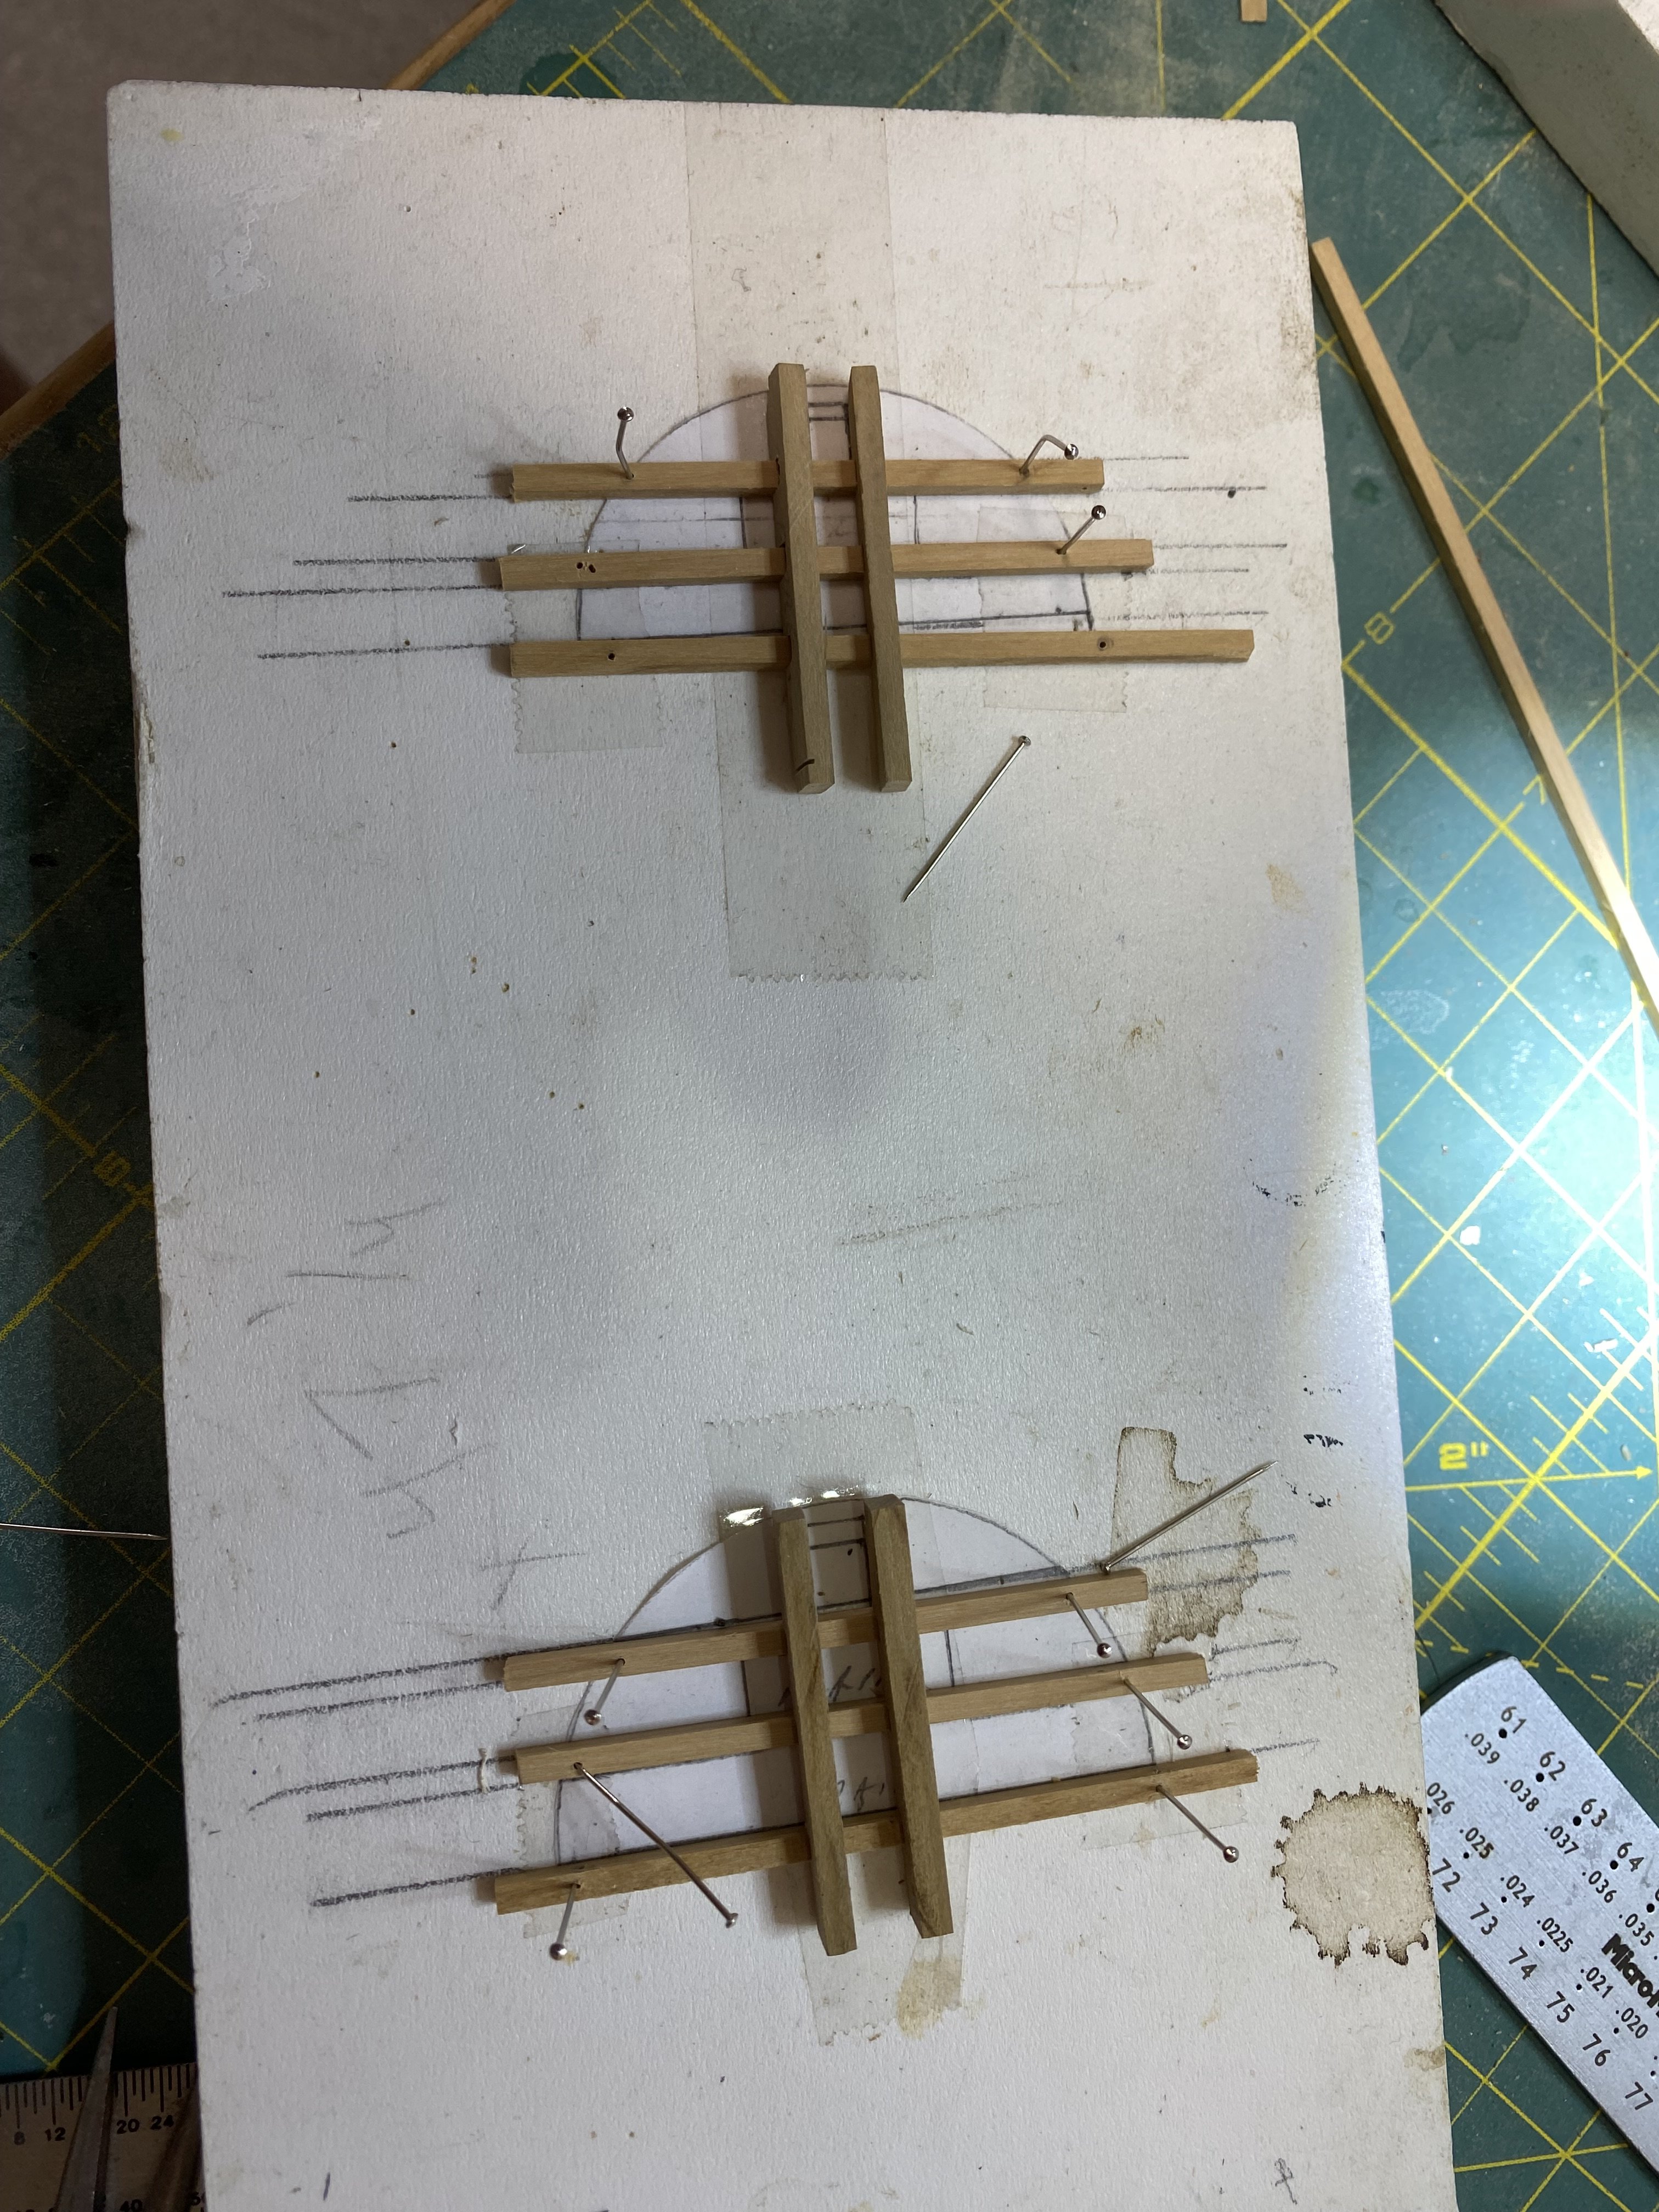
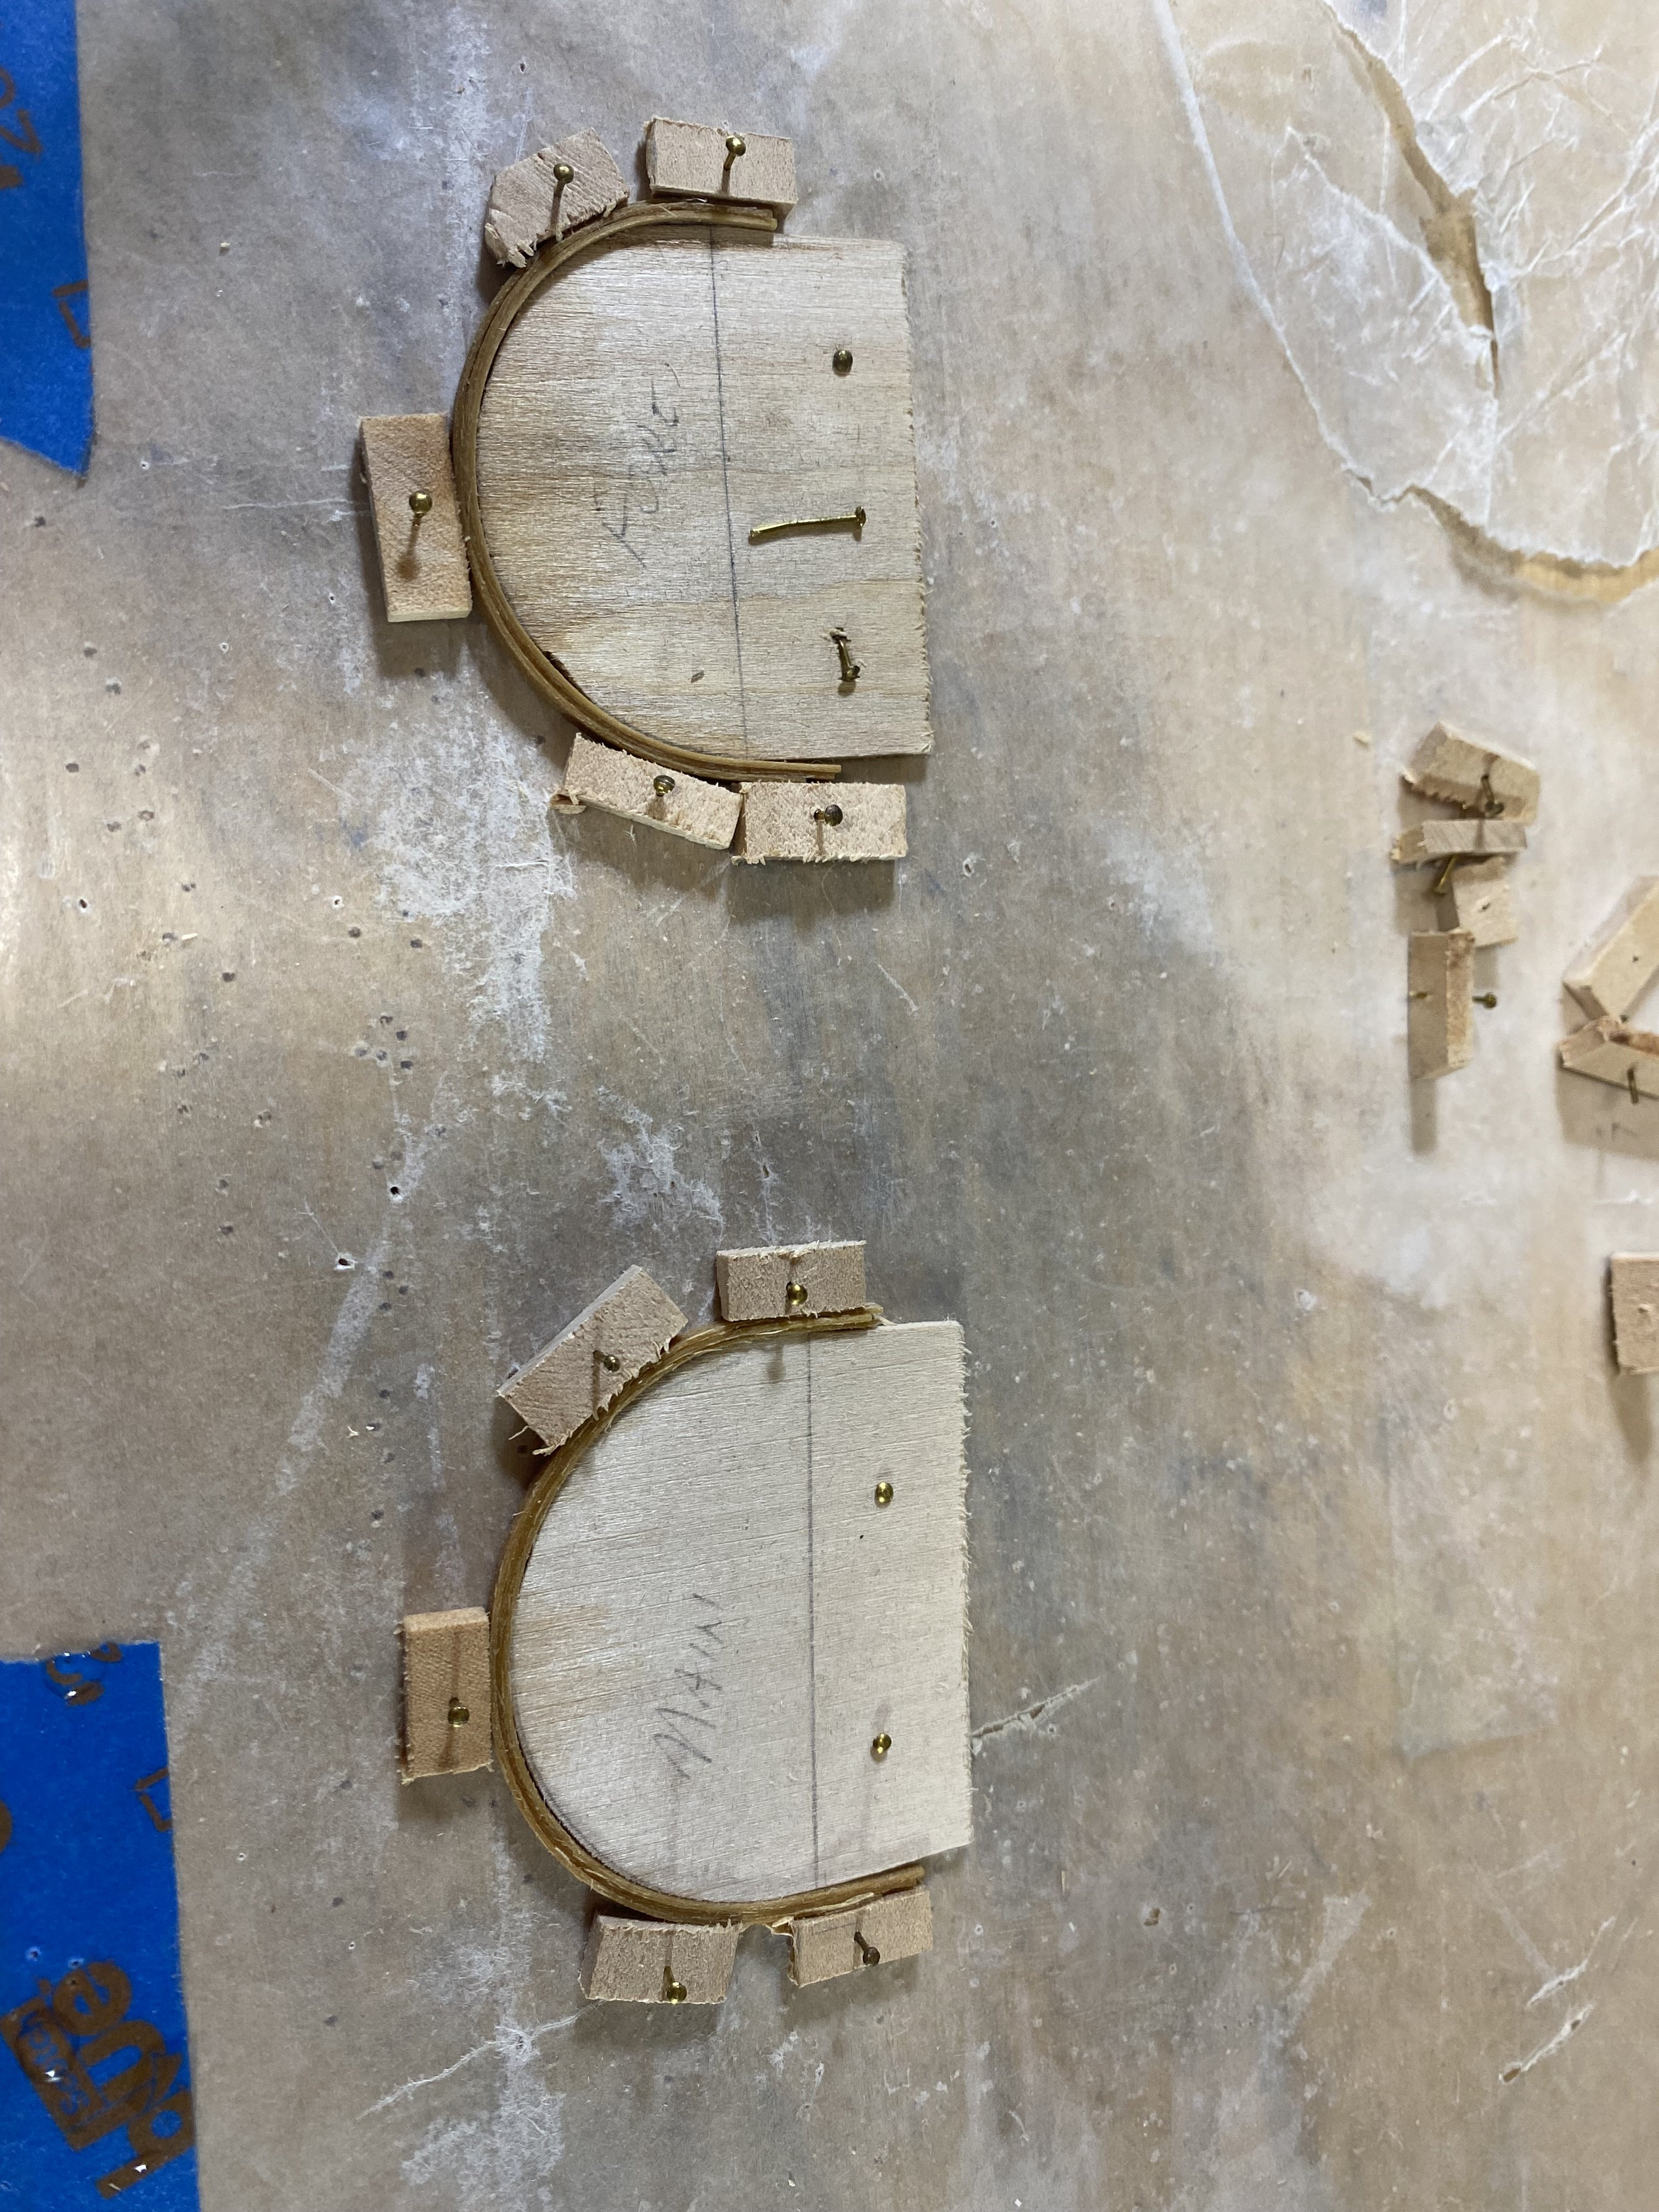
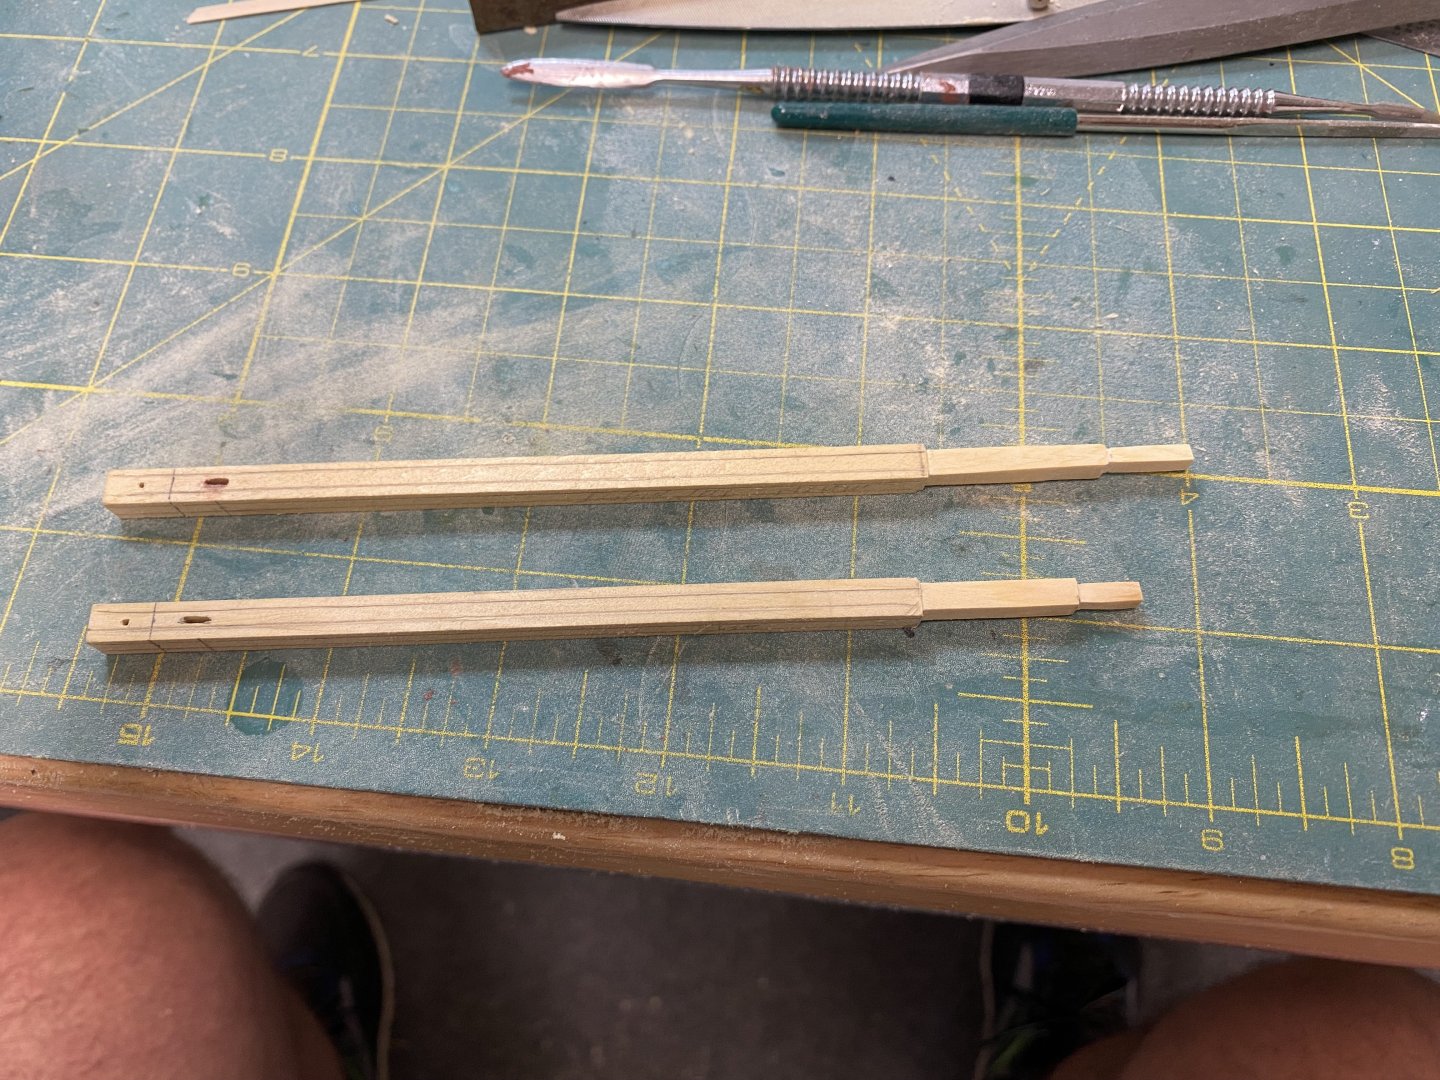
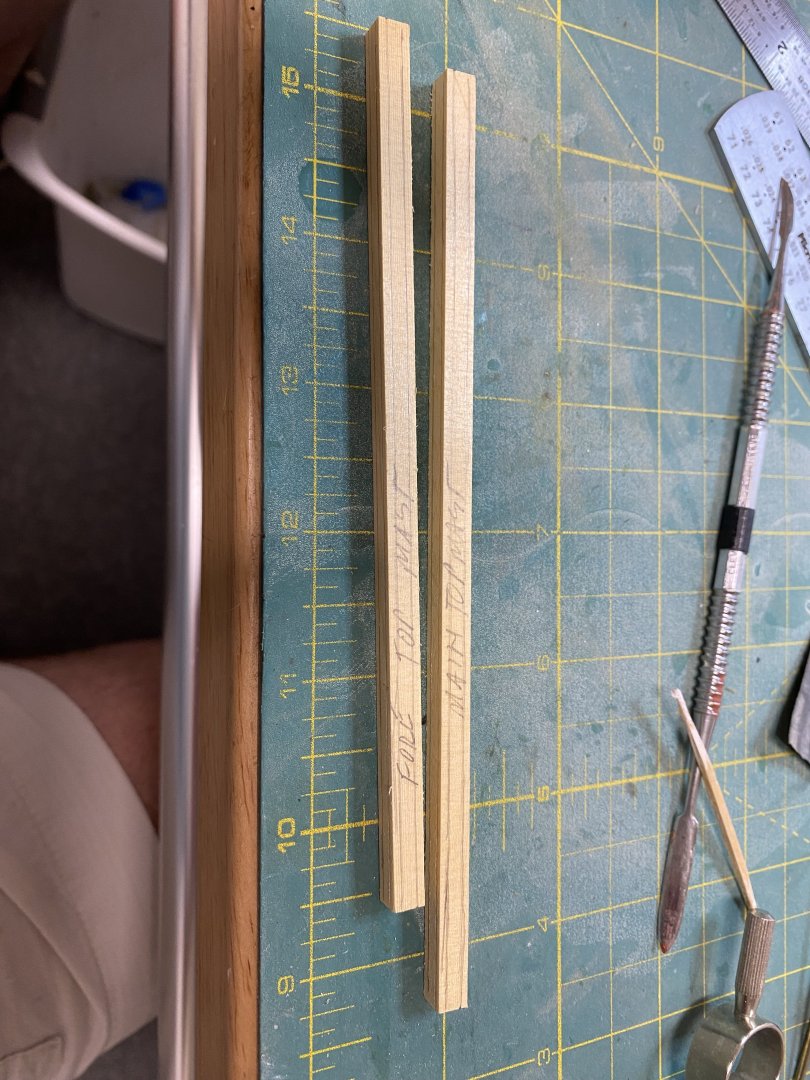
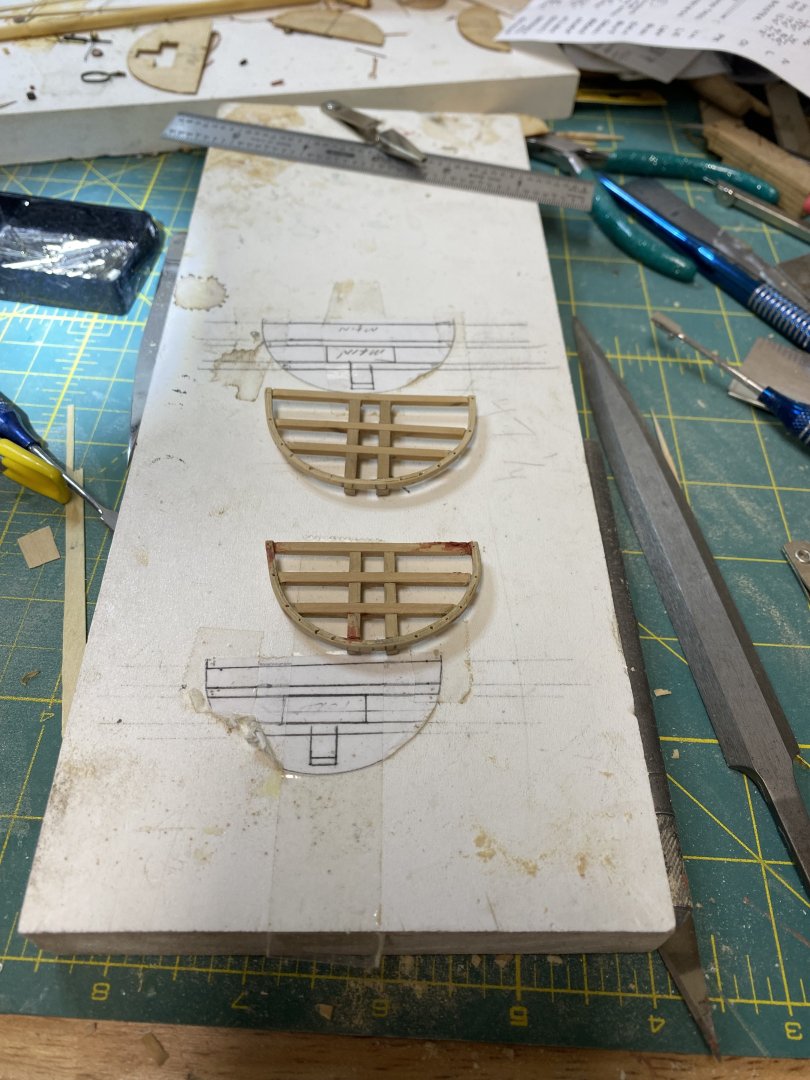
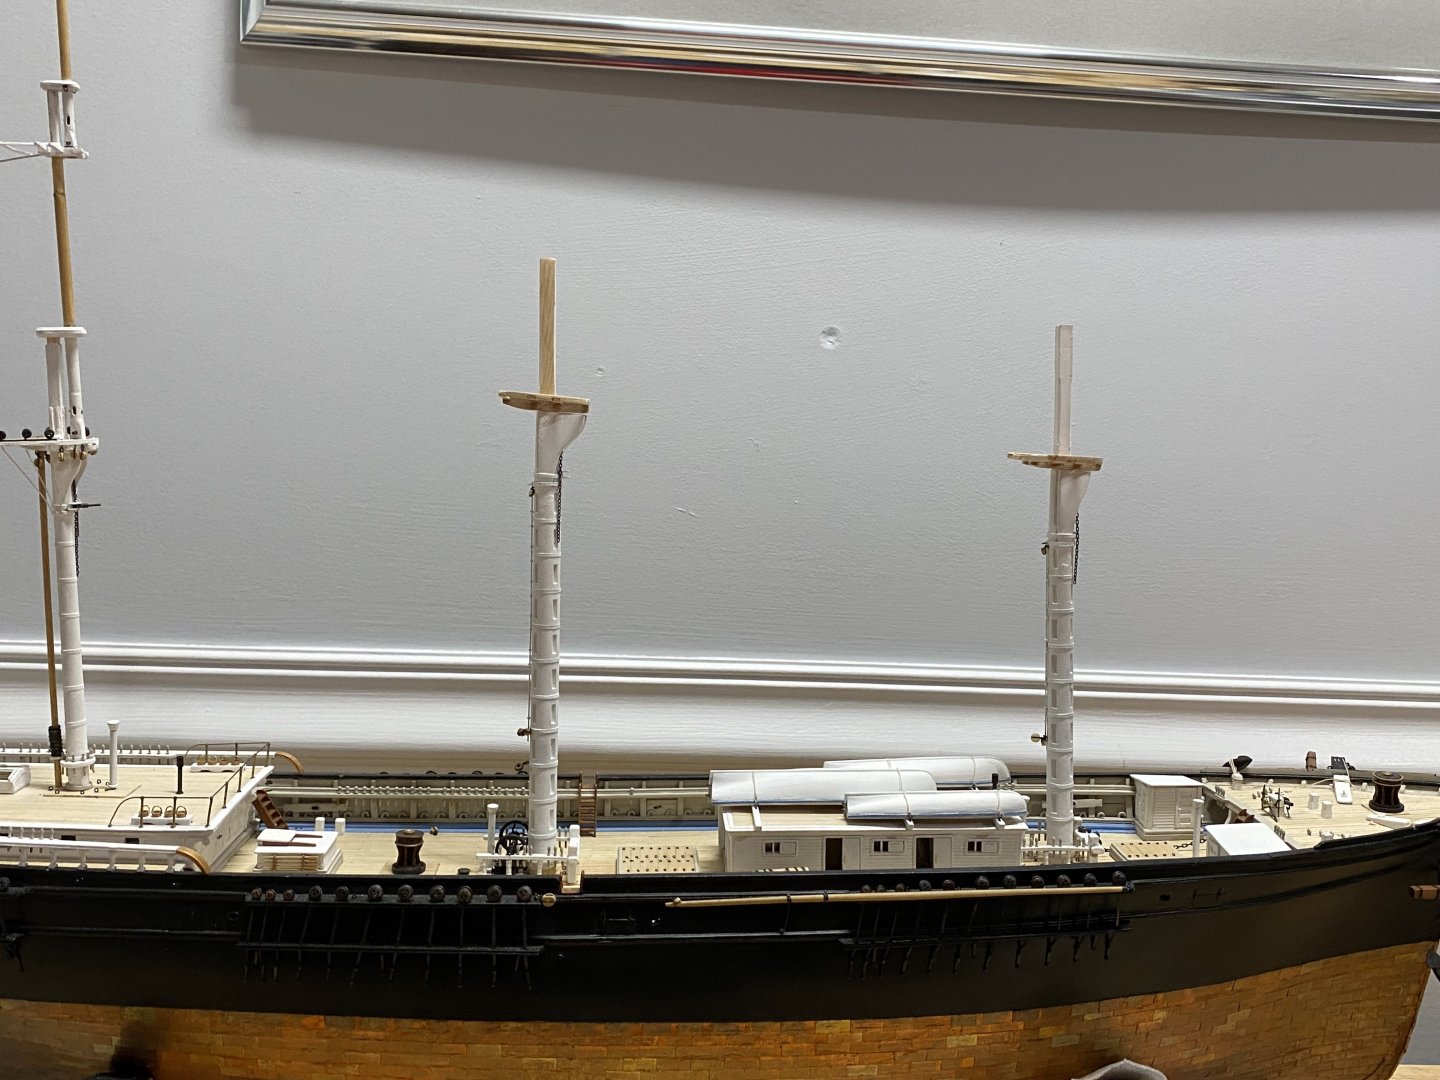
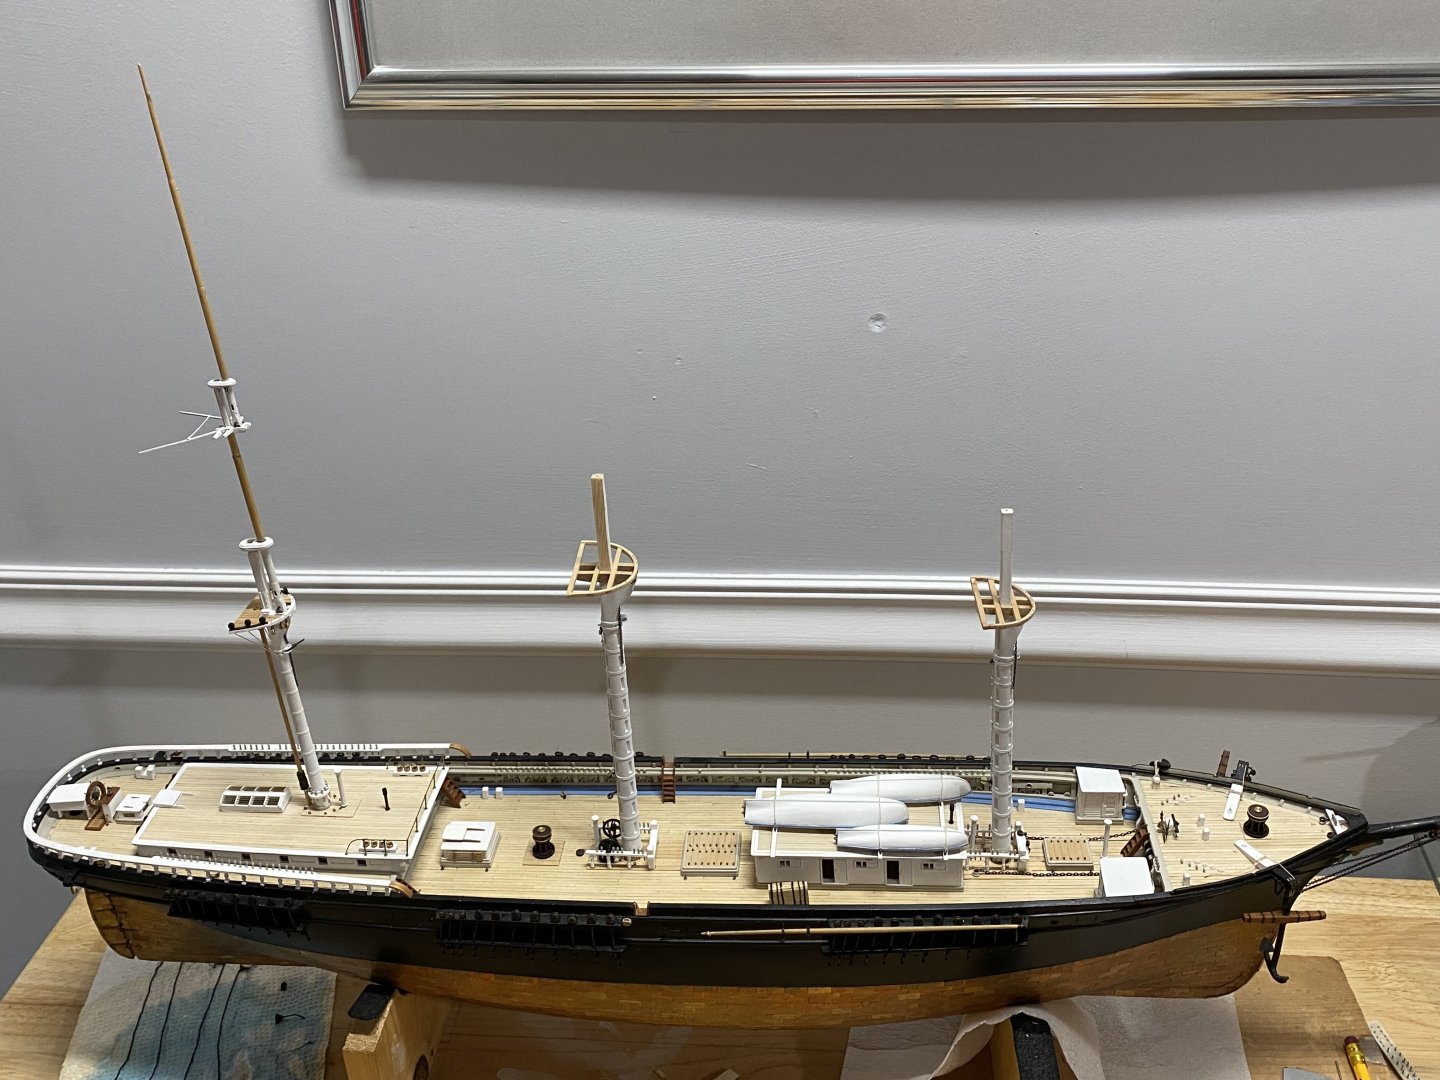
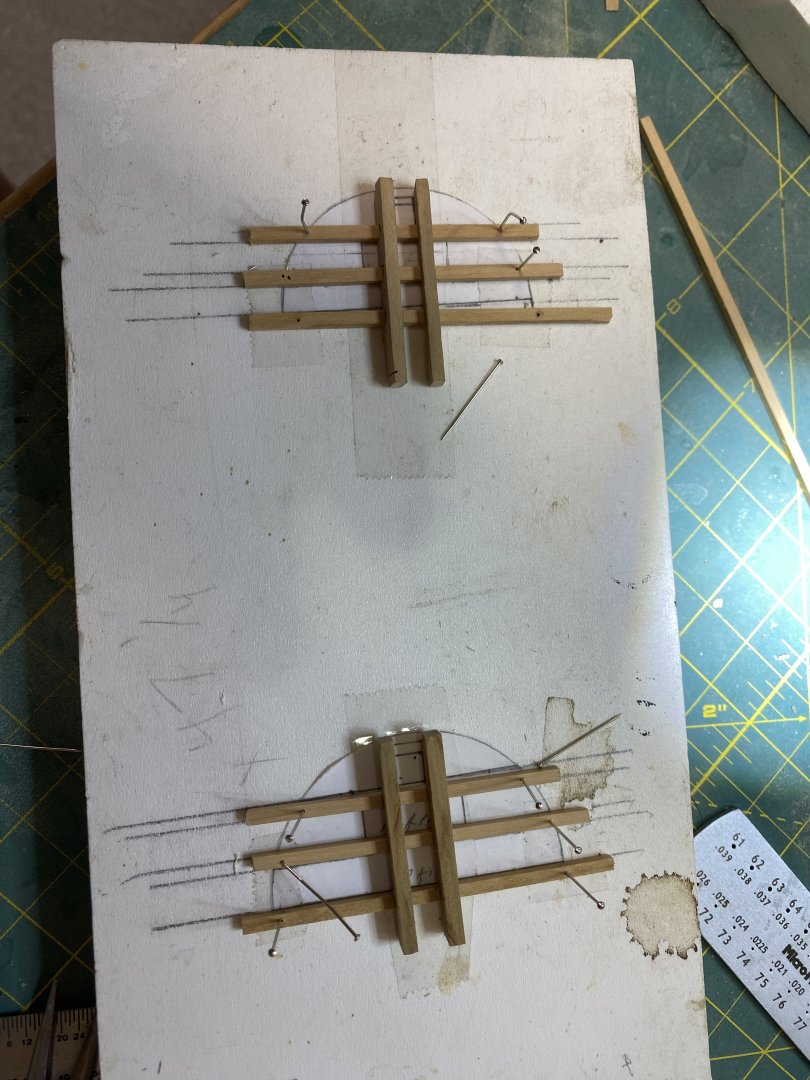
Well, September was quite a month. Finally retired after 40 years as an Endodontist (root canal specialist) and 45 years as a dentist! The admiral and I celebrated by taking a Viking Meditation cruise in between clearing out the office and preparing for our daughter’s wedding in 2 weeks. I was able to get a little time in the shop, and finished the trestle trees and cross trees with the curved rims for both the main and fore masts. These were made same as for the mizzen in an earlier post per EdT, modified for my convenience. They still need to be painted, planked and fitted out. Both the main and fore topmast were also made prior to the cross trees to insure an accurate fit and proper spacing. Note that none of the mast are permanent installed yet. My intent is to shim them and not glue them in place to make it easier should repairs ever need to be made.

- 360 replies
-
- 5
-
-
- Flying Fish
- Model Shipways
- (and 1 more)
-
Incredible work!! Rick
-
Tremendous Keith!! Rick
-
I’ve scratch built probably 98% of my Flying Fish. Takes much longer, but a great way to develop modeling skills and you will be much happier with the results, even if not perfect! There is just something about a scratch built model that stands out! Rick
- 200 replies
-
- 1
-
-
- Flying Cloud
- Mamoli
- (and 1 more)
-
Beautiful! Rick
-
How did you make the raised panels? Rick
-
Rob, ClipperFan, The Buttersworth’s painting of the Flying Fish shows the boats white, while the China Trade painting shows them black. Does not make sense for boats to be painted black as they would be difficult to see in the ocean. I chalk up the China Trade painting to artistic license. Rick
-
Wry nice!! Rick
-
Beautiful!! Love the technique! Rick
-
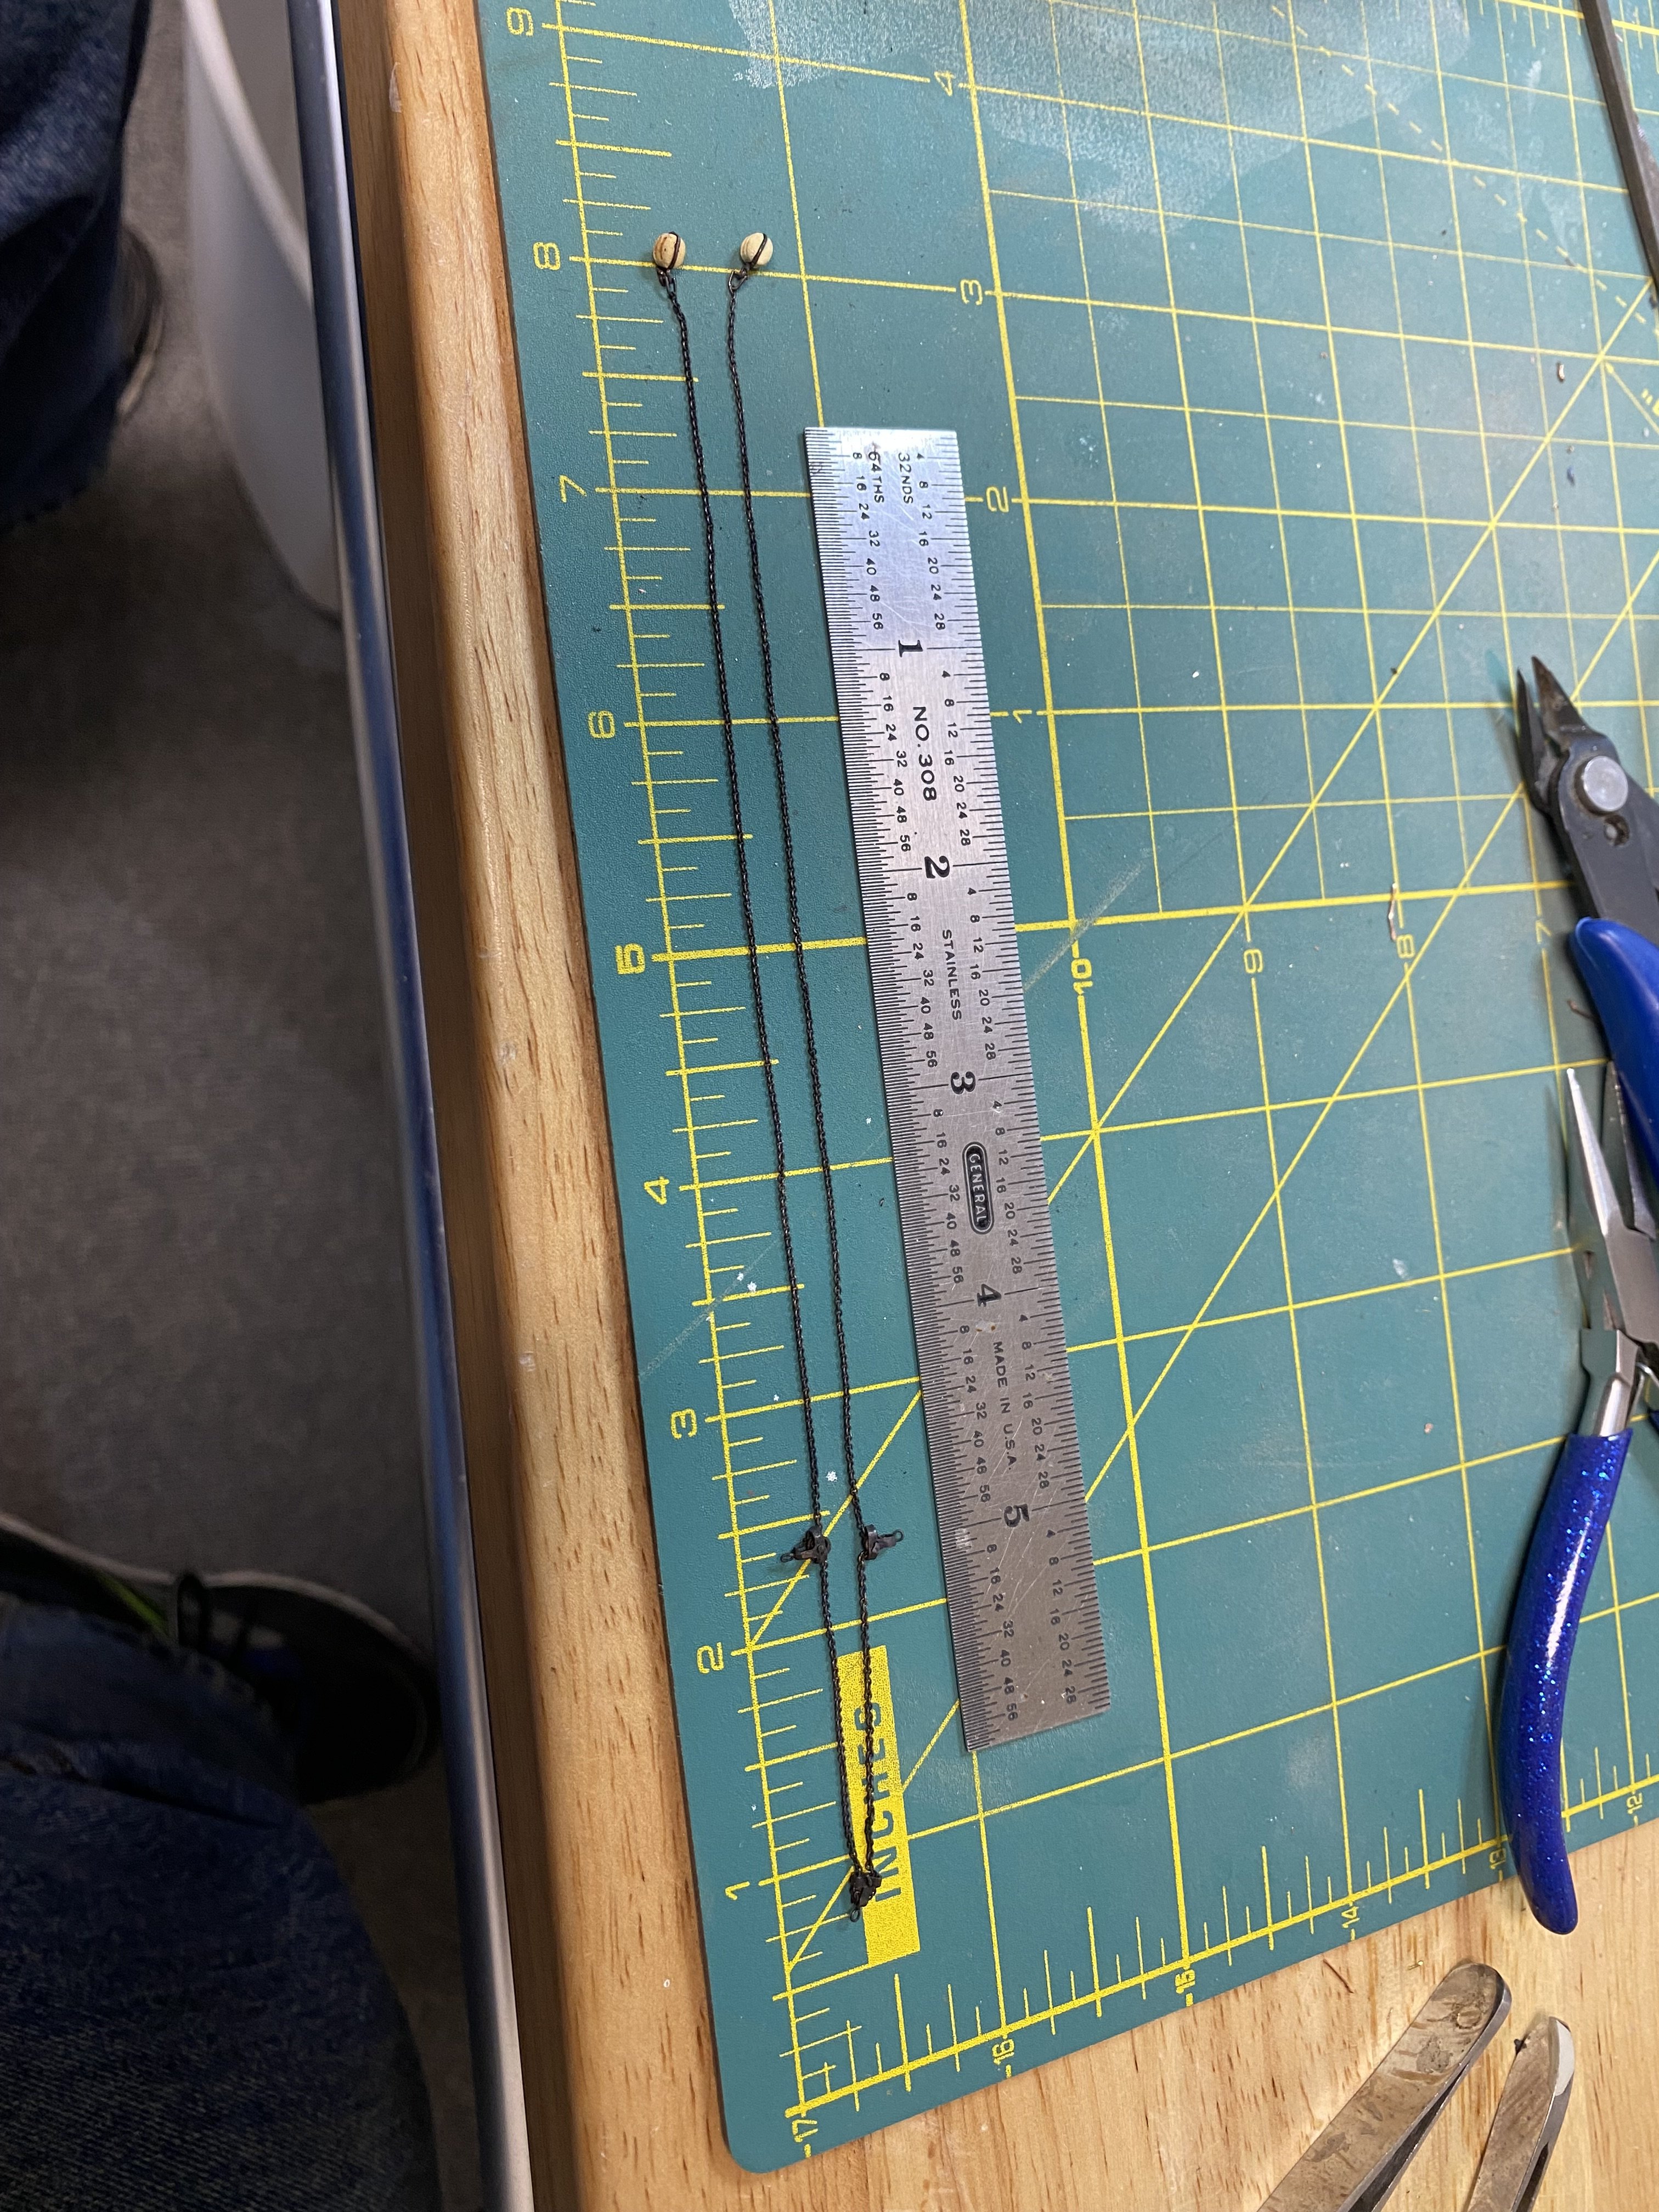
Rob, these are my gin blocks and yes, the 42 links per inch chain are always binding in the block.

-
Rob, those gin blocks are especially well done! Mine almost killed me! Beautiful job on the helm as well!! Rick
-
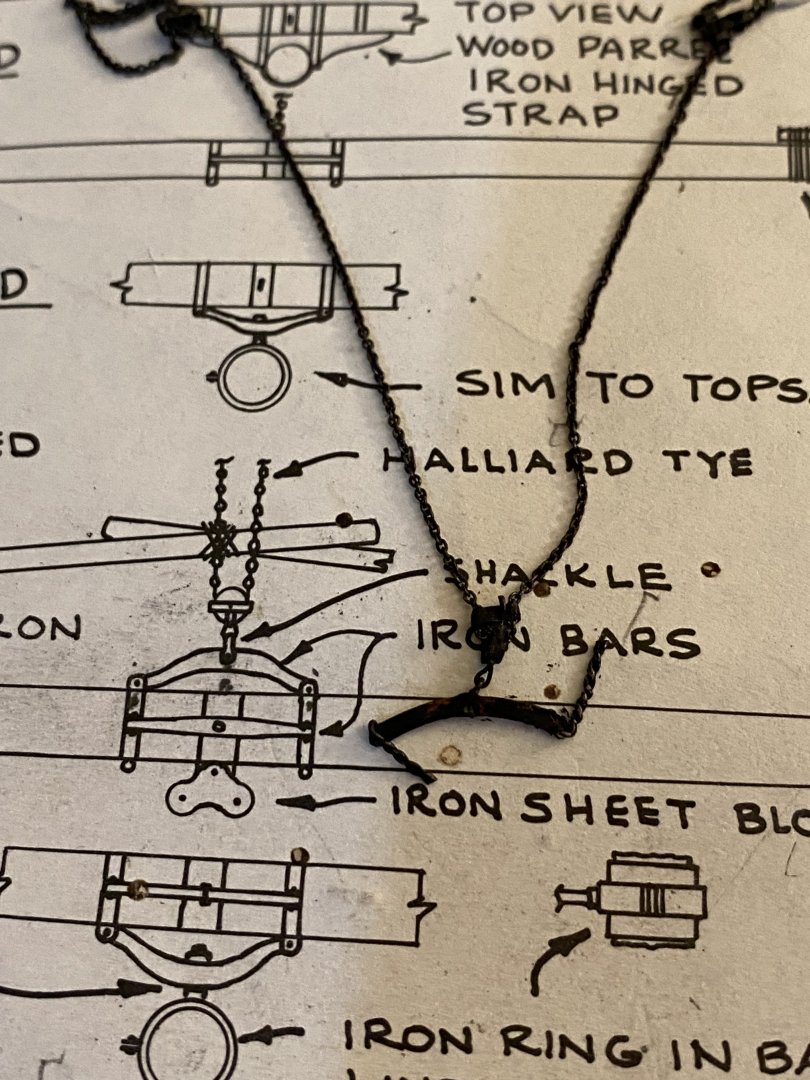
Rob, Yes, I am following the plans. I know of no other source for the double topsail halyard tyes. The model of the clipper ship Challenge, at the Smithsonian has chain topsail halyards that appear to be the same as on the FF, although it is difficult to see where they route under the cross trees. I would think that Staghound was similarly equipped, given that it was larger than the FF. Some very impressive people worked on the FF plans, so they are my default if no or better information is available. As you know, I have deviated from the plans when I felt it was appropriate, such as the aft cabin, color scheme and other minor details. You and ClipperFan are doing a marvelous job recreating Staghound. Rick
-
Jared, What a difference it makes having the masts, lower shrouds and yards in place! Rick
-
Keith, this is such a great build!! Rick
-
Making nice progress Rob! Rick
-
WOW!!! Beautiful work!! Rick
-
All. Wry interesting Georgs Rick
-
Great work Rob!! Rick
-
WOW Keith!! That’s beautiful!! Rick
-
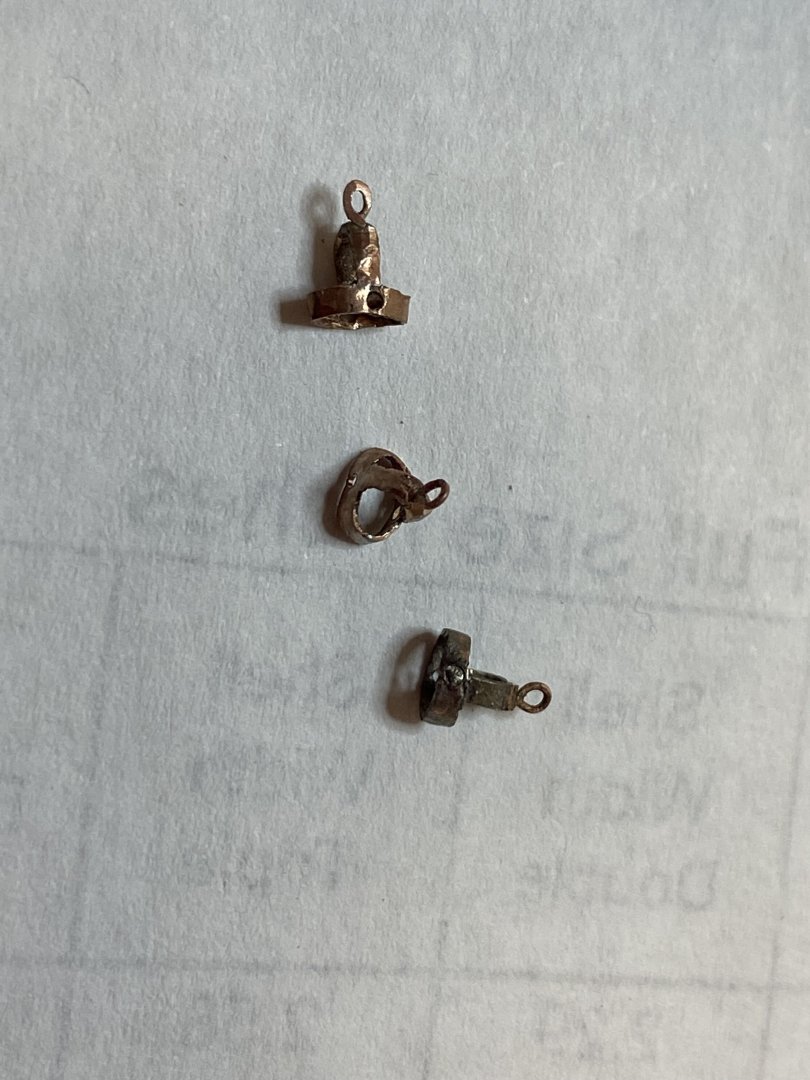
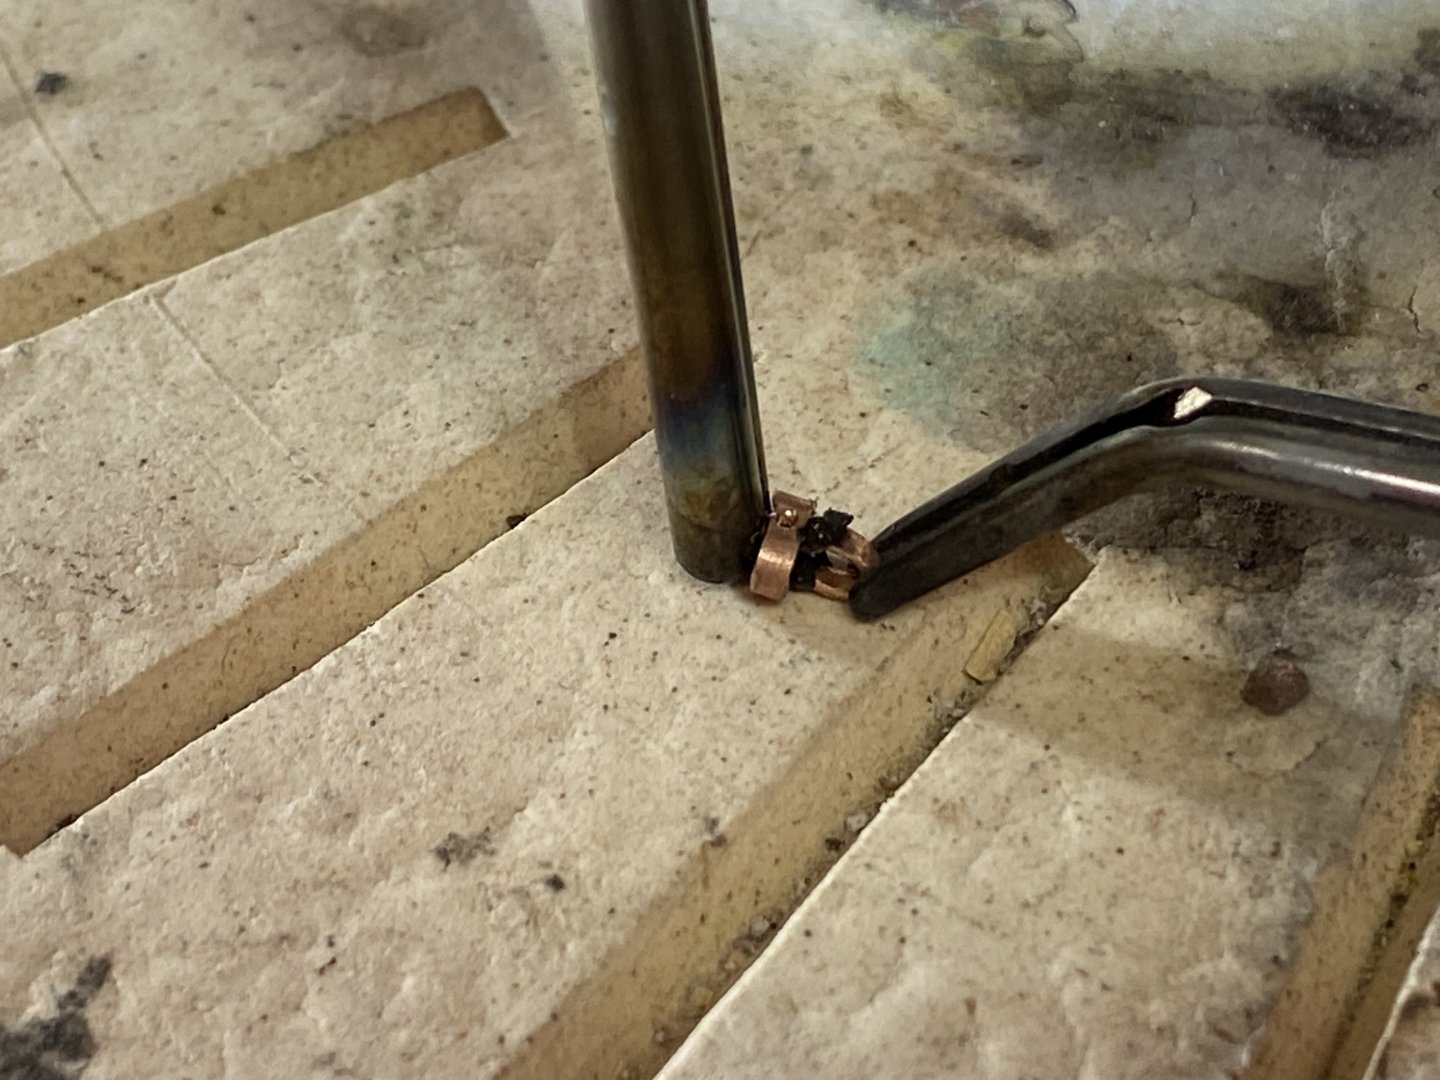
Nicely done Jared! Although there is a learning curve, I find that I really enjoy soldering! It sure helps when making those small fittings. I had no experience with soldering when I started this model. Rick
- 431 replies
-
- 1
-
-
- Flying Fish
- Model Shipways
- (and 2 more)