Rick310
-
Posts
833 -
Joined
-
Last visited
Content Type
Profiles
Forums
Gallery
Events
Everything posted by Rick310
-
Truly incredible!! Rick
-
Model is really looking great , George!. Great suggestions by Tim. By the time you have finished, I doubt the seam will be very noticeable. Rick
-
George, good luck with your interview! Have a safe trip! Rick
-
Rob, that’s a great idea! arick
-
Very nice! Rick
-
Simply amazing!! Rick
-
Thanks John! Rick
-
Really nice looking model! The sail looks great! what color paint did you use? Rick
-
George, Jared, Thanks for your responses! Looking ahead, it looked to me that the given sizes looked really large on the model. On both of your builds, the rigging looks really good! Therefore I’ll follow the plans, adjusting where it looks appropriate! Rick
-
George, I understand how the sizes work for the standing rigging, what I was asking was how many different sizes of rigging line did you use and how closely did they approximate the sizes given on the plans for the FF at 1 to 96 inch scale? Rick
-
George, an unrelated question. How did you determine what size rigging line for the standing rigging to use? When I check line close to the given sizes given on the plans, it looks awfully big. Thanks, Rick
-
Unbelievable Keith! Truly breathtaking work! Incredibly accurate! Rick
-
Looking good Jared! You keep inching closer to the finish line! Well done!! Have a Happy New Year! Rick
- 431 replies
-
- 2
-

-

-
- Flying Fish
- Model Shipways
- (and 2 more)
-
Incredible Kieth, truly incredible!! Rick
-
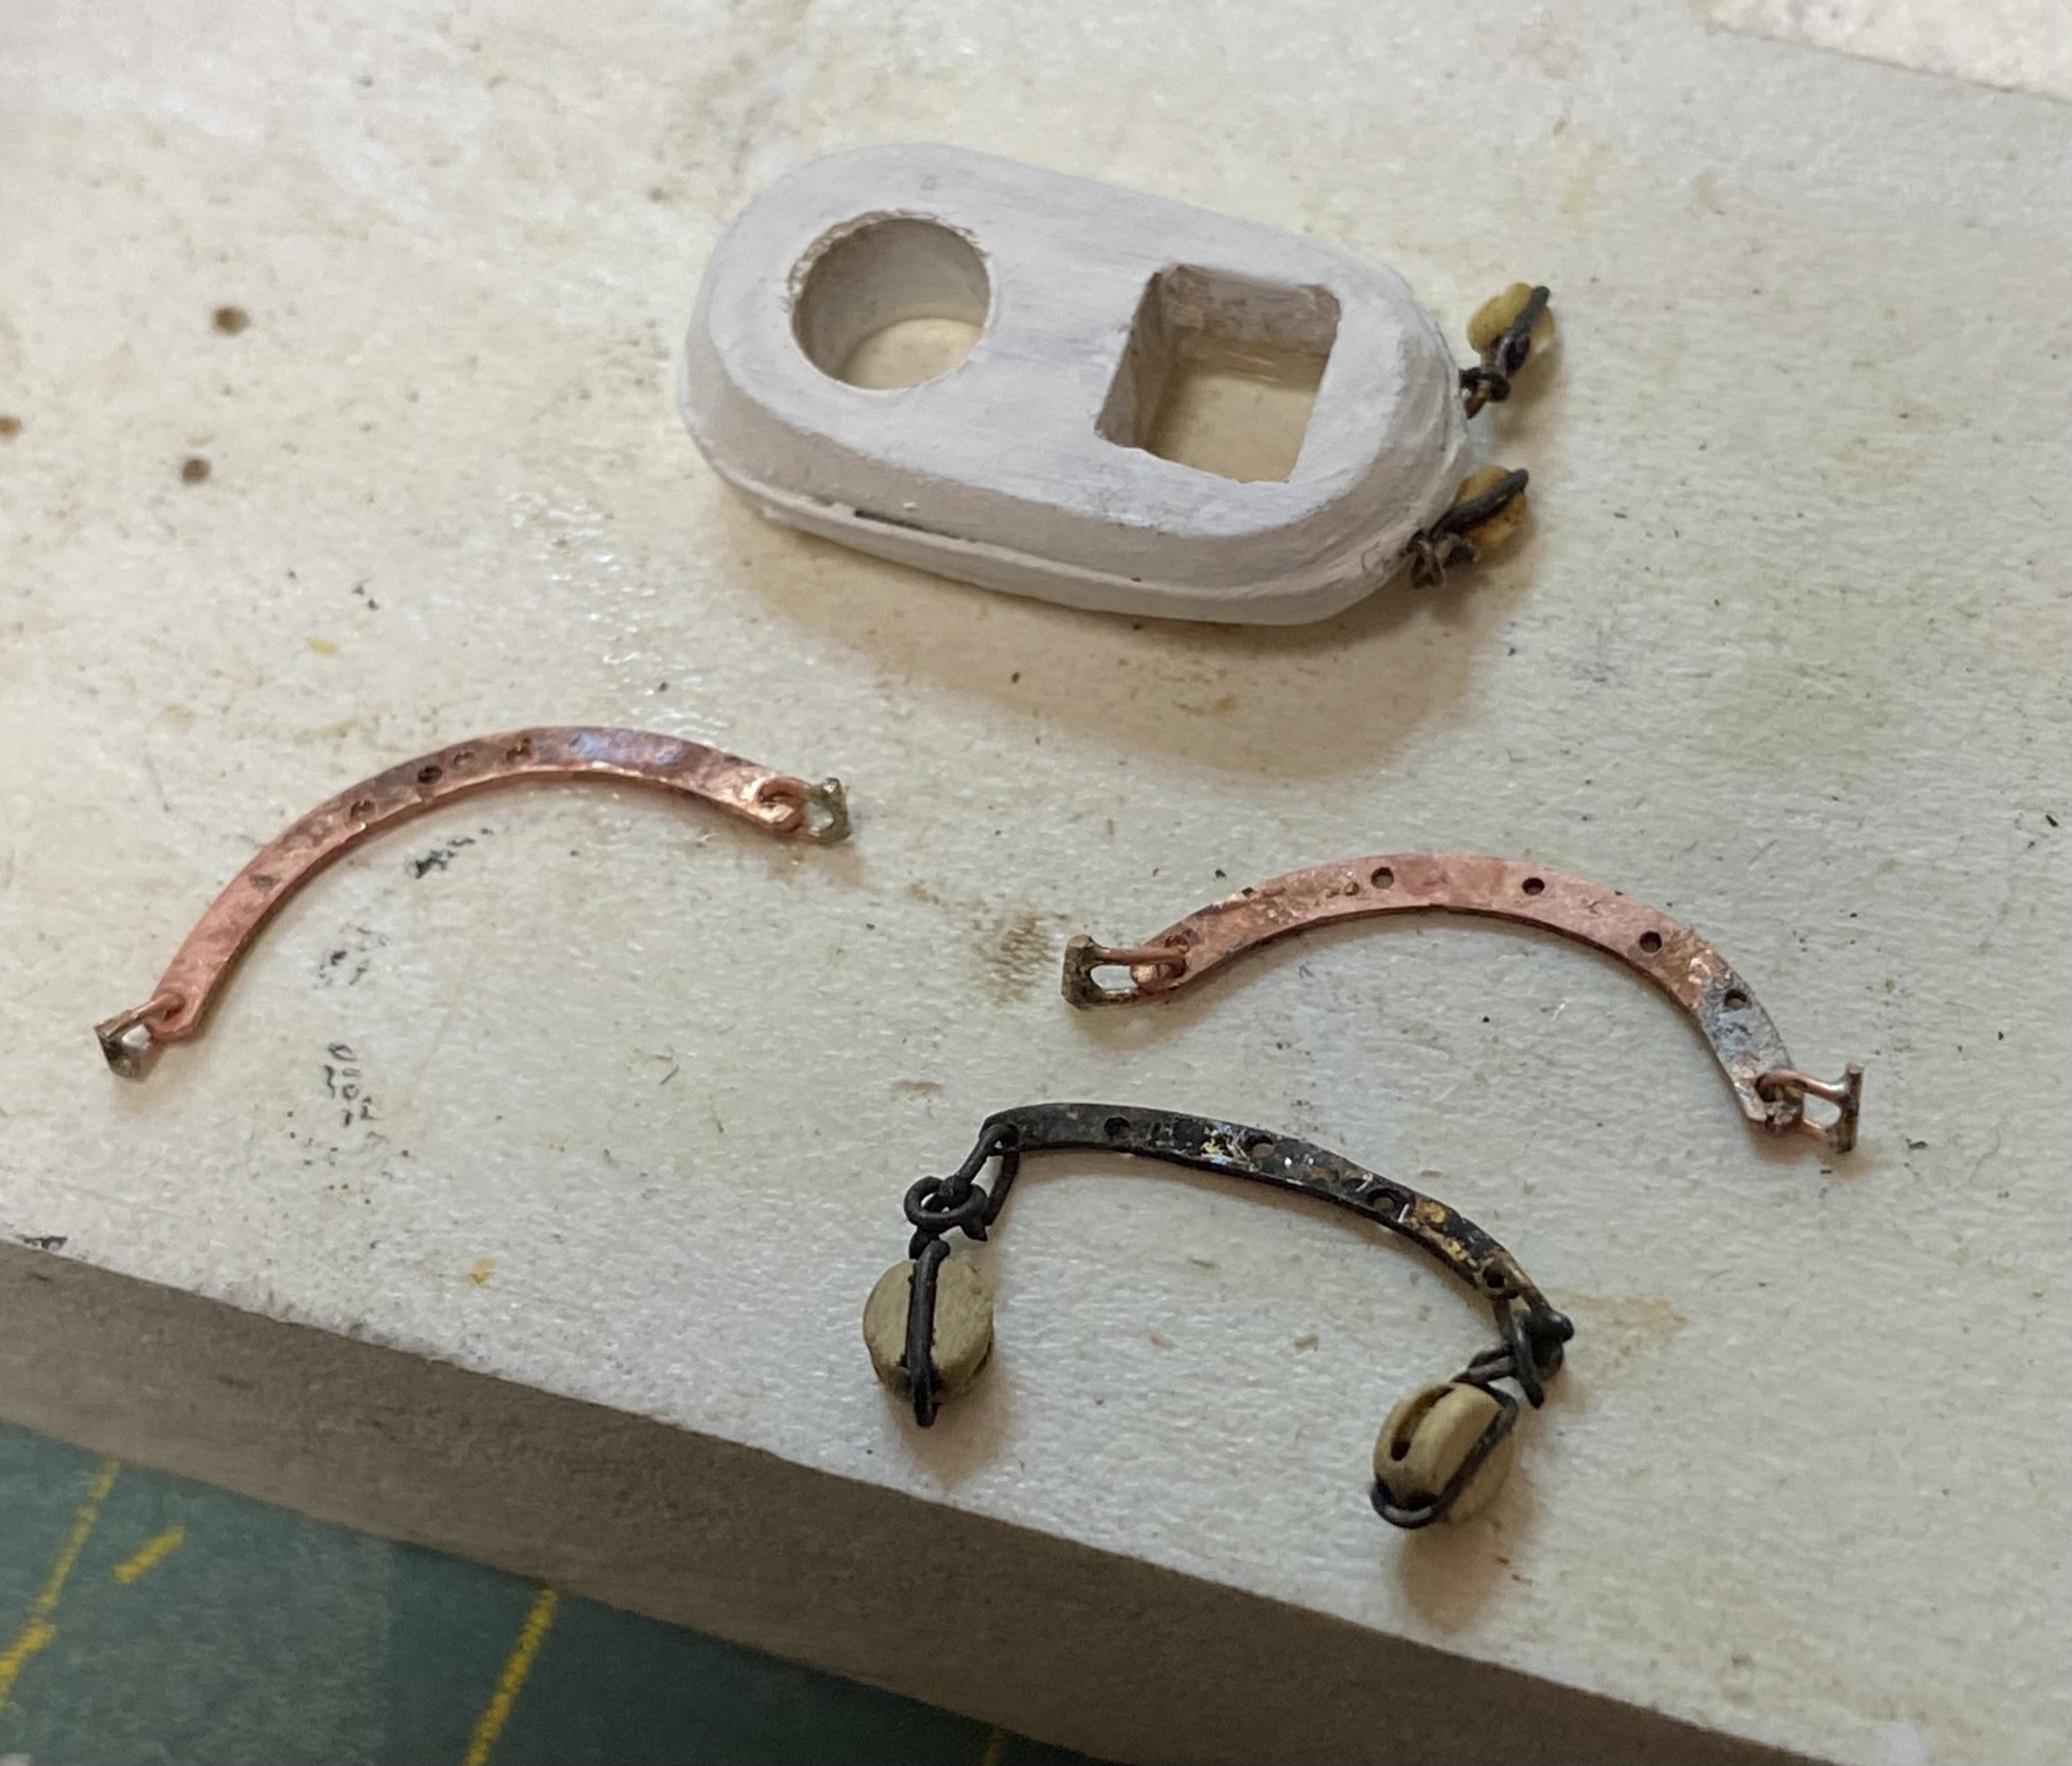
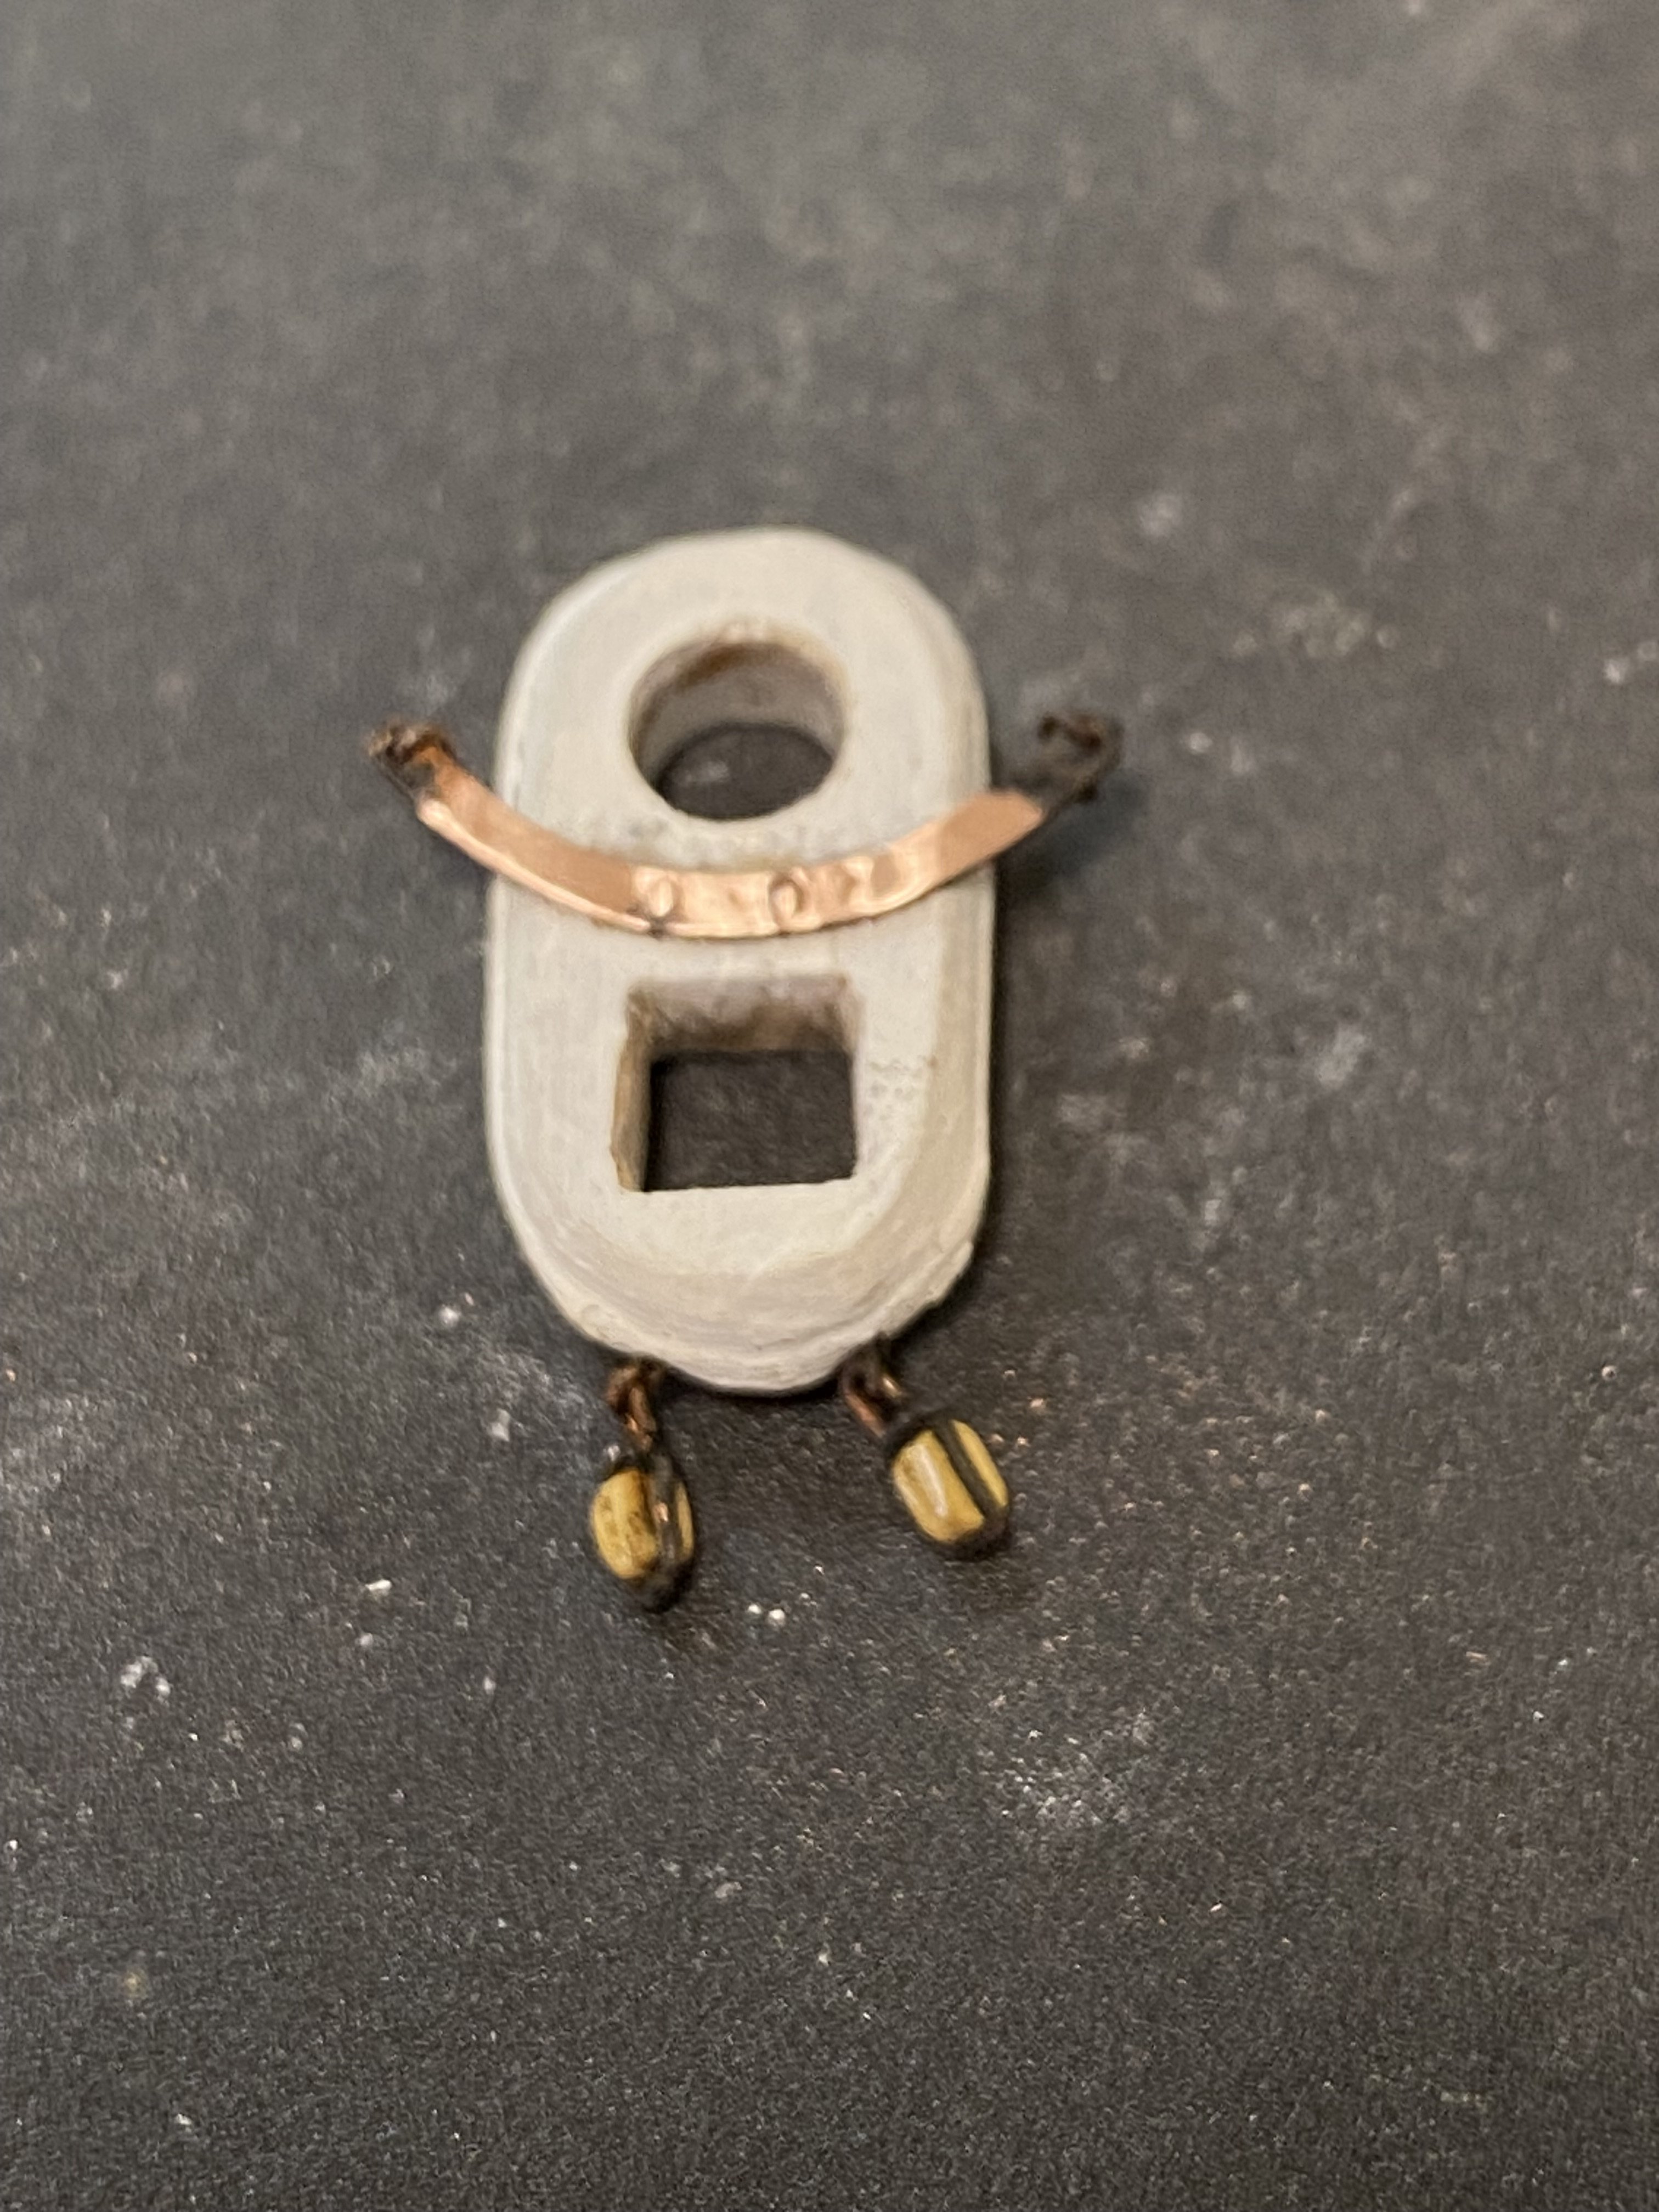
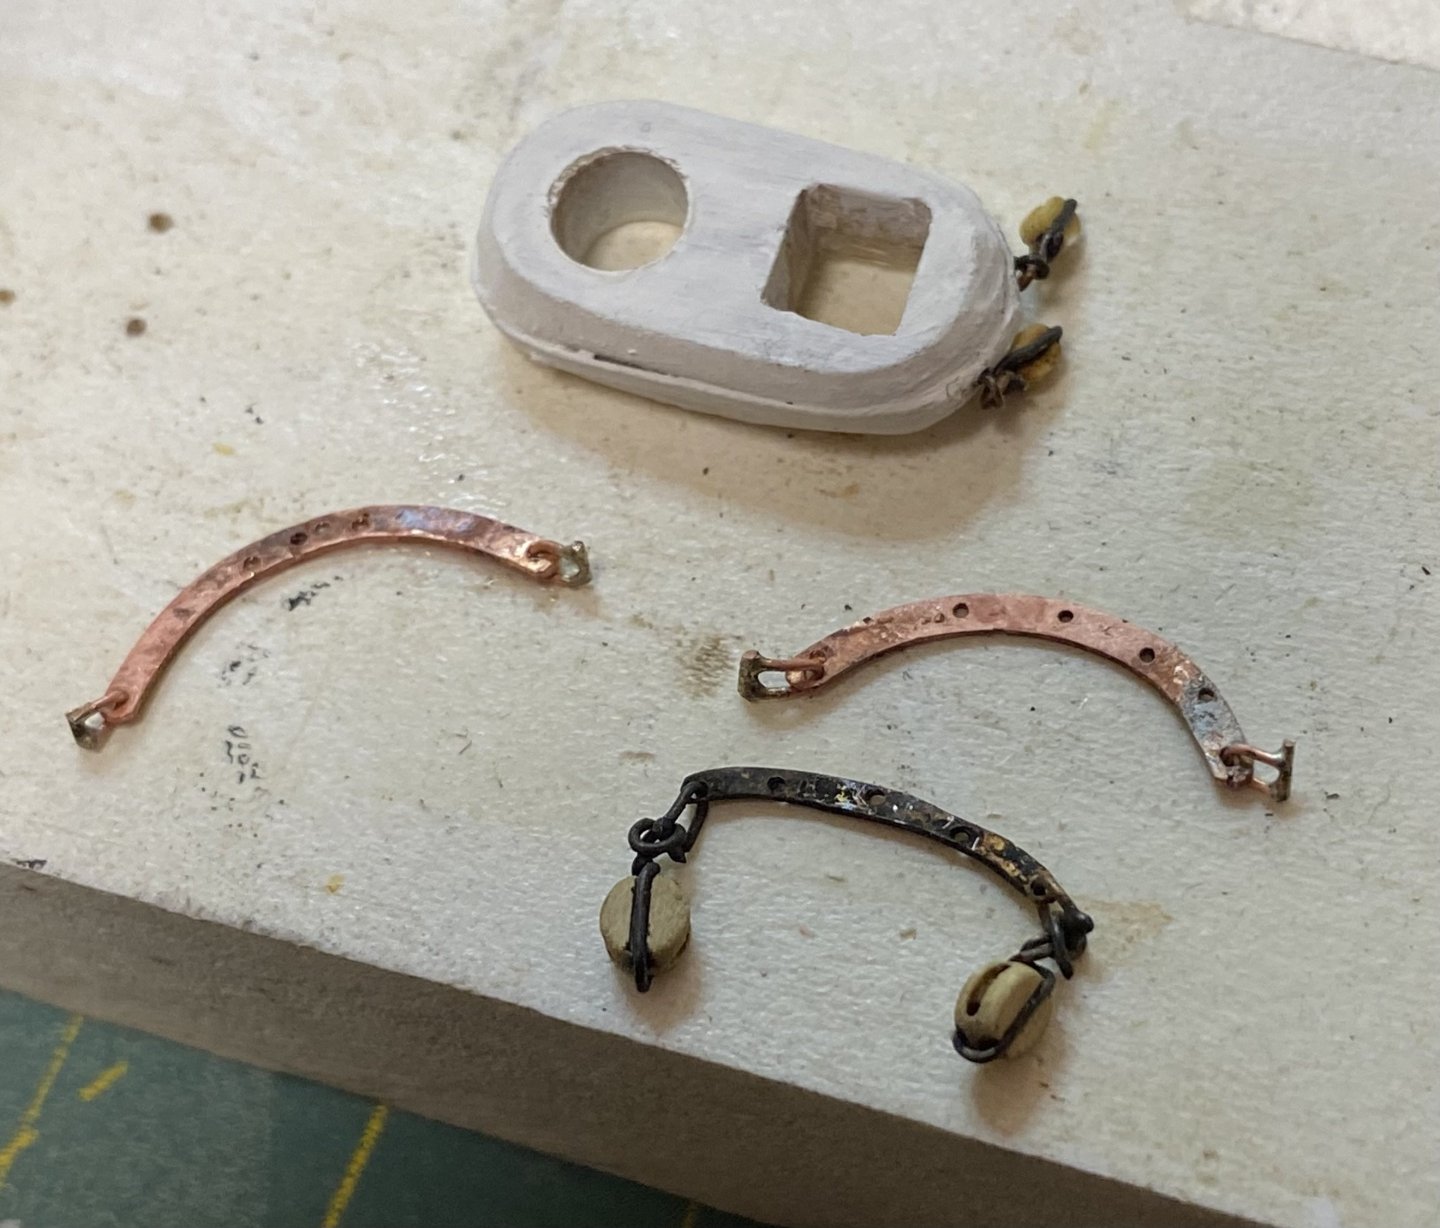
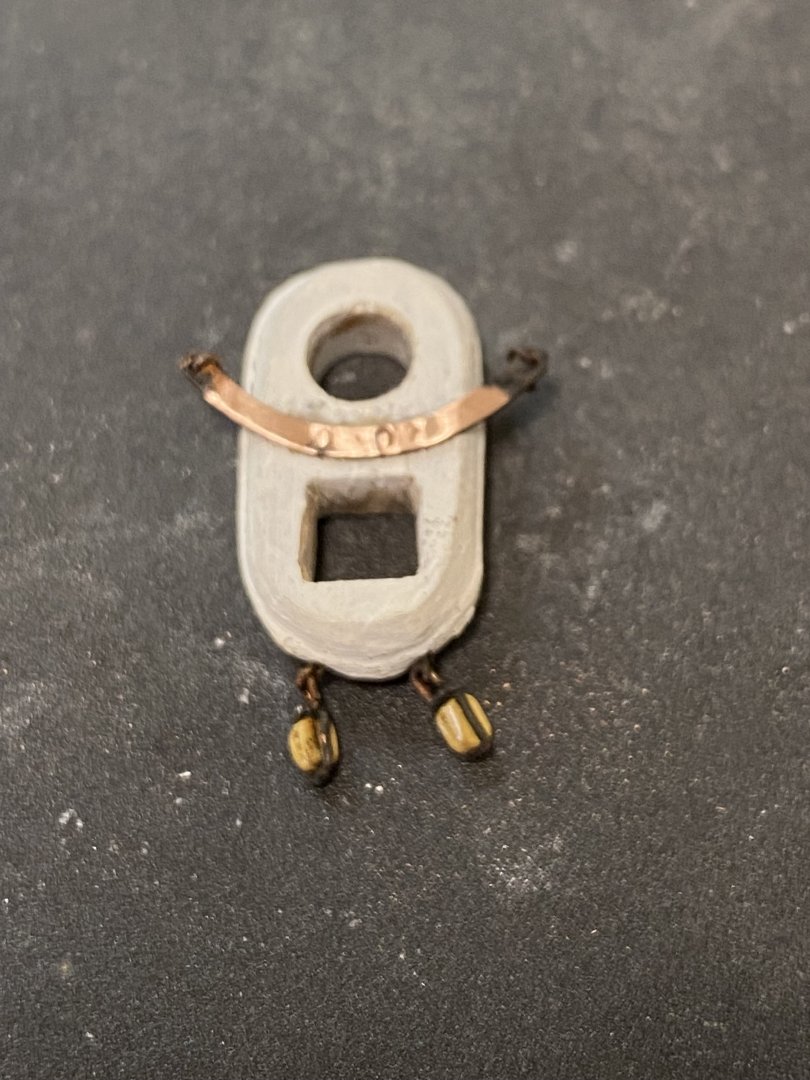
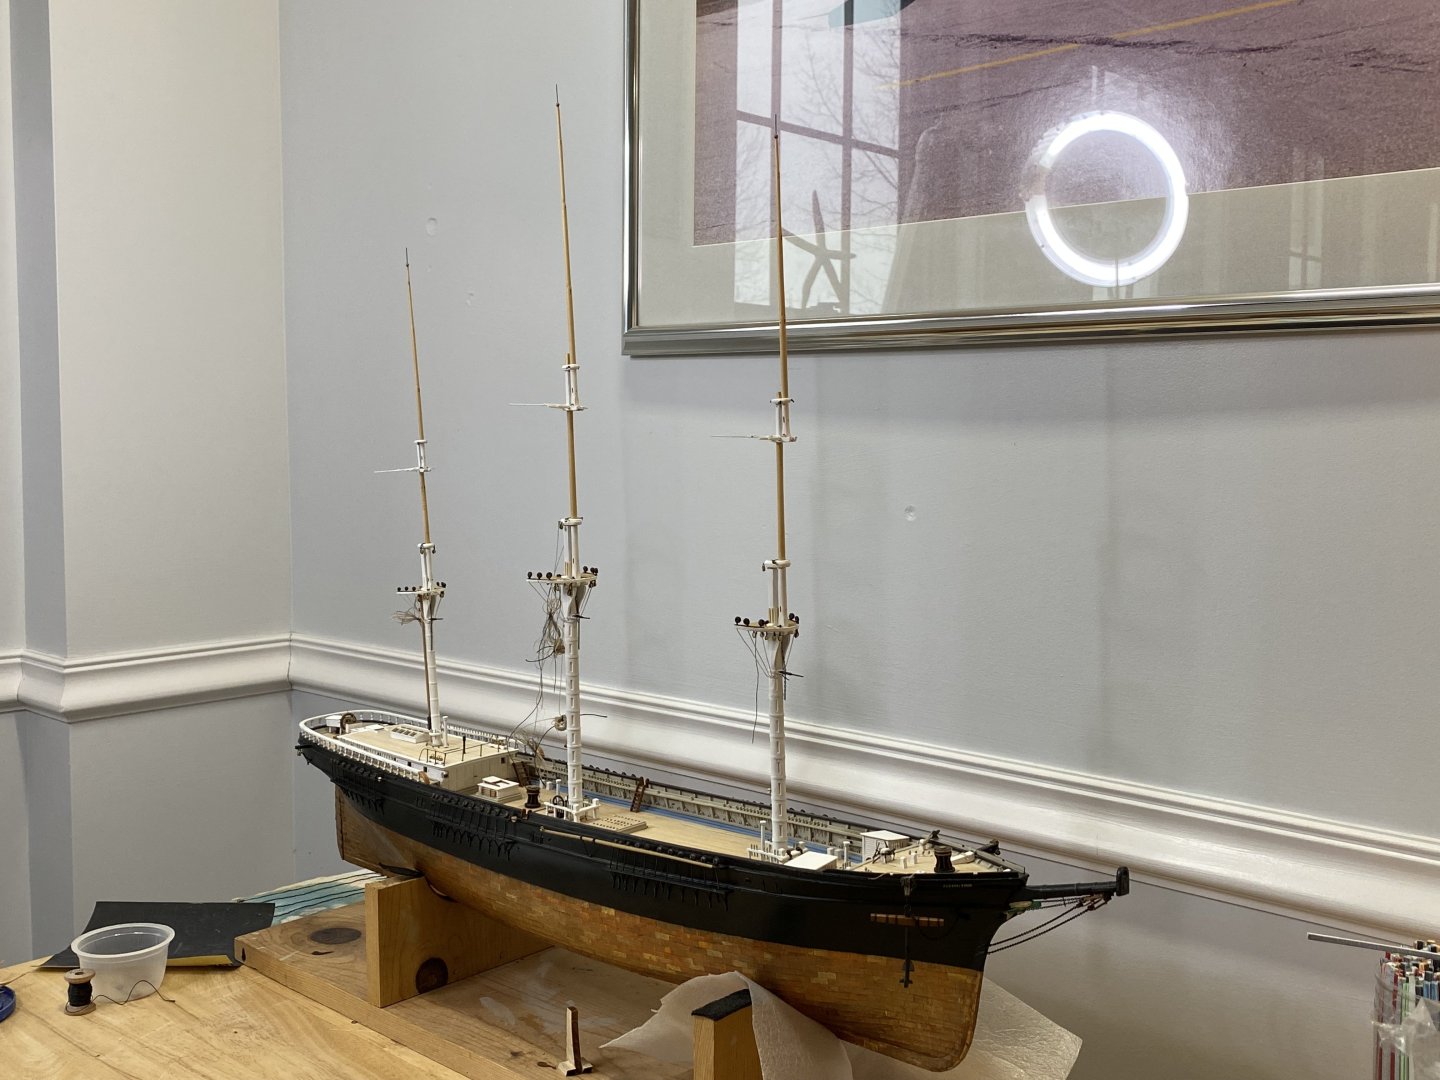
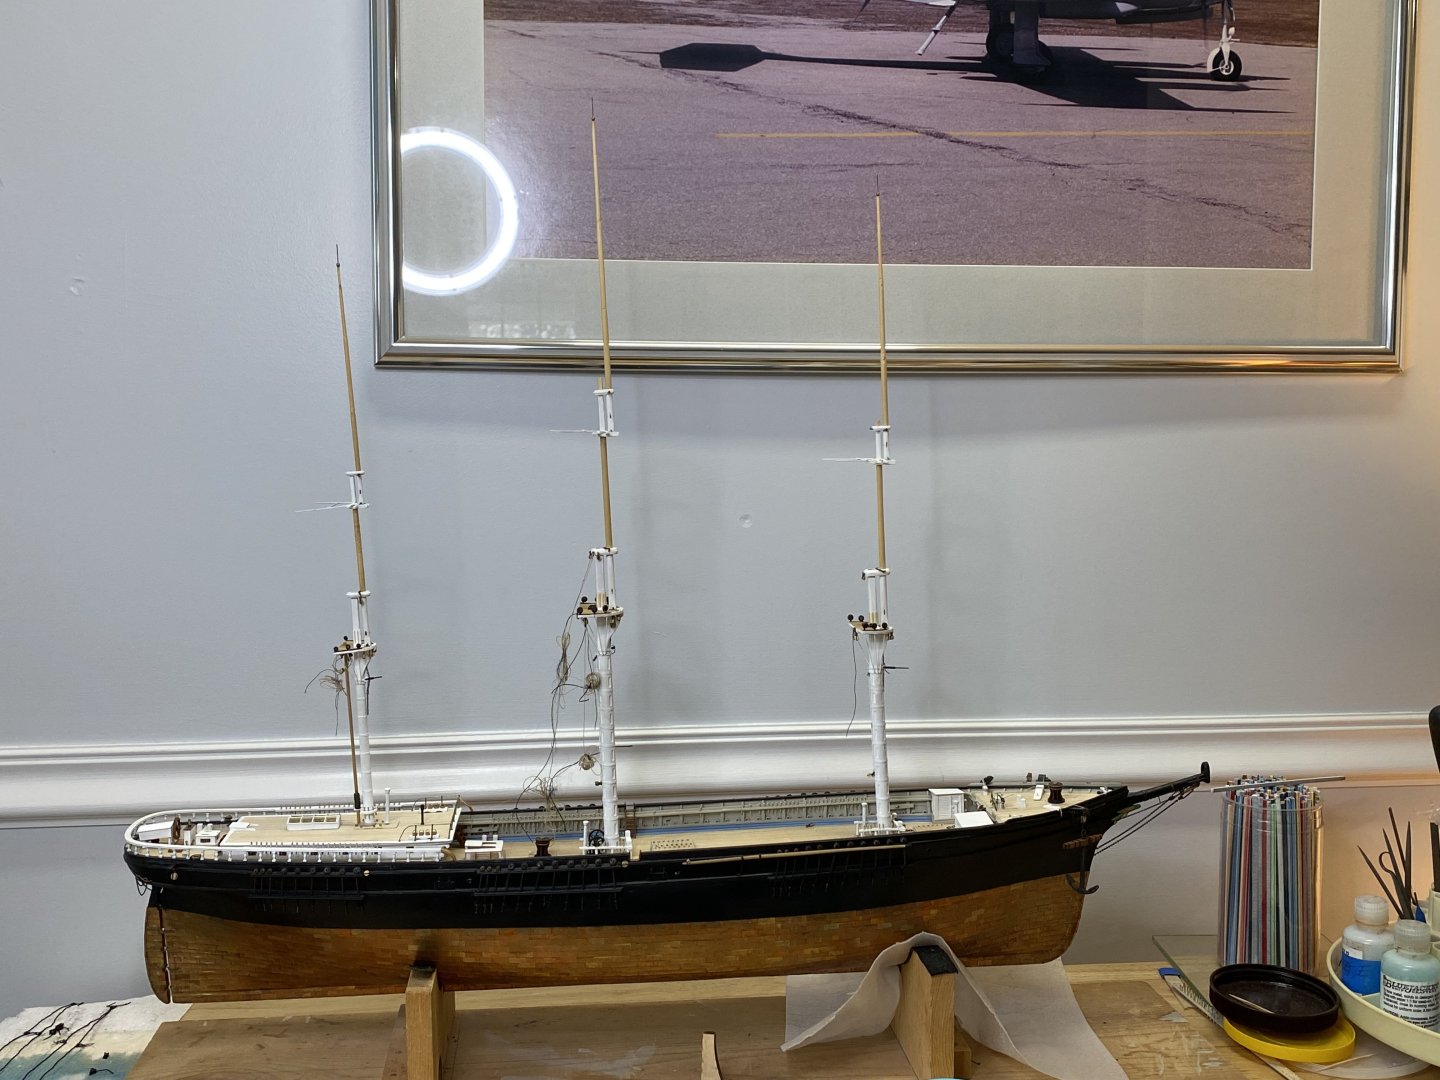
I decided to put the mast sections together to see how they look and to check for alignment. Still want to add some blocks and rigging line, but that is going to take some time as I figure out the sizes and lengths and prepare the lines. Also , started to make the jib boom. Merry Christmas to all! Rick
- 360 replies
-
- 6
-
-
- Flying Fish
- Model Shipways
- (and 1 more)
-
Really well done!! Rick
-
Feel better George! Looks like a nice trip! Rick