Egilman
-
Posts
4,382 -
Joined
-
Last visited
Content Type
Profiles
Forums
Gallery
Events
Everything posted by Egilman
-
 The grade of kits ICM is putting out now makes them a direct comparison to Tamiya... I have the Tamiya 60322 P-51D, I haven't cracked the box yet so I haven't examined it directly, but all the reviews say it is the best 1/32 P-51D on the market today, and at almost 200.00 something of similar quality at half that price would be greatly welcomed....
 -
F-86F-30 Sabre by Egilman - Kinetic - 1/32nd scale
Egilman replied to Egilman's topic in Non-ship/categorised builds
Well, the next step in the instructions was to assemble the engine..... Not going to paint it cause it's going to be inside the fuselage and won't be seen.. I did paint out the inside of the tail pipe so that will not show anything inside either except a black hole like it should... Now I get to do more upgrading... The gun ports... Those have the proper look to them where the molded in ports are phoney as heck..... Airframe Surgery up next.... EG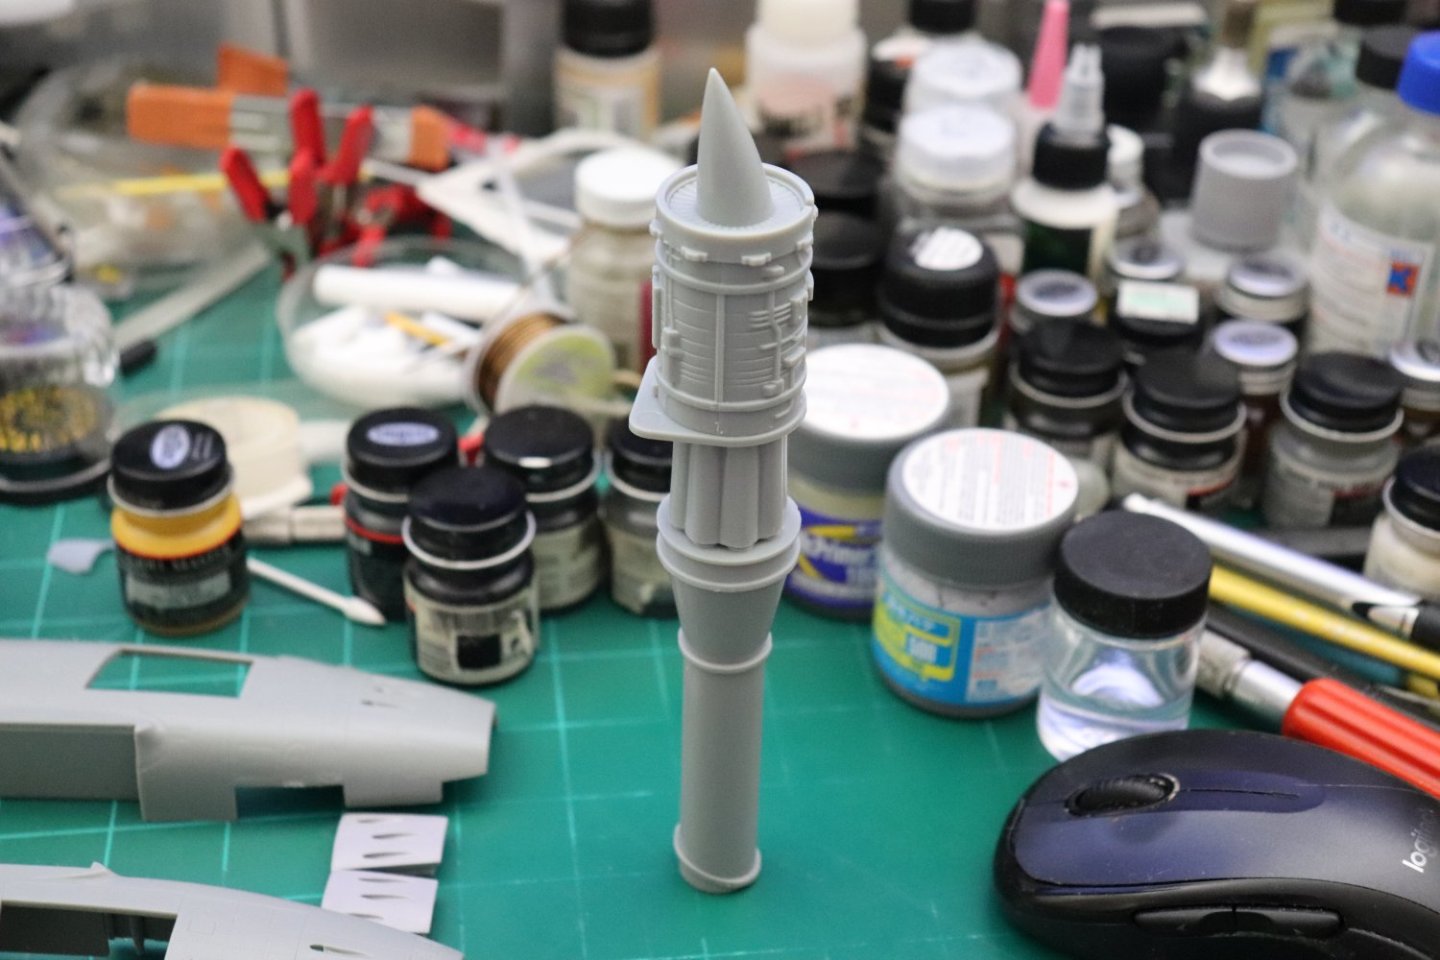

- 585 replies
-
- 13
-

-
Looking very very nice Jav... beautiful cockpit....
-
300 cases of Coors....
-
F-86F-30 Sabre by Egilman - Kinetic - 1/32nd scale
Egilman replied to Egilman's topic in Non-ship/categorised builds
Hey Brothers, after another side trip in real life, I'm about to get restarted on this... I'm gonna leave the engine for a while and get back on the airframe.... Hopefully I won't have another interruption for a while, I'm getting sick and tired of hospitals and doctors... When I left I was assembling the cockpit with an incomplete PE set.. so I'm kinda stuck, now I have the complete set but I went too far into the cockpit to dress up the seat so I'll be leaving it to what details I can add without destroying what is already done... Most of it won't be seen anyway cause of it's color, so it's highlights for the remainder.... But I now have the canopy shelf parts which will be seen behind the seat... Going to pick this back up and get on the path... EG -
Russian T-62A Tank by CDW - Tamiya - 1/35 Scale FINISHED
Egilman replied to CDW's topic in Non-ship/categorised builds
Definitely, The T-62 was superior to any modern tank at the time it was introduced, especially in the spearhead overrun breakthrough type tactics... It's introduction pushed the development of the M-60... Modern Tanks are designed for the spearhead role which is the most effective use of them... They basically suck at defensive roles, that's why the Isherman's had such an easy time of it with them... Even the M-1 Abrams, they only lost one in Desert Storm, in the occupation they lost 70... Tanks are not defensive weapons... Tactics, how they are used makes all the difference... Modern Cavalry... -
What's that song title? She's Got Legs... and she knows how to use them.... {chuckle} Very nice legs... well done...
- 150 replies
-
- 10
-
-
Russian T-62A Tank by CDW - Tamiya - 1/35 Scale FINISHED
Egilman replied to CDW's topic in Non-ship/categorised builds
Sorry Brother, they were first employed in the Sino-Soviet war of 1969, they were first employed in large quantities in the 1973 Yom Kippur War by both Syria and Egypt in which the Israeli's destroyed or captured 100's of them (especially from the Syrians) It is where the Israeli's got their supply of them, they converted them into the Tiran 3's & 6's... It is also where the US Army got their supply of them from... They did well against the M-48's and Chieftain's of the main Israeli armored forces, when attacking, but fared very badly against the Isherman equipped reserves when forced to defend themselves... -
Russian T-62A Tank by CDW - Tamiya - 1/35 Scale FINISHED
Egilman replied to CDW's topic in Non-ship/categorised builds
And one more added, Israeli M-51 Ishermans using 90mm DU rounds destroyed them wholesale.... {chuckle} -
Russian T-62A Tank by CDW - Tamiya - 1/35 Scale FINISHED
Egilman replied to CDW's topic in Non-ship/categorised builds
Excellent wash job, a fairly new issue T-62, paint showing a bit of fade and the rust just beginning to show... Typical cheap soviet paint job... Maybe 8-9 months in the storage yard under the brutal Nizhny Tagil (Russian tank storage farm) sun.... -
Russian T-62A Tank by CDW - Tamiya - 1/35 Scale FINISHED
Egilman replied to CDW's topic in Non-ship/categorised builds
I'm here Brother, any specific period in mind? -
M3 Lee Tank by CDW - Miniart - 1:35 Scale - FINISHED
Egilman replied to CDW's topic in Non-ship/categorised builds
VERY Very nice! Judging by the reddish colored mud, the well worn but complete winter camo, The winter war up around Leningrad in Jan '44 I would think... Well done my friend, very authentic looking... An early M-3 Lee lend-leased to the russians.... Impressive... -
Something I used to do to make windscreens for the ole guillow's balsa airplanes... Clear printers vellum heat bent around a form then using thin strips of balsa to create the frames... It's a great technique just be careful with the heat...
-
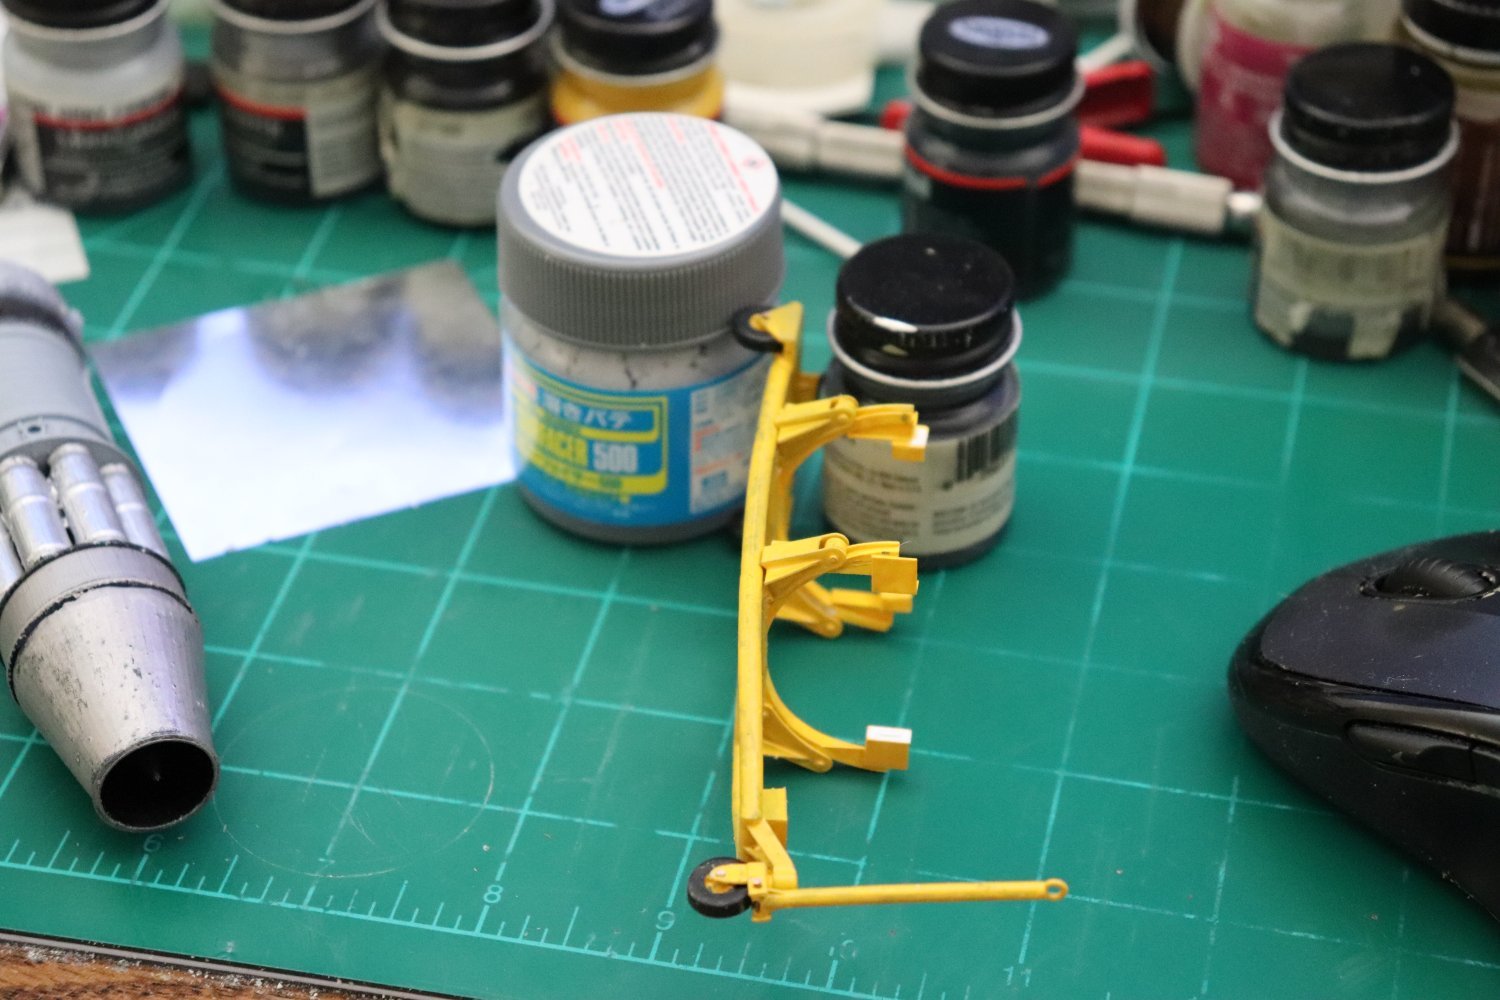
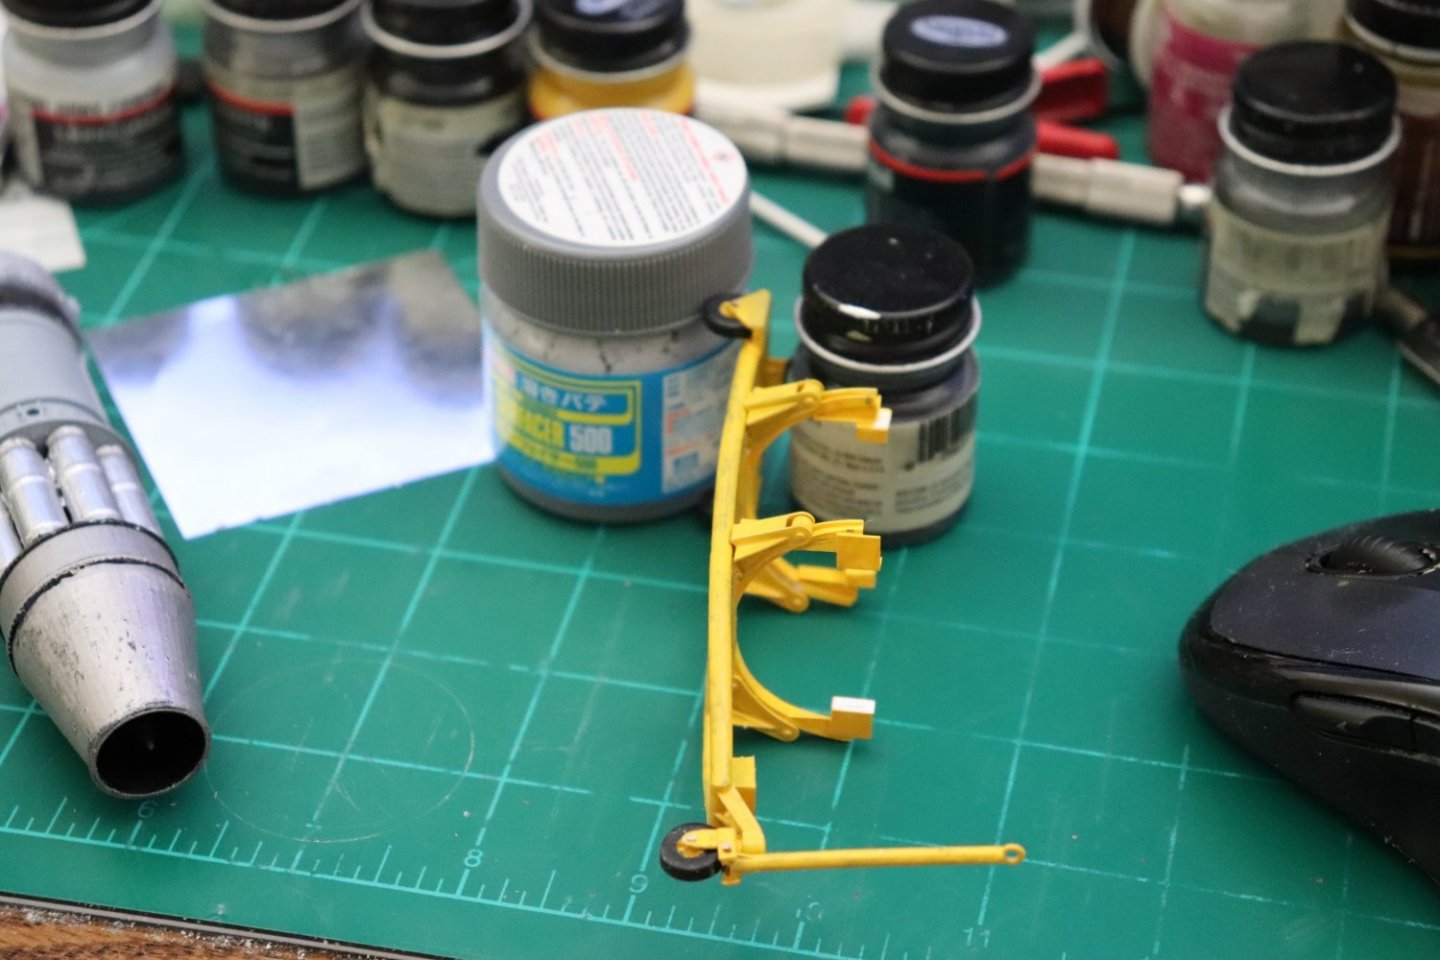
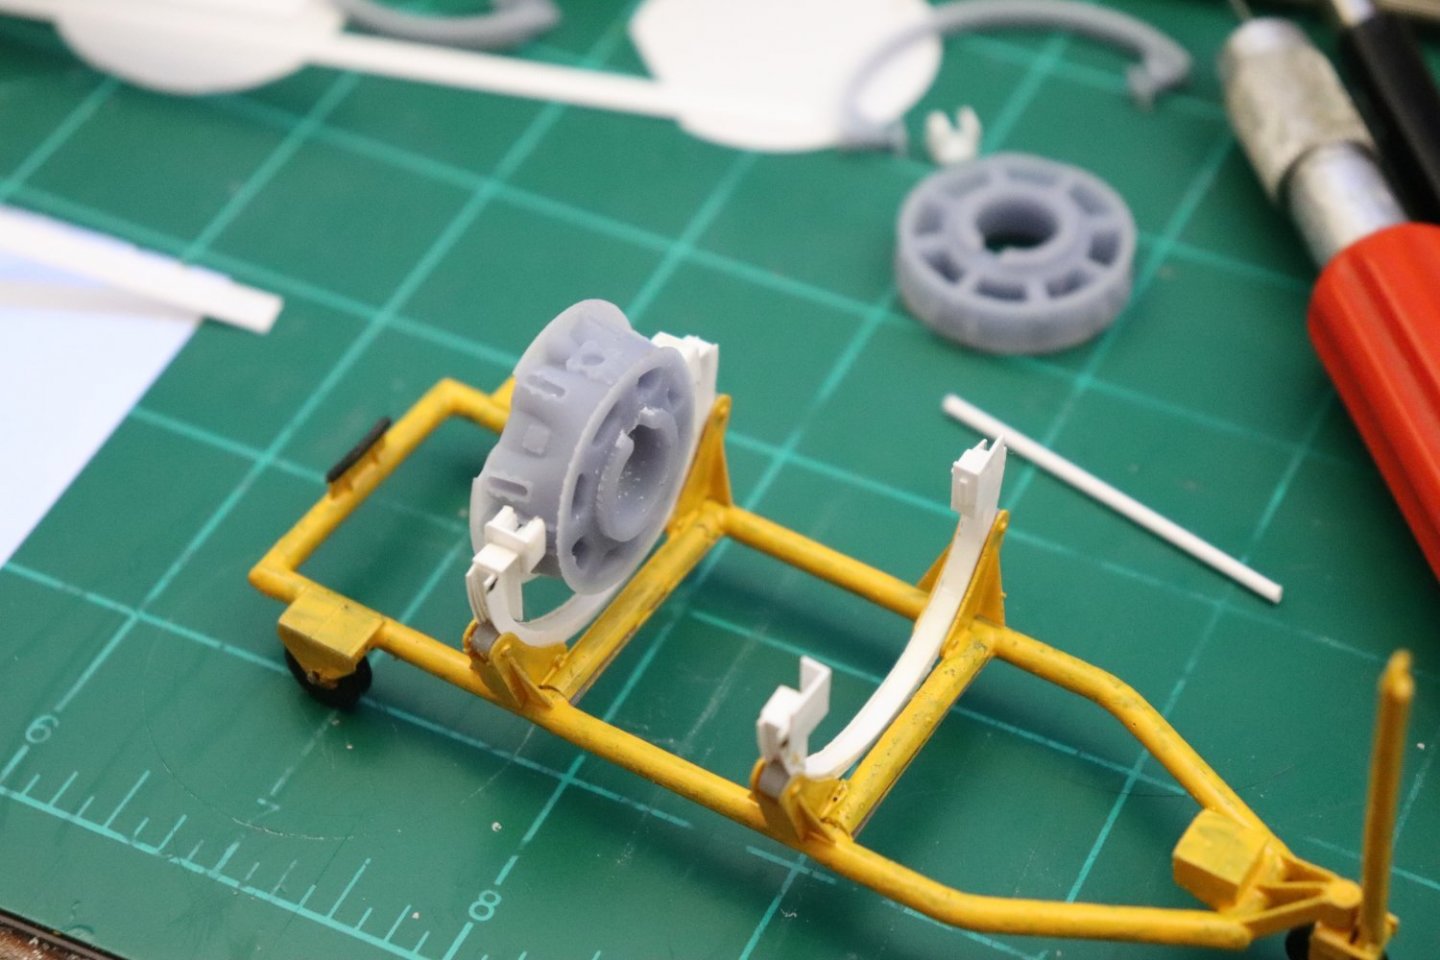
Ok brothers... About ready to get back at this... With some sad news... As predicted, the resin frame isn't strong enough to hold the weight of the engine... That's only five days sitting on the shelf... I'm gonna have to either scratch build it and figure out a way to reinforce the frame, or a different stand... Probably a 1/8th plastic tube with a 1/16th brass rod inside.. Didn't even make it a week... Anyway, still need a few days recuperation, but I'll be getting back to it either this or the airframe in the near future... Thanks for following and the likes... More later EG
-
Well you knew the reputation of GPM going in brother... They don't always adhere to scale fidelity, definitely a step below Halinsky and several others... Sad... But your part is excellent, a shame theirs isn't...
- 150 replies
-
- 10
-
-
Yep, that's a Hamilton standard geared hub not designed for a spinner.... totally different look....
-
M3 Lee Tank by CDW - Miniart - 1:35 Scale - FINISHED
Egilman replied to CDW's topic in Non-ship/categorised builds
I learned over the years that buying for the display method intended was cost effective when purchasing... I've opened up a few of these before, it even more work that gives spectacular results... but doing one where you can remove the top to show the insides to observers is problematic, they generally don't last long... The lookers like to touch and that's not good for fine details... So I build for the shelf and buy the best kit for that intent unless I'm purposely building to expose the interior.. (but then it goes on a base in a locked case, no touching) And a British Lee/Grant in the Eastern Desert blown out by an "88" would be a fantastic diorama.... That kit would be perfect for it, just add the sand shields... -
Finials... Google Or, in the alternative, the lamp hardware section of any big box store
- 48 replies
-
- 6
-
-

-
- New Jersey
- Tamiya
- (and 1 more)
-
Thank you very much Doc, it really appreciated... Currently taking a much needed break from modeling, the engine got a bit intense there for a bit... Will get back at it soon... Many thanks..
-
Building a Medieval fortress - by Waitoa - Del Prado 1/87
Egilman replied to Waitoa's topic in Non-ship/categorised builds
It looks good to me also, I think your right on the money.... The only thing strange? A three legged ox? {chuckle} And having a tank outside a stone façade with a Monk and Oxcart isn't that much out of place either depending on historical period... And mathematically, a 1/72 scale figure (25mm) would be an inch high, a 1/48th scale figure (38mm) would be an inch and a half, 28mm puts him right in the 1/64-65th scale range... That's why he looks close and fits the scene... 57mm would be 1/32 scale and a man would be 2.25 inches high... But heck, maybe it's the perspective, looking at that panzer in the background, he does look a bit small... -
Absolutely! materials and techniques are the backbone of this hobby, without understanding them and how to work them, there wouldn't be a hobby.... Look at the different materials used in painting artwork and the different techniques to apply it... The same goes for model building, master the materials and the tools to work it, master the craft...
-
That, or they are coming to a quick stop from a run, the kind of stop that throws a rider over the horse's head if they aren't prepared for it..... (been there done that) {chuckle}
-
When Horses and most 4 footed creatures are running like that only one foot hits the ground at anyone time, it was a source of serious speculation until photography advanced to the point where they could do stop motion photography and proved it beyond all doubt... Yes that pose is as natural as could be for a galloping horse... (in fact about half the time a galloping horse has no feet touching the ground, proven photographically in 1878) The Horse in Motion
-
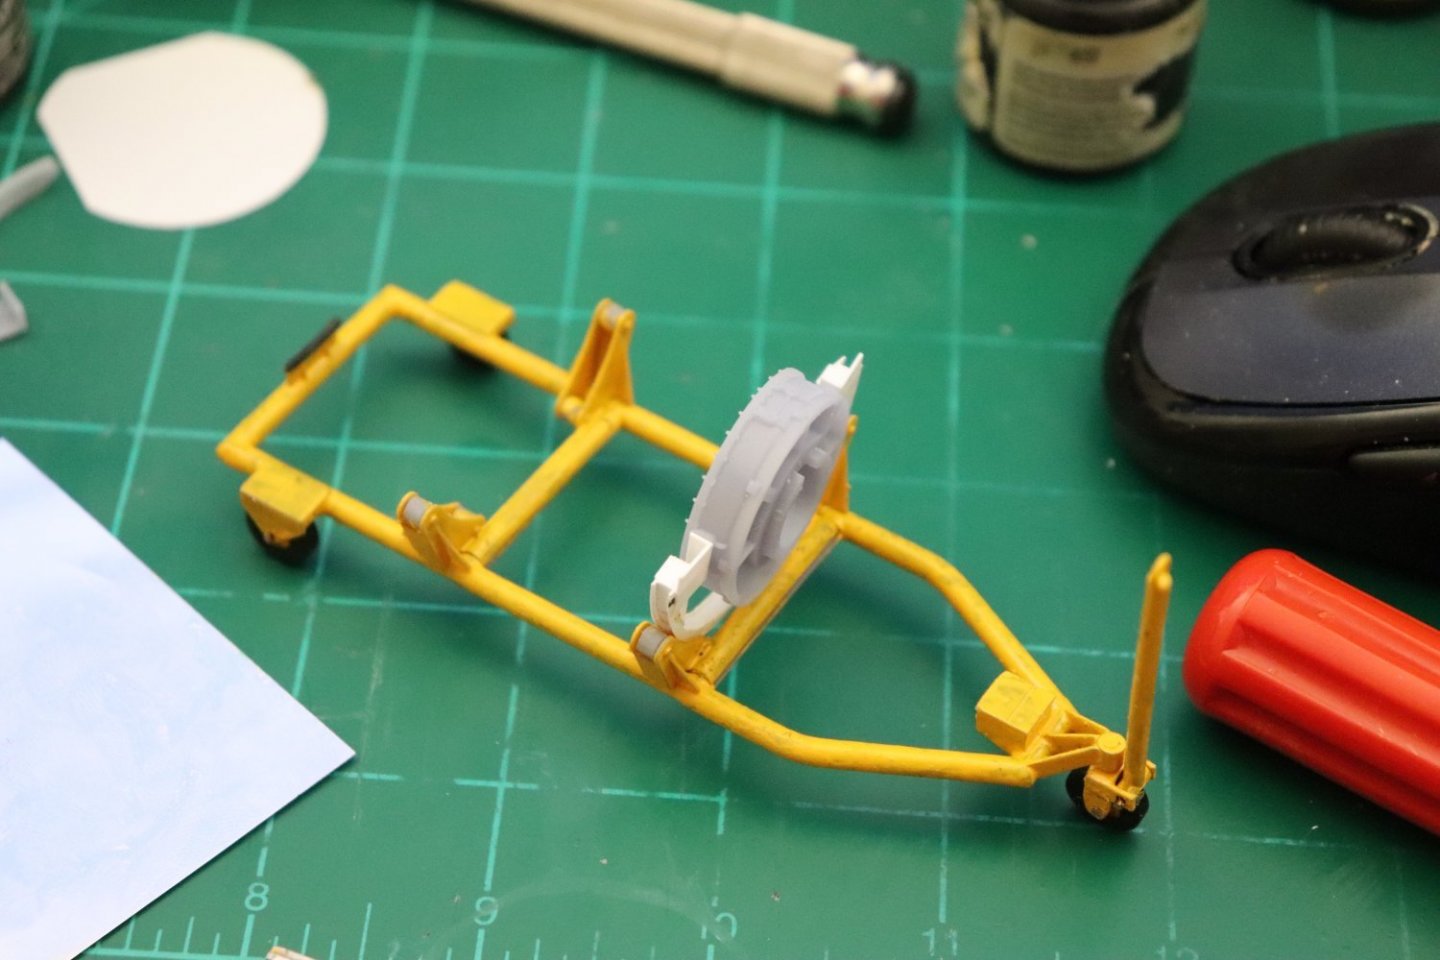
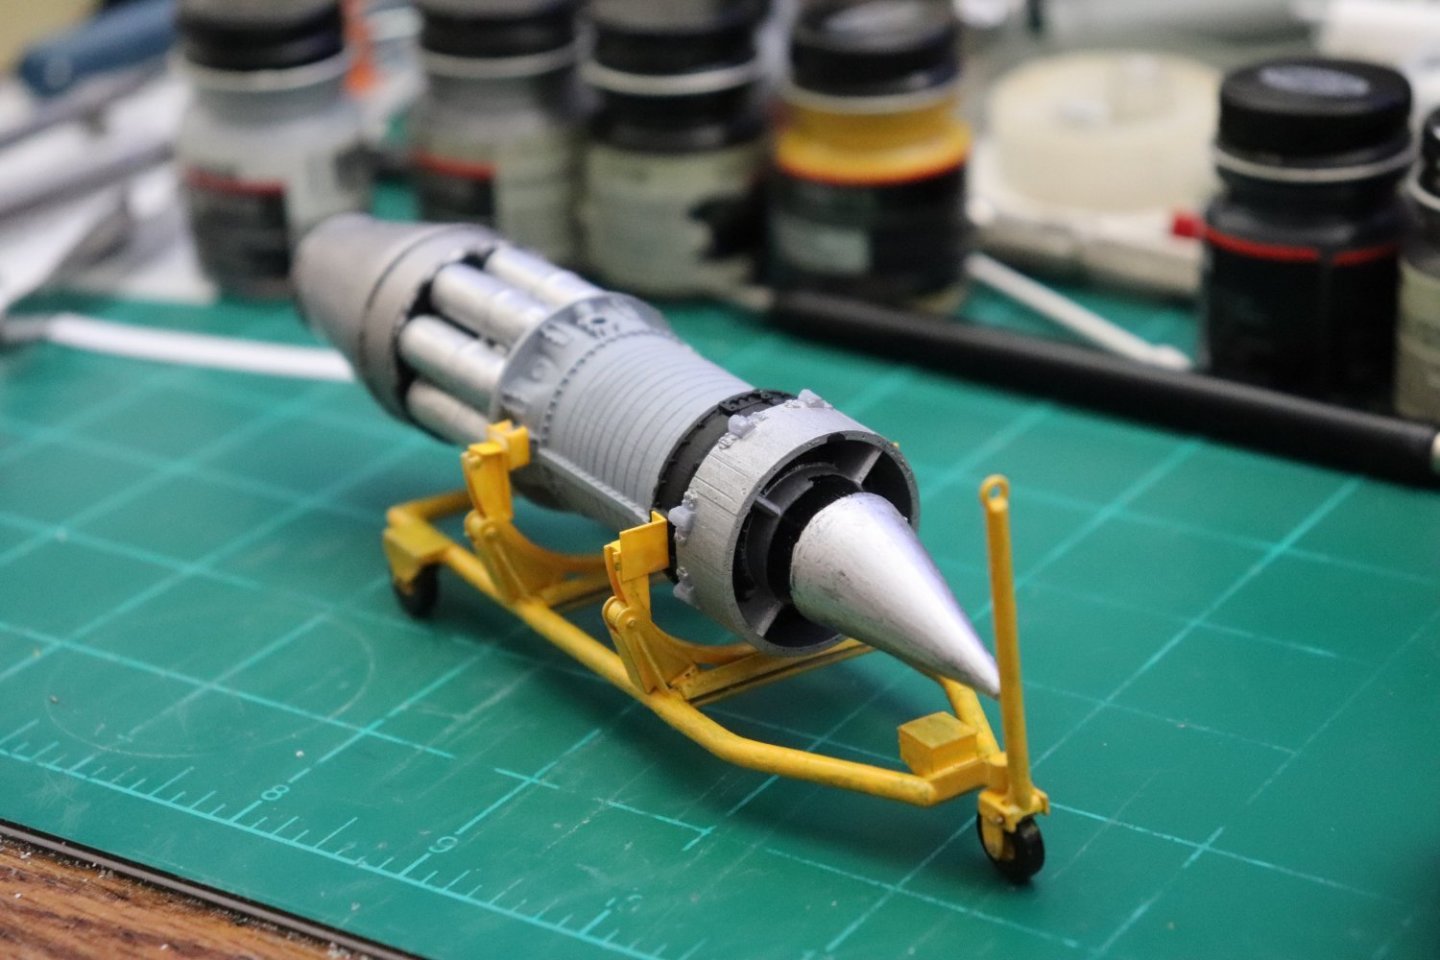
And an update.... When I last updated I had just finished the forward mount and managed to get it to stay up holding the forward compressor frame long enough to get a shot... Since I have finished the aft mount with the Aft Compressor Frame mounted, it's a bit more secure than the forward one is.... Next step was to get everything glued and painted up and see how it all works together.... I'll let the images speak for themselves.... Now on to detailing the engine... EG

- 94 replies
-
- 11
-
-

-
Oh that's great Doc, I though it was gone for good... SW is the ticket for this type of modeling, it's designed as a parametric (measurement based) modeler first and an image crafter second... The only other one I would recommend is Rhino, it's even more capable than SW, but but a LOT more technically oriented... For what we do, SW is perfect.... If I was modeling a ships hull I would jump to Rhino, other than that I stay in SW...