Supplies of the Ship Modeler's Handbook are running out. Get your copy NOW before they are gone! Click on photo to order.
×


Papa
-
Posts
1,302 -
Joined
-
Last visited
Content Type
Profiles
Forums
Gallery
Events
Everything posted by Papa
-
 Those instructions look much like what i had with my “yellow box” Essex kit back in 1968. Sort of “we have given you some wood, some fittings, a few blocks. Now go make a ship. Good luck”.
- 238 replies
-
- 2
-

-
- Robert E Lee
- steamboat
- (and 3 more)
-
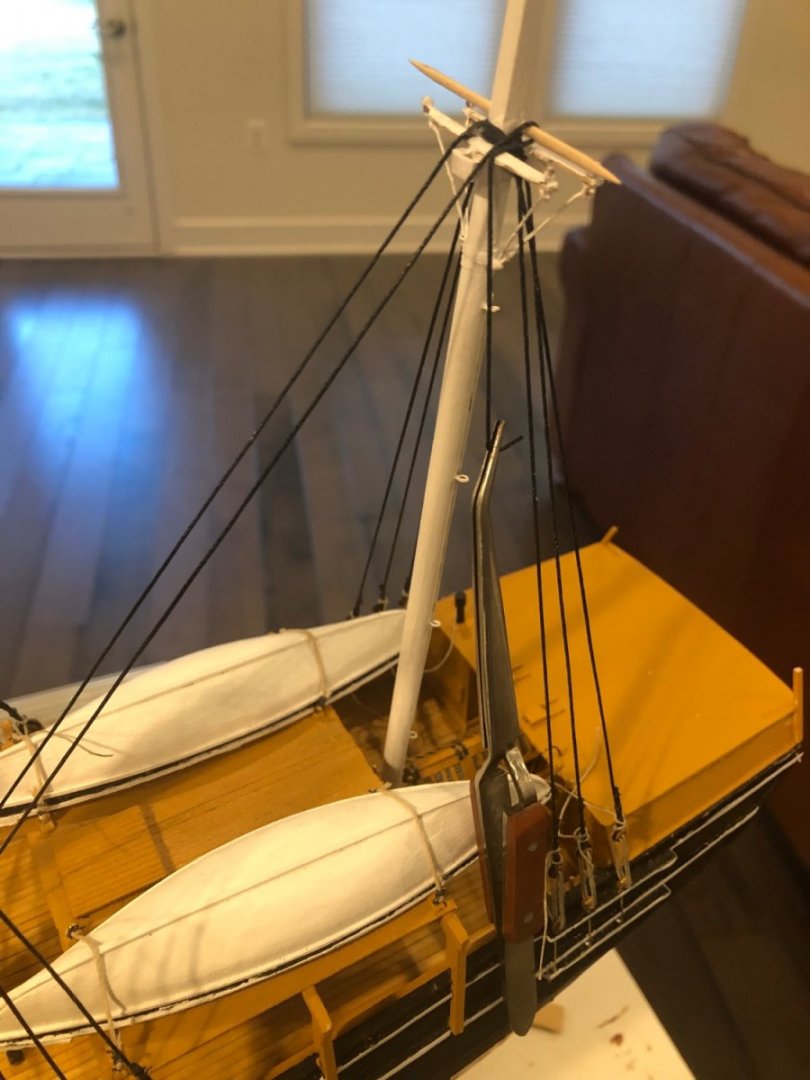
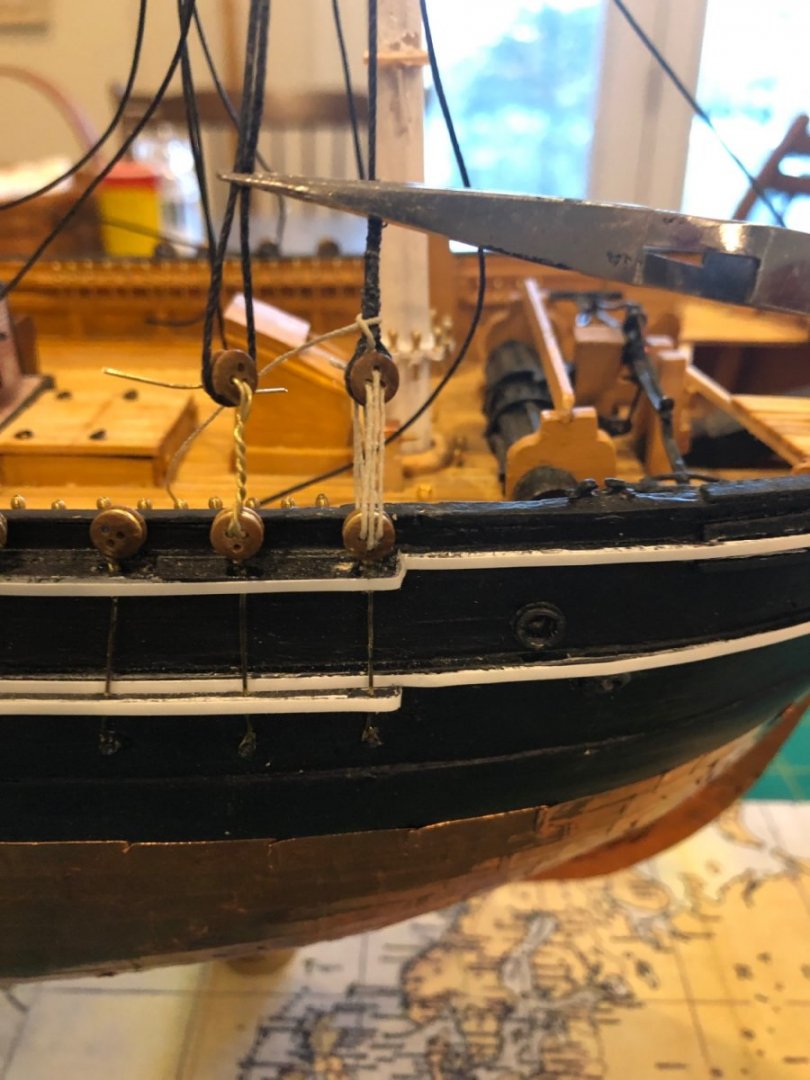
In rigging the stays i saw that the fore and mizzen stays used an eye and lanyard arraignment at the tops. The photo shows how i kept the lines taut while tying the second eye.

- 294 replies
-
- 4
-
-
- charles w morgan
- model shipways
- (and 1 more)
-
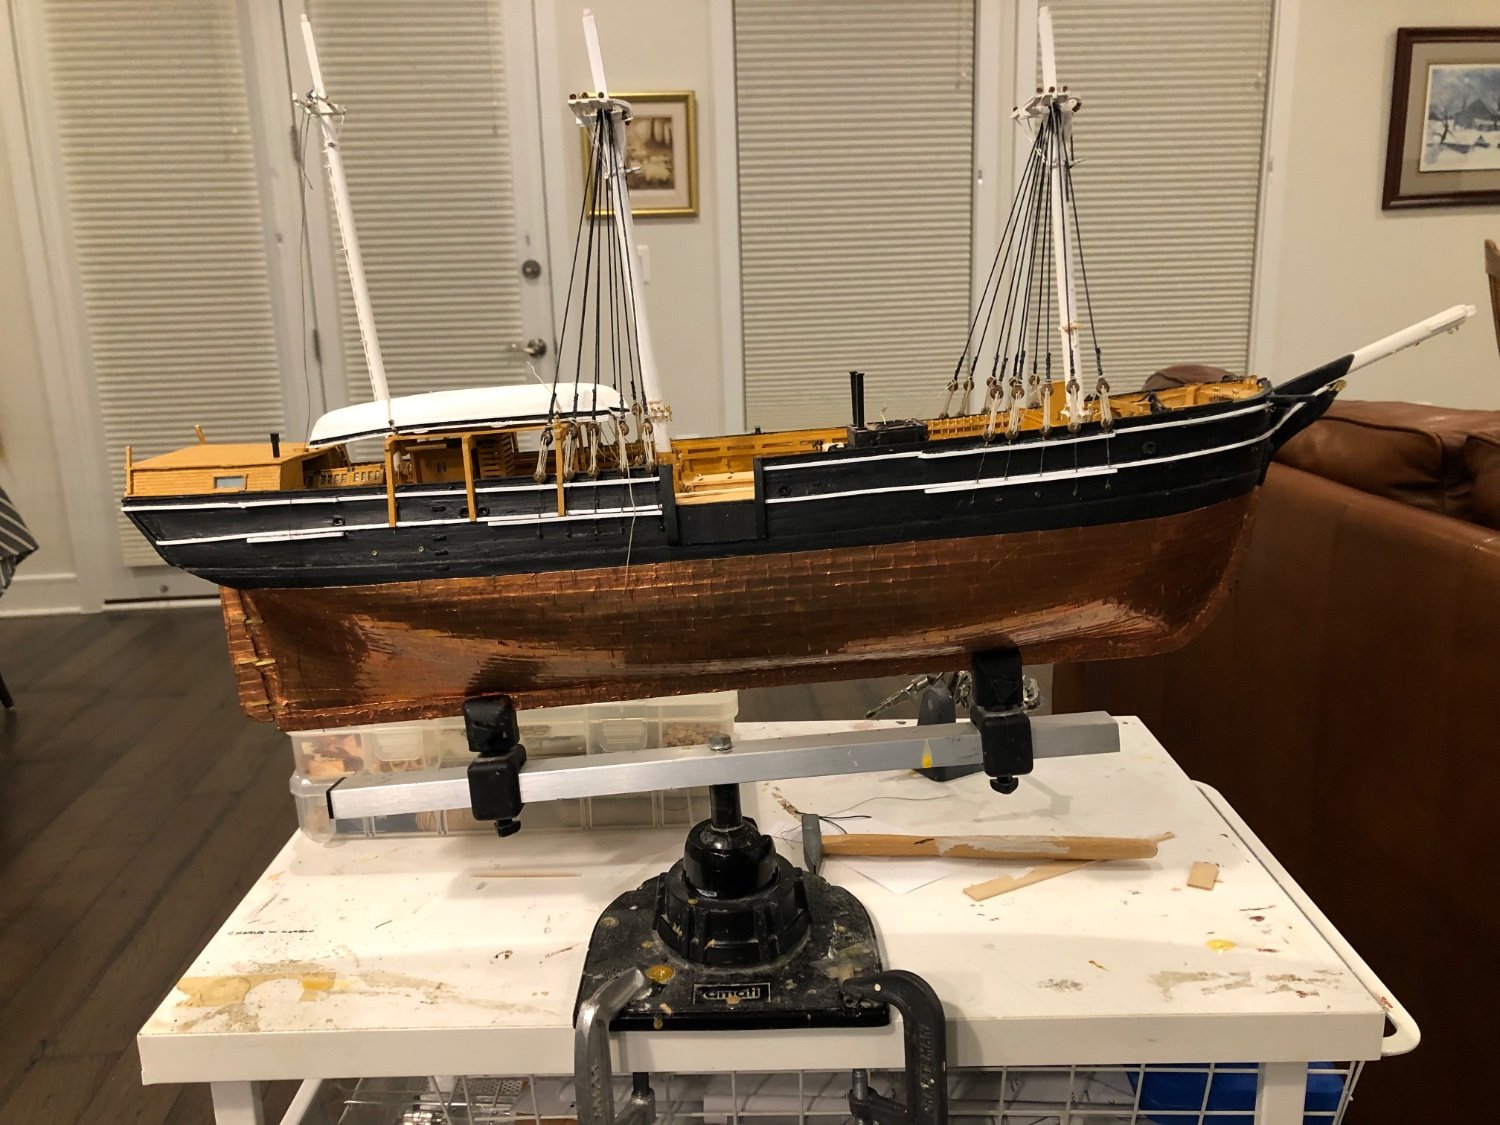
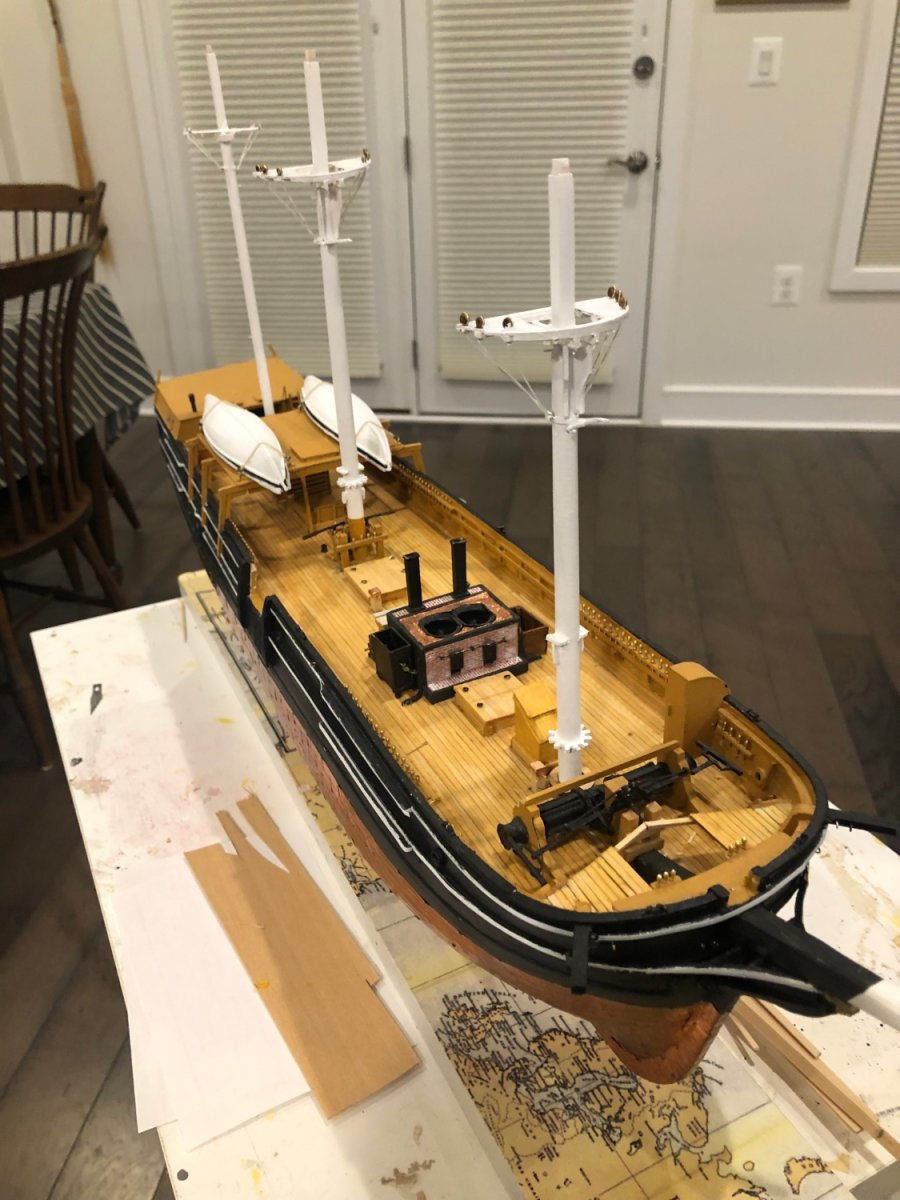
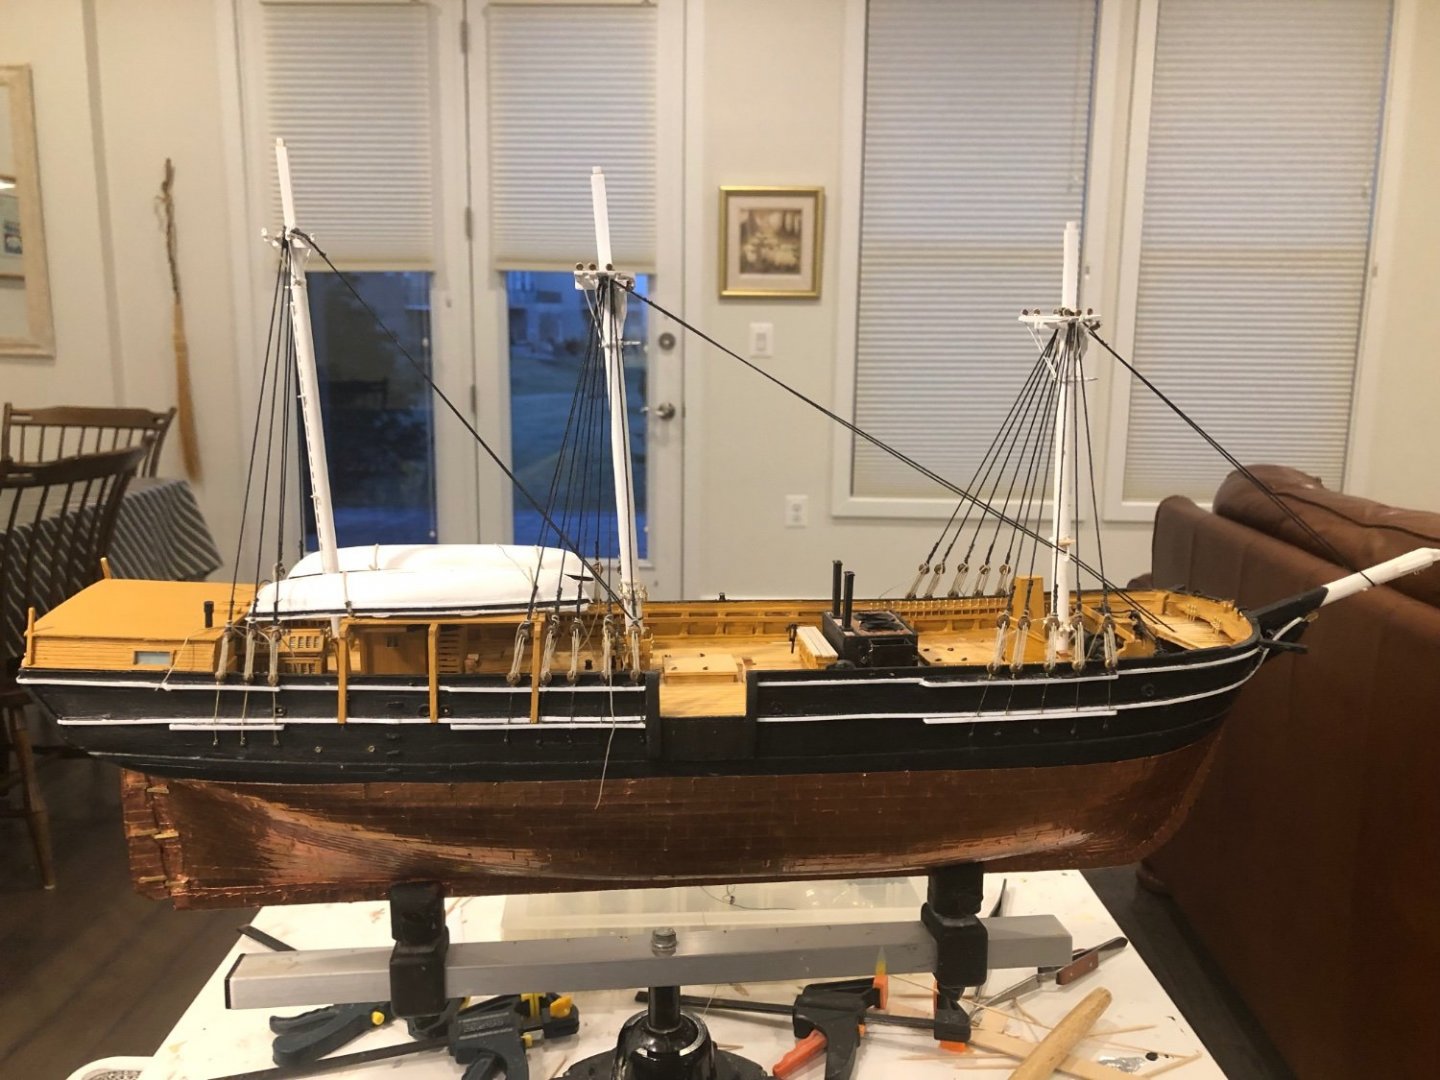
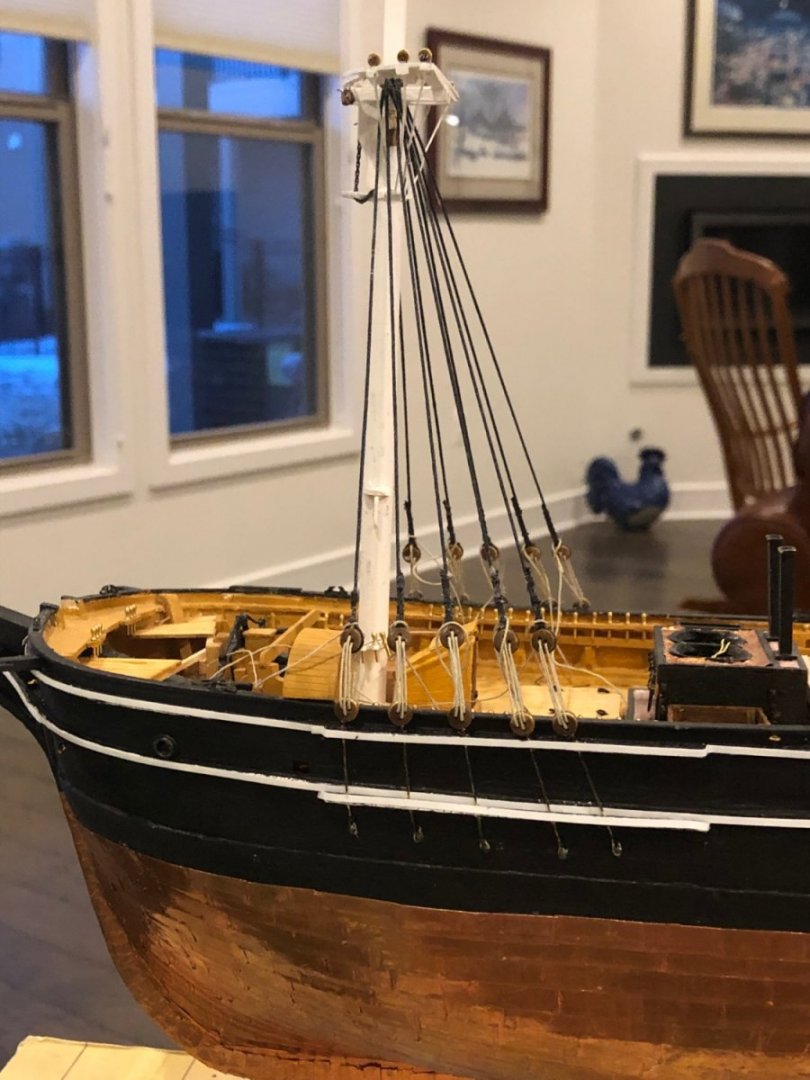
Rigging requires so much moving the ship around that I decided to go back to my keel vise. Much easier now. Fortunately there was room on my Elfa cart to mount it without obstructing the drawers. The lower shrouds on the fore and main mast are completed. Mizzen is next.

- 294 replies
-
- 2
-
-
- charles w morgan
- model shipways
- (and 1 more)
-
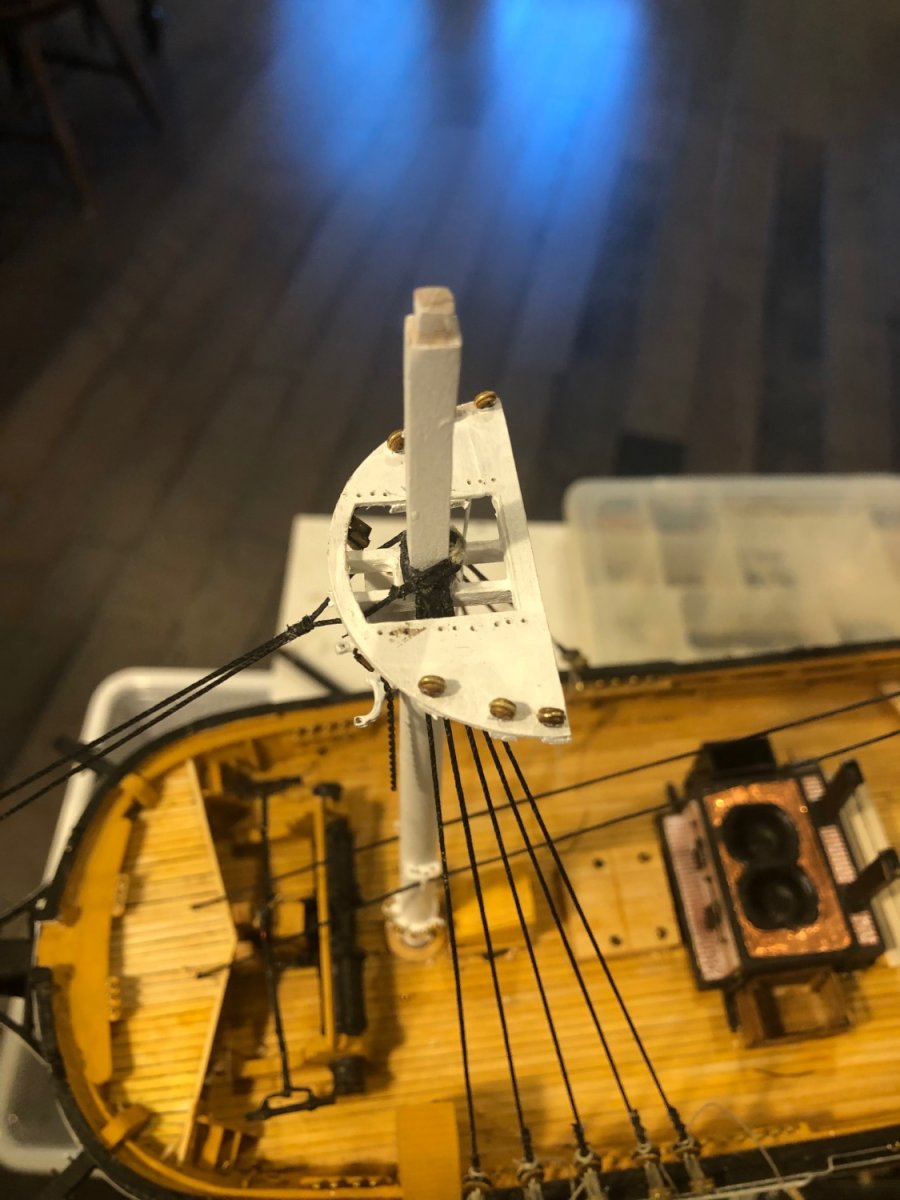
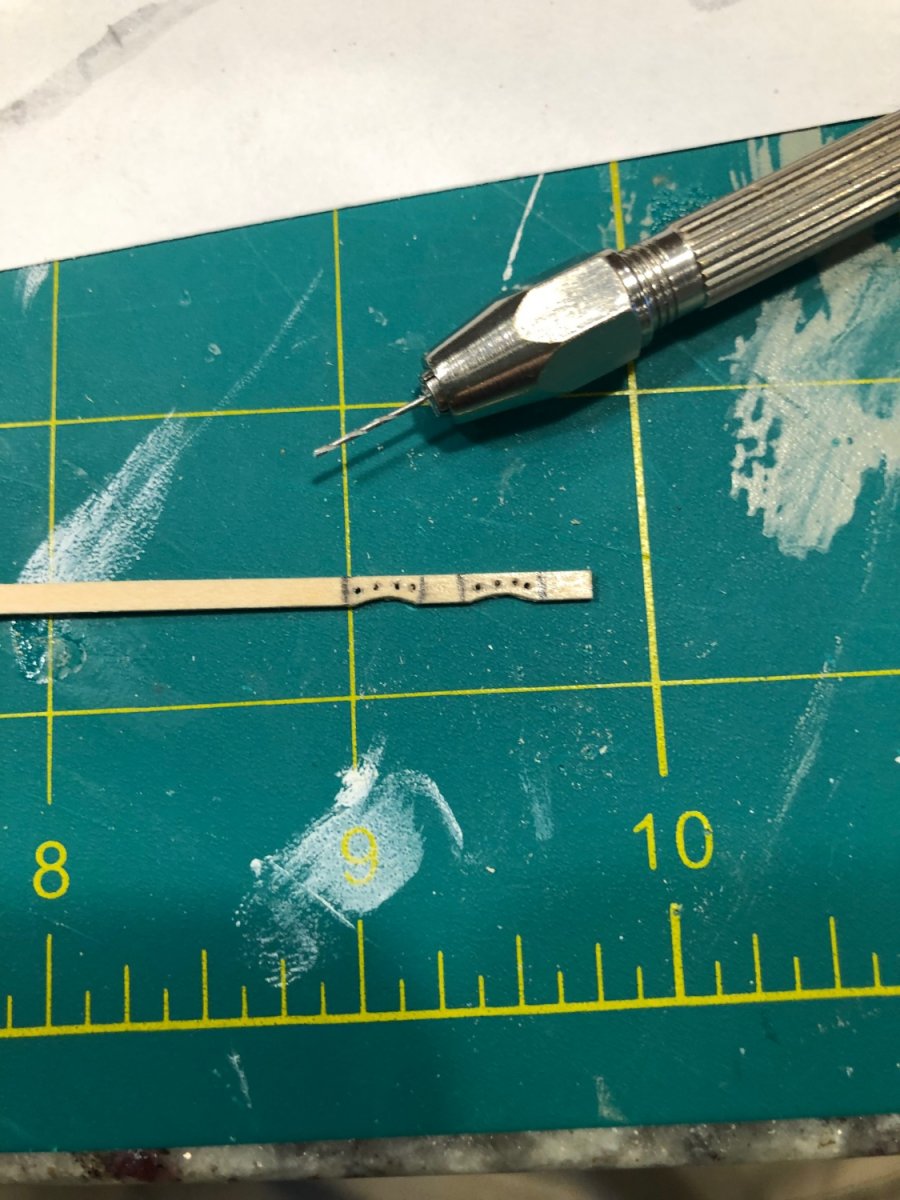
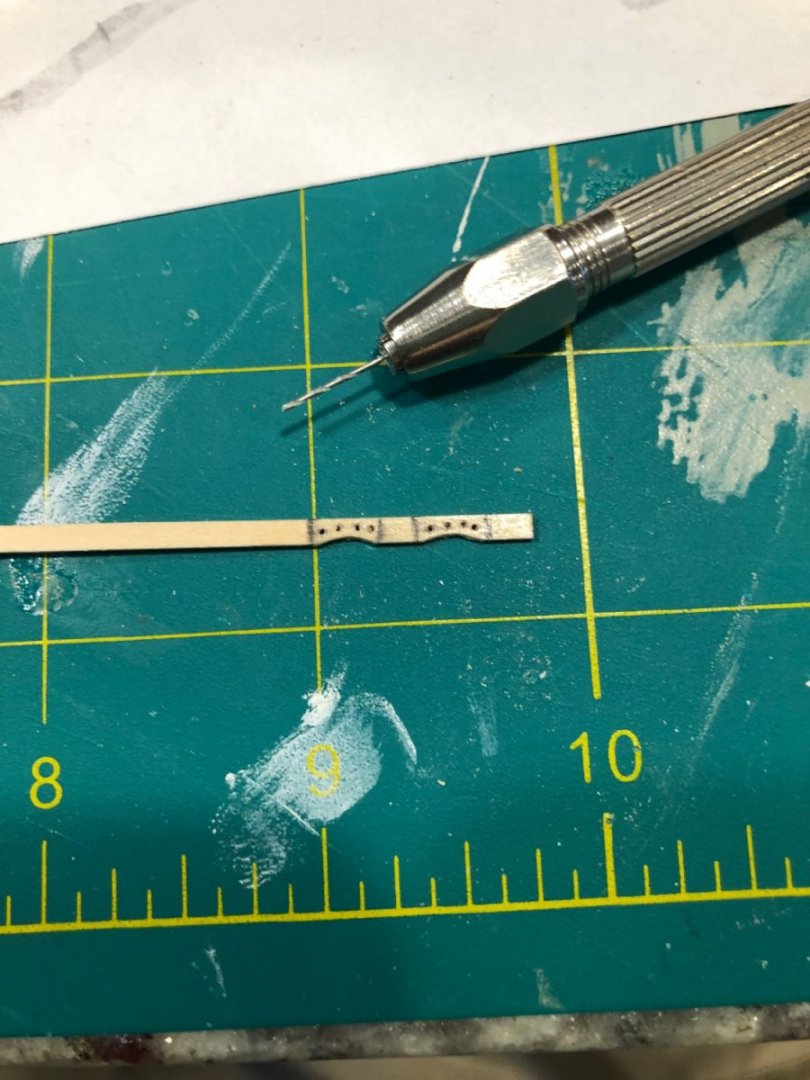
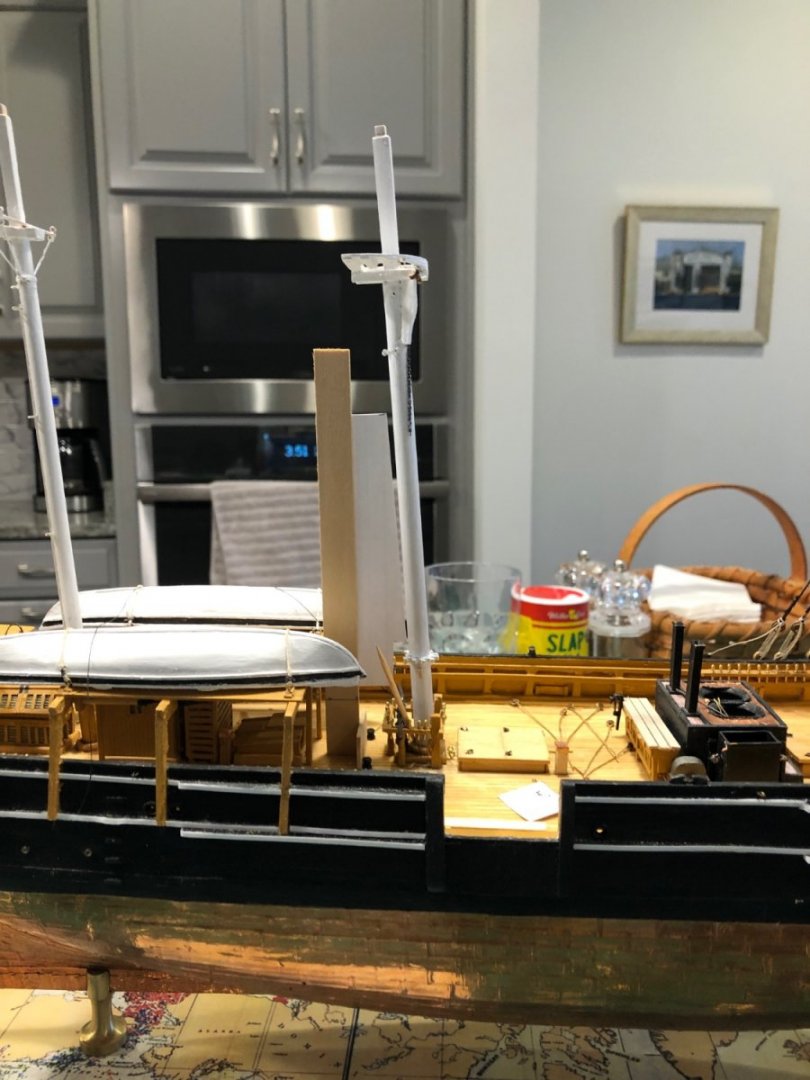
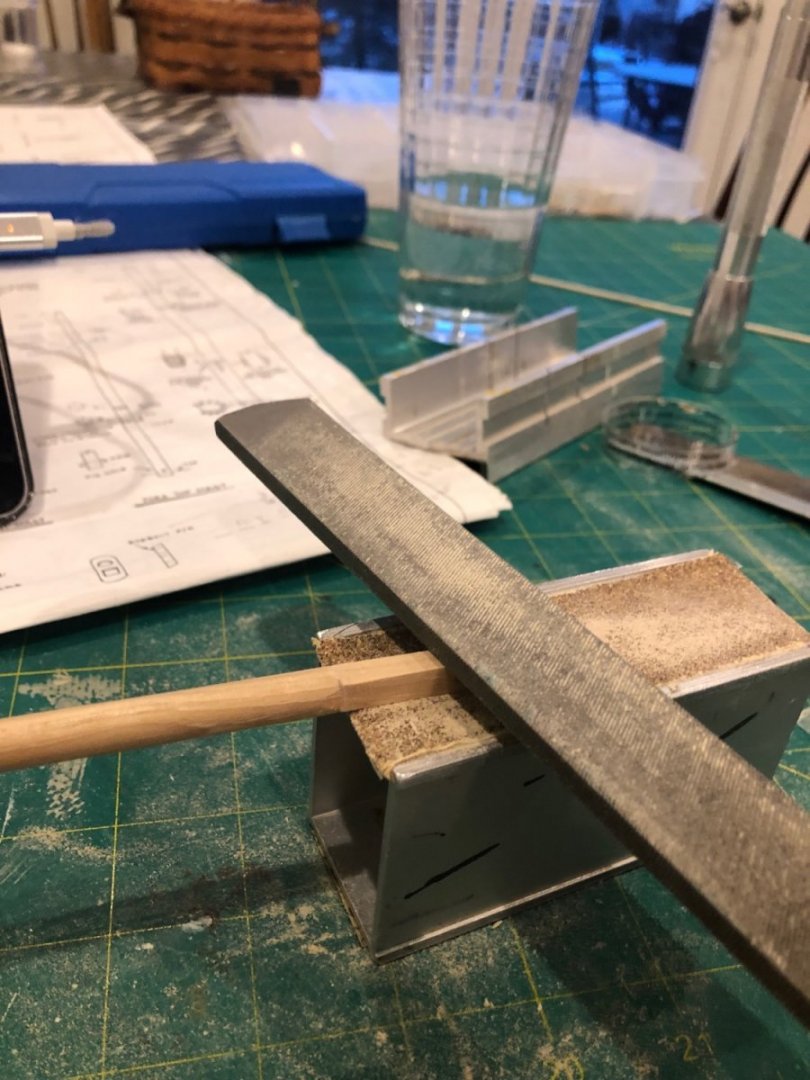
Made 2 fairleads for the mainmast. 1/8 by 1/32 basswood. I coated the needed area with some AC glue to prevent splitting and sanded the arc by wrapping some sandpaper around the mast. One of them split anyway and had to make a 3rd one. Also checking out a homemade jig for setting the proper 4 deg rake on the mainmast.
- 294 replies
-
- 3
-
-
- charles w morgan
- model shipways
- (and 1 more)
-
My replacement main mast parts arrived from Model Expo just as I finished up the lower foremast shrouds. Shaping a square end to a maple dowel is a bit tedious. I have read that it is better to start with square stock and then round the mast by shaving off the corners. It might be a bit easier to get a taper that way also.
- 294 replies
-
- 3
-
-
- charles w morgan
- model shipways
- (and 1 more)
-
While waiting for my replacement parts for the mainmast, I started rigging the foremast.
- 294 replies
-
- 3
-
-
- charles w morgan
- model shipways
- (and 1 more)
-
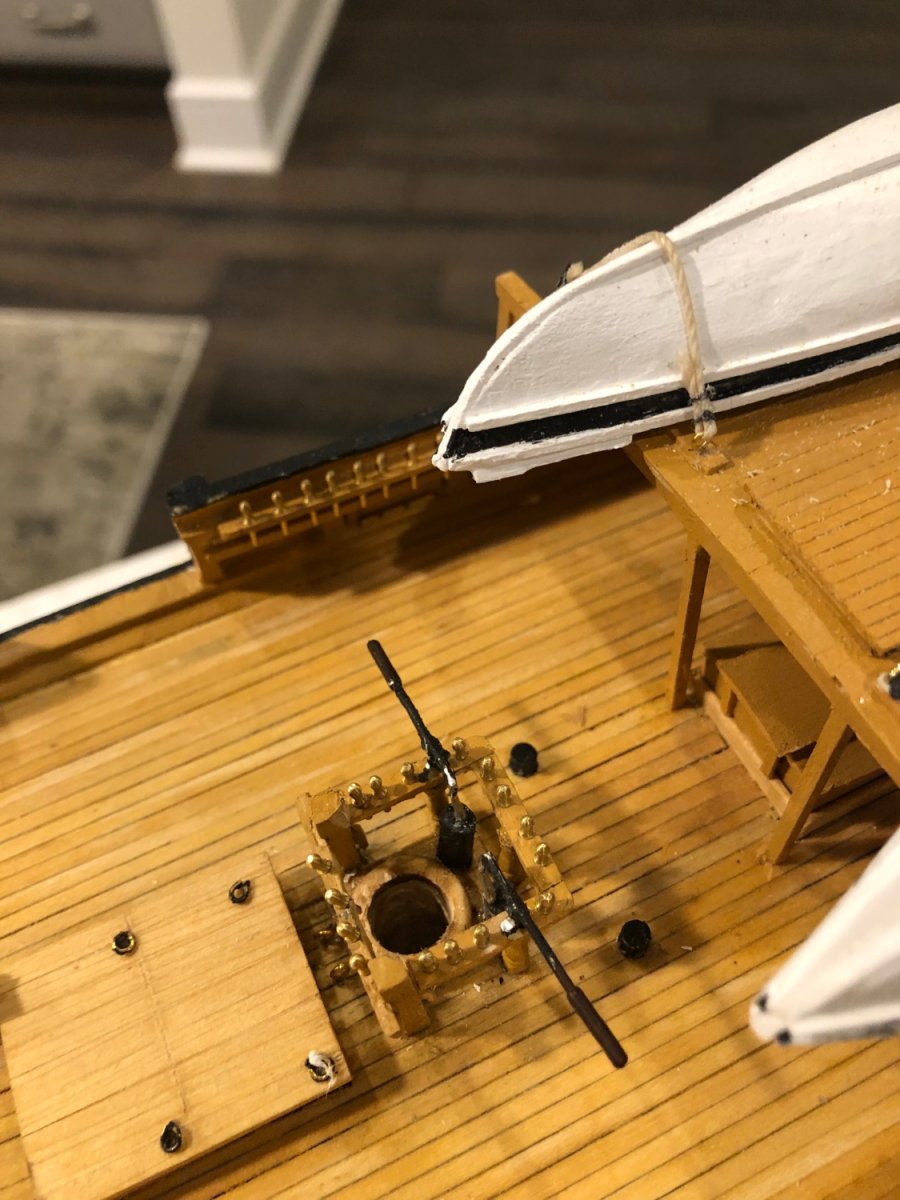
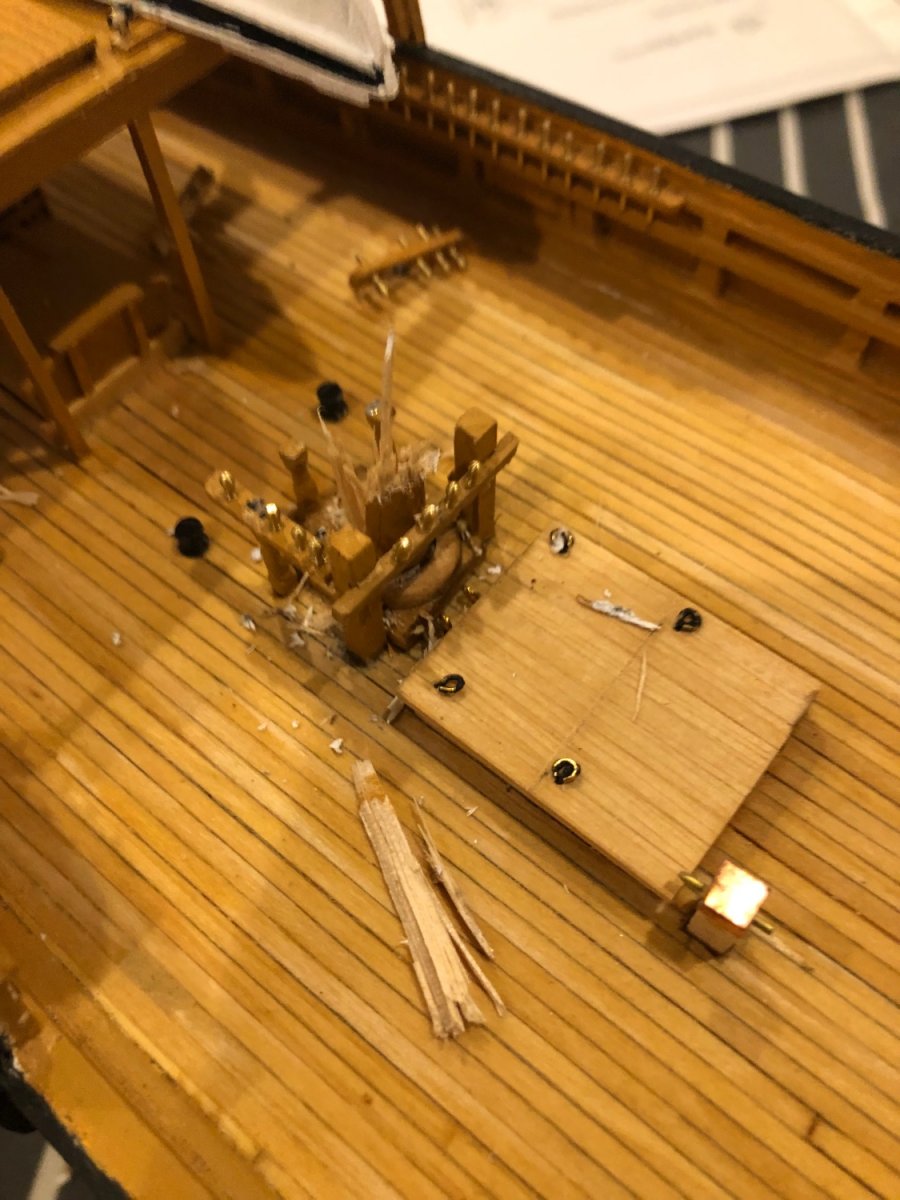
Some patience and a Dremel tool and the fife rail and pumps are repaired and mast hole is cleaned out.

- 294 replies
-
- 3
-
-
- charles w morgan
- model shipways
- (and 1 more)
-
Actually not so good. I decided the mainmast rake was bad and on top of that, the main top was slopped excessively. I had tried to mount it so that it would look level when the mast was mounted with the proper rake. I seem to have over compensated. It looked bad and every day when i looked at it it looked worse. It could no longer be ignored. Today I attempted to remove the mast. Bad idea. It split rather than coming out and broke the fife rail on top of that. I requested some replacement parts from Model Expo and will have to make the lower mainmast again. Oh, and drill out the stub left in the hole. Totally bad day. I think i will take a week or three off from the Morgan and build something else. Maybe i’ll paint some rocks 😬🤬🤯

- 294 replies
-
- 1
-

-
- charles w morgan
- model shipways
- (and 1 more)
-
How many kits do you have on the go at the moment?
Papa replied to CaptnBirdseye's topic in Wood ship model kits
I only have 3 going at this time. Charles W Morgan, Gjoa (Model Shipways solid hull Amundson’s ship), and the United States, (paper). Lately i have only been working on the Morgan. -
Still working on the masts. Want as much done on them as possible before mounting permanently (blocks, eyebolts, fairleads etc.) I noticed that i am approaching the 4 year mark on this build; started April 2018

- 294 replies
-
- 1
-
-
- charles w morgan
- model shipways
- (and 1 more)
-
HO model train suppliers have a window glazing material that will work here. I forget what they call it. It looks like thin white glue and it dries clear. Just spread a drop on the openings with a toothpick. In addition to glazing windows I have used it to make “water” in some buckets on a model barge. It is quite effective
-
Hi Chris, As a 100% Yankee, born and raised outside of Boston, i am curious as to where in Massachusetts you are located. I hated the winters there so am now below the Mason-Dixon line 😁
-
Thanks. Doing the hinge pins was tedious!
- 294 replies
-
- 1
-
-
- charles w morgan
- model shipways
- (and 1 more)
-
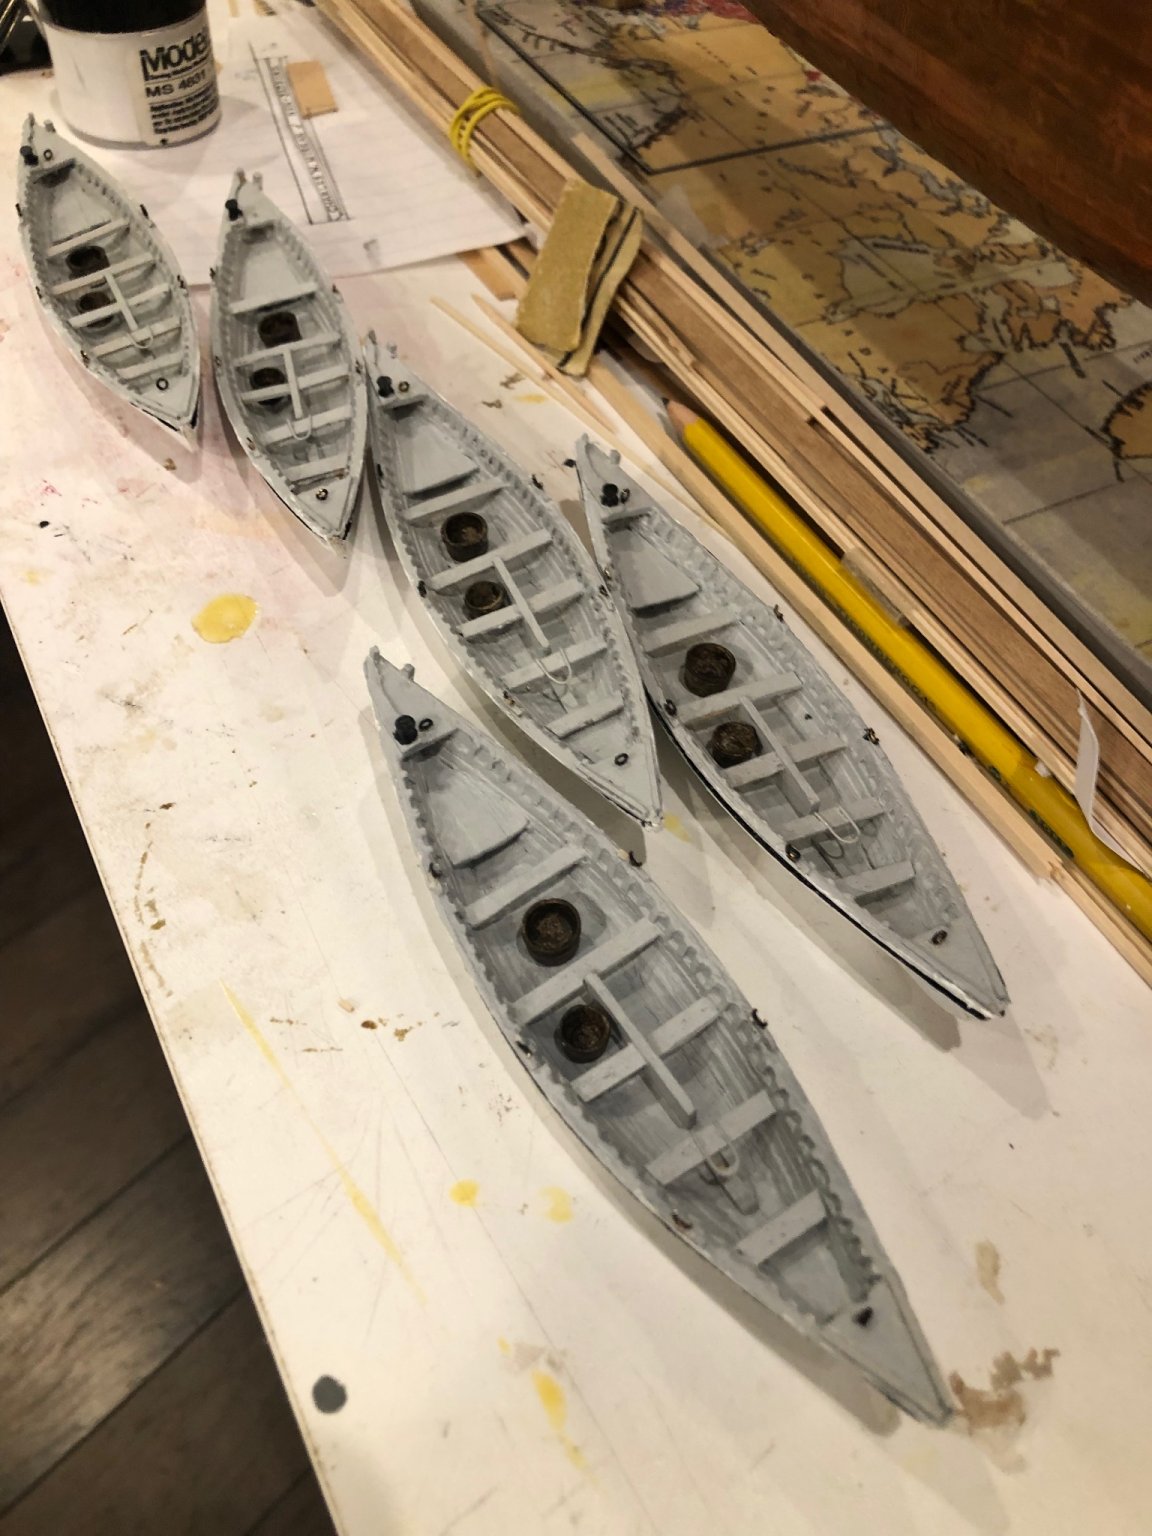
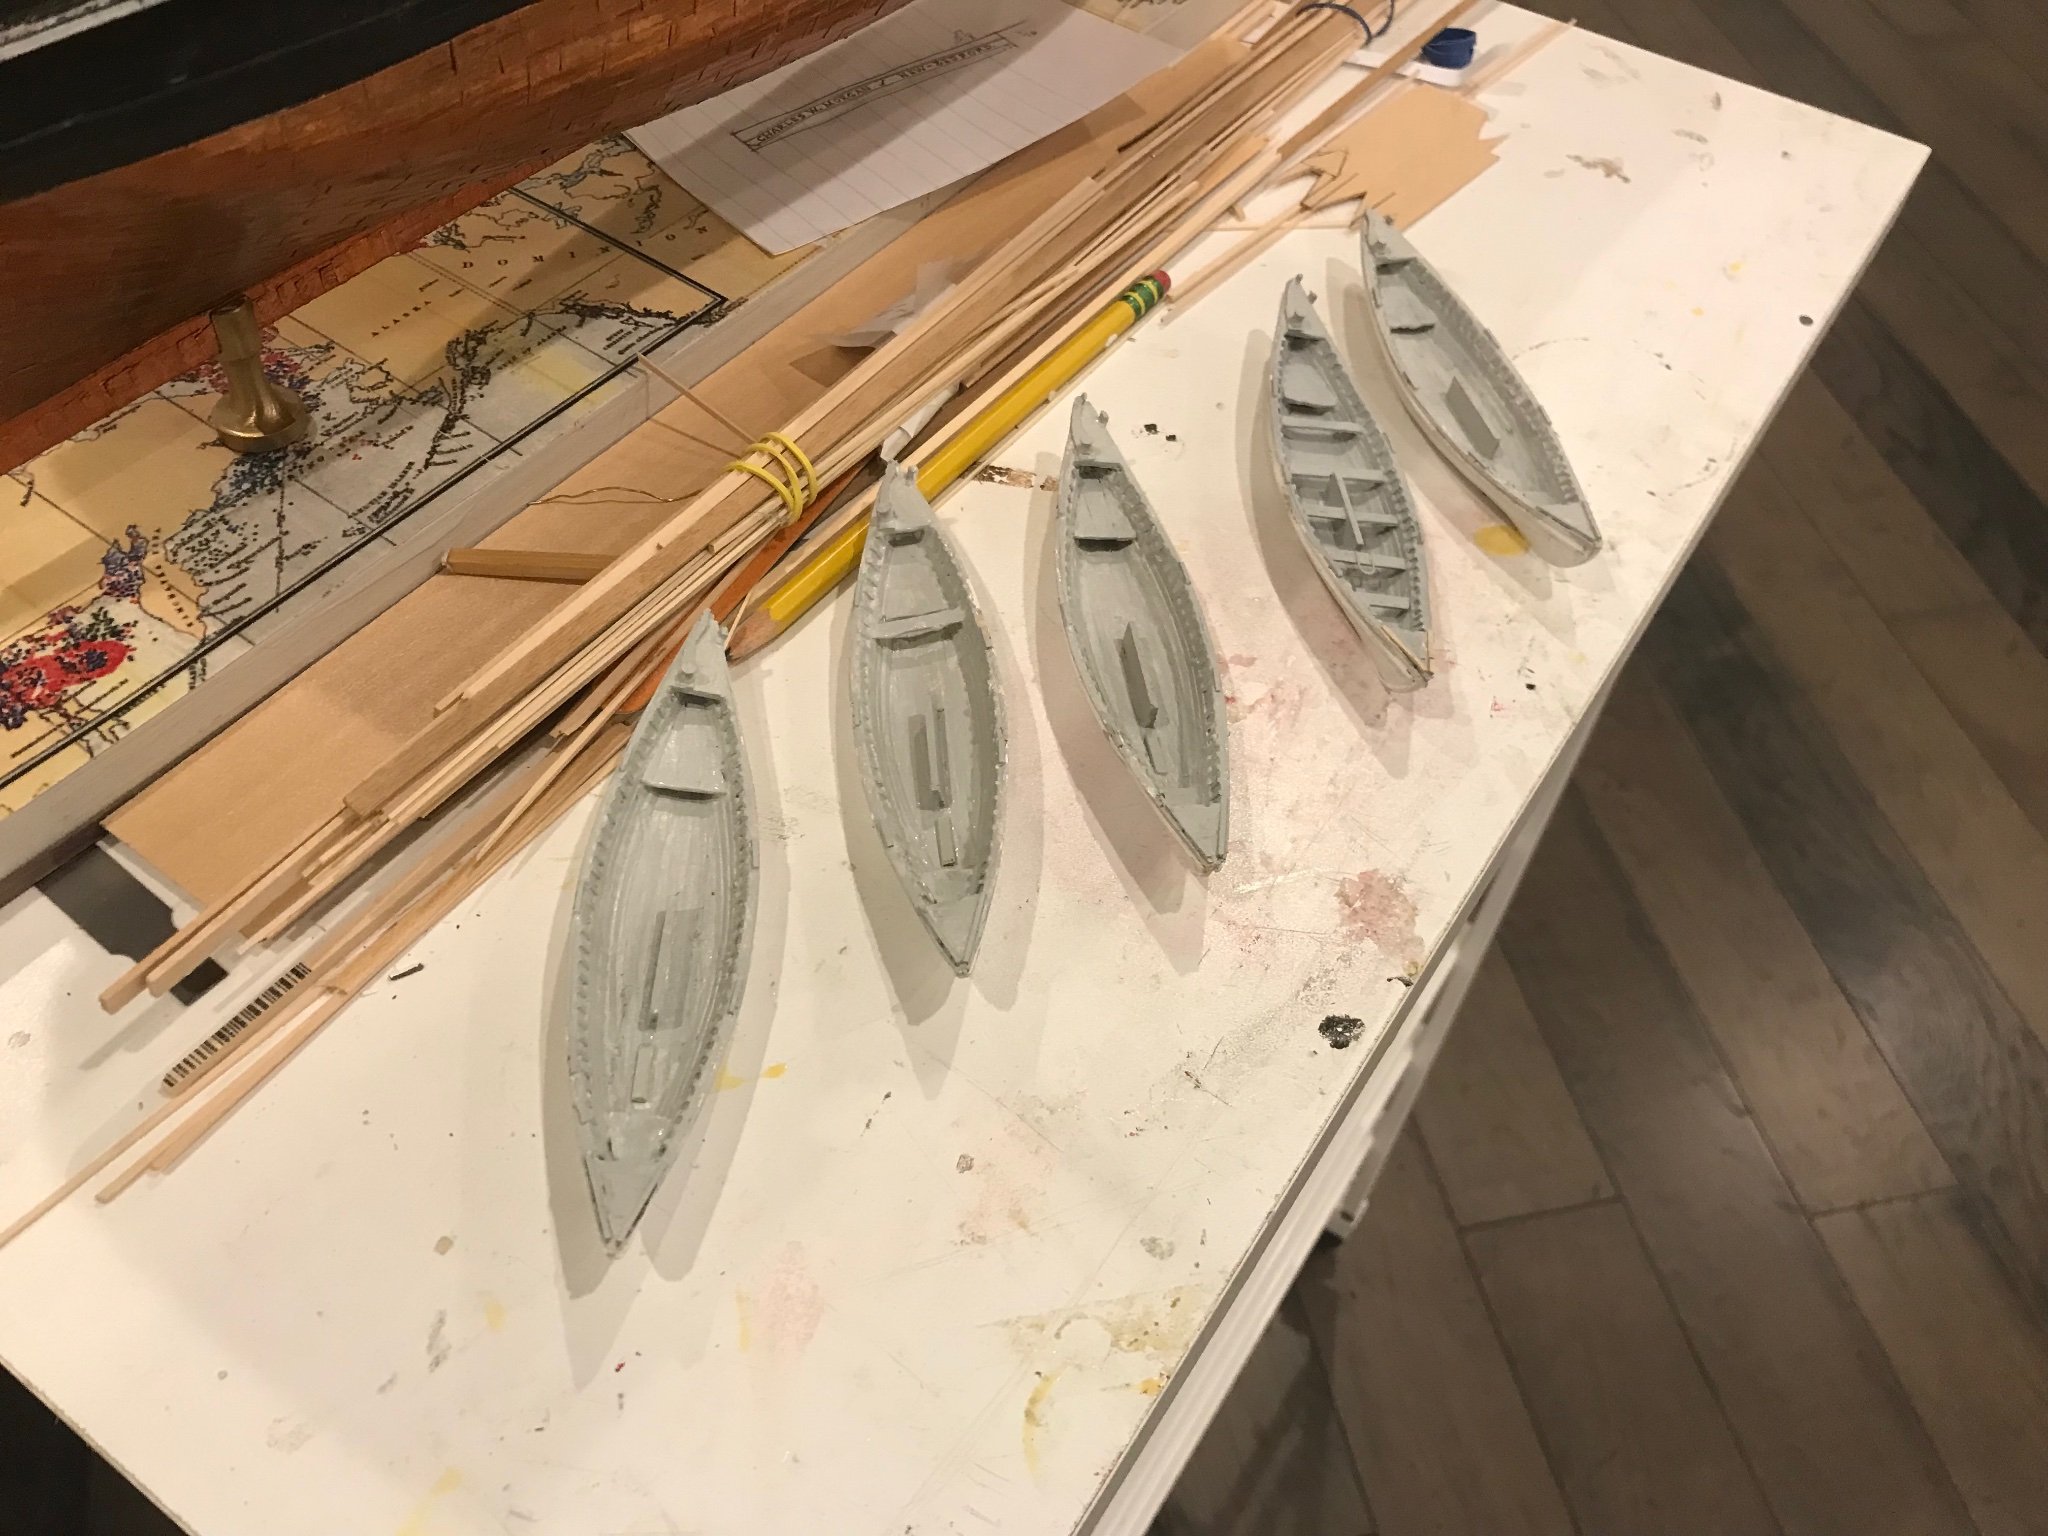
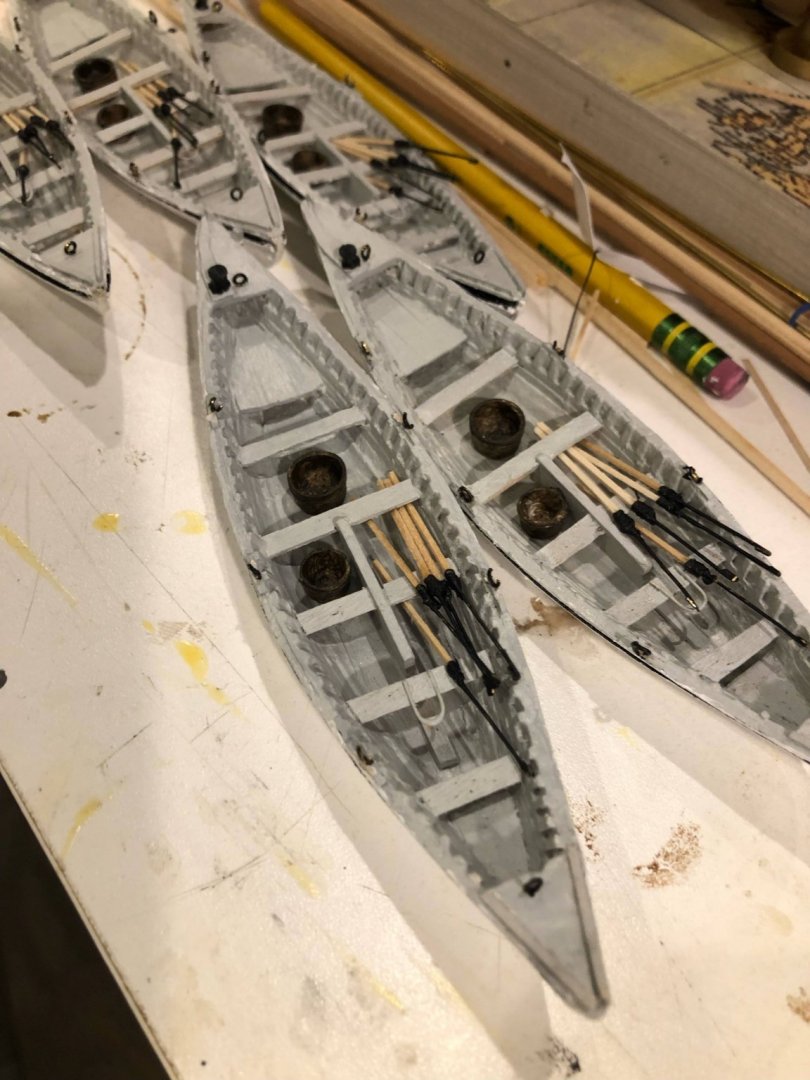
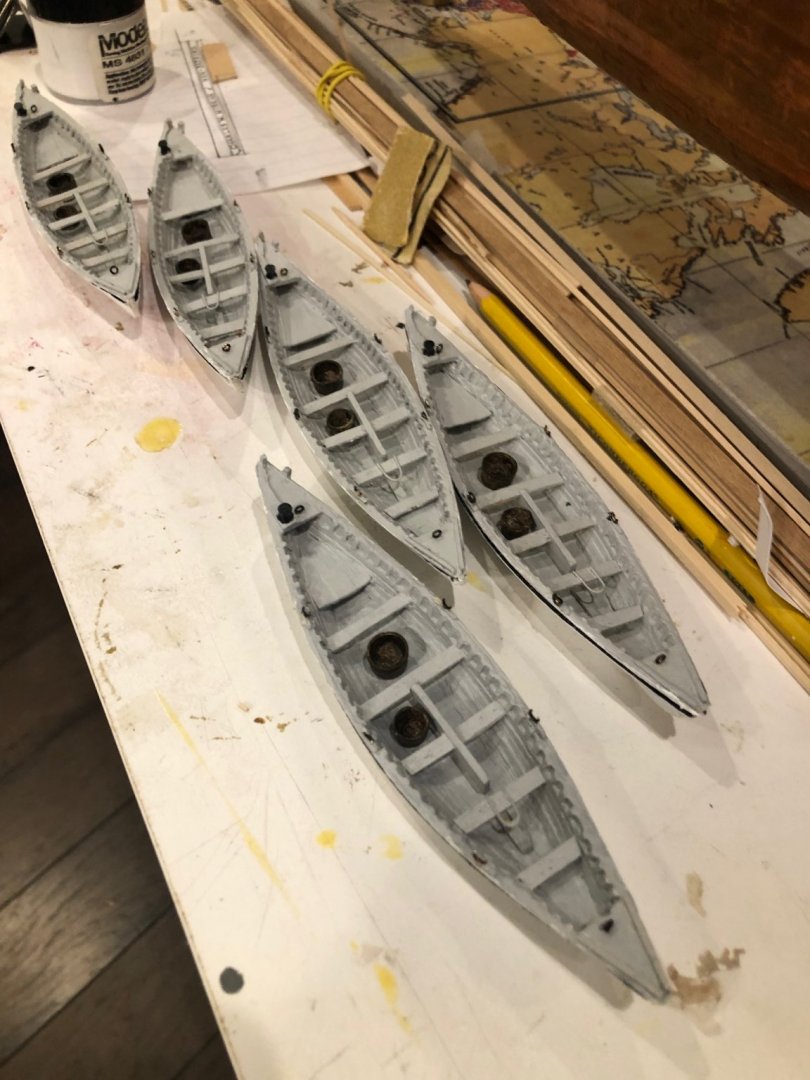
5 rudders made and one rigged on the whale boat
- 294 replies
-
- 5
-
-
- charles w morgan
- model shipways
- (and 1 more)
-
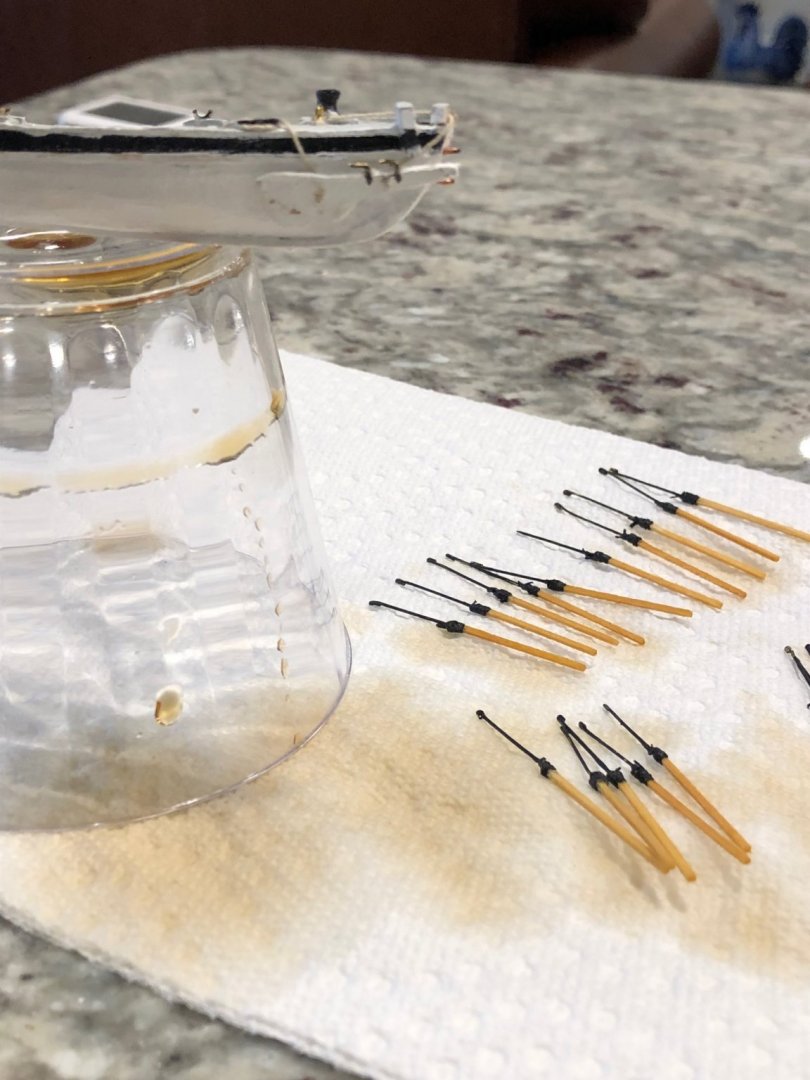
I now have 25 harpoons, 5 per boat. I still need to round the shafts and stain or paint them. they are very fragile being only 1/32" sq stripwood.
- 294 replies
-
- 1
-
-
- charles w morgan
- model shipways
- (and 1 more)
-
A “few” harpoons and we’re ready to get some whales.
- 294 replies
-
- 1
-
-
- charles w morgan
- model shipways
- (and 1 more)
-
Great idea using different wood.
-
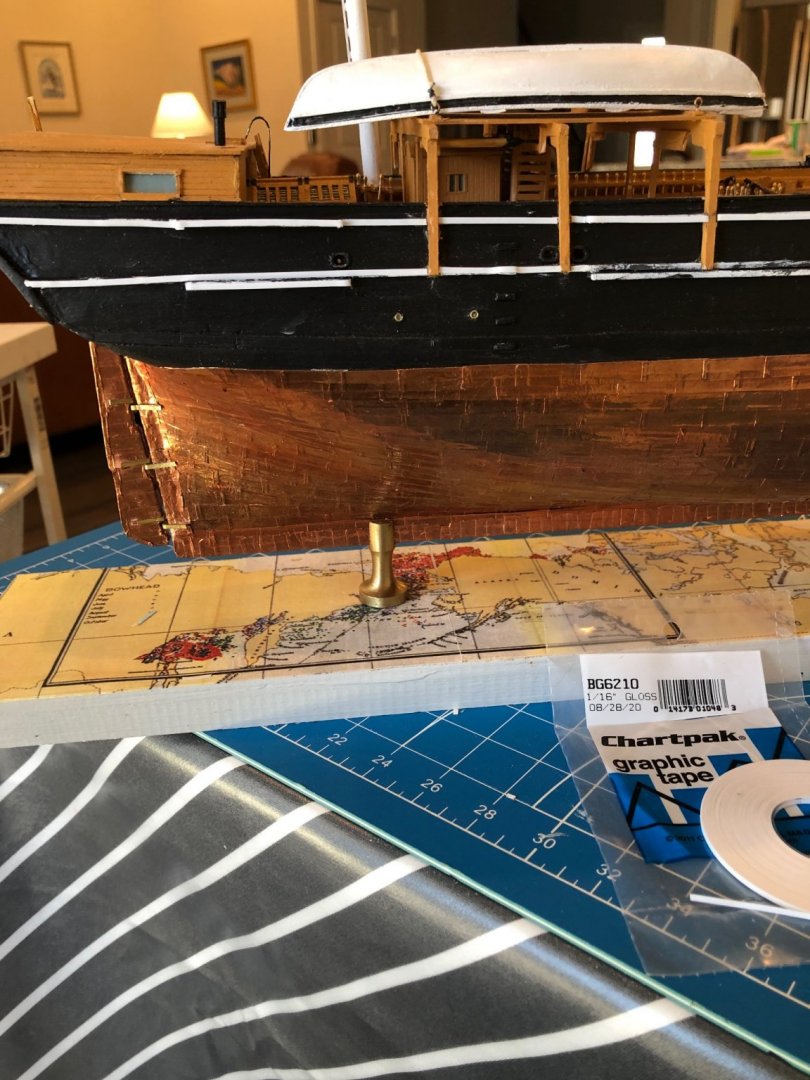
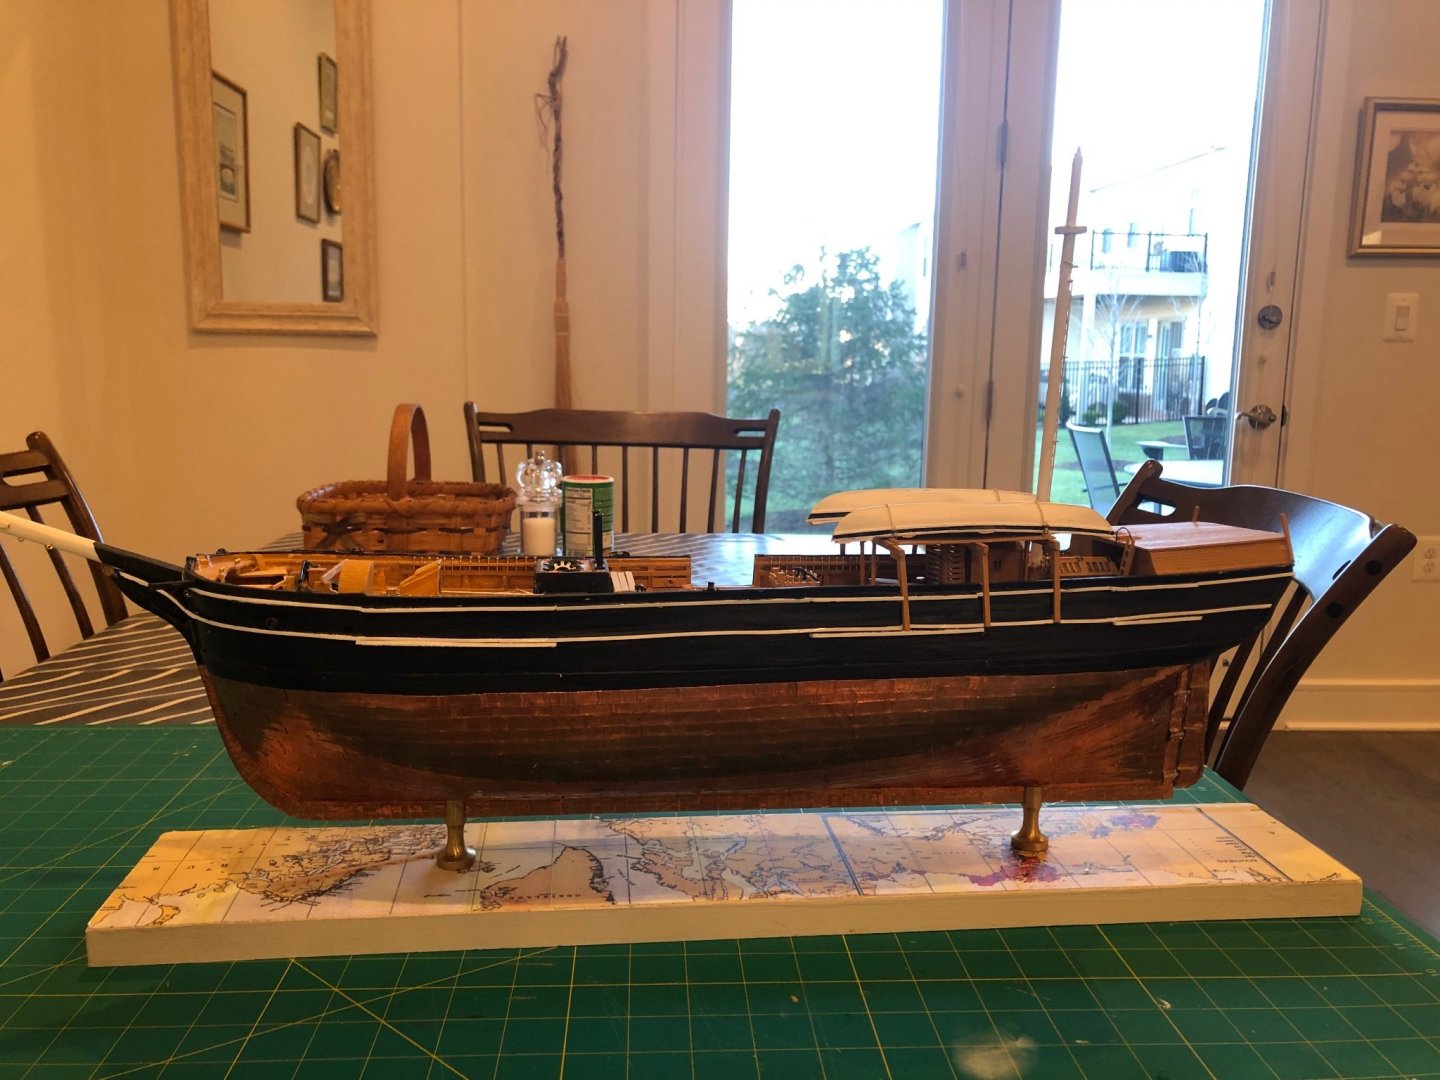
I was never happy with the white pinstripes i did. I always seem to make a mess with masking, and the free hand was too messy. Ugh. I purchased a 1/16” chart tape from Model Expo a while ago and sat down today to finally put it on, I think it is worlds better!
- 294 replies
-
- 3
-
-
- charles w morgan
- model shipways
- (and 1 more)
-
Thanks. The pictures and drawing help a lot.
- 294 replies
-
- 1
-
-
- charles w morgan
- model shipways
- (and 1 more)
-
Couple of questions: 1. how did you hang the rudders?. I am trying to visualize how to mount them so they would appear to be able to swing into place. 2. Do the davits interfere with rigging? I am concerned that if I attach the davits now, i will keep breaking them as I rig the ship. I am thinking of putting the davits and hanging the boats as a last step.
-
I just took a quick look. I will go back and watch carefully. I think there will be a huge amount of good stuff on this site
- 294 replies
-
- 1
-
-
- charles w morgan
- model shipways
- (and 1 more)
-
Good idea using Model railroad window sets. I used some in my City of Pekin canal barge.
- 238 replies
-
- 1
-
-
- Robert E Lee
- steamboat
- (and 3 more)
-
Thanks for posting the whale boat photos. They are very helpful.