Papa
-
Posts
1,305 -
Joined
-
Last visited
Content Type
Profiles
Forums
Gallery
Events
Everything posted by Papa
-
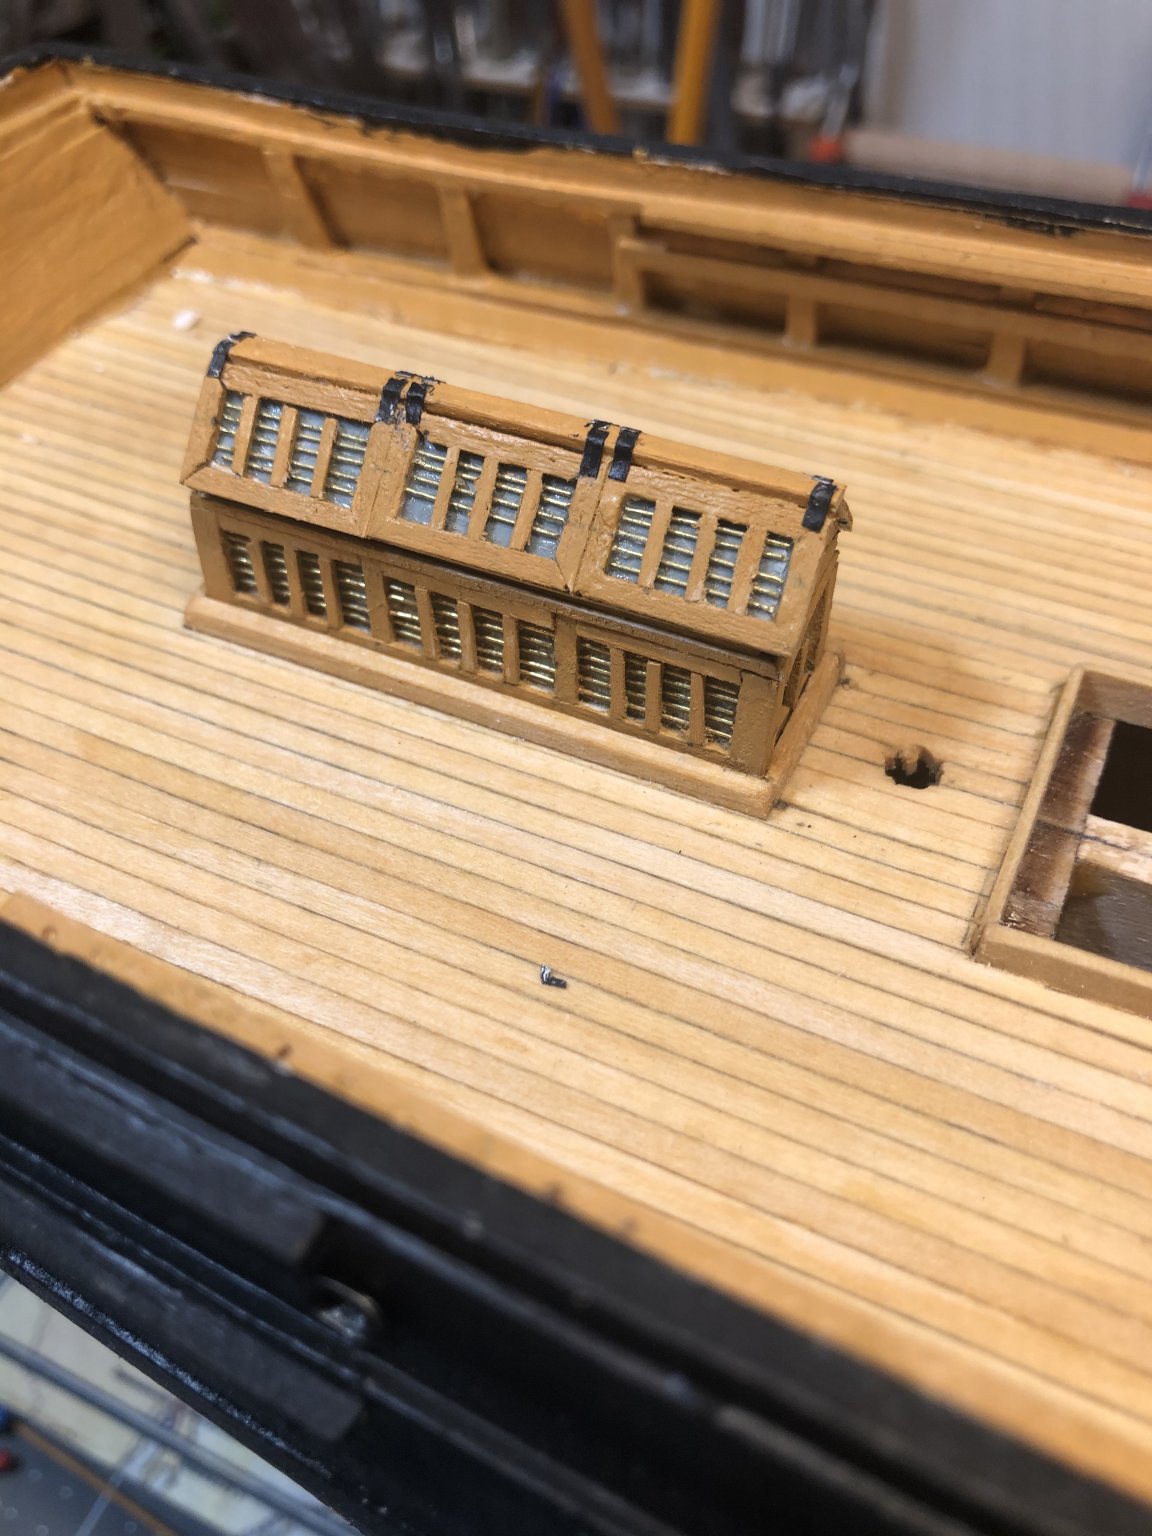
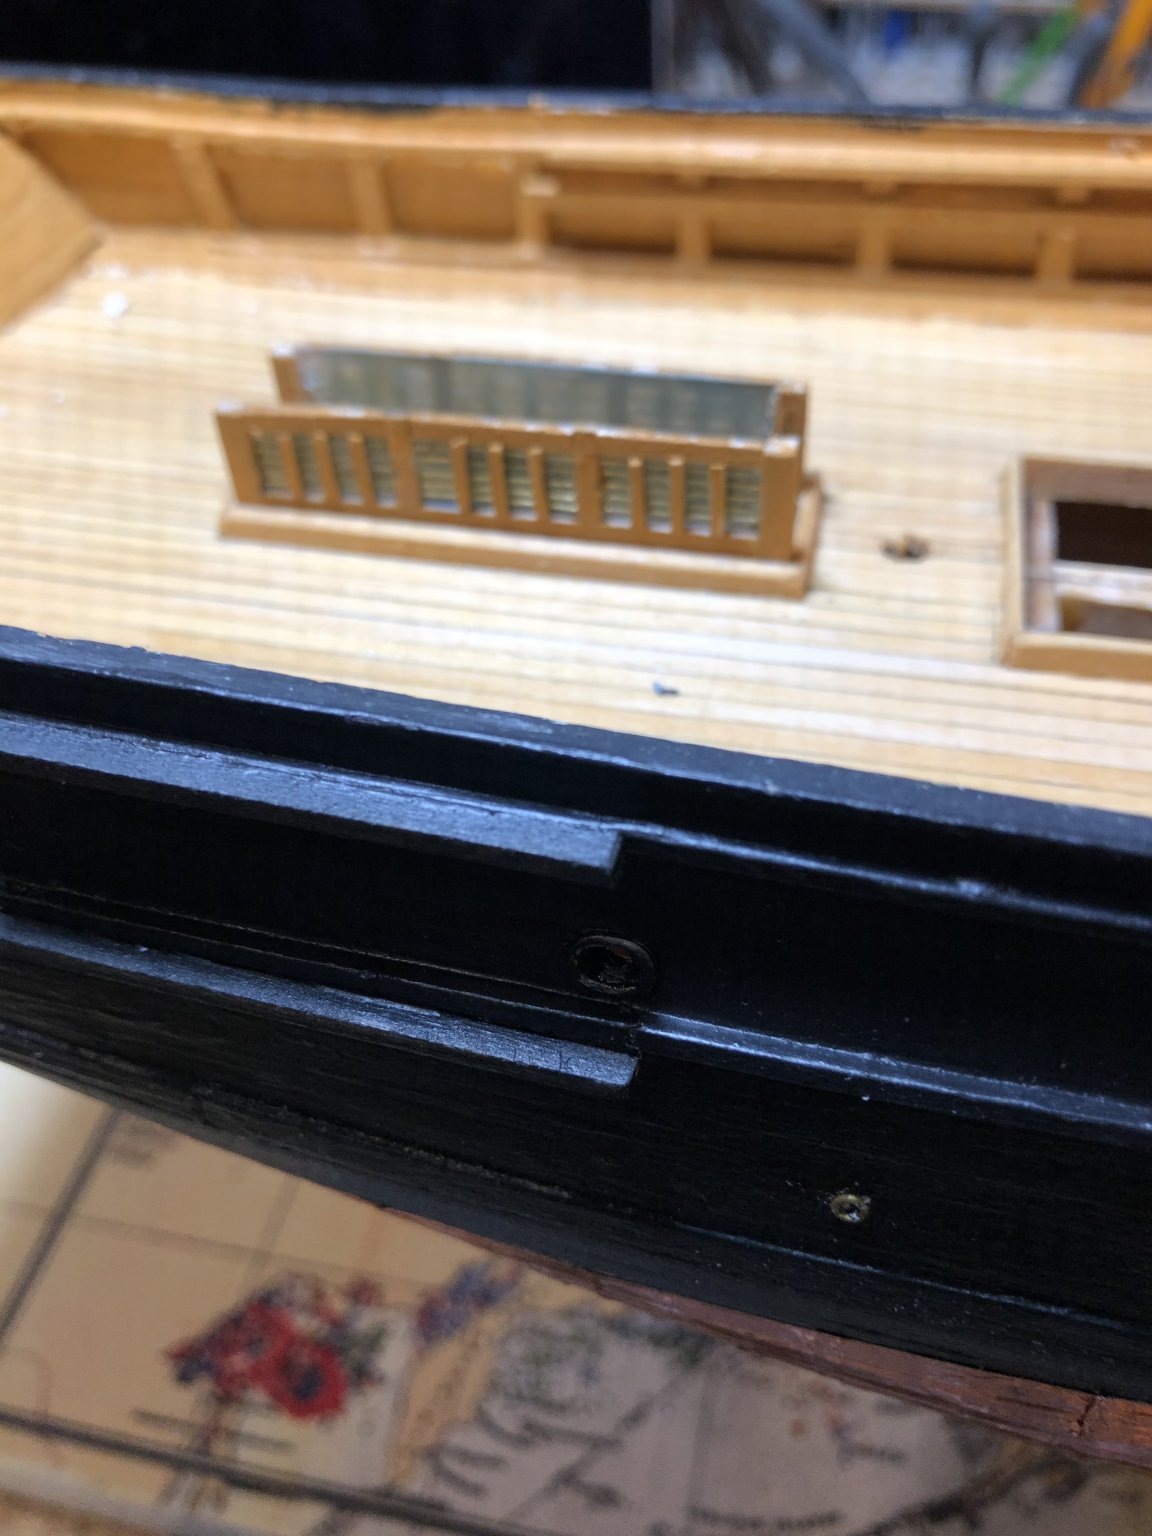
 Attempting the skylight. This is not easy. Test fitting the 2 sides
- 294 replies
-
- 5
-

-
- charles w morgan
- model shipways
- (and 1 more)
-
B-24 Liberator by ragove - FINISHED - Minicraft - 1/72 - PLASTIC
Papa replied to Papa's topic in Non-ship/categorised builds
I usually take the decal out of the water with fine tip tweezers. If it’s still on the backing i slide it off onto it’s appropriate location. Then move it as necessary with a soft paint brush. If the decal has come off the backing I still tweezer it out, gently, and put it where it belongs. Things don’t always go as planned. Some of the tiny decals get stuck to my finger or seem to become invisible. Ron Gove -
B-24 Liberator by ragove - FINISHED - Minicraft - 1/72 - PLASTIC
Papa replied to Papa's topic in Non-ship/categorised builds
I noticed that if the decal soaked long enough it did float off the backing. I failed to take advantage of that until the very end. it is contrary to the usual instructions about sliding the decal off, but I agree that it makes more sense and less likely to tear. Although several of the B24 decals just cracked into two or more pieces without being touched. “let the decal float free” is my new mantra. -
B-24 Liberator by ragove - FINISHED - Minicraft - 1/72 - PLASTIC
Papa replied to Papa's topic in Non-ship/categorised builds
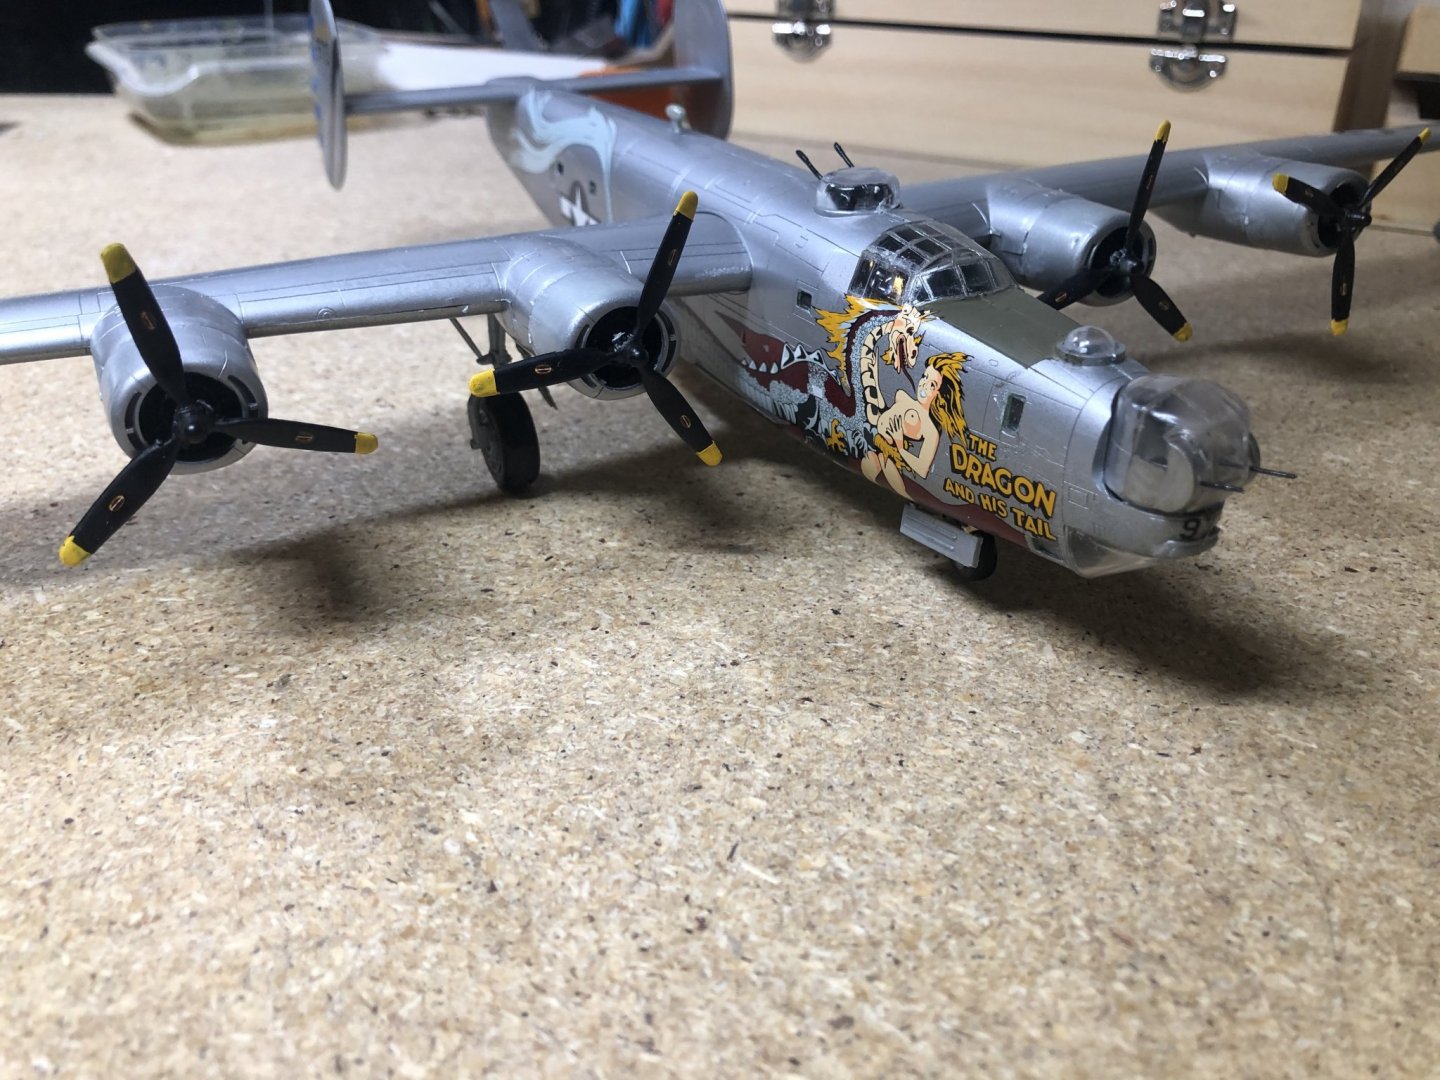
She’s finished and as I expected the decals gave me a lot of trouble. All of the larger decals split into 2 to 3 pieces before releasing from the backing. Also, the dragon decal came in several pieces that, once under the wing, didn’t match the cover art or the instructions. So a bit of license was taken here. All in all I think it’s not too bad. The left cockpit window went flying across the workshop and I have yet to find it. It initially fell into the cockpit and behind the seats. When I shook it out it went off to the lost world of bits and pieces to join its friends.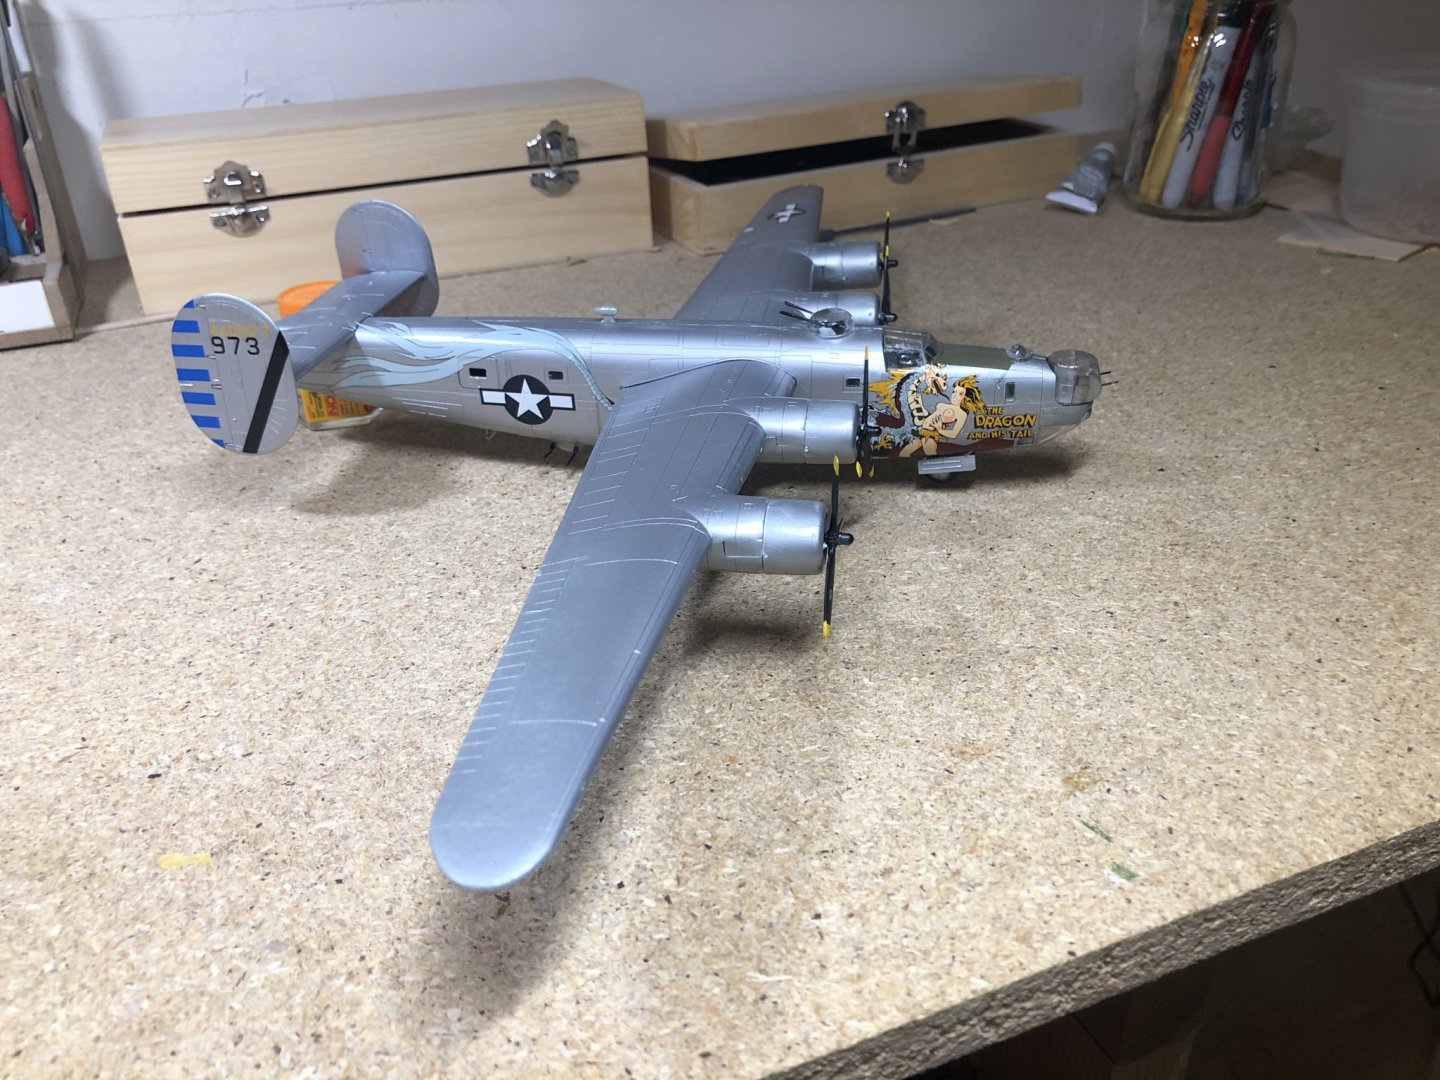
- 20 replies
-
- 10
-
-
B-24 Liberator by ragove - FINISHED - Minicraft - 1/72 - PLASTIC
Papa replied to Papa's topic in Non-ship/categorised builds
The bird must be huge at 1/48 -
B-24 Liberator by ragove - FINISHED - Minicraft - 1/72 - PLASTIC
Papa replied to Papa's topic in Non-ship/categorised builds
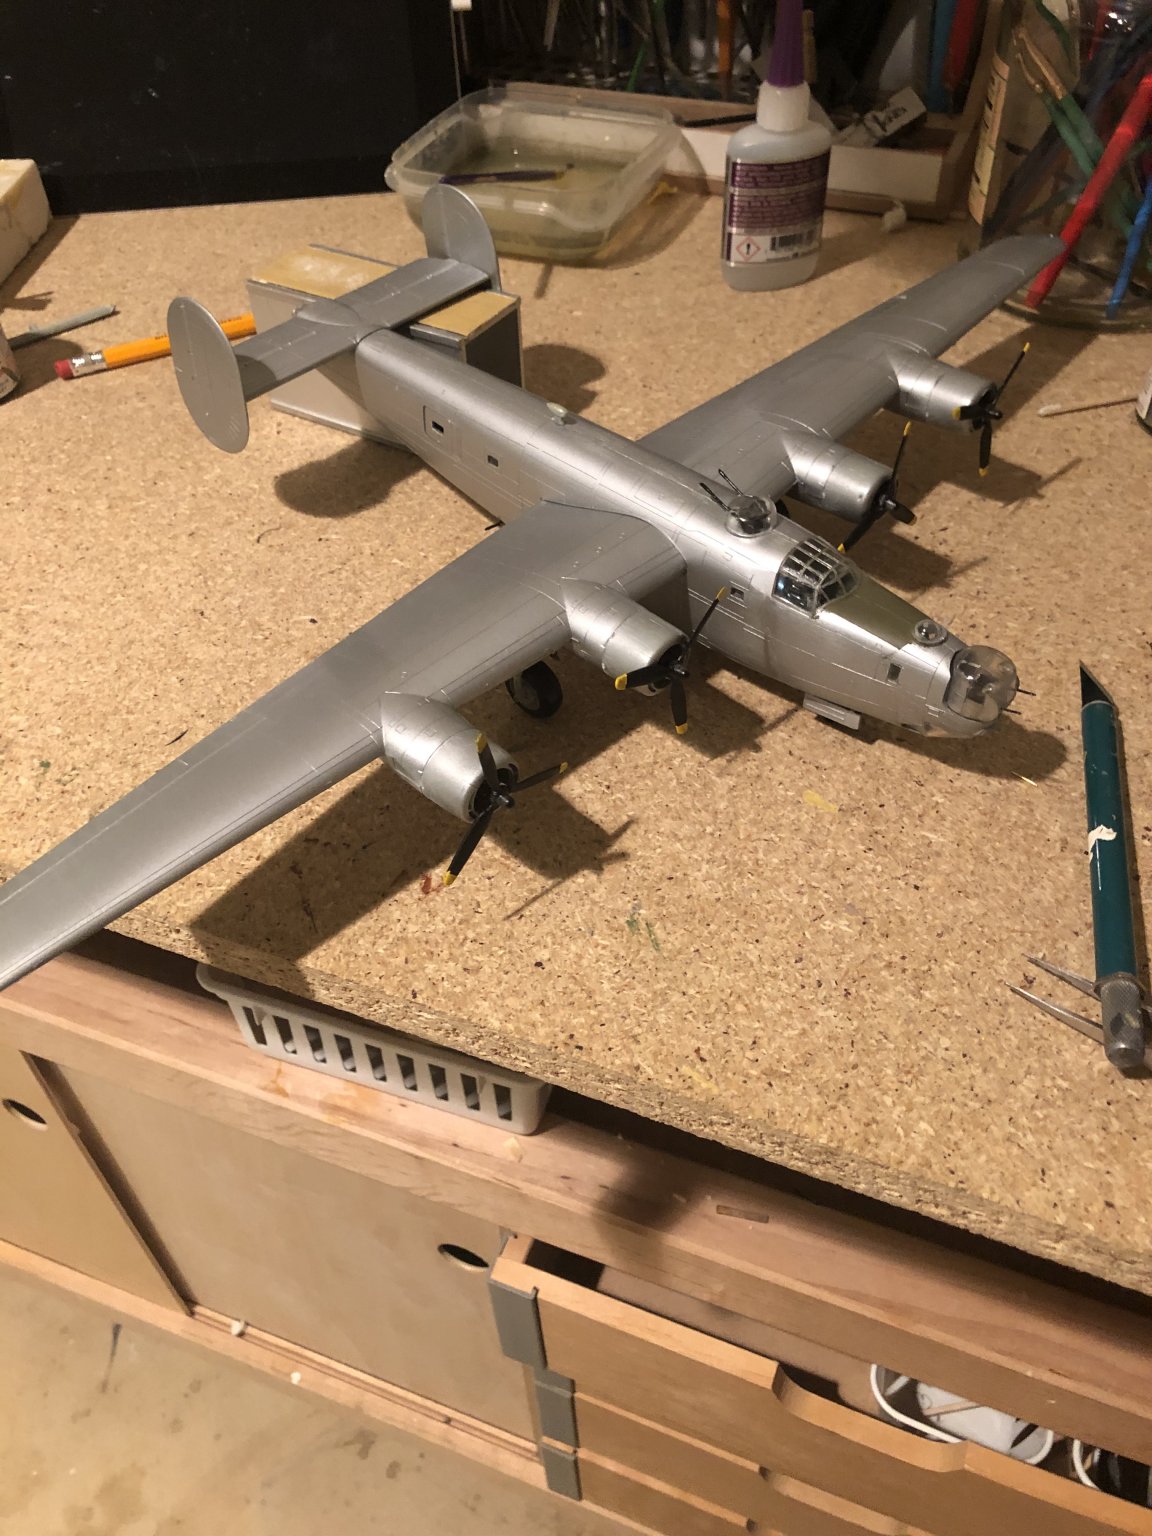
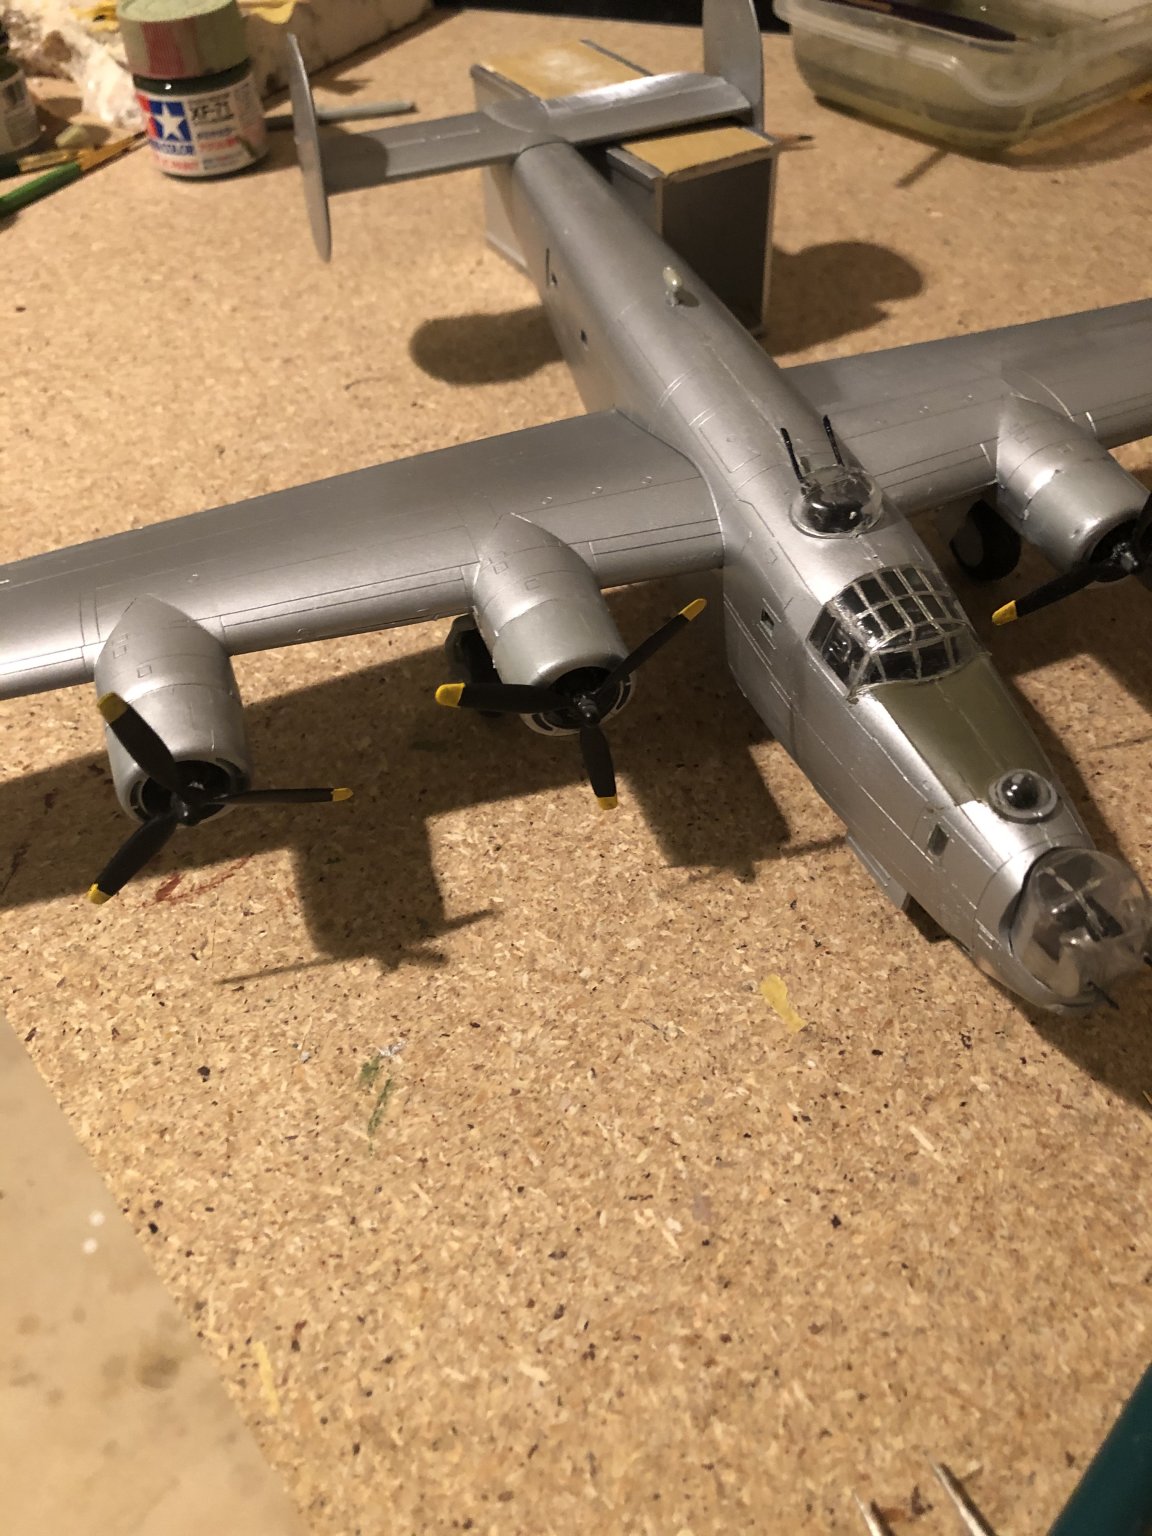
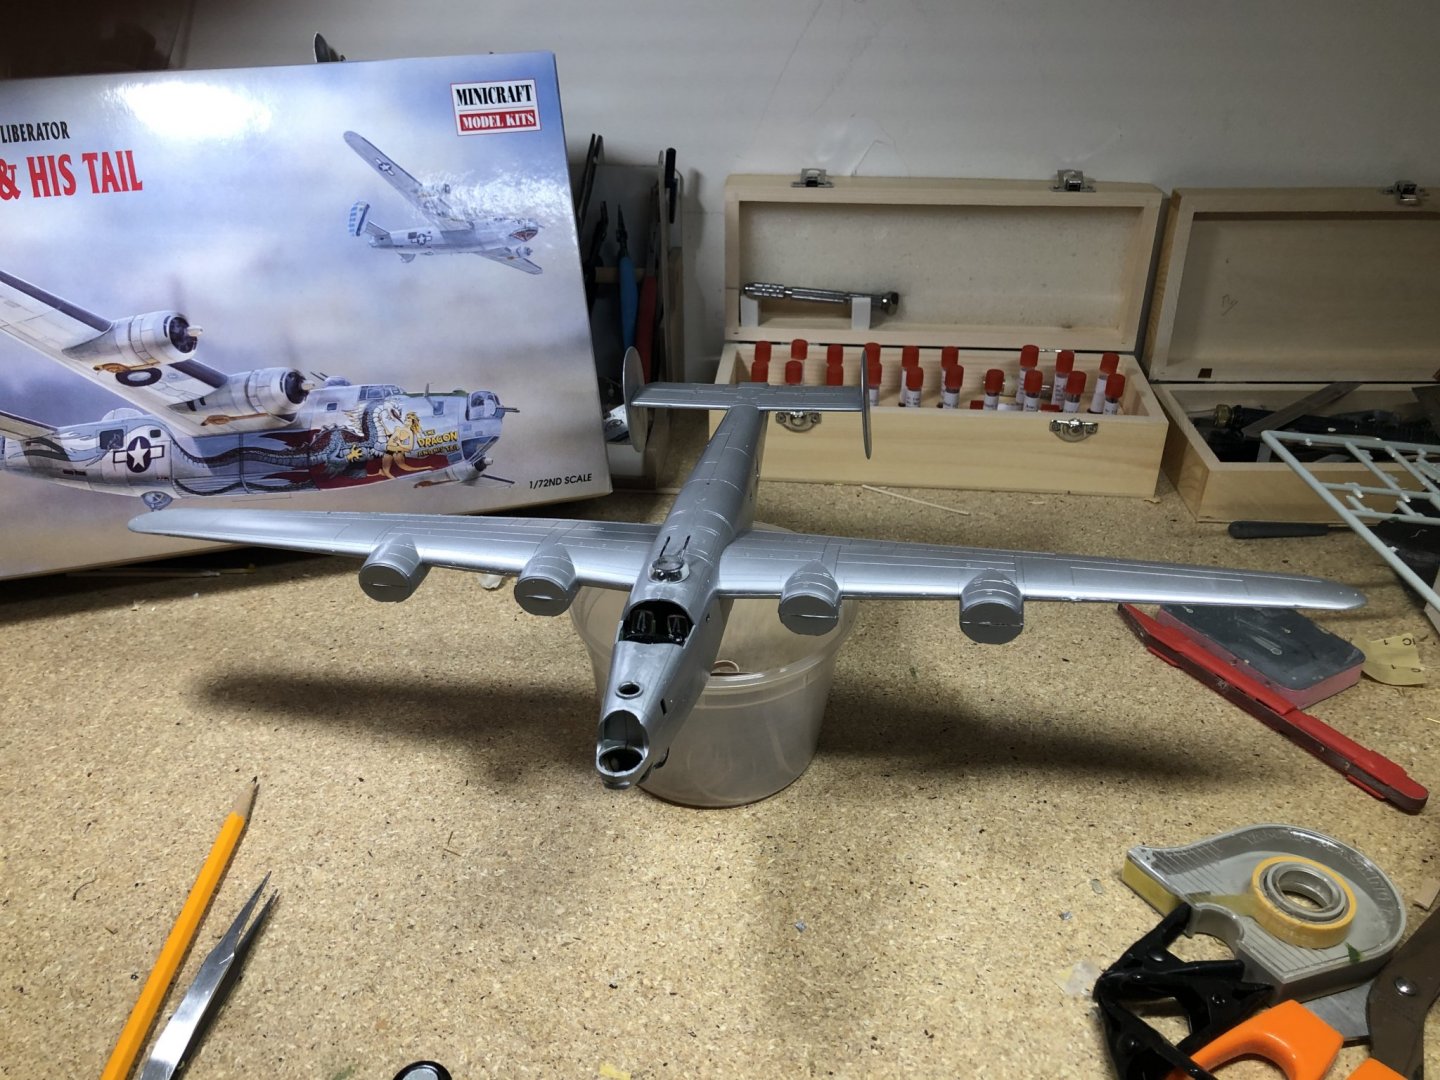
About ready to add decals. I could find anything small enough and heavy enough to hold the nose wheel down. I will have to put the dragon on a base and glue her down.

-
B-24 Liberator by ragove - FINISHED - Minicraft - 1/72 - PLASTIC
Papa replied to Papa's topic in Non-ship/categorised builds
Thanks. It was just a rattle can spray, Tamiya Bare Metal Silver -
I’ve been working on this off and on for a while and finally decided to post some progress photos. It’s an older kit and has a lot of flash. I had a great deal of difficulty getting the bombs to stay on the rack and finally gave up and used the closed bomb bay doors option. I also decided not to obsess over the seams. I am just trying to keep this an enjoyable break from ships.

- 20 replies
-
- 13
-
-
Nice build. Did the kit supply the crew figures? They really make the model jump out at you.
-
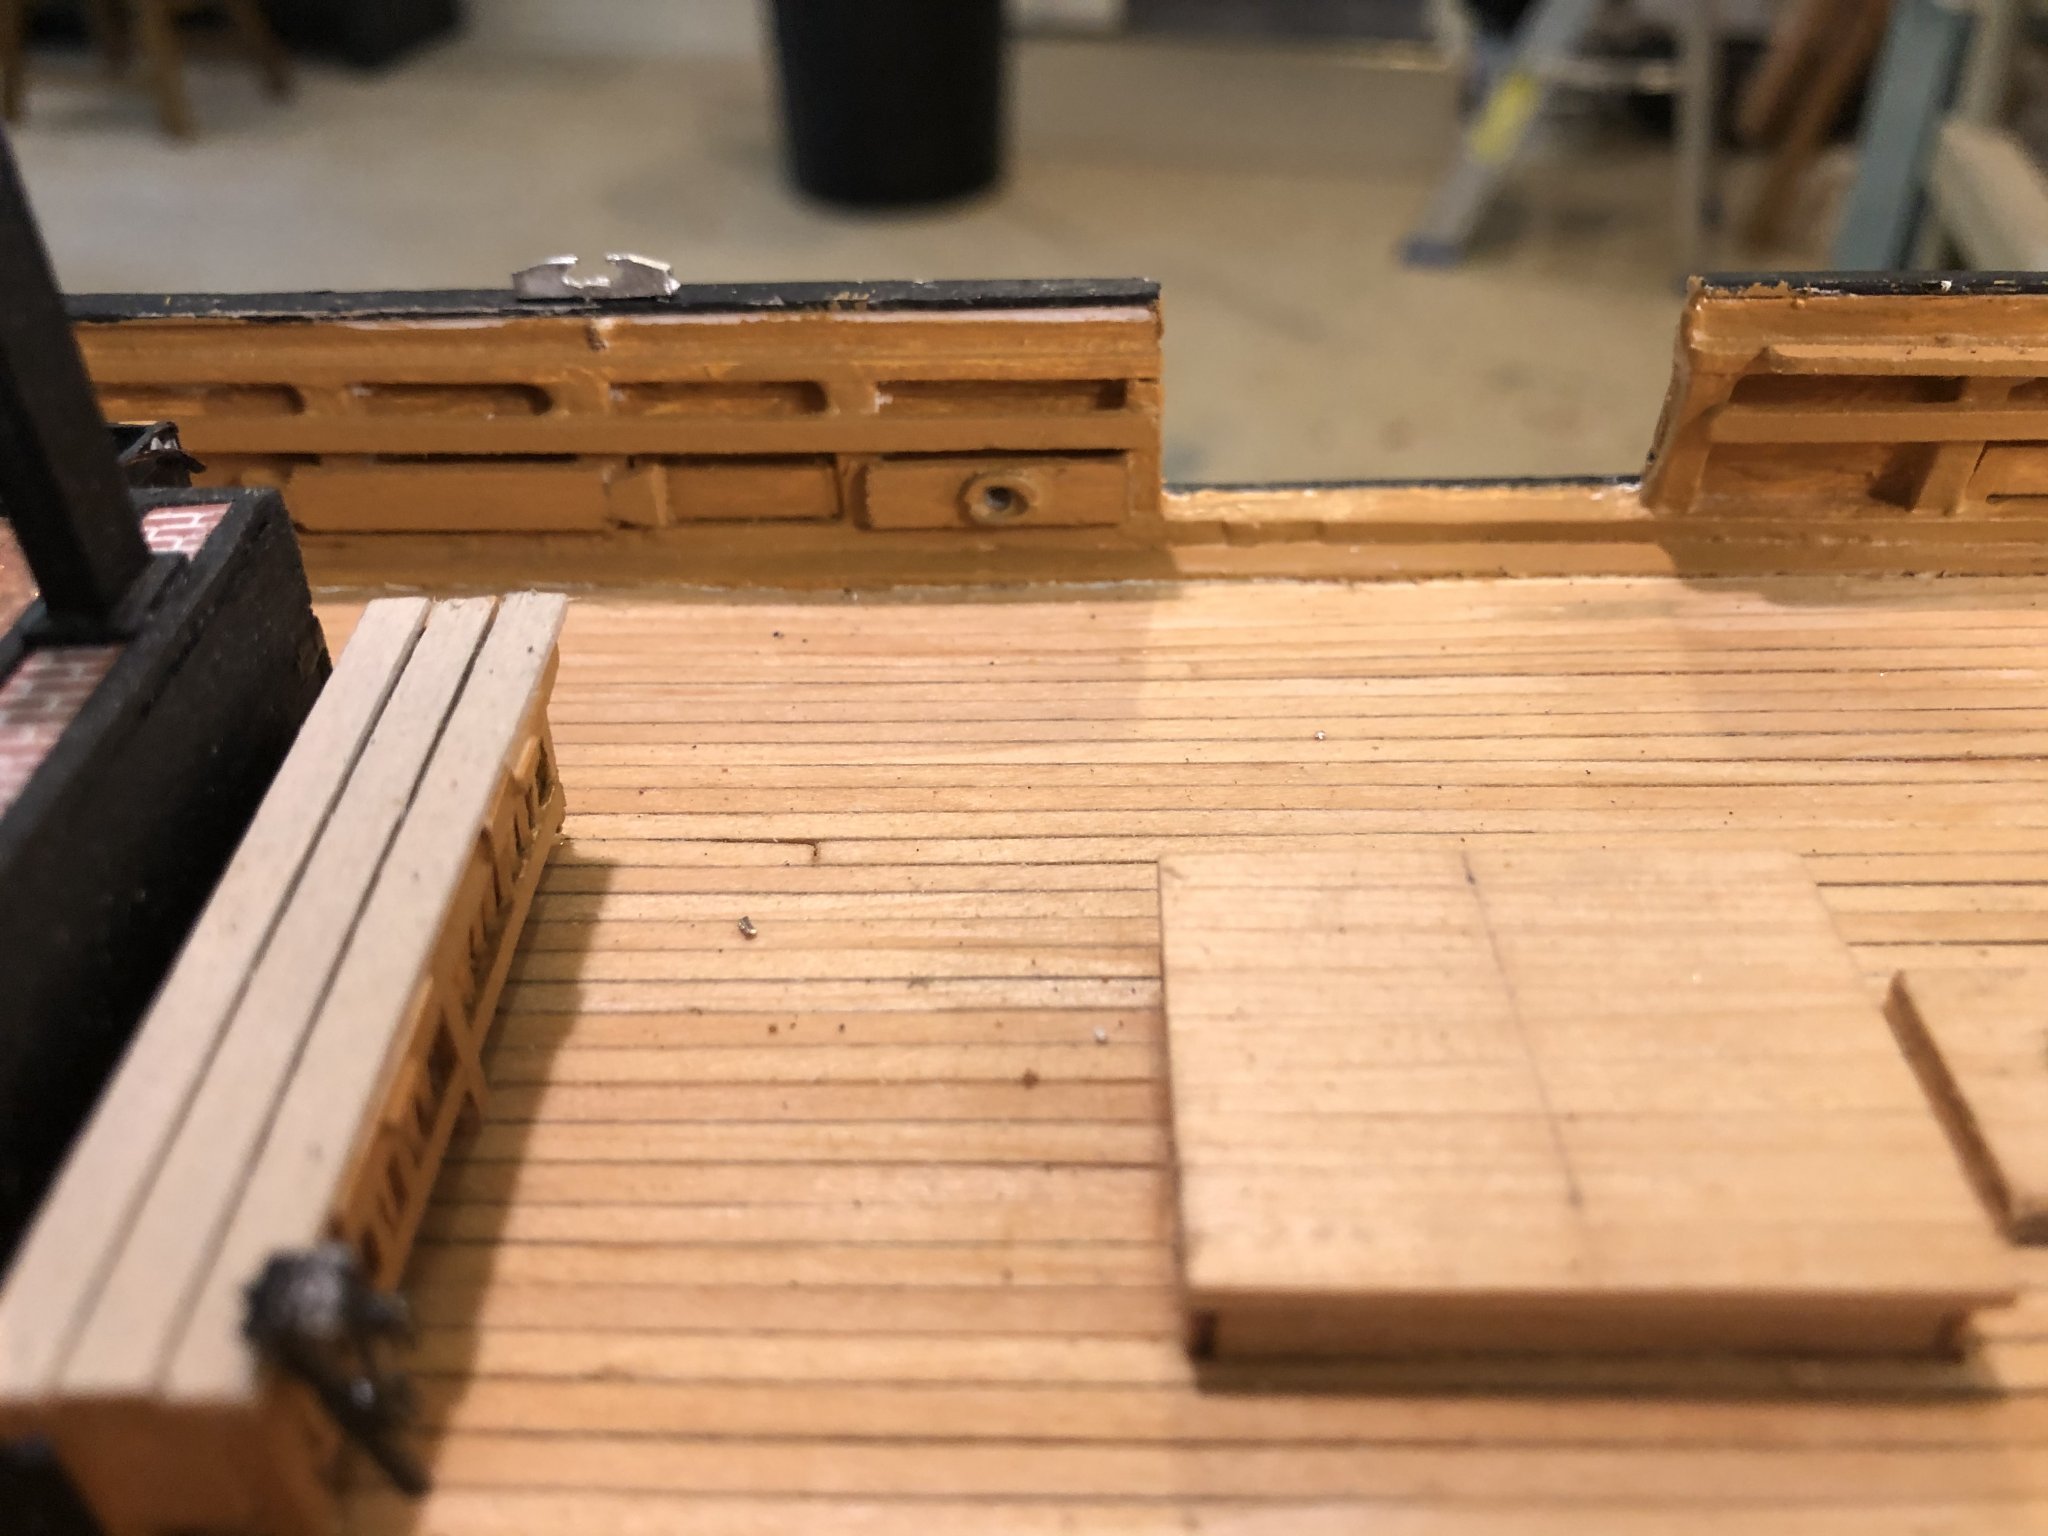
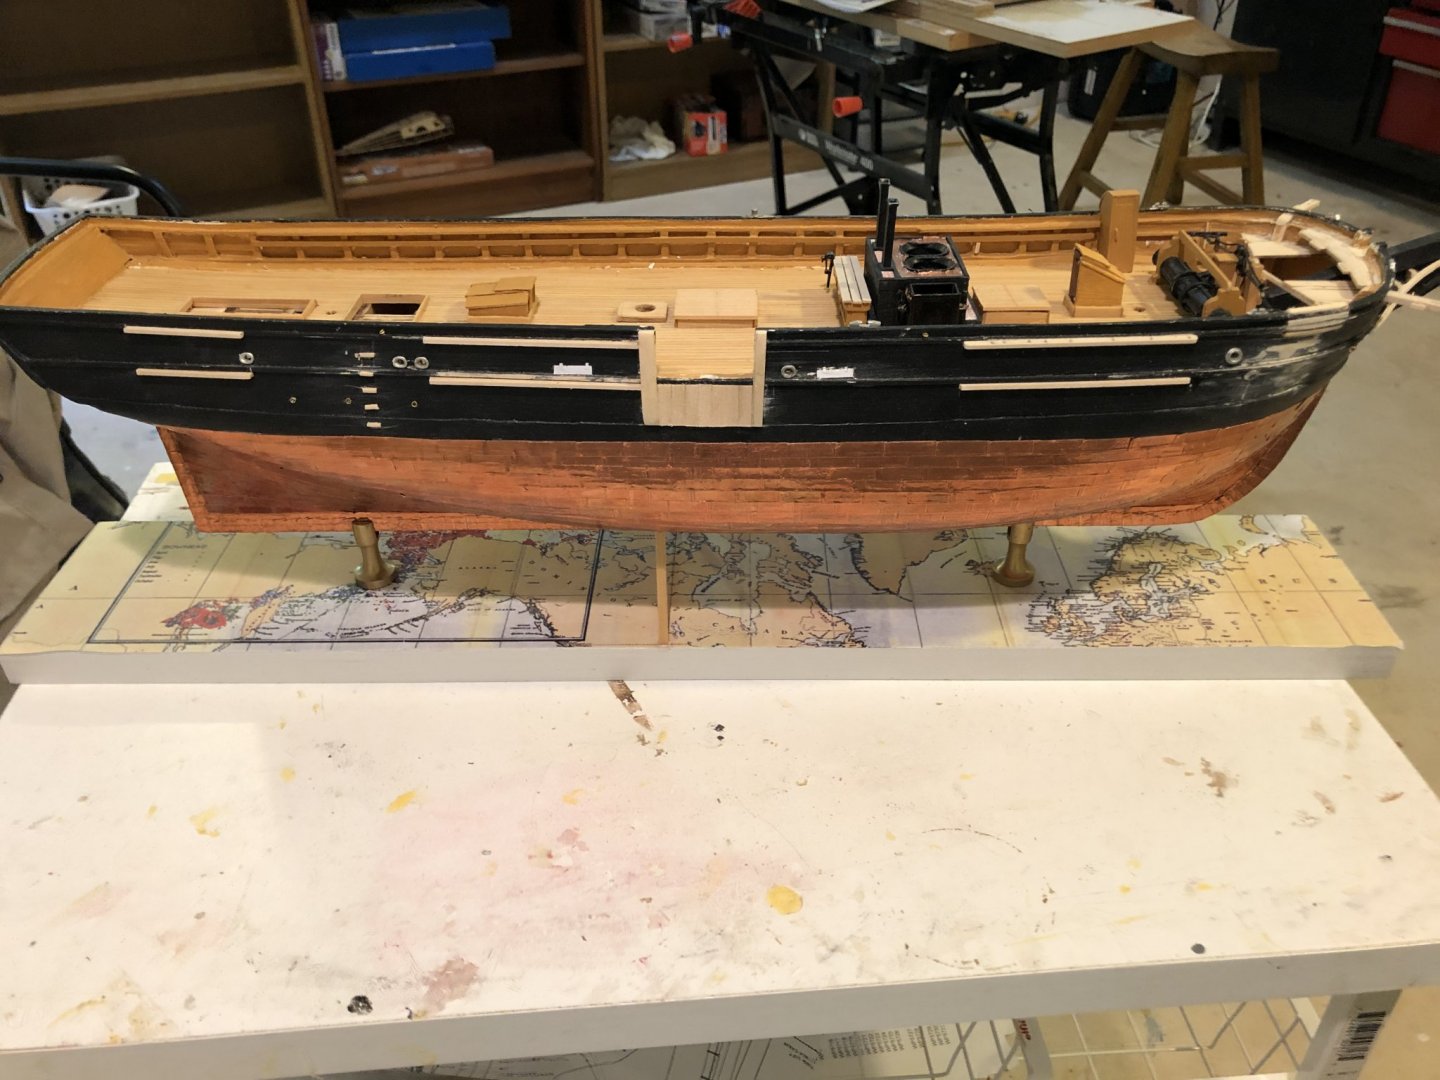
After drilling holes for the shrouds in the first channel I decided it would be better to wait until I was rigging to ensure the holes end up in the correct locations. All the davits and such will go in much later in the build or I will surely break them off. Starboard is in good shape, and the channels are installed on the port side also. I think I’ll go back to finishing the deck furnishings next.
- 294 replies
-
- 6
-
-
- charles w morgan
- model shipways
- (and 1 more)
-
I’m afraid if I do the boat davits too early I will break them off😬 I will probably wait until much later. Maybe after rigging the lower masts
- 294 replies
-
- 1
-
-
- charles w morgan
- model shipways
- (and 1 more)
-
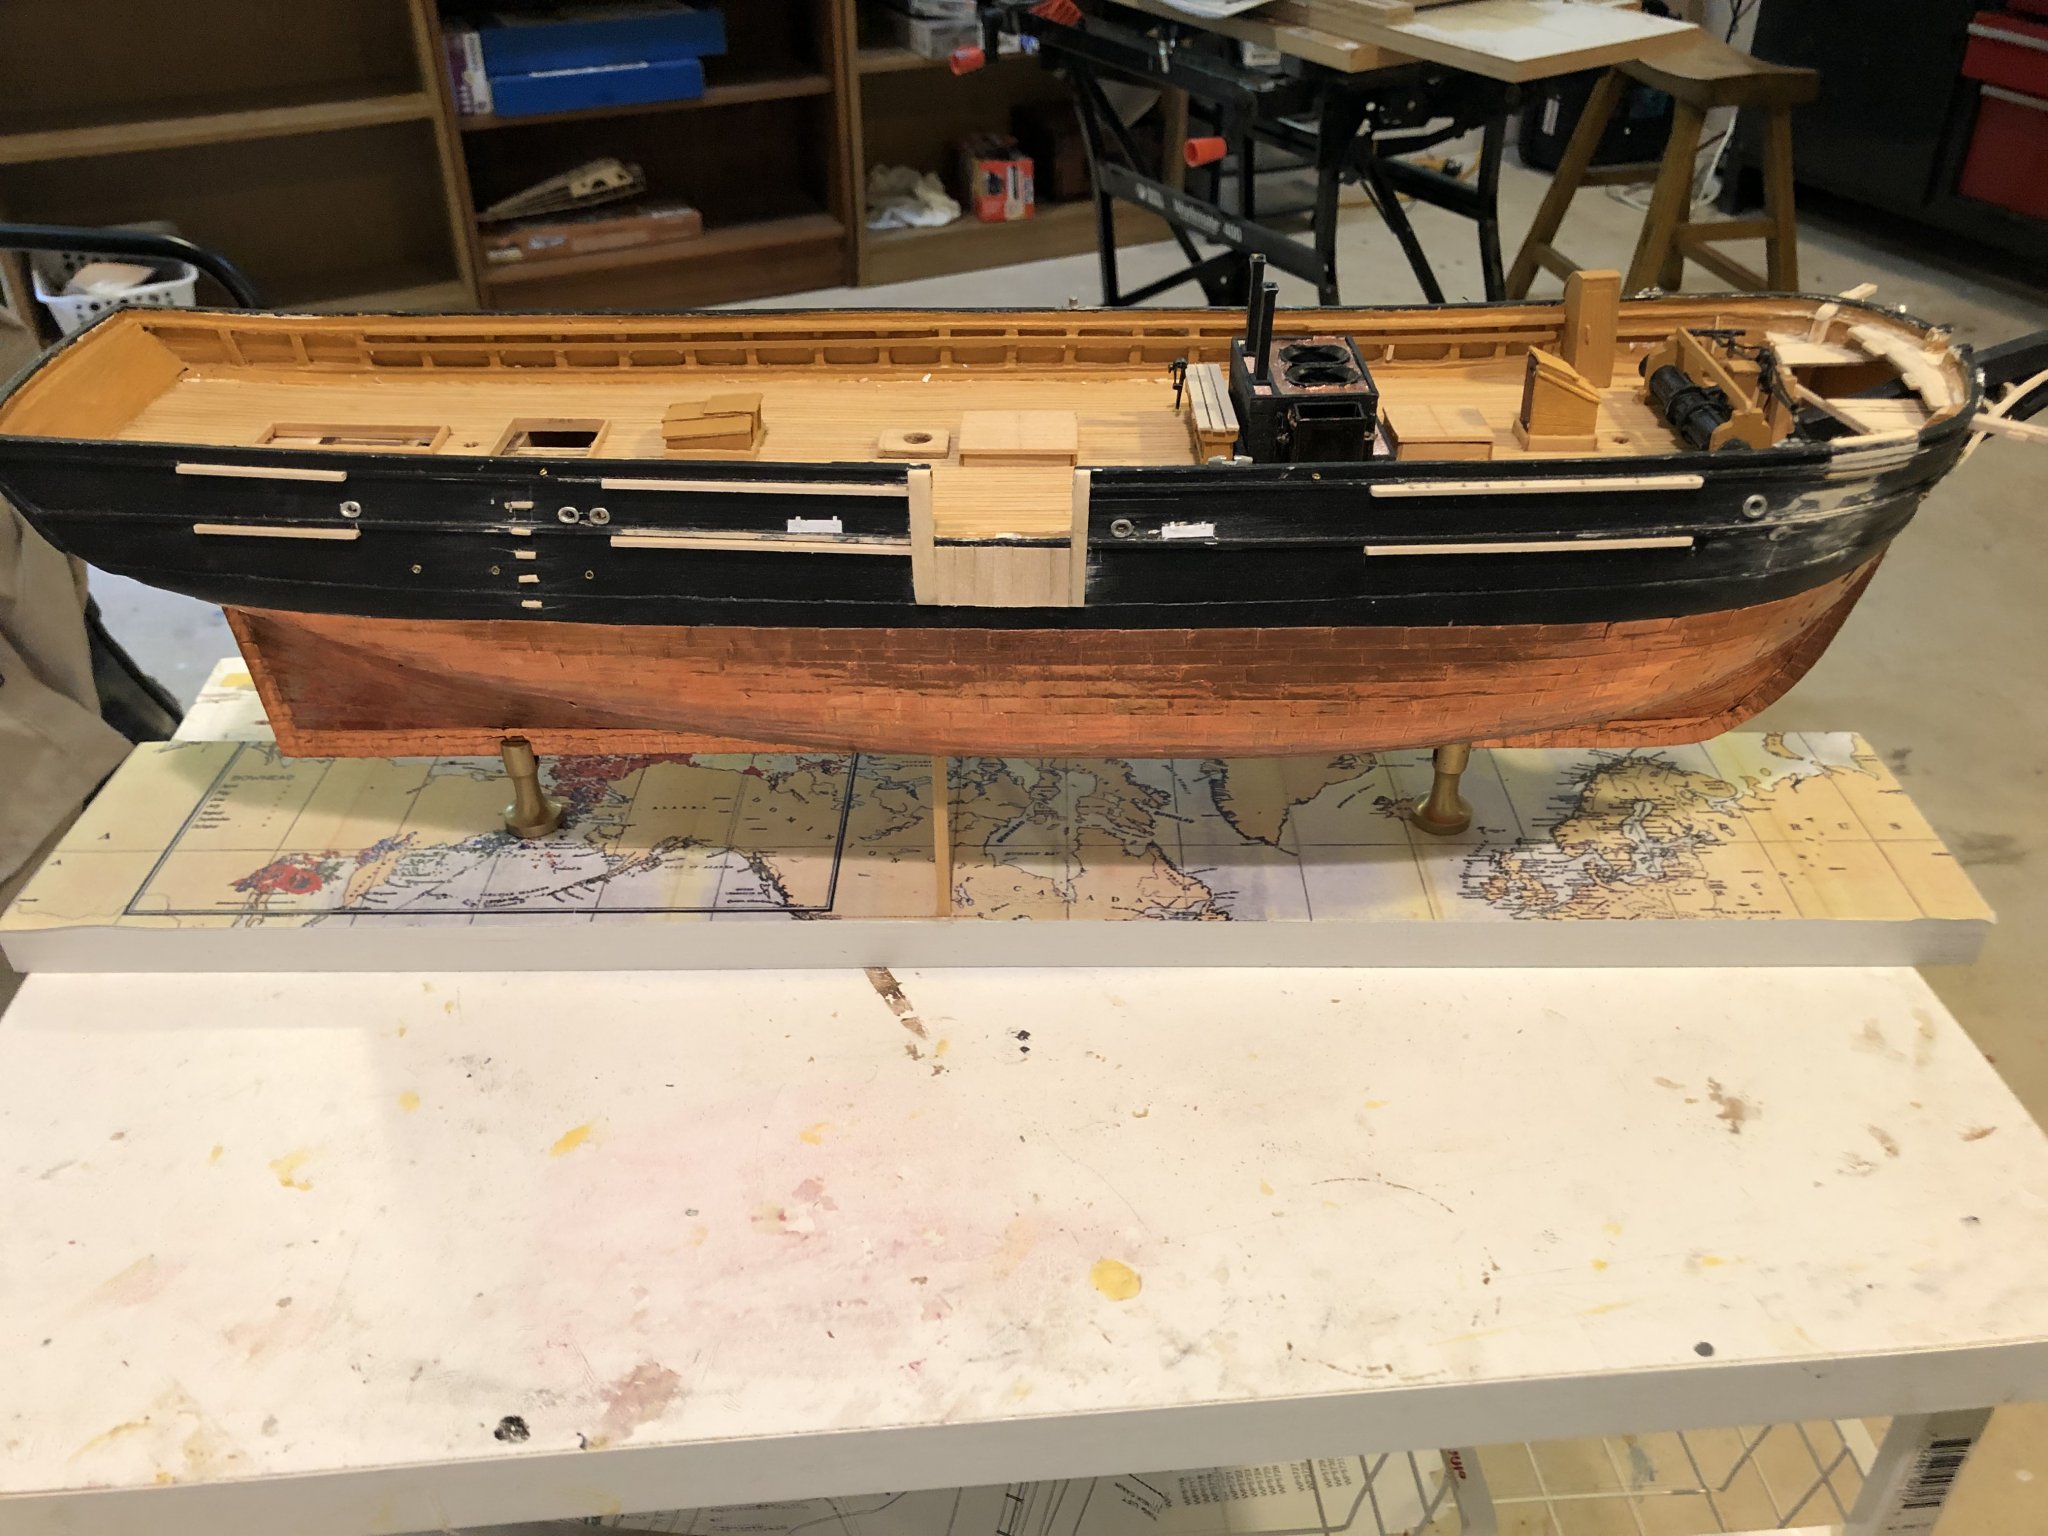
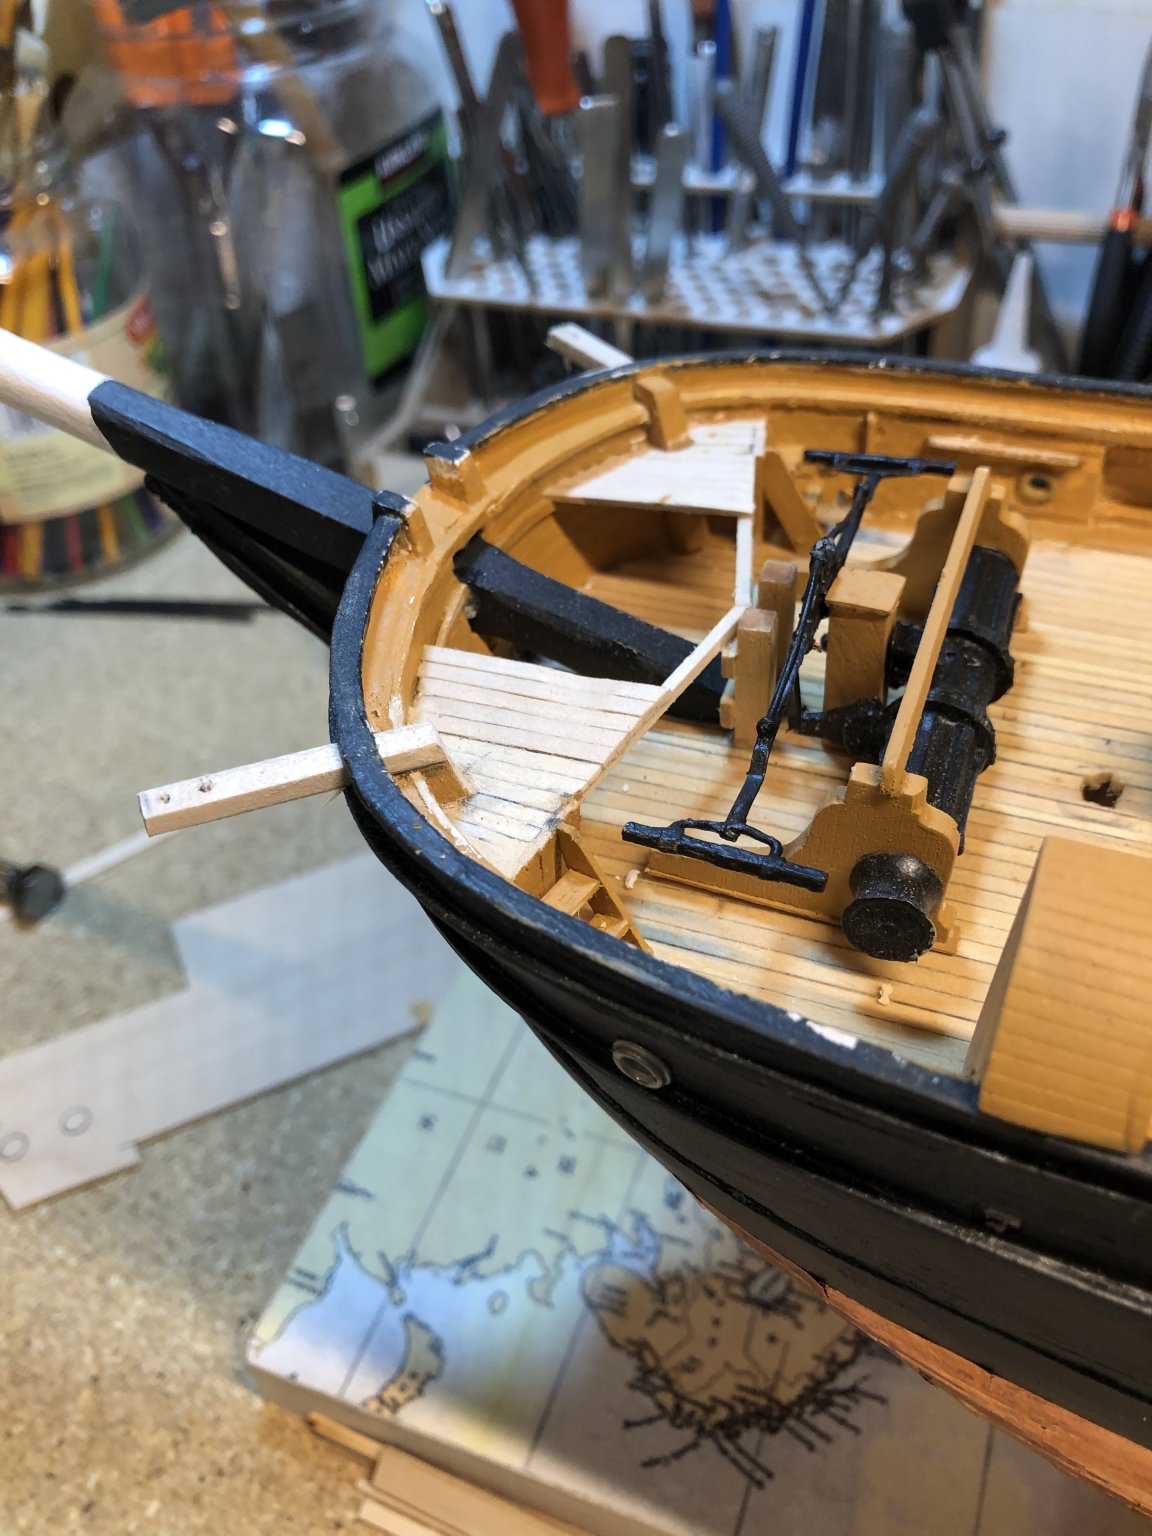
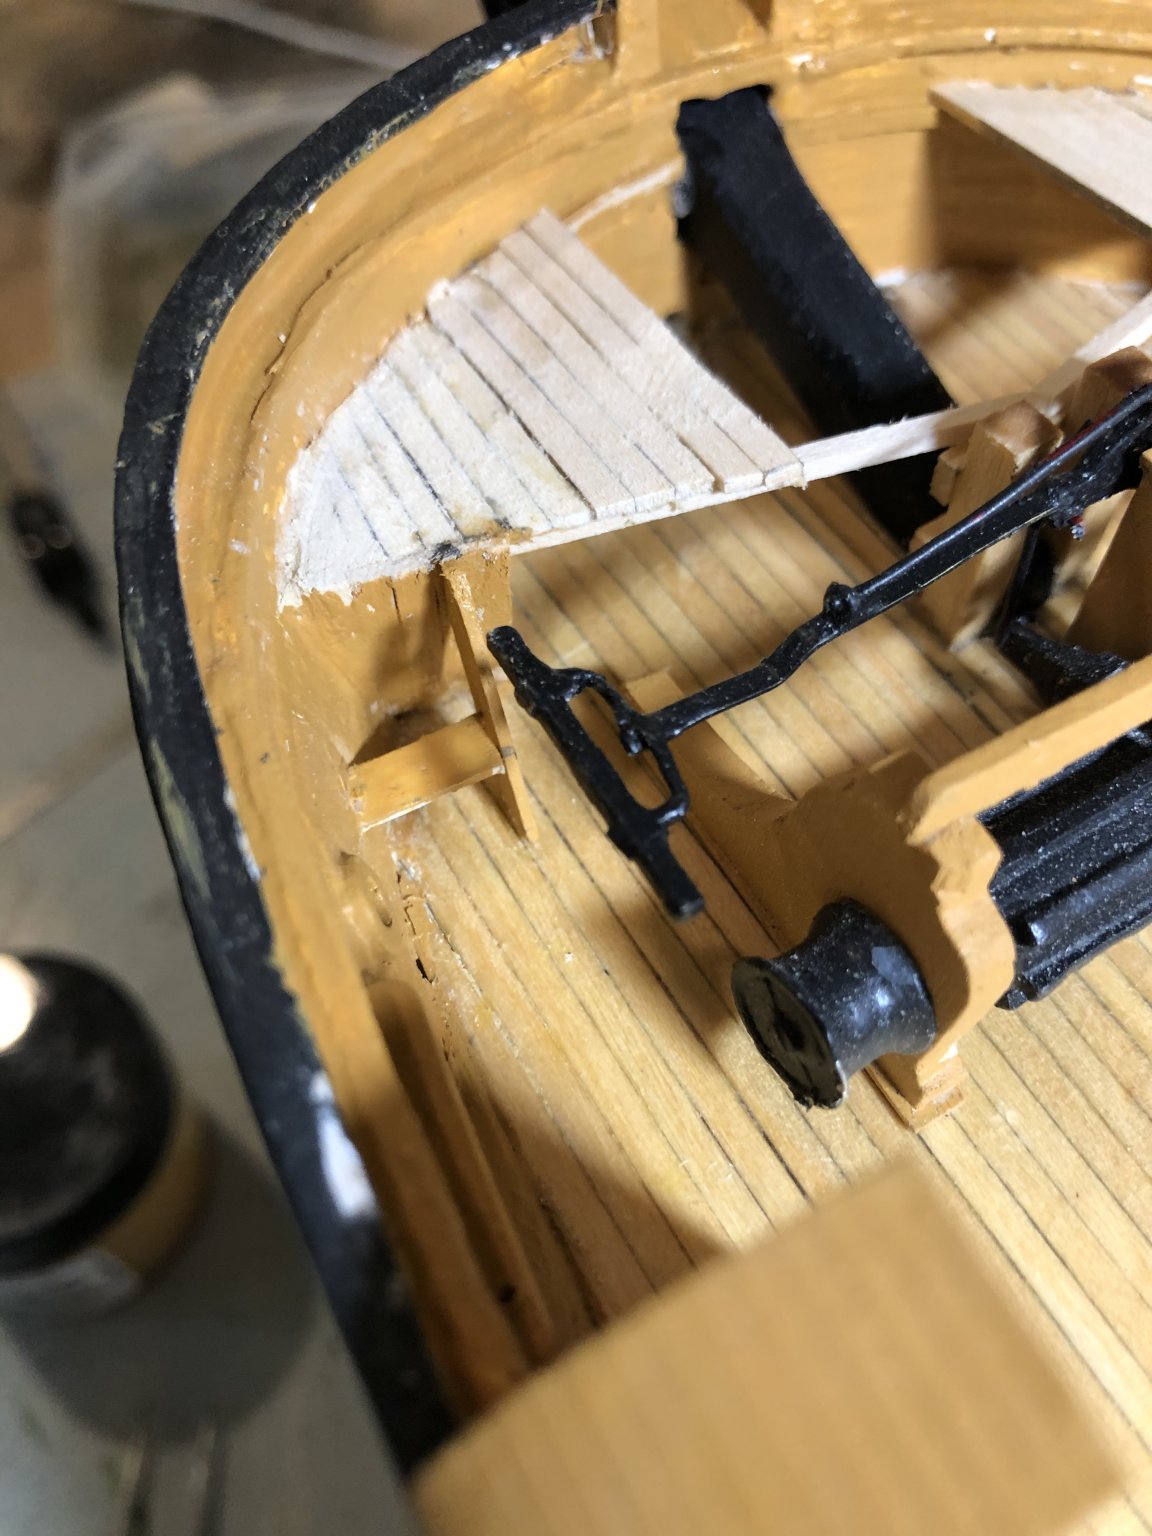
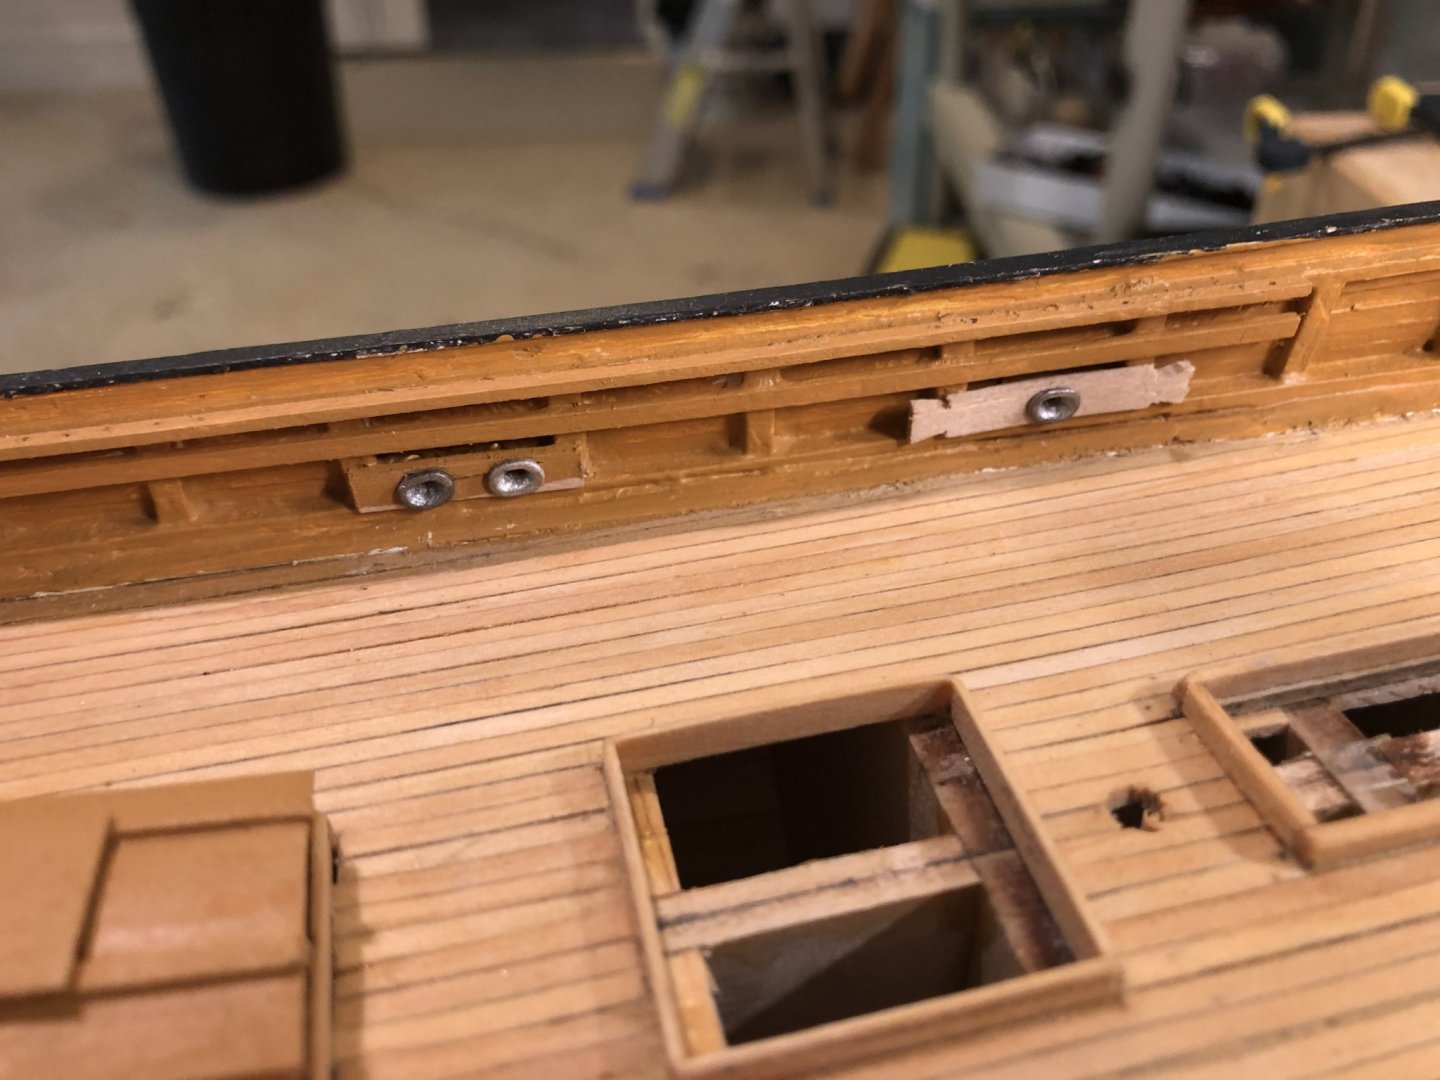
I am working on adding hull details, starting at the bow and moving aft trying to locate all the rails, cleats,chocks, sheaves, channels, etc


- 294 replies
-
- 5
-
-
- charles w morgan
- model shipways
- (and 1 more)
-
I got the catheads in place. Now I am going along each side of the ship to add all the cleats, sheaves, chocks, ports, etc. before finishing the deckhouses and the like. Hopefully I will find them all and not have to add something impossible to reach in the middle of rigging.

- 294 replies
-
- 5
-
-
- charles w morgan
- model shipways
- (and 1 more)
-
Looking at the splotchy paint. Why can’t chemists develop a yellow paint that covers well. Any kind of yellow shade from house paint to model paint needs 4-5 coats to cover tolerably well😬
- 294 replies
-
- 1
-
-
- charles w morgan
- model shipways
- (and 1 more)
-
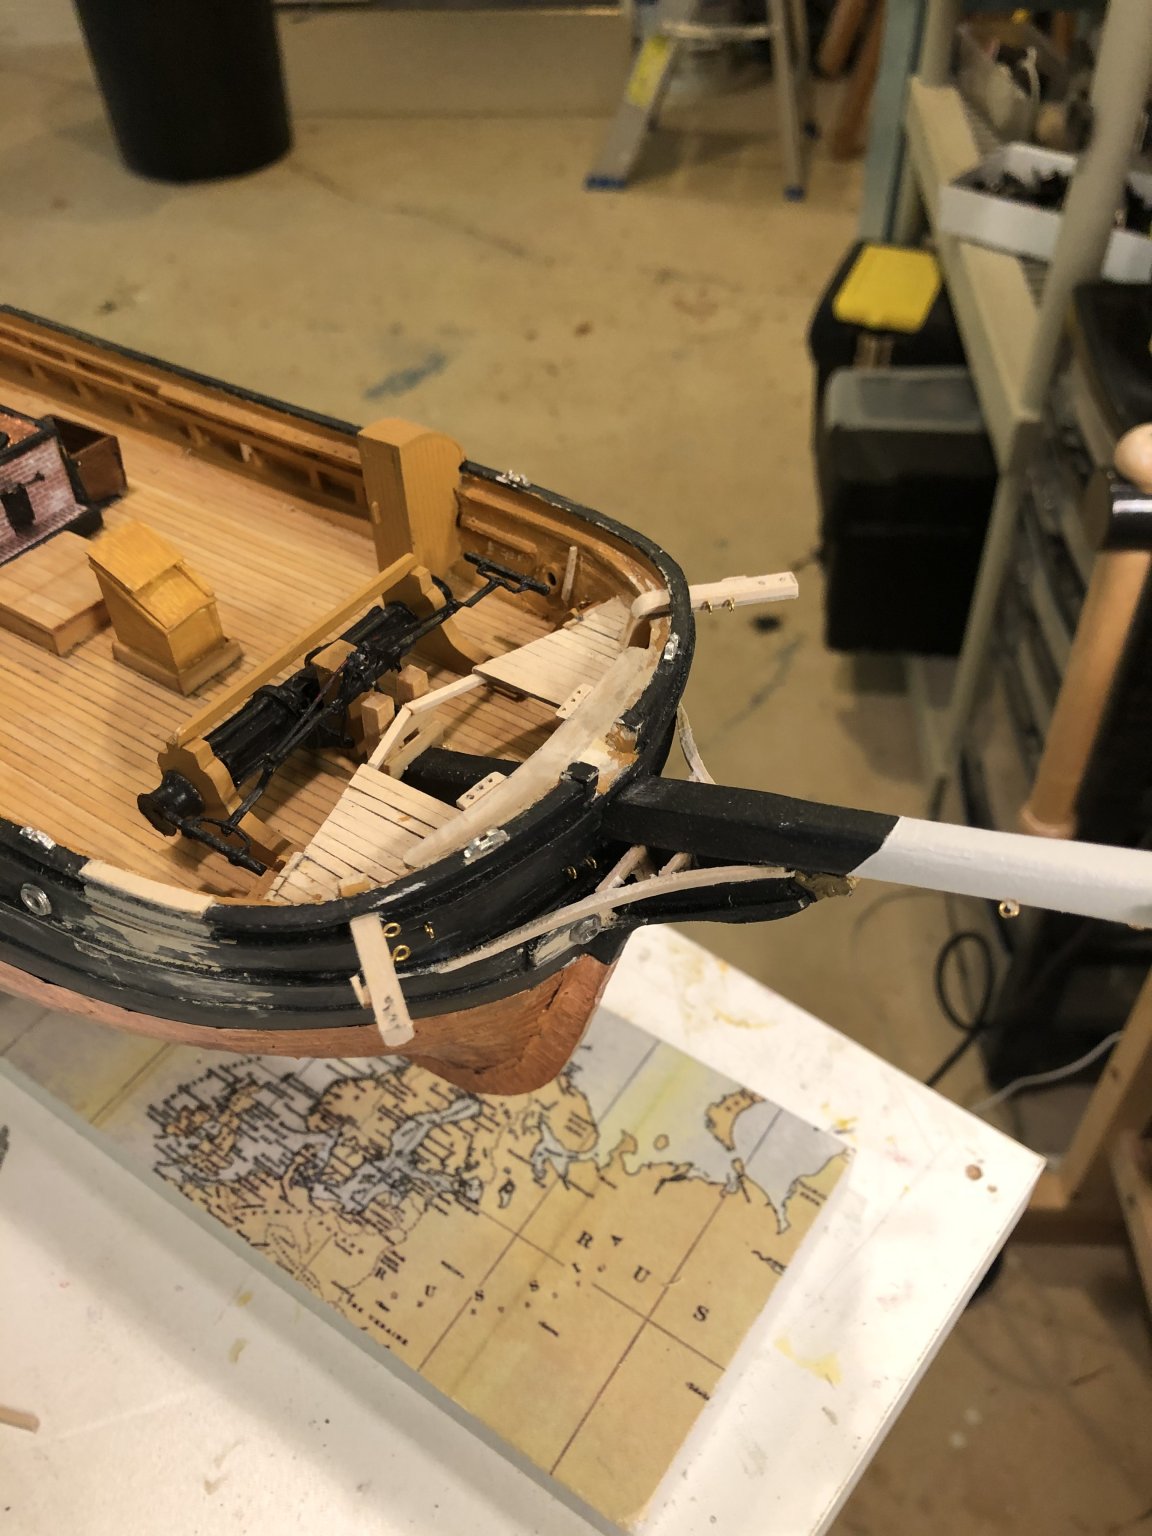
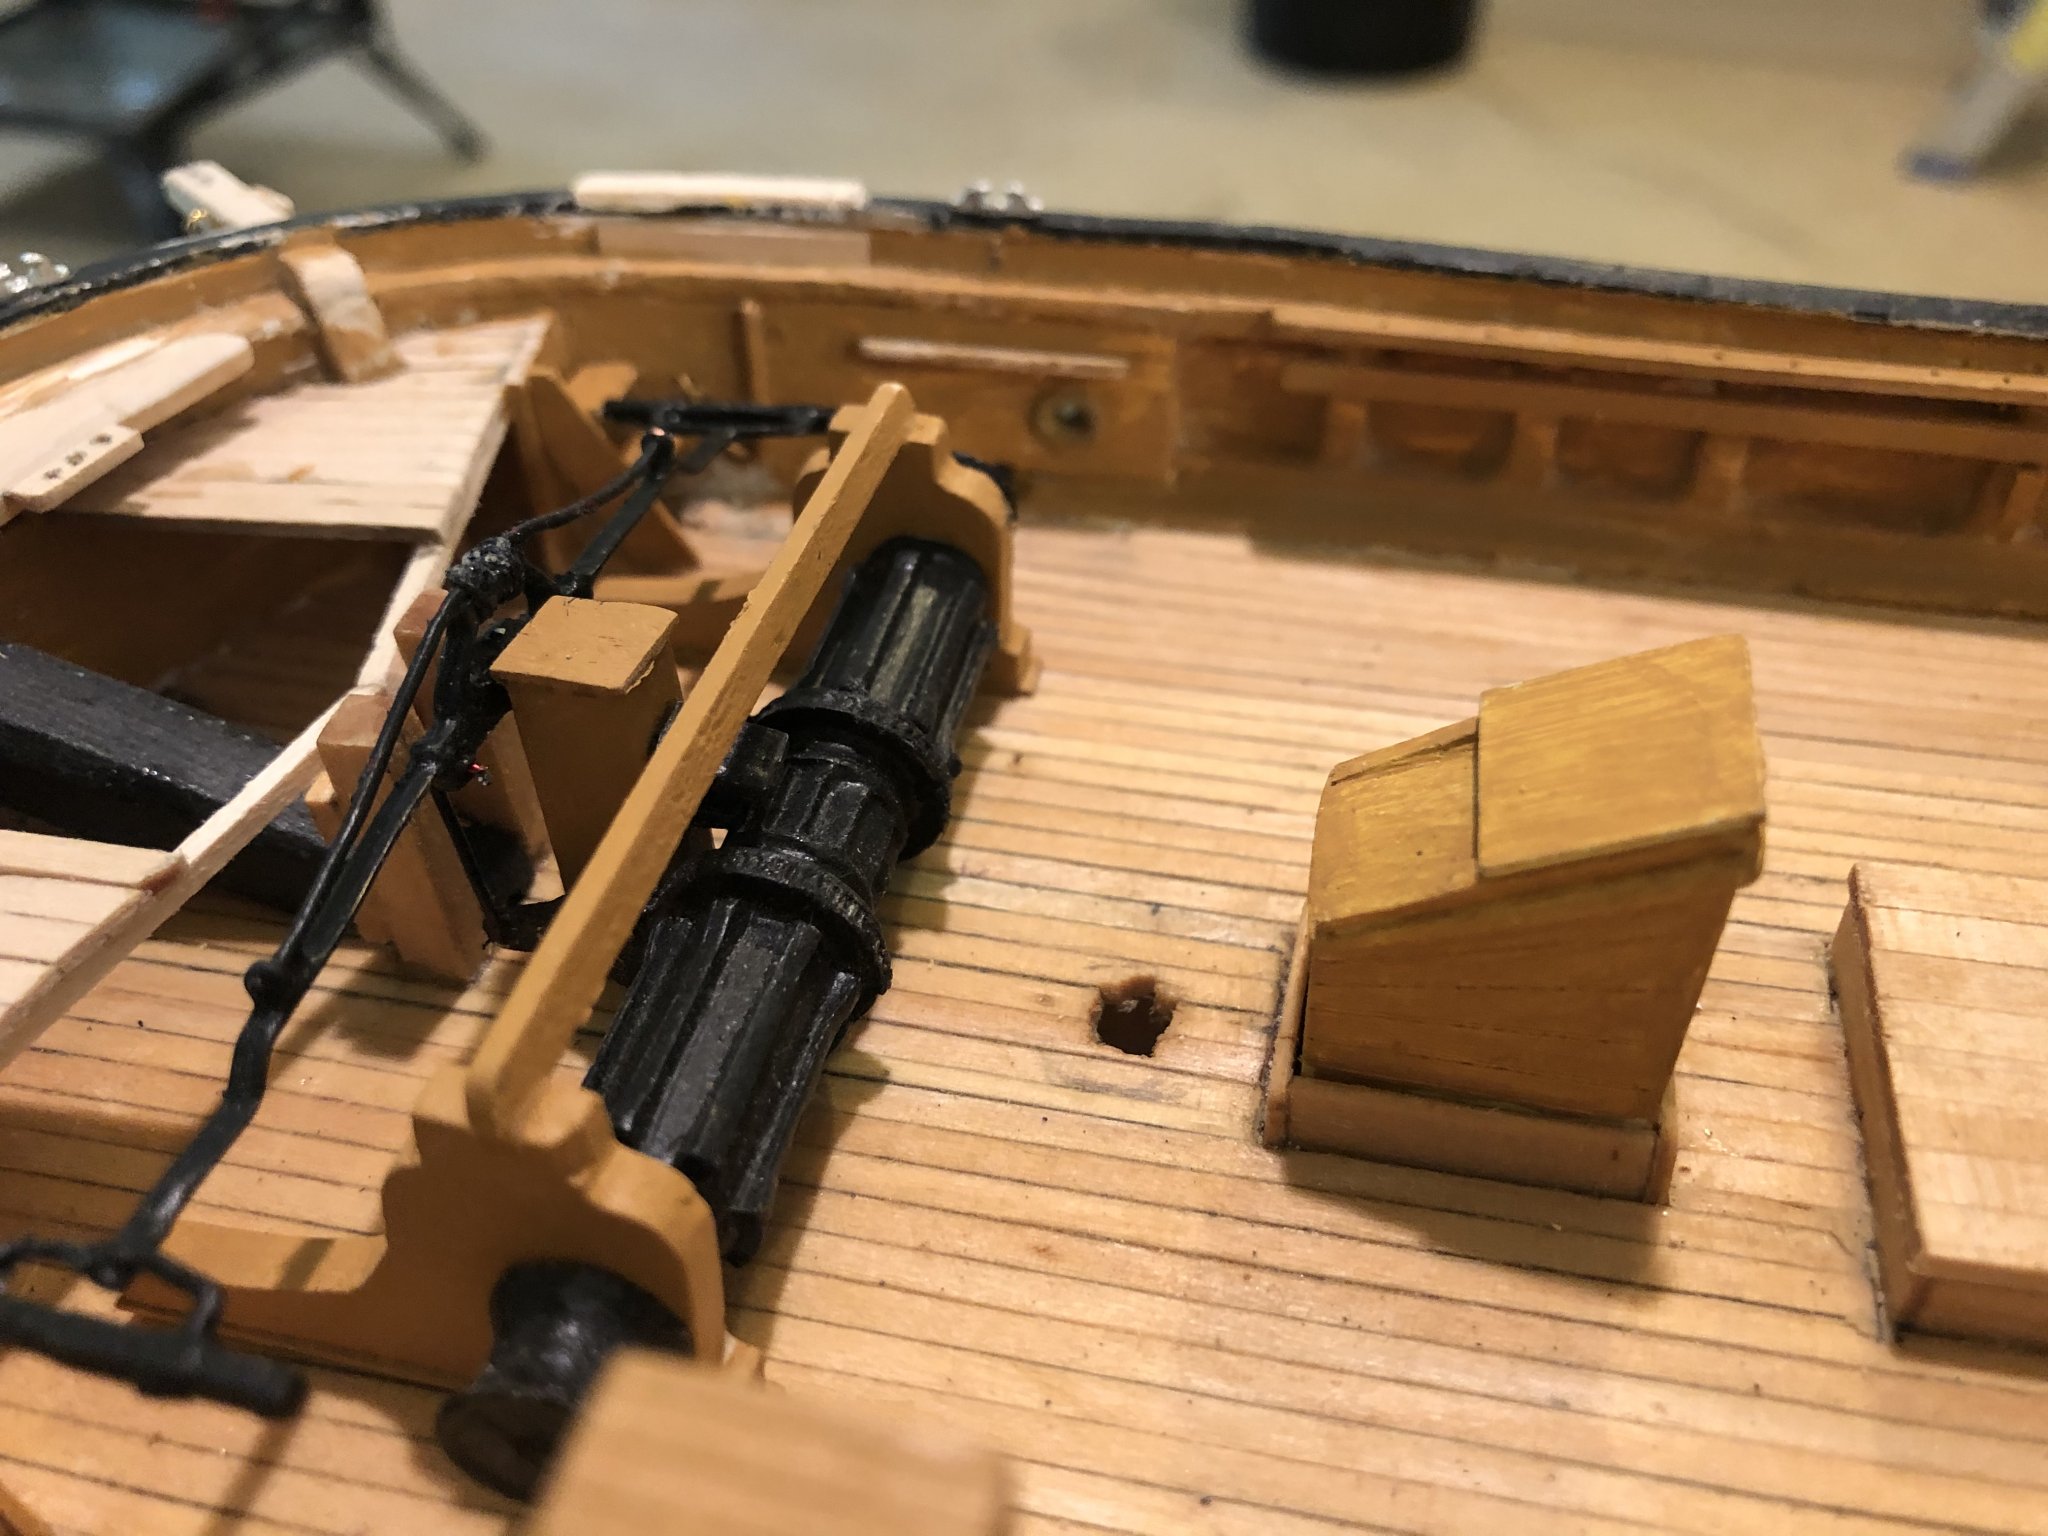
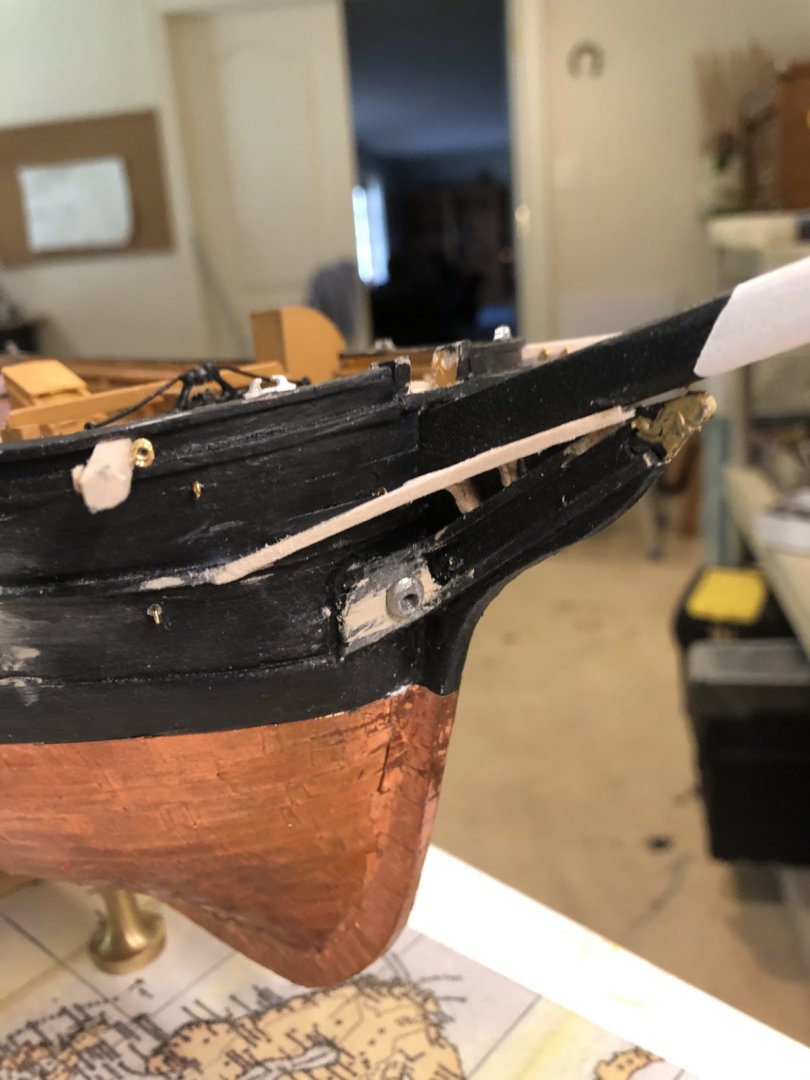
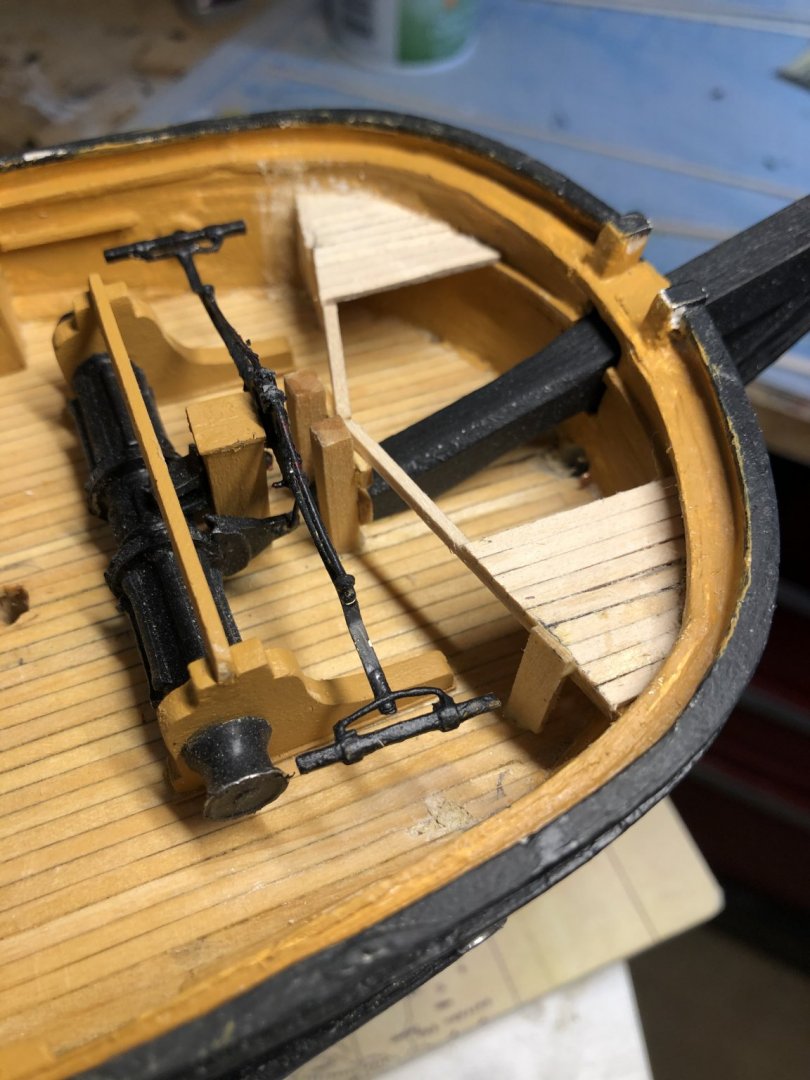
“the lower end of the stays and coil them up for rigging later. Just be sure to accurately place the eyelets and leave more than enough rigging. Here is what I did on the anchor deck. “ I thought about doing that but in then end figured this would work best. Being a worrier I’d have left about a yard of extra line to get in the way. i started the steps to the anchor deck. And once again realized that I should have waited to install the windlass until after the bow work was completed. 😬

- 294 replies
-
- 5
-
-
- charles w morgan
- model shipways
- (and 1 more)
-
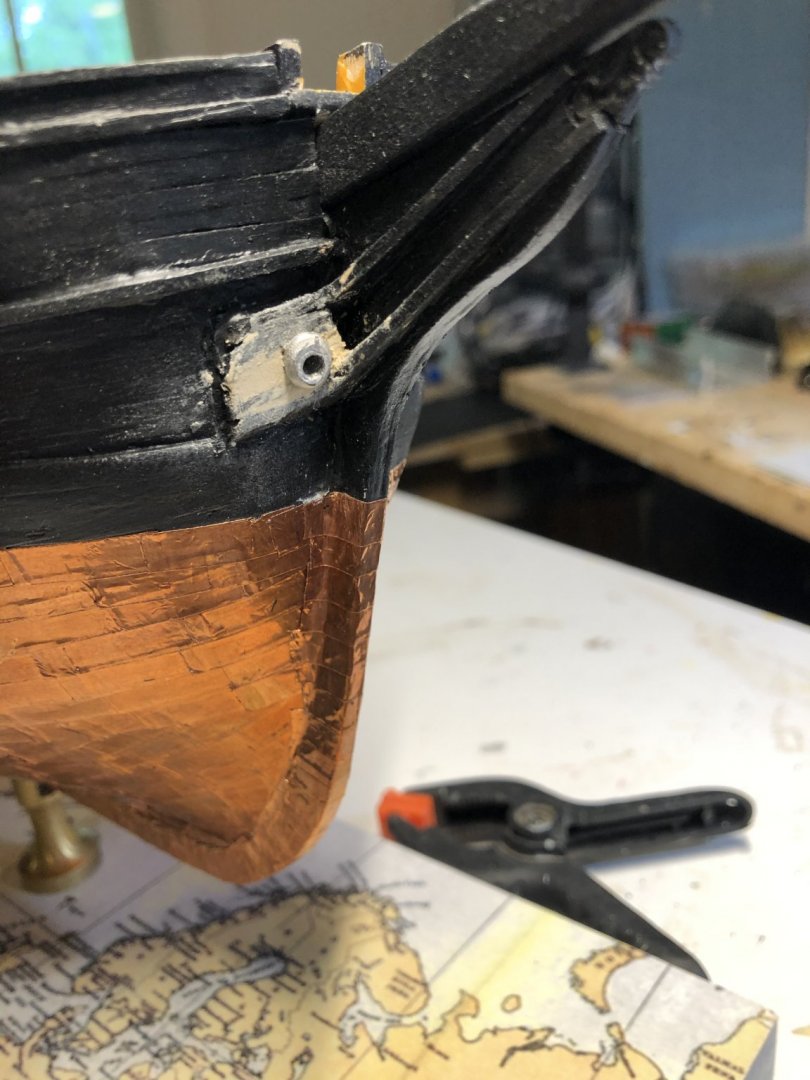
I am finally happy with the hawse pipes and started the anchor deck. Looks like one has to leave this deck part open in order to attach some stays at a later step.
- 294 replies
-
- 5
-
-
- charles w morgan
- model shipways
- (and 1 more)
-
Gotha G.lV by ErnieL - Wingnut Wings - 1/32 - PLASTIC
Papa replied to ErnieL's topic in Completed non-ship models
It looks damn good to me. You are too critical of yourself. -
Santa Maria Painted Hull?
Papa replied to Papa's topic in Building, Framing, Planking and plating a ships hull and deck
After much thought I decided to follow your advice. I ordered some .6 mm walnut strip wood from Model Expo and will replank the lower part of the hull. There is a thick wale that separates the bad part and will make a natural stopping point. -
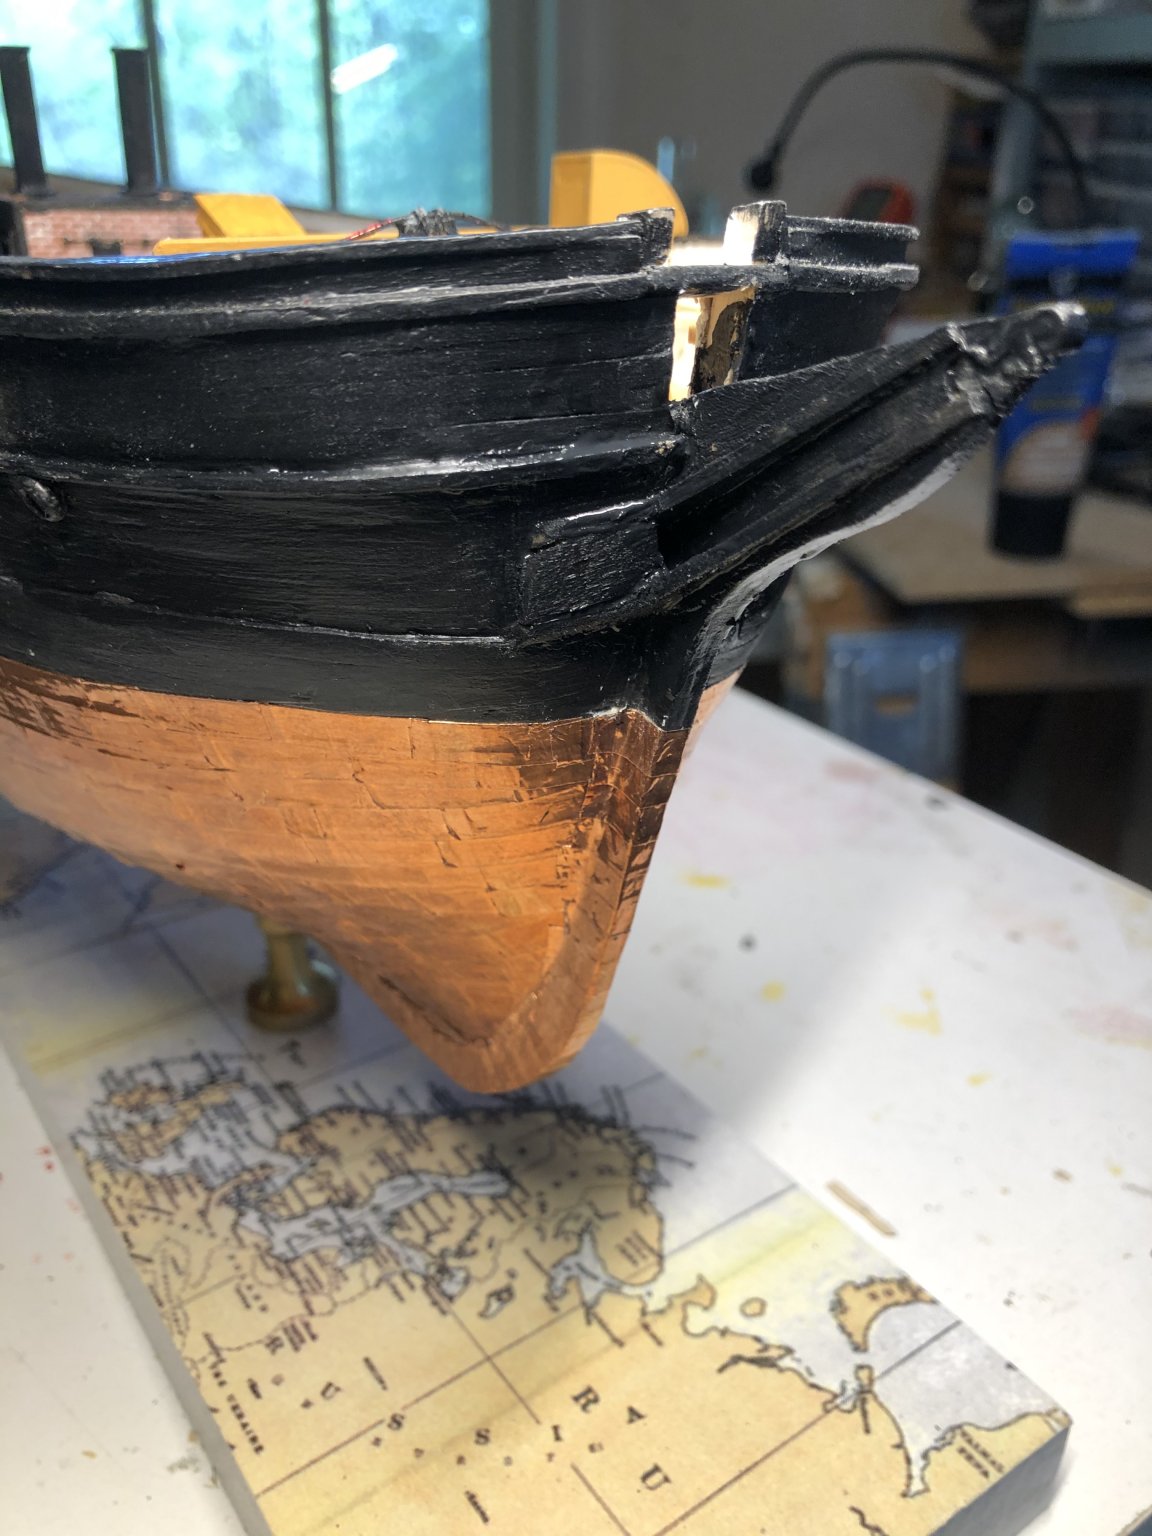
After at least 5 attempts I finally got the cheek timbers and bolster in place and looking like the photo of the Morgan in the instruction booklet. I the process I installed and then had to rip out and destroy the hawse castings. Now I am waiting for replacements from Model Expo. Love their parts replacement policy!

- 294 replies
-
- 4
-
-
- charles w morgan
- model shipways
- (and 1 more)
-
That’s what I thought. Wanted to make sure. I’ll check the fittings list again to see if MS provide some brass rings.
-
On the plans, there are several circles labeled “port lights”. Is that lights as in window panes? Or lights as in 💡
-
Santa Maria Painted Hull?
Papa replied to Papa's topic in Building, Framing, Planking and plating a ships hull and deck
thanks for that information. I'm not ready to paint it yet. I am working on the parts that made me give up years ago. The SM has timbers on the sides of the hull. The plans called for making them out of square strip wood, 5/32" maybe (not near the plans now). No matter what i did i could not get those pieces to conform to the hull. Recently i decided that i would make them by laminating thin layers. I think this is going to work. -
Santa Maria Painted Hull?
Papa replied to Papa's topic in Building, Framing, Planking and plating a ships hull and deck
Behr Tallow Candle