Papa
-
Posts
1,235 -
Joined
-
Last visited
Content Type
Profiles
Forums
Gallery
Events
Everything posted by Papa
-

AVRO Lancaster by Papa - FINISHED - Airfix - 1/72
Papa replied to Papa's topic in Non-ship/categorised builds
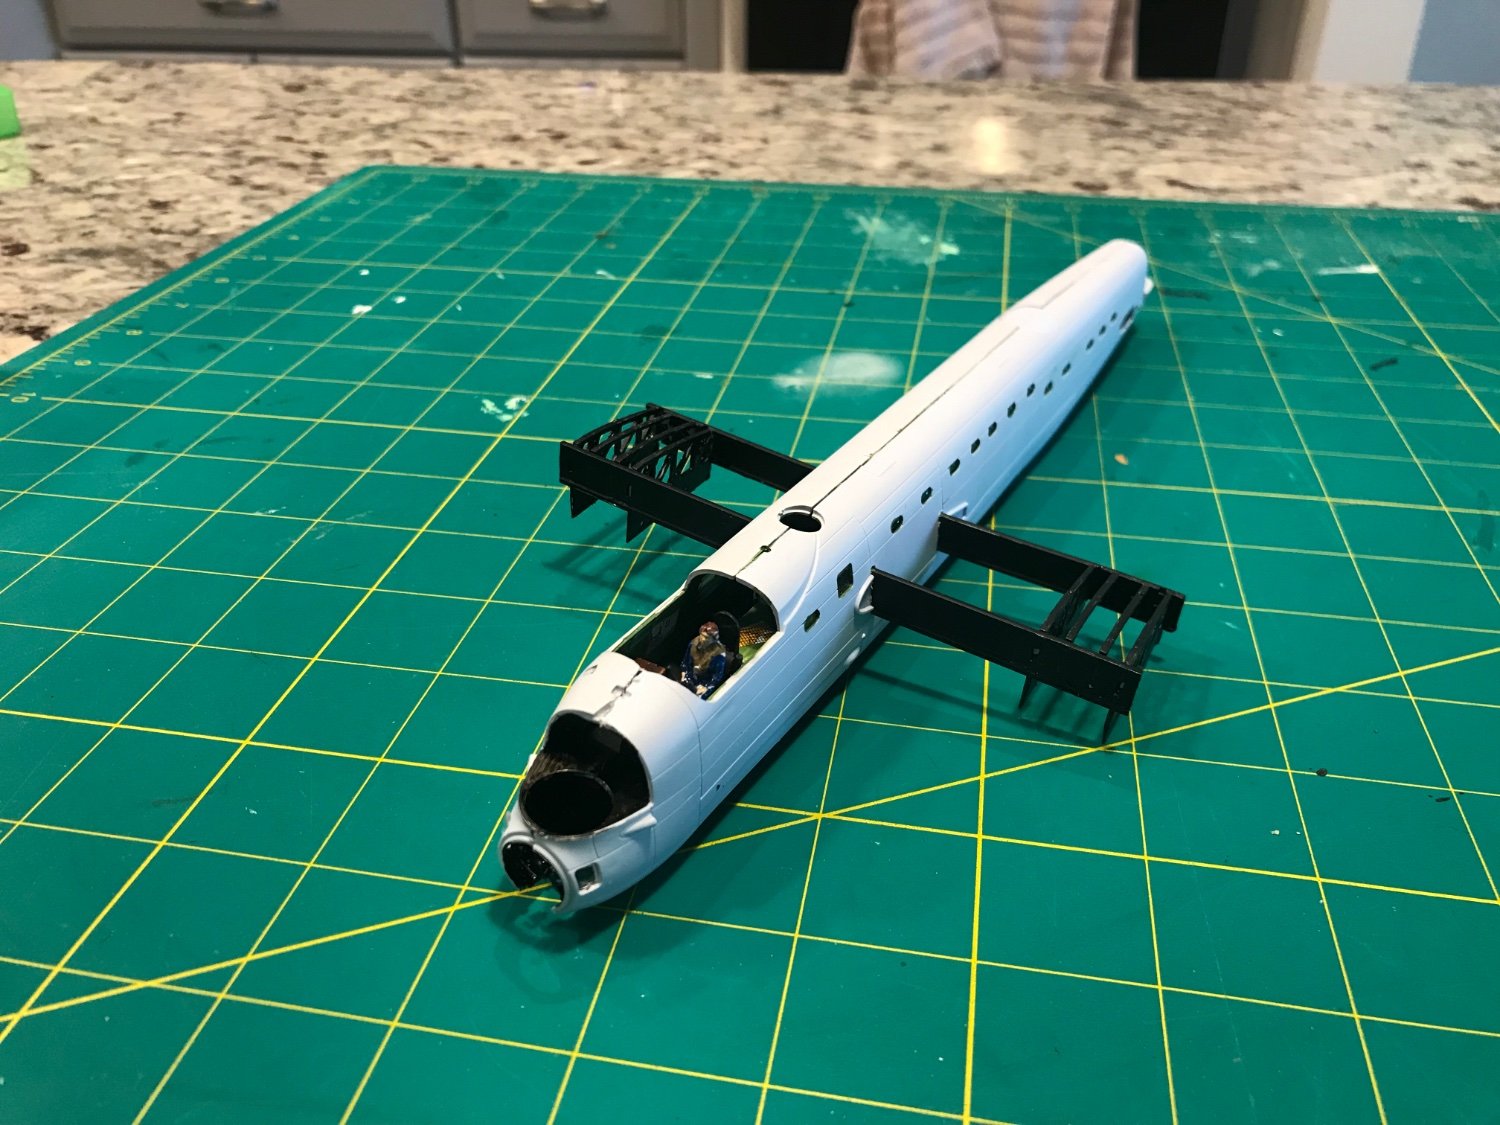
I had a heck of a time putting the fuselage halves together. Just could not get the seam to close tightly. I am going to need plenty of filler😬. During my test fitting the windows started popping out and the map table came apart. Re-glued all that and filed and fussed and fumed and used several naughty words 👿 . It didn’t help the fit. And a newly purchased bottle of Tamiya flat black paint dries glossy! 😝 fortunately i still had some older flat black. So here we are today. Now i am going to tie some more battens on the C W Morgan. I am almost finished with that step; on the mizzen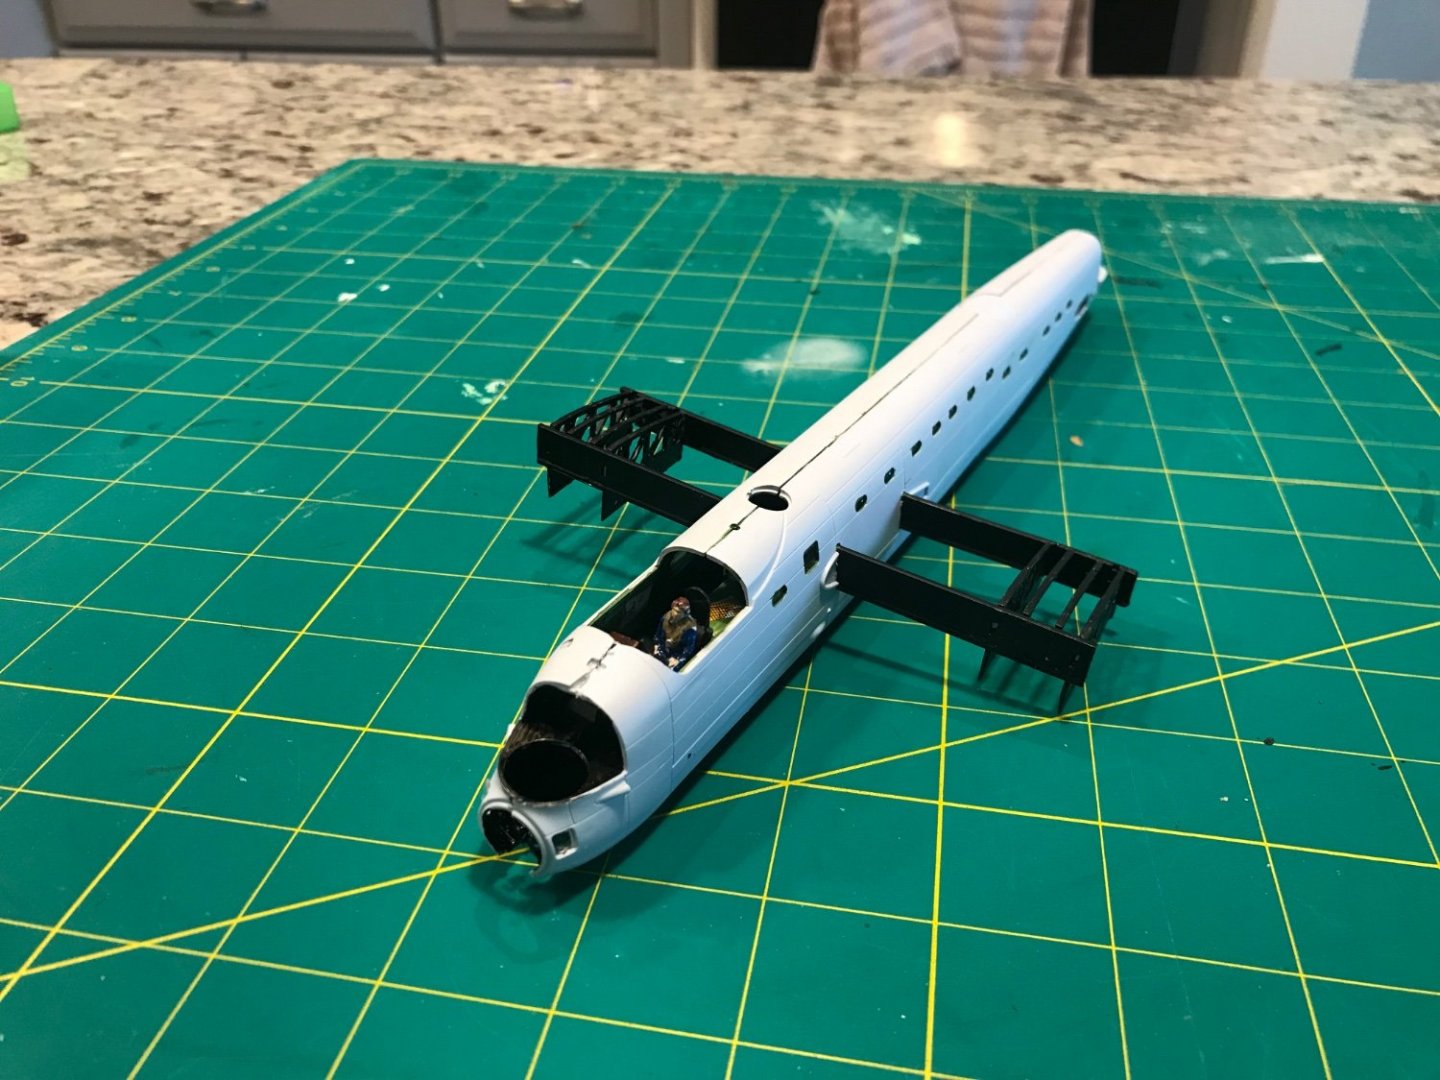
- 41 replies
-
- 13
-

-
AVRO Lancaster by Papa - FINISHED - Airfix - 1/72
Papa replied to Papa's topic in Non-ship/categorised builds
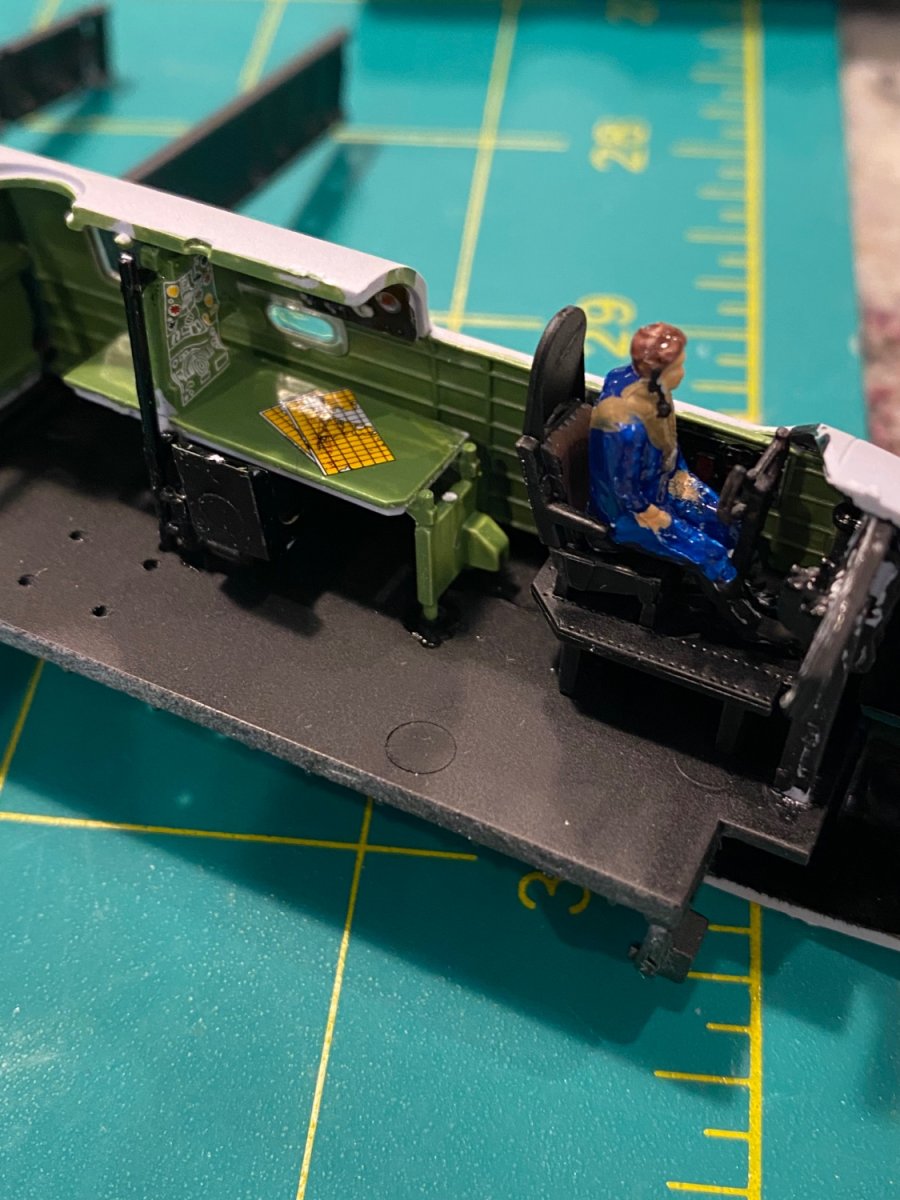
The kit has some nice interior detail that, unfortunately, won’t be visible once the fuselage is together.
- 41 replies
-
- 13
-
-
AVRO Lancaster by Papa - FINISHED - Airfix - 1/72
Papa replied to Papa's topic in Non-ship/categorised builds
Better angle to see hands free
- 41 replies
-
- 12
-
-
AVRO Lancaster by Papa - FINISHED - Airfix - 1/72
Papa replied to Papa's topic in Non-ship/categorised builds
Pilot flying “no hands”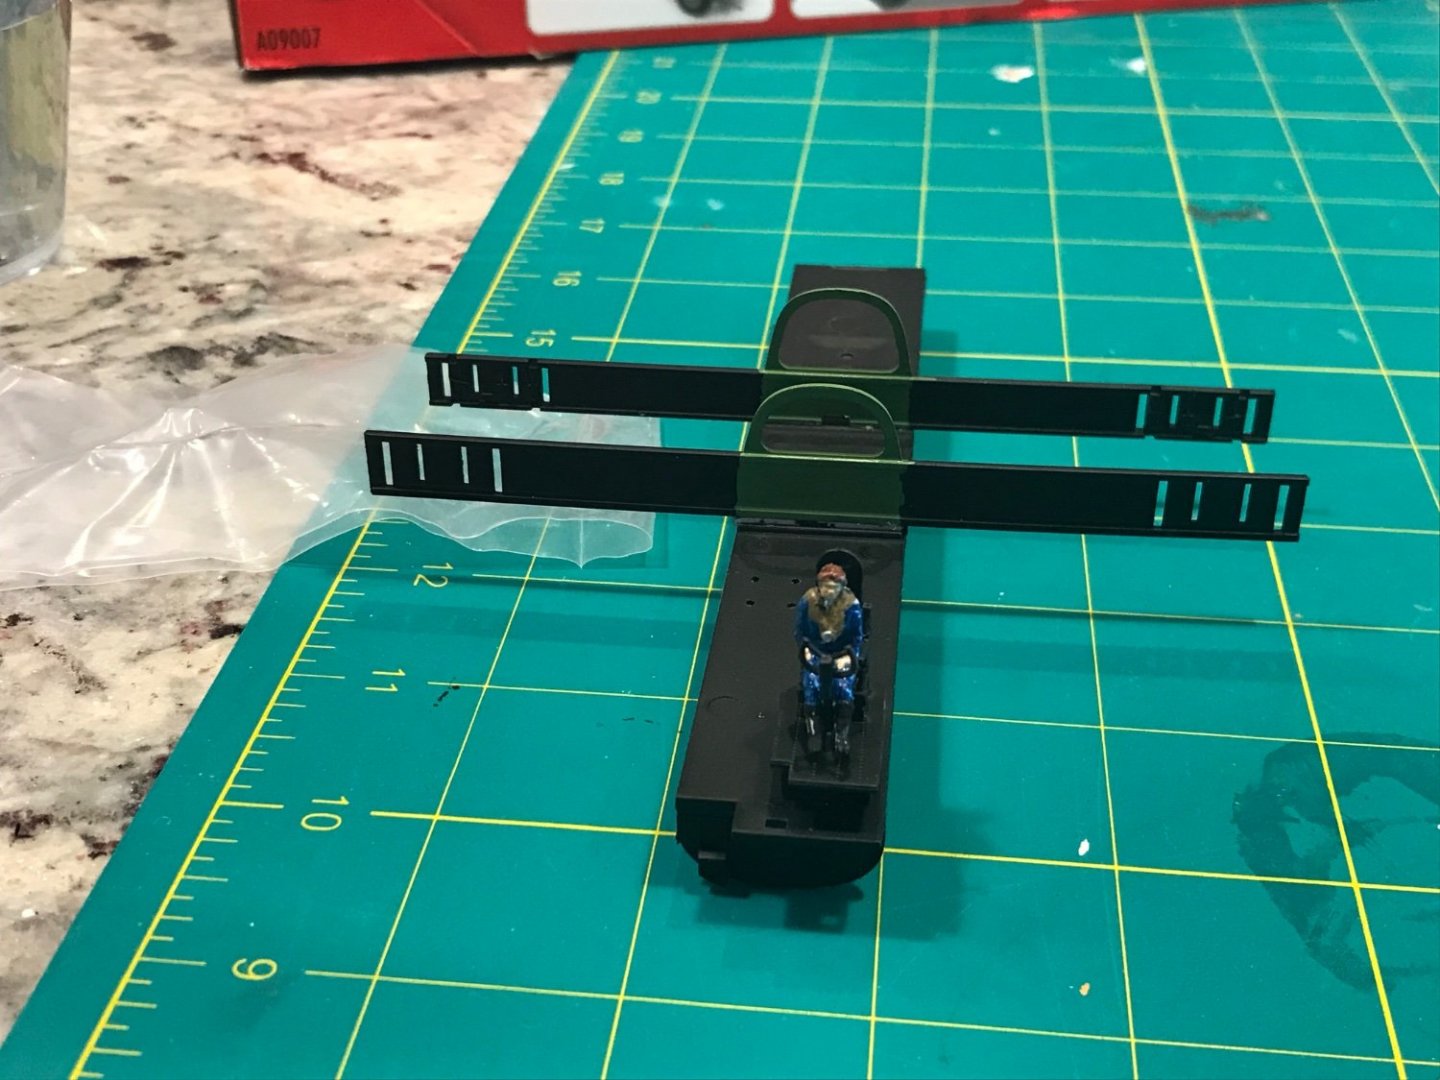
-
AVRO Lancaster by Papa - FINISHED - Airfix - 1/72
Papa posted a topic in Non-ship/categorised builds
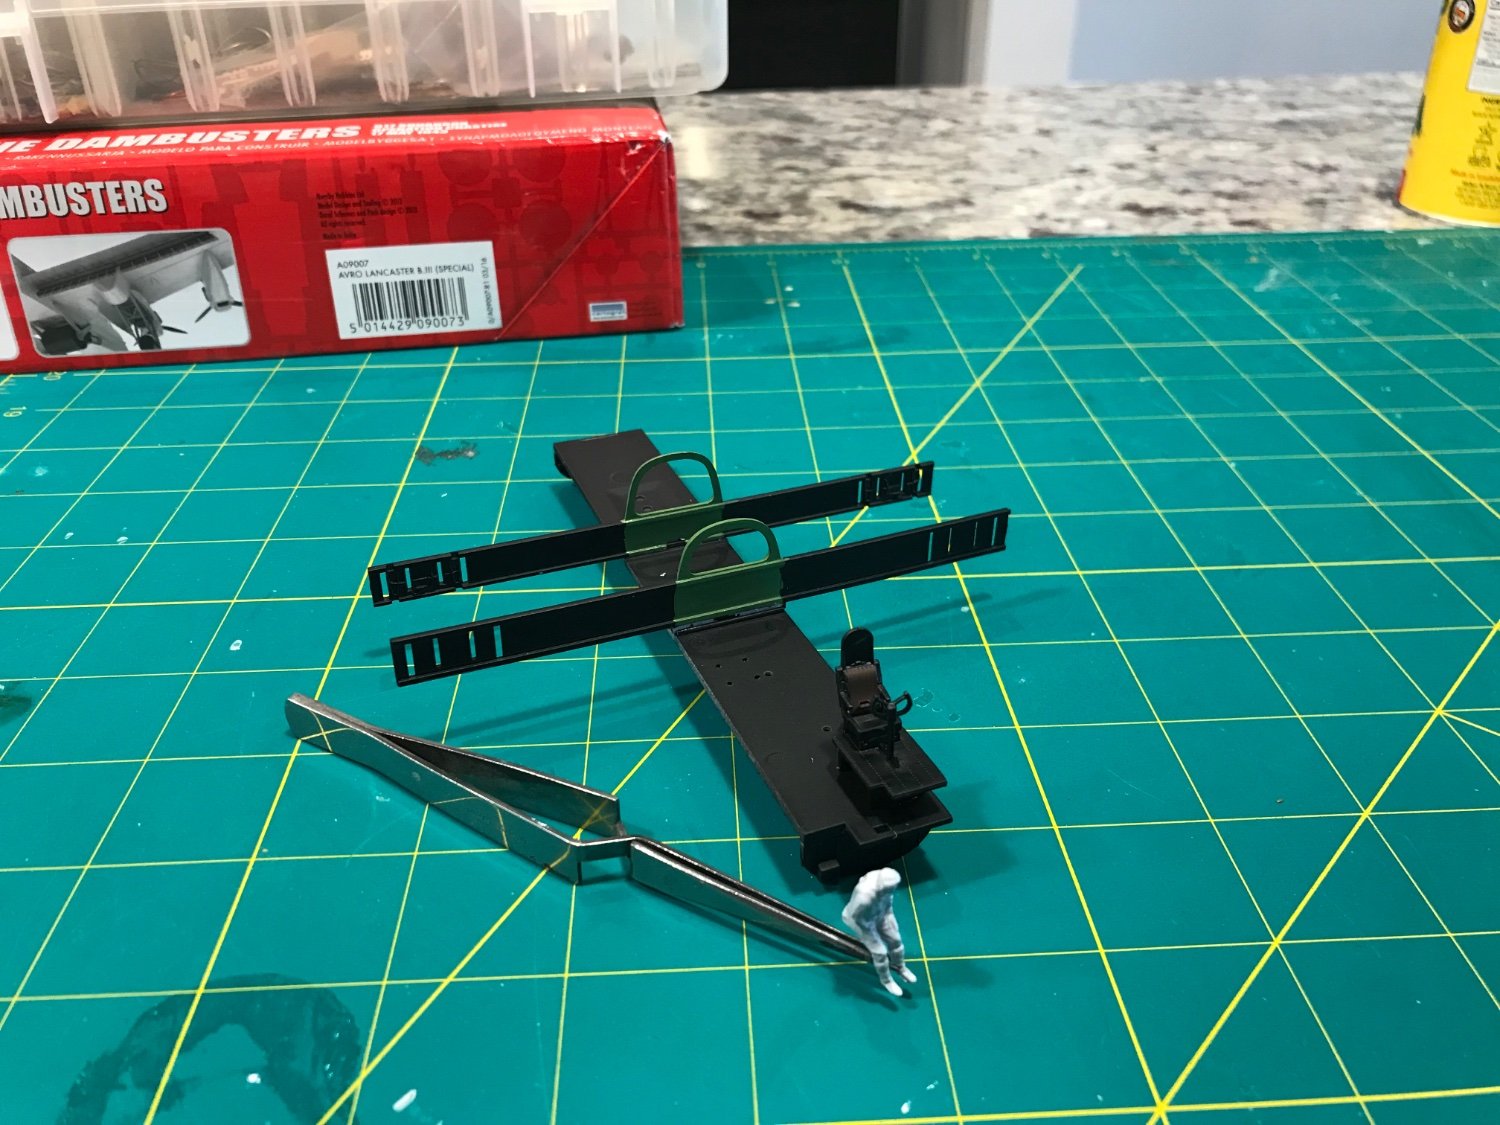
I needed something to break up the tedium of tying ratlines on my C W Morgan so i started this Lancaster from the Dambusters mission that I’ve had on the shelf for a few years. There are 7 gray sprues and one with the clear parts. The quality is excellent. And the few pieces I’ve assembled so far have very positive positioning locators. The pilot in the photo has been primed and is ready for painting.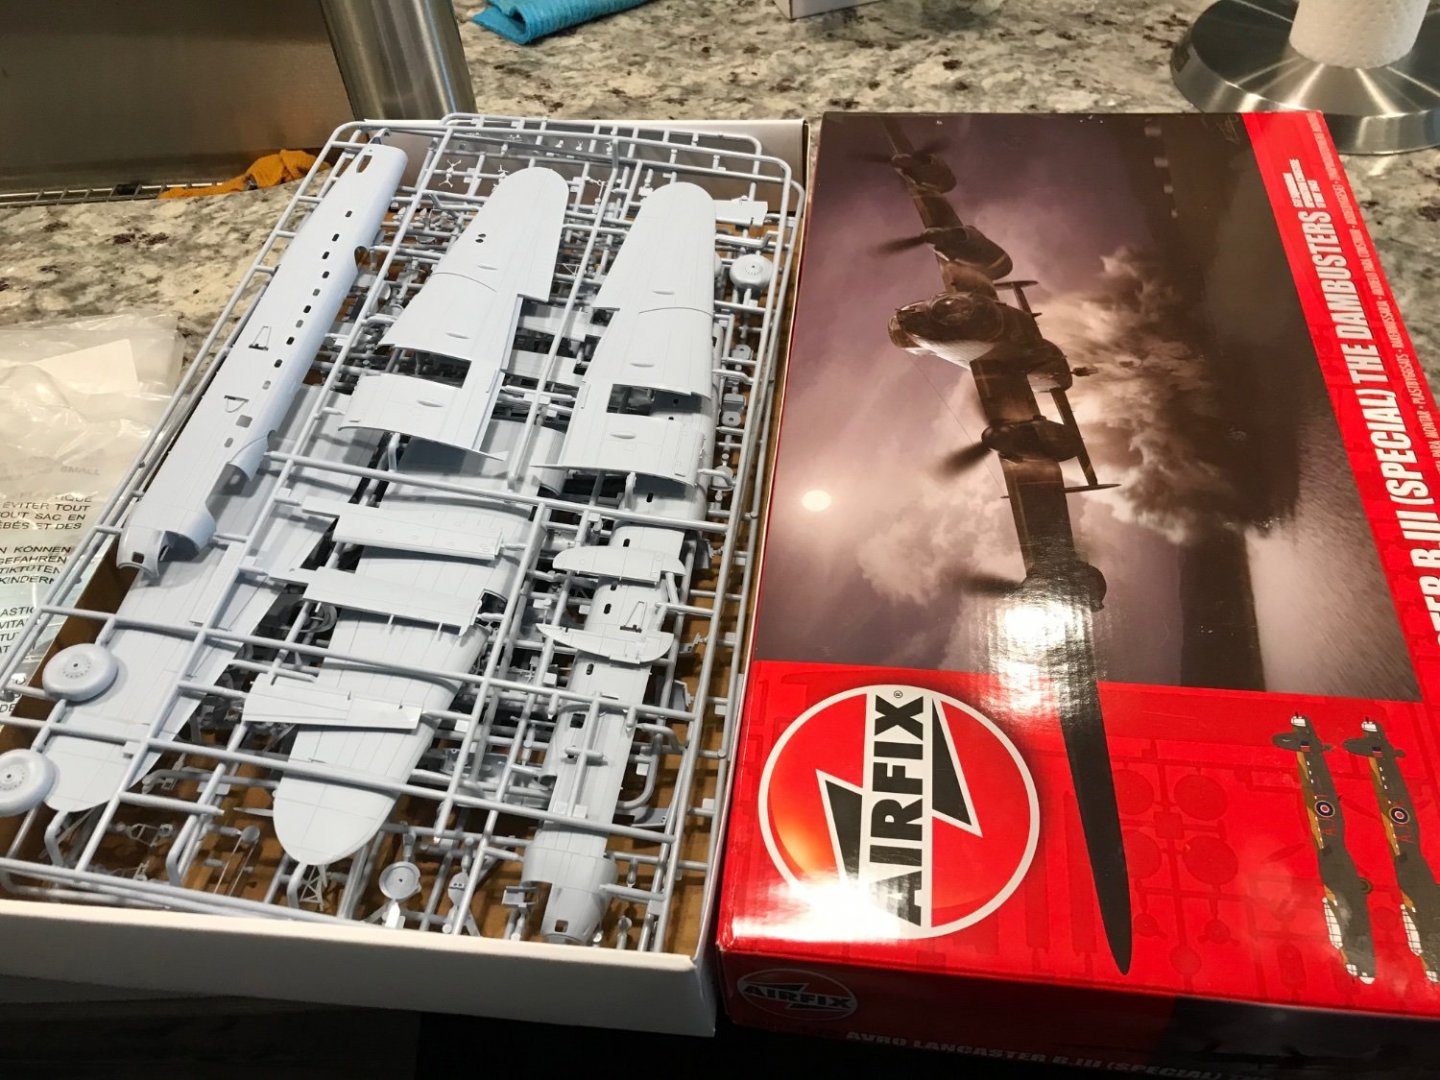

- 41 replies
-
- 15
-
-
I spent the first 20 years of my life living less than 10 miles from the USS Constitution and never once visited. Why not? I have no idea. For that matter, I was 15 before i even ventured into the City of Boston.
-
Thanks for the info.
-
And thanks for the complement.
-
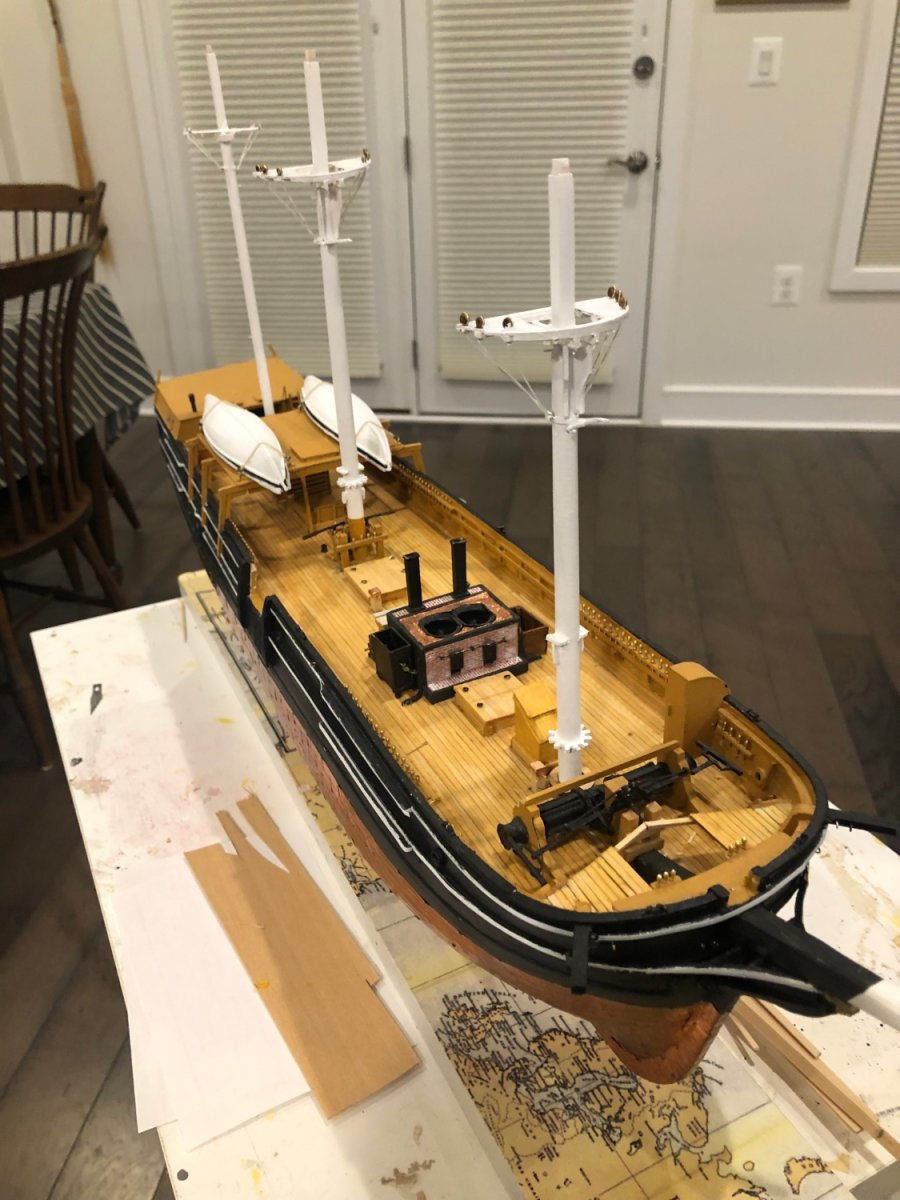
Question for you John. There are, what i am calling “boat skids” , on the hull where the whale boats are hanging. Are these painted black like the hull? Or left natural?
-
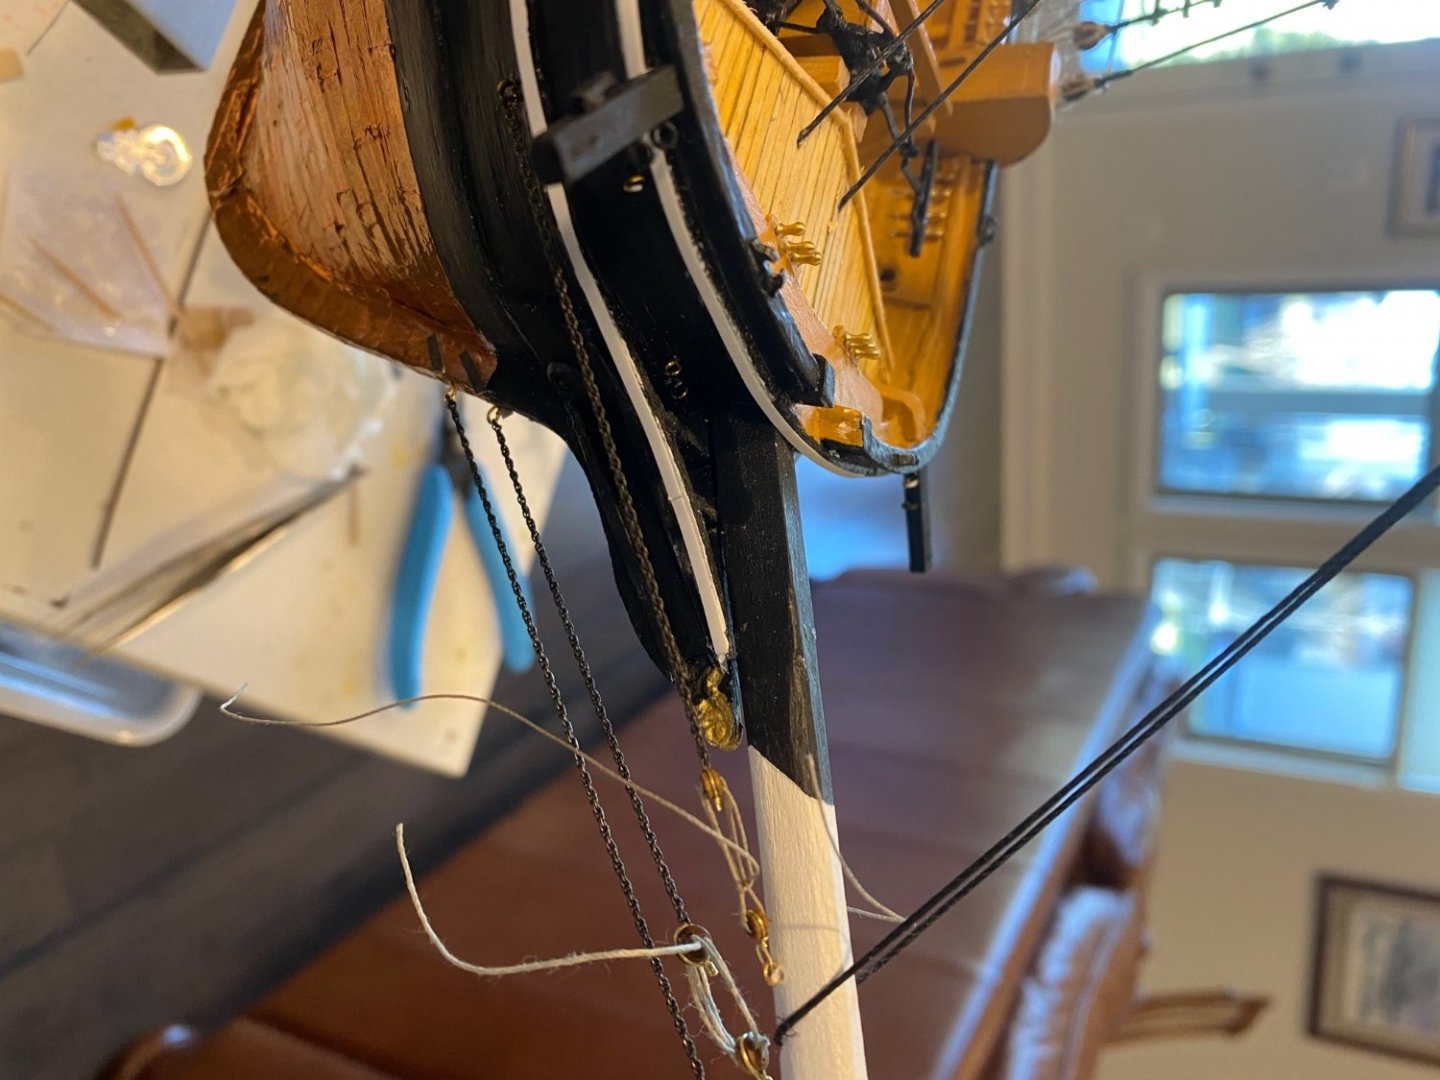
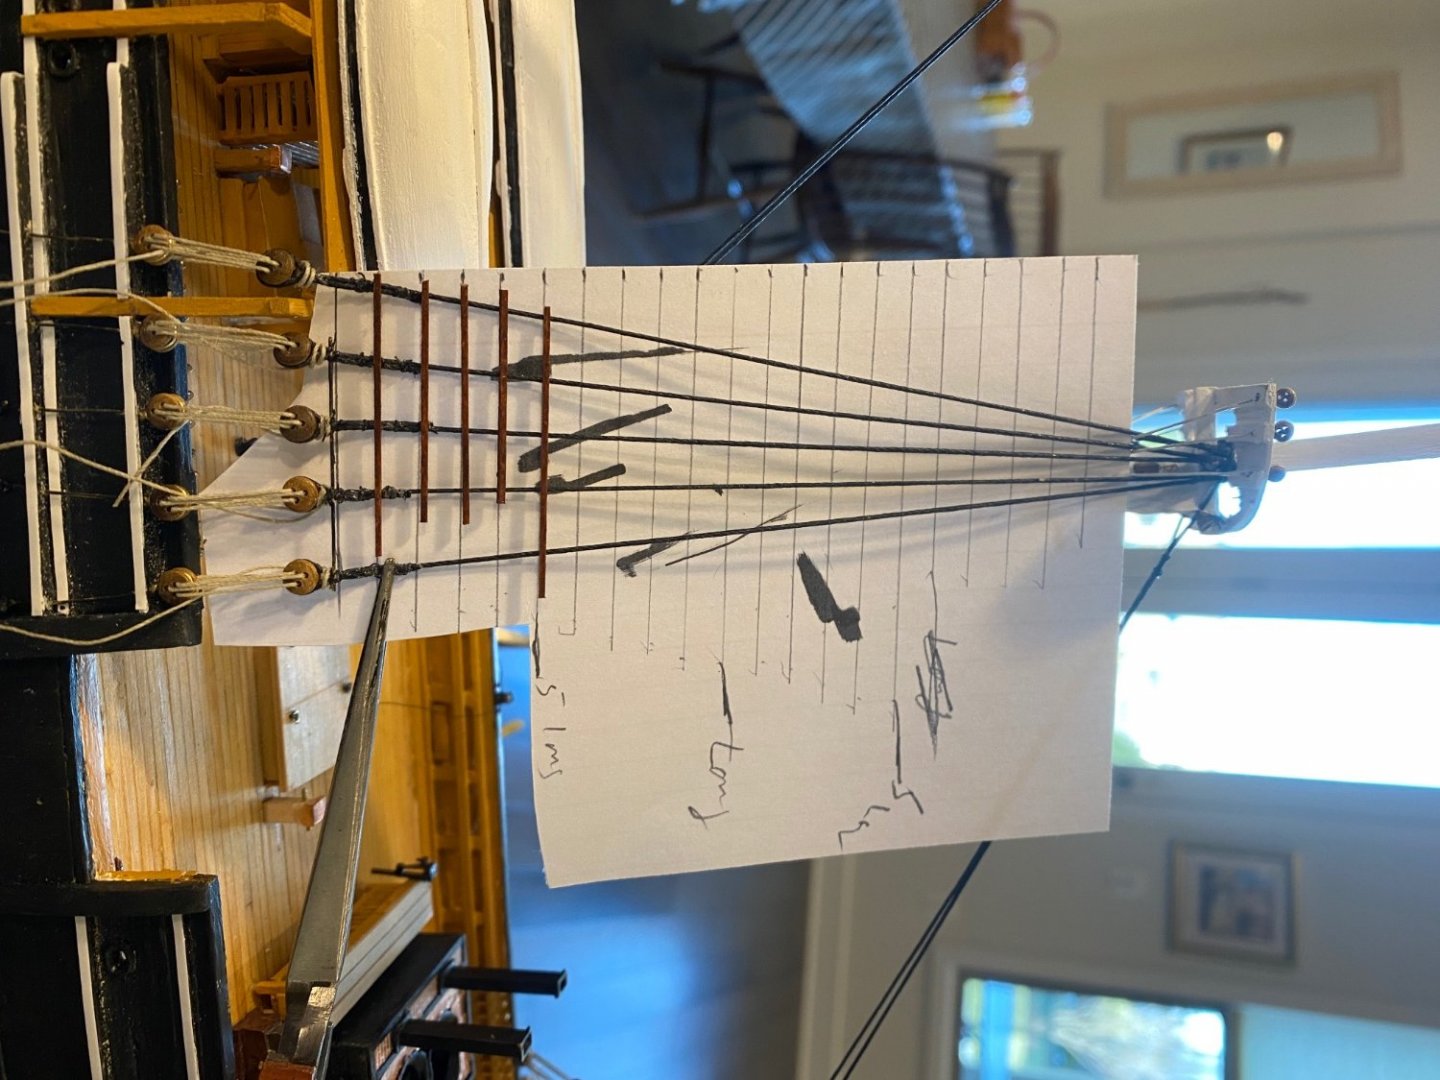
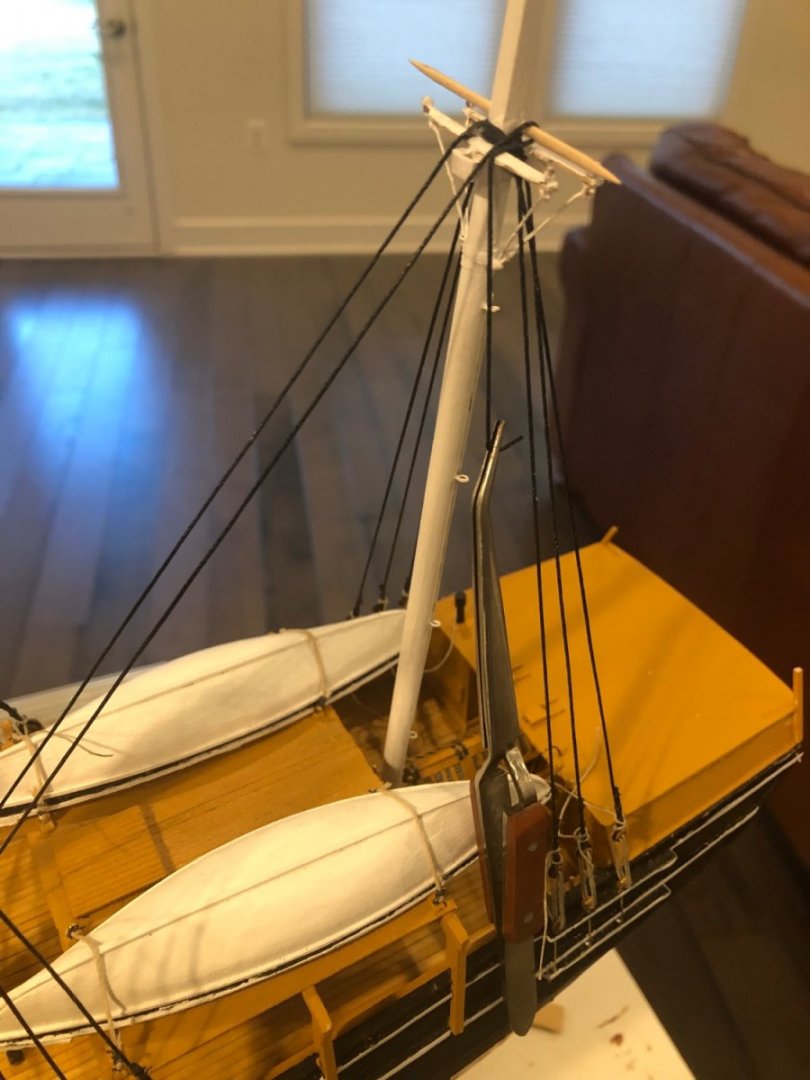
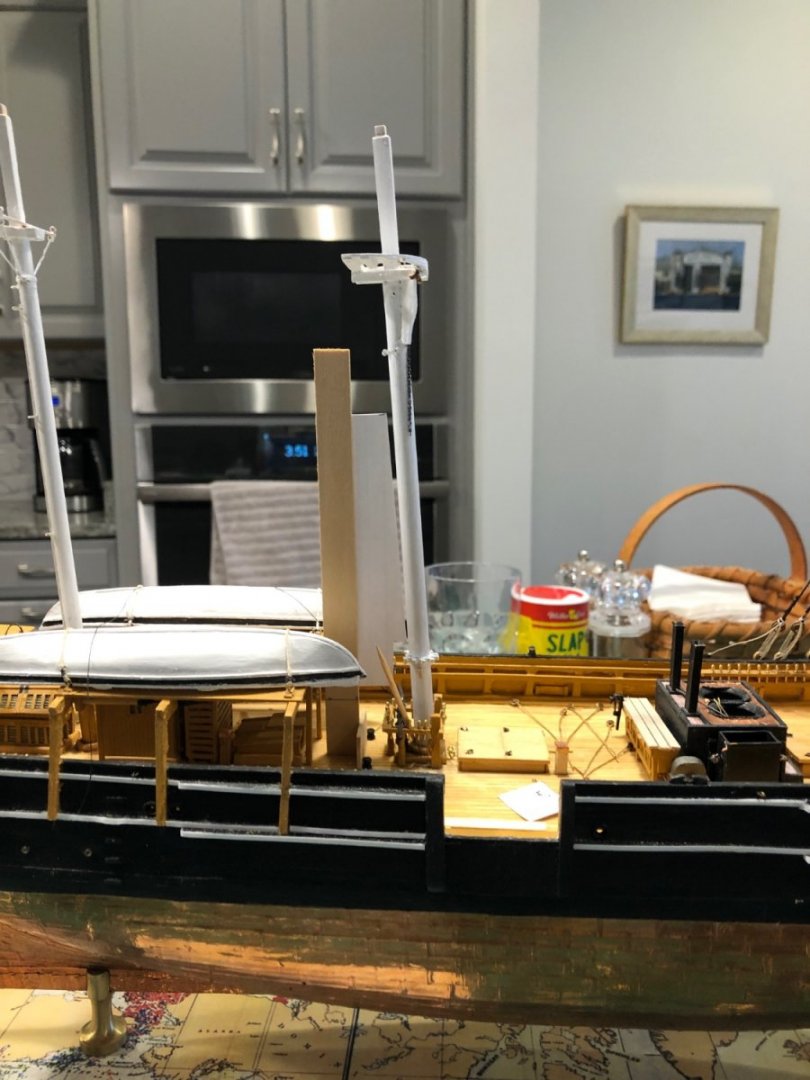
Using a card to align the battens as i glue them on the shrouds. I will tie them off when they are all on. Also i installed the bowsprit shrouds and the bobstays. I leave the lanyards long so that i can tighten them at the end of the build. I don’t know why they are rotated.
- 294 replies
-
- 3
-
-
- charles w morgan
- model shipways
- (and 1 more)
-
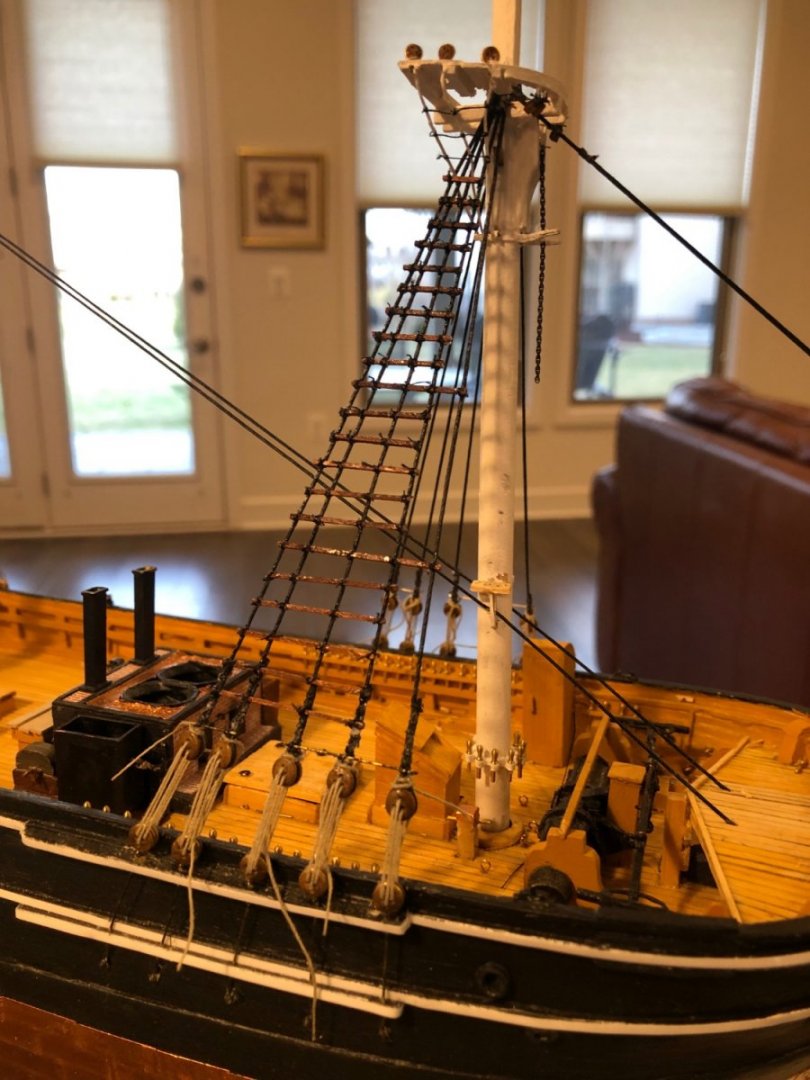
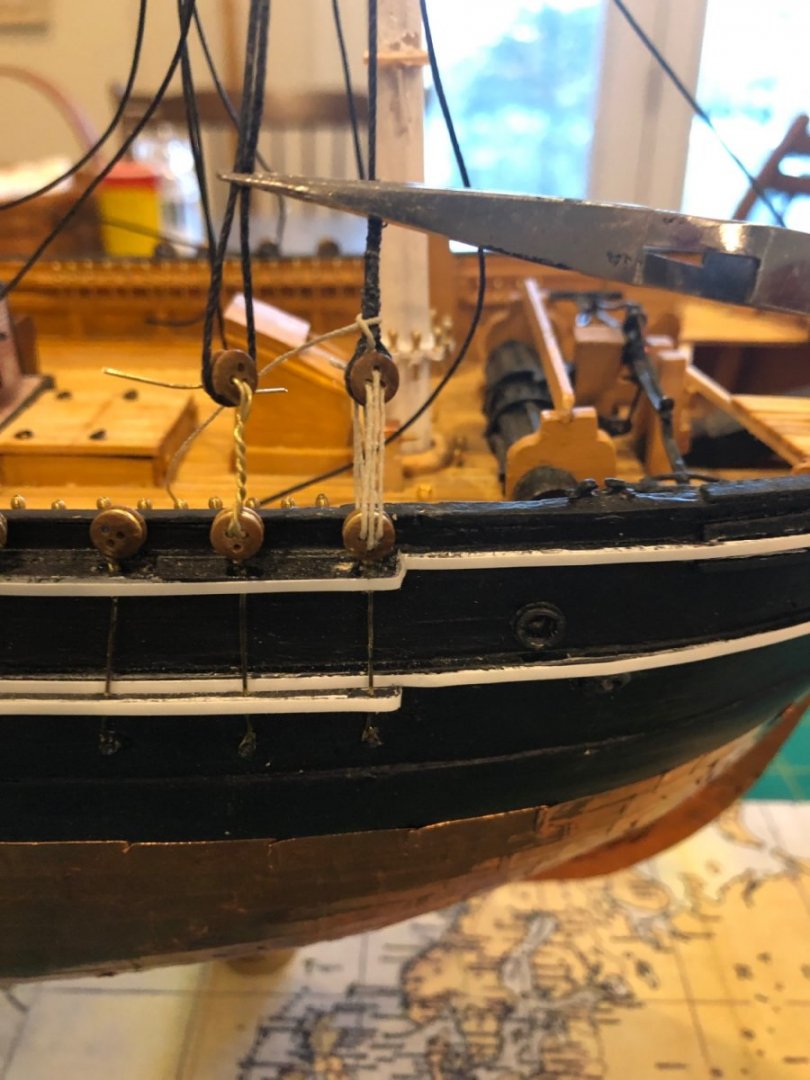
Attached all the batten rat lines on the lower foremast. I think that was more tedious than conventional thread lines. Only another 400 plus knots and all the lower masts will done. 🤪
- 294 replies
-
- 3
-
-
- charles w morgan
- model shipways
- (and 1 more)
-
Those instructions look much like what i had with my “yellow box” Essex kit back in 1968. Sort of “we have given you some wood, some fittings, a few blocks. Now go make a ship. Good luck”.
- 236 replies
-
- 2
-
-
- Robert E Lee
- steamboat
- (and 3 more)
-
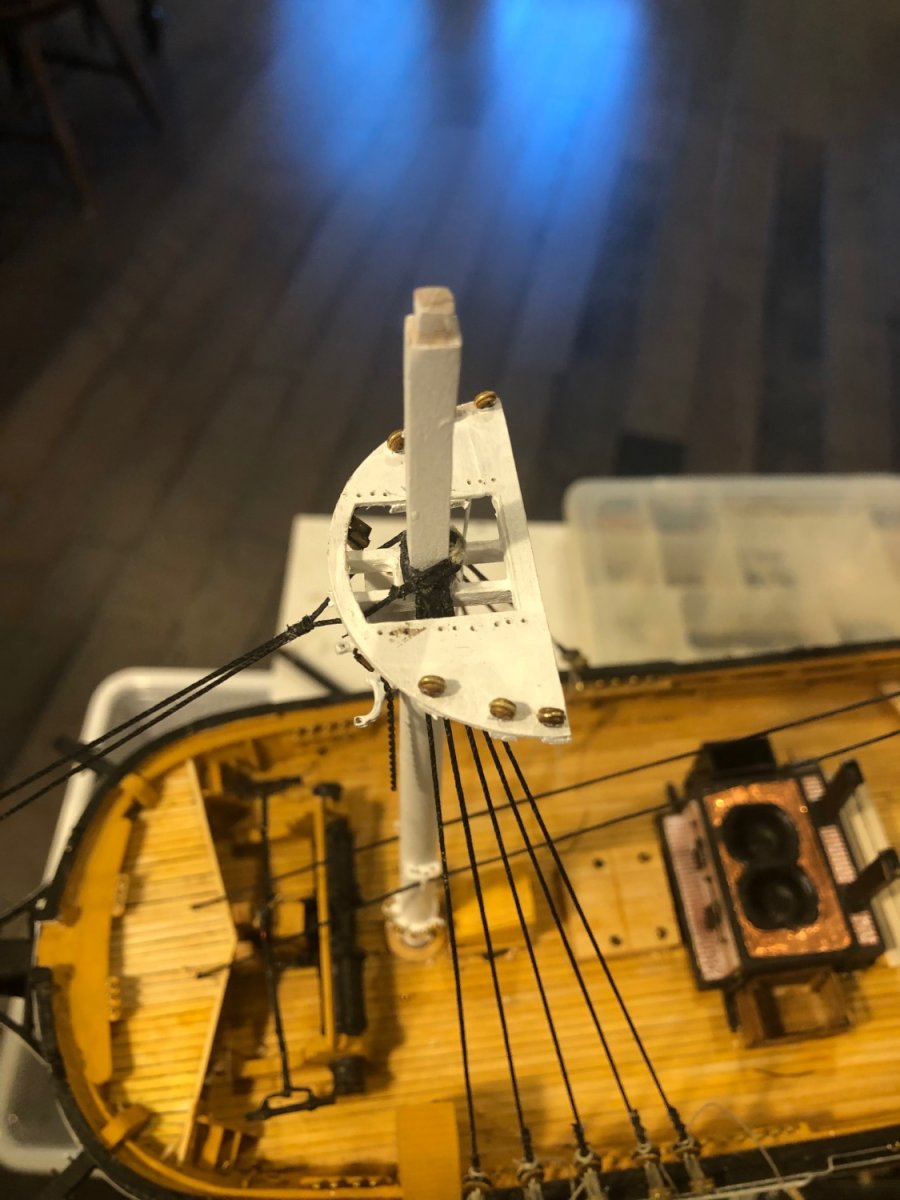
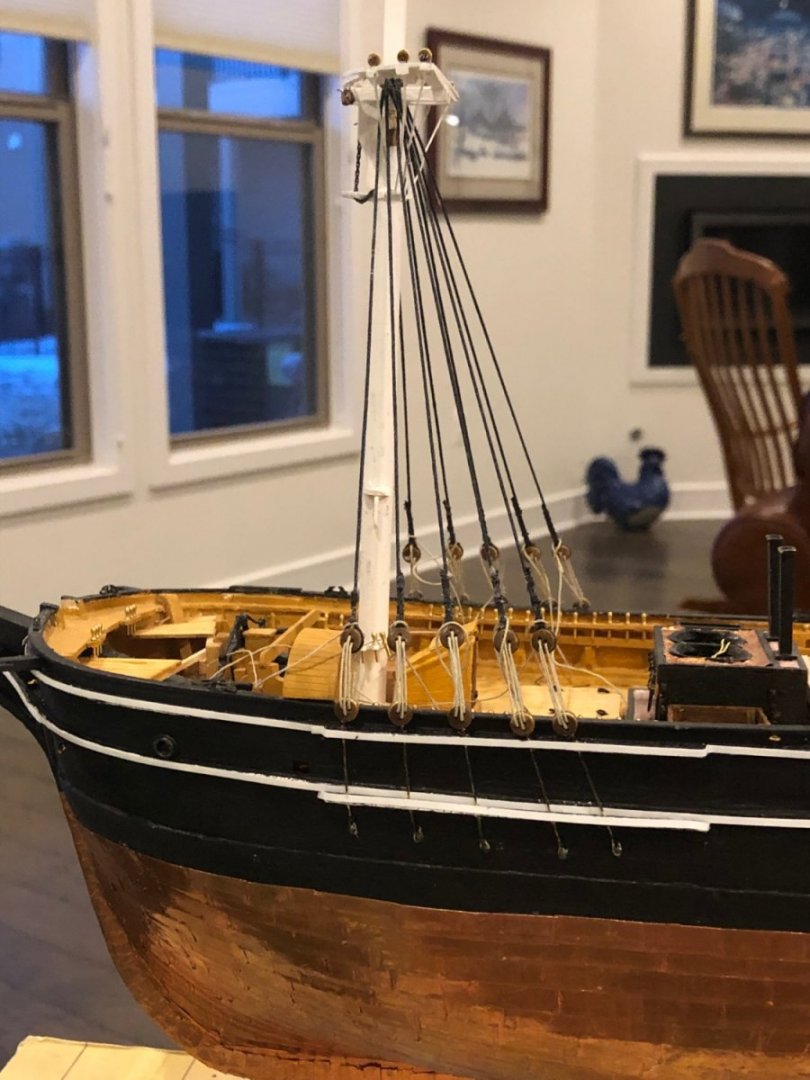
In rigging the stays i saw that the fore and mizzen stays used an eye and lanyard arraignment at the tops. The photo shows how i kept the lines taut while tying the second eye.

- 294 replies
-
- 4
-
-
- charles w morgan
- model shipways
- (and 1 more)
-
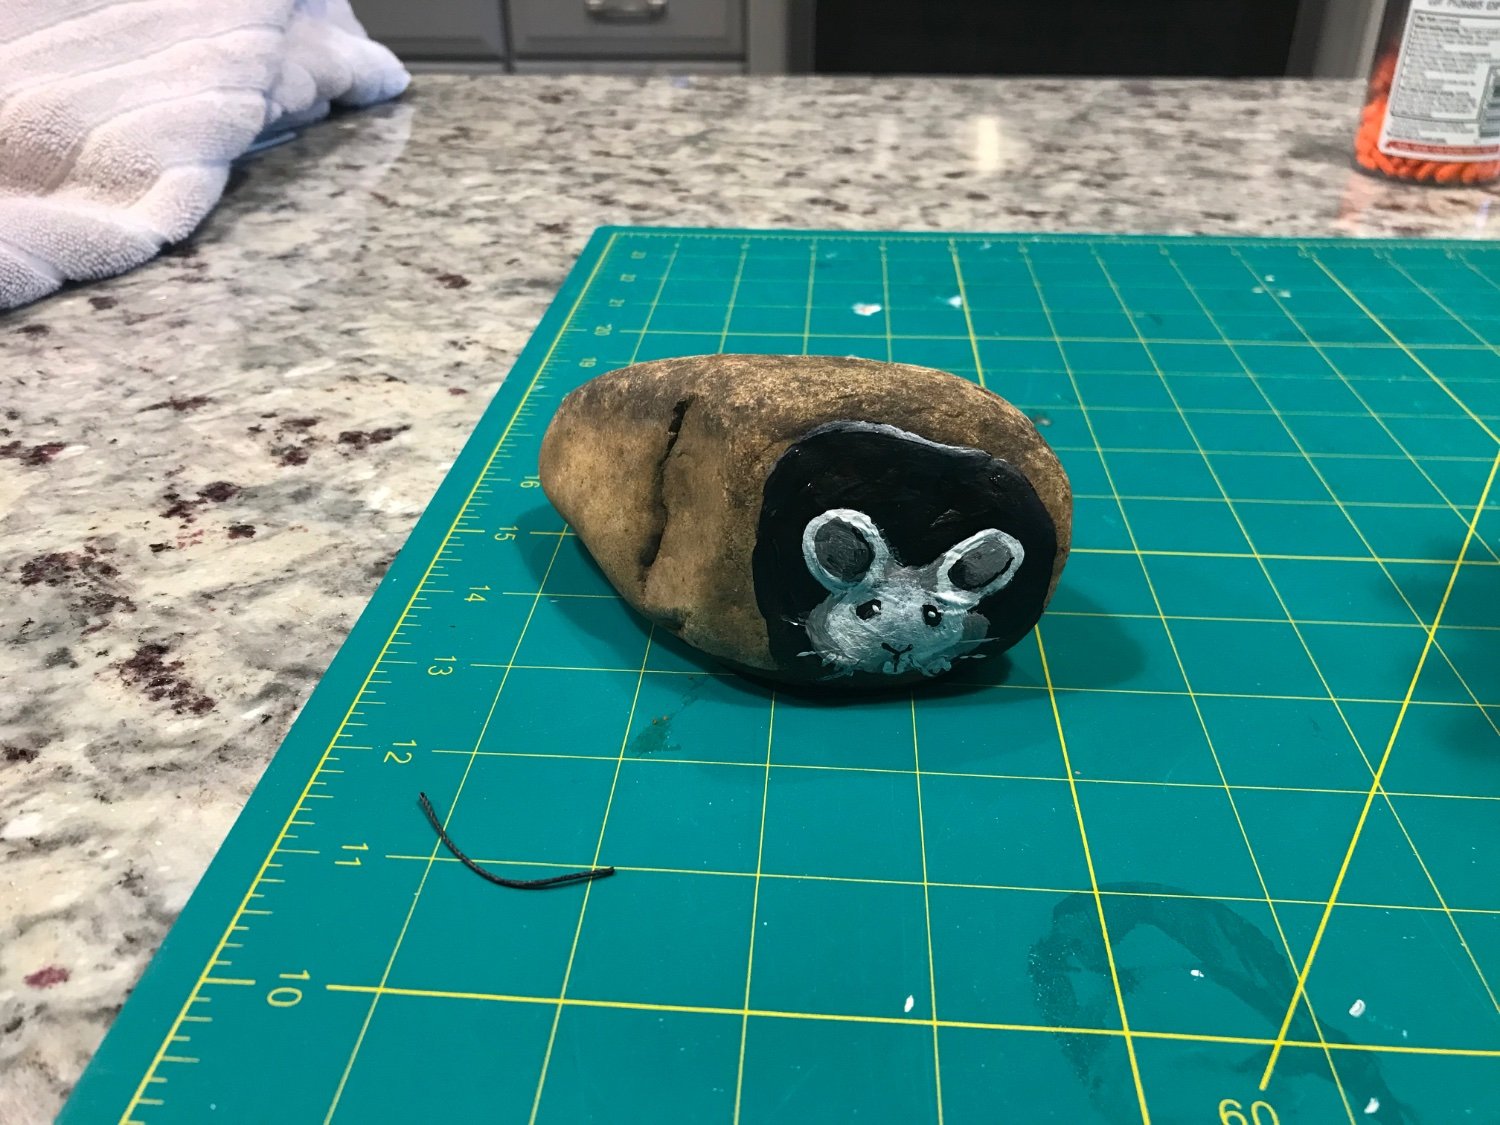
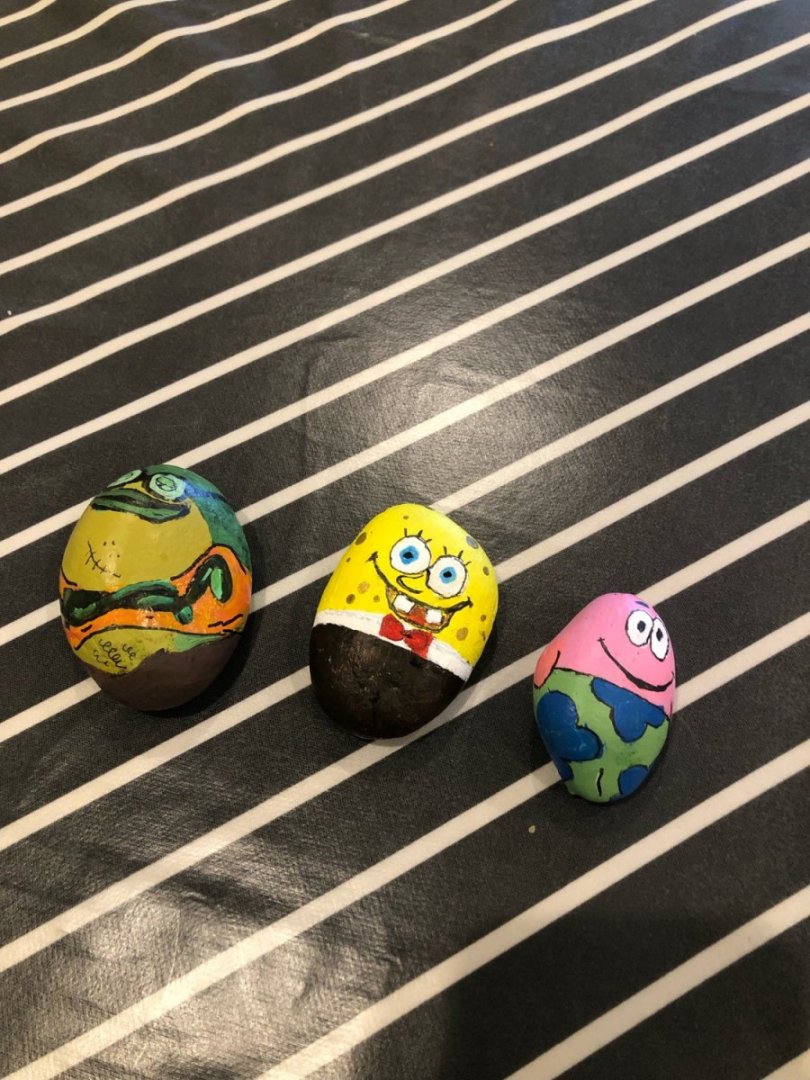
A few more rocks. Some characters in Spongbob Square Pants, and a mouse.

-
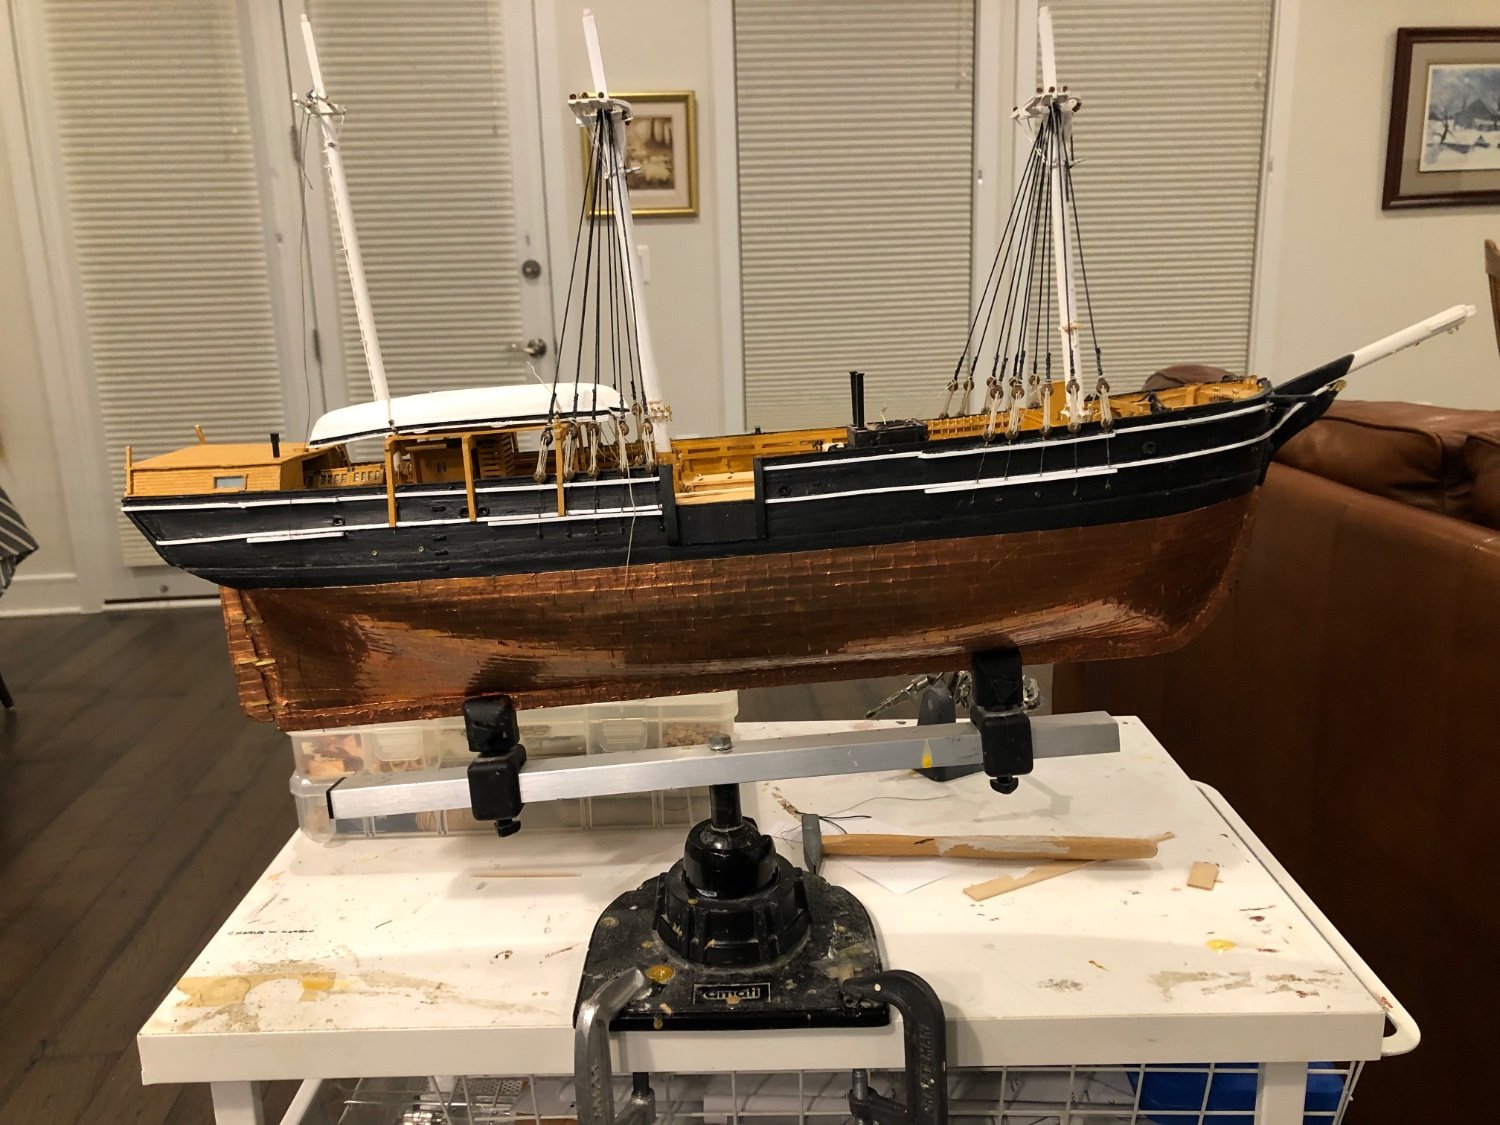
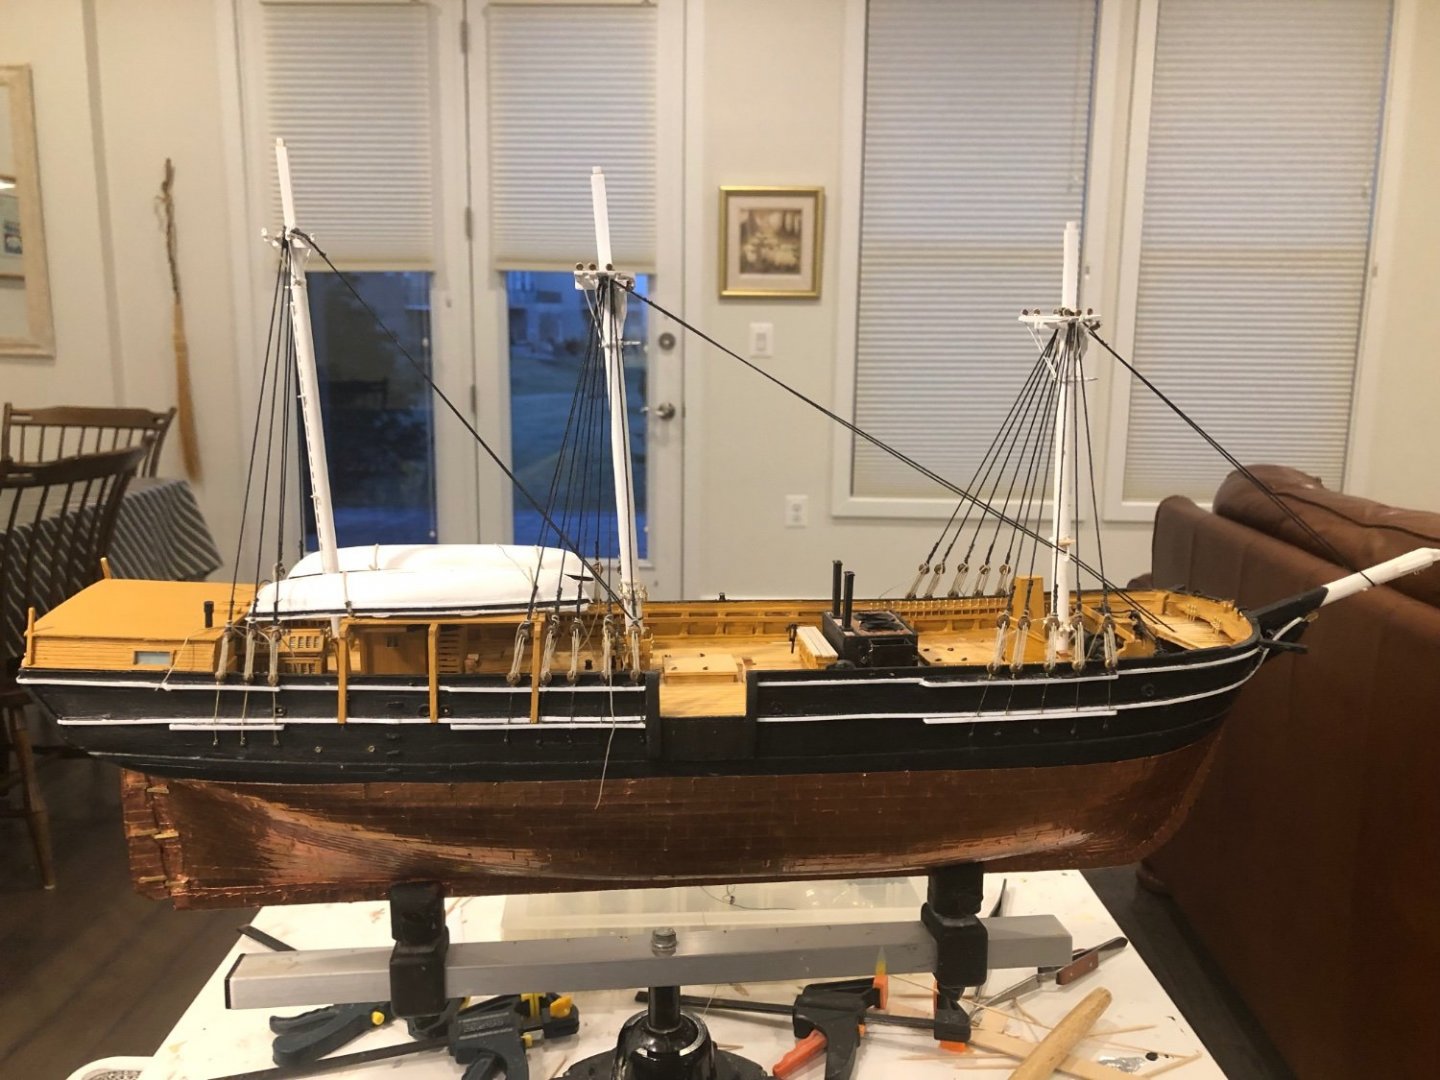
Rigging requires so much moving the ship around that I decided to go back to my keel vise. Much easier now. Fortunately there was room on my Elfa cart to mount it without obstructing the drawers. The lower shrouds on the fore and main mast are completed. Mizzen is next.

- 294 replies
-
- 2
-
-
- charles w morgan
- model shipways
- (and 1 more)
-
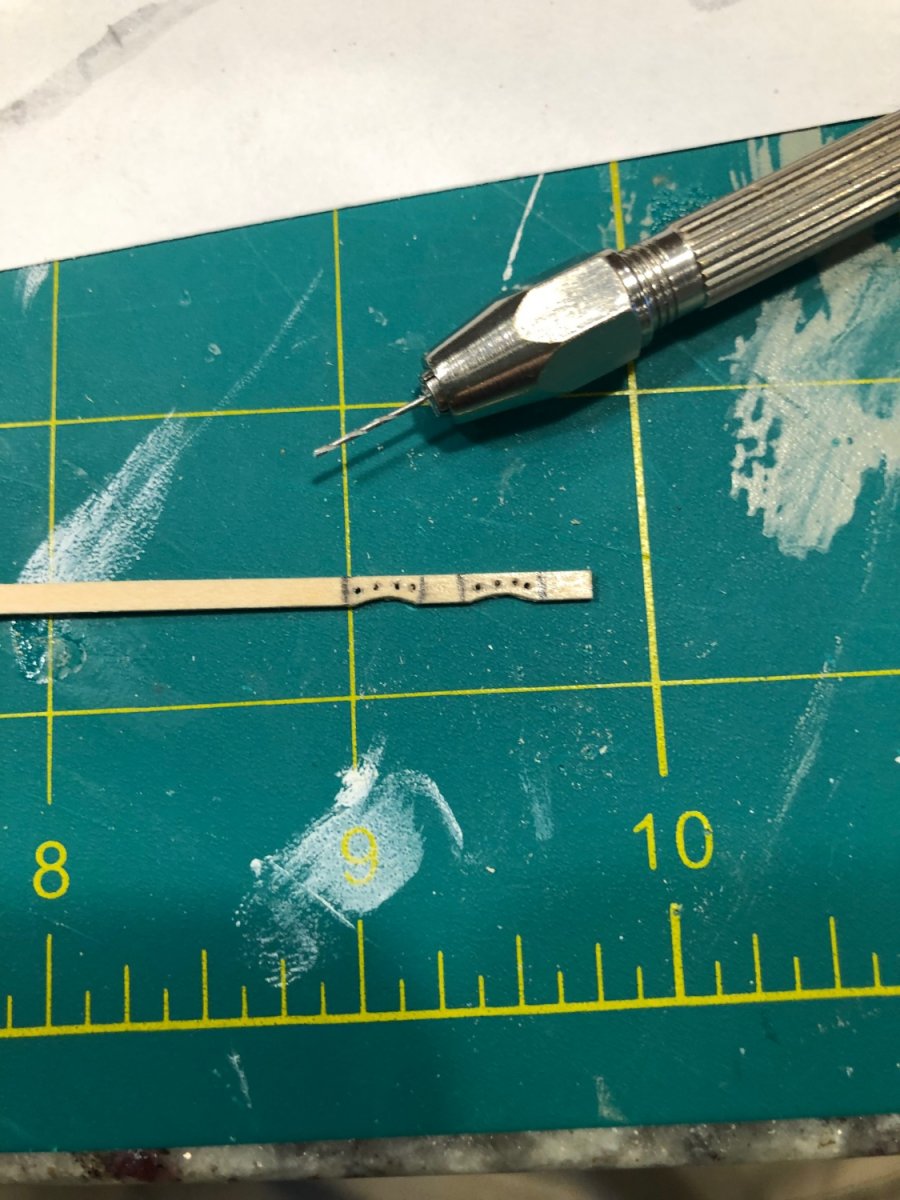
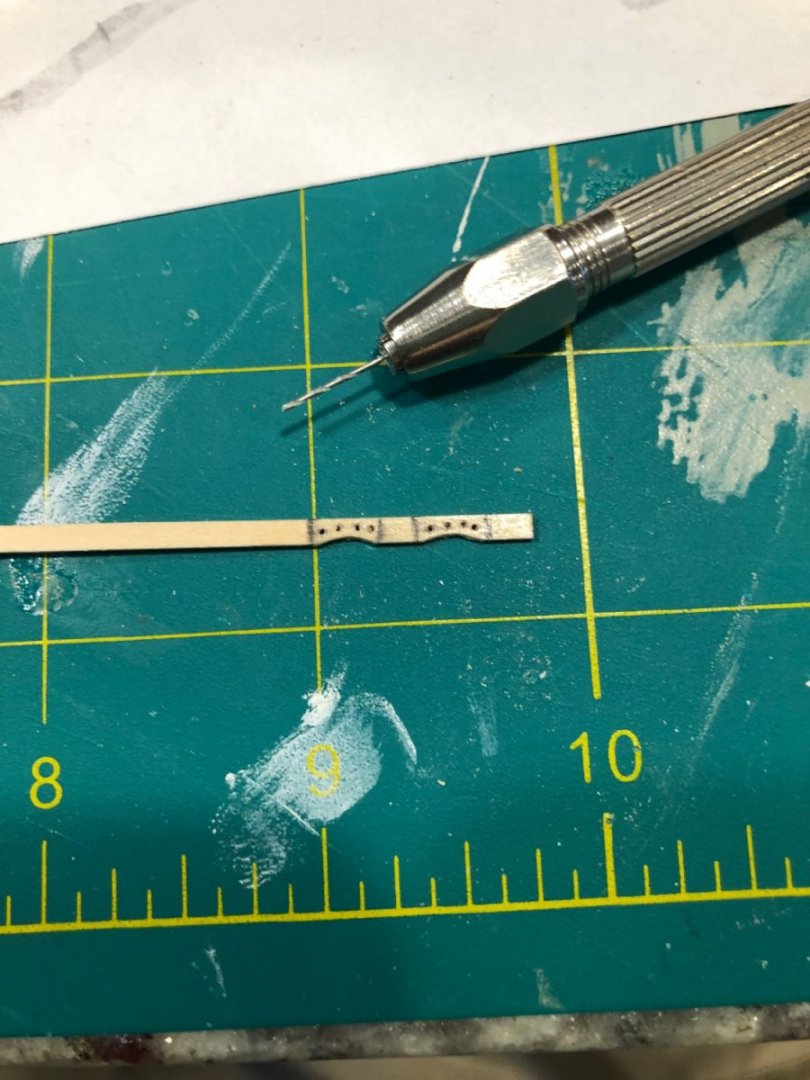
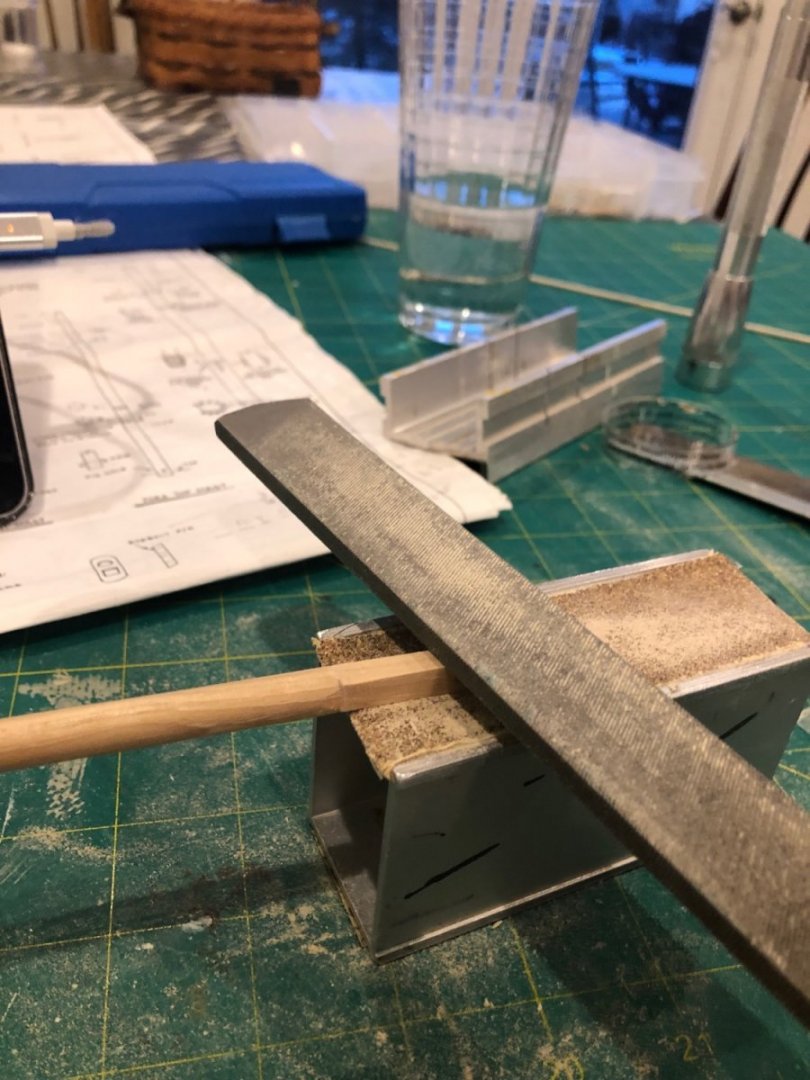
Made 2 fairleads for the mainmast. 1/8 by 1/32 basswood. I coated the needed area with some AC glue to prevent splitting and sanded the arc by wrapping some sandpaper around the mast. One of them split anyway and had to make a 3rd one. Also checking out a homemade jig for setting the proper 4 deg rake on the mainmast.
- 294 replies
-
- 3
-
-
- charles w morgan
- model shipways
- (and 1 more)
-
My replacement main mast parts arrived from Model Expo just as I finished up the lower foremast shrouds. Shaping a square end to a maple dowel is a bit tedious. I have read that it is better to start with square stock and then round the mast by shaving off the corners. It might be a bit easier to get a taper that way also.
- 294 replies
-
- 3
-
-
- charles w morgan
- model shipways
- (and 1 more)
-
While waiting for my replacement parts for the mainmast, I started rigging the foremast.
- 294 replies
-
- 3
-
-
- charles w morgan
- model shipways
- (and 1 more)
-
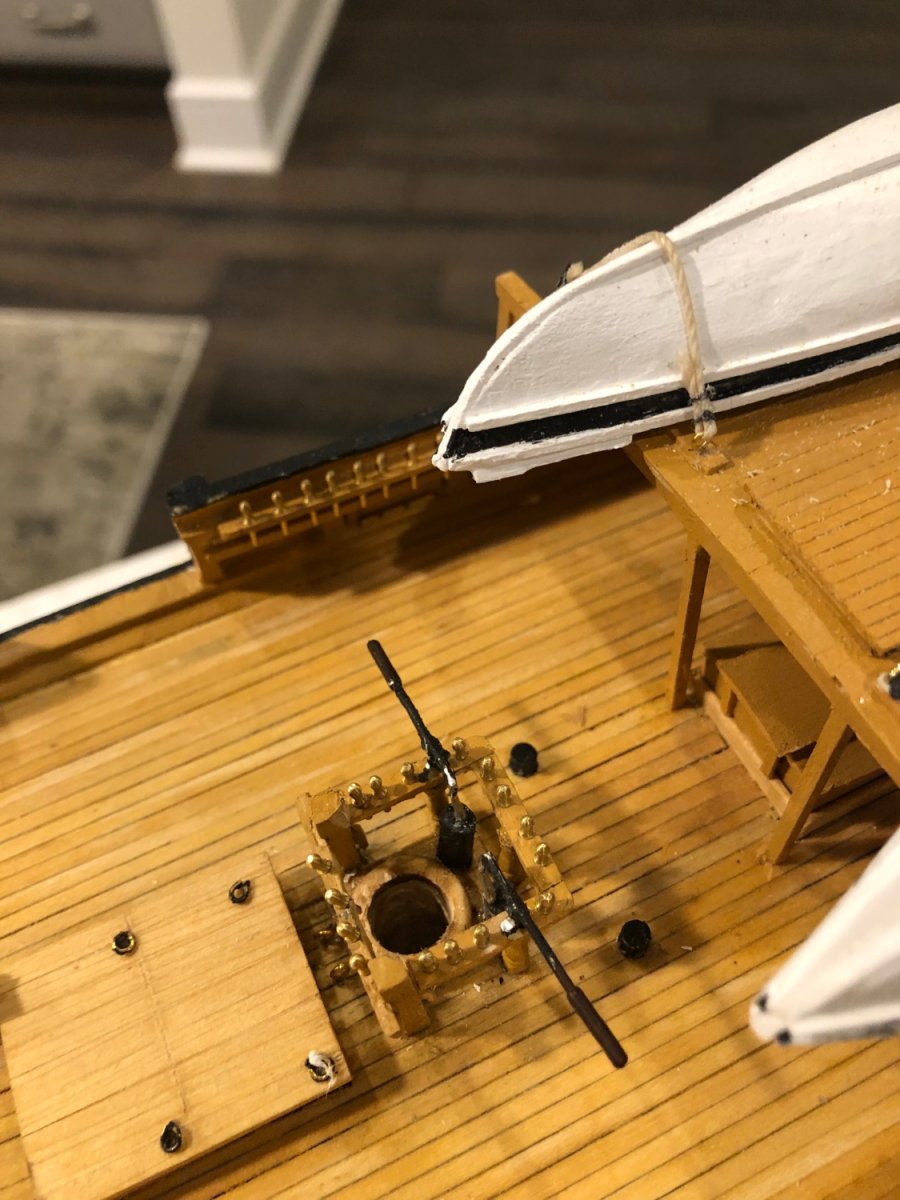
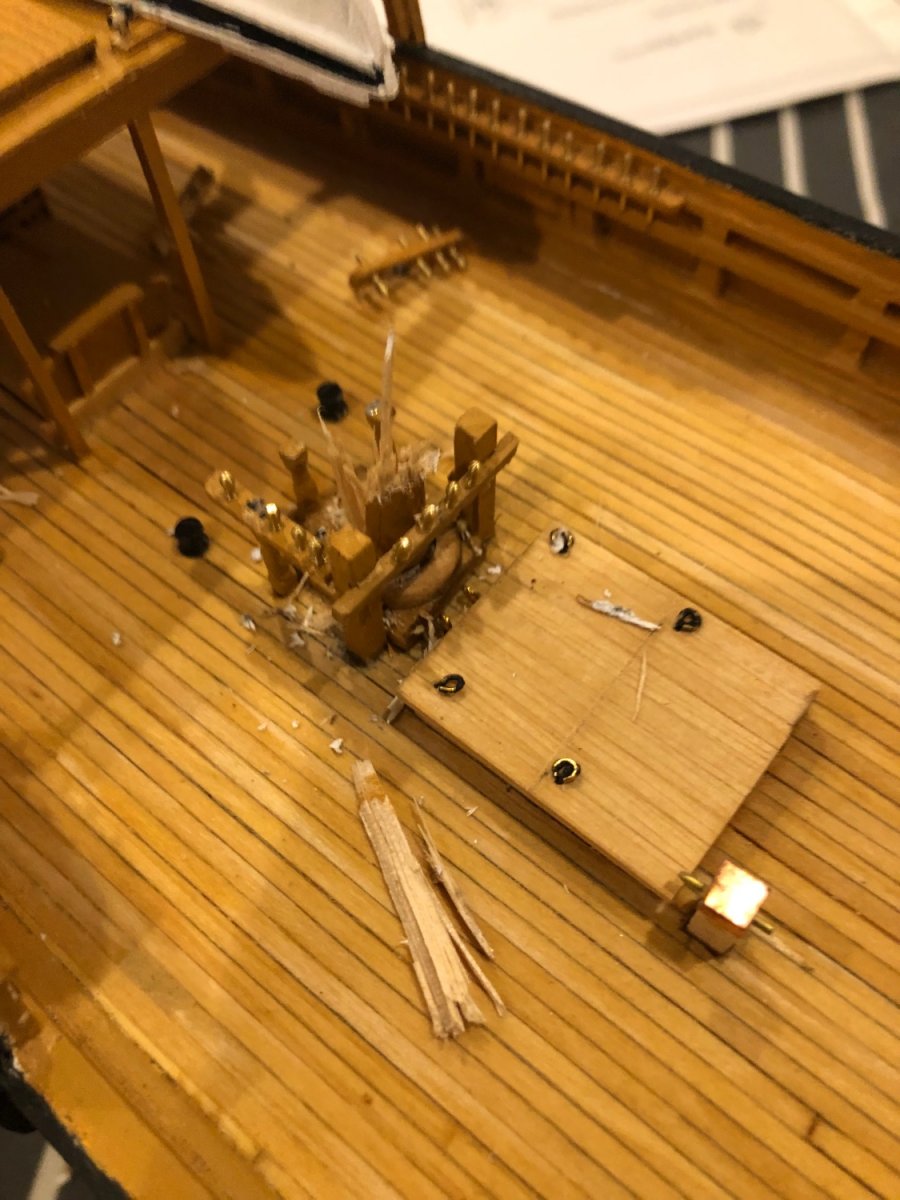
Some patience and a Dremel tool and the fife rail and pumps are repaired and mast hole is cleaned out.

- 294 replies
-
- 3
-
-
- charles w morgan
- model shipways
- (and 1 more)
-
Actually not so good. I decided the mainmast rake was bad and on top of that, the main top was slopped excessively. I had tried to mount it so that it would look level when the mast was mounted with the proper rake. I seem to have over compensated. It looked bad and every day when i looked at it it looked worse. It could no longer be ignored. Today I attempted to remove the mast. Bad idea. It split rather than coming out and broke the fife rail on top of that. I requested some replacement parts from Model Expo and will have to make the lower mainmast again. Oh, and drill out the stub left in the hole. Totally bad day. I think i will take a week or three off from the Morgan and build something else. Maybe i’ll paint some rocks 😬🤬🤯

- 294 replies
-
- 1
-

-
- charles w morgan
- model shipways
- (and 1 more)
-
How many kits do you have on the go at the moment?
Papa replied to CaptnBirdseye's topic in Wood ship model kits
I only have 3 going at this time. Charles W Morgan, Gjoa (Model Shipways solid hull Amundson’s ship), and the United States, (paper). Lately i have only been working on the Morgan. -
Still working on the masts. Want as much done on them as possible before mounting permanently (blocks, eyebolts, fairleads etc.) I noticed that i am approaching the 4 year mark on this build; started April 2018

- 294 replies
-
- 1
-
-
- charles w morgan
- model shipways
- (and 1 more)
-
HO model train suppliers have a window glazing material that will work here. I forget what they call it. It looks like thin white glue and it dries clear. Just spread a drop on the openings with a toothpick. In addition to glazing windows I have used it to make “water” in some buckets on a model barge. It is quite effective
-
Hi Chris, As a 100% Yankee, born and raised outside of Boston, i am curious as to where in Massachusetts you are located. I hated the winters there so am now below the Mason-Dixon line 😁
-
Thanks. Doing the hinge pins was tedious!
- 294 replies
-
- 1
-
-
- charles w morgan
- model shipways
- (and 1 more)